Can you really cook a steak in the air fryer? This is a question I had never even considered, until the day my stove malfunctioned.
I love a good ribeye, and my cooking method of choice has always been the reverse sear, which produces a perfectly cooked steak every time. Read about it here.
Now without a stove, I turned to my other appliances. Microwave, crock-pot, or air fryer. Yes, I was worried about ruining a perfectly good (and expensive) steak. I did some research and decided to try the air fryer.

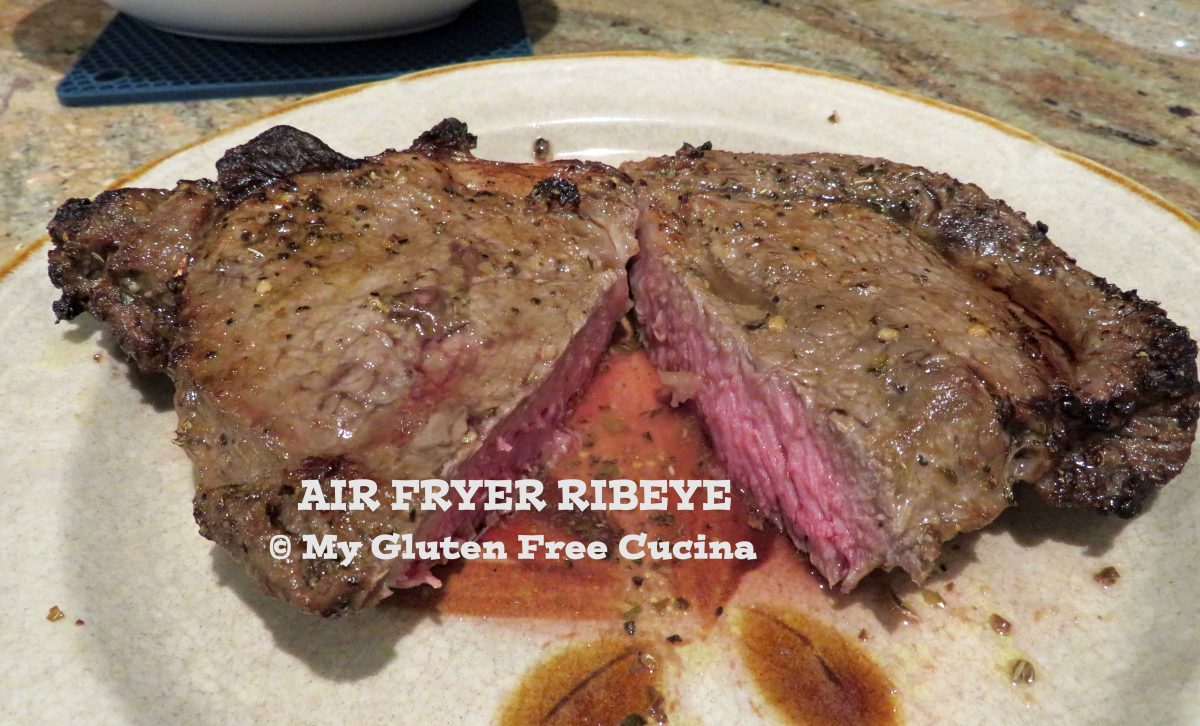
The verdict, excellent! It turns out that yes, you can cook a steak in the air fryer, and it was delicious!
This post contains affiliate links.
Ingredients:
- 1 lb. ribeye steak, about 1-1/2″ thick
- gluten free steak marinade (recipe here)
- cooking spray
Preparation:
Marinate the steak for 2 hours before cooking. Whisk together the marinade ingredients in a non-reactive dish and add the steak, turning every 30 minutes.

Preheat the air fryer for 5 minutes at 400º. Remove the steak from the marinade and place on a rack for a few minutes to drain off the excess liquid (if you have a basket style air fryer just pat your steak with paper towel before cooking).

Add 1 tbsp. of water to the bottom tray of the air fryer. Add the steak and cook 8 minutes per side.
Continue cooking until your steak reaches the desired temperature. I prefer medium (pink in the middle), and it took a total of 21 minutes for mine to reach 145º.

Time will vary from one air fryer to another, so be sure to check the temperature with a meat thermometer.
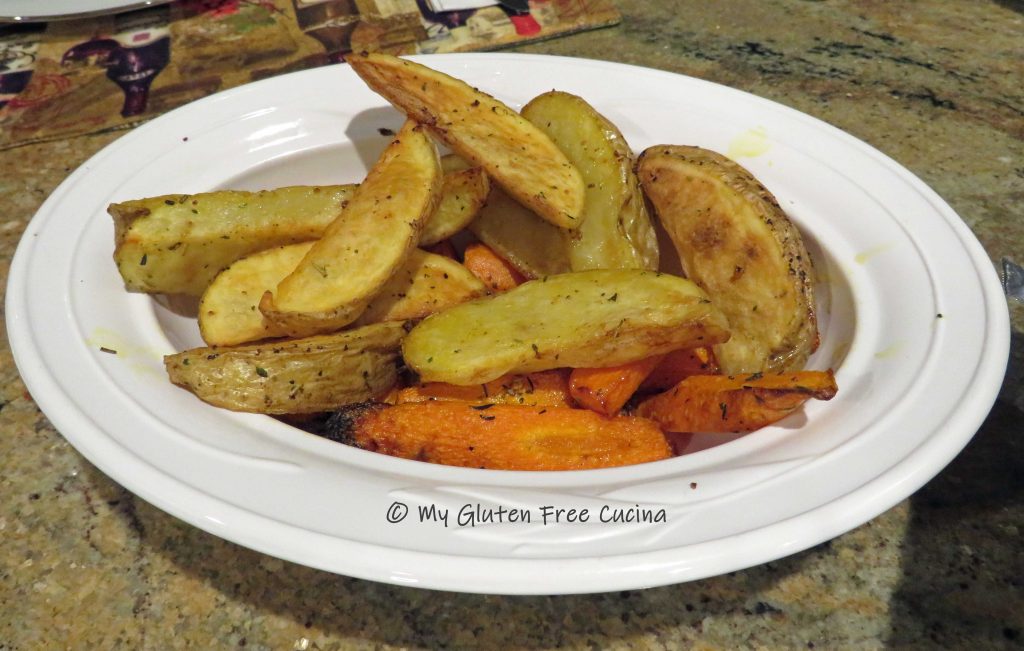
Also keep in mind that if you are cooking other things in the air fryer at the same time, it will extend the cook time. I had carrots and potatoes in the air fryer, and it took 30 minutes for the potatoes (started 10 minutes before the steak), and 20 minutes for the carrots.
Important! Always let the steak rest 5 minutes before slicing. Place it on a warm plate and cover with foil. This allows the juices to redistribute and keeps the steak moist and flavorful.

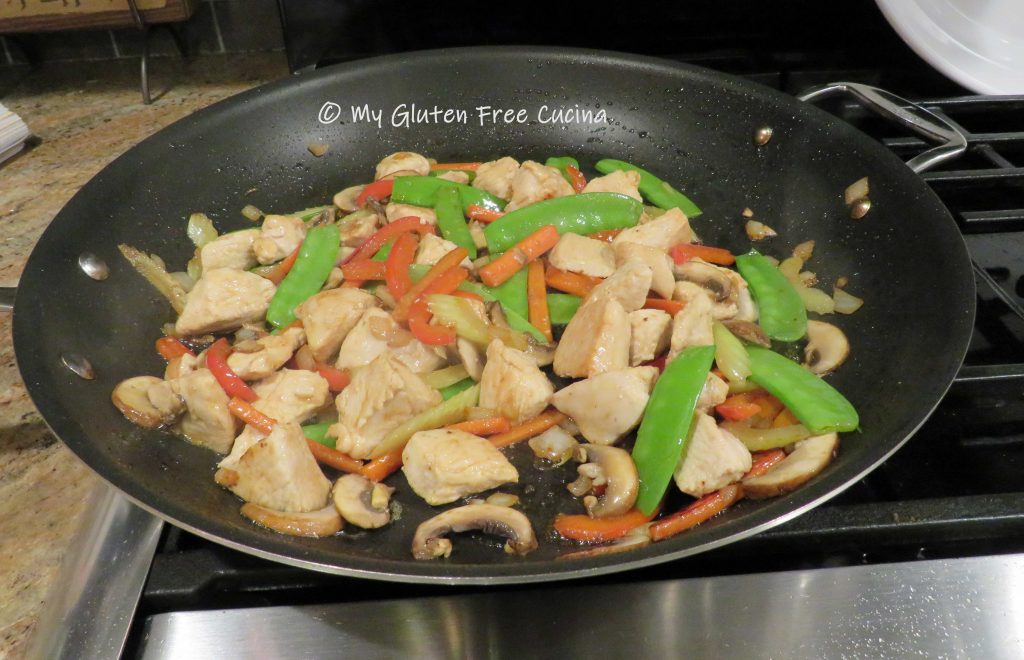
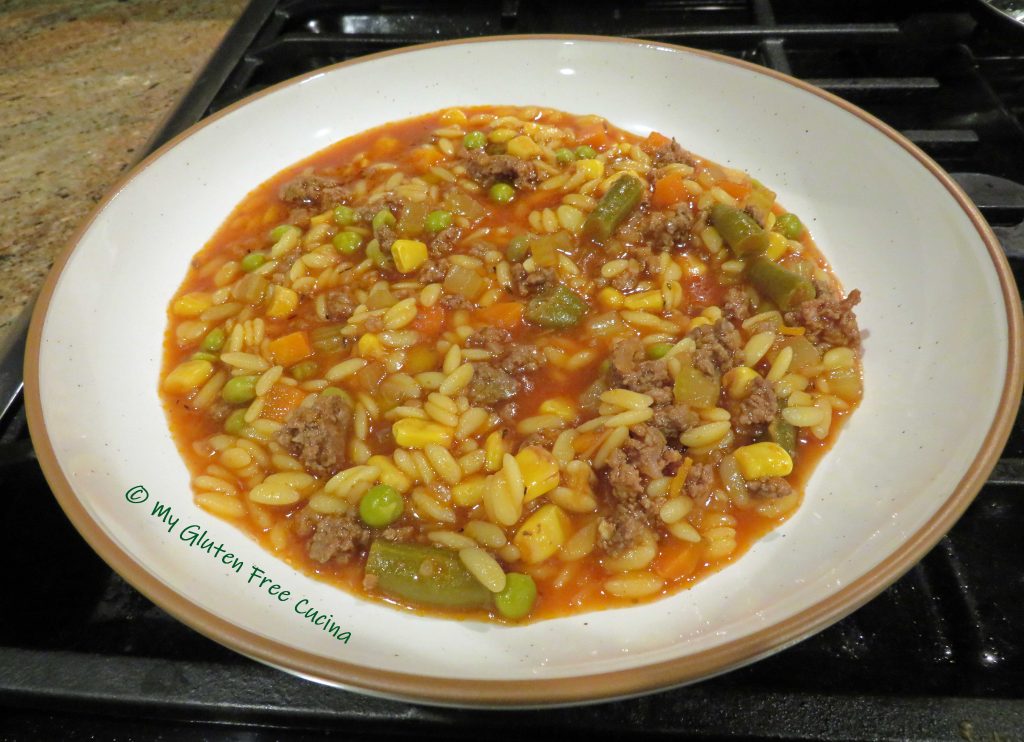
Doesn’t that look good? No one went hungry while waiting for the new range to arrive.
Notes: ♪♫ This dinner serves two, and the fit was just right in my 3-shelf air fryer. Potatoes on top, carrots in the middle and steak on the bottom. You can rotate the shelves during cooking for even results. Remember that items on the top shelf (closest to the fan) will cook faster, so watch that they don’t burn!


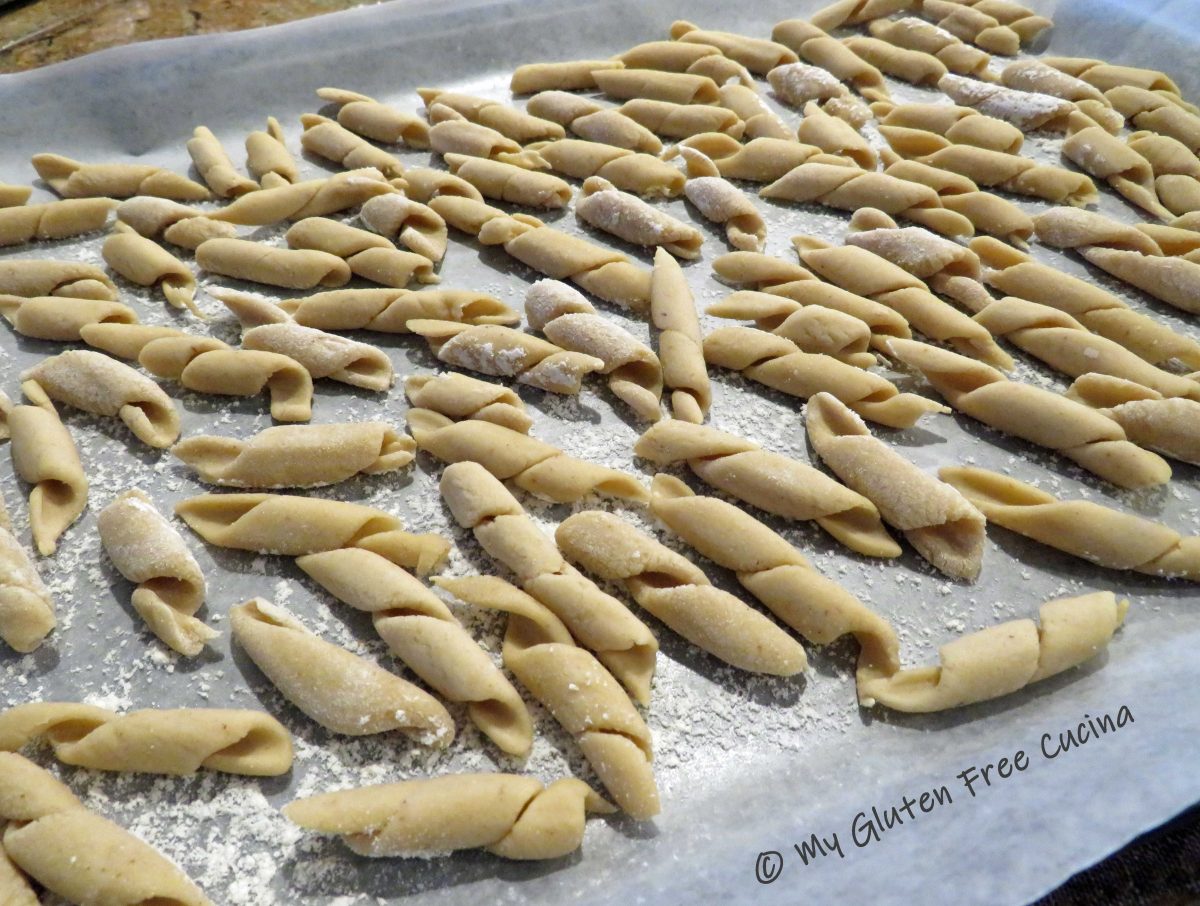
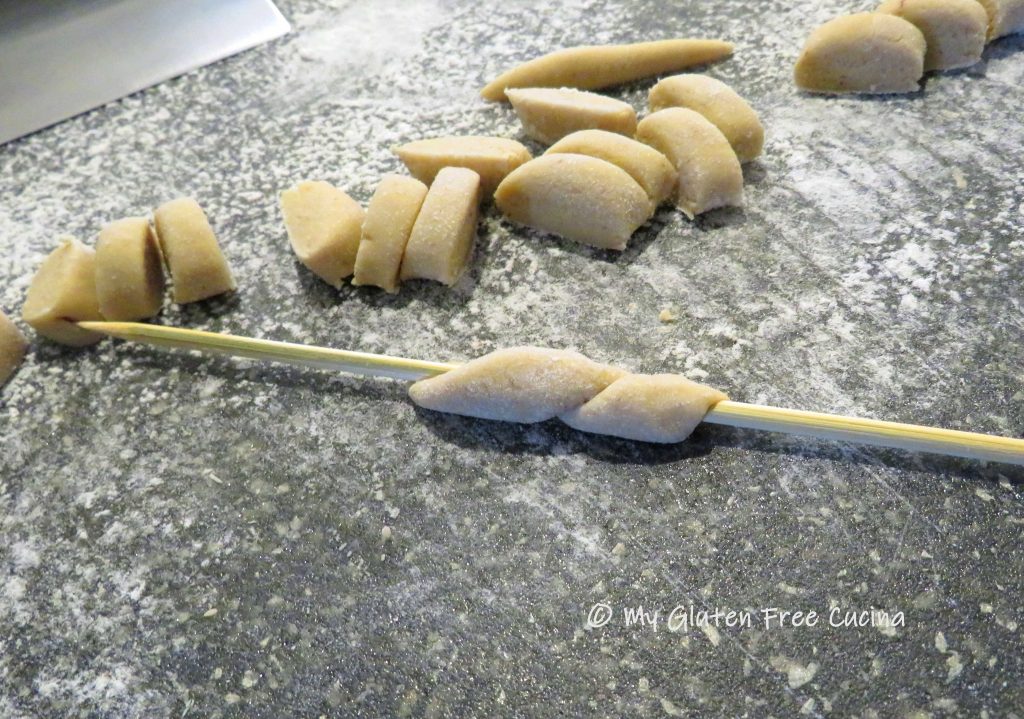

 Increase the speed and mix for 6-8 minutes until a smooth dough forms.
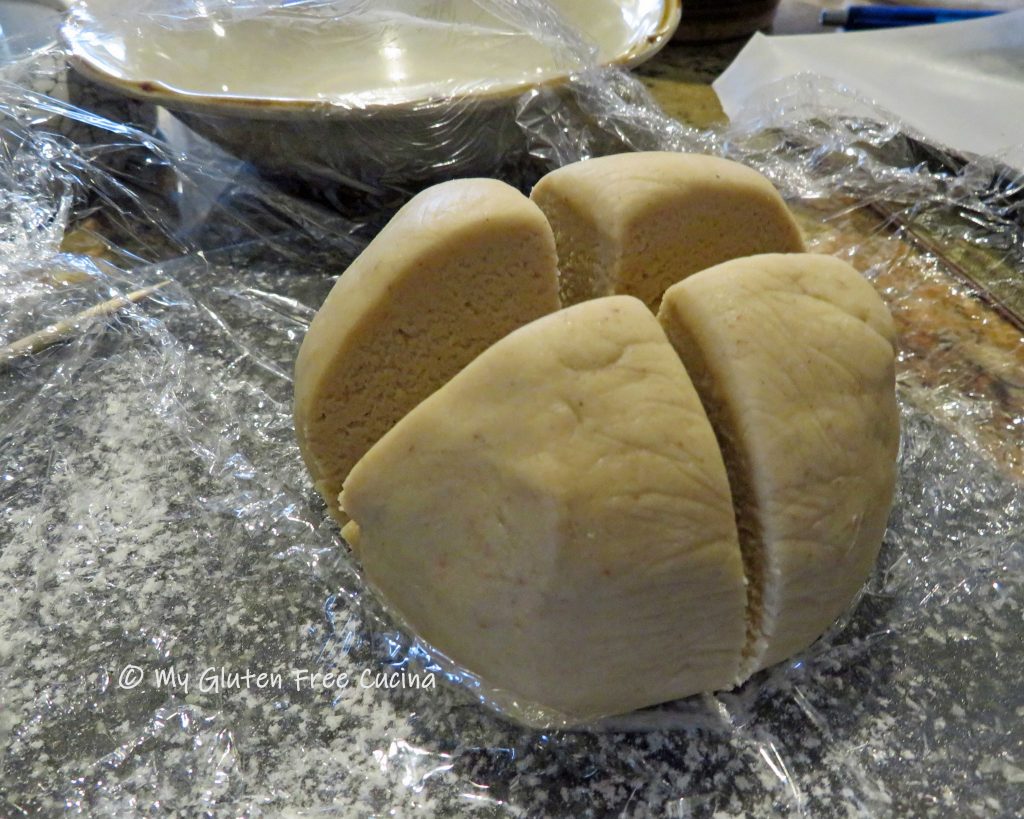
 Press the dough into a ball, cover with plastic wrap and rest for 1 hour.
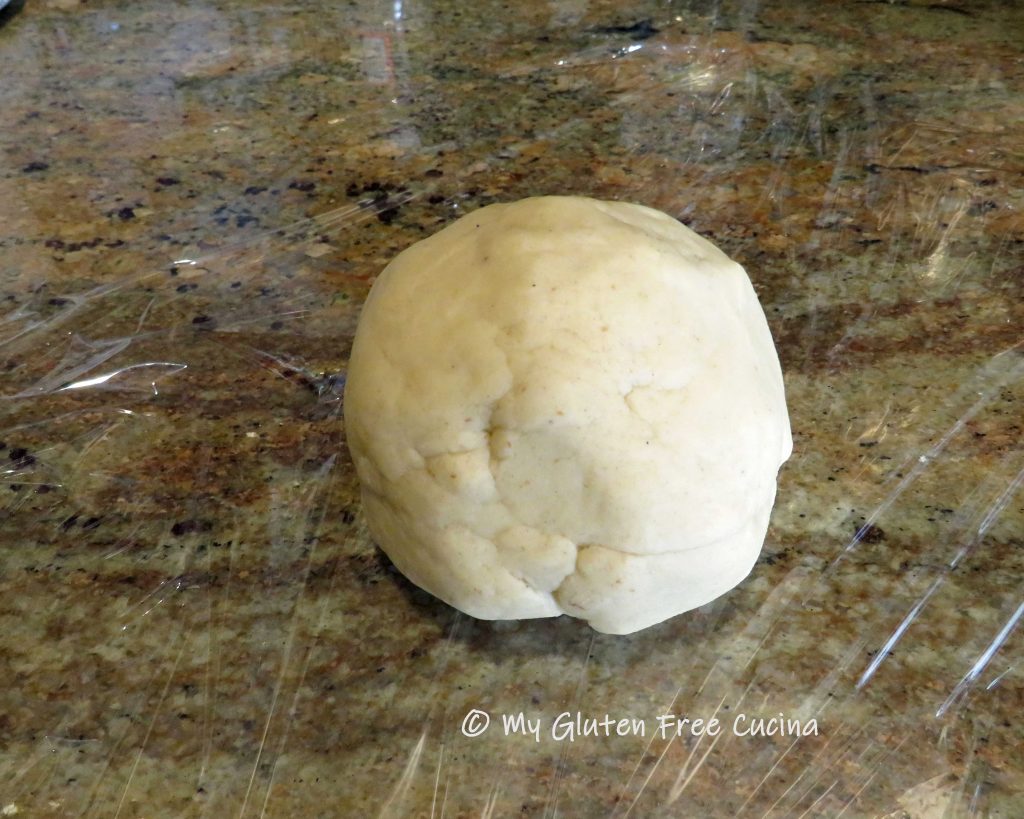


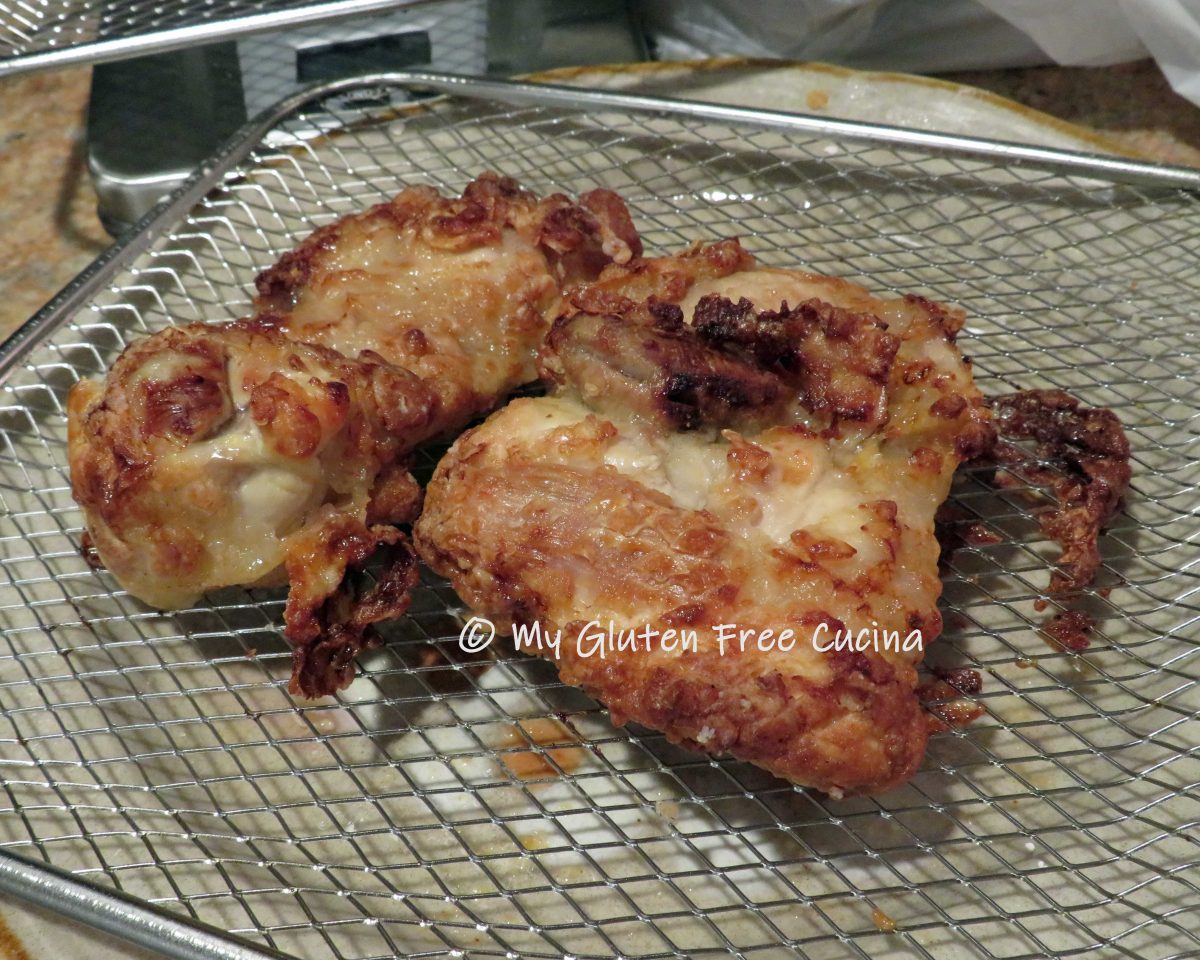
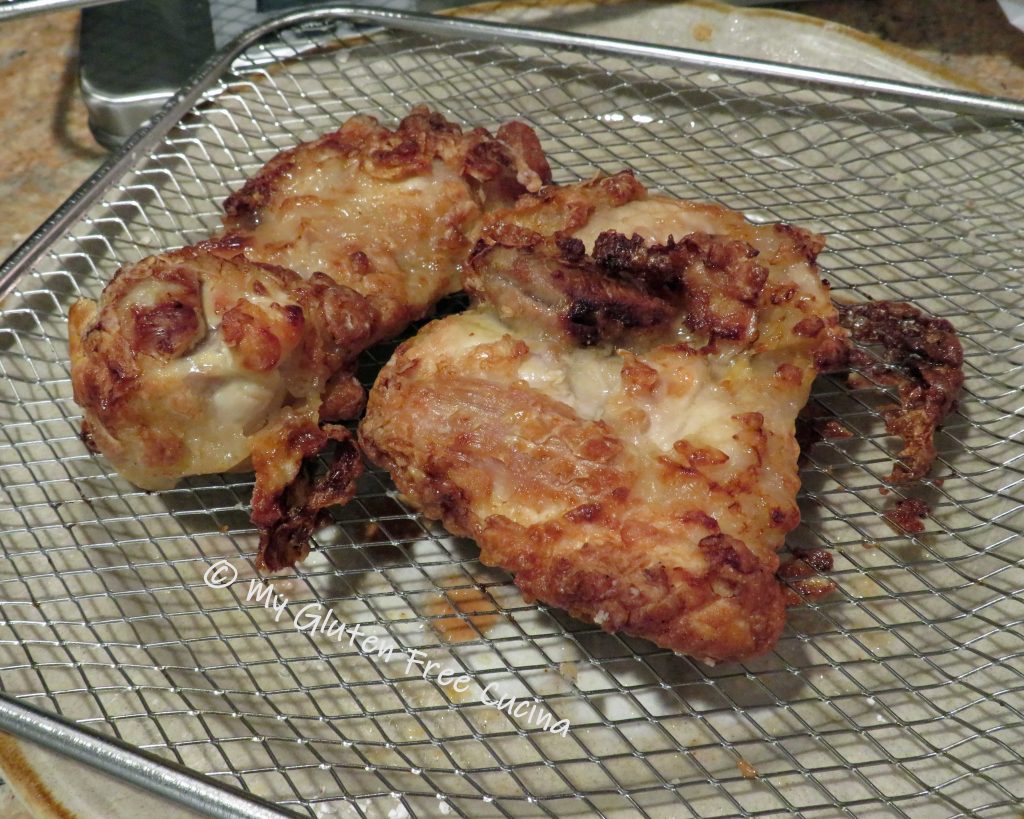


 Add the chicken pieces to the bag, and pour in the marinade.
 Tie the bag to ensure all pieces are covered in the milk mixture, and let it sit at room temperature 1 hour.


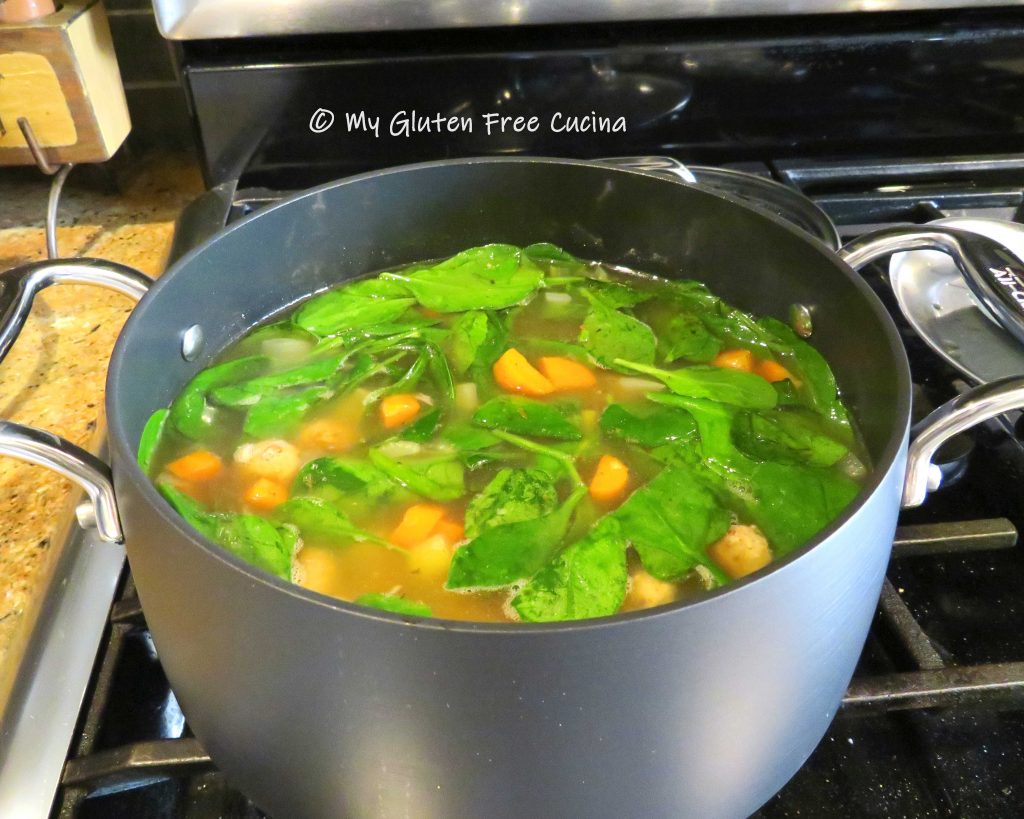
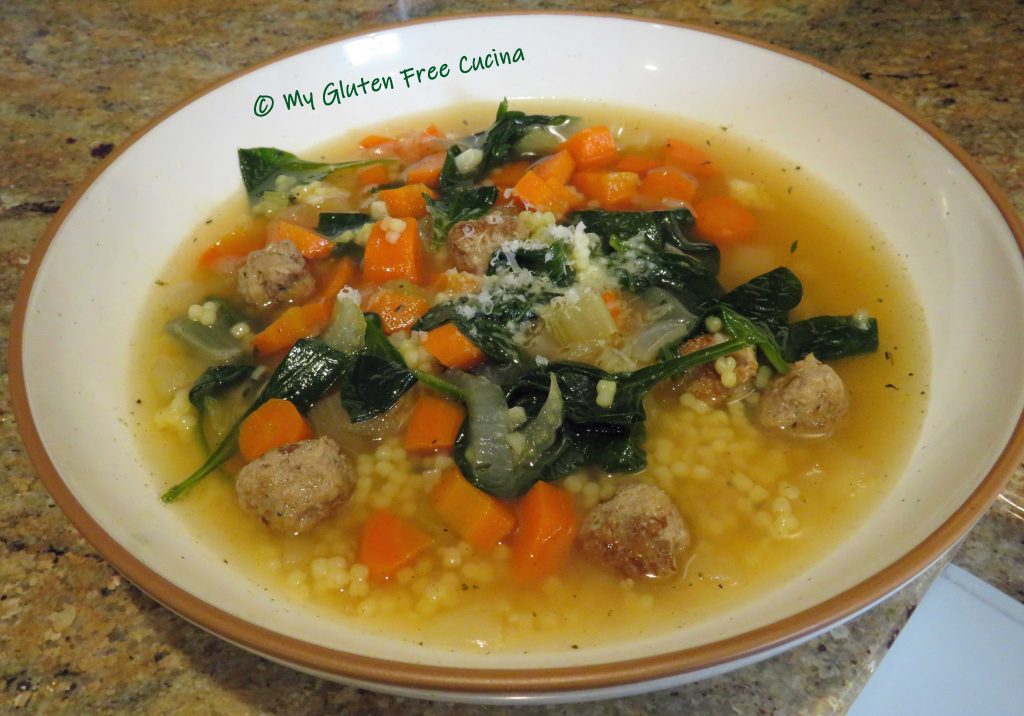
 Serve with finely grated cheese, use the good stuff!


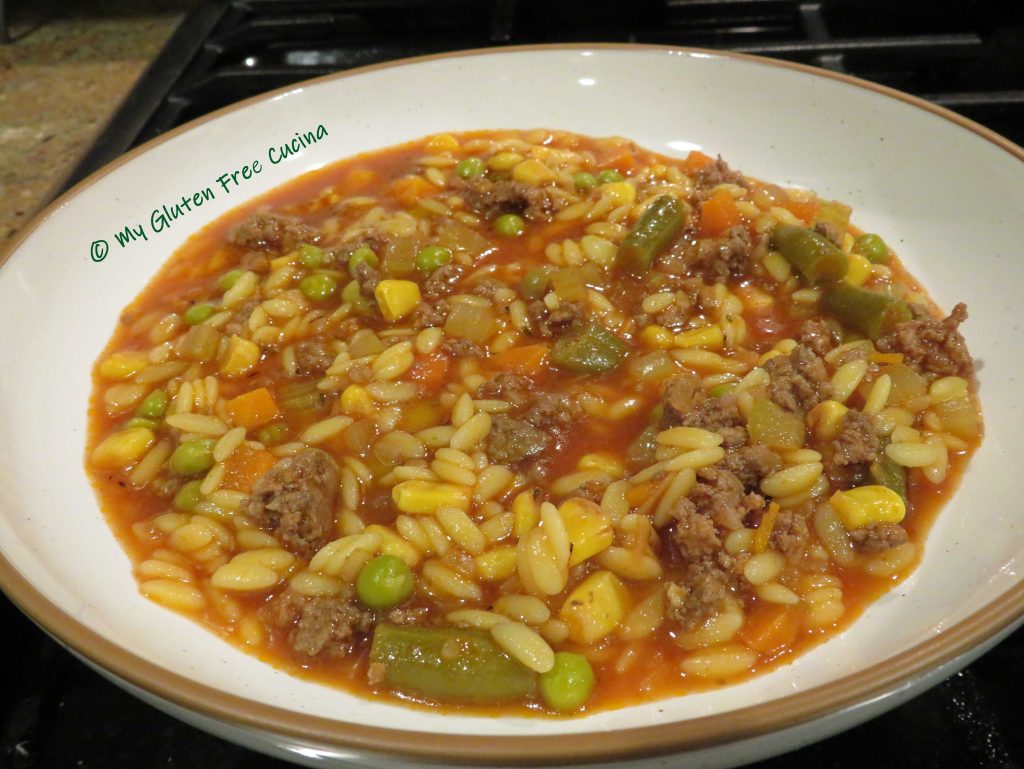
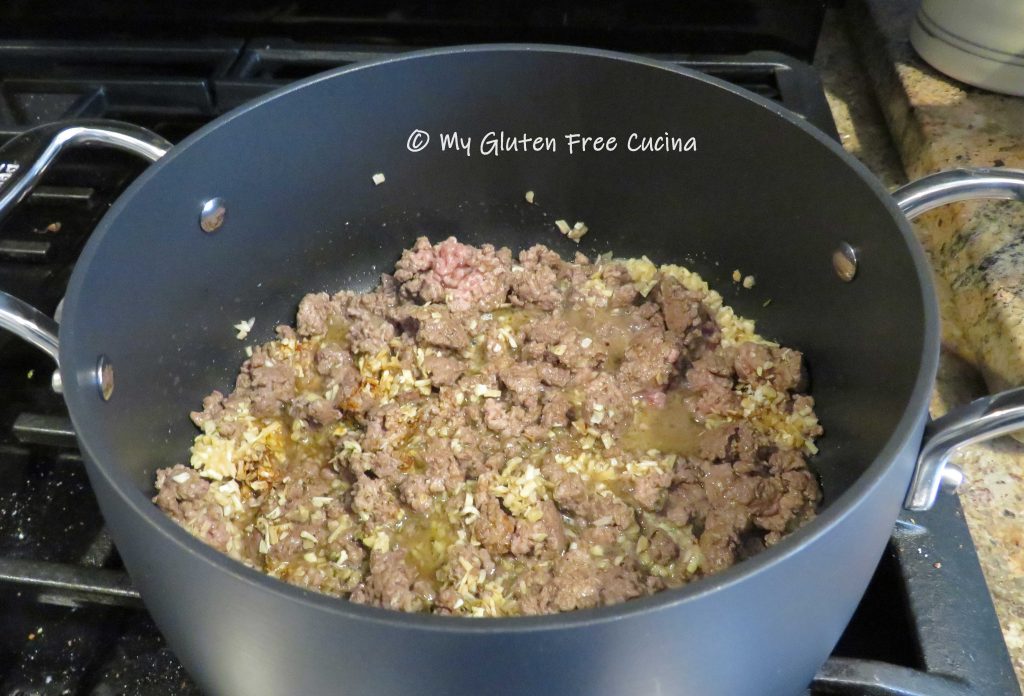
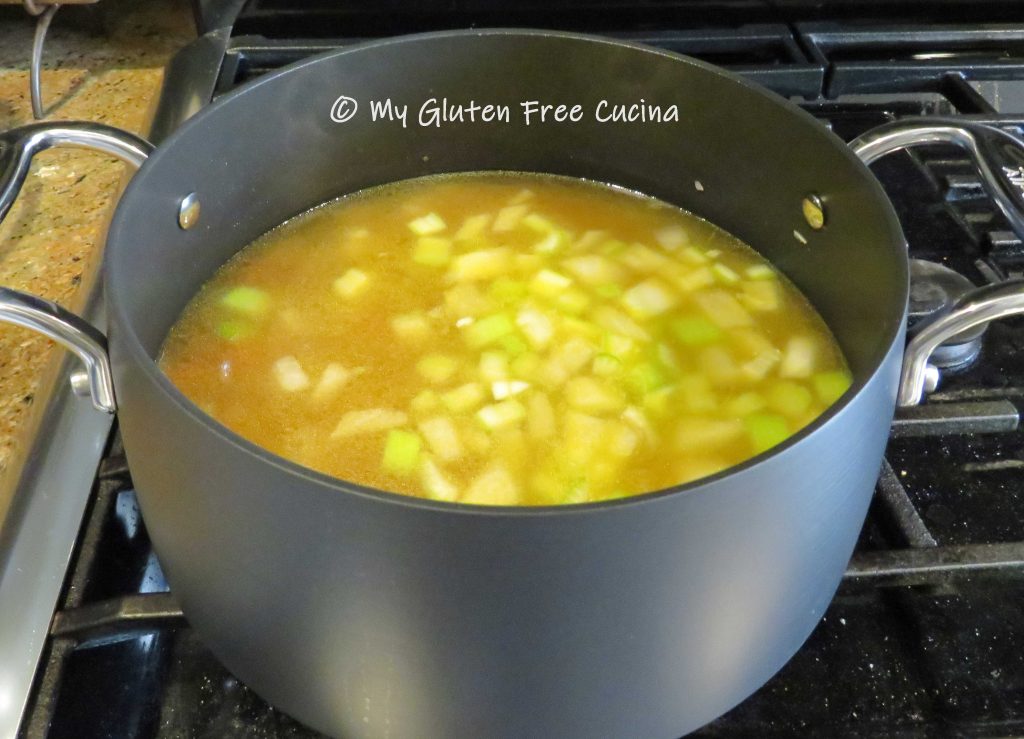
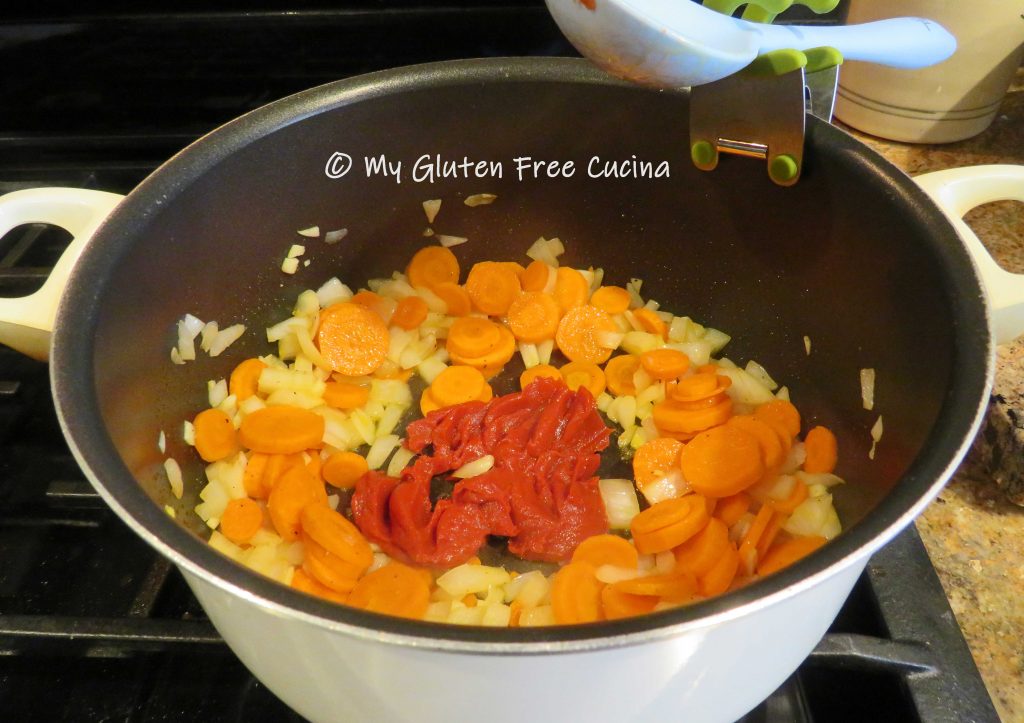
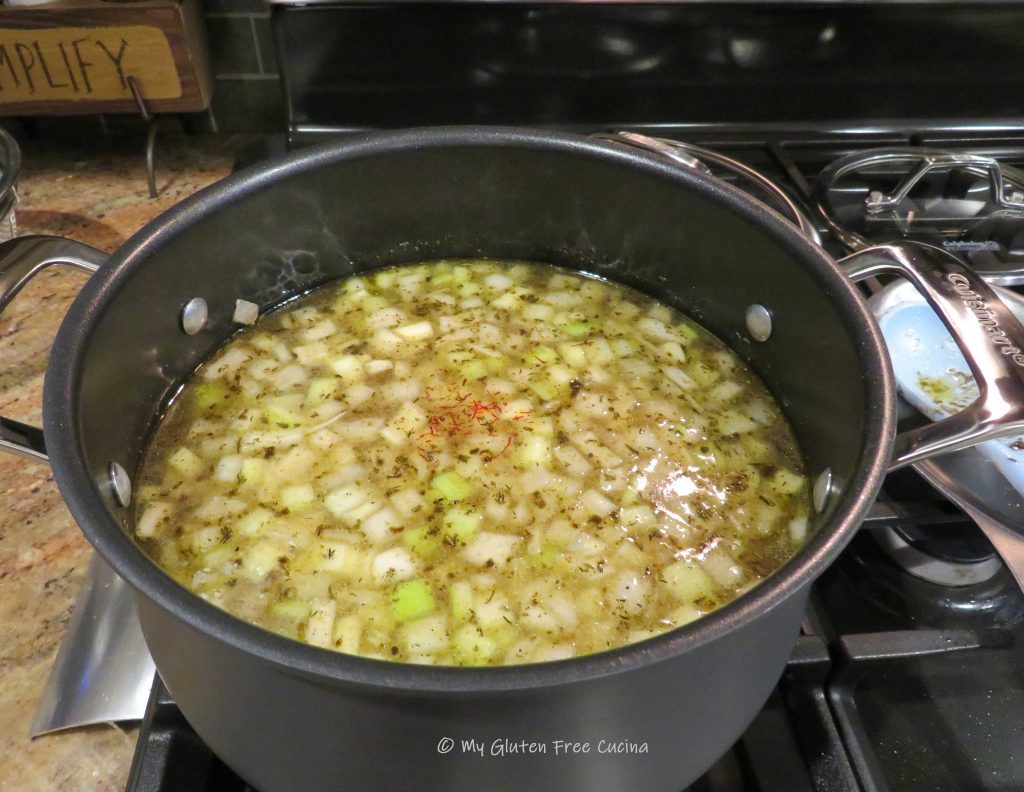
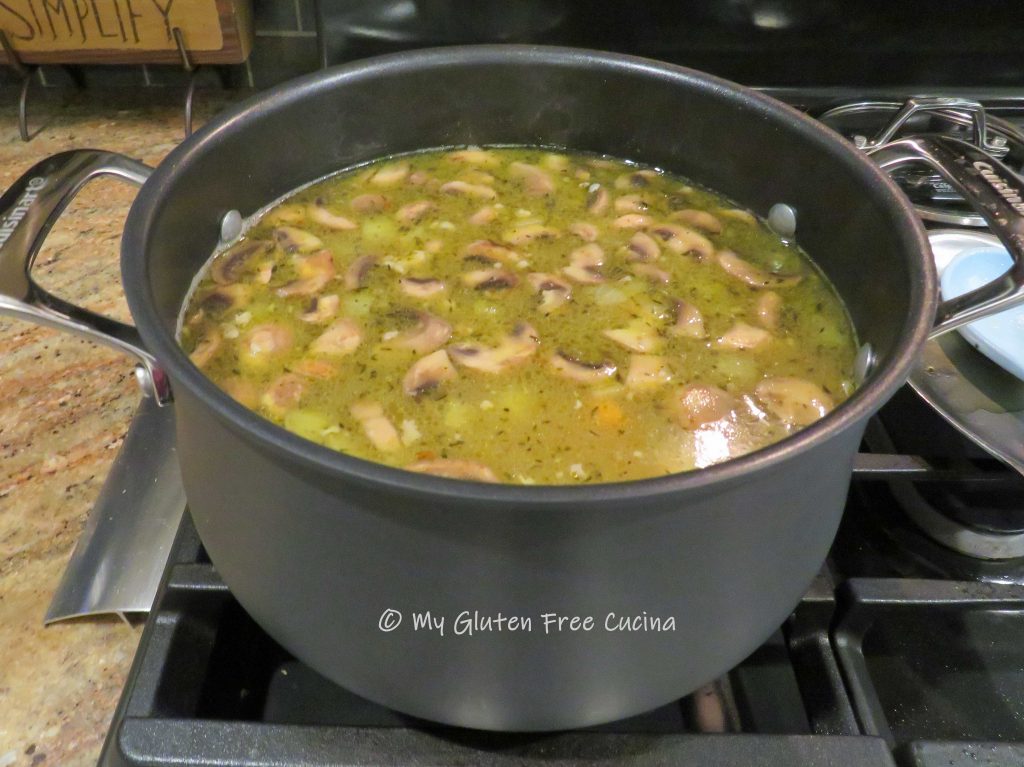
 Heat olive oil in a stock pot, and stir in the onions, carrots and garlic. Season with salt and pepper and cook 2 minutes.
 Add the Linguica, stir and cook for 5 minutes.
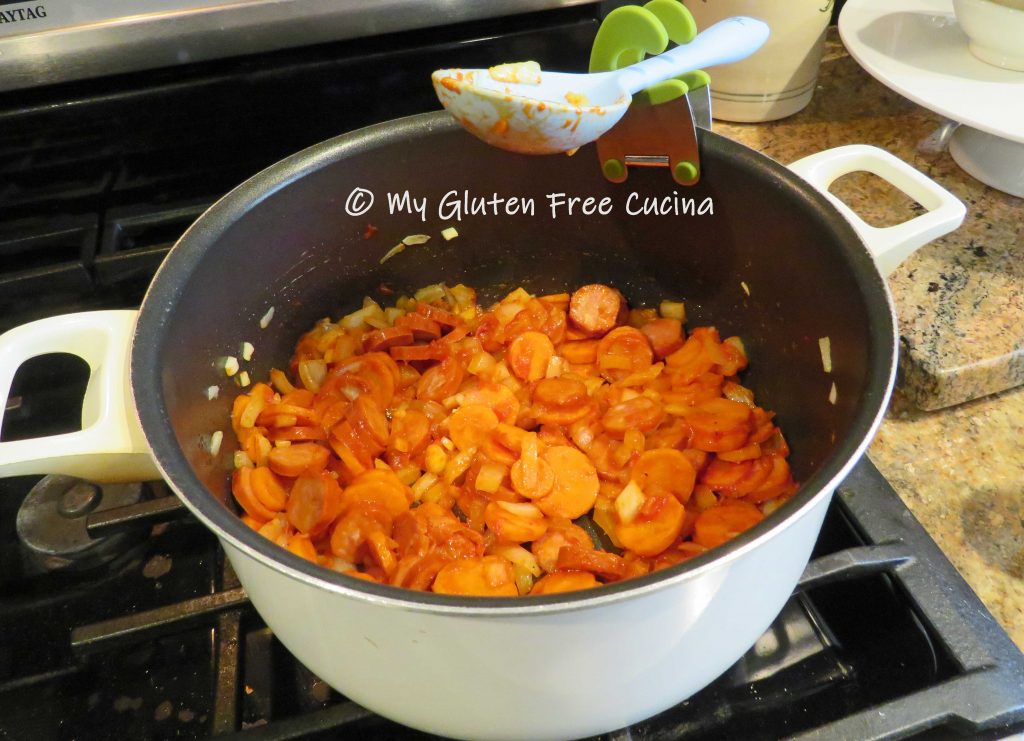


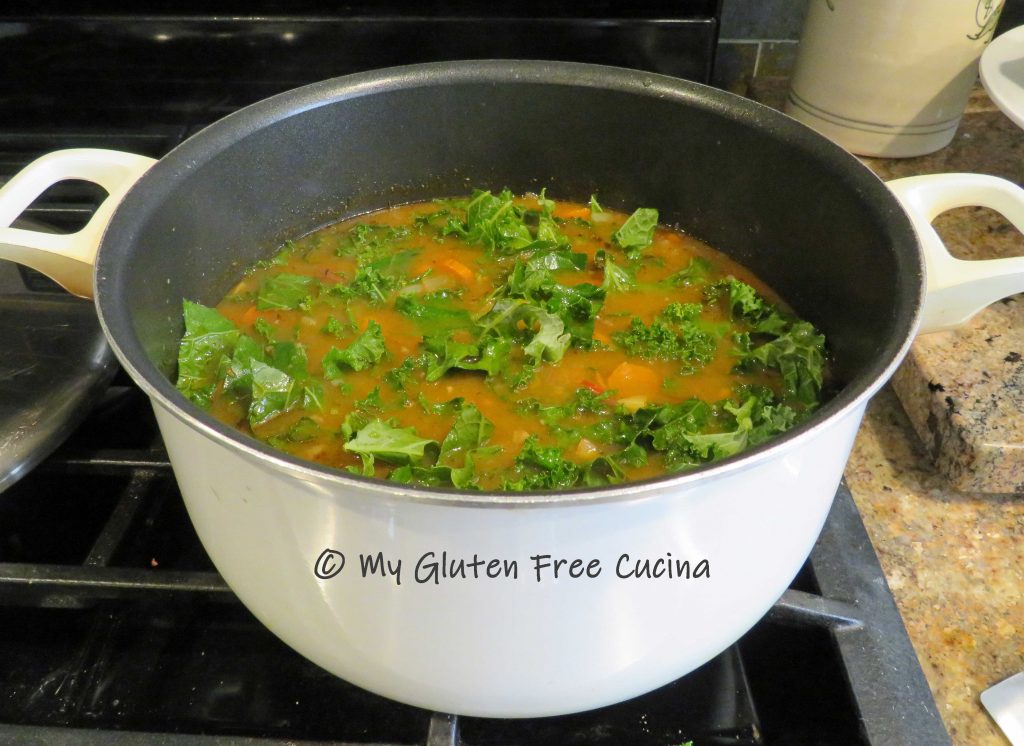


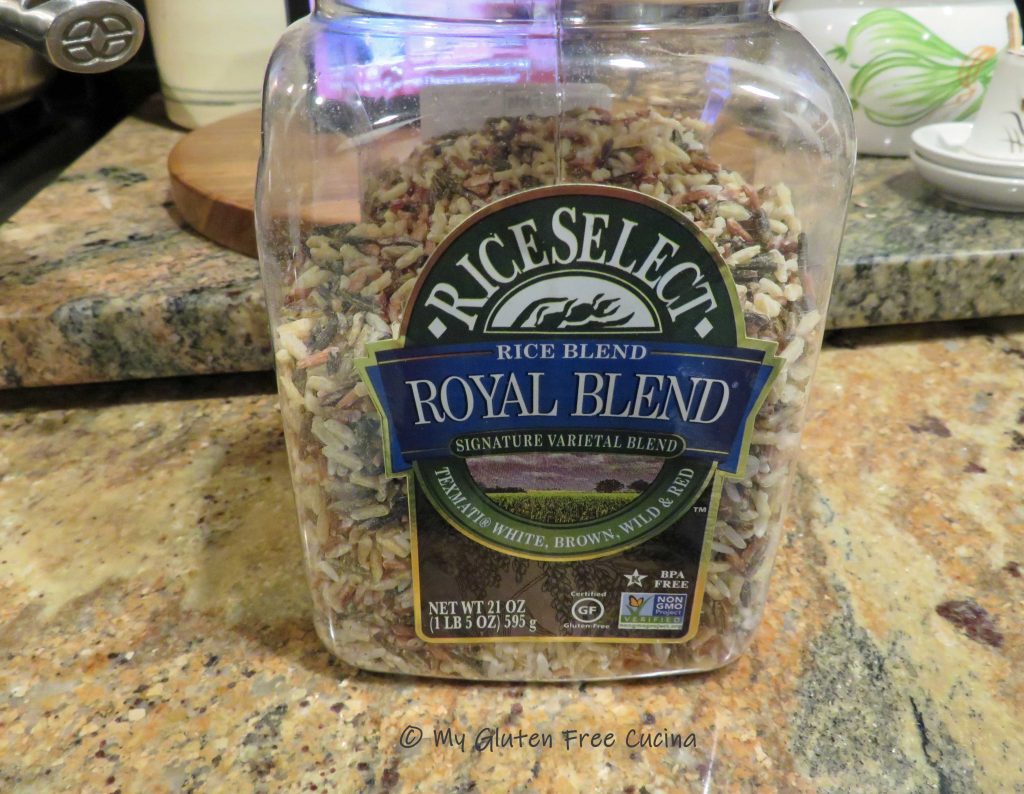


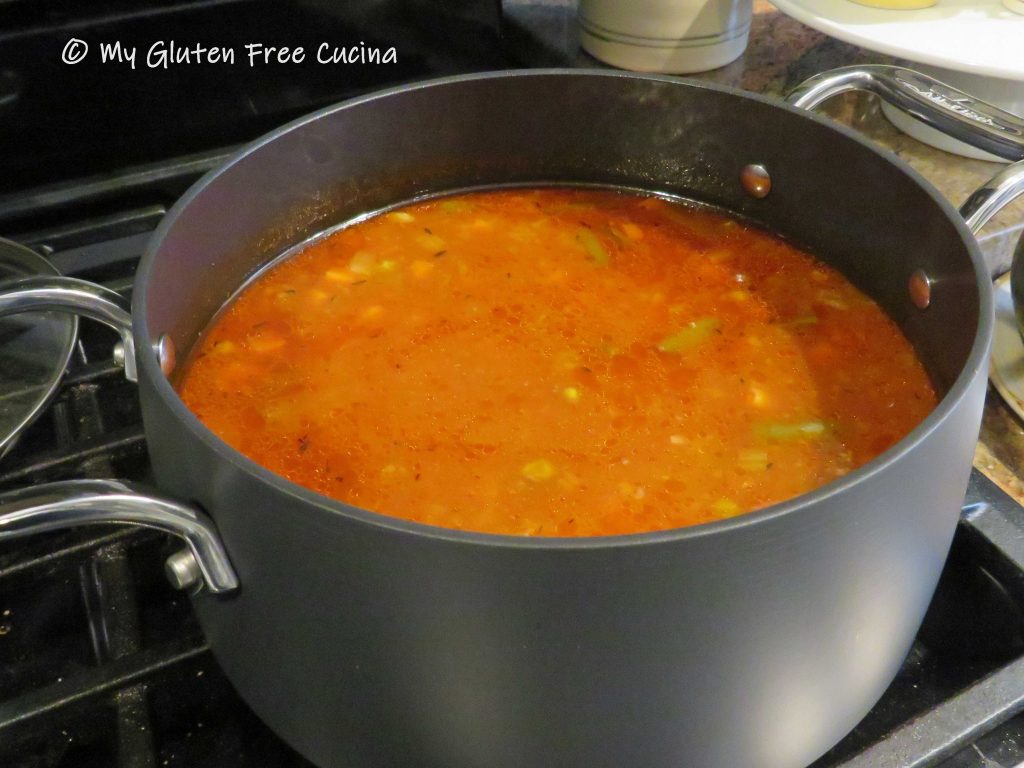
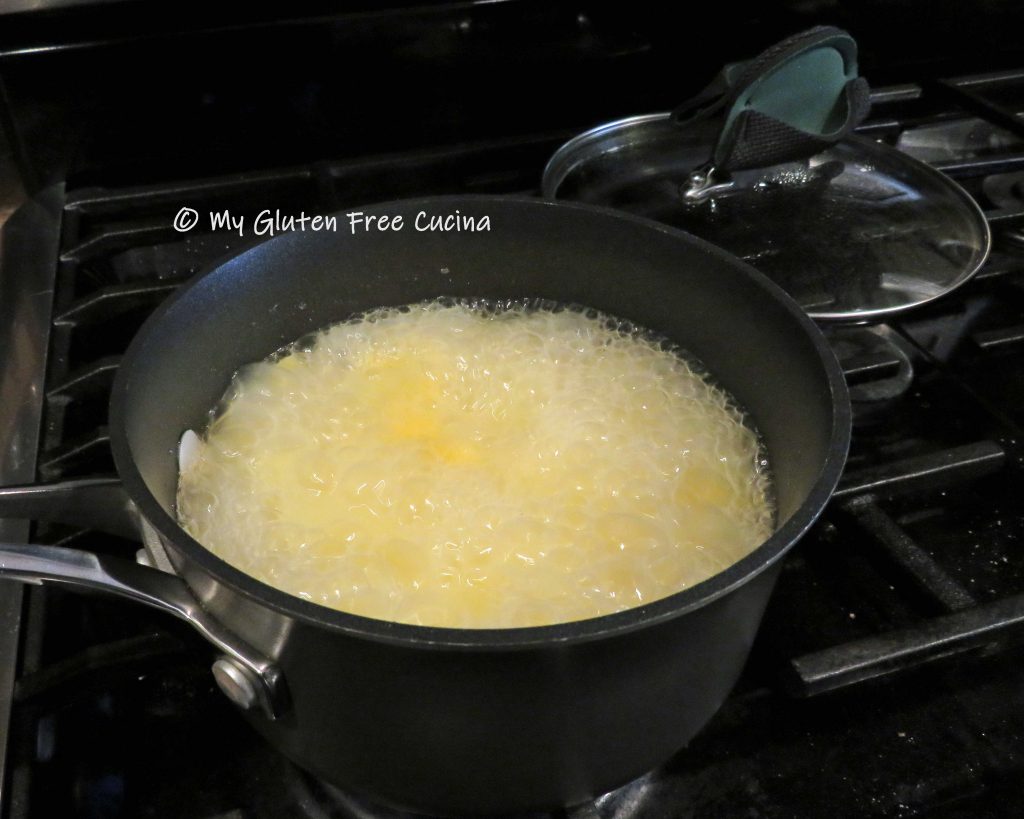
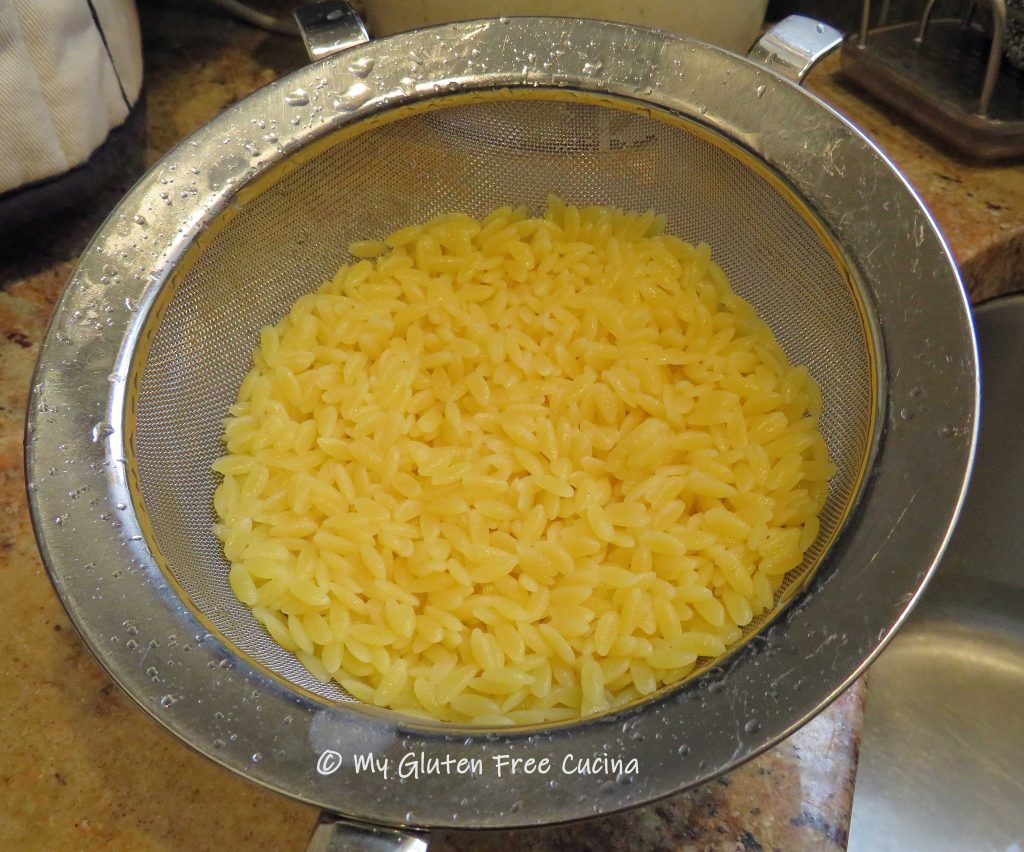
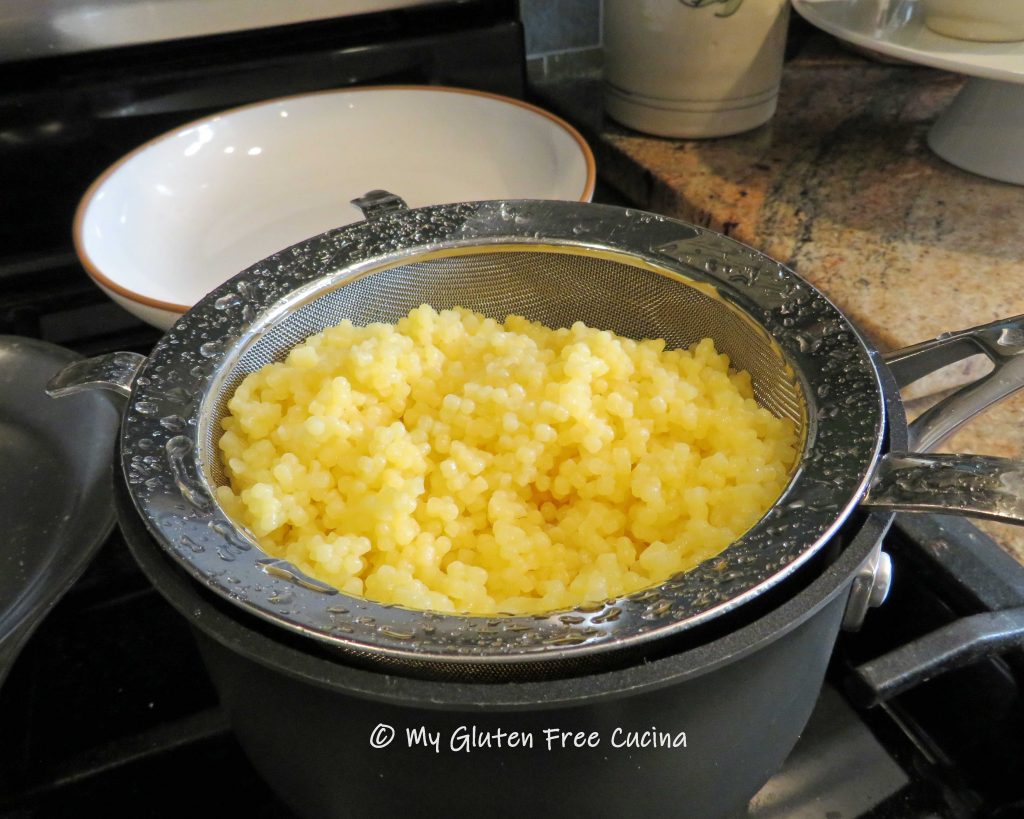
 While the soup simmers, cook the rice according to package directions.
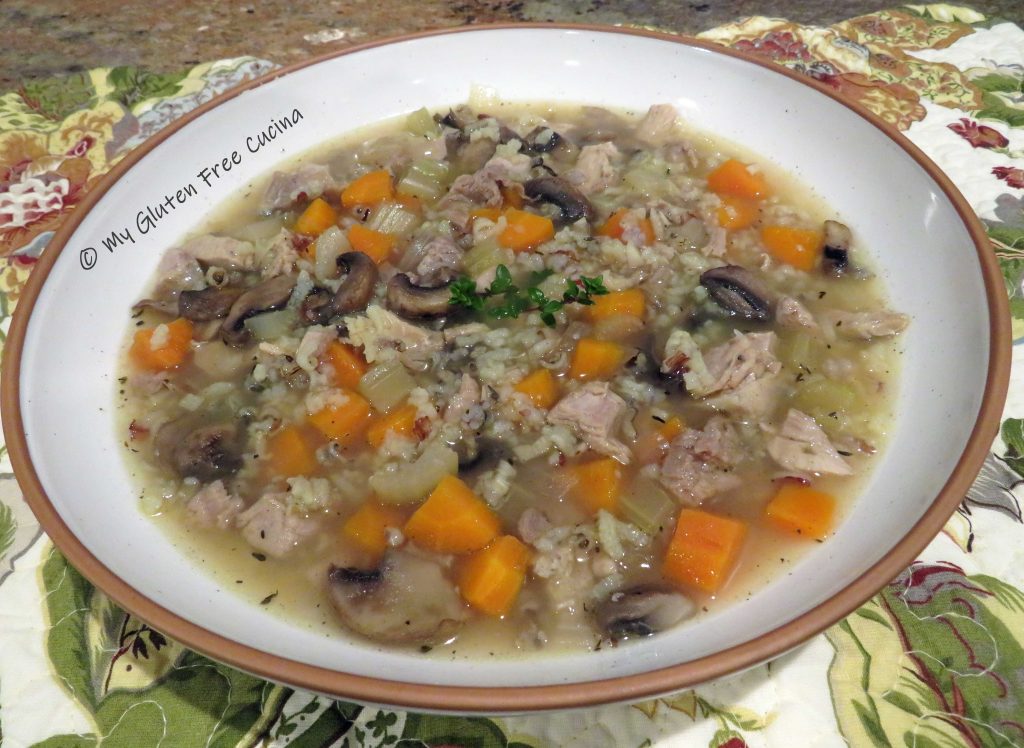

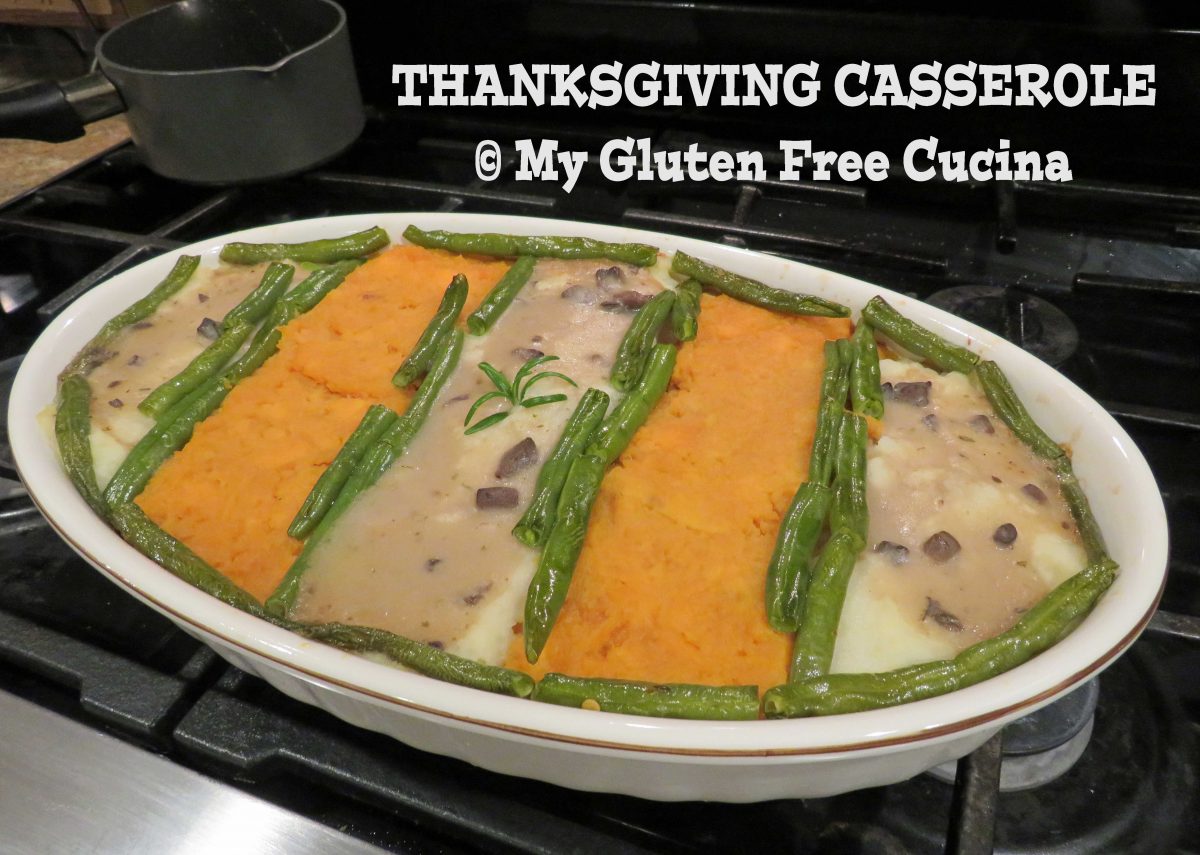
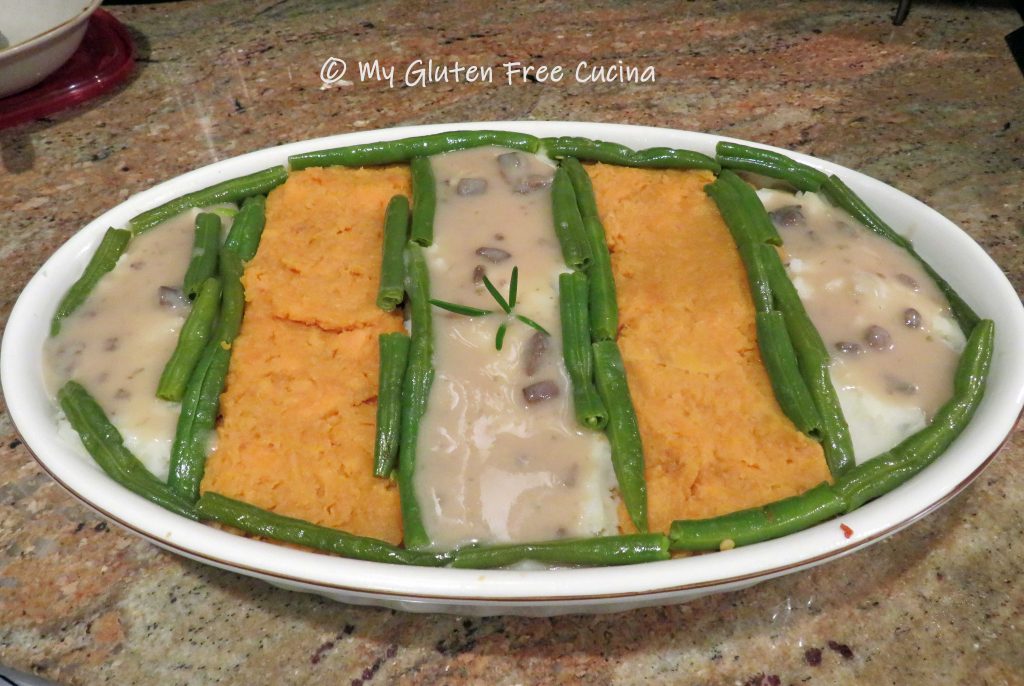
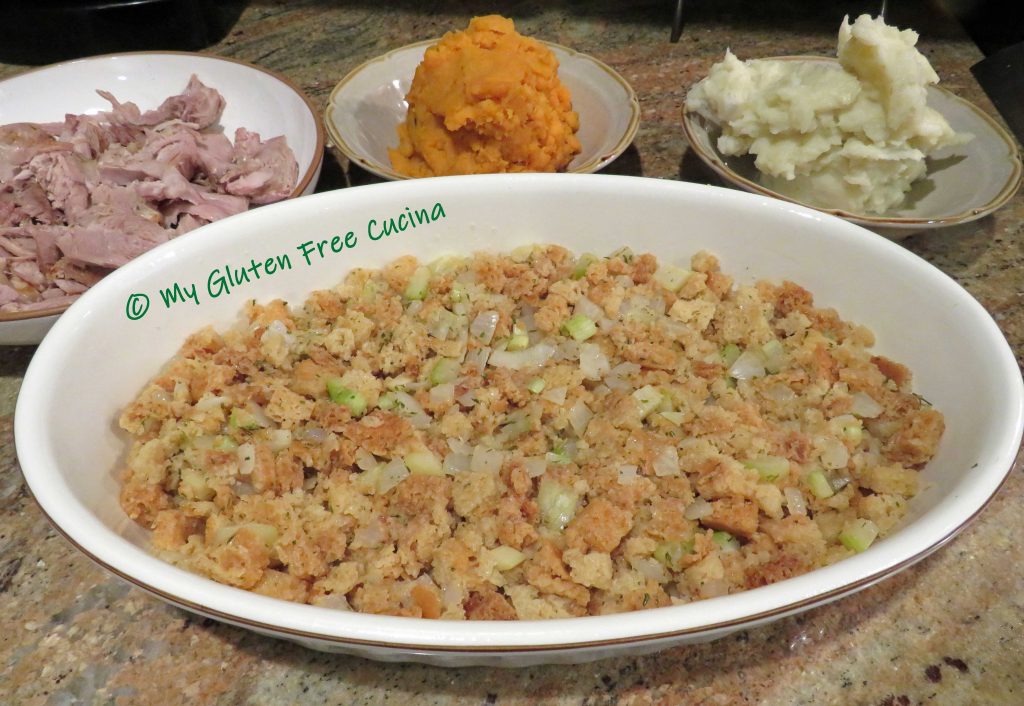
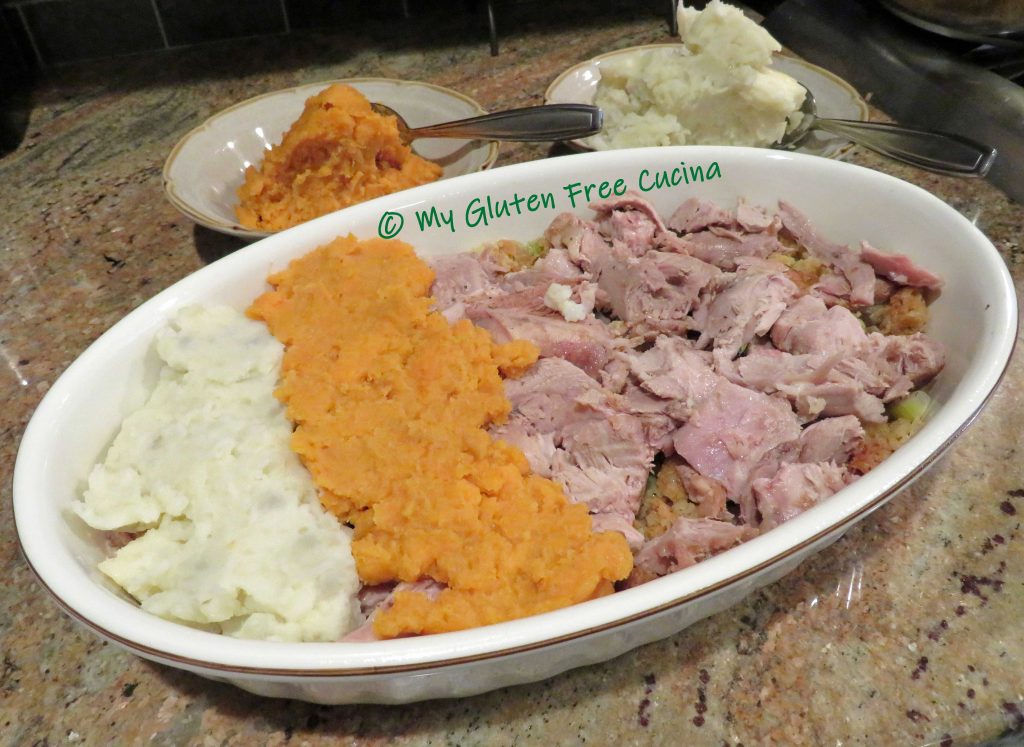
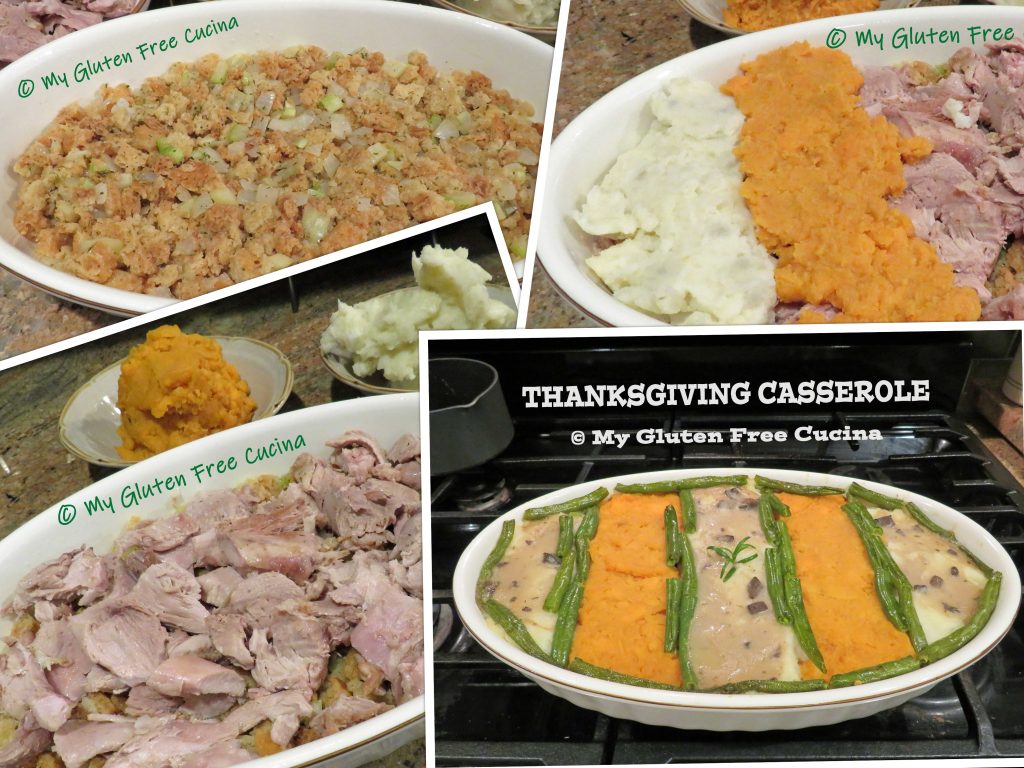 You can make each layer from scratch for a casual take on the traditional Thanksgiving meal or throw it together the next day with your Thanksgiving leftovers!