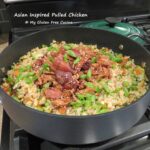
Asian Inspired Pulled Chicken

Meal delivery services have become so commonplace these days, that you can order takeout from just about anywhere.  Except when you have dietary restrictions- that is.  There are no dedicated gluten free restaurants where I live, and I am not comfortable ordering over the phone where I cannot speak to staff face to face about their allergen protocols.

This post contains affiliate links.

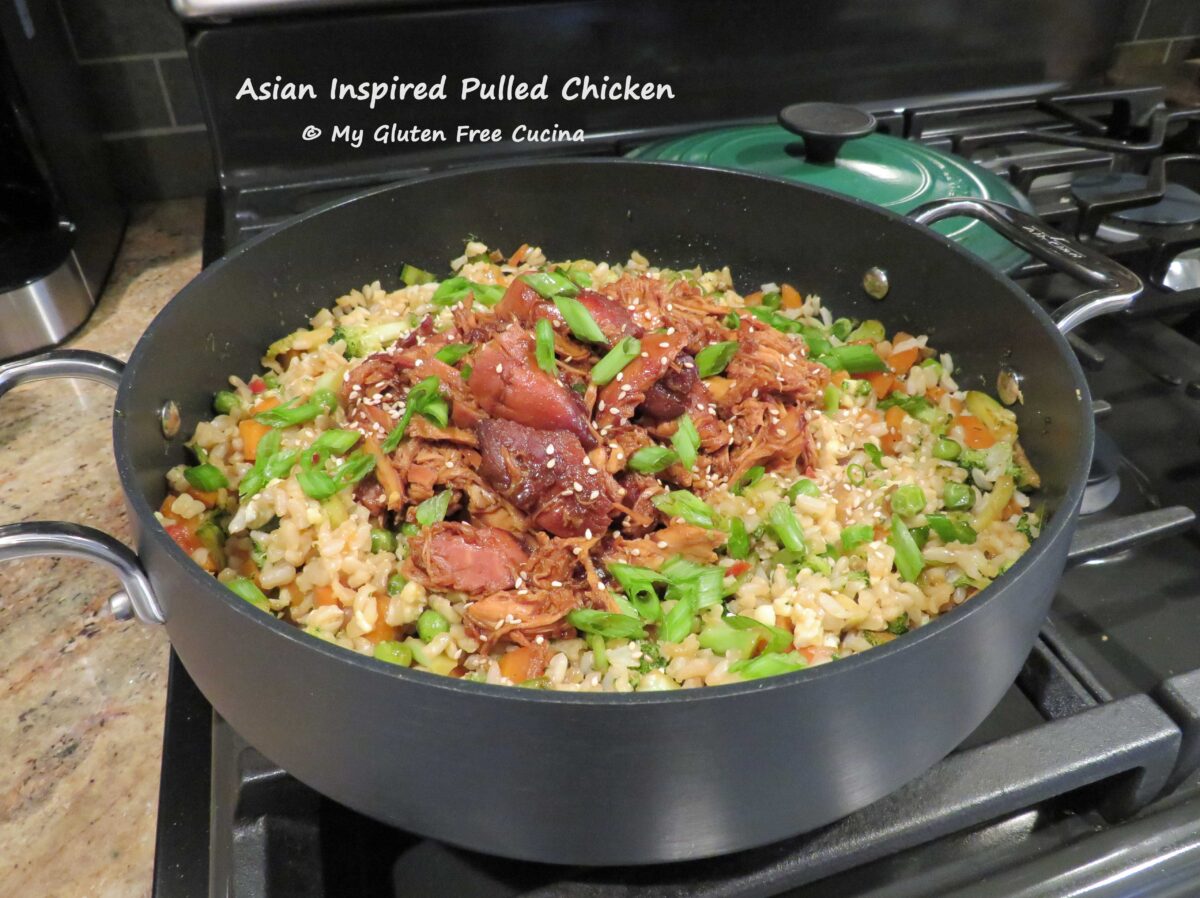
So, to satisfy my craving for takeout, you will likely find me right here in the kitchen.  Today I’m using my Dutch Oven to create this Asian Inspired Pulled Chicken, an absolutely amazing dish that rivals any restaurant!  Served over fried rice, 100% gluten free.
ingredients:

  • 2 boneless chicken breasts (about 1-¼ lbs.)
  • 1/4 cup honey
  • 1/4 cup tamari (gluten free soy sauce)
  • 2 tbsp. gluten free Hoisin sauce
  • ½ tbsp. mirin (rice wine)
  • ½ tsp. sesame oil
  • 2 garlic cloves, minced
  • 1 bunch of scallions
  • 1/4 tsp. powdered ginger
  • 1 bunch of scallions
  • cooking spray
  • 1 tsp. toasted sesame seeds
  • 1 batch of Fried Rice (RECIPE) for serving

Preparation:

Mince the garlic and slice the scallions, reserving the green tops for garnish.  Preheat the oven to 275º (no, that’s not a typo – 275º – we are cooking low and slow).

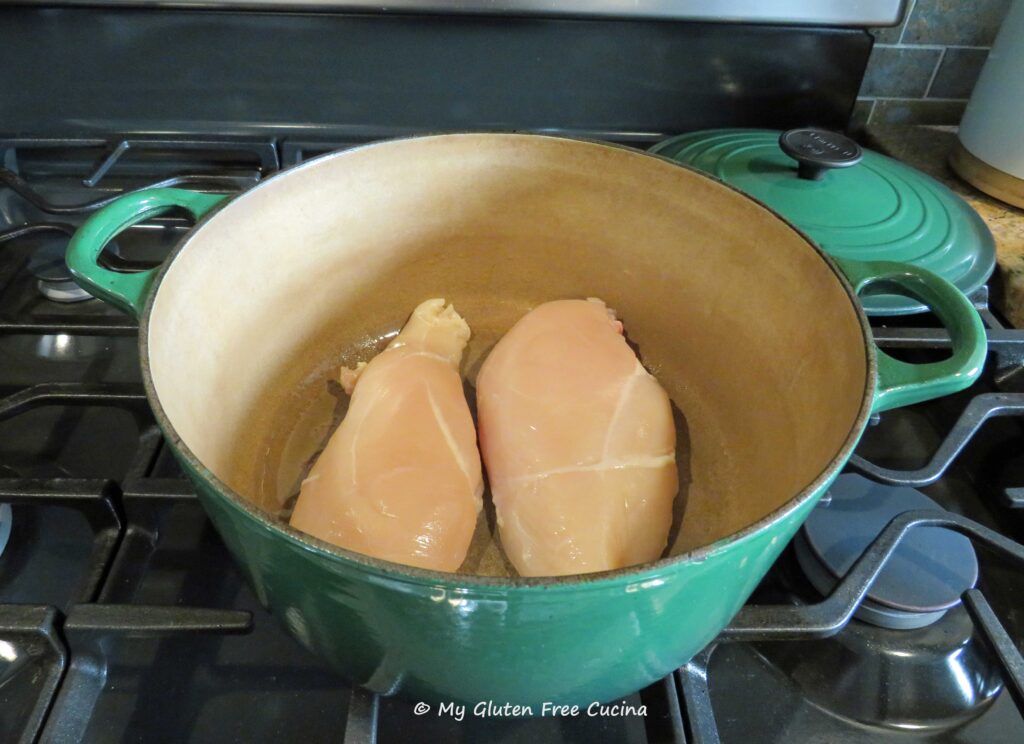
Coat a Dutch Oven with cooking spray and add the chicken breasts.
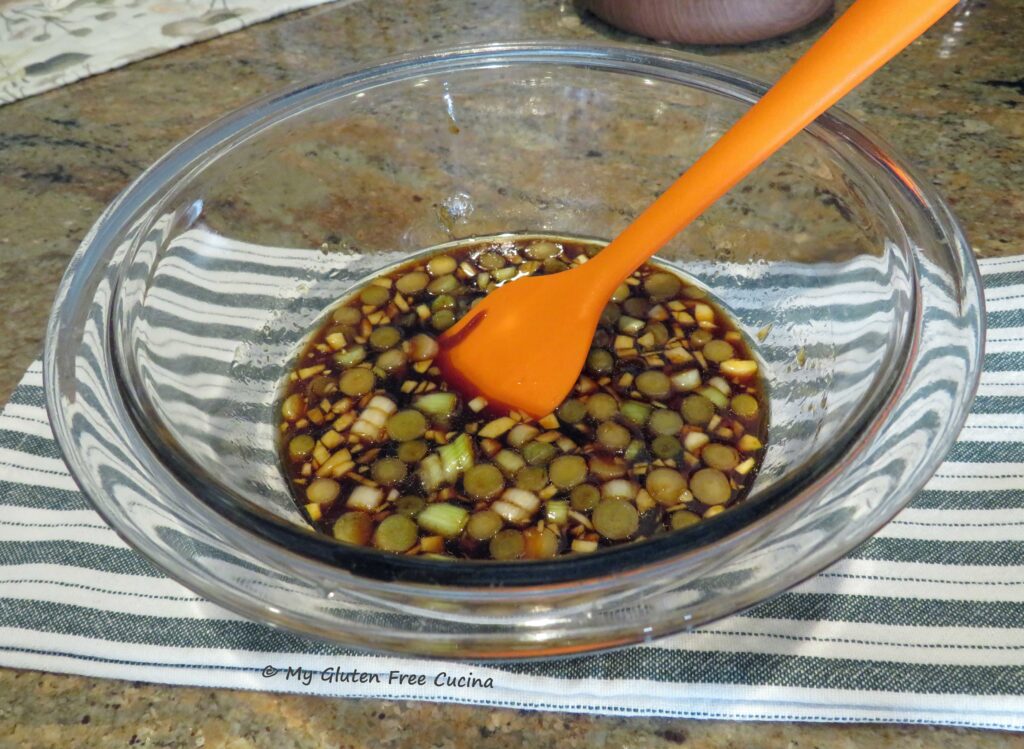
Whisk together the sauce ingredients, honey through powdered ginger.
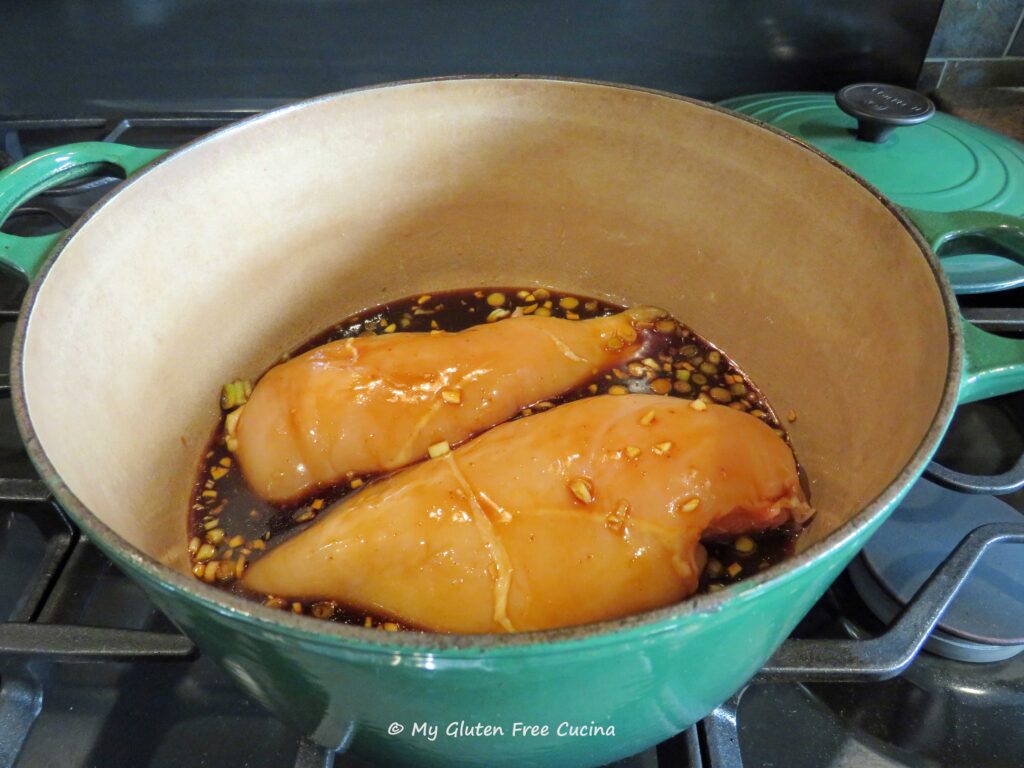
Pour it over the chicken, cover and bake for 2-½ hours, turning halfway through.
While the chicken cooks, make the fried rice.  I have a Basic Fried Rice recipe here that you can use with all your Asian inspired meals.

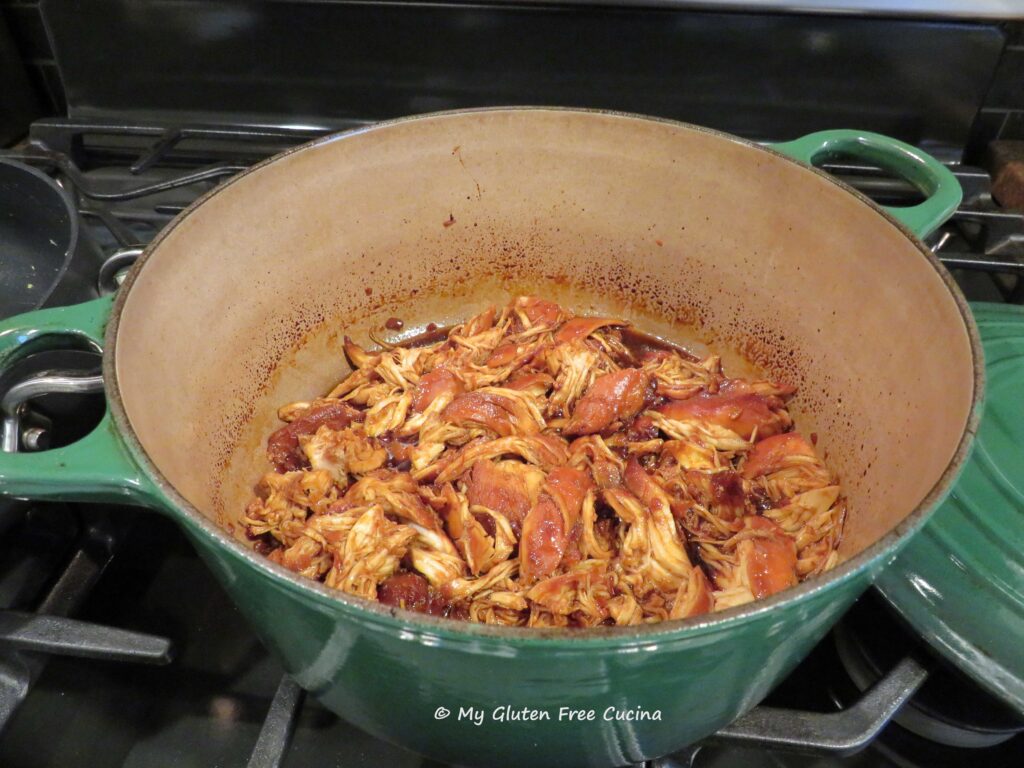
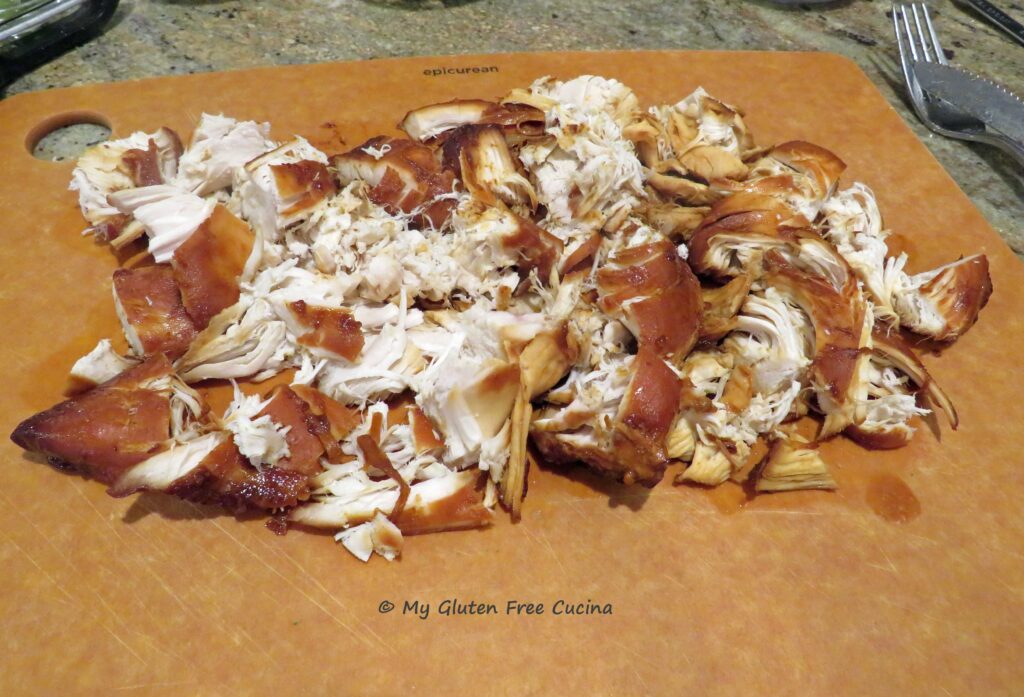
After 2-½ hours the chicken should be cooked through and very tender.  Remove to a cutting board and shred it with 2 forks.

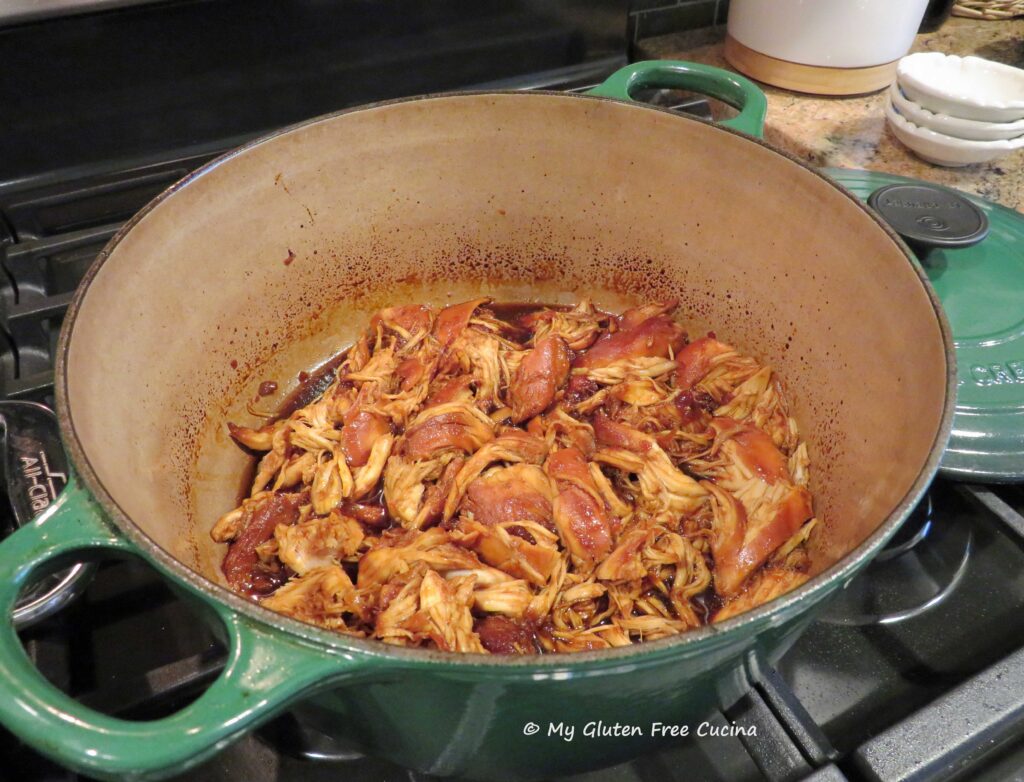
Return the chicken to the pot and stir well to coat with the remaining sauce.  Keep warm while you finish the rice.

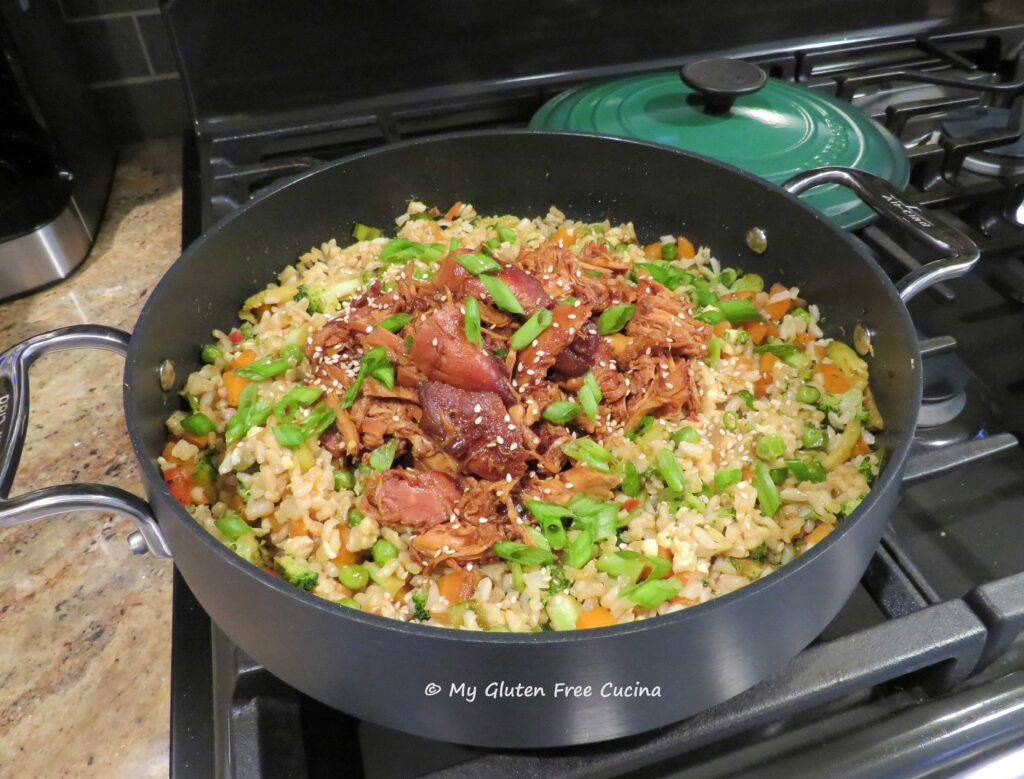
Spoon the chicken over the rice and garnish with the scallion greens and toasted sesame seeds.

Notes: ♪♫ No time to make fried rice?  You can serve this over plain rice or with any sides you like!

Were you surprised to learn that soy sauce is not gluten free? I was!  The soy is fermented in wheat, making it unsafe for those of us with Celiac disease.  In this recipe I used San J brand gluten free Tamari in place of soy sauce.  It is a great addition to any Asian inspired recipe and also great for marinades.

Originally posted 05/04/2020     Updated and rephotographed 10/11/2026

Print
clock clock iconcutlery cutlery iconflag flag iconfolder folder iconinstagram instagram iconpinterest pinterest iconfacebook facebook iconprint print iconsquares squares iconheart heart iconheart solid heart solid icon

Asian Inspired Pulled Chicken

5 Stars 4 Stars 3 Stars 2 Stars 1 Star No reviews
  • Author: © My Gluten Free Cucina
  • Yield: 4 Servings 1x
  • Category: Dinner
  • Cuisine: Asian Inspired
  • Diet: Gluten-Free

Description

I used my Dutch Oven to create this Asian Inspired Pulled Chicken, an absolutely amazing dish that rivals any restaurant!  Served over fried rice, 100% gluten free.


Ingredients

Units Scale
  • · 2 boneless chicken breasts (about 1-1/4 lbs.)
  • · 1/4 cup honey
  • · 1/4 cup tamari (gluten free soy sauce)
  • · 2 tbsp. gluten free Hoisin sauce
  • · 1/2 tbsp. mirin (rice wine)
  • · 1/2 tsp. sesame oil
  • · 2 garlic cloves, minced
  • · 1 bunch of scallions
  • · 1/4 tsp. powdered ginger
  • · 1 bunch of scallions
  • · cooking spray
  • · 1 tsp. toasted sesame seeds
  • · 1 batch of Fried Rice (RECIPE) for serving

Instructions

  1. Mince the garlic and slice the scallions, reserving the green tops for garnish. Preheat the oven to 275º (no, that’s not a typo – 275º – we are cooking low and slow).
  2. Coat a Dutch Oven with cooking spray and add the chicken breasts.
  3. Whisk together the sauce ingredients, honey through powdered ginger.
  4. Pour it over the chicken, cover and bake for 2-½ hours, turning halfway through.
  5. While the chicken cooks, make the fried rice. I have a Basic Fried Rice recipe here that you can use with all your Asian inspired meals.
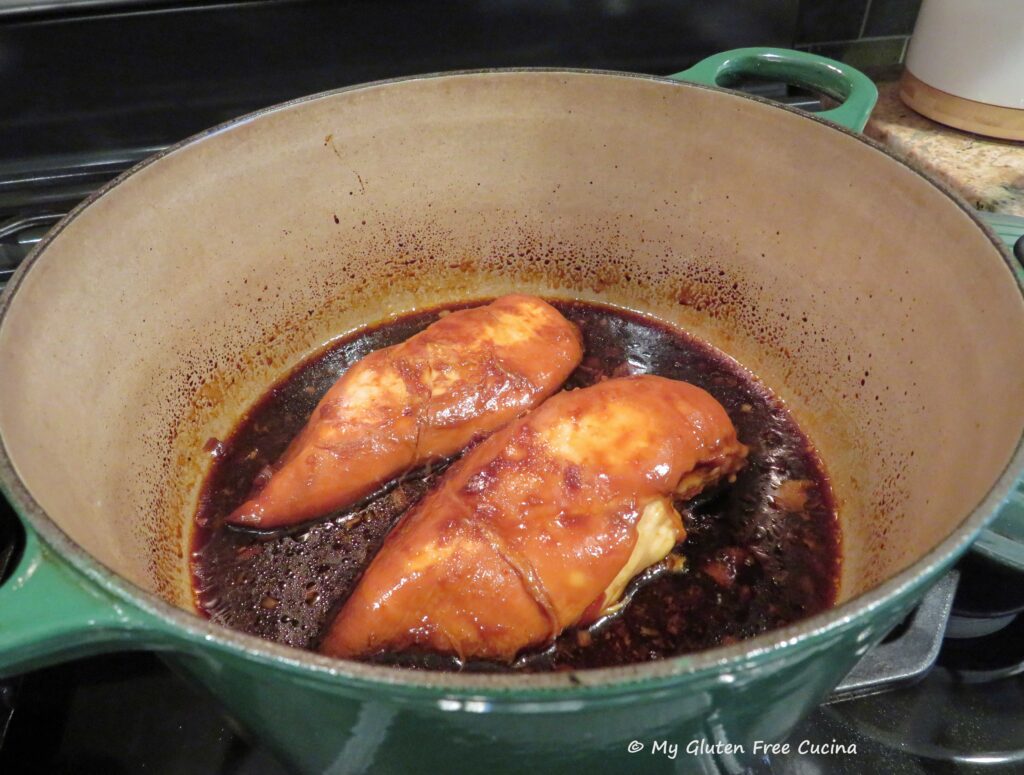
  6. After 2-½ hours the chicken should be cooked through and very tender. Remove to a cutting board and shred it with 2 forks.
  7. Return the chicken to the pot and stir well to coat with the remaining sauce. Keep warm while you finish the rice.
  8. Spoon the chicken over the rice and garnish with the scallion greens and toasted sesame seeds.
Notes

No time to make fried rice?  You can serve this over plain rice or with any sides you like!

Were you surprised to learn that soy sauce is not gluten free? I was!  The soy is fermented in wheat, making it unsafe for those of us with Celiac disease.  In this recipe I used San J brand gluten free Tamari in place of soy sauce.  It is a great addition to any Asian inspired recipe and also great for marinades.

© My Gluten Free Cucina * All Rights Reserved

Unauthorized use and/or duplication of this material without express and written permission from this blog’s author and/or owner is strictly prohibited.


Gluten Free Moo Shu Pork

Gluten Free Moo Shu Pork

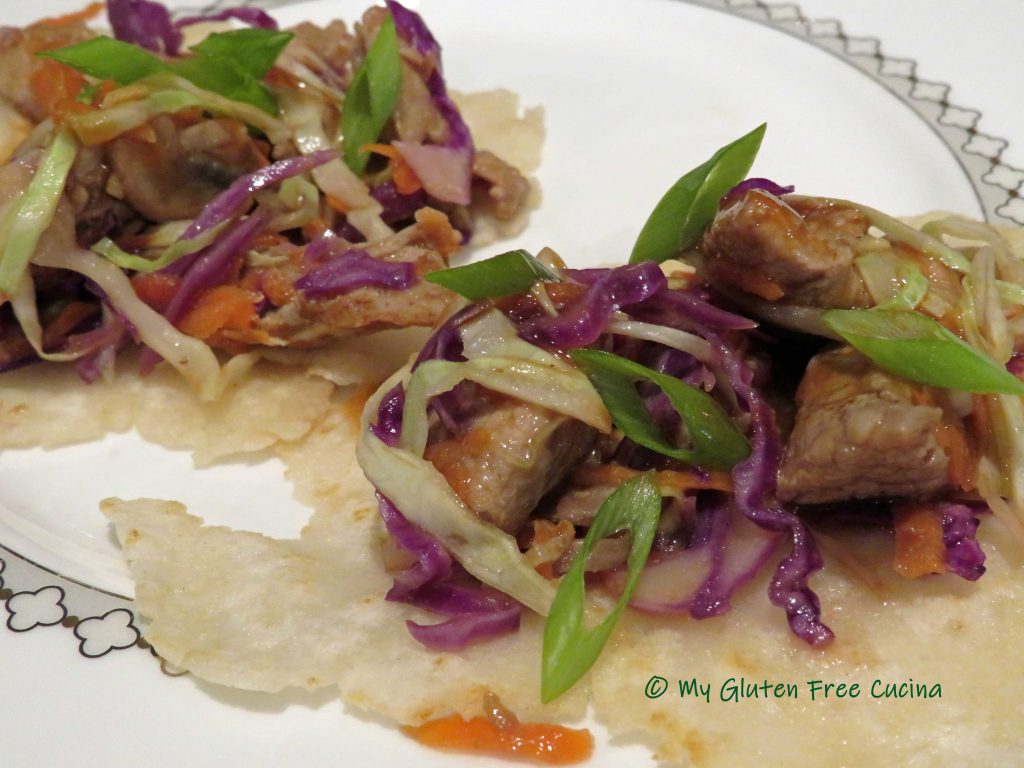
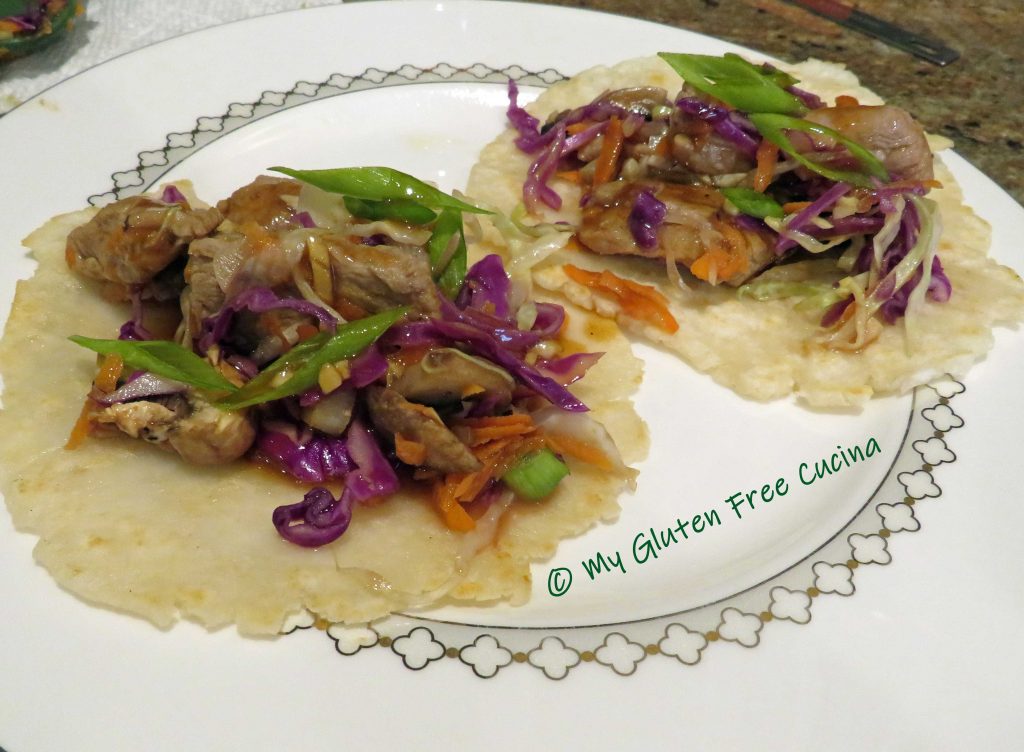
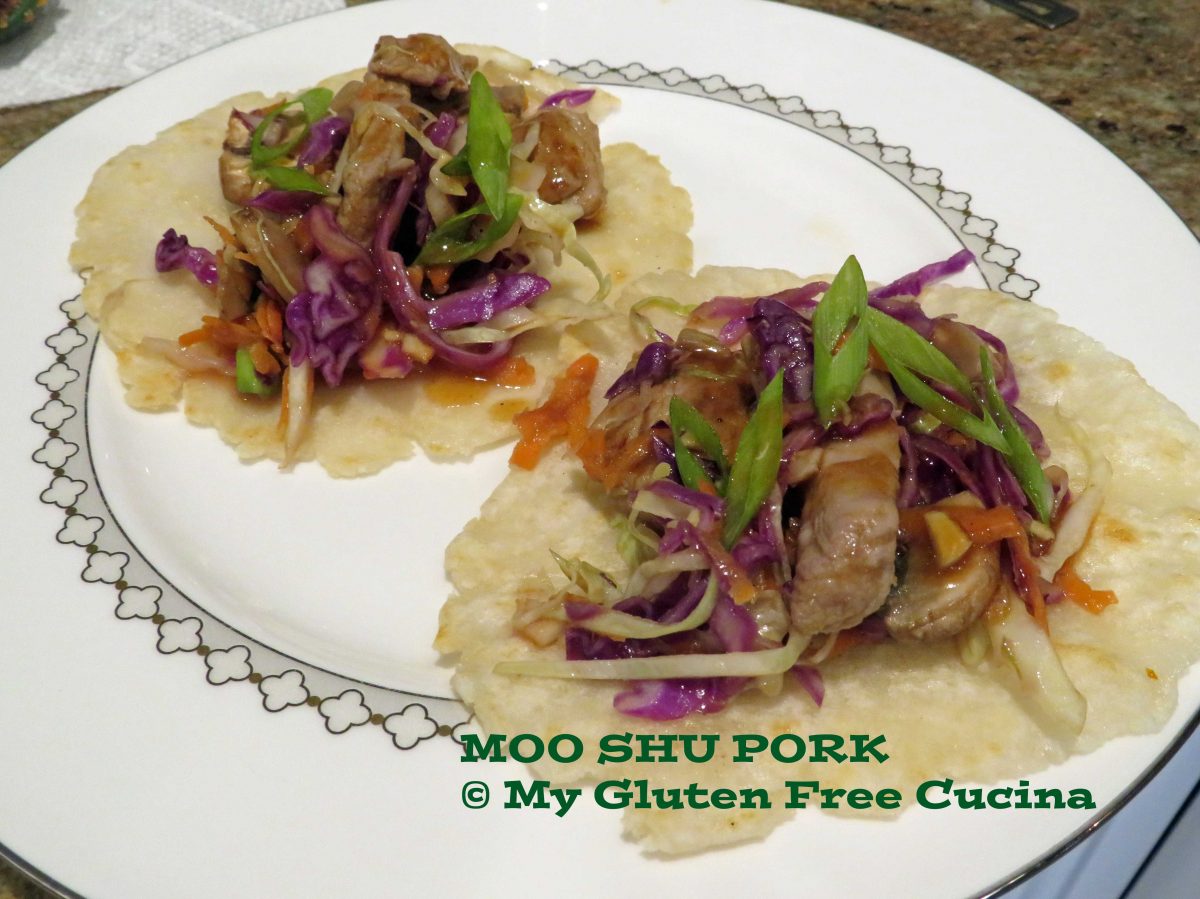
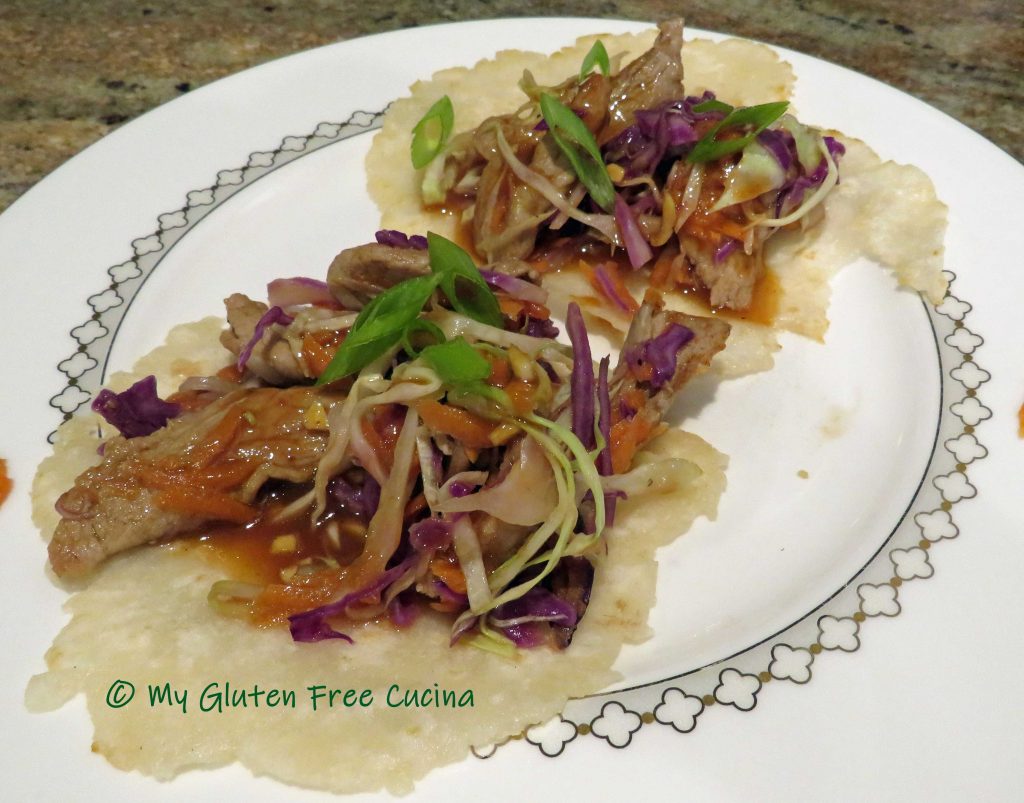
Moo Shu Pork!  This was my first attempt at making the popular Chinese American dish, and it’s a keeper!  The flavor and texture of the marinated pork and crisp veggies was just incredible.  And how about those little Mandarin pancakes?

What makes this dish gluten free?

There are a few ingredients you will need to be cautious about in this dish.  While the pork and veggies are naturally gluten free, you need to read the labels on those Asian condiments!  Hoisin Sauce, Plum Sauce, Soy Sauce, Oyster Sauce all may contain wheat.  You can absolutely find gluten free condiments, just read the labels carefully!

I thought I would be getting out of my comfort zone with the Mandarin pancakes, but they were really easy to make!  Surprisingly, they have just 3 ingredients and require no special equipment!  That’s right, no stand mixer, no food processor, just a rolling pin!

Mise en Place

As with all stir-fry recipes, you need to have your ingredients prepped and organized before you begin the cooking.  I was well into the process when I realized I did not have enough Hoisin sauce for the recipe.  Don’t be like me (spoiler alert, I was able to improvise, and it came out great)!!!

4 Servings

This post contains affiliate links.

Ingredients:

Marinade Ingredients:

Stir-Fry Ingredients:

  • 12 oz. pork tenderloin, cut into thin strips
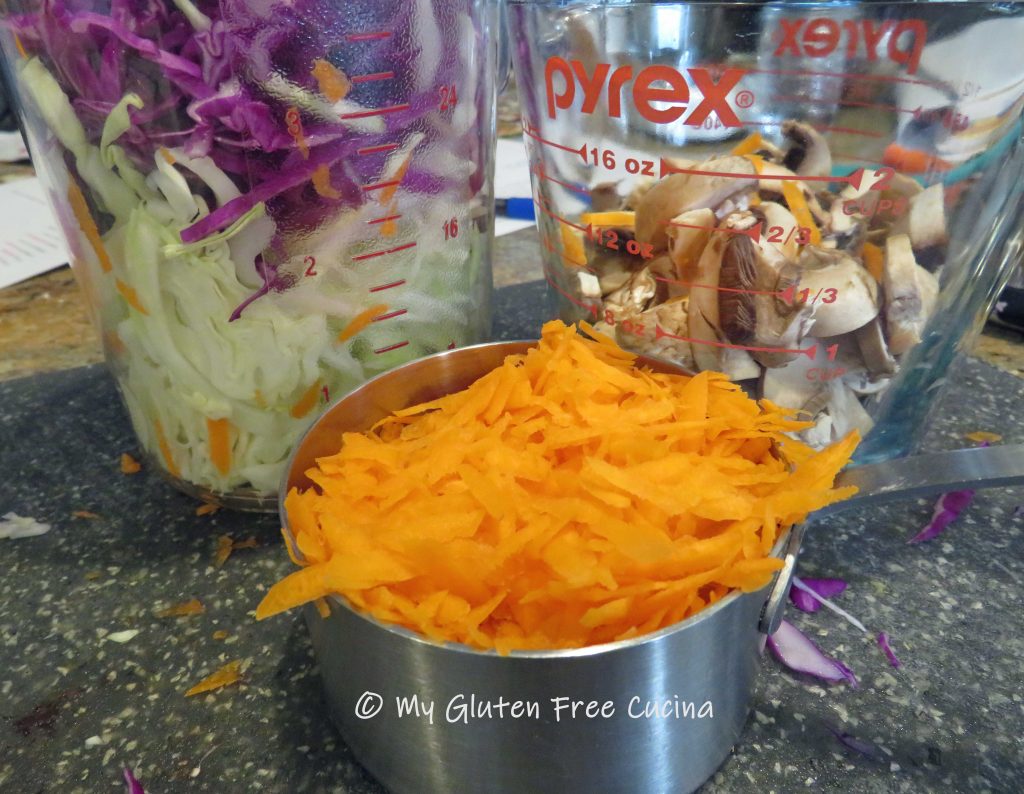
  • 1 cup grated carrot (about 1 medium)
  • 1-1/2 cups sliced mushrooms
  • 2 cups red cabbage, shredded
  • 2 cups green cabbage, shredded
  • 2 scallions, bottoms and reserve greens sliced on diagonal for garnish
  • toasted sesame oil

Mandarin Pancake Ingredients:

  • 125 g. (about 3/4 cup) gluten free all-purpose flour (I used and recommend Better Batter Original Blend)
  • 1/4 tsp. salt
  • 1/2 cup boiling water
  • toasted sesame oil

Preparation:

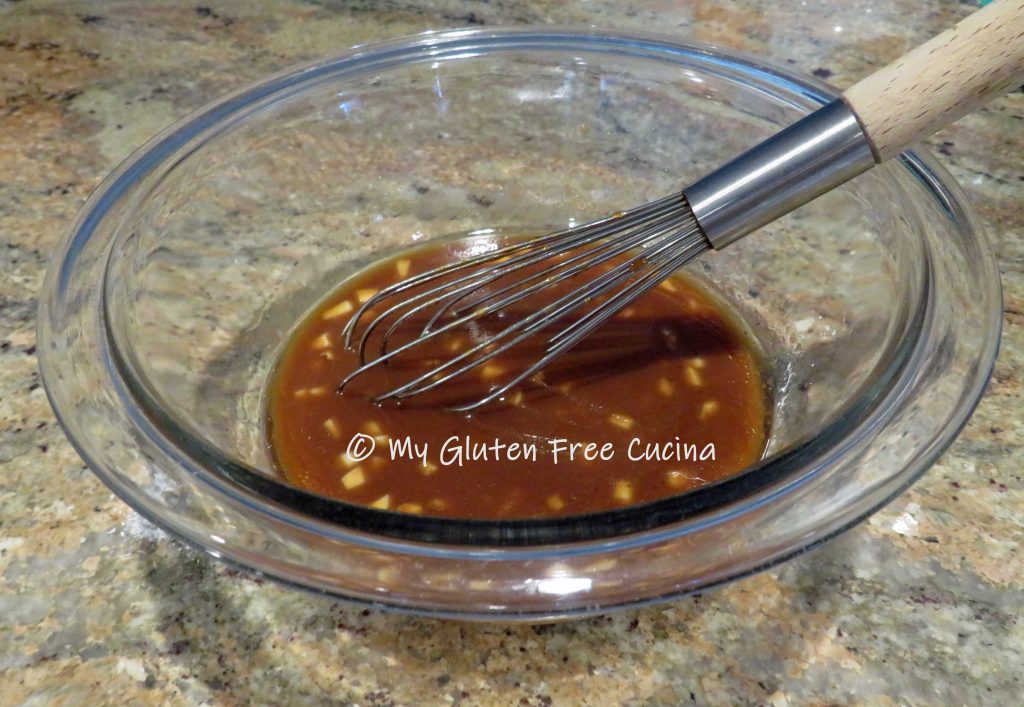
The first thing I did was whisk together the marinade ingredients.  This allows the flavors to meld a bit before you begin cooking.  Divide the marinade into 2 portions, use one for the meat and reserve one to drizzle on the finished dish.   Remember I said that I didn’t have enough Hoisin sauce for this recipe?  Well, I used what I had and topped it off with a little Plum sauce, so delicious!

Next, I prepped the veggies.  I used a coarse grater for the carrots and a mandoline to shred the cabbage.

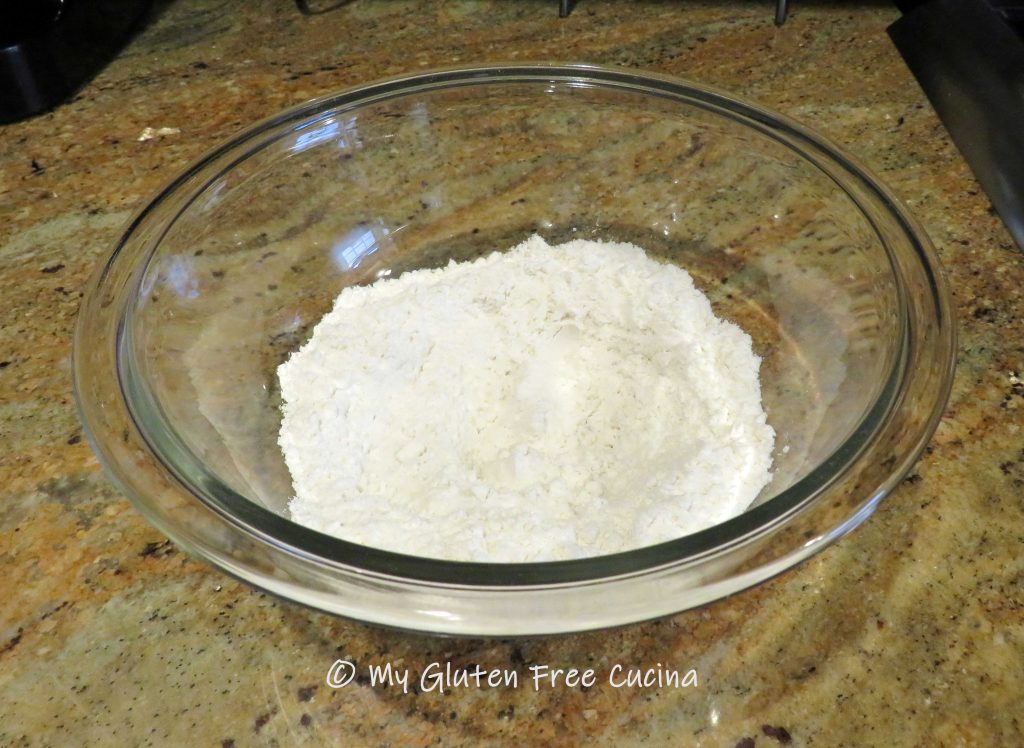
Now for the pancakes!  You are going to be surprised at how easy they come together.  First whisk together the flour and salt.

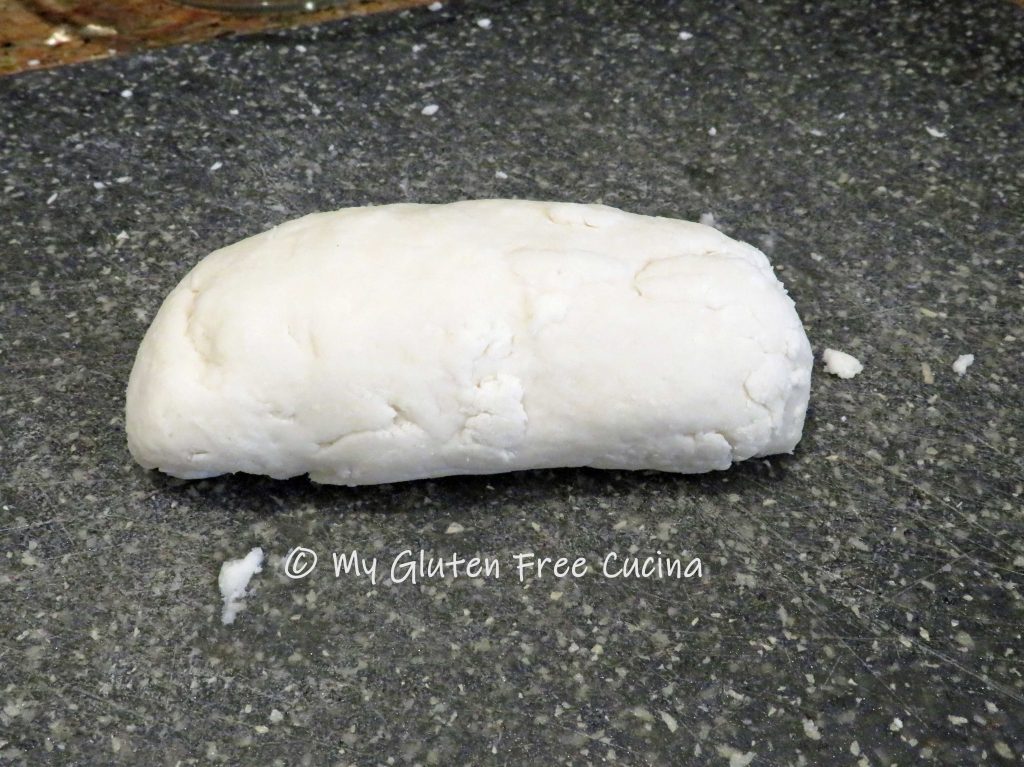
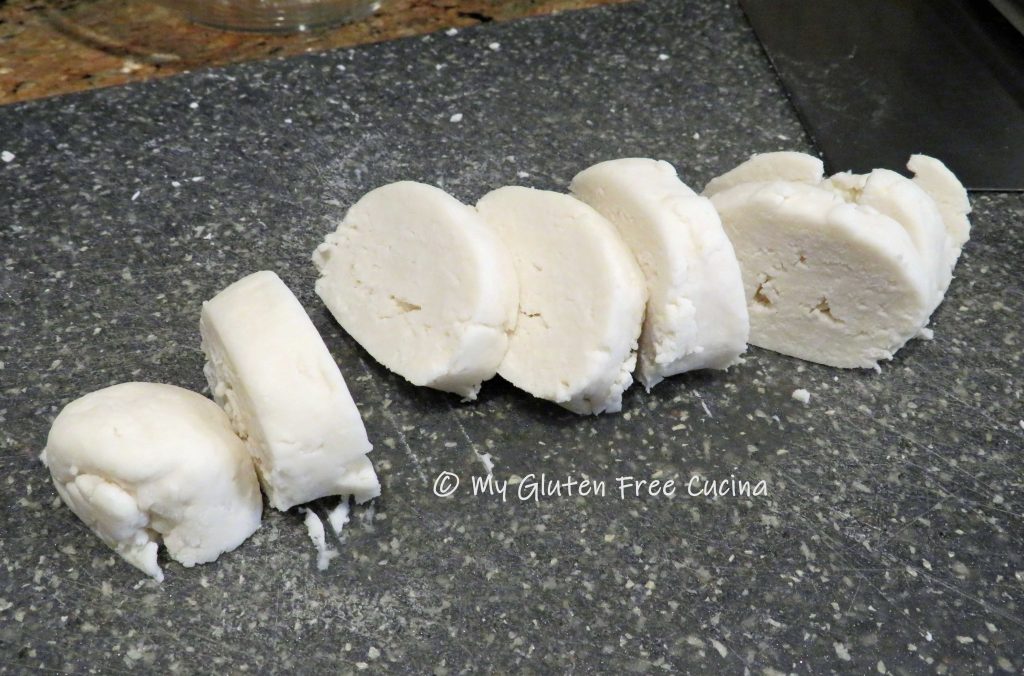
Add the water, stirring in a little at a time to form a dry, shaggy dough.  The dough should hold together when you give it a squeeze.  Shape the dough into a log.

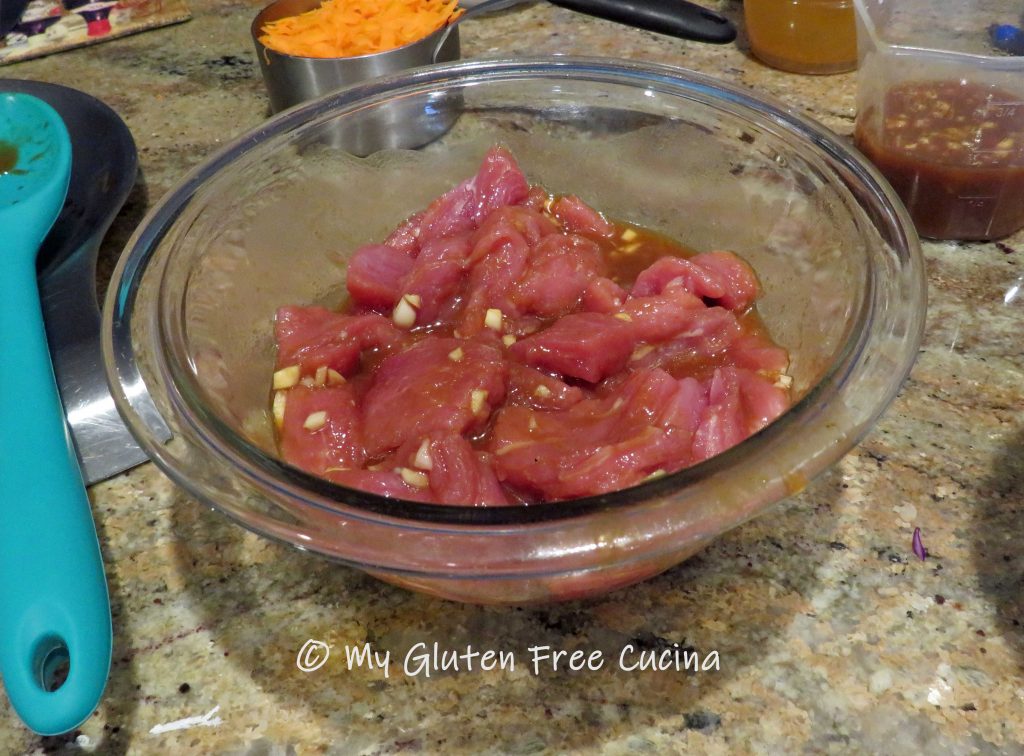
Cover with plastic wrap or a damp towel, and let it rest for 10 minutes to hydrate.  While the dough is resting, cut the pork tenderloin into thin strips (I used kitchen shears).  Place the strips into a bowl with half of the marinade and stir to coat.

Use a bench knife to divide the dough log into 8 equal pieces.

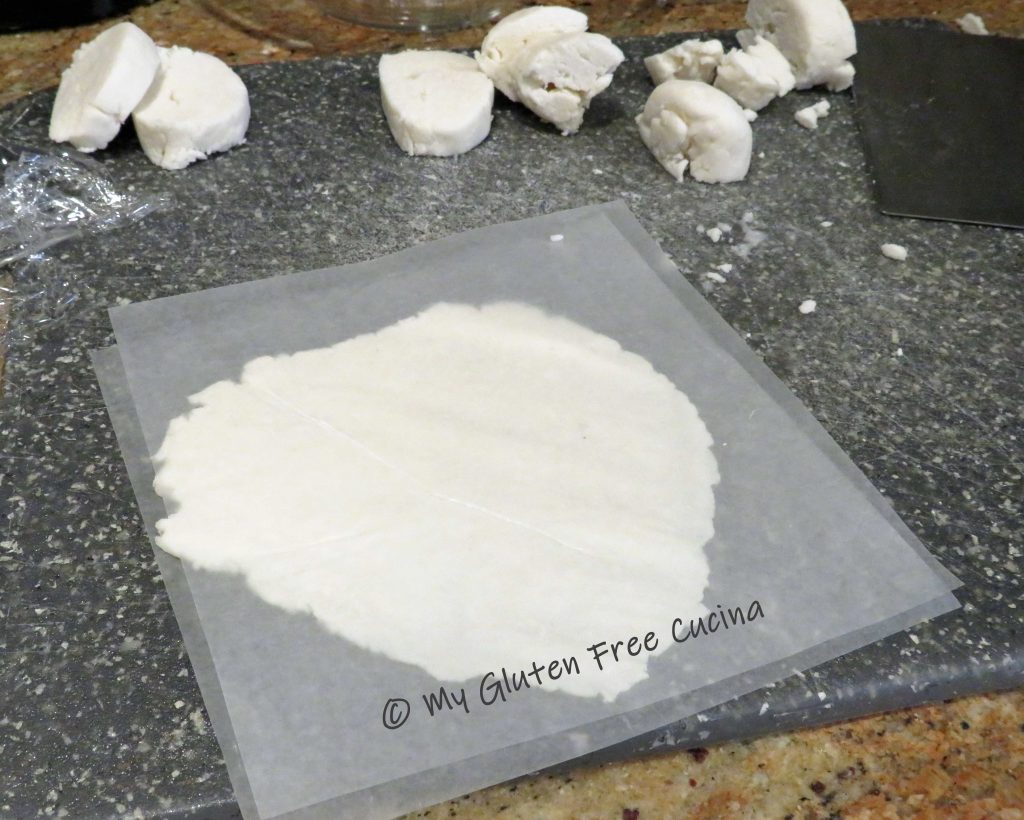
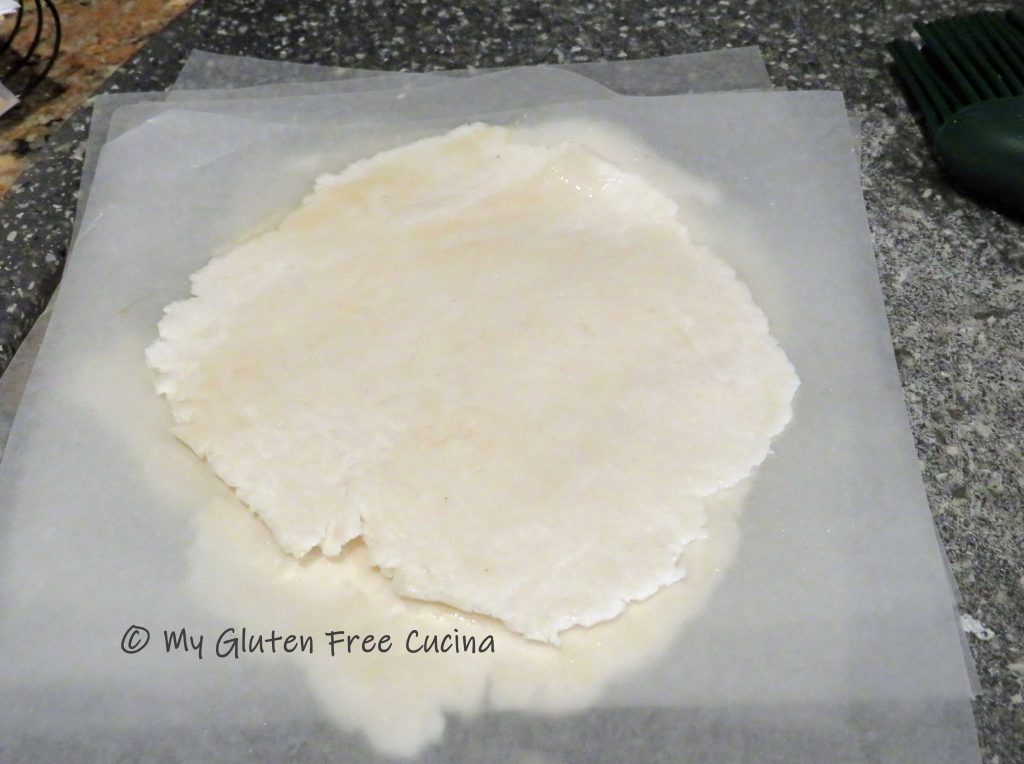
I used 6″ wax paper squares to help roll out the dough.  Brush the paper with toasted sesame oil (so it doesn’t stick), place one section of dough between two sheets and roll it out to about 5″ diameter and 1/8″ thickness.

Continue with the remaining sections of dough and stack them between sheets of oiled wax paper.

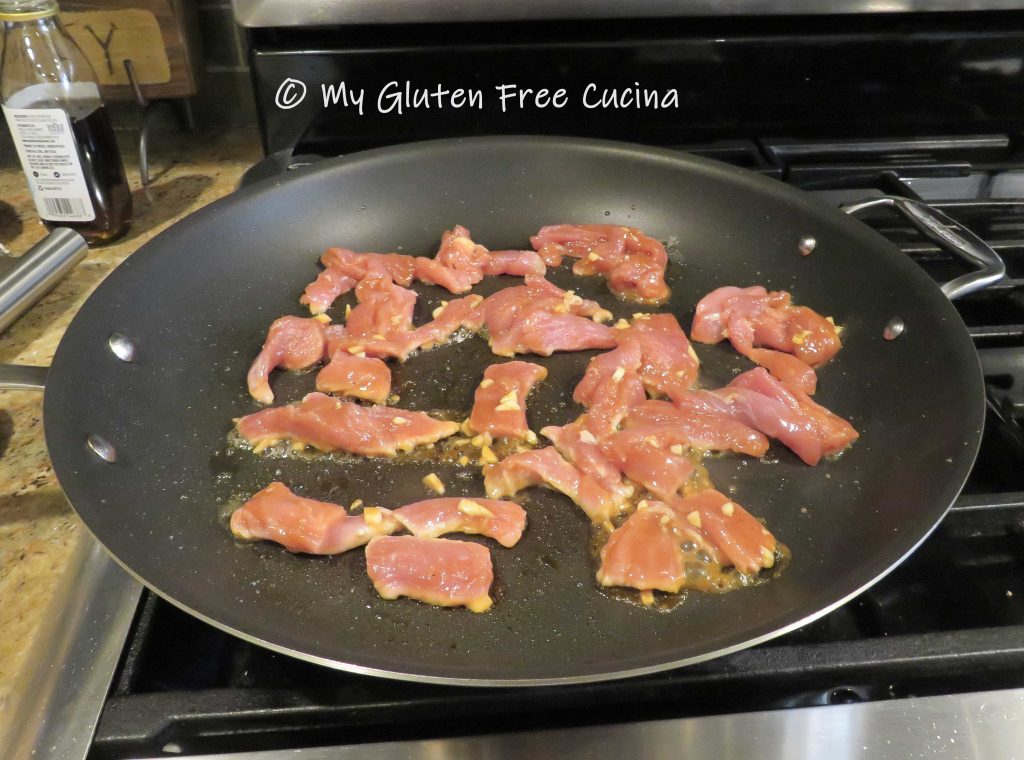
Now we are ready to finish the dish.  Heat 2 nonstick skillets, a larger one for the stir fry and a smaller one for the pancakes.  In the large skillet, begin cooking the pork.  Discard any marinade remaining in the bowl.

Use tongs to turn each piece to quickly brown both sides.  The pork does not have to be cooked through at this point; it will finish cooking with the veggies.

Add all of the vegetables to the skillet.
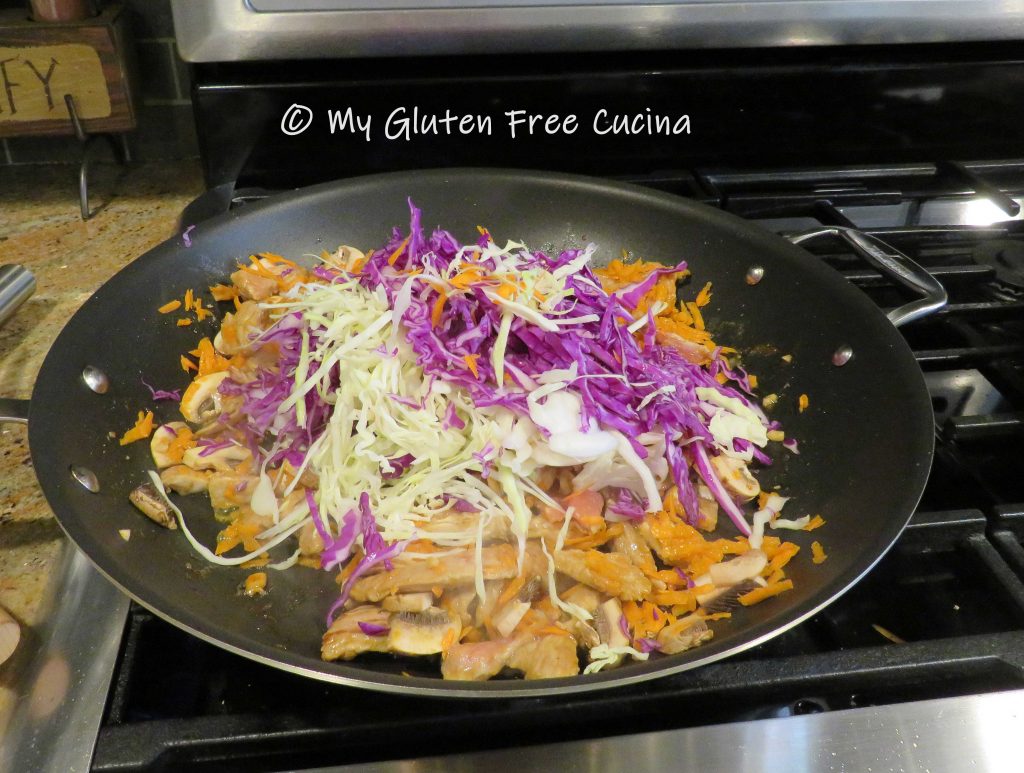
Stir fry the veggies for several minutes, turning frequently to wilt the cabbage.

When the veggies are crisp tender, turn down the heat.  Brush the smaller skillet with sesame oil.  Remove 2 of the Mandarin pancakes from the wax paper, stack one over the other and place in the skillet.  Cook for 30 seconds, flip and cook another 30 seconds.  Then, carefully separate the 2 layers and transfer to a plate.

Note ♪ Cooking the pancakes two at a time allows them to heat through on the outside and steam in the middle.  As long as they are well oiled, you should have no problem peeling the layers apart.

Continue with the remaining pancakes and arrange on a serving platter or individual plates.  Spoon the Moo Shu Pork onto each pancake.  Drizzle the reserved marinade over each and garnish with scallion greens.

If you have leftovers, they will keep well for a few days in the fridge.  I stored the Mandarin pancakes in a zip lock bag, with a sheet of wax paper between each and they remained soft and pliable.  Reheat the Moo Shu Pork in the microwave and spoon over a pancake, no need to heat the pancakes as they will warm through from the heat of the pork.

Notes ♪♫ Mandarin pancakes are a thin, unleavened flatbread, similar to a tortilla.  They came out great and reminded me of the wheat wraps I used to buy.  I used (and recommend) Better Batter Original gluten free flour for this recipe.  Remember to use my Promo Code MGFC30 for 30% off your non-sale purchase at Better Batter!

[print_link]


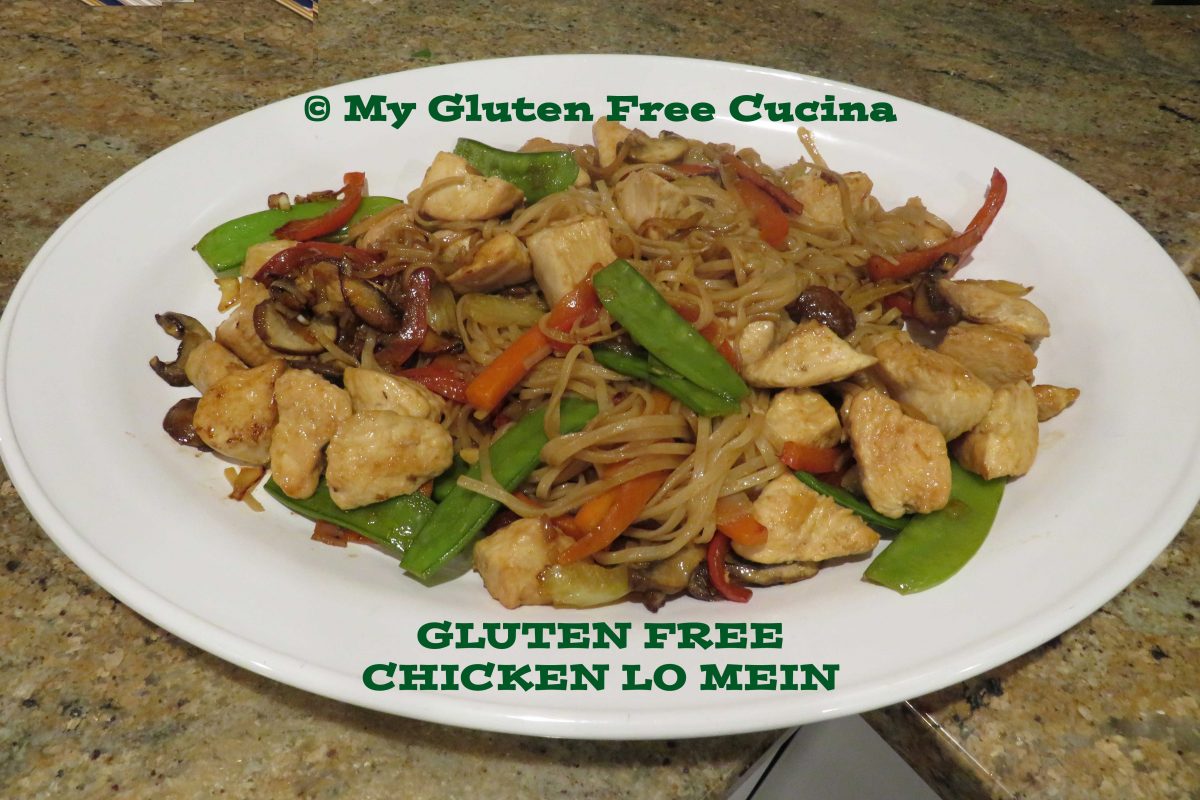
Gluten Free Chicken Lo Mein

Back in the day ordering Chinese takeout was such a treat.  I really miss being able to do that since being gluten free.  There are few places in our area that offer gluten free Chinese food, but cross contact is always a concern.

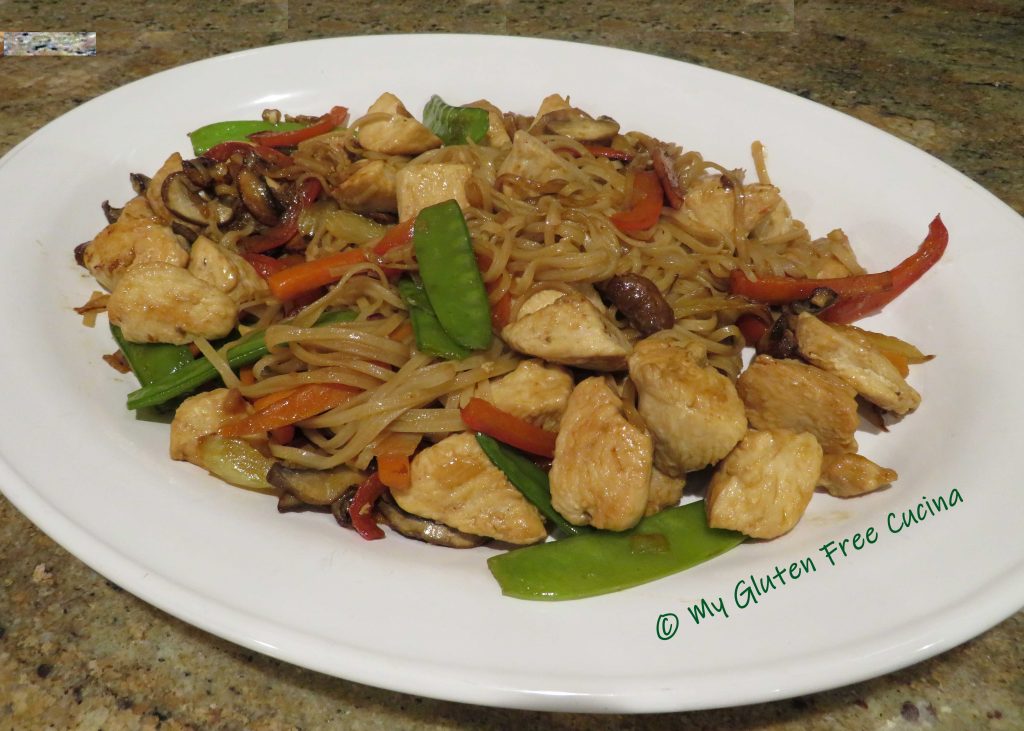
That’s why I learned to make gluten free alternatives at home, like this Lo Mein.  The recipe is gluten free and lower in sodium than takeout, so I would call that a success!

This post contains affiliate links.

Although a true Lo Mein would be made with egg noodles, I used rice noodles in this recipe, and they were a great stand in.  I always have them on hand for Asian stir fry meals.

Ingredients:

For the Sauce:

For the Lo Mein:

  • 1 lb. boneless chicken breast, cut into 1″ cubes
  • 1/2 cup celery
  • 3/4 cup carrots
  • 3/4 cup onion
  • 3/4 cup mushrooms
  • 1/2 cup bell pepper
  • 3/4 cup snow peas
  • sesame oil
  • olive oil
  • coconut aminos
  • 1/2 tsp. garlic powder
  • 1/2 tsp. ginger powder
  • 4 oz. gluten free rice noodles

Preparation:

This is one of those recipes where you need to get organized before you begin cooking.  Prep the veggies, cut the chicken into cubes and have all other ingredients lined up and ready.

Begin by whisking the sauce ingredients together and set aside.

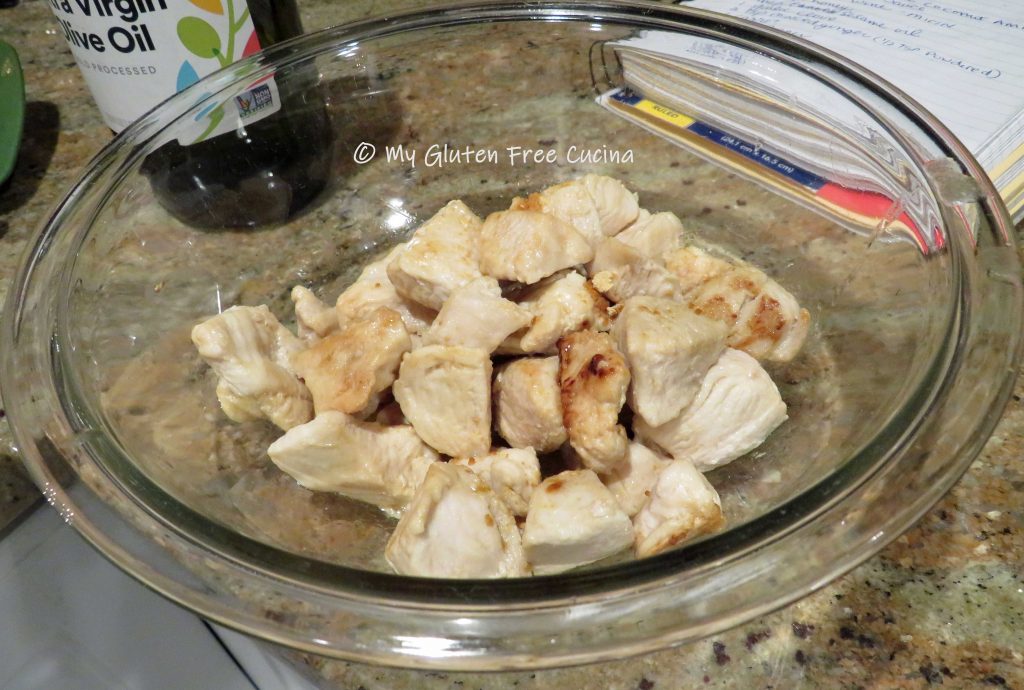
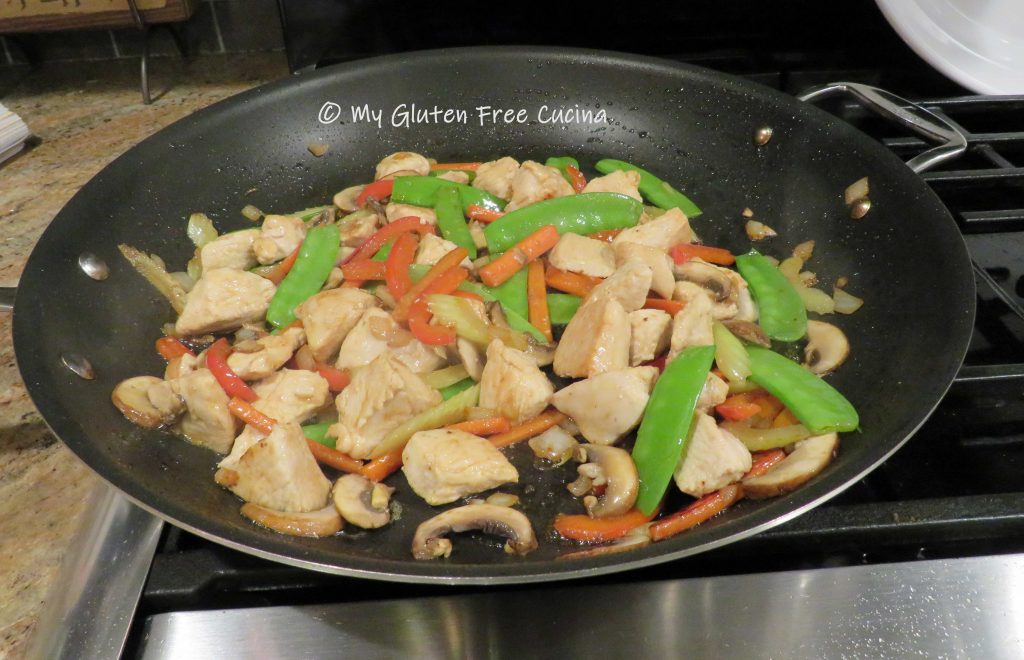
Set up a pot of salted water for the rice noodles and bring to a boil.  Heat a large nonstick skillet with 1 tbsp. olive oil and 1 tsp. sesame oil.  Cook the chicken, turning to brown on all sides.  When the chicken is almost cooked through, remove it from the pan and set aside.

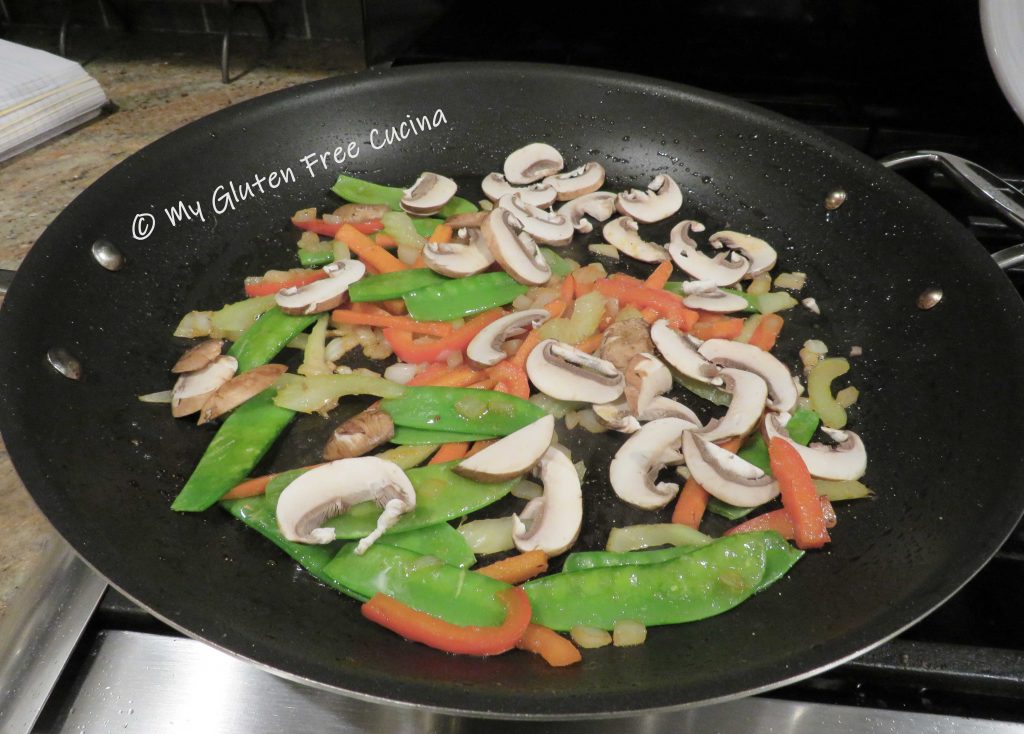
Wipe the pan clean and add 1 tsp. sesame oil.  Begin cooking the carrots, peppers and snow peas for several minutes until crisp tender.  Next add the mushrooms and garlic with an additional tsp. of sesame oil.  Cook for 1 minute.

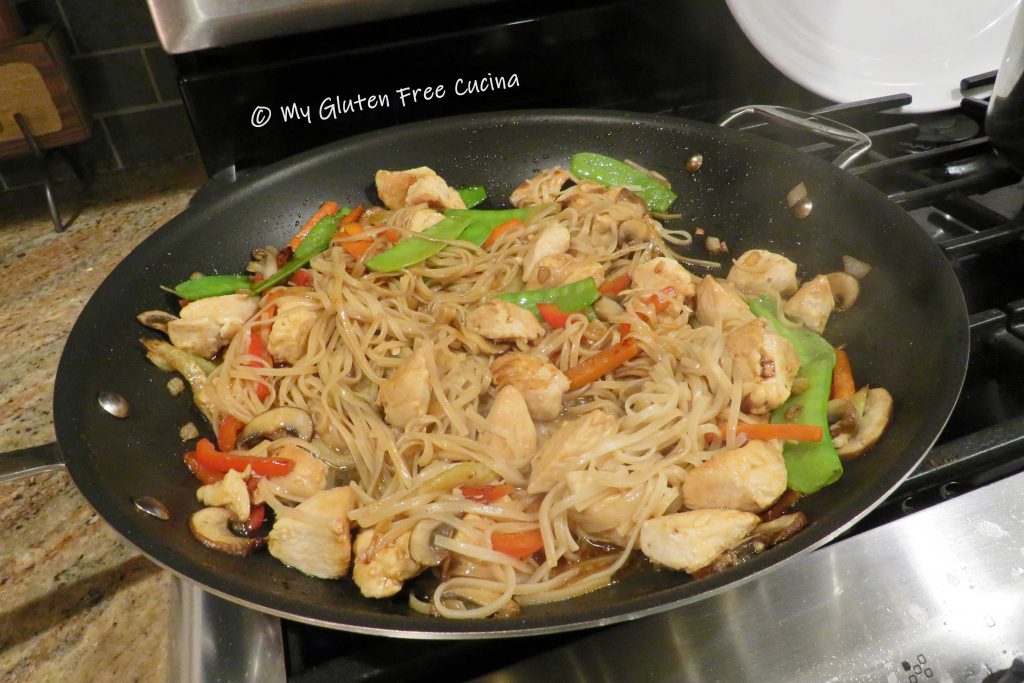
Add the rice noodles to the boiling water, and at the same time return the chicken to the skillet.  Pour half the sauce over the chicken and vegetables.

Drain the pasta after 3 minutes, add it to the skillet and top with the remaining sauce.  Toss well and stir to combine it all, cook for another minute.

Transfer to a platter and serve.

Notes ♪♫ Have you ever purchased a large piece of gingerroot for a recipe, only to use a small amount and have the rest go bad in the refrigerator?  Here’s a trick I learned this past winter, you can cut fresh ginger into smaller pieces and freeze them for later use.  It is so easy to grate gingerroot right out of the freezer.  Perfect for recipes like this one, where fresh ginger is a key flavor in the sauce.

[print_link]