Gluten Free Eggplant Timbale

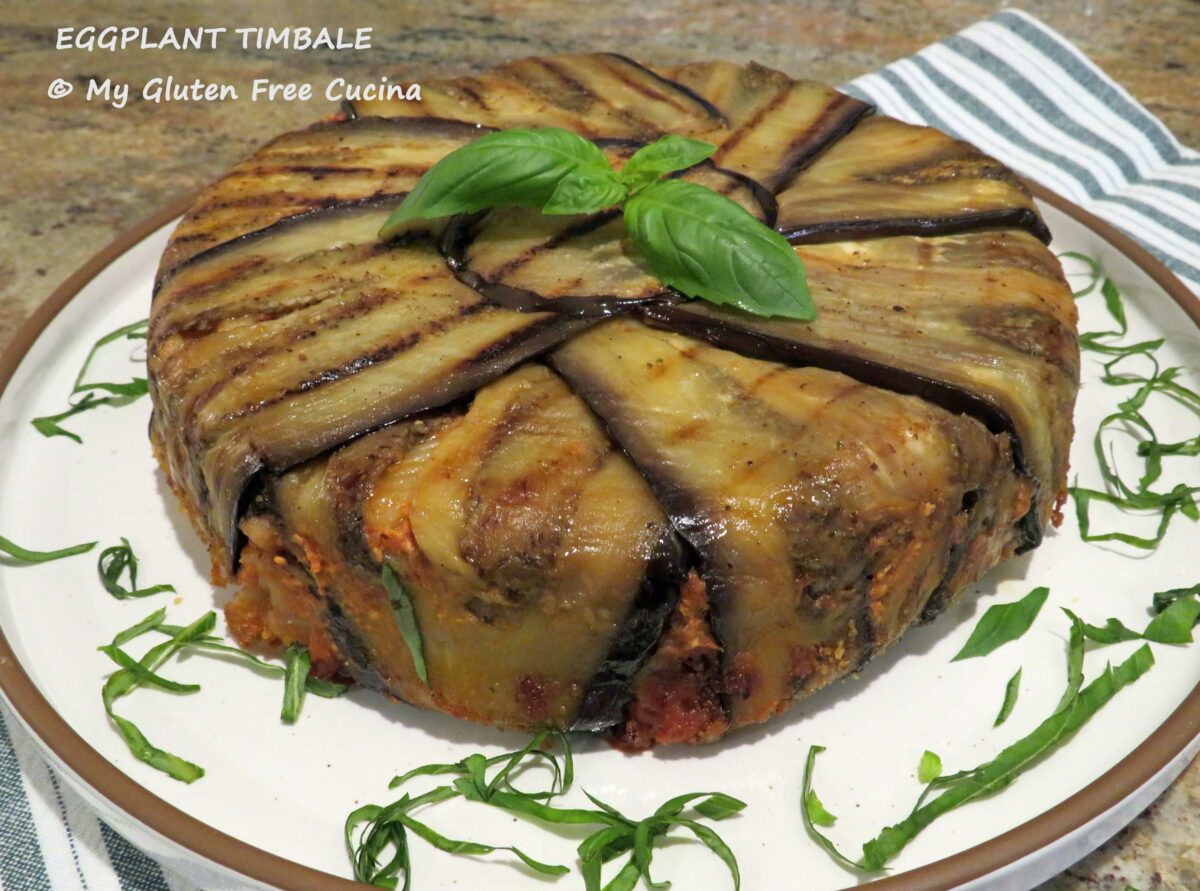
Eggplant Timbale.

Also known as Timballo, or Timpano, this dish gets its name from the Italian word for “drum” and refers to how the contents are pressed into the pan to create the drum shape.  It is truly a dramatic presentation.

It has long been on my culinary bucket list to make this classic Sicilian pasta dish.  Labor intensive?  Yes, but is well worth the time and effort when you bring this stunning dish to the table.  Perfect for Italian Sunday Dinner!
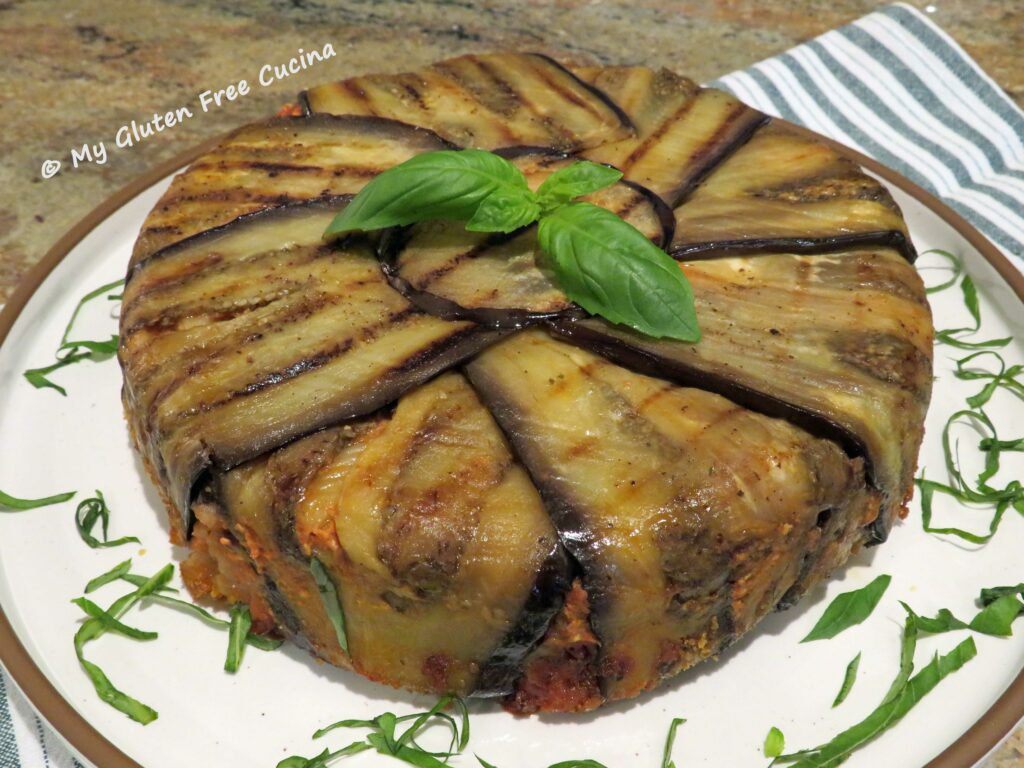
There are many variations of Timbale throughout Italy.  The Sicilian style, like this one is traditionally wrapped in eggplant.  What else is in it- gluten free penne, meatballs, tomatoes and cheese.  Ordinary ingredients perhaps, but this recipe puts them all together in a most impressive presentation!  It looks and tastes amazing!  Like a classy, sophisticated lasagna.
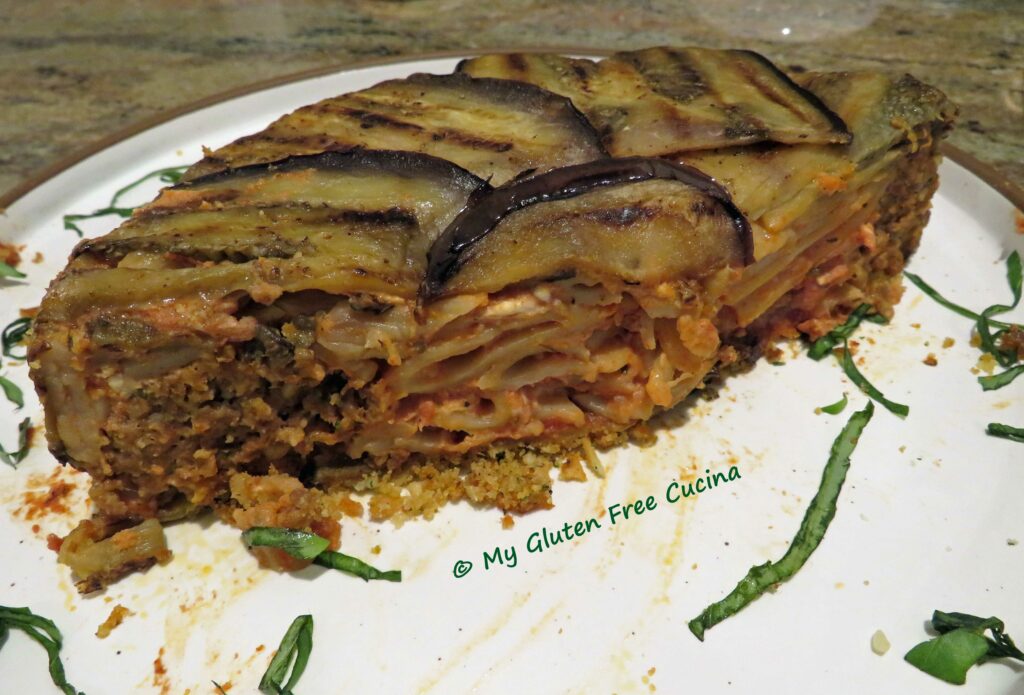
It took me several hours total to prep the ingredients and assemble the dish, although I made the sauce and the meatballs a day ahead.

Don’t be intimidated by all the steps.  In this post I break the recipe down and make it easy for you to follow.  You can opt to do some of the prep in advance as I did, or all at once if time permits.  Remember to allow for a few hours rest in the refrigerator before baking, as this helps the Timbale to set up and hold its shape.

This dish is often baked in a springform pan, but for a small family, an 8” round baking dish pan works perfectly (although it was a little tricky flipping it over!).  For a larger family, use 2 eggplant and make extra sauce, then bake in a springform pan or make 2 of the 8” cake pans.

This is an incredible meal, and you will be surprised at how filling it is.  Even with this smaller version you may have leftovers for lunch.

4-6 servings

This post contains affiliate links.

INGREDIENTS:

Sauce

  • 28 oz. Can tomato sauce (reserve ½ cup for the meatballs)
  • 4 garlic cloves, minced
  • 1 small onion, diced
  • 1 tbsp. Olive oil
  • 2 tsp. Brown sugar
  • 1 tsp. Basil
  • ½ tsp. Oregano
  • Fresh ground pepper, to taste

Meatballs

  • ½ lb. Ground beef
  • ¼ lb. Gluten free Italian sausage
  • ½ cup tomato sauce
  • 1 egg
  • ¼ cup gluten free rolled oats
  • ¼ cup potato flakes
  • ¼ cup gluten free seasoned breadcrumbs
  • ¼ tsp. Gluten free Italian seasoning

Eggplant

  • 1 medium eggplant
  • Olive oil
  • Salt and pepper
  • Cooking spray

Pasta

  • 4 oz gluten free pasta (I used Jovial penne)

Other

  • ½ cup ricotta cheese
  • 1/3 cup grated Parmesan cheese
  • 1/4 cup gluten free seasoned breadcrumbs

PREPARATION:

First, make the marinara sauce.  Heat a heavy saucepan or deep skillet with 1 tbsp. Olive oil.  Add the diced onions and cook, stirring frequently until they are translucent.  Add the garlic and stir for 30 seconds.  Next add the tomato sauce, reserving ½ cup for the meatballs.  Stir in the sugar, basil, oregano and fresh ground pepper.  Cover and simmer on low for ½ hour, then remove from the heat and cool to room temperature.  Check out this post for more detailed instructions on making a marinara sauce.
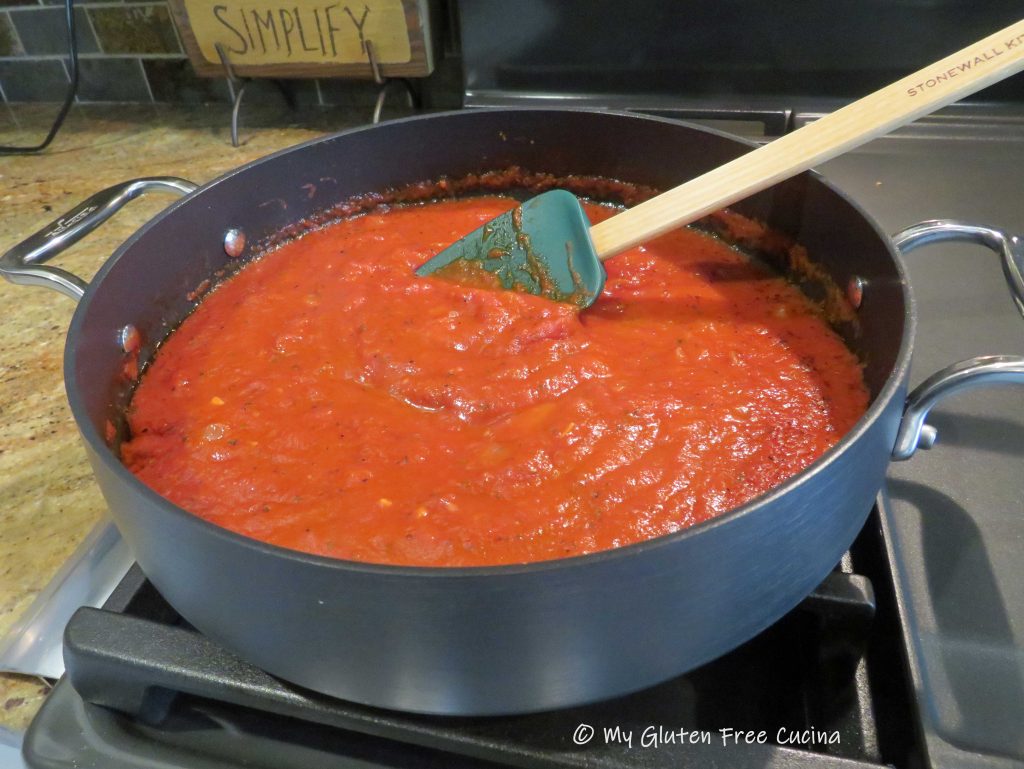
Now I can just hear you saying, can’t I cheat and use jar sauce?  Of course you can, just be sure it’s gluten free and I’ll never tell! 😉

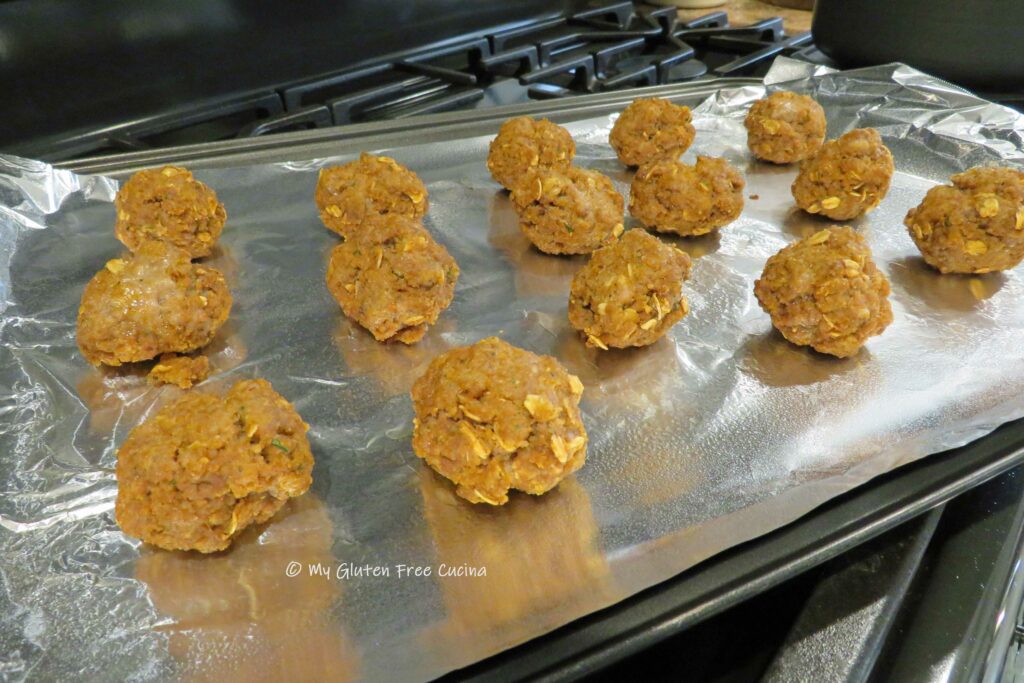
Next, we will make the meatballs.  Whisk together the egg, reserved ½ cup of tomato sauce and Italian seasoning.  In a separate bowl, combine the rolled oats, potato flakes and breadcrumbs.  Add the beef and sausage to the egg mixture and work it in with your hands.  Read more about making meatballs in this post.

When the meat is well combined, add the dry ingredients and continue working the mixture to distribute everything evenly.  Line a baking sheet with foil and mist with cooking spray.  Form 24 small meatballs (about 1-½ inch) and place them on the baking sheet with space in between.  Broil 3 minutes per side on high, then set them aside and cool to room temperature.  *Note that I only used one dozen meatballs in this recipe, you will need all of them if you make a double batch or use a larger pan.
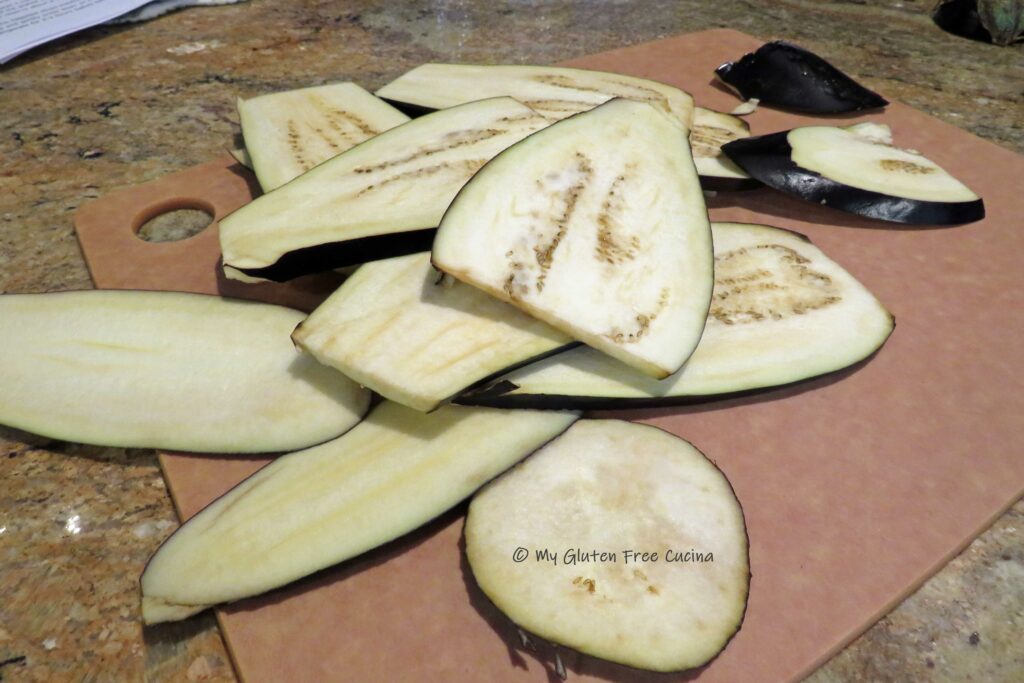
For the eggplant, cut off a slice at the stem and one from the bottom so that you can stand it up on your cutting board.  If you prefer, peel the eggplant by running a sharp knife down the sides to remove the skin.  If you don’t mind the skin, leave it on, it will look beautiful in the finished dish.

Cut one small round off the top then slice the eggplant lengthwise into thin strips, about ¼” wide.  I used a mandoline so that my slices would all be the exact same thickness.
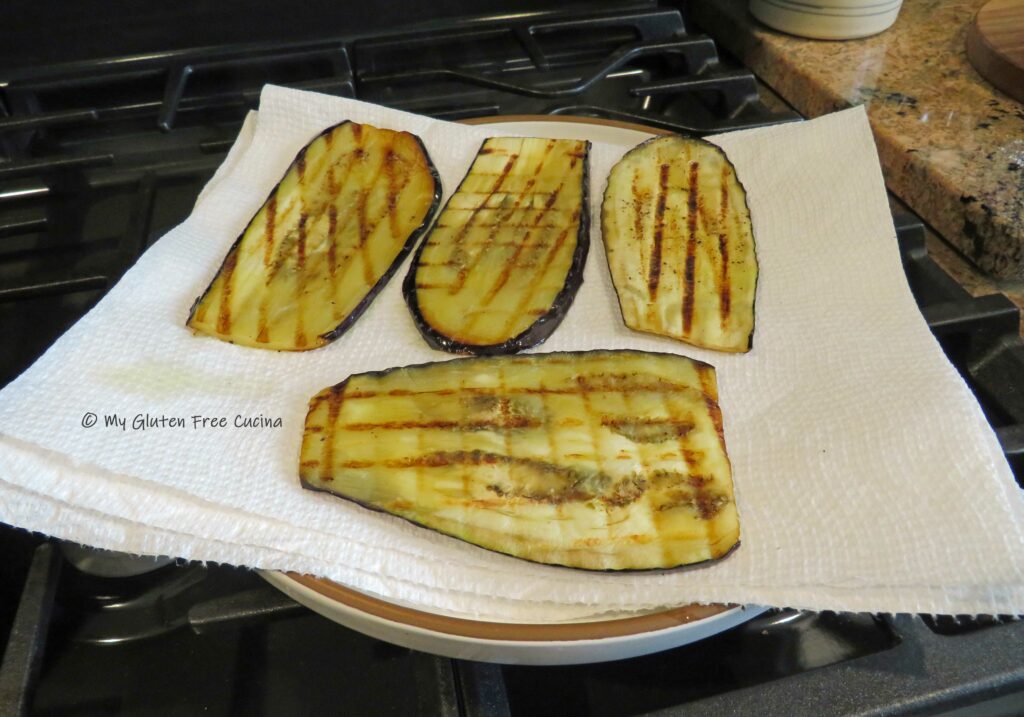
Cook the eggplant in a large grill pan brushed with olive oil.  Season the slices as you cook them.  The goal here is to cook the eggplant just to where the slices are bendable, they will finish cooking in the oven. Don’t crowd the pan, cook it in batches if needed and drain the slices on paper towels.
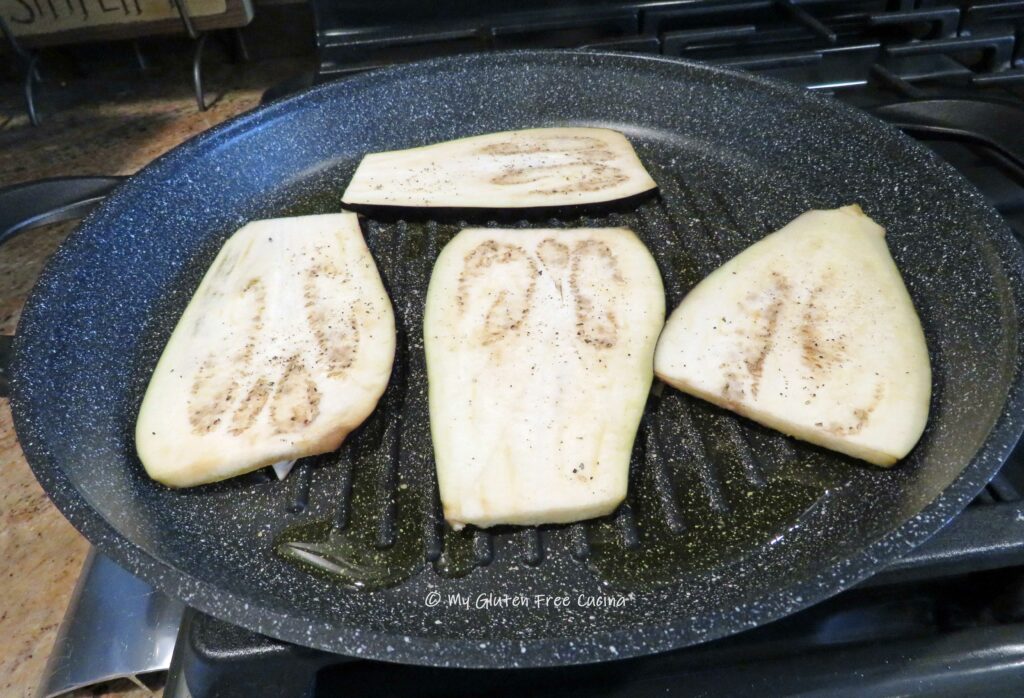
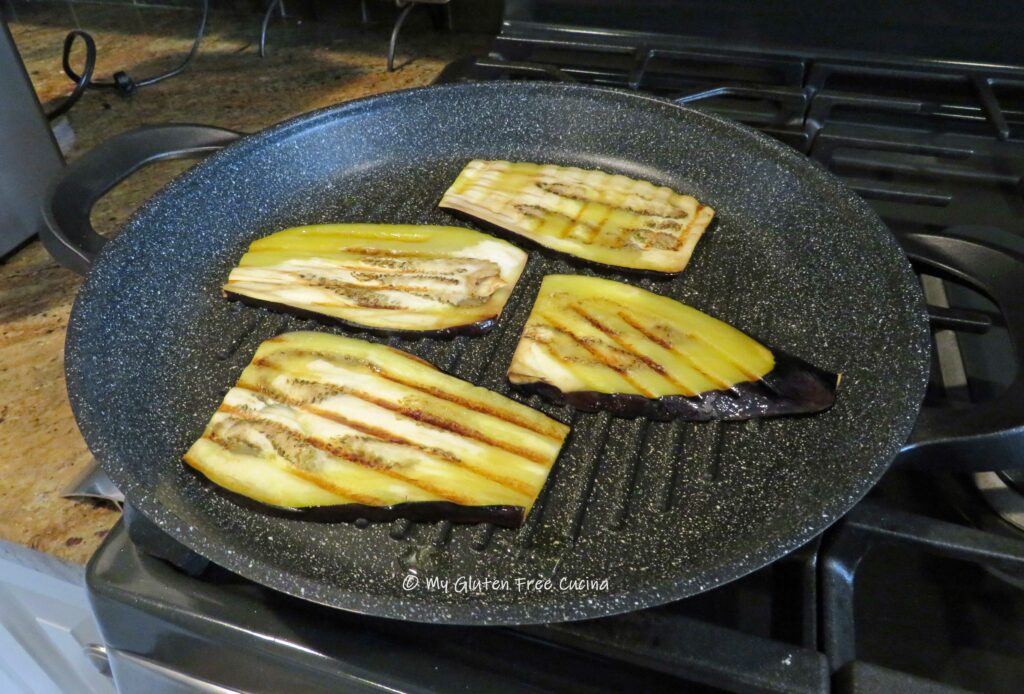
Finally, cook the pasta to 2 minutes less than the package directions.  I recommend Jovial Brown Rice Pasta for this recipe because it holds up well to boiling and baking.  After cooking, drain and rinse the pasta under cold water.

And now (finally) we are finally ready for the assembly.  Mist your baking pan or springform pan generously with cooking spray.  Cut a circle of parchment paper to fit the bottom of your pan and place the small round of eggplant in the center.
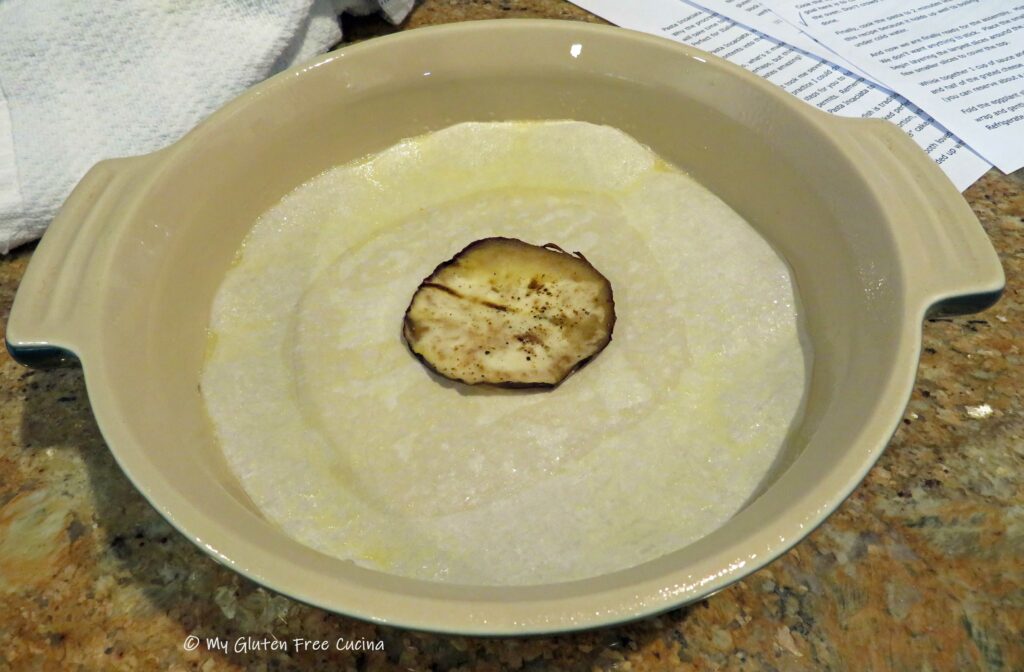
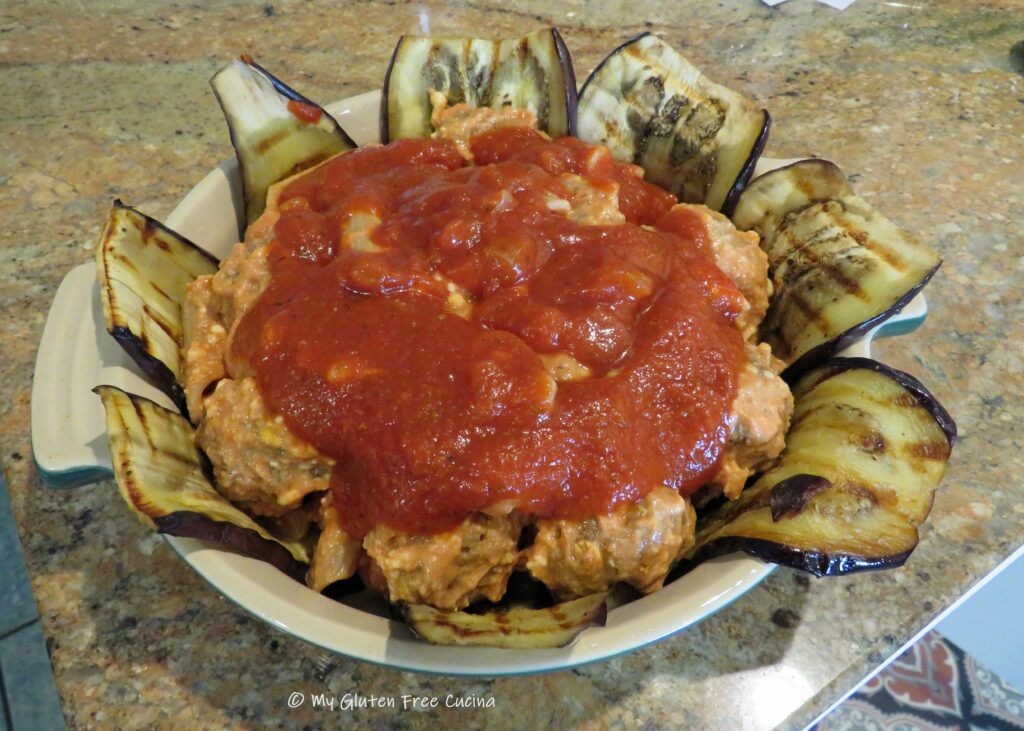
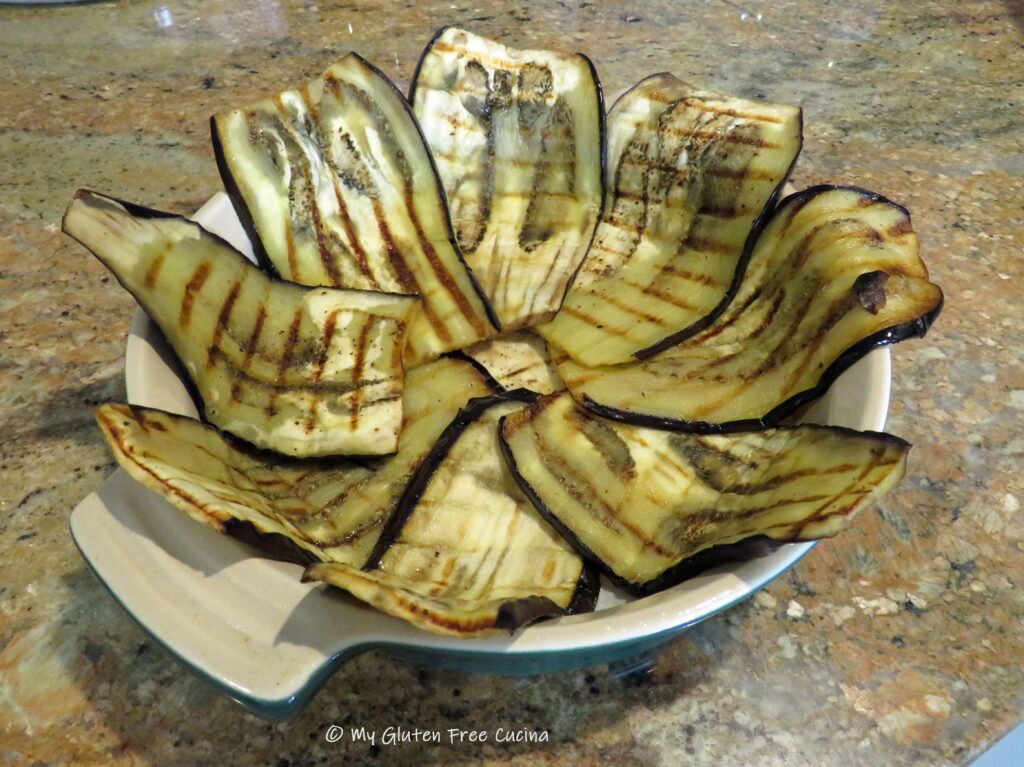
Next begin layering the largest slices around the pan, letting them drape over the side, like this.  Save a few smaller slices to cover the top.
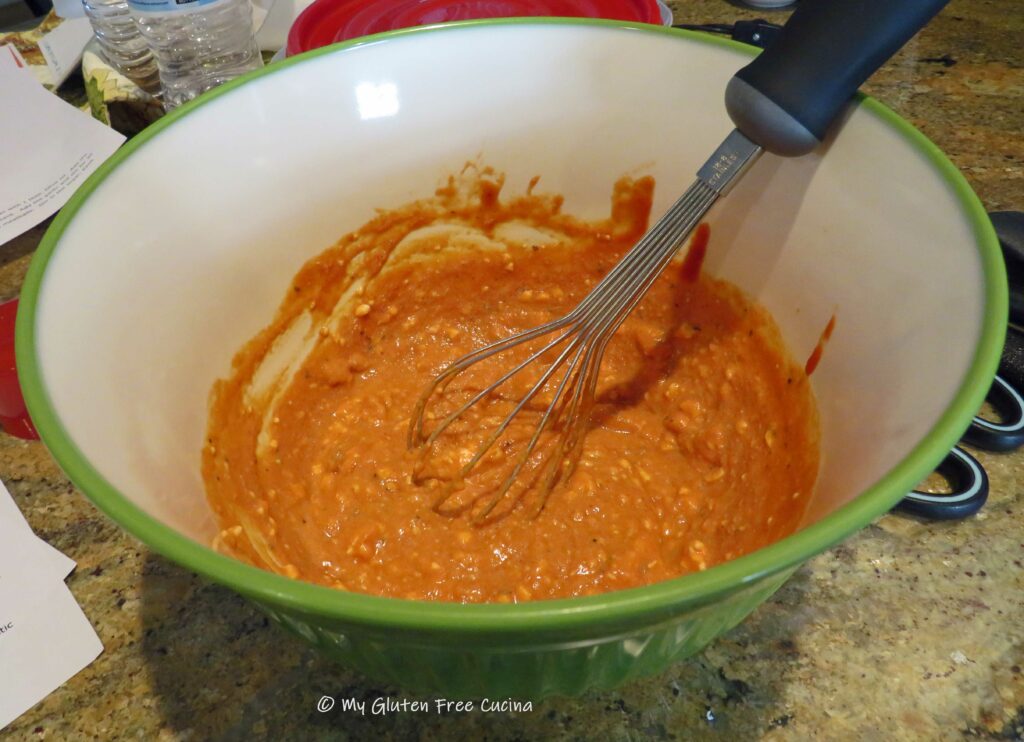
Whisk together 1 cup of sauce and ½ cup of ricotta cheese.  Fold in the pasta, half of the meatballs (about a dozen) and half of the grated cheese, then spoon the mixture over the eggplant and top with more sauce (you can reserve a cup of the sauce for serving).
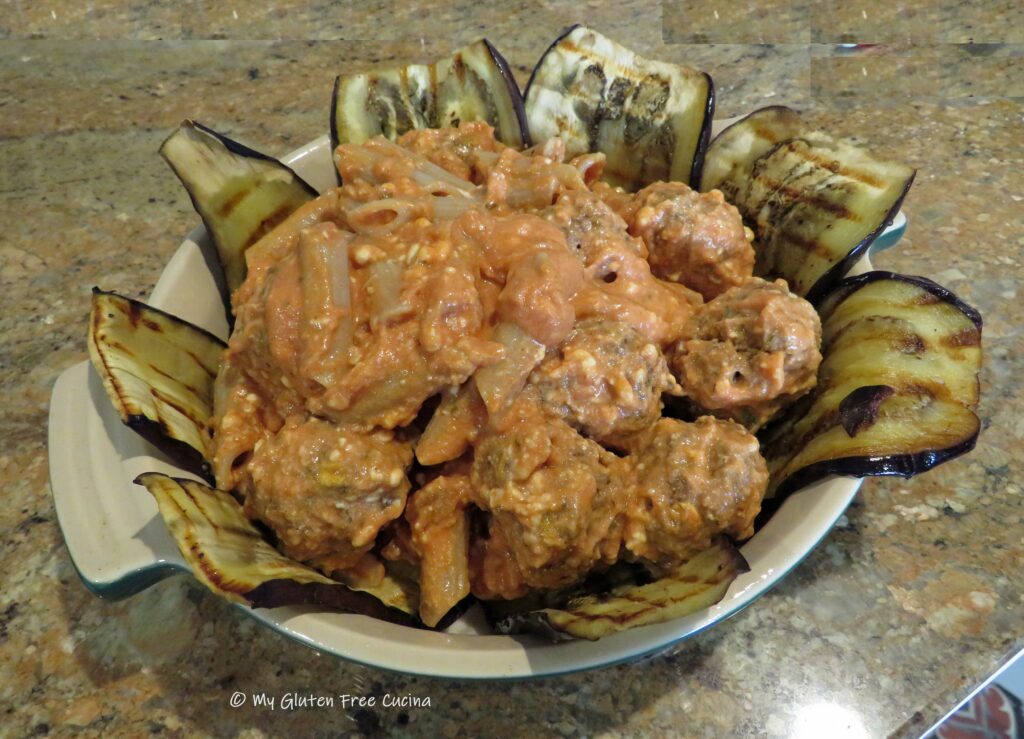
Fold the eggplant slices inward, then use the smaller slices to fill in the center.  Cover with plastic wrap and gently press down on the mixture, so that it will set up in the shape of the pan.  Refrigerate for 2-3 hours before baking.
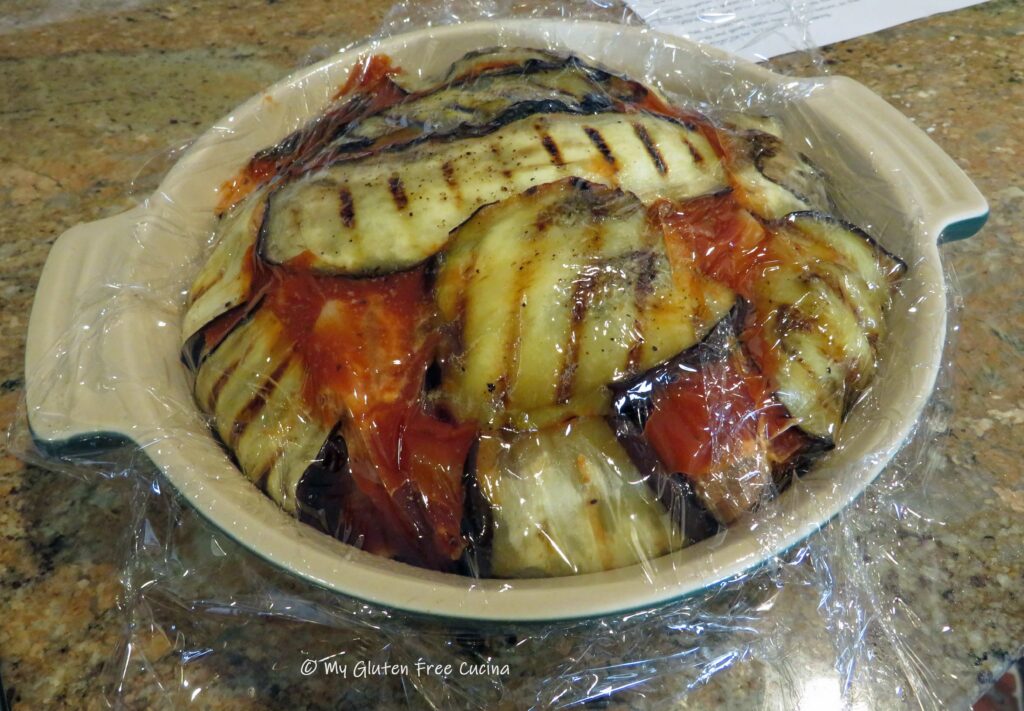
Preheat the oven to 350 degrees.  Remove the plastic wrap and sprinkle with the remaining grated cheese and breadcrumbs.
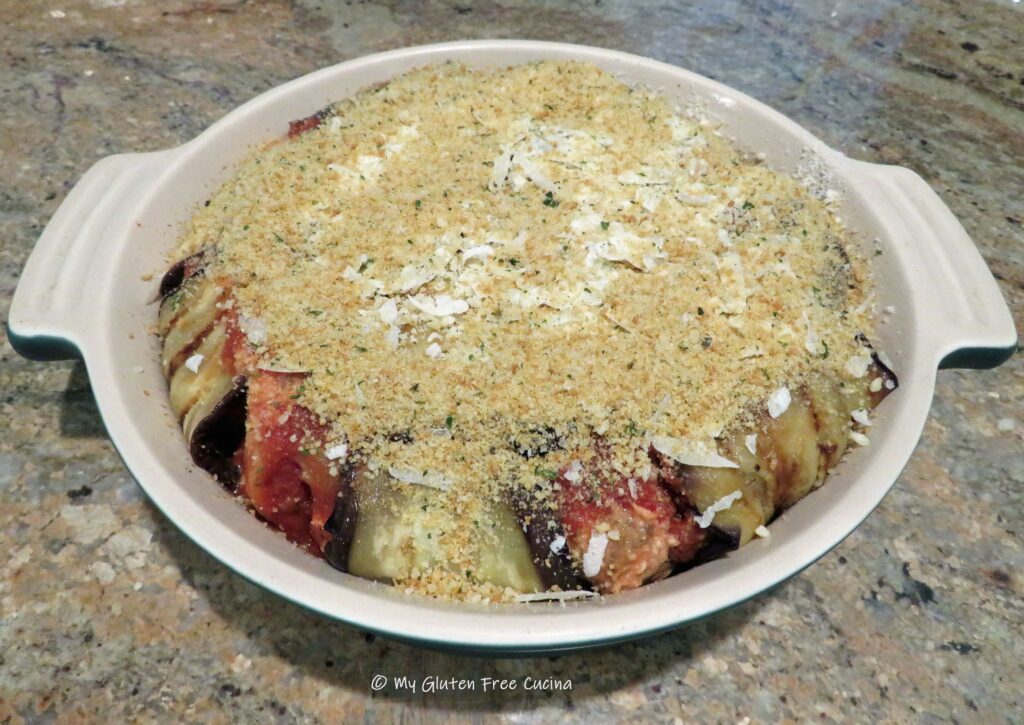
Mist a sheet of foil with cooking spray and cover the pan.  Don’t make it too tight, you don’t want the foil to stick.  Bake for 30 minutes, then carefully remove the foil and bake 30 minutes more.  You should see bubbling on the sides of the pan.

Now for the unveiling.  You really could serve it just like this, and I took a lot of pictures in case of a faux pas when I flipped it over!
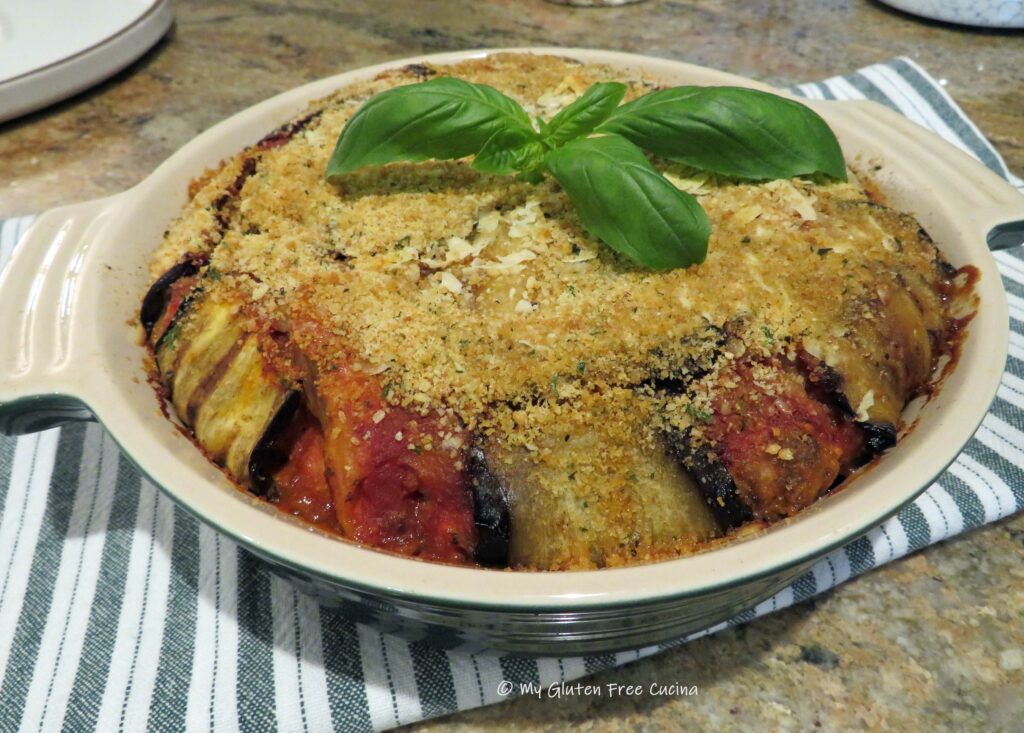
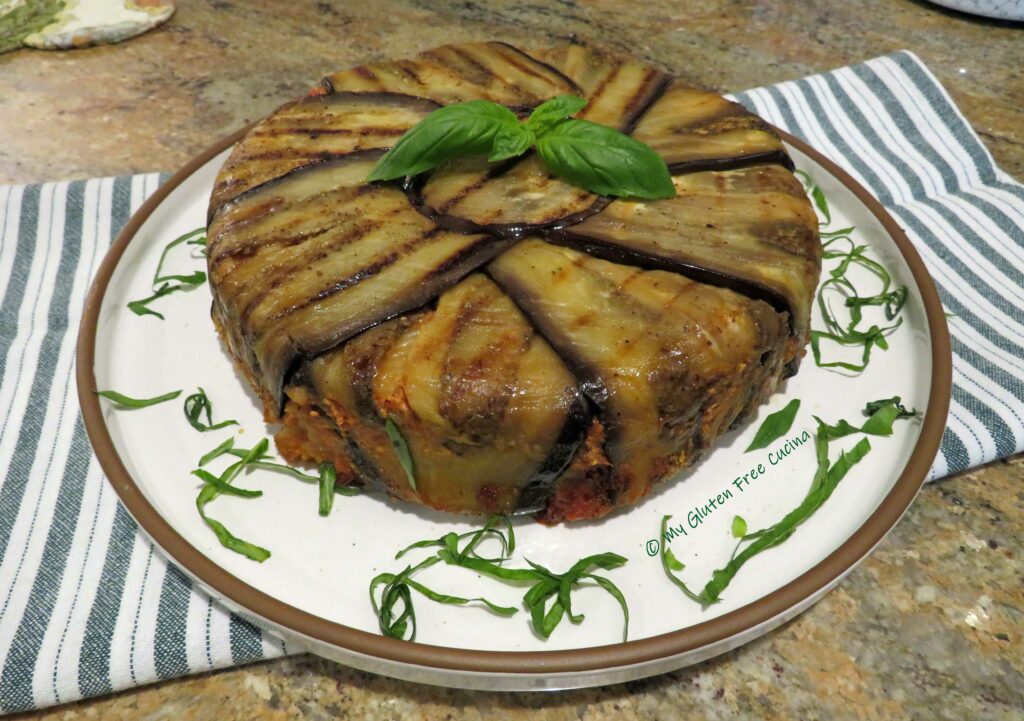
The easiest way to do this is to run a butter knife around the edges then cover the pan with a plate and quickly invert it.  Careful, the pan will still be hot.

TADA!!! There it is!  Peel away the parchment paper and let it rest for 10 minutes before serving.  I like to garnish with fresh basil.
Slice into wedges and serve with more sauce and grated cheese.
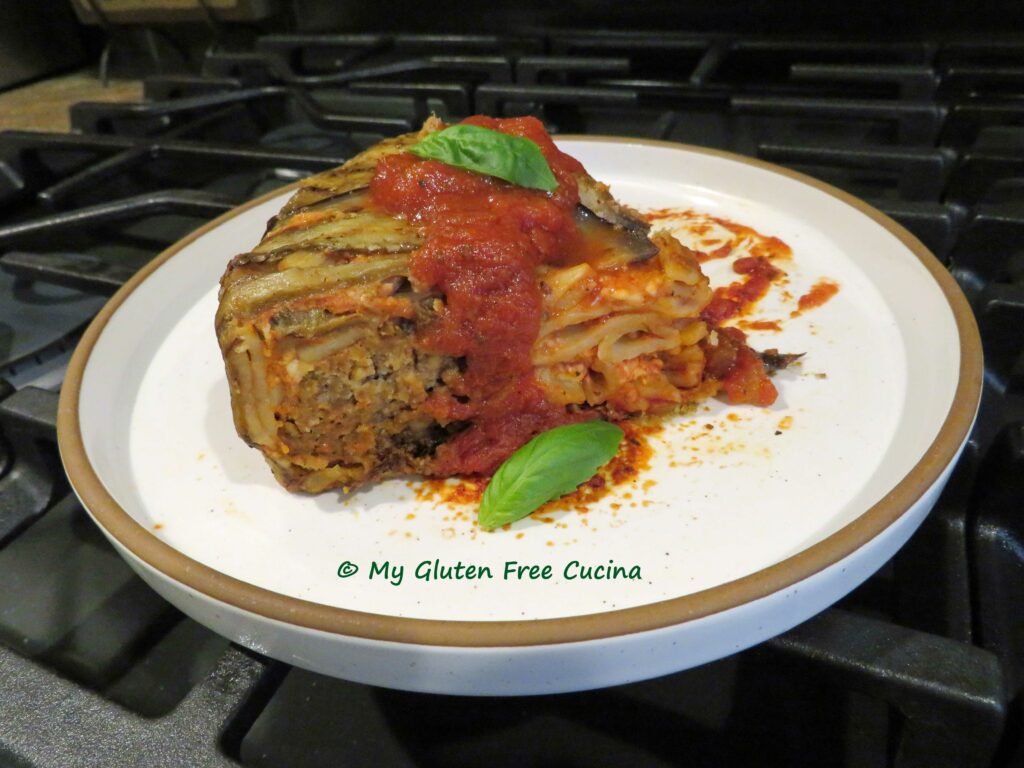
Friends, what a meal!  This is not a dish that I will make often, but it is truly a joy for this home cook to say that I’ve done it!  And as for being gluten free, I promise no one will even know.  You do not have to give up delicious pasta dishes on the gluten free diet, and this recipe is a true testament.

Notes ♪♫ Always check ingredient labels.  You know that your pasta and breadcrumbs must be gluten free, but don’t forget to check the sausage.  How about that grated cheese?  I always buy a block of cheese and grate my own, so I don’t have to worry about additives.  For those who cannot have oats, you can add a bit more potato flakes and breadcrumbs to the meatballs.

Print This Post Print This Post

Individual Gluten Free Lemon Cheesecakes

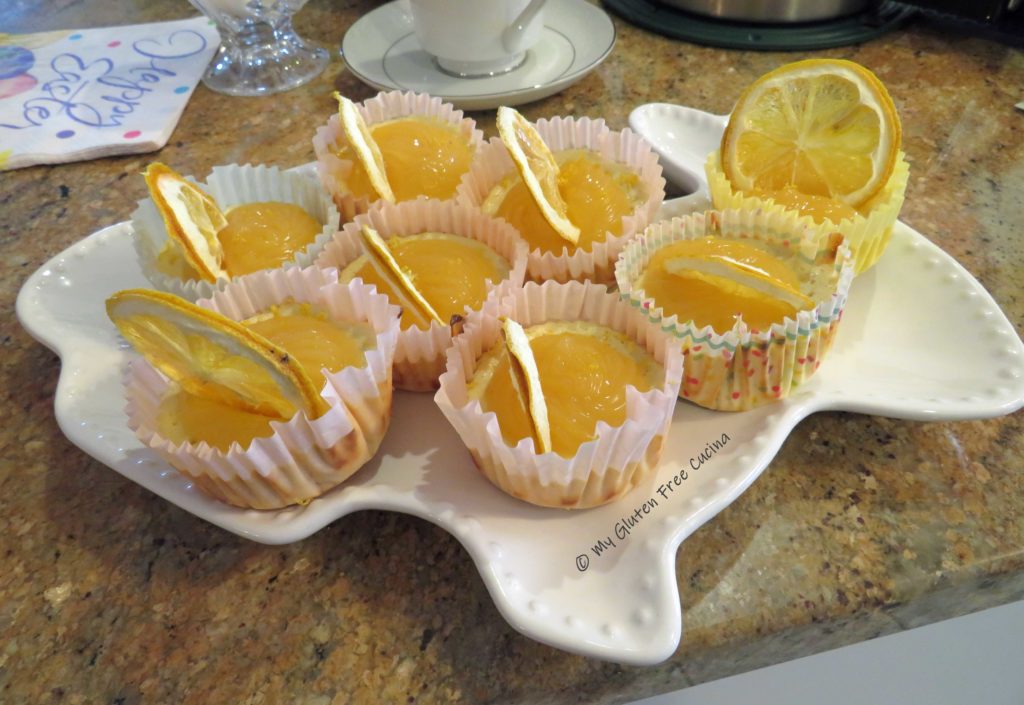
Look what my wonderful daughter-in-law made for our Easter dessert! Individual Lemon Cheesecakes and yes, they are gluten free. She used gluten free golden Oreo halves for the base, so clever! 💛🍋💛

Since some of you have asked, she has kindly agreed to share her recipe!

This post contains affiliate links.

Ingredients:

Gluten Free Eggplant Rollatini Appetizer

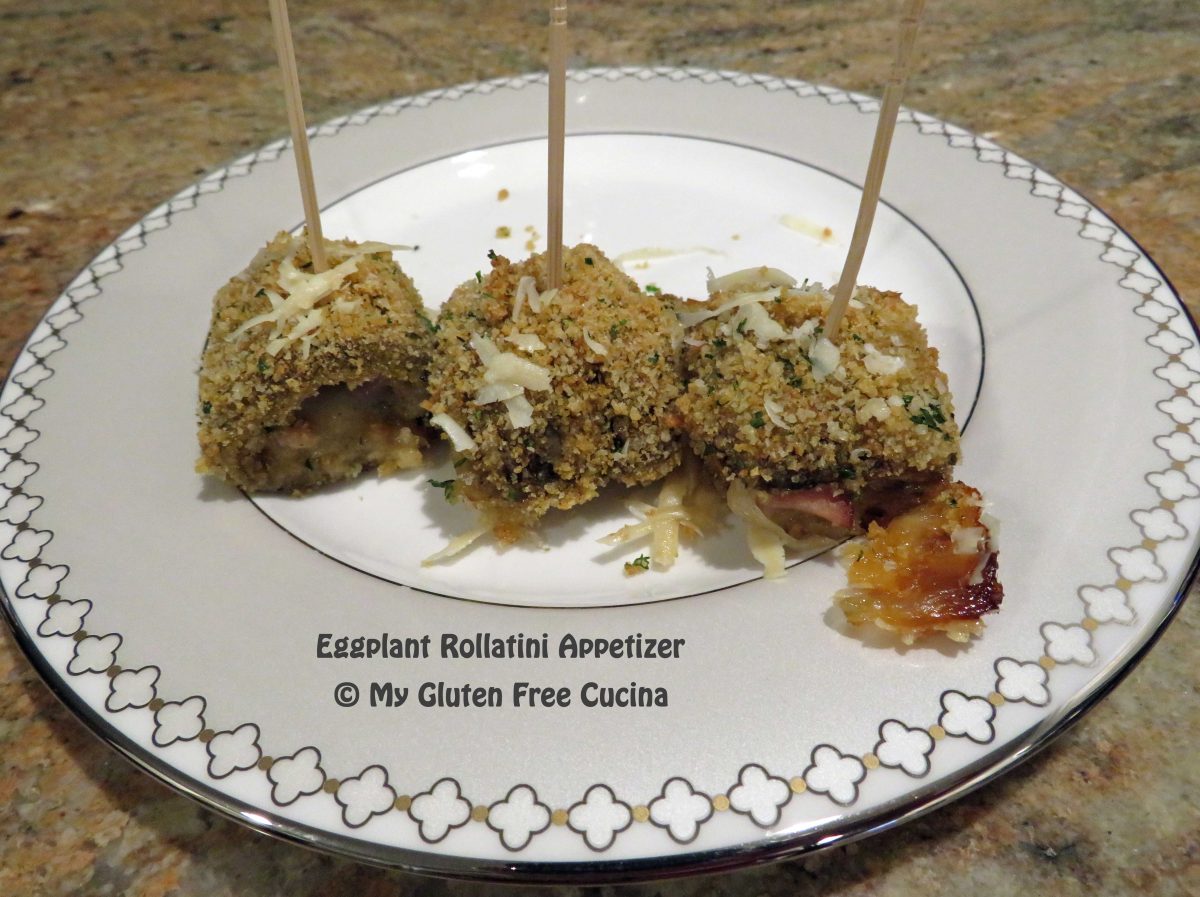
Bite sized Eggplant Rollatini are the perfect finger food for holidays, parties or game day!  If you are looking for a gluten free appetizer for your next get-together, give this recipe a try.  They are really tasty and different than the usual party snack.  This recipe will make 20-24.

This post contains affiliate links.

Ingredients:

Preparation:

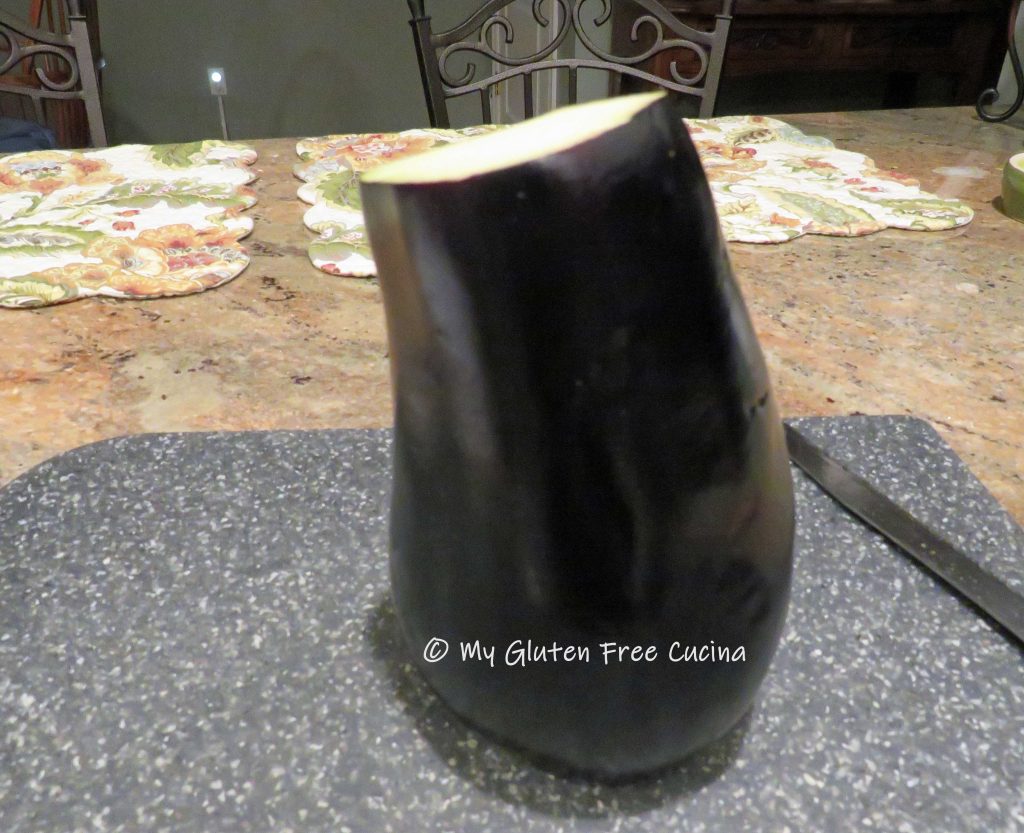
Cut the top and bottom off the eggplant, stand it on its side and peel.

Slice it lengthwise into 12 strips, make them as thin and even as you can.  Trim away any heavily seeded areas.

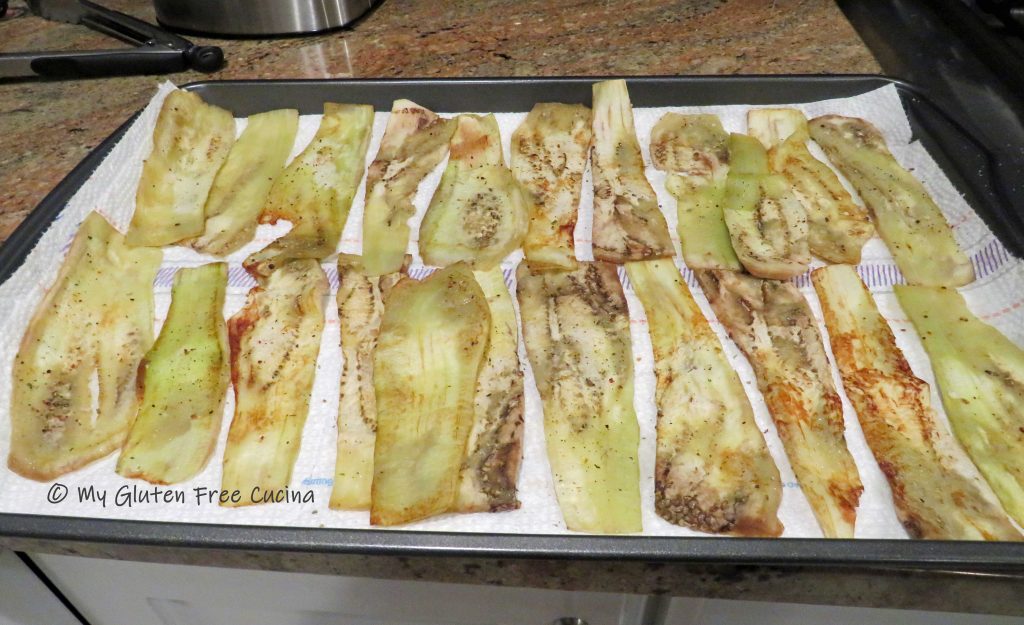
Heat a griddle or large nonstick skillet and coat lightly with olive oil.  Add the eggplant slices in one layer (do it in batches) and cook briefly on each side, enough so that they can be rolled without breaking.  Sprinkle with Italian seasoning.

Lay the cooked slices on a sheet pan lined with paper towel, to remove some of the moisture.

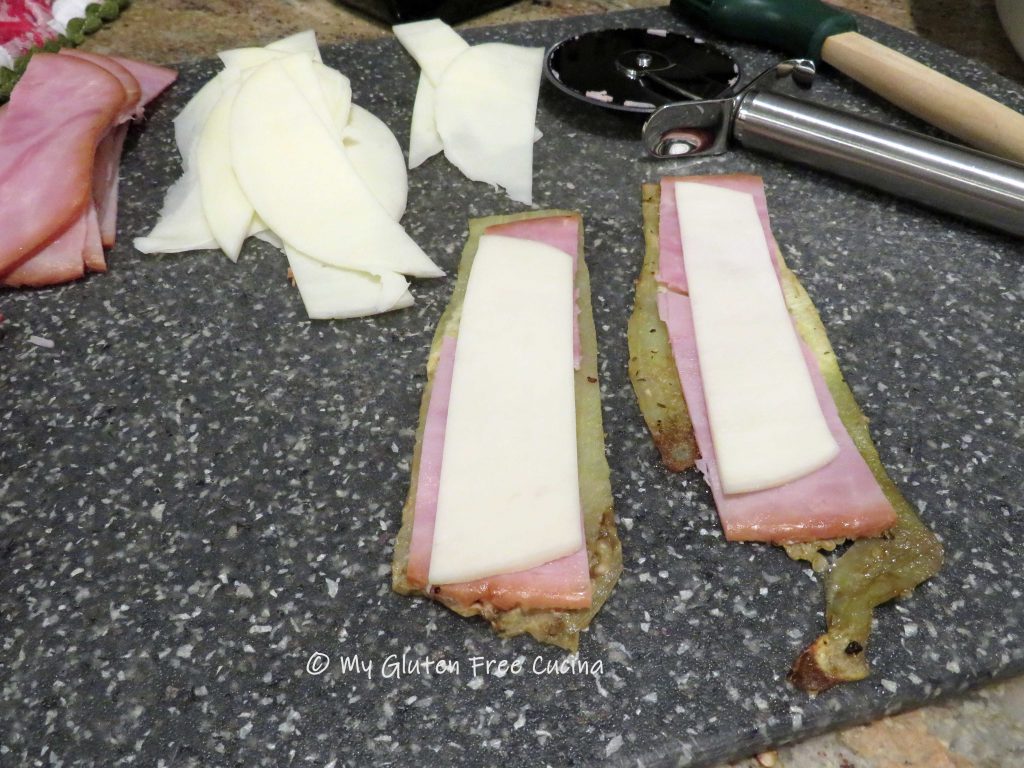
Cut each slice of eggplant down the middle lengthwise to form strips.  Layer each strip with a slice of ham and cheese.

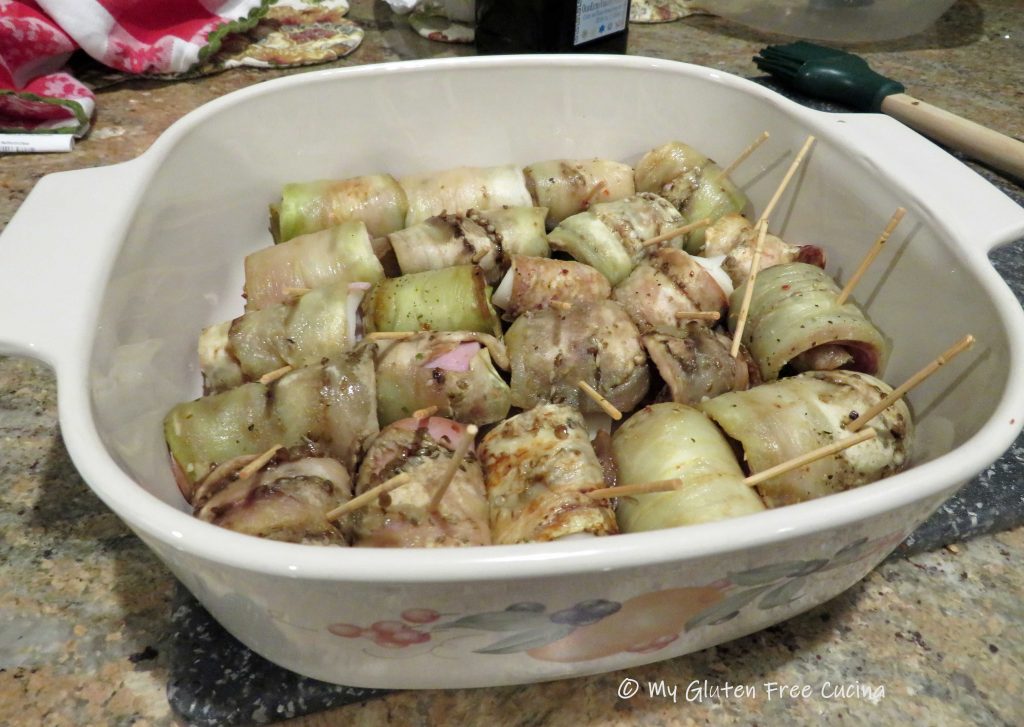
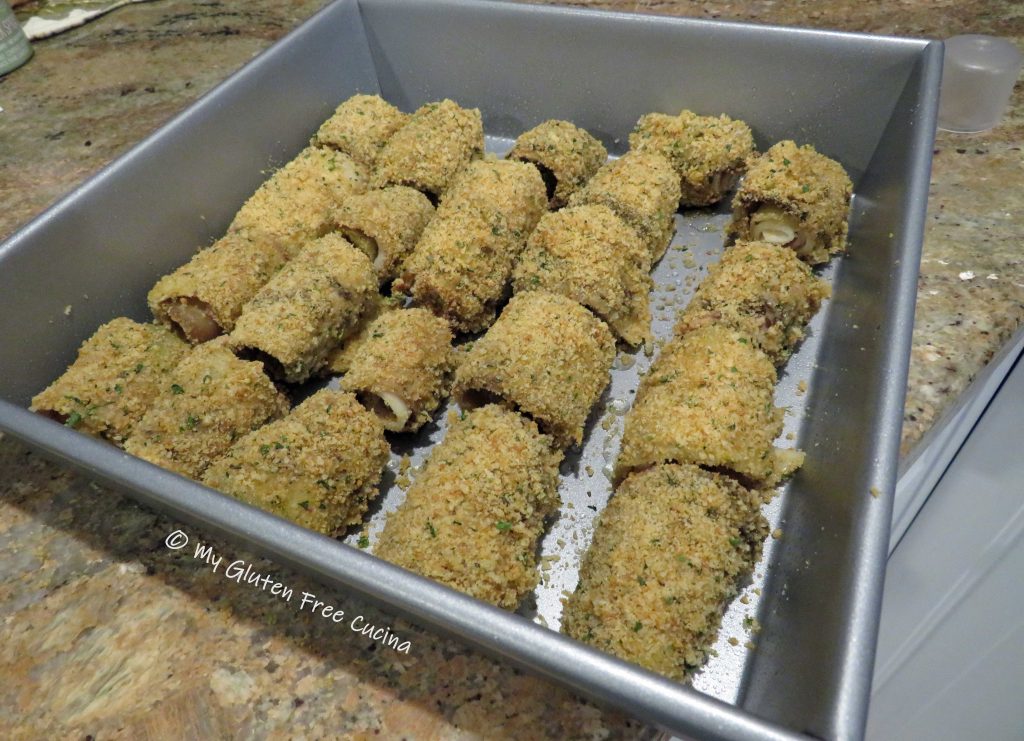
Carefully roll up the eggplant slices and place seam side down in a baking dish.  Use toothpicks to hold the bundles together.  You can make the recipe ahead to this point and refrigerate, in fact chilling the eggplant rolls at this point will make them easier to work with.

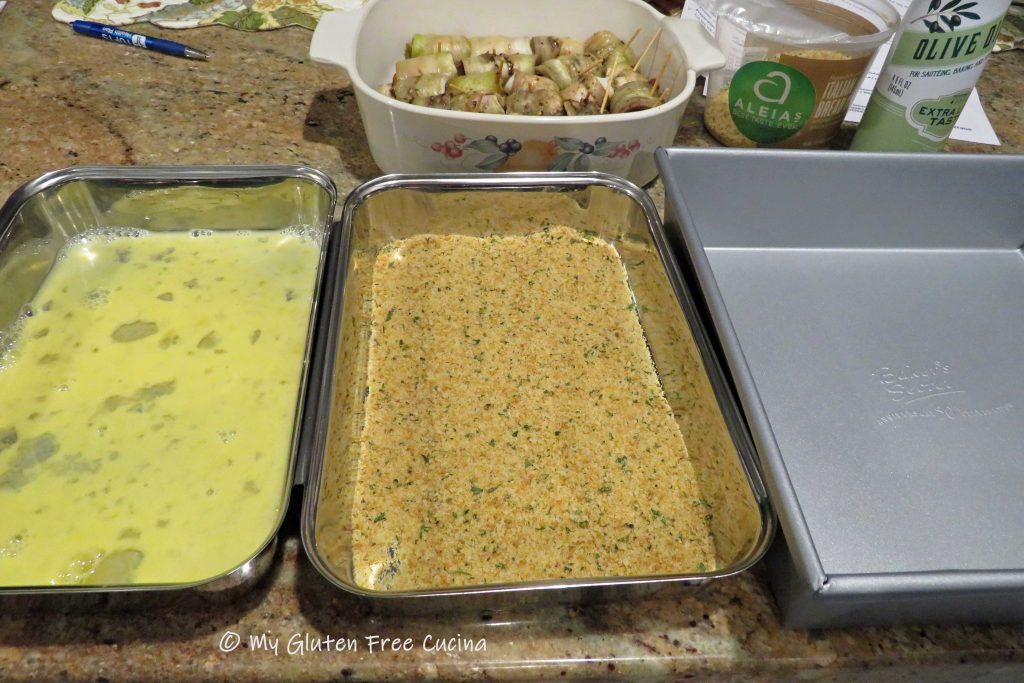
Preheat the oven to 325° and set up 2 breading trays.  In one bowl beat the egg with 1 tbsp. water.  Add the breadcrumbs to the other bowl.

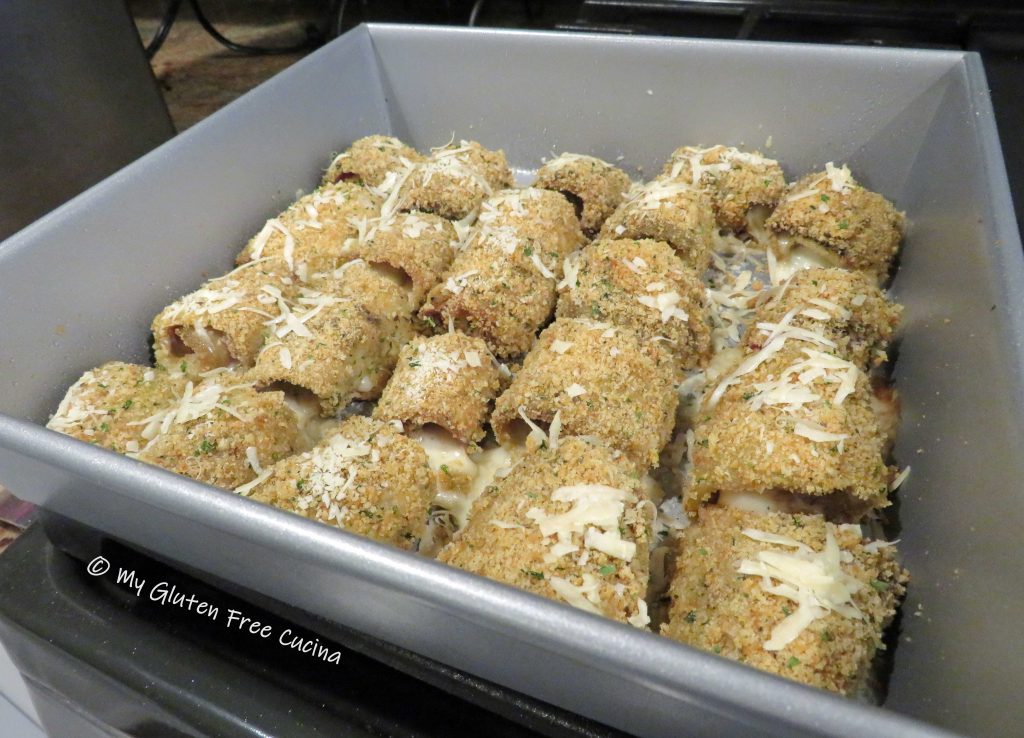
Mist a clean square baking dish with cooking spray.  Using your fingers, carefully pick up one bundle at a time and dip it in the egg, shaking off the excess.  Roll in breadcrumbs and place seam side down in the clean baking pan.  Continue until all the bundles are breaded.  Be sure to remove all toothpicks before baking.

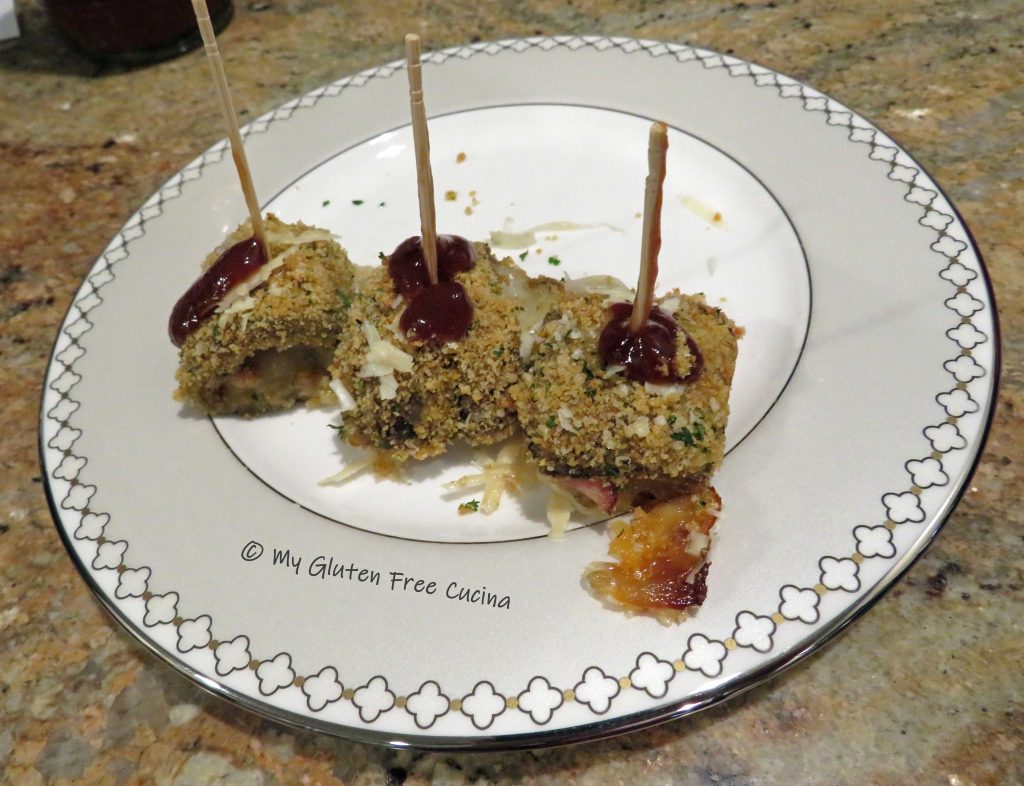
Sprinkle with Parmesan cheese and bake for 25 minutes.

Finish with a drizzle of your favorite BBQ sauce and serve immediately or reheat just before serving.

Notes ♪♫ Most of the ingredients in this recipe are naturally gluten free.  Be careful when purchasing cold cuts.  Look for gluten free brands like Boar’s Head and be sure that they have a dedicated slicer for gluten free products at the deli.  For the breading, I always use Aleia’s Gluten Free Italian Breadcrumbs.  They are just the best!

Originally published 12/31/2019            Updated 12/27/2023


Print This Post Print This Post

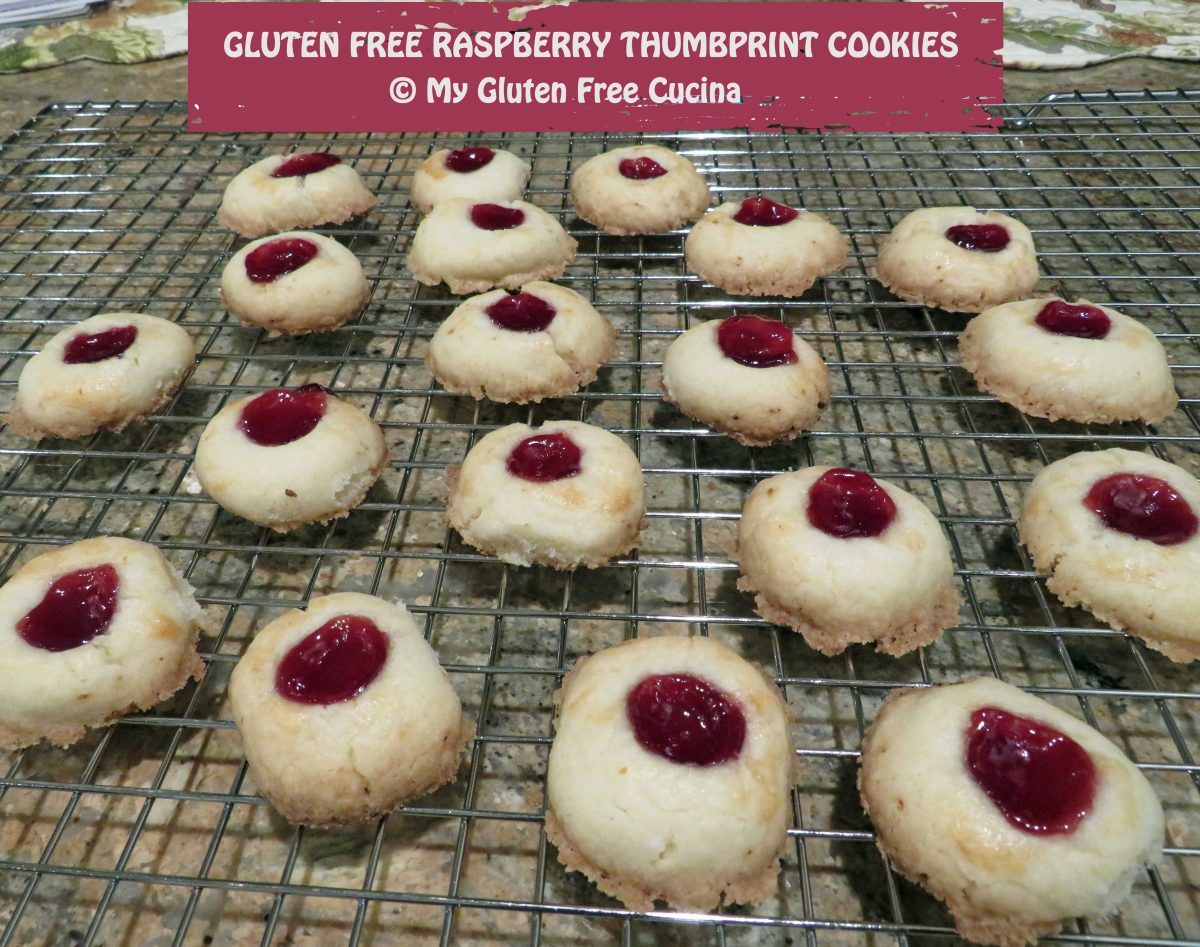
Gluten Free Raspberry Thumbprint Cookies

If you’ve been following my cookie adventures on Facebook, you know that I was determined to master the gluten free thumbprint.  I tried and tried to adapt a recipe to be gluten free, I made so many cookies!  And while they all tasted good, well….

I made a giant unicookie! ????????????

I made some really flat cookies!

Then I did what I should have done in the first place, I asked an expert.

Chef Patrick Auger, who I consider to be THE ORACLE of gluten free baking shared a bit of his expertise with me on how to achieve the perfect gluten free thumbprint (hint: if you don’t have a scale go and order one now!).  Thanks Patrick!  Now, without further ado, here you are ladies and gentlemen!  Gluten Free Raspberry Thumbprint Cookies!

This post contains affiliate links.

Yield: 24 cookies

Ingredients:  

  • 1 stick of unsalted butter, softened (see hint below)
  • 70 g. (1/3 cup) granulated sugar
  • 1/4 tsp. vanilla extract
  • 187 g. gluten free all-purpose flour (I used Better Batter Original)
  • 1/8 tsp. salt
  • 1 tbsp. water (may be needed to bring dough together)
  • egg whites for brushing (optional)
  • gluten free raspberry jam (I used Smucker’s)

Hint: Don’t have time to wait for butter to soften at room temperature?  Me either.  Here’s how to get the perfect consistency every time.  Stand your butter on a plate, cover with a glass and microwave 20-30 seconds.  Perfectly softened butter every time!

Preparation:

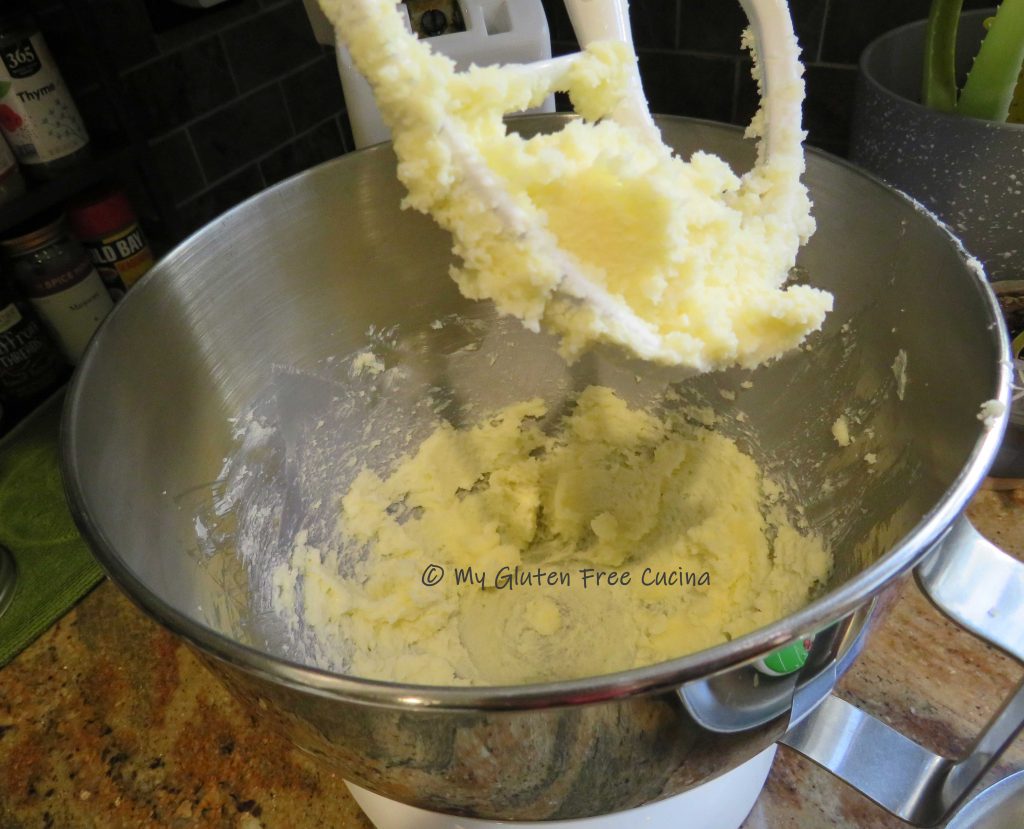
Cream together the softened butter and sugar in the bowl of a stand mixer with the paddle attachment.  Add the vanilla.

Weigh the flour, this is critical to achieving the right dough.

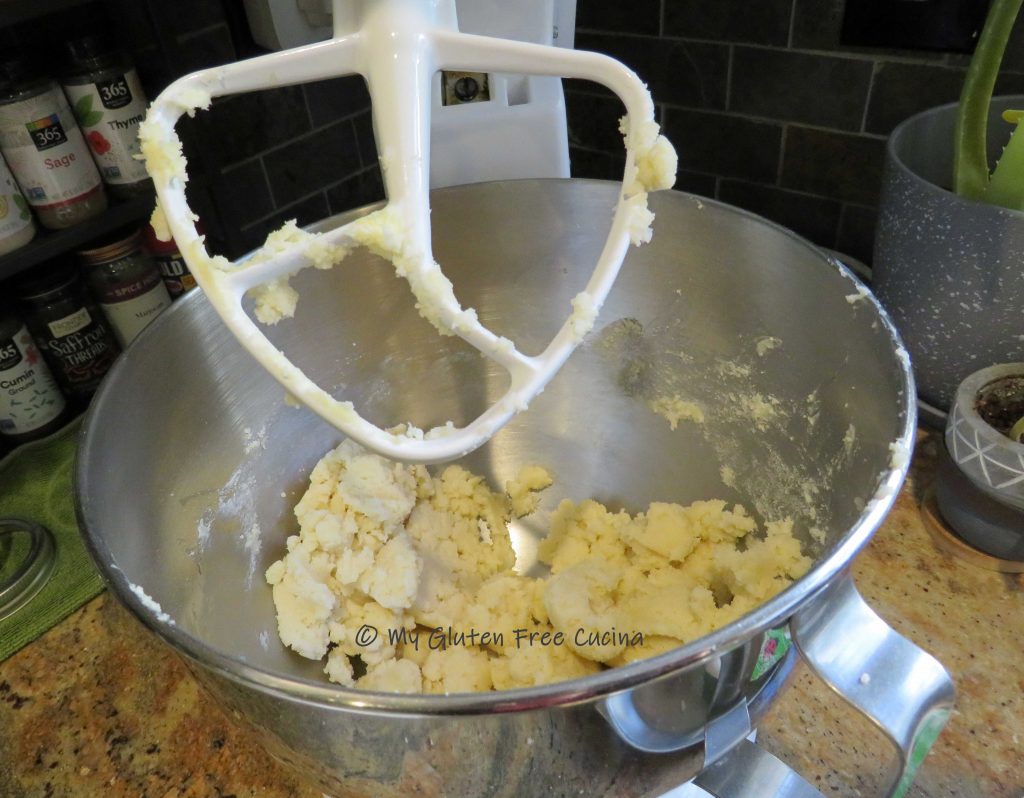
Add the flour and salt to the mixer bowl and continue beating until the dough comes together.  You may have to add up to 1 tbsp. water.

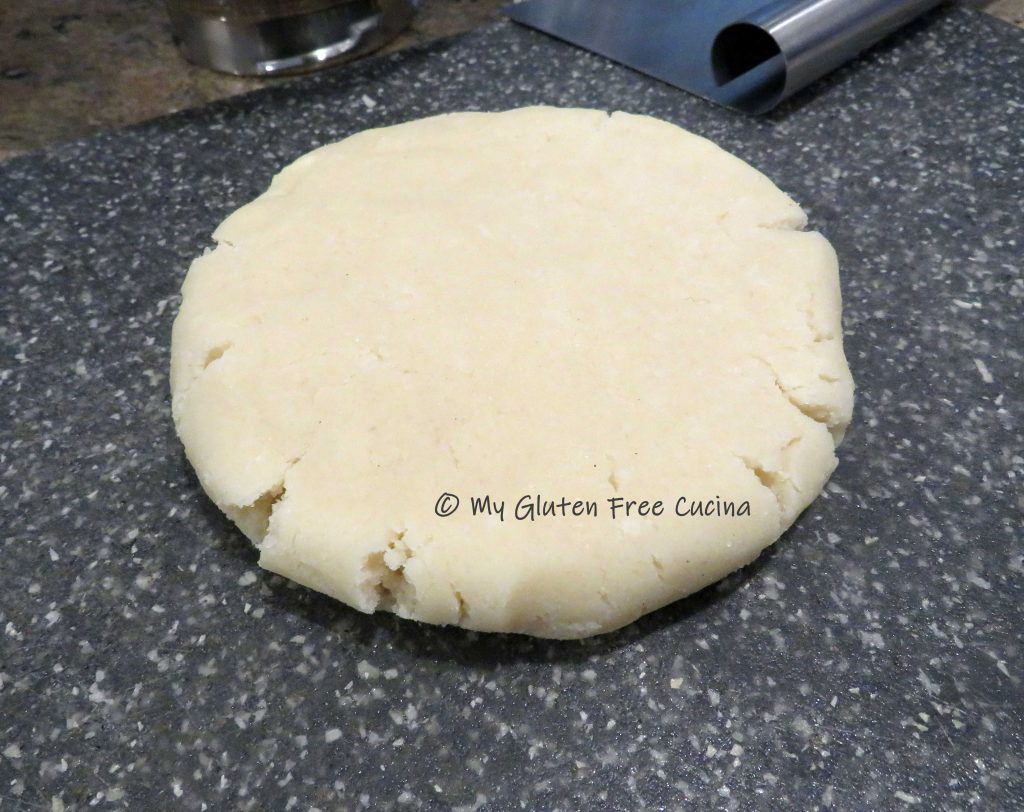
Turn the dough out onto a cutting board and press into a disc.

Wrap in plastic wrap and refrigerate 15 minutes.

Line one or two baking sheets with parchment or use a silicone baking mat.

I was determined to make perfectly uniform sized cookies, so I weighed the dough and divided by 24, it came to about 15 g. each.  If you’re a perfectionist like me, you can weigh them or if not just eyeball it!

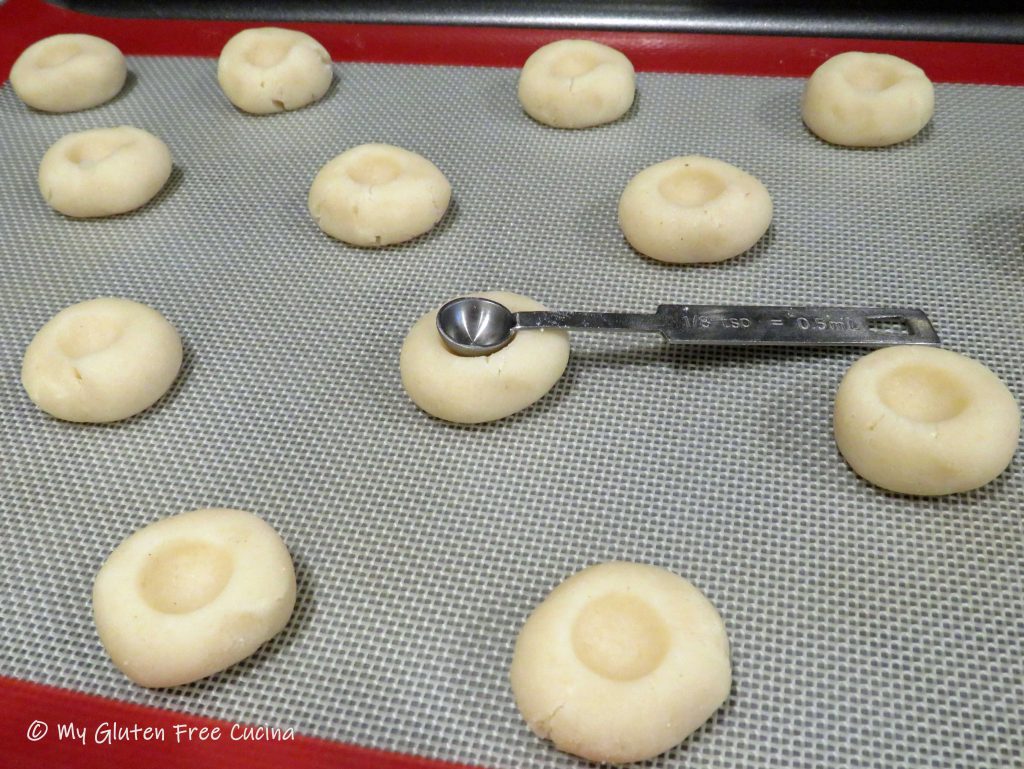
Roll each piece of dough into a ball and flatten slightly.  Place them on the cookie sheet about 3 inches apart.

Instead of my big old thumbs, I used a 1/8 teaspoon to make the indentations.

I brushed the cookies very lightly with egg white, but this step is optional.  I used the same 1/8 teaspoon to fill the indentations with jam, perfect fit!

Next, refrigerate the cookies again while you preheat the oven to 350º.

Bake for 20 minutes.  Remove from the oven and let the pan cool for 5 minutes before transferring the cookies to a cooling rack.  Try not to eat them all at once!

Notes for success:

Use Better Batter Original gluten free flour

Weigh your flour (use a scale)

♪♫ Follow Chef Patrick Auger on Facebook and Instagram

♫♫ Use my code MGFC30 for 30% off any full price purchase at Better Batter!


Print This Post Print This Post

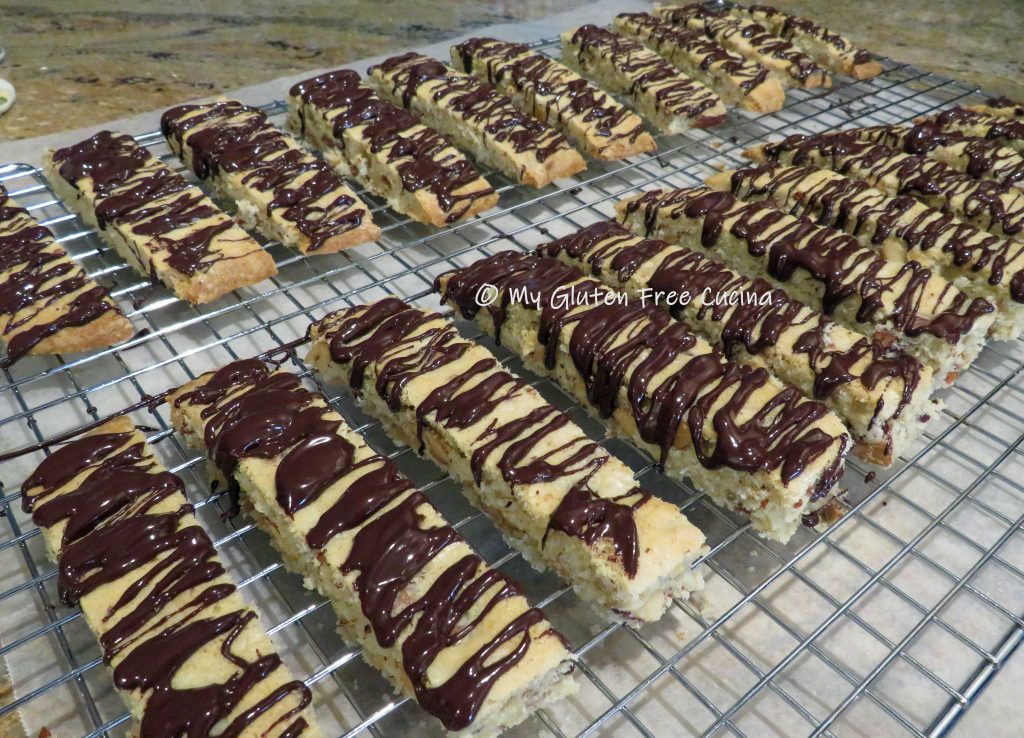
Gluten Free Almond Biscotti

Biscotti are at the top of my list of treats to bake for Christmas visits and gifting.  Everyone loves this traditional Italian cookie, even Santa!

Before my Celiac diagnosis, I would bake biscotti every Christmas for my family, friends and co-workers.   I had truly missed this tradition, and so I resolved to make a gluten free biscotti with all the flavor and texture of my old recipe.

There are so many variations of biscotti, but this almond and dark chocolate combo is my favorite.  If you bake only one cookie for Christmas, let it be this one!

Almonds, almond flour and almond extract deliver a triple punch of flavor in these beloved Italian treats.  And you will be surprised at how easy they are to make!

This post contains affiliate links.

Ingredients:

  • 60 g. brown rice flour
  • 55 g. potato starch
  • 25 g. tapioca starch
  • 1 tsp. xanthan gum

OR

PLUS

Preparation:

Line a half sheet pan with parchment or use a silicone mat.  If using sliced raw almonds, you need to toast them first.  Just spread them in a single layer and bake for 5 minutes at 350º.  Watch that they don’t burn!  Set them aside in a bowl to cool down before adding to the batter.

If you have whole toasted almonds, you can skip this step and just blitz them a few times in an electric chopper.

Next, whisk together the dry ingredients (through nutmeg).  In the bowl of a stand mixer, cream together the butter and sugar, beat for 3 minutes.

Next add the eggs, one at a time with the almond extract.

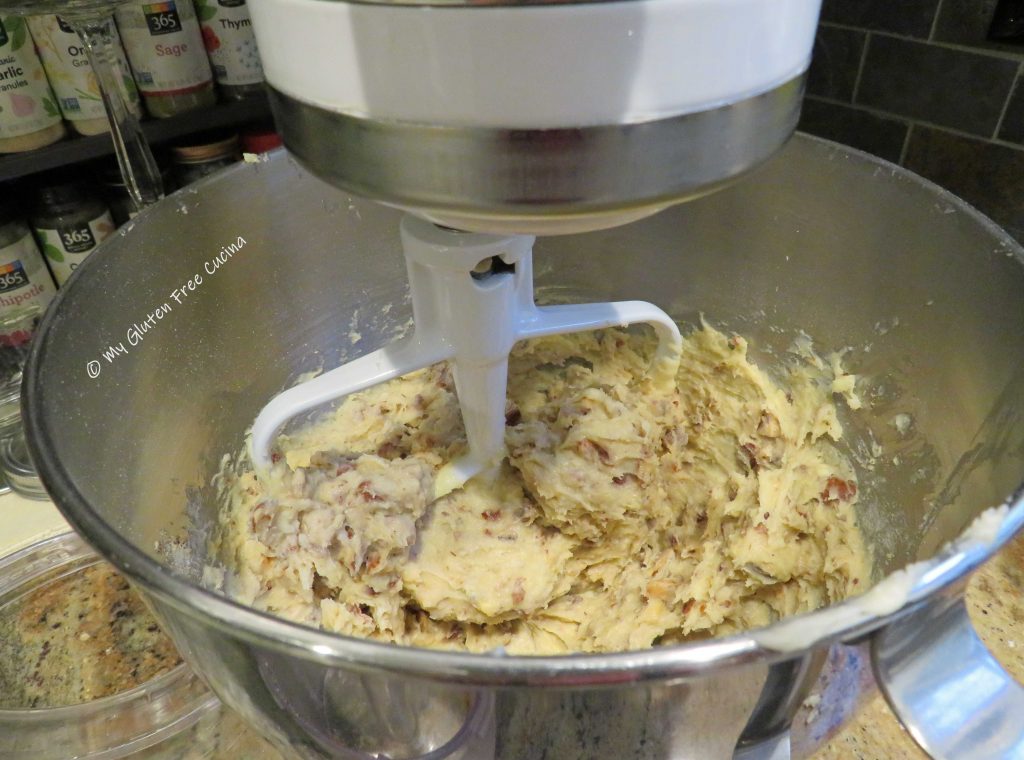
Beat well for 1 minute then incorporate the flour mixture, just until moistened.  Last add the nuts and mix on low for a few seconds to incorporate.

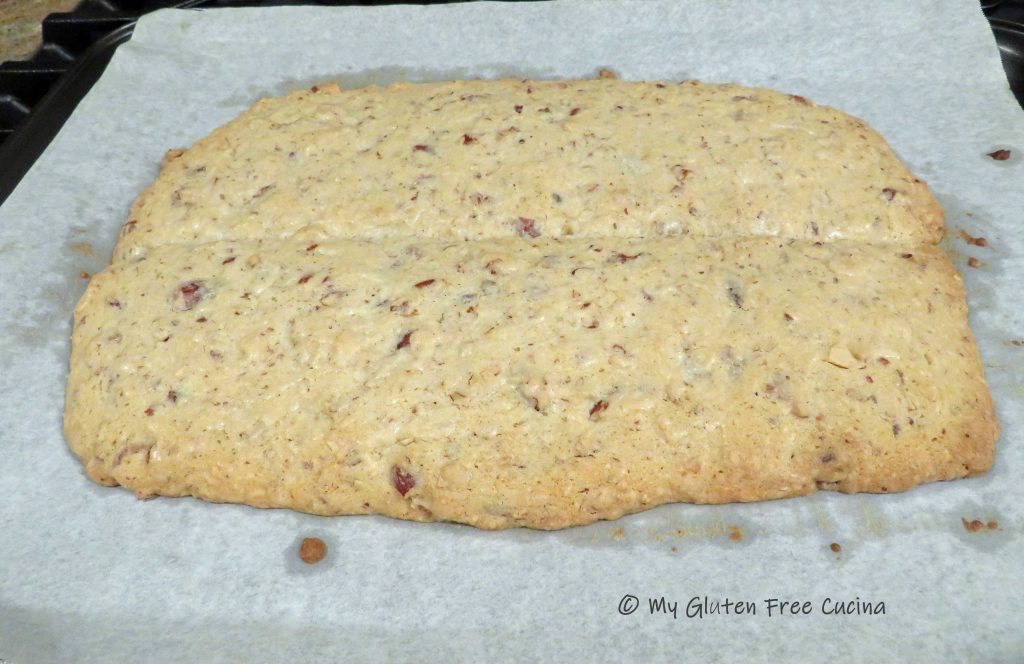
Spread the dough onto the lined baking sheet in a log shape.

Use a spatula to smooth and pat it into a log, about 1/2″ thick.  Divide the log in 2 lengthwise (I used a dough scraper).  Run the spatula around the sides of the dough to smooth the rough edges.  Put the dough in the refrigerator for 20 minutes while you preheat the oven to 350º.

Then bake for 30 minutes.

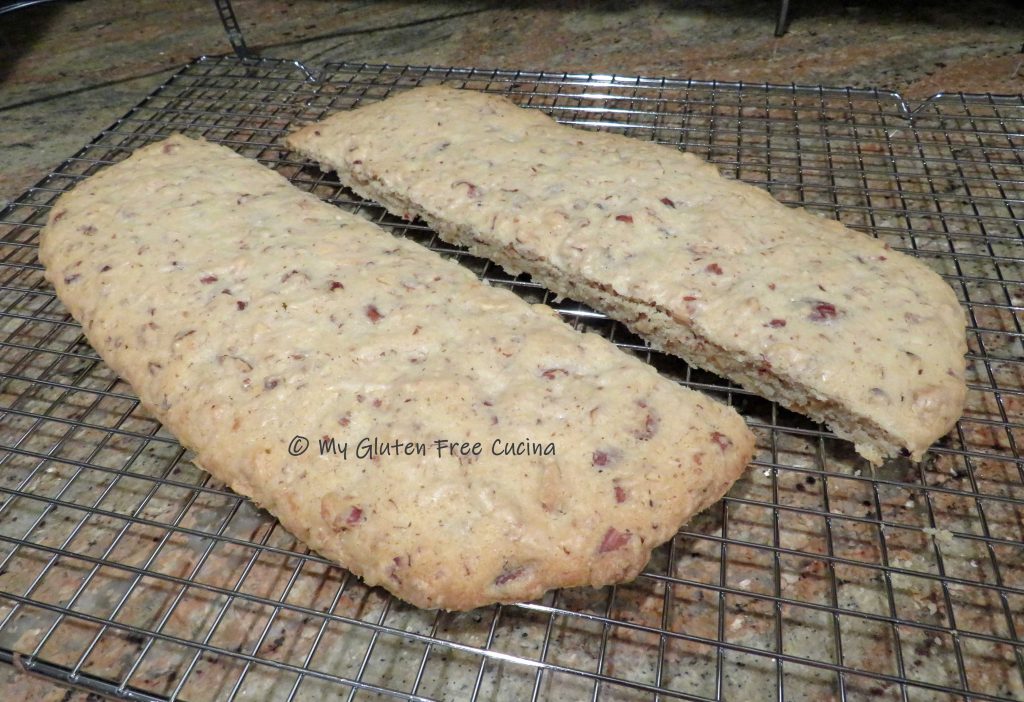
I divided the dough along the crease before moving it to a rack to cool.

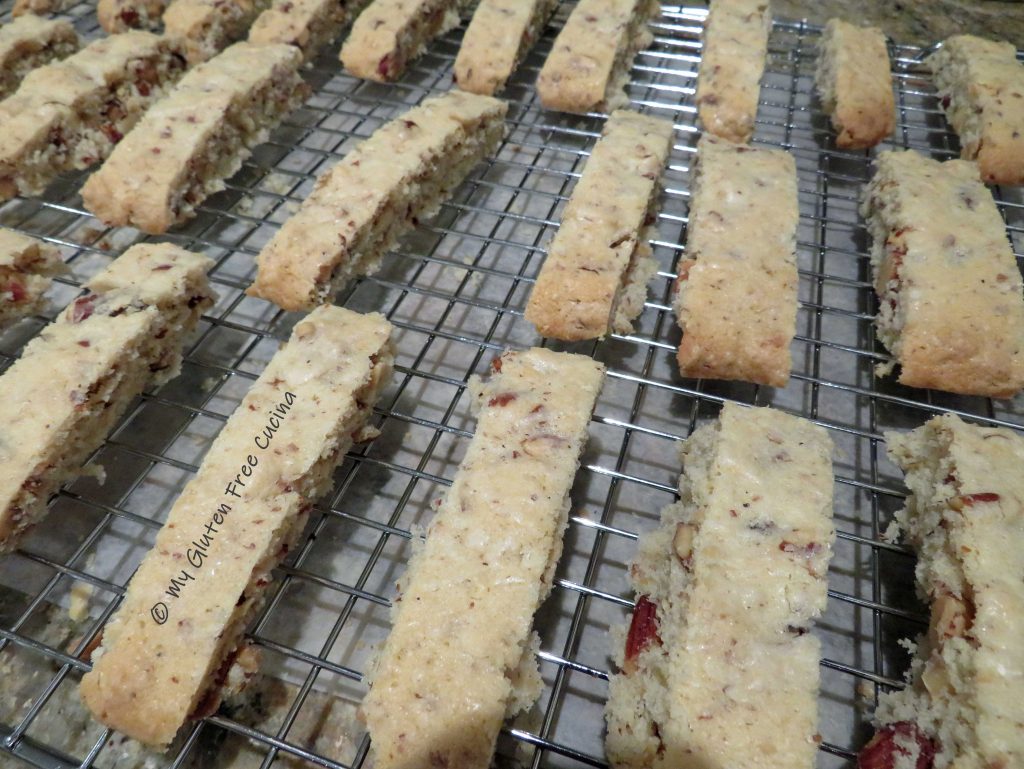
Probably the biggest difference between gluten free biscotti and those made with wheat flour is that instead of waiting 5-10 minutes before slicing you will need to cool it for a full 30 minutes.  You might be tempted to slice into it right away, but don’t do it or your biscotti will crumble to bits!  Allow the cookies to set for at least 30 minutes and your patience will be rewarded.

If you like a crisp, hard cookie (great for dunking) return the sliced biscotti to the baking sheet cut side up and bake for 10 minutes longer.

Before frosting, arrange the biscotti on a rack over a sheet of wax paper to keep the counter clean, and let them cool completely.  Melt the dark chocolate in a double boiler or the microwave.  I like to use a spoon or spatula to drizzle the chocolate in a zig-zag pattern over each cookie.

Let the biscotti stand at room temperature until the chocolate is completely set, then arrange on a platter.  If you are in a hurry, you can place biscotti in the refrigerator for 20 minutes to speed things up.

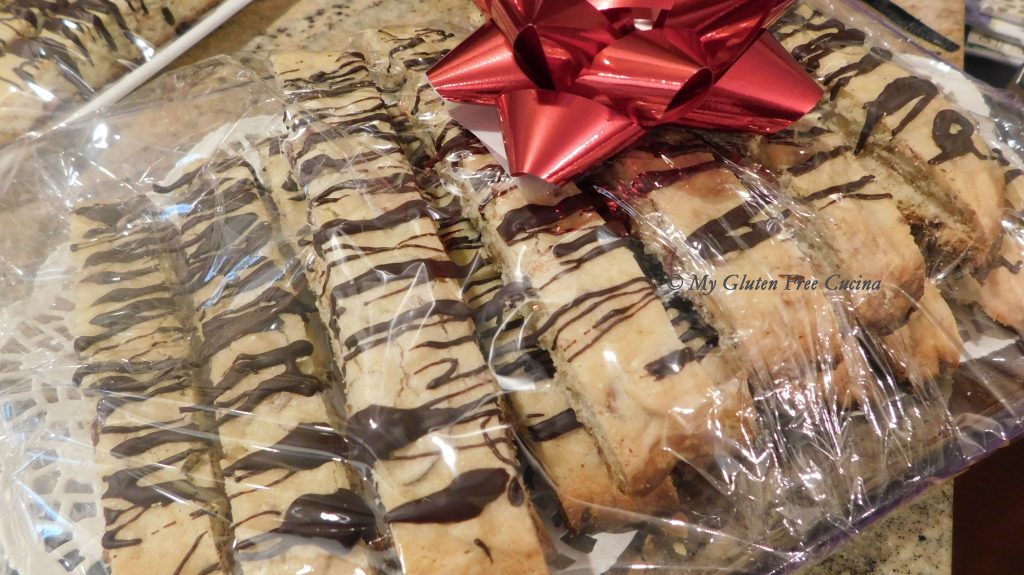
Now that you know how easy it is to prepare this holiday treat, start your own Christmas tradition and bake up a batch for gifting your family and friends.

Merry Christmas from My Gluten Free Cucina

Notes ♪♫ Since gluten free baked goods are notorious for crumbling, I find that using sliced almonds rather than whole helps the biscotti hold together with nice, clean slices.  Either way, they taste great!


Originally published 12/29/2019                 Updated 12/15/23

Print This Post Print This Post

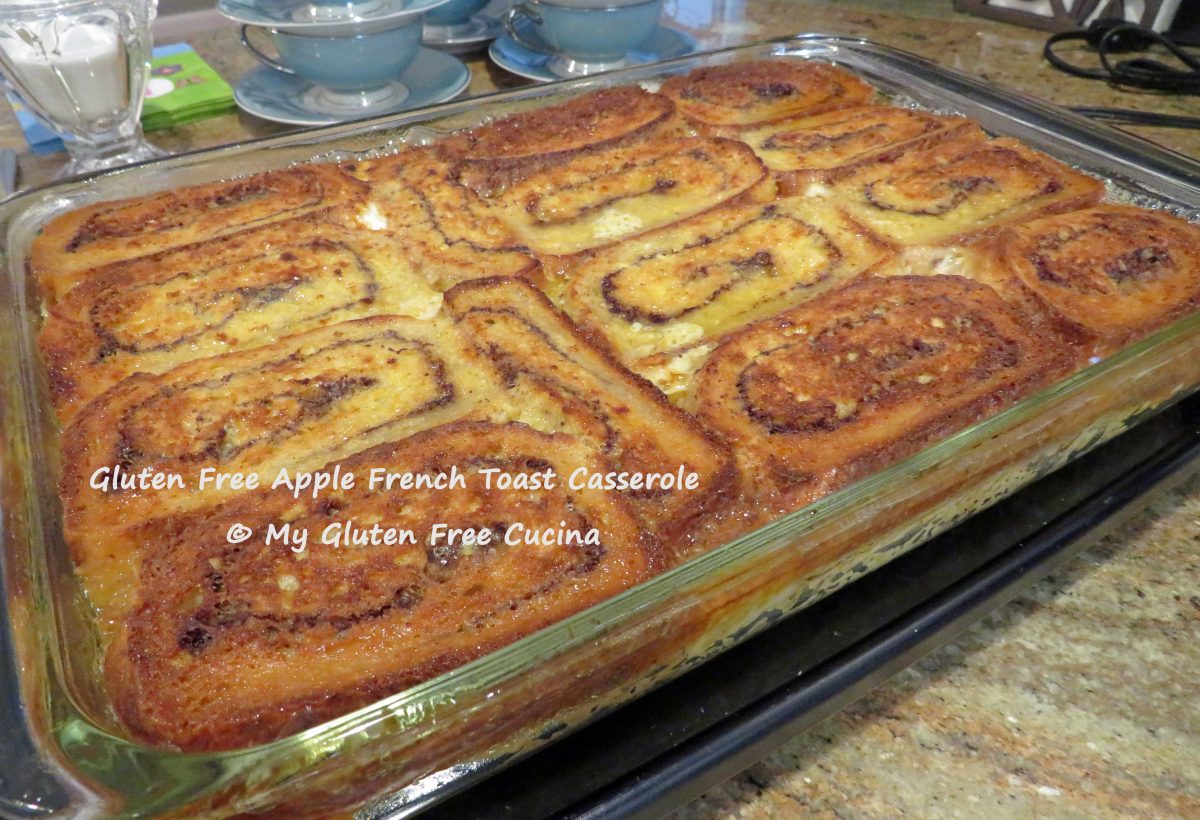
Gluten Free Apple French Toast Casserole

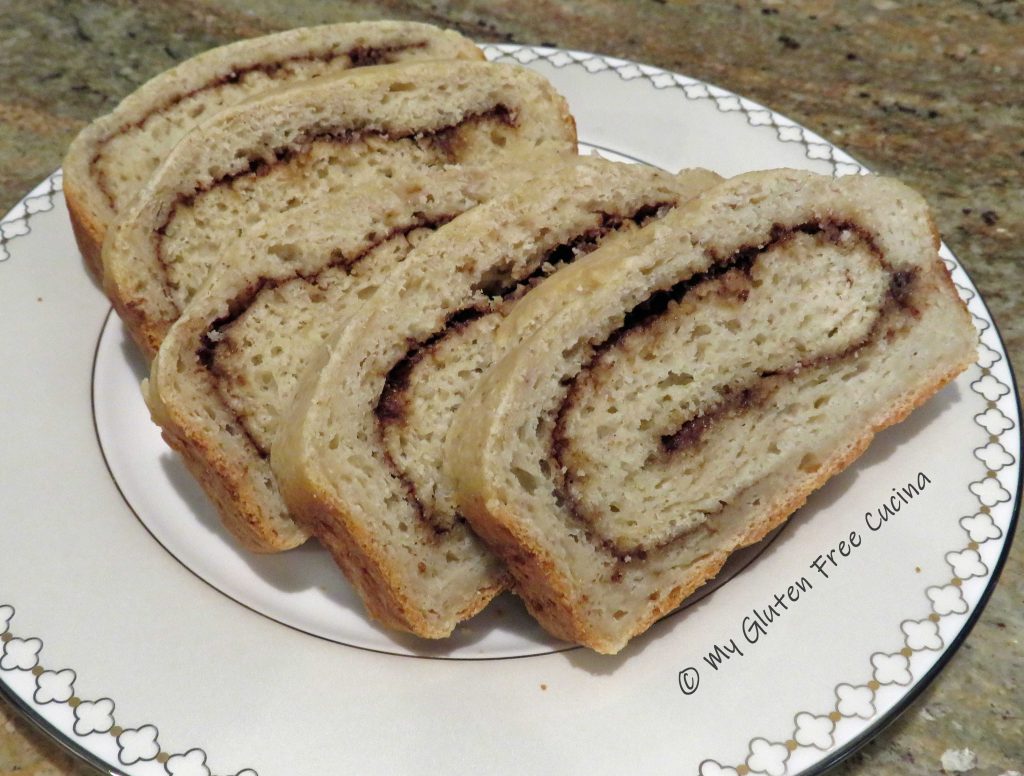
Did you see the Gluten Free Cinnamon Swirl Bread I posted a few weeks ago?  If not, check it out here!   I used that same recipe to make this overnight Apple French Toast for Easter.  The cinnamon swirl bread goes so well with apples!  This is a wonderful make ahead recipe for a brunch, get it ready the night before and bake in the morning!

Ingredients:

  • 1 loaf Gluten Free Cinnamon Swirl Bread
  • 1/2 cup dark brown sugar
  • 1/2 cup butter (1 stick)
  • 2 tbsp. maple syrup
  • 3 apples (I used Honey crisp)
  • 7 eggs
  • 1-3/4 cups milk (I used 2%)
  • 1 tsp. vanilla extract
  • 1/2 tsp. cinnamon
  • cooking spray

This post contains affiliate links.

Preparation:

Make the Cinnamon Swirl Bread 2 days before and store at room temperature.

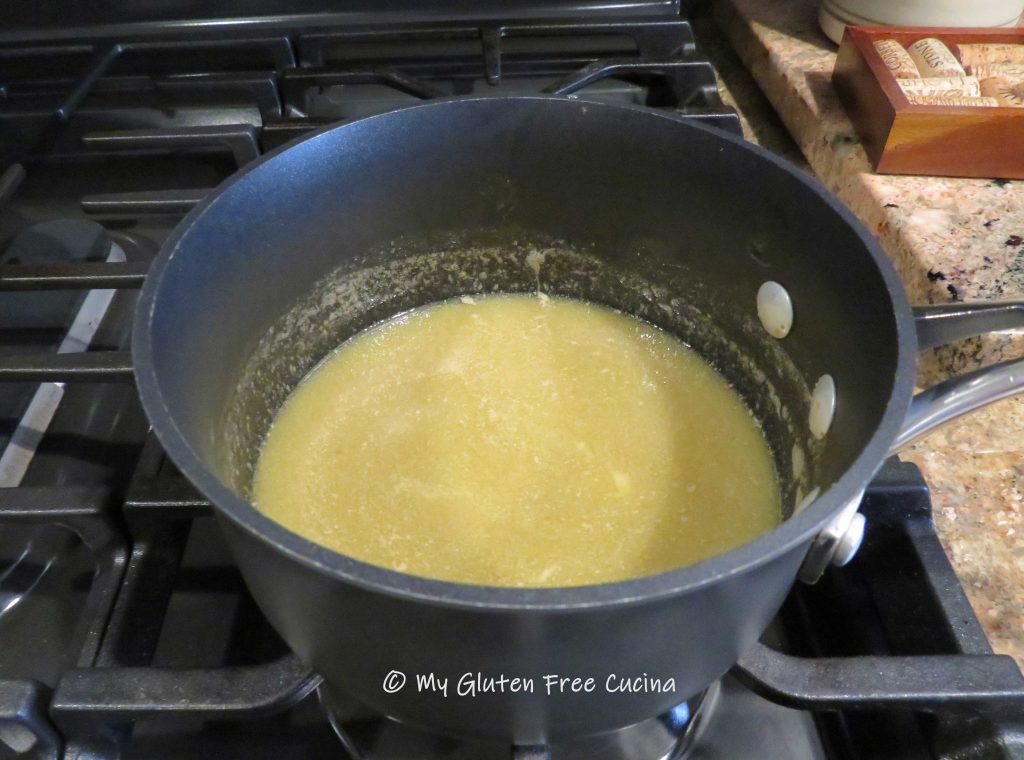
The night before your brunch, melt the butter, brown sugar and maple sugar in a small saucepan.  Stir occasionally to dissolve the sugar.

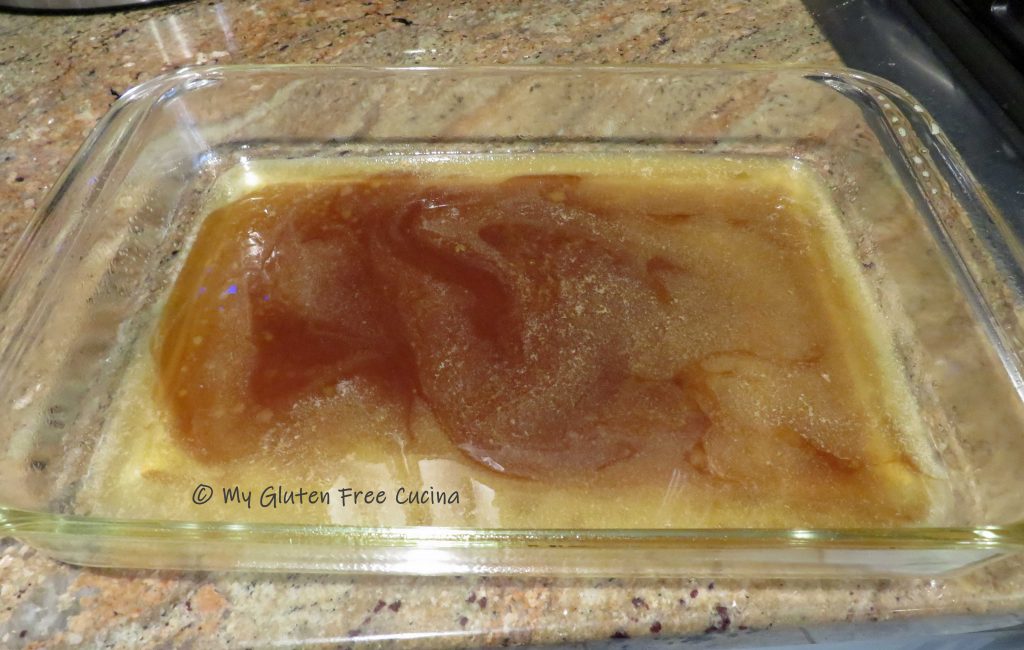
Mist a 9 x 13″ glass baking dish with cooking spray and pour the butter mixture into the dish.

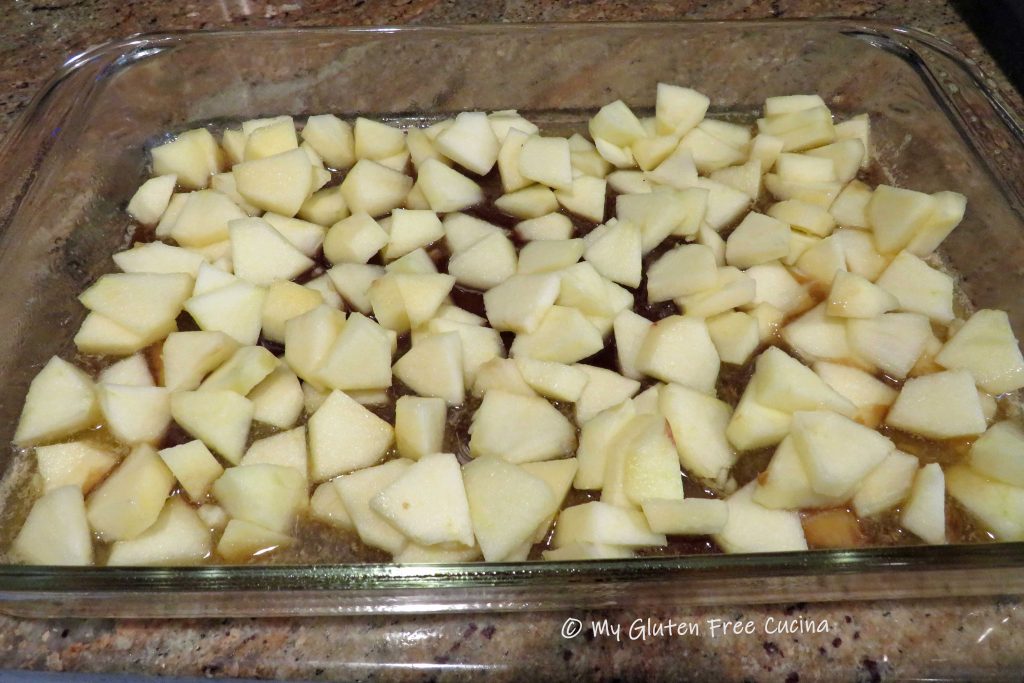
Peel and slice the apples and spread them over the butter mixture in a single layer.

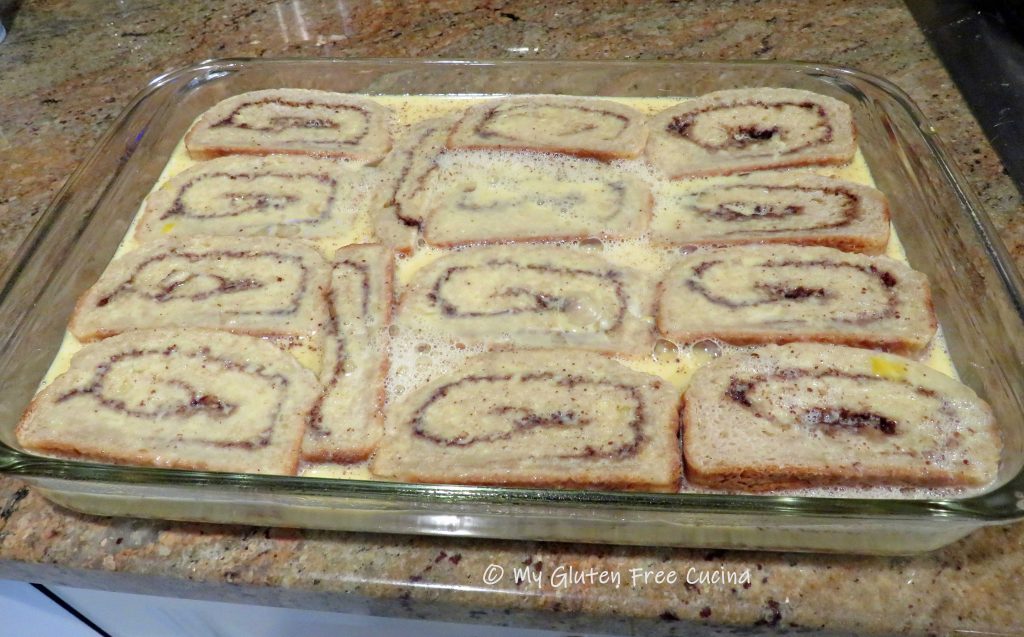
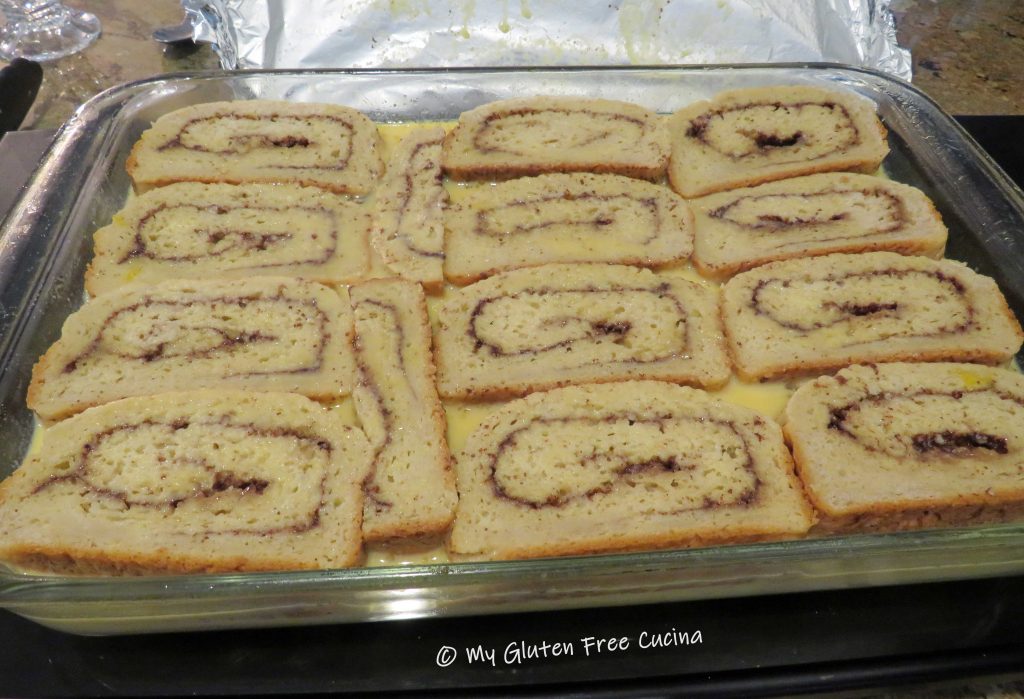
Cut the bread into 3/4″ slices and arrange over the apples.

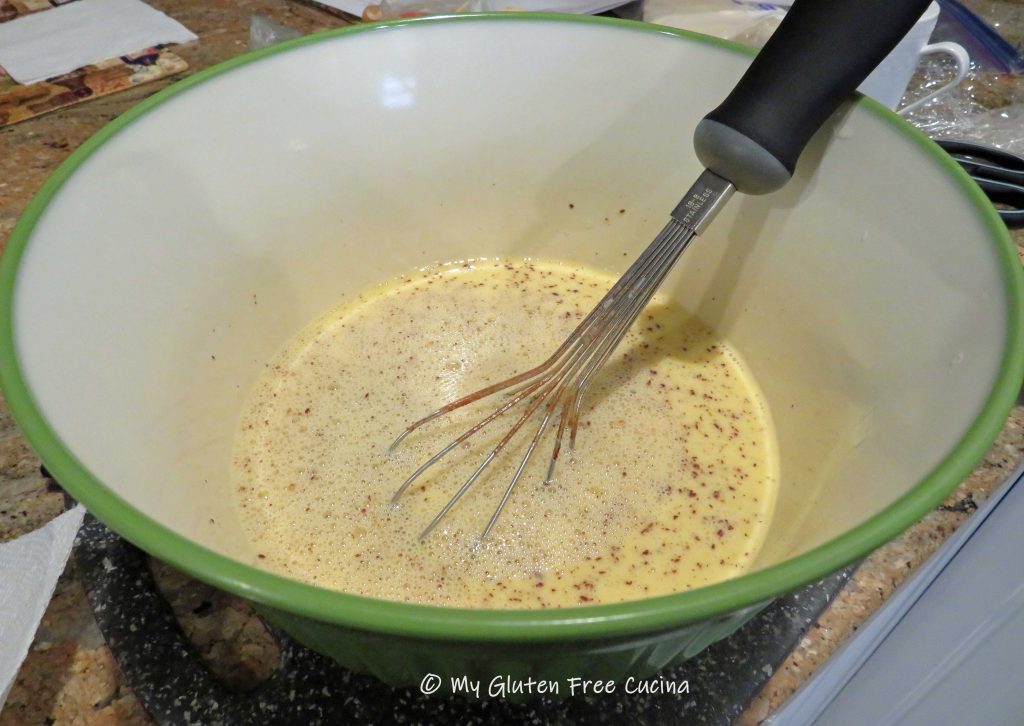
Whisk together the eggs, milk, vanilla and cinnamon.

Pour the egg mixture over the bread slices and press down with a spatula.

Mist a sheet of foil with cooking spray, cover the casserole and press down with your hands to be sure the bread slices are submerged in the egg mixture.  Refrigerate overnight.  Here’s what it should look like in the morning.

In the morning, take the baking dish out of the refrigerator and let it sit on the counter to warm up for at least 30 minutes before baking (going directly from refrigerator to oven may shatter a glass baking dish).  Bake uncovered for 40-50 minutes at 350º then broil for 2-3 minutes to finish.

You can dust with powdered sugar (optional) and serve with real maple syrup!

Notes ♪♫ There are many breads that will work well in this recipe.  Check out my Gluten Free Millet Bread that I often use for French Toast recipes.  Be sure to make the bread two days before assembling the casserole, a drier loaf will better absorb the eggs.

Print This Post Print This Post


Chocolate Hazelnut Rice Pie Tartlets

Rice Pie (Torta di Riso) is a traditional Italian dessert served at Easter.  When I was growing up, every Italian household had Rice Pie during Easter week and it is still widely enjoyed today.  You might be surprised to know that the recipe contains no flour at all and most of the ingredients are naturally gluten free!

This post contains affiliate links.

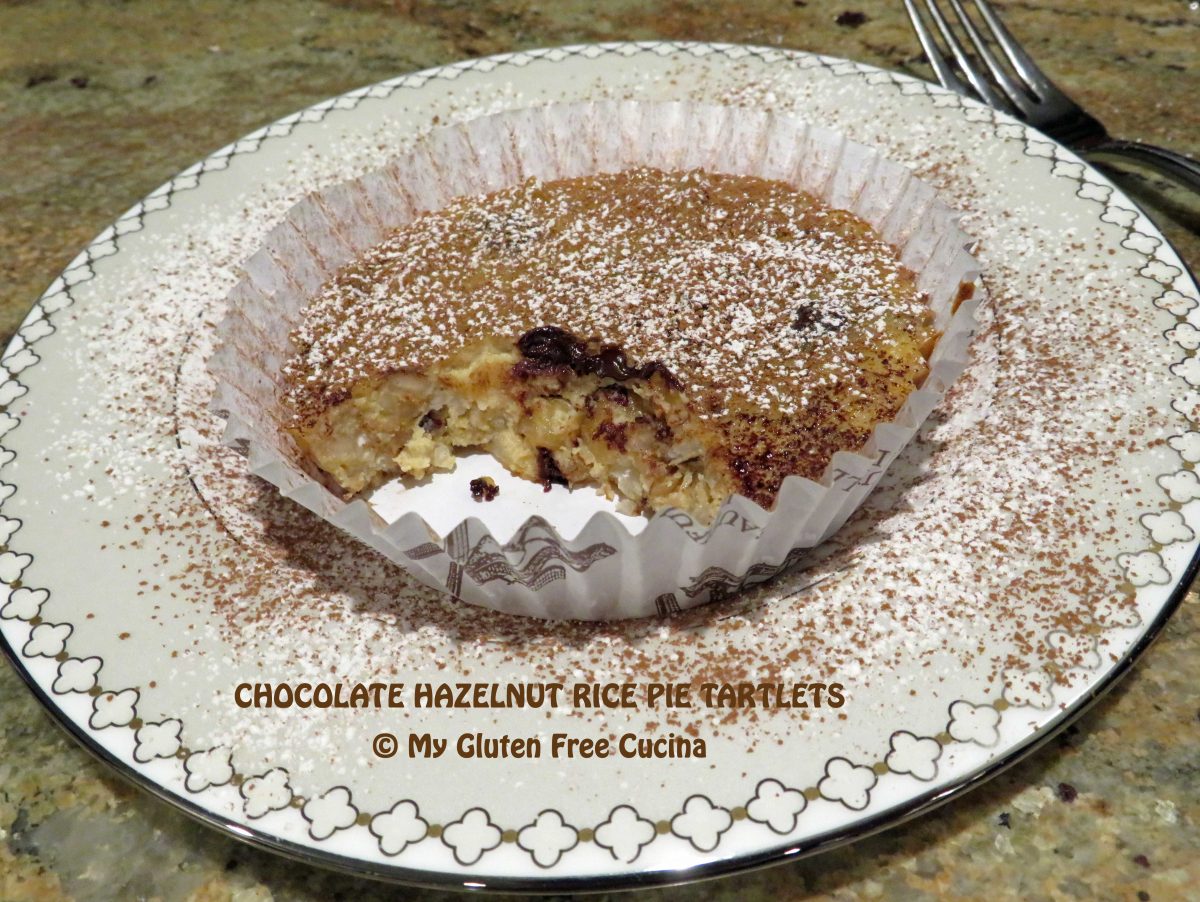
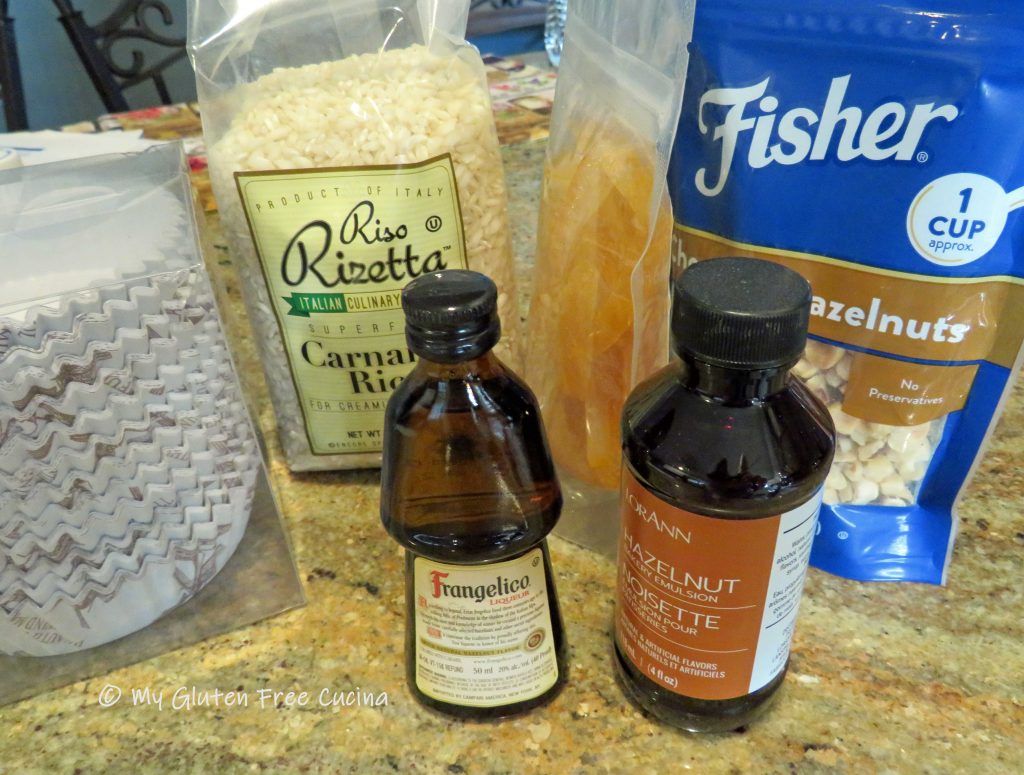
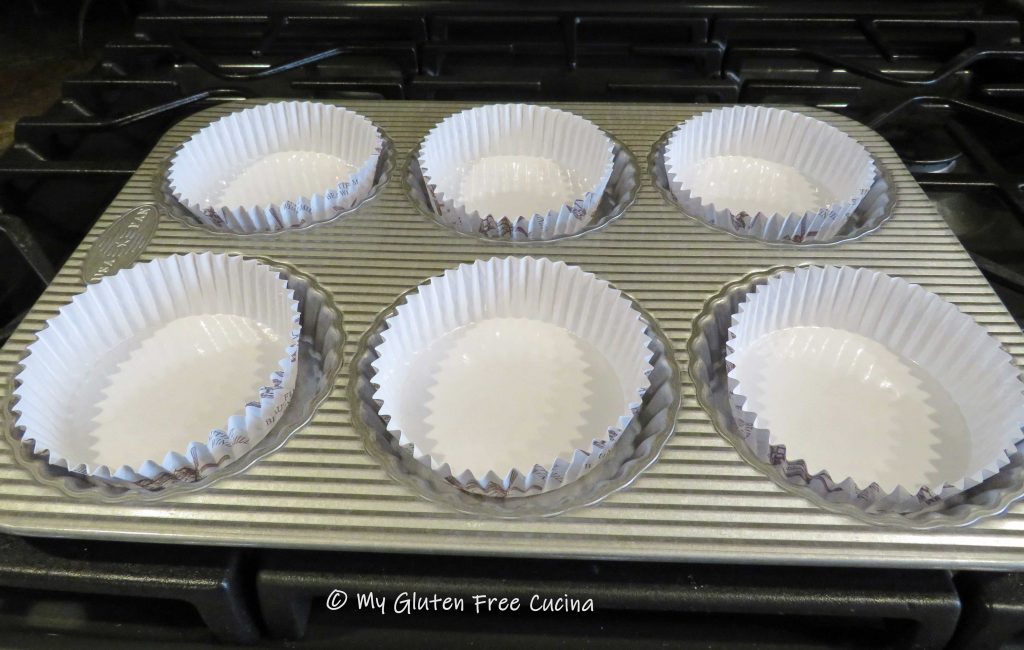
I jazzed up the plain rice pie we had as kids with toasted hazelnuts, candied orange peel and chocolate chips.  Instead of a pie dish, I opted for this mini fluted tart pan to create 6 individual servings.  Perfect for small Easter gatherings!

Ingredients:

Preparation:

Spread the hazelnuts on a baking sheet and bake for 5 minutes at 325°.

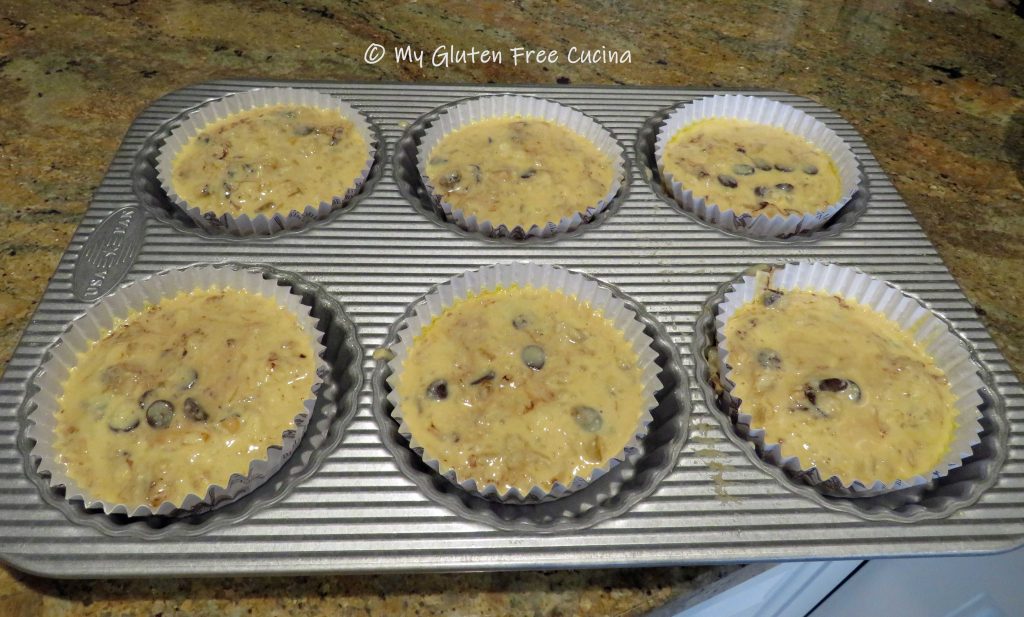
Line the tart pan with paper baking cups and mist with cooking spray.

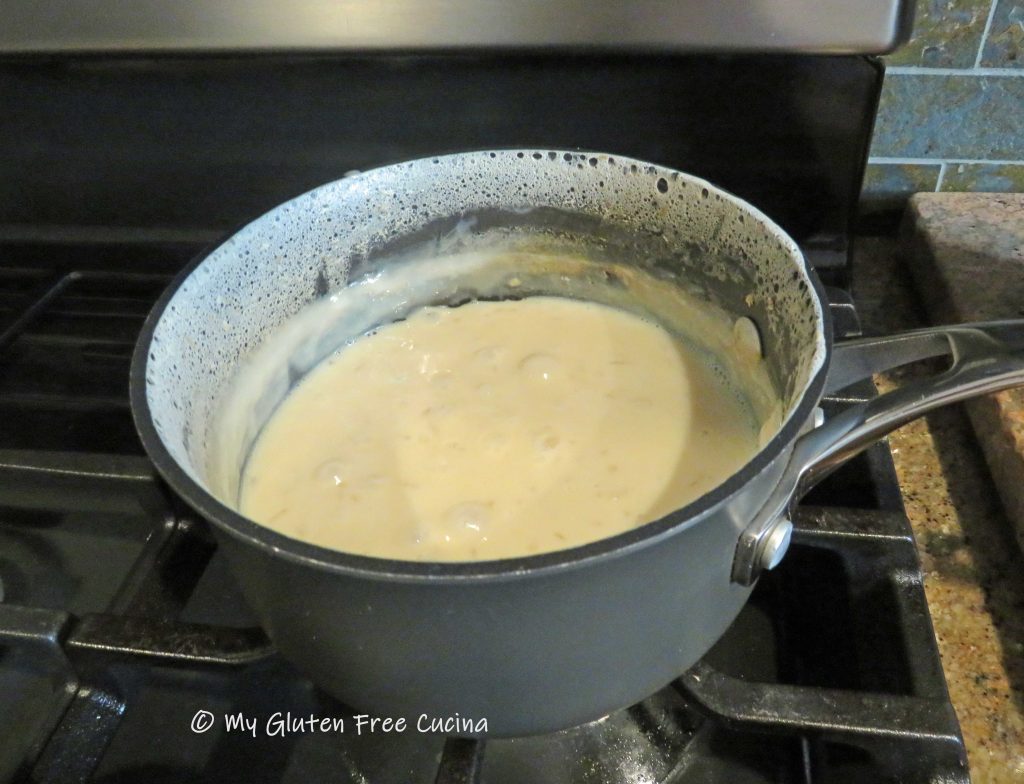
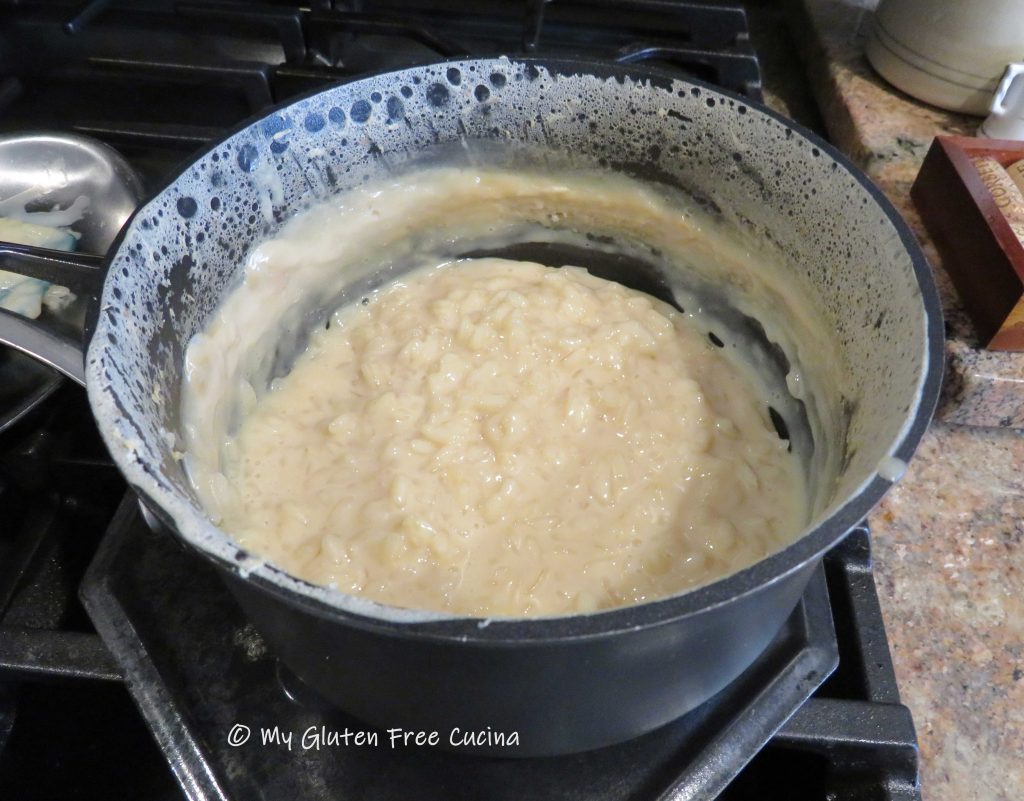
Add milk to a saucepan and heat to a simmer.  Add the rice and stir.  Next stir in the sugar, vanilla and ½ tsp. hazelnut extract.

Reduce the heat and simmer uncovered on low for 45 minutes.

Hint!  Do not walk away while the rice is cooking!  You will need to stir frequently and watch that it doesn’t burn or boil over!  

Remove the cooked rice from the stove, transfer to a bowl and let it cool slightly before combining the rice with the egg mixture (you do not want to cook the eggs).

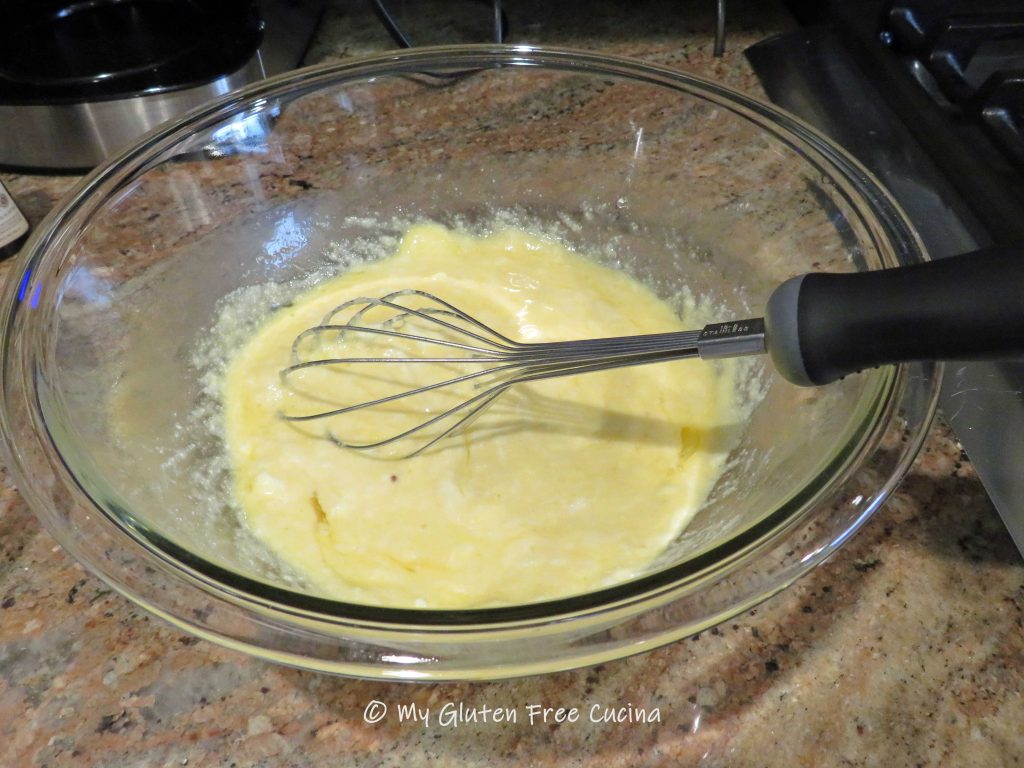
Whisk the eggs and ricotta in a large bowl. Add the remaining ½ tsp. of hazelnut extract.

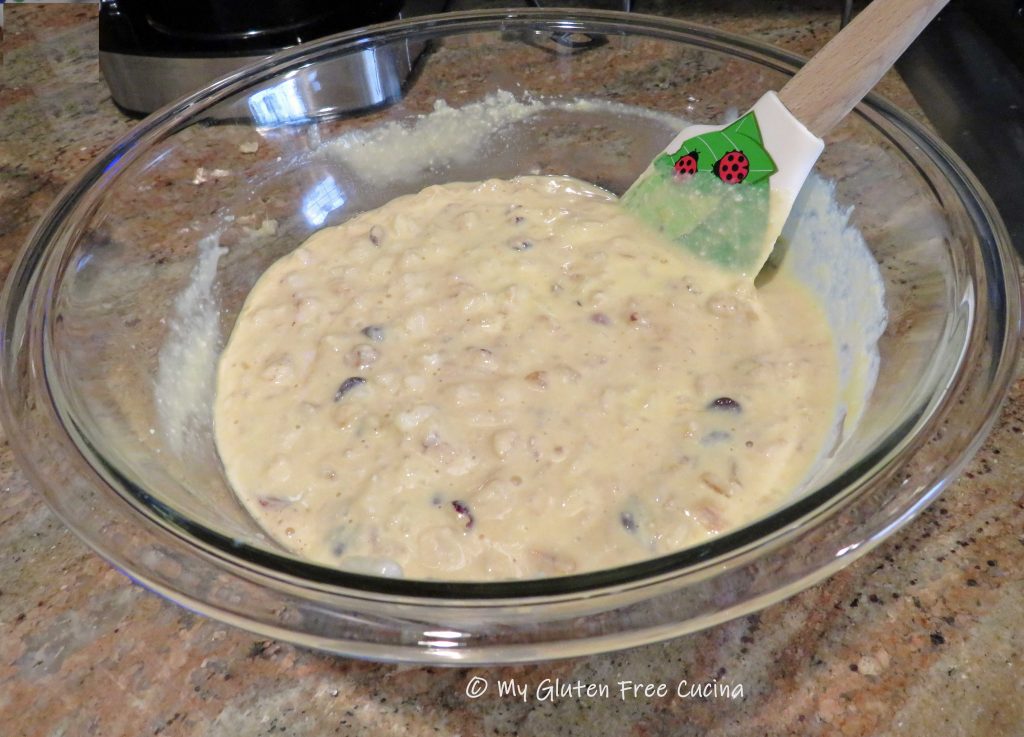
Fold in the toasted hazelnuts, candied orange peel and chocolate chips.

Gradually add the rice to the egg mixture, one scoop at a time to temper the eggs.  Stir well after each addition of rice until it is completely incorporated.

Divide the mixture evenly among the 6 cups, each should be about 2/3 full (they will rise to the top during baking).

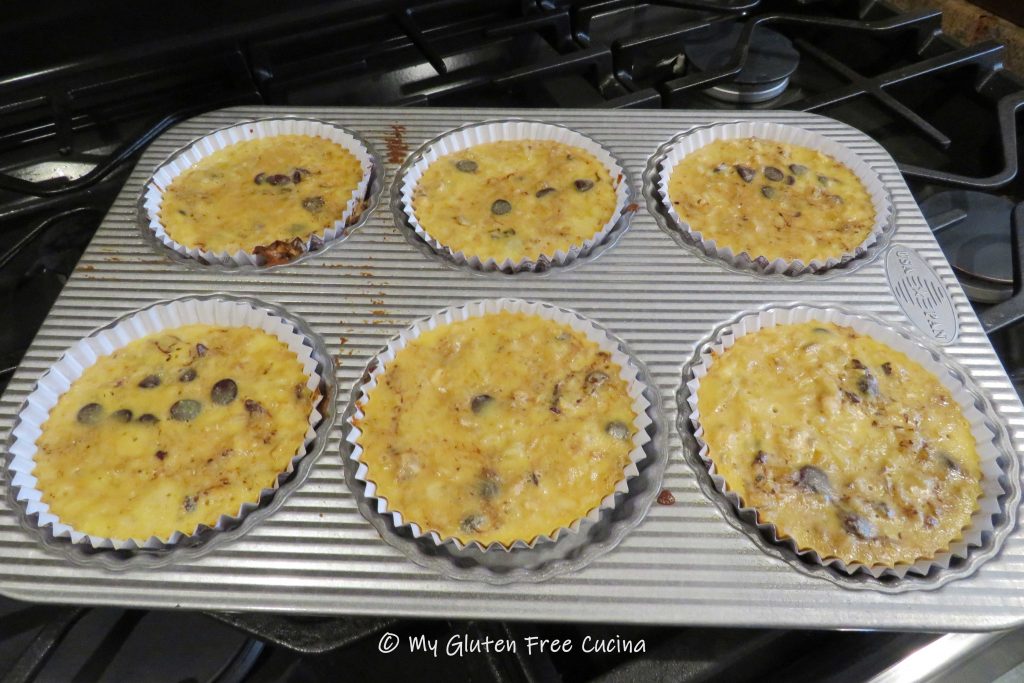
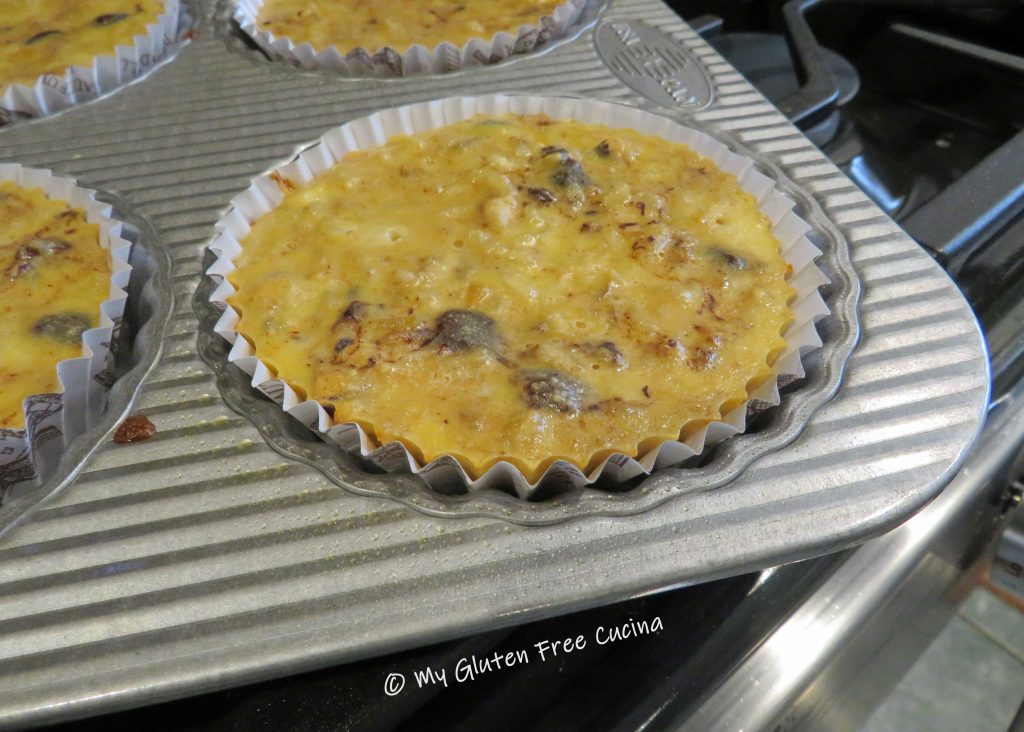
Bake at 325 degrees for about 25 minutes.  Check with a toothpick and touch the center with your finger (it should feel set, no liquid). Remove from the oven, and while still warm, brush the tops lightly with Frangelico (optional, if serving to adults).

Cool completely in the pan.

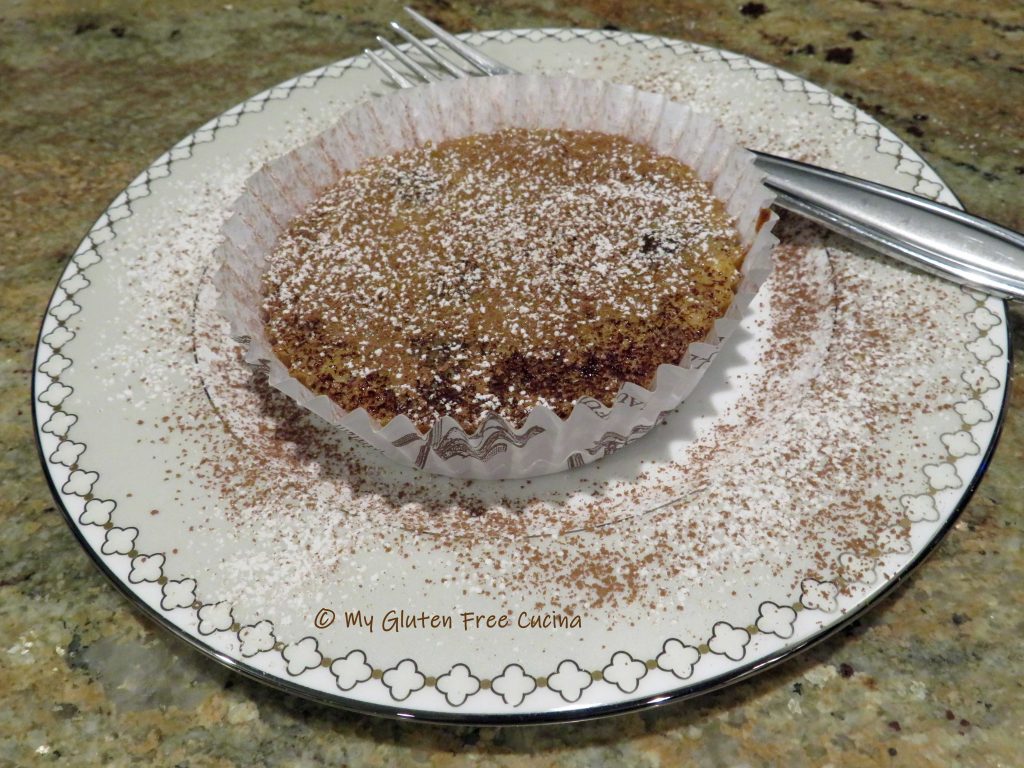
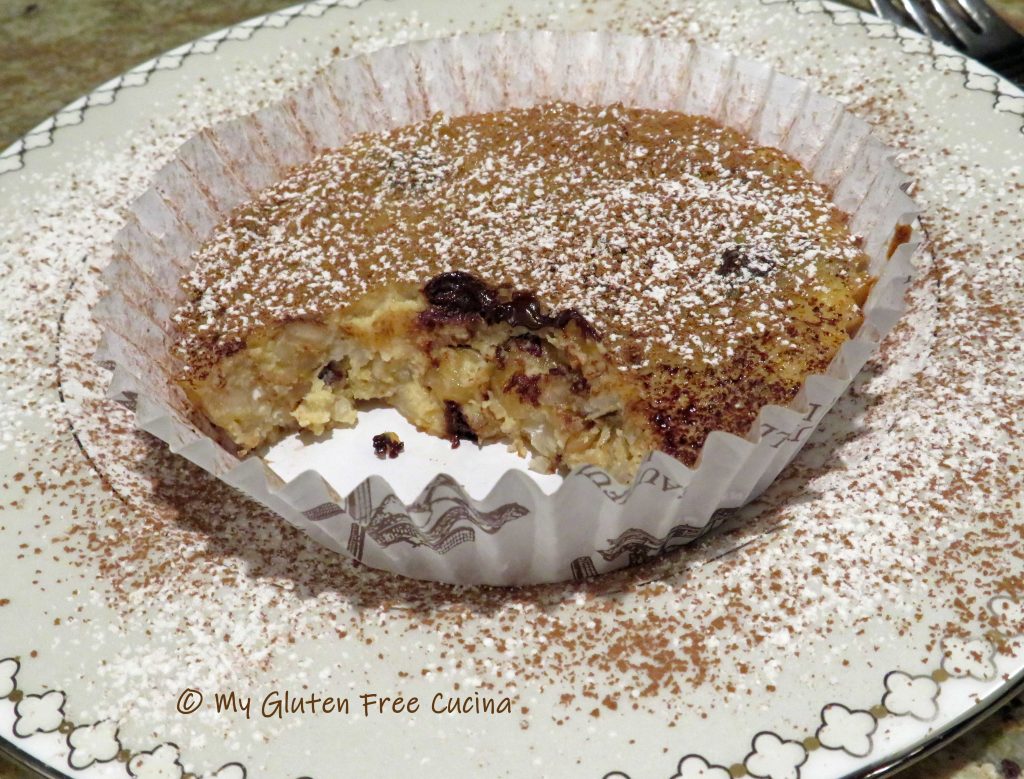
Serve the tartlets at room temperature or chilled.  Before serving, dust with cocoa powder and powdered sugar.

This showstopper of a dessert is bound to become one of your Easter favorites!  I know it will at our house!

Notes ♪♫ Carnaroli Rice is widely regarded as the best for making risotto and it is worth seeking out if you can’t find it at the grocery store.  It is a high-quality short grain rice with a wonderful texture that is perfect for making risotto that is creamy but firm.  If you cannot find Carnaroli rice locally, it is available here on Amazon or substitute Arborio rice.

Print This Post Print This Post


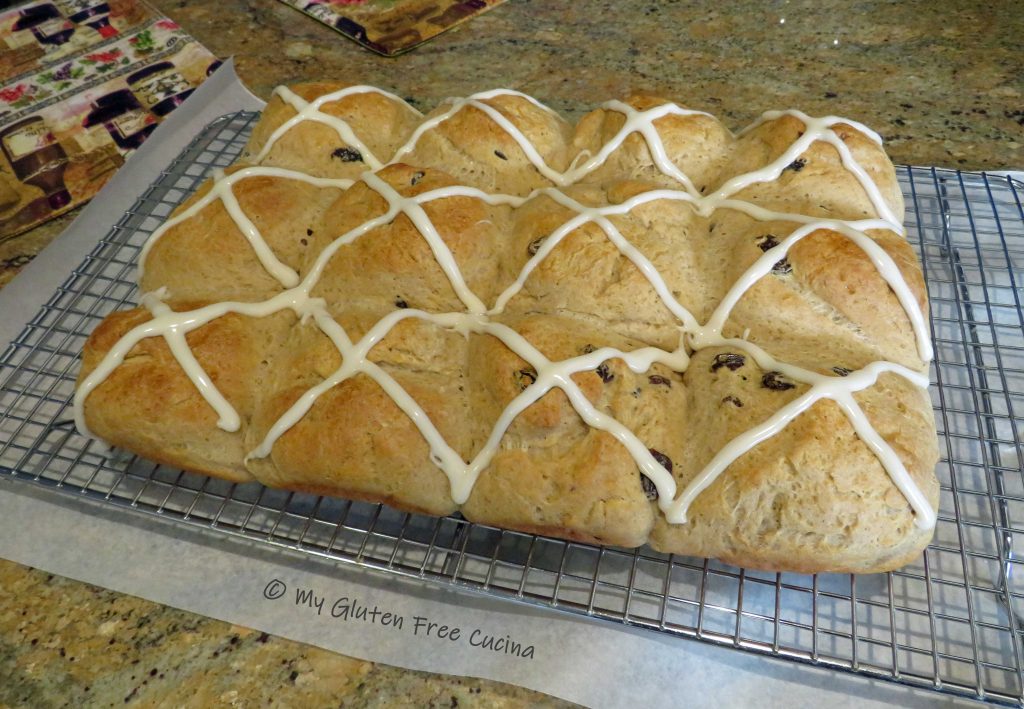
Gluten Free Hot Cross Buns

“One a penny, two a penny,
Hot-cross buns!
If you have no daughters,
Give them to your sons!”
~Mother Goose

This post contains affiliate links.

This recipe was adapted from one that I saved from the King Arthur website in 2012.  I used the Artisan Flour Blend from Better Batter (* see notes) and adjusted the liquid per instructions.  The verdict- amazing!  Hot Cross Buns were always an Easter favorite, and I am thrilled to be able to enjoy them again!

When you shop Better Batter and use my code MGFC30 at checkout, you will receive 30% off any non-sale item! 

Adapted from King Arthur Baking Company

Ingredients:

  • For the dough
  • 1/4 cup rum
  • 1/2 cup raisins (I used Sunmaid)
  • 2-1/2 cups milk, warmed
  • 2-1/4 tsp. instant yeast
  • 2 eggs plus 1 yolk (reserve whites)
  • 6 tbsp. butter, softened
  • 607 g. Better Batter GF Artisan Flour Blend
  • 1/4 cup brown sugar
  • 1 tsp. cinnamon
  • 1/4 tsp. cloves
  • 1/4 tsp. nutmeg
  • 1-3/4 tsp. salt
  • 1 tbsp. baking powder
  • 1 egg white, reserved from above for brushing
  • 1 tbsp. milk, for egg wash
  • For the Icing
  • 1 cup + 2 tbsp. powdered sugar
  • 1/2 tsp. vanilla extract
  • pinch of salt
  • 4 tsp. milk

Preparation:

Line a 9″ x 13″ baking dish with parchment paper and mist with cooking spray.

Place the rum and raisins in a small bowl to soak while you make the dough.

Microwave the butter on low for 30-45 seconds to soften.

Add milk to a microwave safe container and microwave 1-1/2 minutes. Whisk in the yeast and let it proof for 15 minutes.

Separate one egg and set aside the whites.

Whisk the yolk with the remaining 2 eggs.

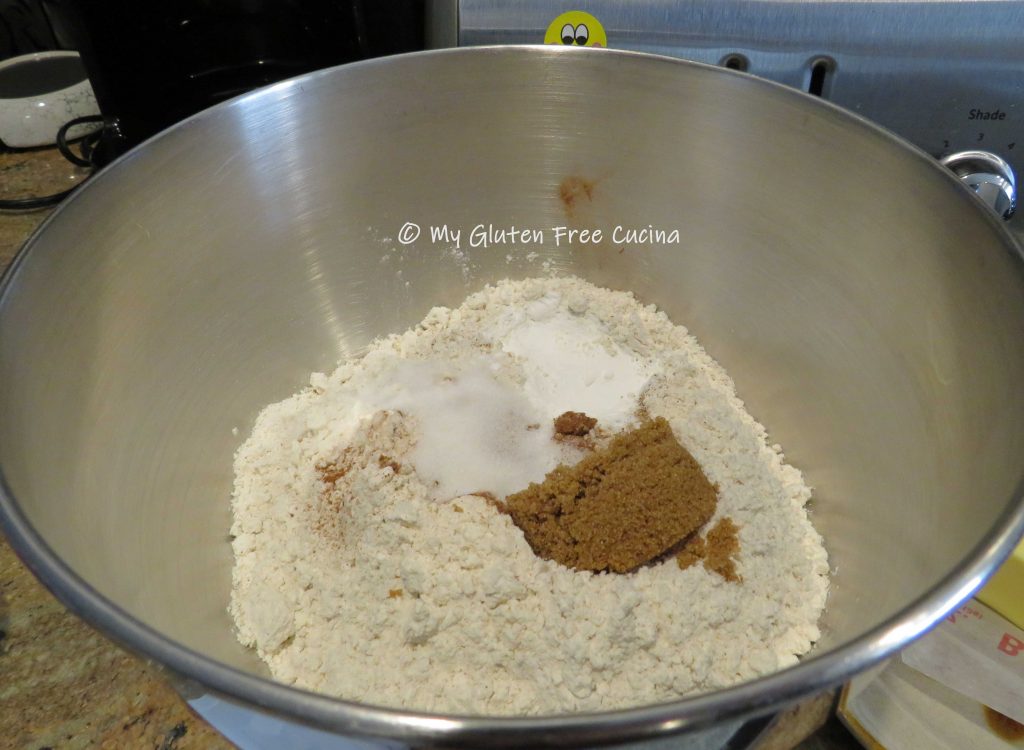
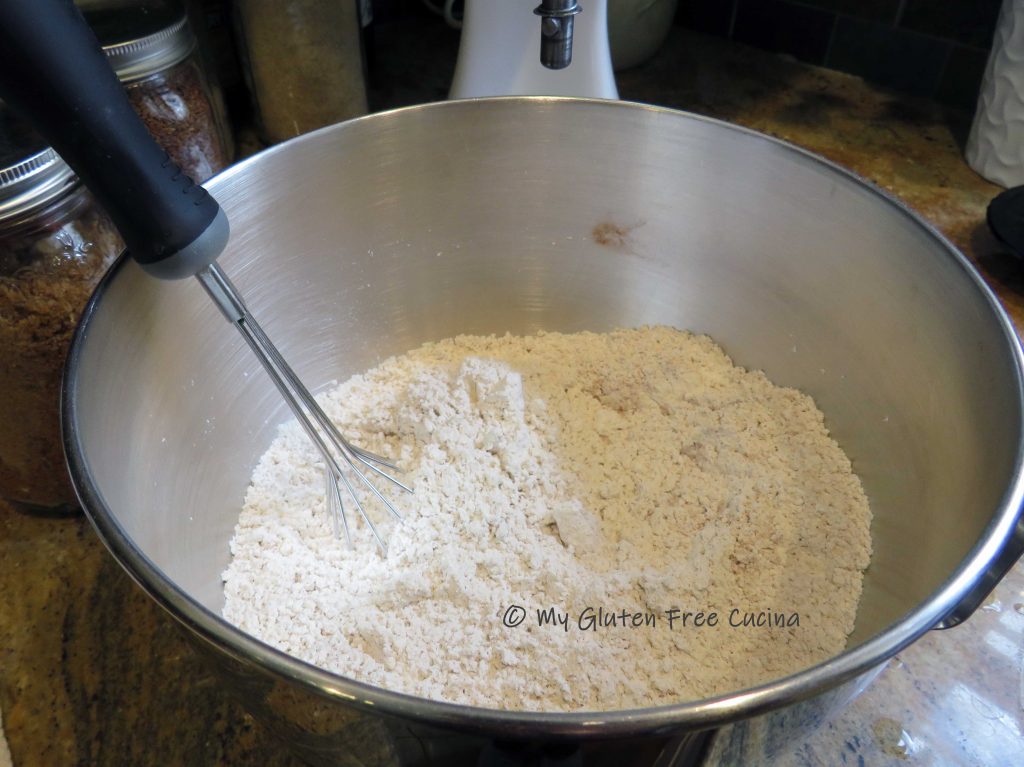
Add the dry ingredients, flour through baking powder, to the bowl of a stand mixer and whisk thoroughly.

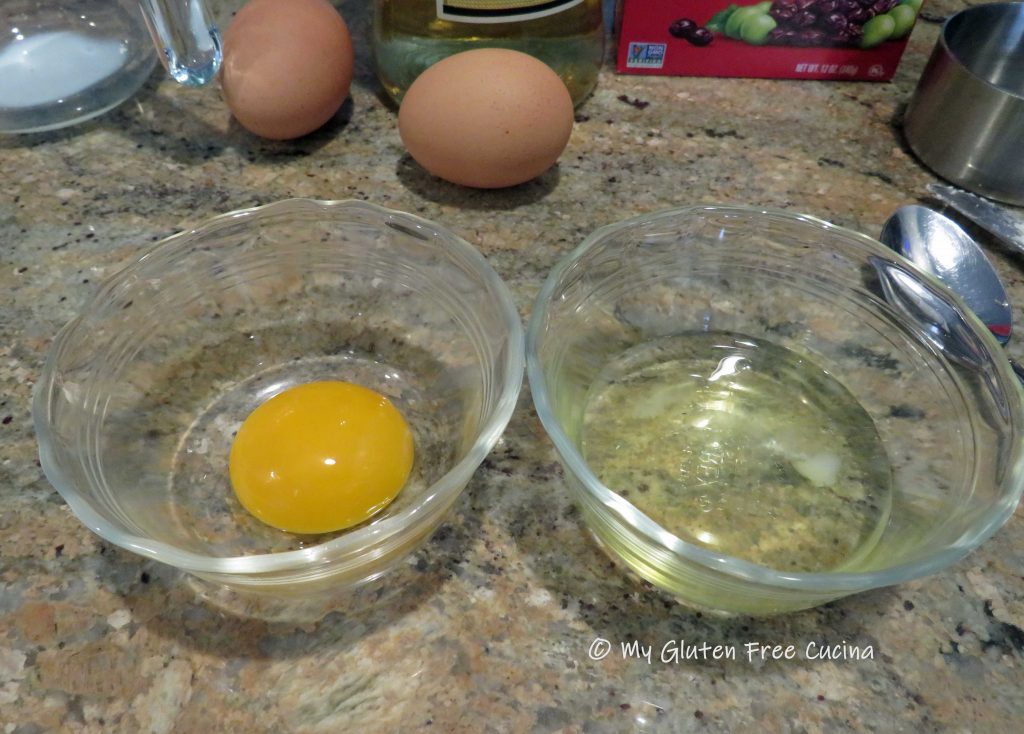
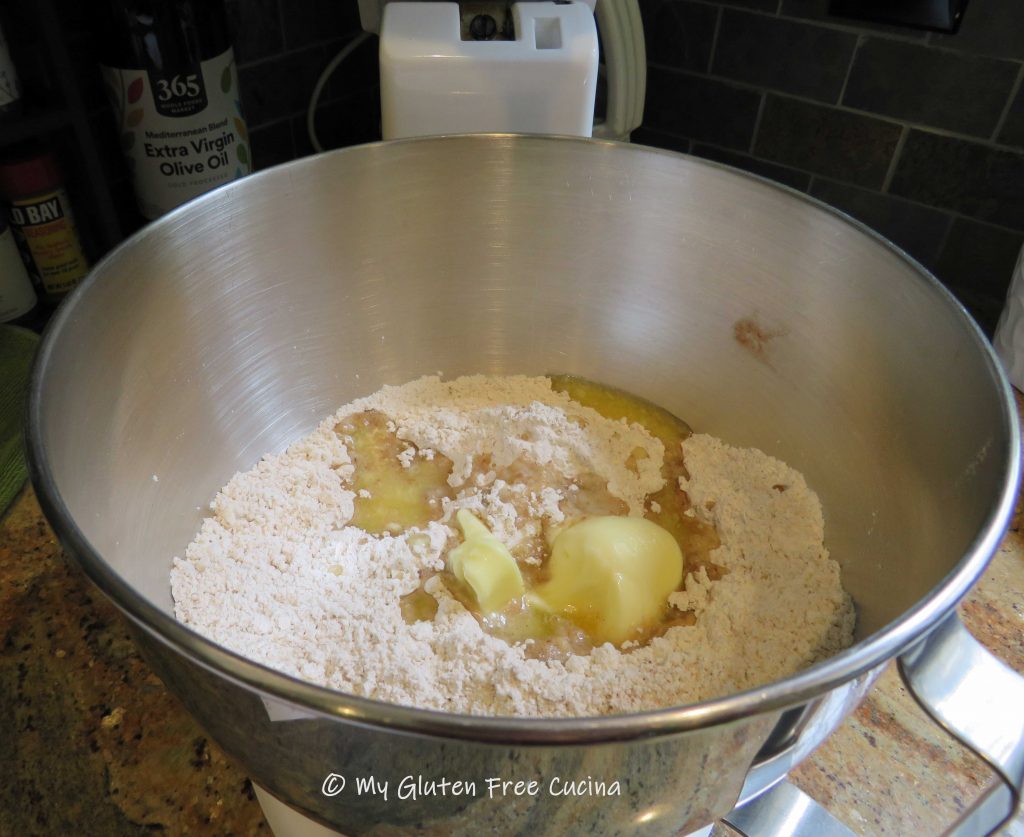
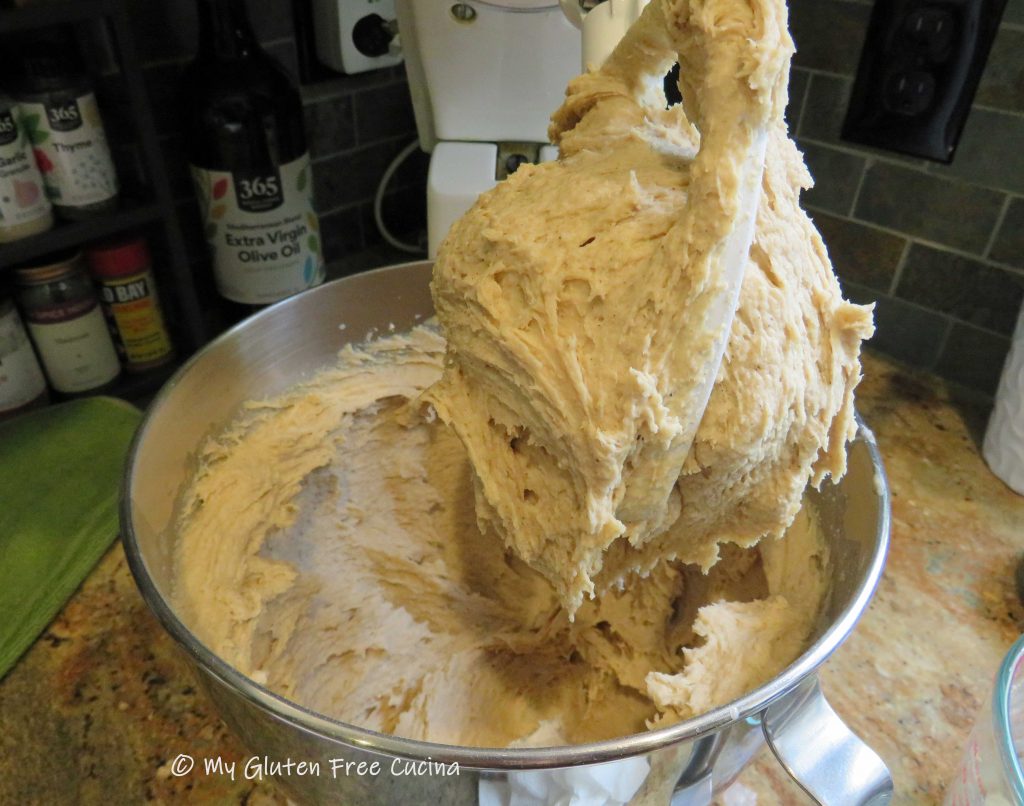
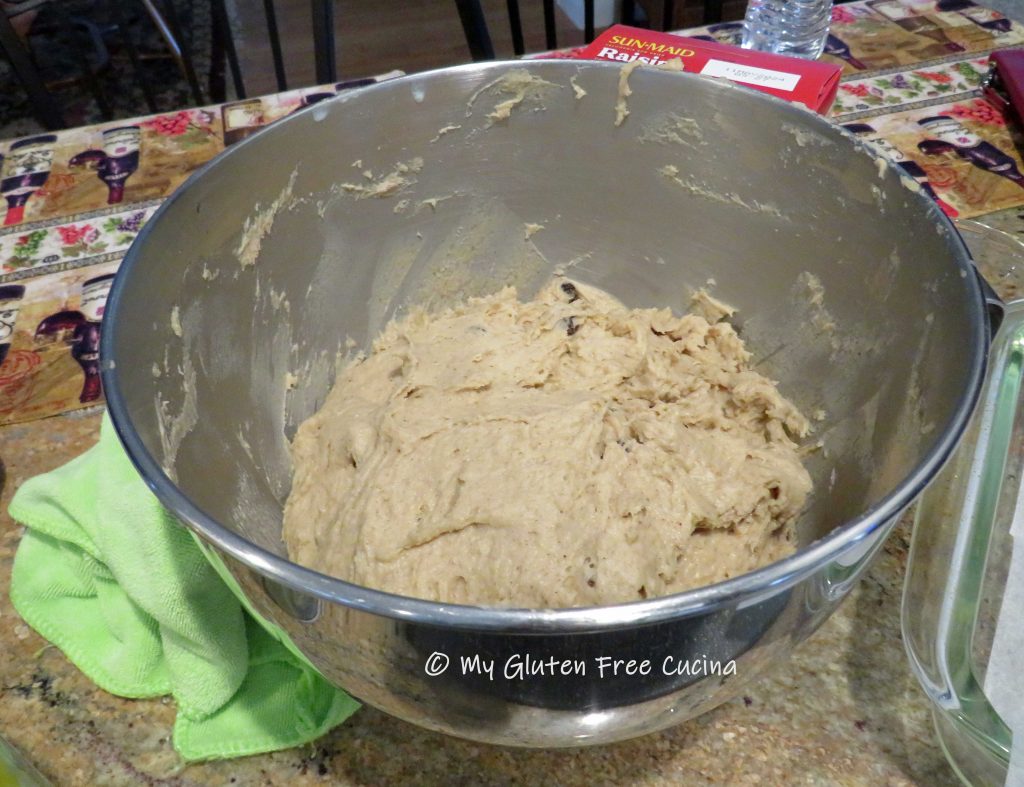
Add the butter, eggs and milk/yeast mixture and mix together on low with the paddle attachment.  It will look like wet pancake batter at this point.  Increase the speed and beat for 5 minutes to form a soft, smooth dough.

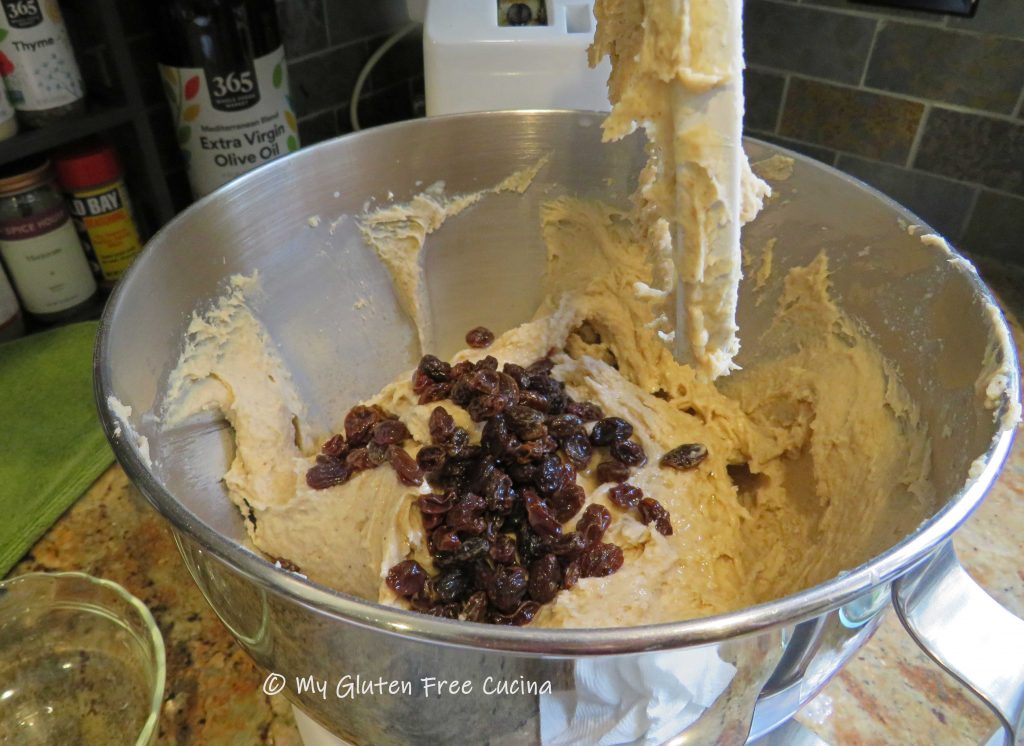
Finally, add the rum-soaked raisins and their liquid, mixing for one more minute to incorporate.

Gather the dough together in the bowl, cover and let it rest for 10 minutes.

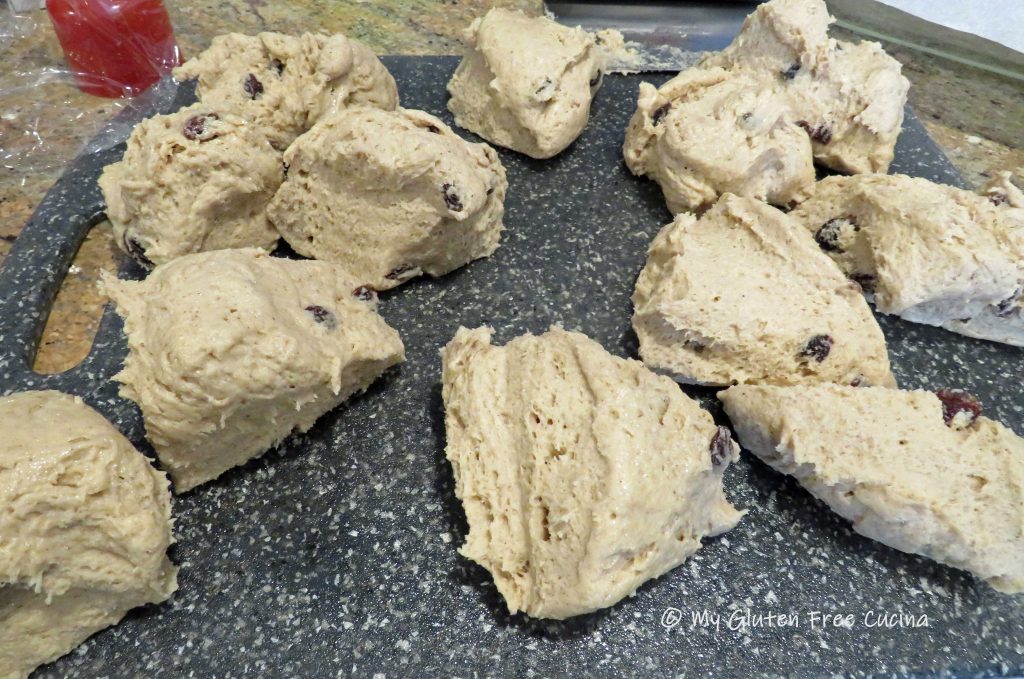
Turn the dough out onto an oiled cutting board (mist it with cooking spray) and use a bench knife to divide it into 12 equal pieces.

With oiled hands, roll each piece into a ball and arrange in the prepared pan.

Cover the pan with plastic wrap, and let the buns rise until puffy and touching one another, about 20 minutes.  Preheat the oven to 375º.

Whisk the reserved egg white with 1 tbsp. milk, and brush over the buns.

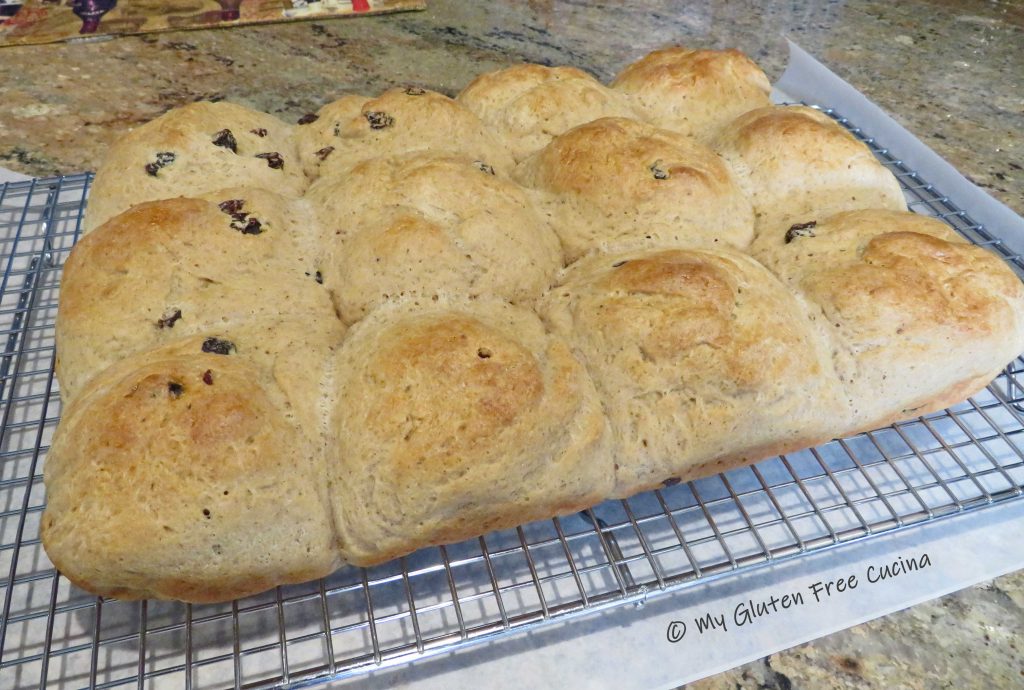
Bake for 30 minutes, or until golden brown and the internal temperature reaches 205º (check with a thermometer).

Remove from the oven and cool completely before frosting (** see notes)

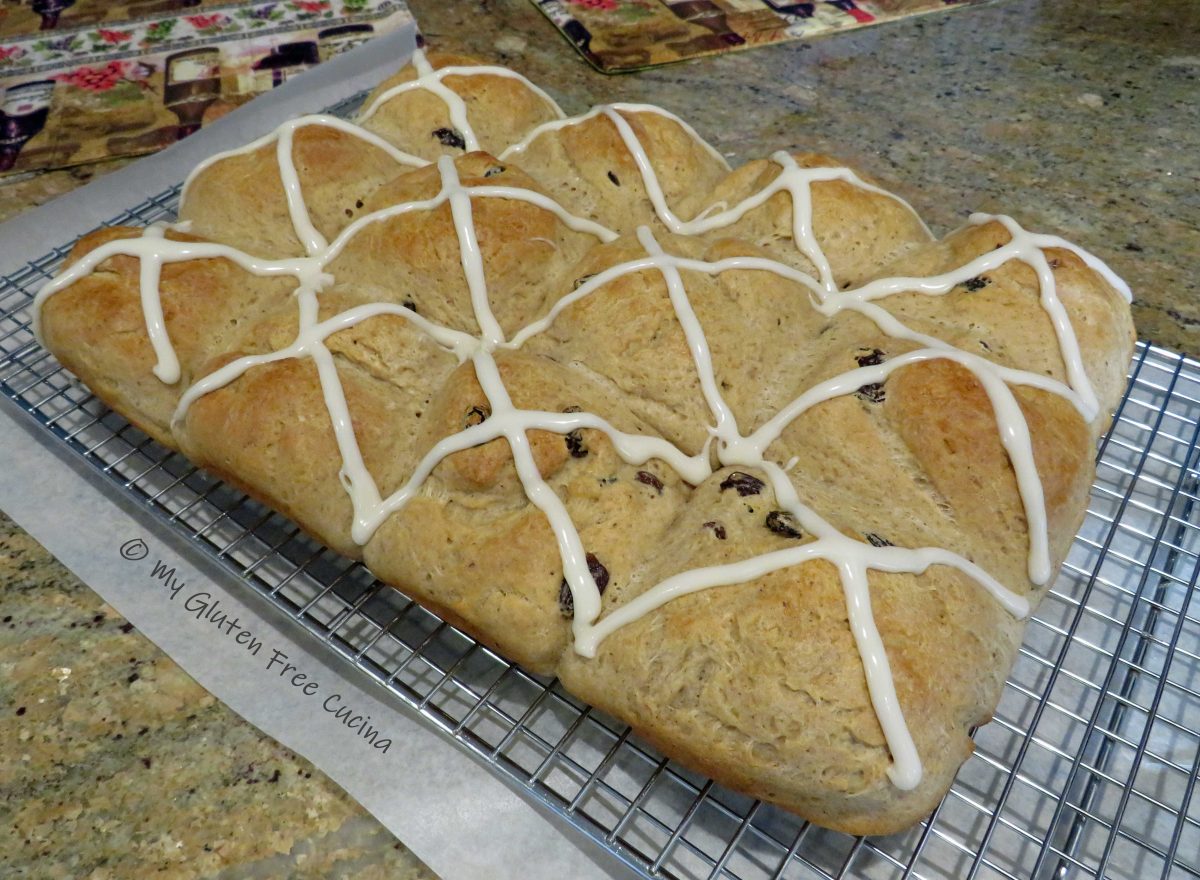
Whisk the icing ingredients together, and spoon into a pastry bag.  If you don’t have a pastry bag (I don’t), use a clean zip top plastic bag with the tip of one corner snipped off.  Pipe the cross over each roll.

Be sure the buns are completely cooled before frosting.  They smell so good, you will want to eat them right out of the oven.  Try to resist, because they need time to set (or the centers may be gummy).  Plus, if you frost the buns while they are warm the glaze will melt away.  Patience!

Notes ♪ I used and recommend Better Batter Artisan Flour Blend for this recipe.  This flour requires twice the liquid of typical recipes, so if you use another flour, you will need to adjust the liquid to flour ratio.  Start with half the milk (1-1/4 cup) and only add more if needed, 1 tbsp. at a time.

Notes ♫ Do you need special cookbooks for gluten free baking?  During the first year following my Celiac diagnosis I donated most of my old cookbooks, thinking I could never use them again.  I was so wrong!  I wish that I had known the truth, that most mainstream recipes can be adapted to gluten free, often with an exchange of one or two ingredients!

Print This Post Print This Post

Megan’s Gluten Free Irish Soda Bread

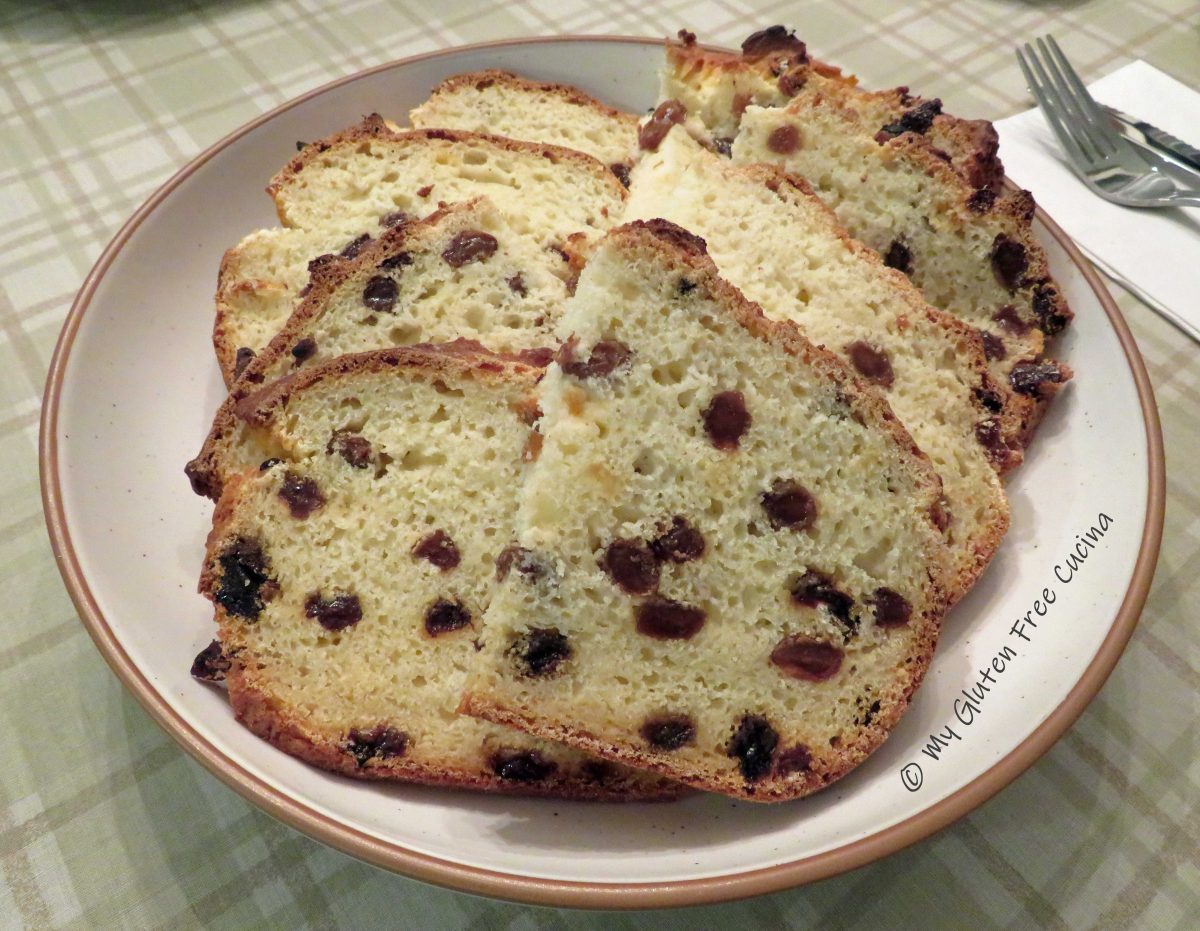
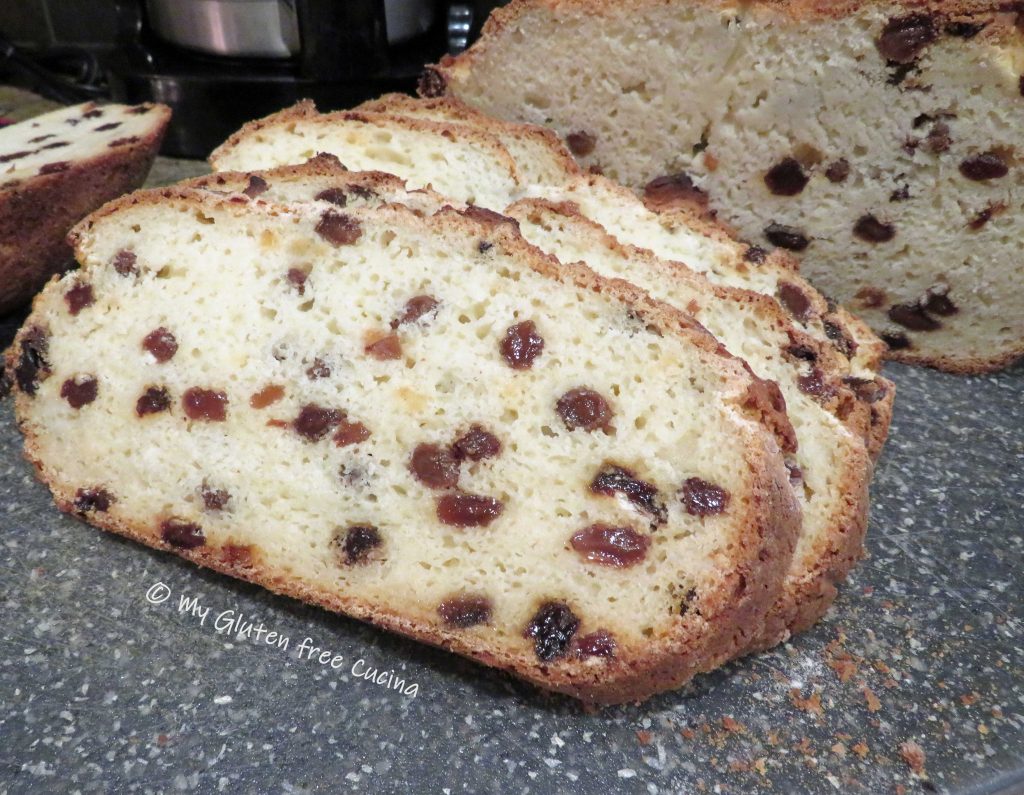
St. Patrick’s Day is right around the corner, and I can’t wait to make this delicious Gluten Free Irish Soda Bread.  The recipe comes to us courtesy of Megan at “Megan P Gluten Free”, who shared the recipe with me last year.  One look at this bread and I knew that I had to make it, especially when I learned that she used my favorite flour, Better Batter!

Thank you, Megan, for the recipe!  You can follow Megan on Instagram, where she shares great content on how to travel, cook and eat gluten free!  Be sure to visit and tell her I sent you!

This post contains affiliate links.

Megan’s Lucky Gluten-Free Irish Soda Bread 

Ingredients:

Note:  When you shop Better Batter and use my code MGFC30 at checkout, you will receive 30% off any non-sale item! CLICK HERE

Preparation:

Preheat the oven to 375°F.  In a large mixing bowl, combine the sugar, flour, baking powder, baking soda, salt, raisins, and caraway (if using).  Stir until the mixture is thoroughly combined and the raisins are fully coated with the flour mixture.

In a separate bowl, mix together the yogurt, buttermilk, and eggs until combined.  Make a well in the middle of the dry mixture.  Pour the wet ingredients into the dry.  Mix the dry and wet ingredients together until well combined with a spatula – no mixer or beater required.

The batter will be slightly sticky.  Grease an 8” round pan (see notes***) and sprinkle with a very small amount of flour.  (I added a few strips of parchment for extra insurance.)  Spoon the batter into the pan.  Gently press the dough with your fingers, leaving the rough surface for an authentic look, but you can smooth it down if you prefer.  Sprinkle a very small amount of flour on top.  Take a paring knife and cut a cross on the top of the loaf.  Place into the hot oven on the middle rack and bake for 60 minutes.  Then cover loosely with aluminum foil if already golden brown and bake for another 20-25 minutes or until the outside is firm and crusty.

The loaf should sound hollow when tapped when it is cooked through.  Remove from the oven and let cool for 10 minutes before turning out onto a wire rack.  Allow the loaf to fully cool before slicing. Slather with good quality Irish butter and enjoy!

Notes ♪♫

**Megan’s recipe called for 4 cups of flour, which she measured by spoon and level method.  I always bake by weight and used 600g. of Better Batter Original Blend (converted at 150g. per cup).

***Megan used an 8″ cake pan.  I used my 8” KAF bread baking bowl and it was just perfect to create a nice round loaf.  You can find the bowl here on the King Arthur website.

Print This Post Print This Post

Gluten Free Sausage Cheese Ball Appetizers

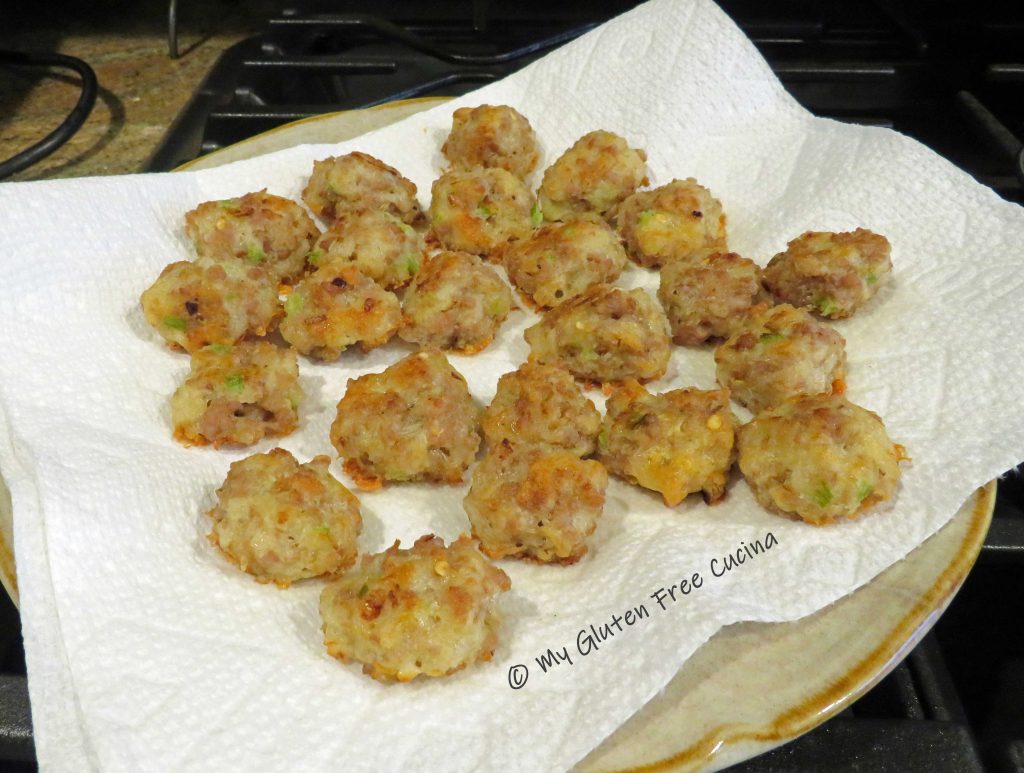
These little one bite appetizers are the bomb!  Proof that gluten free does not have to be complicated, this easy recipe is perfect for all your party and game day get togethers.  You may want to make a double batch, they’re that good!

This post contains affiliate links.

I used Premio Mild Italian Sausage in this recipe, but you can change it up and use a sweet or hot sausage, just check ingredients for gluten.

For the pancake/biscuit mix I used and recommend Better Batter.  It works well in this recipe, and no one will know it’s gluten free!  Plus, this mix has so many other uses, you know the extra won’t go to waste.

Ingredients:

  • 2 tbsp. onion, small dice
  • 2 tbsp. celery, small dice
  • 1 tsp. olive oil
  • 1/2 cup mild cheddar cheese
  • 3 tbsp. gluten free pancake/biscuit mix
  • 1/4 tsp. garlic powder
  • 1/8 tsp. crushed red pepper
  • 6 oz. mild Italian sausage (about 2 links), casing removed
  • 1/4 cup egg whites
  • cooking spray
  • 1/2 cup gluten free BBQ sauce, for serving

Preparation:

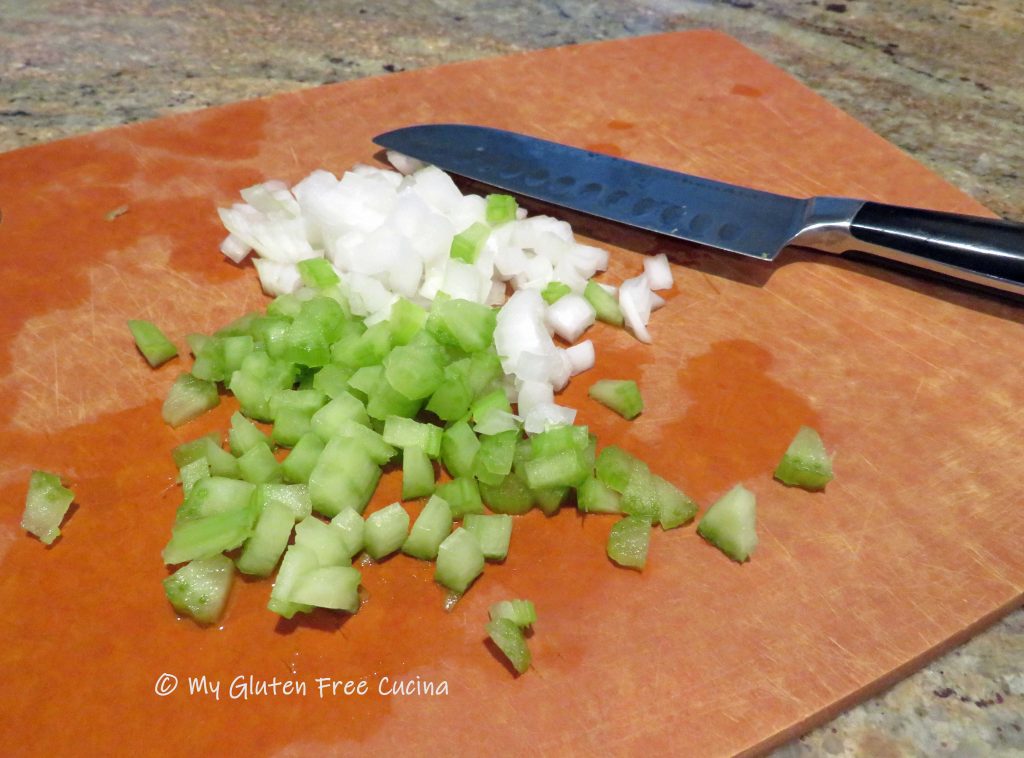
Chop the onion and celery into 1/4″ pcs.  Add to a small nonstick skillet with 1 tsp. olive oil and cook over medium heat until translucent.  Set aside to cool.

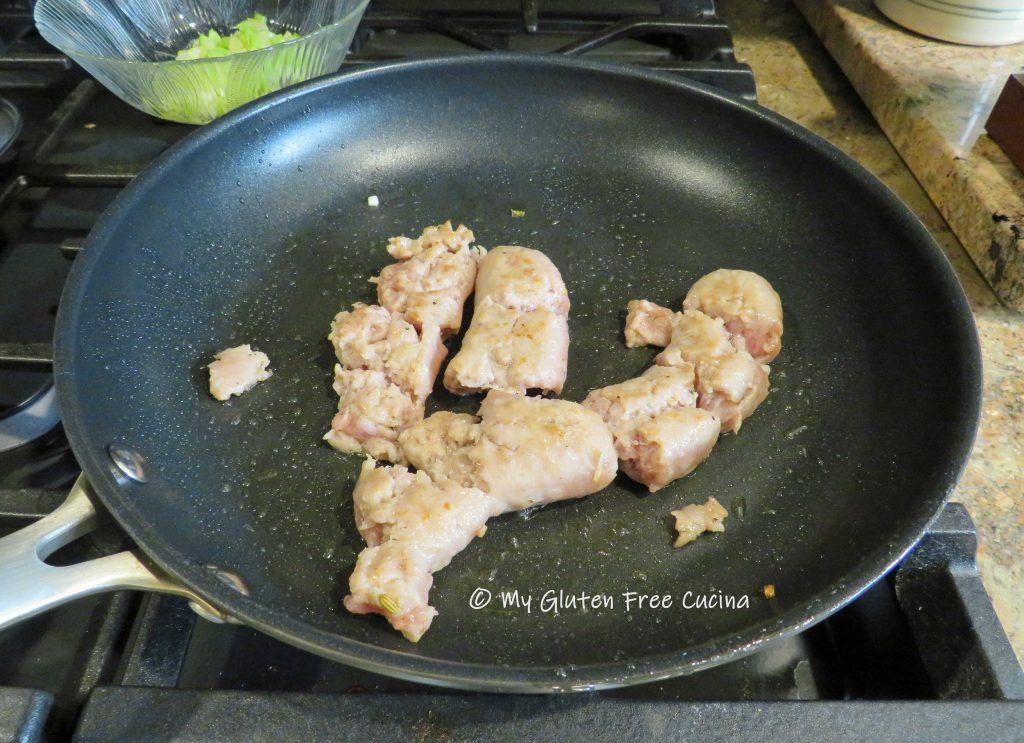
In the same skillet, partially cook the sausage.

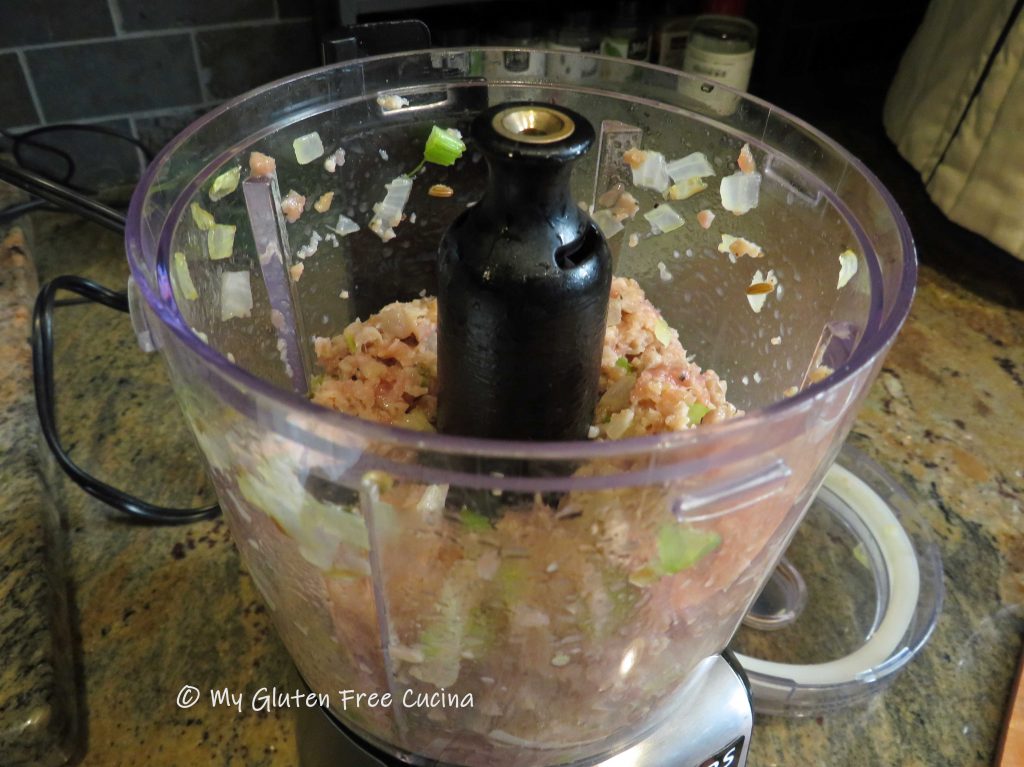
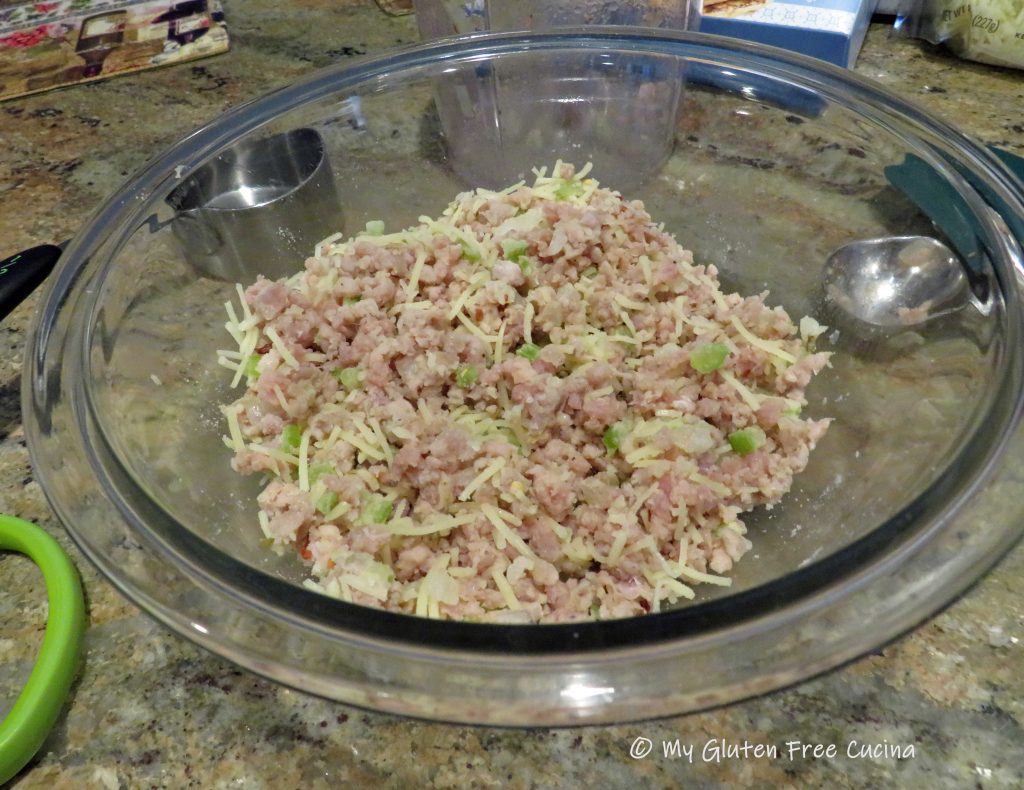
Transfer the sausage, onion and celery to an electric chopper and pulse a few times to break it up.

Mix the cheese, pancake/biscuit mix, garlic powder and crushed red pepper together in a small bowl.

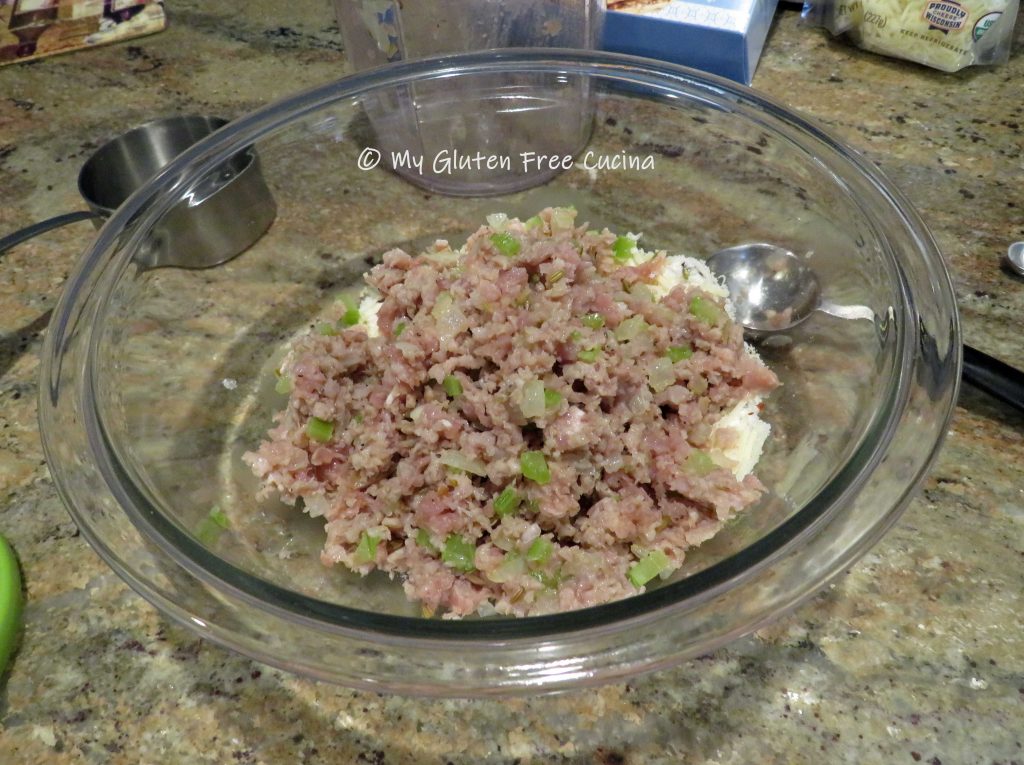
Add the sausage, onion and celery mixture with 1/4 cup egg whites.

Using your hands, gently toss and mix everything together without squeezing.

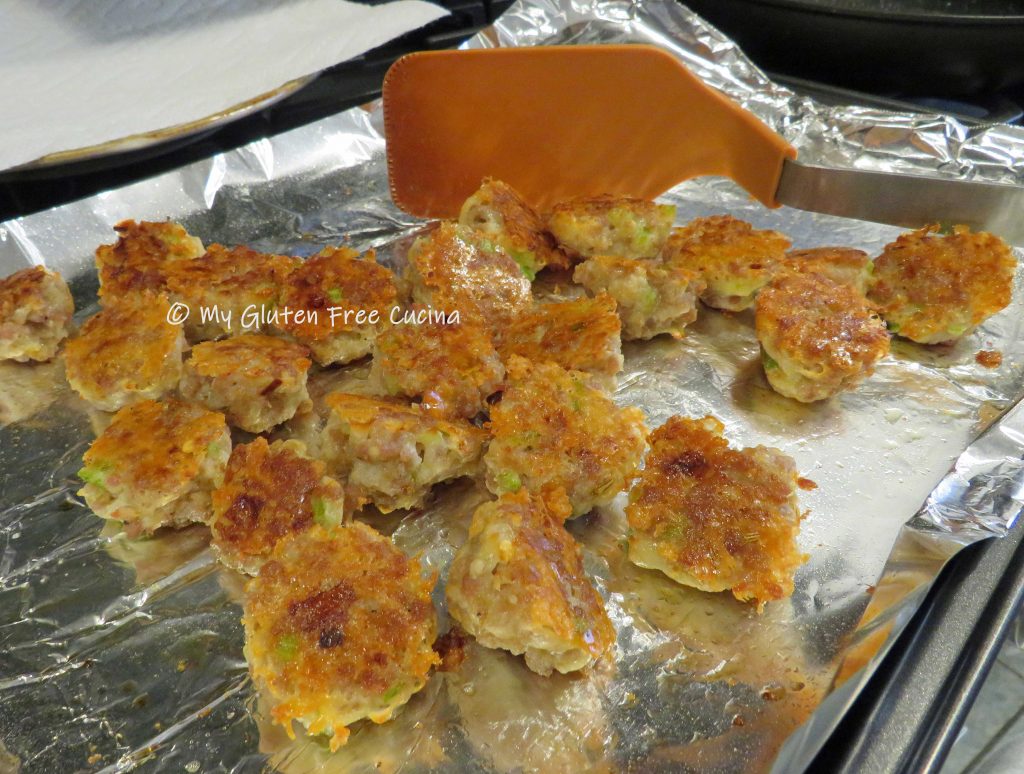
Preheat the oven to 375º.  Line a sheet pan with foil and mist with cooking spray.  Form 1-inch meatballs and arrange them on the sheet pan with space in between.

Bake for 15 minutes, turning once.

Drain on paper towels.
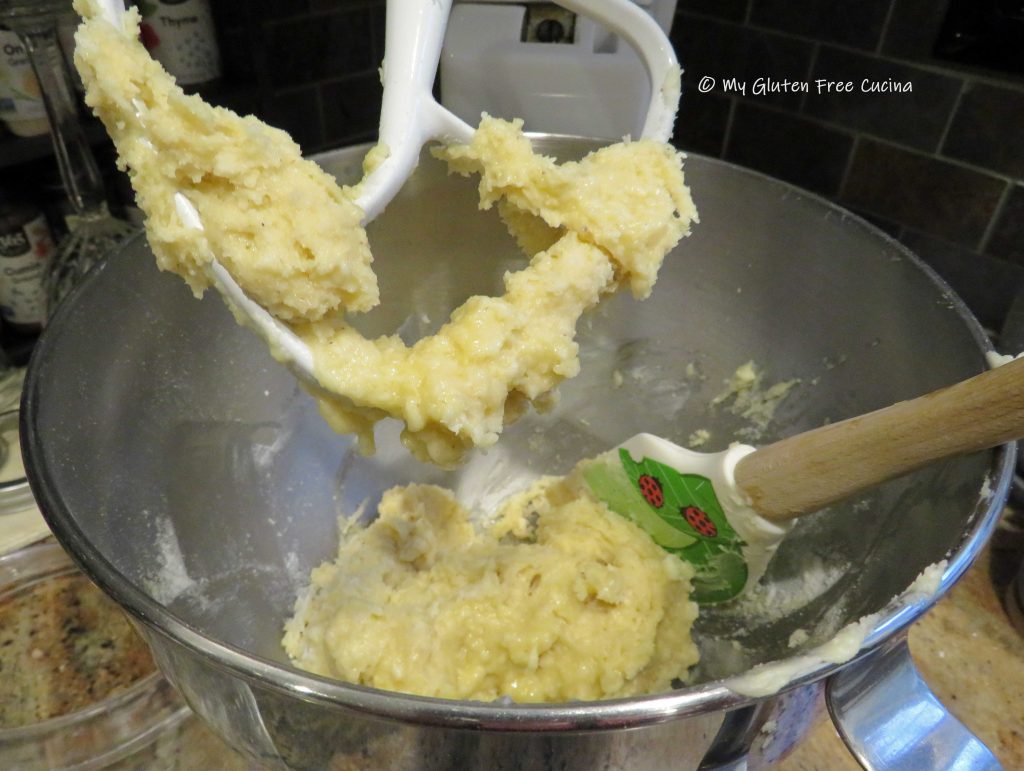
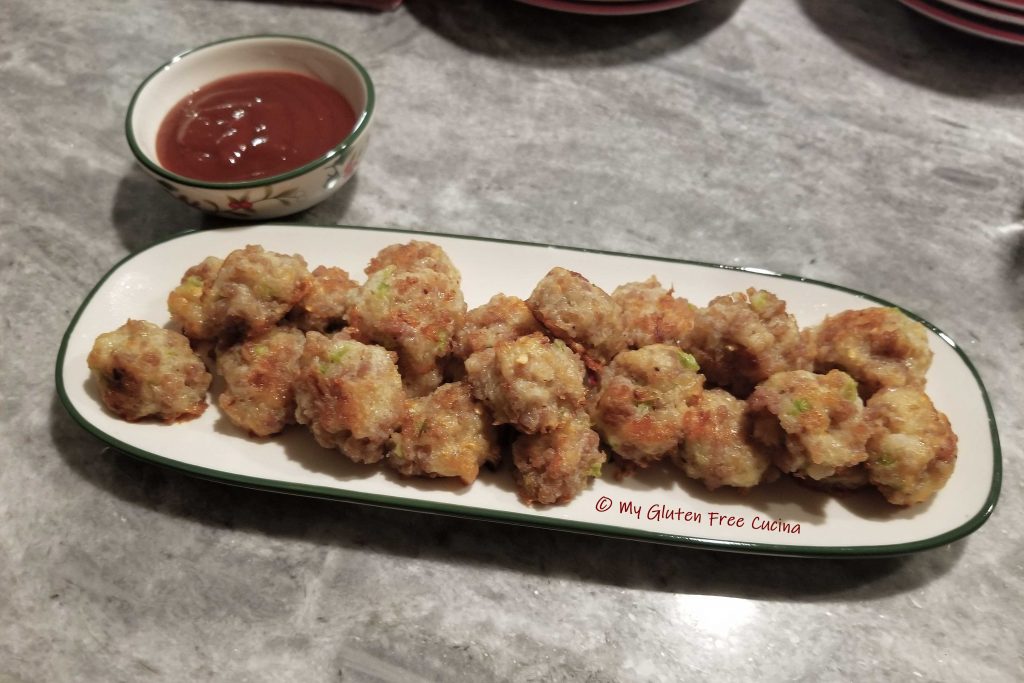
Transfer to a serving tray with your favorite gluten free BBQ sauce for dipping.  You can prepare ahead and reheat in the microwave before serving.
Notes ♪♫ This post was inspired by a recipe on Taste of Home.  That’s right, you don’t always need a gluten free recipe or special cookbook.  In fact, only one ingredient substitute was needed to make this recipe gluten free, and you can whip up a batch in under an hour!

Print This Post Print This Post