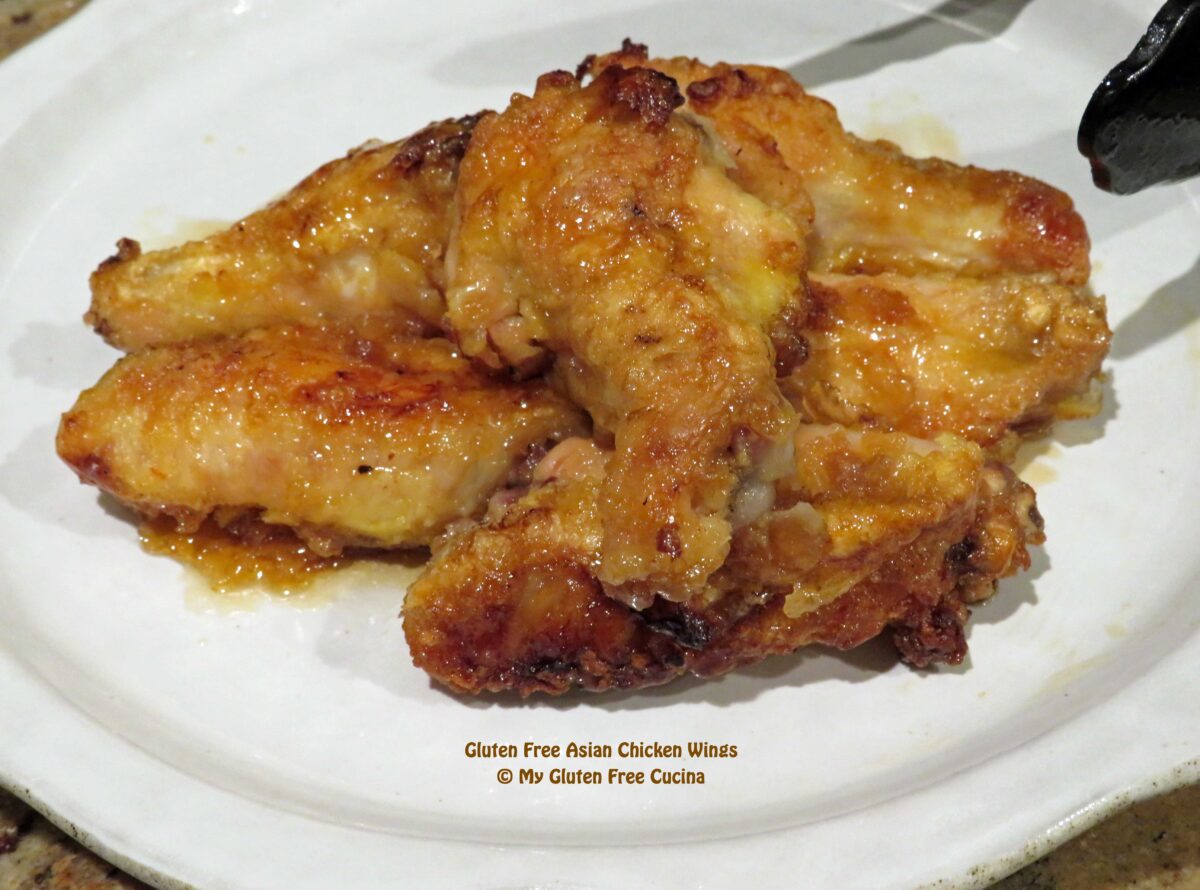
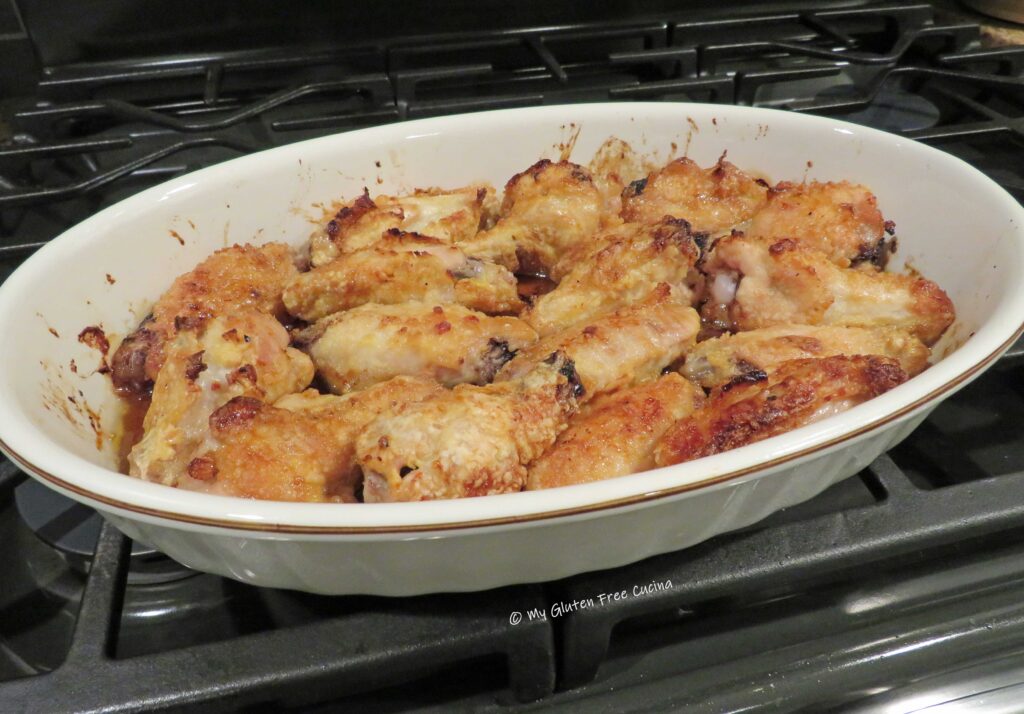
Move over BBQ, these Asian inspired chicken wings are incredible! Sticky and sweet, you’ll want to double or triple the recipe because these wings are addictive!
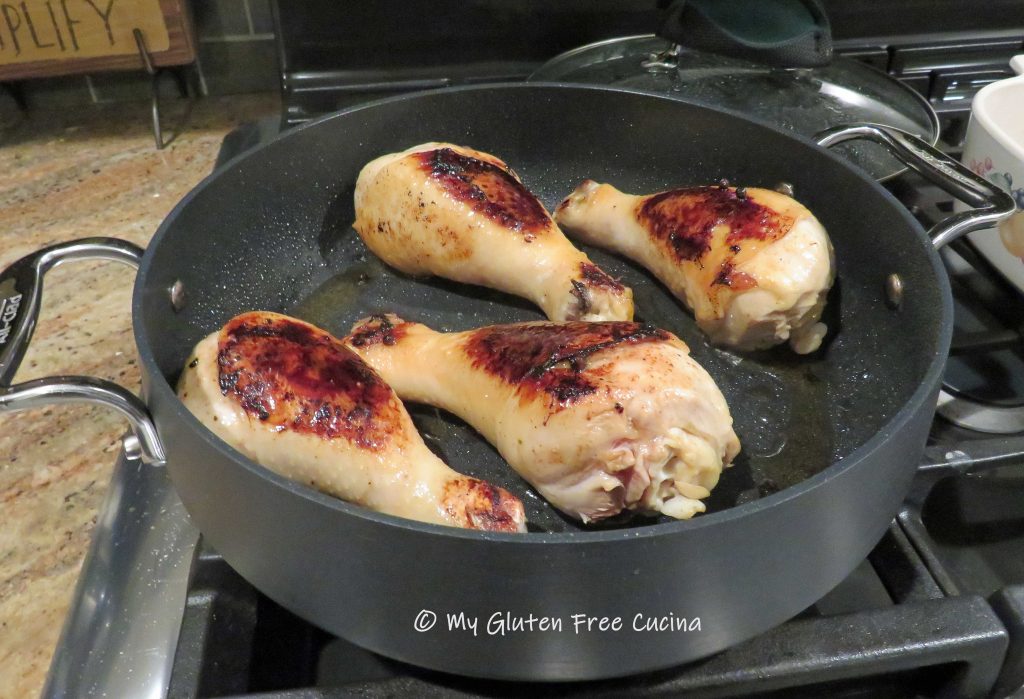
 The preparation begins with a coating of cornstarch and egg. The wings are then quickly pan fried and drizzled with a sticky sweet syrup and baked in the oven. Yes, it is a bit labor intensive but oh my goodness! I could not stop eating them!
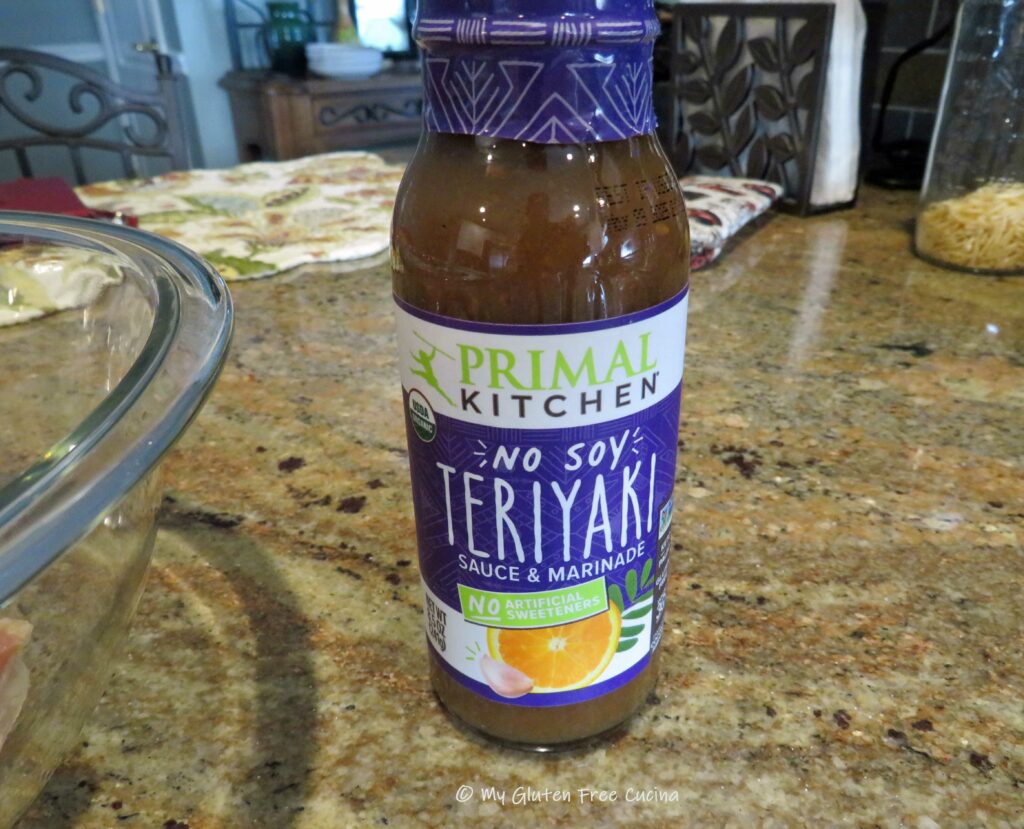
Are Asian condiments gluten free?
This is an area where you have to be careful. While many Asian condiments are gluten free, others like soy sauce are not. Generally, I recommend looking for the gluten free label and if you’re not sure check the manufacturer website.
This small batch (1-½ lbs. wings) would be a nice appetizer or small plate. Throw in a salad and side and make it a meal. Or quadruple the recipe and have a party 😋
This post contains affiliate links.
Ingredients:
- 1-½ lbs. chicken wings (about 15-18 pieces)
- garlic granules
- ginger powder
- 1/3 cup cornstarch
- 2 eggs
- 1/2 cup canola oil
- 1/3 cup sugar
- 1/4 cup mirin (rice wine) * see notes
- 2 tsp. ketchup
- 2 tsp. gluten free soy sauce (tamari)
- 2 tbsp. chicken broth
- salt, to taste
Preparation:
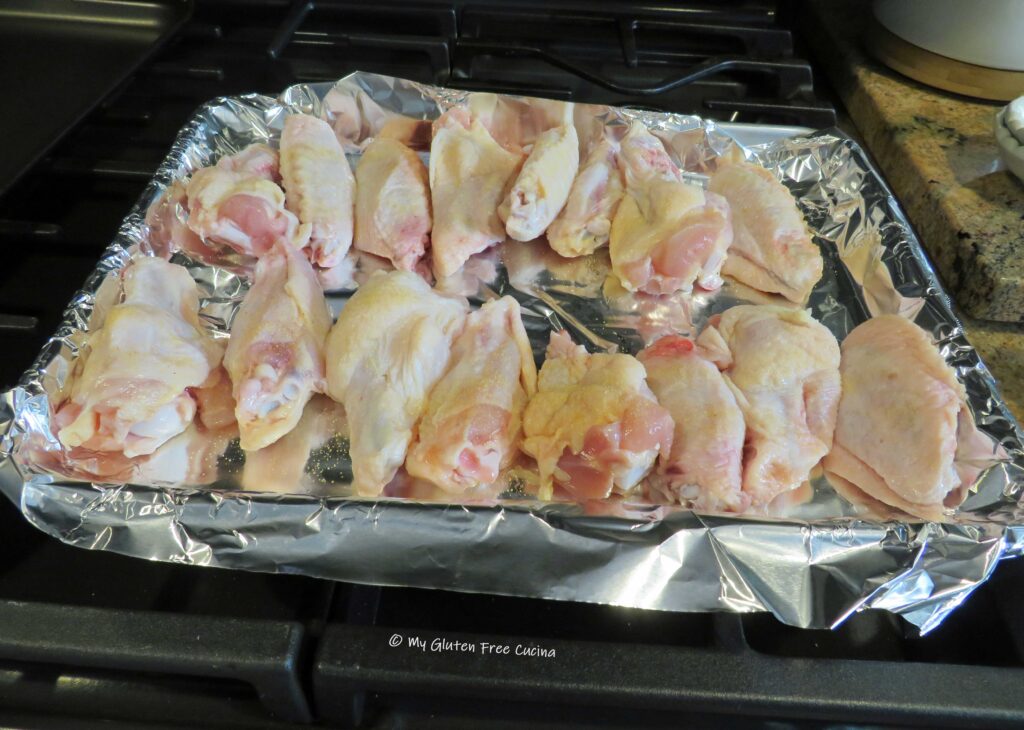
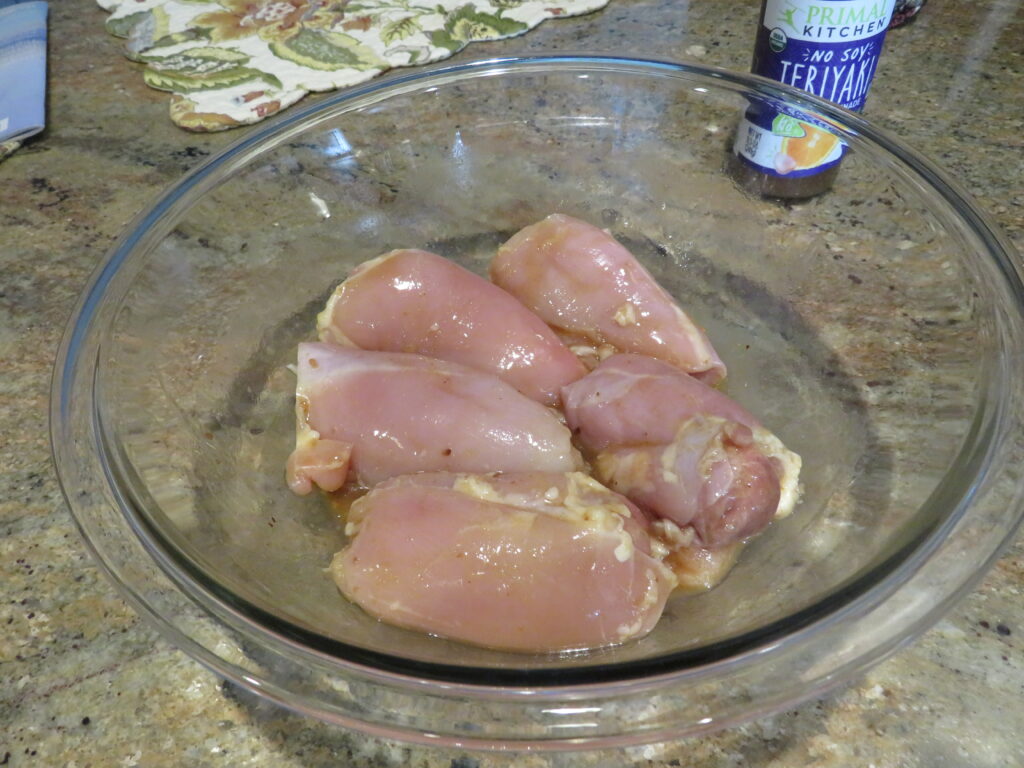
Arrange the wings on a baking sheet and sprinkle both sides with ginger and garlic powder. Cover and refrigerate for 1 hour.
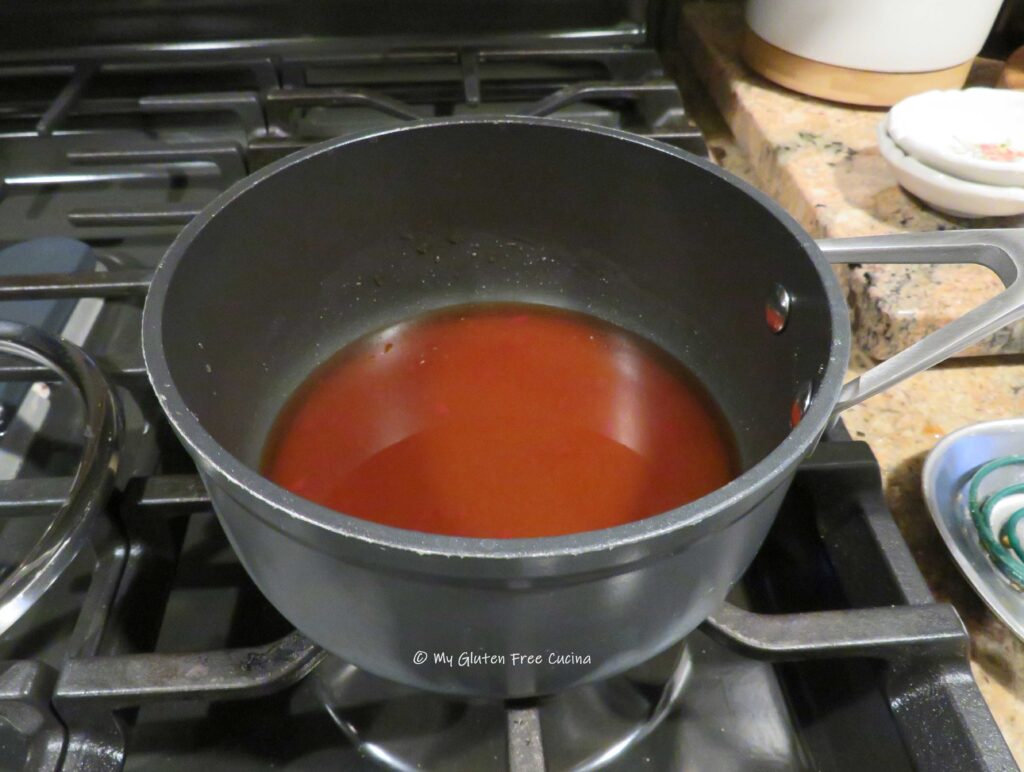
 Whisk together the sugar, mirin, ketchup, tamari and chicken broth in a small saucepan. Add a pinch of salt. Bring the mixture to a simmer, whisking frequently then cover and set aside.
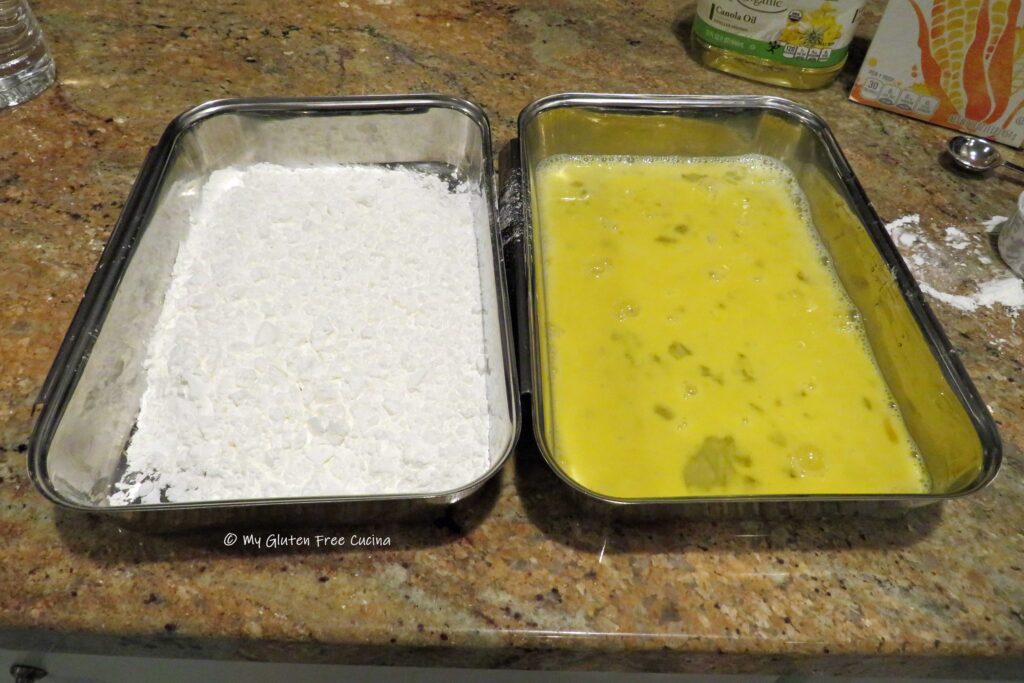
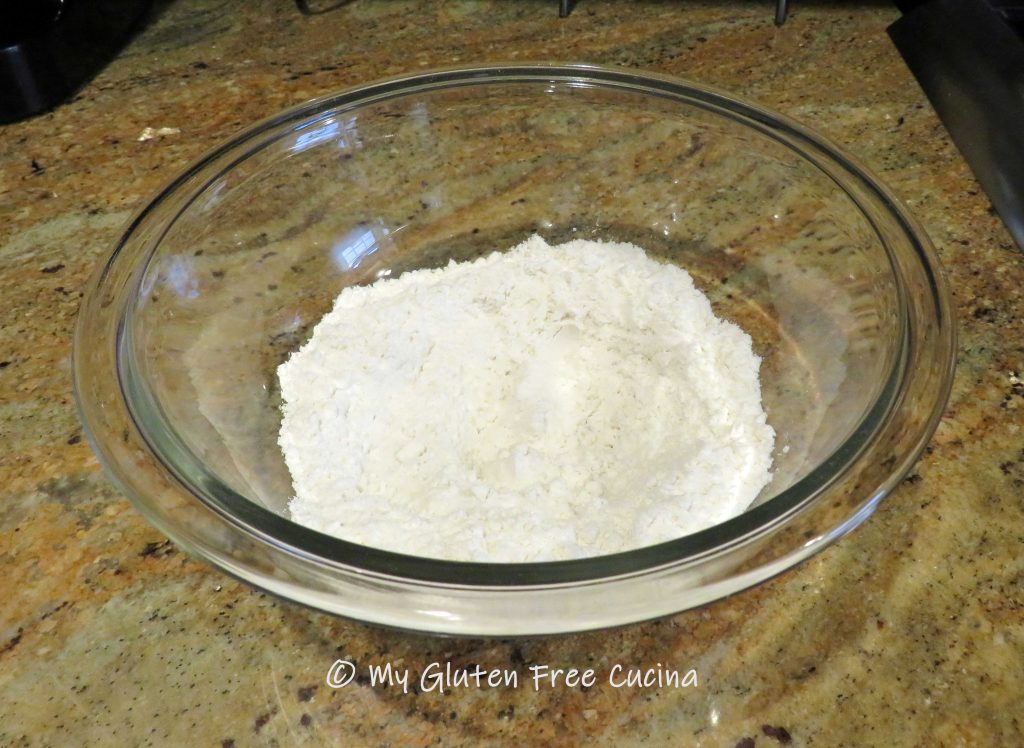
 Set up 2 breading trays, one with the cornstarch and the other with 2 beaten eggs. Heat a large nonstick skillet with enough canola oil to coat the surface completely.
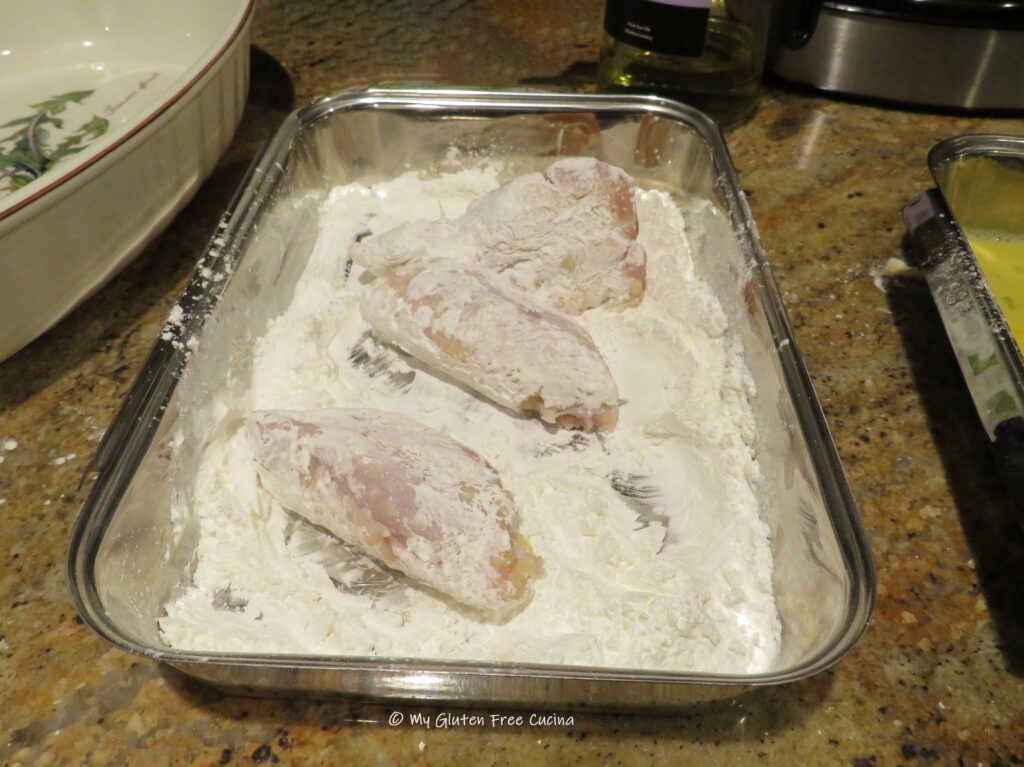
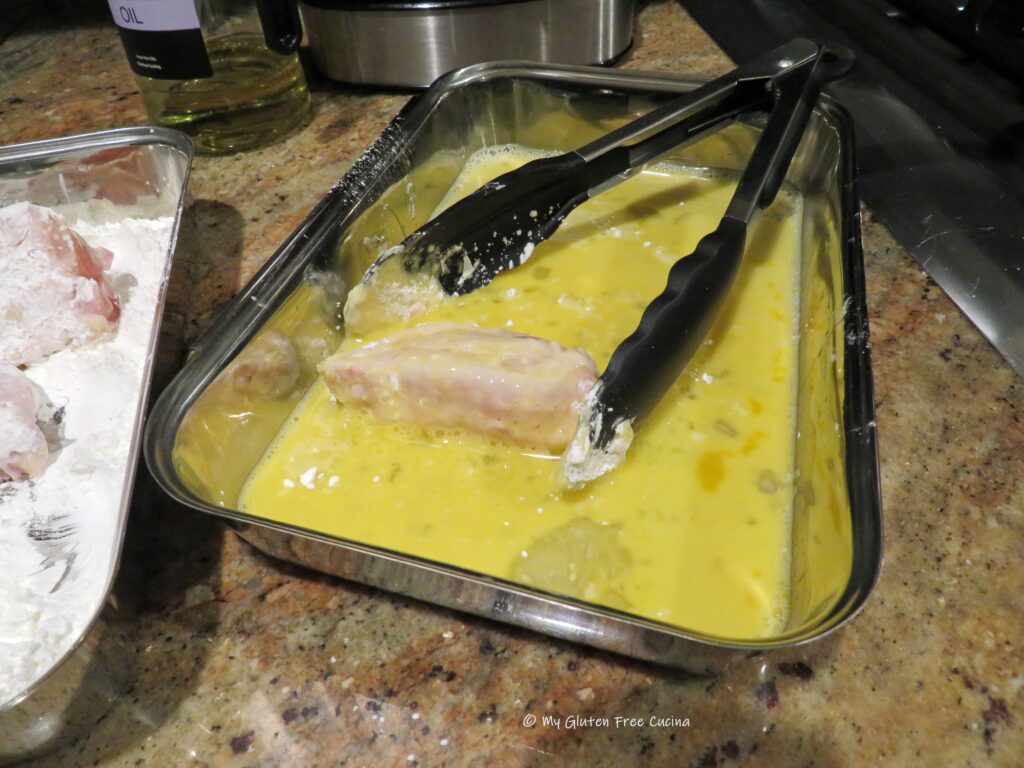
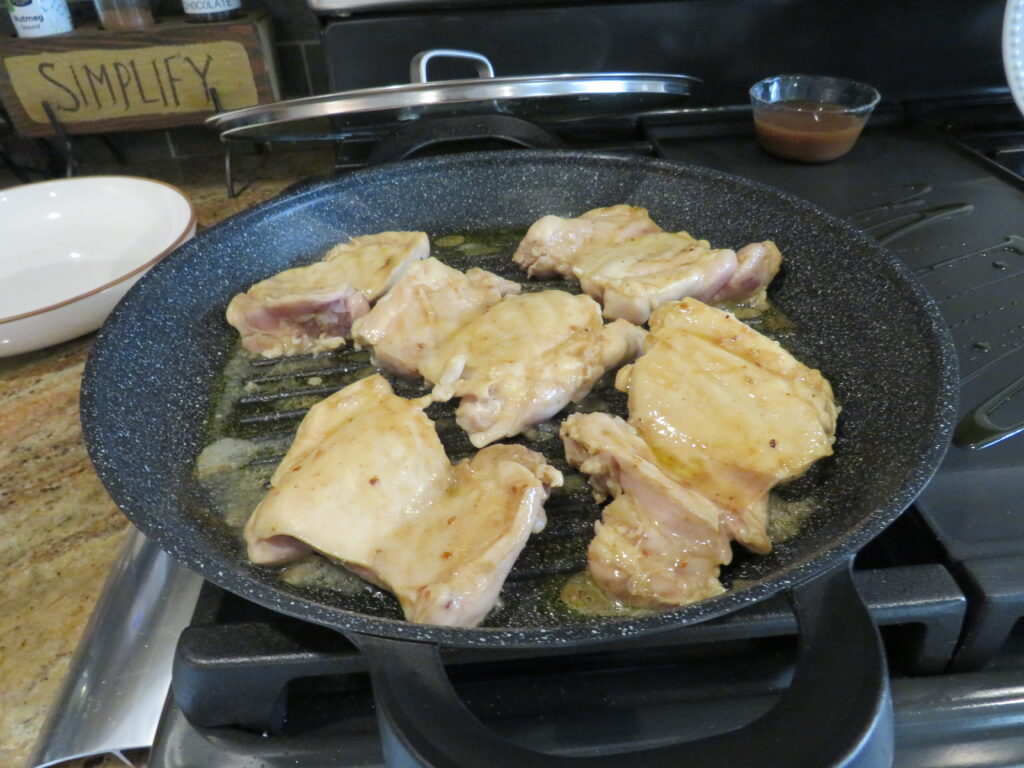
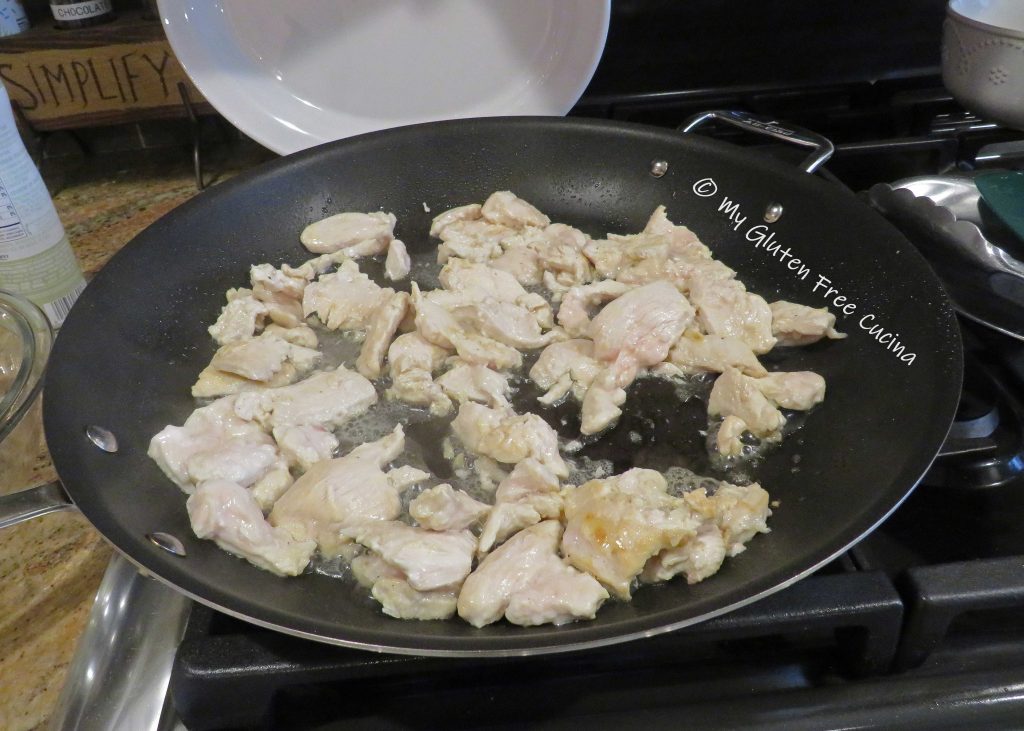
 Dredge the wings in the cornstarch, then dip in the beaten eggs. Add to the hot skillet, leaving space in between (fry them in batches if needed). Turn the wings to get a crust on all sides.
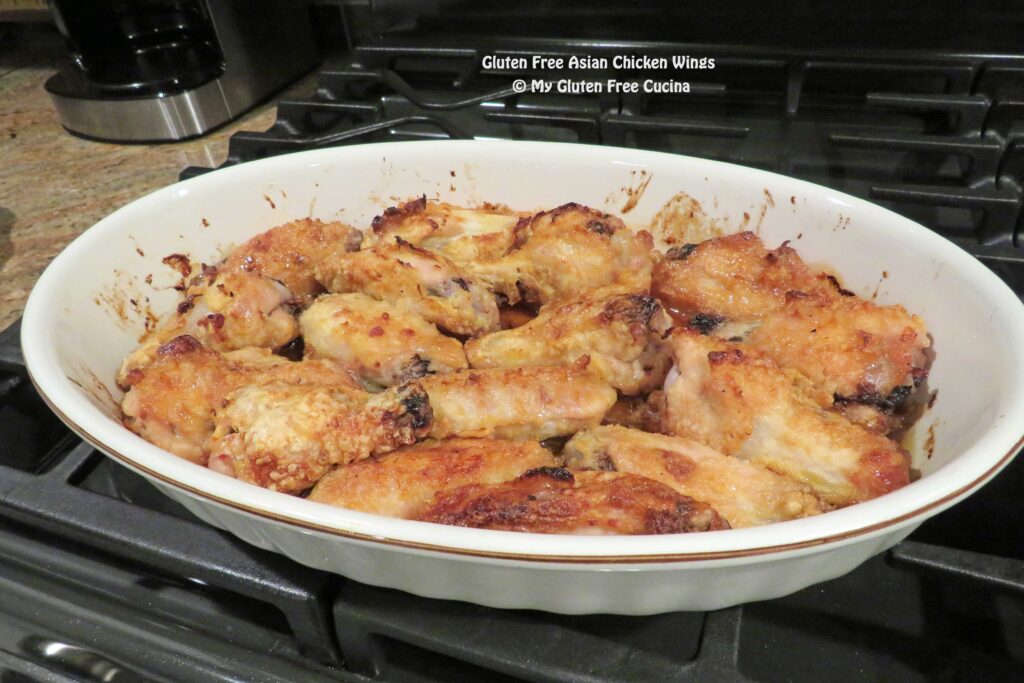
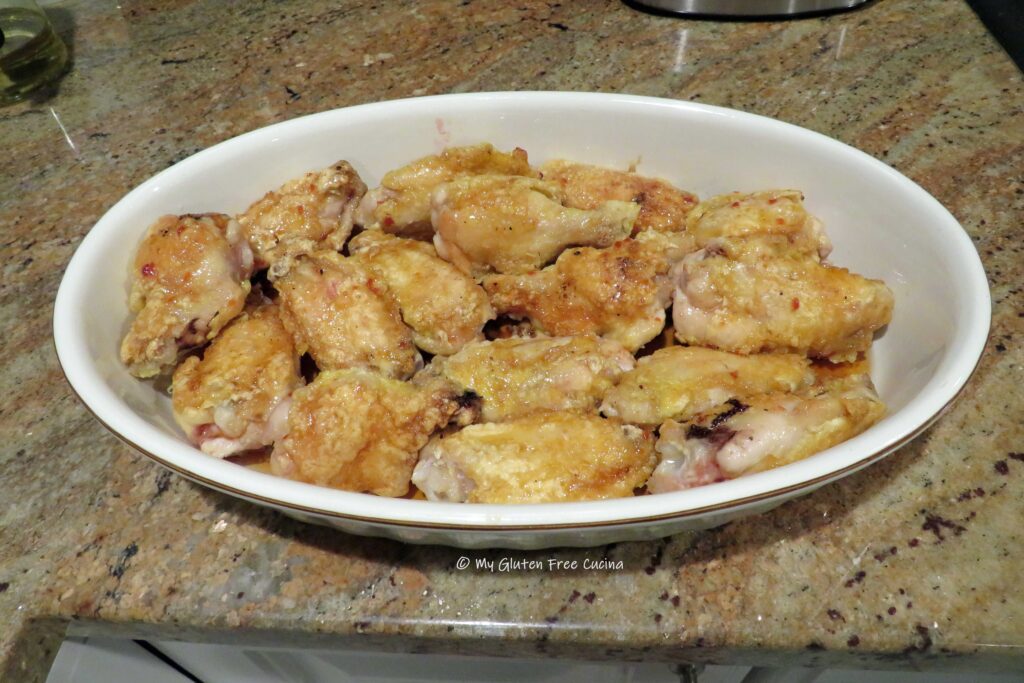
 Mist a casserole dish with cooking spray. As the wings finish cooking, arrange them in a single layer. Preheat the oven to 350º.
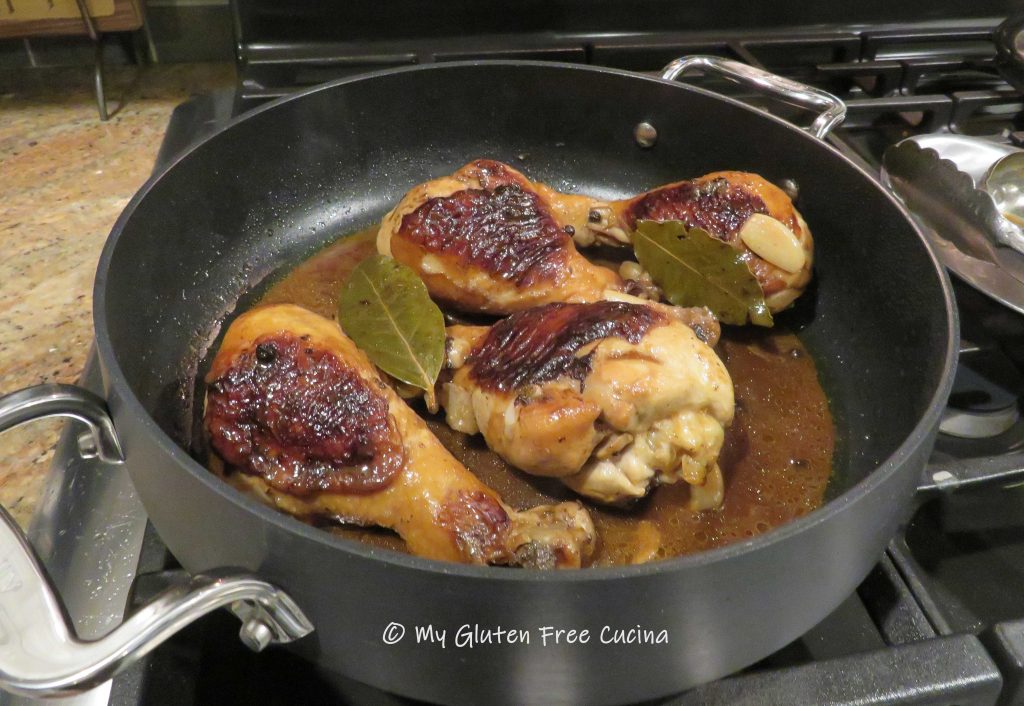
 Spoon the sauce evenly over the wings and bake for one hour, turning halfway through.
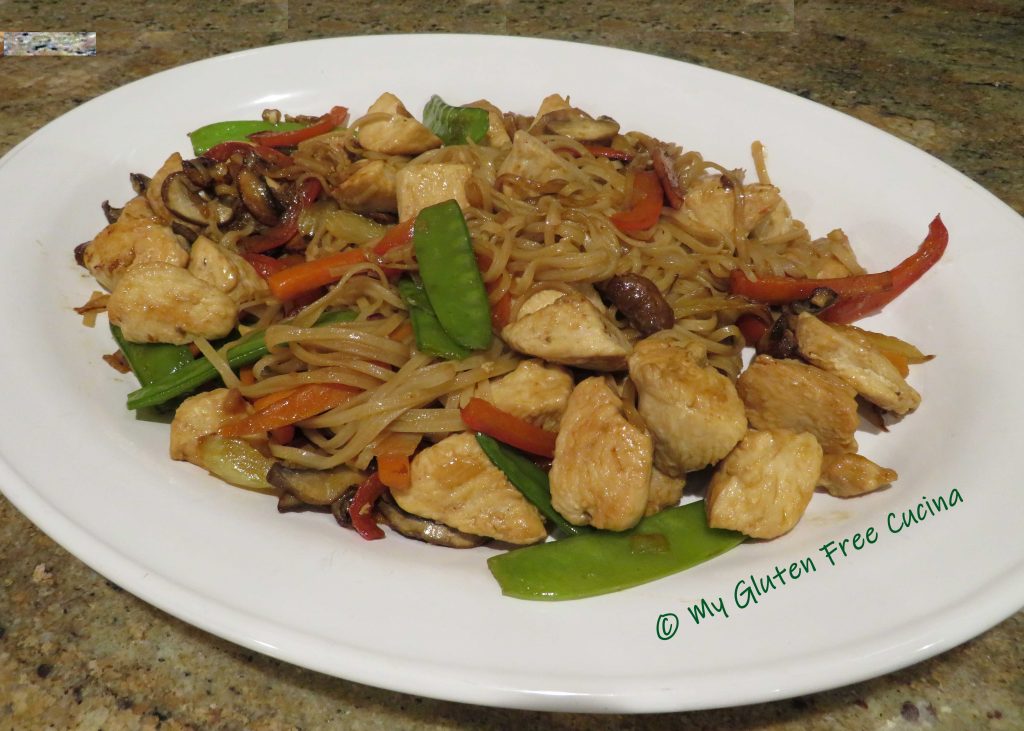
 Serve hot, spooning a little of the pan juices over the wings.
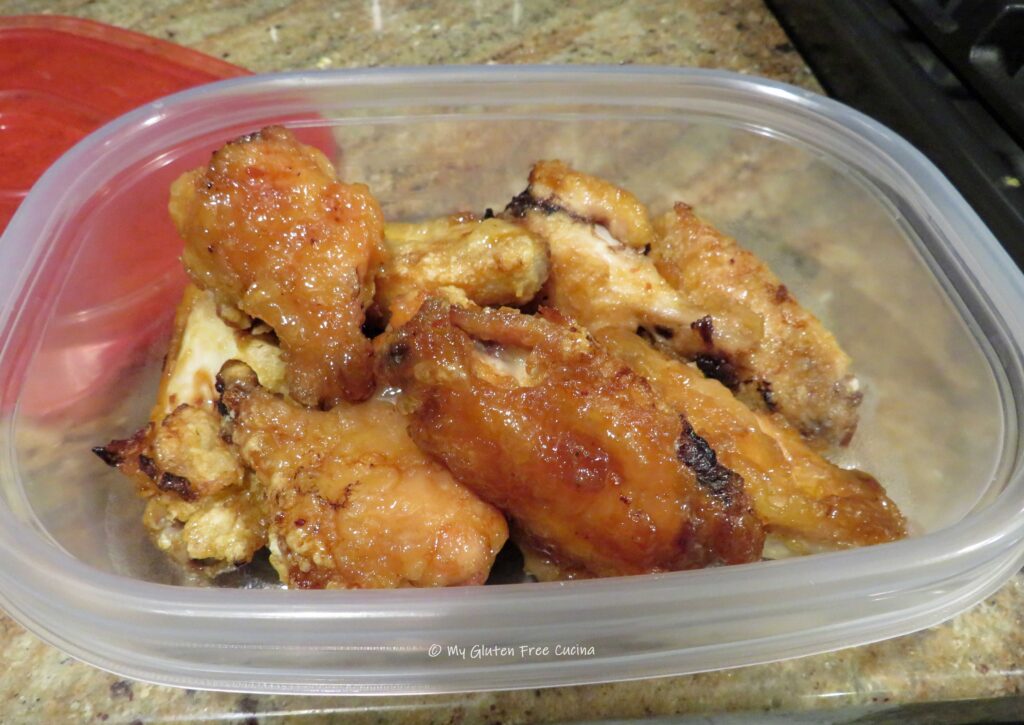
I made these for game day, SO good!

I could have eaten the entire batch, but I restrained myself and saved some for lunch the next day. They were just as good reheated in the microwave!
Notes ♪♫ Mirin is a sweet rice cooking wine that can be found with other Asian condiments at your local market. I like Eden brand premium mirin, for its authentic, quality ingredients that are gluten free, low sodium and contain no added sugar or syrup. As a bonus, it is fermented from Lundberg organic rice, one of my favorites!


 Preparation:
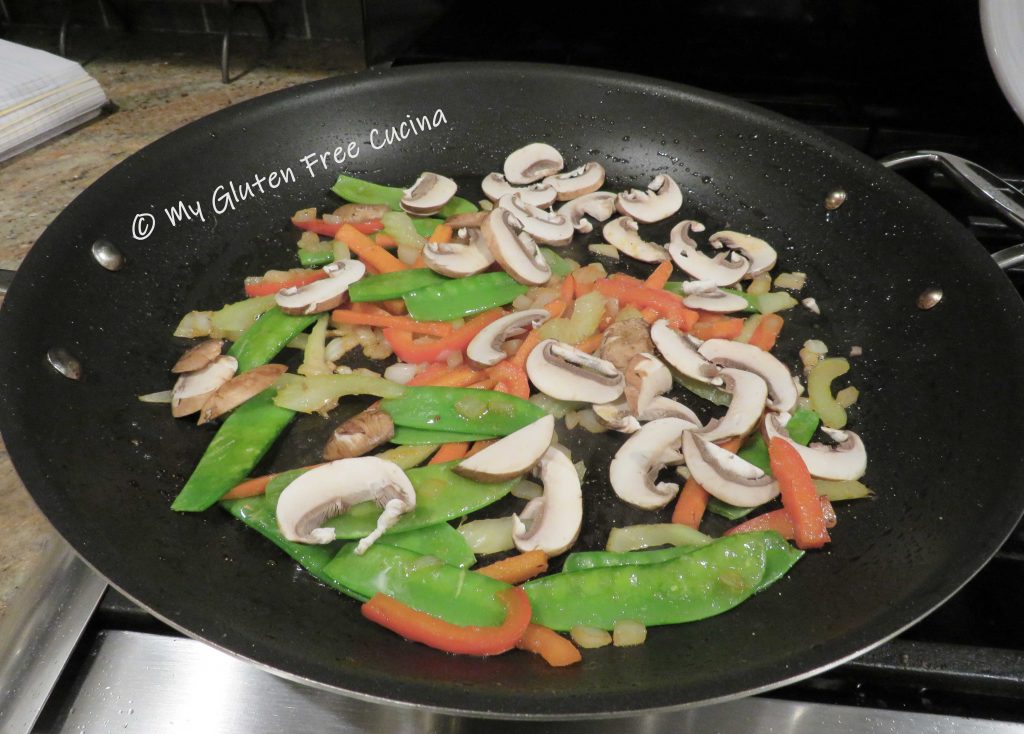
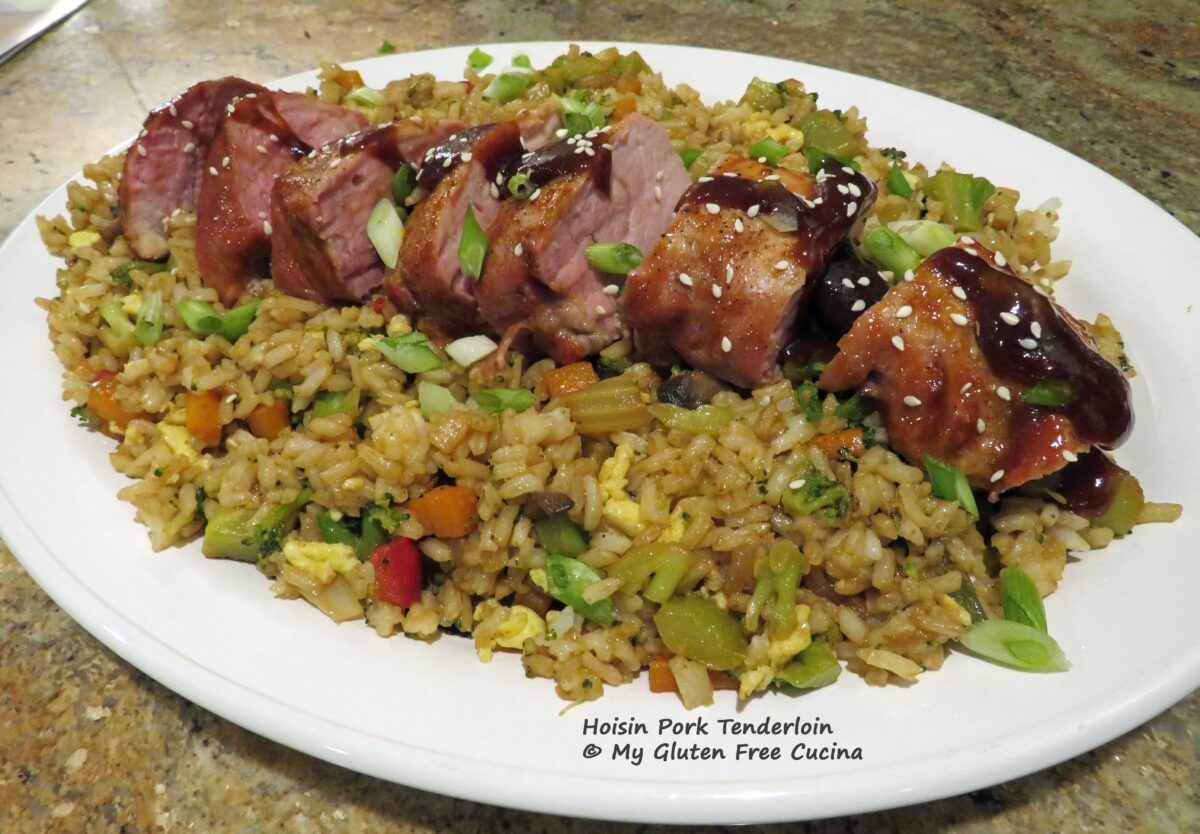
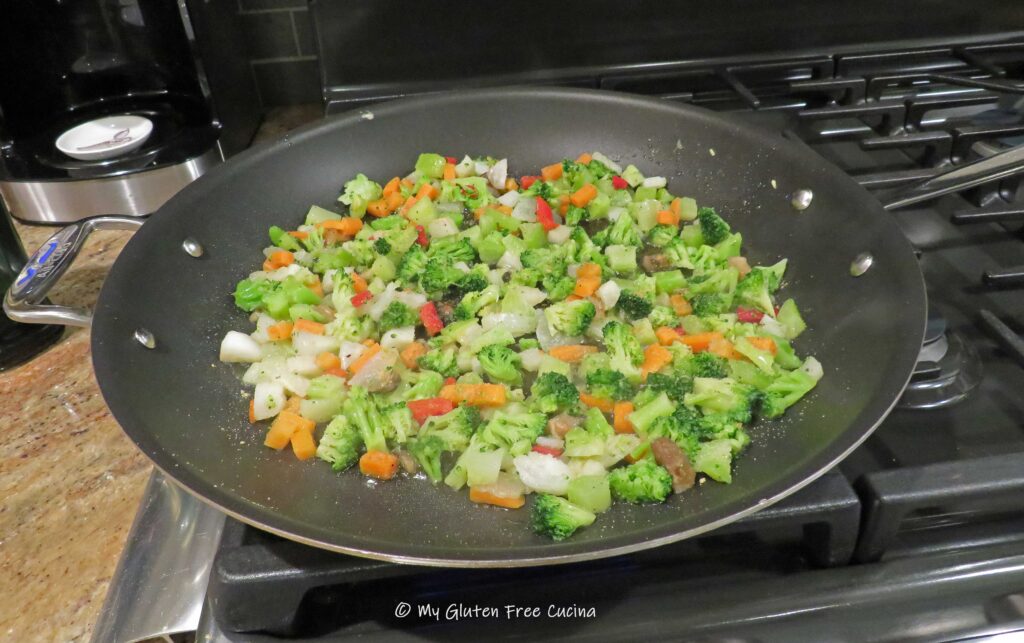
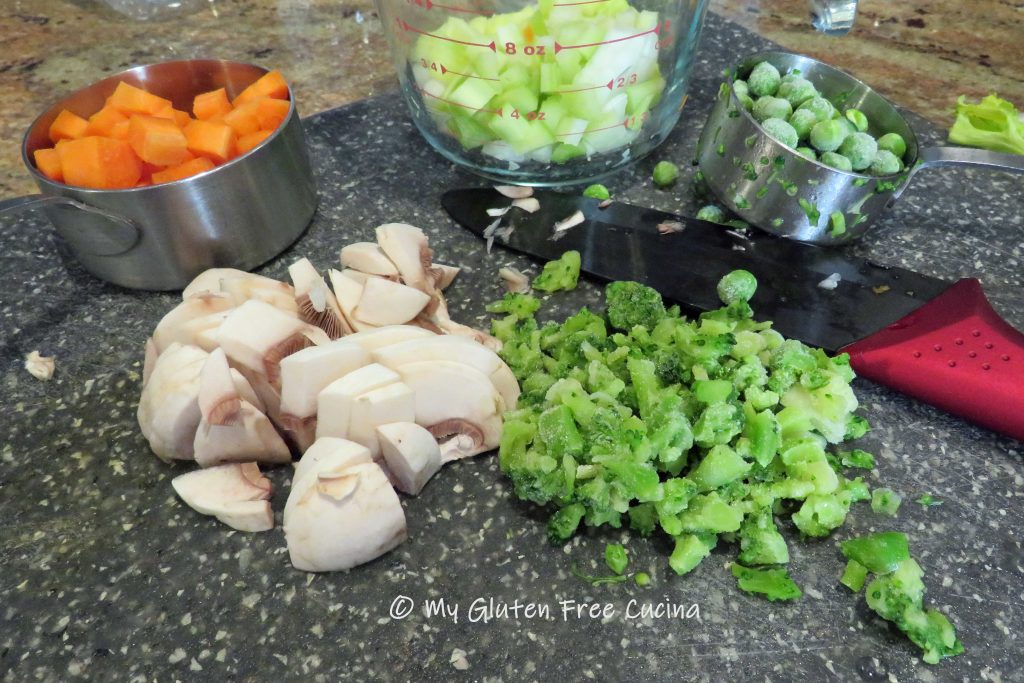
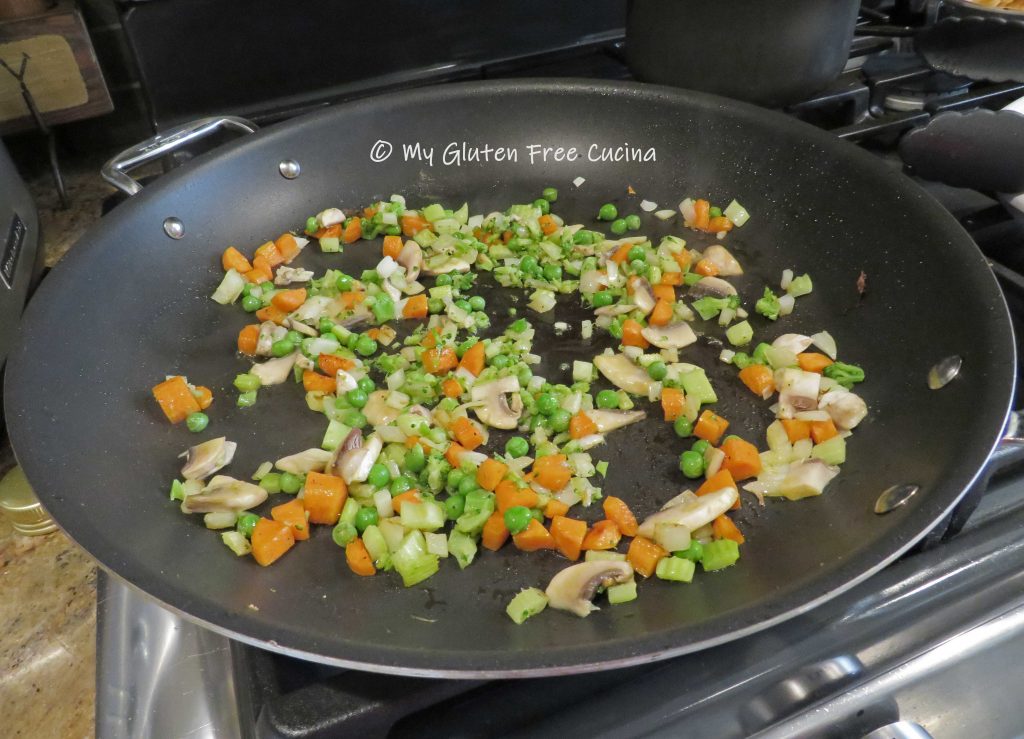
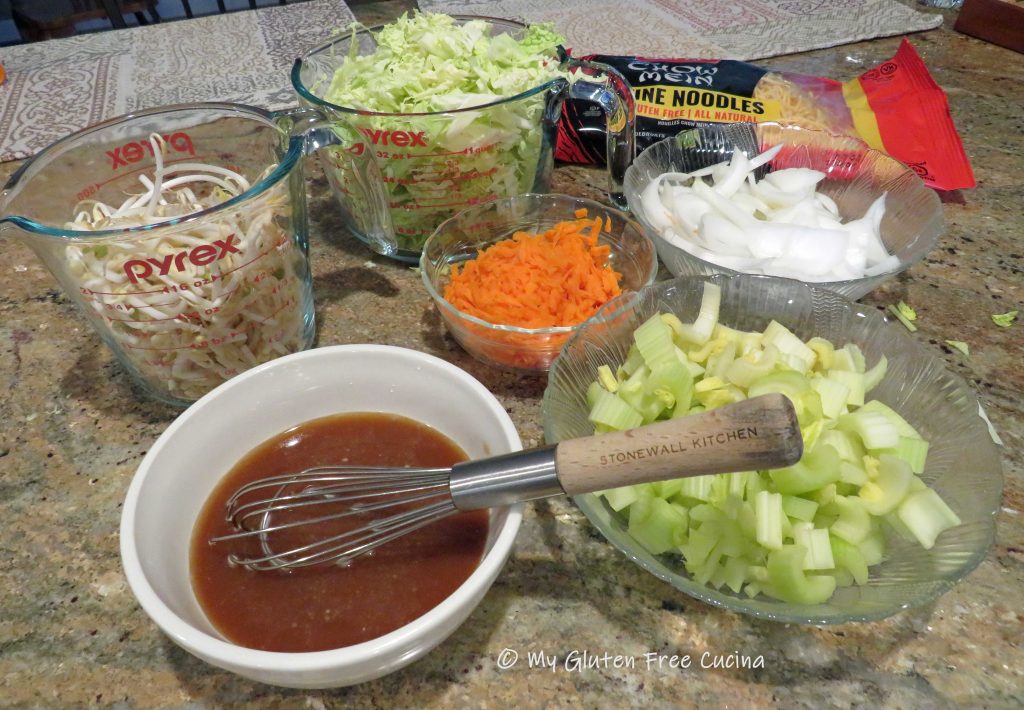
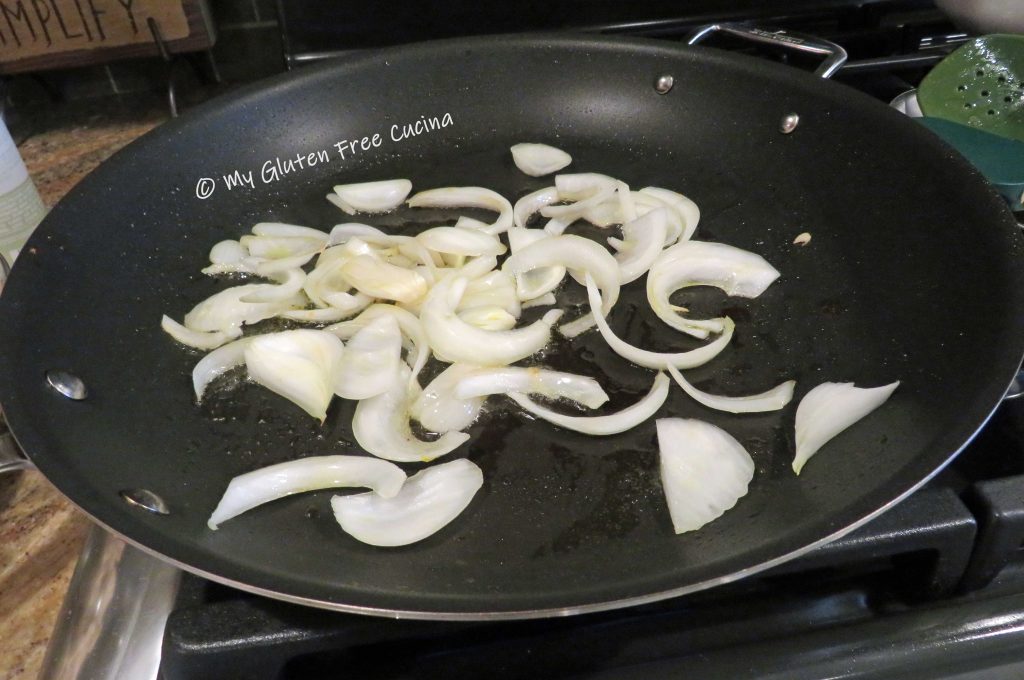
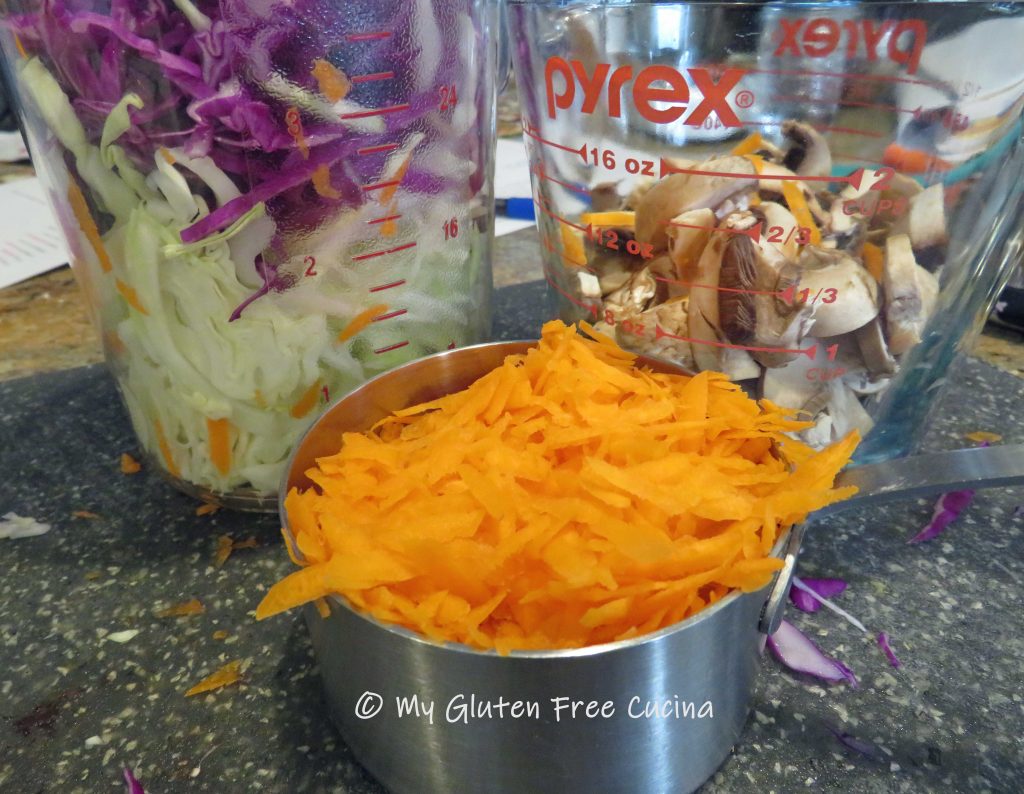
 I did think the veggies were a bit large for fried rice, so I cut them into smaller pieces. Season the veggies with salt and pepper to taste. Sprinkle with garlic and ginger powder and leave them out to defrost.


 Transfer to a
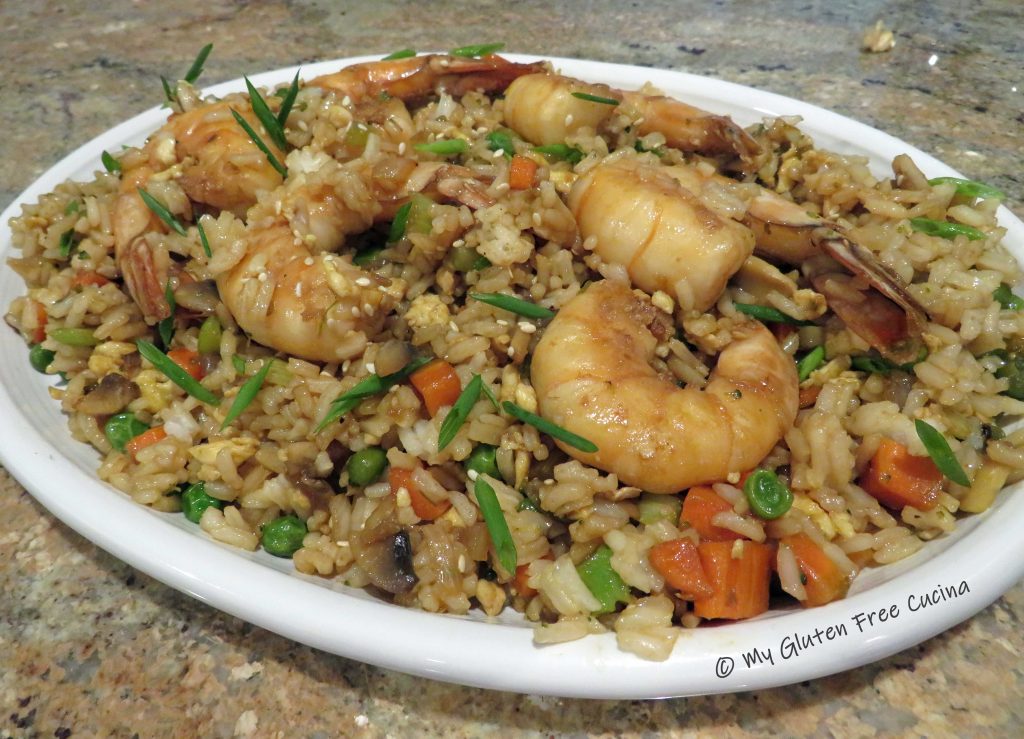

 This post contains affiliate links.
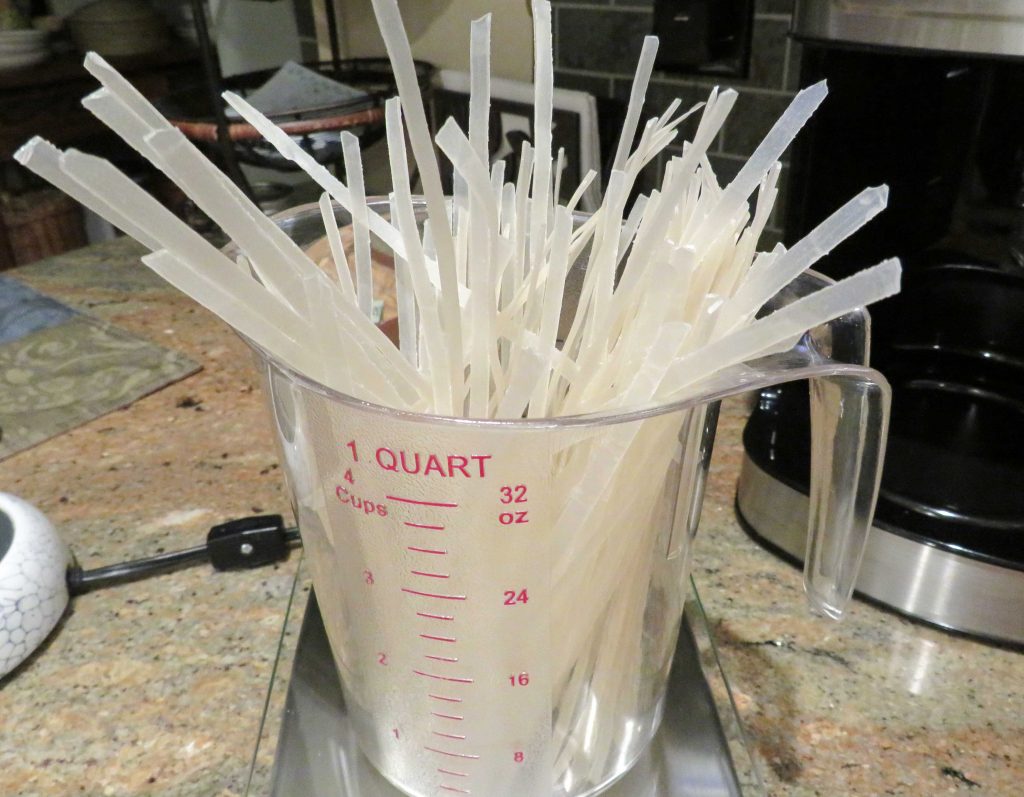 Preparation:
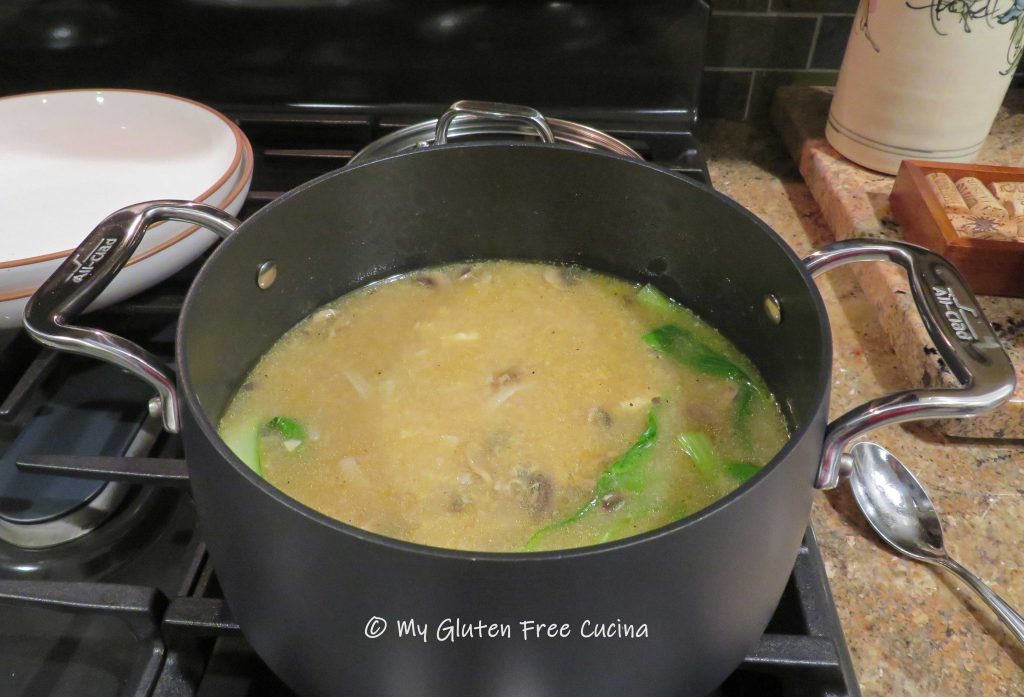
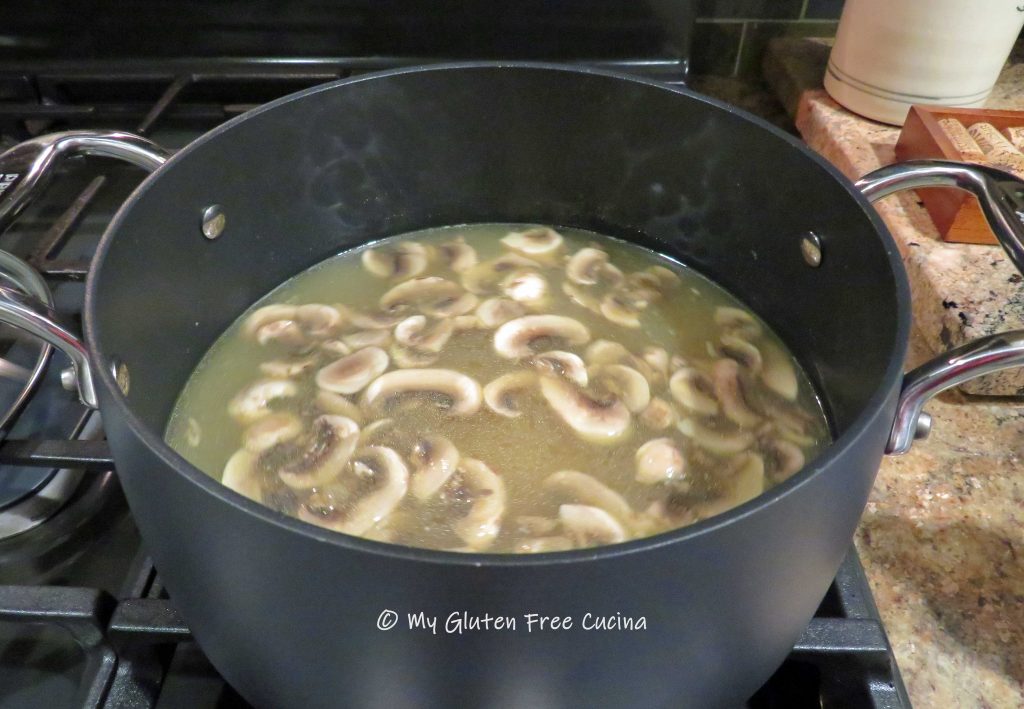
 Stir until the mushrooms release their liquid, then add the bone broth, 2 tsp. of tamari and 1 tsp. sesame oil (or more, to taste). Season with salt and pepper and bring to a simmer for 15 minutes.
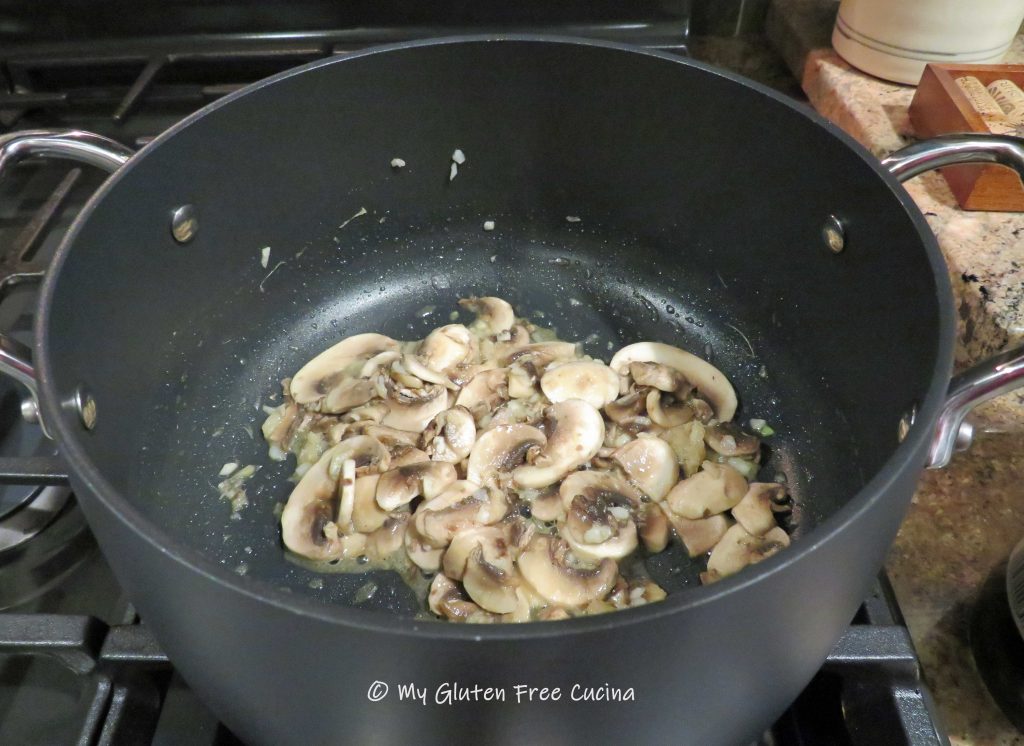
 Trim away the tough, lower part of the Bok choy, then rinse and halve the leaves. Stir them into the soup to wilt and lower the heat to keep warm.
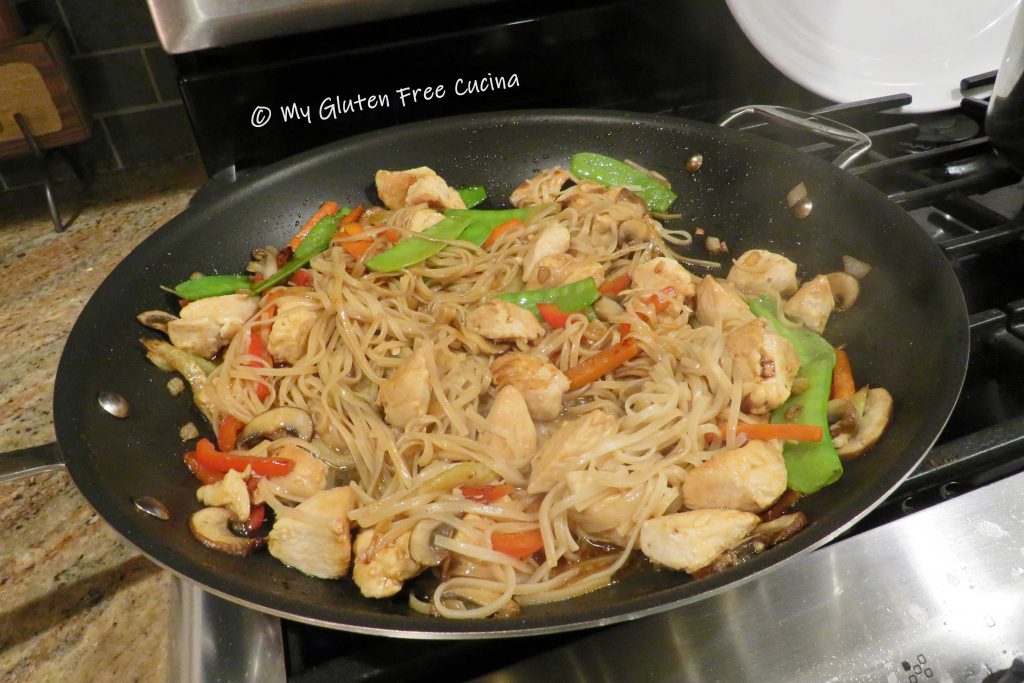
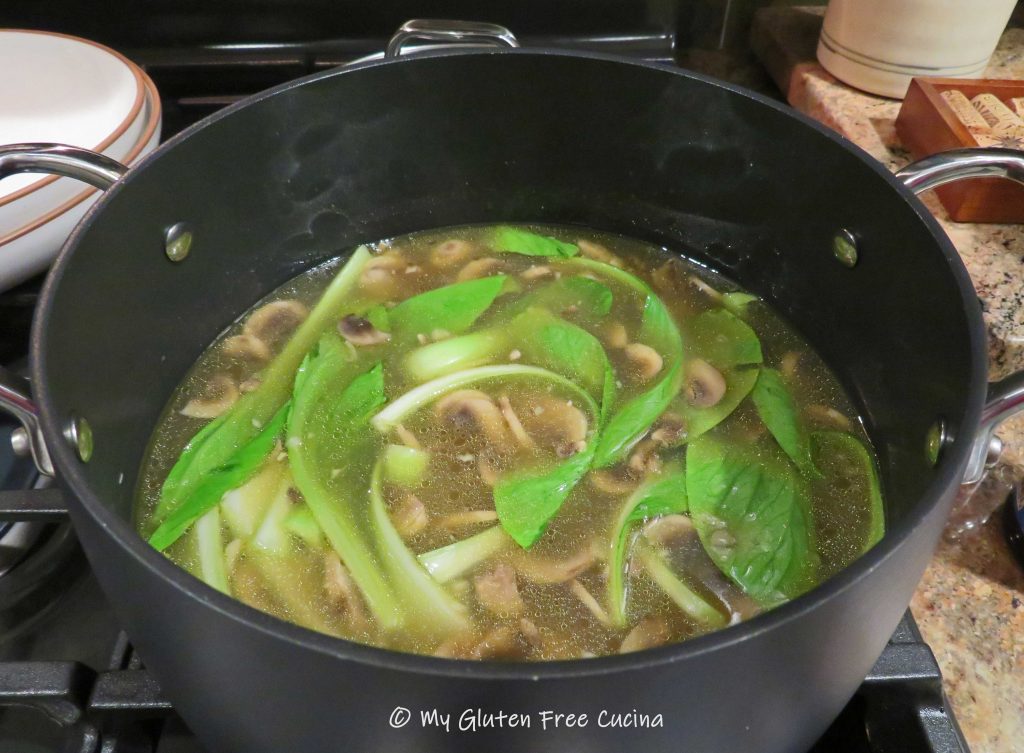 Cook the rice noodles in a separate pan according to package directions. Just prior to serving, drizzle the beaten egg into the soup and swirl it around with a whisk. Add the cooked rice noodles.
 Ladle into
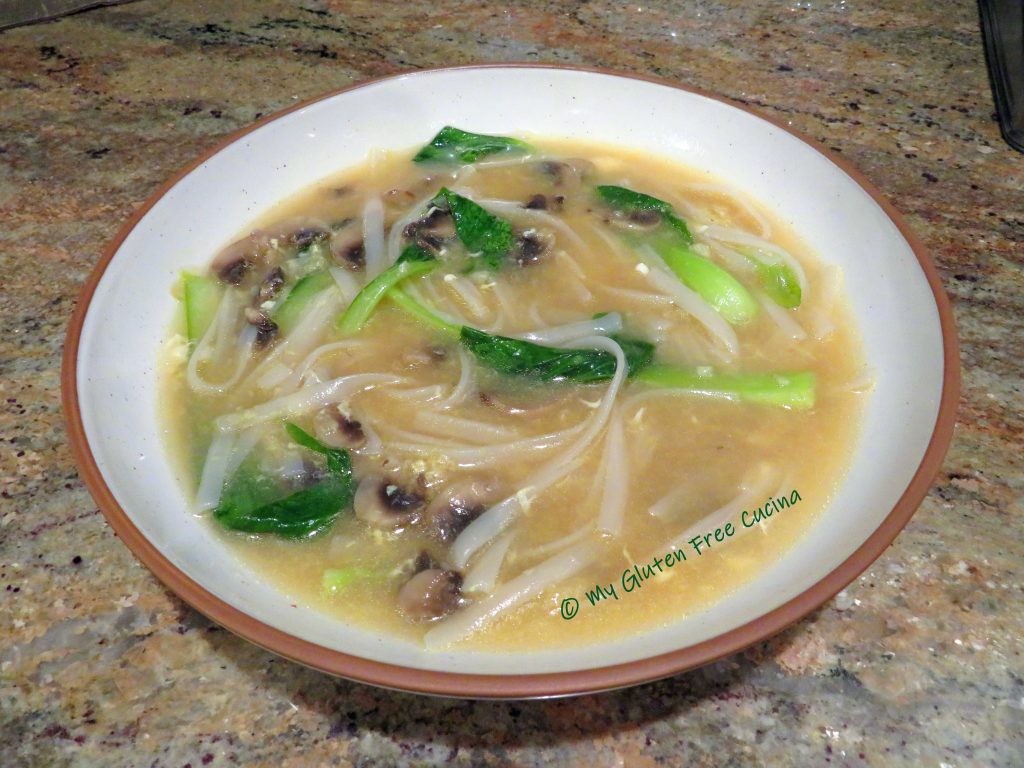


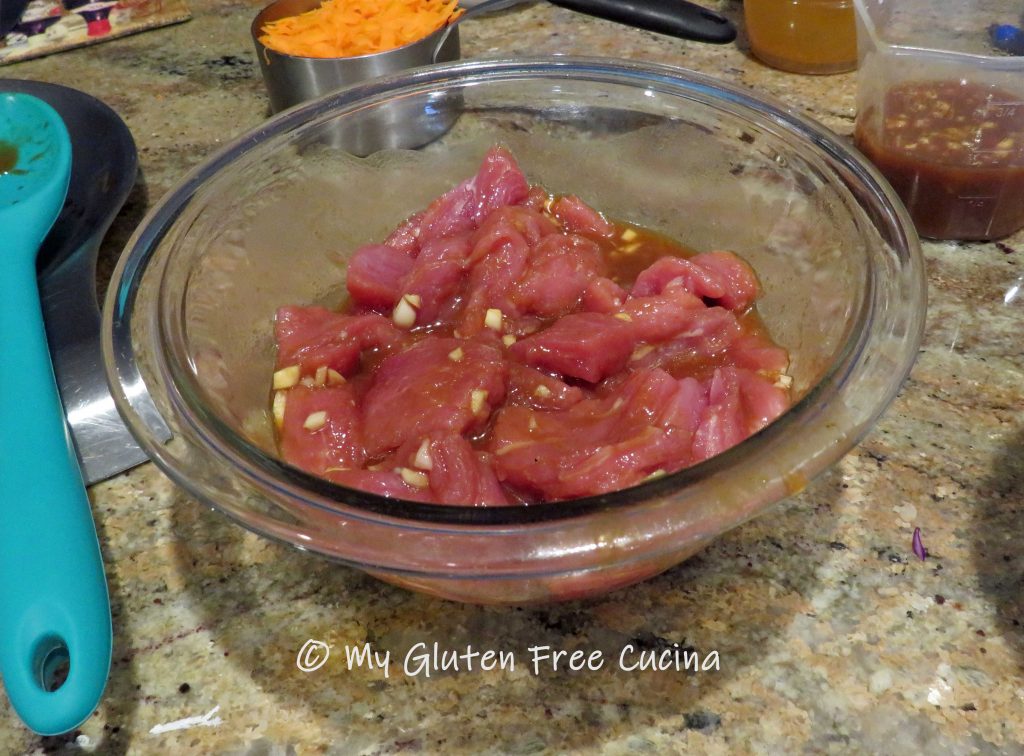

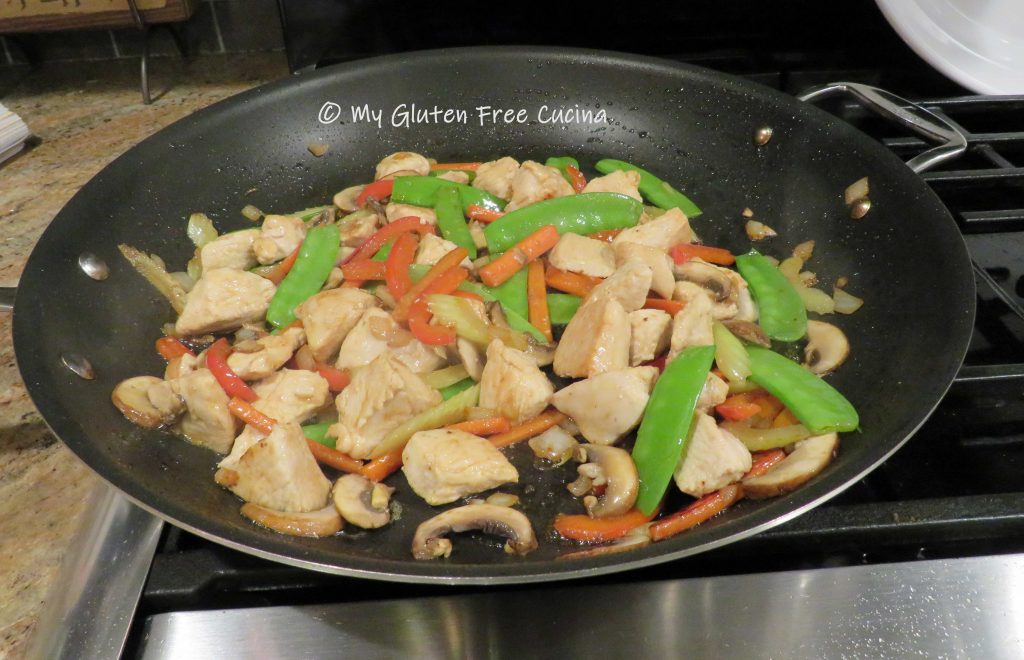
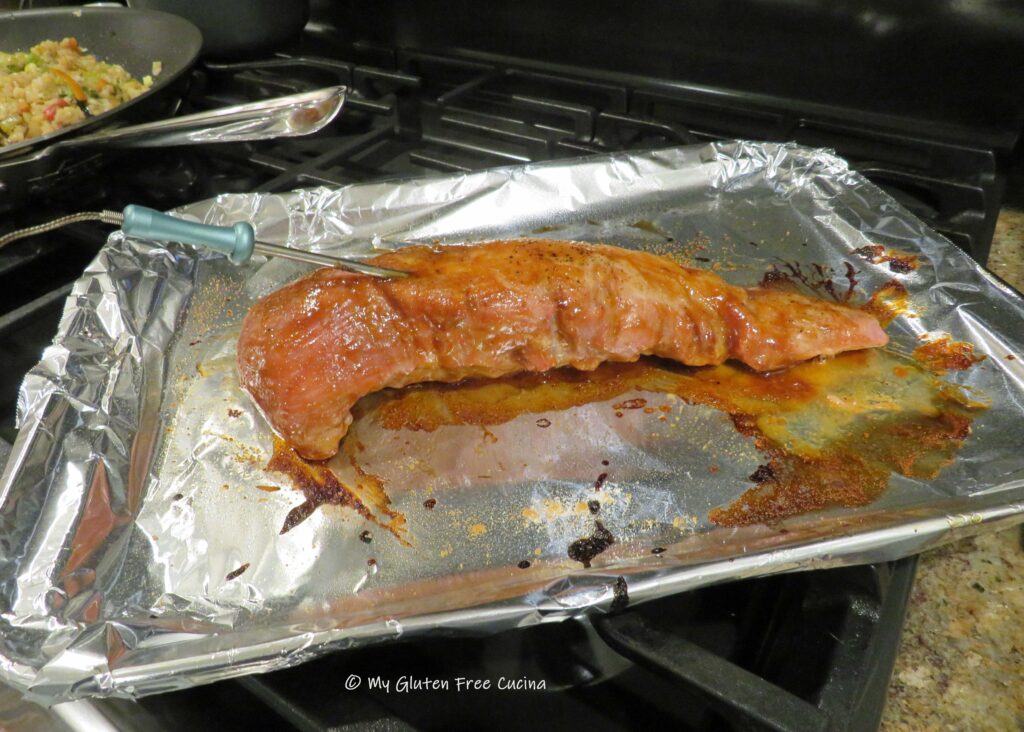
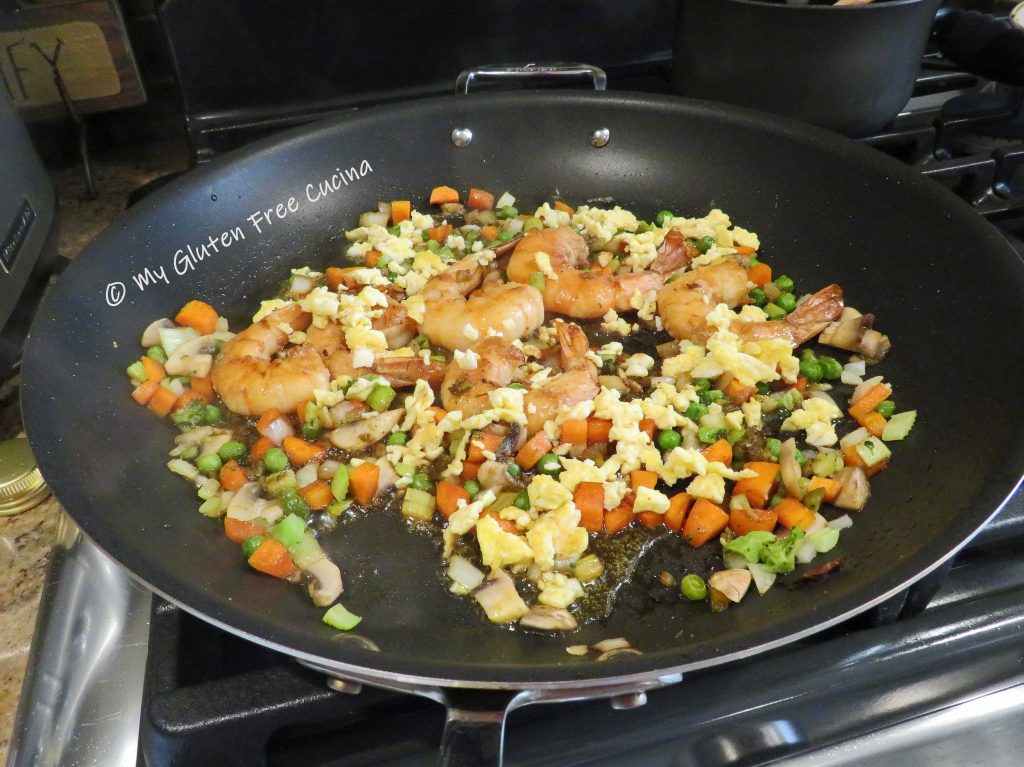
 Use tongs to turn each piece to quickly brown both sides. The pork does not have to be cooked through at this point; it will finish cooking with the veggies.
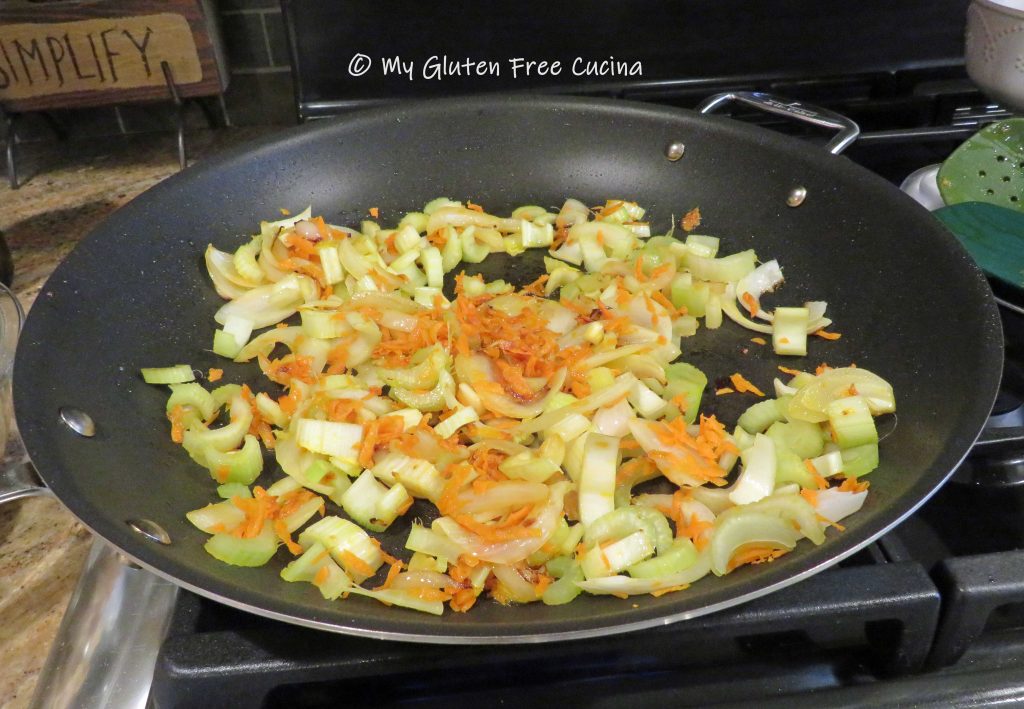
 Add all of the vegetables to the skillet.