
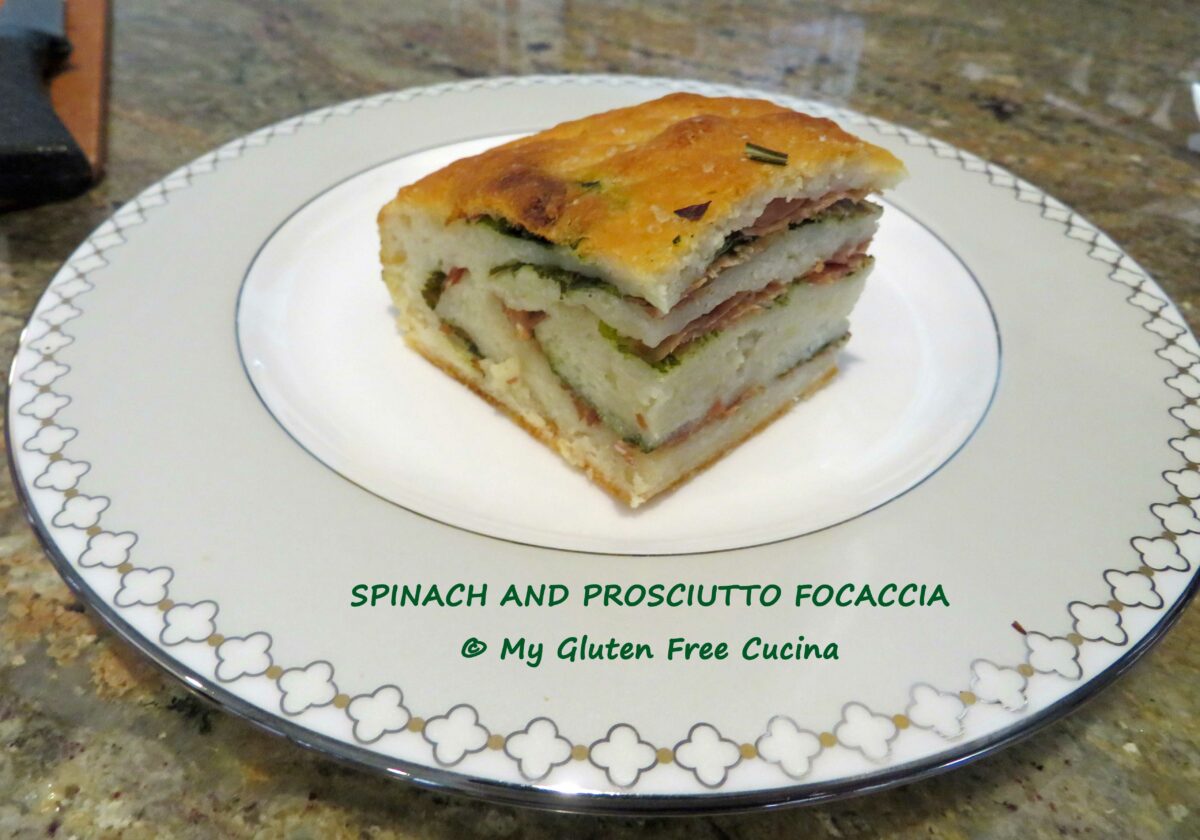
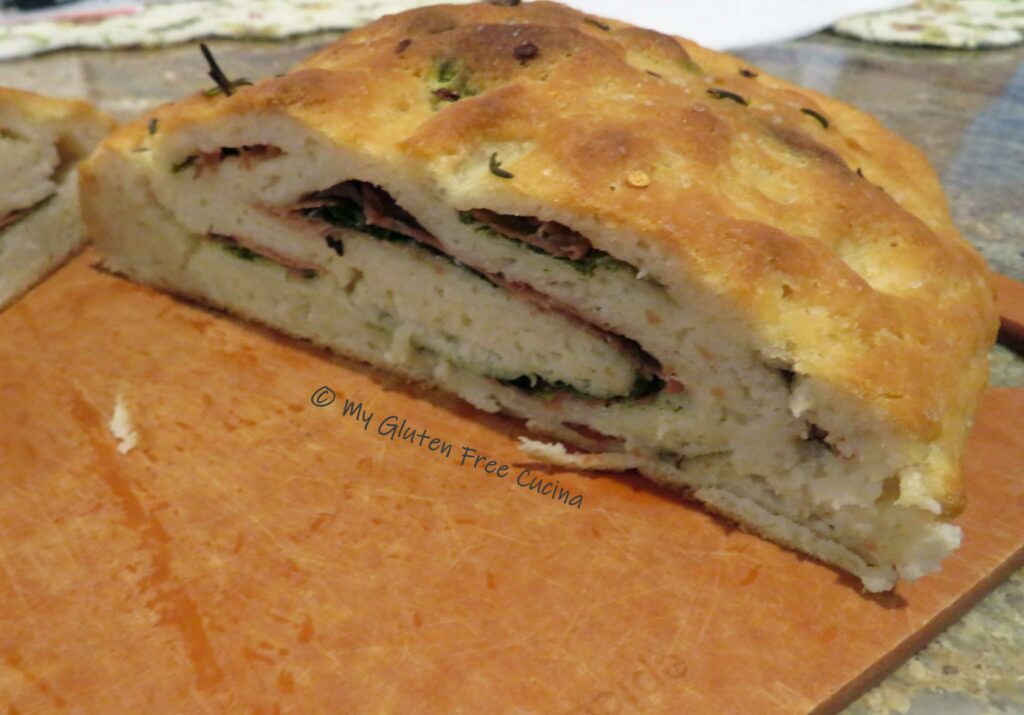
Look at this beautiful Focaccia Bread, filled with baby spinach leaves and prosciutto! It is a meal in itself, great for breakfast, lunches and snacking. Learn how to make it here with step-by-step instructions.
This post contains affiliate links.
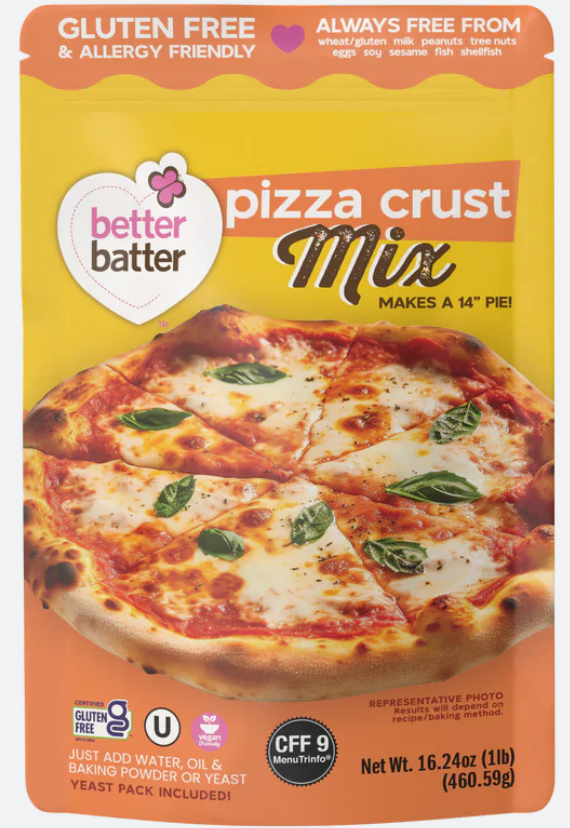
I’m really excited to share this recipe with you, because I made it with the new Pizza Crust Mix from Better Batter. Yes, it’s a pizza crust mix, but this versatile new product is all that and so much more!
Use my Promo Code MGFC30 for 30% off!
Ingredients:
- 1 bag (1 lb.) Better Batter Pizza Crust Mix
- 1 packet (2-1/4 tsp.) instant yeast
- 1 tsp. honey
- 1-1/2 cups warm water
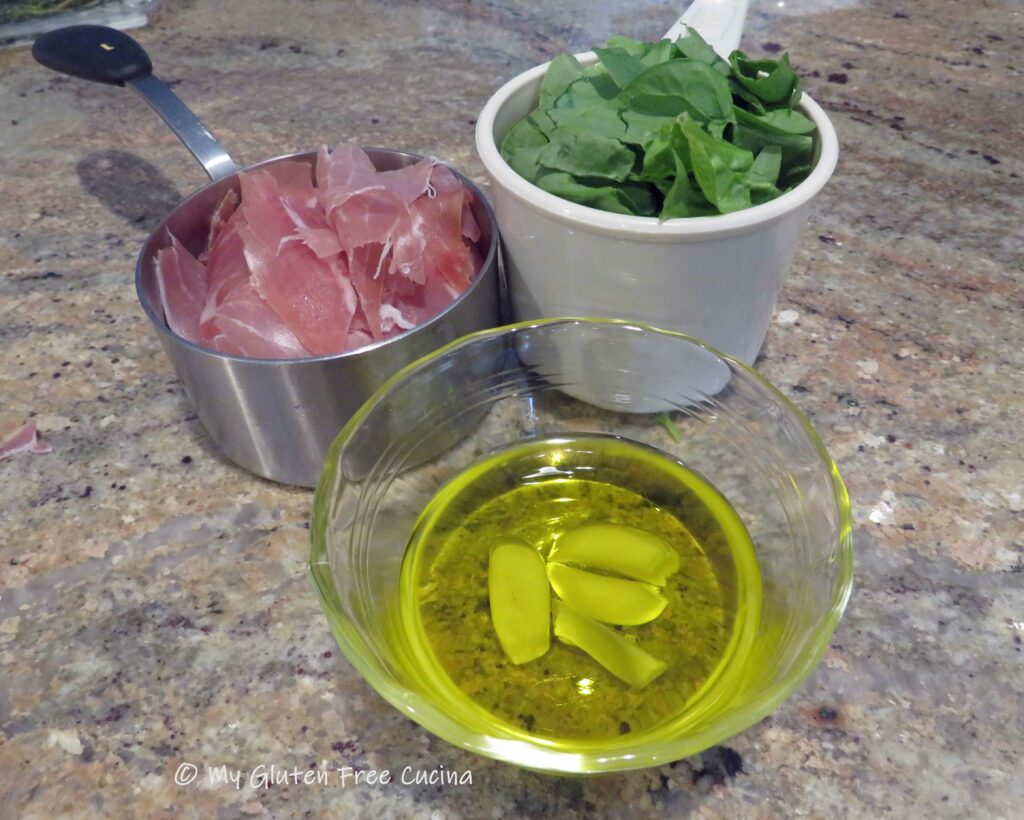
- 1/4 cup garlic infused olive oil (see notes)
- 1 cup baby spinach leaves, stems removed
- 1 cup thinly sliced prosciutto, torn into pieces
- coarse salt
- 1 tsp. chopped fresh rosemary leaves
- pinch (or more) of red pepper flakes
Preparation:
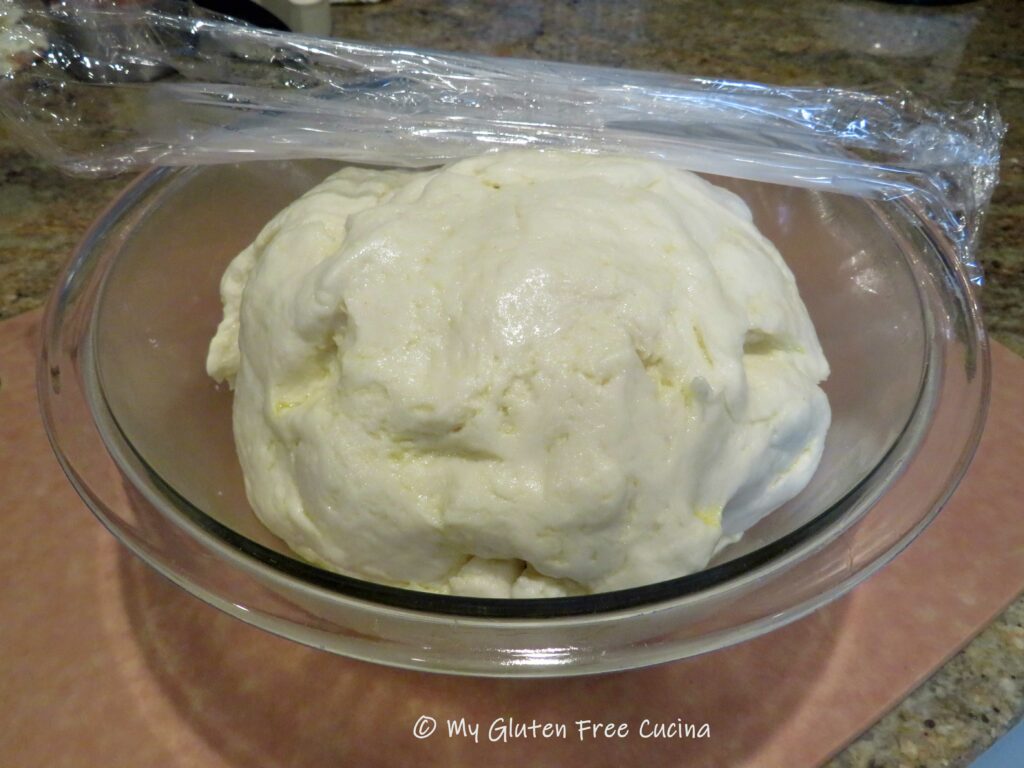
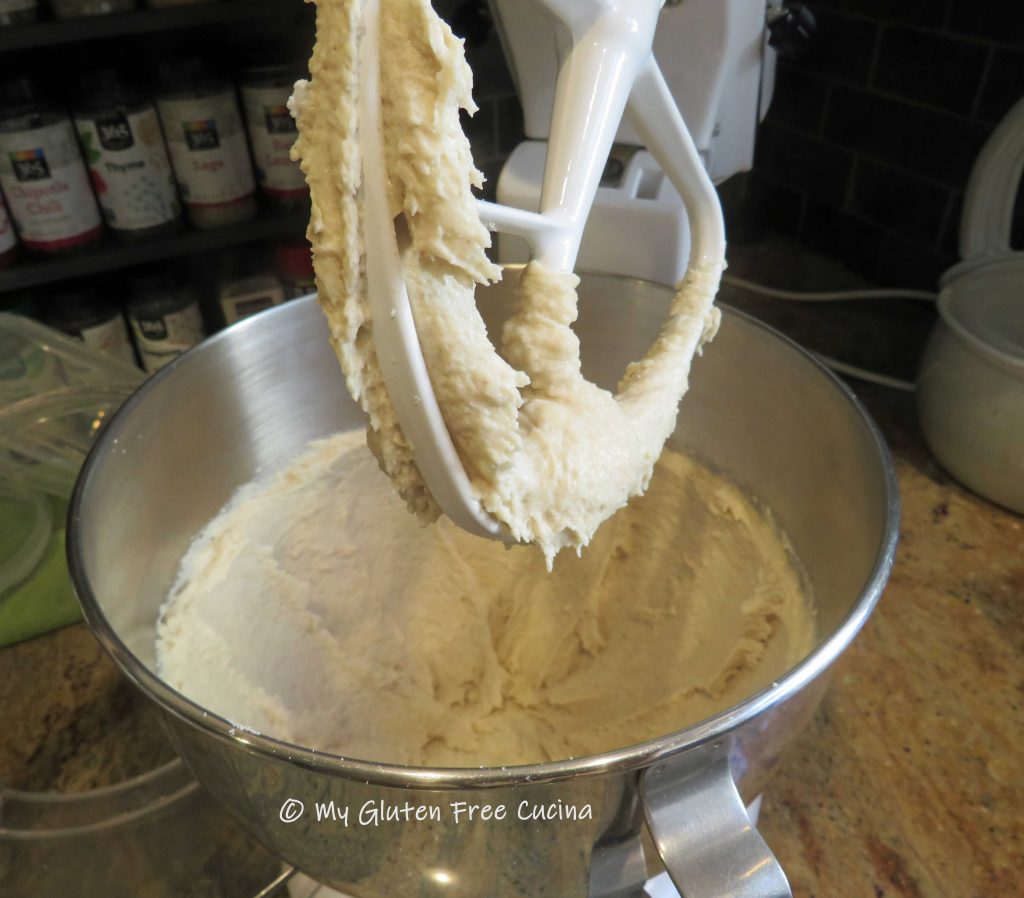
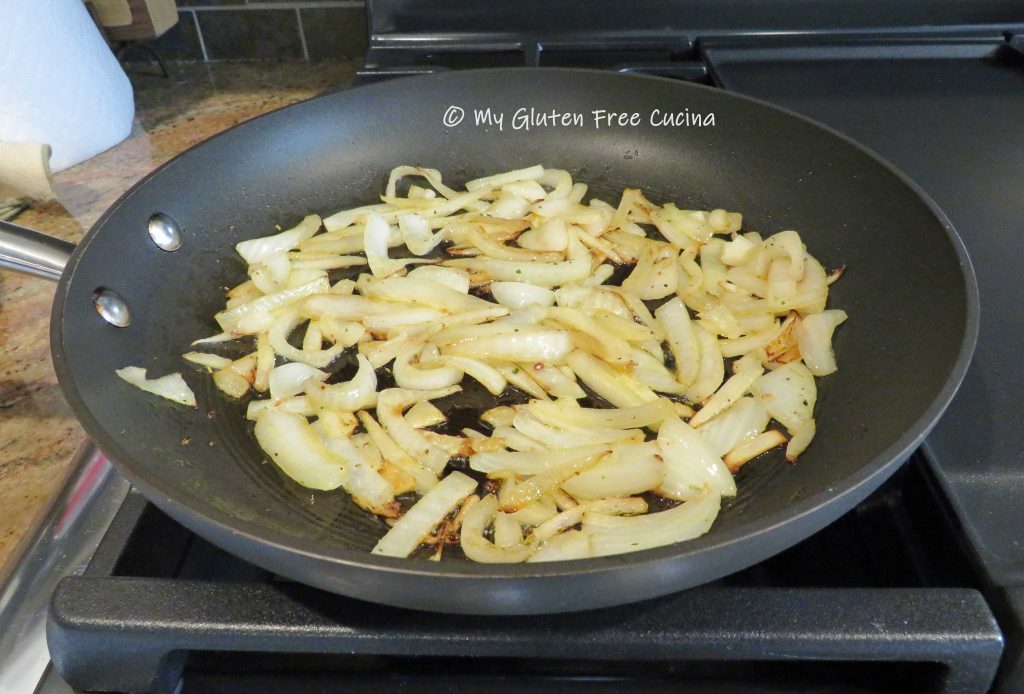
Whisk together the water, honey, yeast and 1 tbsp. olive oil in the bowl of a stand mixer and let it sit for 10 minutes. Next add the pizza crust mix and combine on low speed with the paddle attachment. Increase the speed and mix for 5 minutes to form a smooth dough.

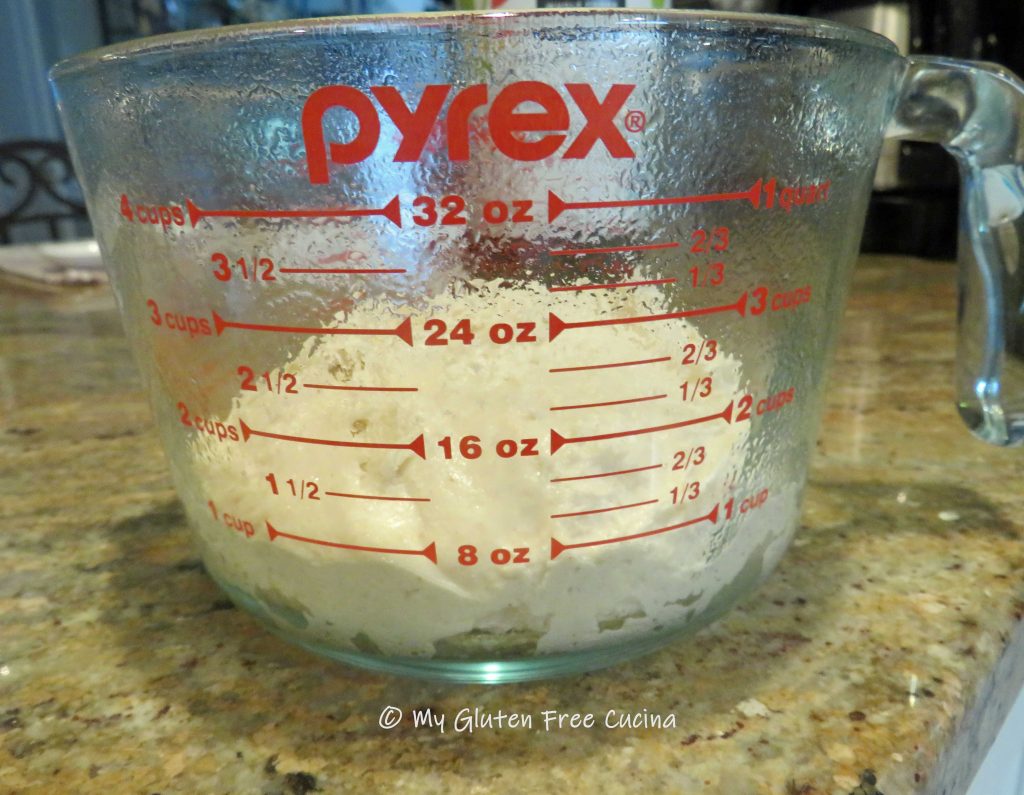
Coat a large bowl with 1-2 tbsp. of the infused olive oil and use a stiff spatula to scrape the dough into the bowl. Turn the dough to coat with oil. Cover the bowl with plastic wrap and let the dough rise for 30 minutes.
Turn the dough out onto an oiled cutting board. With oiled hands, stretch and pat the dough into an oval and roll to 1-1/2″ thick. Top with half of the spinach and prosciutto.
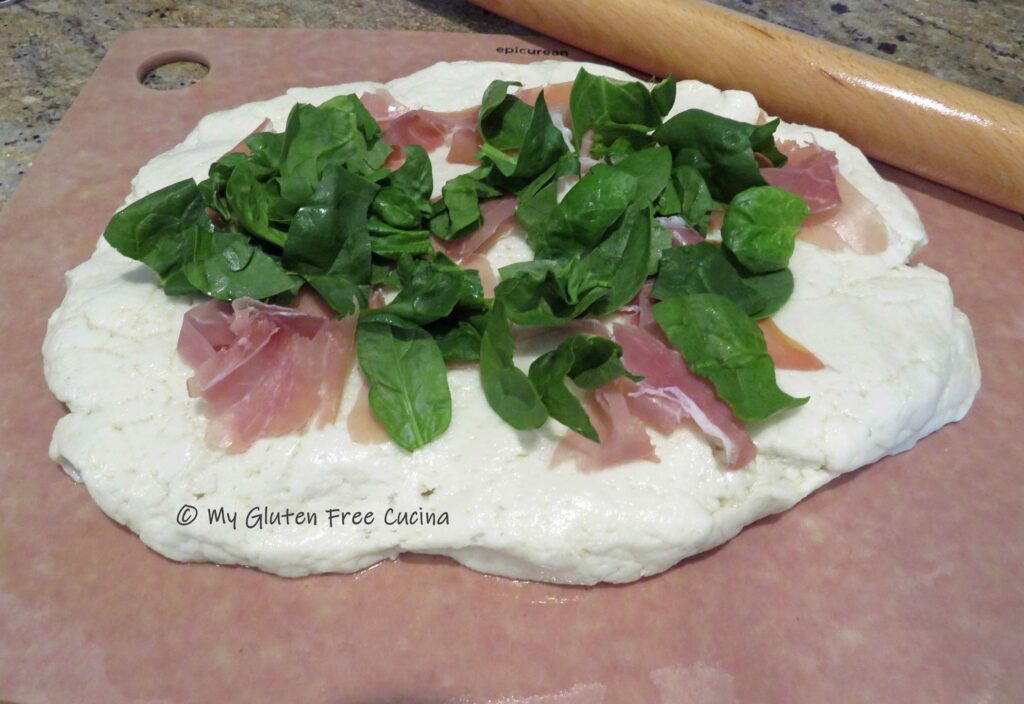
Fold the dough over letter style.


Carefully roll the dough into an oval shape and spread with the remaining spinach and prosciutto. Fold it up again, then turn seam side down and shape into a round.
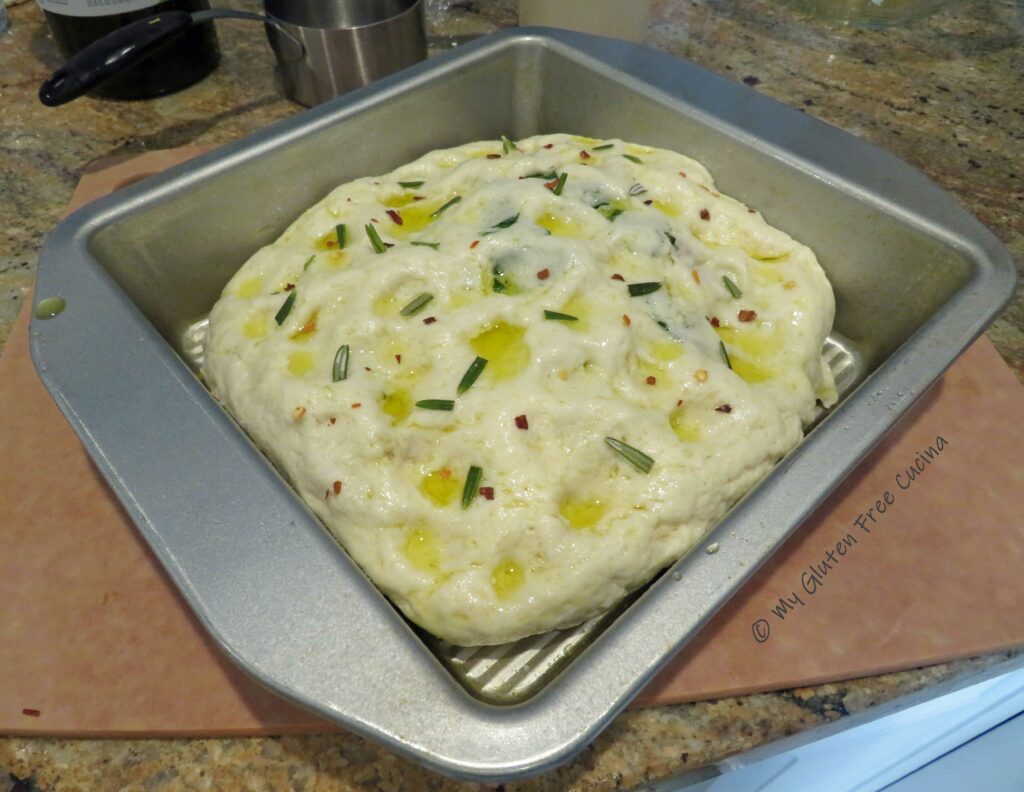
Place the shaped dough into an oiled 8 x 8″ square pan and pat it down to flatten slightly. Cover and set aside to rise again for 25 minutes. Place a baking stone in the oven and preheat to 400º.

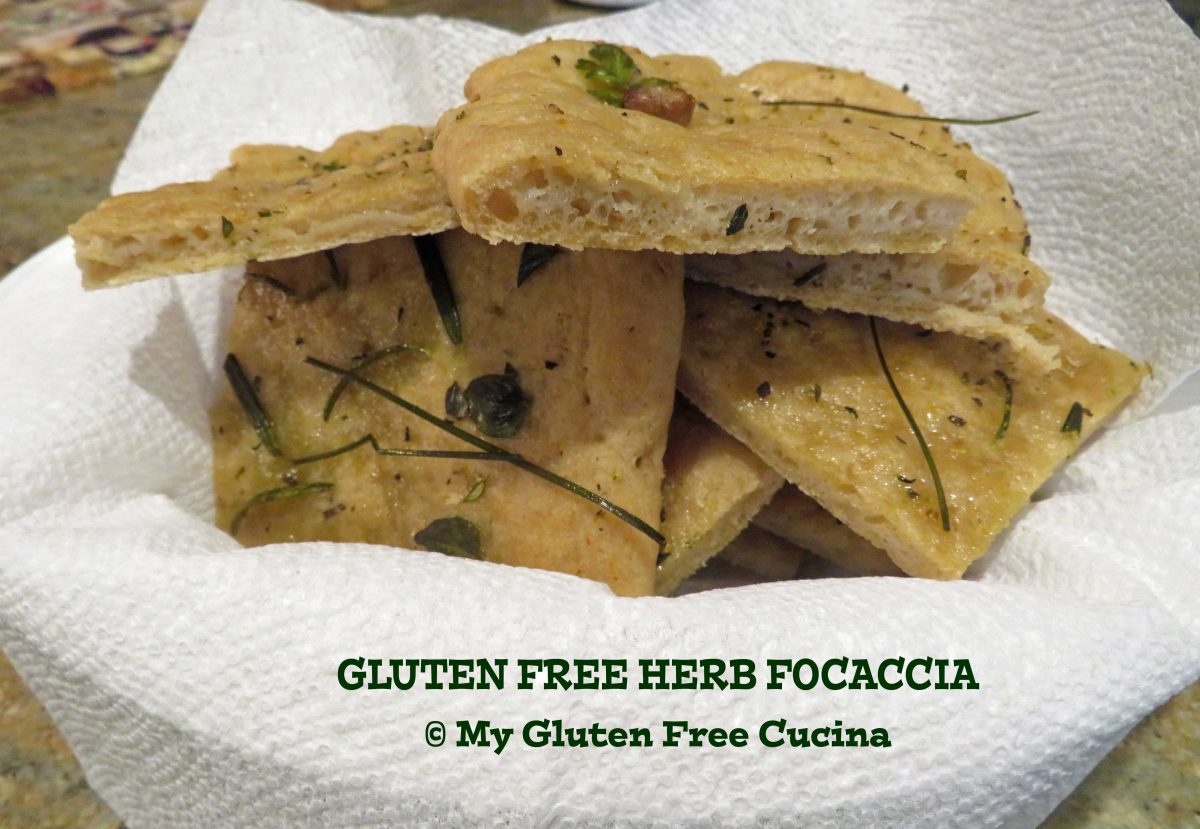
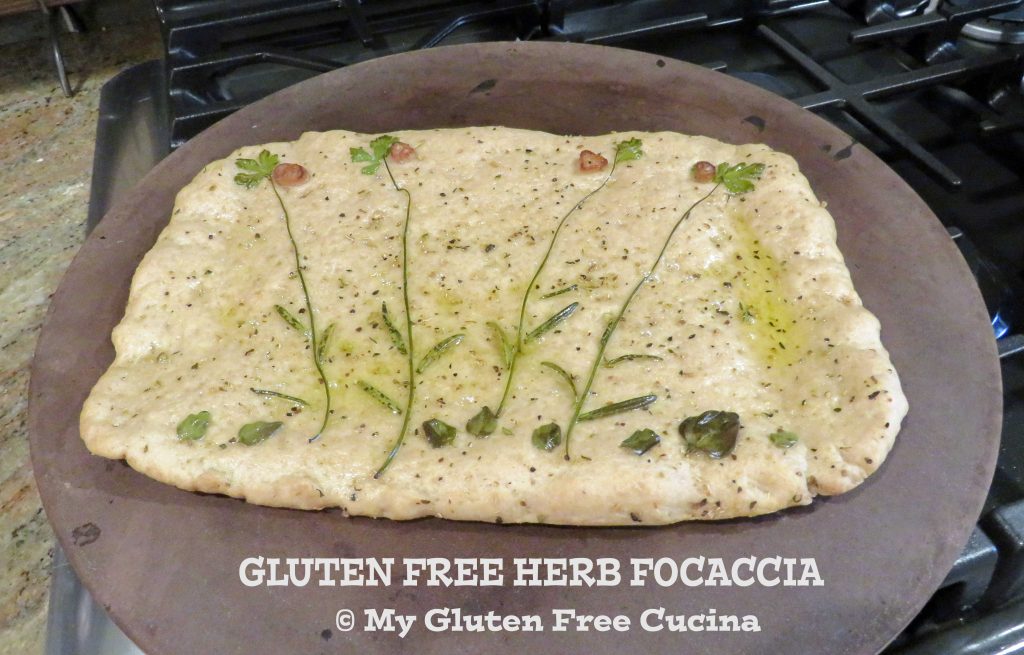
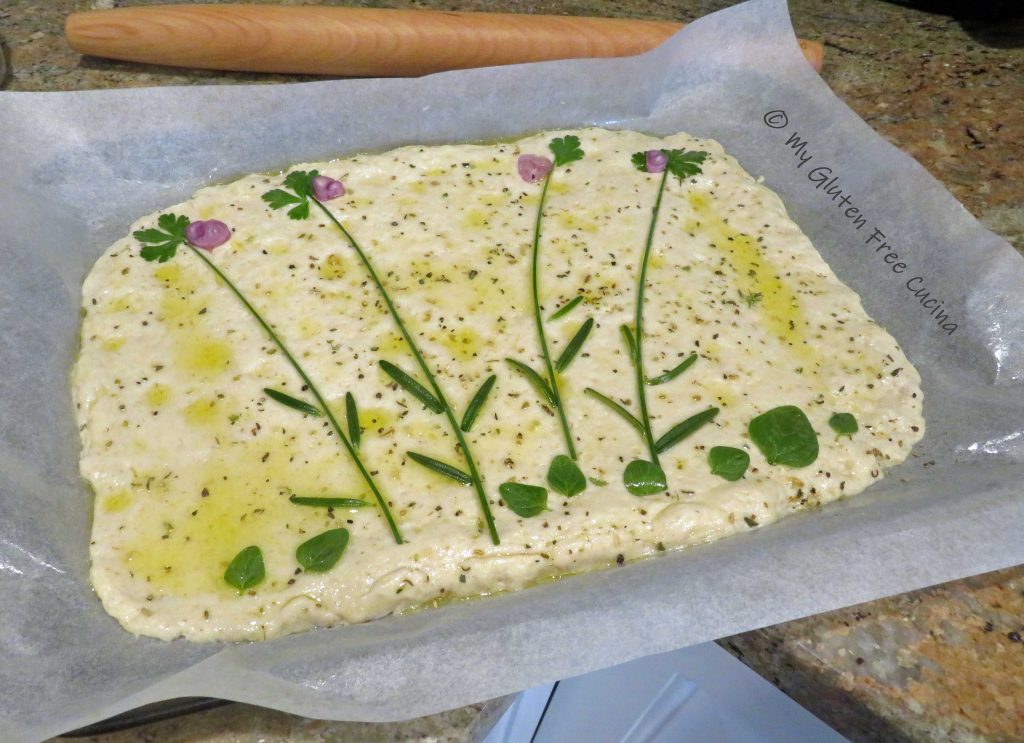
Now use oiled fingers to press dimples into the dough. Brush the top liberally with the remaining infused oil, sprinkle with coarse salt and chopped fresh rosemary.
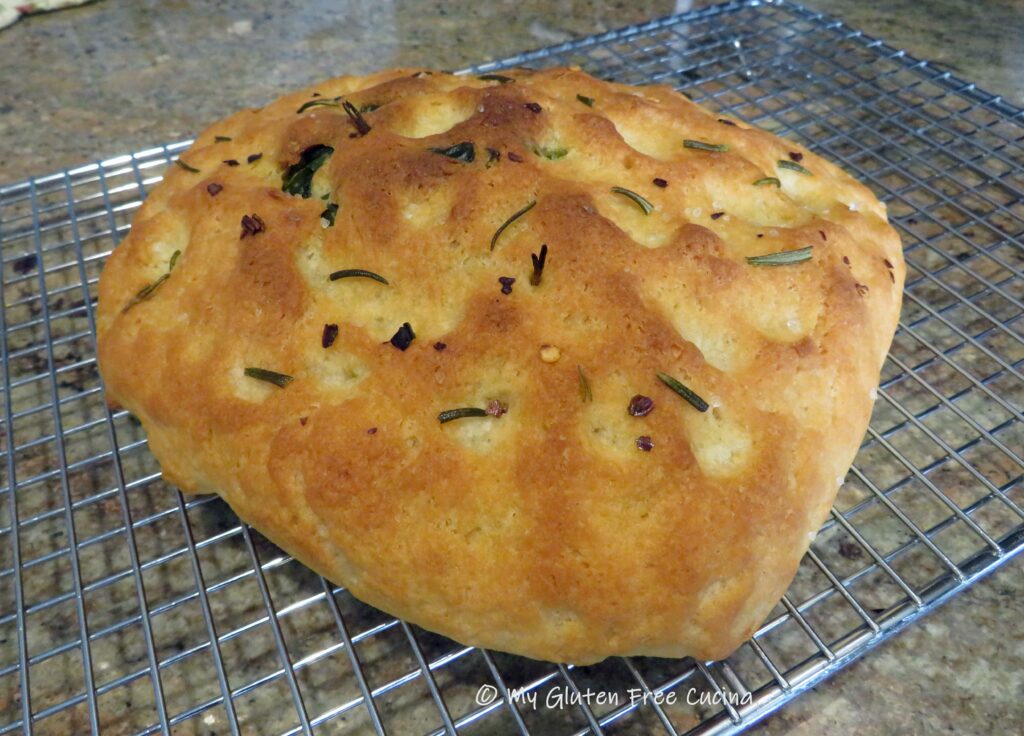
Bake for 45 minutes or until the internal temperature reaches 210º. During the last 10 minutes of baking, remove the focaccia from the pan and bake directly on the pizza stone.

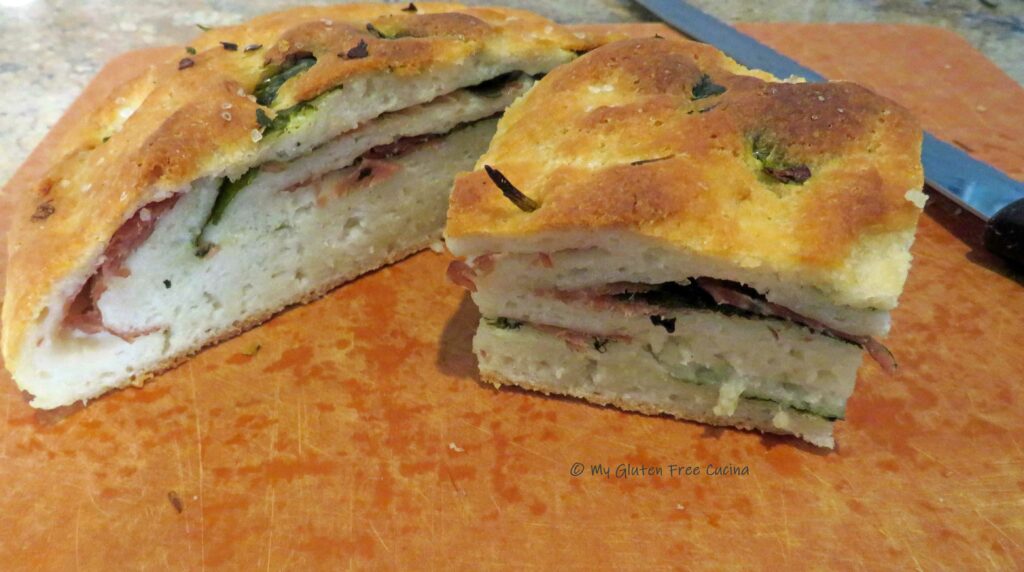
Remove from the oven and cool on a rack for about 1 hour and serve warm.
Slice the focaccia into squares for serving. You can see the prosciutto and spinach in every slice!

I hope you’ve enjoyed today’s bake and that you will try the new Pizza Crust Mix from Better Batter. Remember, when you shop Better Batter, use my Code MGFC30 at checkout for 30% off full price!
Notes ♪♫ The day before I baked this loaf, I set aside 1/2 cup of olive oil and added 2 garlic cloves and a sprig of fresh rosemary. The infused oil adds another layer of flavor to the bread dough and is great for dipping.

[print_link]

 PREPARATION:


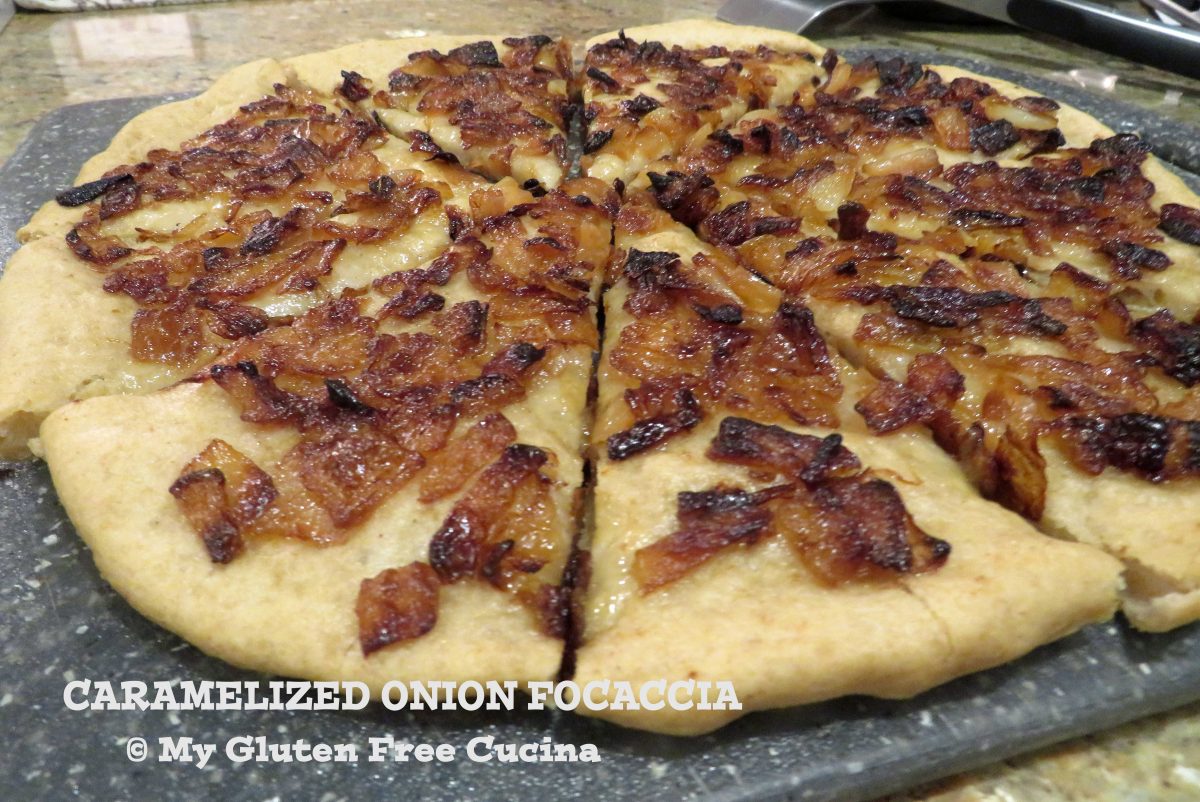
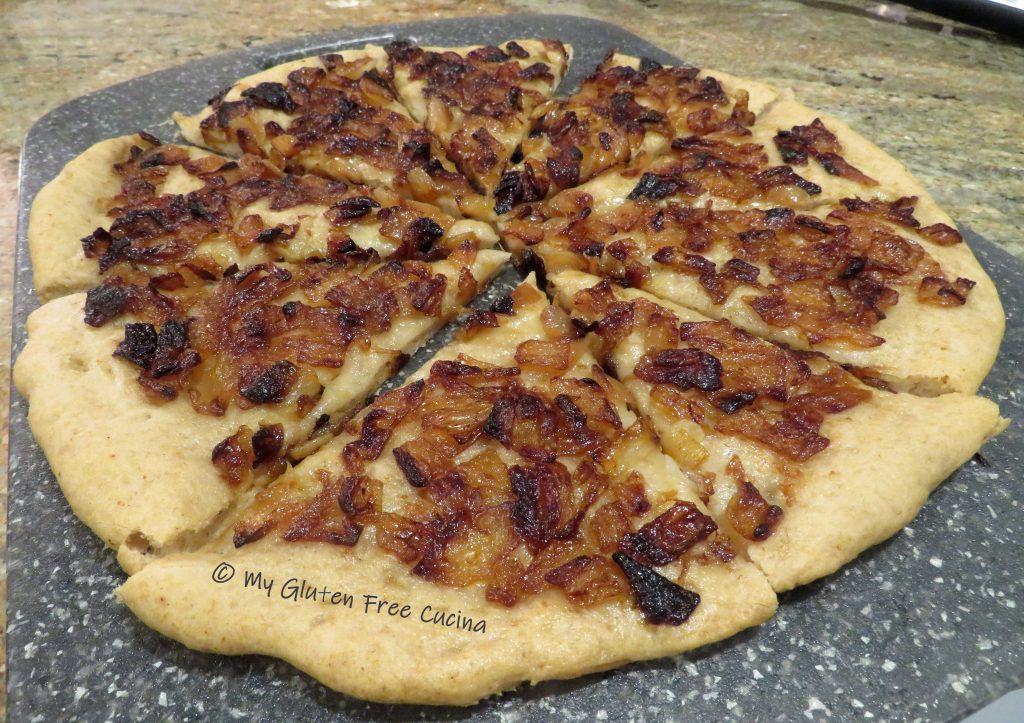
 Place the sheet pan in the oven on top of the baking stone. Bake for 25 minutes total. During the last 10 minutes carefully slide the pizza out of the pan, remove the parchment and finish baking directly on the pizza stone.
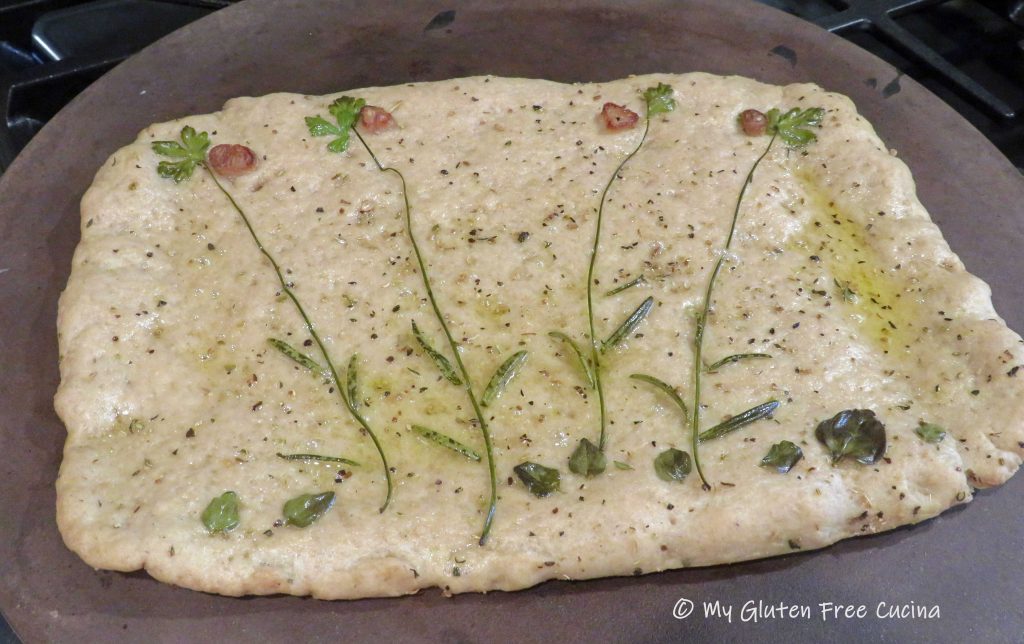


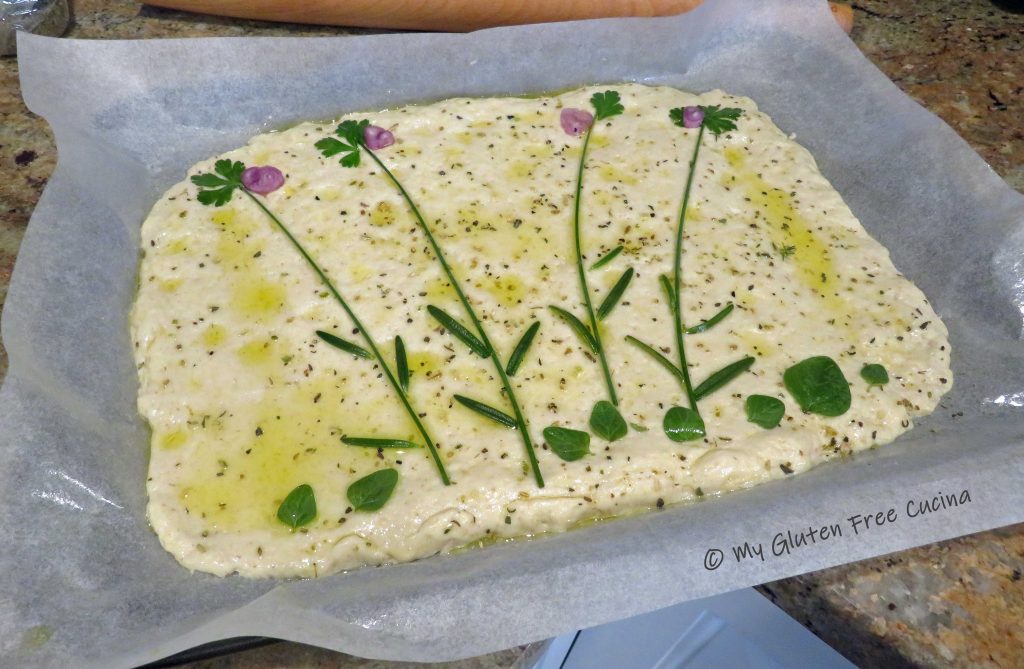
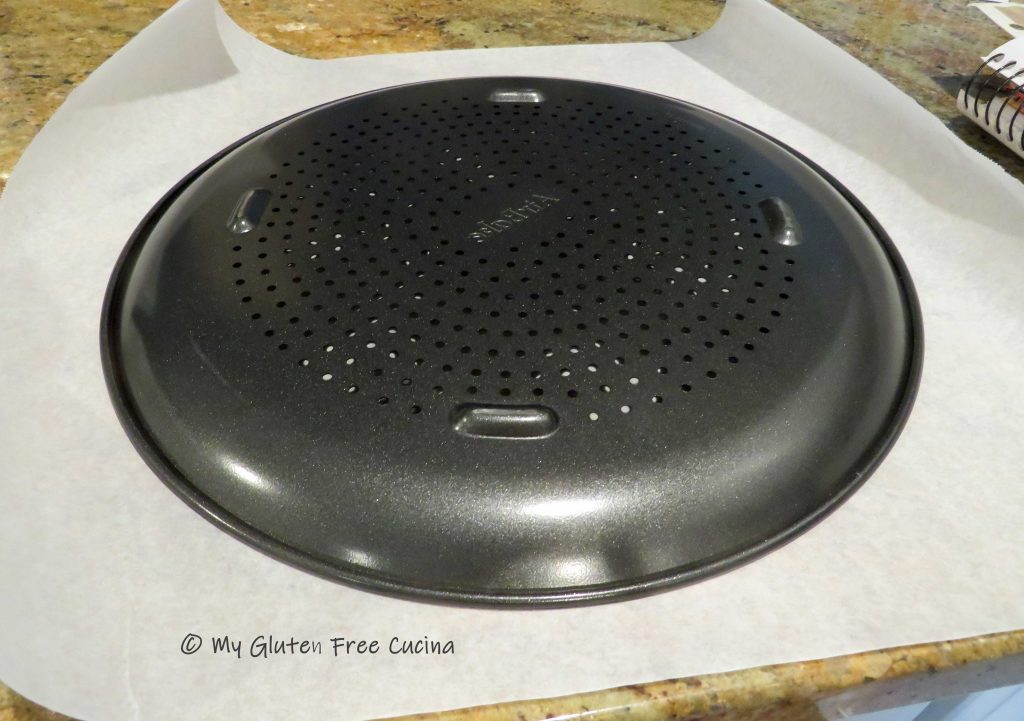 Mist the parchment with cooking spray and roll the dough into a round. Slide it onto the pizza pan, cover with oiled plastic wrap and let it rest at room temperature for 30 minutes.
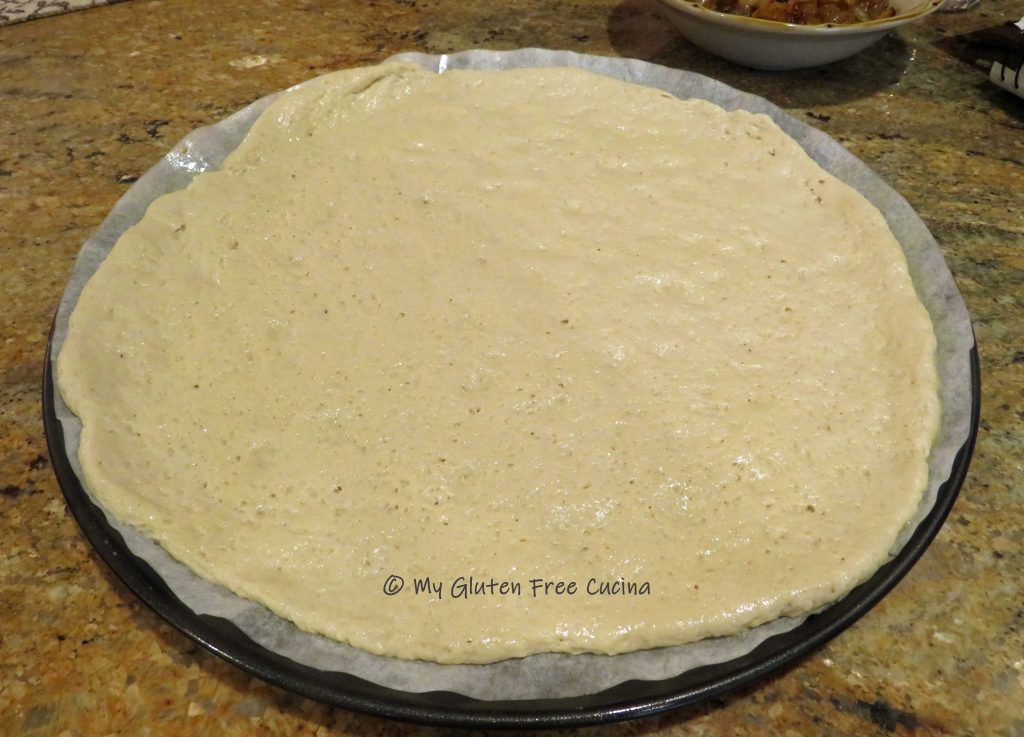


 Coincidentally we were also having our first heat wave of the summer. It was over 90 degrees in the shade, so what did I do? Yes, I cranked up the oven to 500º and made pizza! Just to be sure everything was working properly, right?

 Remove the proofed dough from the refrigerator, it will have doubled in size. Cut a sheet of parchment to fit your
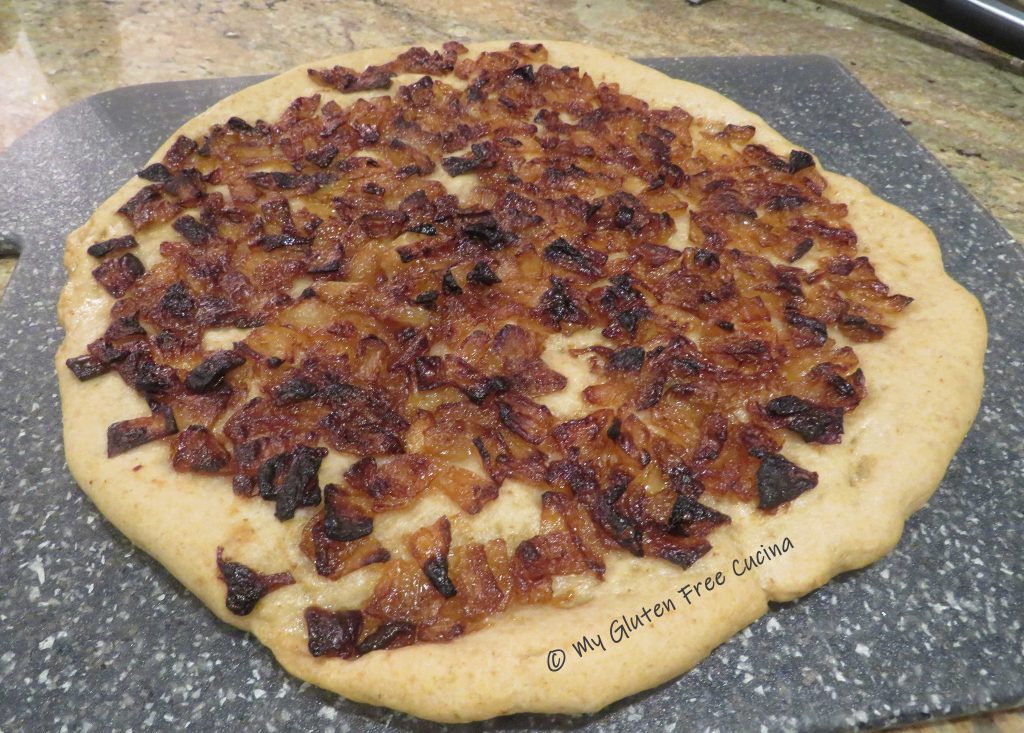
  Brush with olive oil and season. Let it rest at room temperature for an additional 30 minutes while you preheat the oven to 500º. Place your pizza stone in the oven to preheat.
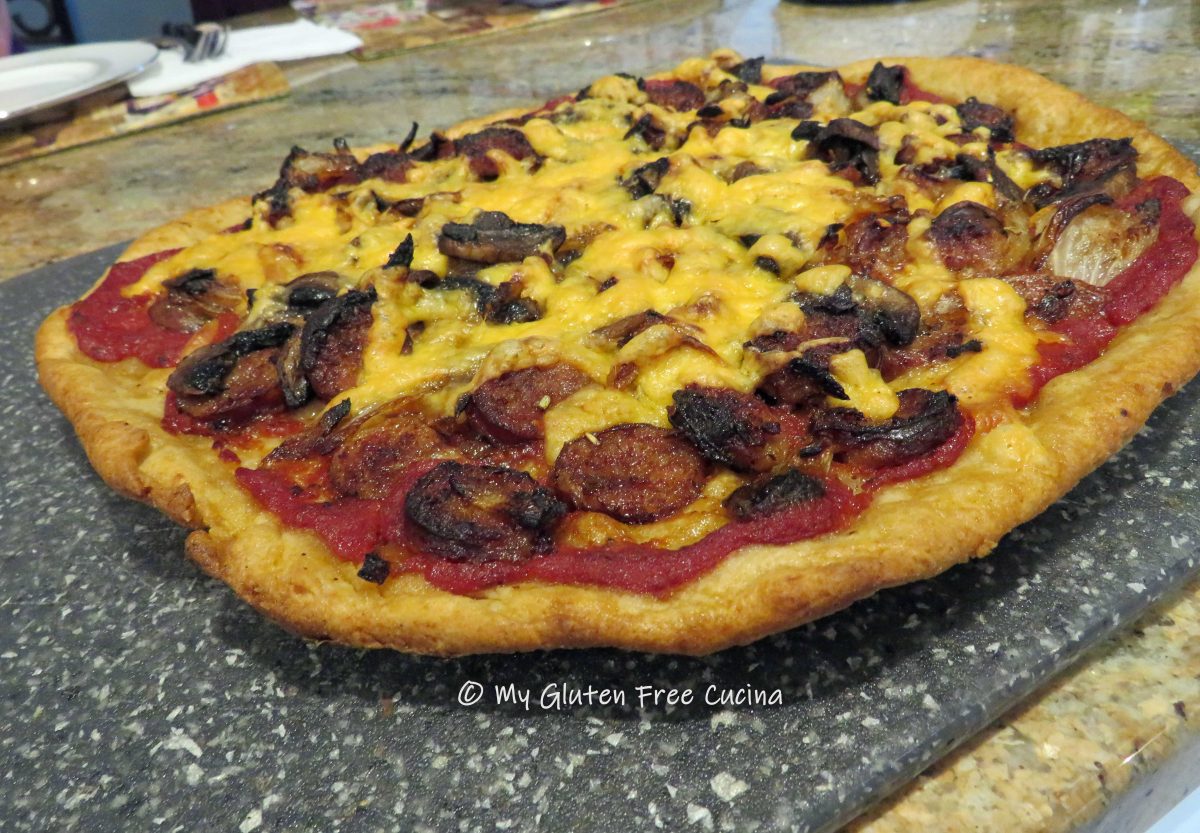
 Top with grated cheese of your choice. I used cheddar, because we had some in the fridge left over from another recipe. Slide the pizza, with parchment onto your preheated pizza stone. After 5 minutes use
