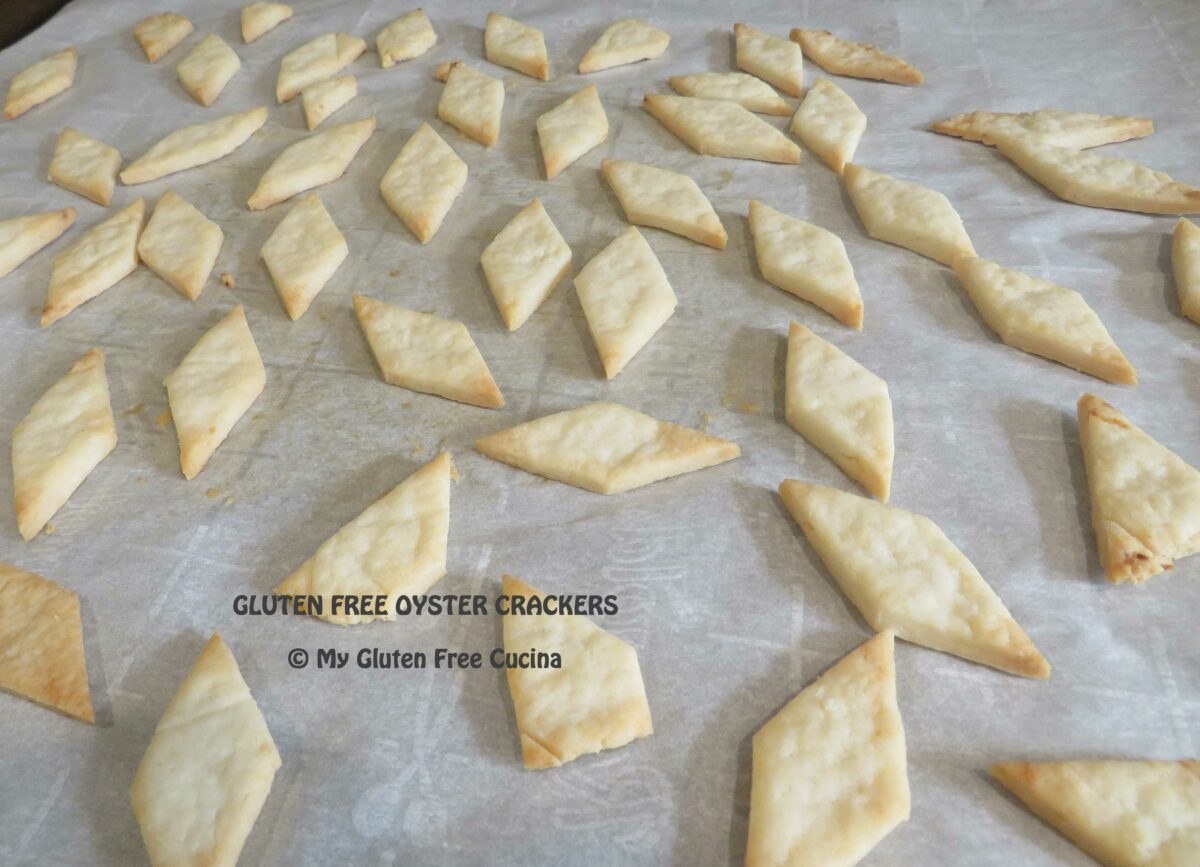
Oyster Crackers. Those cute little soda crackers that restaurants give you with chowder and soup. Some are round and some are hexagon shaped. Yes, they are off limits on a gluten free diet. So today I made my own gluten free version, at home, from scratch!
Gluten free dough can be finicky to work with, so I opted for the diamond shape, which is easy to cut. The dough is sticky and handles like pie dough. The trick is to keep it cold. Here’s how to make it…
~8 servings
This post contains affiliate links.

Ingredients:
- 140g. gluten free all-purpose flour
- 1 tsp. salt (6g.)
- 1 tsp. sugar (5g.)
- 1 tsp. baking powder (3g.)
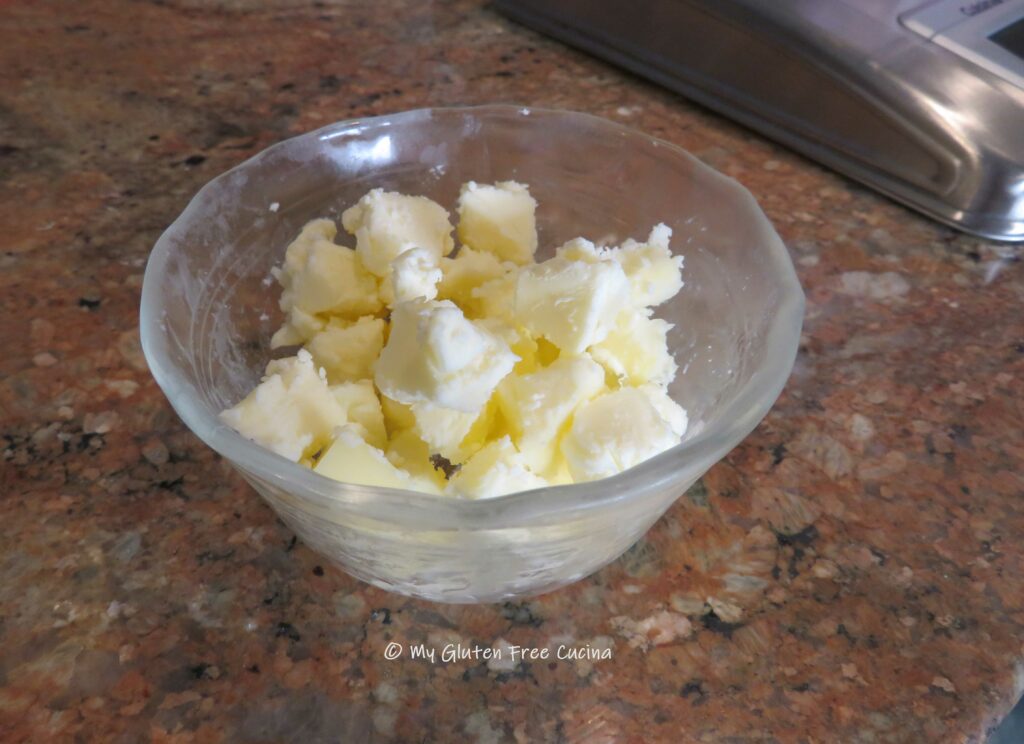
- 3 tbsp. very cold butter
- 1/3 cup ice water
Preparation:
Cut the butter into small pieces and refrigerate it (keep it cold) while you gather the other ingredients. Cut 2 sheets of parchment paper to size for 2 cookie sheets (half sheet pans). Pre-heat the oven to 375º.
 Whisk together the dry ingredients and place in small food processor or mini chopper with the butter. Pulse a few times, then add the water to form a coarse dough.

It will look shaggy, like pie dough but should hold together when you give it a squeeze.
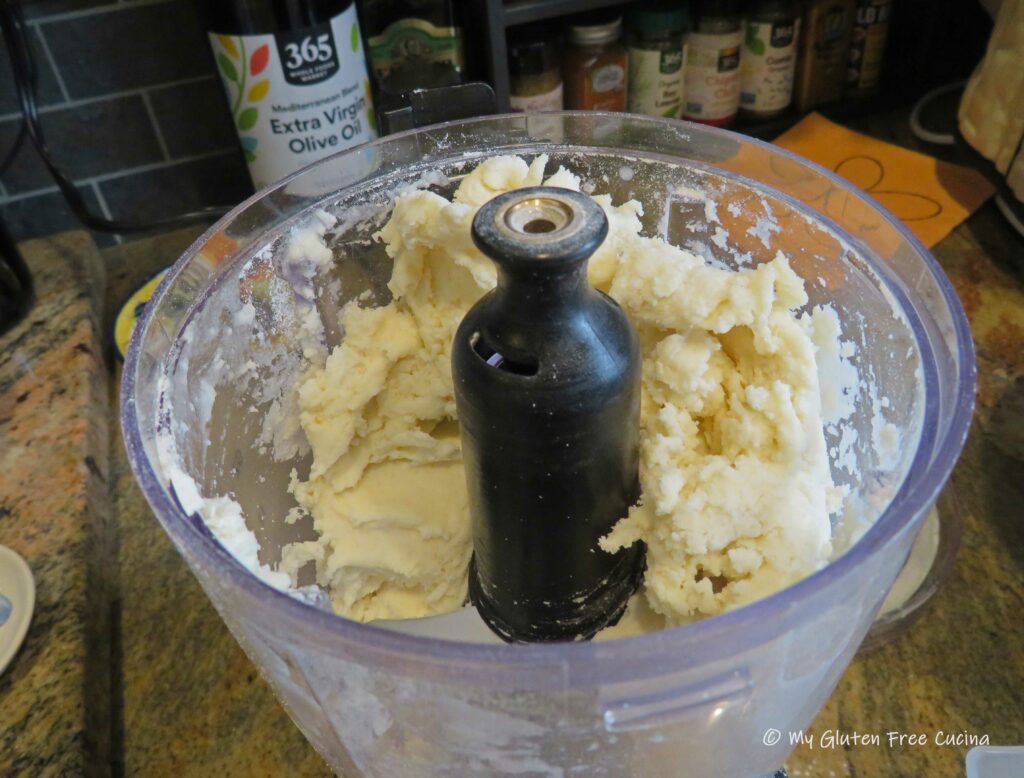
Press the dough into a ball, wrap it in plastic wrap and let it rest for 10 minutes at room temperature.
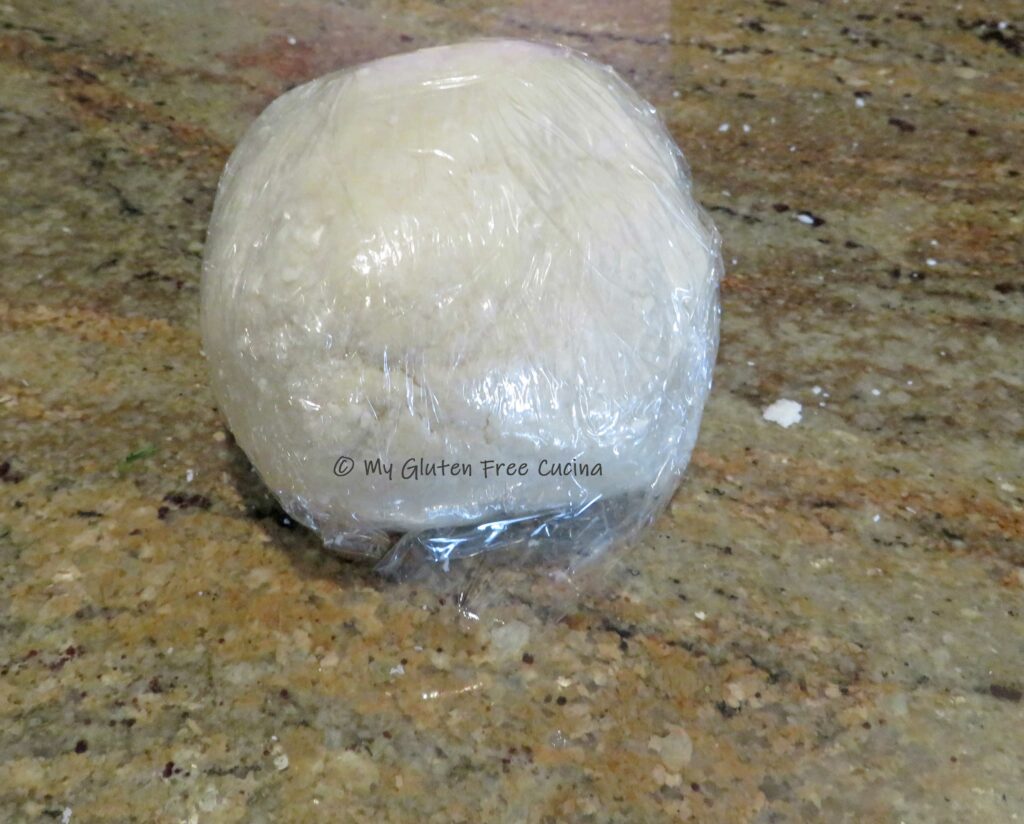
Divide the dough ball in half. If it is too crumbly to handle, mist it with water and knead a few times. Cover it with a sheet of plastic wrap and roll the dough into a circle 1/8″ thick. I used a rolling pin, but you can use a pie dough roller or just press it with your fingers.

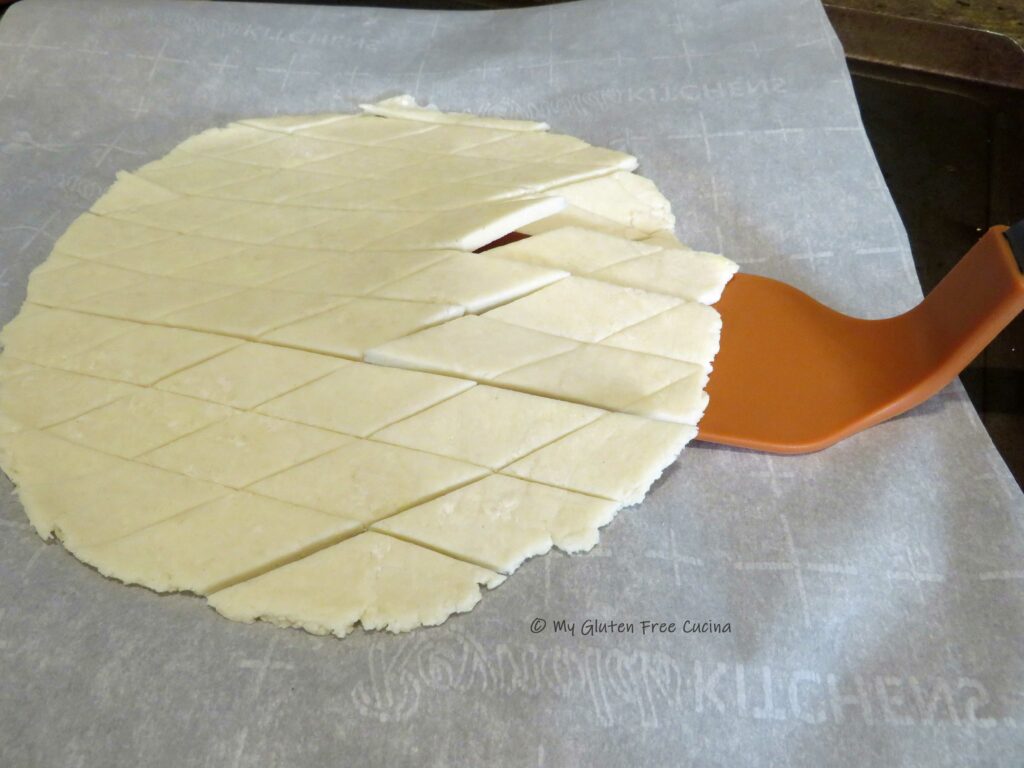
Gently slide the parchment onto the baking sheets for support. Put the dough in the refrigerator for 15 minutes. Don’t skip this step! The dough needs to be cold throughout the entire process until it goes into the oven.
Use a pizza cutter to cut the chilled dough into 3/4″ diamonds. Refrigerate it for another 10 minutes. Again, don’t skip this step!

Just before baking, lift up the dough with a spatula and shake gently to separate the crackers and spread in a single layer.
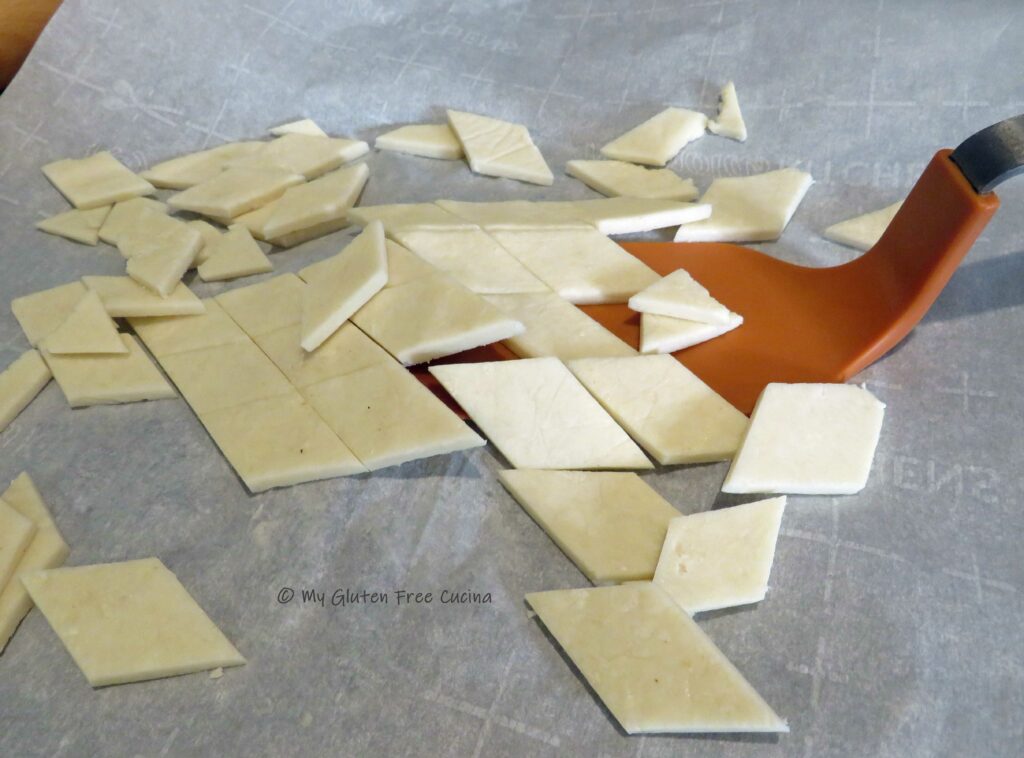
Be sure they don’t overlap and have space in between.

Bake 17 minutes on the middle rack (not too close to the bottom or they will get singed). Rotate once during baking.
 Cool in the pan, then lift the edges of the parchment paper and slide them into a bowl for serving.

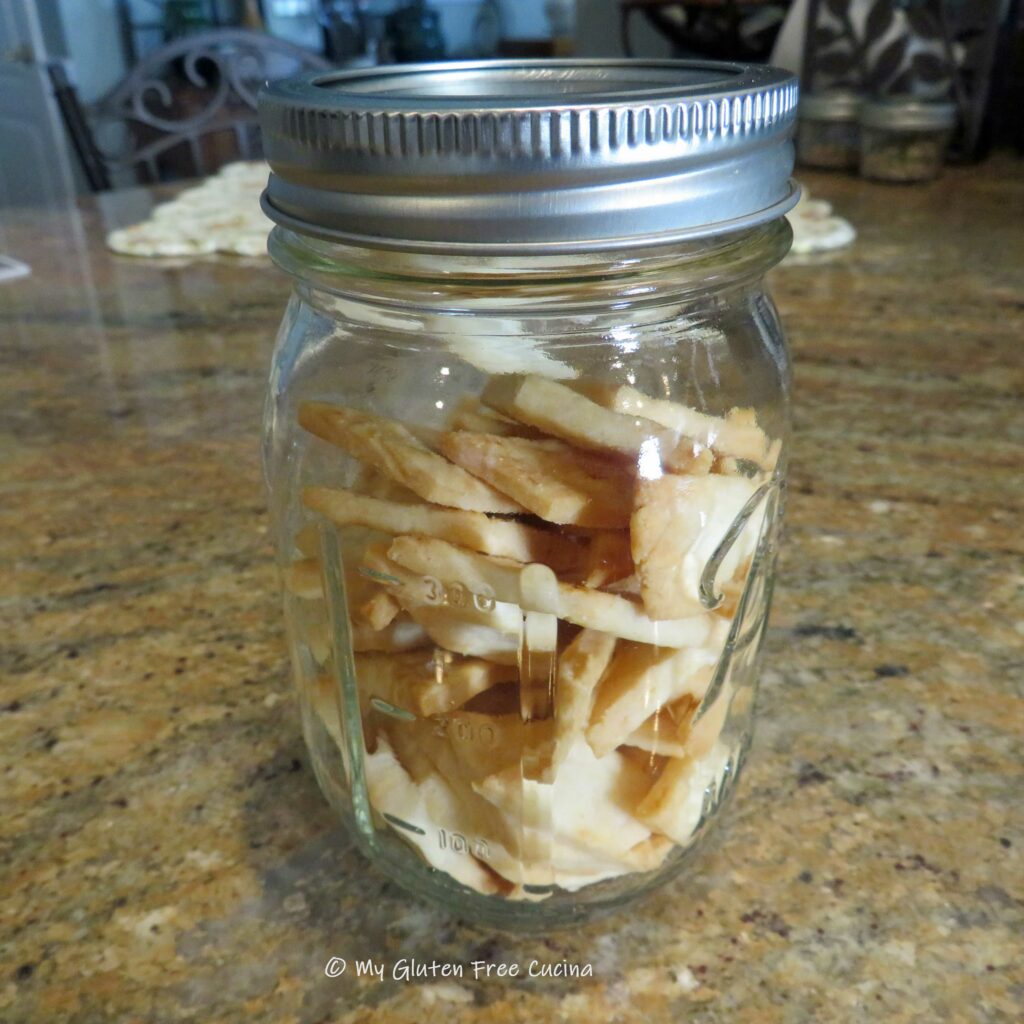
The Oyster Crackers were excellent, they were crisp and held up well in a bowl of chowder! Store in an airtight container or ball jar at room temperature for 1 week. They are great for snacking!
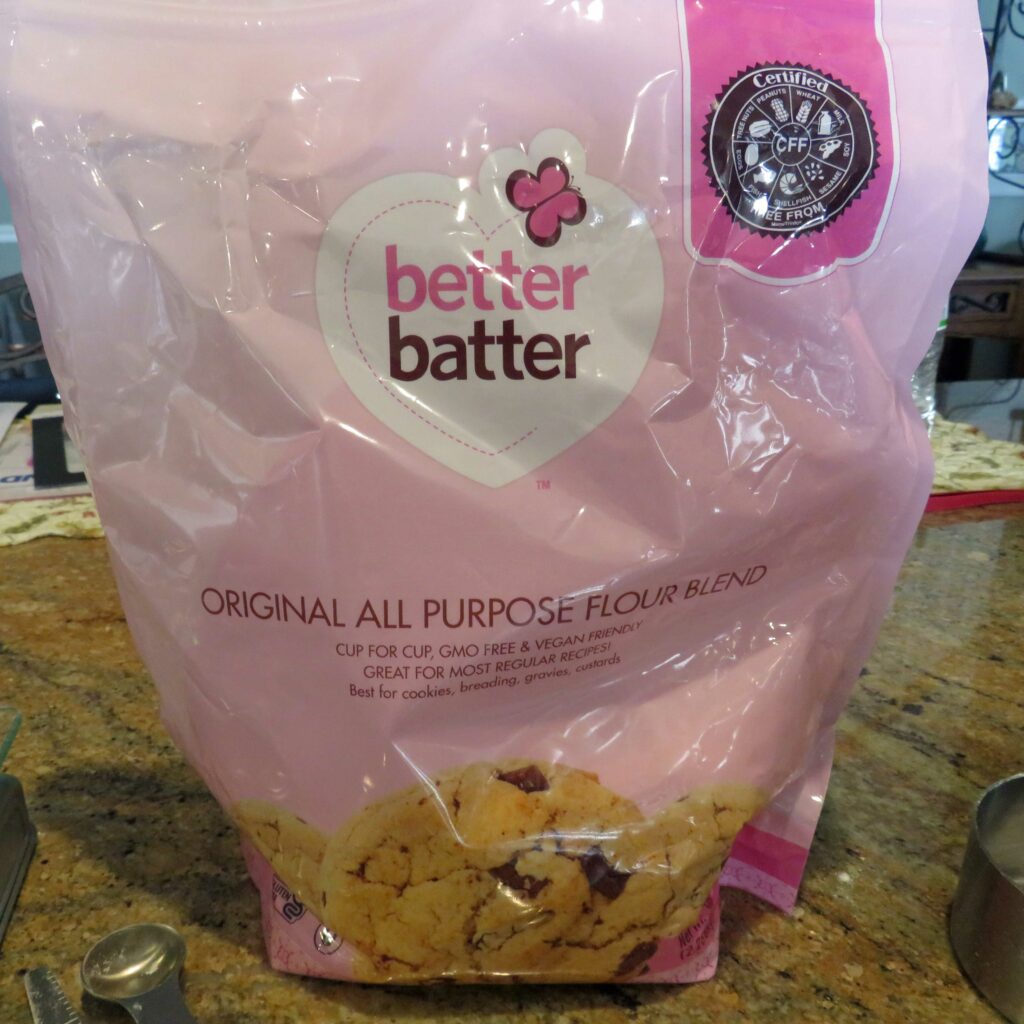
Notes ♪♫ I used Better Batter Original All-Purpose Flour Blend in this recipe. I have also made them with King Arthur All Purpose Gluten Free Flour. If you try the recipe with another flour blend, let me know how it comes out!
Originally posted 08/27/2018, Updated and rephotographed 6/8/2021, and 07/13/2024


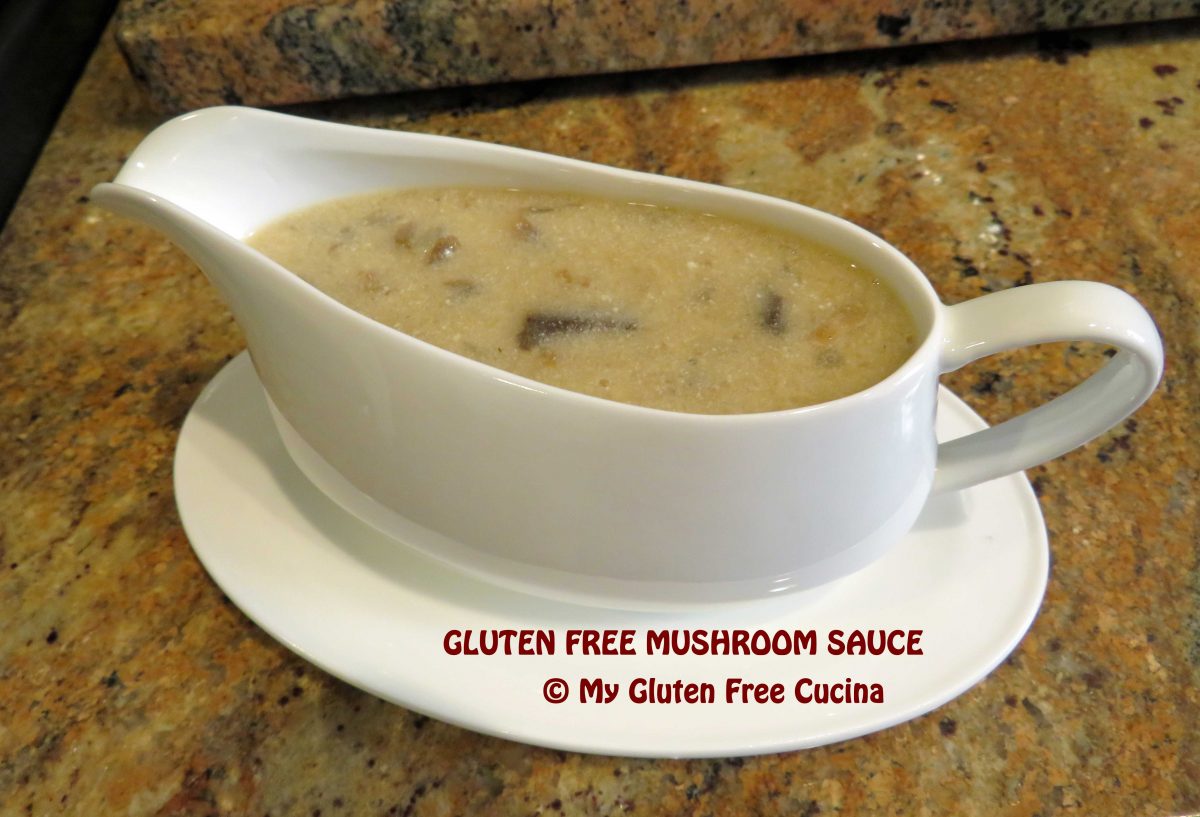


 This sauce goes well with so many things. Beef, poultry, pork… I am especially proud of this next recipe for Sausage Stuffed Turkey Rolls. Paired with the Mushroom Sauce and a side of wild rice, this was a great meal.
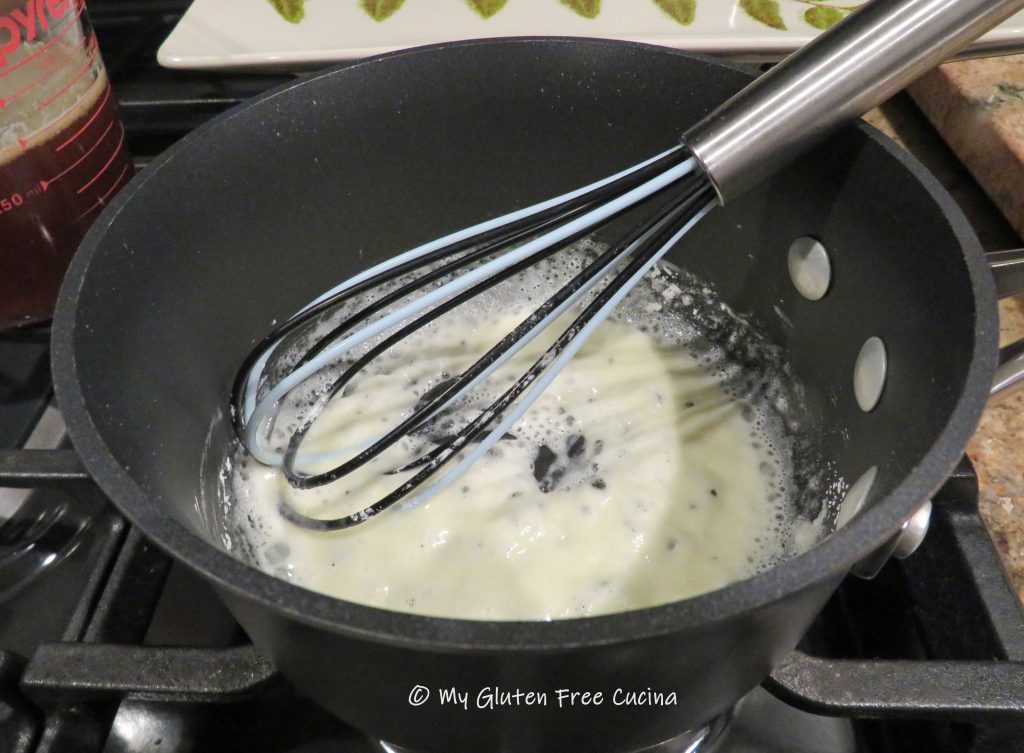


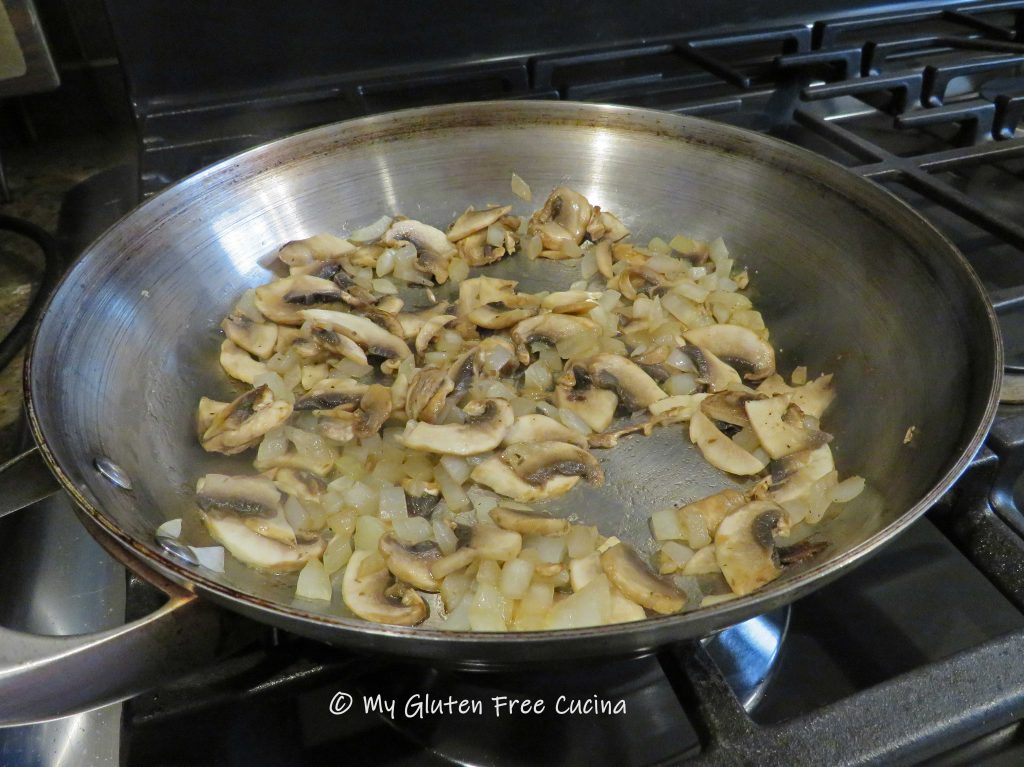
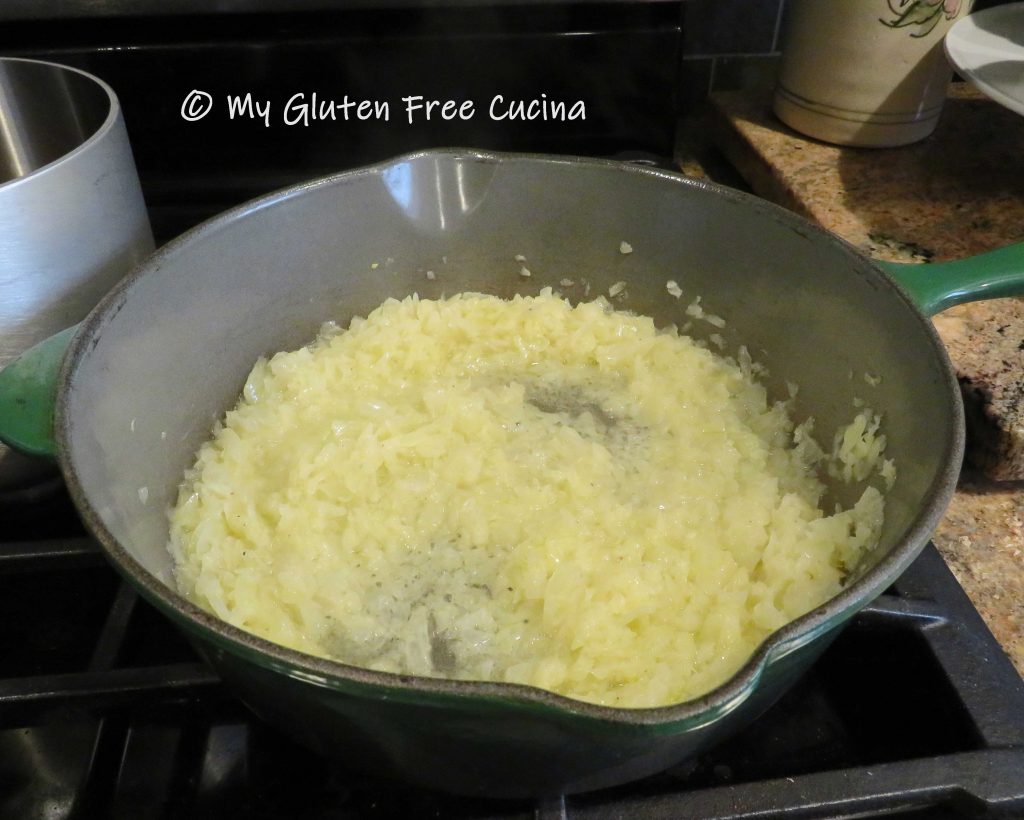 Have the corn starch, broth and a whisk ready for the next step. Sprinkle the corn starch evenly over the onions and whisk whisk whisk for 1-2 minutes. Don’t stop!
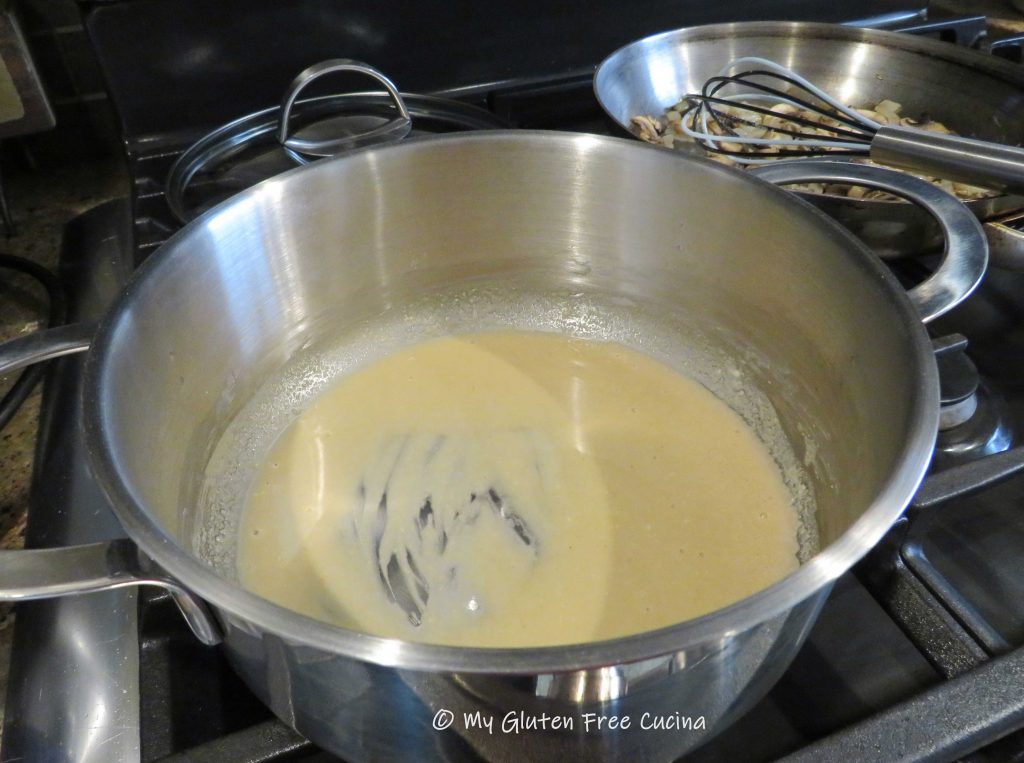
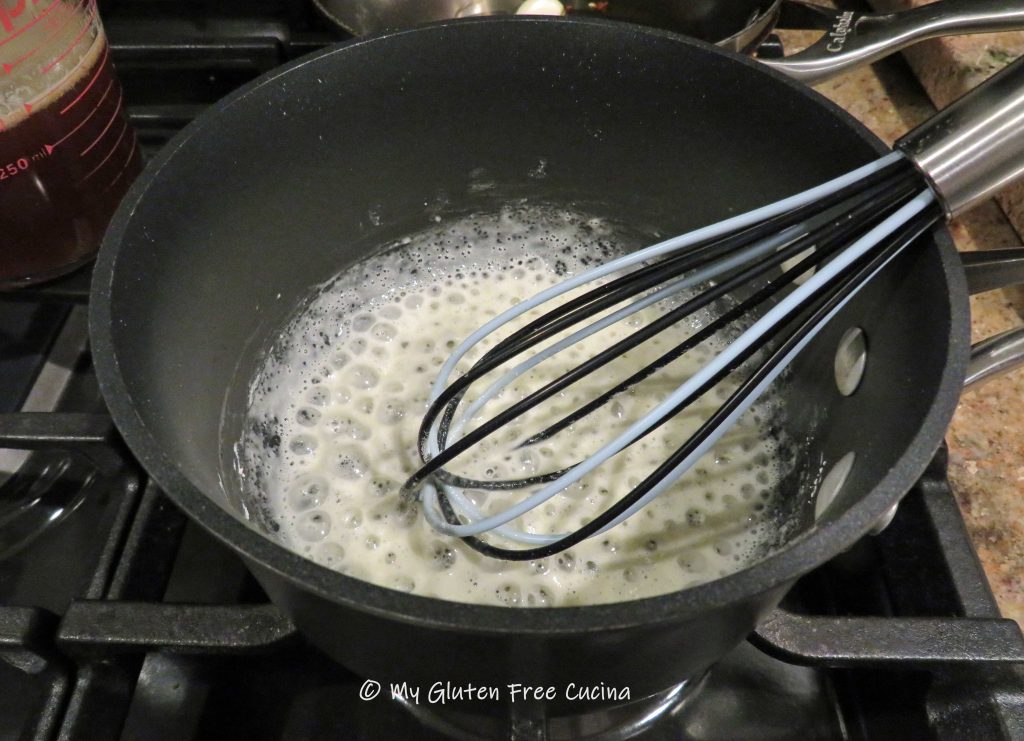
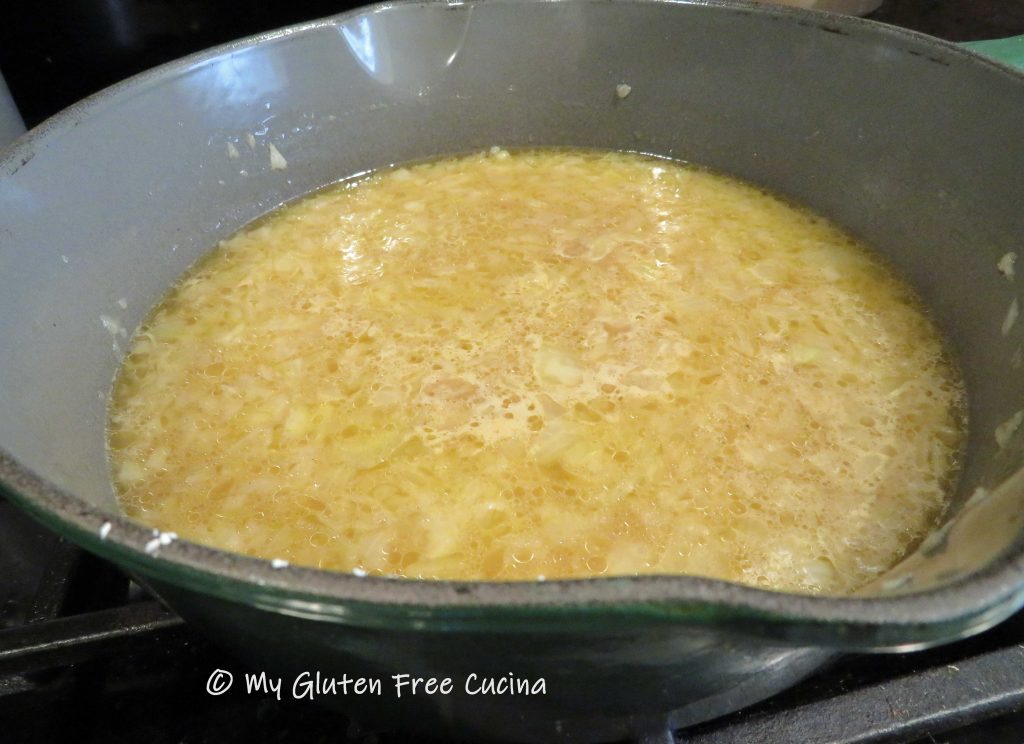
 Stream in the warmed broth and continue whisking. The gravy will thicken.
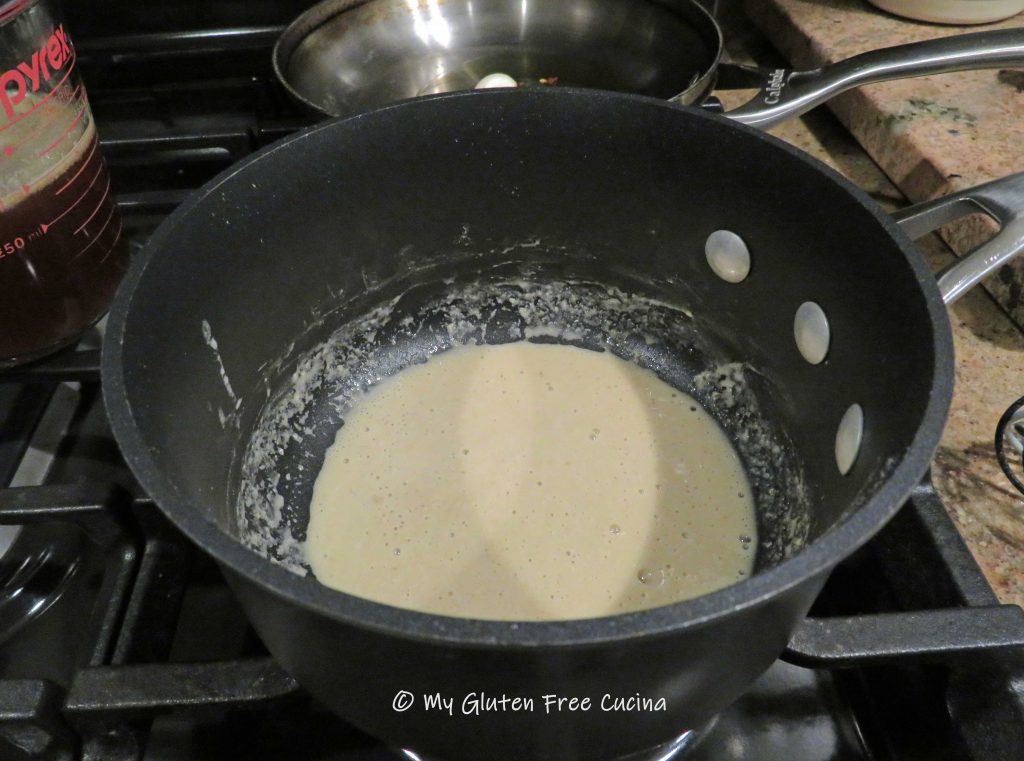
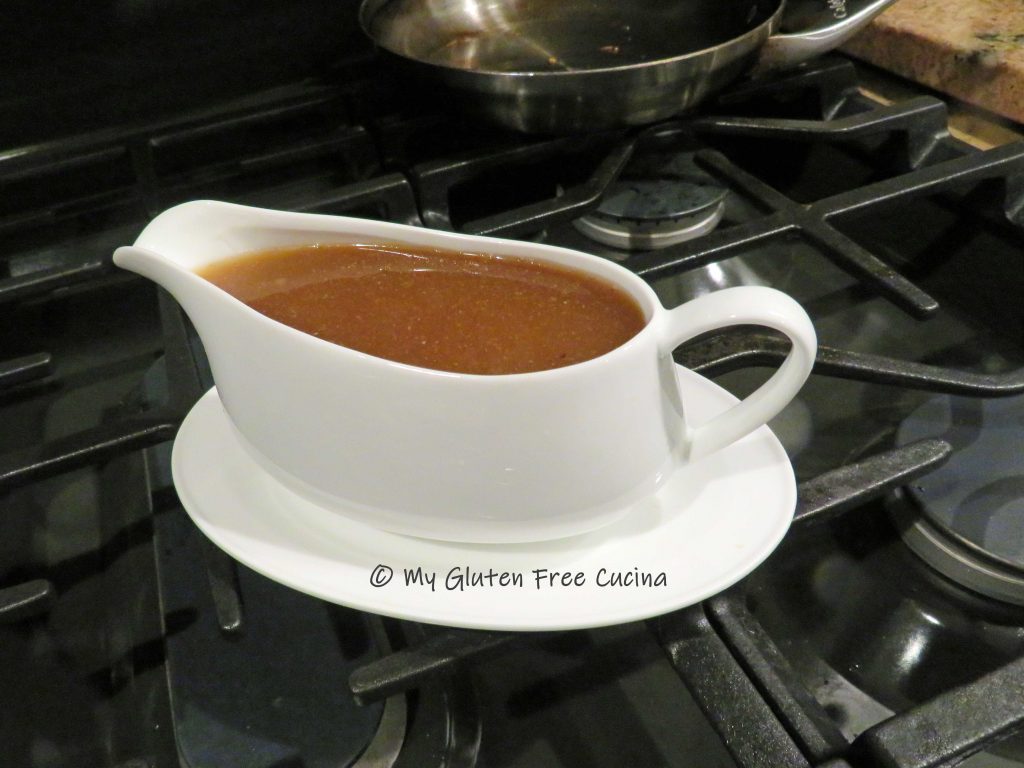
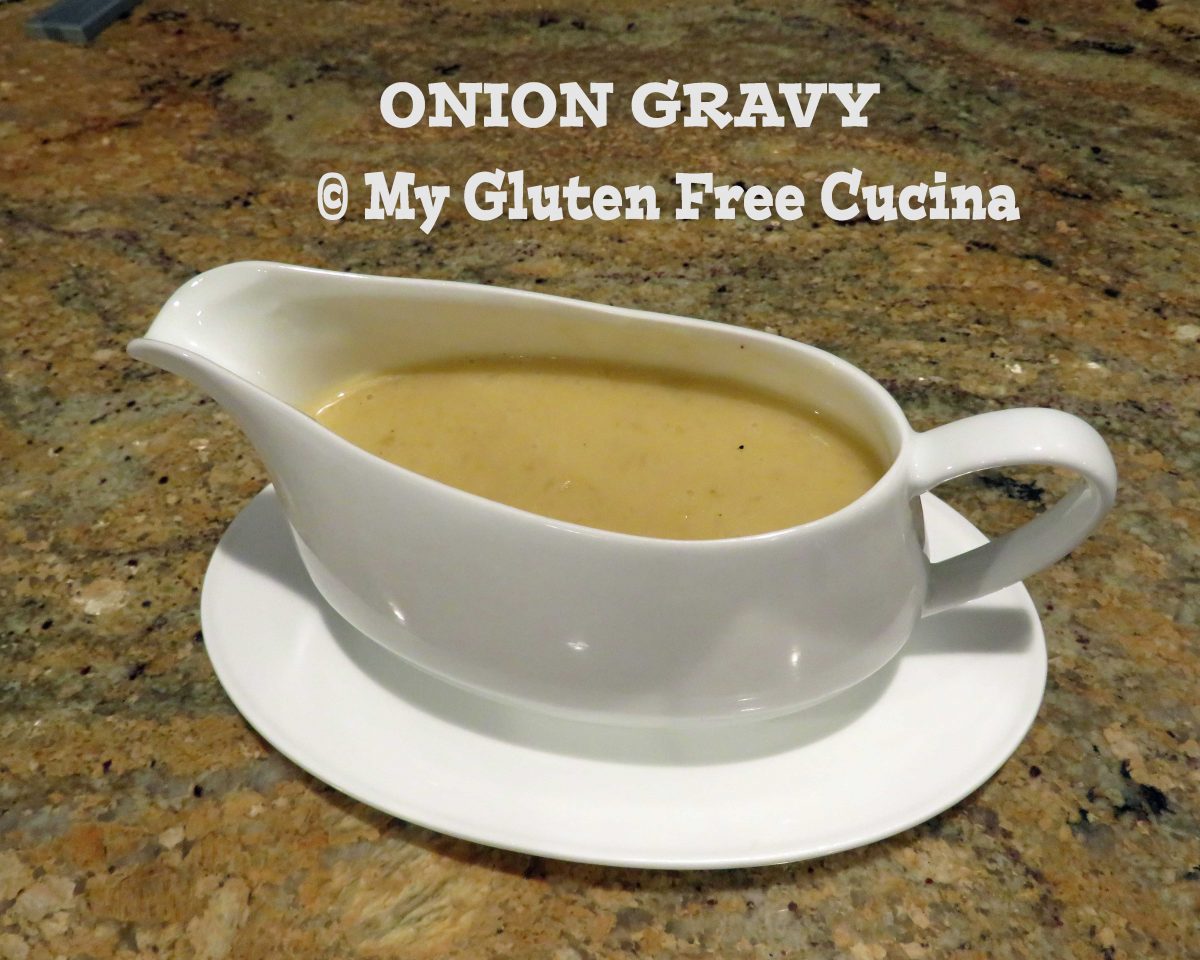
 See how the onions have almost melted into the gravy? If you don’t want the little bits of onion that remain you can strain the gravy or puree it with an immersion blender. If you like a little texture definitely leave them in.
 Transfer the gravy to a small sauce pan, then stir in the brandy and cream. Cover and keep warm until serving.
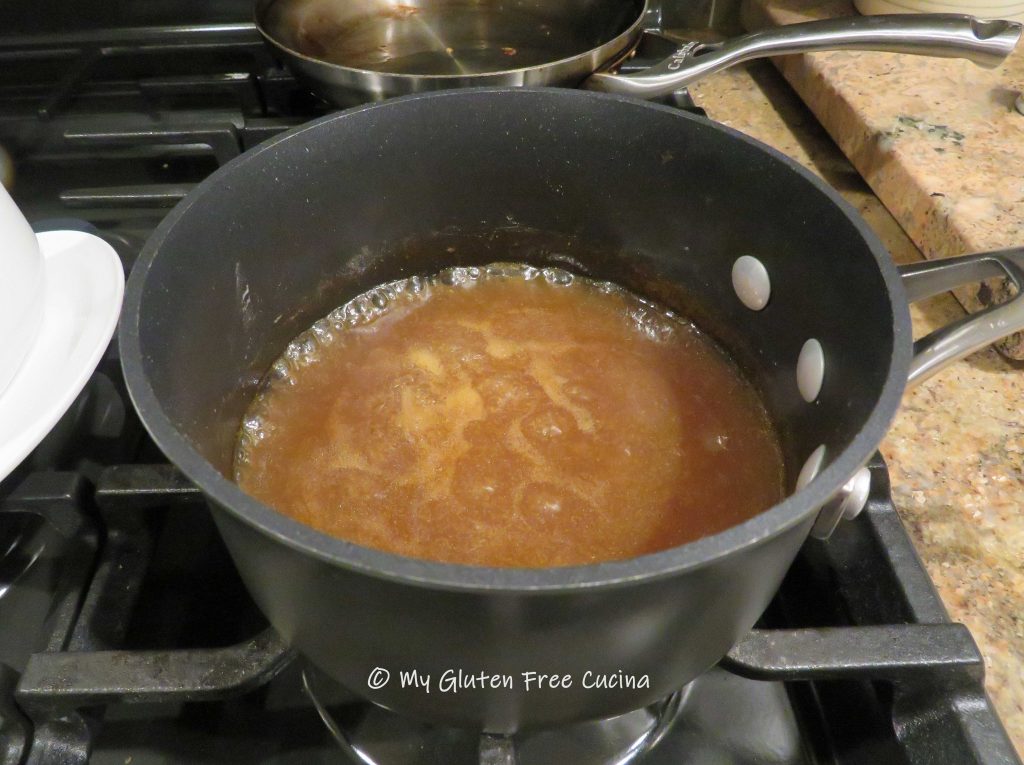


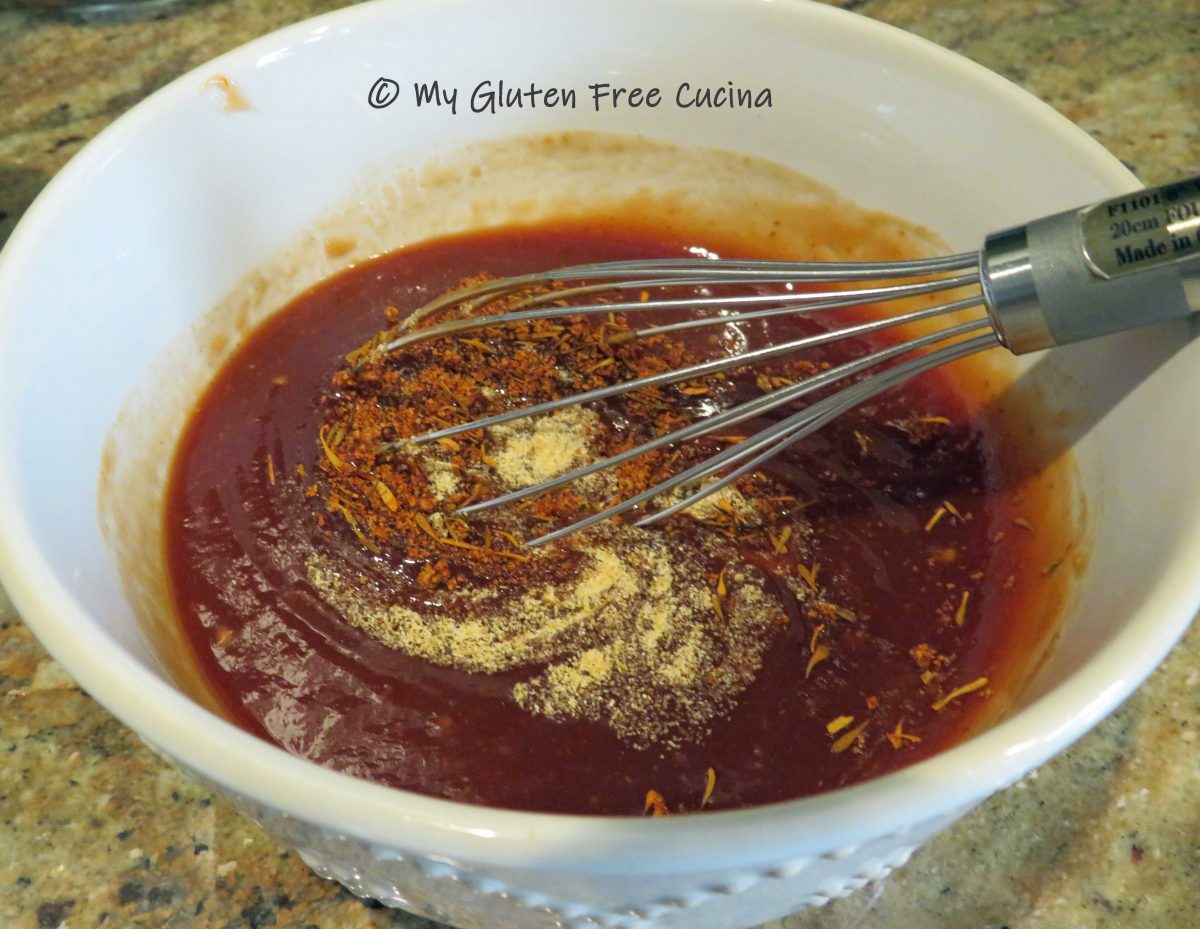
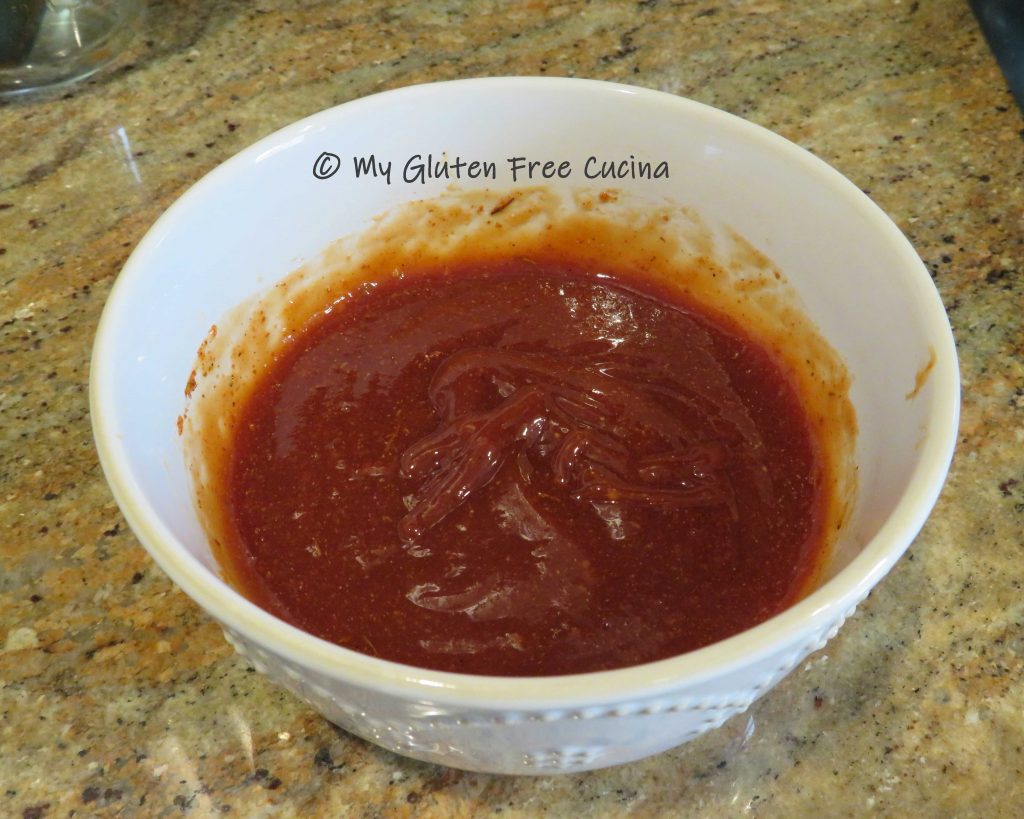
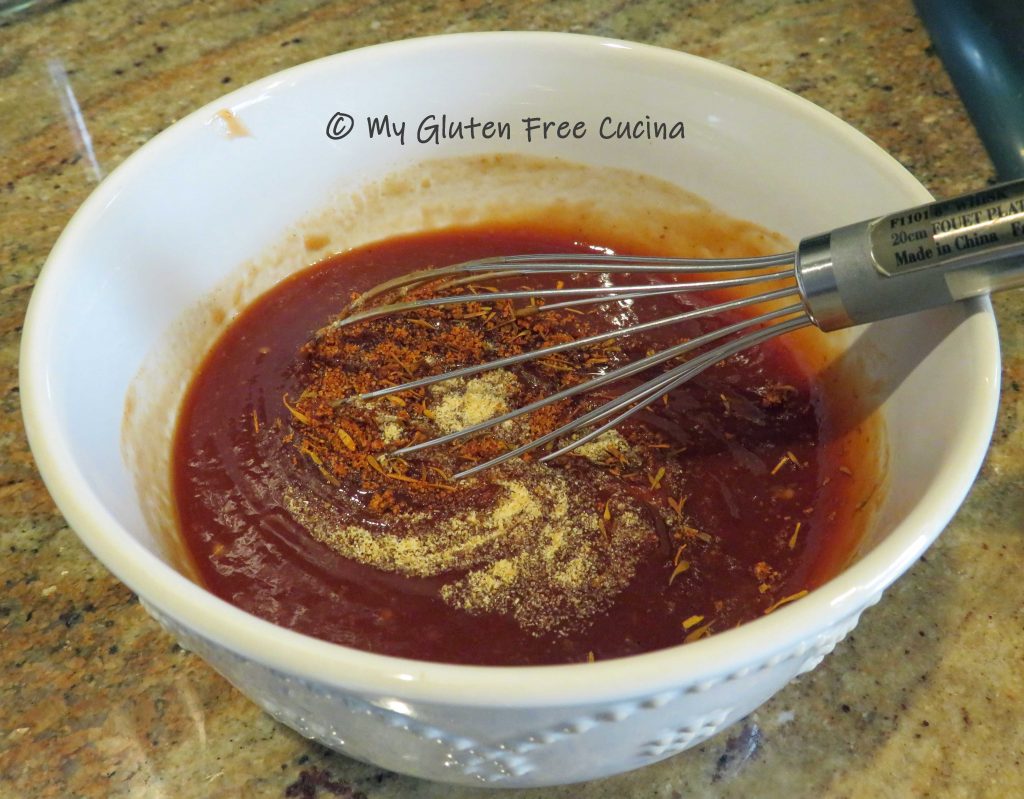
 Add steaks or beef tips, turning to coat. Cover and rest at room temperature for 1 hour, turning the meat halfway through. Then cook or grill as usual. For dinner ideas, check out my