Gluten Free Banana Bread was one of my very first posts when I started this blog in 2018. After 8 years, it was definitely in need of an update. Not only am I a better photographer, but I also like to think I’m a better baker. 😉
Looking back at life before my Celiac diagnosis, making a quick bread was so second nature to me. I could throw one together without a recipe!
Today things are different of course, but I still love a good quick bread and there are now some very high-quality, gluten free all-purpose flour blends to work with.
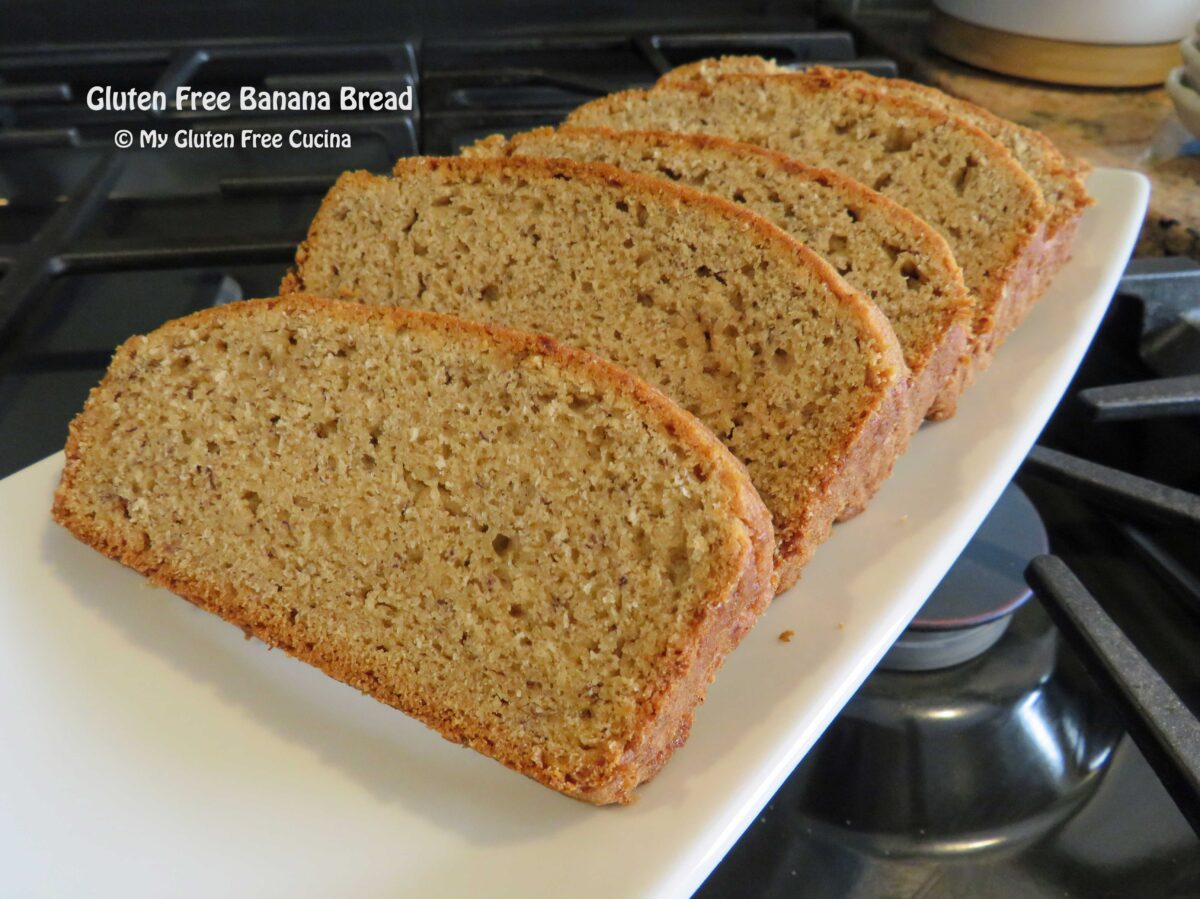
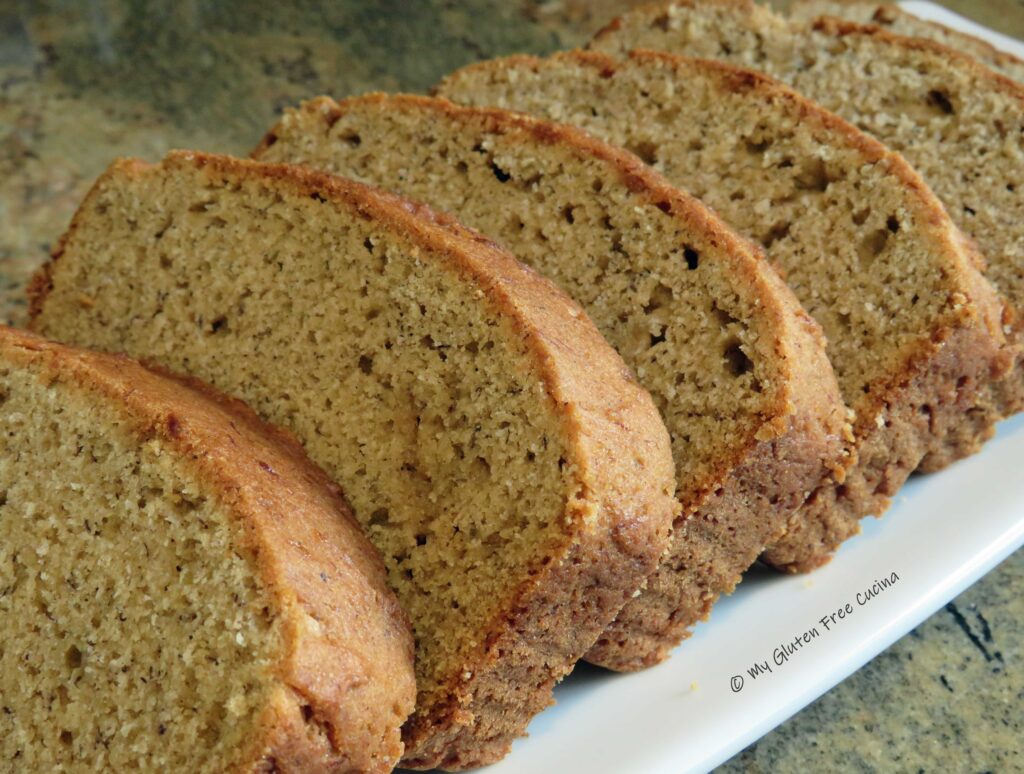
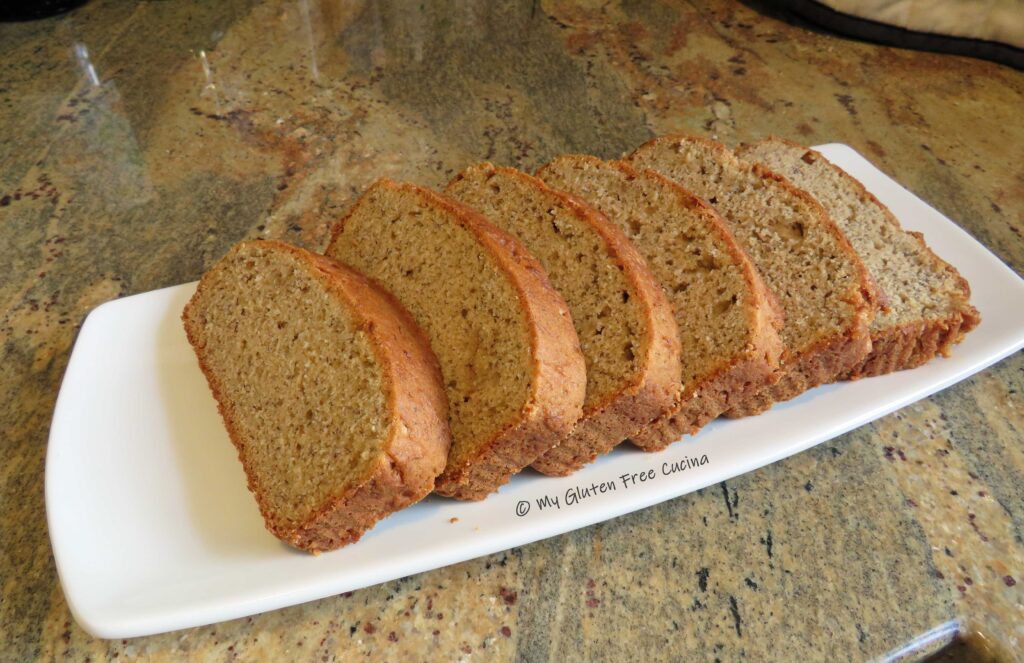
I promise, this moist, gluten free loaf will make you smile. It is SO good and best of all it tastes just like a classic banana bread.
Preheat the oven to 350º. Line a 9 x 5″ loaf pan (1.25 lb.) with parchment paper (do this, you’ll thank me later).
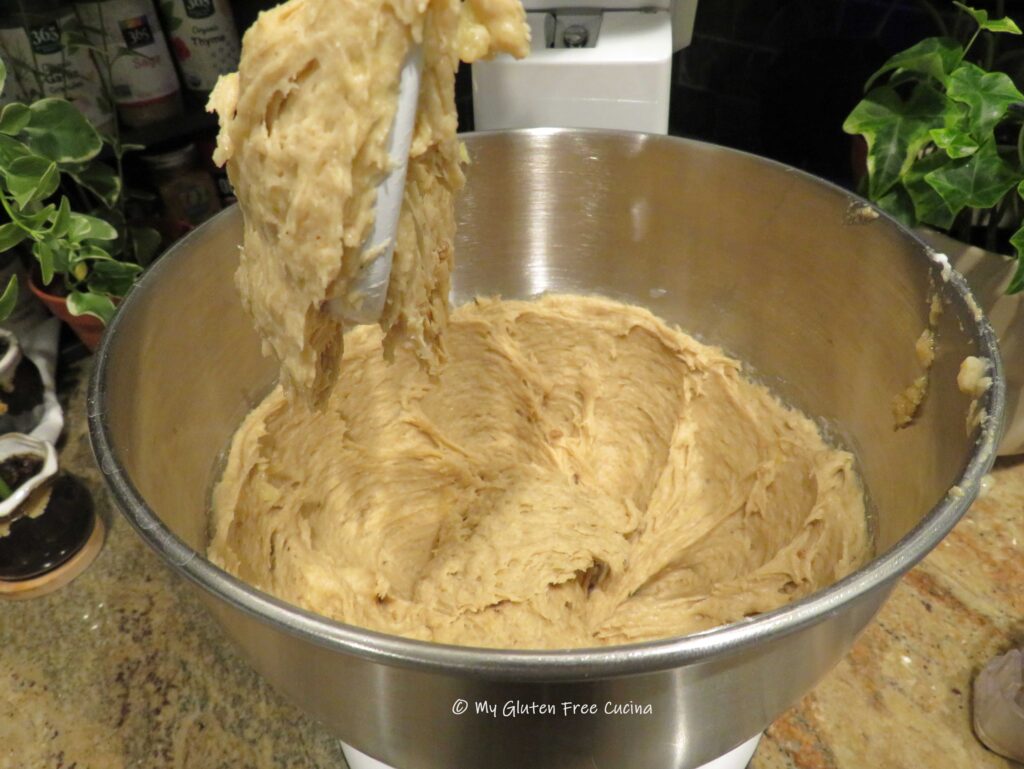
Whisk together the dry ingredients, flour through cardamom. In the bowl of a stand mixer with the paddle attachment, beat together the sugars and the cubed butter. Add the eggs, vanilla, bananas and ricotta.
Finally add the dry ingredients and beat until smooth.
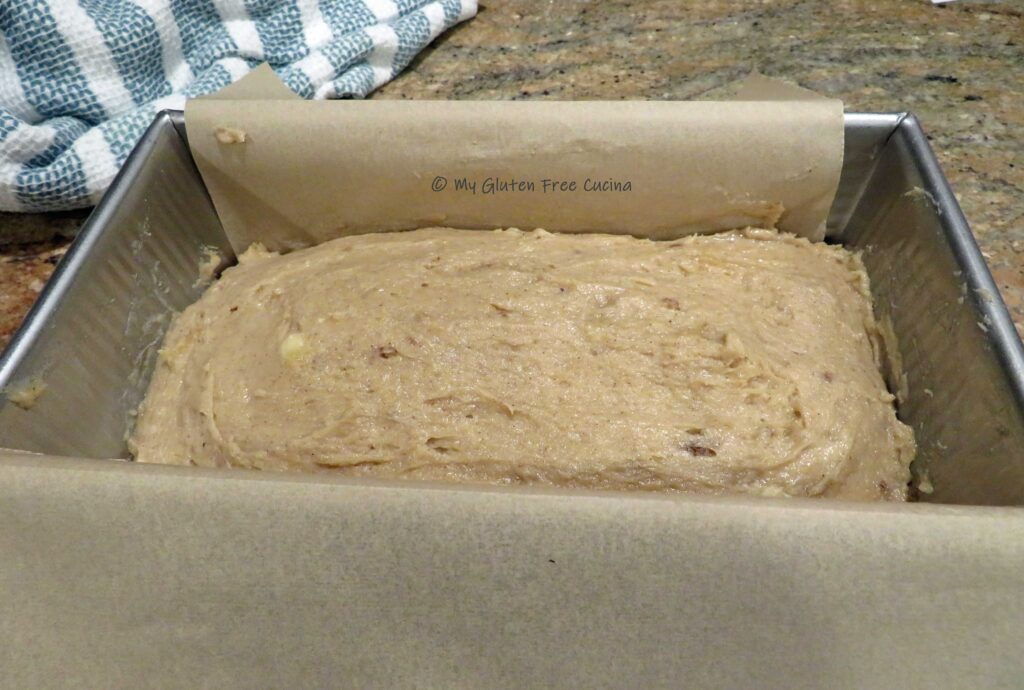
Transfer to the prepared loaf pan and use a wet spatula to smooth the top out.
Bake for 1 hour and check the center with a toothpick. The top should be nice and golden brown.
Cool in the pan for 10 minutes, then lift the loaf out of the pan by grasping both sides of the parchment paper (you’re welcome).
Remove the parchment and cool on a rack before slicing. Cover any leftovers in plastic wrap and store at room temperature for up to 3 days.
Notes:
♪ Parchment paper provides an easy way to lift out the finished loaf without tipping the pan over and guarantees that your loaf won’t stick to the bottom of the pan.
♫ In my original recipe, I used 3/4 cup white rice flour, 1/2 cup sorghum flour, 1/2 cup cornstarch, 1/4 cup potato starch and 2 tsp. xanthan gum. If you want to make your own flour blend, be sure to use superfine white rice flour for texture that is moist and not gritty.
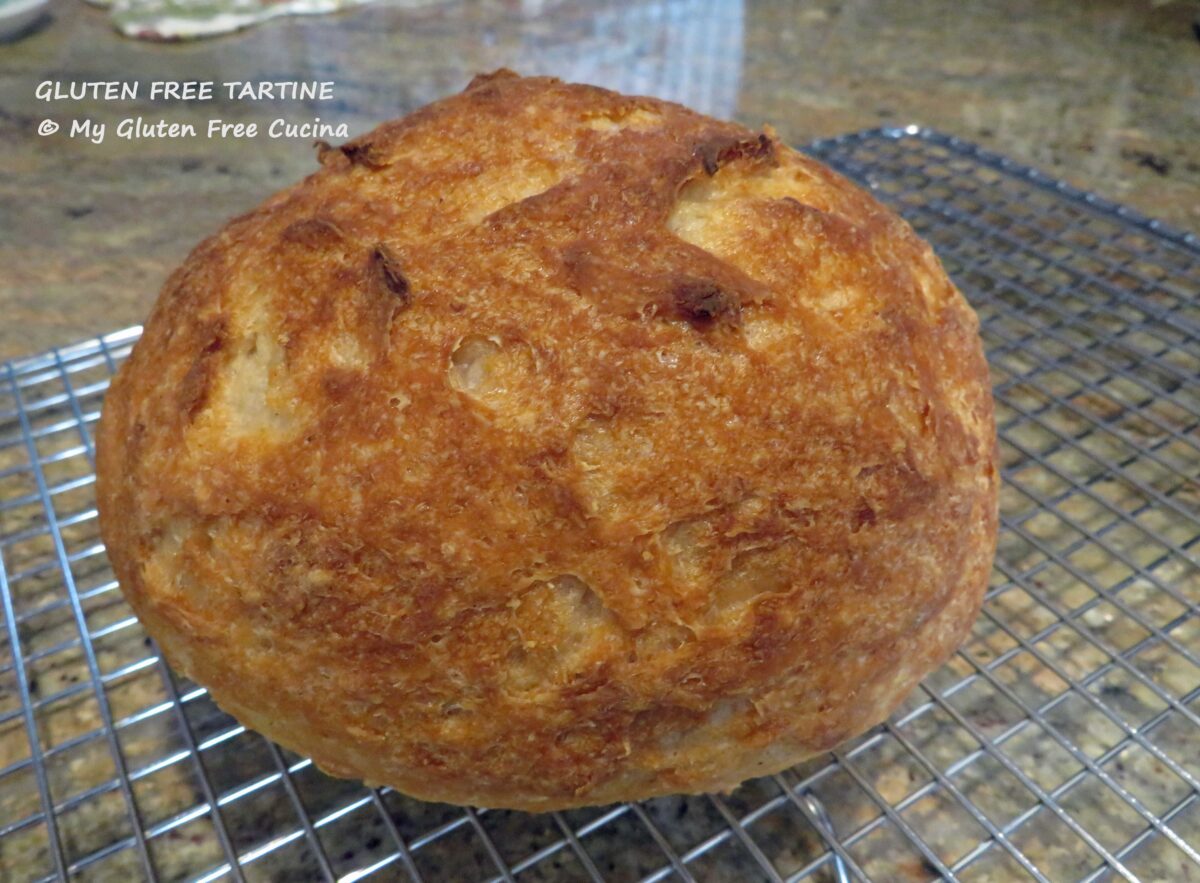
Tartine Bread is a type of sourdough originating from The Tartine Bakery in San Francisco. It is a “no-knead” bread, made with a very small amount of sourdough starter (only 1 tbsp.) and no commercial yeast at all! The dough is developed by stretching and folding it at intervals, instead of machine mixing.
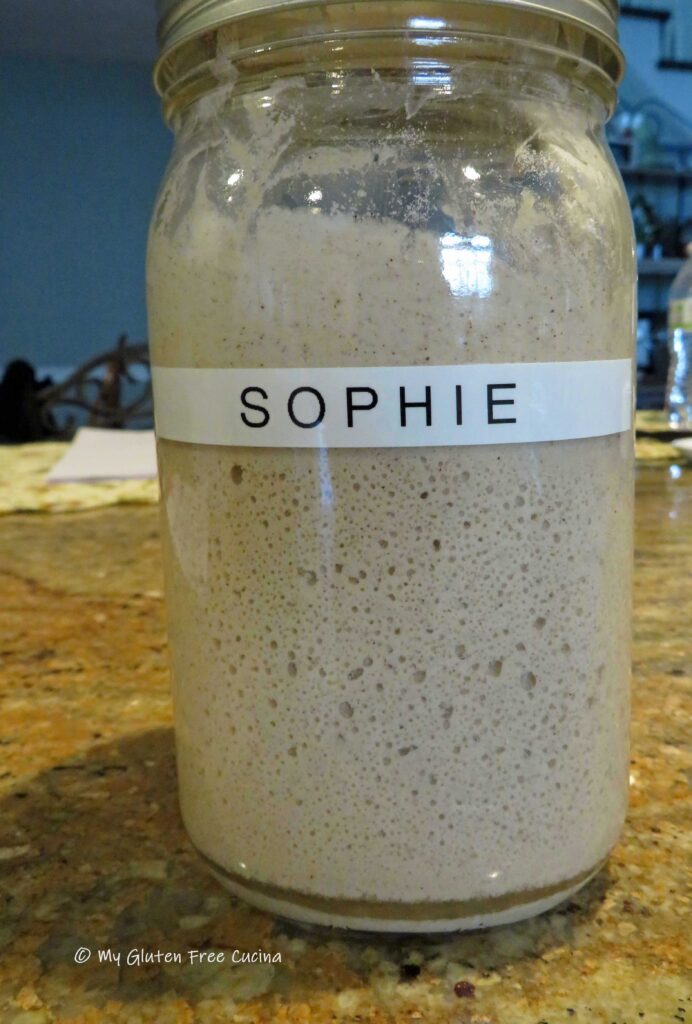
You will need a fully active and very robust sourdough starter to make this bread. Honestly, I wondered if Sophie (my sourdough starter) was up to the task and was pleasantly surprised. Way to go, Sophie!
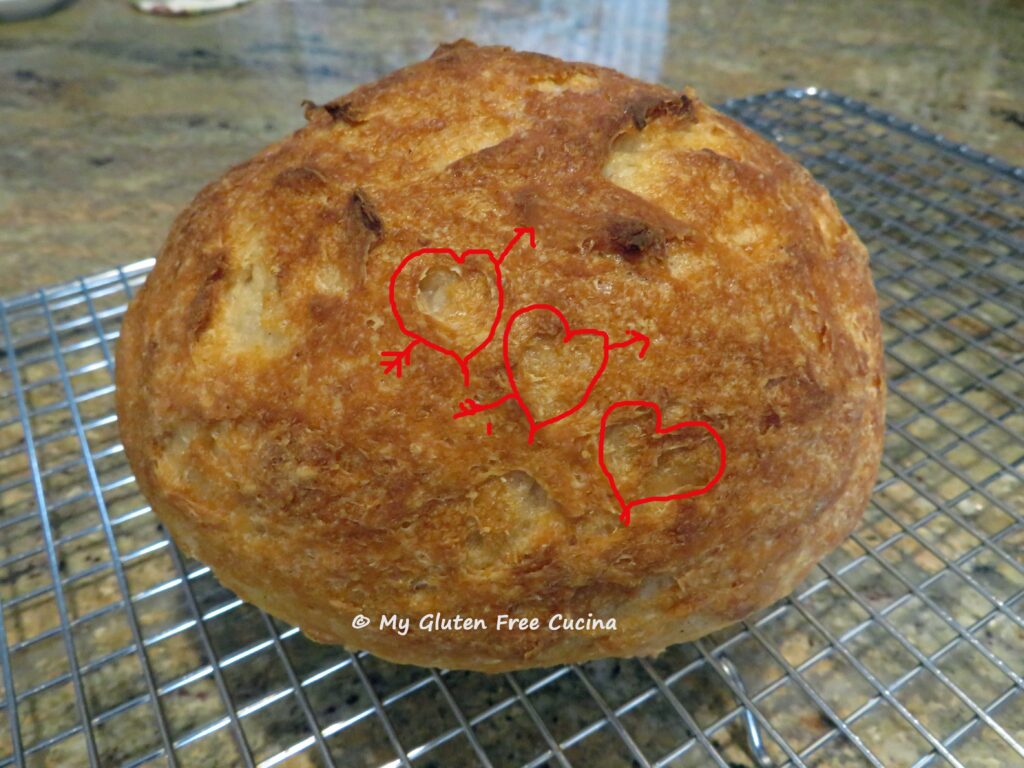
There was so much I wanted to get right with this bread. The blistered, caramelized exterior and soft crumb. After much trial and error, I was making some very nice loaves. Do you see little hearts in the crust? 💕🥰
Do you see little hearts in the crust?
Developing the dough is a process, beginning with a well-fed starter, a preferment, and final dough. After an overnight rest in the fridge, the loaf is baked in the morning. This long fermentation is what takes you from a mere tablespoon of starter to the beautiful risen loaf you see in the photos.
Oh, and as if you hadn’t waited long enough, the baked loaf will need to rest a full day before slicing! Most gluten free breads need extra time to release their moisture but for this one I don’t slice for a full 24 hours. It is worth the wait.
This post contains affiliate links.
Like many sourdough loaves, Tartine is traditionally baked in a cast iron Dutch oven. If you don’t have one, or if like me you find that cast iron pots are getting too heavy to lift, then a lighter weight enamel roasting pan or ceramic pan with a lid will get the job done.
If you work full time, you may be thinking “I don’t have time for all this”. Rest assured though, you can fit this into your workday. Just follow the steps!
Day 1 –
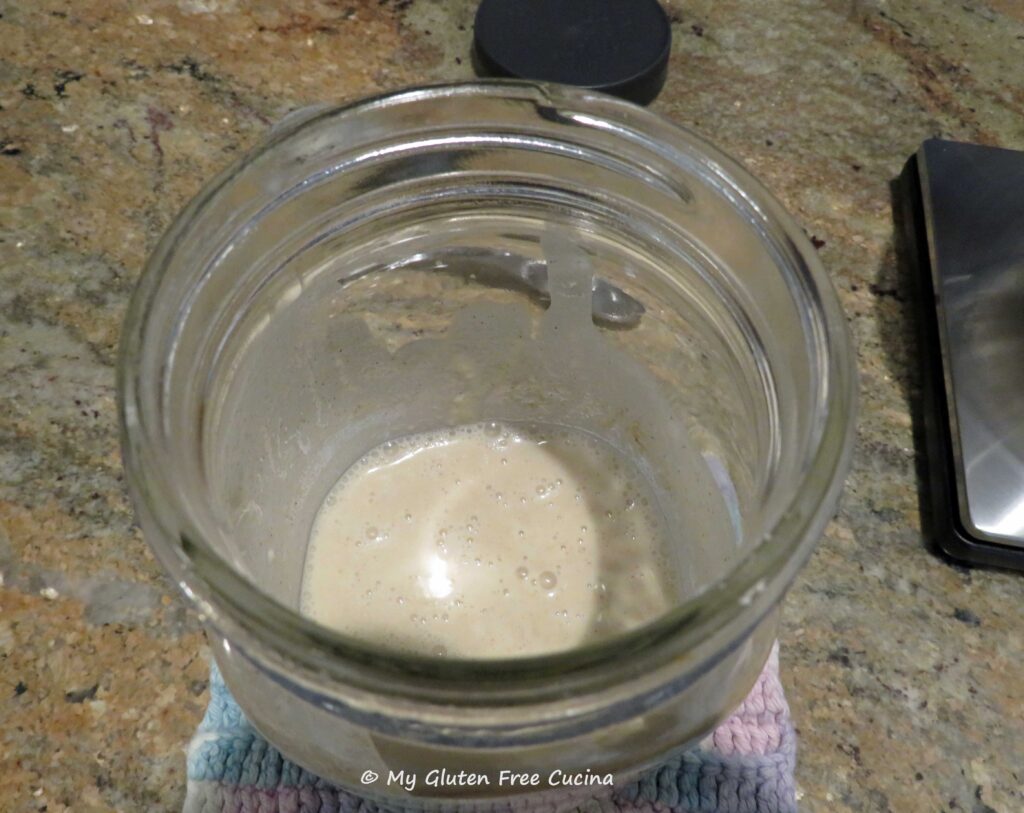
Evening – Take your starter out of the refrigerator, feed it and leave it out on the counter overnight.
Day 2 –
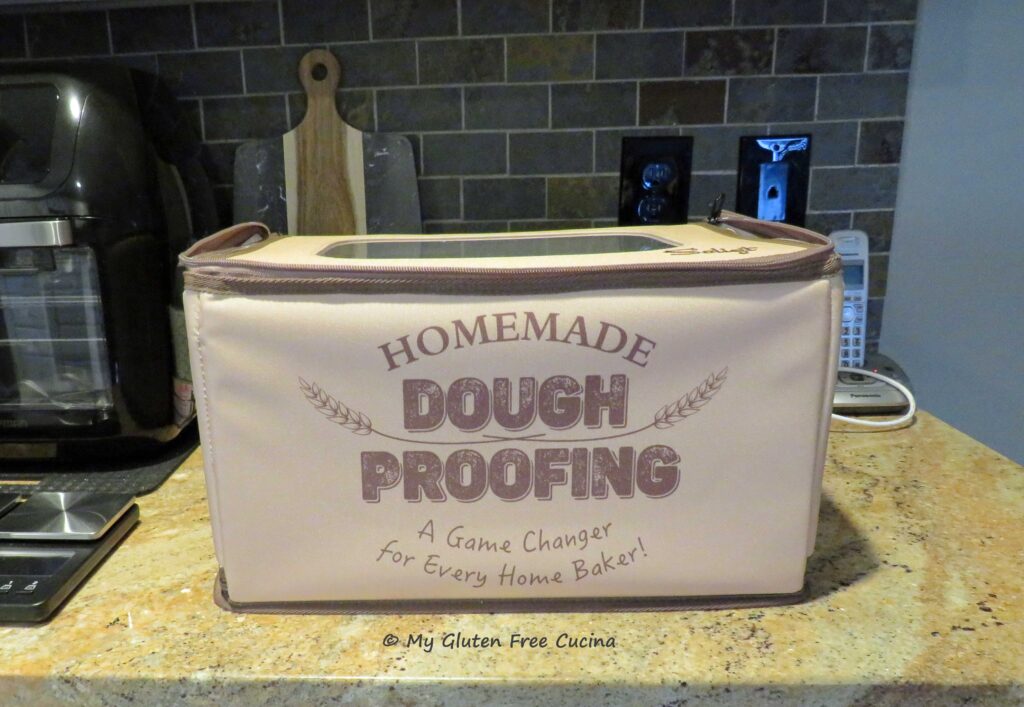
Morning – Stir together the preferment ingredients, cover with plastic wrap and let sit in a warm place for at least 7 hours (I used my proofing box). As the day goes on, it will become increasingly puffy and smooth.
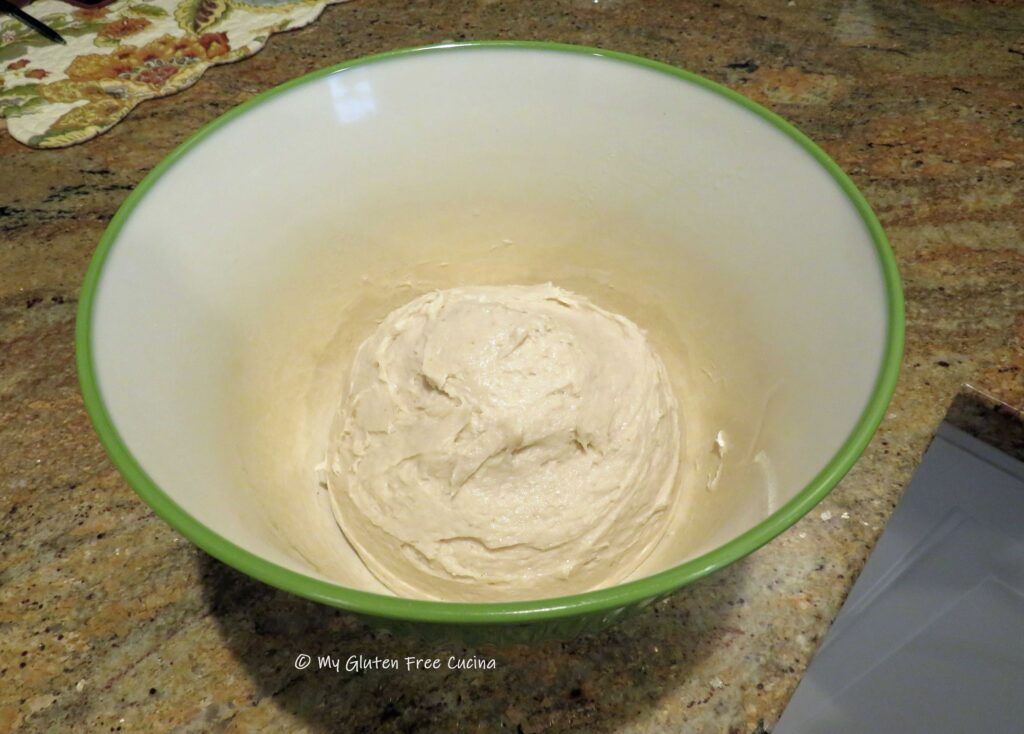
Late Afternoon – Combine the final dough ingredients with the preferment in the bowl of a stand mixer with the paddle attachment. Mix just until combined to form a wet shaggy dough. You can also mix the dough together by hand with a stiff spatula or dough whisk.
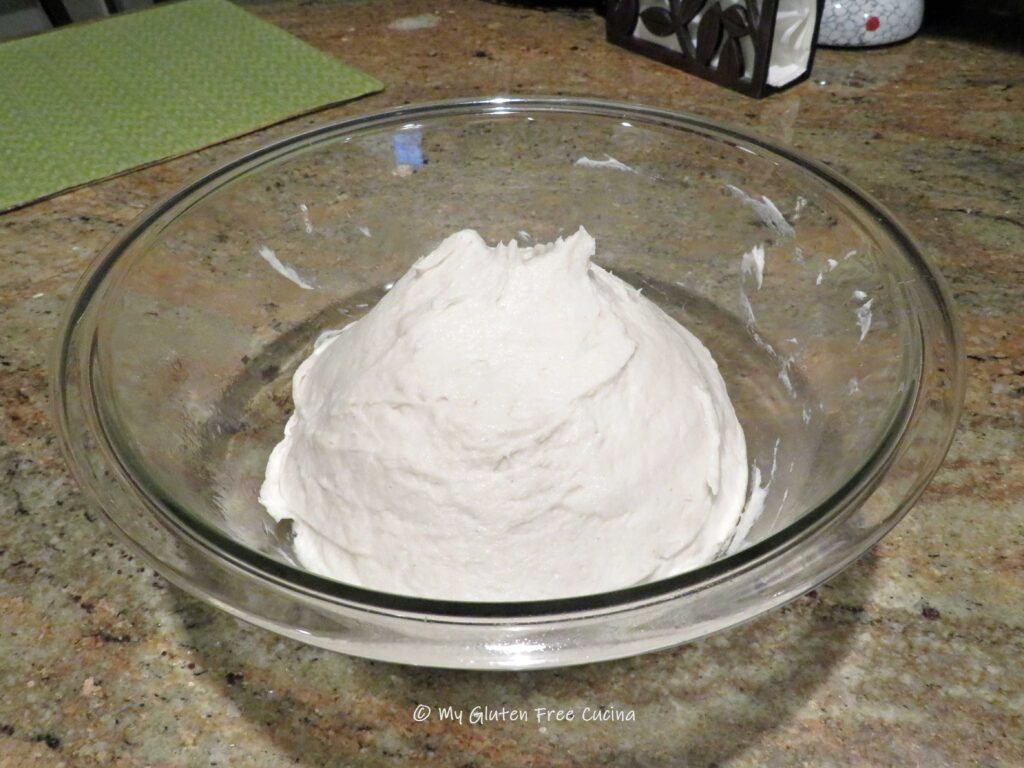
Transfer the dough to a lightly oiled bowl, cover with plastic wrap and let it rest 45 minutes while you have dinner.
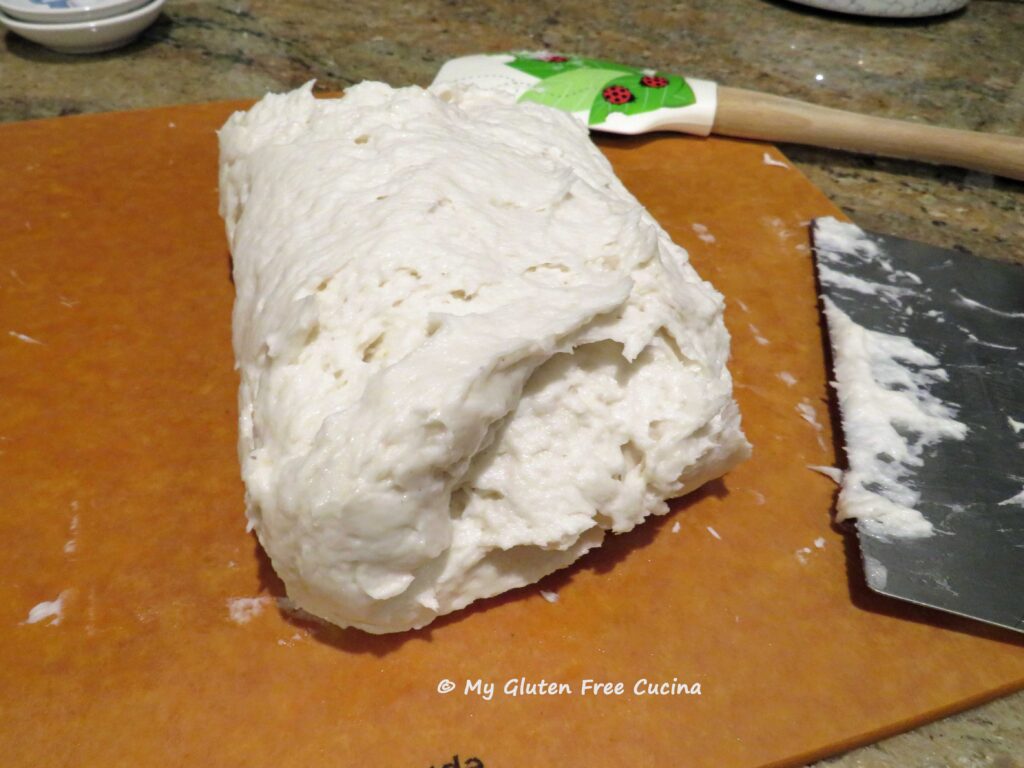
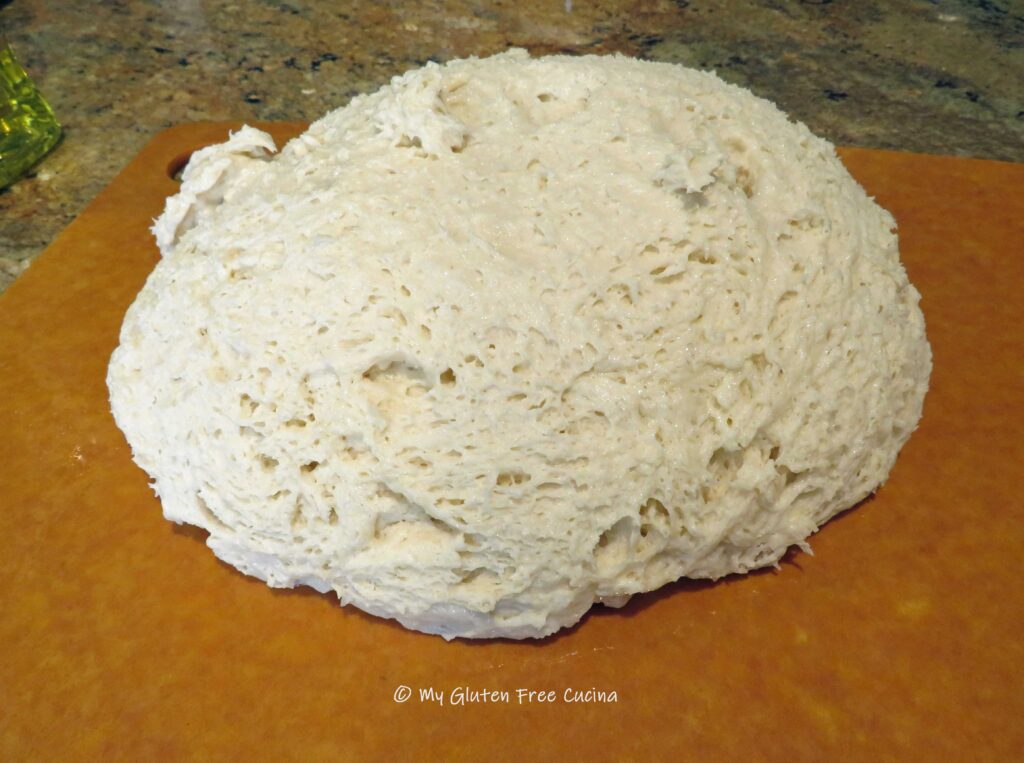
Evening – Rub a large cutting board with olive oil and turn the dough out. Use a bench knife to spread the dough and fold it over on itself, rotating the cutting board as you fold.
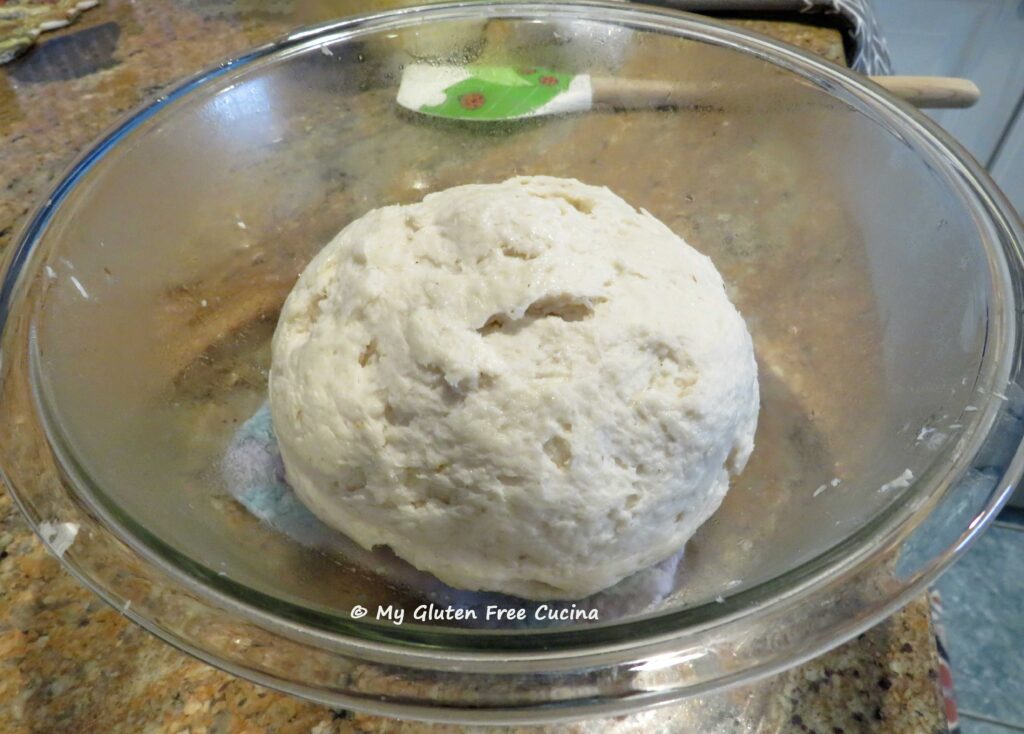
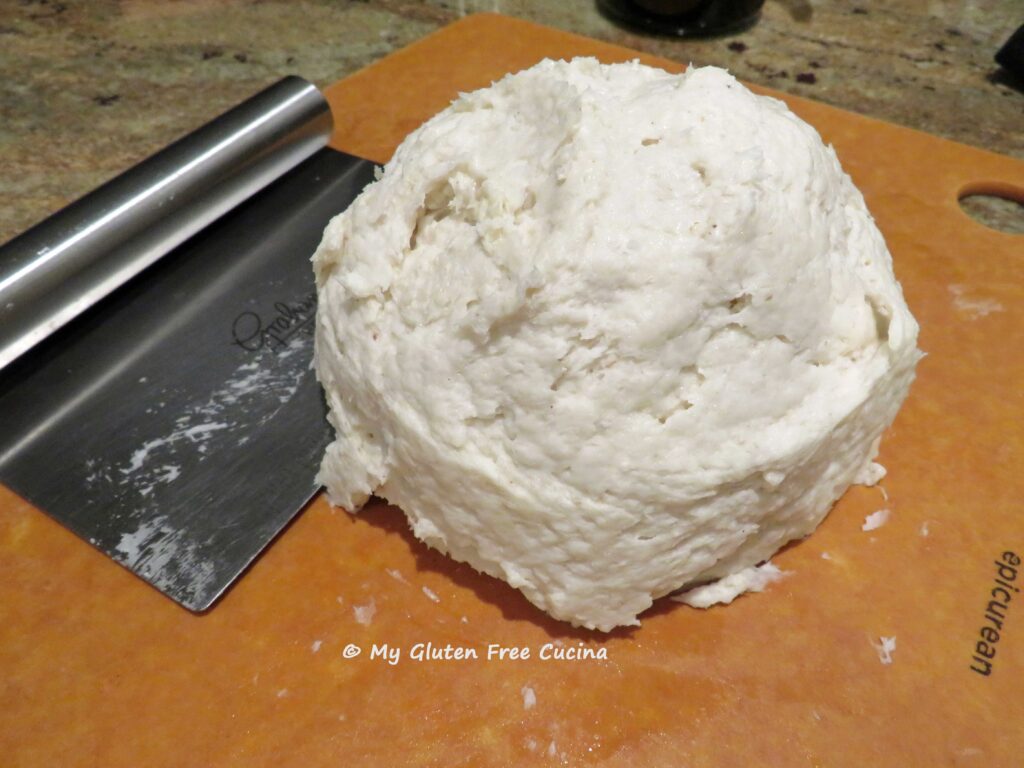
The dough will be sticky, and you won’t be able to handle it like you would a wheat dough (i.e. “stretch and fold”). But- after a few dozen folds you should have a nice smooth ball.
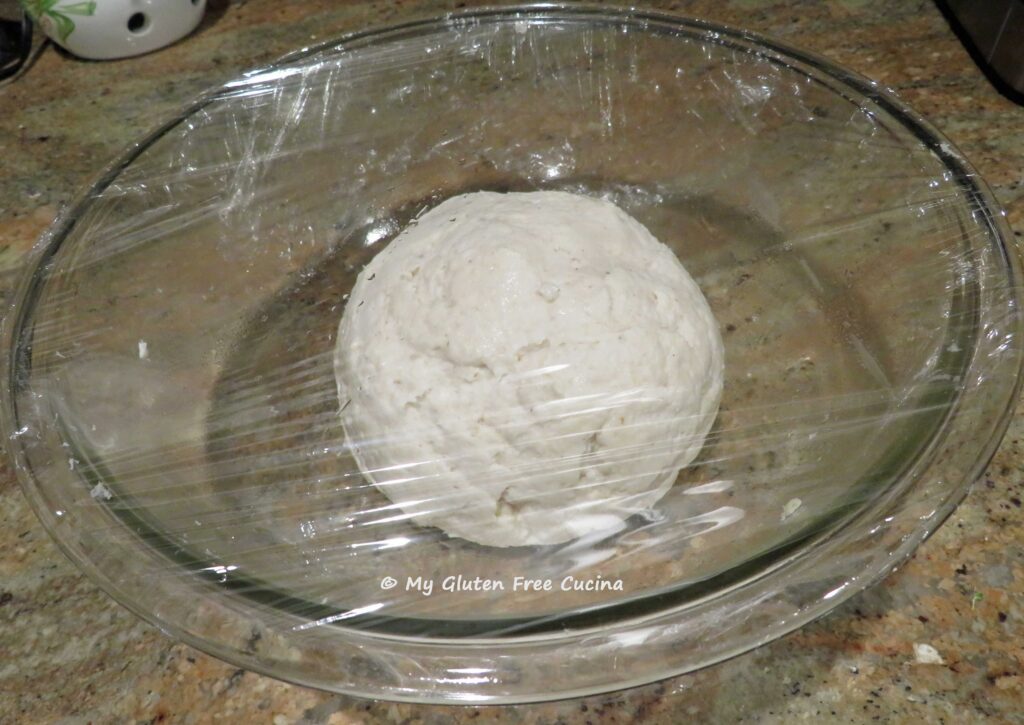
Return it to the bowl and cover with plastic wrap. Leave it out on the counter until you go to bed.
Night – Refrigerate the dough overnight to be baked in the morning.
Day 3 –
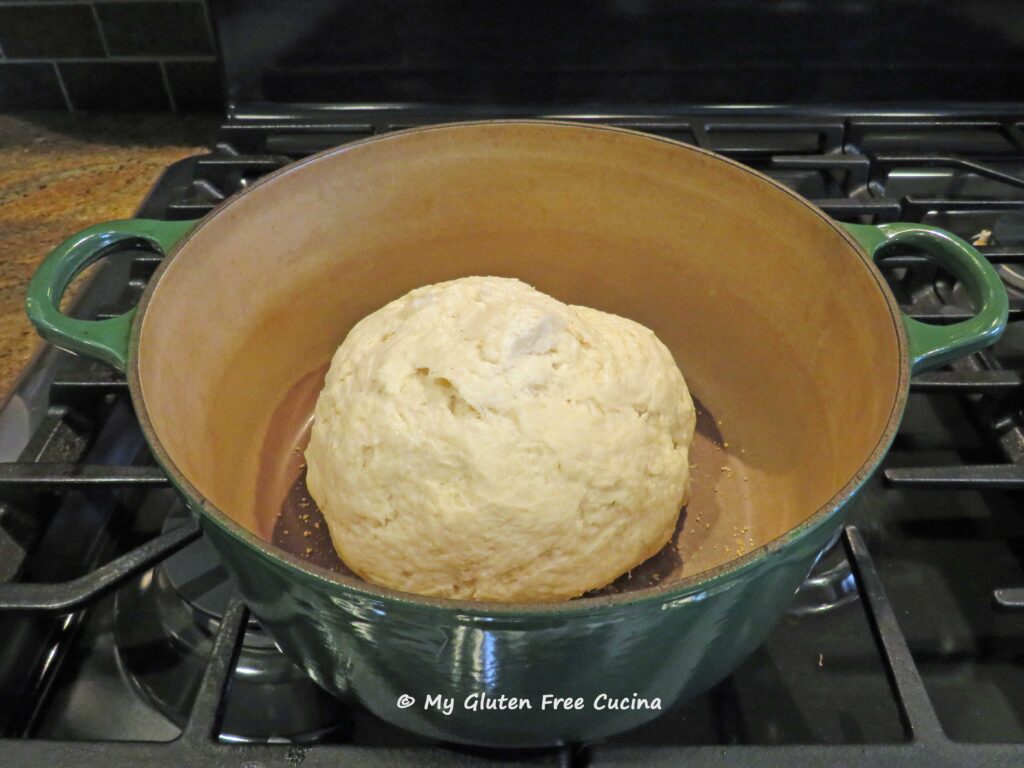
Morning – Take the dough out of the refrigerator and let it stand at room temperature while you preheat the oven to 475º. Place a Dutch oven on the middle shelf while the oven is heating for 1/2 hour prior to baking (note- if you are not using cast iron be careful, read the instructions for your pot to make certain it can withstand being heated while empty).
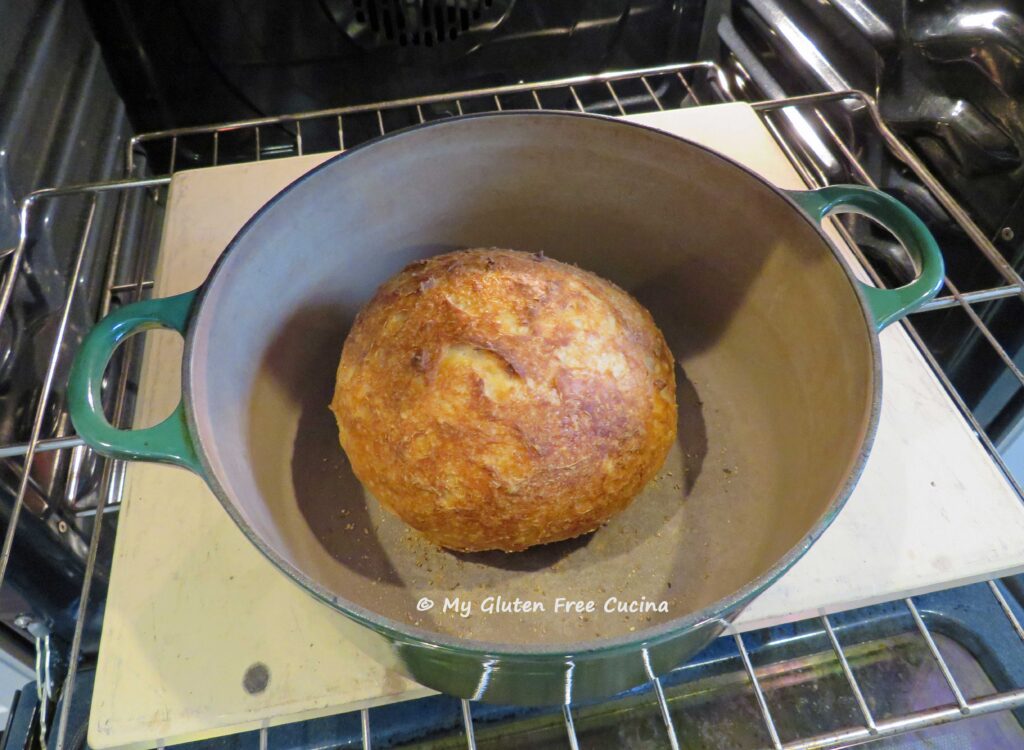
Remove the preheated Dutch oven to the stovetop, sprinkle the bottom with cornmeal and use a stiff spatula to carefully nudge the dough from the bowl without deflating it. Cover and return the pot to the oven.
Reduce the oven temperature to 450º and bake for 30 minutes. Then remove the cover and continue baking another 20 minutes. Loaf is done when the internal temperature reaches 210º (check with a thermometer).
Carefully remove the loaf from the pan and place on a rack to cool. Once it reaches room temperature you can put it in a bread bag or use plastic wrap.
After all that, you will probably want to tear right into your loaf of bread. But- please be patient! This beautiful, artisanal loaf needs a full 24 hours to release its moisture. Rushing it can mean a wet sticky loaf instead of a gorgeous crumb like this!
Day 4-
Finally, the long-awaited moment! Slice and serve with dipping oil. What do you think? Was it worth the wait?
Notes:
♪ You do not need a stand mixer to make the preferment, but as mentioned above, I did use mine for the final dough. You can also stir the final dough together with a dough whisk or stiff spatula, just enough to form a wet shaggy dough, kneading is not required.
♪♪ I used Better Batter Gluten Free Flour in this recipe. When you shop Better Batter, remember to use my Promo Code MGFC30 for 30% off your full price purchase.
♪♪♪ Notice how small my loaf is? This loaf size is perfect for solo households, or a dinner for two. You can double the recipe if you wish, to make 2 small loaves or 1 large loaf. I kept it small for testing, and it is just right for me, a great size for gifting too!
When I began baking with gluten free sourdough a couple of years ago, I couldn’t imagine all the things that I would make with my starter “Sophie“. I started out with the usual rolls and loaves, made pancakes with discard, and even a quick bread.
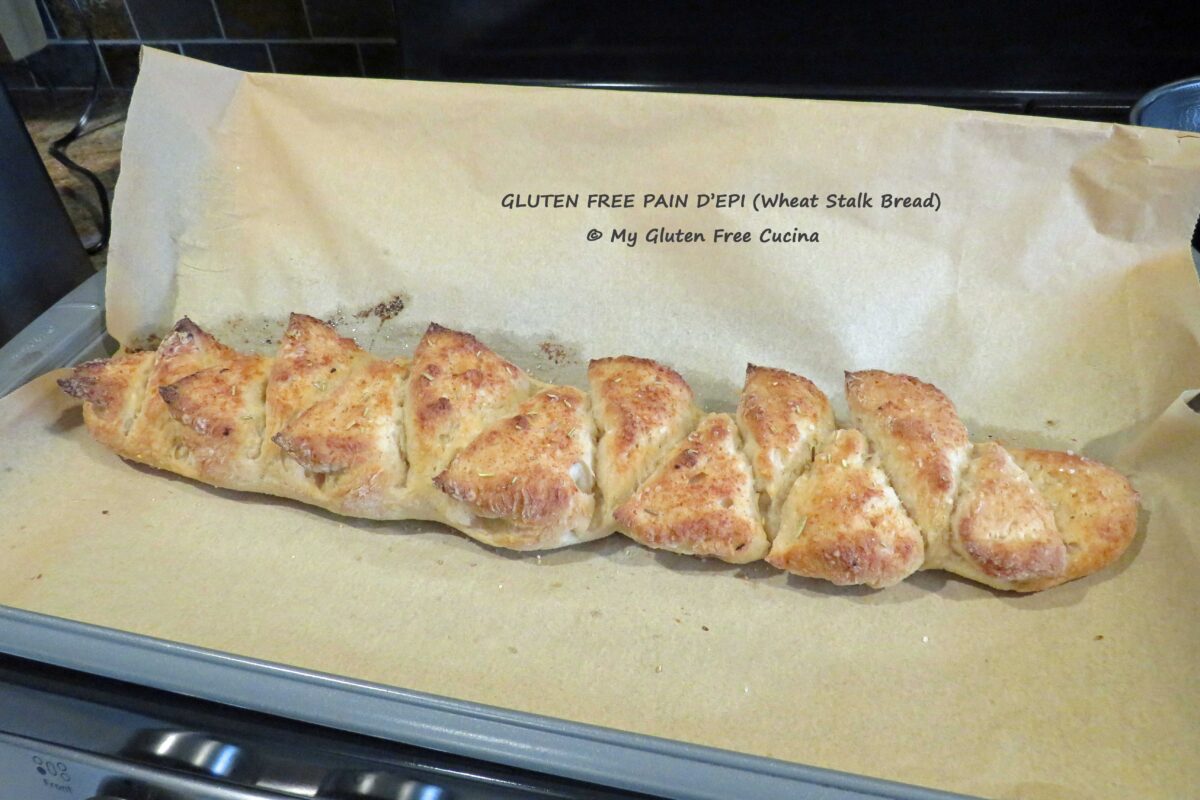
Then one day, I decided to step out of my comfort zone with this beautiful Gluten Free Pain d’Epi, also known as Wheat Stalk Bread (I know, ironic).
Of all the bucket list recipes I had to try once I got my gluten free sourdough starter established (read about it here), this one was at the top of the list.
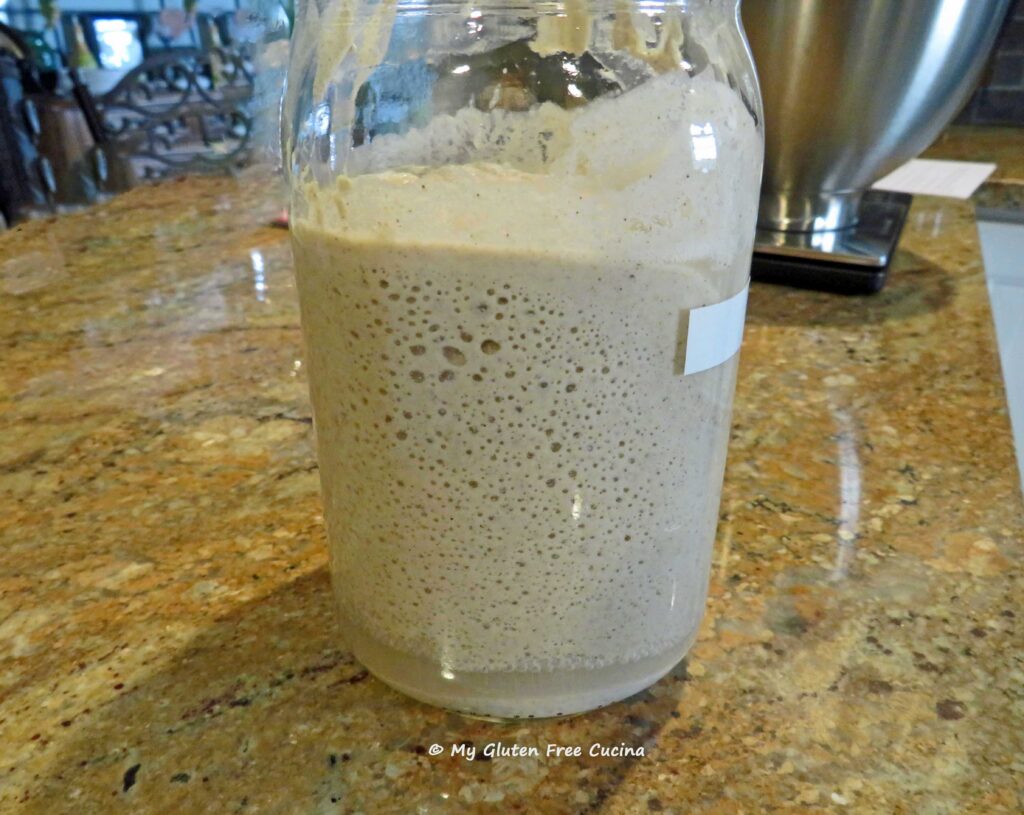
This was my first time making a gluten free version of Pain d’Epi and it was SO good. The most important thing you need to know about this recipe is that your starter needs to be fully active, discard will not work. That means there is some forethought involved, you will need to plan ahead depending on how long it takes for your starter to get up to full speed. Also take into account the overnight proof, and you will likely need at least 2 days of (mostly hands off) time for preparation.
This post contains affiliate links.
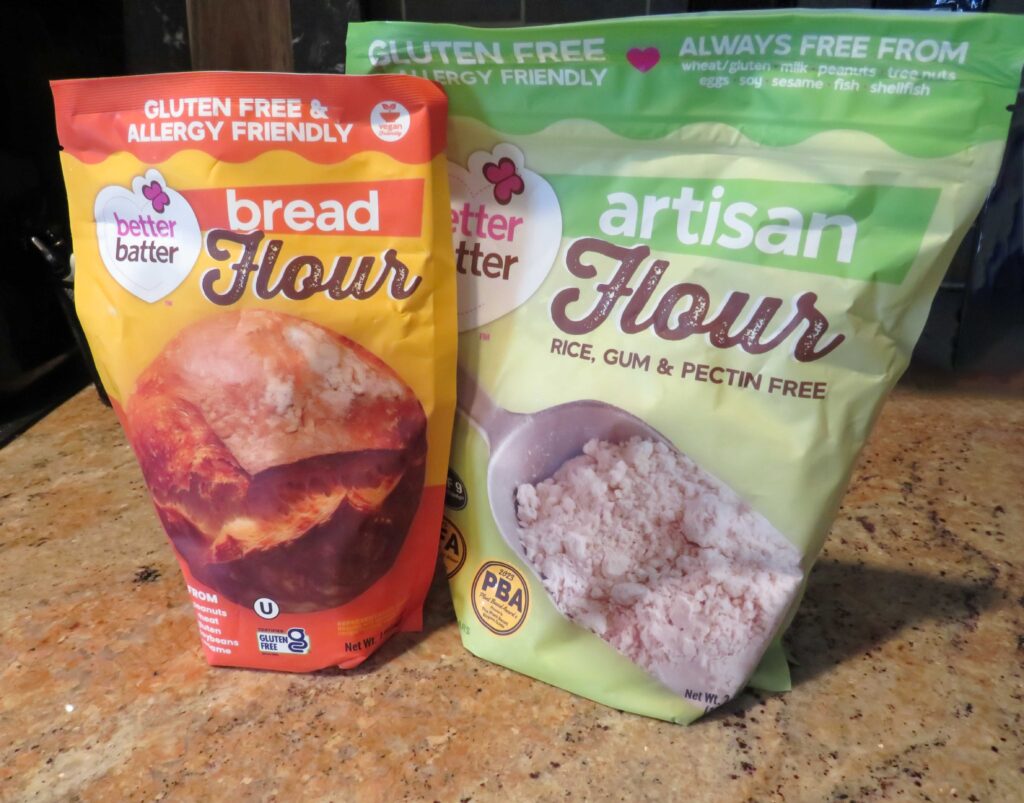
The Flour
For the flour, I used the Artisan Flour Blend from Better Batter and as usual it did not disappoint. The flavor was fantastic, and the bread was perfect for dipping. You can absolutely use their Gluten Free Bread Flour, if you prefer a white bread. Or use 100g of each, I love doing that!
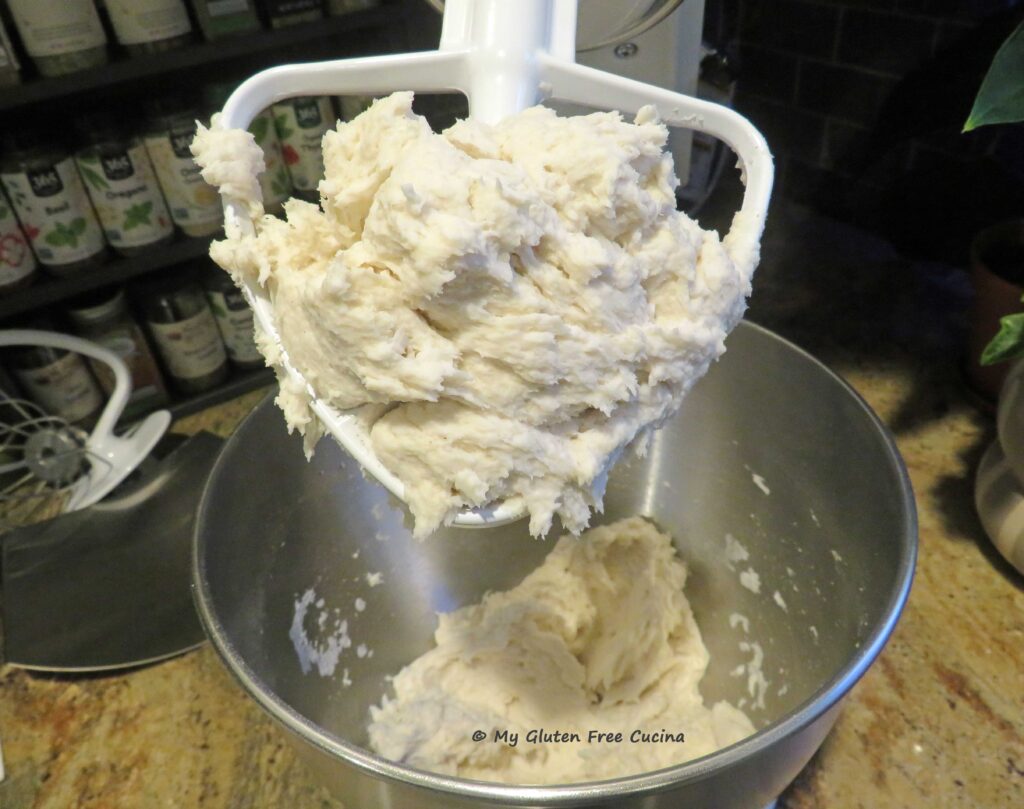
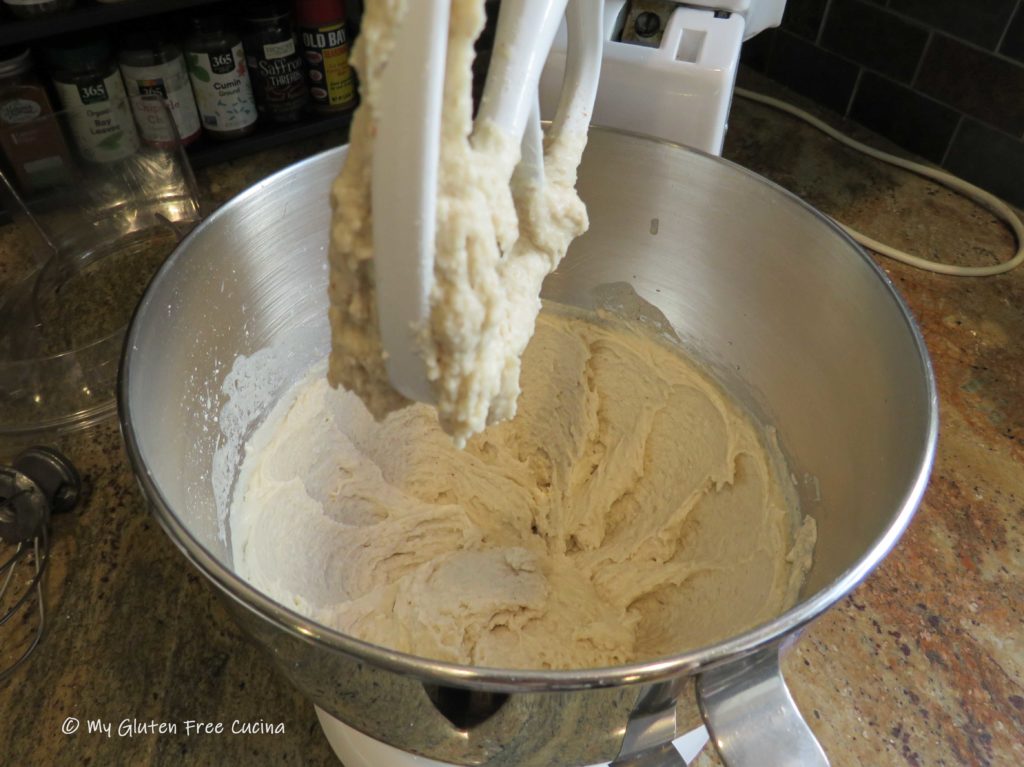
Combine the flour and salt and whisk well. Add the starter, honey and olive oil to the bowl of a stand mixer with the paddle attachment. Gradually add the flour mixture with the warm water. Increase the speed and knead for 5 minutes to form a soft, supple dough.
Transfer the dough to an oiled bowl, cover with plastic wrap and proof in a warm place for 4 hours. I used my proofing box.
Here is the risen dough. Place it in the refrigerator overnight to really develop the flavor.
The next morning, bring to room temperature. You can see how nicely the dough has puffed up, and there are lots of happy air bubbles!
It smells so good already!
Preheat the oven to 425º while you shape the dough.
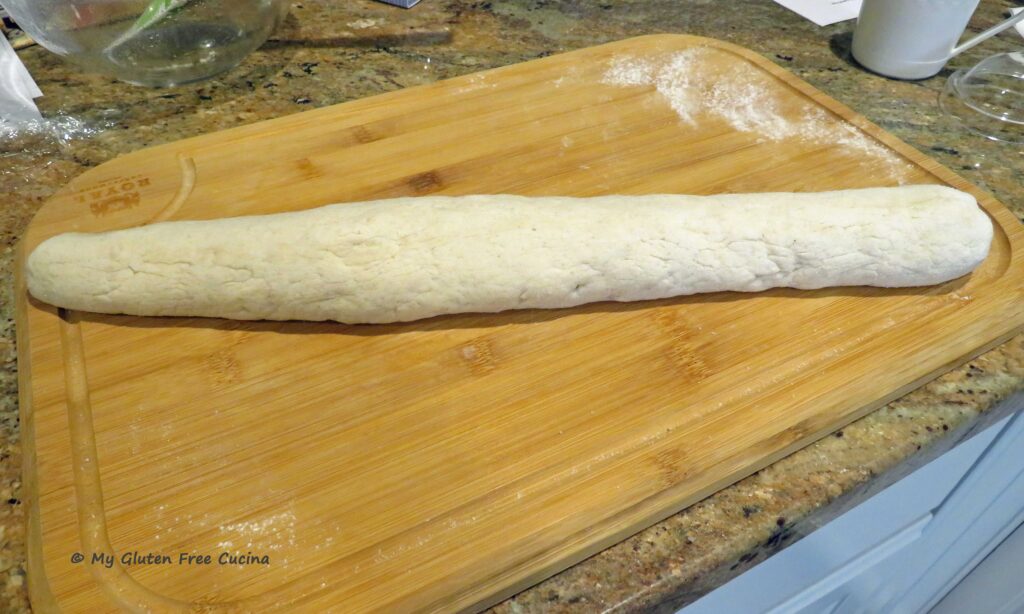
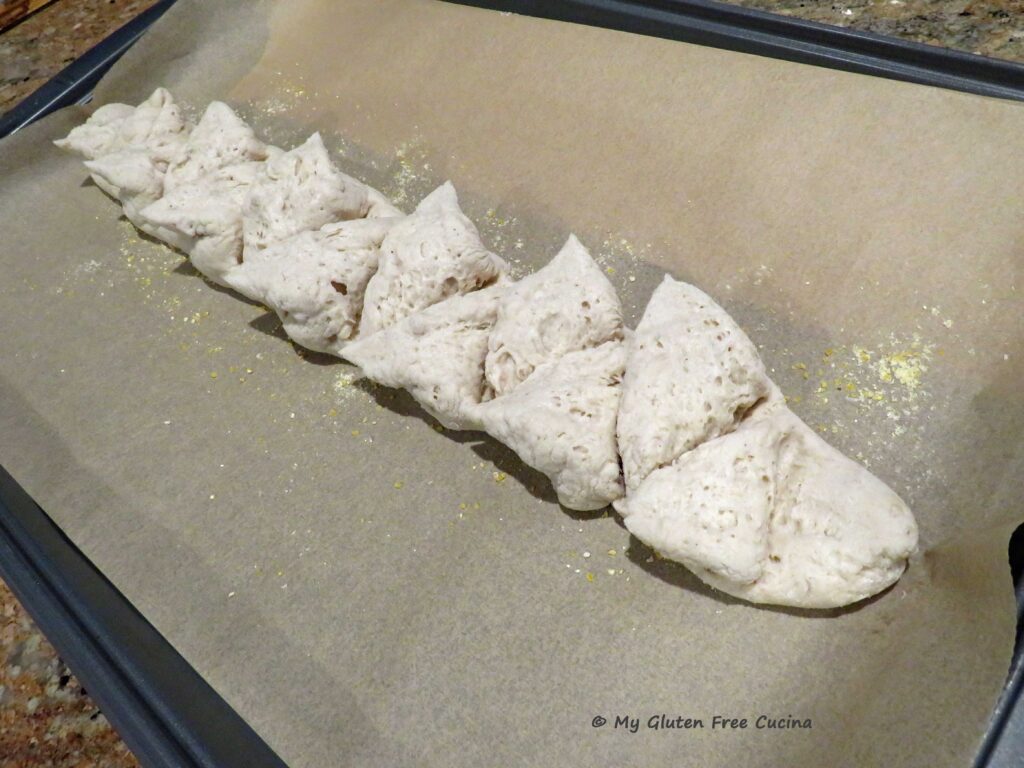
First, transfer the dough to a floured cutting board and gently roll and shape it into a long thin baguette, about 15″ x 2″. Don’t apply pressure, you want to deflate as few of the air bubbles as possible.
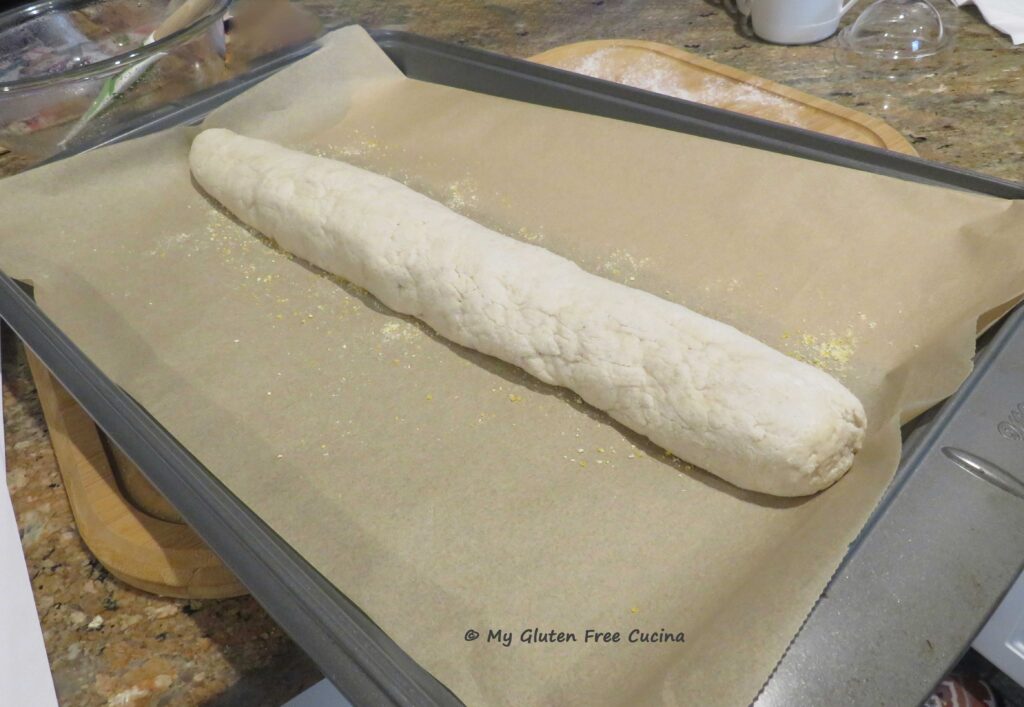
Line a baking sheet with parchment paper and sprinkle cornmeal down the center where you will lay out the loaf.
To create the wheat stalk pattern, use scissors to snip the loaf every few inches (cutting about ¾ of the way through), and as you snip each section, pull it over to one side, alternating left and right.
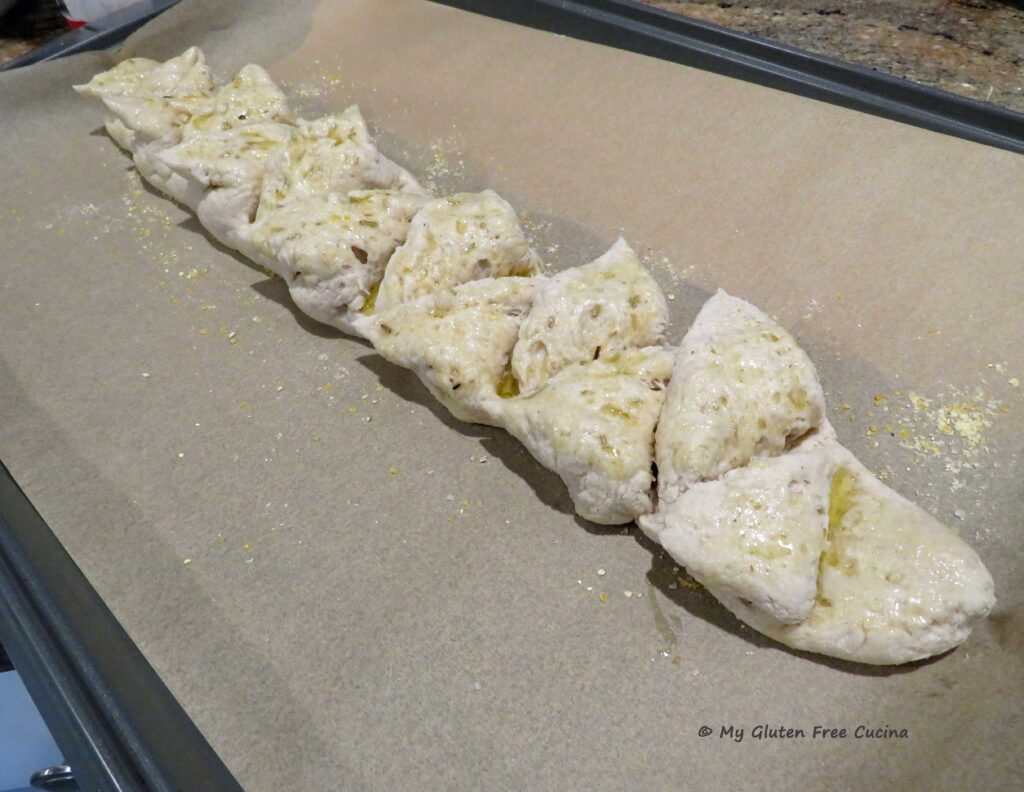
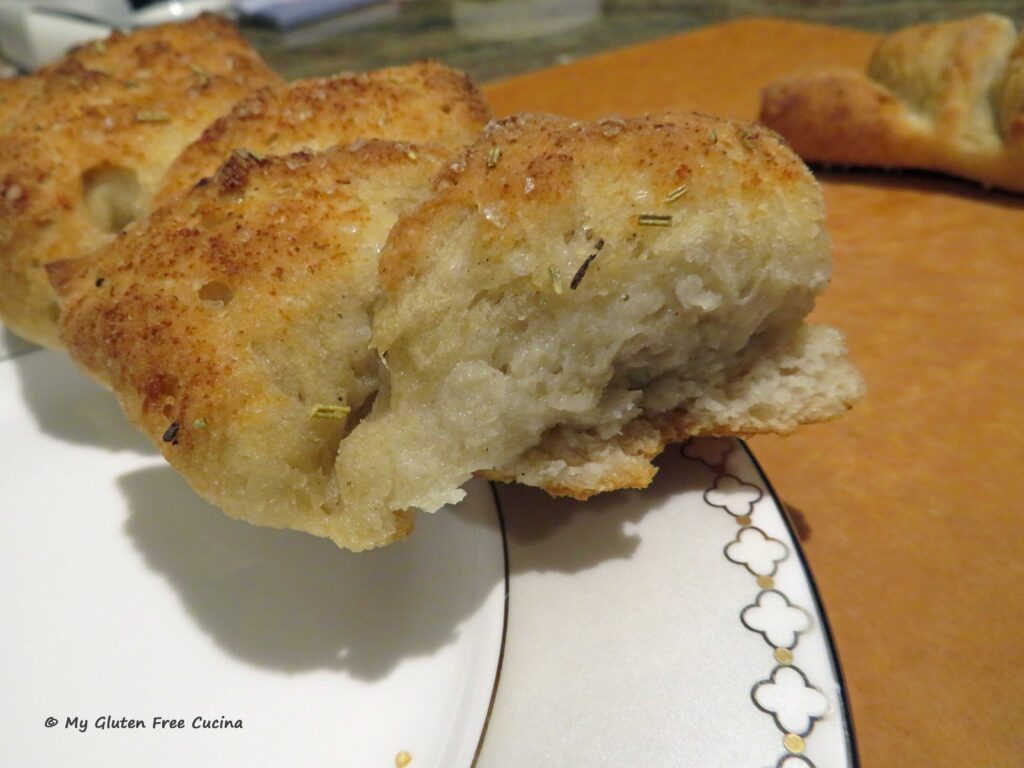
Now brush the loaf with olive oil and sprinkle with coarse salt. I infused my olive oil with garlic and rosemary, and the aroma as it baked was wonderful.
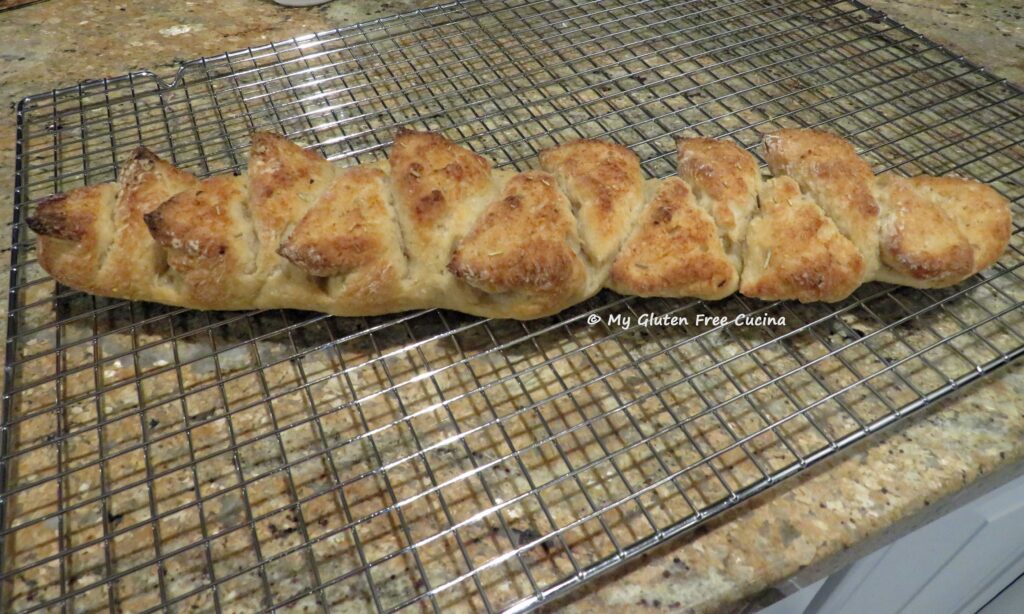
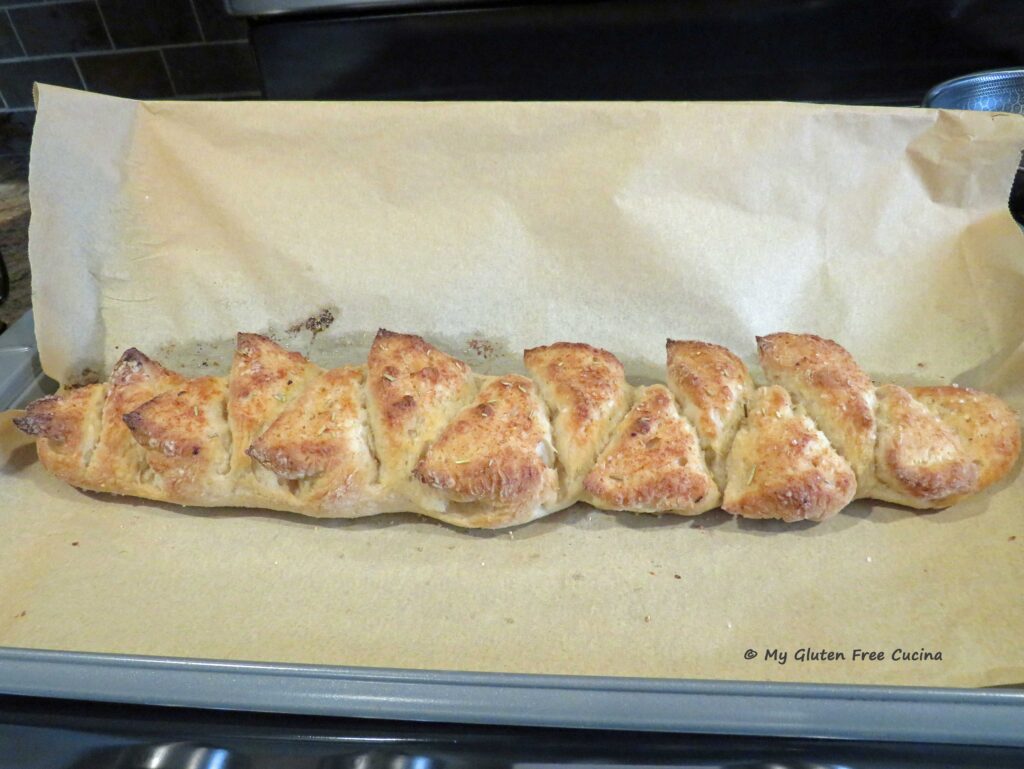
Bake for 30 minutes on the middle rack. The internal temperature should read 210º. Cool in the pan for 10 minutes.
I love the smell of freshly baked bread filling my kitchen and was so pleased with how this loaf came out.
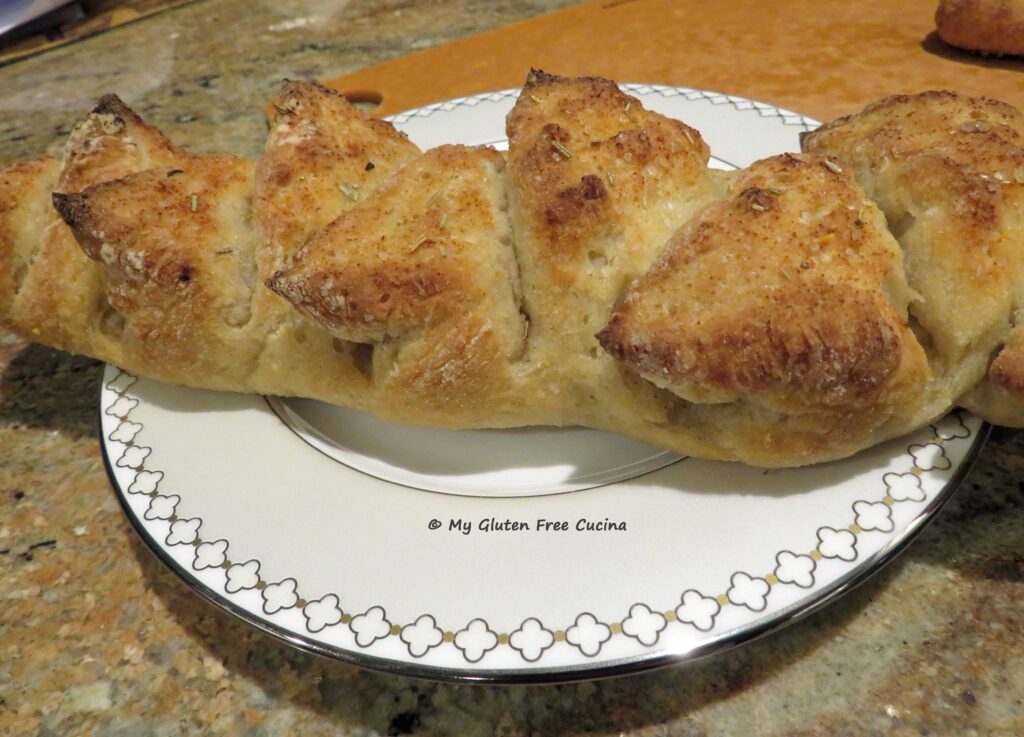
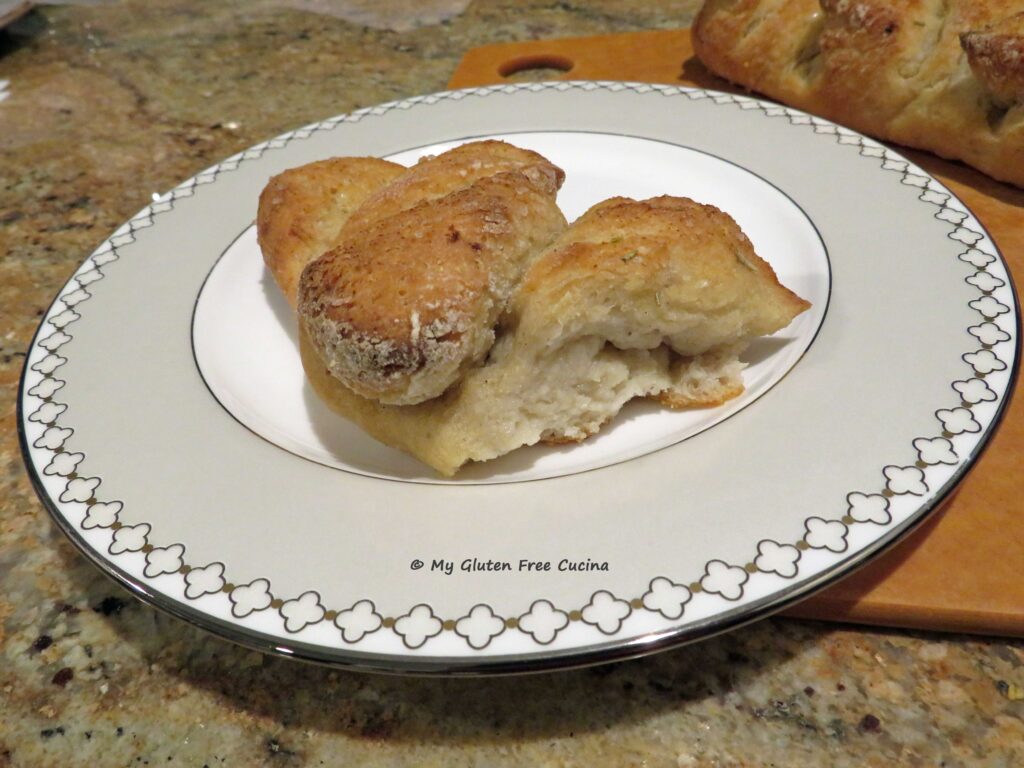
I recommend you allow the bread to cool for at least 4 hours before slicing, so the center won’t be gummy. Trust me, you will have a hard time waiting!
You can cut it into slices or just tear off a section and dip it in olive oil. I made up a dipping oil with Tuscan seasoning, fresh garlic and rosemary.
This bread is best eaten the day it is baked. Leftovers can be refreshed in the microwave or toasted. Store at room temperature up to 1 day and freeze any remaining.
Looking back at my recipe notes, I was surprised to find that I have not made Pumpkin Bread since 2013. Why I don’t know, because I had a really good recipe that everyone enjoyed.
So, this week I decided to dust off that old favorite and give it a gluten free makeover. Would you believe, the only ingredient that had to be changed was the flour? I find that’s the case with so many recipes.
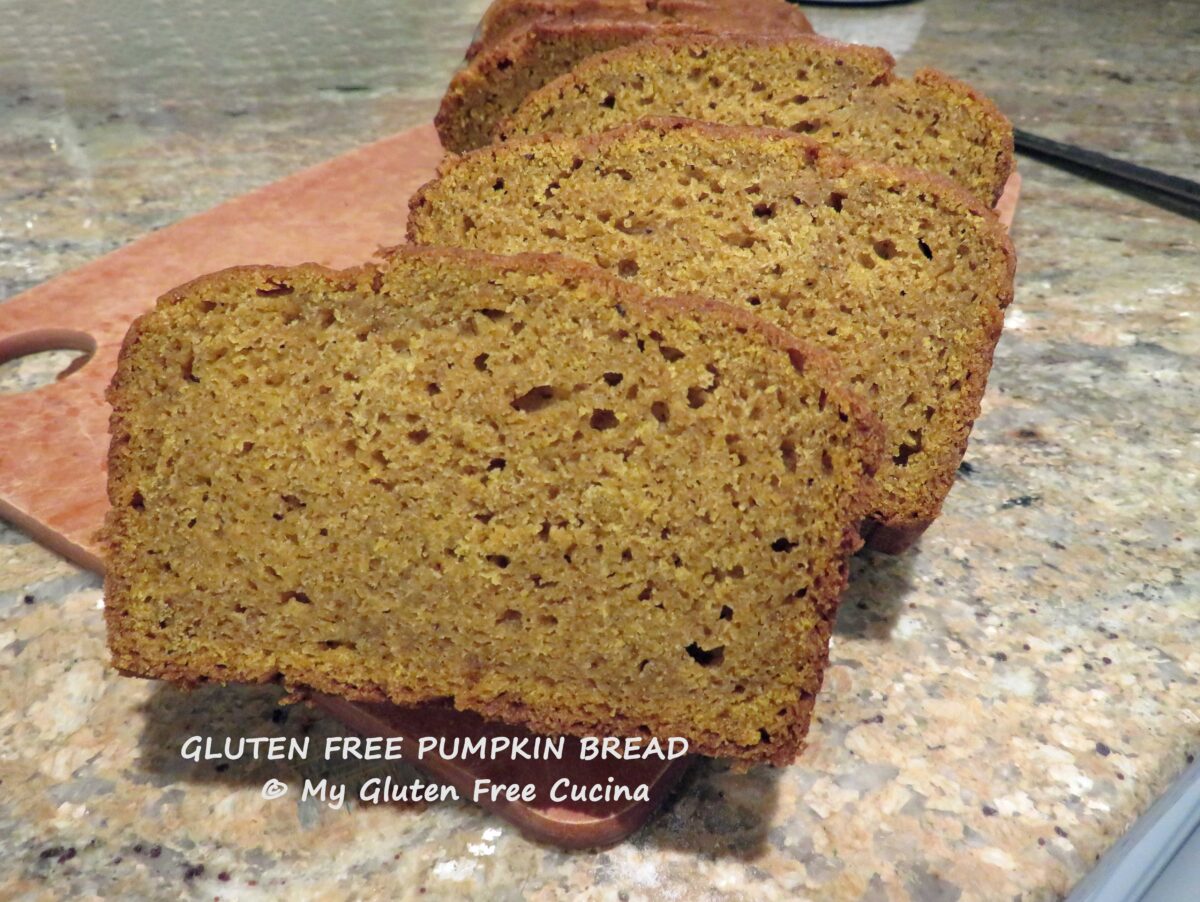
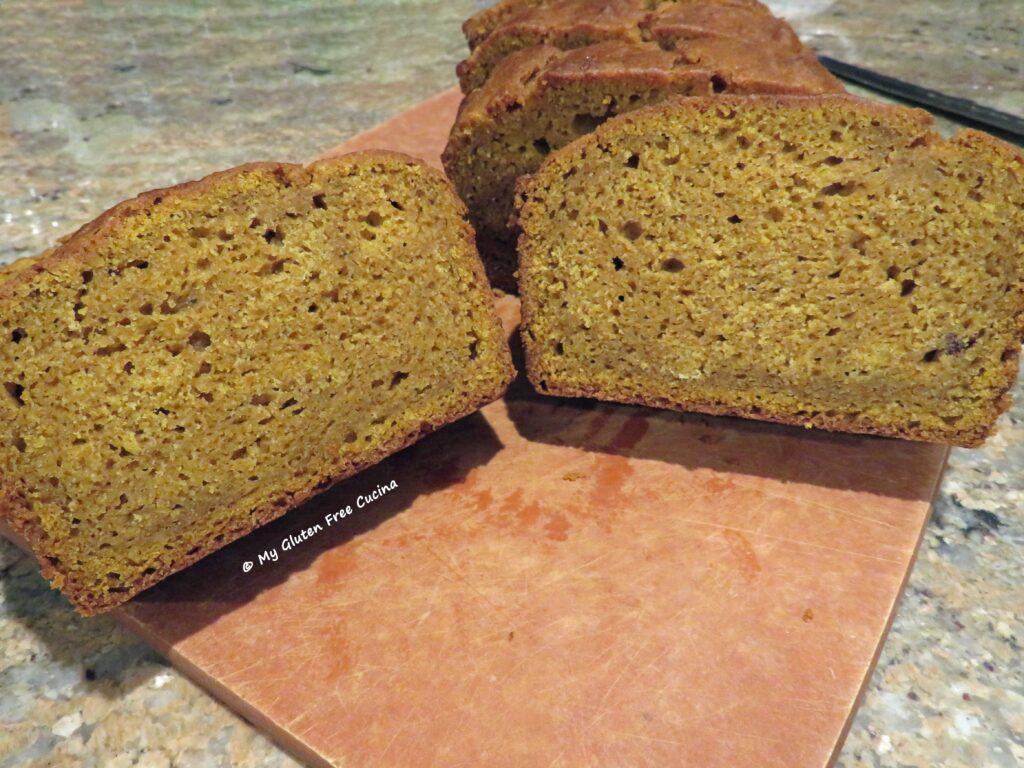
This easy pumpkin bread is super moist! Serve it with ice cream for dessert and have the leftovers for breakfast! It would be a fine addition to your Thanksgiving breadbasket.
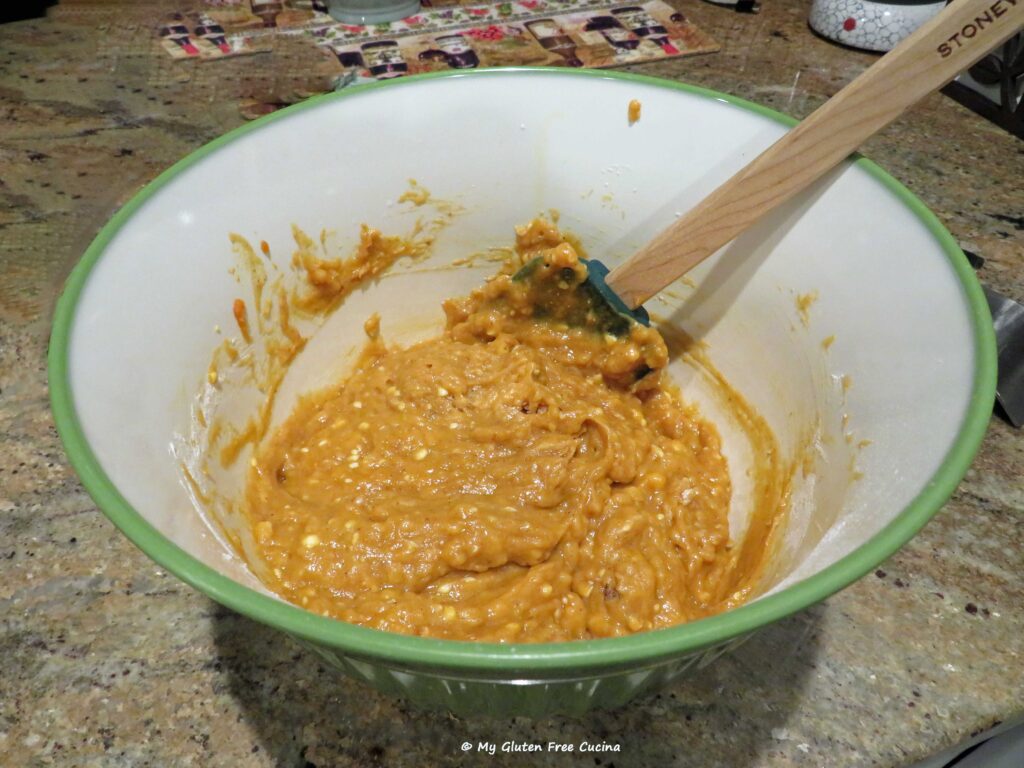
Whisk together all of the dry ingredients. Combine the wet ingredients in a separate bowl and whisk until smooth and the butter breaks down into little bits.
Add the dry ingredients to the wet, and fold with a spatula just until moistened. Let the batter rest while you preheat the oven to 350º.
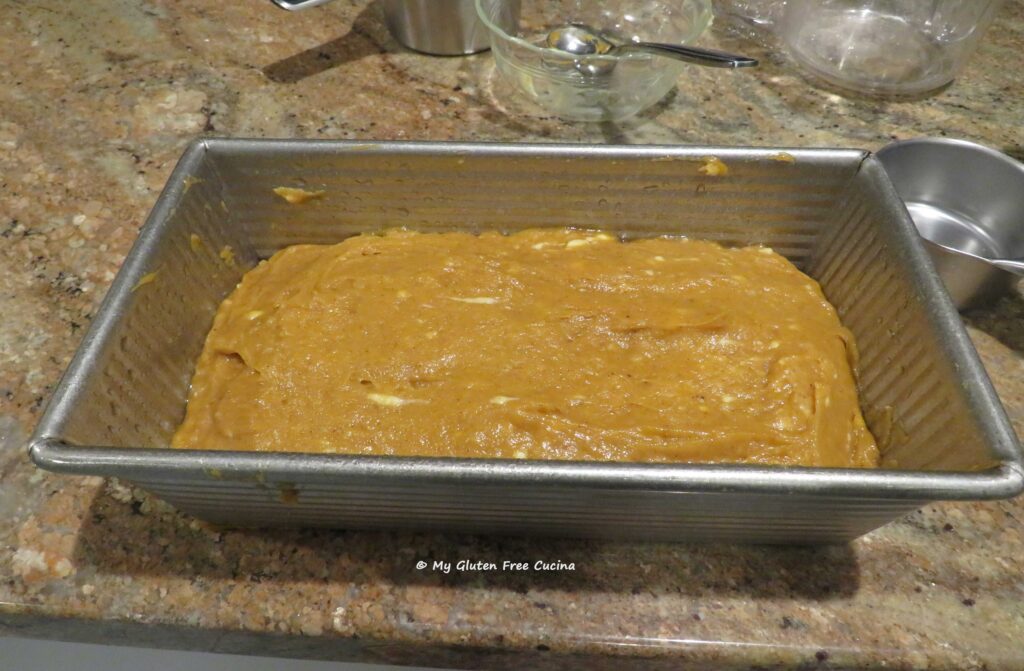
Scrape the batter into a greased 1 lb. loaf pan (8″ x 4″) and smooth it out evenly. Bake for 60-65 minutes.
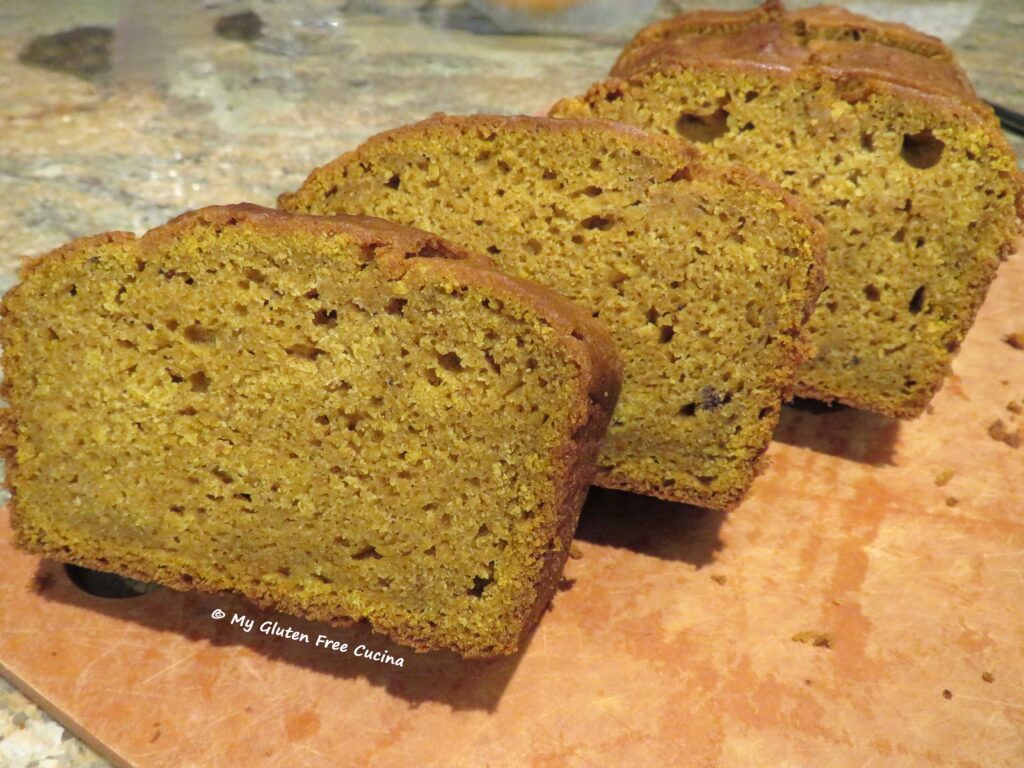
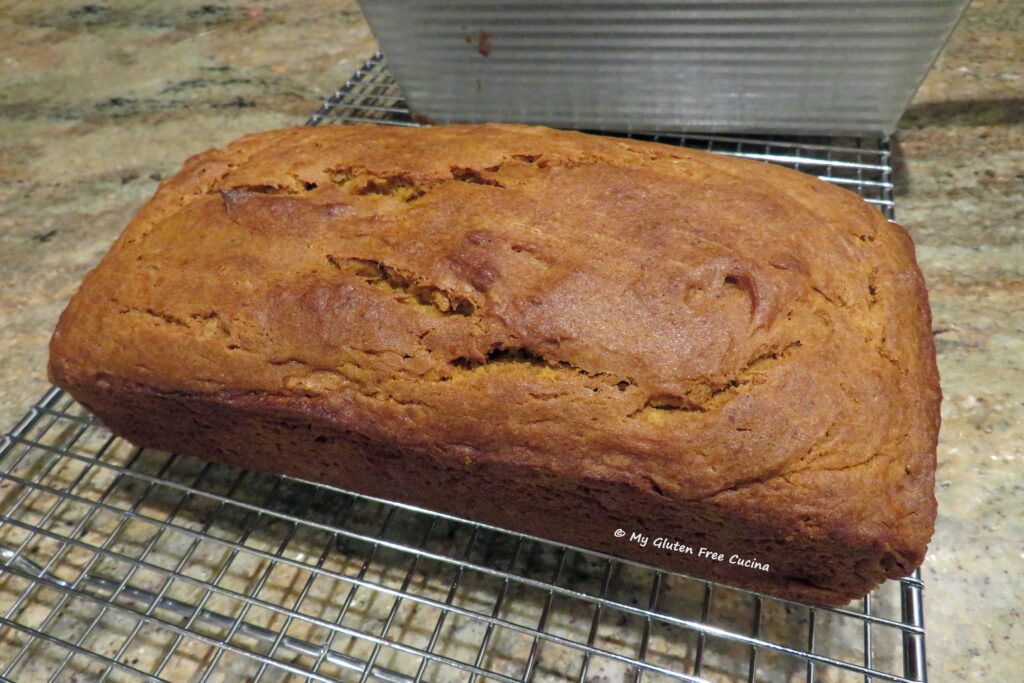
Test with a toothpick, it should come out clean, and the loaf will be starting to pull away from the sides of the pan. Cool in the pan for 10 minutes then slide a thin spatula around the edges. The loaf should remove easily. Allow it to cool for at least 2 hours. Bet you’ll have hard time waiting!
I let mine cool to room temperature, then stored it in a plastic bag on the counter overnight. Look at that beautiful color! 🎃
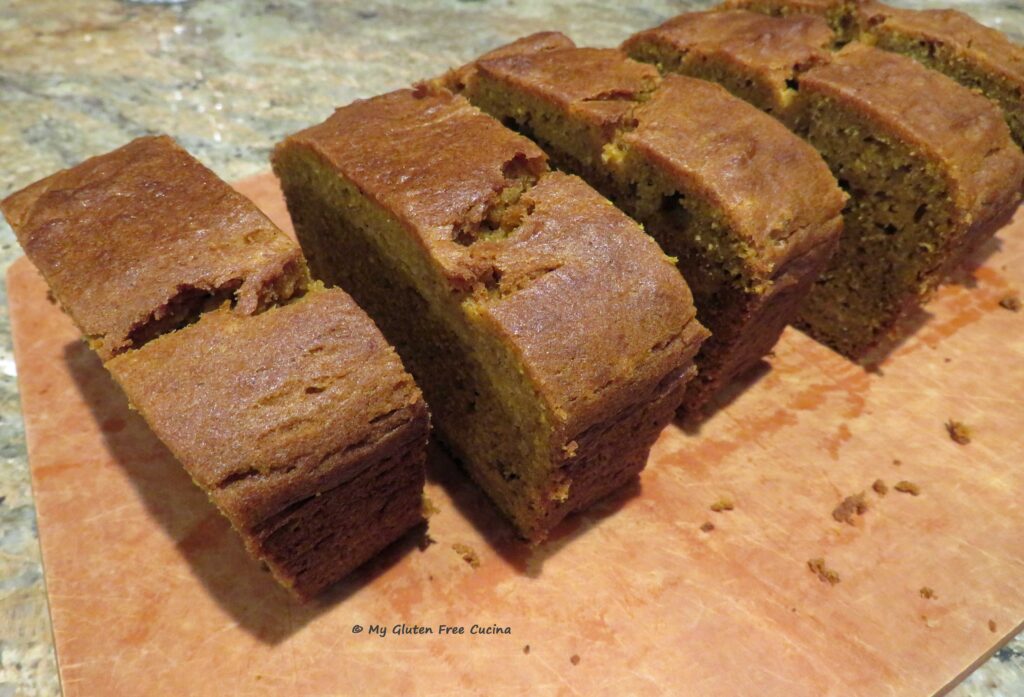
I sliced my Pumpkin Bread into nice thick pieces and wrapped a few individually for the freezer.
I ate the 2 end slices on the spot (had to taste test!), then had another big slice for breakfast! SOOOO good!
Notes ♪♫ Pan size is important. Be sure to use a 1 lb. metal loaf pan. I like this one, from USA Pan. Larger loaf pans, like a 1.25 lb. pan will change the height and width of the loaf, as well as the cook time.
Malloreddus pasta is a type of gnocchi originating in Sardinia, Italy. There are a few things that distinguish this regional pasta from other types of gnocchi. First, look at the ridges on the Malloreddus paddle on the left, vs. a typical gnocchi paddle on the right. The ridges are wider and deeper on the Malloreddus paddle, to create the distinctive grooves. They really soak up the sauce!
What about gluten?
Malloreddus pasta is traditionally made with semolina flour and water. Of course, semolina is off limits on the gluten free diet, so for my gluten free adaptation, I used the new Gluten Free Bread Flour from Better Batter. You can try this recipe with any one-to-one gluten free all-purpose blend. I added water, salt and just a bit of olive oil, to help the dough come together.
Wait, no eggs?
Did you notice that there are no eggs in the ingredient list? Traditional Malloreddus Pasta is egg free. Only flour, water and salt. I know that some of my readers can’t have eggs, if you are one of them then this pasta is for you!
Another unique feature.
Did you know that Malloreddus pasta is sometimes infused with saffron? Just a pinch gives the dough beautiful color, it almost looks like I added an egg yolk!
For the pasta, add a pinch of saffron to 1/4 cup warm water. Let it steep for 15 minutes.
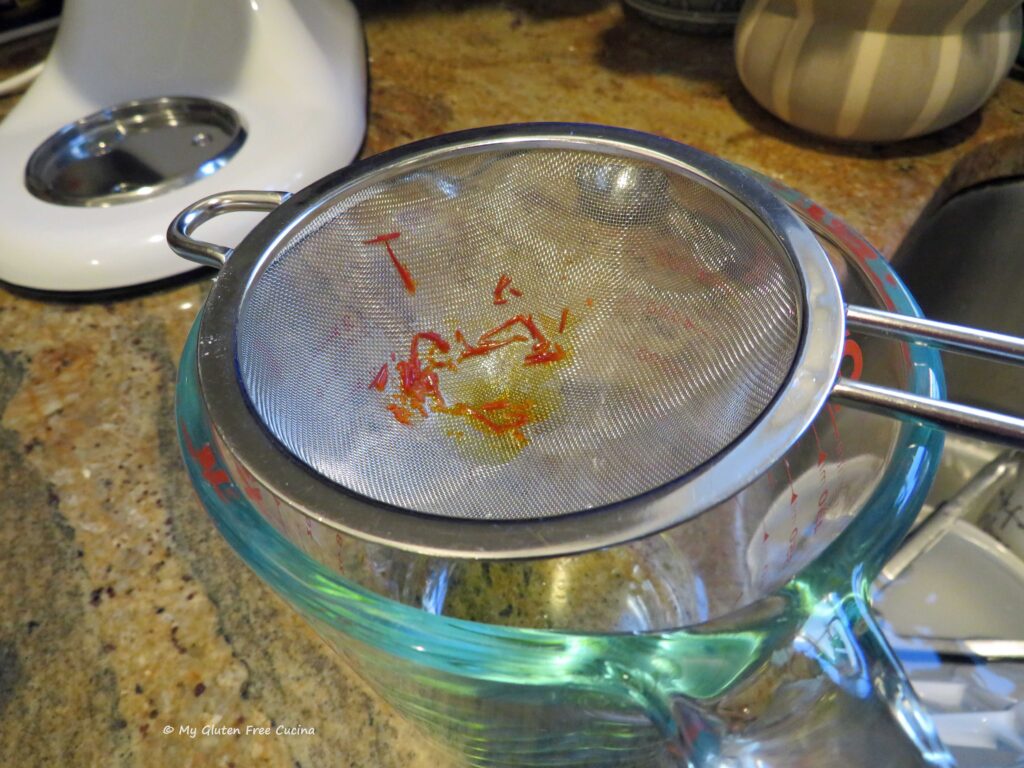
Whisk together the flour and salt in the bowl of a stand mixer. Pour in the infused liquid through a sieve, reserving the saffron threads.
Drizzle in the olive oil and mix on low speed with the paddle attachment. You may need up to 1/4 cup of additional water to achieve the right consistency. If the dough looks crumbly like this, it is too dry.
Add the remaining water 1 tbsp. at a time until you have a very soft, smooth dough, like this.
Hint– If you need to add the additional water, pour it over the strained saffron threads so you get more of the coloring.
Use a spatula to gather the dough into a ball, then cover and let it rest at room temperature for about 20 minutes.
When you’re ready, flour a cutting board and divide the dough into 4 pieces. Working with one section at a time, roll the dough into a thin rope, about 1/2″ wide. Use a bench knife or butter knife to cut the rope into 1/2″ pieces, (this is a small pasta, don’t make the pieces too large). Working quickly, roll each piece between floured palms to form small marbles.
Now roll each piece over the Malloreddus paddle, you can use your fingers or a bench knife. Be sure to keep the paddle generously floured as you work. A flour shaker is convenient to have on hand.
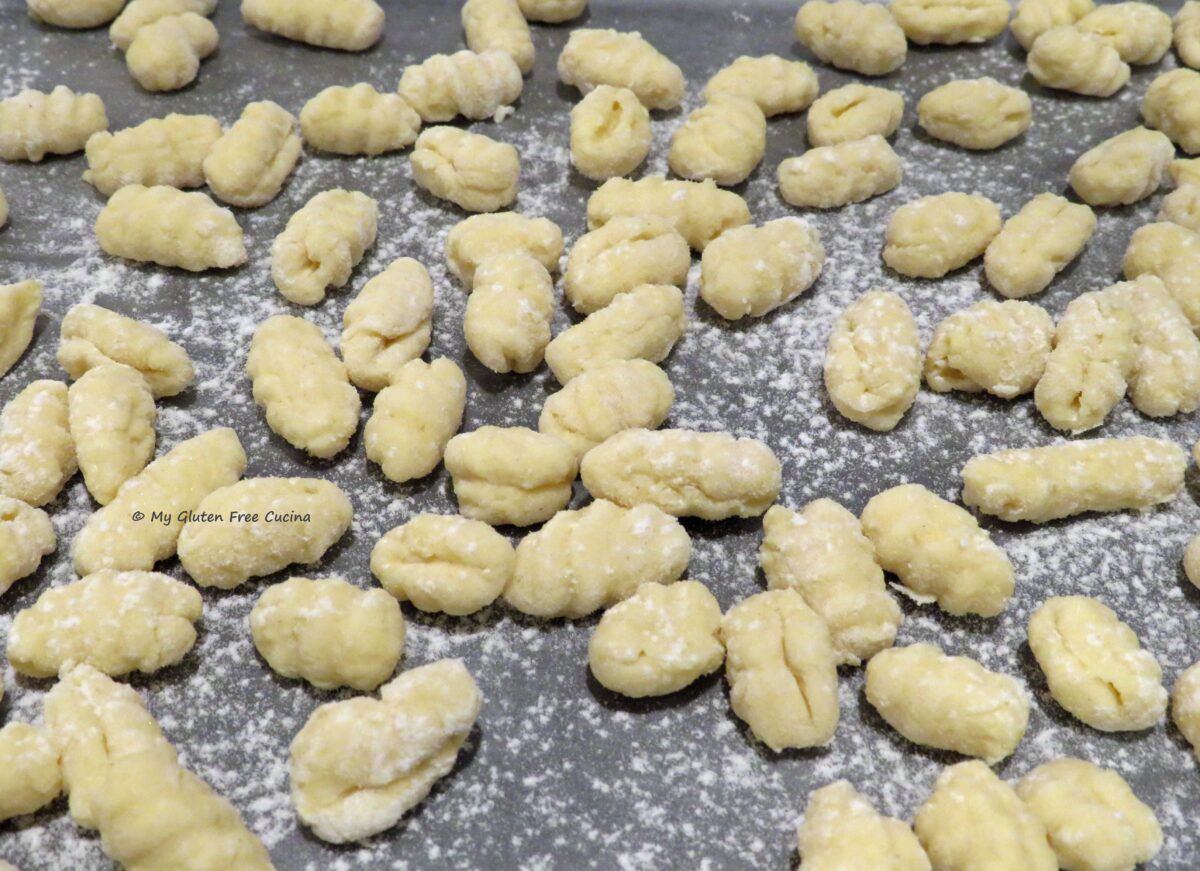
Arrange the pasta on a lightly floured baking pan in a single layer. I lined mine with wax paper. At this point, you can cover the pasta with plastic wrap and refrigerate it until you are ready to start cooking.
For longer term storage, place the pan in the freezer for a few hours, then transfer the pasta to a freezer safe bag.
When your sauce is ready, heat a large pot of salted water to a rolling boil. Add the pasta and set a timer for 3 minutes maximum. Be careful not to overcook, as soon as the pasta floats to the top, it’s done! Use a spider strainer to gently lift it out of the water, drain and place it directly into the sauce. Finish with grated cheese and fresh Italian parsley.
I see you ogling that sauce! 😉 It’s a hearty Sausage Ragu, perfect for ridged pasta like this one. Want to know more? Be sure to check out the next recipe!
Notes ♪♫ Some of my readers have mentioned that they would like a gluten free pasta made without eggs. This one is for you, friends. The dough is every bit as soft and supple as egg pasta, so whether you can’t have eggs for dietary reasons, pricing or availability, this pasta is one you must try!
Corn muffins are classic comfort food, and they are easy enough for novice bakers to prepare. The ingredients are pantry staples. Flour, cornmeal, sugar, oil, eggs, and milk. Recipes can be found online, in magazines and in practically every vintage cookbook.
Are corn muffins gluten free?
Any of these recipes can easily be adapted to gluten free by changing just one ingredient, the flour. This is my gluten free adaptation, and the muffins are not overly sweet, making them perfect for breakfast. So, ditch the mix and let’s bake some gluten free corn muffins from scratch!
Weigh the dry ingredients in one bowl and whisk together the wet ingredients in another.
Add the dry ingredients to the wet, and stir together with a batter whisk, just until moistened. Let the batter rest while you preheat the oven to 400º.
Resting the batter allows the flour to hydrate and avoid that gritty texture.
Mist a muffin tin with cooking spray. I like a larger muffin, so I filled the muffin cups about 3/4 full for 9 muffins. If you prefer smaller muffins (good for kids and small appetites), you can make 12 muffins, filling the cups to about 2/3 full.
Bake for 15 minutes. Check the center with a toothpick, and if it comes out dry, they are done.
Brush the tops with melted butter, then transfer to a rack to cool.
Muffins can be stored at room temperature for one day, and any leftover after that can be frozen.
Notes ♪♫ You probably have most of the ingredients to make these corn muffins in your pantry. I recommend Better Batter Original Blend for the flour, but you can use any one-to-one gluten free blend. For the cornmeal, I used Bobs Red Mill.
I’m pretty excited about these Italian Torpedo Rolls! When I was a kid, we always had them, fresh from the Italian bakery at every party and family gathering. I can still remember tearing one apart, the chewy texture of the crust giving way to the soft pillowy white bread inside. This recipe is as close as I have ever come to replicating those bakery rolls.
Yes, they are gluten free!
You are going to love this recipe!
Just 5 ingredients! Mix up the dough, rest on the counter overnight and bake in the morning. Use a stand mixer, or don’t! Try it and see if anyone can guess that these rolls are gluten free.
This post contains affiliate links.
About the flour
My bread friends know that I am a big fan of Better Batter flour for bread baking. So, which one is my favorite? Their Artisan Flour Blend is at the top of my list. It produces incredible breads with great flavor and texture every time. But their new Bread Flour is a star in its own right, especially if you want a true white bread.
This recipe is another of my experiments with blending these 2 flours together. I really think I have hit on the perfect flavor and texture of Italian Bread that I was looking for. You can use all bread flour if preferred.
Remember to use my Promo Code MGFC30 when you shop at Better Batter, for 30% off full price items!
Weigh all the ingredients (yes, even the water, use a scale!). Combine the flours, salt and yeast in the bowl of a stand mixer and whisk well. Add the water and beat for 6 minutes on low speed with the paddle attachment.
No stand mixer? You can combine everything in a large bowl with a dough whisk. Be sure to turn the dough over on itself a few dozen times, while rotating the bowl to ensure the ingredients are well incorporated.
Now cover the bowl with plastic wrap and leave it on the counter (room temperature) overnight for 12-13 hours. I like to make my dough around 8pm, then shape the rolls while I’m having coffee the next morning, around 9am.
In the morning, preheat the oven to 475º with a baking stone on the middle rack. Turn the dough out onto an oiled cutting board. Use a bench knife to divide it into 4 sections.
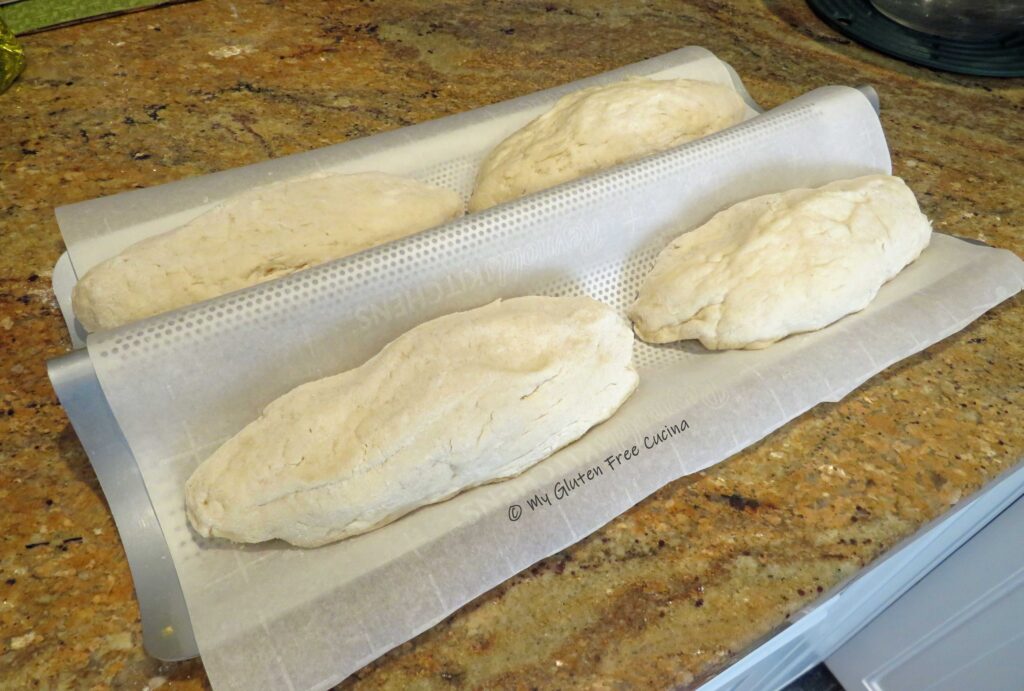
Flour your work surface and gently roll each section into a torpedo shape (oval with tapered ends). Arrange them on a lightly floured baking sheet lined with parchment or use a perforated loaf pan. Score the rolls with a sharp knife or a lame positioned at an angle.
Place in the oven and spray the rolls and sides of the oven with water to create steam. Bake for 35 minutes at 475º, then remove from the pan and bake directly on the stone during the last 10 minutes.
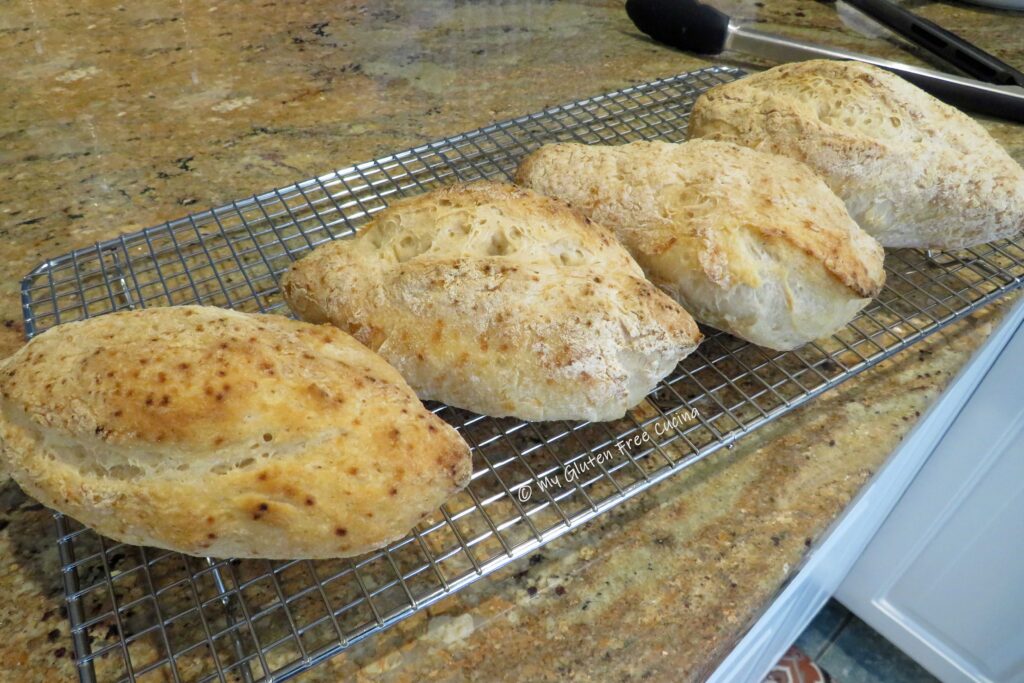
Rolls are done baking when the internal temperature reaches 210º. The crust should be firm and dry, and you will get that hollow sound when you give the rolls a sharp tap. Remove from the oven and place on a rack to cool.
Wait for at least 8 hours and up to one day before slicing. Remember that bread, especially gluten free bread continues to release moisture when it comes out of the oven, so you want to give it plenty of time for the center of the loaf to fully set!
You are going to have a hard time waiting for these rolls, but I promise it will be worth your patience!
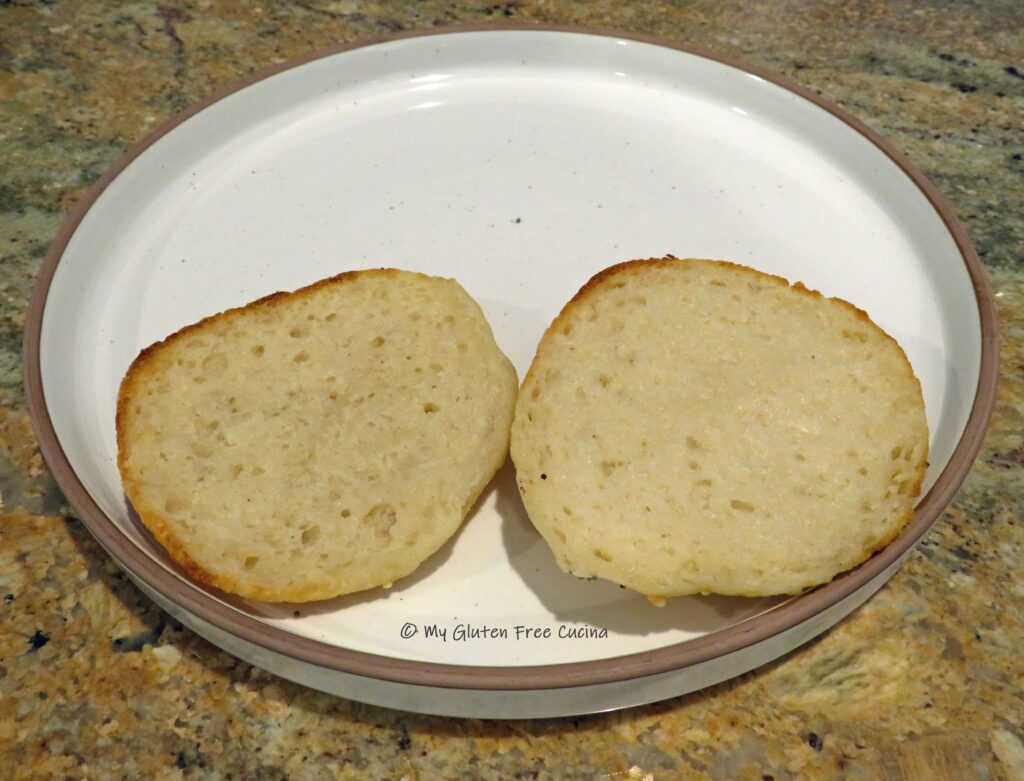
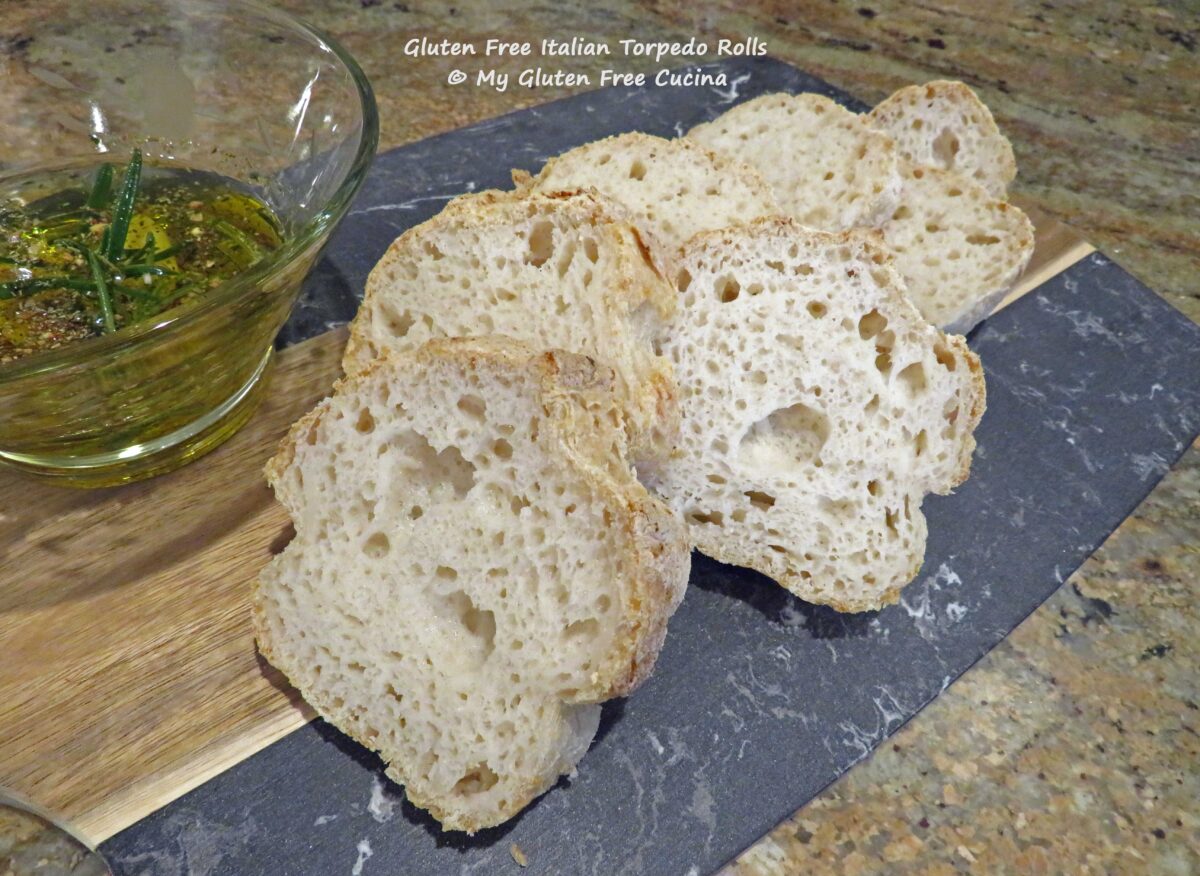
At long last, it’s time for tasting. These rolls are generously sized. Just like the bakery rolls of my youth. And back then, I could devour an entire roll in minutes! Here I’ve just sliced one up for dipping and to show you the crumb.
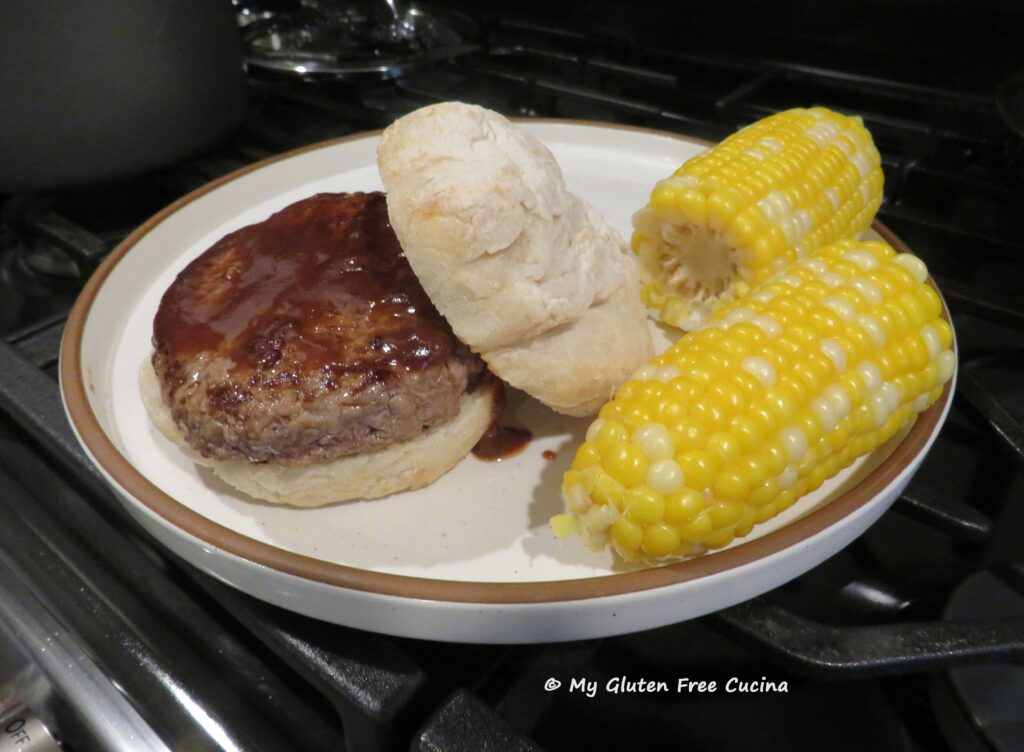
What would you do with a homemade, hot out of the oven Italian roll like this? Dip it in olive oil, or slather with garlic butter and toast it? Slice it thin for bruschetta? Maybe load it up with veggies, cold cuts and cheese to make a panino (a/k/a sub, hoagie)! And for big appetites, you can serve them as dinner rolls (mop up that sauce!) or sandwich rolls.
However you choose to enjoy them, these rolls are delicious!
Variation: Instead of torpedo rolls, shape the dough into 6 round bulky Italian rolls. You will be the envy of the BBQ! Be sure to adjust the bake time to 25 minutes.
Notes ♪♫ Like most breads, these rolls are best when eaten within 1-2 days. I recommend freezing any left over after the first day. You can reheat them in the microwave, but they will have the best their texture when toasted.
If you are of a certain age, you had that cookbook. Maybe you still have a copy, the one with the checkerboard cover that every new bride had to have in her kitchen. The recipes were straight forward and always tasted great. No pictures, no stories, just ingredients and instructions.
This recipe is adapted from that same book; it’s an old favorite of mine that I used to make all the time before my Celiac diagnosis.
Why Sourdough Starter?
To adapt this quick bread to be gluten free, I knew that some additional liquid would be needed. I considered things like yogurt, sour cream or applesauce. But I had my starter in the fridge waiting to be fed so….
The Flour
I used Better Batter original blend in my recipe, converted at 130 g. per cup. It is my favorite flour for making muffins and quick breads!
This post contains affiliate links.
Adapted from the Better Homes and Gardens® New Cookbook (the not so new version 😂).
For best results, I strongly recommend that you weigh your ingredients. Traditional cup and spoon measurements are provided as well, but at the very least always weigh the flour.
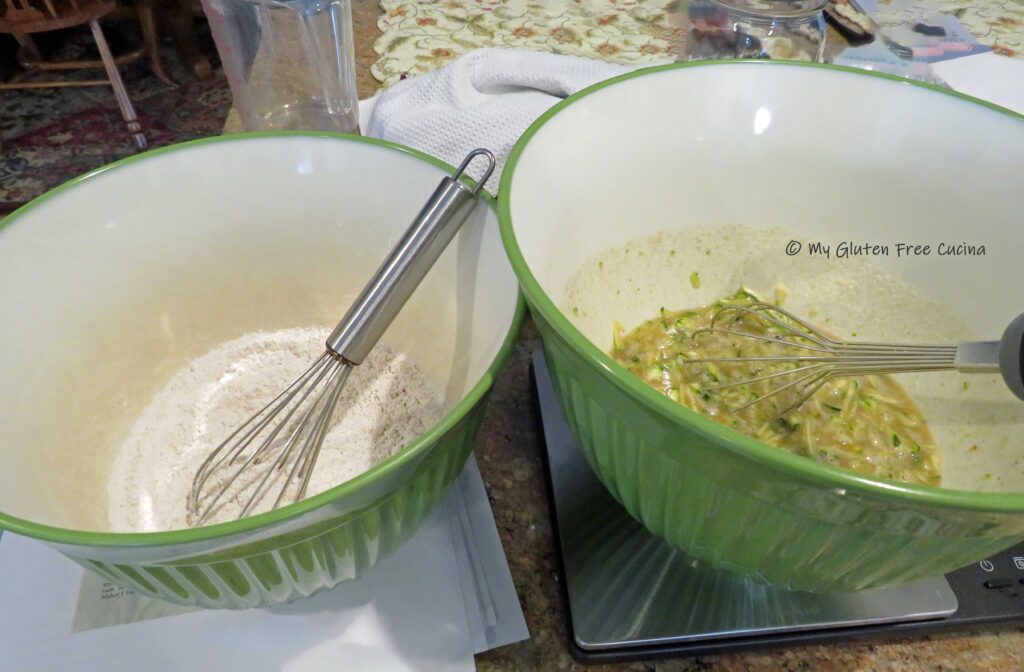
Whisk the wet ingredients together in one bowl, and the dry ingredients in another. Use a batter whisk to stir the wet and dry ingredients together, just until moistened.
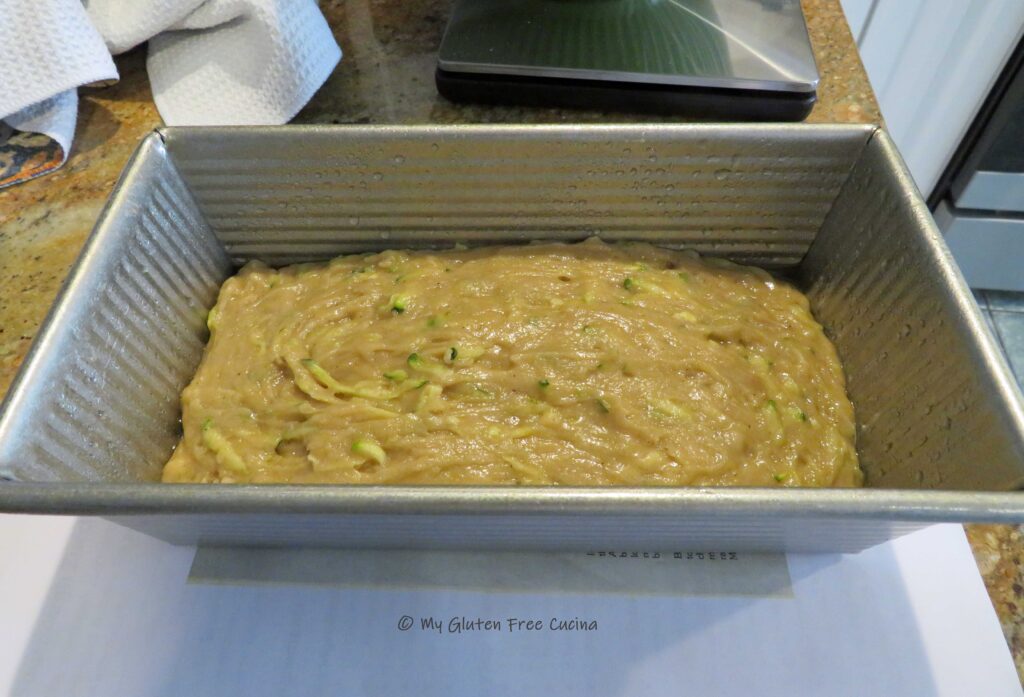
Scrape the batter into a standard 1 lb. loaf pan misted with oil.
💡 Let the batter rest while you preheat the oven to 350º.
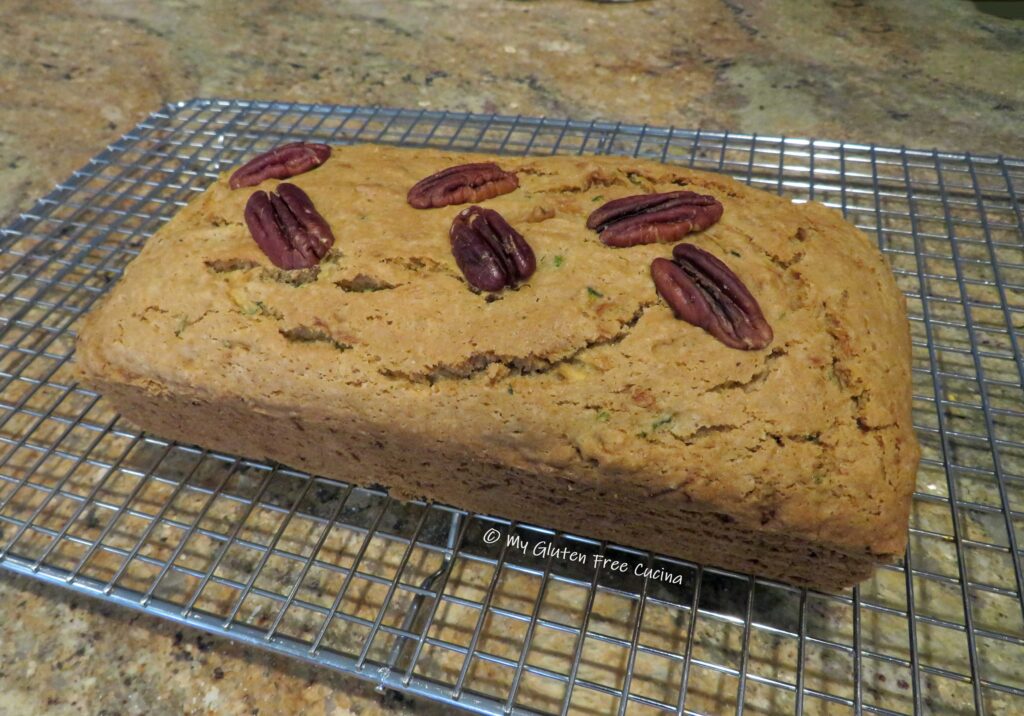
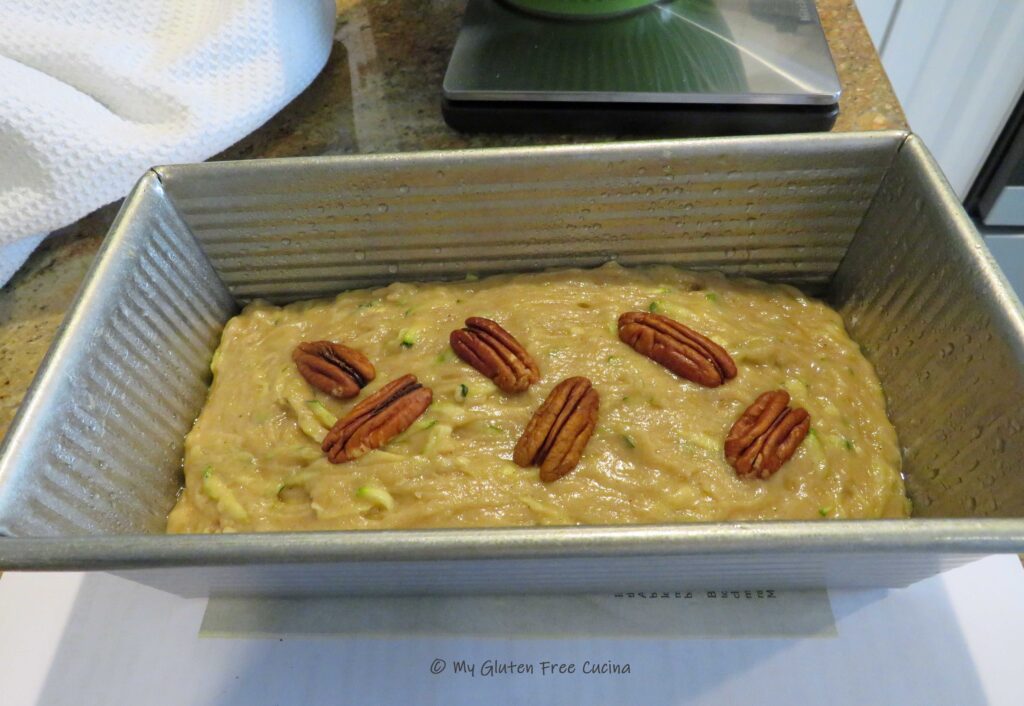
You can optionally add some pecan halves to the top like I did.
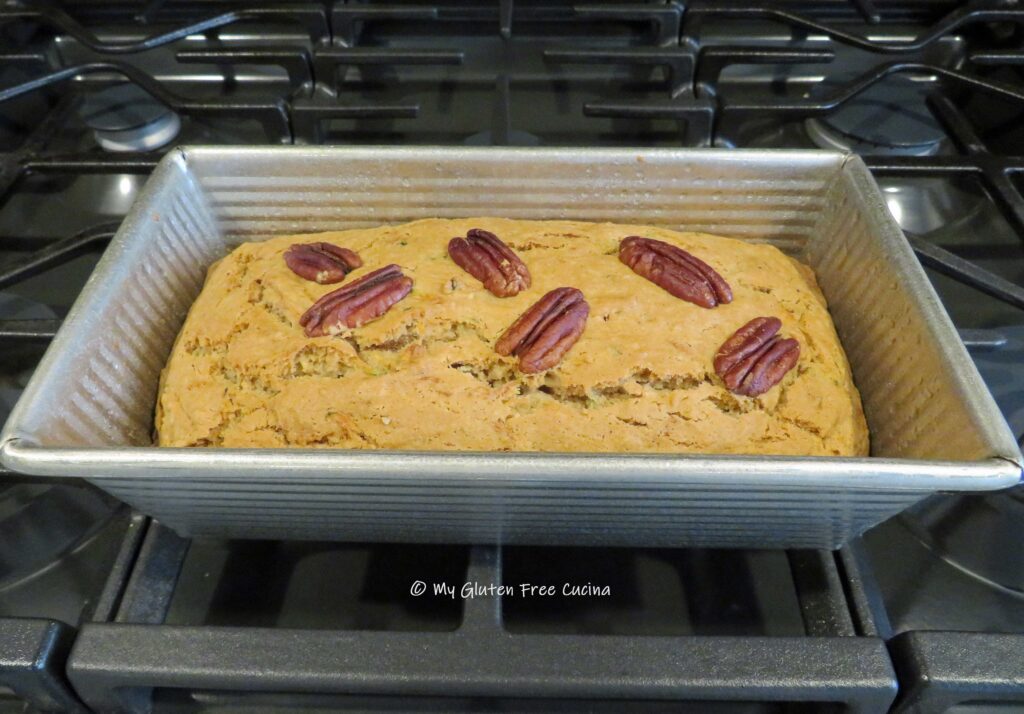
Bake for 45 minutes and test with a toothpick. Let it cool in the pan for 10 minutes.
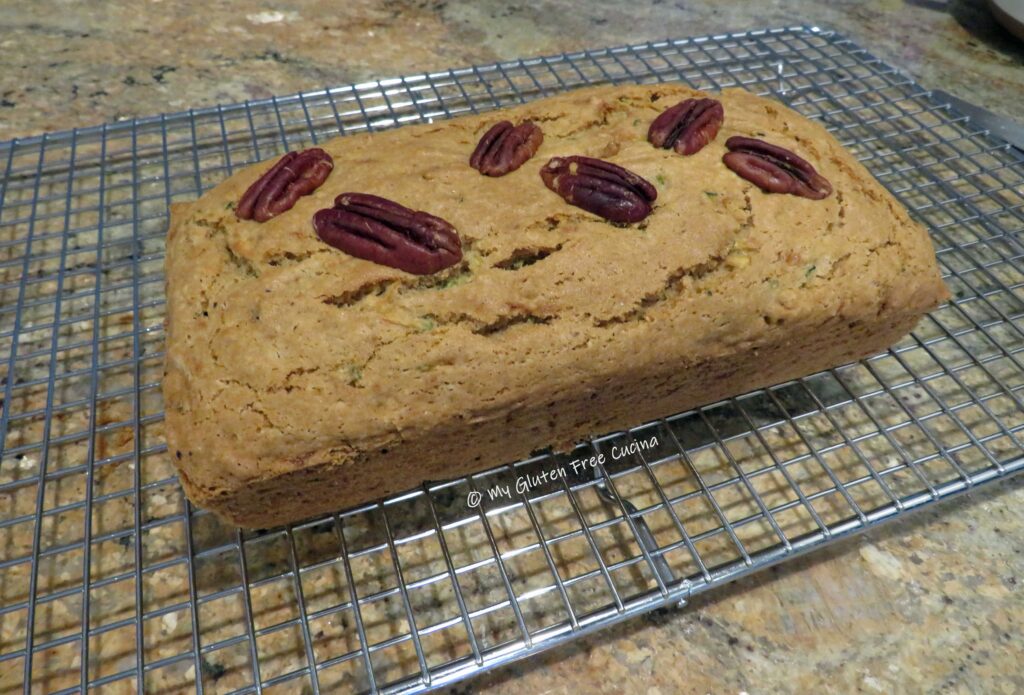
Remove from the pan and let it cool before slicing.
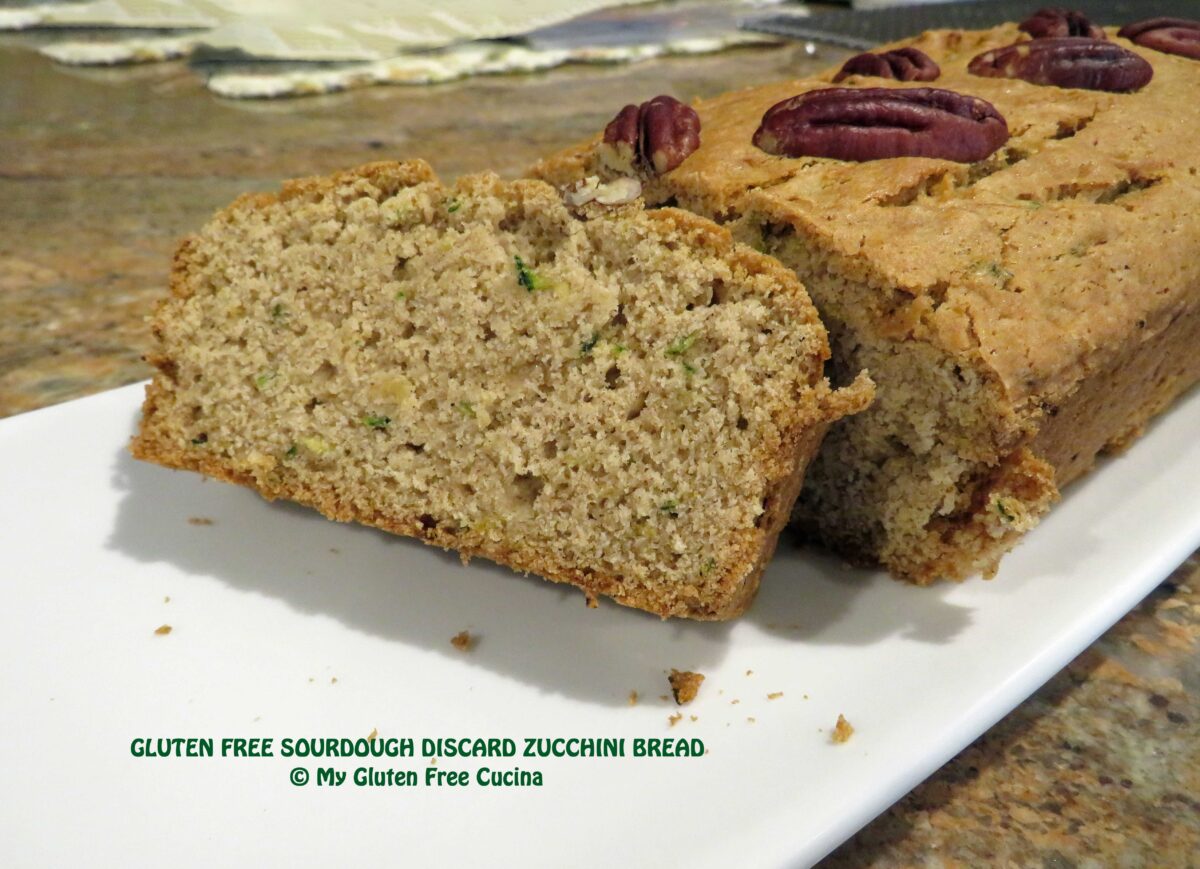
Check out the crumb, it came out so delicious and moist. Every bit the traditional zucchini bread, and you don’t really taste the sourdough.
Leftovers can be stored at room temperature for a day. Beyond that, I recommend you wrap slices tightly in plastic wrap and freeze (store in a freezer safe bag).
Notes ♪♫ For moist quick breads with no gritty texture, be sure to let the batter rest for 15 minutes before baking.
Whisk the wet ingredients together in one bowl, and the dry ingredients in another. Use a batter whisk to stir the wet and dry ingredients together, just until moistened.
Scrape the batter into a standard 1 lb. loaf pan misted with oil.
💡 Let the batter rest while you preheat the oven to 350º.
You can optionally add some pecan halves to the top like I did.
Bake for 45 minutes and test with a toothpick. Let it cool in the pan for 10 minutes.
Remove from the pan and let it cool before slicing.
Leftovers can be stored at room temperature for a day. Beyond that, I recommend you wrap slices tightly in plastic wrap and freeze (store in a freezer safe bag).
Notes
For moist quick breads with no gritty texture, be sure to let the batter rest for 15 minutes before baking.
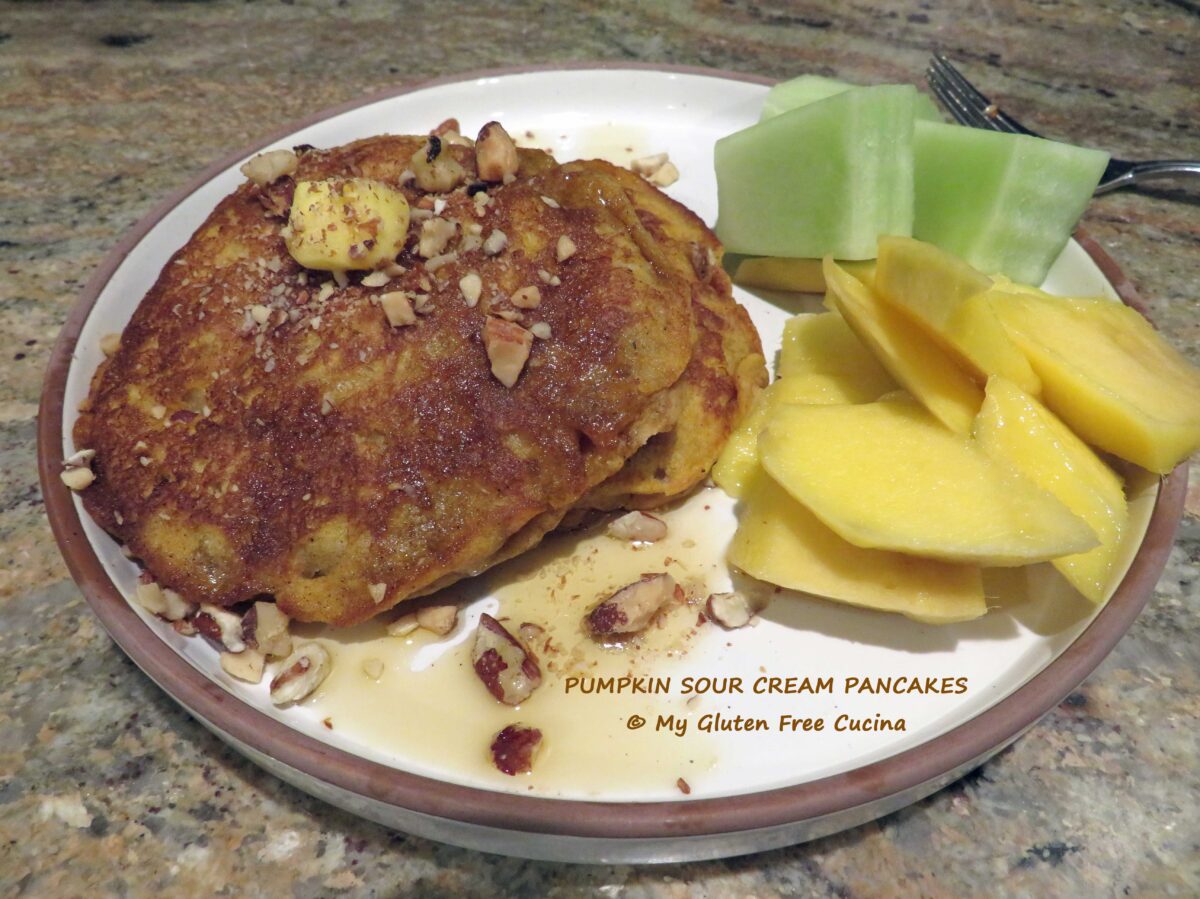
This post started as one of those “use it up” recipes. I had just a little bit of sour cream, and a little pumpkin puree left over. You know I hate to throw anything away. 😉 So who wants pancakes?
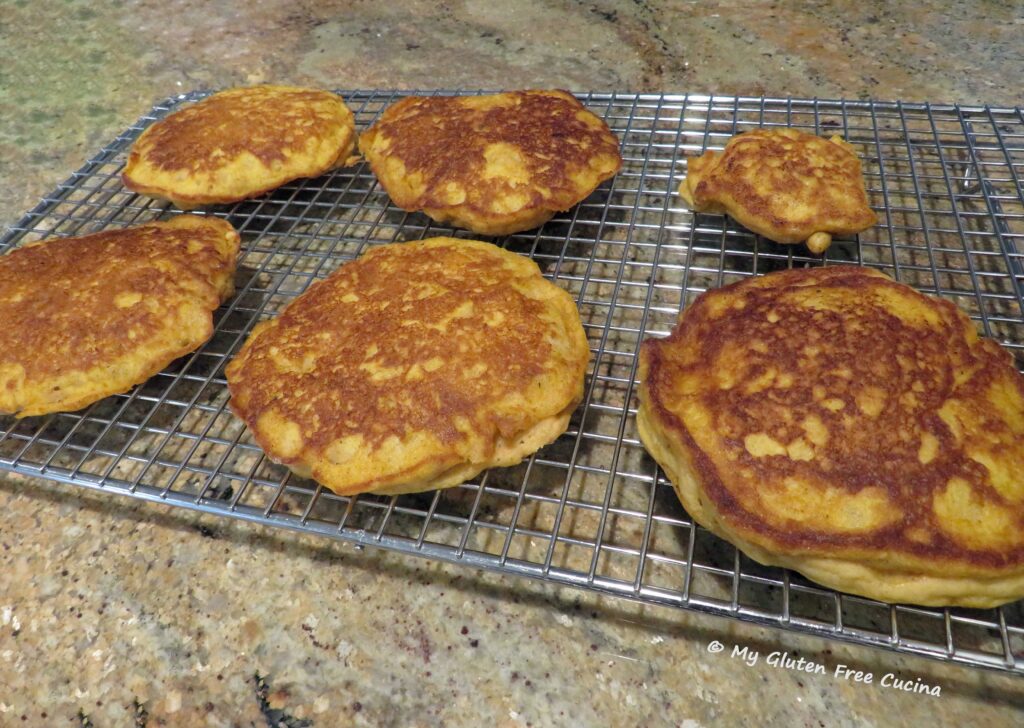
The recipe makes a small batch, breakfast for two. I ended up with 5 full size pancakes and one mini pancake. You can double or triple the recipe for a large family, or if you want extra to freeze for later.
Preheat your griddle. Be sure that it is nice and hot before you begin cooking. (Hint💡 Ever wonder why that first pancake is always “a little funny”? The reason may be that your griddle wasn’t hot enough!)
Set up 2 bowls, whisk together the dry ingredients in one bowl (I strongly recommend that you weigh the flour), and the wet ingredients in the other. Stir the wet and dry ingredients together, just until moistened.
Melt butter 1 tbsp. at a time on the griddle. Scoop batter by 1/3 cups and add to the griddle, leaving space in between.
Cook for 5 minutes then flip. Cook 3-5 more minutes. Keep in mind that gluten free pancakes take longer to cook than regular pancakes. Check if they are done by inserting a toothpick in the center. If it comes out dry, they are ready.
If you have a little batter left over at the end, you can make a test pancake, here’s mine. Just one bite!
You can serve the pancakes immediately or freeze for later. I let mine cool completely on a rack, then wrapped them separately and stored in freezer safe bags.
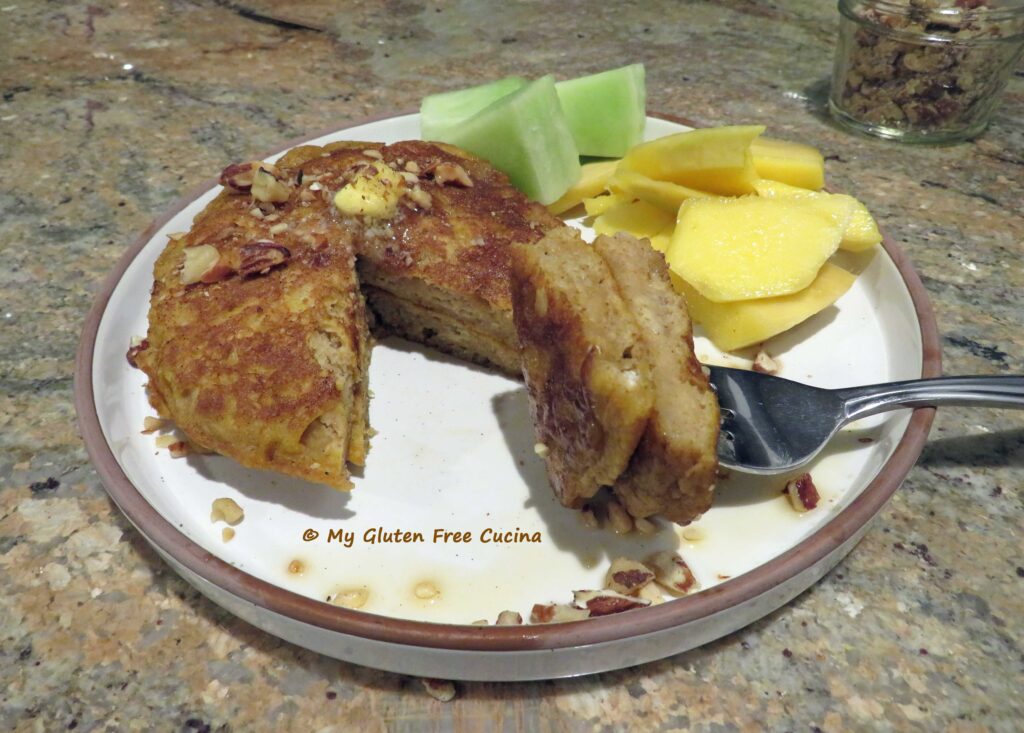
They reheat beautifully, about 75 seconds in the microwave. So, who’s ready for breakfast?
Notes ♪♫I confess, I like a nice pumpkin on the front porch, but in the kitchen, I prefer out of the can. It’s just easier and I think it tastes better. 🤷🏻♀️Look for canned pumpkin puree (not pumpkin pie filling). Pumpkin should be the only ingredient. I used Libby’s.
If you follow me on Facebook, you will have seen these rolls before. This is my go-to recipe for lunch sandwiches, and I make a batch every couple of weeks.
They are the perfect texture, soft but not gummy inside. You can toast them or not, they are delicious either way.
This post contains affiliate links.
This recipe was adapted from the Better Batter website, with permission from my favorite Chef, Patrick Auger. Bet you’re not surprised to hear that!
Chef Patrick, who I consider to be “The Oracle” of gluten free baking created this recipe, and he knows my little secret. When I first started making these rolls, I couldn’t decide which flour to use! 🤔
I am a huge fan of Better Batter Artisan Blend. But I love their new Bread Flour too. So, to put my own spin on this recipe, I mixed the 2 flours together.
Shop Better Batter with my Promo Code MGFC30 for 30% off your full price purchase!
I used half artisan blend and half bread flour. And the flavor and texture of these rolls is SO good. The best of both worlds really.
seeds (optional; I use sesame, poppy, everything bagel)
Preparation:
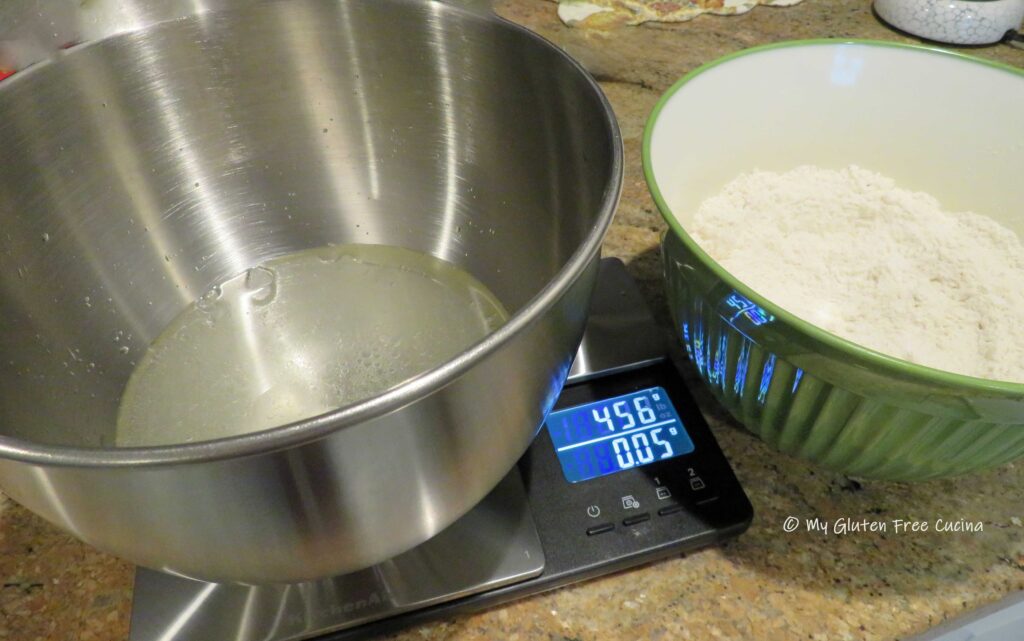
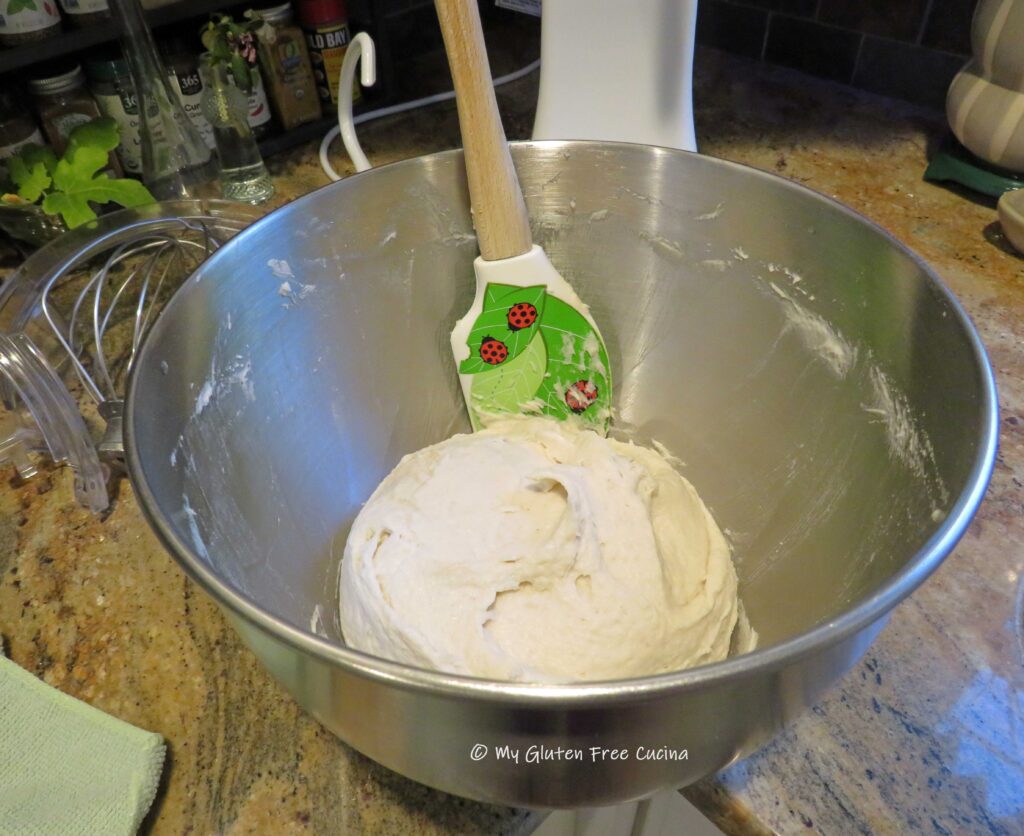
Weigh the ingredients (yes, even the liquid). Combine the water and oil in the bowl of a stand mixer. Whisk together the flours, sugar, salt and yeast in another bowl. Add the dry ingredients to the wet and mix with the paddle attachment. Then beat for 7 minutes on speed #2.
Scrape the dough down and transfer it to an oiled bowl. Cover and refrigerate overnight.
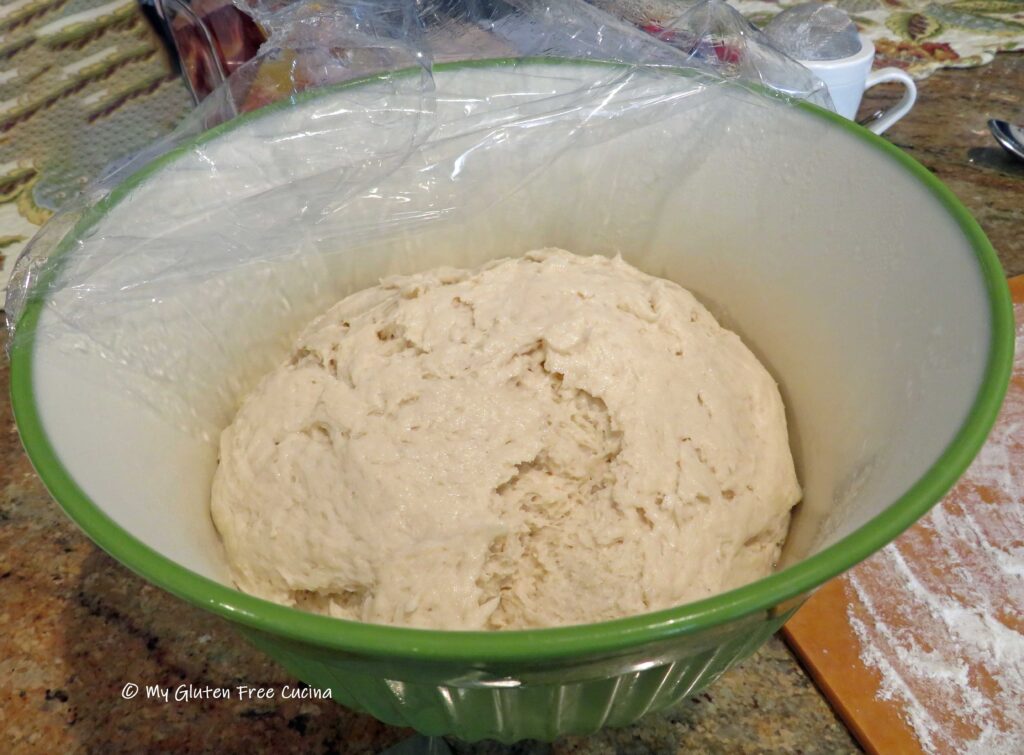
In the morning, the dough should be nice and puffy. Turn it out onto a floured cutting board.
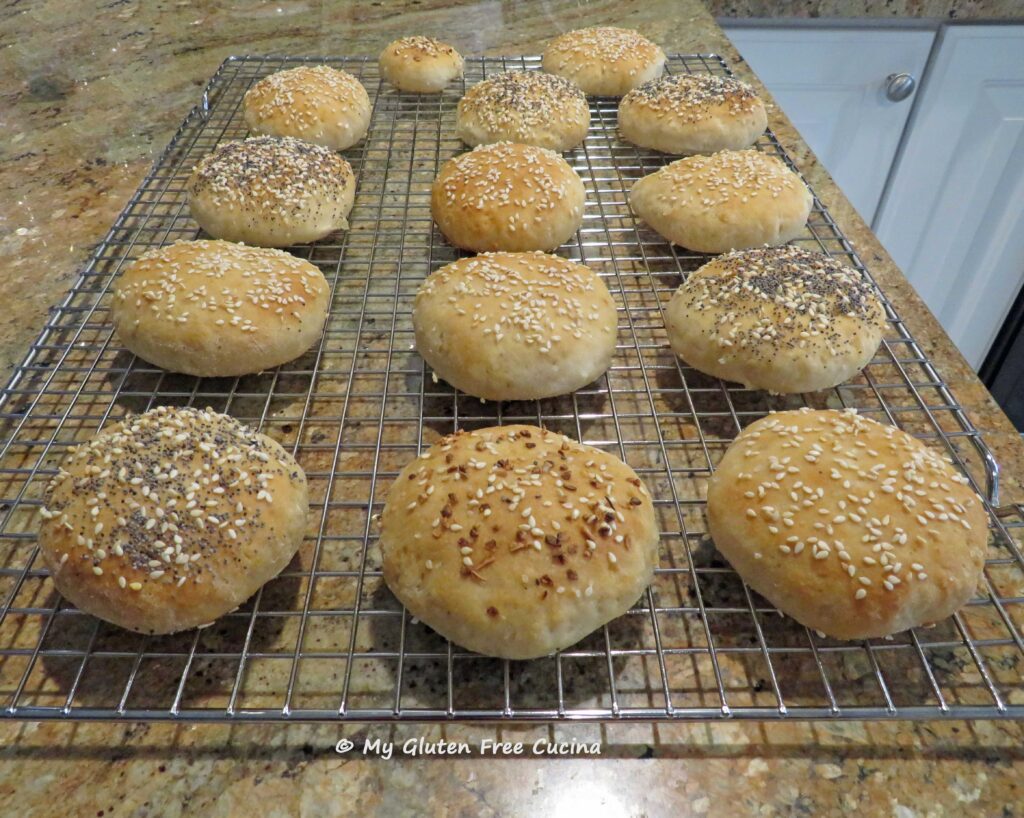
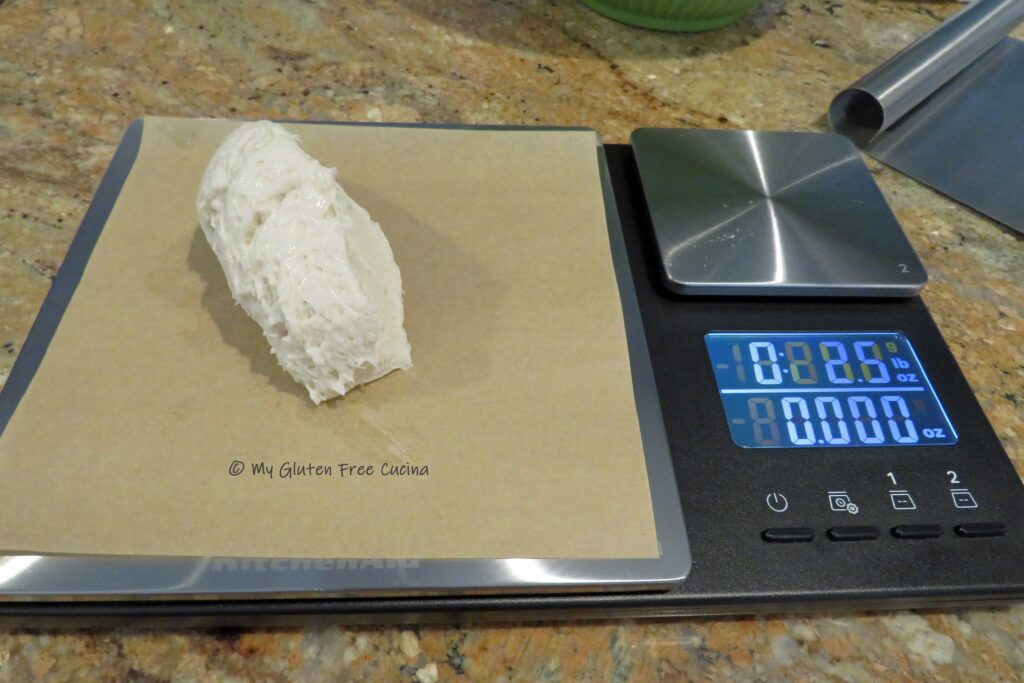
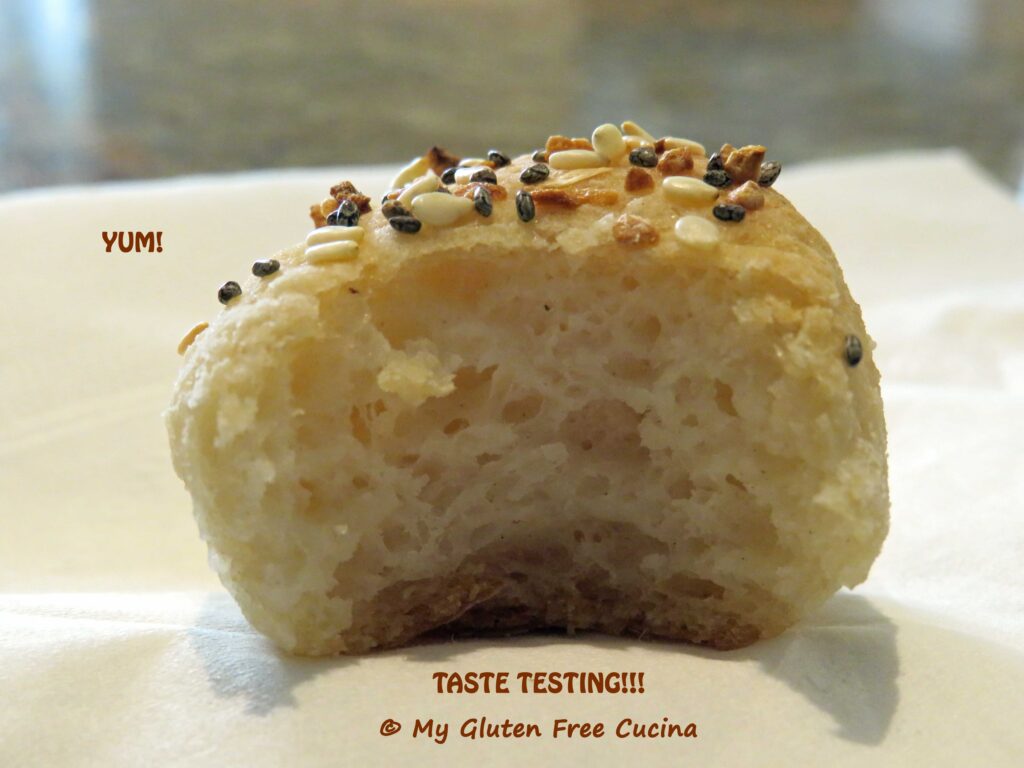
Use a scale to portion the dough into 2.5 oz. pieces. If you measured accurately, you should have enough for 13 rolls plus a little bit extra for a bite size piece. Don’t throw it away, bake it up and use it for tasting!
Note♪ You can make the rolls larger if you like. I find that 2.5 oz. is just the right size for me, something between a regular hamburger bun and a sandwich thin. Try it, especially if you don’t want to overdo it on the carbs.
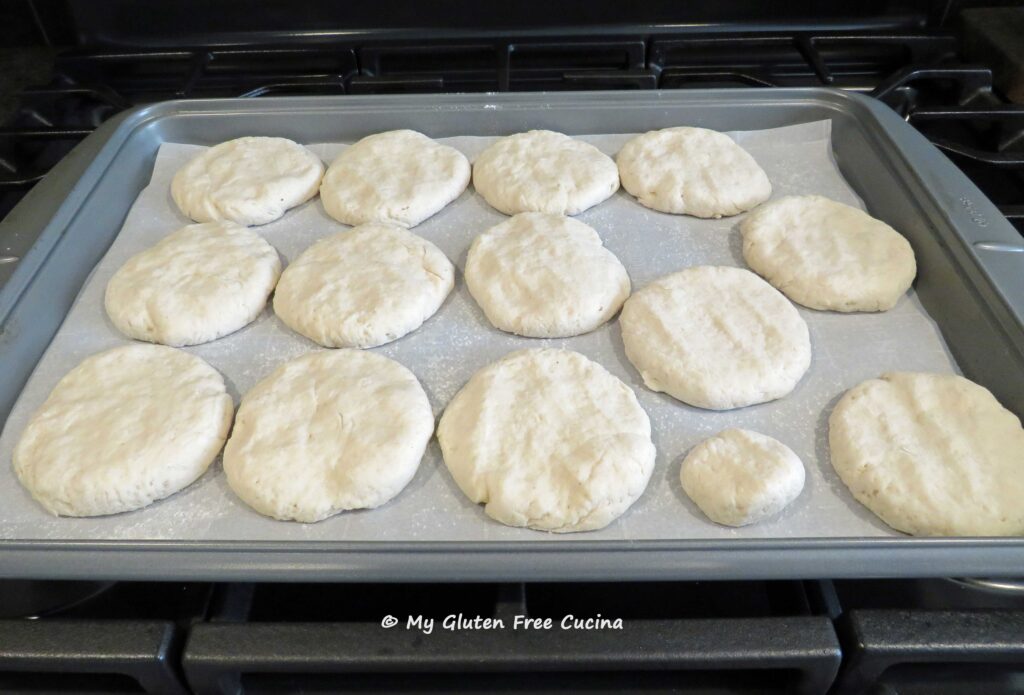
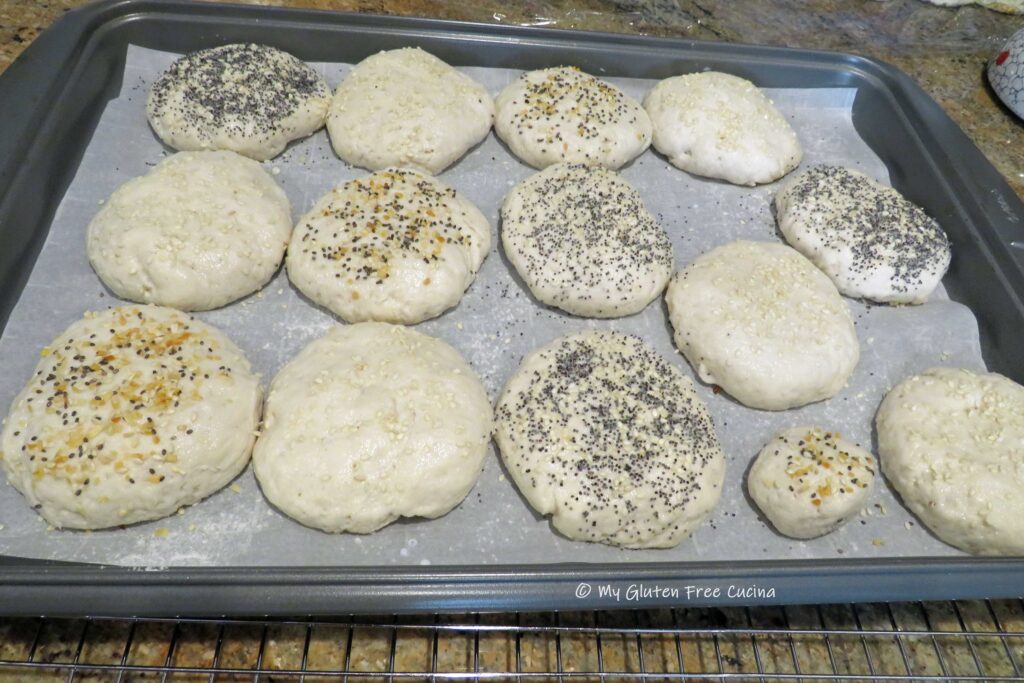
Roll each section in flour to form a smooth ball, then flatten slightly with your palm.
Line a large sheet pan with parchment paper and sprinkle lightly with flour. As you form each roll, place it on the sheet pan leaving a little space in between.
When all the rolls have been formed, cover the pan with plastic wrap and let the rolls rise for 45 minutes. They will puff up but not double in size.
Preheat the oven to 475º. Brush the rolls with milk, and sprinkle with seeds (optional). I made a few each with sesame, poppy and everything bagel. Use your favorites!
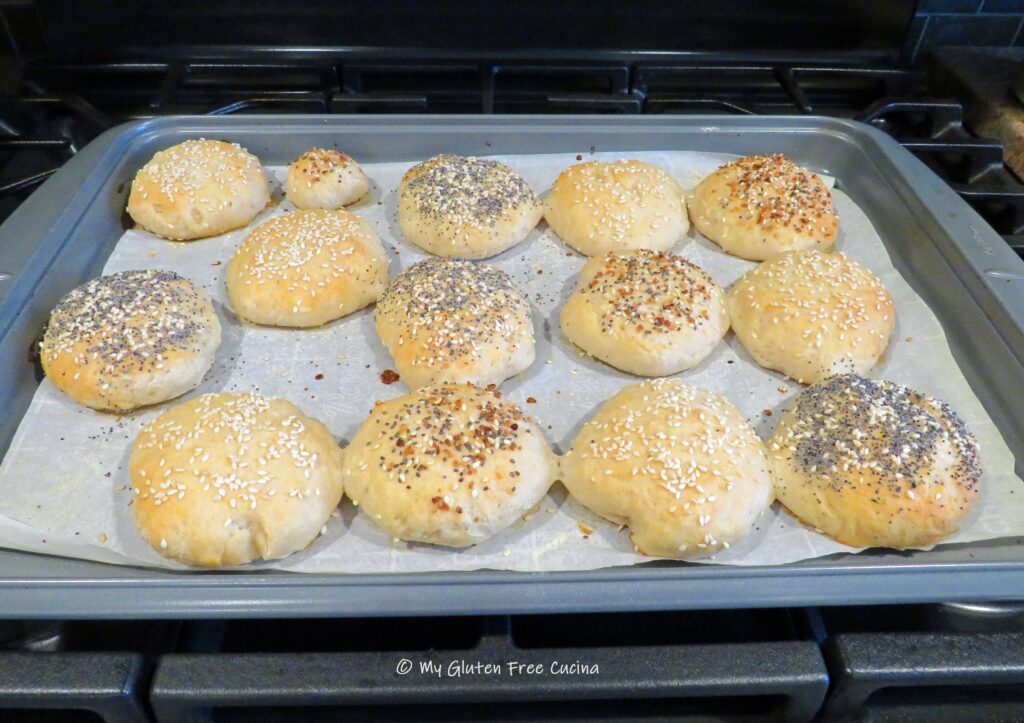
Place the rolls in the oven and spray the sides of the oven with water to create steam.
Bake for 10 minutes, then lower the heat to 375º and bake for another 15 minutes.
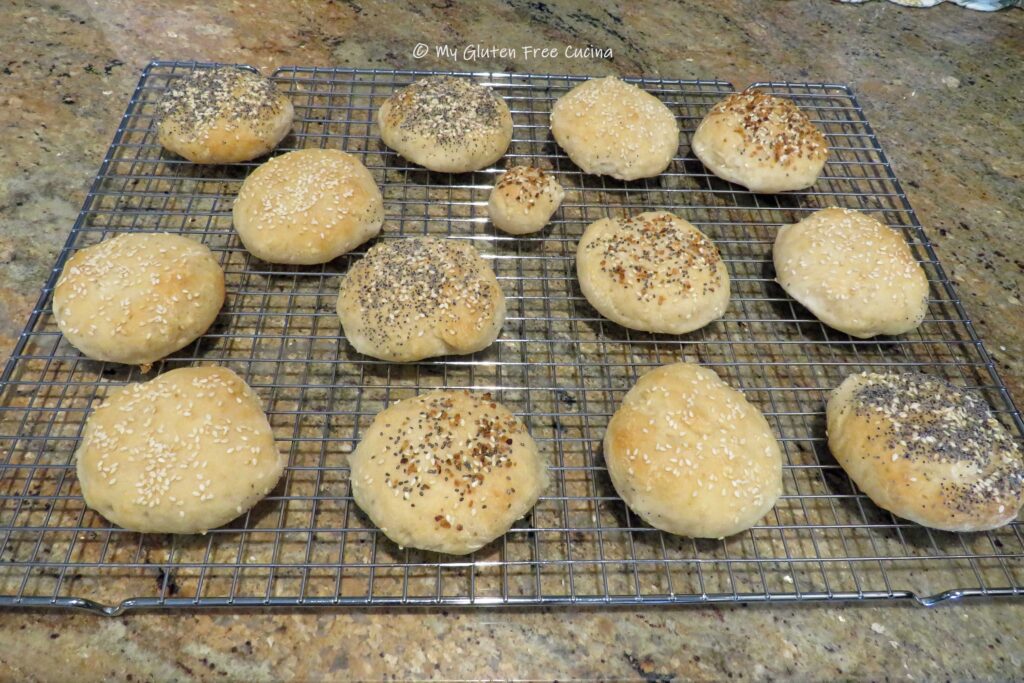
Remove from the oven and transfer rolls to a cooling rack. Allow them to cool for at least 6 hours before slicing.
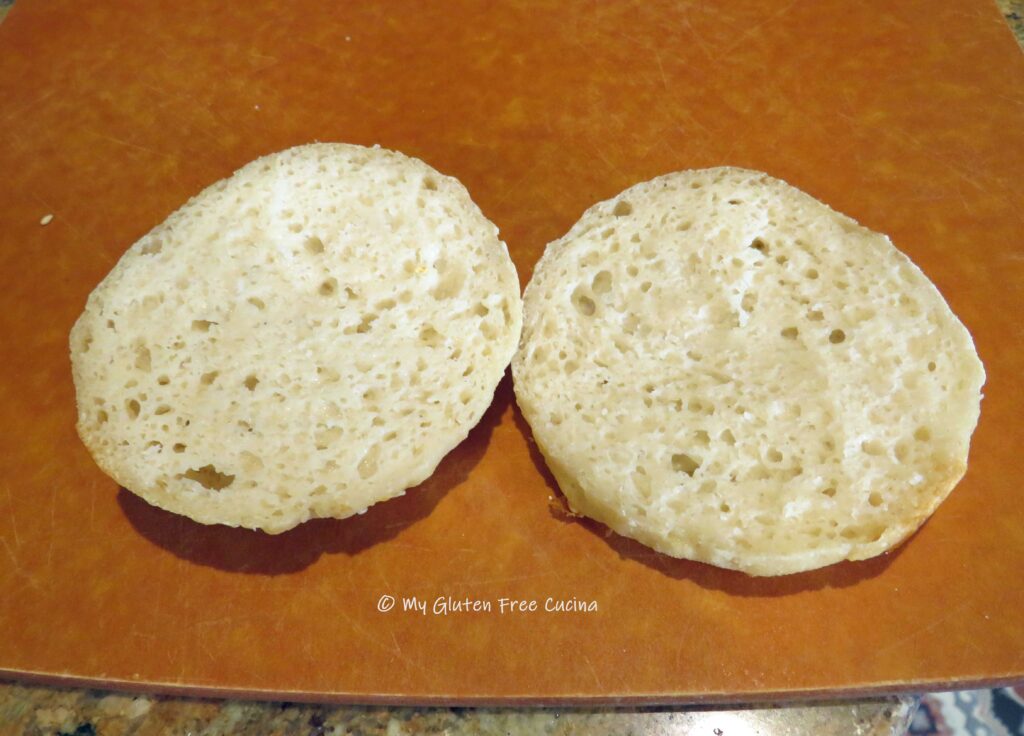
Remember that little baby roll? Time for a taste test!
How nice that these rolls do not have to be toasted.
But you can toast them if you like!
Notes ♪♫ The original recipe by Chef Patrick Auger can be found here. Of course, you do not have to combine the 2 flours together. I’m just showing you how I do it and I’m not kidding- the flavor is extraordinary. You will think you’re eating regular bread. And yes, gluten free flour can cost a few $$$, so be sure to use my Promo Code MGFC30 when you shop Better Batter, for 30% off your full price purchase!

 Transfer to the prepared loaf pan and use a wet spatula to smooth the top out.
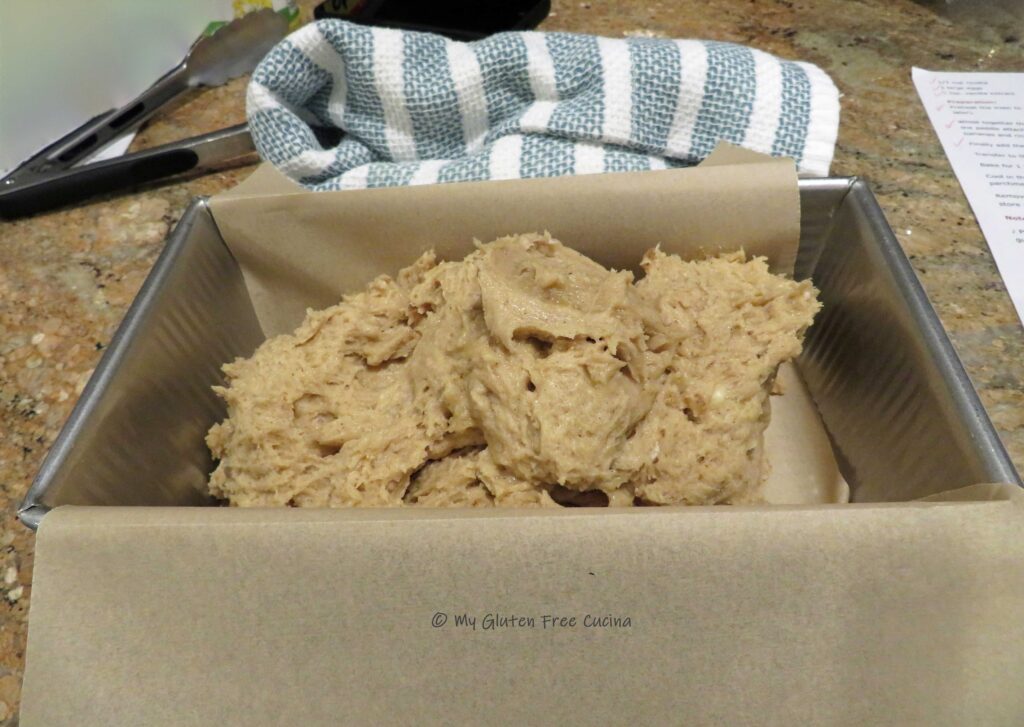
 Bake for 1 hour and check the center with a toothpick. The top should be nice and golden brown.
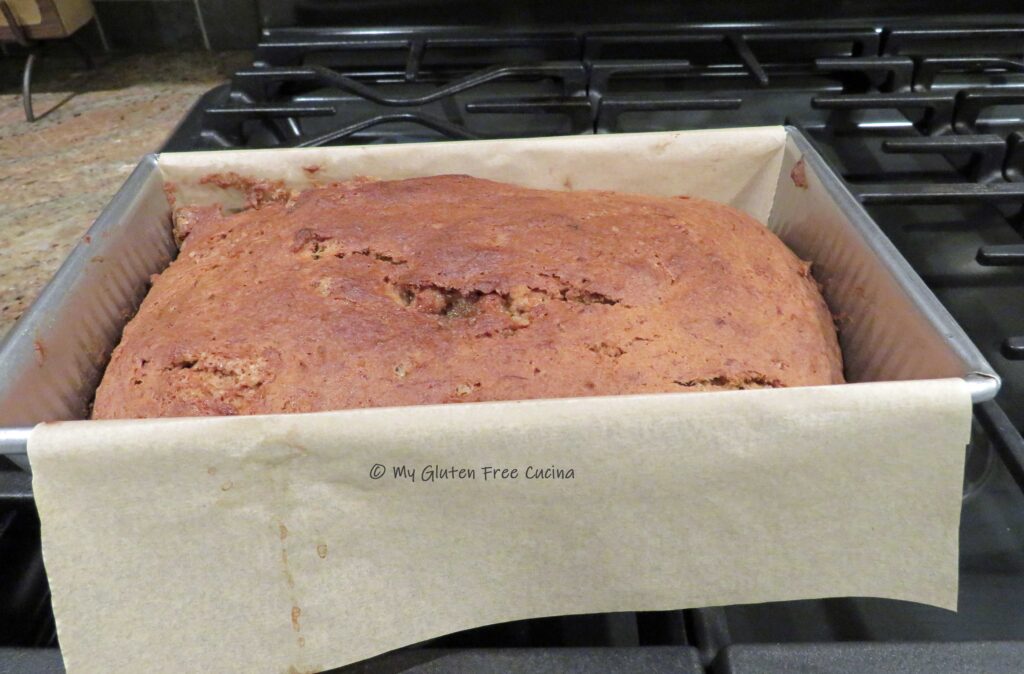 Cool in the pan for 10 minutes, then lift the loaf out of the pan by grasping both sides of the parchment paper (you’re welcome).
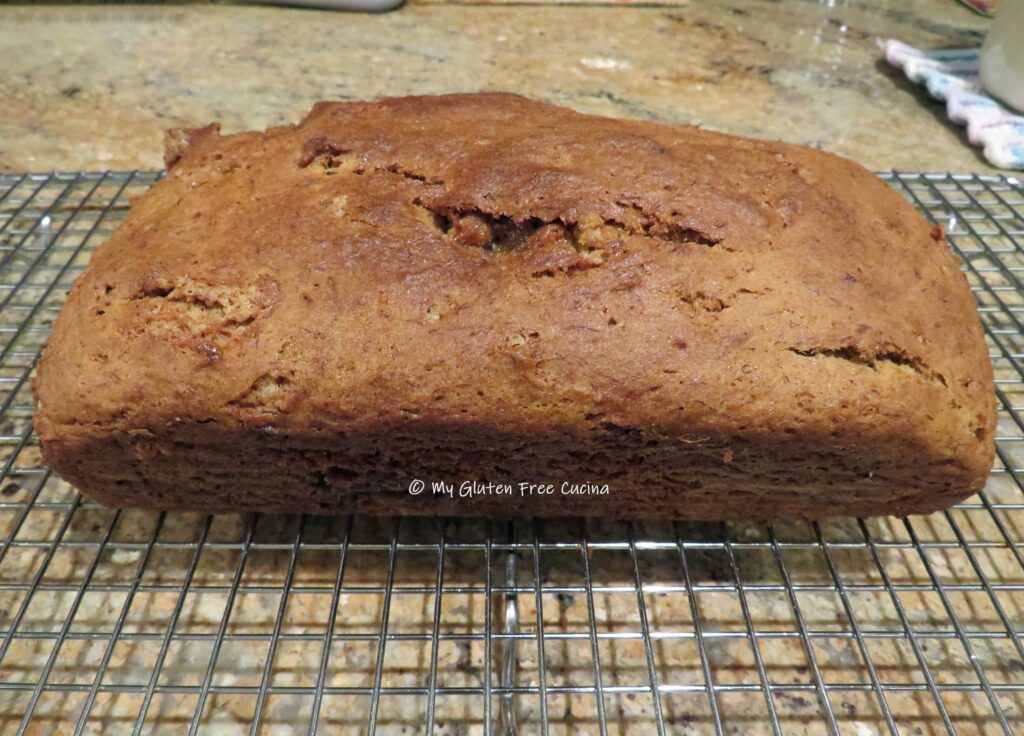 Remove the parchment and cool on a rack before slicing. Cover any leftovers in plastic wrap and store at room temperature for up to 3 days.
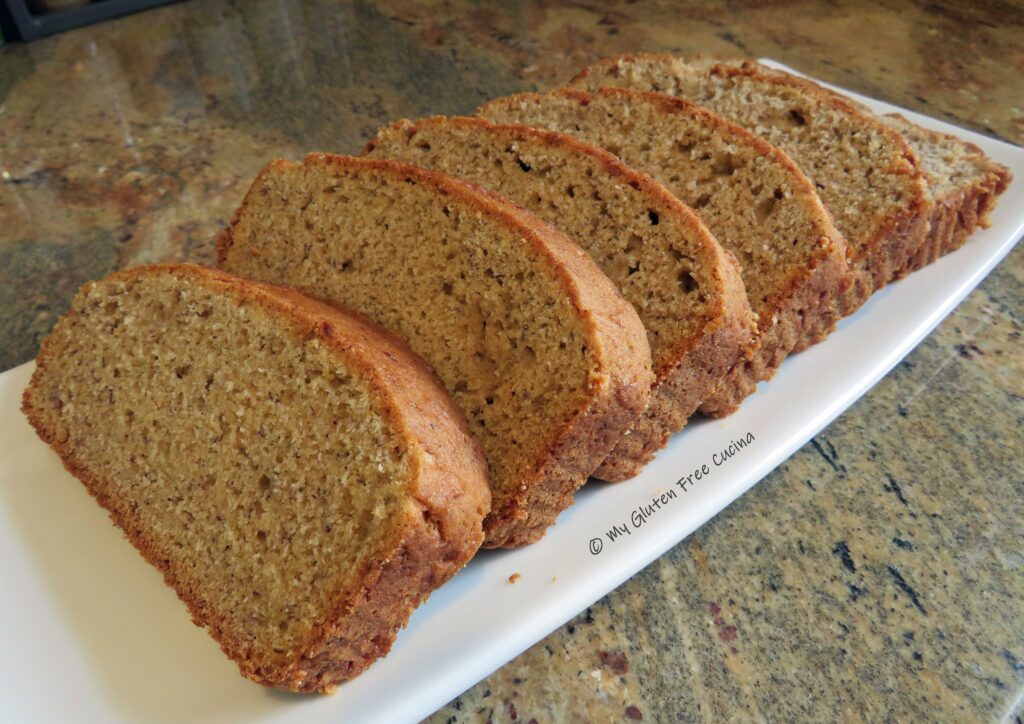 Notes:
 Oh, and as if you hadn’t waited long enough, the baked loaf will need to rest a full day before slicing! Most gluten free breads need extra time to release their moisture but for this one I don’t slice for a full 24 hours. It is worth the wait.
 Day 2 –
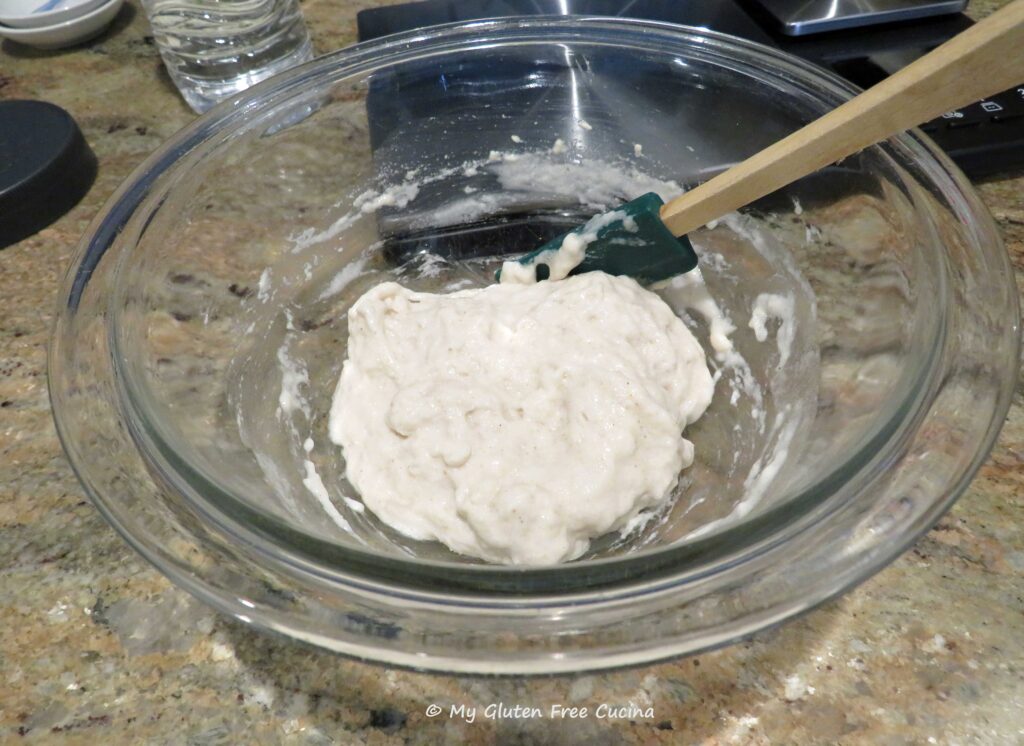
 Transfer the dough to a lightly oiled bowl, cover with plastic wrap and let it rest 45 minutes while you have dinner.
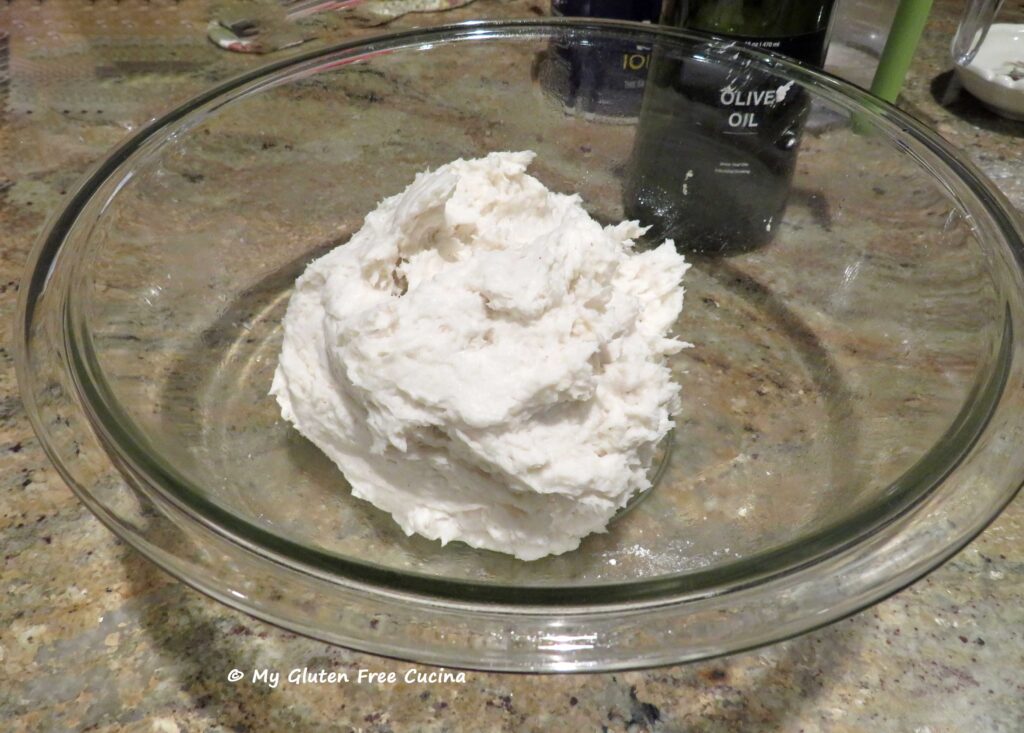 Evening
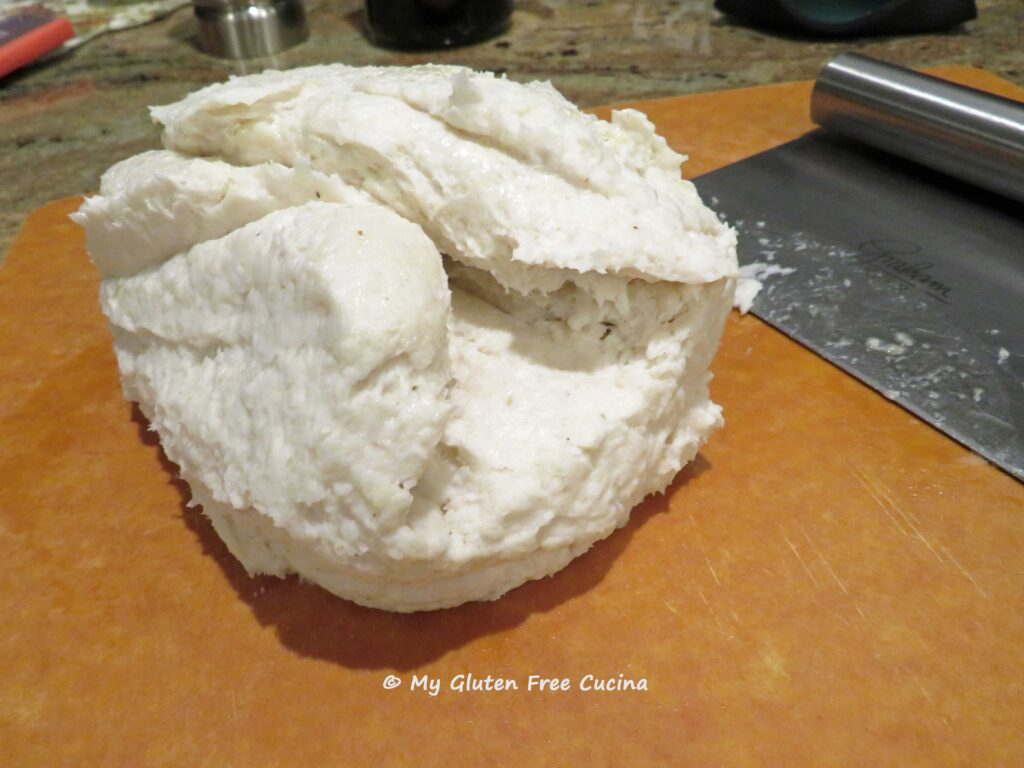
 Reduce the oven temperature to 450º and bake for 30 minutes. Then remove the cover and continue baking another 20 minutes. Loaf is done when the internal temperature reaches 210º (check with a
 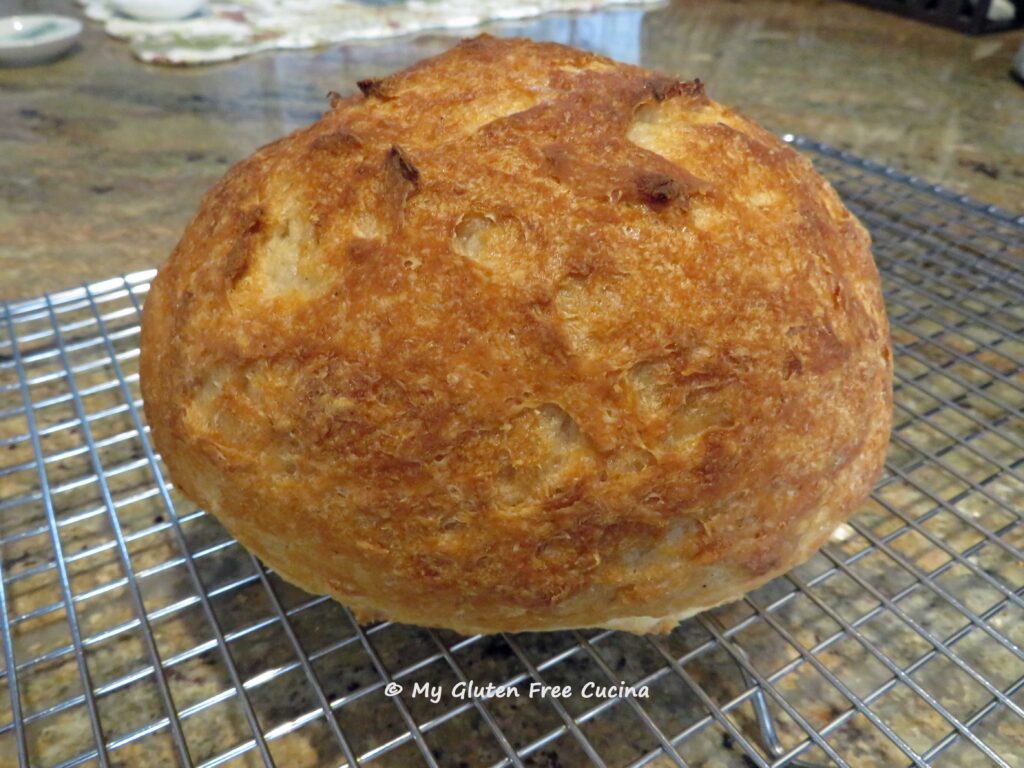 After all that, you will probably want to tear right into your loaf of bread. But- please be patient! This beautiful, artisanal loaf needs a full 24 hours to release its moisture. Rushing it can mean a wet sticky loaf instead of a gorgeous crumb like this!
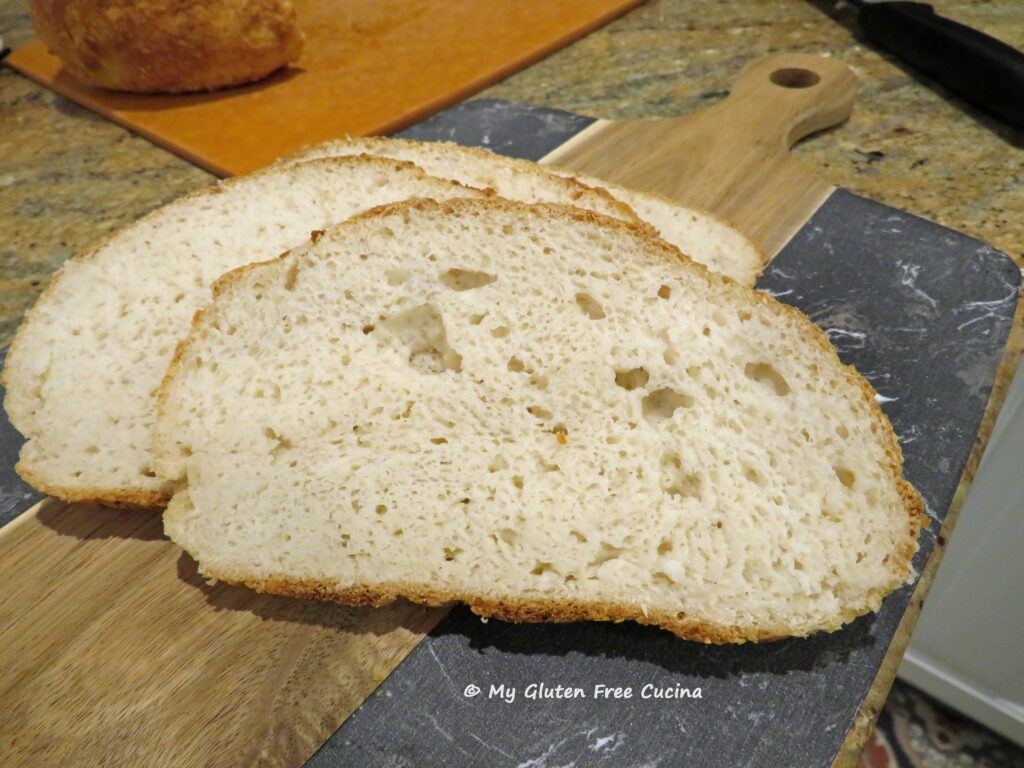 Day 4-
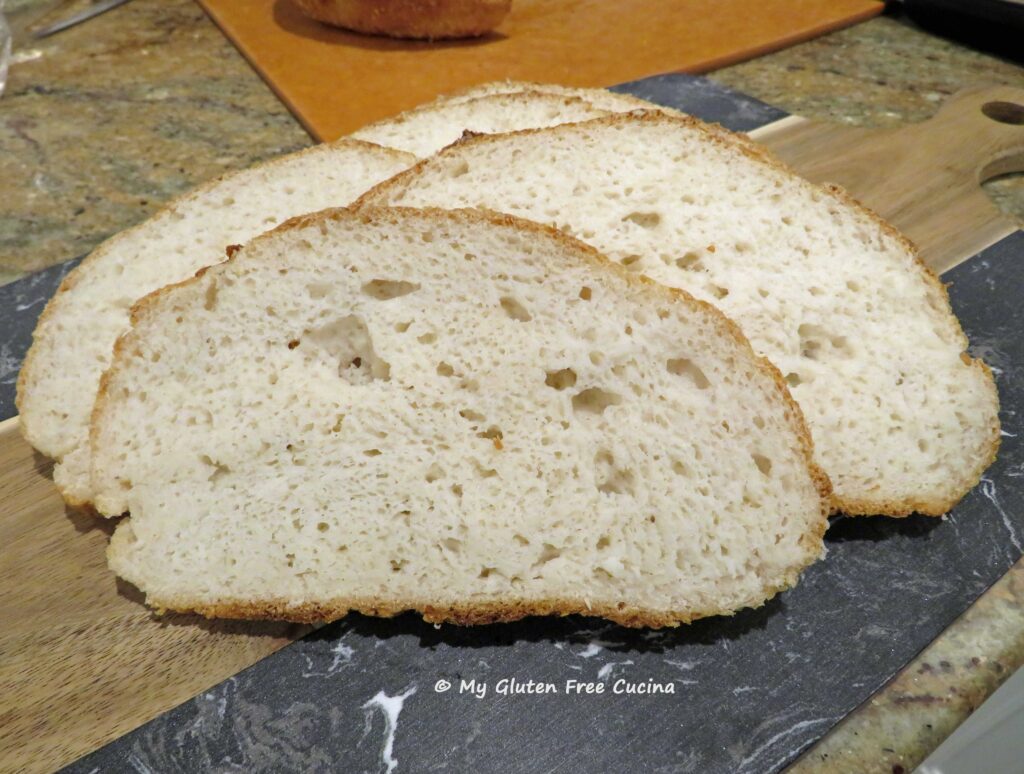 Notes:


 What about gluten?
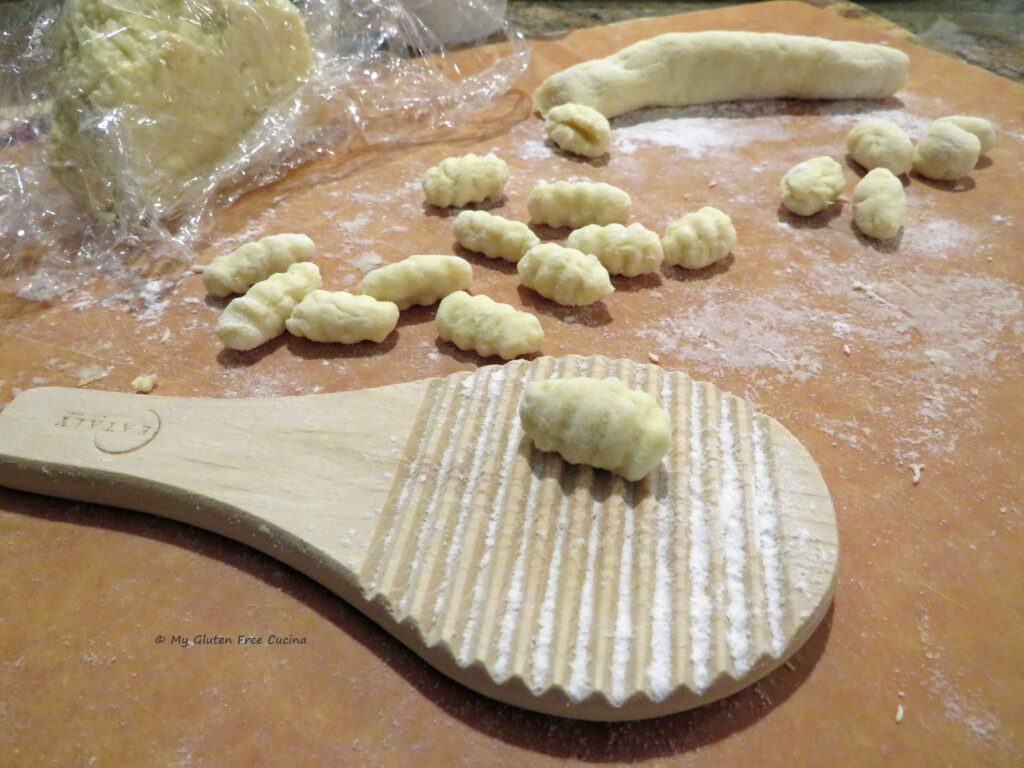 Wait, no eggs?
 Another unique feature.
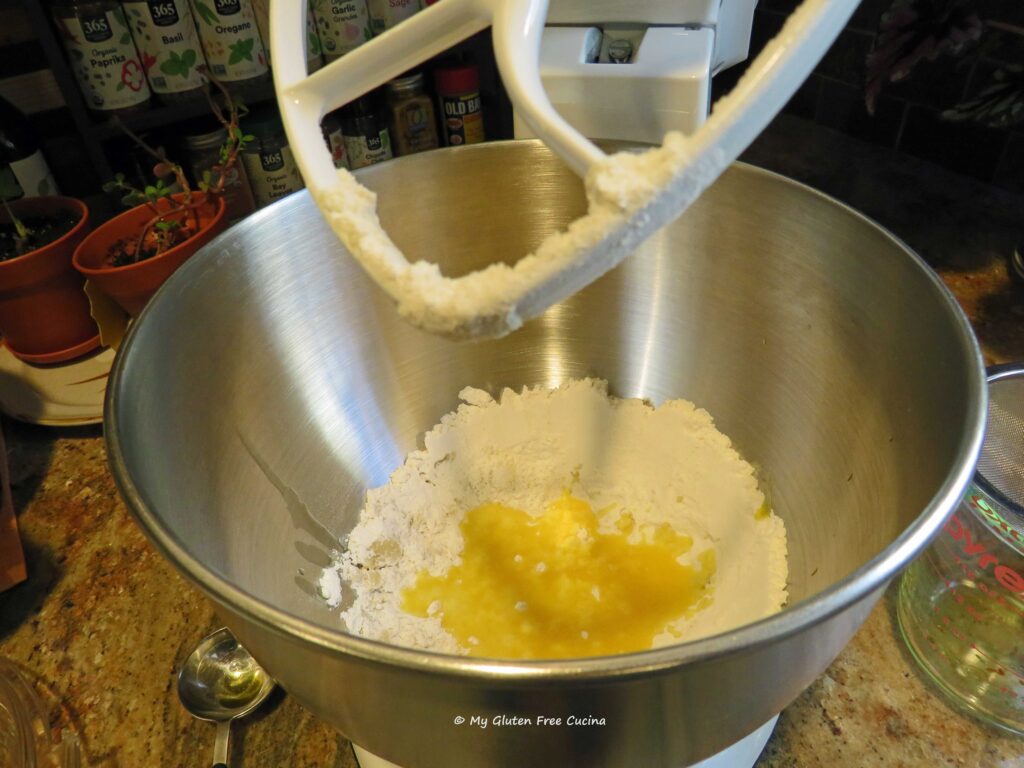 This post contains affiliate links.
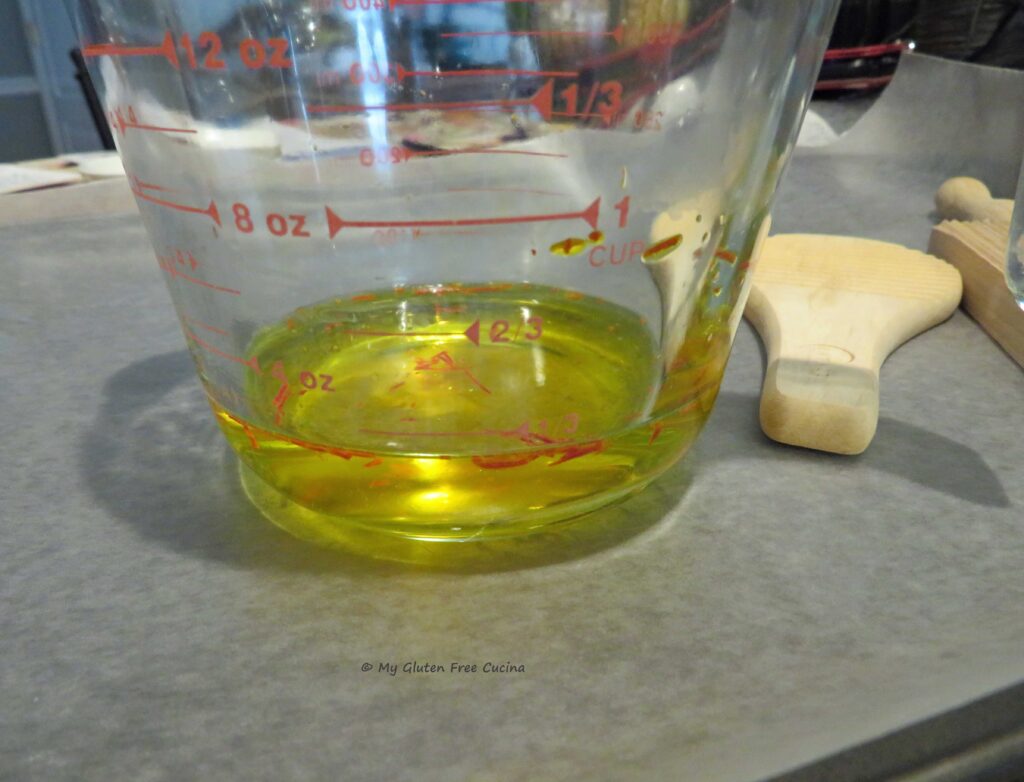 Whisk together the flour and salt in the bowl of a stand mixer. Pour in the infused liquid through a sieve, reserving the saffron threads.
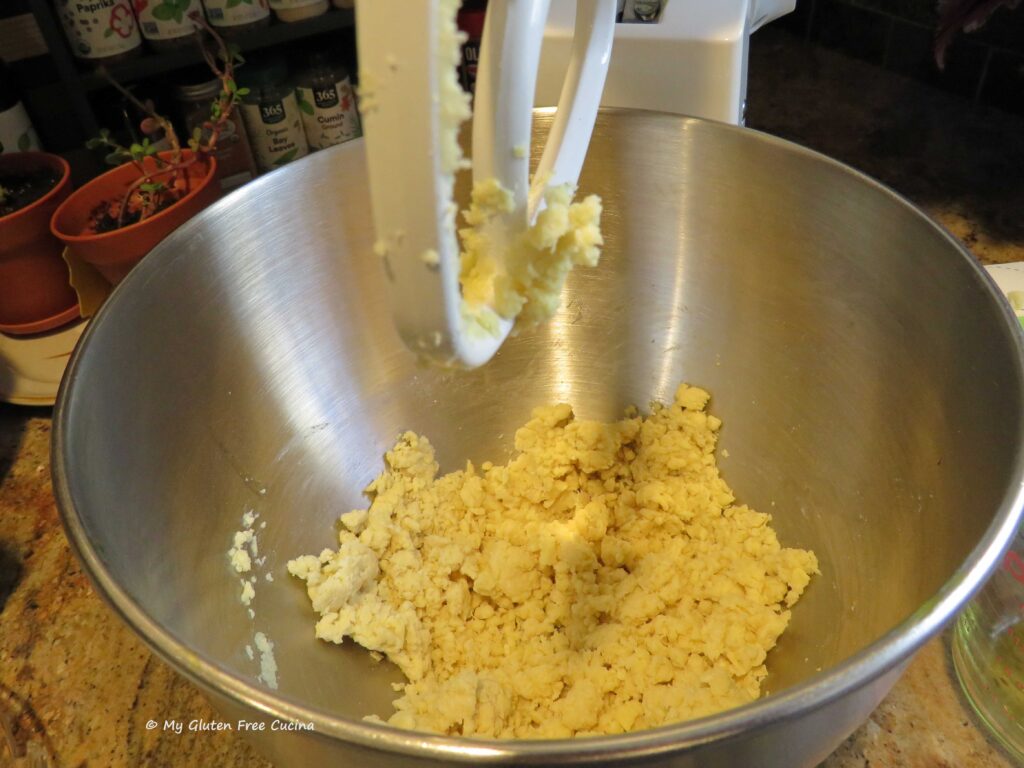 Add the remaining water 1 tbsp. at a time until you have a very soft, smooth dough, like this.
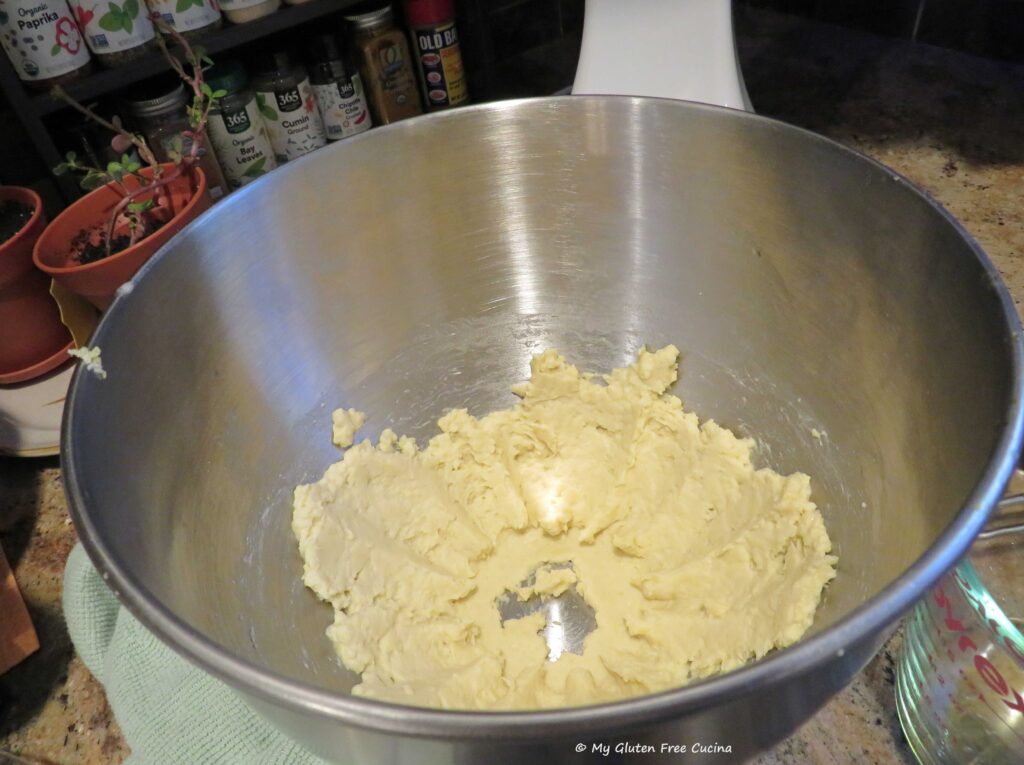
 Use a spatula to gather the dough into a ball, then cover and let it rest at room temperature for about 20 minutes.
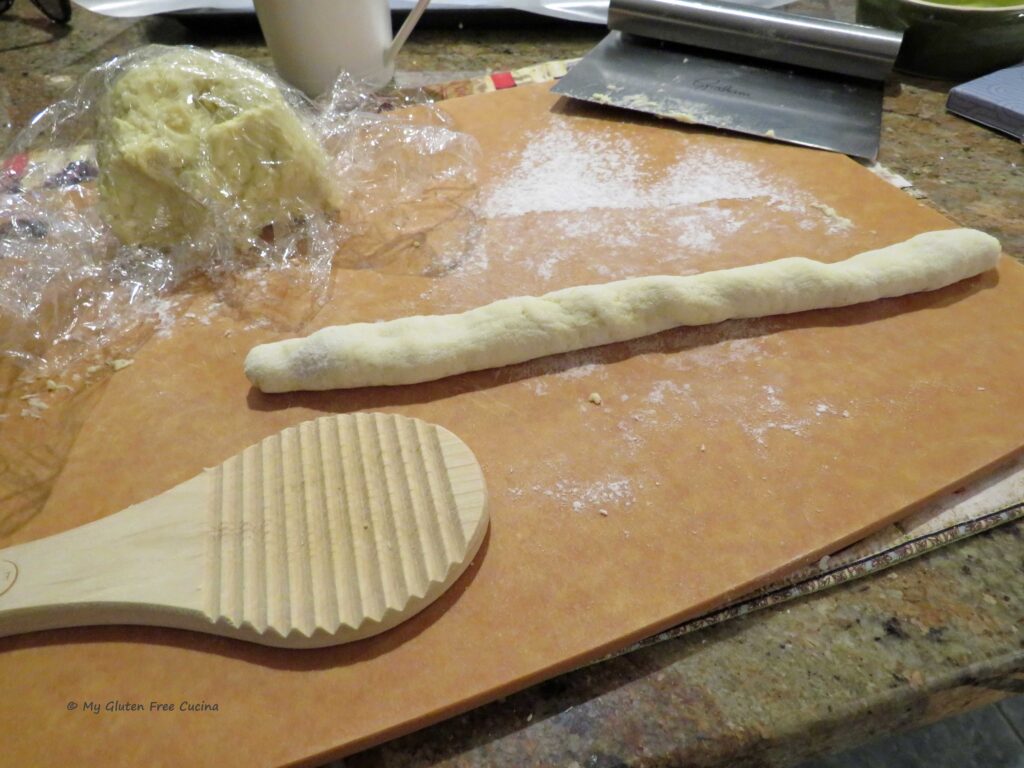
 Now roll each piece over the Malloreddus paddle, you can use your fingers or a bench knife. Be sure to keep the paddle generously floured as you work. A
 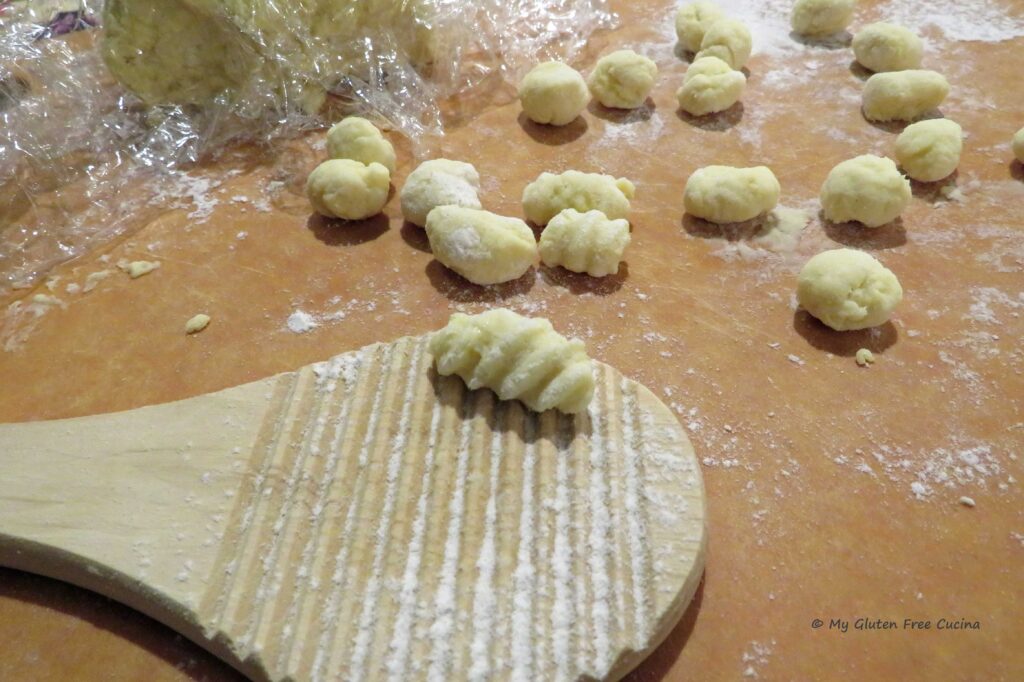 Arrange the pasta on a lightly floured baking pan in a single layer. I lined mine with wax paper. At this point, you can cover the pasta with plastic wrap and refrigerate it until you are ready to start cooking.
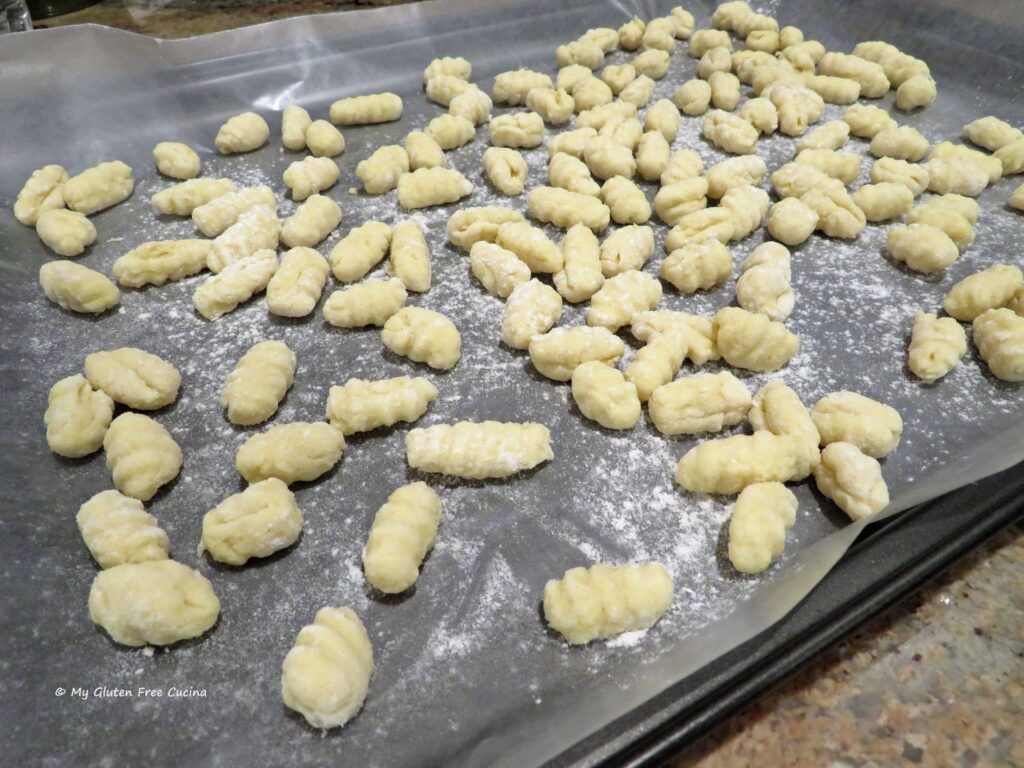 For longer term storage, place the pan in the freezer for a few hours, then transfer the pasta to a freezer safe bag.
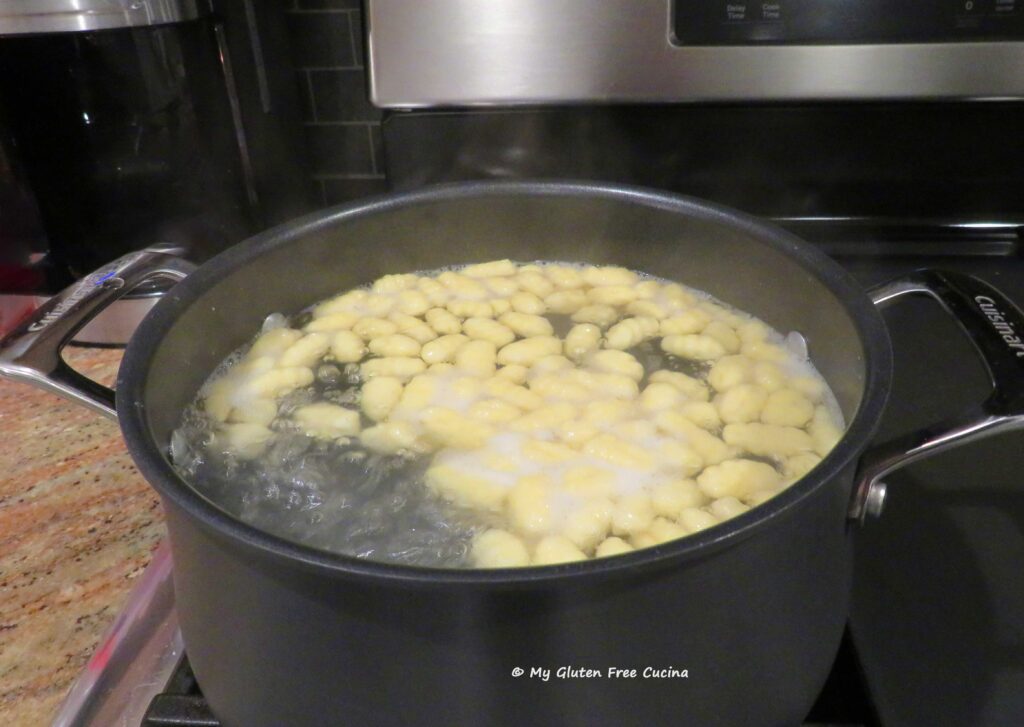


 Ingredients:
 Mist a muffin tin with cooking spray.
  Bake for 15 minutes. Check the center with a toothpick, and if it comes out dry, they are done.
 Brush the tops with melted butter, then transfer to a rack to cool.
 Muffins can be stored at room temperature for one day, and any leftover after that can be frozen.
 Yes, they are gluten free!
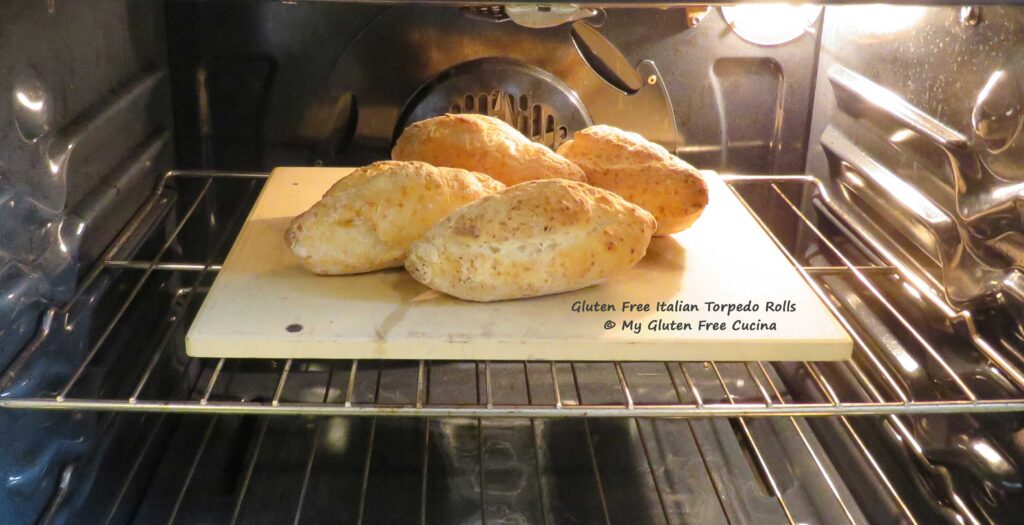 You are going to love this recipe!
 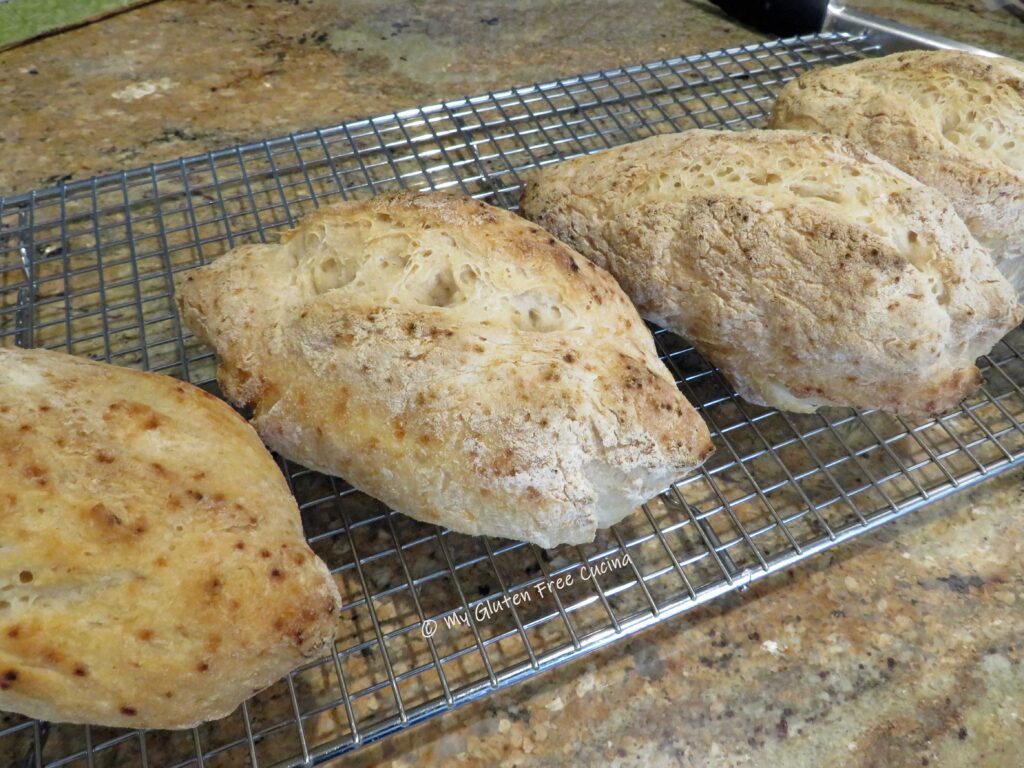 Ingredients:
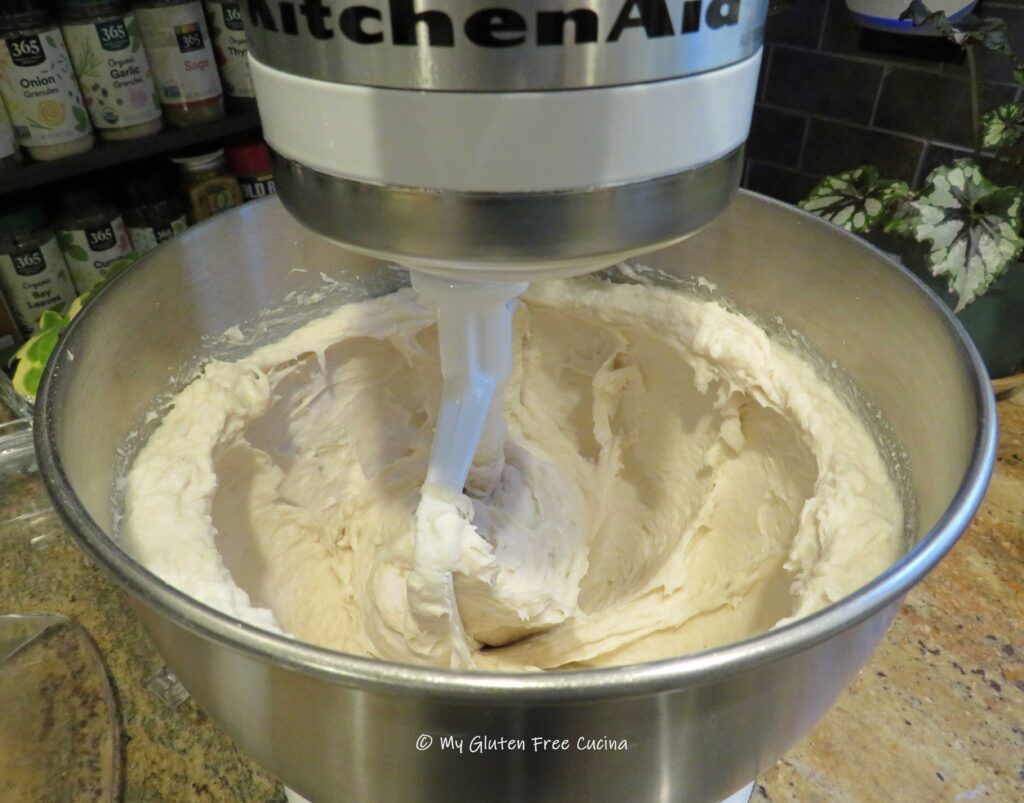 No stand mixer? You can combine everything in a large bowl with a
 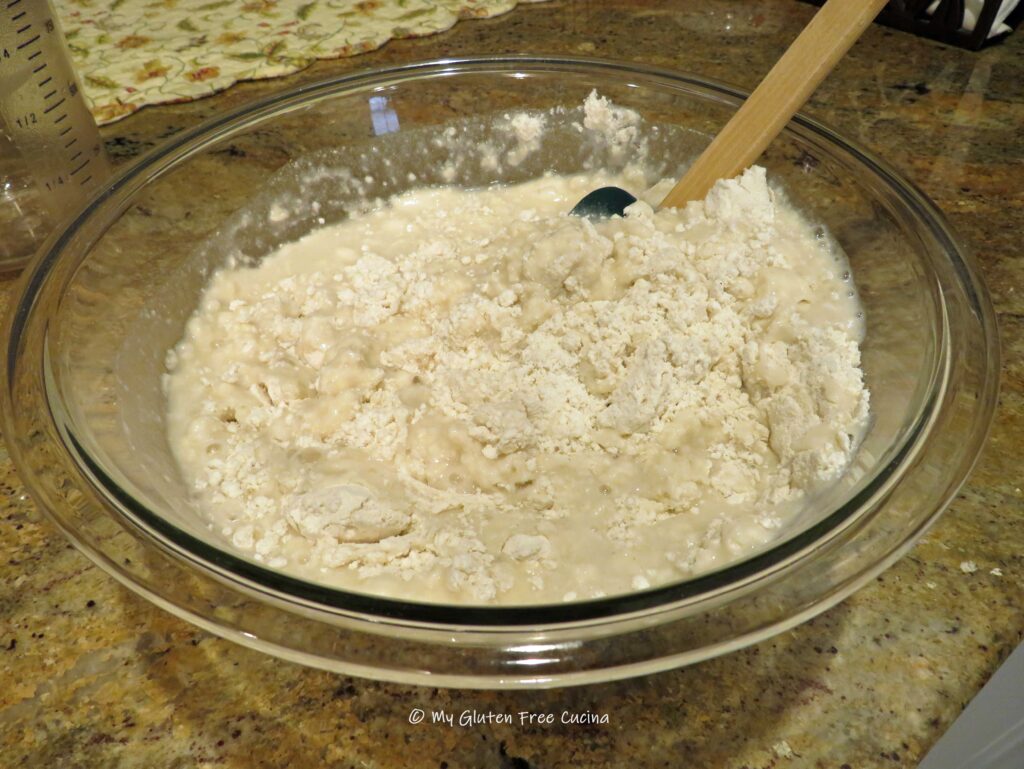 Now cover the bowl with plastic wrap and leave it on the counter (room temperature) overnight for 12-13 hours. I like to make my dough around 8pm, then shape the rolls while I’m having coffee the next morning, around 9am.
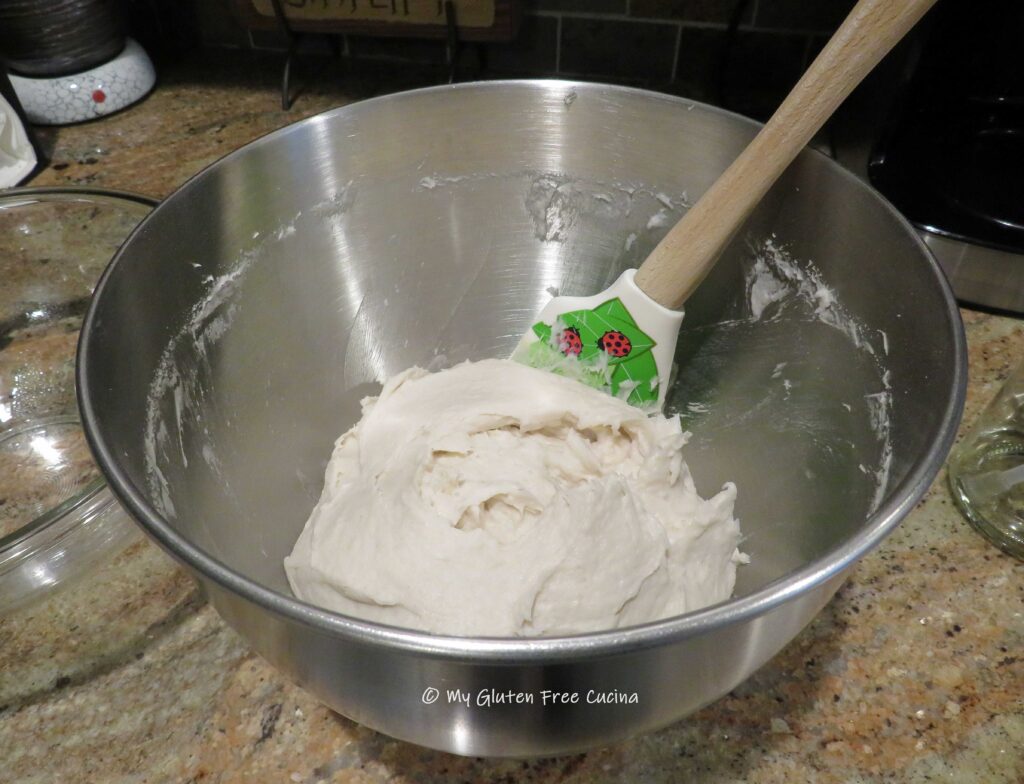
 In the morning, preheat the oven to 475º with a
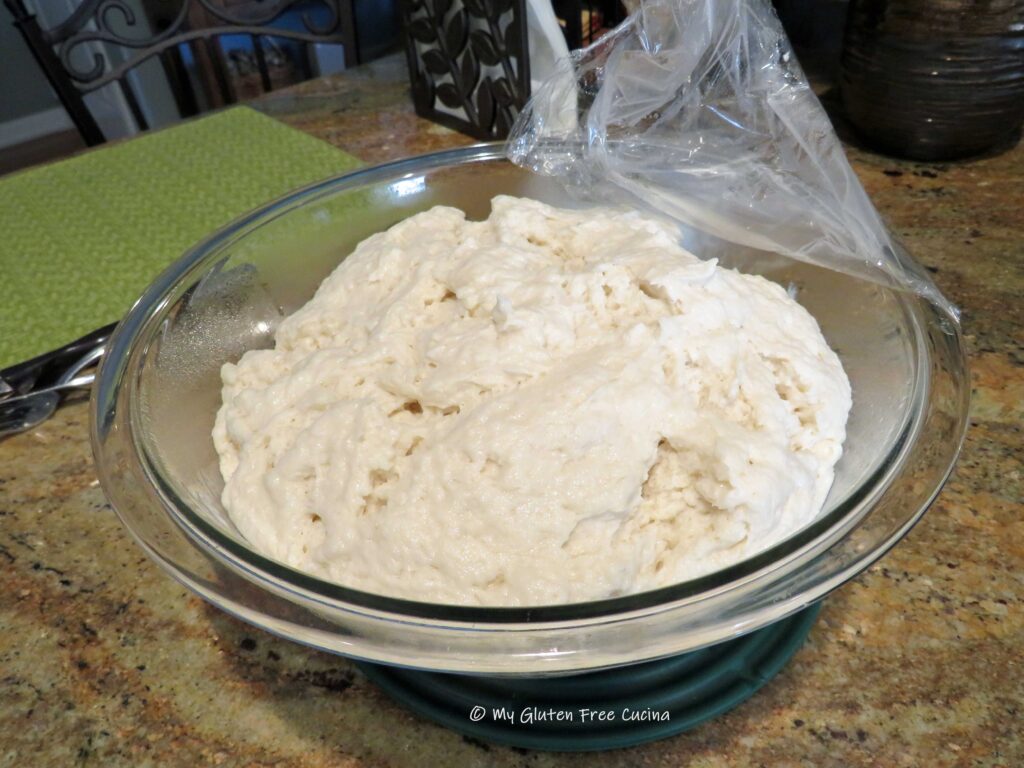
 Flour your work surface and gently roll each section into a torpedo shape (oval with tapered ends). Arrange them on a lightly floured baking sheet lined with parchment or use a
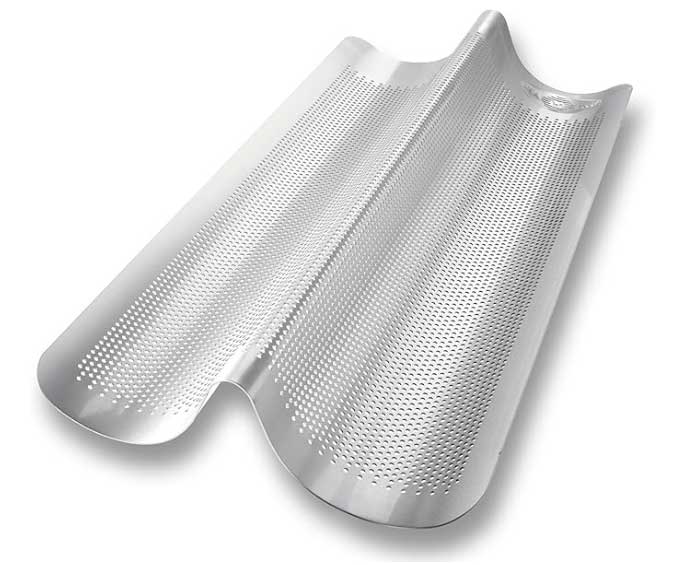
 Place in the oven and spray the rolls and sides of the oven with water to create steam. Bake for 35 minutes at 475º, then remove from the pan and bake directly on the stone during the last 10 minutes.
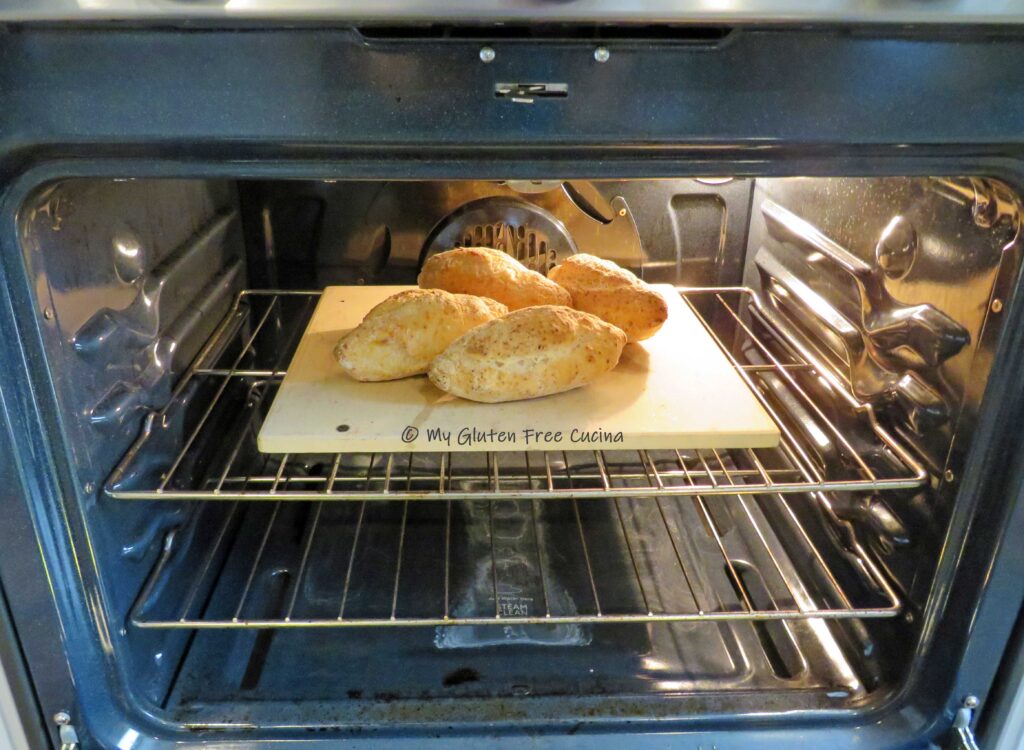 Rolls are done baking when the internal temperature reaches 210º. The crust should be firm and dry, and you will get that hollow sound when you give the rolls a sharp tap. Remove from the oven and place on a rack to cool.
 What would you do with a homemade, hot out of the oven Italian roll like this? Dip it in olive oil, or slather with garlic butter and toast it? Slice it thin for bruschetta? Maybe load it up with veggies, cold cuts and cheese to make a panino (a/k/a sub, hoagie)! And for big appetites, you can serve them as dinner rolls (mop up that sauce!) or sandwich rolls.
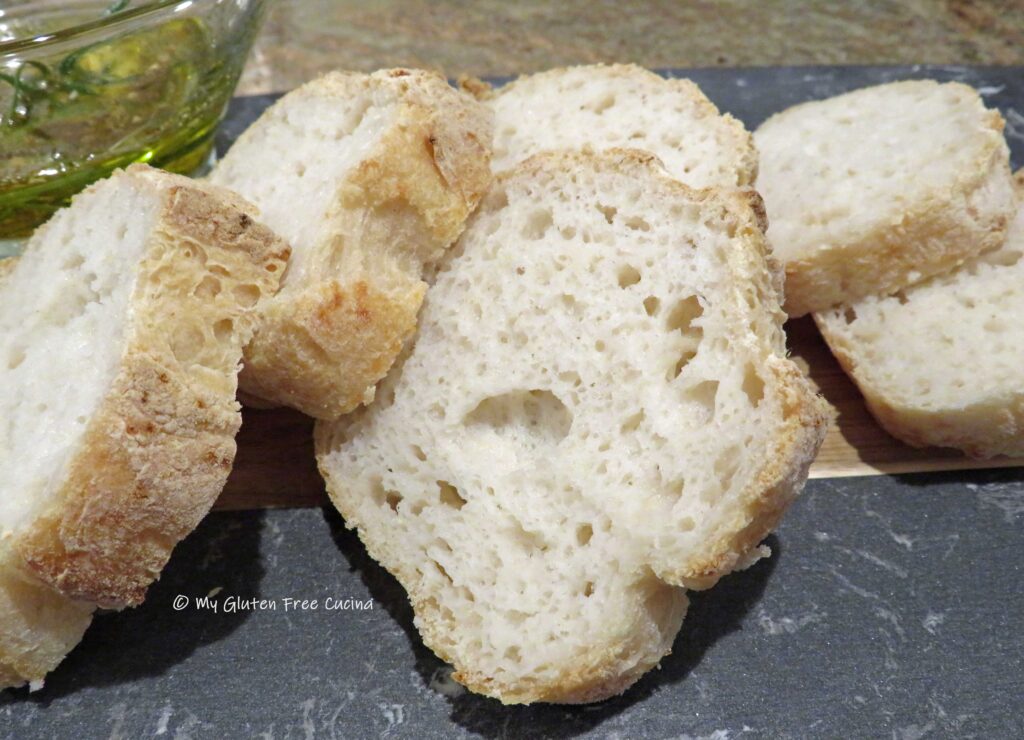 However you choose to enjoy them, these rolls are delicious!
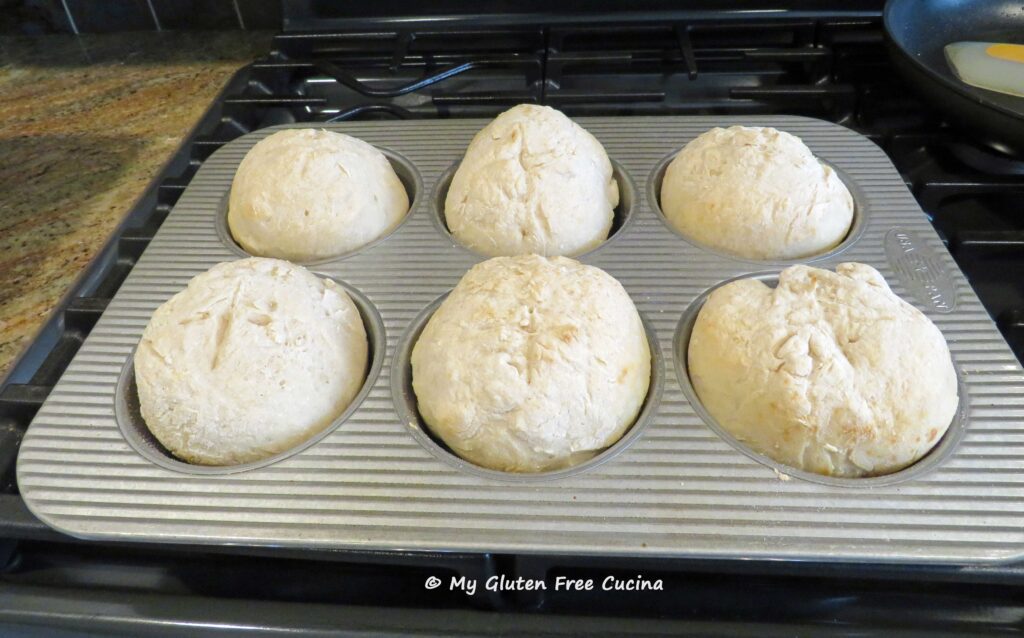


 Preparation:
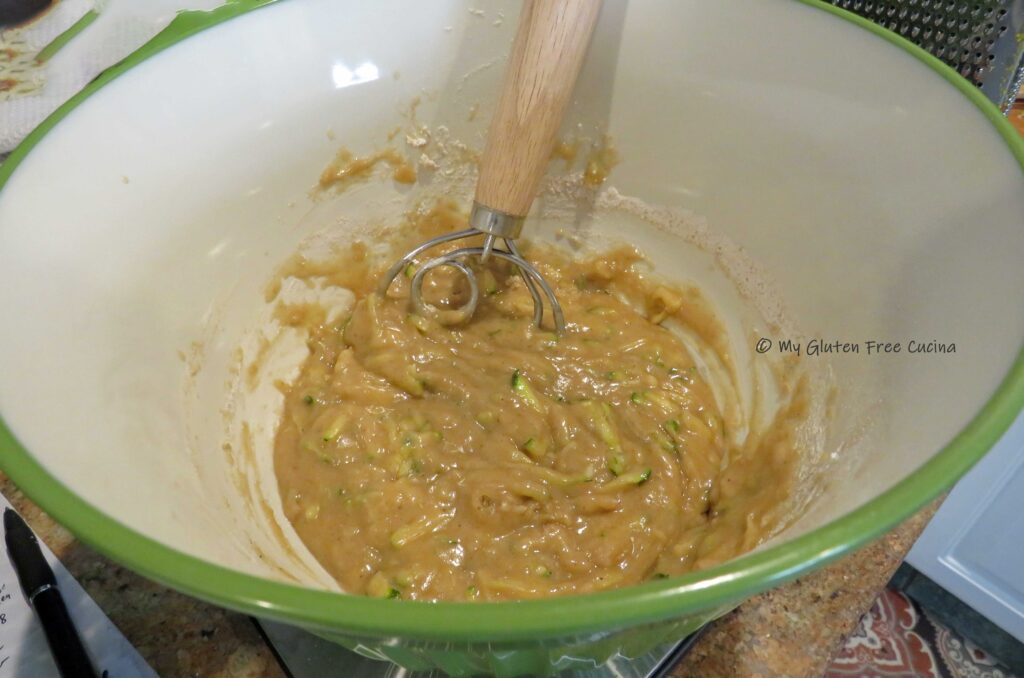
 Check out the crumb, it came out so delicious and moist. Every bit the traditional zucchini bread, and you don’t really taste the sourdough.
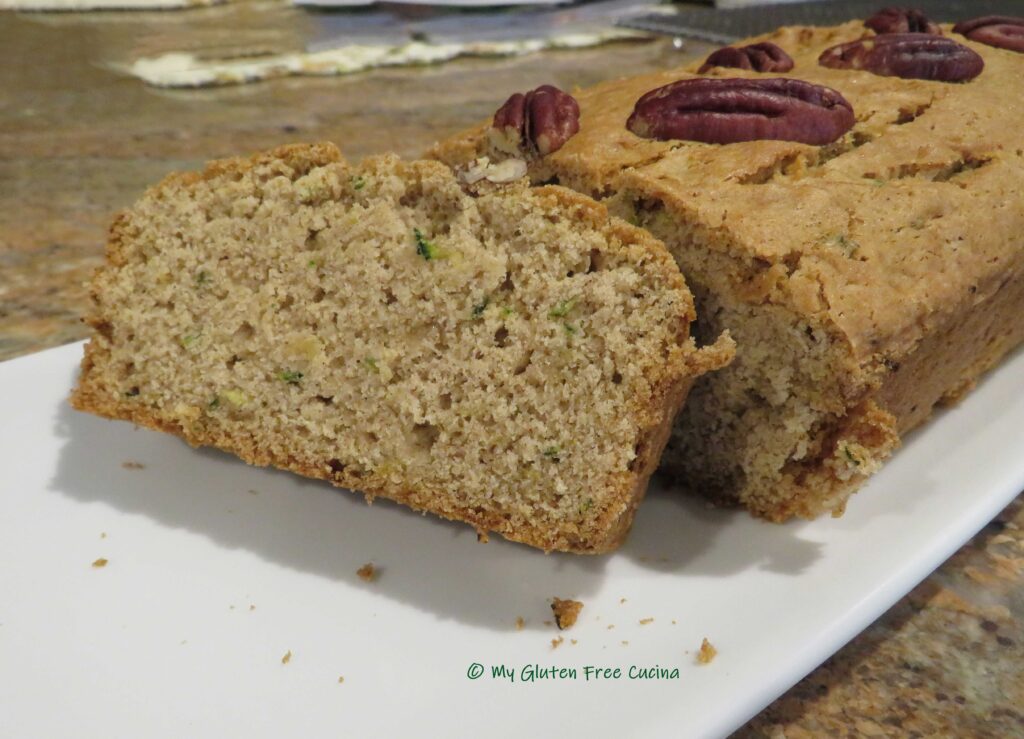 Leftovers can be stored at room temperature for a day. Beyond that, I recommend you wrap slices tightly in plastic wrap and freeze (store in a freezer safe bag).
 The recipe makes a small batch, breakfast for two. I ended up with 5 full size pancakes and one mini pancake. You can double or triple the recipe for a large family, or if you want extra to freeze for later.
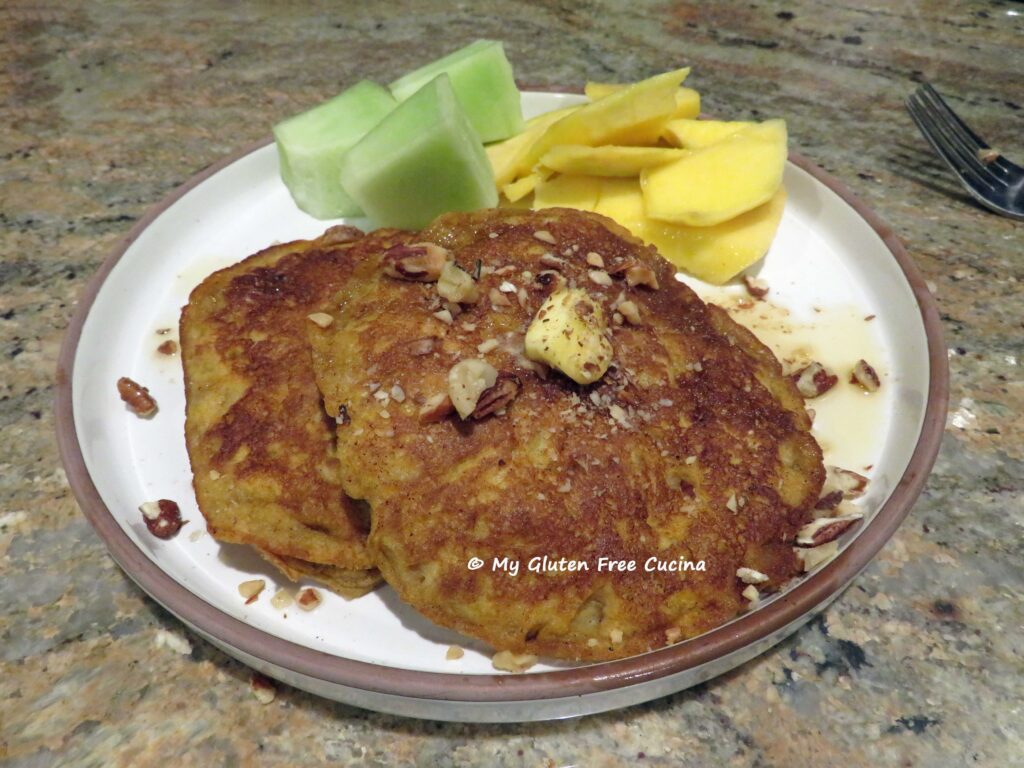 Preparation:
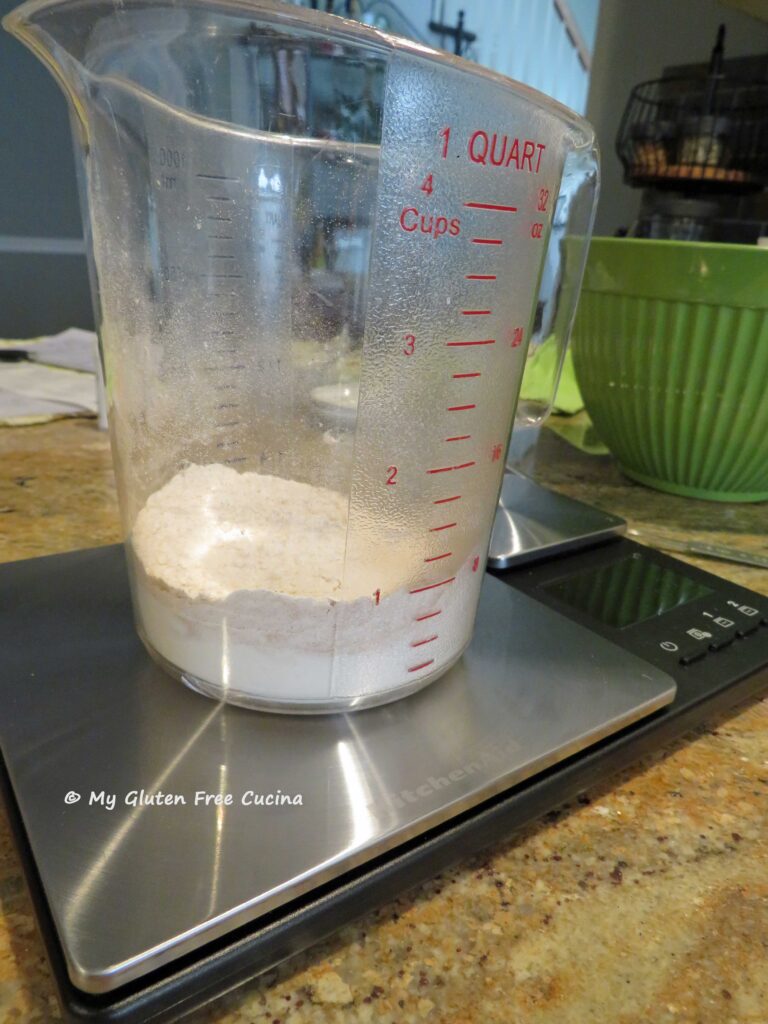 Set up 2 bowls, whisk together the dry ingredients in one bowl (I strongly recommend that you weigh the flour), and the wet ingredients in the other. Stir the wet and dry ingredients together, just until moistened.
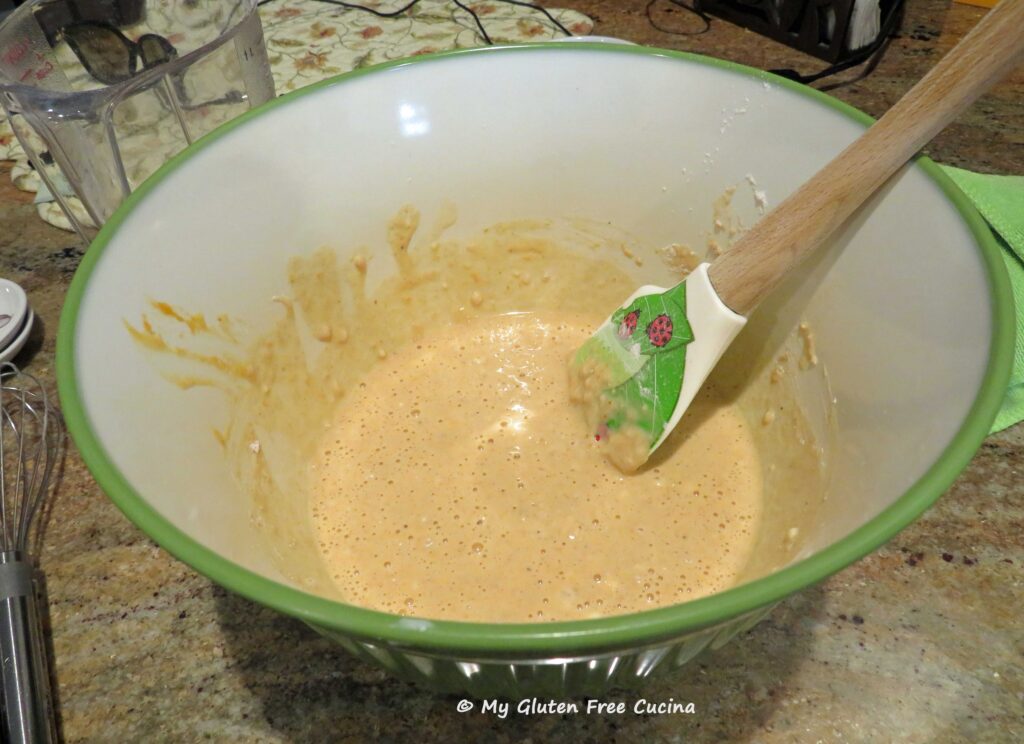 Melt butter 1 tbsp. at a time on the griddle. Scoop batter by 1/3 cups and add to the griddle, leaving space in between.
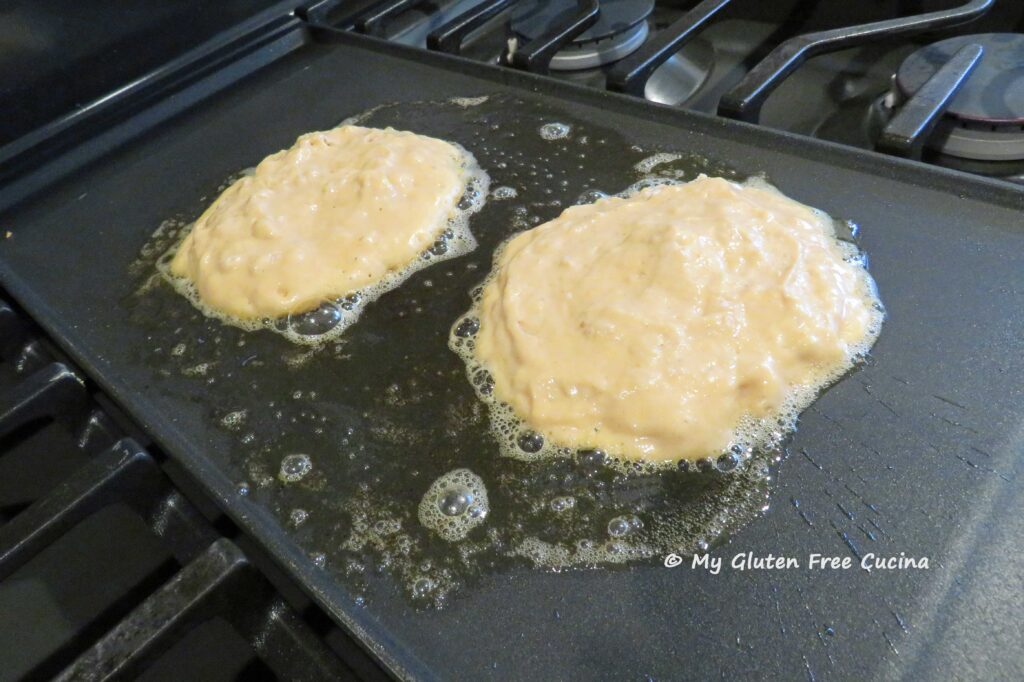 Cook for 5 minutes then flip. Cook 3-5 more minutes. Keep in mind that gluten free pancakes take longer to cook than regular pancakes. Check if they are done by inserting a toothpick in the center. If it comes out dry, they are ready.
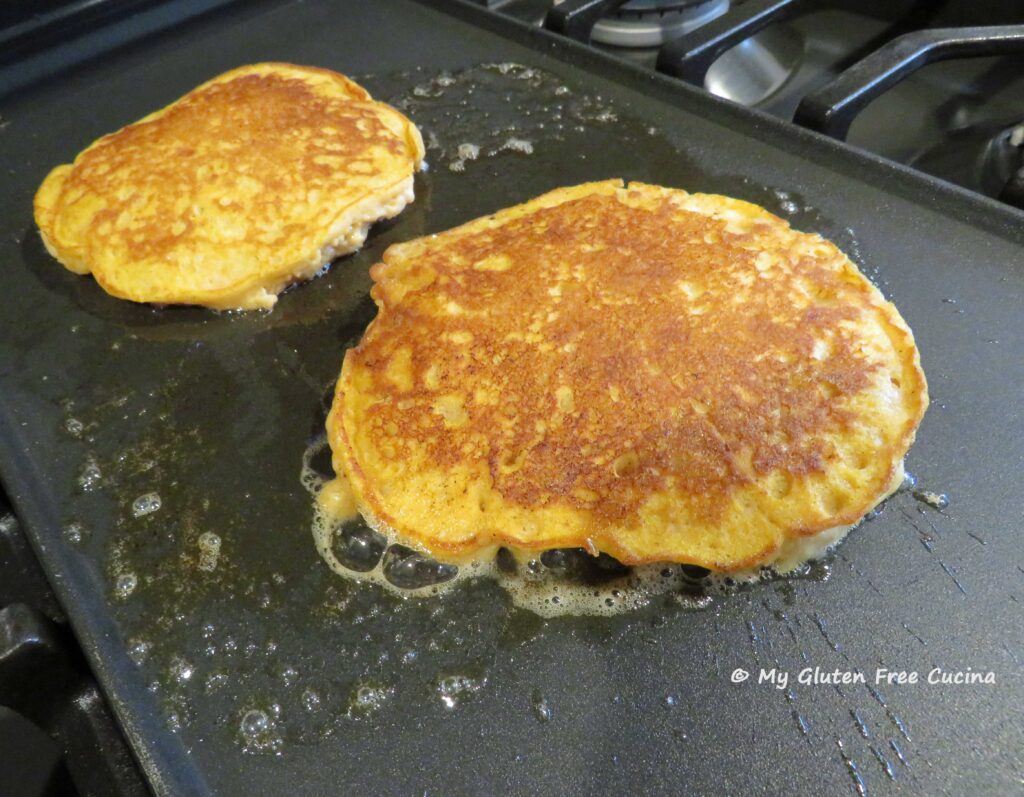 If you have a little batter left over at the end, you can make a test pancake, here’s mine. Just one bite!
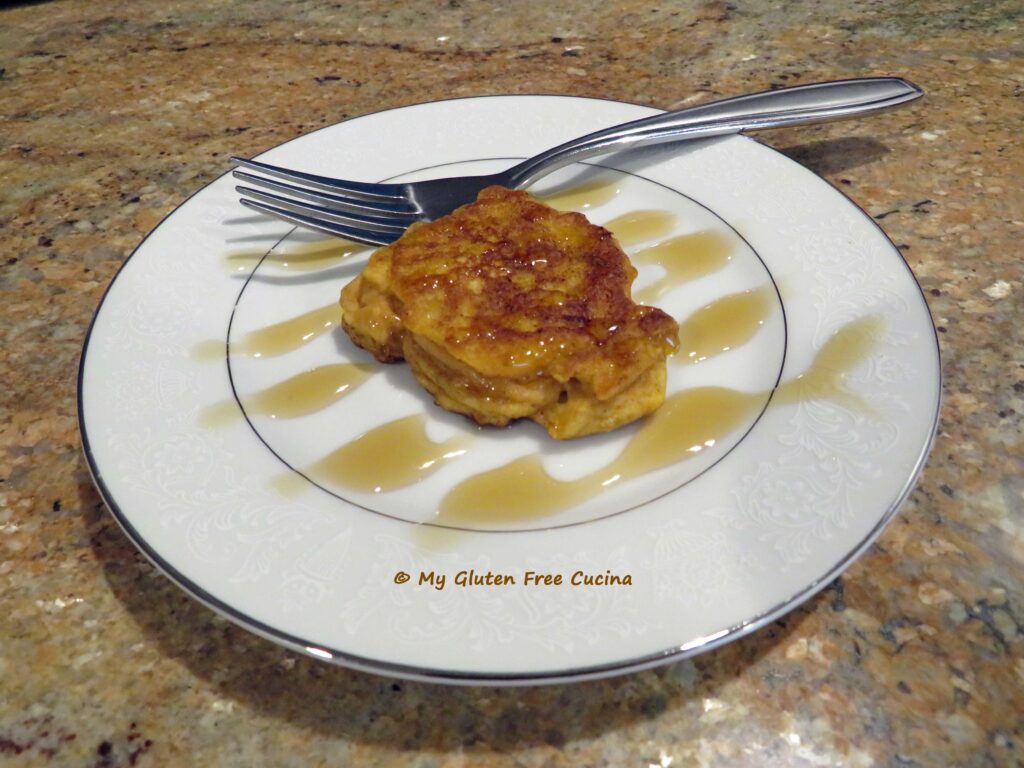 You can serve the pancakes immediately or freeze for later. I let mine cool completely on a rack, then wrapped them separately and stored in freezer safe bags.
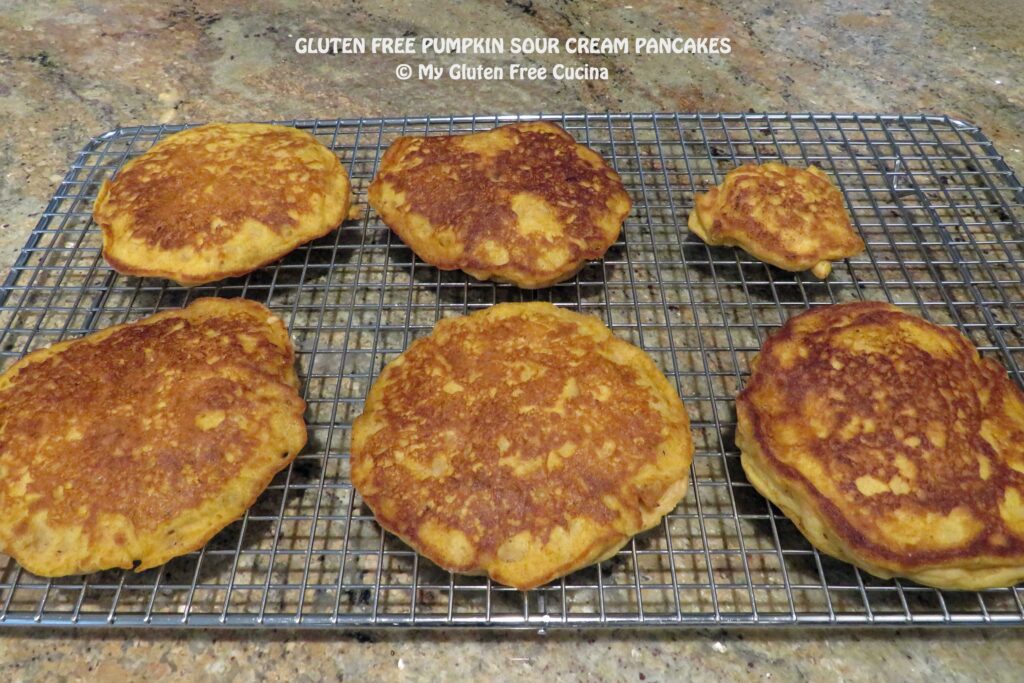


 How nice that these rolls do not