Gluten Free BBQ Turkey Meatloaf

Note – This recipe contains oats.

Oats continue to be highly controversial when it comes to celiac disease.  Whether or not you consume oats is a personal choice.  As a courtesy to my readers, I will identify any recipes that include oats and suggest ingredient substitutes when possible.  I use certified, purity protocol oats in my recipes.

***

Today my usual meatloaf recipe gets a spicy BBQ twist and dare I say a bit of a healthy spin, with the addition of ground turkey.  I’m calling it a “Turkey-Meat” Loaf!

Why? ????

Sometimes you have to change things gradually.  We are trying to cut down on red meat (doctor’s orders), so in this recipe I subbed ground turkey for half of the beef.  Instead of ketchup, I used a smokey BBQ sauce.  And instead of Italian seasoning I used a BBQ rub with some heat.  It was so delicious and moist (and no one was the wiser about the turkey)!

Did you know that gluten free meatloaf can be soggy and falling apart using only breadcrumbs?  I use a blend of breadcrumbs, rolled oats and mashed potato flakes for a meatloaf that is moist and holds together when you slice it!

This post contains affiliate links.

Ingredients:

Preparation:

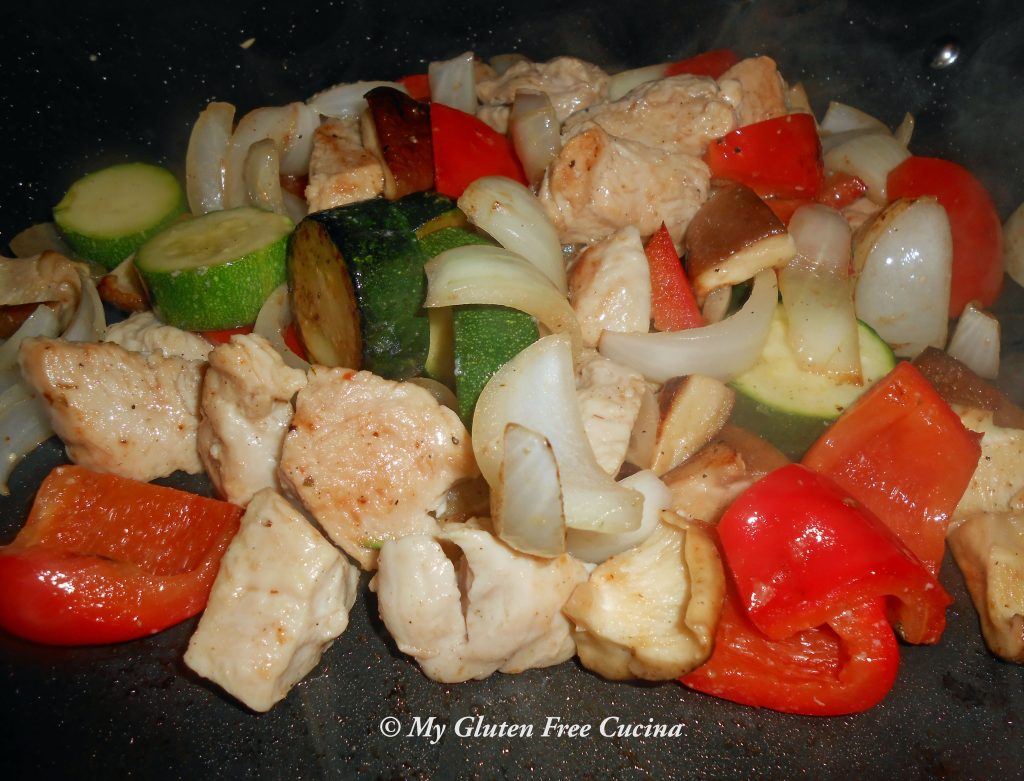
Mince the veggies in an electric chopper, you will need about 1-1/2 cups total.  Use what you like or what you have on hand, this is a great way to use up bits of veggies you have in the fridge.  I used sweet onion, garlic, mushroom and zucchini.

Heat a small skillet with 1 tbsp. olive oil.  Add the minced veggies and cook over low heat until most of their liquid has evaporated.  They will reduce to about 1/2 cup.  Transfer to a bowl and cool to room temperature.

Mix the breadcrumbs, rolled oats and potato flakes together.

In a large bowl, whisk together 1 egg, 1/4 cup BBQ sauce and 1/2 tsp. BBQ seasoning.  Add the ground meat along with the cooled veggies.  Mix thoroughly with your hands.  Be sure that everything is well combined.

Begin adding the dry ingredients to the meat mixture a little at a time, incorporating with your hands.

Mist a loaf pan with cooking spray.  I love this silicone loaf pan for quick cleanup!  Spread the meatloaf evenly in the pan, be sure to get into the corners.  Drizzle a bit more BBQ sauce and use a fork to spread it over the top.

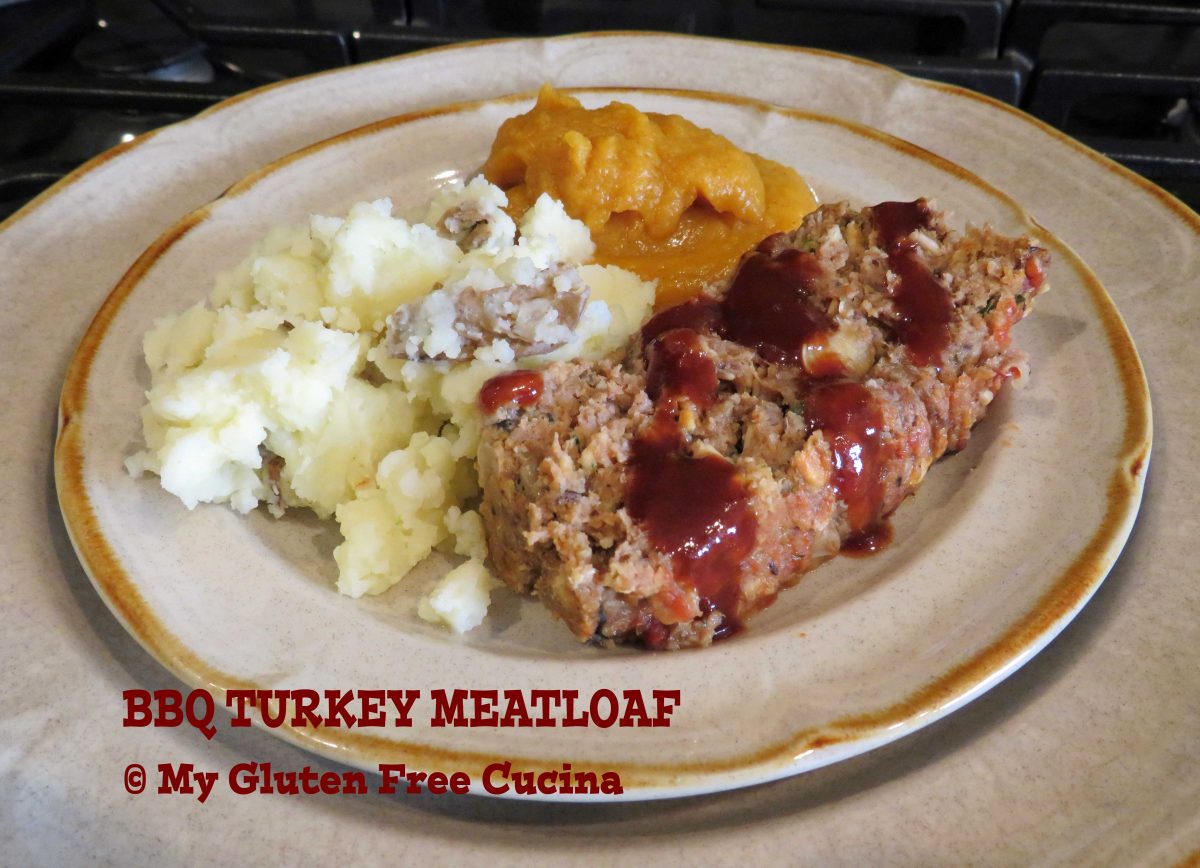
Bake for 35 minutes at 350º.  When it’s done, the meatloaf will be browning around the edges and pulling away from the sides of the pan, like this.

I served the meatloaf with mashed potatoes and butternut squash.  Everyone loved the smokey BBQ flavors.

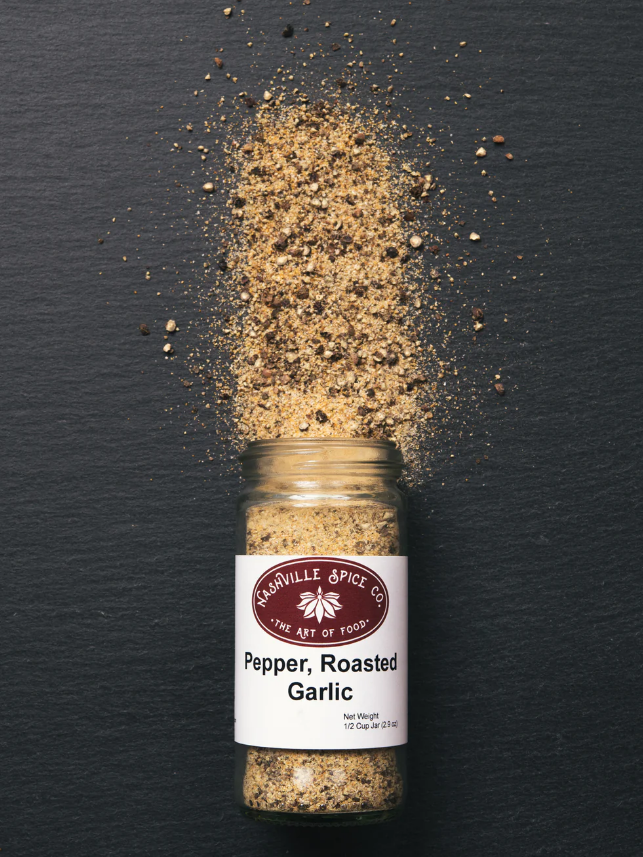
Notes ♪♫ My favorite BBQ brand is Stubbs.  They have delicious sauces and rubs, everything from spicy to sweet, all gluten free.  My favorite is their Smokey Mesquite, which I used in this recipe.

Print This Post Print This Post

Gluten Free Turkey Mushroom Soup

Turkey Mushroom Soup is on the menu at our house this week!  The base for this soup is a delicious stock that I make every year with the remnants of our Thanksgiving turkey.  This rich, golden goodness adds great depth of flavor to soups and stews.  Check out this link to see how easy it is to make your own delicious, gluten free stock.

This post contains affiliate links.

Ingredients:

  • 2 cups homemade turkey stock
  • 6 cups turkey or chicken broth, homemade or store bought
  • 1 medium sweet onion, diced
  • 3 carrots, peeled and diced
  • 3 celery stalks, diced
  • 2 tbsp. olive oil, divided
  • 2 garlic cloves, minced
  • 1/2 tsp. thyme
  • 1/2 tsp. sage
  • salt and fresh ground pepper
  • pinch of saffron threads
  • 1 pkg. cremini or white button mushrooms, sliced
  • 2 cups leftover diced turkey or chicken, reserved from another meal
  • 1 cup uncooked wild rice blend

 Preparation:

Like many soups, this one begins with a Mirepoix, a combination of onion, celery and carrots.

Place a 4-quart stock pot over medium heat with 1 tbsp. olive oil.  Add the carrots, onion and celery and cook for several minutes, stirring occasionally.  Season with salt and pepper.  Add the garlic, stir and cook 1 minute.

Add the stock, broth, herbs and seasonings.  Bring to a boil and then simmer, covered on low heat for 1 hour.

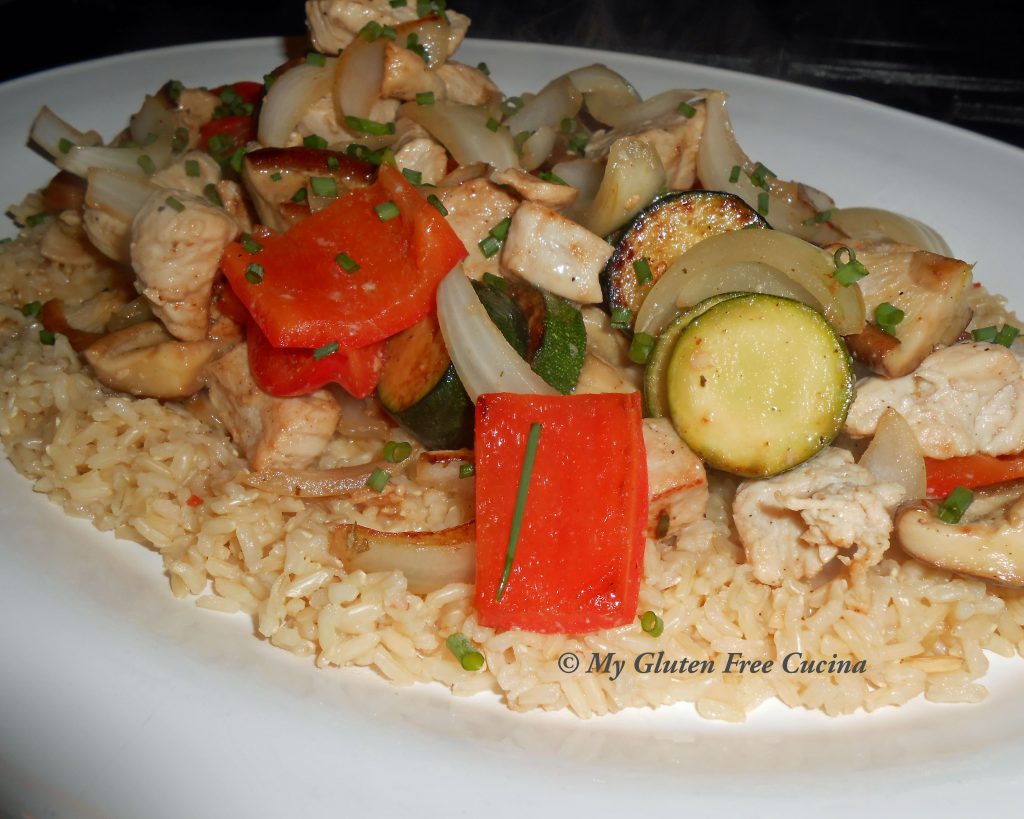
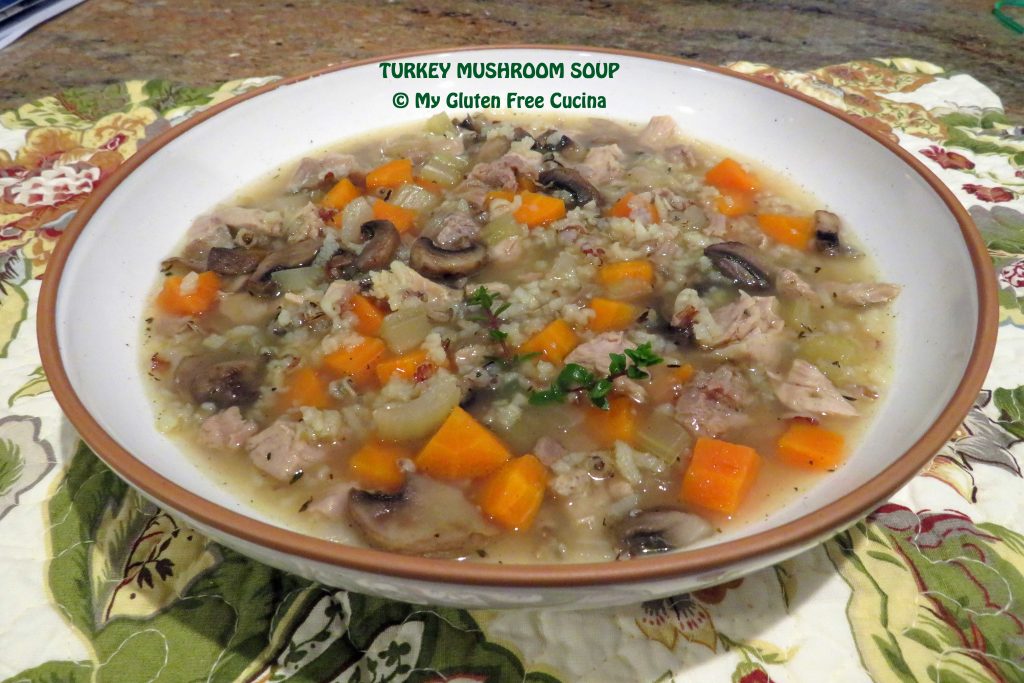
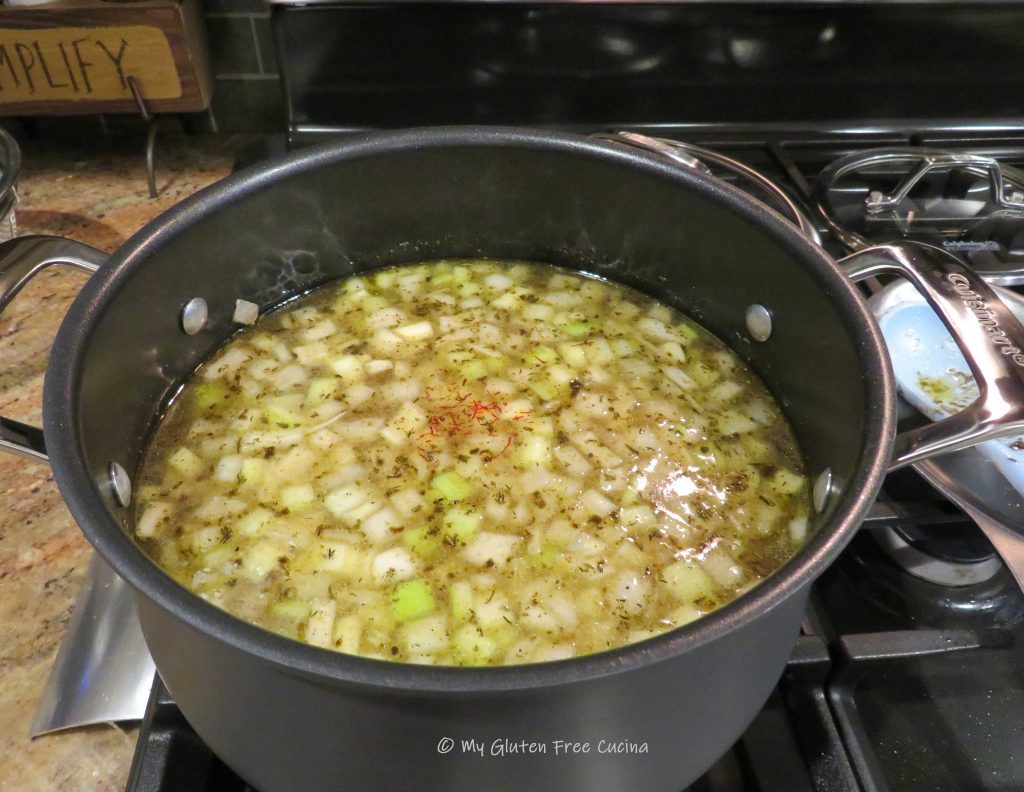
While the soup simmers, cook the rice according to package directions.

Slice the mushrooms and sauté in the remaining tbsp. olive oil.  Add to the pot during the last 15 minutes of cooking.

Turn the heat down to low.  Add the cooked rice to the pot, along with the reserved turkey or chicken.

Stir well and warm over low heat until rice and turkey are heated through (do not boil once the meat has been added or it will shred).

I have made this recipe several times now and everyone loves it.  In fact, it is now a winter tradition.  So, the next time you roast a turkey, be sure to save the bones for stock and put aside some leftover meat for this rich hearty soup!

Notes ♪♫ Is there a difference between stock and broth?  Yes, there is!  A broth is made with meat and/or vegetables simmered together.  A stock on the other hand always begins with the bones, usually roasted first and then simmered low and slow until every bit of goodness is extracted.  Broth is a clear liquid, while stock has a thick, gelatinous consistency.  Learn more here.

Print This Post Print This Post

Air Fryer Turkey Cutlets with Sweet Potato Fries

Another win for the air fryer, I made these gluten free breaded turkey cutlets (schnitzel) for dinner and they were so good!  I loved how crispy the breading came out in the air fryer.  Since deep fried food does not agree with me, the air fryer has been a great way to enjoy “fried” food without the tummy aches!

Thin sliced turkey breast cutlets make this recipe fast and easy to prepare.   They are commonly available where we live, but if you can’t find them chicken cutlets would work just as well.  I made sweet potato fries to go with the cutlets for an easy dinner that cooks in 30 minutes!

This post contains affiliate links.

4 Servings

Ingredients:

  • 1 large sweet potato
  • 2 tsp. canola oil
  • 1/2 tsp. maple seasoning
  • cooking spray

……………………………………………………………..

  • 1 lb. turkey breast cutlet sliced thin (4 cutlets, 1/4 lb. each)
  • 1/4 cup white rice flour
  • 1 egg, beaten with 1 tbsp. water
  • 1/2 cup gluten free bread crumbs
  • seasoned salt, to taste
  • cooking spray

Preparation:

Peel the sweet potato and cut into uniform size pieces, about 4″ x 1/2″.  Toss with canola or other neutral oil and season to taste.

Spray 2 trays with cooking spray and divide the potatoes between them.  Start them in a 400º air fryer on the top 2 racks.  They will need to cook 25-30 minutes, and the turkey cutlets will be added during the last 15 minutes of cook time.

While the potatoes cook, prep the turkey.  Set up 3 breading trays with the rice flour, beaten egg and gluten free bread crumbs.  Season each tray.

Work with one cutlet at a time.  Dredge in the flour then dip in the egg, shaking off the excess.

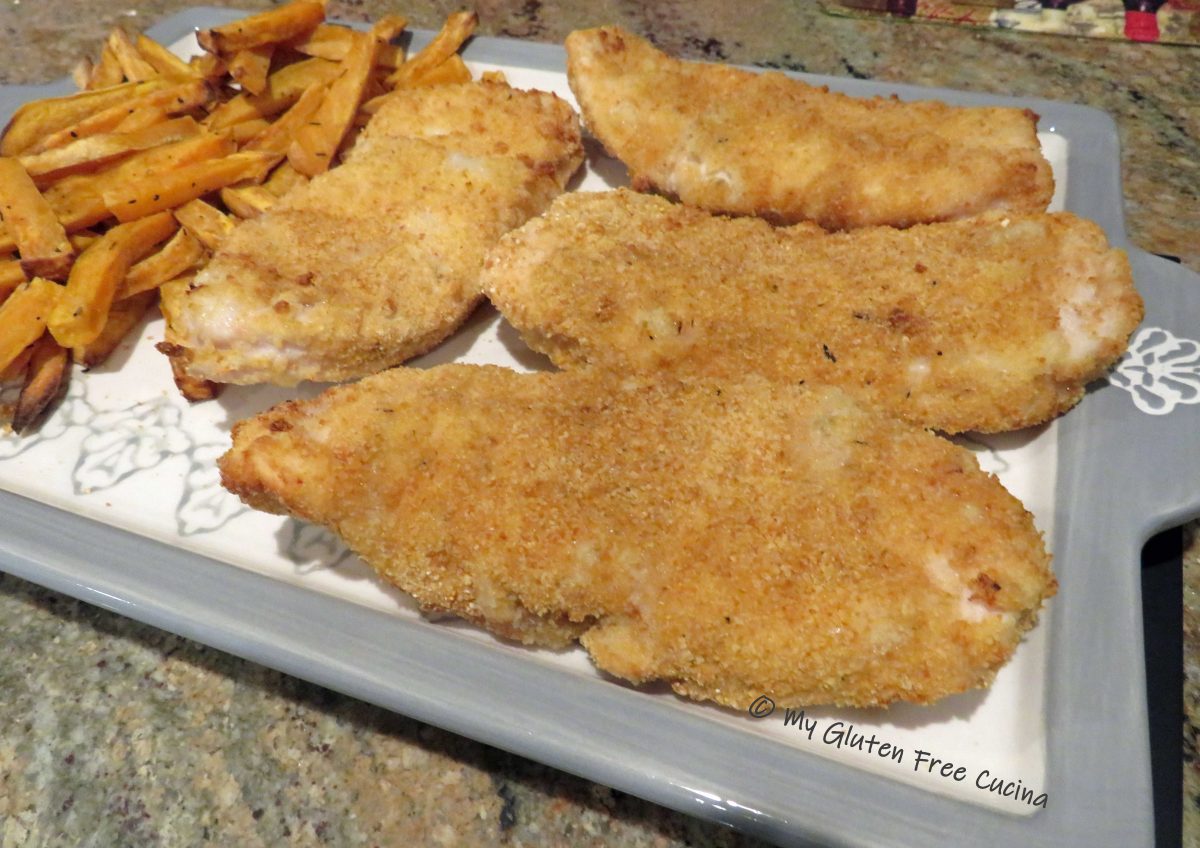
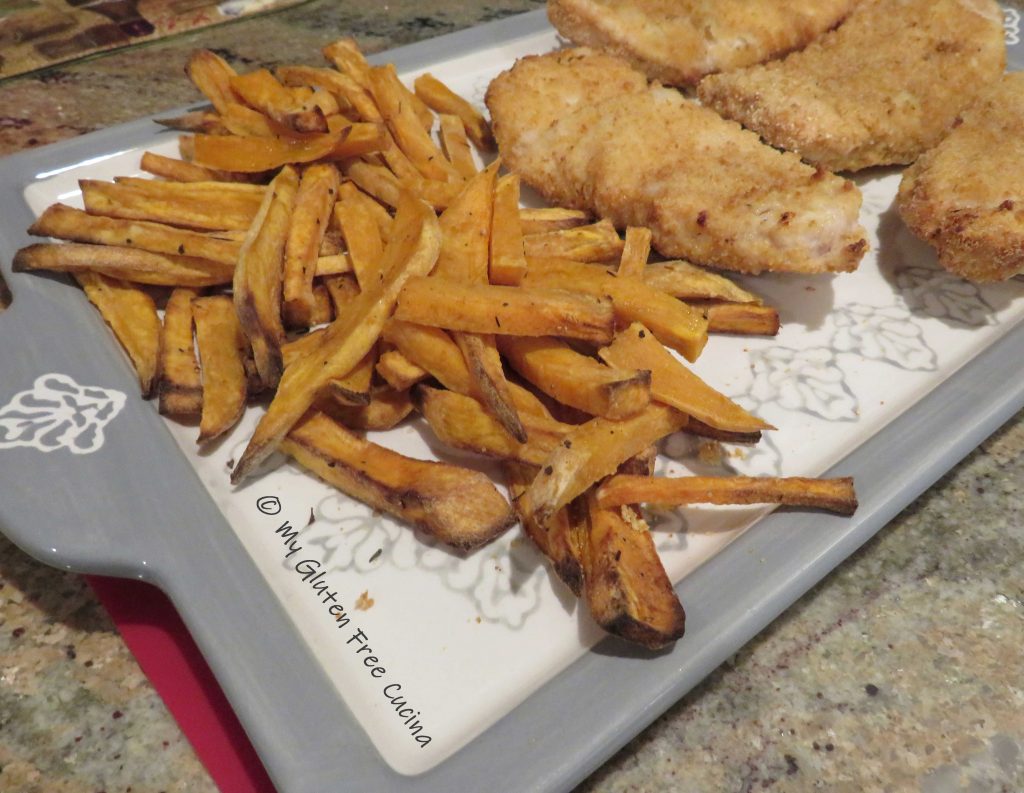
Finally coat with breadcrumbs.  Spray a rack with cooking spray and arrange the breaded cutlets in a single layer.

When the potatoes have 15 minutes left to cook, spray the cutlets with cooking spray and place them on the top shelf of the air fryer.  Move the potatoes to the bottom 2 shelves, use tongs to give them a toss.

After 8 minutes turn the cutlets over and spray the tops with cooking spray.

Finish cooking 7 minutes longer, and everything should be done at the same time.

Dinner was delicious!  The sweet potato fries took a little longer than russet potato, but they were perfectly done at 400º for 30 minutes.

The cutlets are best eaten crispy hot out of the air fryer.  Leftovers can be reheated in the air fryer or enjoyed cold.  They make great sandwiches!

Notes ♪♫  I have a shelf style air fryer and was able to fit both the turkey and the fries onto 3 shelves.  If you have a basket style fryer you may have to cook them separately.

Print This Post Print This Post

Gluten Free Crock-Pot Turkey Drumsticks

Turkey Drumsticks can be dry and tough when roasted, but they come out moist and falling off the bone tender when cooked in the Crock-Pot.  This time of year, it is easy to find turkey drumsticks at the market for a very good price.  Crock-Pot recipes like this one are so easy and can really free up my schedule.  I started this dish around 11:00am and it was ready in time for dinner at 6:30.

This post contains affiliate links.

Ingredients:

  • Turkey Legs (plan on one per person)
  • 1 medium sweet onion
  • 5 celery stalks
  • 2 carrots
  • 1/4 cup sweet white rice flour
  • salt and pepper to taste
  • olive oil
  • 1/2 cup white wine
  • 1/2 cup gluten free chicken broth
  • 1/2 tsp. sage
  • 1/2 tsp. thyme
  • 1/2 tsp. garlic powder
  • 1/4 tsp. turmeric
  • cooking spray
  • fresh rosemary for garnish

Preparation:

Chop the onions, celery and carrots into large chunks.  Mist the crock-pot with cooking spray and add the veggies in an even layer.

Rinse the turkey legs and pat dry.  Add the flour to a food safe plastic bag, they place the turkey legs in the bag.  Twist to close and shake to coat the legs evenly with flour.

Use a stainless-steel skillet (not non-stick) to brown the legs in olive oil, about 5 minutes per side.  Don’t crowd the pan, brown the meat in batches if necessary.  Season with salt and pepper to taste.

Place the drumsticks in the crock-pot on top of the vegetables.

Next deglaze the pan.  Remove the skillet from the heat and slowly pour in the wine.  Return to the heat and use a spatula to scrape up all the little brown bits, then let it simmer for a minute.  Strain the solids and reserve the wine.

Whisk together the reserved wine, chicken broth, sage, thyme, garlic powder and turmeric.  Drizzle over the turkey legs.  The vegetables and meat will release their own liquid as they cook, so don’t add more.

Now set your crock-pot to low and cook for 7 – 8 hours.

That’s all there is to it!  Arrange the drumsticks on a serving platter and drizzle a bit of the pan juices over the meat.  For a nice presentation you can garnish with fresh rosemary sprigs or other herbs.

Notes ♪♫ Don’t discard those veggies and juices in the bottom of the crockpot.  They will make an incredible soup stock or base for sauces and gravies.  I like to puree it then store in the refrigerator or freezer, ready for my next creation!

Print This Post Print This Post 


Thanksgiving Turkey

The holidays are upon us and all of the accompanying activities.  The parties, the shopping, the cooking and baking!  Thanksgiving is one of the biggest food holidays of the year, and you may be feeling overwhelmed about the big day, especially if you are planning a gluten free meal that will appeal to everyone.

This year don’t stress about the menu, I’ve got you covered on the main course and all the sides.  Let’s get started with the turkey.  Once you try this method of roasting a turkey, you will never do it any other way!

Ingredients:

  • 1 whole turkey 11-12 lbs.
  • 1/4 cup (1/2 stick) butter, softened
  • 1/2 cup (1 stick) butter, melted
  • 2 tbsp. fresh sage, rosemary and thyme
  • cheesecloth

Preparation:

Take a half stick of butter out to soften at room temperature and melt another stick of butter in a small saucepan.  Soak the cheesecloth in the melted butter until completely saturated.

Empty the sink and clear  away any utensils, etc.  Set up your roasting pan right next to the sink, and place the roasting rack in the sink.  Have a plastic trash bag ready.  Place your turkey in the sink on the roasting rack and remove the packaging.  Remove the neck and giblets and reserve them for another dish or discard.  Rinse the turkey, including the cavity, and be careful not to splash water everywhere.  Pat the turkey dry with paper towels.  Now lift the turkey, rack and all into the roasting pan.  Dispose of the packaging, giblets and paper towels in your trash bag.

Now you should have a nice clean turkey and an empty sink.  Take a few minutes to scrub the sink down and rinse it well.  If anything dripped on the counter, floor or refrigerator clean it up now.

Preheat the oven to 325º.  Mince the herbs and combine with the softened butter, then rub the butter all over the turkey.  Be sure to get under the wings.

If you are stuffing the bird, spoon the stuffing into the cavity.  Don’t overfill, if you have extra stuffing spoon it into a baking dish and bake it separately.  Secure the legs and pin down the wings.  Now remove the butter soaked cheesecloth from the saucepan and drape it over the turkey.  Add a cup of water to the roasting plan and place it in the oven.

Melt the remaining 1/4 cup of butter and combine it with 1/2 cup gluten free turkey stock.  Keep warm for basting.  Roast the turkey for 3 to 3-1/2 hours, basting (right over the cheesecloth) every 20 minutes.  Add more water to the roasting pan as needed, and when you run out of liquid for basting draw some from the bottom of the pan.

Remove the cheesecloth during the last 45 minutes of roasting.  Continue basting every 15 minutes.  Turkey is done when the internal temperature reaches 165º.

Remove the turkey from the oven and immediately scoop out the stuffing, cover and keep warm.  Tent the turkey with foil and let it rest for 30 minutes before carving.  Enjoy your appetizers and first course while the turkey rests.

Now that you know how to roast a turkey, please check out all my Thanksgiving sides!  I’ve got you covered with gluten free dinner rolls, soup, stuffing and those yummy potatoes!

And as we go about preparing for the big meal, don’t forget that home and family are the real heart of the holidays.  God bless you all and I wish you a very happy Thanksgiving.

Notes ♪♫  Turkey is a naturally gluten free food, but I still look for the gluten free label when choosing our Thanksgiving turkey.  Avoid brands that inject the turkey with basting solutions to make the bird moist, they often contain gluten.  Ditto for the gravy packets, throw them away and make your own gluten free gravy.

Print This Post Print This Post

Turkey Tips

This dish came about on one of those lazy days.  I was going to make kabobs.  Now normally I am all about presentation, but on this particular day I just ran out of energy.  It does take time to thread the meat and veggies onto skewers!  So with all the same ingredients in mind I made turkey tips.  Italian dressing was the marinade that tied all the flavors together and it was delicious!  Just be sure that your dressing and seasonings are gluten free!

Ingredients:

  • 10 oz. turkey tenderloin, cut into cubes
  • 1 sweet onion
  • 1 small zucchini
  • 1 red bell pepper
  • 6 shitake mushrooms
  • olive oil
  • salt and pepper
  • gluten free Italian dressing
  • 3/4 cup long grain brown rice
  • 1 cup water
  • 1 cup gluten free chicken broth
  • 1/2 tsp. pepper garlic seasoning (I used McCormick’s Perfect Pinch)
  • fresh chives for garnish

Preparation:

Combine the rice, water, broth and seasoning.  Cook according to package directions.

Cut the turkey into 1.5″ cubes, brush with Italian dressing and cook in a grill pan, or outside on the grill weather permitting.

Try to cut the veggies all the same size, so that they will finish cooking at the same time.  Toss them with 1 tbsp. Italian dressing, season with salt and pepper and cook them in a large skillet 10-15 minutes over medium heat (or add to the grill on a sheet of foil).  Add the turkey to the veggies and toss to combine.  Cook for another 5 minutes.

To serve, spread the rice on a platter and top with the turkey and veggies.  Garnish with chives.

Notes ♪♫  For a flavorful shortcut, I used Newman’s Own Italian Dressing for the marinade.  Not all dressings are gluten free so be sure to check labels!

Print This Post Print This Post