Gluten Free Multigrain Sandwich Loaf

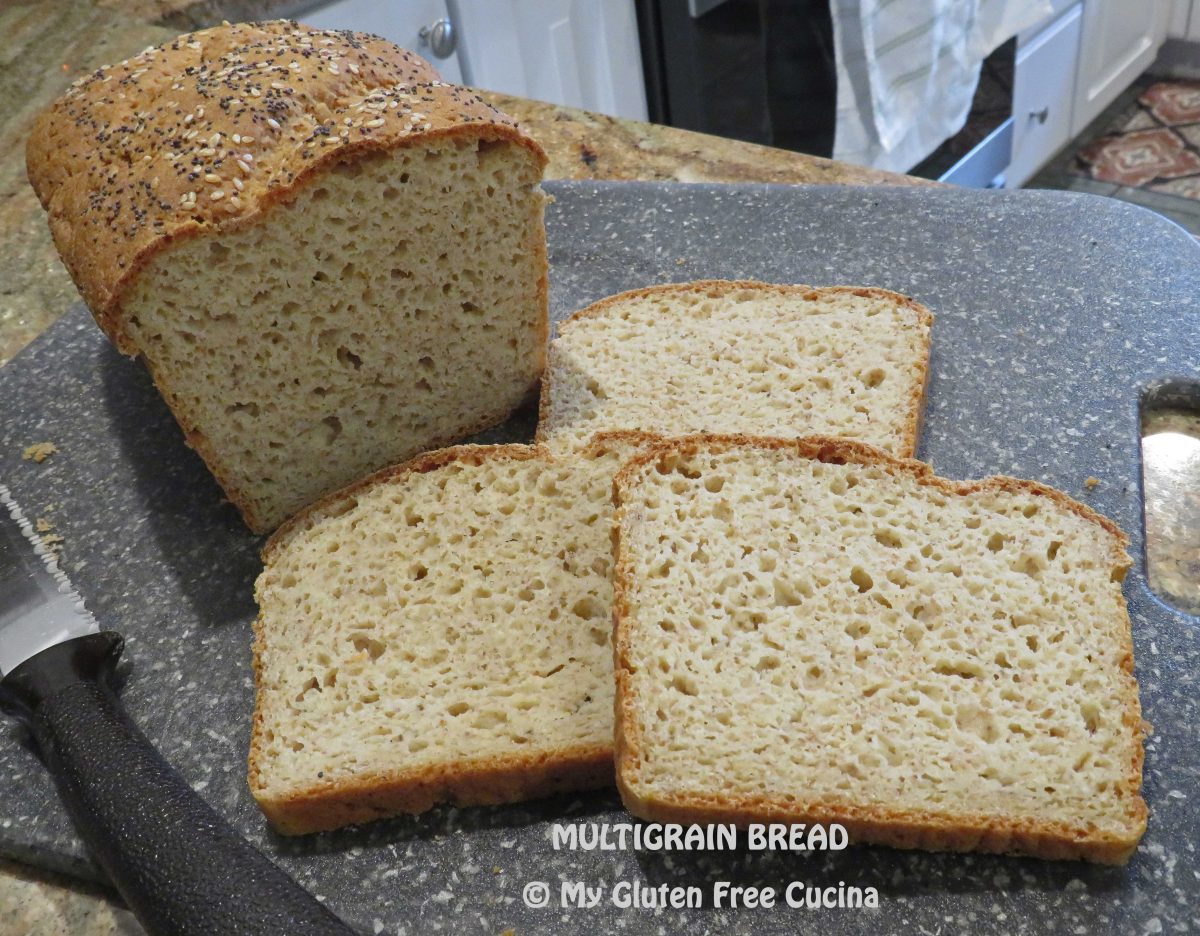
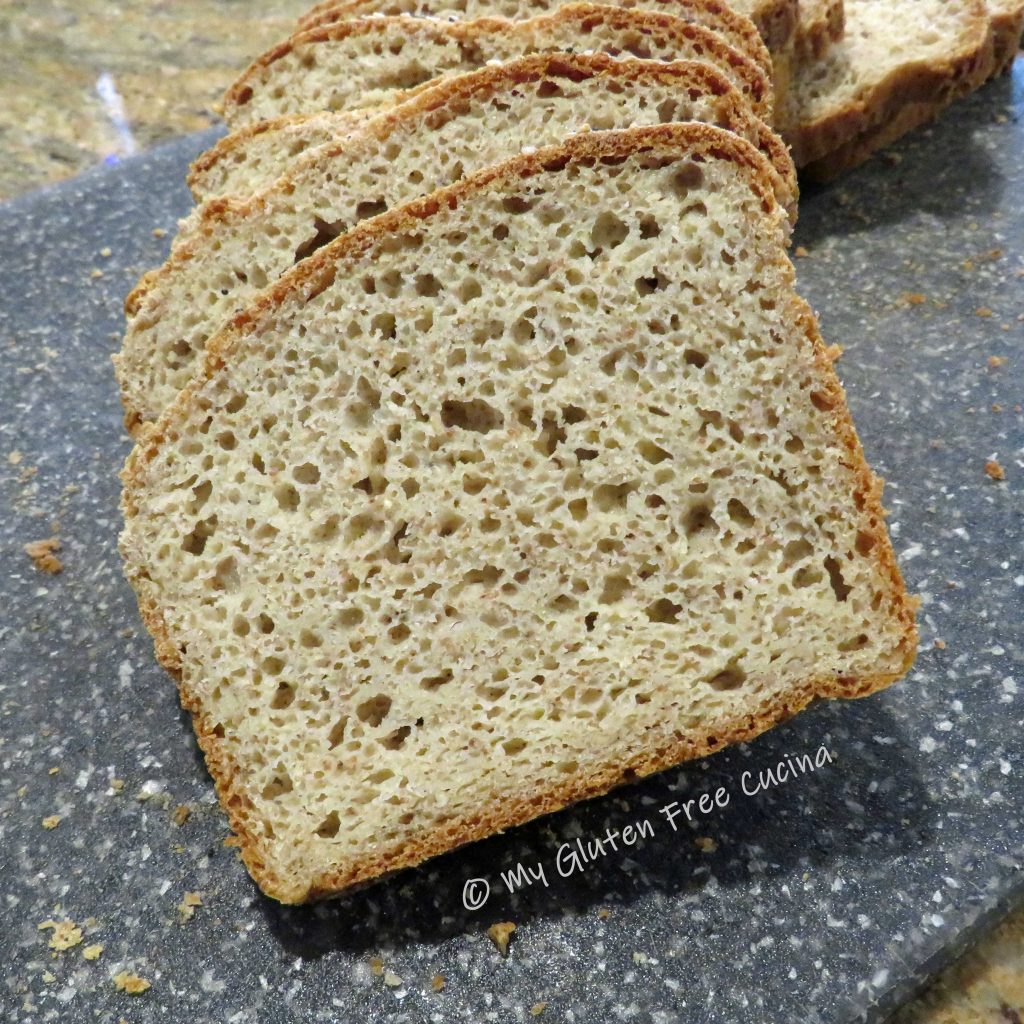
Just look at that beautiful loaf of bread!  In the gluten free universe, this is what dreams are made of!  Not only does it taste great, but it is also nutritious and wholesome, made with a combination of grains that delivers real bread flavor without the gluten.
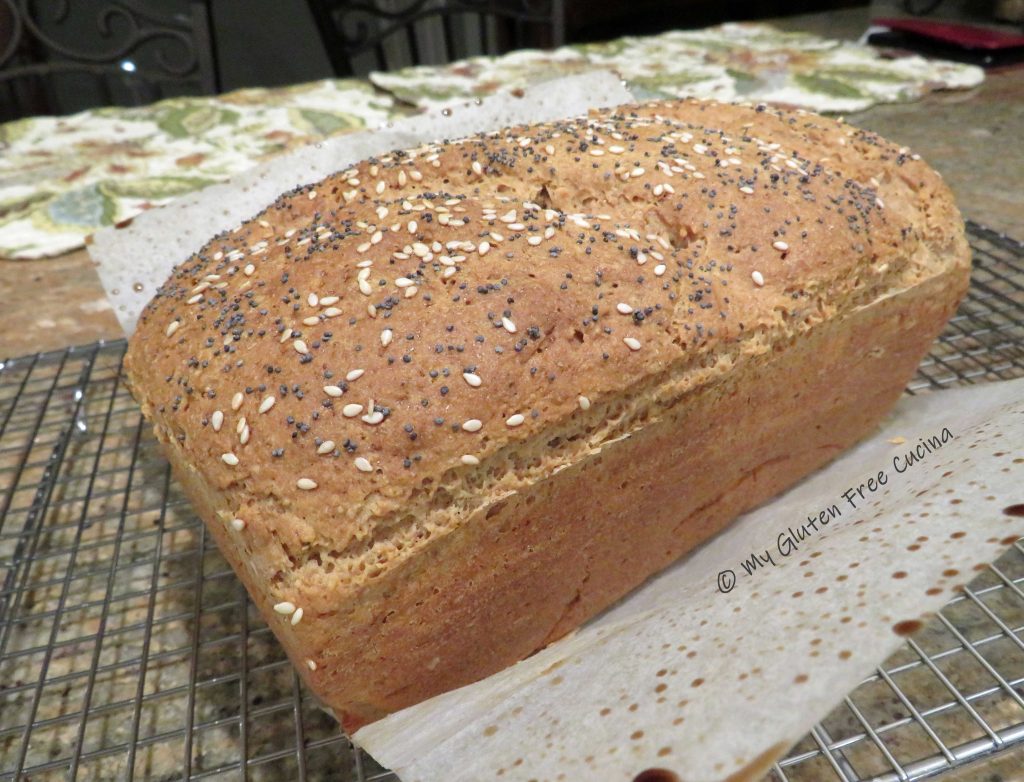
If you like to mix up your own flour blends, then this recipe is for you!

I adapted this recipe from one of my own, Gluten Free Sandwich Thins.  I always made them for lunch when I worked in an office, but now that I’m home most of the time I find that I like to have sliced bread in the house.  When you make a loaf, you can slice it as thin or as thick as you want for sandwiches, toast or just to go with dinner.
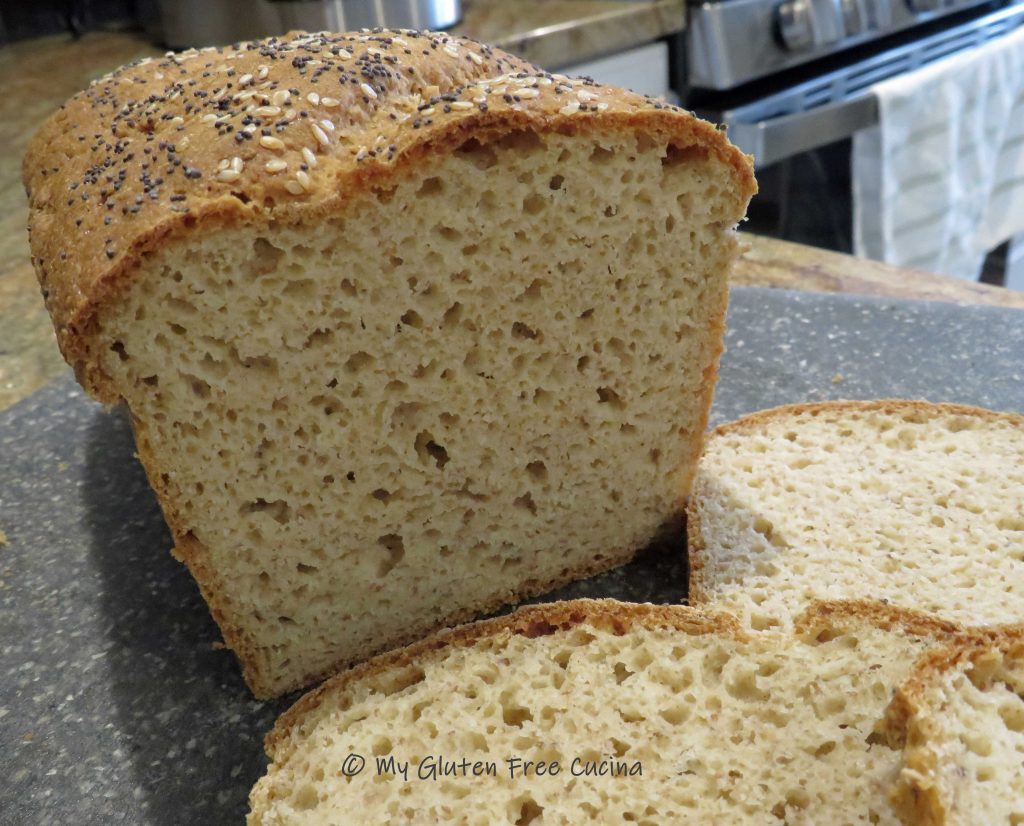
This bread is wonderful for sandwiches.  It doesn’t need toasting, doesn’t fall apart in your hands and the middle is not wet or tacky at all.  It’s a gluten free dream come true!

This post contains affiliate links.

Ingredients:

  • 1 tbsp. yeast
  • 1 tbsp. ground chia seeds
  • 1 tbsp. sugar
  • 1/2 cup warm water
  • 127 g. whole grain sorghum flour
  • 183 g. brown rice flour
  • 56 g. tapioca starch
  • 56 g. arrowroot starch
  • 56 g. potato starch
  • 21 g. teff grain, ground
  • 1 tsp. gelatin
  • 1.5 tsp. xanthan gum
  • 1 tsp. salt
  • 1 large egg
  • 3 tbsp. olive oil
  • 3/4 cup warm milk (I used 2%)
  • 1/2 cup warm water
  • 2 tbsp. milk, for brushing
  • sesame seeds
  • poppy seeds

Preparation:

Line a 1 lb. loaf pan with parchment paper and mist with cooking spray.

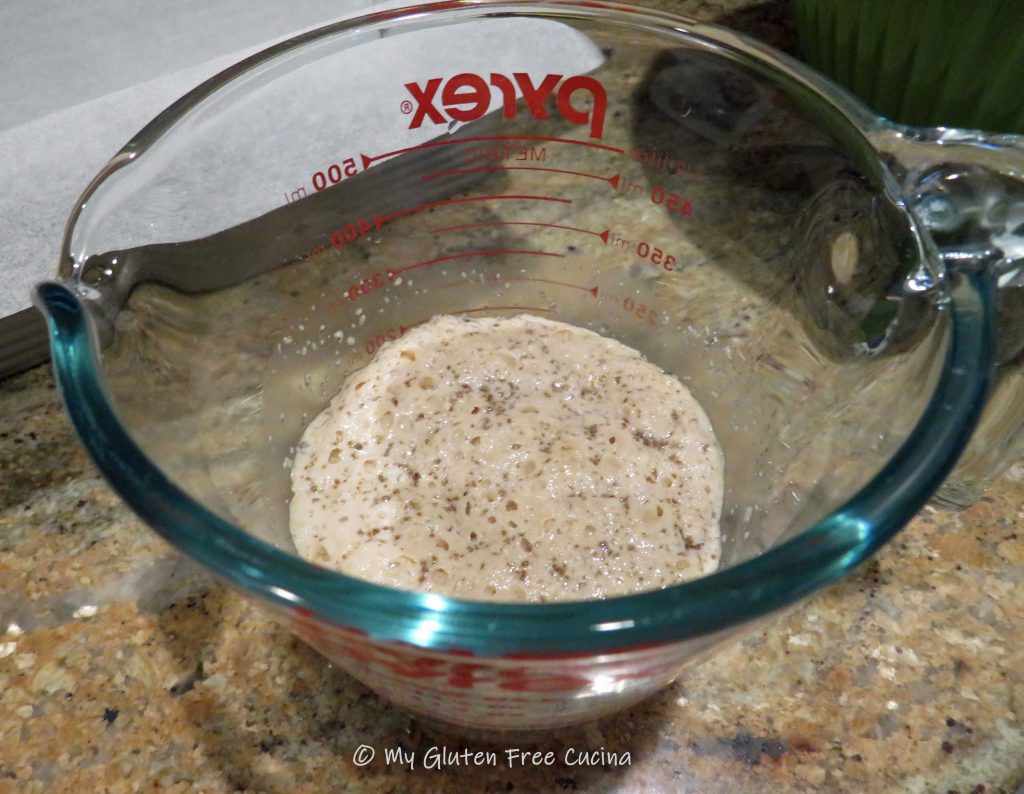
Combine the yeast, ground chia seeds, sugar and 1/2 cup water in a small bowl or measuring cup.  Let the mixture rest for 10 minutes.
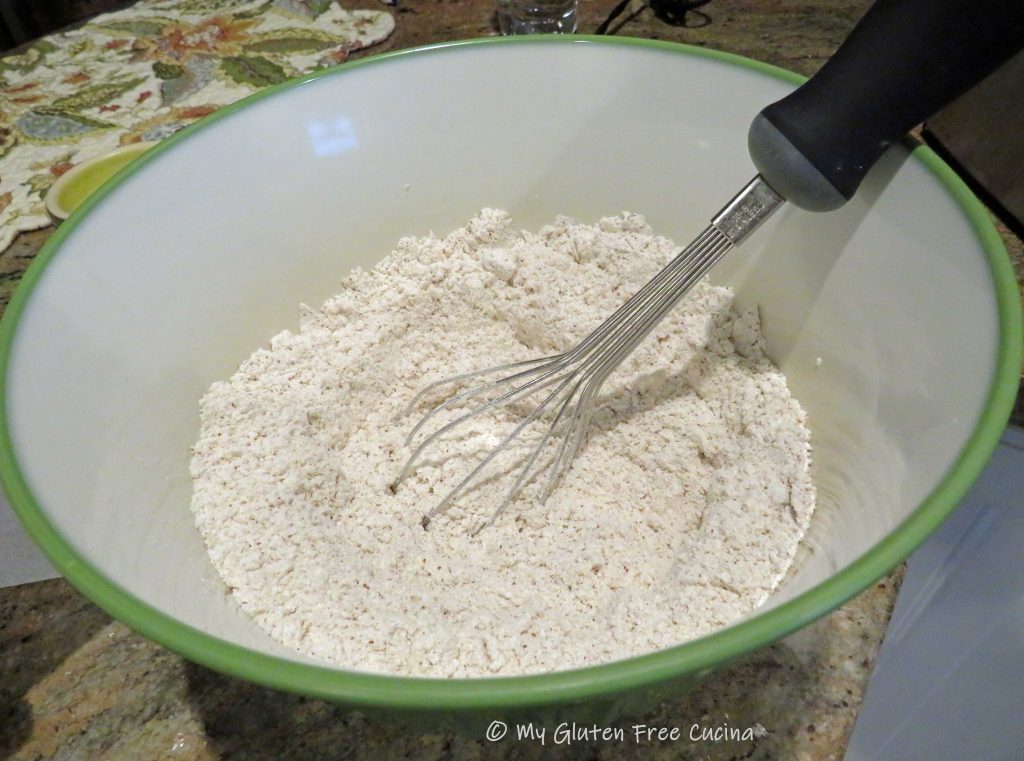
In a separate bowl, whisk together all of the dry ingredients, sorghum flour through salt.
When the yeast has bloomed, add the mixture to the bowl of a stand mixer along with the egg, olive oil, milk and water.

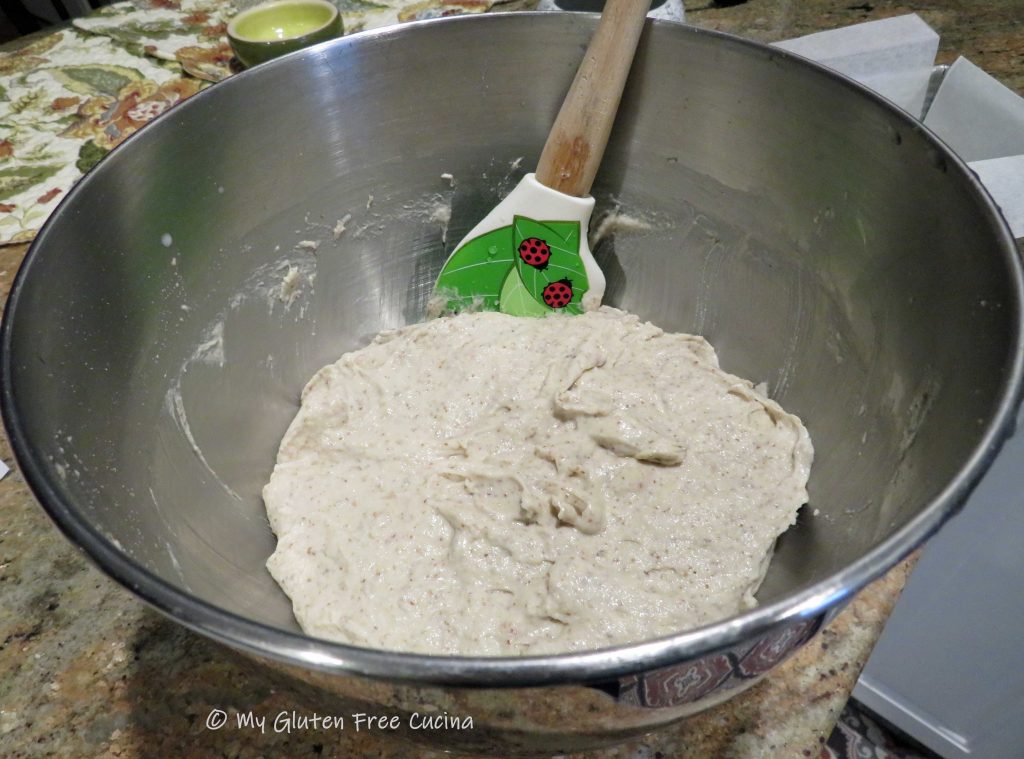
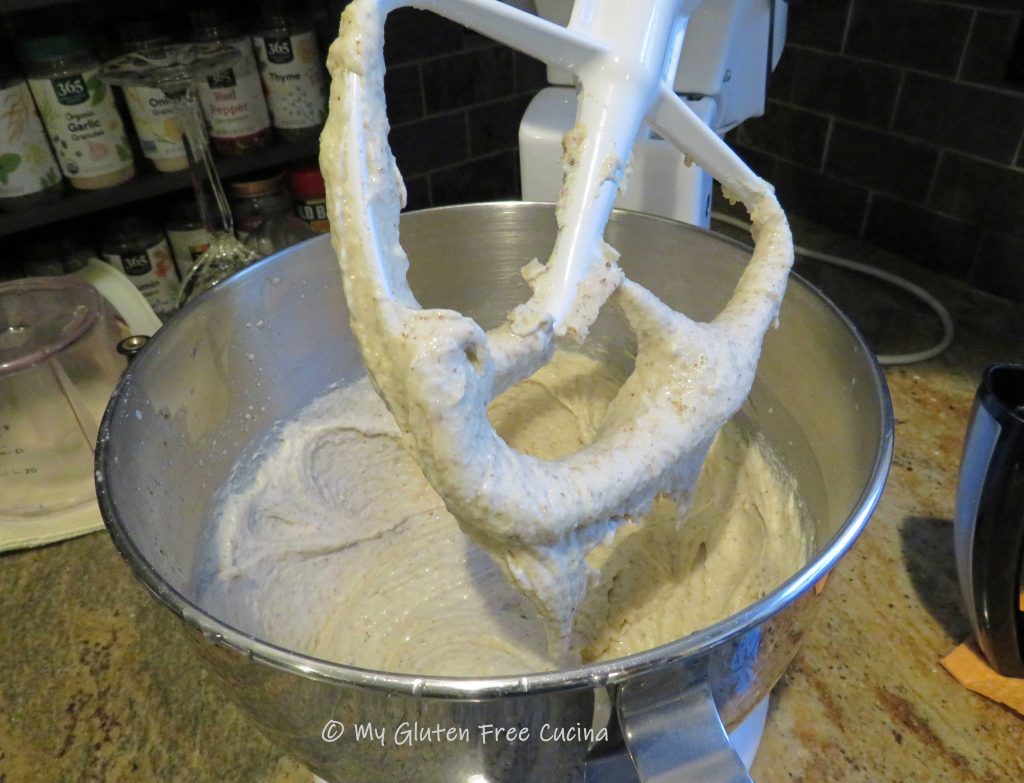
Whisk it all together, and then add the dry ingredients into the wet.  Mix for 5 minutes with the paddle attachment.  The dough will be heavy and wet.
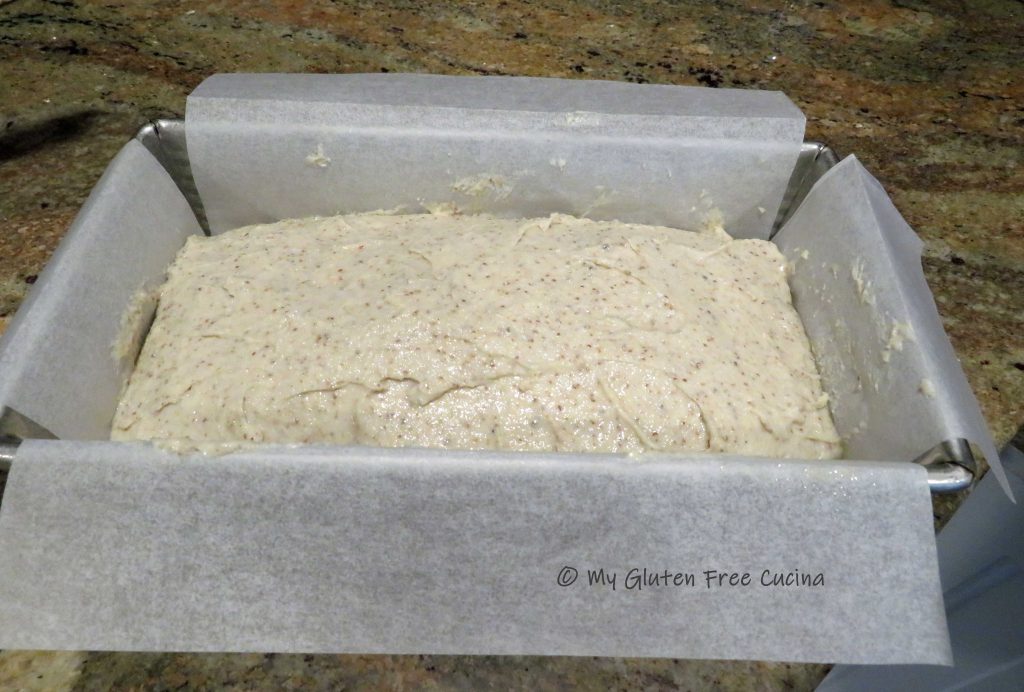
Scrape the dough into the prepared pan, smoothing out the top with a spatula dipped in water.
Covered with oiled plastic wrap and let it rise for 30 minutes while you preheat the oven to 400 degrees.

Brush the top of the loaf with milk, and sprinkle with sesame and poppy seeds.

Quickly make 2 diagonal slashes across the top of the loaf with a sharp knife.

Place the loaf on the middle rack of the oven, close the door and drop the temperature to 375º.  Bake 50-55 minutes, or until the internal temperature reaches 205º (use a thermometer).

Cool in the pan 15 minutes, then transfer to a rack.

Cool to room temperature, then bag it and let the loaf stand at room temperature overnight.  Resist the urge to cut into that loaf right away, and your patience will be rewarded with this amazing crumb!  It is truly worth the wait!
Notes ♪♫ You might be interested to know that I mill some of my flour from the whole grain.  In this recipe, I used my KitchenAid grain mill attachment to mill whole sorghum berries into flour.  For the teff flour, I ground whole teff grain in a coffee grinder.  Storing grain in its whole form will keep it fresh longer, great for those infrequently used ingredients.  If you would like to learn more about using a grain mill, check out this post.

Print This Post Print This Post

Gluten Free Cannelloni with Béchamel

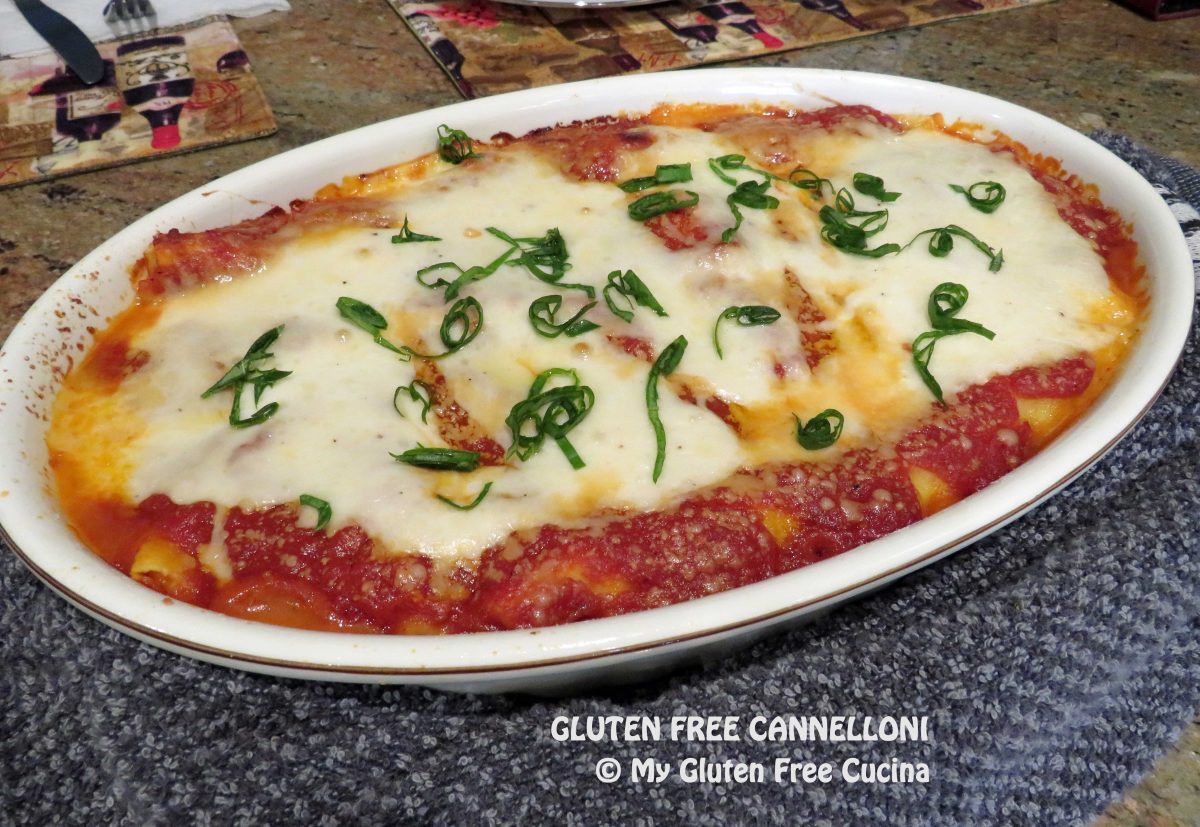
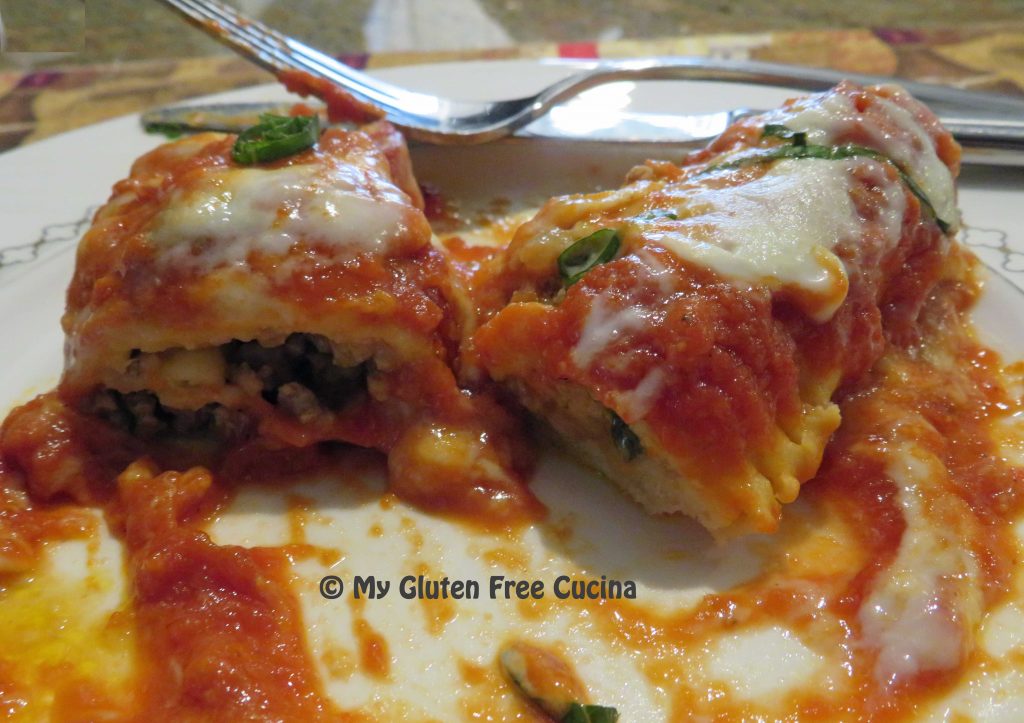
Did you ever spend the better part of a day working on a recipe, and think you may never make it again?  Because it’s too much work?  That’s how I was feeling as I worked on this dish – until I took that first bite.  Oh, my goodness, this was absolutely divine!

Cannelloni con Besciamella – Cannelloni with Béchamel is a labor-intensive dish that is well worth the time and effort, it is swoon worthy!  Recipes like this one are a wonderful way to pass a Sunday afternoon.  For those who can’t spend all that time, I have broken down the recipe into four steps, some of which can be made ahead.  So, whether you go for the entire recipe or spread it over 2 days, I’ve got you covered.  Also, see notes at the end for shortcuts!

8 Servings

This post contains affiliate links.

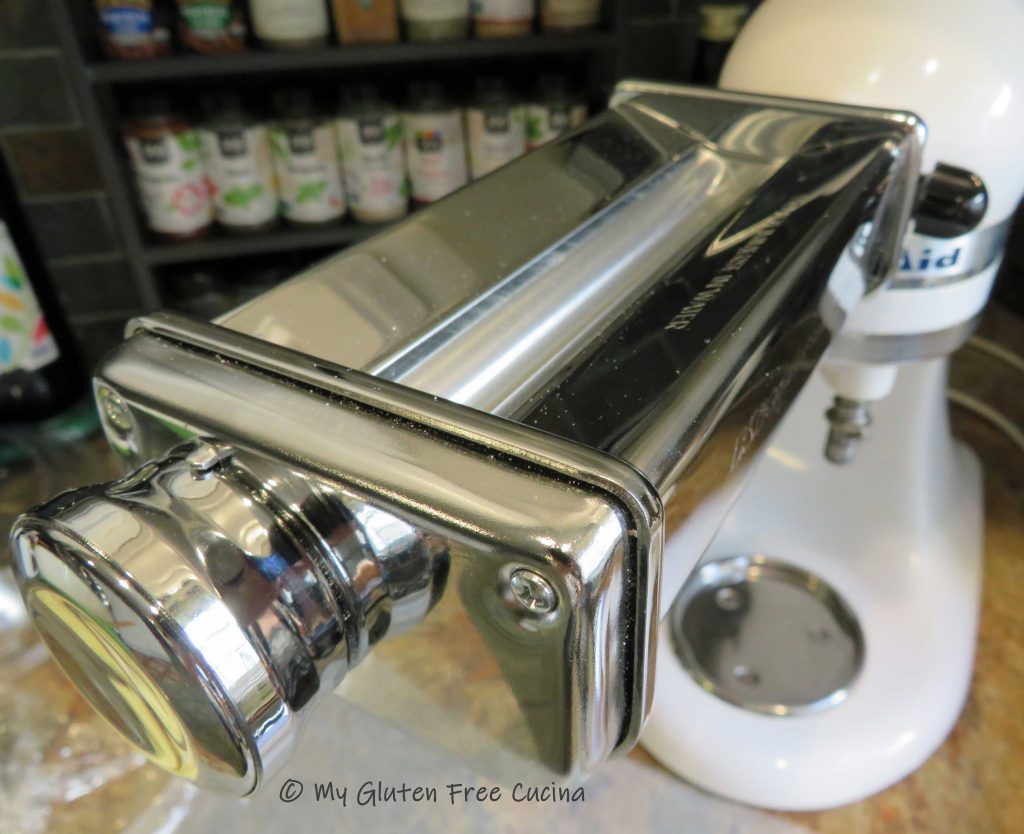
The pasta dough was made with Better Batter Original Blend, and I used my KitchenAid pasta roller attachment to roll out the sheets of fresh pasta.

Shop Better Batter and use my code MGFC30 at checkout to receive 30% off any non-sale item! 


– – – – – – – – – – – – – – – – – – – – – – – – – – – – – – – –  –

THE STEPS

1. the Marinara        2. the Filling        3. the Pasta        4. the Béchamel

– – – – – – – – – – – – – – – – – – – – – – – – – – – – – – – –  –

Step 1 – Make the marinara sauce (can be made ahead)

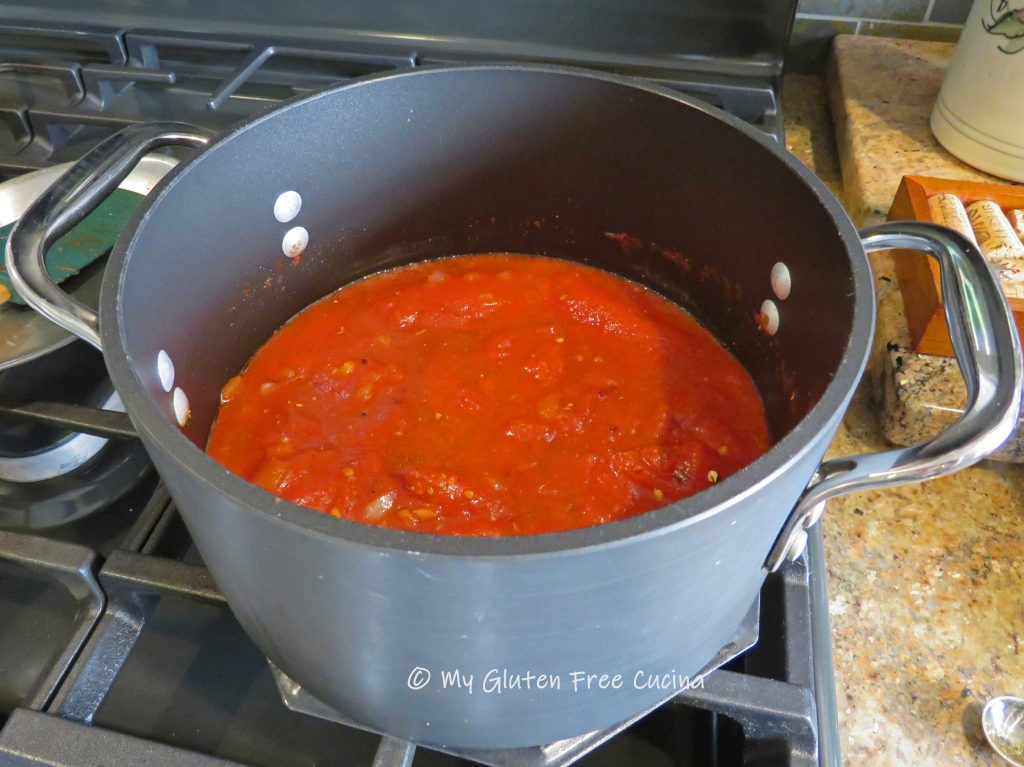
Heat the olive oil in a medium saucepan.  Add the onion and garlic and cook 2 minutes on low heat.  Add the tomato paste in the center of the pan.  Let it toast for a minute then stir it all together.

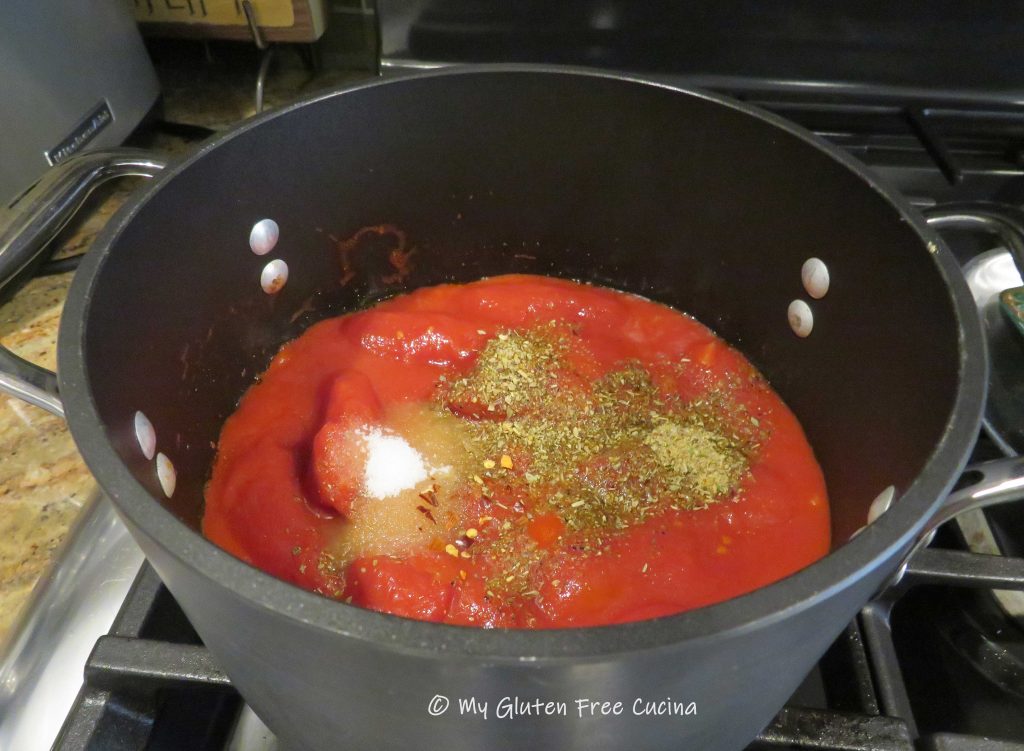
Add the tomatoes, seasoning, sugar and red pepper flakes.

Cover and simmer on low for 2 hours, stirring occasionally.  I like to use a simmer mat, so the bottom doesn’t burn.  Toward the end of cooking, use a stick blender to process into a sauce.
Step 2 – Make the filling (can be made ahead)

  • 1 tbsp. olive oil
  • 1/2 lb. ground pork
  • 1/2 sweet onion, divided use
  • 1/3 cup white wine
  • 1 small carrot
  • 1 small celery stalk
  • salt, to taste
  • 2 tsp. tomato paste
  • 1 cup chicken stock
  • 1/3 cup beef stock
  • 1 tsp. arrowroot flour
  • 1 cup baby spinach, chopped
  • 2/3 cup grated parmesan
  • 1 tsp. fresh grated orange zest

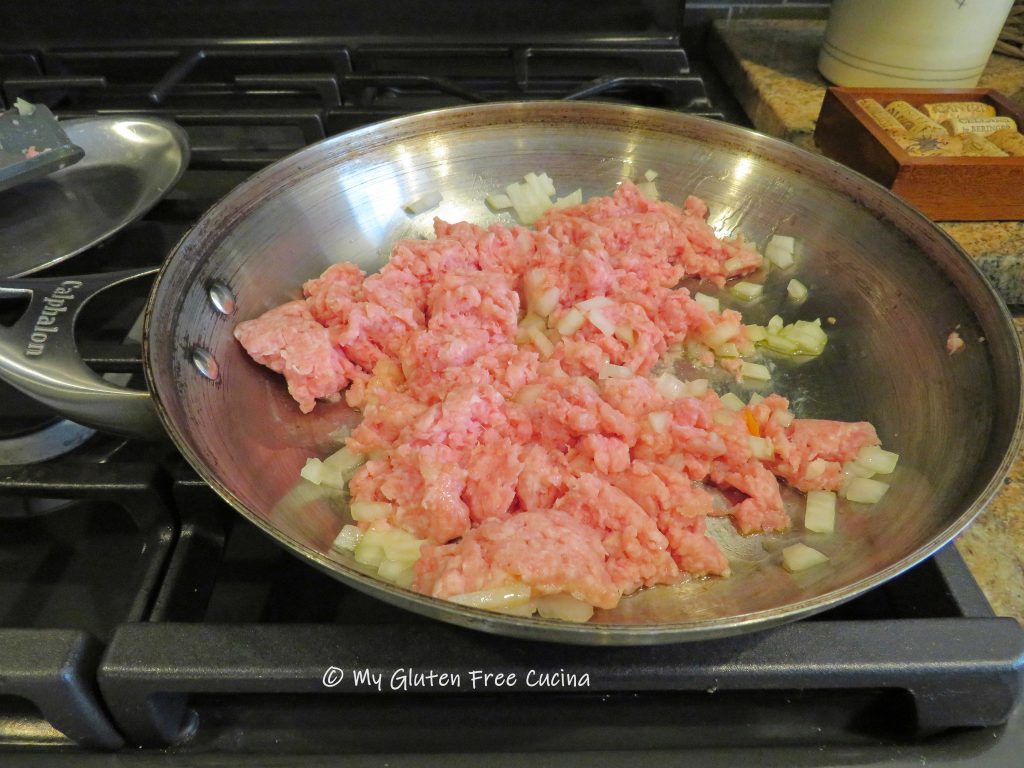
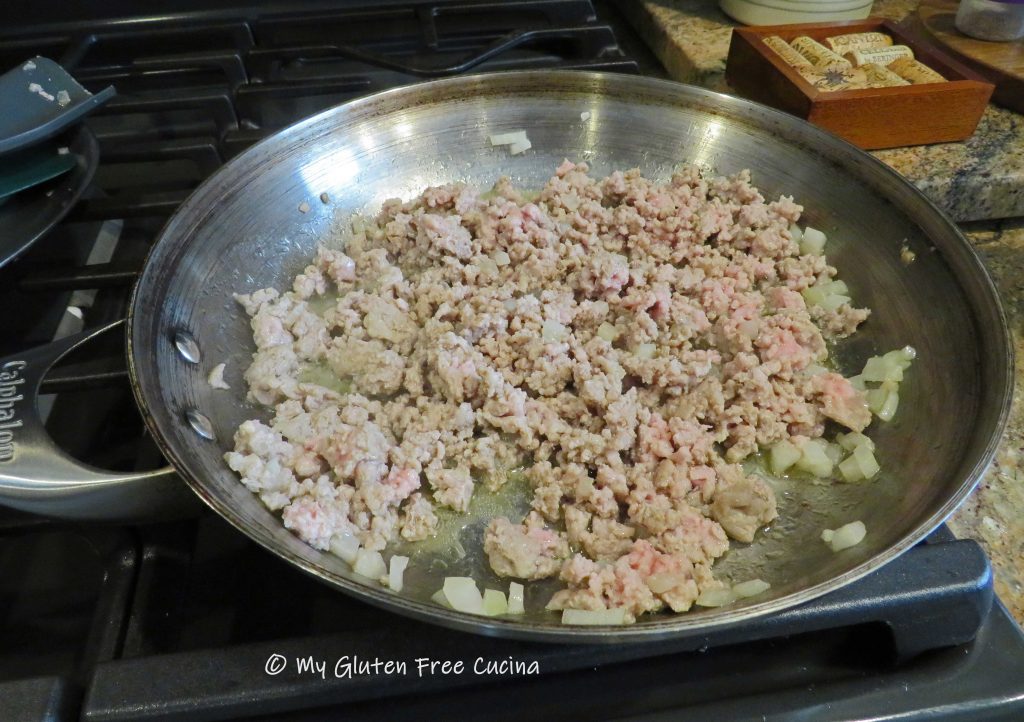
Cut half of the sweet onion into small dice (about 1/3 cup).  Add the olive oil to a stainless-steel skillet on medium low heat.  Cook the diced onion and ground pork, breaking up the meat with a spatula.

Add the wine and continue cooking slowly, stirring frequently until most of the liquid evaporates.
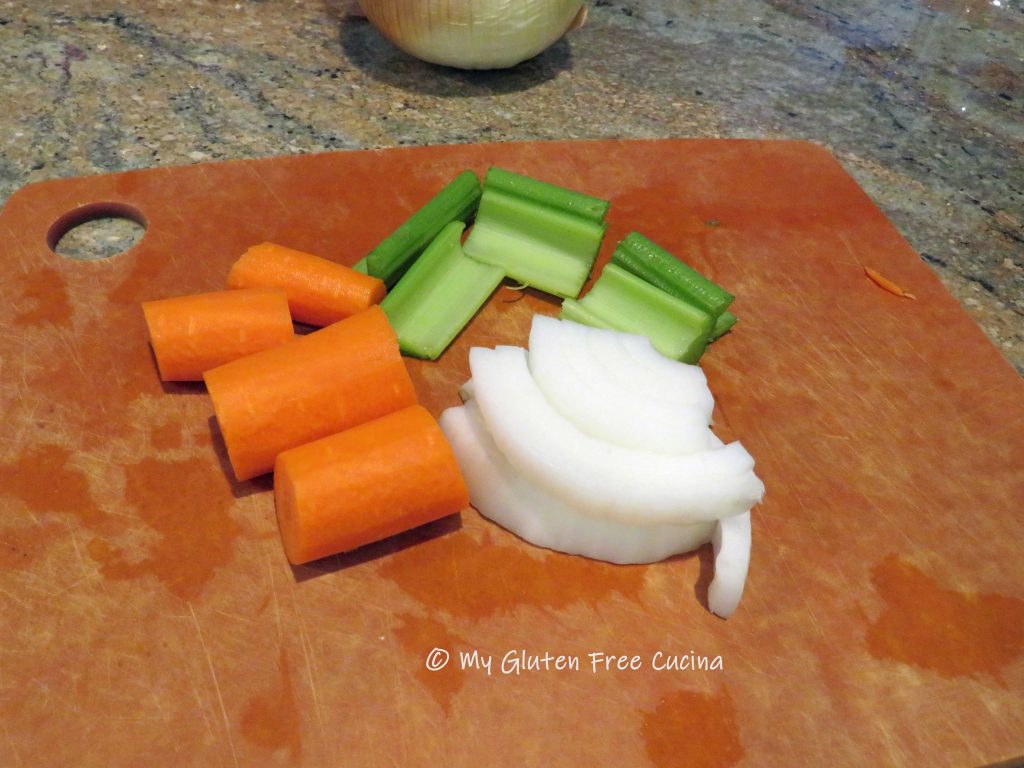
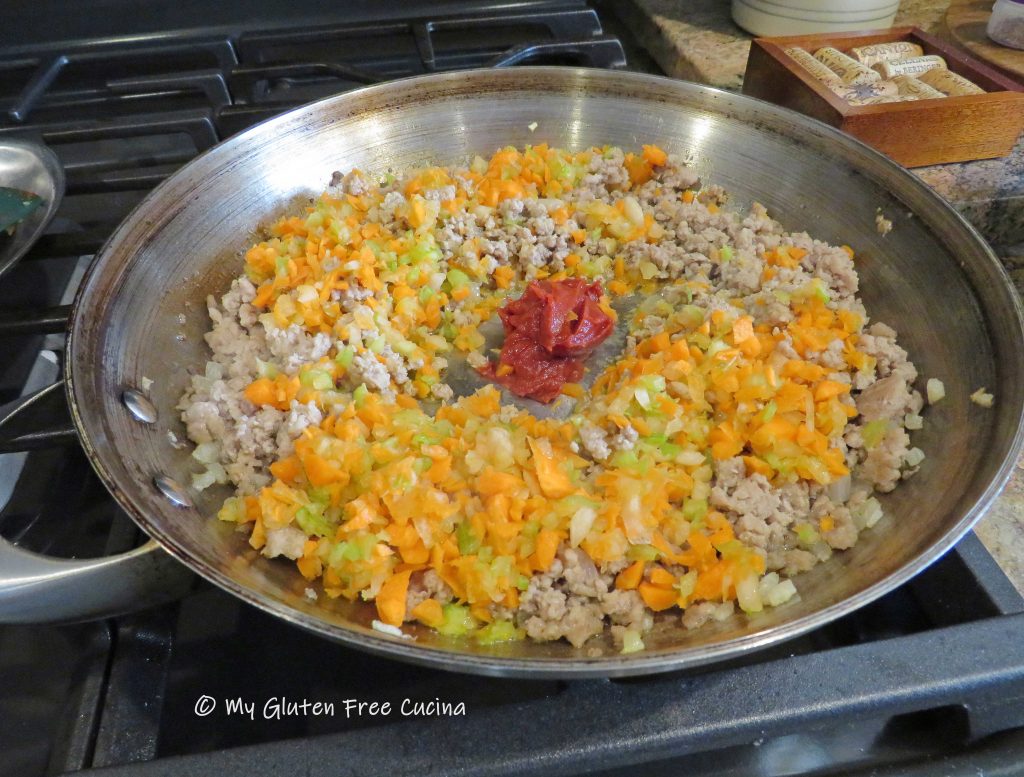
Mince the carrot, celery and remaining onion in an electric chopper.

Add the minced veggies to the pork and stir well.

Make a spot in the center of the pan and add the tomato paste.  Let it toast for a minute before stirring it into the pork and veggies.
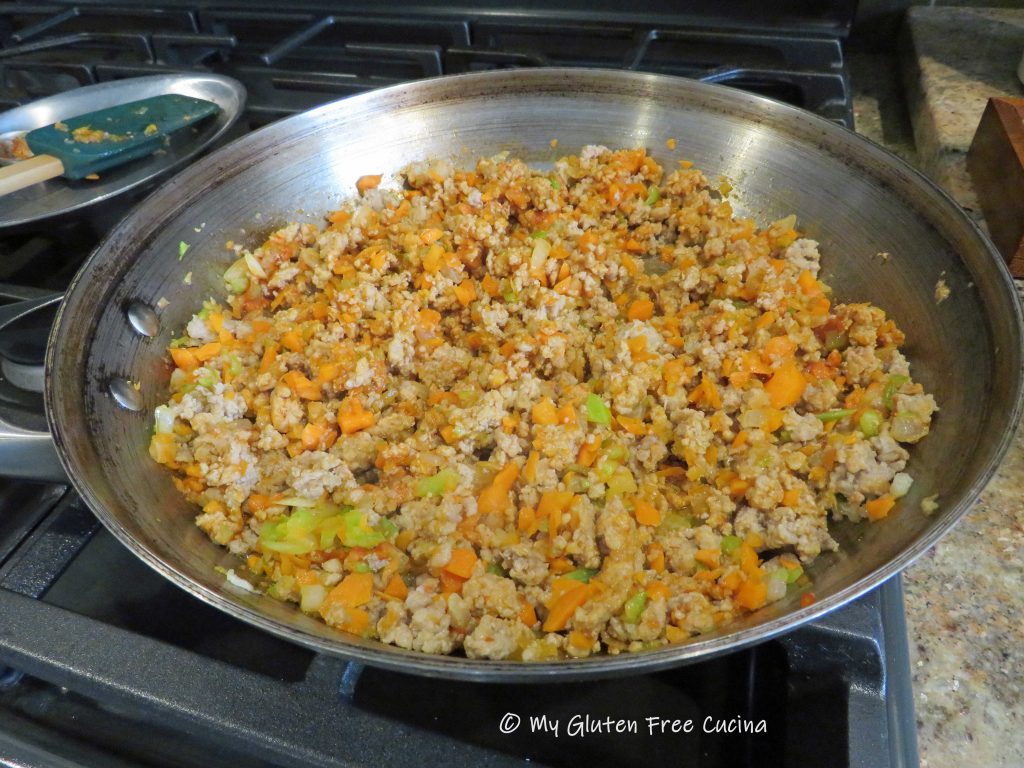
Add the broth with salt to taste.

Sprinkle the arrowroot evenly over the mixture and stir it in.  Simmer on low until the filling has thickened.  Stir in the baby spinach.  The filling should be moist, but not watery.

Transfer to a bowl and stir in the orange zest and parmesan.  Set it aside while you make the pasta and béchamel.

Step 3 – Make the pasta

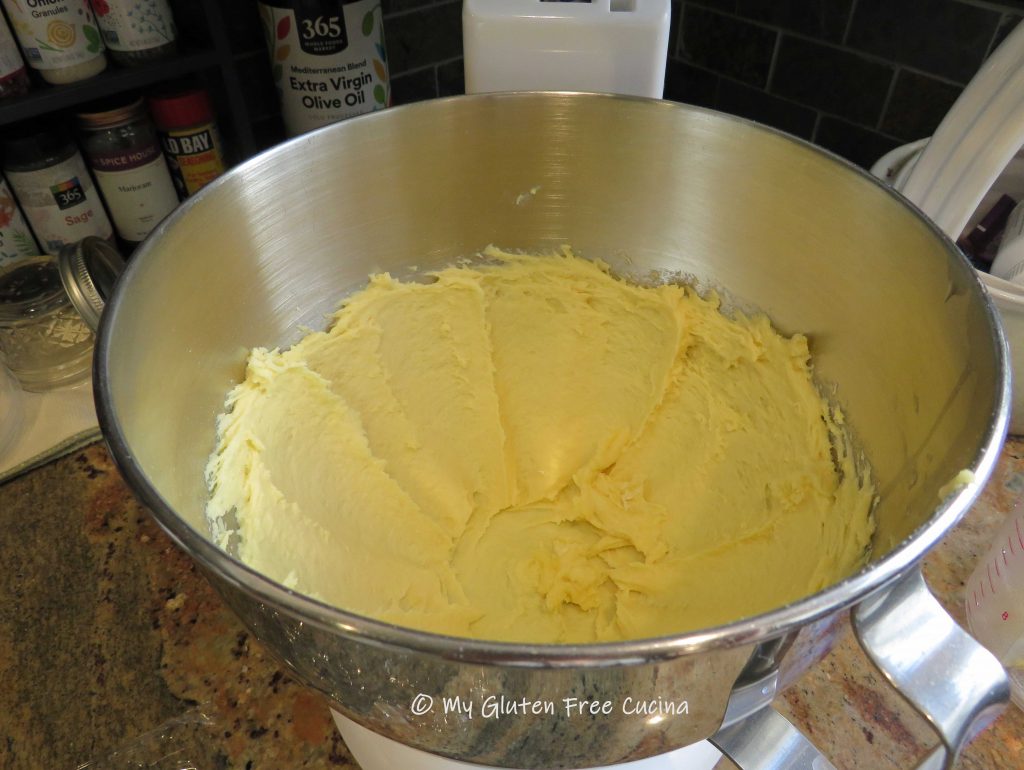
Combine 140 g. flour and salt.  In the bowl of a stand mixer, whisk the eggs and olive oil together.  Add the flour mixture and beat with the paddle attachment for 5 minutes to form a soft dough.

Bring the dough together and sprinkle with more flour, then wrap in plastic wrap.  Let the dough rest for 15 minutes.

Divide the dough into 4 sections and work with one piece at a time.  Begin feeding it through the pasta roller, starting with the thickest setting.  Pass it through several times, adding more flour as needed, then begin increasing the roller setting each time until you have a sheet that is thin without tearing the dough.

For this recipe, setting 3 on a KitchenAid pasta roller attachment is the perfect thickness.  Repeat with each section and lay the sheets on floured parchment or wax paper.
Cut each section into 5-6″ pieces.

Step 4 – Make the Béchamel

  • 1-1/2 tbsp. butter
  • 1-1/2 tbsp. arrowroot flour
  • 1/4 cup heavy cream or half and half
  • 1/2 cup 2% milk
  • 1/4 cup stock (chicken, beef or vegetable)
  • salt and pepper to taste

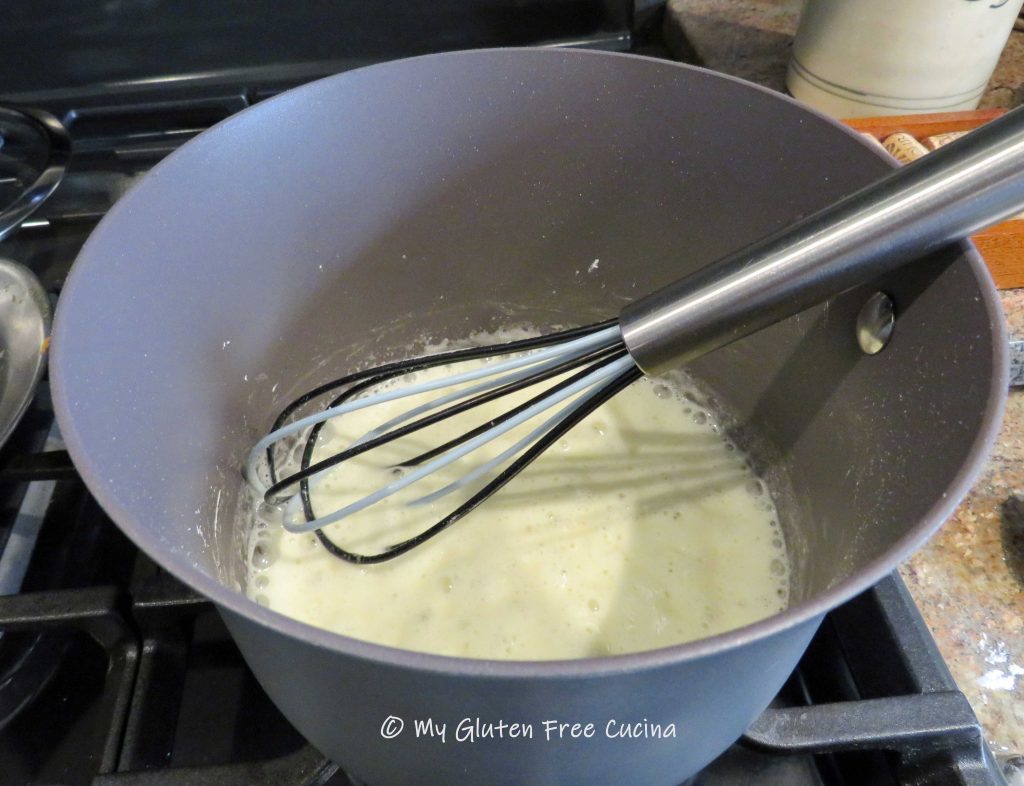
Melt the butter in a small nonstick saucepan.  Whisk in the arrowroot flour and cook 2-3 minutes over low heat, whisking constantly.

Drizzle in the milk, cream and broth and whisk continuously until thickened.  Season with salt and pepper.  Keep warm.

Assemble!

Finally!  The hard work is done, and it’s time to assemble.  Preheat the oven to 400º.

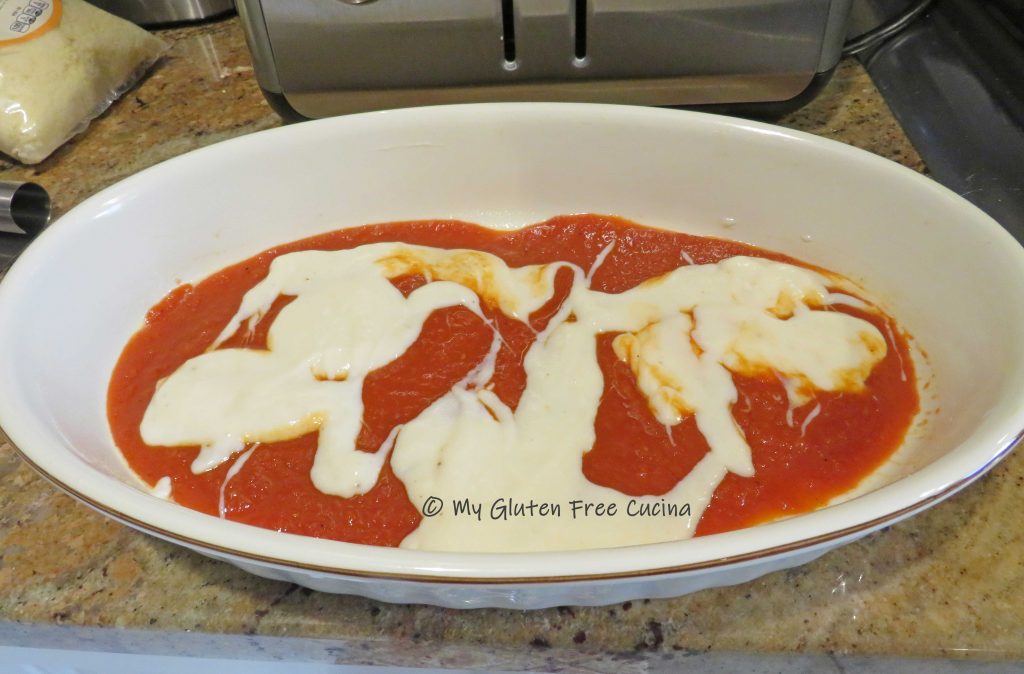
Coat a casserole dish with cooking spray.  Ladle enough marinara to cover the bottom of the pan, and top with a few ladles of Béchamel.

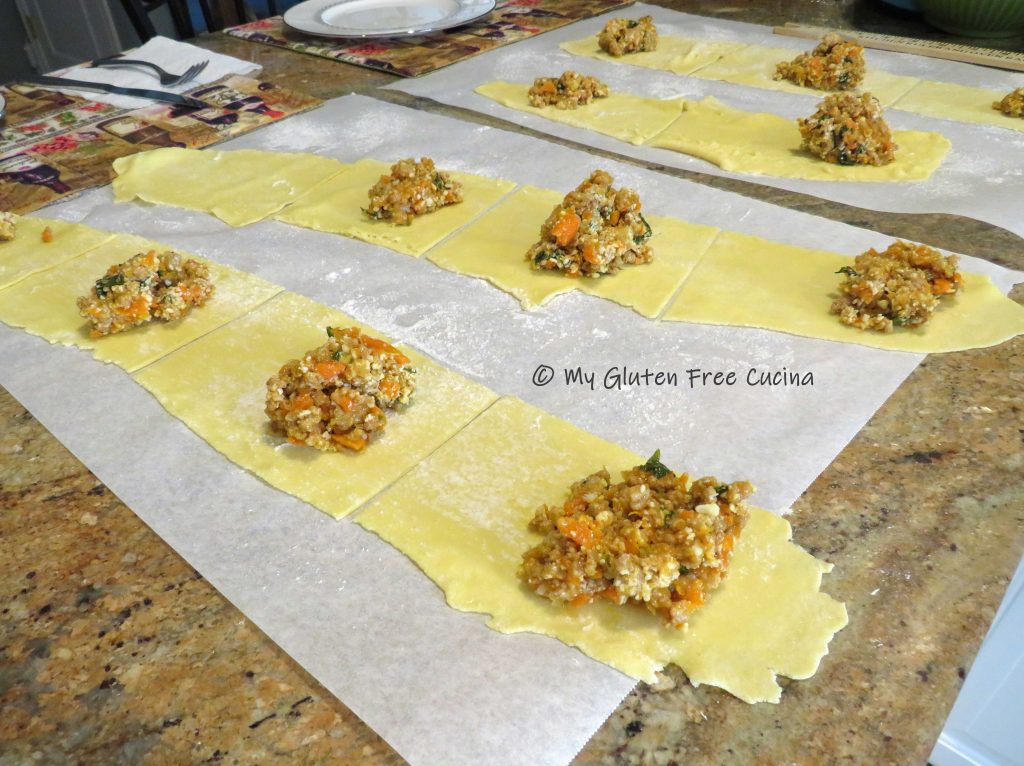
Spoon the filling evenly onto each section of pasta.

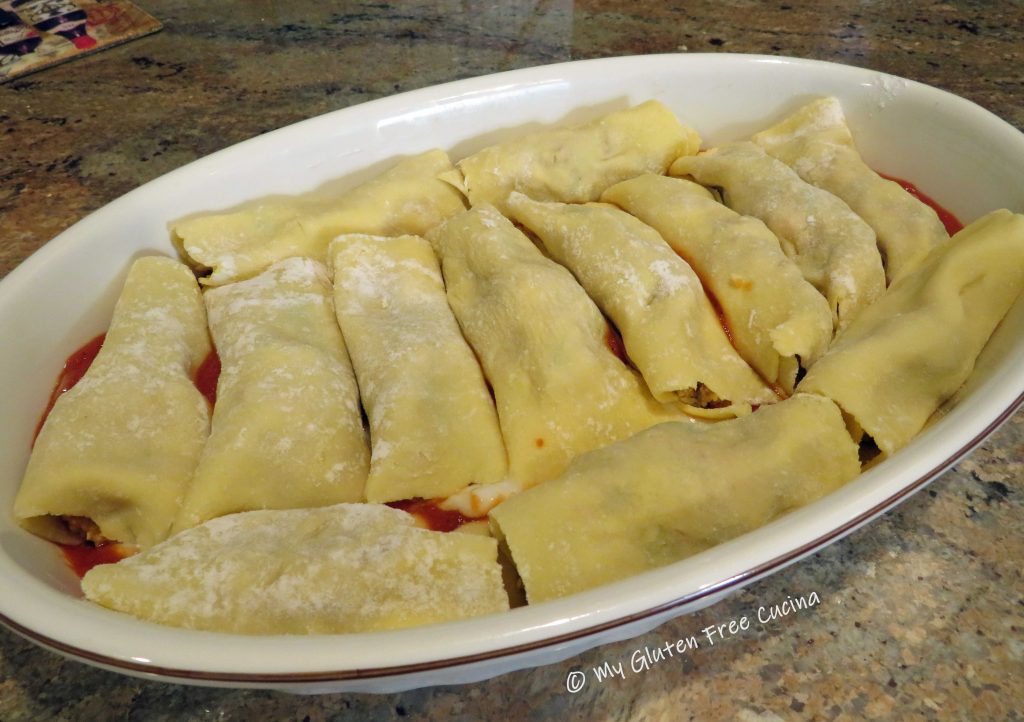
Roll each section into a cylinder and arrange the bundles in a single layer, seam side down in the casserole dish.

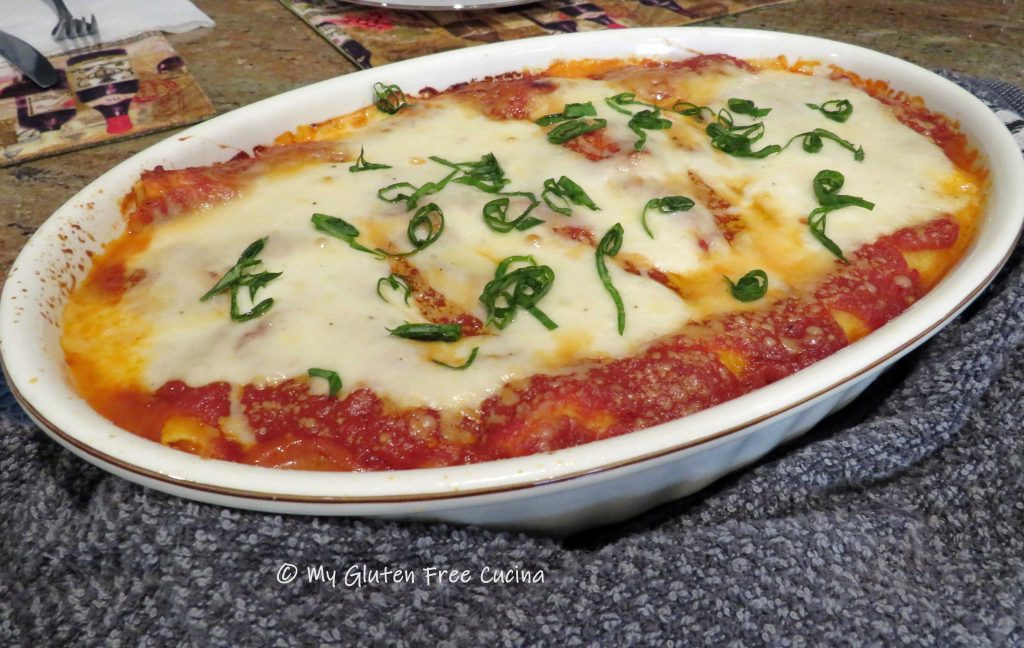
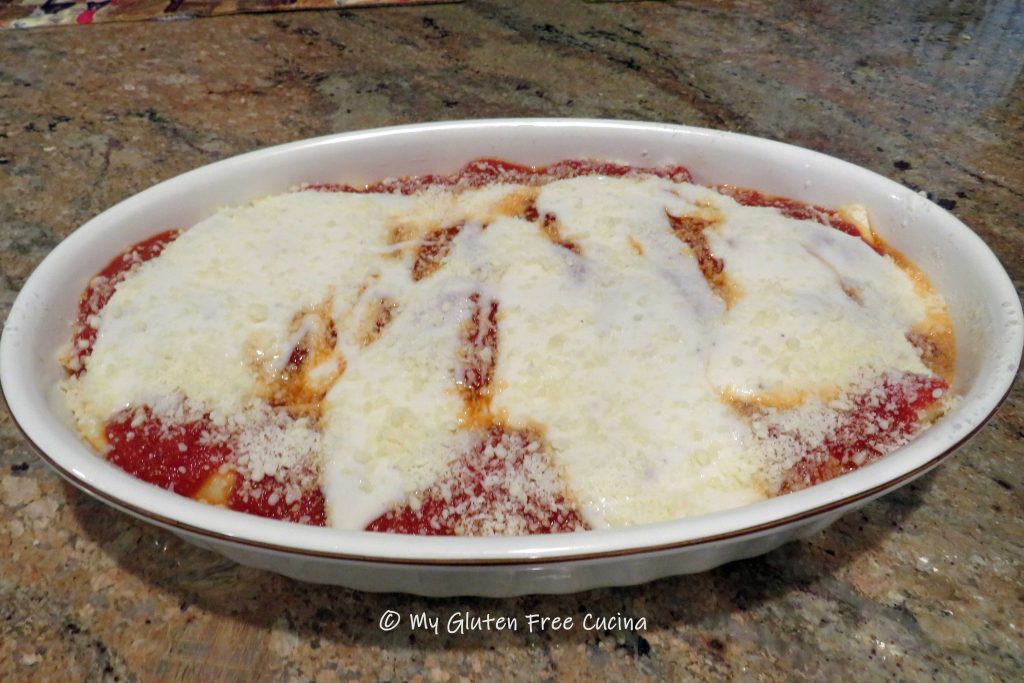
Spread the remaining sauce over the cannelloni, then top with more Béchamel.  Be sure that all of the pasta is generously covered with the sauce, including the edges.  Sprinkle the top with grated parmesan cheese and cover the dish with foil.

Bake for 15 minutes, then carefully remove the foil and bake for another 15 minutes.

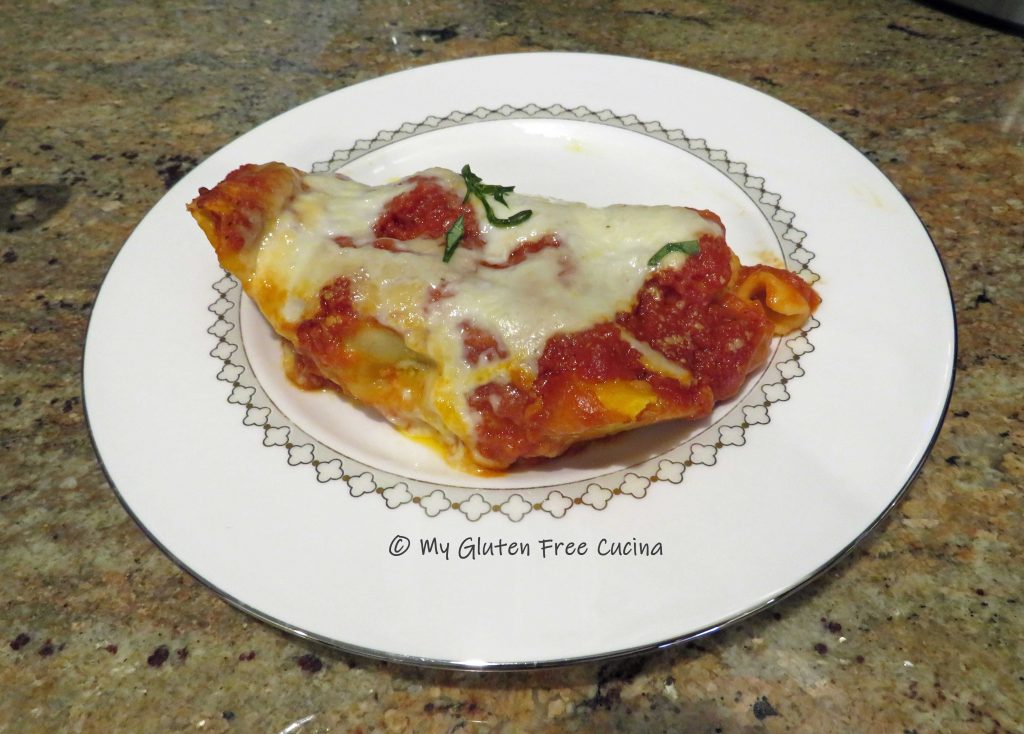
As the pasta bakes it will absorb liquid and thicken the sauce.  The filling is delicious and moist.  Garnish with fresh basil and dig in!

Notes:

I won’t tell if you use a gluten free jar sauce (wink!).

Use a wine that you can/would drink.  Do NOT use cooking wine!

♪♫ Don’t skip the fresh orange zest.  It adds a subtle burst of amazing flavor to the finished dish!

♫♫ Homemade pasta is fabulous, but if you’re not up to the task, try to find fresh gluten free lasagna sheets such as Taste Republic.  You will need about 8 lasagna sheets for this recipe.  Lay them out on floured parchment and cut each sheet in half.  I do not recommend using dry pasta in this recipe, as it needs to be cooked in advance in order to roll properly and will not absorb enough liquid, resulting in a soggy finished dish.

Print This Post Print This Post

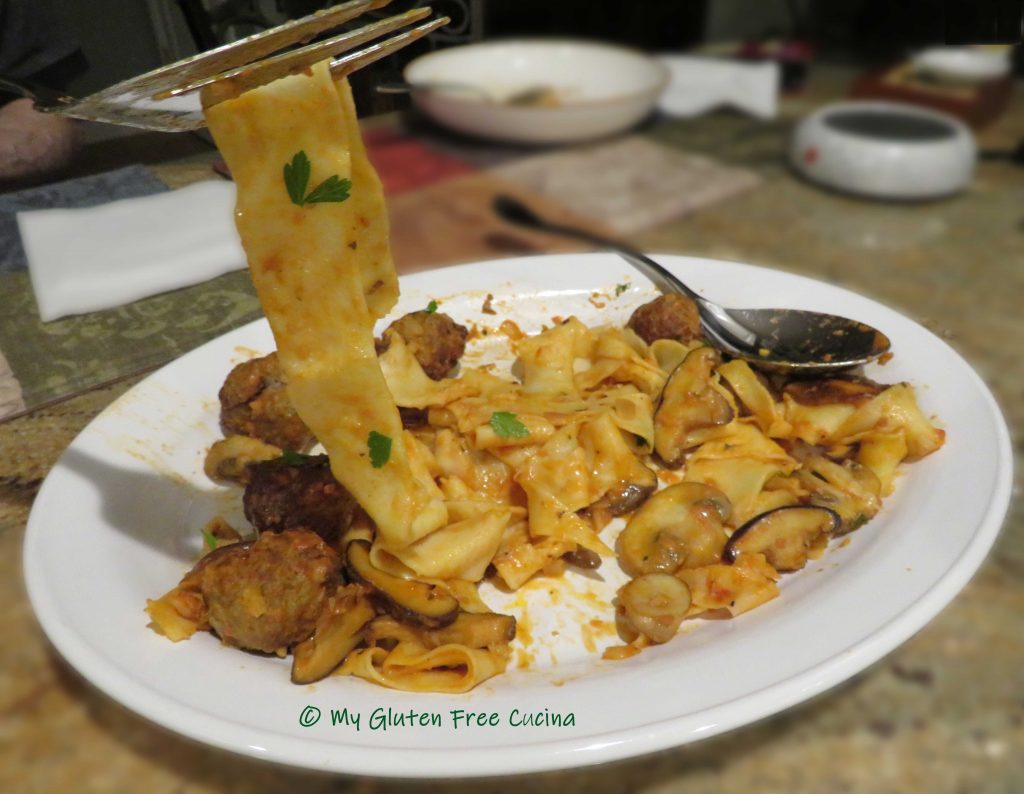
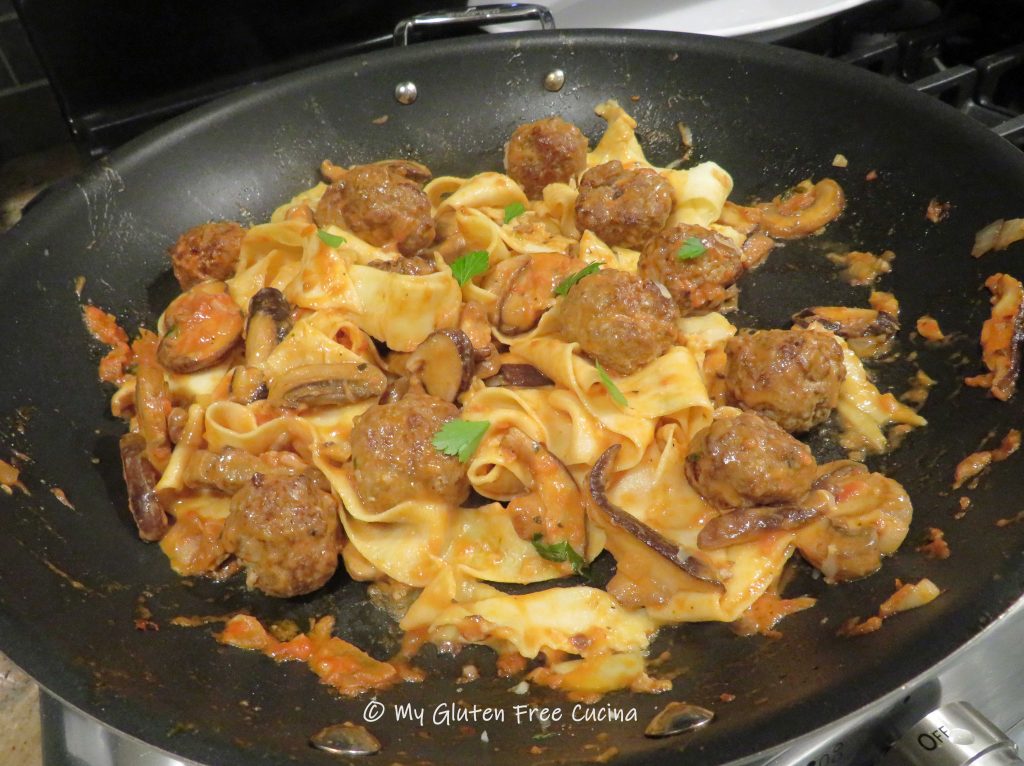
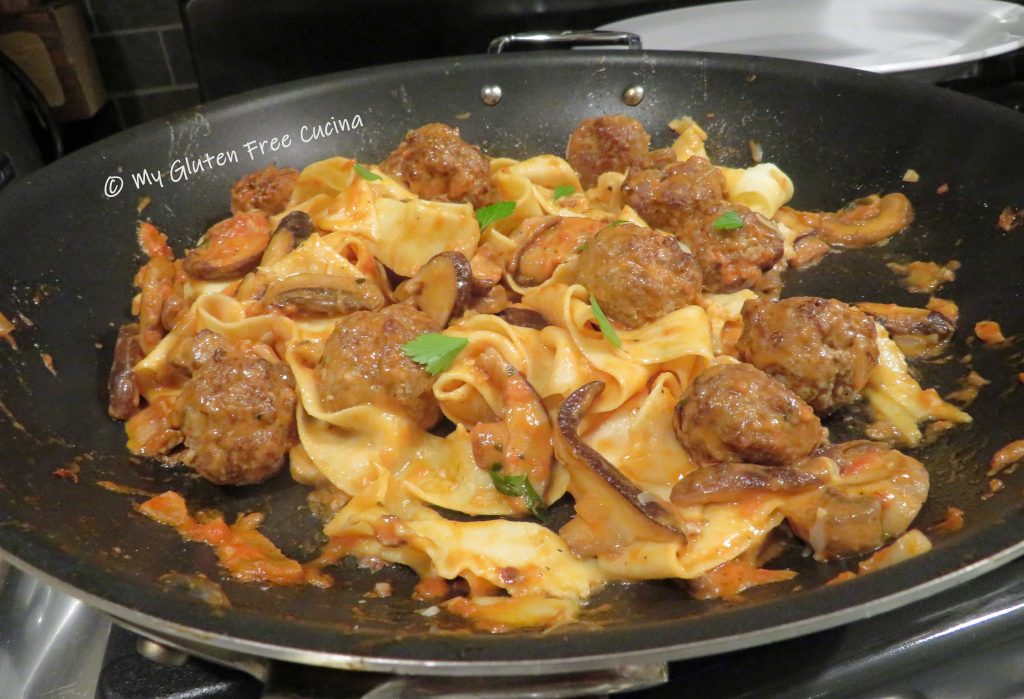
Gluten Free Pappardelle with Mushroom Cream Sauce and Veal Meatballs

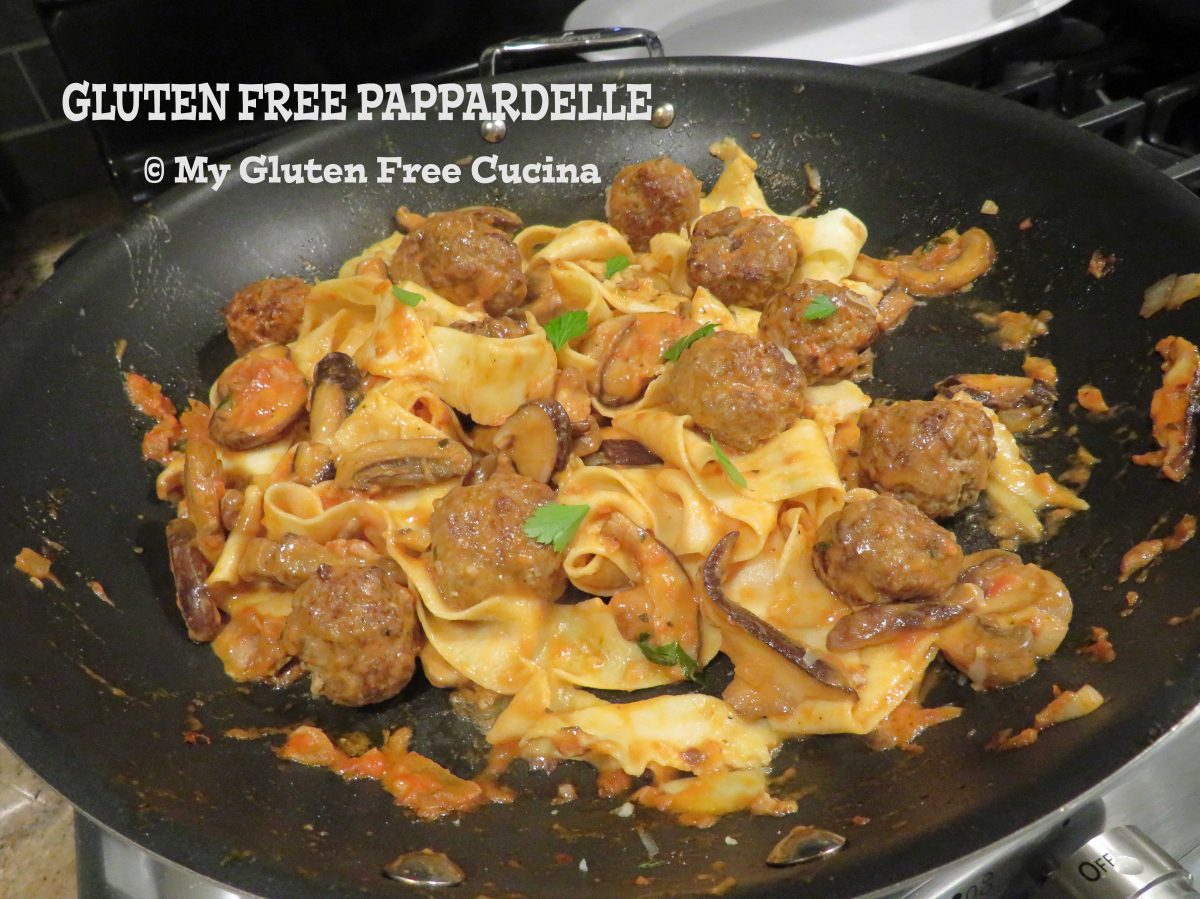
This plate full of happiness features beautiful ribbons of homemade pappardelle pasta prepared with a tomato mushroom cream sauce.  Tiny veal meatballs complete the dish.

Completely gluten free, I used my favorite, Better Batter Original All Purpose Blend to make the pasta noodles and they were just perfect!  I used my KitchenAid® to roll out the pasta dough and that definitely made the job easier.  You can do it with a rolling pin if you have patience!

This post contains affiliate links.

Dinner for 2

Ingredients:

For the pappardelle

For the Veal Meatballs

  • 1/2 lb. ground veal
  • 1 egg, beaten
  • 1 tsp. minced garlic
  • 2 tbsp. minced shallots
  • 1 tsp. fresh parsley
  • salt and pepper to taste
  • 2 tbsp. gluten free seasoned breadcrumbs
  • 2 tbsp. potato flakes
  • cooking spray

For the Sauce

  • 1 tbsp. olive oil
  • 1/8 tsp. red pepper flakes
  • 3 oz. shitake mushrooms, sliced
  • 5 oz. baby bella mushrooms, sliced
  • 2 tbsp. minced shallots
  • 1/4 tsp. salt
  • 1/4 tsp. pepper
  • 1/8 tsp. garlic powder
  • 1/8 tsp. onion powder
  • 1/8 tsp. paprika
  • 2 tsp. garlic, minced
  • 1 tbsp. fresh Italian parsley, chopped
  • 1/4 cup white wine
  • 2 tbsp. heavy cream
  • 2/3 cup tomato sauce
  • 2 tsp. butter
  • 2 tbsp. grated parmesan

Preparation:

To make the pappardelle, combine 70g. flour with remaining ingredients in the bowl of a stand mixer and beat with the paddle attachment for 5 minutes to form a soft dough.

Bring the dough together and sprinkle with more flour, then wrap in plastic wrap.  Let the dough rest for 15 minutes.

Divide the dough into 4 sections and work with one piece at a time.  Begin feeding it through the pasta roller, starting with the thickest setting.  Pass it through several times, then begin increasing the roller setting each time until you have a sheet that is thin without tearing the dough.  For pappardelle, this would be setting 3 or 4 on a KitchenAid pasta roller attachment.  Repeat with each section and lay the sheets on floured wax paper.

Note: For a full tutorial on how to make pappardelle refer to this post!

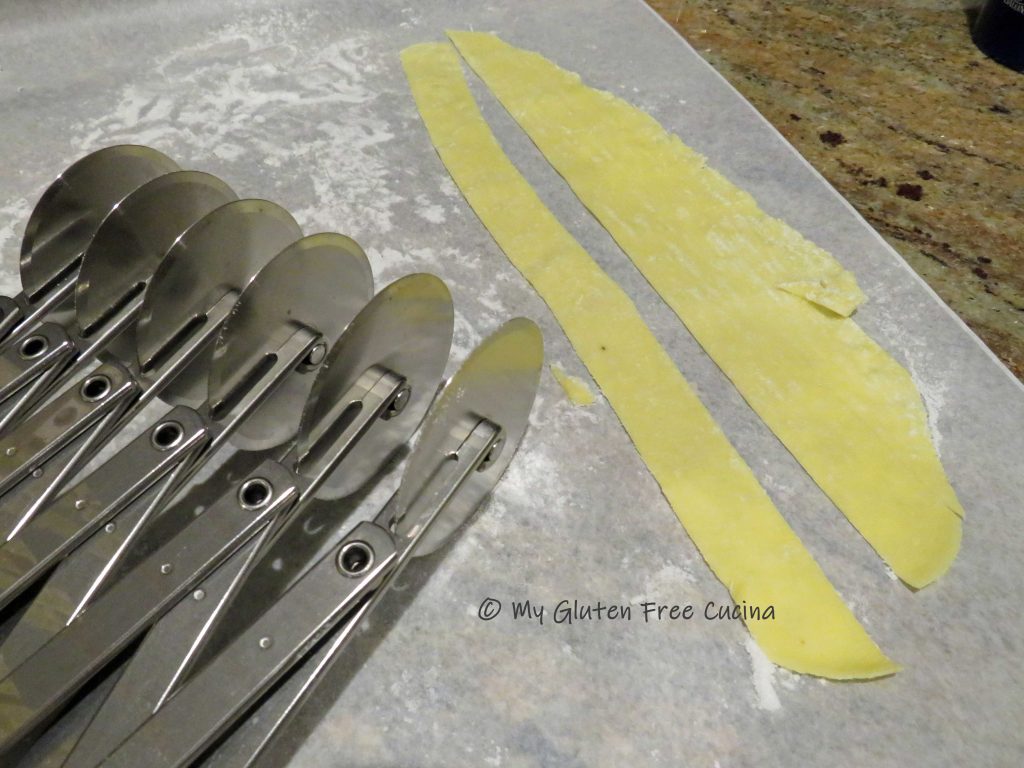
When you have completed rolling the 4 sheets, cut them into 3/4″ ribbons.   Hang them up to dry on a pasta drying rack.

To make the meatballs, combine all ingredients in a bowl and mix well with your hands.

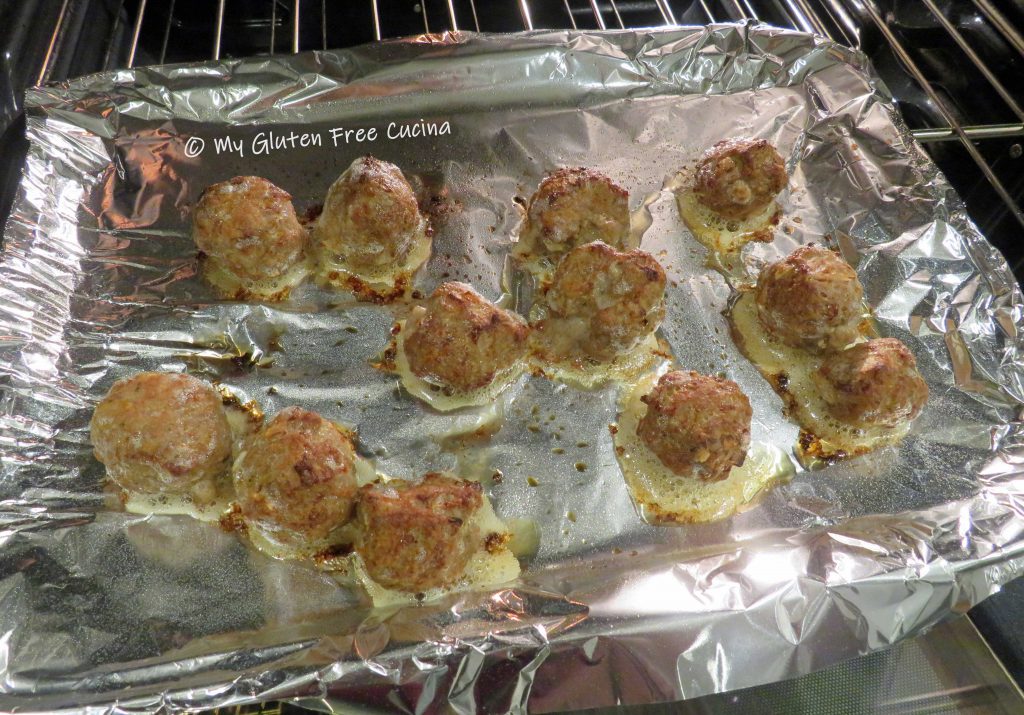
Line a baking sheet with foil and mist with cooking spray.  Form 12 small meatballs and arrange on the baking sheet, leaving space in between.
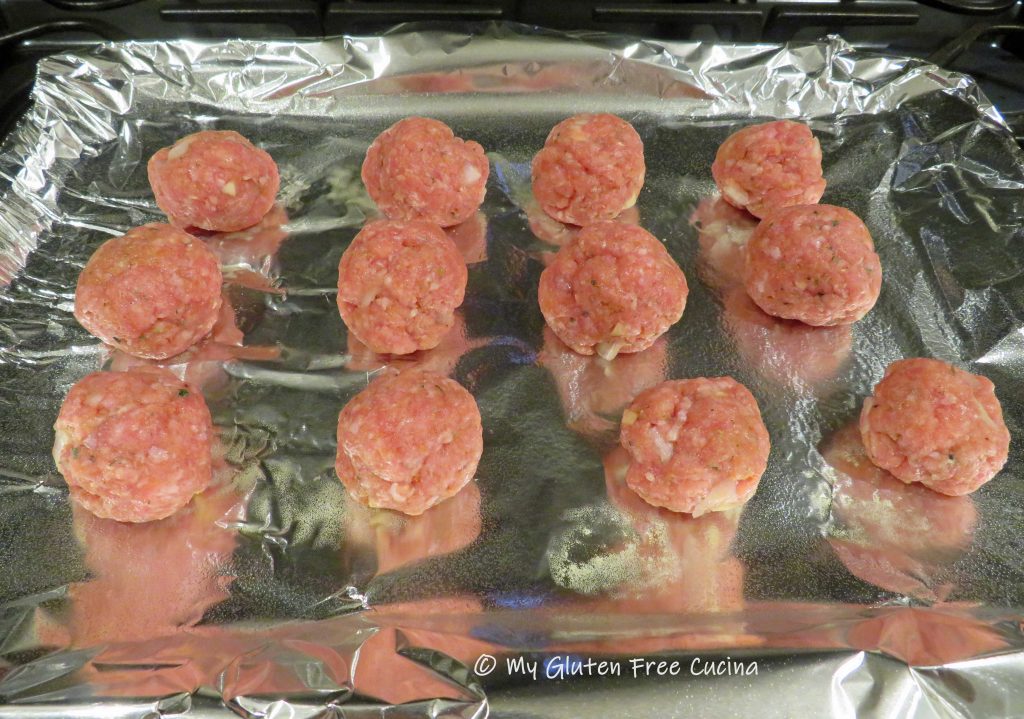
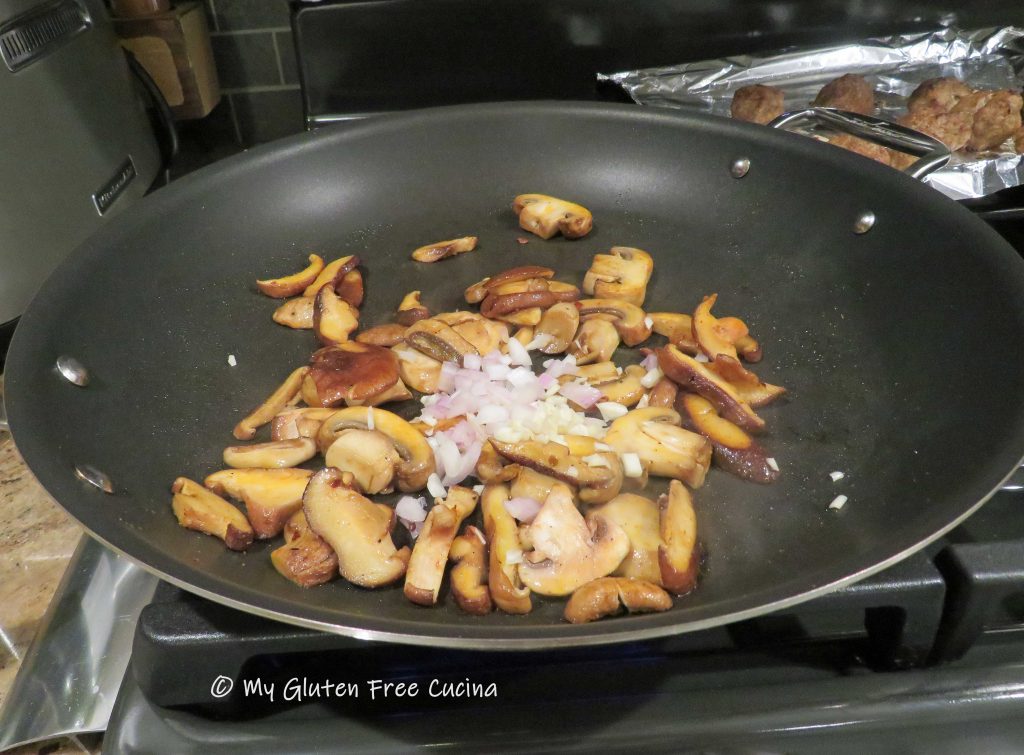
Broil 4 minutes per side, 8 minutes total.  Remove from the oven and set aside.  Set up a pot of salted water for the pasta and bring to a rolling boil.

Now, to put it all together make the sauce.  In a large nonstick skillet over medium low heat, add the olive oil and red pepper flakes.  Add the mushrooms and shallots, season and stir frequently until they begin to release their liquid.

Add the garlic and parsley then add the white wine.

Allow the wine to reduce for 2 minutes then stir in heavy cream.

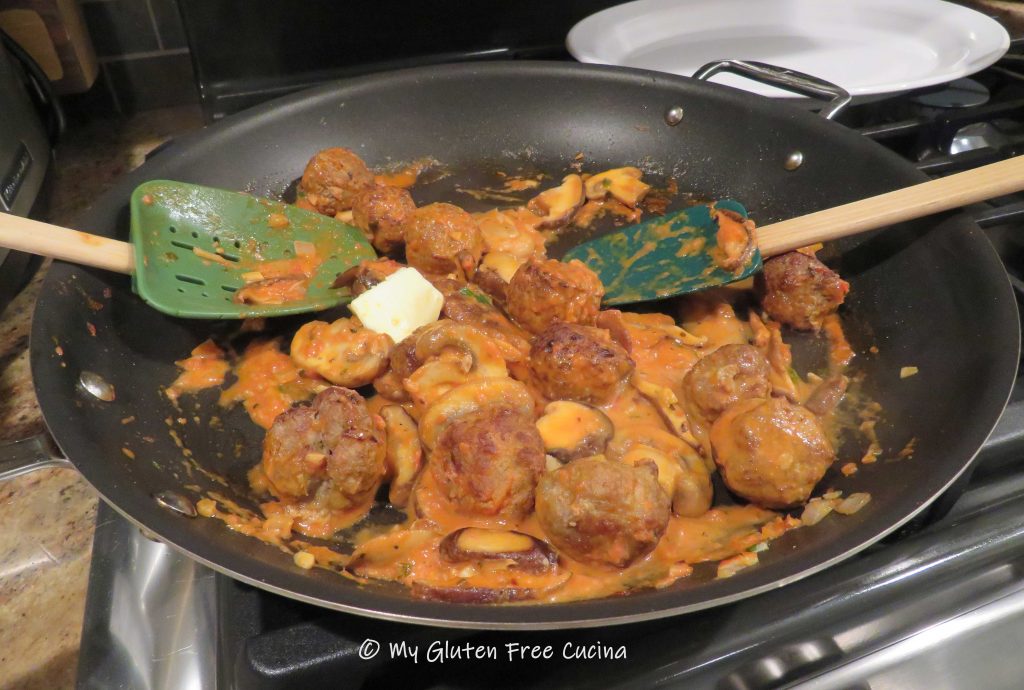
Finally add the tomato sauce and the veal meatballs with 2 tsp. butter.

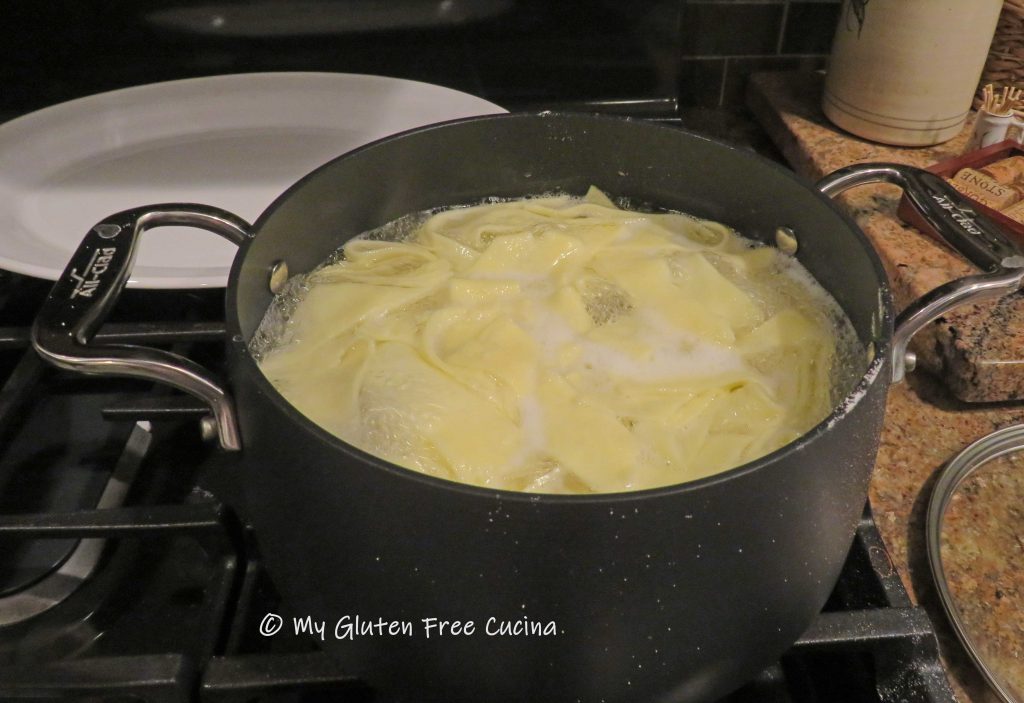
Add the pasta to the boiling water and cook for 3 minutes.  You can add a ladle of the pasta water to the sauce if it appears dry.

Use tongs to carefully remove the pappardelle from the water and add to the sauce.  Add another pat of butter and stir in the parmesan cheese.

Carefully fold everything together until cheese is completely melted.

Transfer to a serving platter and garnish with Italian parsley.

Notes ♪♫ Gluten free dough can be so temperamental.  It does tend to stick and tear.  For best results keep the dough and the roller lightly dusted with flour as you work.  I was thrilled to get my pasta sheets to setting #4 on my KitchenAid®, this was an ideal thickness for the pappardelle noodles.  Try to get to at least the third setting, and don’t worry if you have a few tears and odd shaped noodles, they will still be delicious!

Print This Post Print This Post

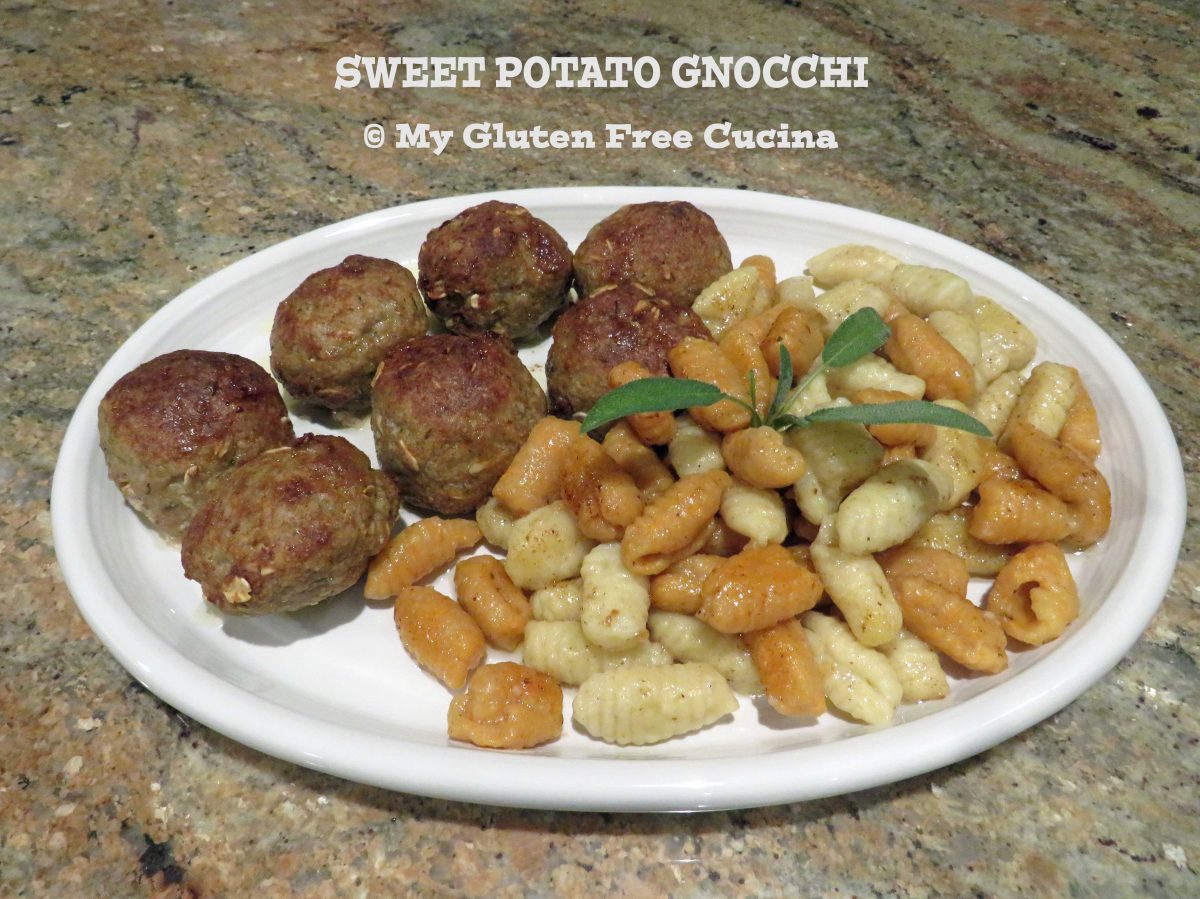
Sweet Potato Gnocchi with Turkey Meatballs

A word of Caution- This recipe contains oats.

A recent statement from Gluten Free Watchdog states that they cannot currently recommend ANY brand of gluten free oats.

Whether or not you continue to consume oats is a personal choice.  As we await more information, I will preface any recipes that include oats with a link to this important statement from Gluten Free Watchdog, an independent, subscriber-driven gluten-testing organization.  About | Gluten Free Watchdog

***

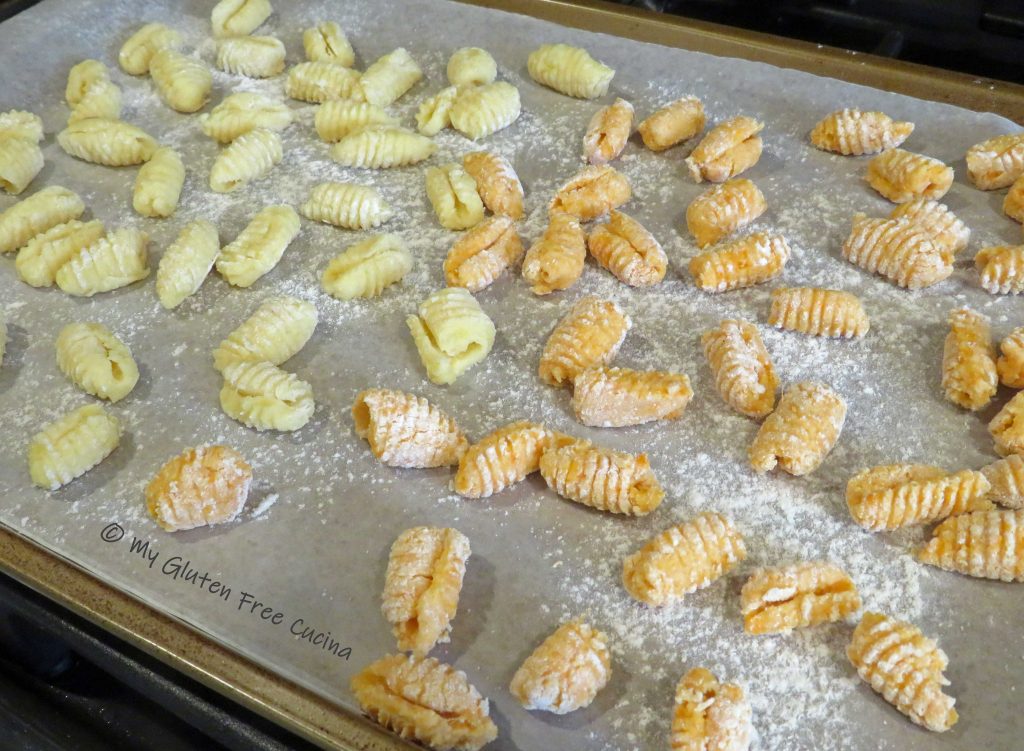
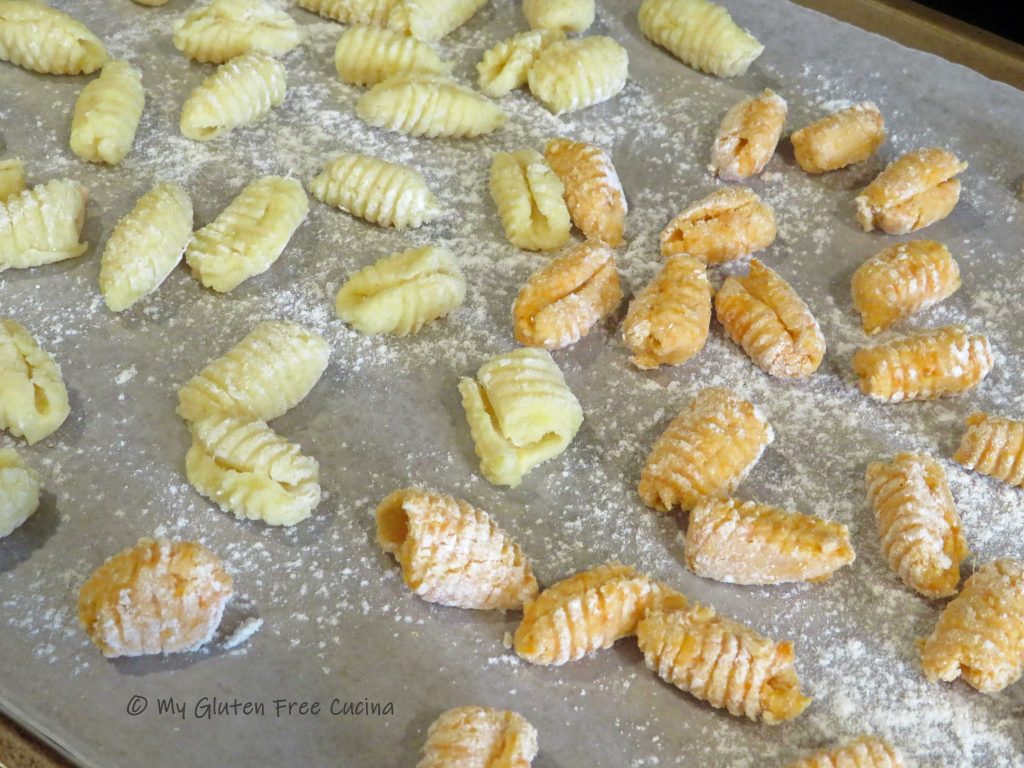
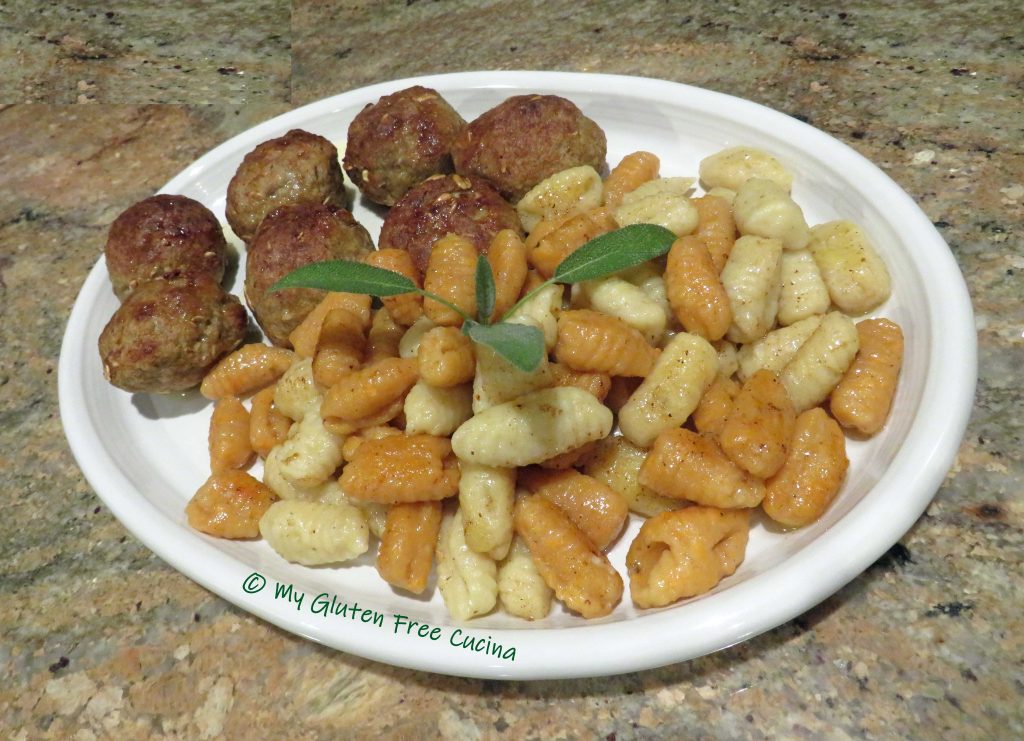
This rustic pasta dinner was perfect for an autumn afternoon.  Making the two-color gnocchi was a fun experiment as well as a learning experience.  I found the whole process relaxing and enjoyable.  The end result was a delicious dinner for two!

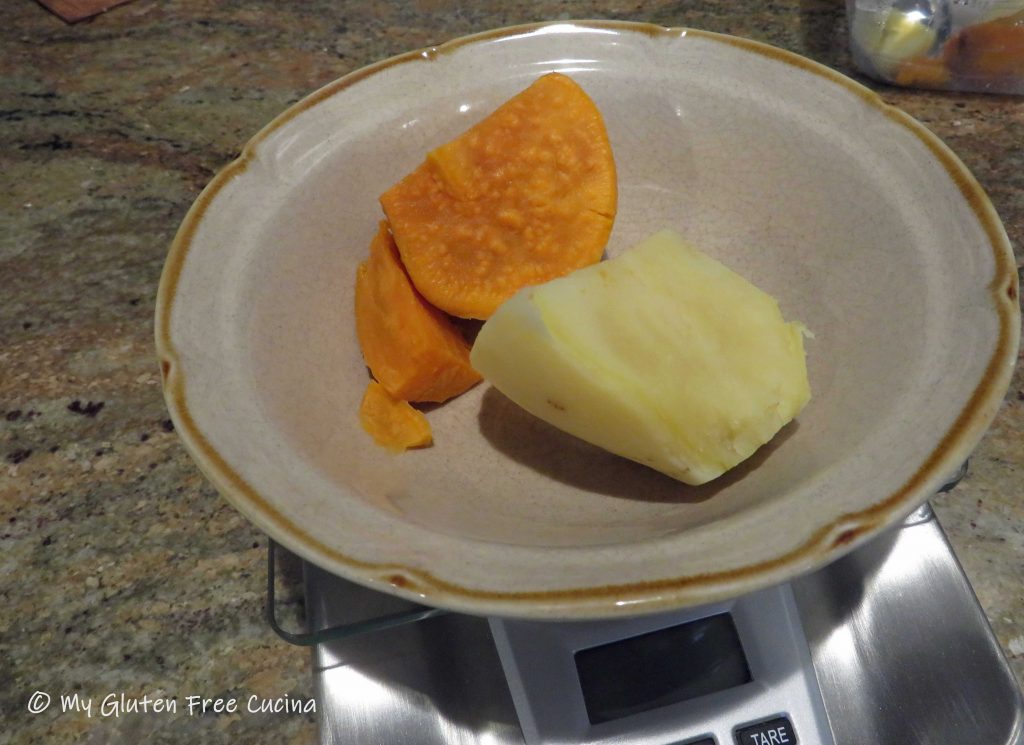
I have made potato gnocchi before, using Hannah (white) Sweet Potatoes, and they were fabulous.  My idea was to make a half batch with white sweet potato and replicate another half batch with traditional orange sweet potato.

The biggest takeaway from this was that not all potatoes are created equal in terms of moisture content.  The orange potato held many times more moisture than the white sweet potato.  So, the amount of flour needed for each batch was quite different.  In the end, I lost track of the measurements and just gradually incorporated more flour until the right consistency was achieved.

Note that this was a very small batch.  Enough for the two of us with just a bit leftover.  Next time I will make more!  The flour is a 2.5/1 blend of cassava flour/arrowroot flour.  You can mix up a batch ahead of time, so you have enough for rolling and dusting.  I finished the gnocchi in a simple browned butter sage sauce and served with turkey meatballs.

Dinner for two (recipe can be doubled)

This post contains affiliate links.

Ingredients:

For the Gnocchi

For the Meatballs

For the Sauce

  • 1/2 stick (1/4 lb.) butter
  • 8 fresh sage leaves

Preparation:

I peeled and steamed the potatoes the day before.  I weighed 2.5 oz. of each potato and set aside the rest for another meal.

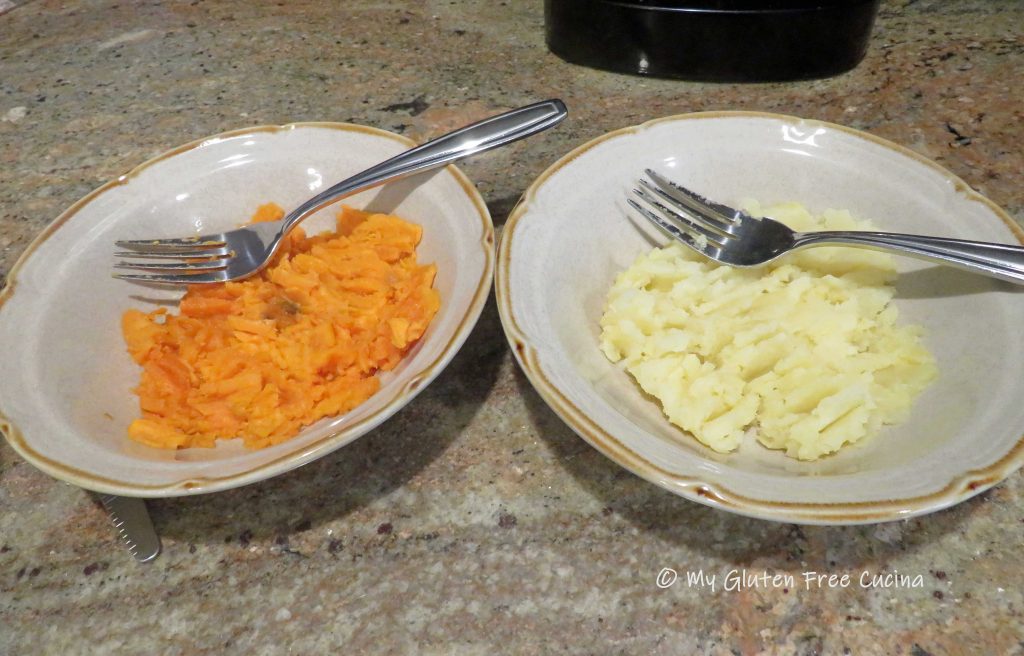
The next day I began by mixing up a batch of 1-1/4 cups cassava flour + 1/2 cup arrowroot starch.  I warmed the potato for 30 seconds in the microwave and placed in 2 separate bowls, mashing with a fork.

I whisked the egg, salt, xanthan gum, then added 2.5 tbsp. of the flour mixture.  I divided this mixture between the two bowls of potato.

I then gradually added more flour to each bowl and worked it in until I could roll the dough into a ball.  I covered each in plastic wrap and rested 15 minutes.

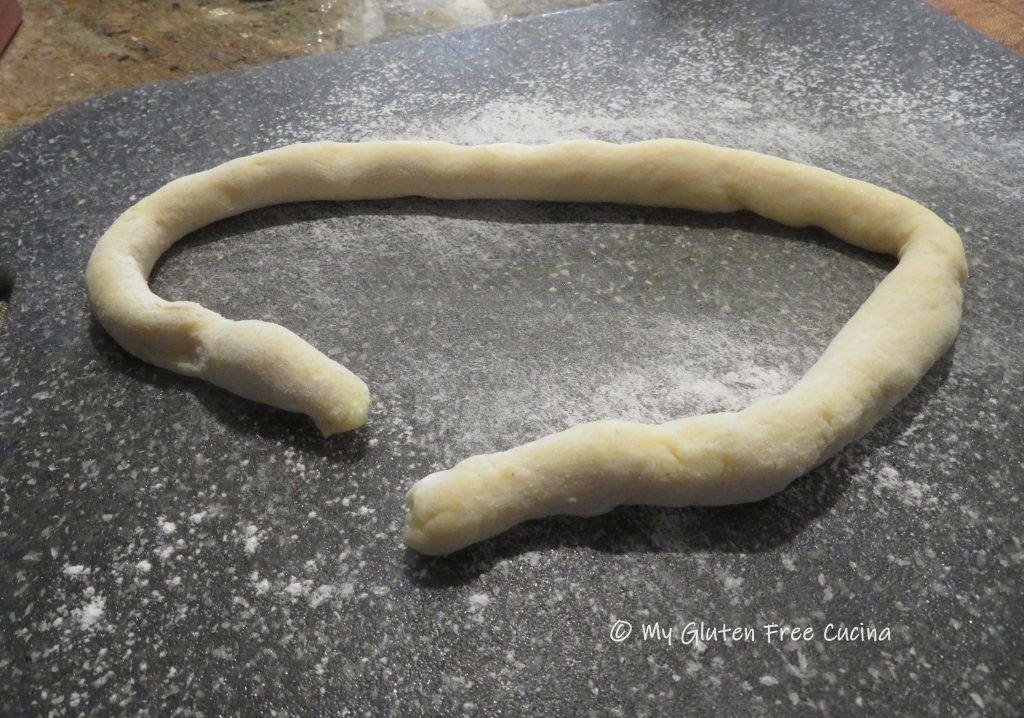
I liberally floured a cutting board and started with the white sweet potato, gradually incorporating more flour until I could roll the dough into a long smooth rope, like this.

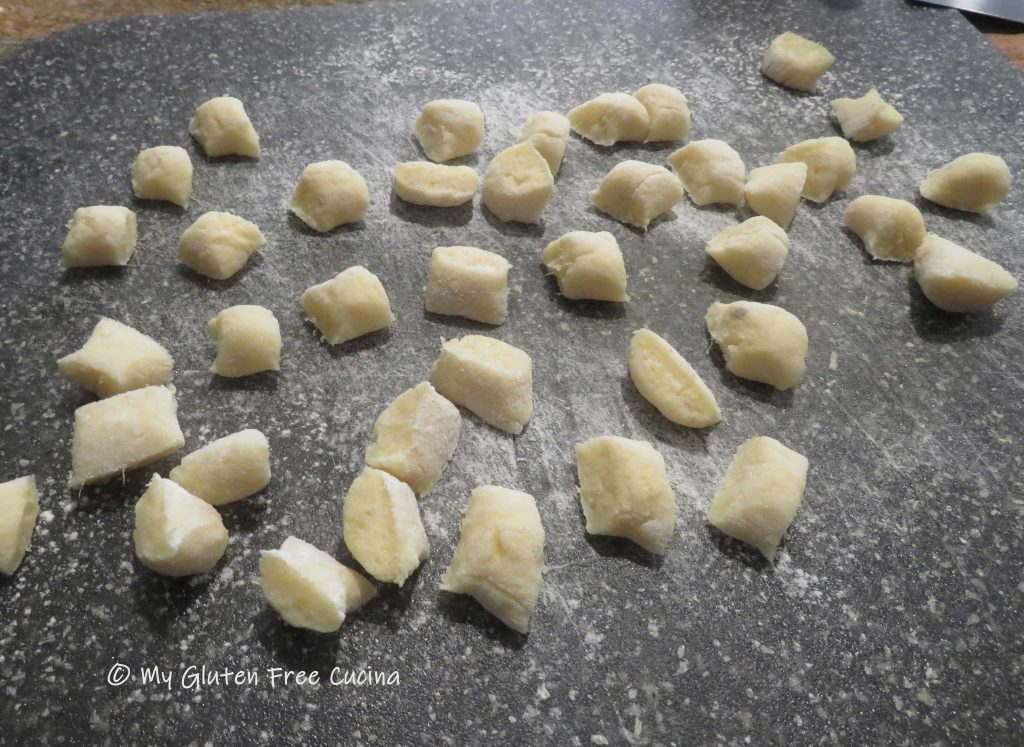
I used a bench knife to cut the rope into 1/2″ pieces.

I repeated the same process with the orange sweet potato, and here is where I lost track of the flour measurements.  The orange sweet potato dough had absorbed all of the flour and was still very wet.  It required quite a bit more flour to achieve the right consistency.  All in all, I would say I used 3-4 times more flour for the orange potato dough as was needed for the white potato.
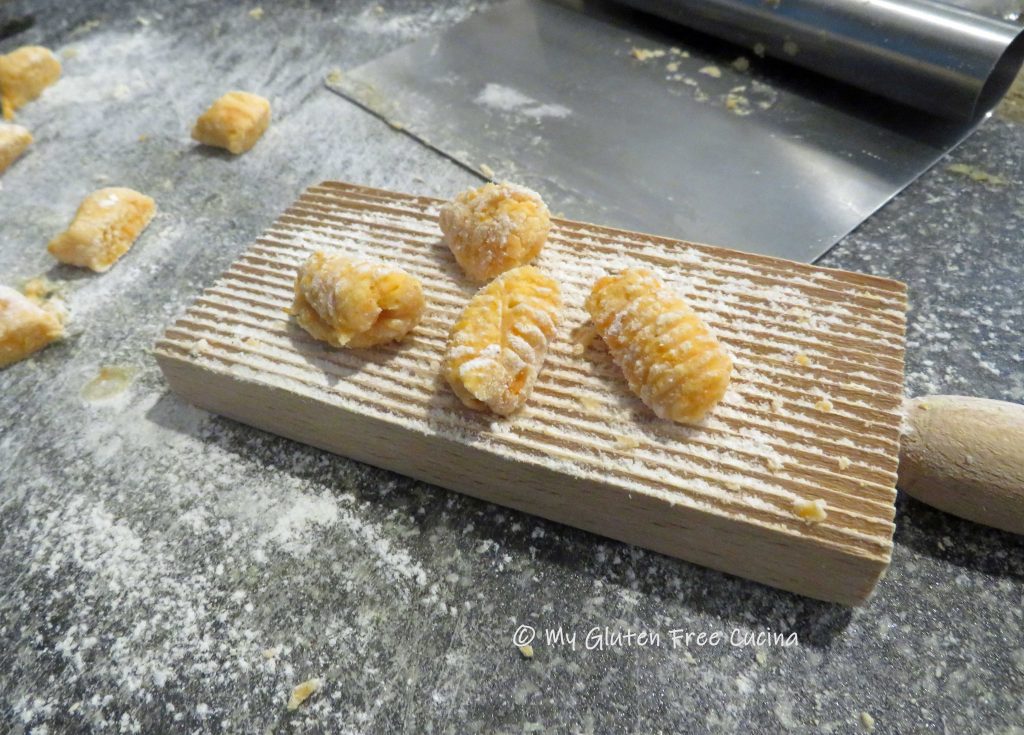
For the final step I rolled each piece of dough over a floured gnocchi board.

I placed the formed gnocchi on a baking sheet lined with waxed paper and dusted with flour.  I recommend refrigerating for at least 1 hour before cooking for firmer texture.

Here’s how to finish the meal.

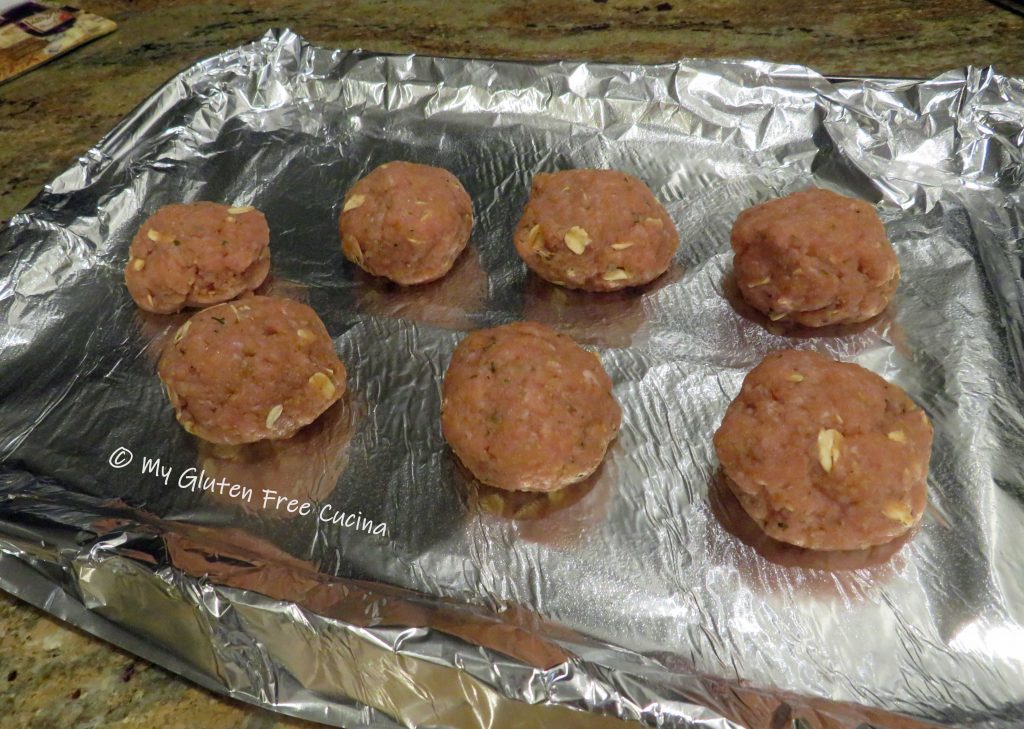
Combine all of the meatball ingredients and form 6-7 meatballs.  Line a baking sheet with foil and mist with cooking spray.

Place the meatballs on the baking sheet, and broil 5 minutes per side on high.  Keep warm.
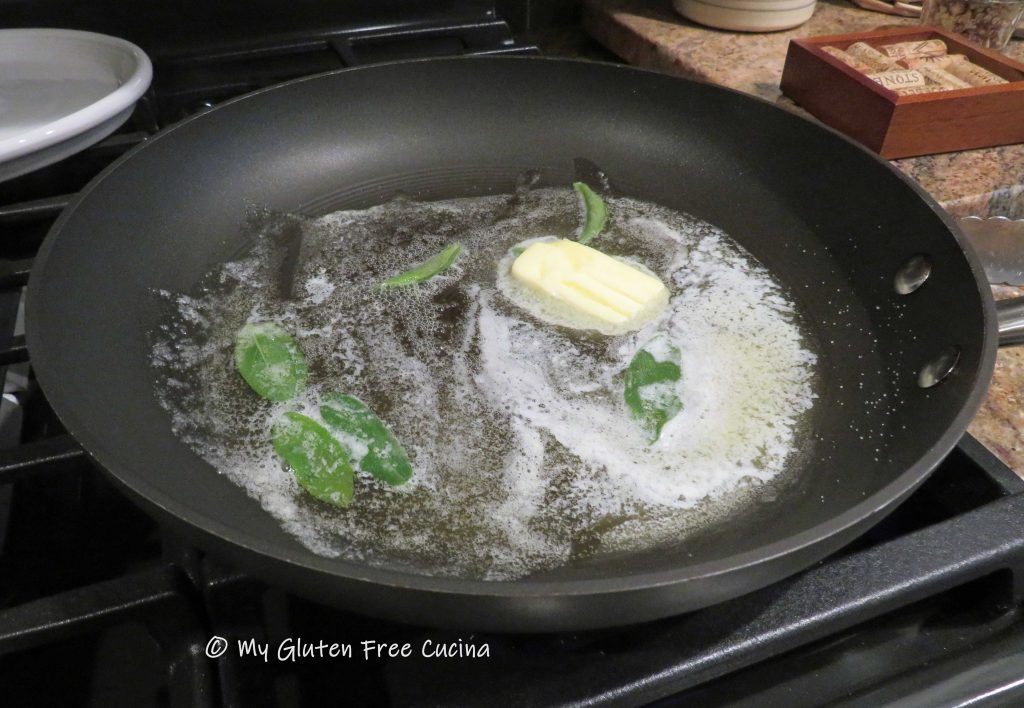
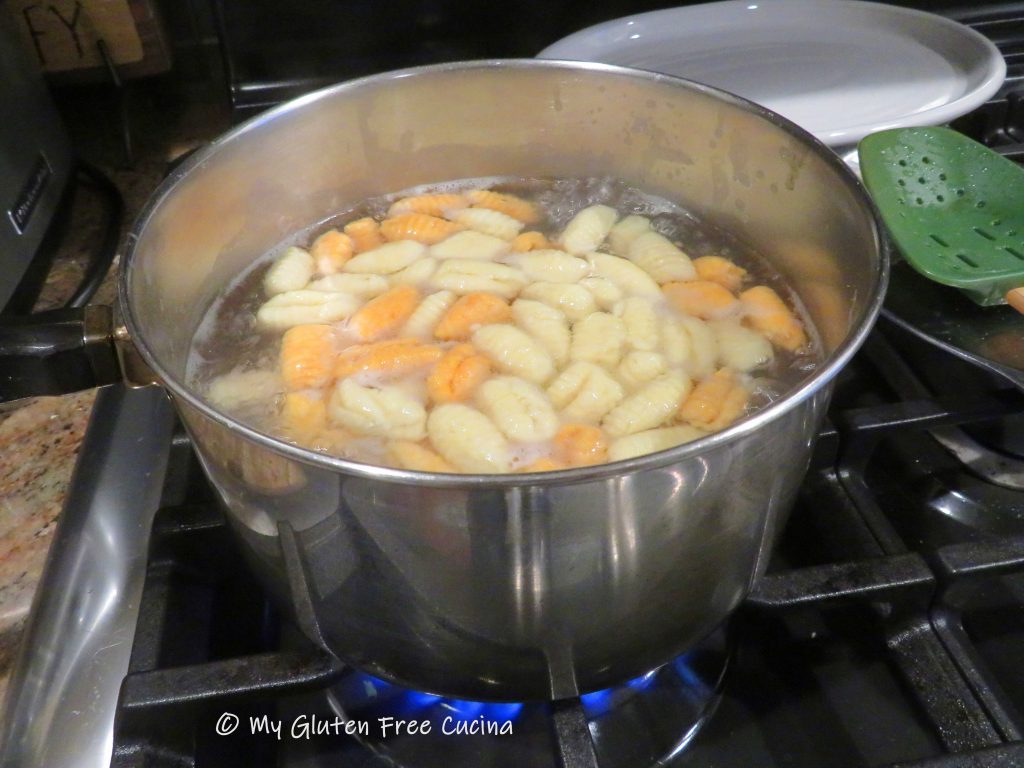
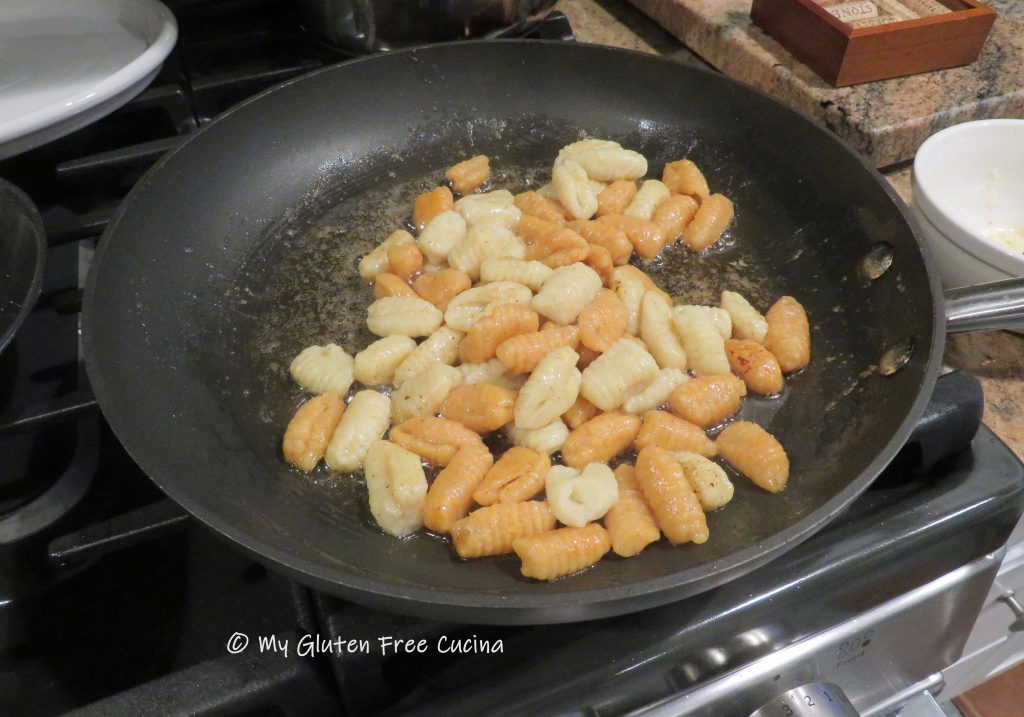
Boil salted water for the pasta.  In a nonstick skillet melt the butter, and as soon as the butter begins to foam, add the sage leaves.  When the white solids begin to separate, use a slotted spoon or spatula to push them to one side of the pan, skimming off as much as possible.  Remove from the heat when the butter is just beginning to turn brown.

With water at a rolling boil, add the gnocchi and cook 3-4 minutes.

Remove the cooked gnocchi with a slotted spoon and add to the browned butter.  Cook for 1-2 minutes longer.

Transfer to a serving platter along with the meatballs and drizzle with any remaining browned butter sauce.  Garnish with fresh sage.

Notes ♪♫ I love making pasta from scratch!  Check out this earlier recipe, for Gluten Free Potato Gnocchi with Cassava Flour that was the springboard for this meal.  You may also like this Trofie Pasta, or this one for Gluten Free Garganelli, one of my first posts.  Thanks for stopping by today and I welcome all your comments!

Print This Post Print This Post

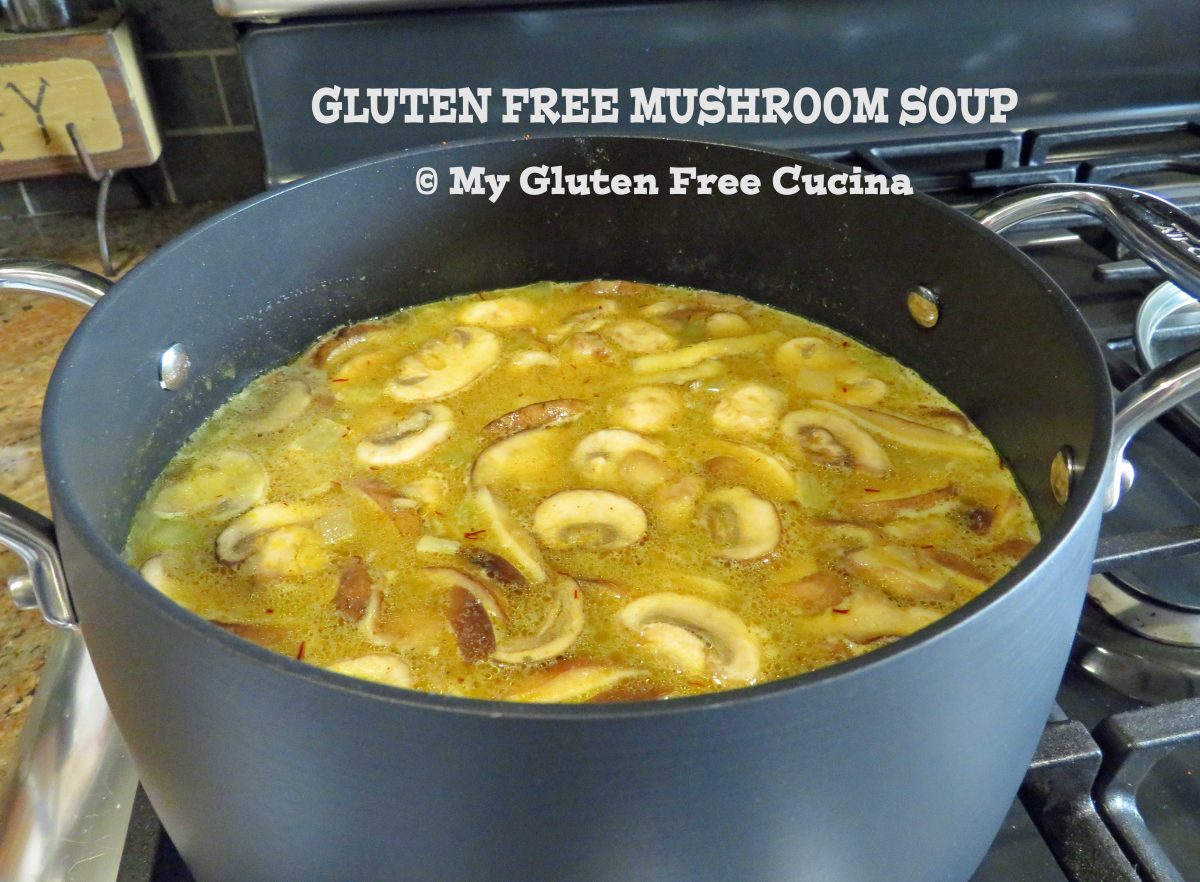
Gluten Free Mushroom Soup

Homemade Mushroom Soup is always my first soup of the season.  An annual tradition signaling the end of summer, I make a pot right after Labor Day as our thoughts turn to cooler weather and comfort food.

This soup is the foundation for so many of my favorite winter stews and casseroles.  I keep some on hand in my freezer pantry, for those recipes that call for “a can of”.

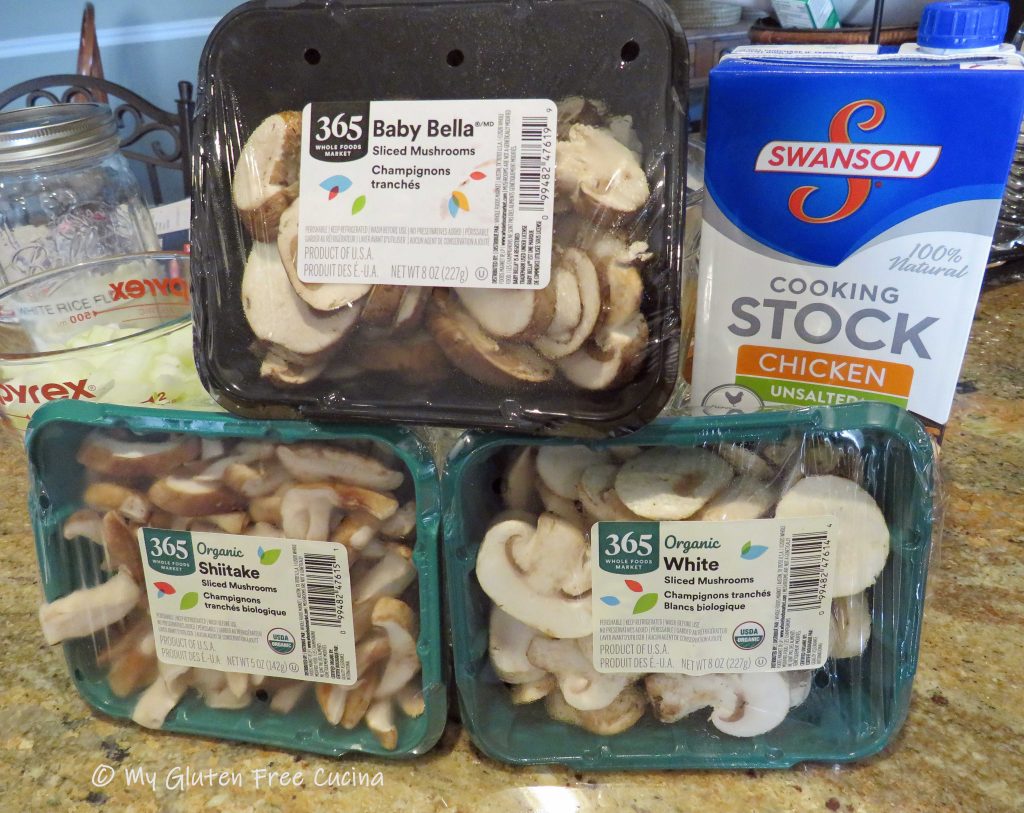
Turmeric and saffron give this soup its beautiful golden color!  The recipe is so fast and easy, you can make a batch in under an hour.  I use a combination of mushrooms, such as white button, cremini and shitake. 

You can finish with cream for a Cream of Mushroom soup that is better than any canned.  Puree the soup or leave it chunky, your choice.  It freezes beautifully so make some now to have ready for the holidays!

This post contains affiliate links.

Ingredients: 

 Preparation: 

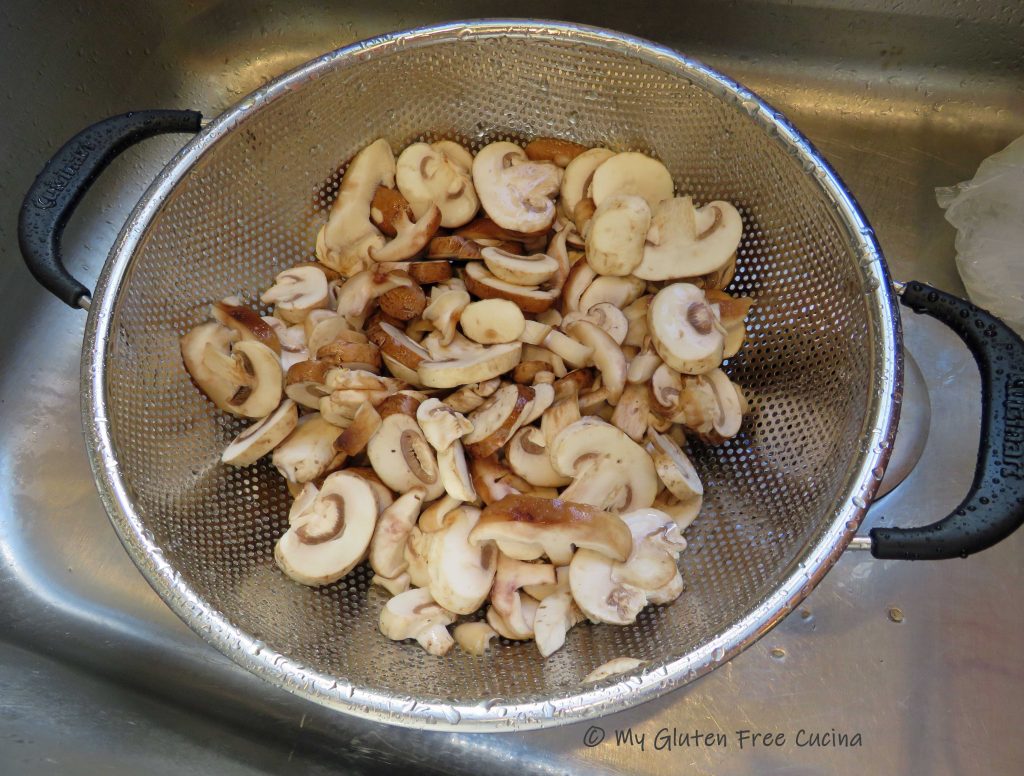
Whether you slice the mushrooms yourself or buy them pre-sliced, you will need to give them a good rinse.

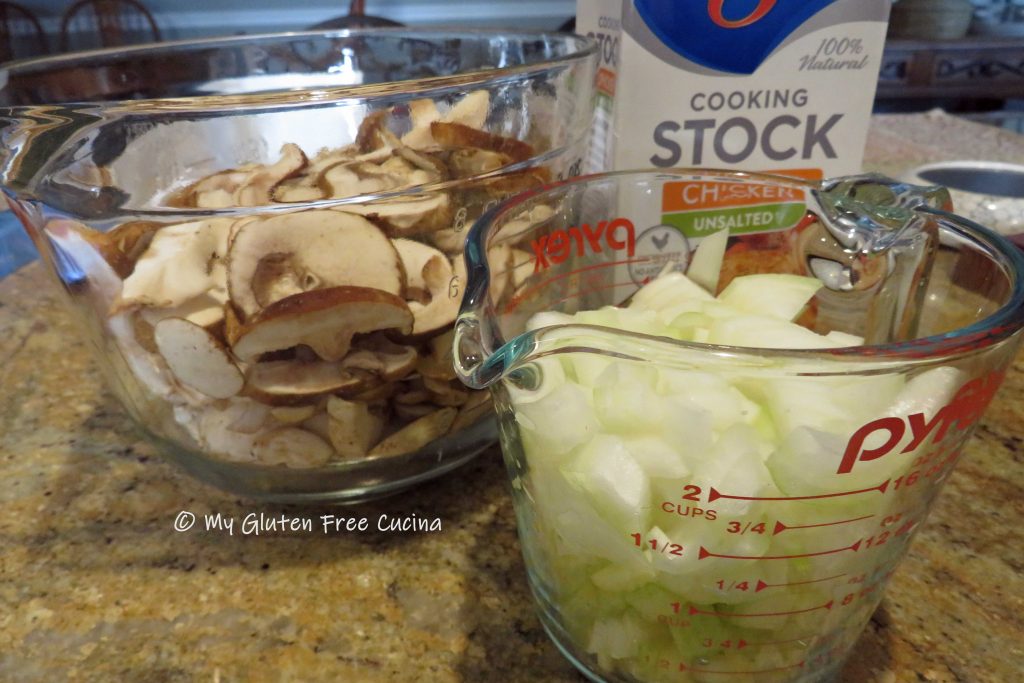
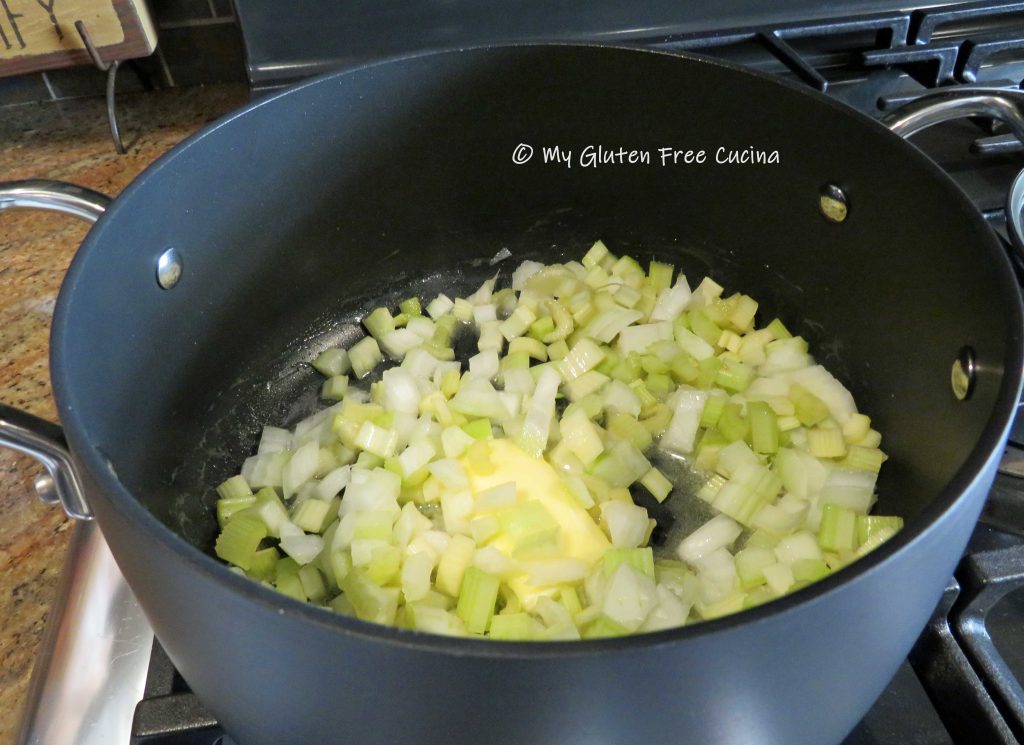
Melt butter in a Dutch oven or 4-Quart soup pot.  Sauté the onions and celery in the butter until translucent.

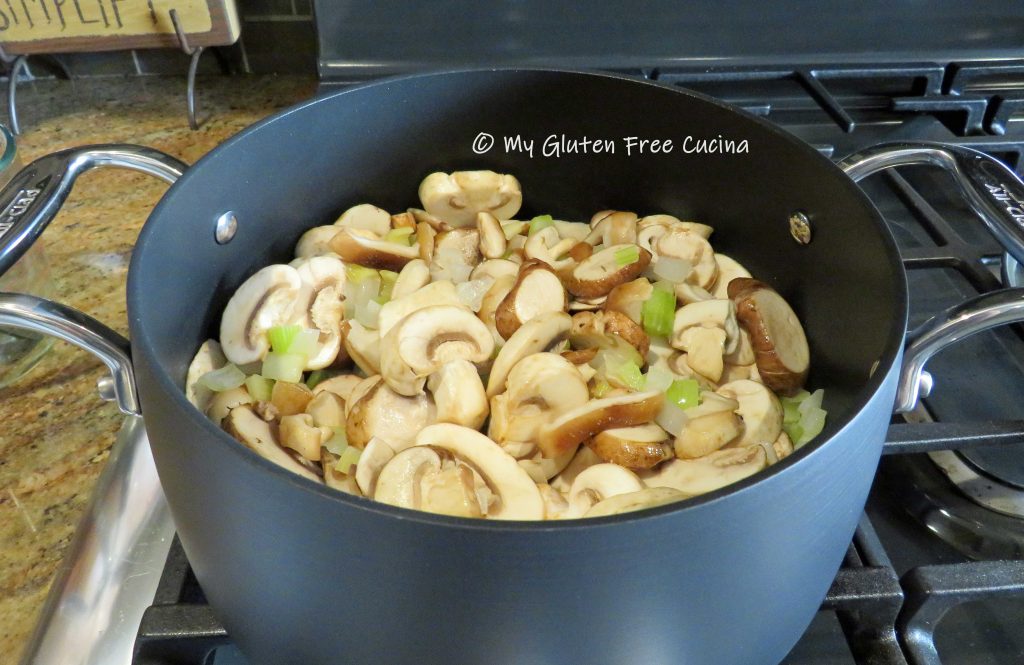
Add all the mushrooms to the pot. 

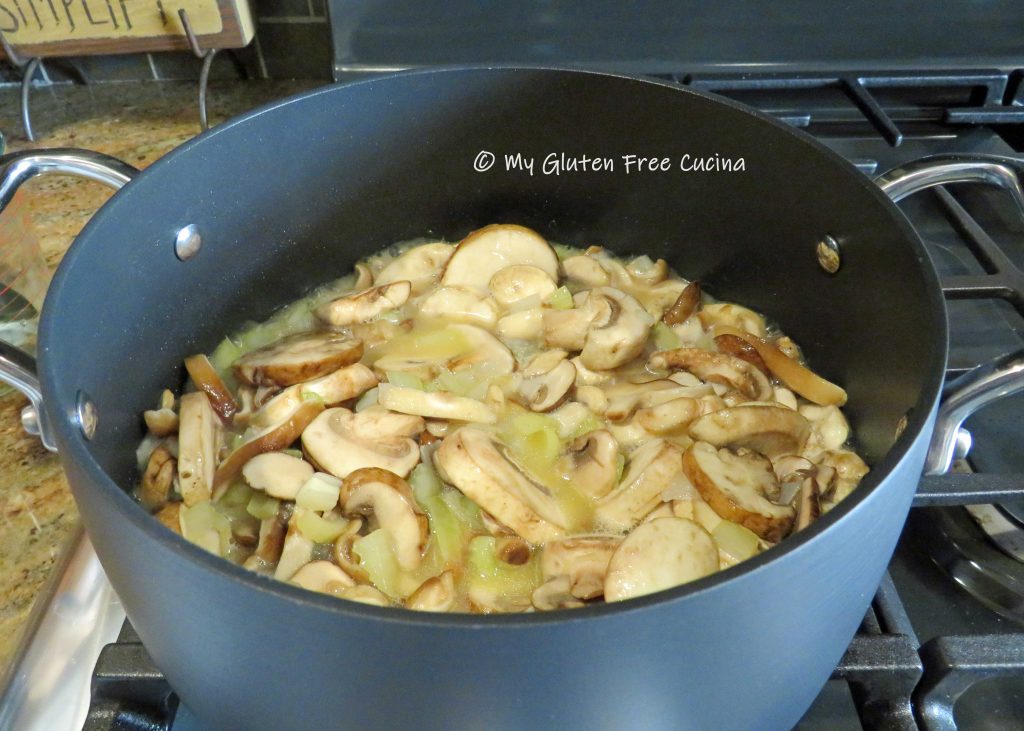
Continue cooking over medium heat until the mushrooms release their liquid.

Have the chicken broth ready and stir in the flour.  It will immediately begin to thicken. 
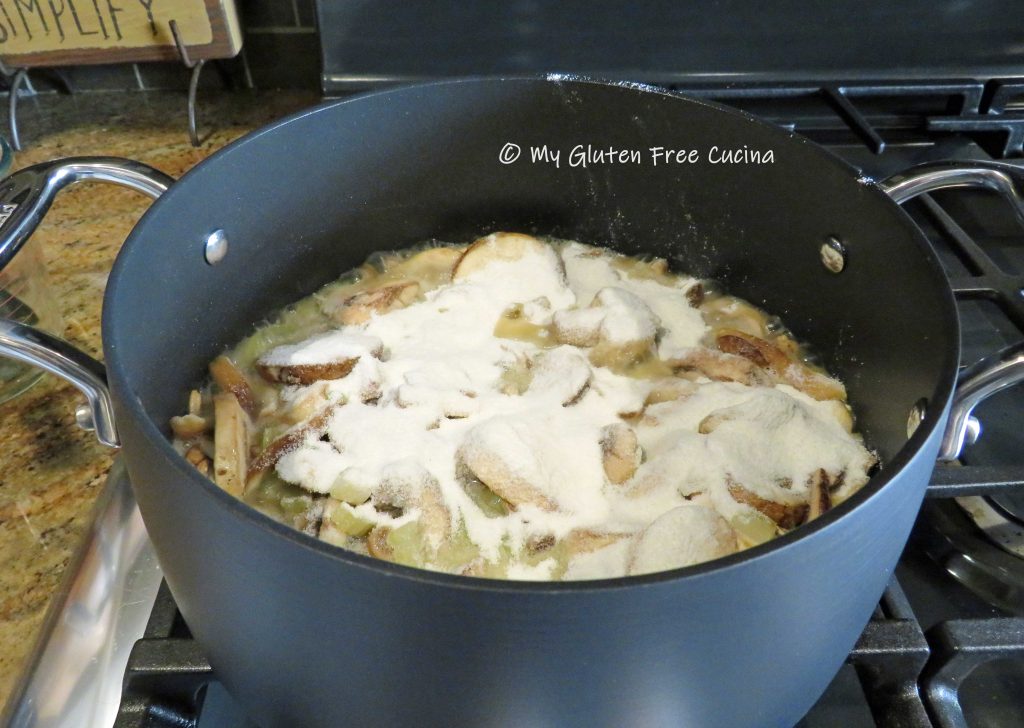
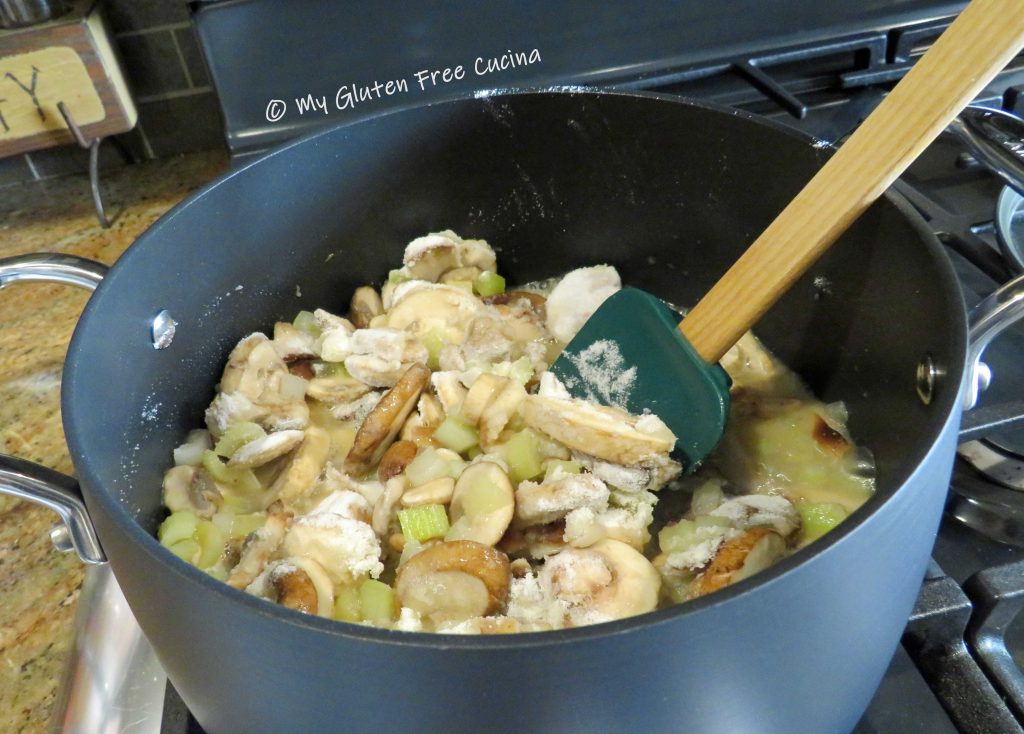
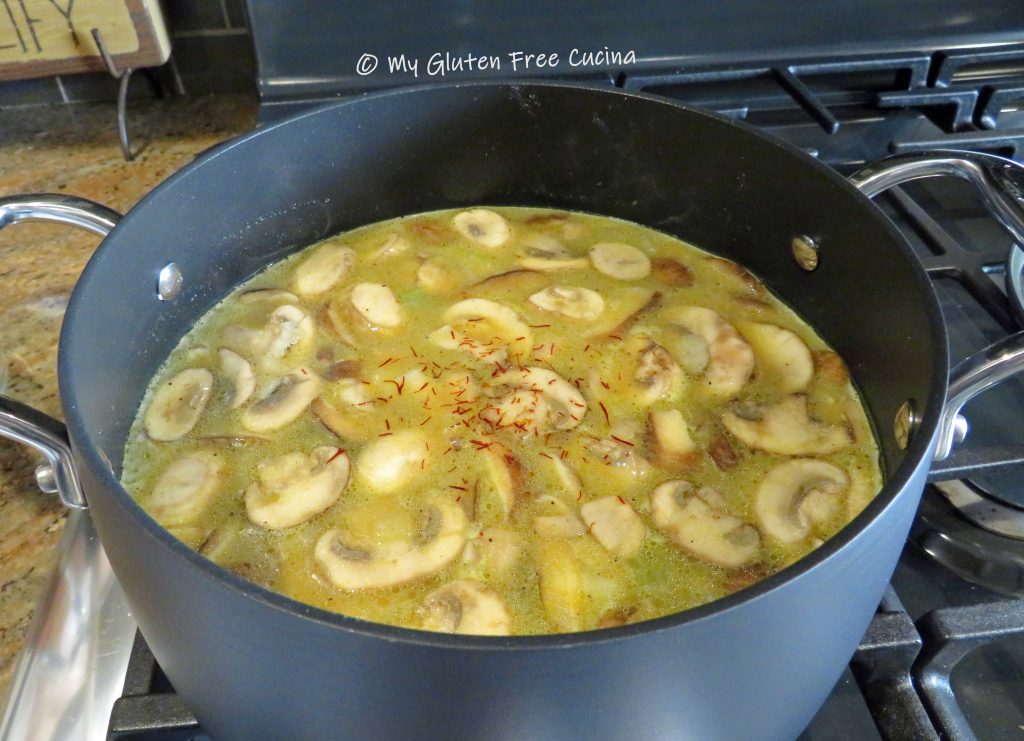
Slowly stream in the chicken broth, stirring constantly so the flour doesn’t clump.  Add the salt, pepper, turmeric and saffron. 

Simmer 15 minutes then remove from heat.  Soup can be prepared ahead and frozen up to this point.
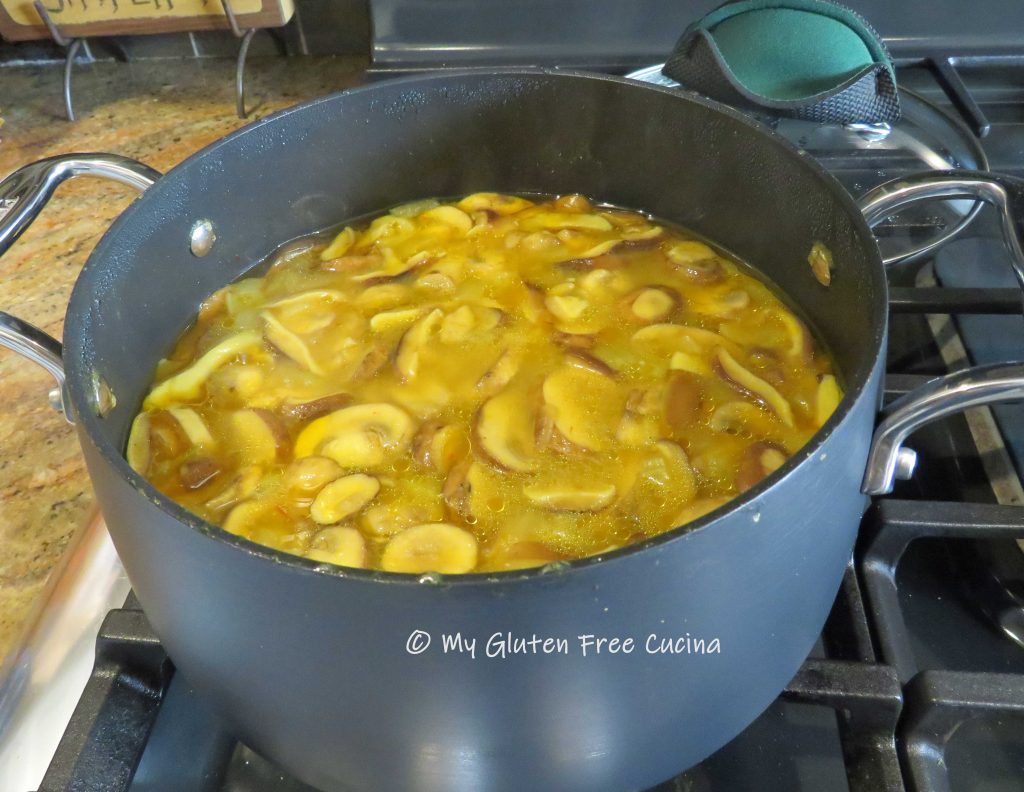
Here it is after cooling down for an hour or so.

I ladle the soup into freezer containers, about 1-1/2 cups each.
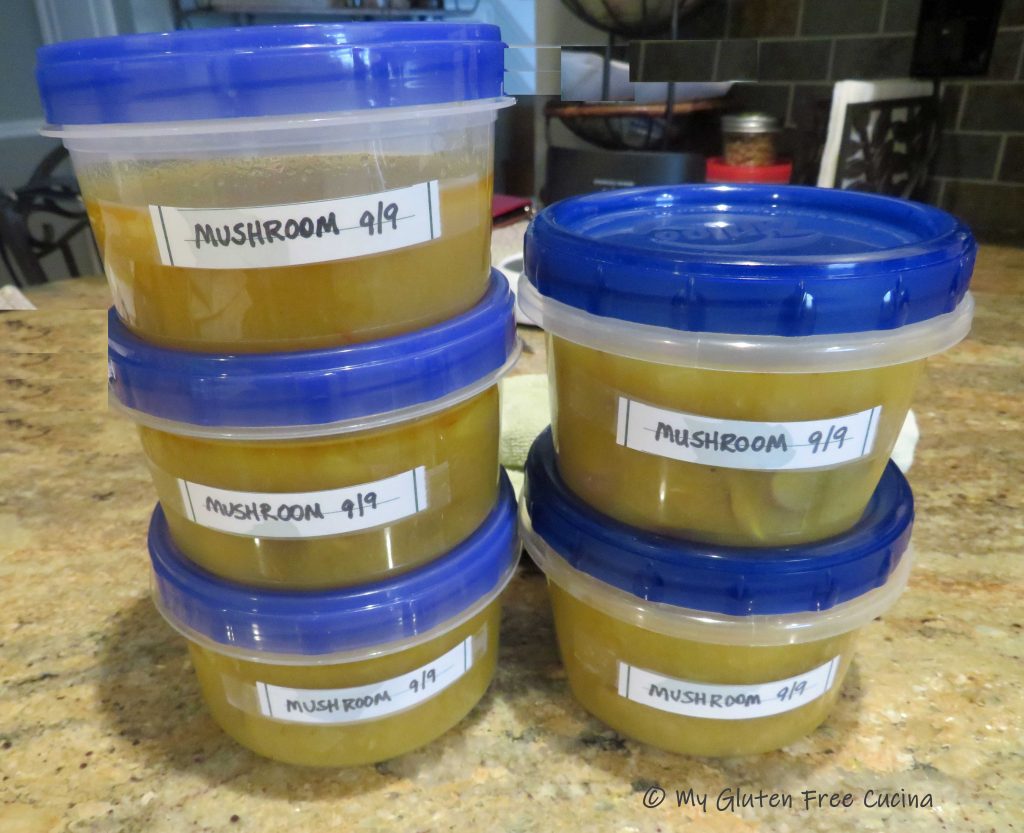
Notes ♪♫ If you plan to freeze the soup, I recommend not adding cream at this point.  For Cream of Mushroom Soup, drizzle in cream or half and half just before serving.

Print This Post Print This Post

Gluten Free Trofie Pasta

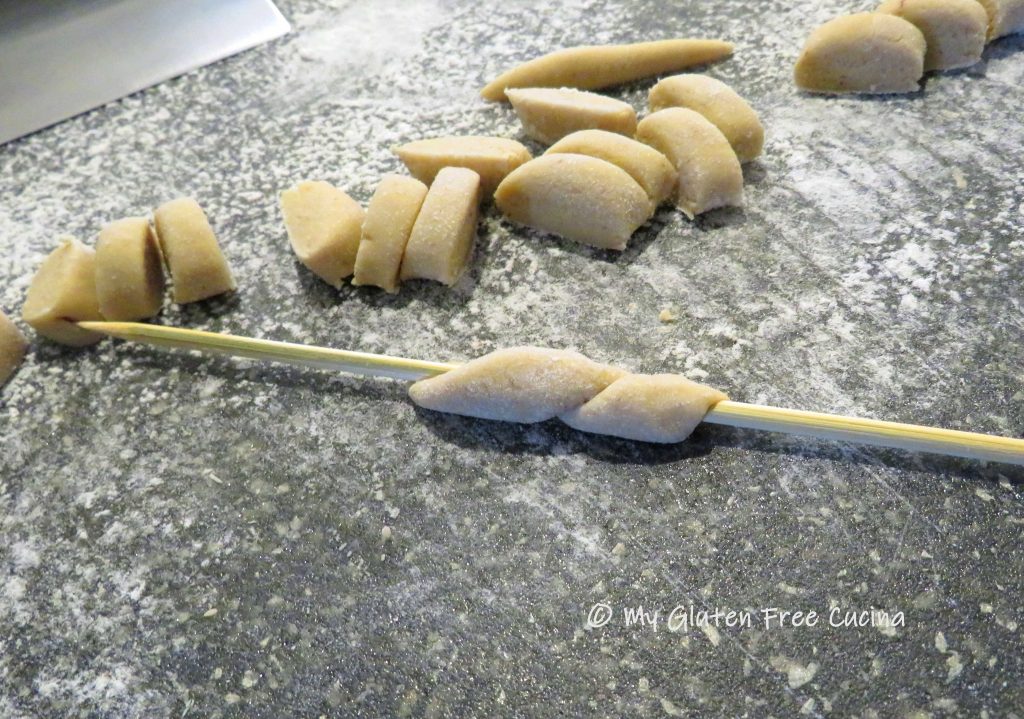
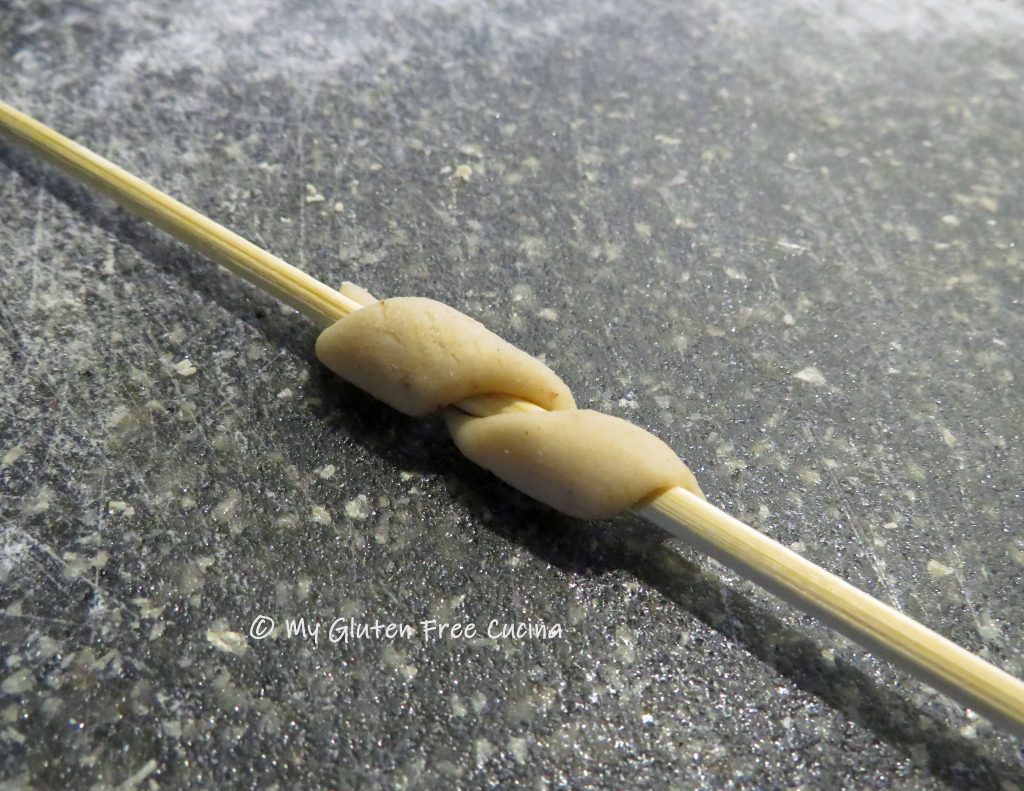
Trofie are a thin, twisted pasta shape popular in Liguria, Italy.  They are formed by rolling small pieces of dough on a flat surface, or between the palms of your hands.  Twisting into the final shape can be done using a wooden skewer, or a bench knife.

To make the Trofie Pasta, it was important that the dough be smooth and supple, easy to roll and shape.  A tall order for gluten free!  I created this gluten free Trofie with the Artisan Flour Blend from Better Batter.

The pasta was delicious!  The color and texture of the dough are reminiscent of whole wheat pasta.  Look closely and you can see flecks of grain in the dough.

The ingredients for this recipe will make a small batch, more than enough for 2 people.  We had it for dinner and there were leftovers.  You can double or triple the recipe for a large family.

Ingredients:

This post contains affiliate links.

When you shop Better Batter and use my code MGFC30 at checkout, you will receive 30% off any non-sale item! 

Preparation:

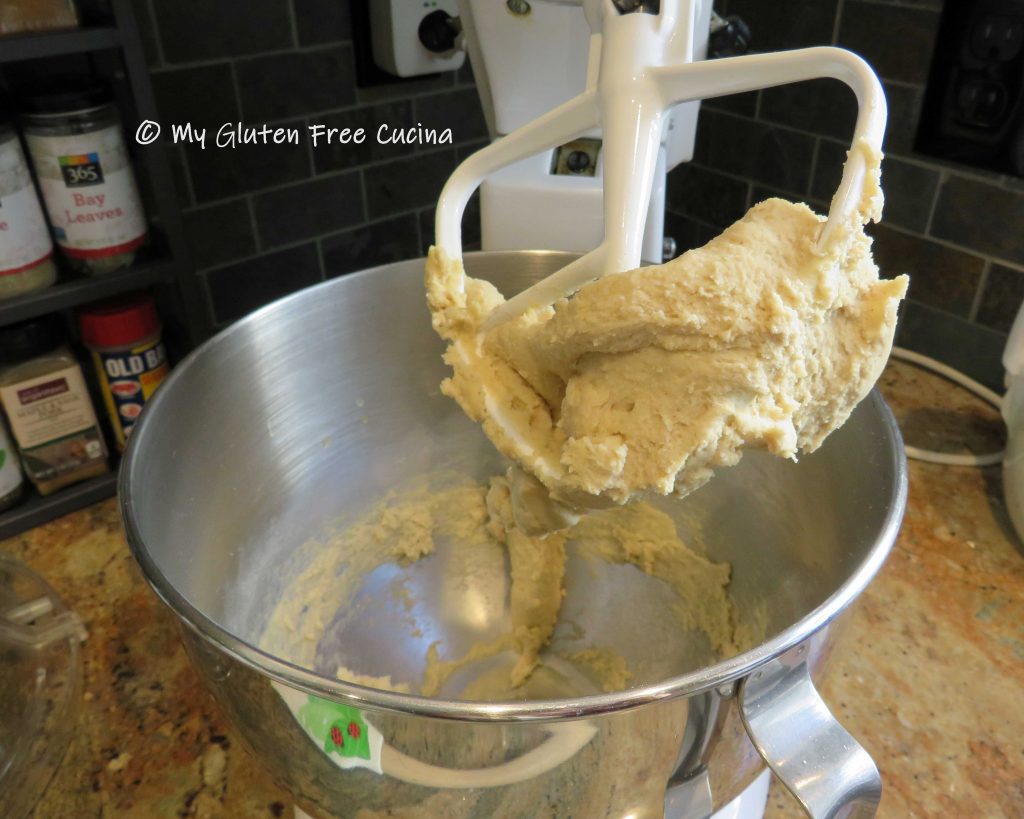
Whisk together the flour and the salt.  Add the wet ingredients to the bowl of a stand mixer and whisk thoroughly.  Then add the dry ingredients to the wet and mix with the paddle attachment on low until the dough comes together.

Increase the speed and mix for 6-8 minutes until a smooth dough forms.
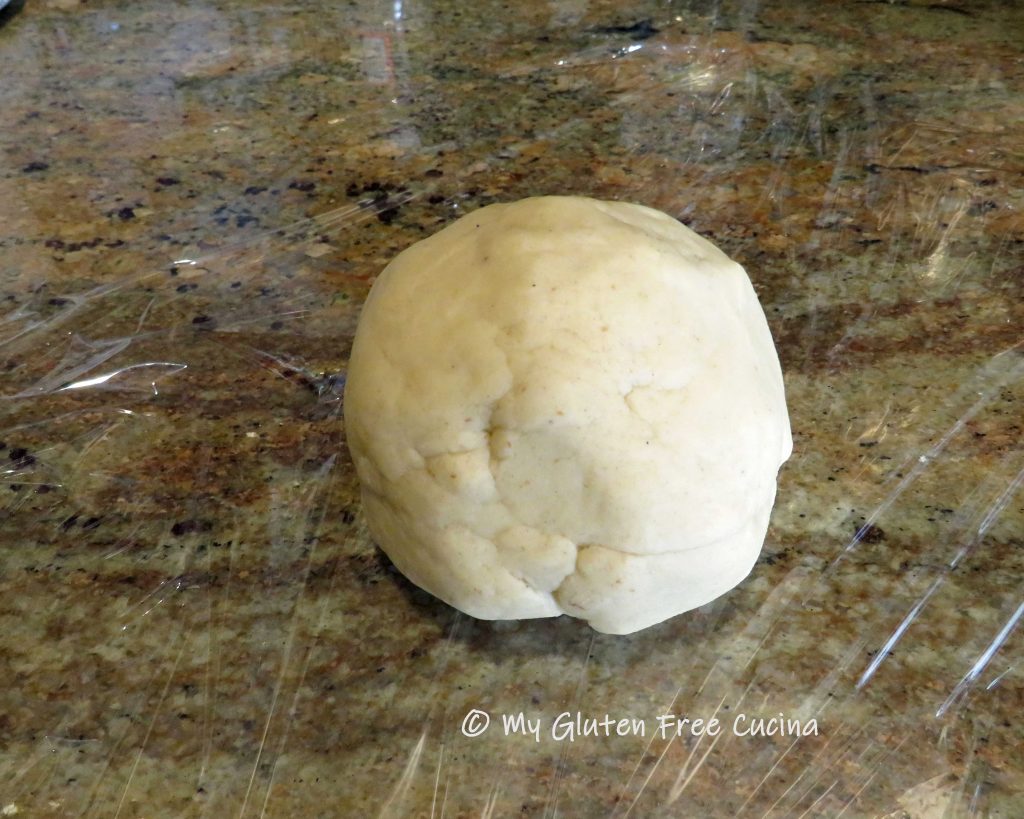
Press the dough into a ball, cover with plastic wrap and rest for 1 hour.
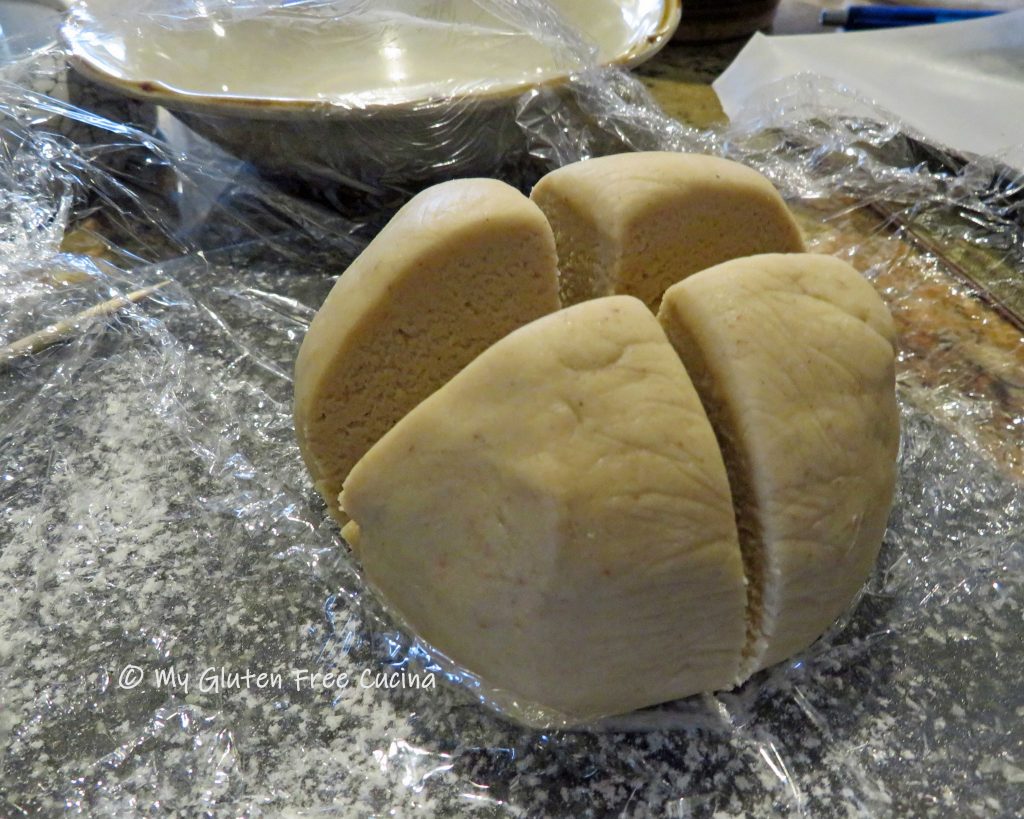
Divide the dough into 4 pieces.  Work with one section at a time, and keep the rest covered to prevent it from drying out.

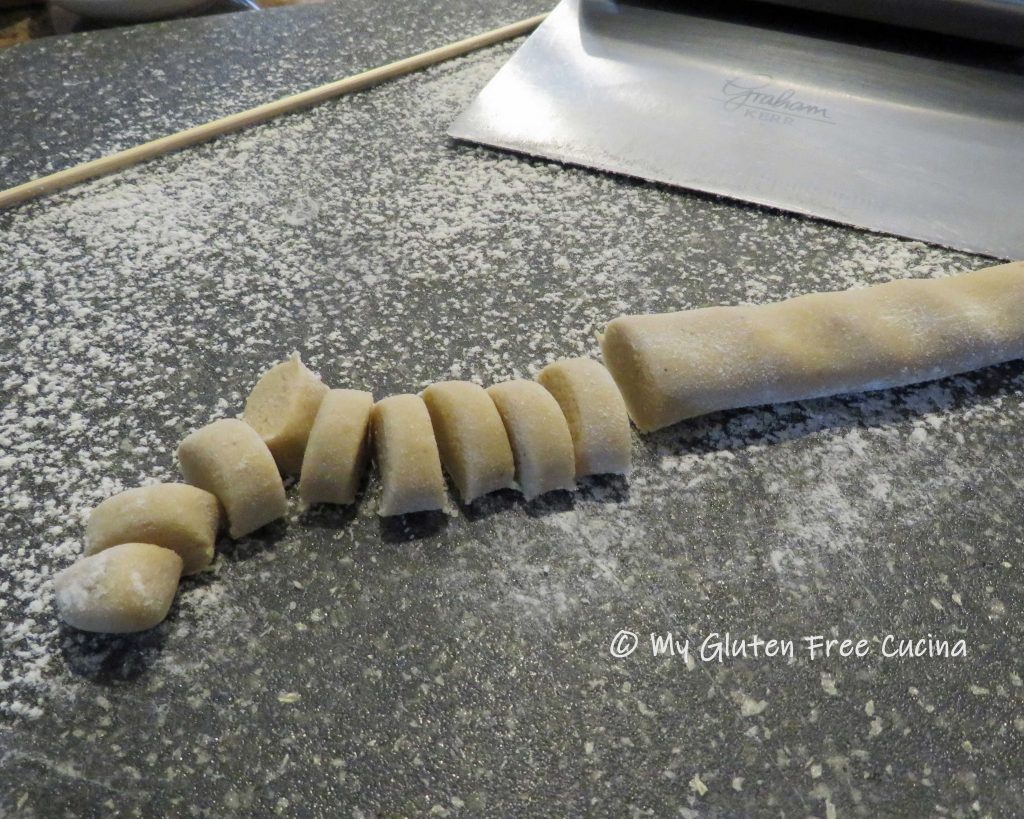
On a floured cutting board, roll each section of dough into a long rope 1/2″ thick.  Cut the rope into 1/2″ pieces.  Be sure to keep the pieces small and uniform, so they will all cook at the same time.

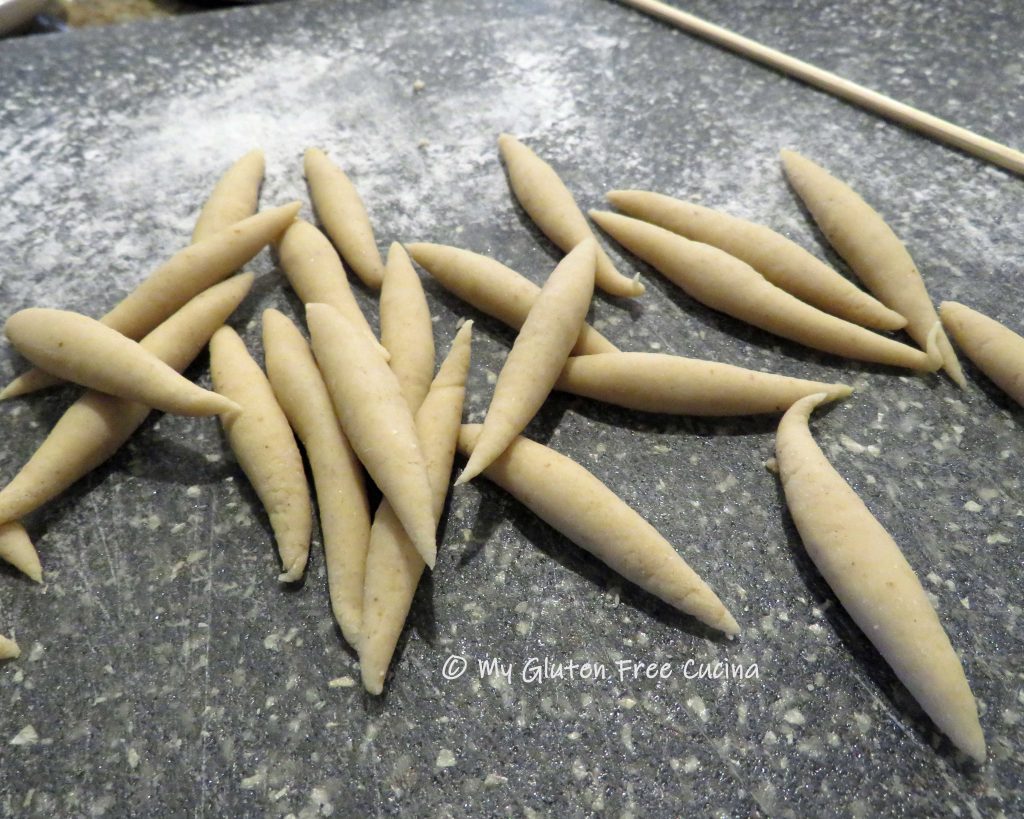
Roll each piece between the palms of your hands into a long thin shape, tapering the ends.  Flour your hands as needed to keep the dough from sticking.

Working with one piece at a time, hold a wooden skewer or bench knife at a 90-degree angle, pressing lightly as you roll it over the dough to twist it into the final shape.

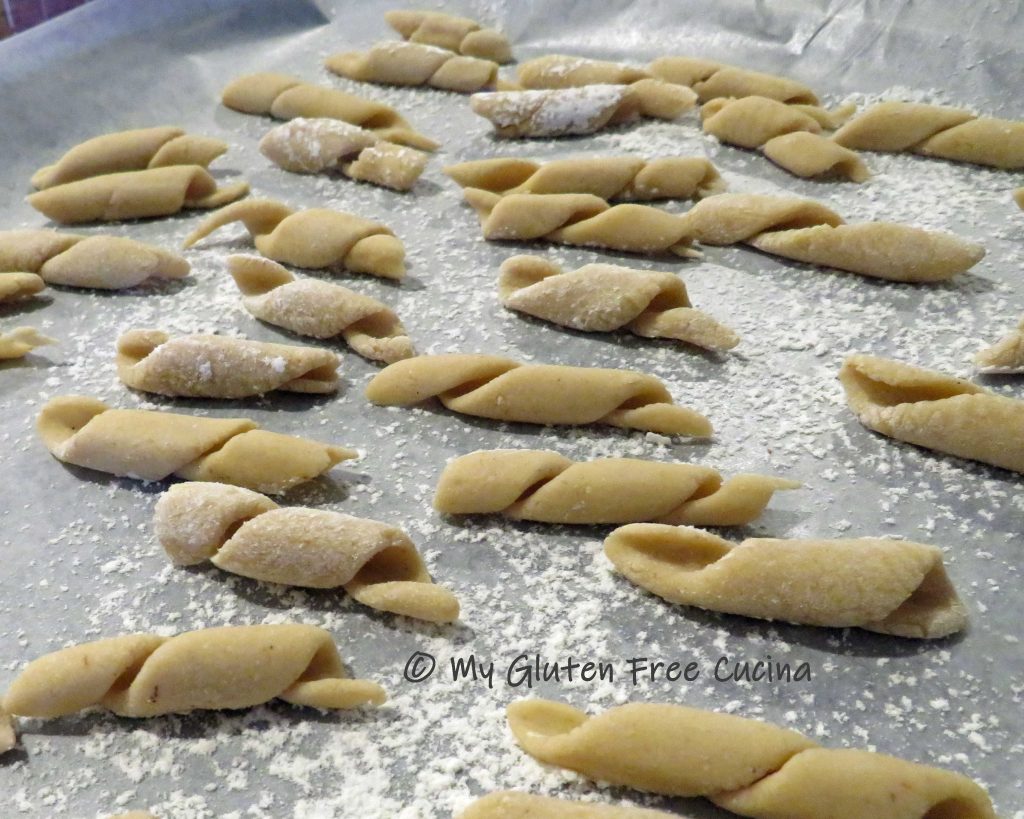
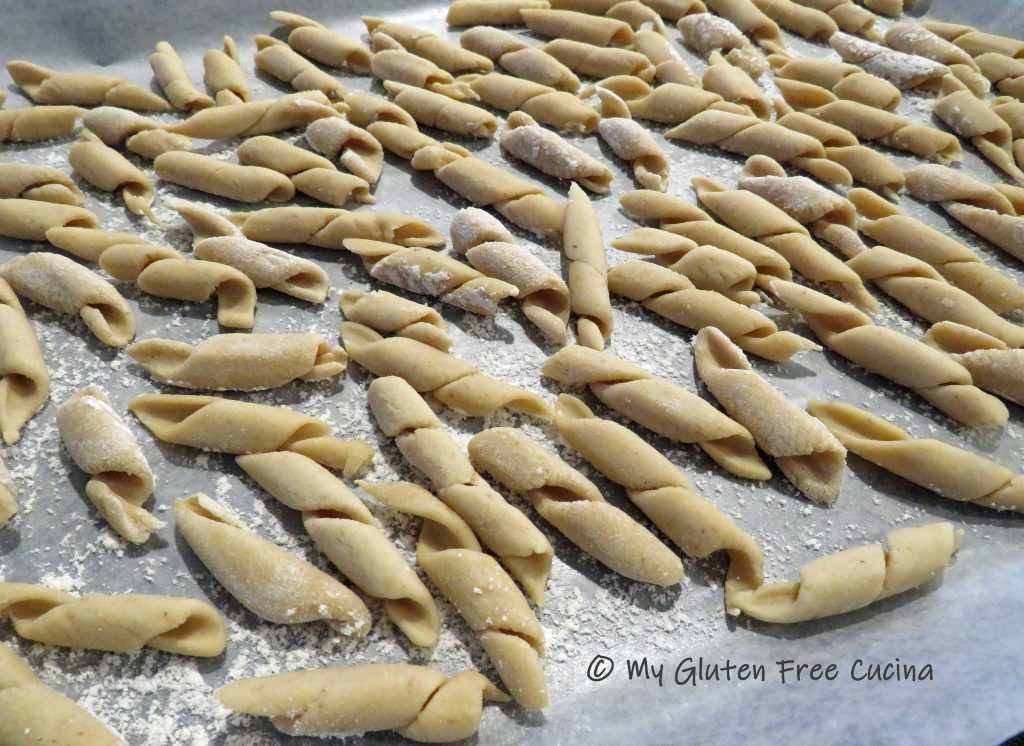
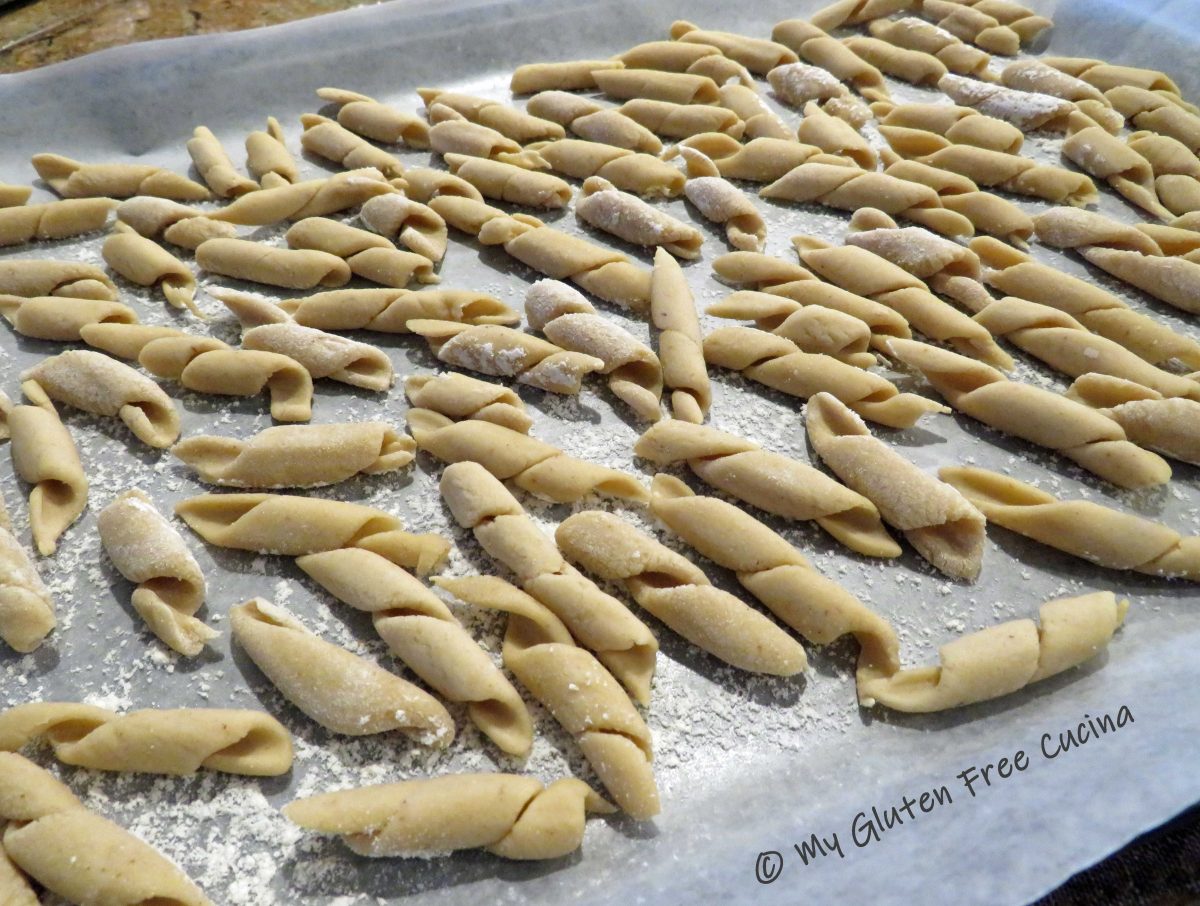
As you form each piece, slide it onto a baking sheet lined with floured wax paper.  Can you believe that little ball of dough made all this pasta?

Don’t overcrowd the tray and try to space out the pasta so it doesn’t stick together.  Cover with plastic wrap and refrigerate until ready to cook.

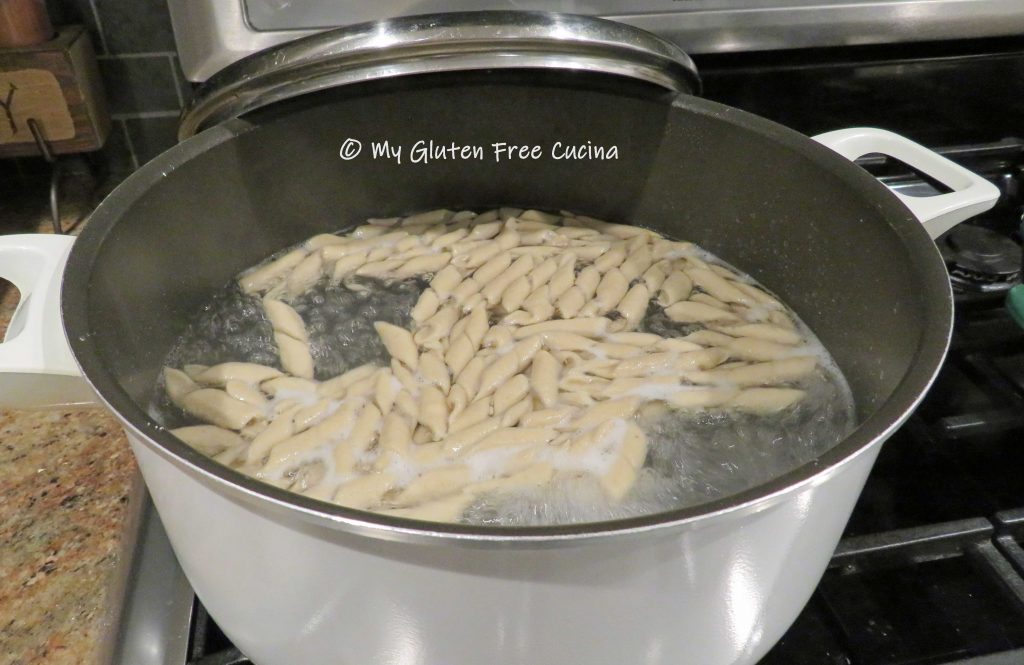
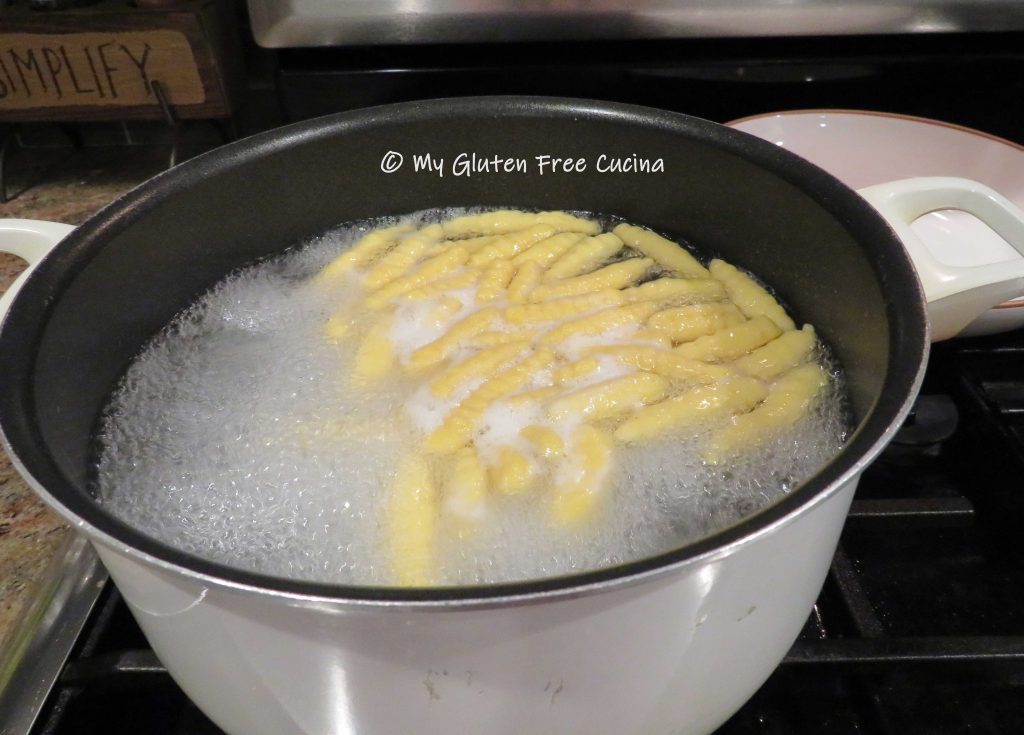
Bring a large pot of salted water to a rolling boil.  Add the pasta, stir and cover until the water returns to a boil.  Fresh pasta cooks quickly.  When it floats to the top it’s done, about 3 minutes for al dente.  Don’t overcook it!

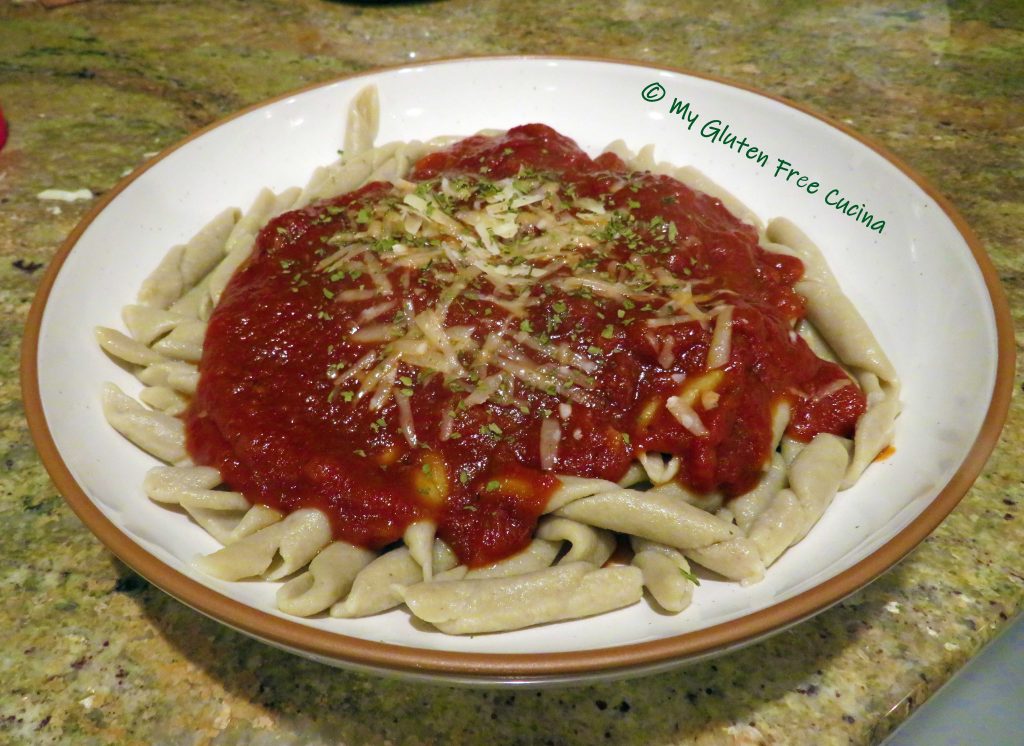
To help the pasta keep its spiral shape, use a spider strainer (instead of a colander) to gently remove it from the pot and transfer to a serving bowl.  Doesn’t that look wonderful?

Top with your favorite sauce and finish with grated cheese and parsley.

The twisted shape holds onto sauce beautifully.  Leftovers the next day had excellent texture when reheated in the microwave.  I had so much fun making these!

Notes ♪If you are missing whole wheat pasta on the gluten free diet (I know I was) the taste and texture of this pasta will make you smile.  Always follow food safety guidelines for fresh pasta made with eggs, if you are not going to cook the pasta immediately it should be refrigerated!

Originally posted 05/2019                                               Updated 03/2022

[print_link]

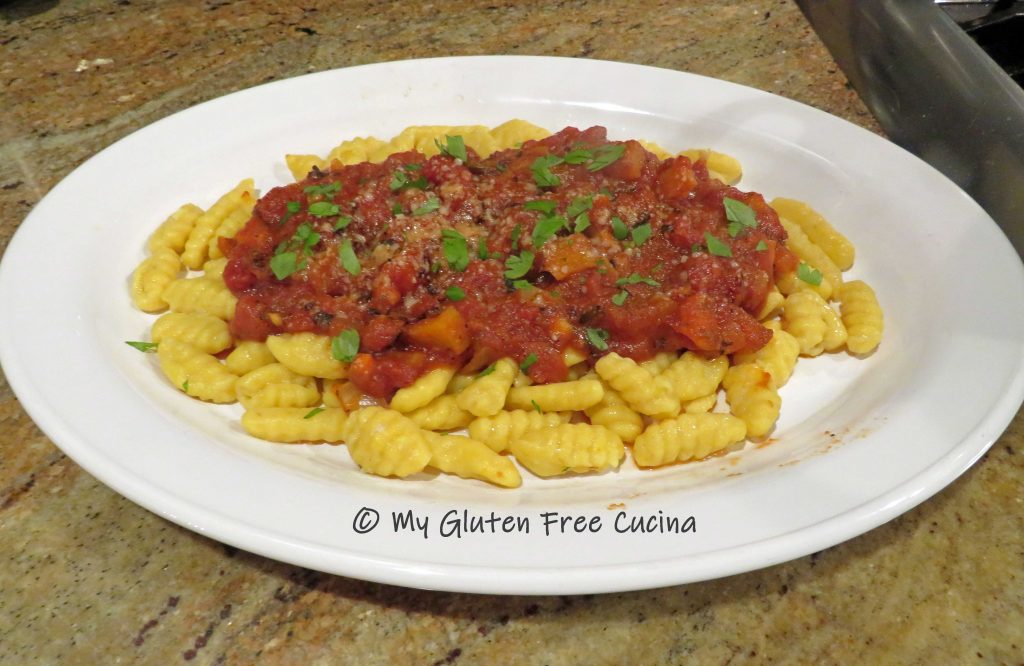
Easy Gluten Free Pumpkin Pasta

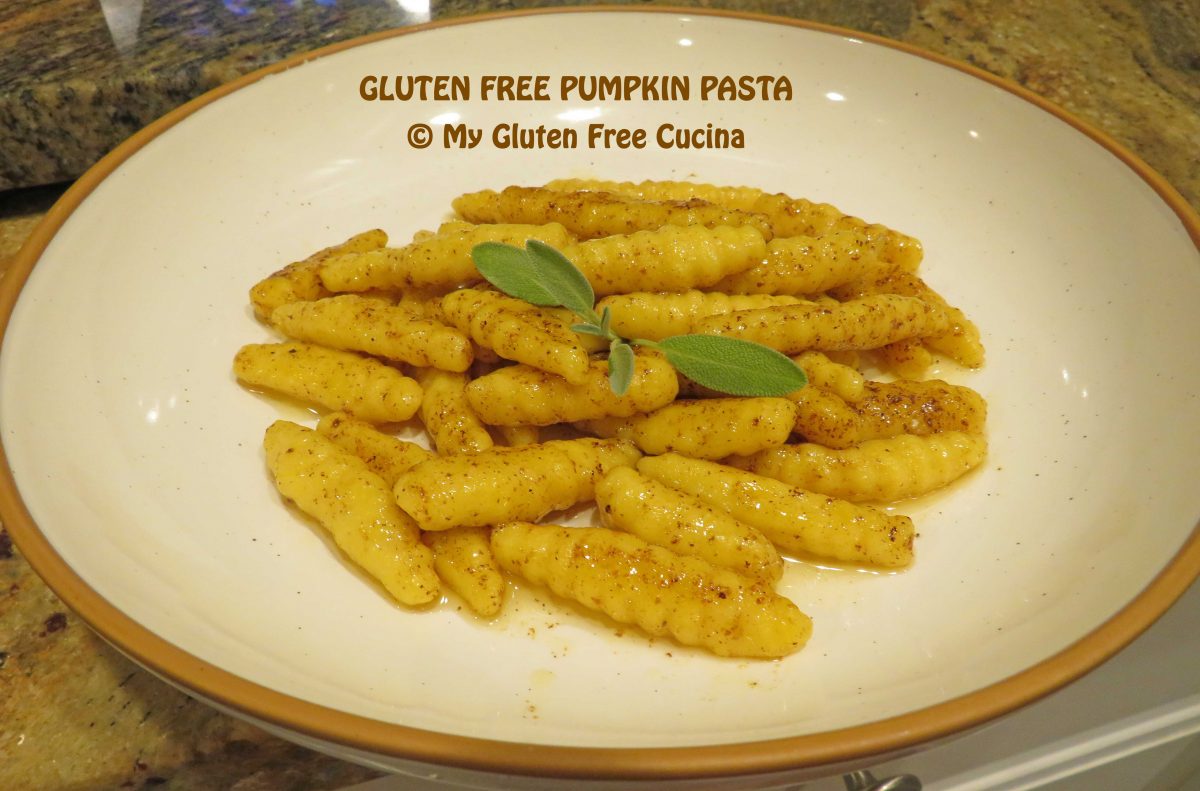
Look at that pasta!  The dough is enriched with egg and pumpkin puree, giving it a beautiful color and texture.  Yes, it is from scratch, and completely gluten free!

In the years before my Celiac diagnosis, I prided myself on my homemade pasta.  I made endless batches both by hand and with my KitchenAid®.  It’s been a while, but with the cooler weather I decided it was time to try it again.  This fall inspired pumpkin pasta was easy to make and I was so happy with the result!

This post contains affiliate links.

I don’t make huge batches of pasta anymore, but this little test batch is enough for a nice dinner for two.  The recipe is scalable, so you can adjust it to make a small dinner or a feast for the family.  I give you ingredient measures for 2, 4, 6 and 8 servings.

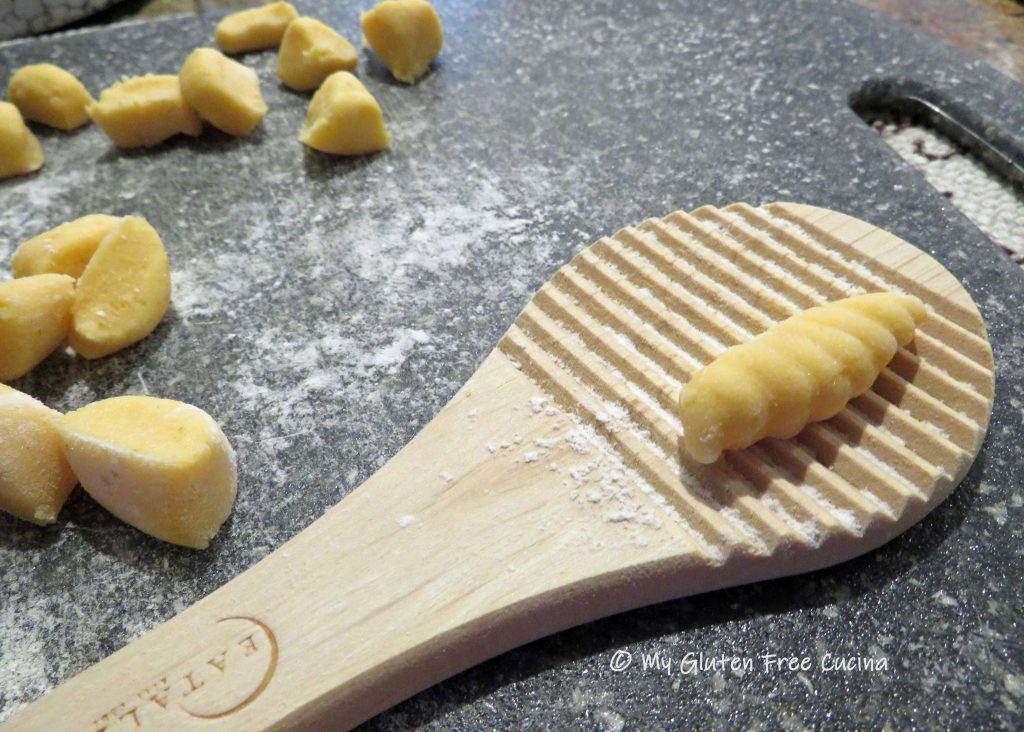
I used a Malloreddus board to create the ridged shape.  You can find them at specialty shops like Fante’s.  Similar to a gnocchi board, it’s a cool little gadget to have in your collection!  Did you know that traditional Malloreddus pasta is made with semolina?  Of course, that is off limits on the gluten free diet!

So, for this pasta I used Better Batter Original Gluten Free Flour, and wow, just wow!  The resulting dough was beautiful and silky smooth.  It was so easy to work with, reminiscent of the Italian 00 flour that I would have used back in the day.  Most importantly though, the pasta cooked beautifully and had great taste and texture.  Even the leftovers remained al dente.  Now that is a gluten free success story!

When you shop Better Batter, use my code MGFC30 at checkout to receive 30% off any non-sale item! 

Ingredients:

INGREDIENTS: 2 Servings 4 Servings 6 Servings 8 Servings
Better Batter Flour 70 G 140 G 210 G 280 G
Olive oil 3/4 tsp. 1-1/2 tsp. 2-1/4 tsp. 3 tsp.
Salt 1/8 tsp. 1/4 tsp. 3/8 tsp. 1/2 tsp.
Egg 1 large 2 large 3 large 4 large
Pumpkin Puree 1 tbsp. 2 tbsp. 3 tbsp. 4 tbsp.

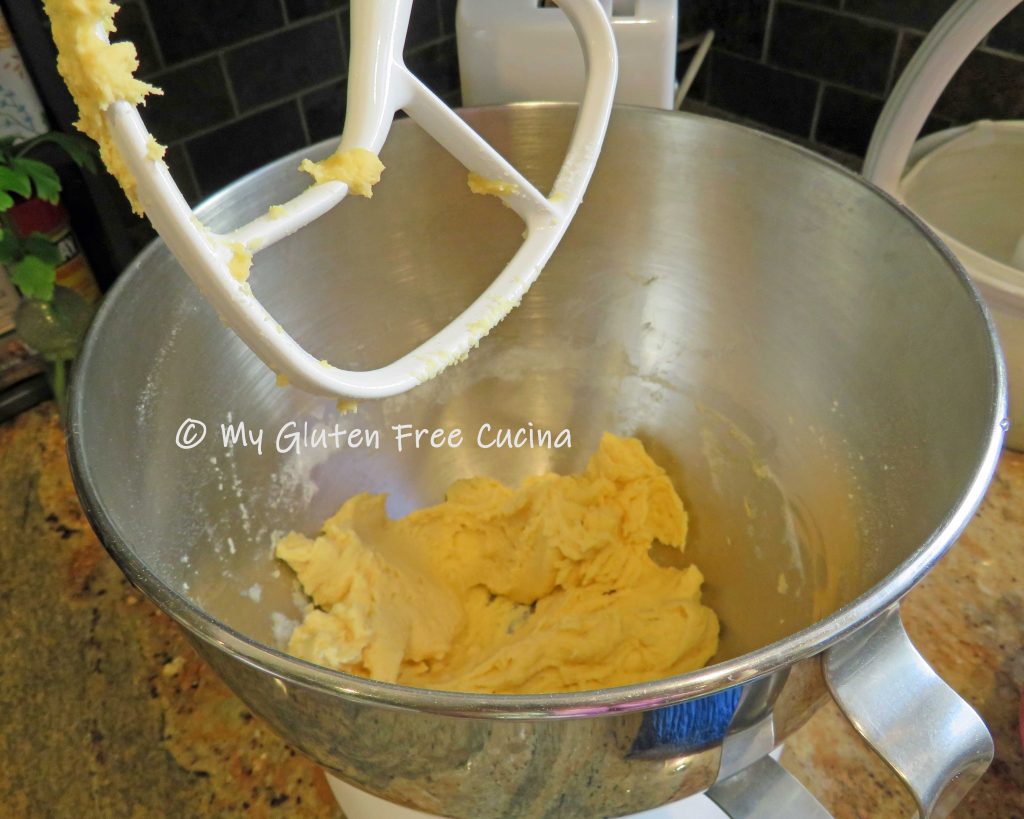
Measure your ingredients according to serving size.  Be sure to use a scale to weigh the flour.  Whisk the egg, pumpkin, olive oil and salt in the bowl of a stand mixer.  Add the flour and mix with the beater attachment to form a smooth, soft dough.

Gather the dough into a ball, wrap tightly in plastic wrap and let it rest for 15-20 minutes at room temperature.  This is a good time to wash the mixer bowl and attachments. 😉

Lightly dust a cutting board with flour.  Use a bench knife to cut the dough into 4 pieces.

Roll each piece of dough into a rope.  This is the moment when you know you have a good gluten free dough.  It rolls out beautifully without crumbling or breaking.

Cut each rope into 1/2″ pieces.

Using your fingers or a bench knife, gently roll each piece over the pasta board to create the ridges.

Line a baking sheet with wax paper and dust with flour.  As you form the pasta place it on the baking sheet.

Important- Always follow food safety guidelines.  If you are not going to cook the pasta immediately, refrigerate until ready.

How to serve it

You can dress this beautiful pasta with a simple brown butter sage sauce that comes together in minutes.  I grew sage in my container garden this year and it is amazing with browned butter.  If you don’t have an herb garden, try to find fresh sage at the market (or just leave it out).

INGREDIENTS: 2 Servings 4 Servings 6 Servings 8 Servings
Butter 1/2 stick 1 stick 1.5 sticks 2 sticks
Fresh Sage Leaves 8 leaves 12 leaves 16 leaves 20 leaves

When ready, set up a large pot of salted water for the pasta.  Bring the water to a boil while you make the sauce.  Melt the butter in a nonstick skillet.

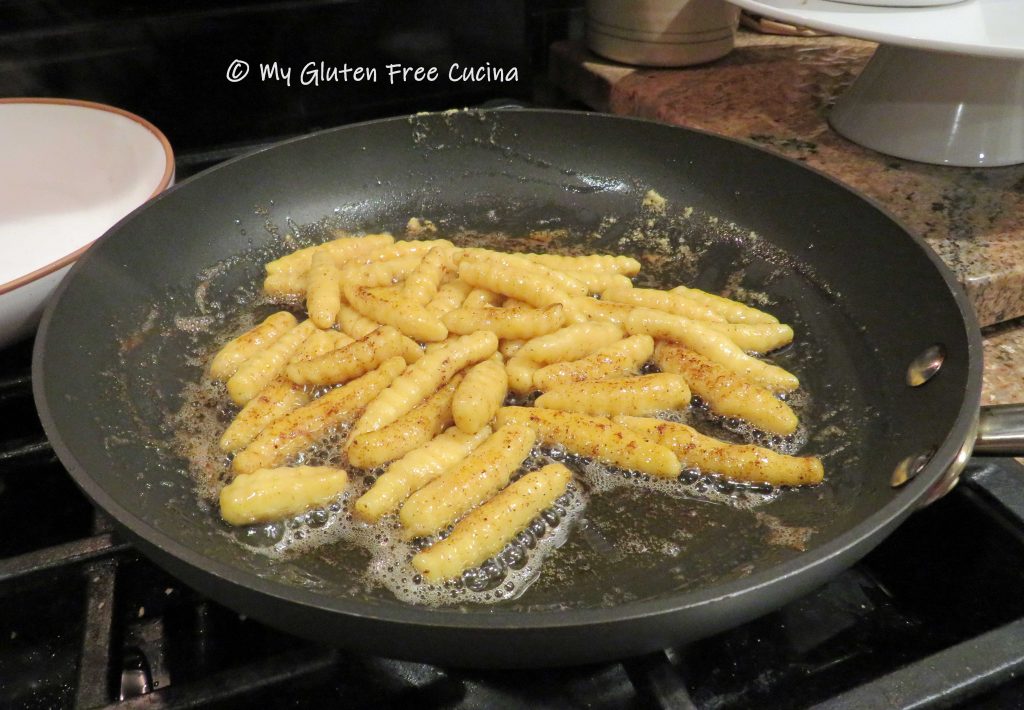
As soon as the butter begins to foam, add the sage leaves.

As you stir the butter, you will notice the white solids beginning to separate.  Use a slotted spoon or spatula to push them to one side of the pan, skimming off as much as possible.  Watch carefully that the butter doesn’t get too dark.  Remove from the heat when it is just beginning to turn brown.  This shade is perfect.

When the water comes to a rolling boil, add the pasta and cook for about 3 minutes for al dente.  The pasta is done when it floats to the top (taste to see if you like the texture).

Use a spider strainer to remove the pasta and add it directly to the sauce.

Toss well to coat for 30 seconds and transfer to a serving platter.

More Serving Ideas:

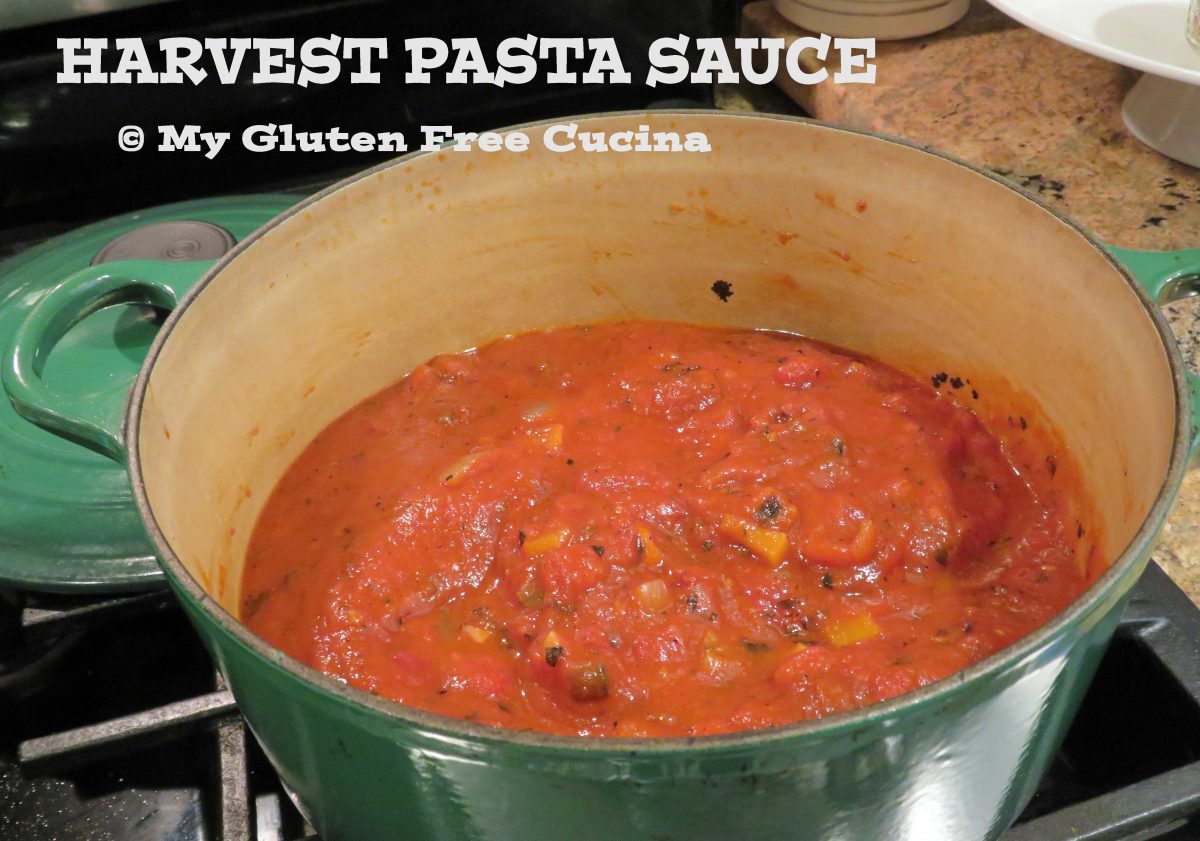
This pasta is sturdy enough to hold up to a thick and chunky sauce, like my Harvest Pasta Sauce.  Made with tomato, carrot, squash and pumpkin, the flavors pair beautifully with the pumpkin pasta, perfect for a fall inspired dinner.  Enjoy it as a side dish or a main course.

Notes ♪Not all gluten free all-purpose flours are created equal.  In fact, they can vary greatly in terms of ingredient content.  You can try other brands, but I strongly recommend you use Better Batter Gluten Free Original Blend for this recipe.  It was absolutely perfect for making pasta, and what a pleasure to have a smooth silky dough that doesn’t crumble in your hands.  I also used this all-purpose flour to make a gluten free version of My mother’s Italian Wine BiscuitsTry it, you will not be disappointed!

Print This Post Print This Post


Harvest Pasta Sauce

This pasta sauce captures all the colors and flavors of the autumn harvest.  It’s thick and chunky, loaded with veggies!  Roasting the vegetables first is the secret to the amazing flavor.  Make it this weekend for your gluten free Italian Sunday Dinner!

This post contains affiliate links. 

Ingredients:

  • 1/2 medium butternut squash
  • 1 large carrot
  • 1/2 large sweet onion, divided
  • 2 tbsp. olive oil
  • salt and pepper to taste
  • 2 cans (14.5 oz.) fire roasted diced tomatoes
  • 2 garlic cloves, minced
  • 1 tsp. dried basil
  • 1/2 tsp. dried oregano
  • 1/2 tsp. garlic granules
  • 1/2 tsp. onion granules
  • 1/2 tsp. fresh ground pepper
  • 1 can tomato sauce (14.5 oz.)
  • 1/4 cup pumpkin puree
  • 1 tbsp. brown sugar
  • fresh Italian parsley, optional for garnish

Preparation:

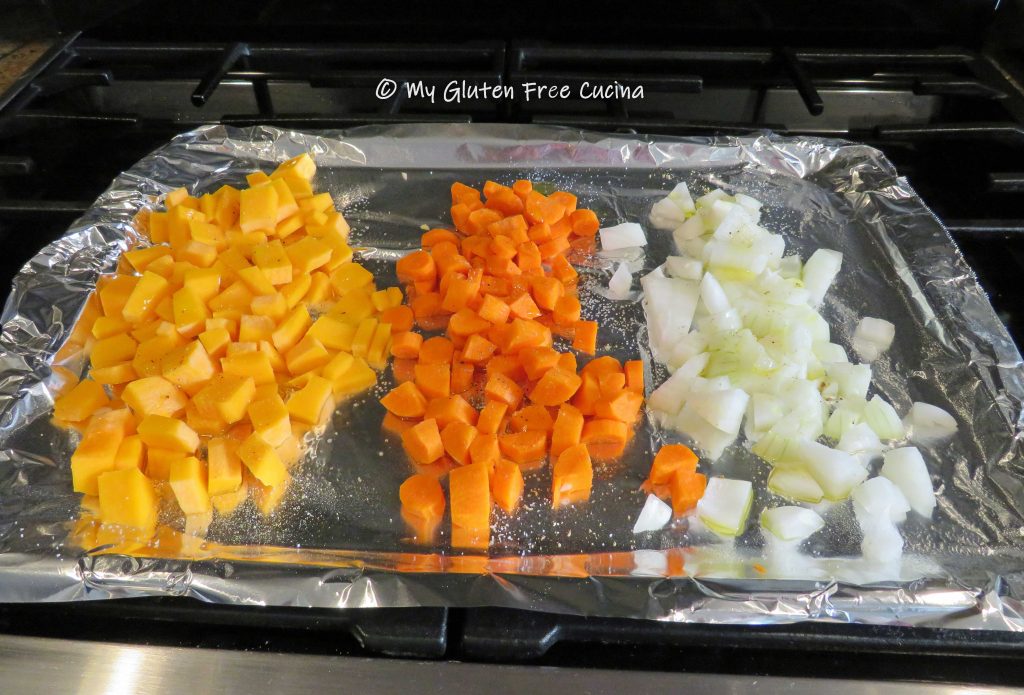
Peel and chop the vegetables into 1/2″ dice.  Spread the squash, carrots and half of the onions on a foil lined baking sheet.  Drizzle lightly with olive oil, and season with salt and pepper.  Roast for 30 minutes at 425º.

While the veggies are roasting, heat 2 tbsp. olive oil in a Dutch oven over medium low.  Add the remaining half of the onions and the garlic.  Stir for about 30 seconds or until fragrant, then add the diced tomatoes with their liquid.  Season with basil, oregano, garlic granules, onion granules and fresh ground pepper.  Simmer 15 minutes uncovered, to concentrate the sauce.
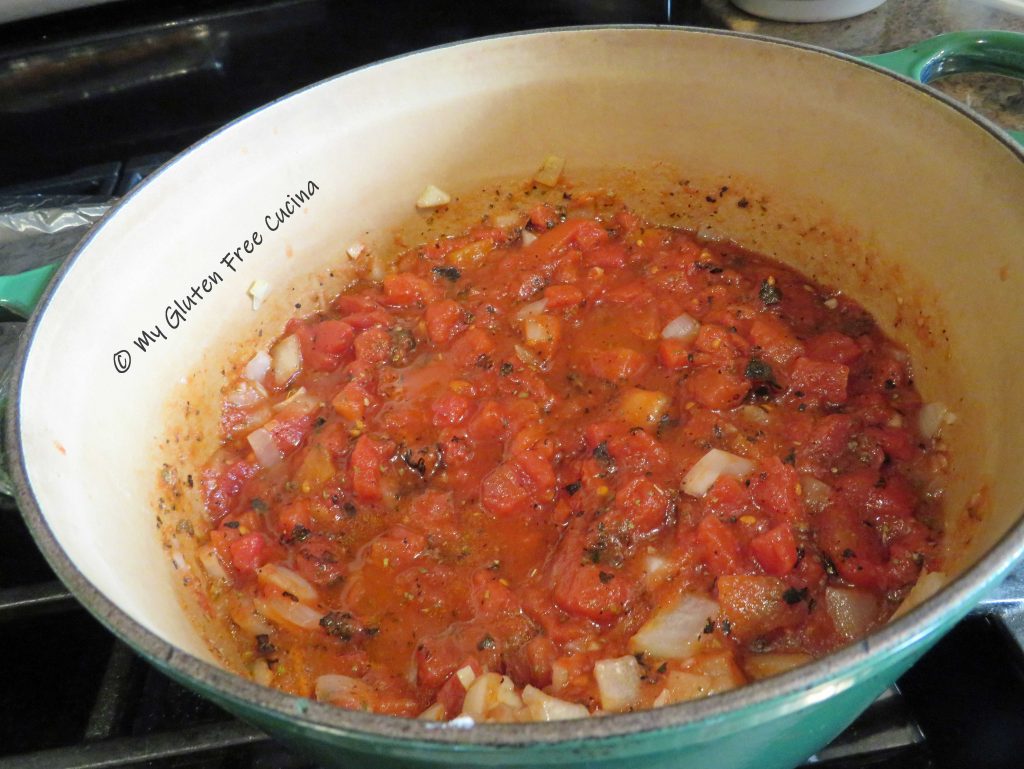
Next add the tomato sauce, roasted vegetables, pumpkin puree and 1 tbsp. brown sugar.  Stir well, cover and turn the heat down to low.

Cover and simmer 2 hours.  I used a simmer mat to keep the sauce on the lowest possible heat and prevent the bottom from burning.
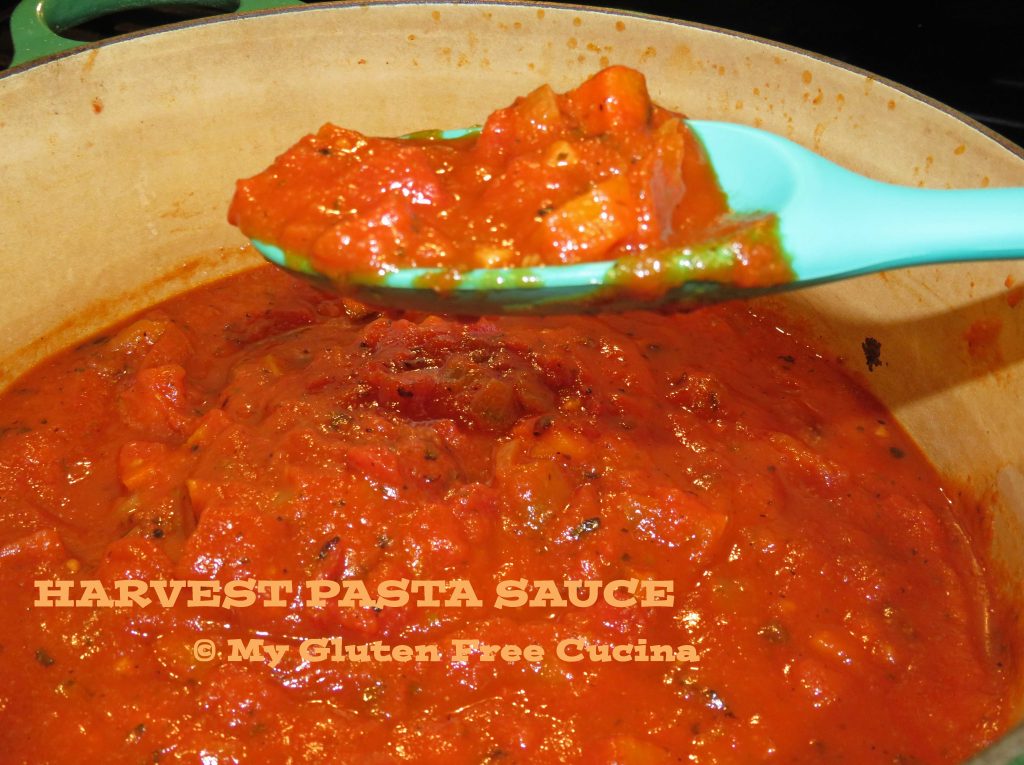
Look at that hearty sauce!  The carrots, pumpkin and butternut squash give it so much natural sweetness.  Serve over your favorite gluten free pasta, with grated cheese and fresh parsley.

Friends, what a meal!  I would not hesitate to serve this to company, or even as a holiday first course.  Oh, and did I catch you eyeing that pasta?  It’s a special one, that I made just for pairing with this sauce.  Check out the recipe here!

Notes ♪♫  In addition to being gluten free we are also a low sodium household.  I used unsalted tomatoes in this sauce, as I do with most recipes to have better control over the salt content.


Print This Post Print This Post

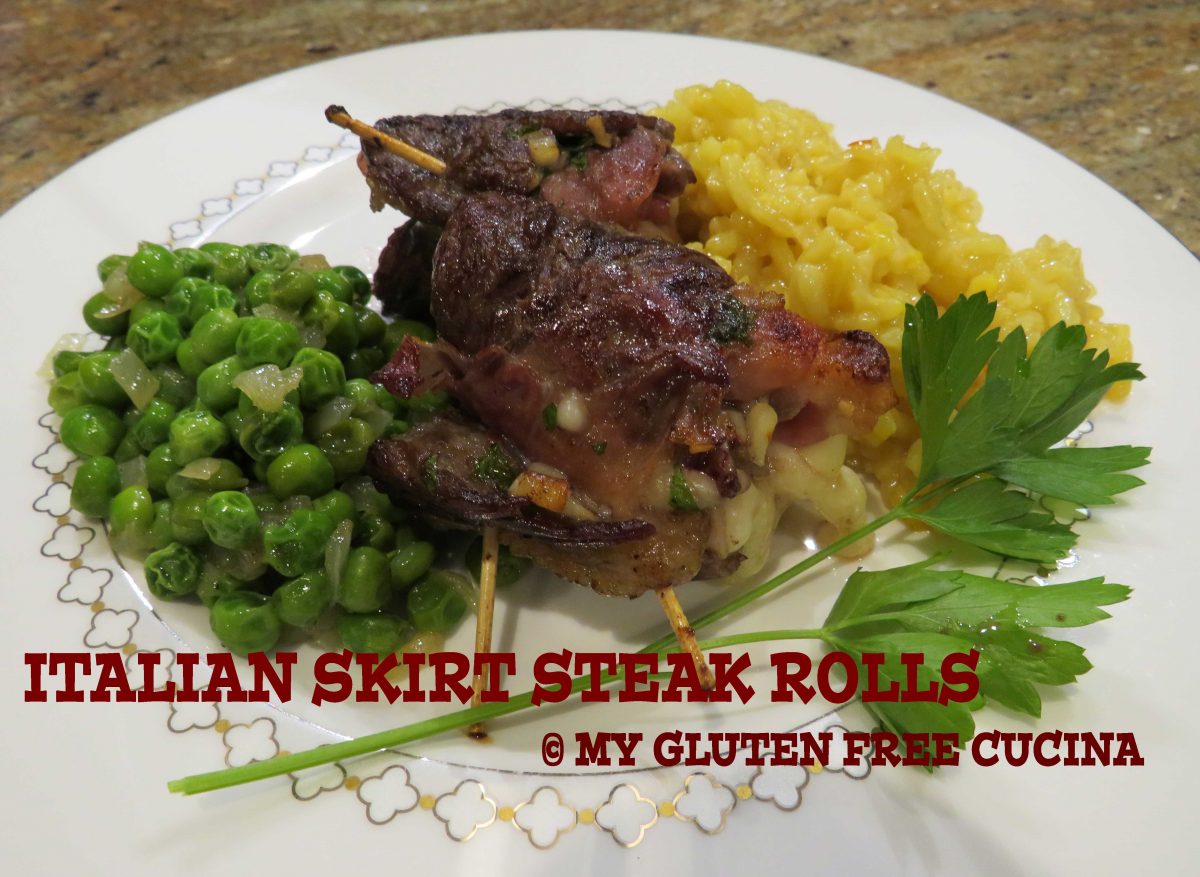
Italian Skirt Steak Rolls

This is another bucket list recipe that I have had on the back burner.  It’s one of those dishes that is so easy to prepare but looks like you fussed for hours.  The little bundles of steak, prosciutto and cheese are amazing!

The Lazy Gastronome


Skirt Steak Rolls may remind you of another bundled meat dish, Bracciole.  But while Bracciole is simmered in tomato sauce for hours on low heat, these Skirt Steak Rolls are cooked very quickly over high heat.

Was it difficult to make this recipe gluten free?  NO, because the ingredients have always been gluten free! 

When starting the gluten free diet, you may be tempted to throw away all your old cookbooks- don’t!  There are so many recipes that you have eaten all your life that were always gluten free, or just need a change of one or two ingredients.  In time you will realize there are so many meals you can enjoy that are gluten free with no crazy ingredients to purchase!

This post contains affiliate links.

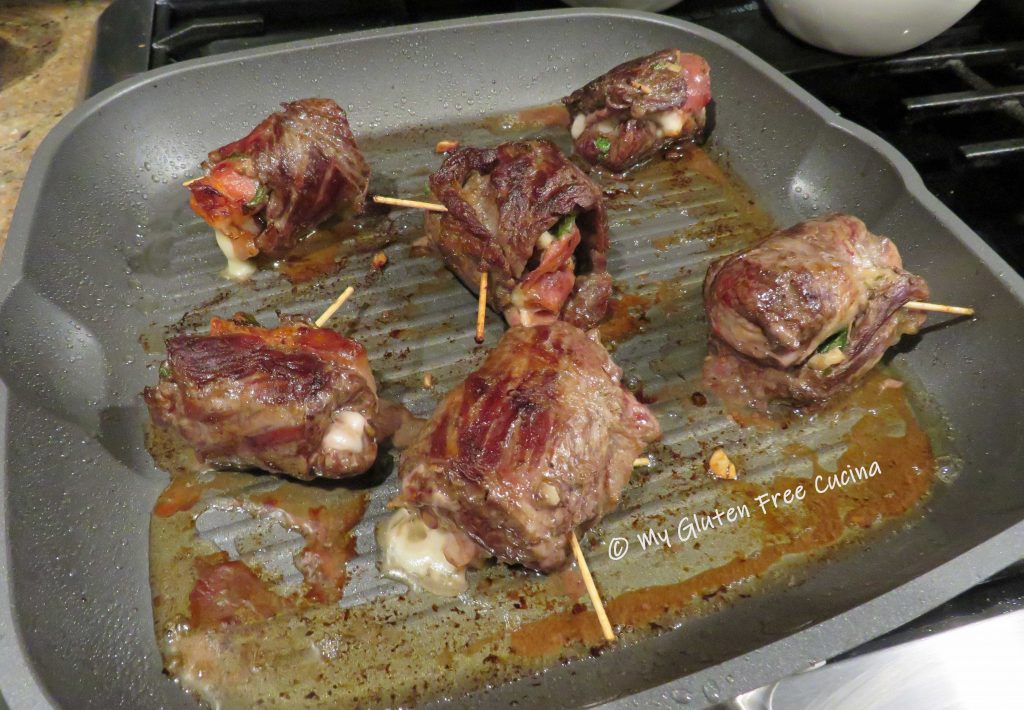
For this recipe I used an oven safe grill pan, to sear the steak rolls on the stove top and finish them in the oven.  One pan for easy cleanup!

Ingredients:

  • 1 lb. skirt steak
  • 3 garlic cloves, minced
  • 2 tbsp. fresh parsley, minced
  • 2 tbsp. olive oil
  • 3 oz. prosciutto
  • 2 oz. sliced provolone cheese cut into strips
  • ground pepper to taste

Preparation:

First gather your ingredients.  Mince the garlic and parsley and combine with 2 tbsp. olive oil.  Leave a few sprigs of parsley for garnish.

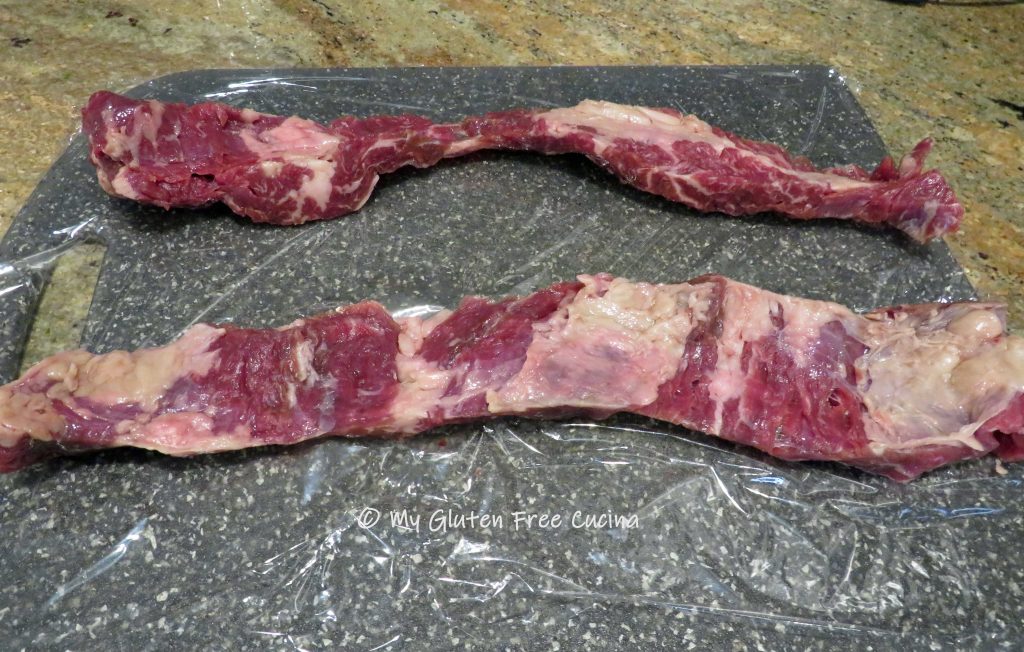
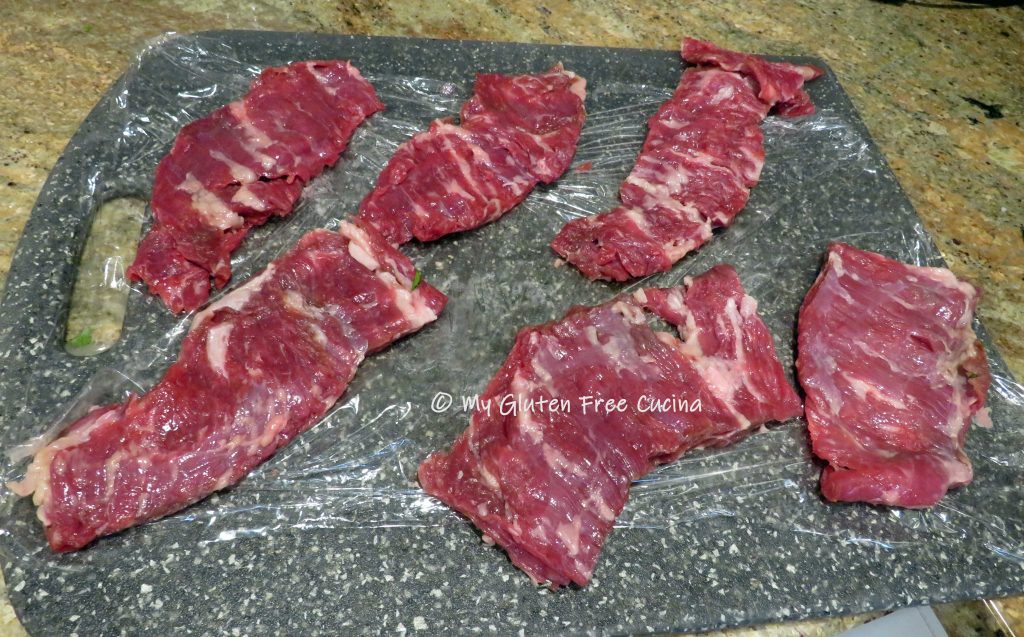
Lay the steak out on a cutting board covered with plastic wrap and trim away any white membrane or visible fat.

Cover the meat with another sheet of plastic wrap and pound to an even 1/4″ thickness.

Cut the steak into strips, 6-8″ long.

Spread the garlic mixture evenly over the steak.

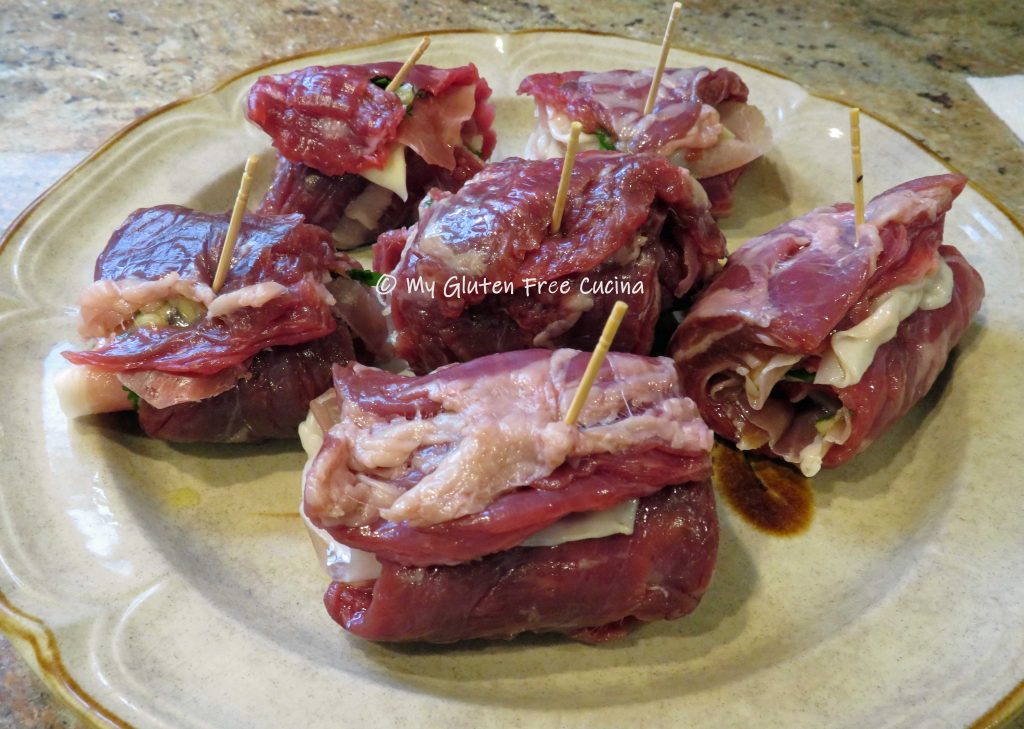
Layer the steak with prosciutto slices and top with cheese.

Now roll each piece into a bundle and secure with toothpicks.  Refrigerate for 1 hour.

Preheat the oven to 350º and season the meat bundles with fresh ground pepper.  I don’t add salt, because the cheese and prosciutto have plenty of sodium.

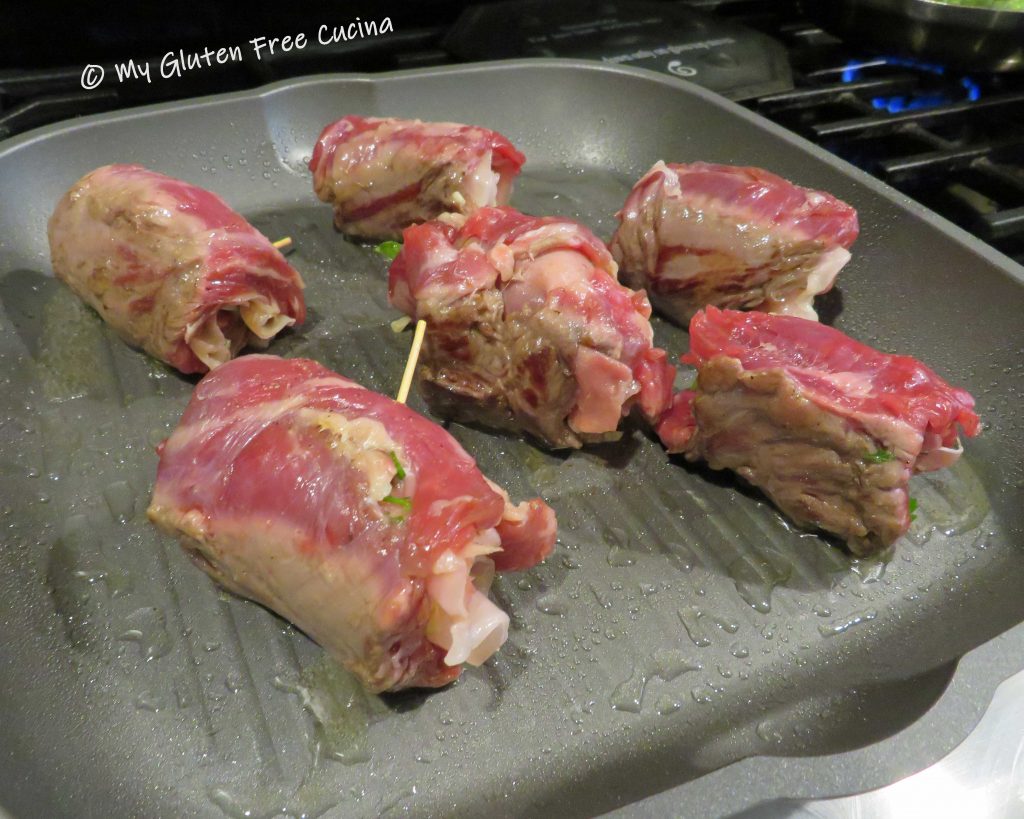
Coat an oven safe grill pan with olive oil spray and heat to medium (you can also do this step on an outdoor grill).  Begin cooking the steak rolls in the hot pan, about 1 minute per side.

When you have some good color on the outside, transfer the pan into the oven to finish cooking.

Remove them when the internal temperature reaches 135º for medium (use a thermometer).  Tent with foil and rest 5 minutes before serving (temperature should reach 140º after resting 5 minutes).  The key to this recipe is not to overcook the meat.  A quick sear in a hot pan then finish it off in the oven, done.

Garnish with fresh parsley, and dinner is served.  I made a side of peas and a simple risotto.

Notes ♪♫  When choosing cold cuts, I look for gluten free brands like Boar’s Head or Primo Taglio.  When just a small amount of prosciutto is called for in a recipe like this one, it can be convenient (and safer) to purchase in a sealed 3 oz. package rather than having it sliced at the deli.

Print This Post Print This Post

Gluten Free Italian Wine Biscuits

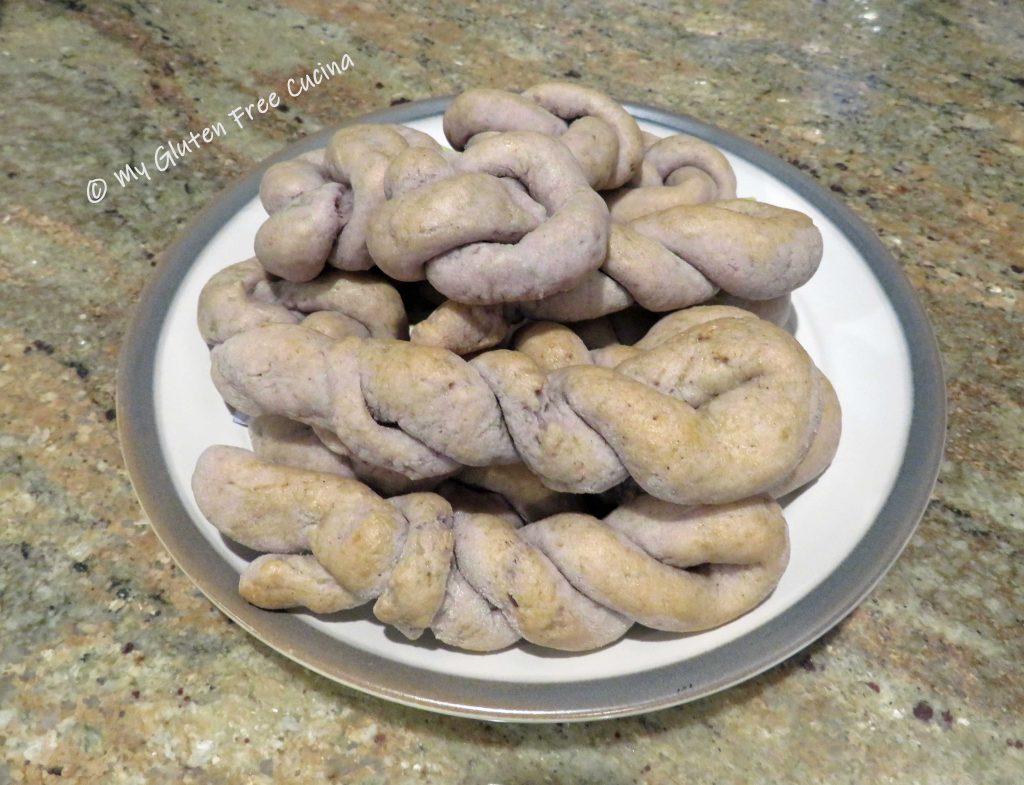
This recipe is about a memory.  Of my long-ago childhood home, when my younger self would arrive home from school to find that my mother had been baking.  Of the aroma that filled the kitchen, the table covered with racks holding dozens and dozens of these fragrant Italian treats just out of the oven.  We would devour them still warm, when they had the consistency of a soft cookie.  Later, when fully cooled they would firm up to a crisp exterior perfect for dunking in coffee!

Why do I remember this particular recipe so fondly?  Like most women of her generation my mother embraced convenience foods, and her cookies and cakes were usually made from a boxed mix.  Not these Wine Biscuits though, they were always made from scratch!

It’s a popular recipe and an easy one too!  Every Italian has their own little variation, but the basic ingredients include a cup of sugar, a cup of oil and a cup of wine.  My mother used eggs in hers.  I know that others do not, but I think the egg definitely helped with the consistency in this gluten free makeover.

It was a challenge to recreate the exact texture of these biscuits with a gluten free flour.  Although we call them biscuits, they are actually a shaped cookie.  The dough had to be workable enough to roll into thin ropes, to form the traditional twist and knot shapes.  A tall order for gluten free!

This post contains affiliate links.

The Flour

In keeping with the simplicity of my mother’s recipe, I did not want to make a 20-ingredient flour blend.  So, I used Better Batter Original All Purpose Flour and was very pleased with the taste and texture of the wine biscuits.  They got a big thumbs up from family and friends who sampled them!  Please note that other gluten free flour blends may work, but since every brand is different, you may not achieve the same results with another flour.

When you shop Better Batter and use my (affiliate) code MGFC30 at checkout, you will receive 30% off any non-sale item! 

CLICK HERE to take advantage of this incredible opportunity to try the flour that I call my little miracle in a bag!

Yield: 2 dozen

My mother’s original recipe made 4 dozen wine biscuits, way too many for our 2-person household.  I decided to cut the recipe in half, and it was just the right amount for us.  You can double it for a large family or holiday baking.

Ingredients:

Plus . . . . . . . . . . . .

  • additional flour for dusting and rolling
  • 1 beaten egg, for egg wash

Preparation:

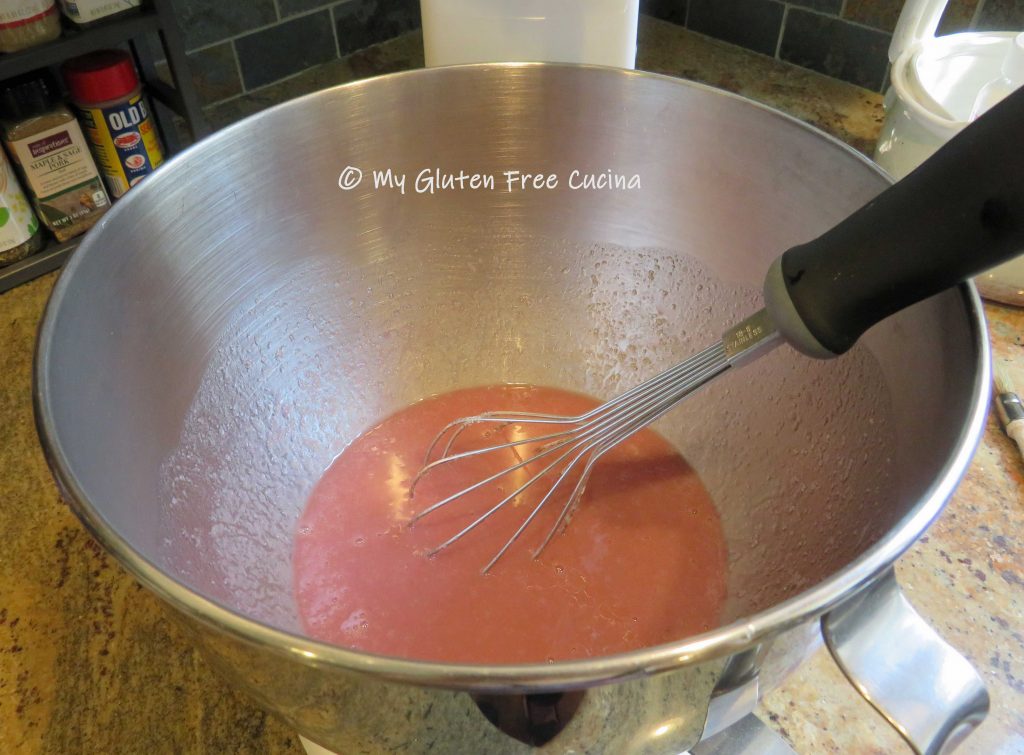
In the bowl of a stand mixer, whisk together the egg, sugar, oil and wine.

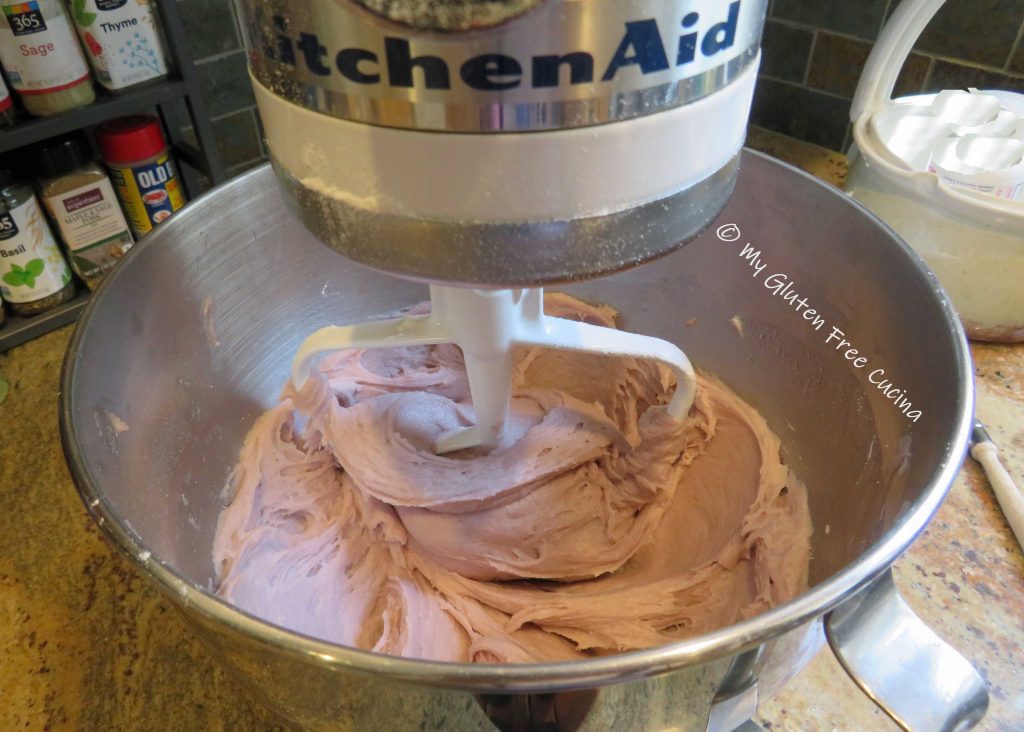
In a separate bowl, whisk together the flour, baking powder and salt.  Gradually add the dry ingredients to wet and beat until a soft dough forms.

Lightly flour a cutting board, and scoop out one rounded tablespoon of dough at a time.  Roll each piece into a rope, about 1/2″ thick and 10″ long.  Keep the board and your fingers lightly floured while handling the dough.

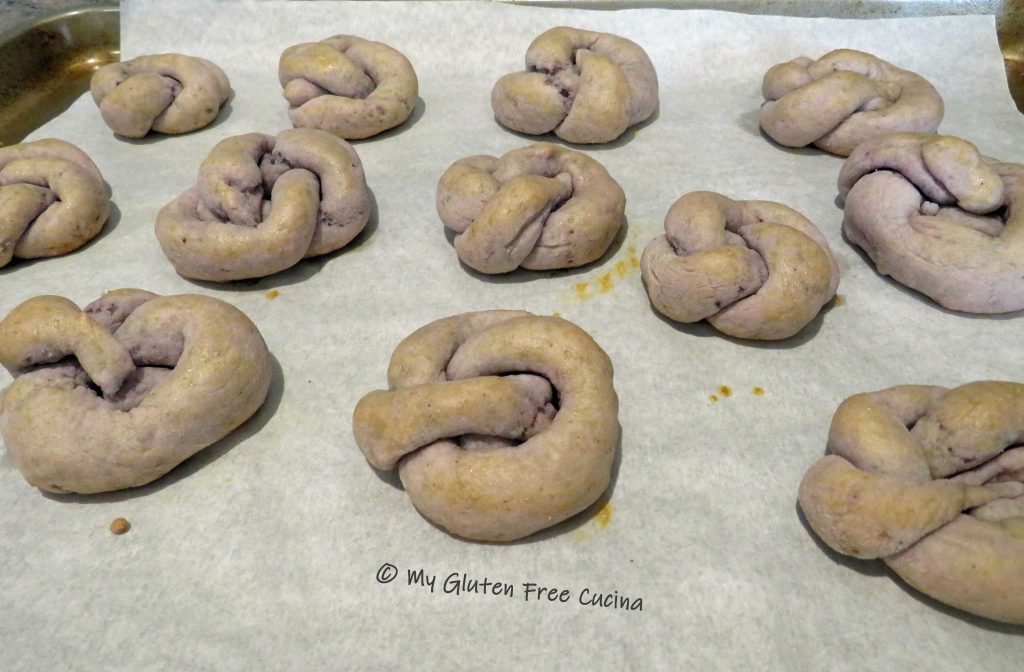
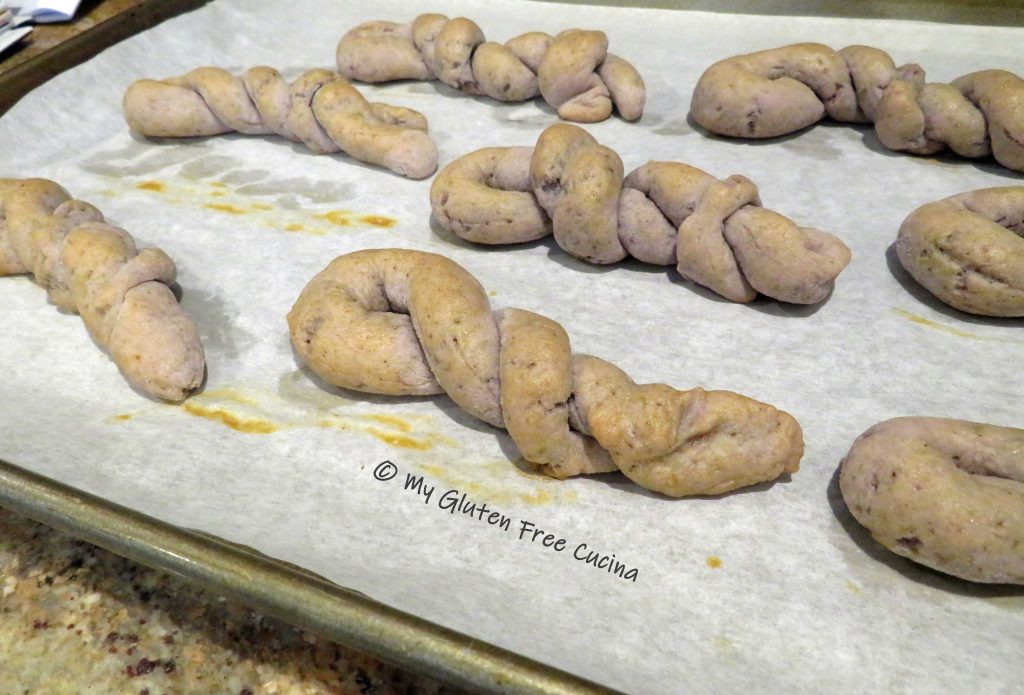
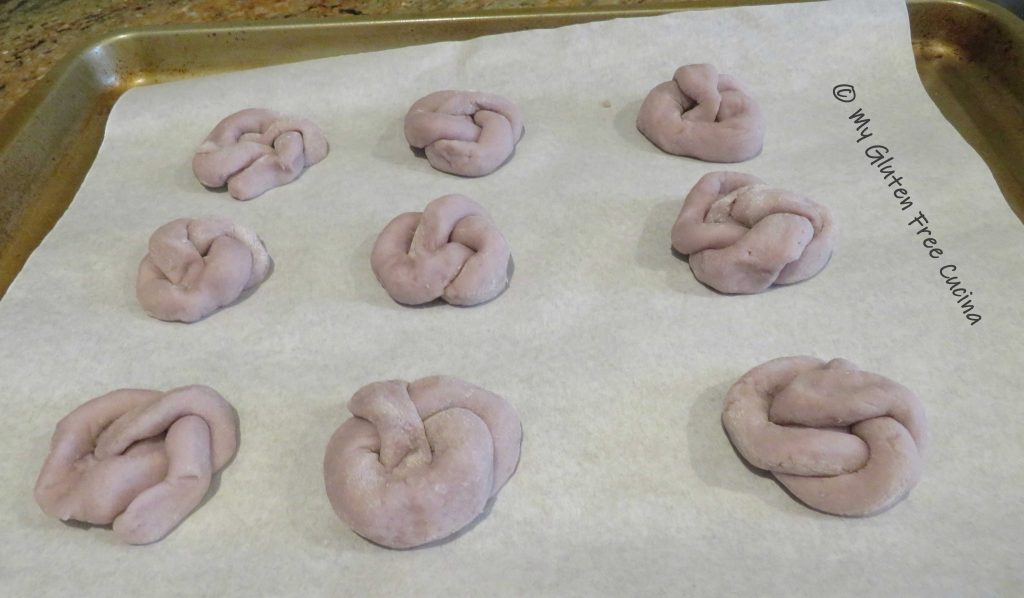
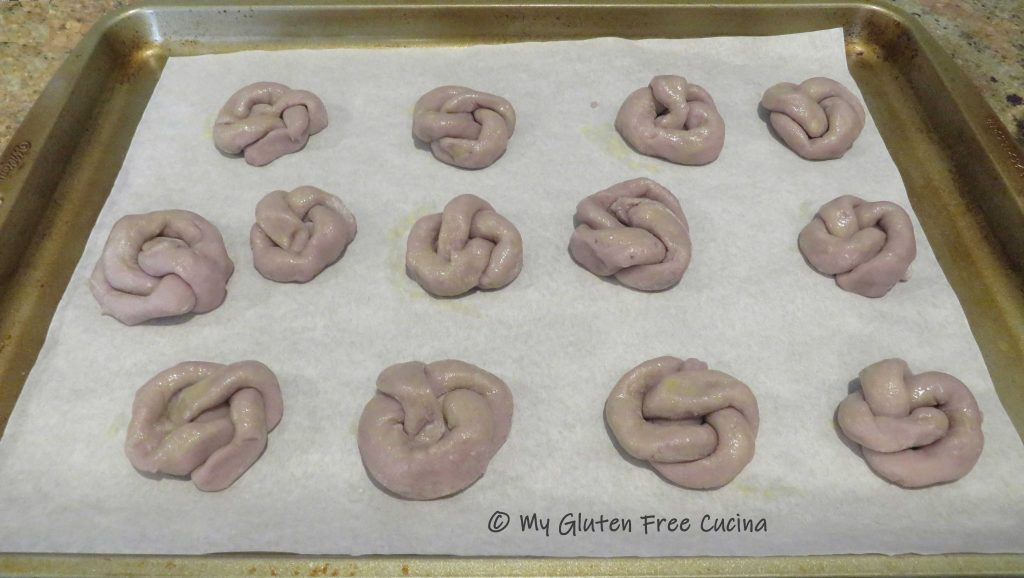
You can shape the ropes into a knot or a twist.  My mother would simply form a round and pinch the ends together, that works too!  You should have enough for about 2 dozen.

Line 2 baking sheets with parchment and arrange the formed wine biscuits, leaving a few inches of space in between.  Refrigerate for 1 hour before baking.  Keeping them cold helps the biscuits retain their shape.

Preheat the oven to 325º.  Whisk together 1 egg with 1 tbsp. water and lightly brush the wine biscuits with the egg wash.

Bake for 22-25 minutes.  Cool in the pan 10 minutes then transfer to a rack.  Enjoy them warm or at room temperature.

Store airtight at room temperature 2-3 days.  I imagine they would freeze well but this batch did not last long enough to find out!

Notes ♪♫ My mother made these biscuits with my grandfather’s homemade red wine. ???? There was always a bottle in the refrigerator.  Even when the wine was past its prime, it was good for cooking, and this was how it usually got used up!  You can use any red wine that you enjoy drinking (i.e., not cooking wine!).

Print This Post Print This Post