What is Malloreddus Pasta?
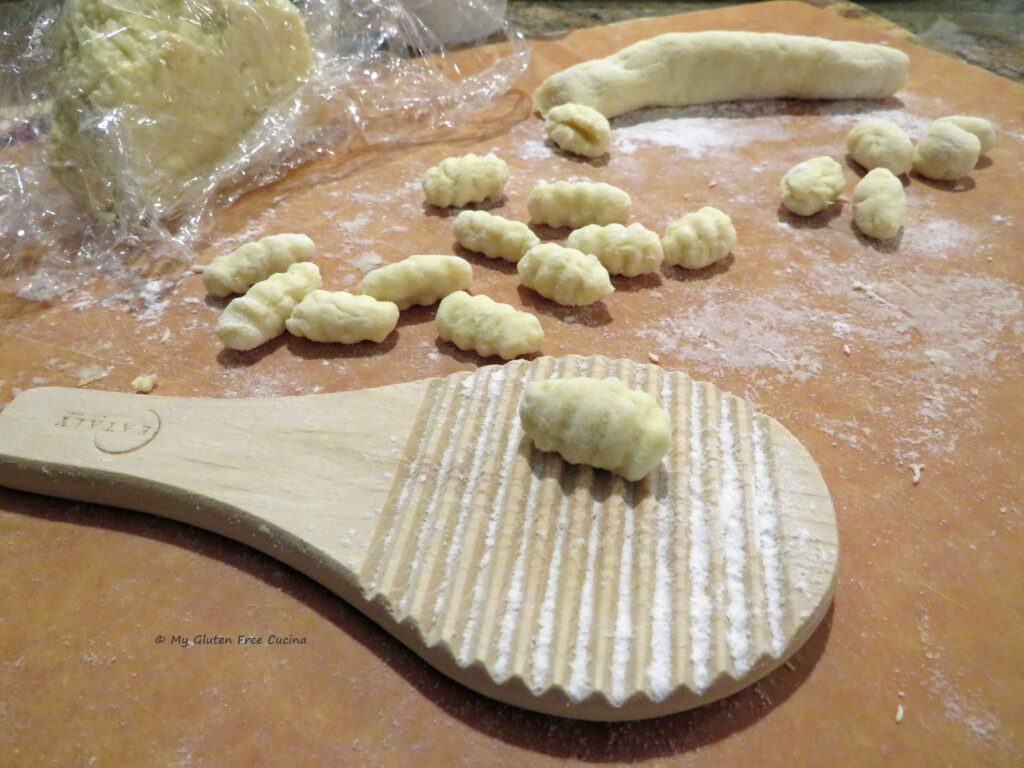
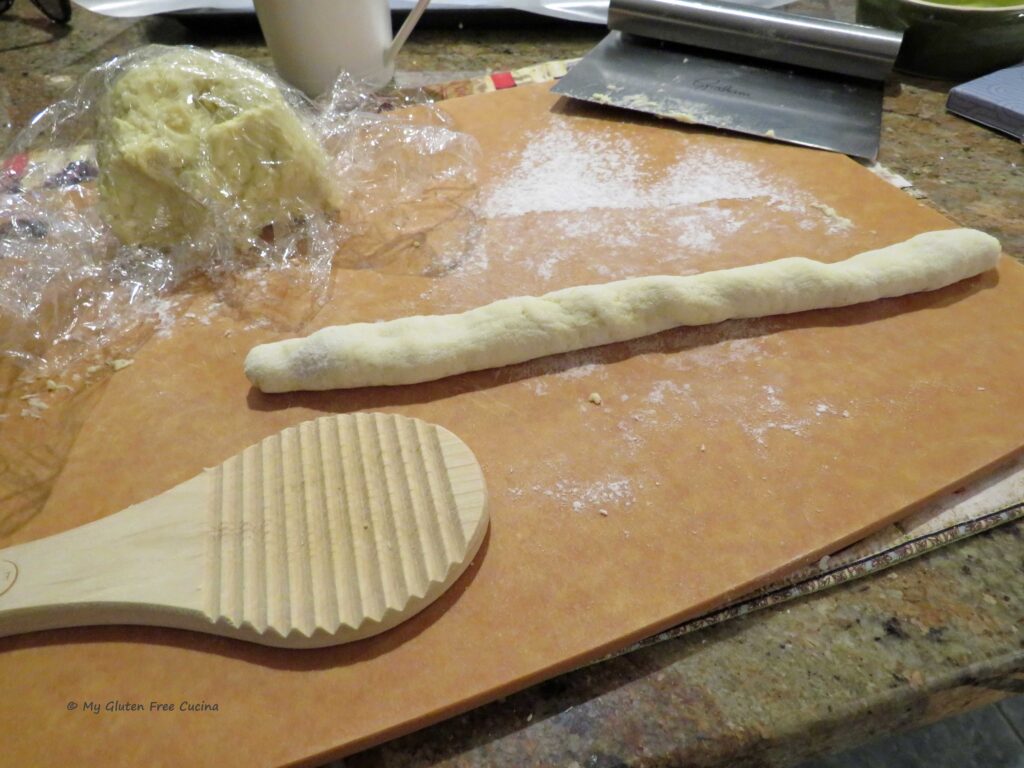
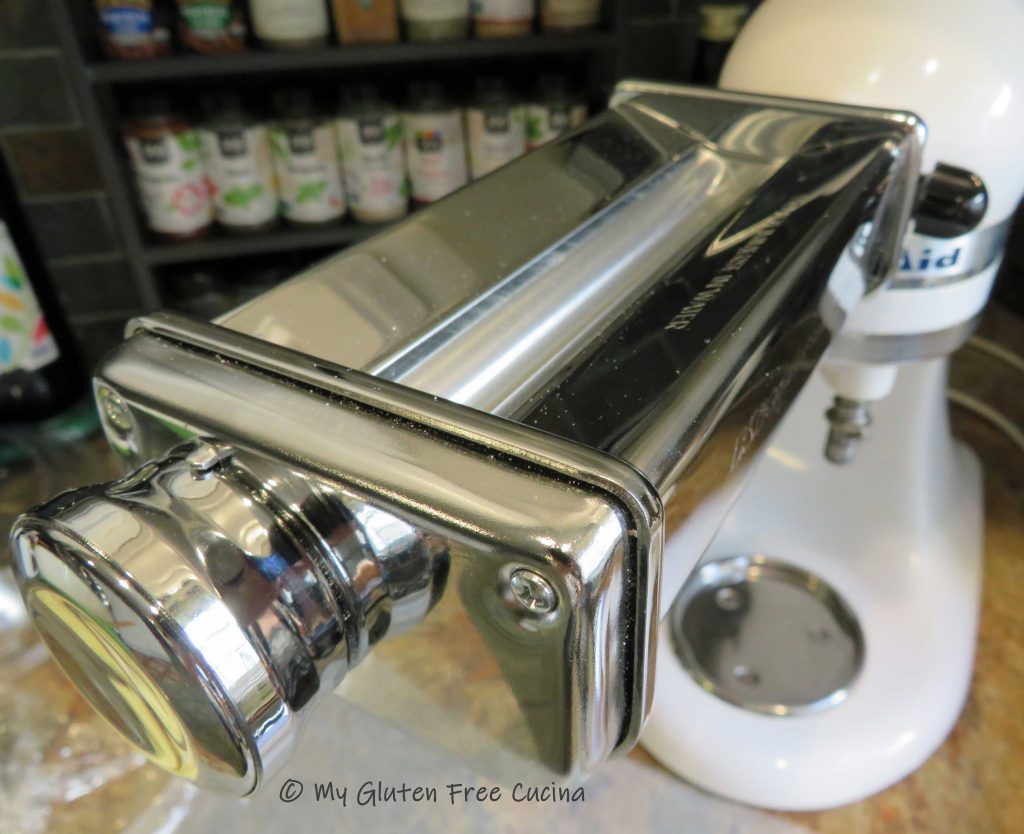
Malloreddus pasta is a type of gnocchi originating in Sardinia, Italy. There are a few things that distinguish this regional pasta from other types of gnocchi. First, look at the ridges on the Malloreddus paddle on the left, vs. a typical gnocchi paddle on the right. The ridges are wider and deeper on the Malloreddus paddle, to create the distinctive grooves. They really soak up the sauce!
 What about gluten?
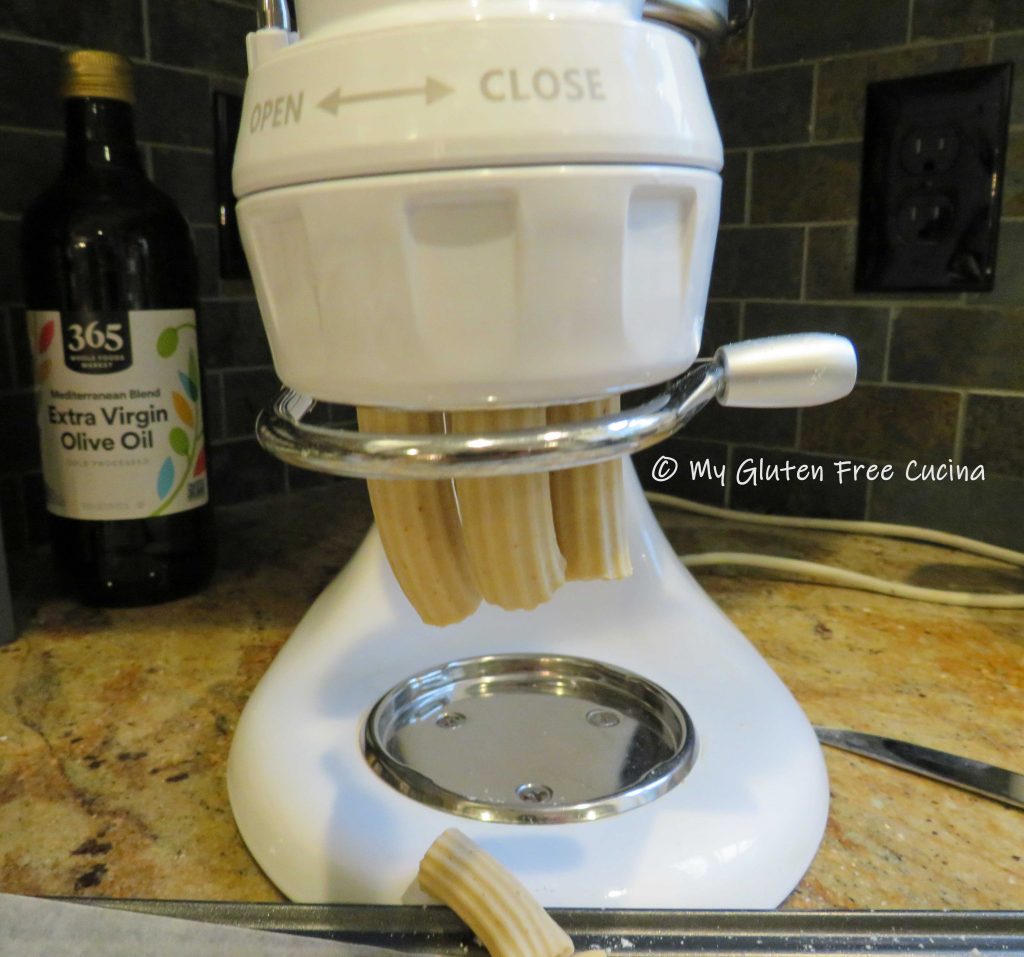
Malloreddus pasta is traditionally made with semolina flour and water. Of course, semolina is off limits on the gluten free diet, so for my gluten free adaptation, I used the new Gluten Free Bread Flour from Better Batter. You can try this recipe with any one-to-one gluten free all-purpose blend. I added water, salt and just a bit of olive oil, to help the dough come together.
 Wait, no eggs?
Did you notice that there are no eggs in the ingredient list? Traditional Malloreddus Pasta is egg free. Only flour, water and salt. I know that some of my readers can’t have eggs, if you are one of them then this pasta is for you!
 Another unique feature.
Did you know that Malloreddus pasta is sometimes infused with saffron? Just a pinch gives the dough beautiful color, it almost looks like I added an egg yolk!
 This post contains affiliate links.
4 Servings (depending on your appetite!)
Ingredients:
For the pasta
- 130 g. (1 cup) gluten free all-purpose flour
- 1/4 tsp. salt
- 1 tbsp. olive oil
- 1/2 cup warm water, divided
- pinch of saffron
Preparation:
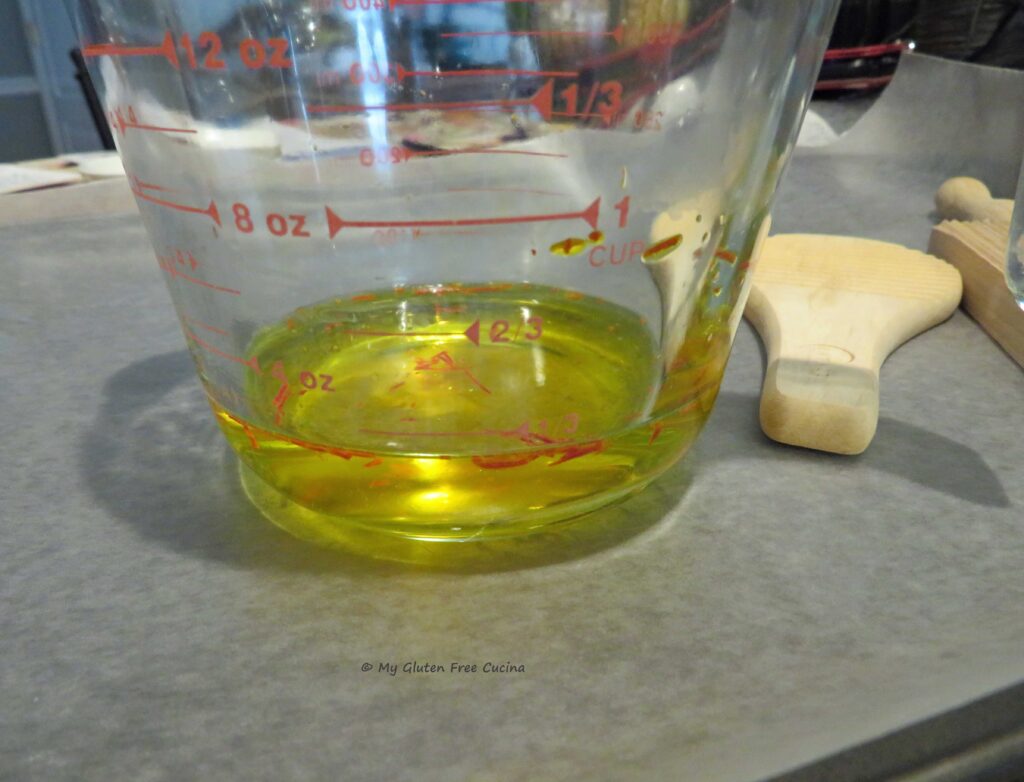
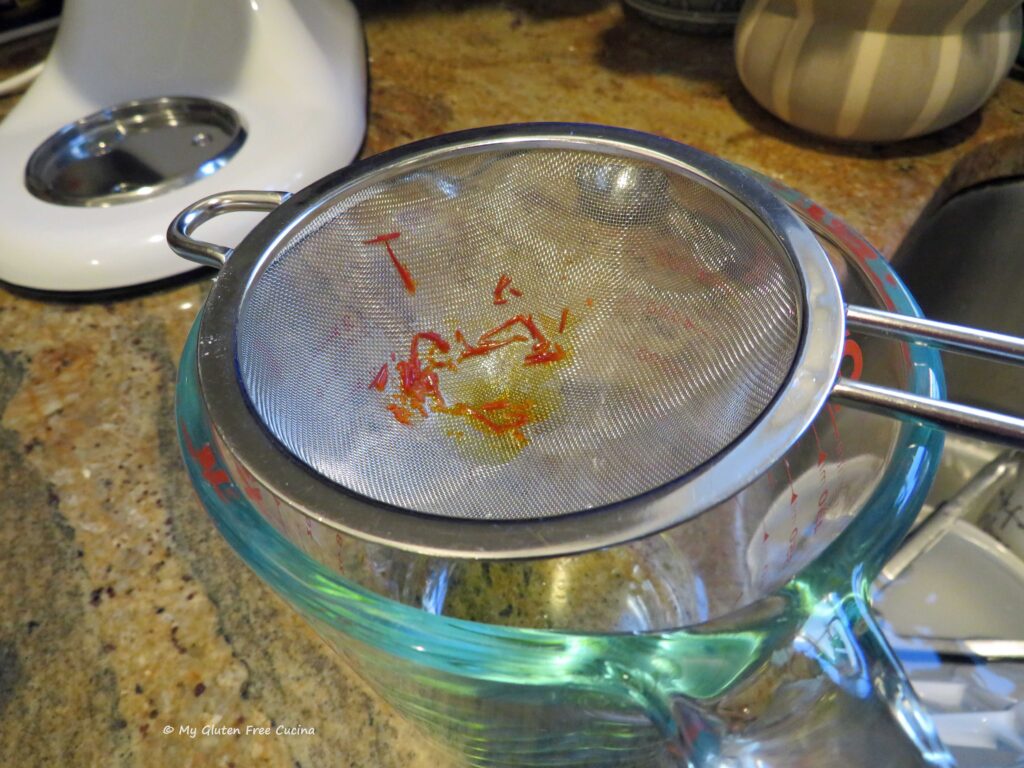
For the pasta, add a pinch of saffron to 1/4 cup warm water. Let it steep for 15 minutes.
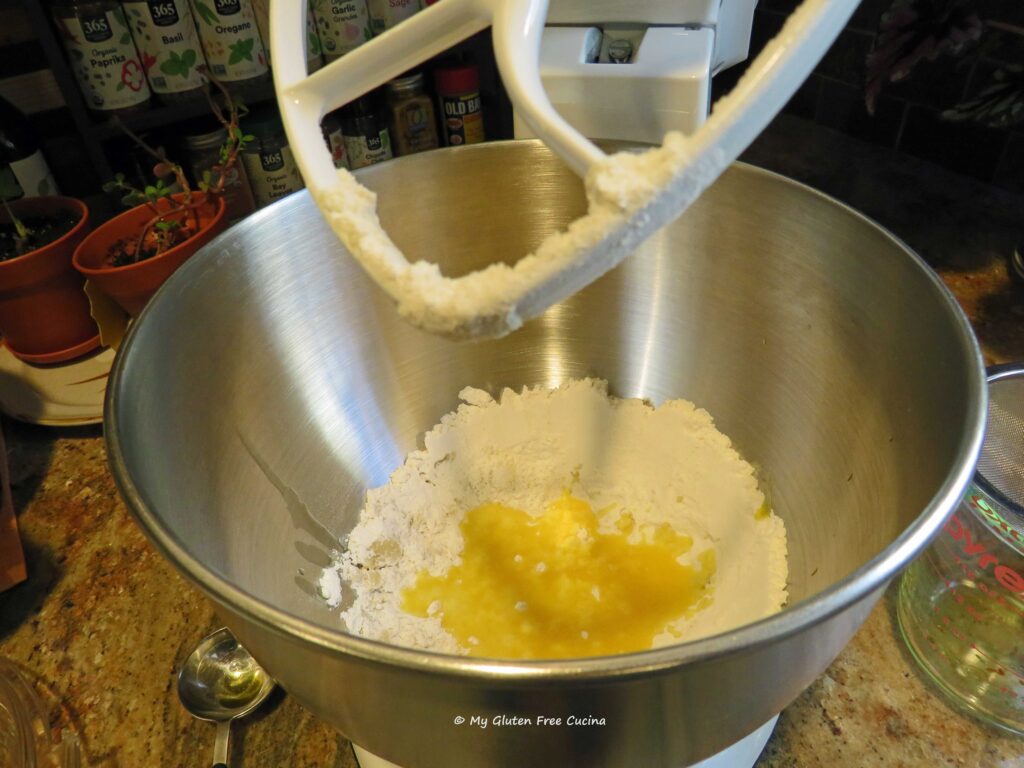
 Whisk together the flour and salt in the bowl of a stand mixer. Pour in the infused liquid through a sieve, reserving the saffron threads.
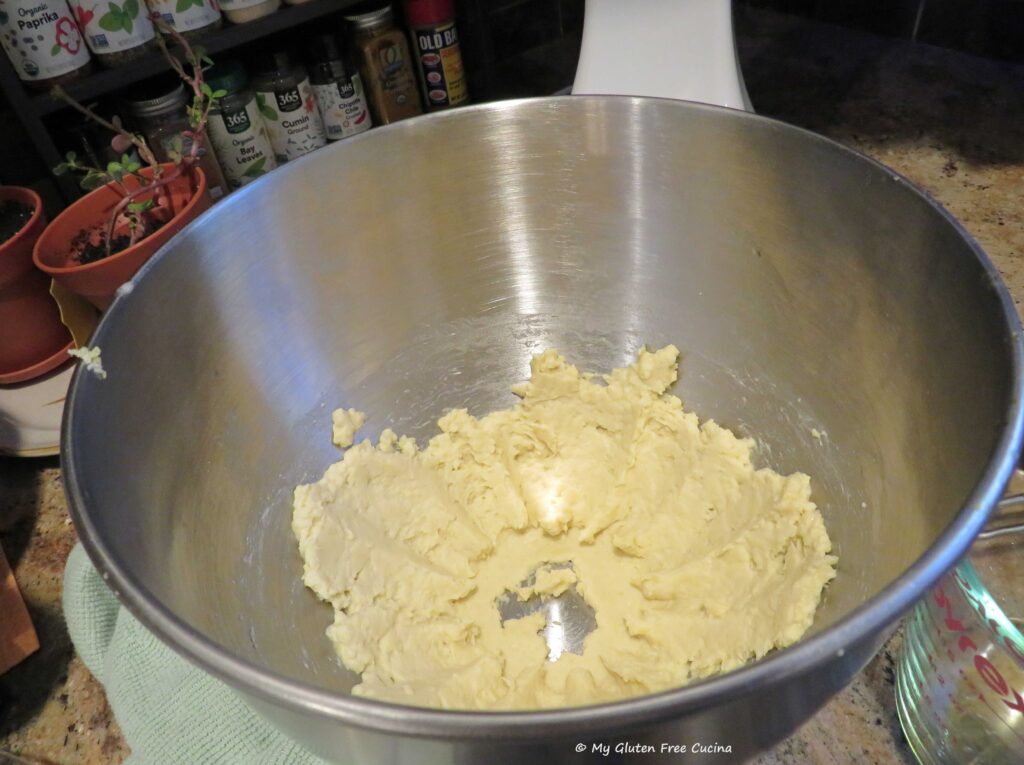
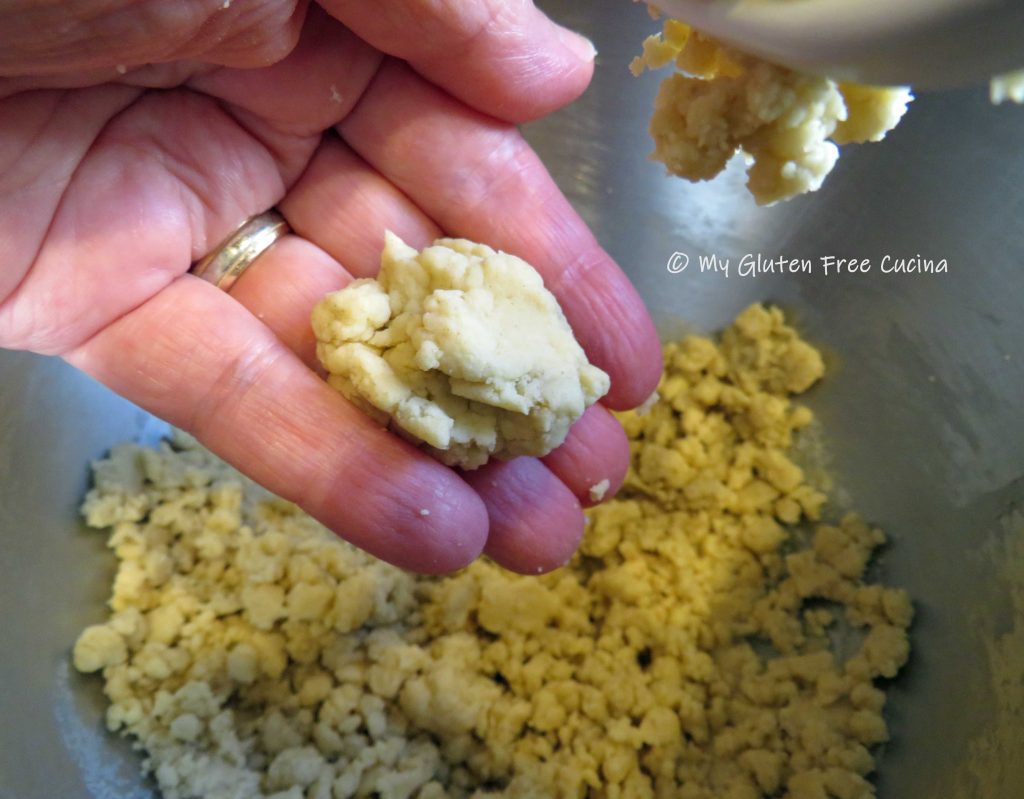
Drizzle in the olive oil and mix on low speed with the paddle attachment. You may need up to 1/4 cup of additional water to achieve the right consistency. If the dough looks crumbly like this, it is too dry.
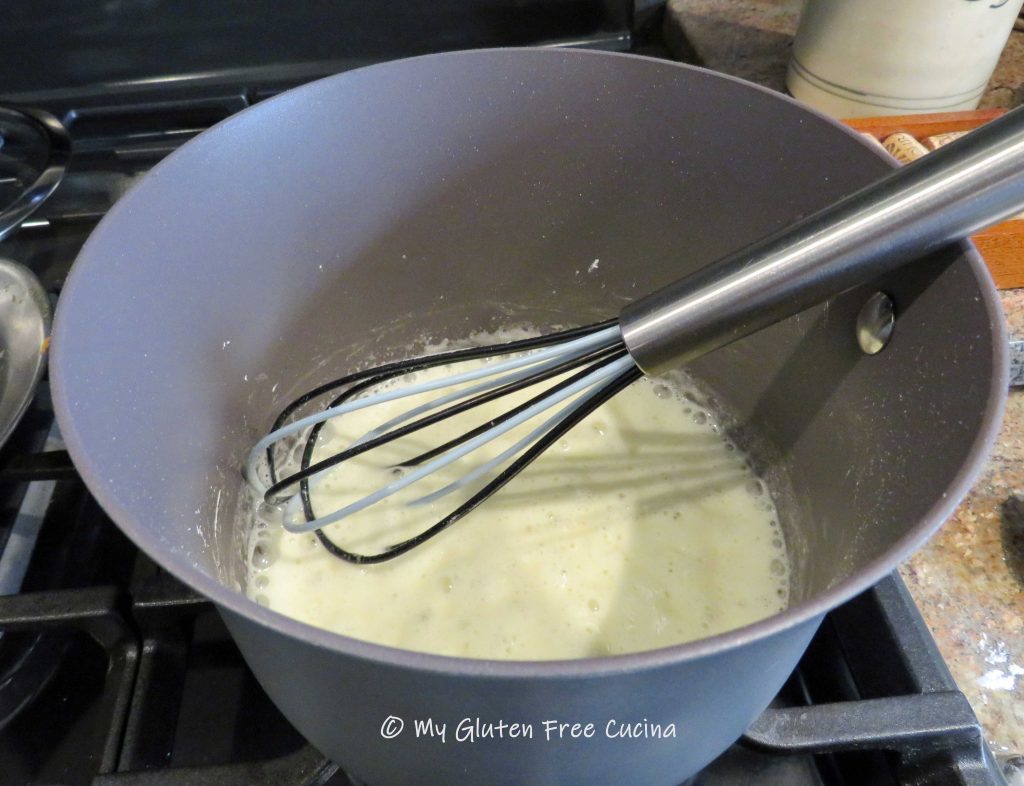
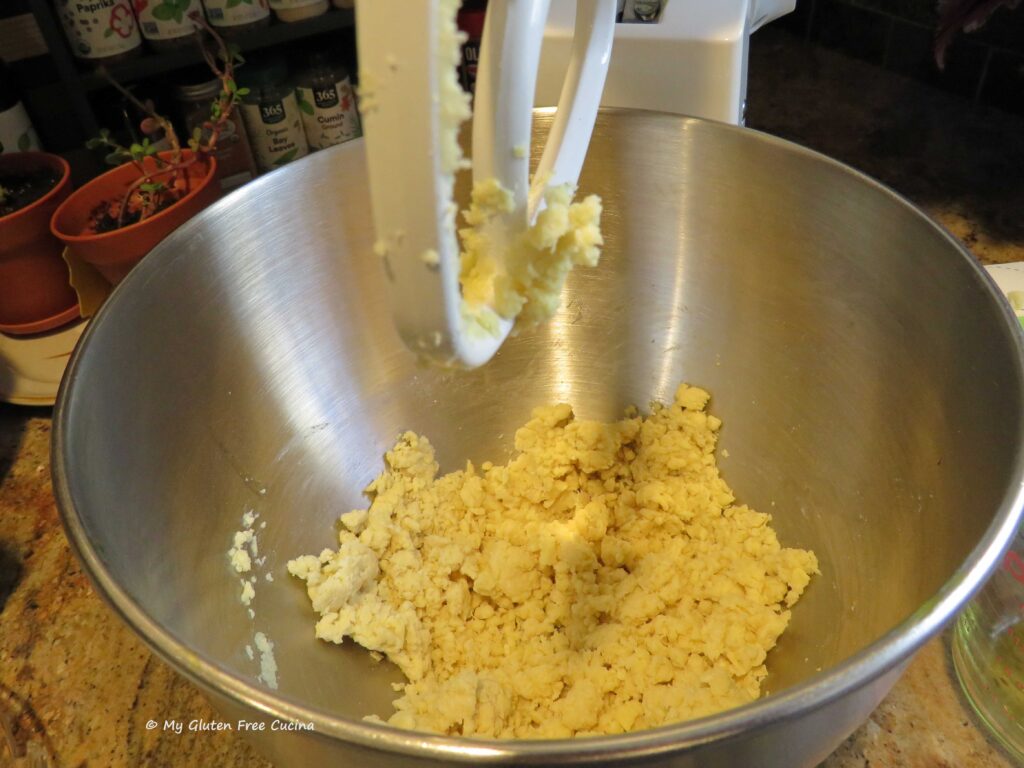 Add the remaining water 1 tbsp. at a time until you have a very soft, smooth dough, like this.
 Hint– If you need to add the additional water, pour it over the strained saffron threads so you get more of the coloring.
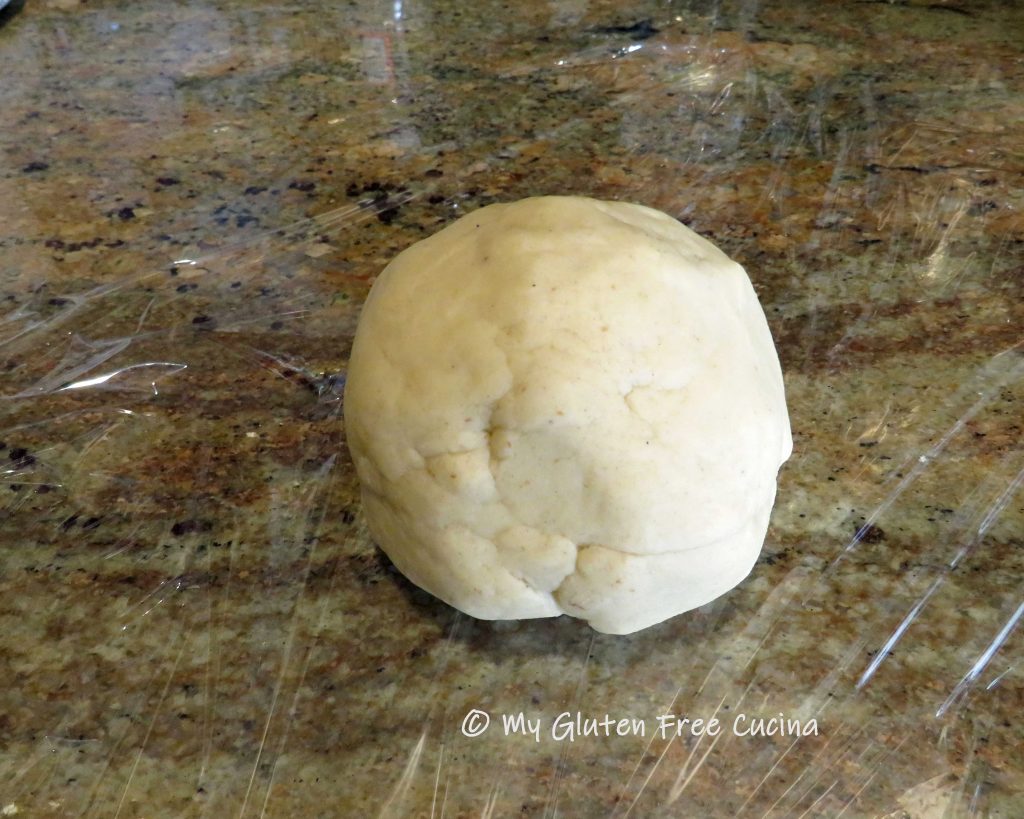
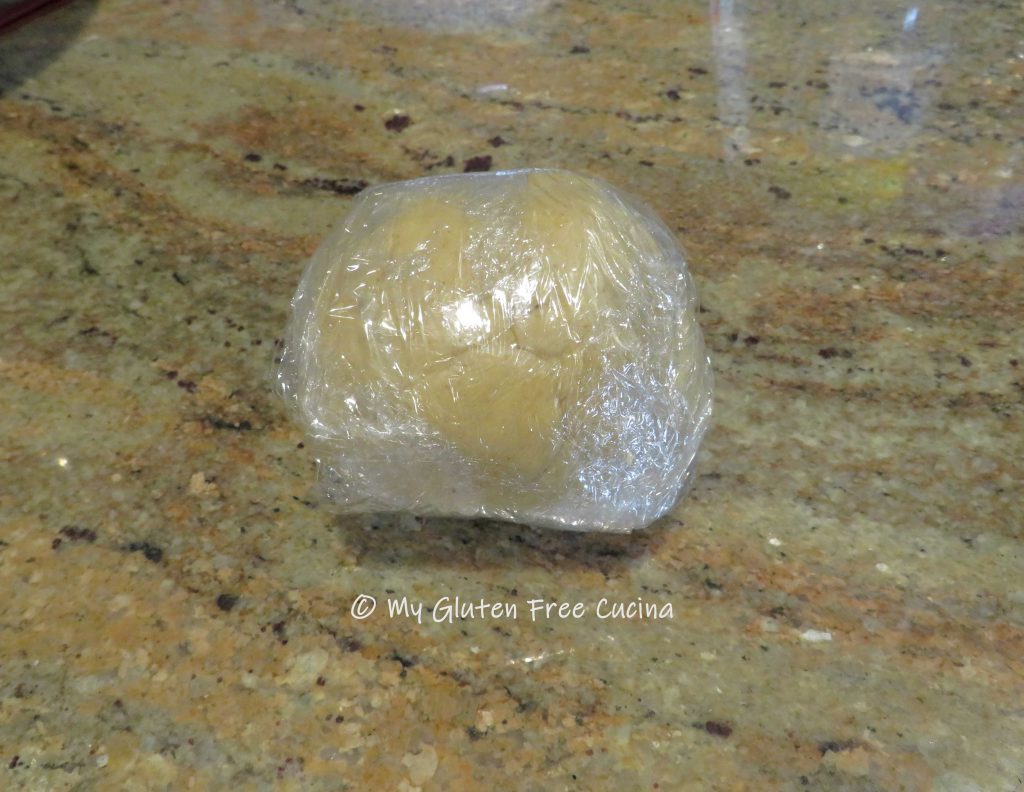
 Use a spatula to gather the dough into a ball, then cover and let it rest at room temperature for about 20 minutes.
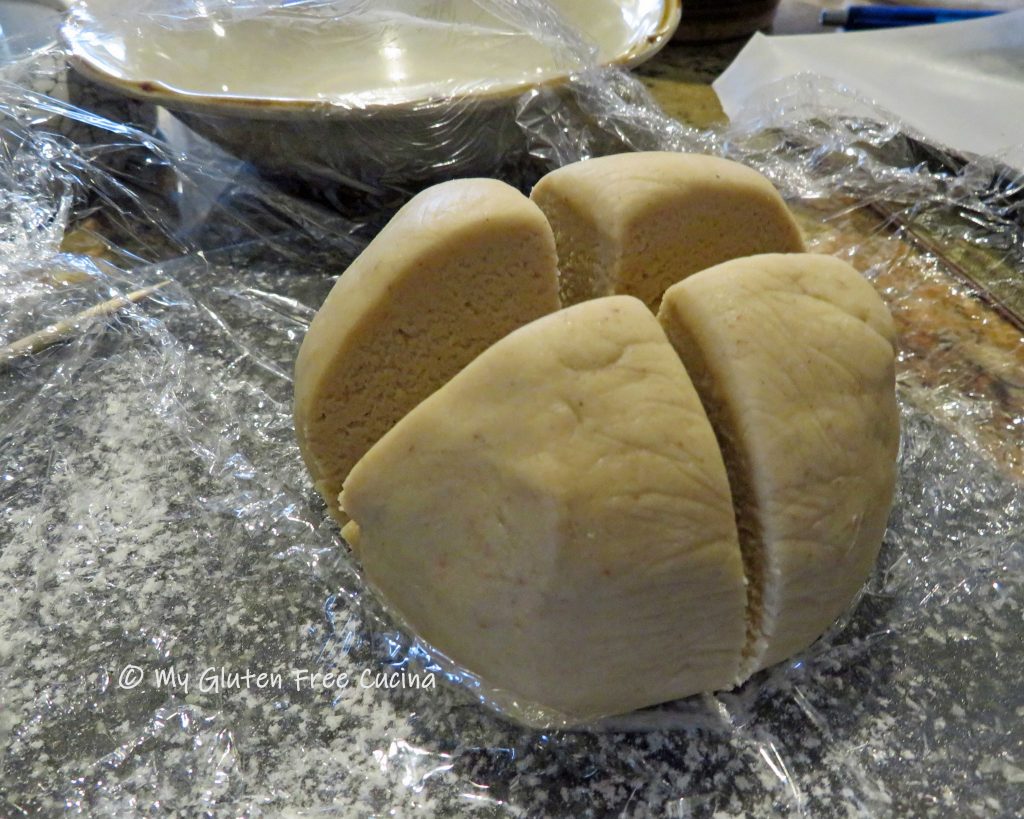
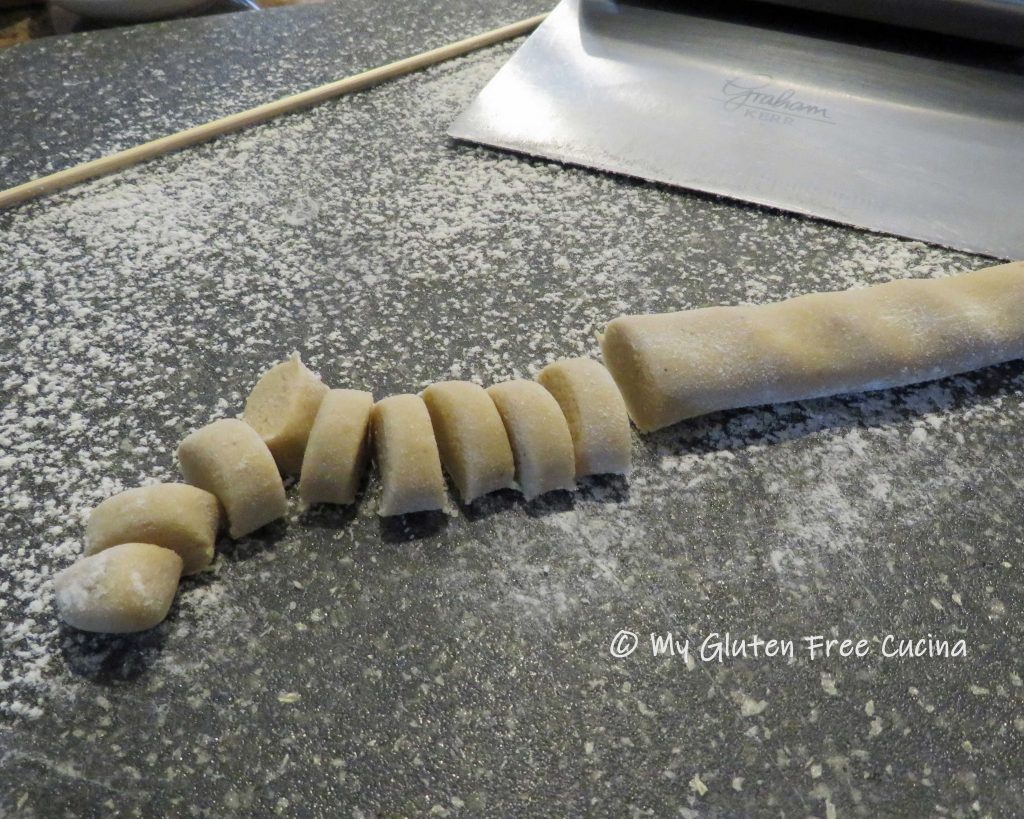
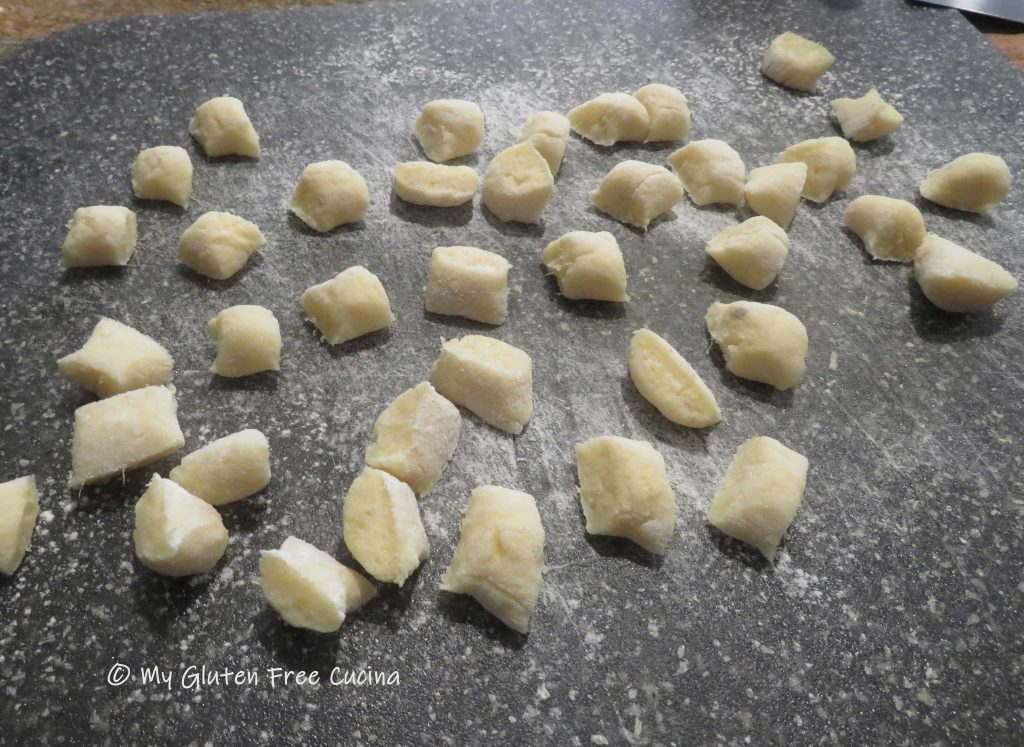
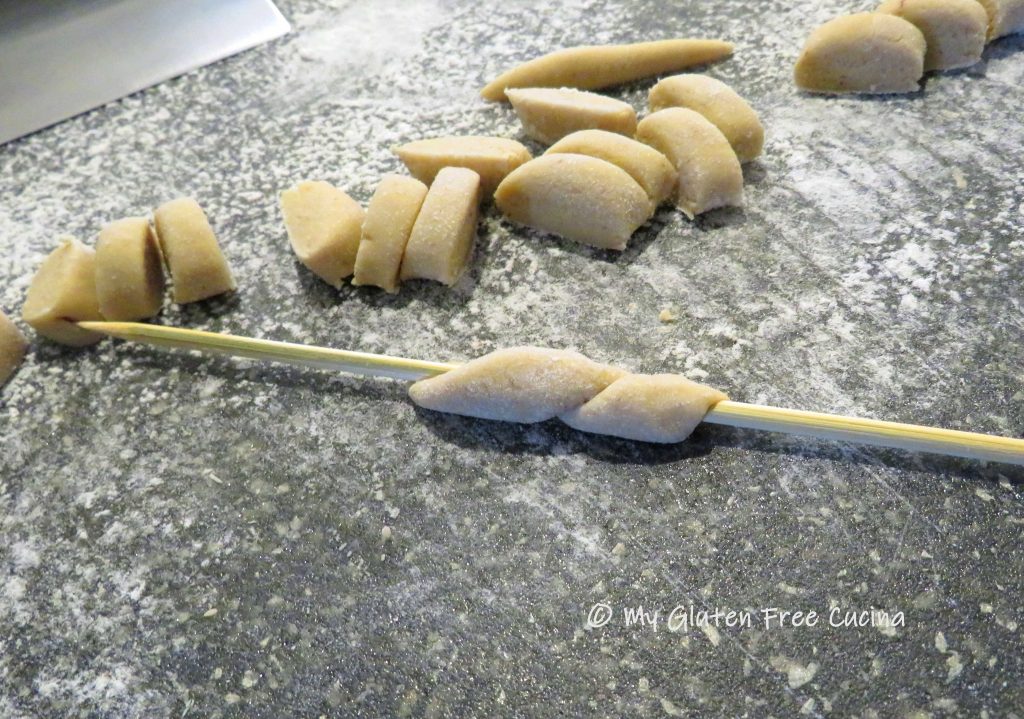
When you’re ready, flour a cutting board and divide the dough into 4 pieces. Working with one section at a time, roll the dough into a thin rope, about 1/2″ wide. Use a bench knife or butter knife to cut the rope into 1/2″ pieces, (this is a small pasta, don’t make the pieces too large). Working quickly, roll each piece between floured palms to form small marbles.
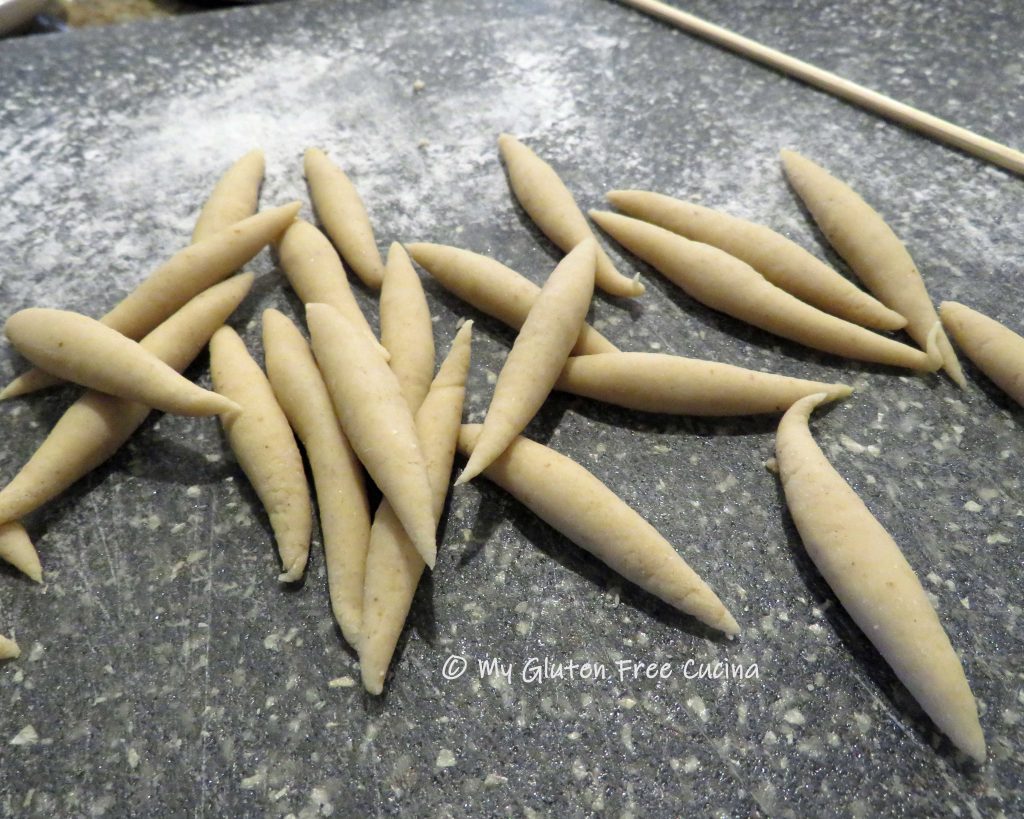
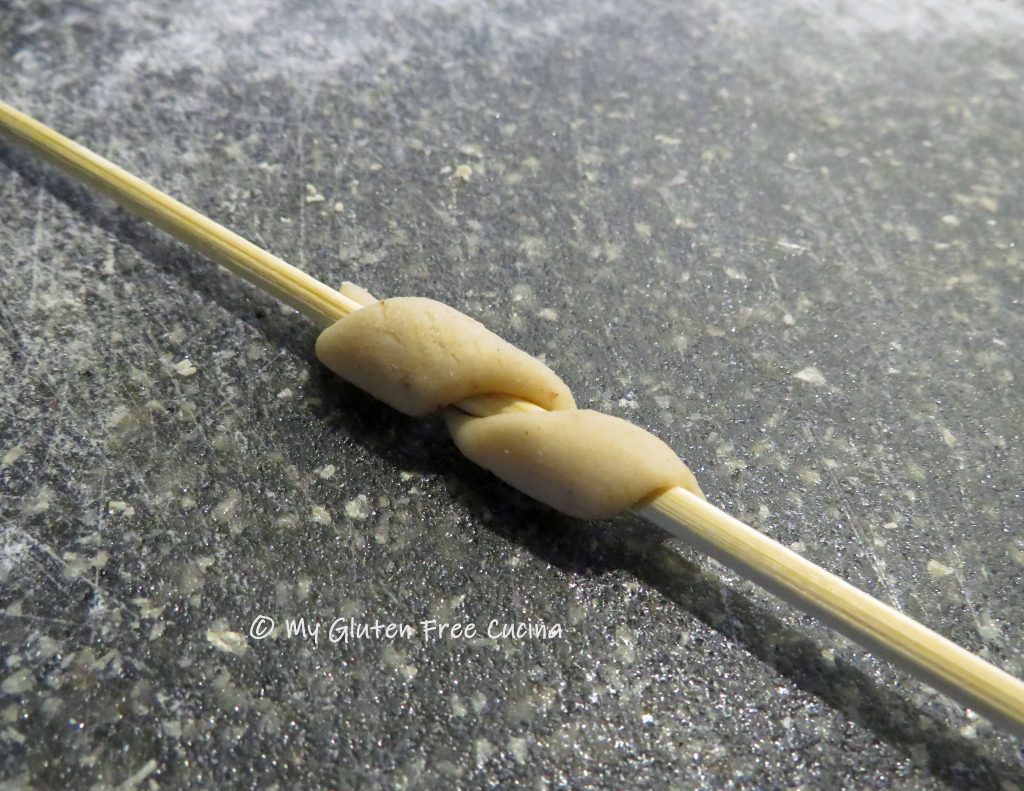
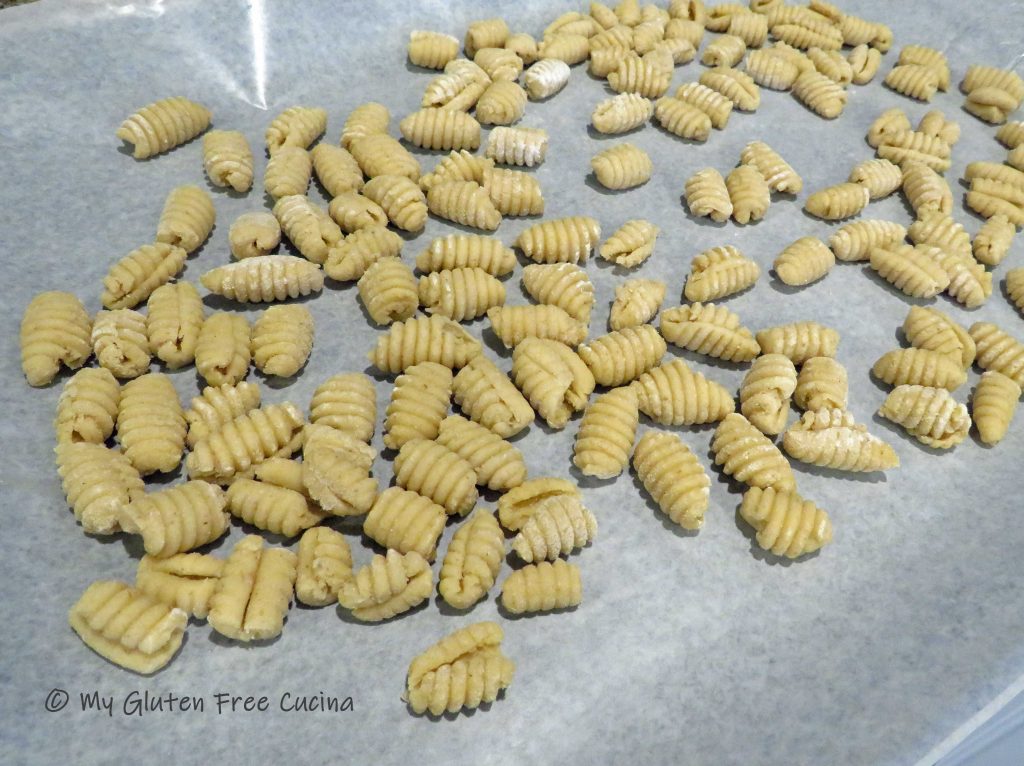
 Now roll each piece over the Malloreddus paddle, you can use your fingers or a bench knife. Be sure to keep the paddle generously floured as you work. A flour shaker is convenient to have on hand.
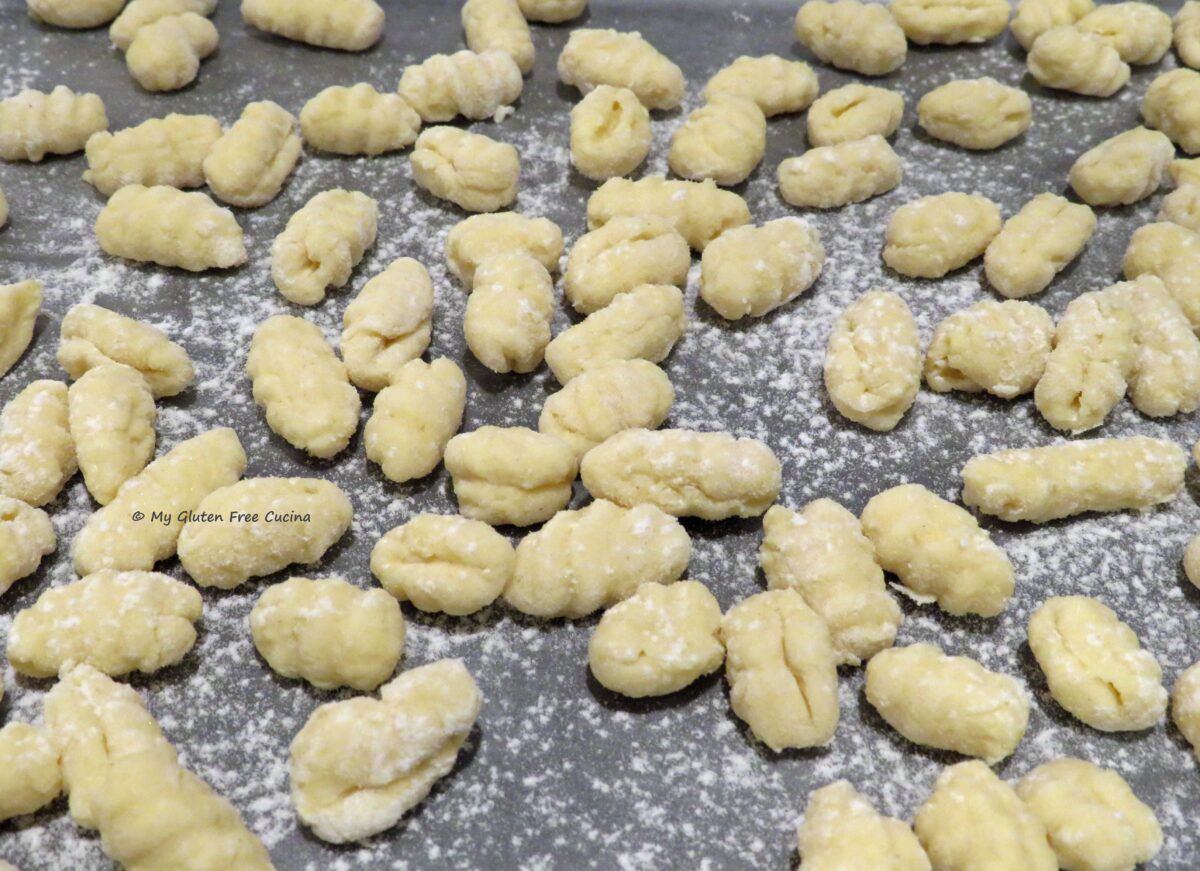
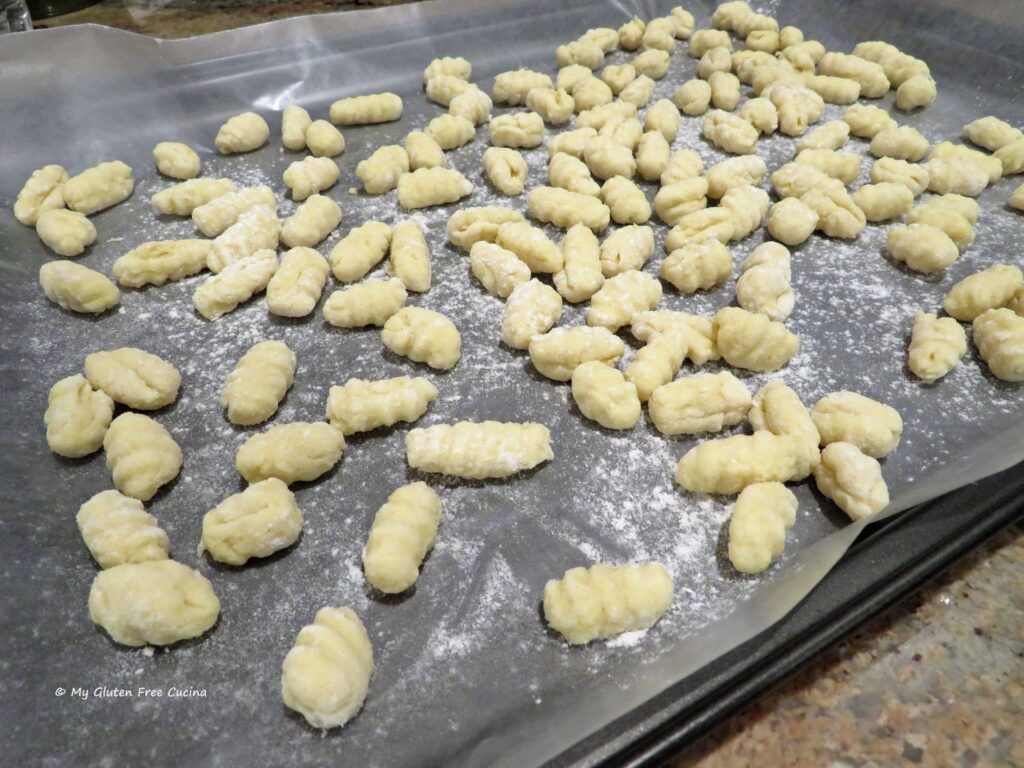
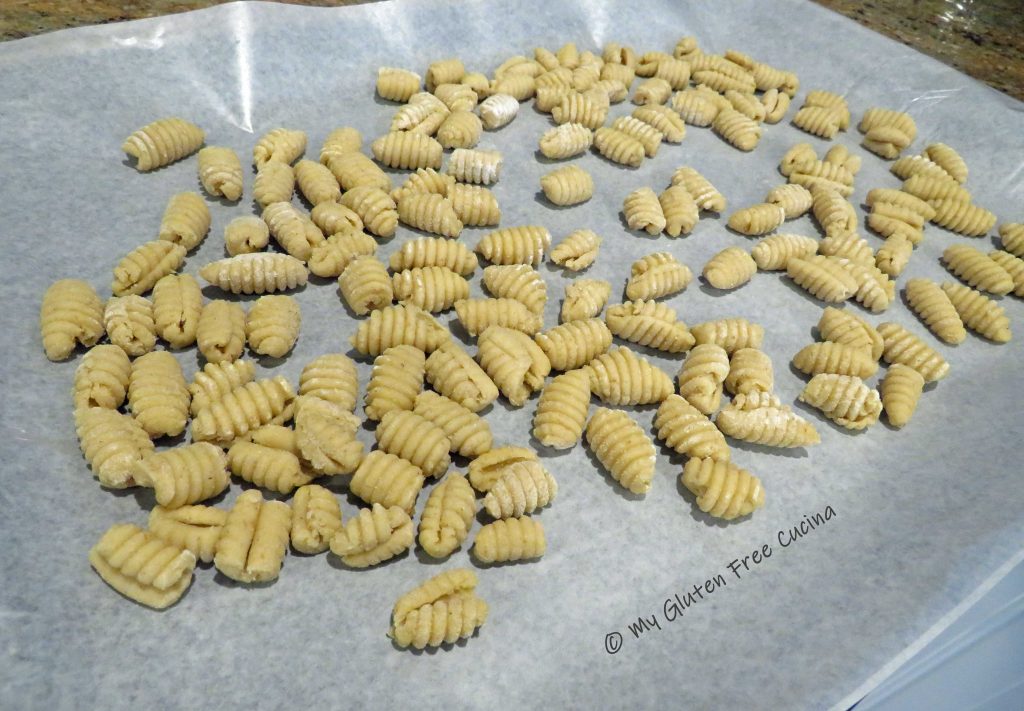
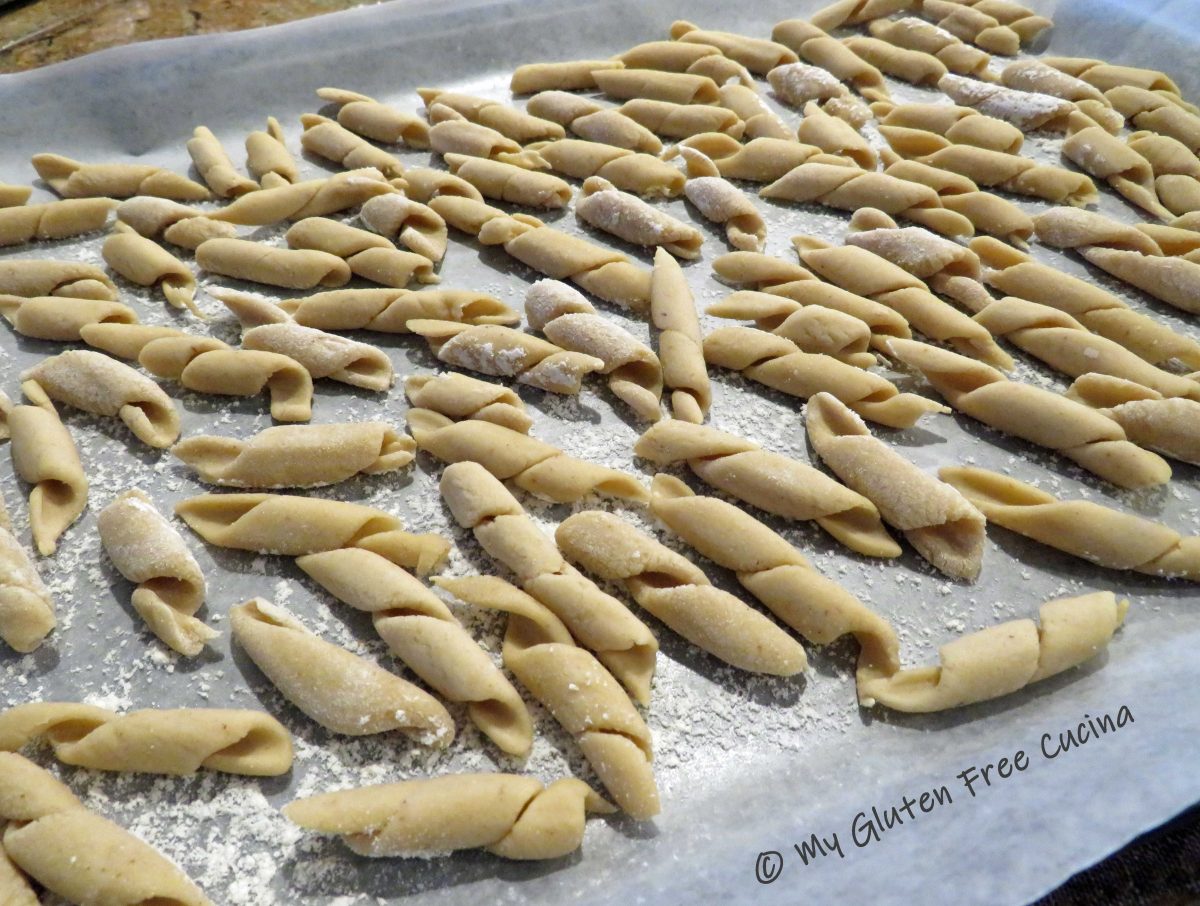
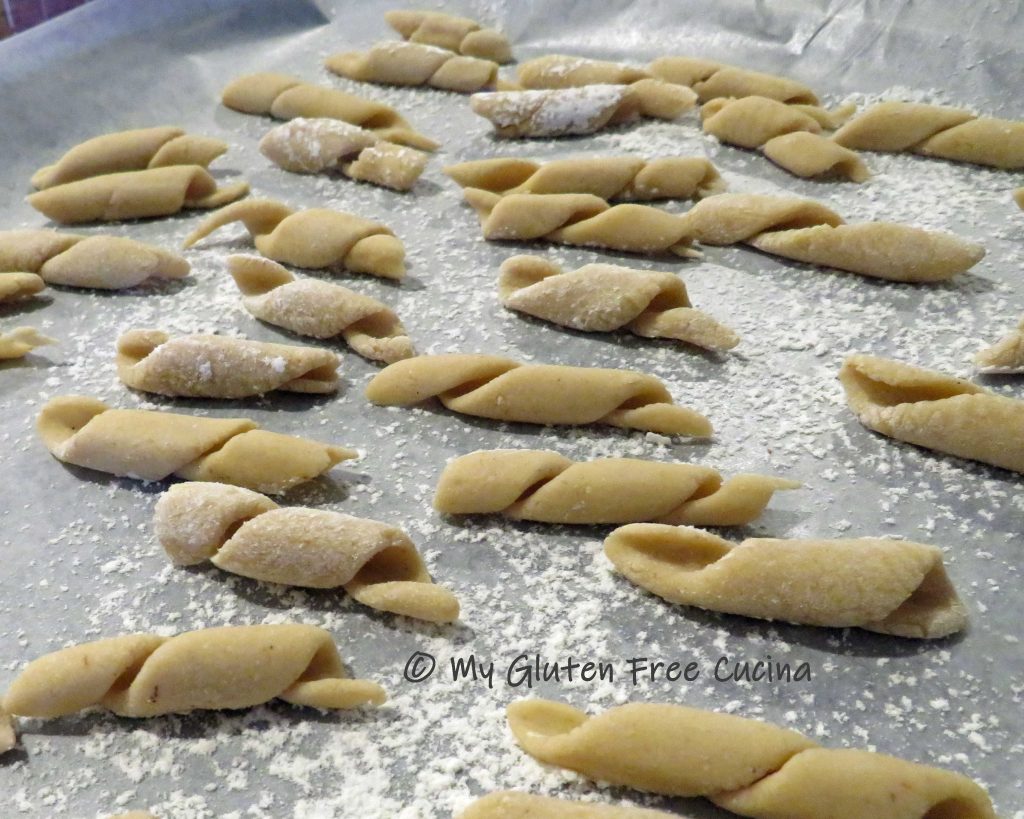
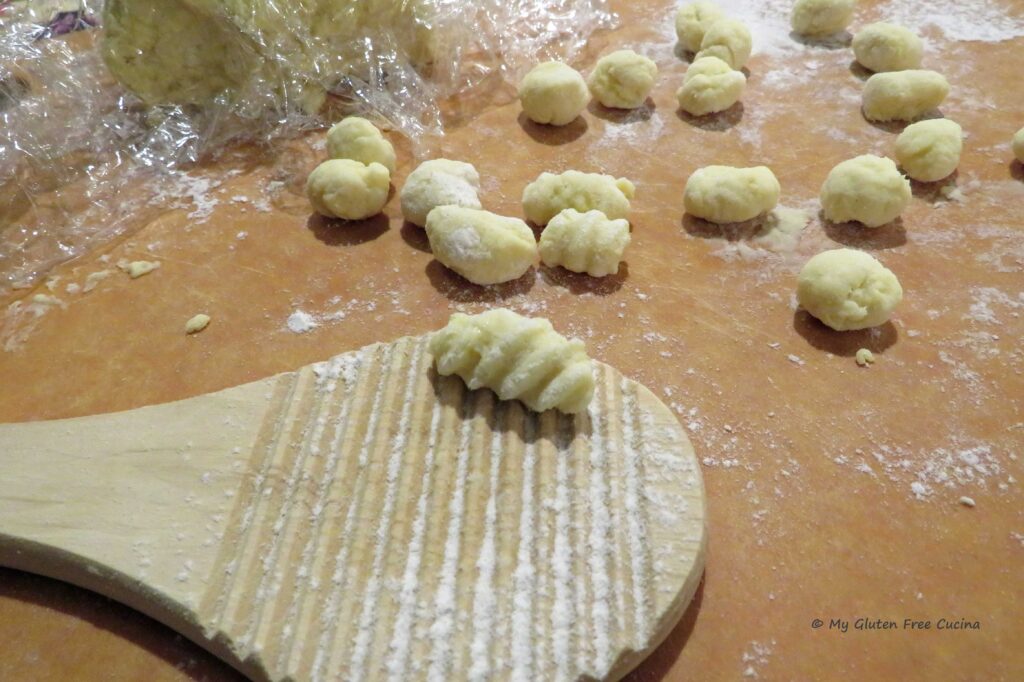 Arrange the pasta on a lightly floured baking pan in a single layer. I lined mine with wax paper. At this point, you can cover the pasta with plastic wrap and refrigerate it until you are ready to start cooking.
 For longer term storage, place the pan in the freezer for a few hours, then transfer the pasta to a freezer safe bag.
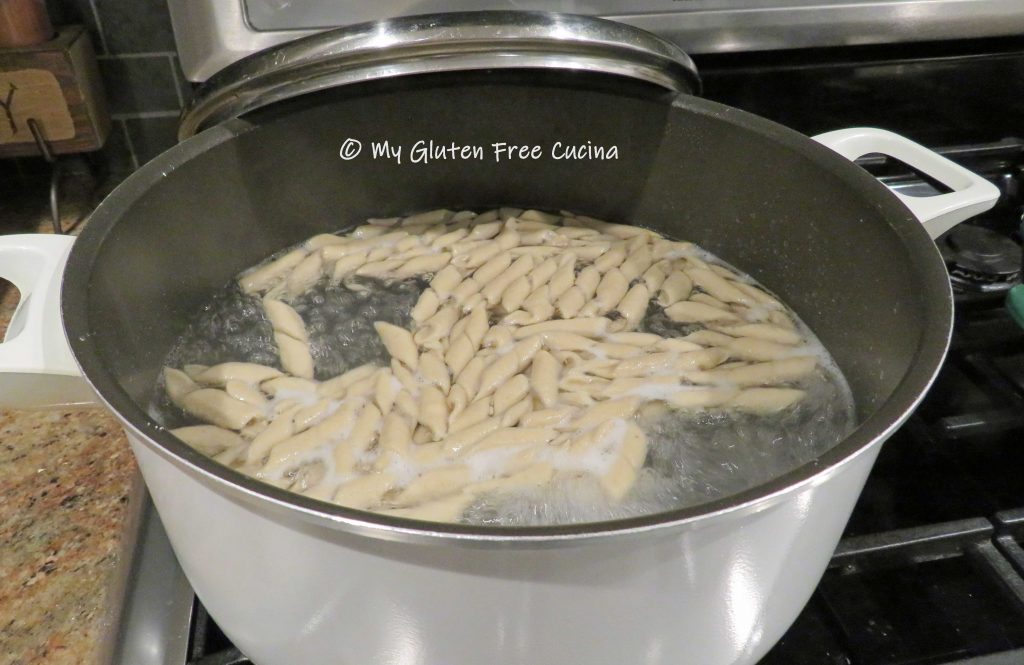
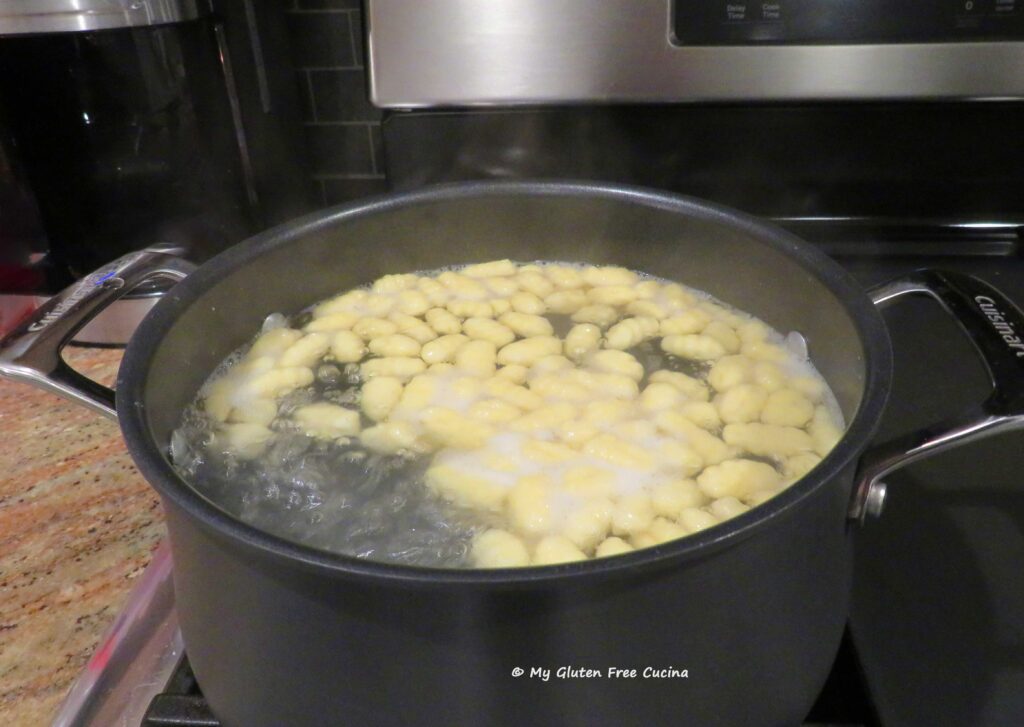
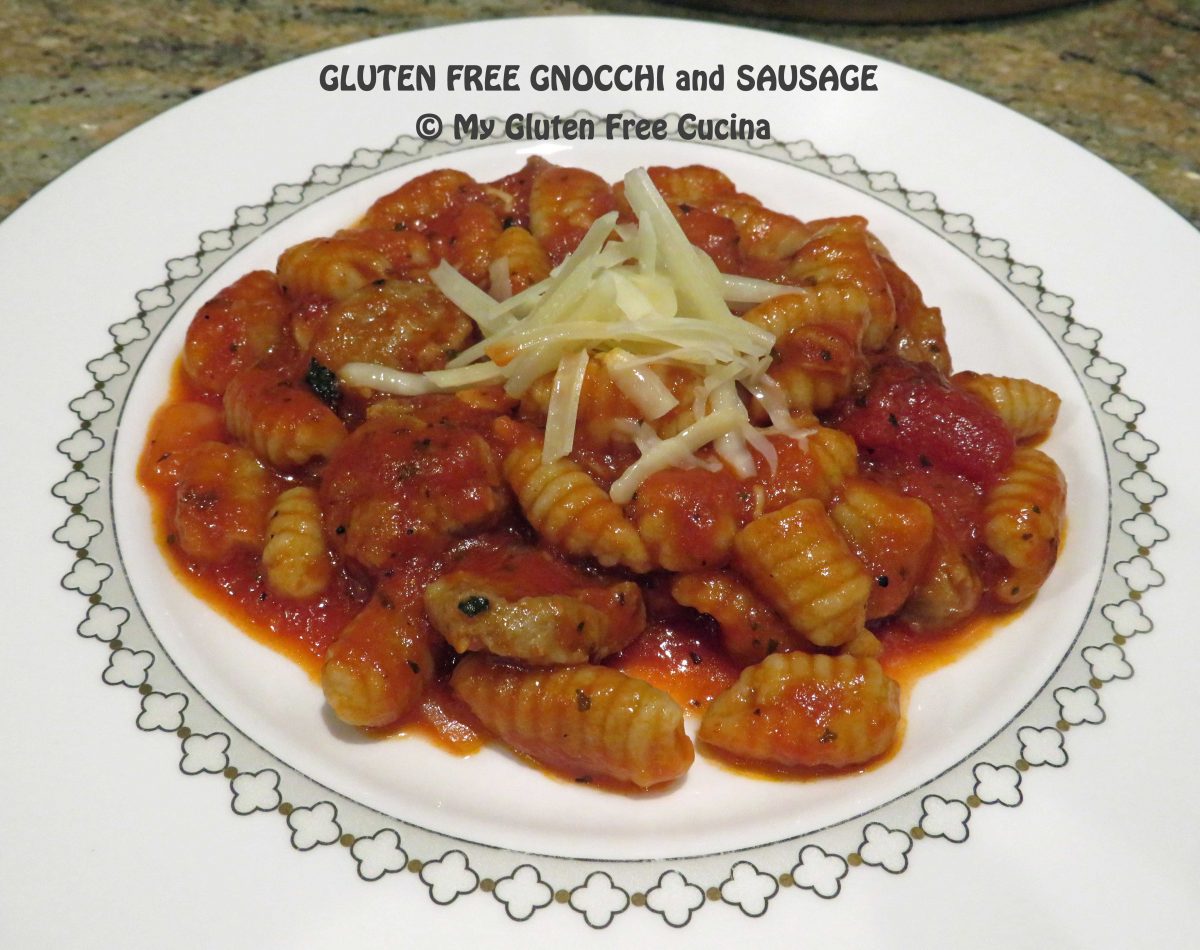
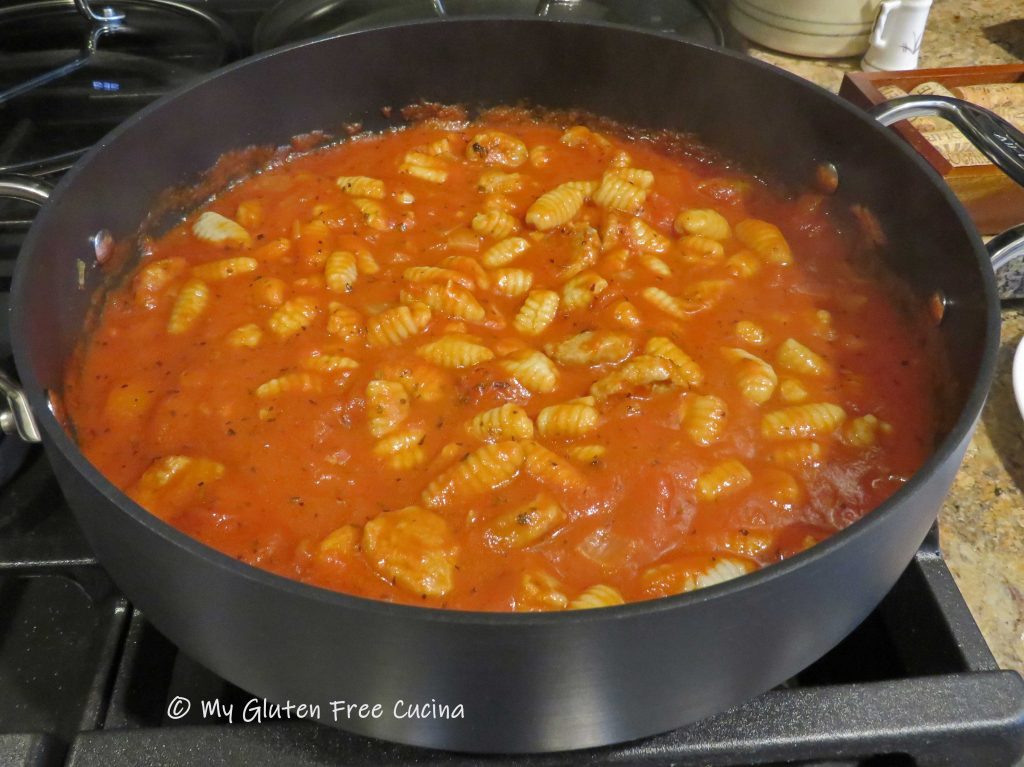
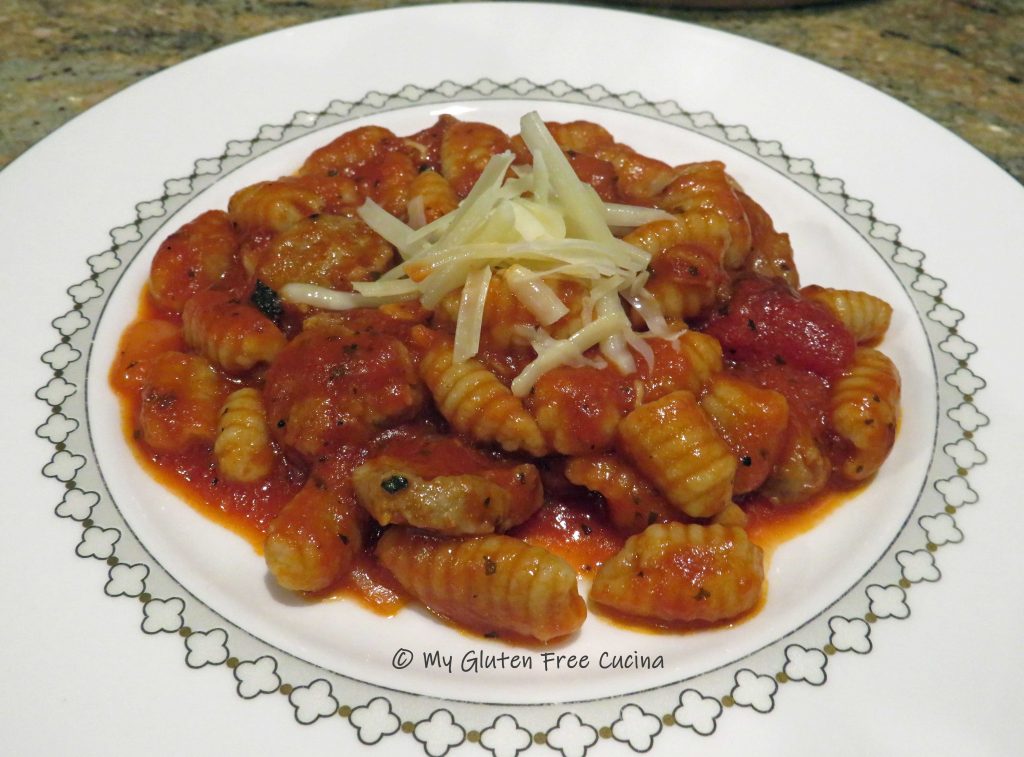
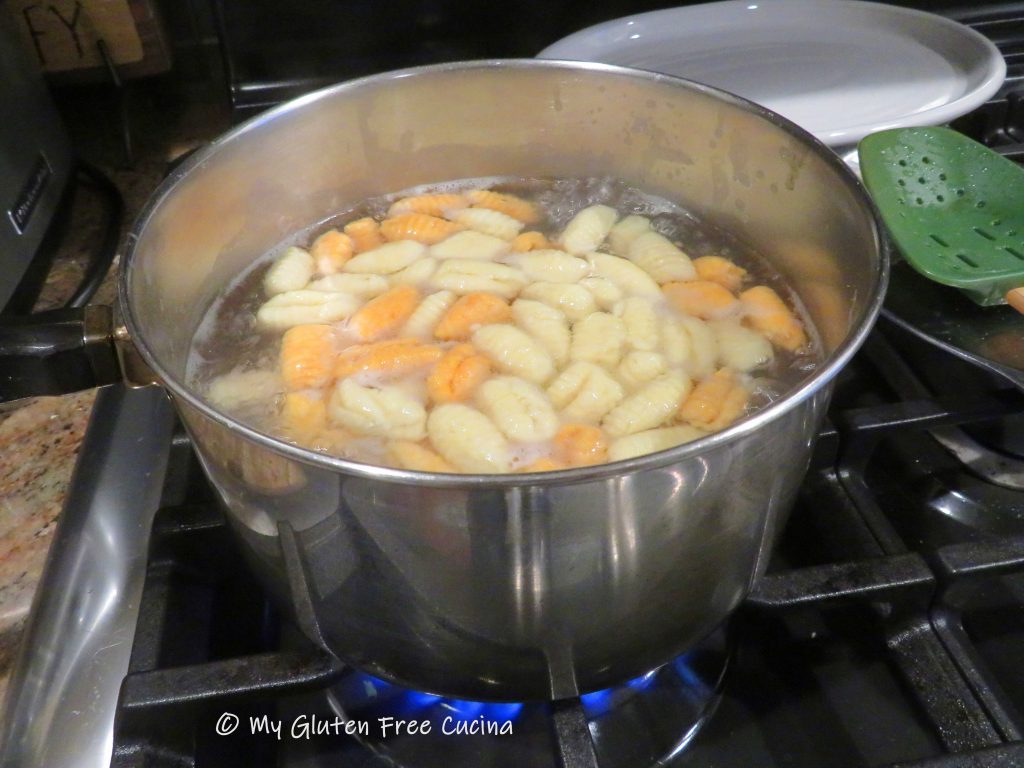
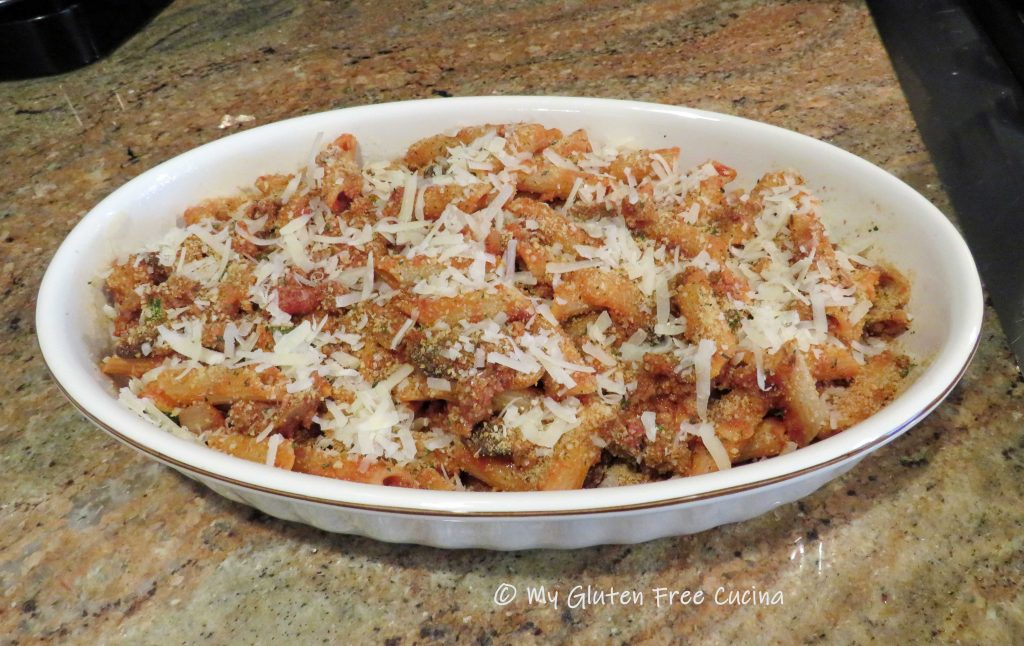
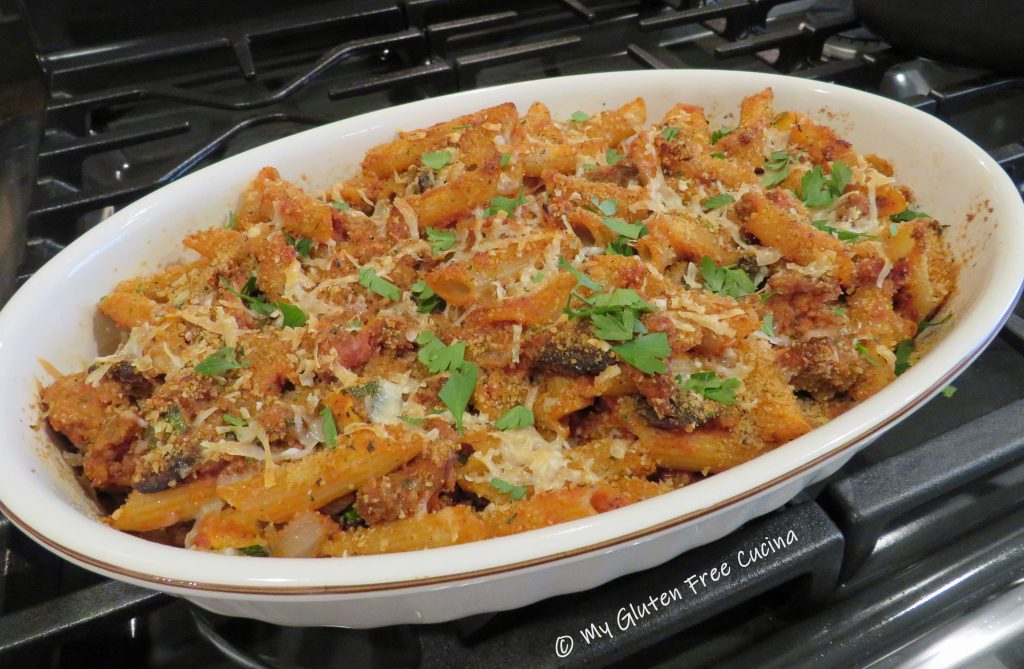
When your sauce is ready, heat a large pot of salted water to a rolling boil. Add the pasta and set a timer for 3 minutes maximum. Be careful not to overcook, as soon as the pasta floats to the top, it’s done! Use a spider strainer to gently lift it out of the water, drain and place it directly into the sauce. Finish with grated cheese and fresh Italian parsley.

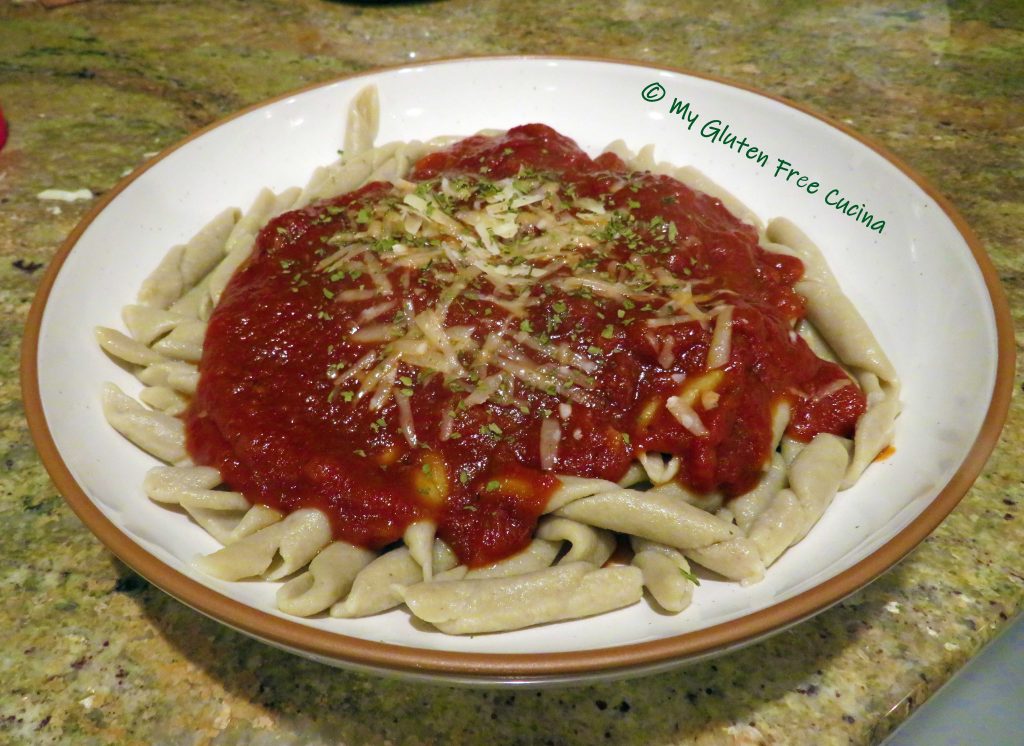
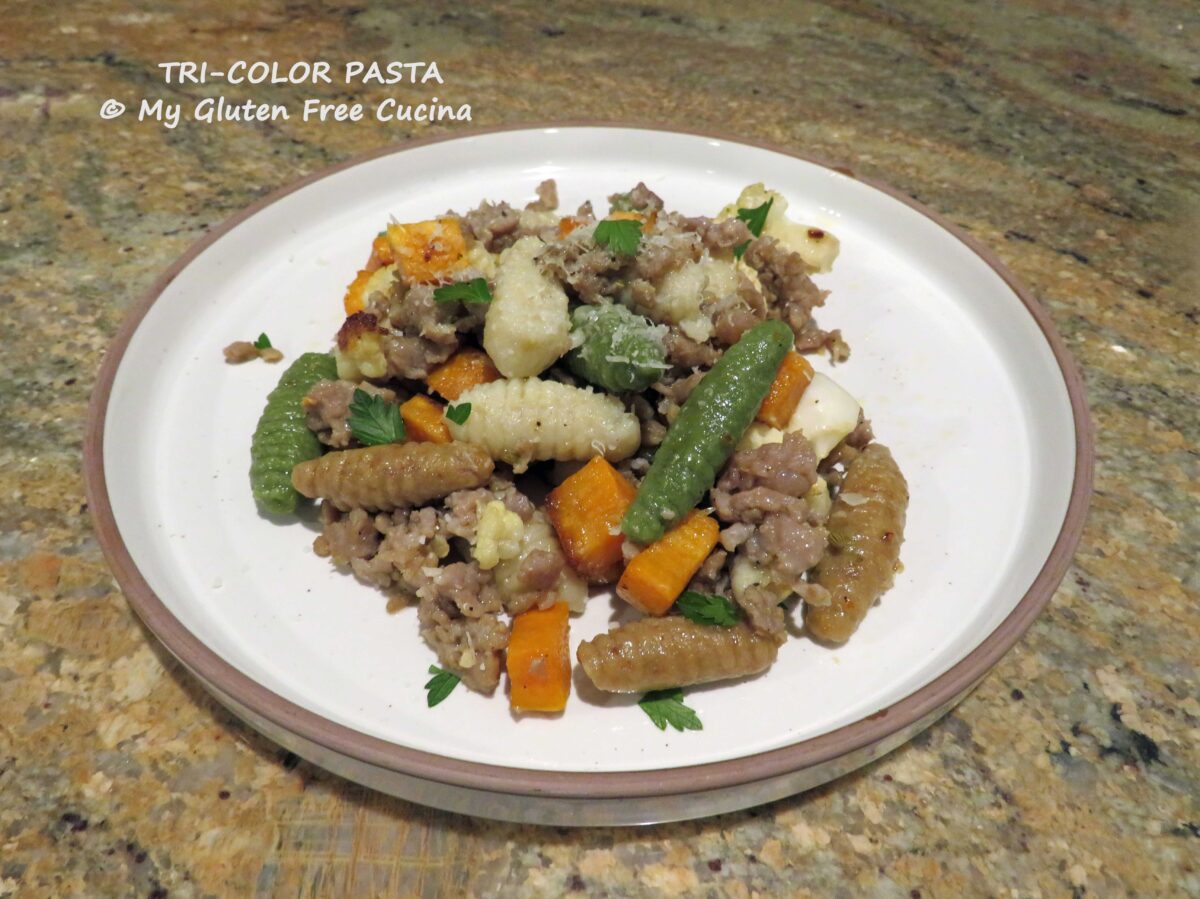
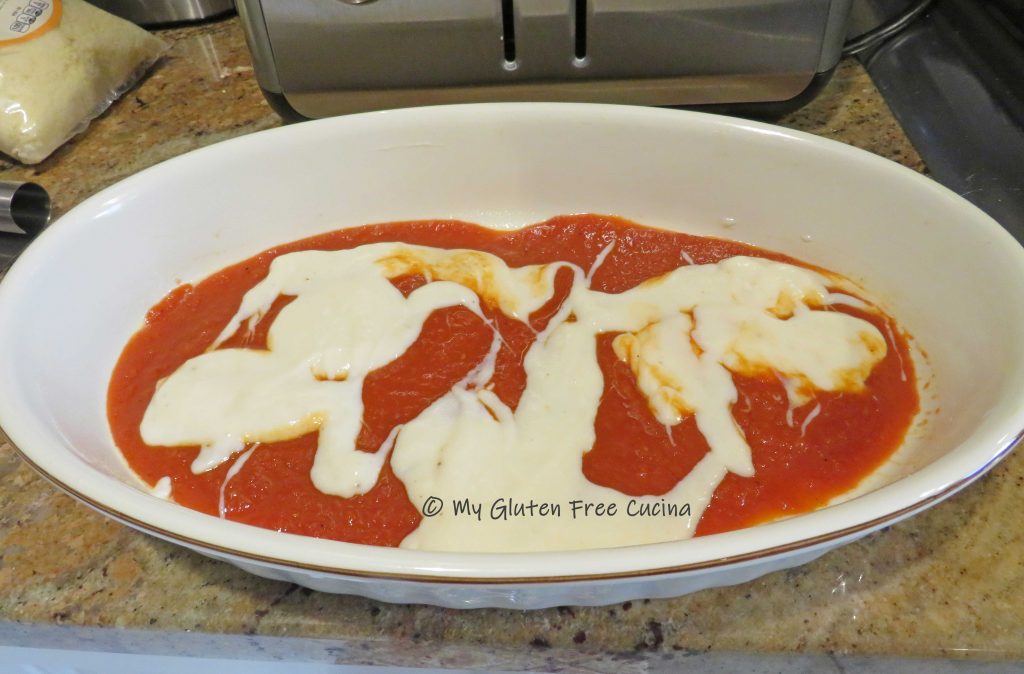
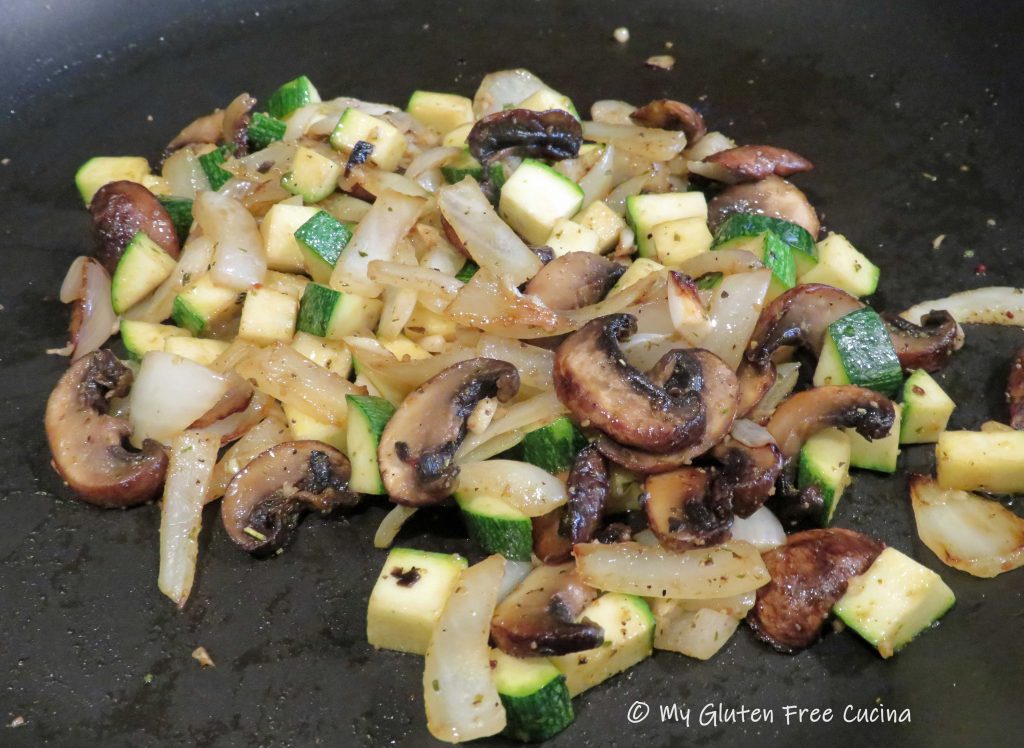
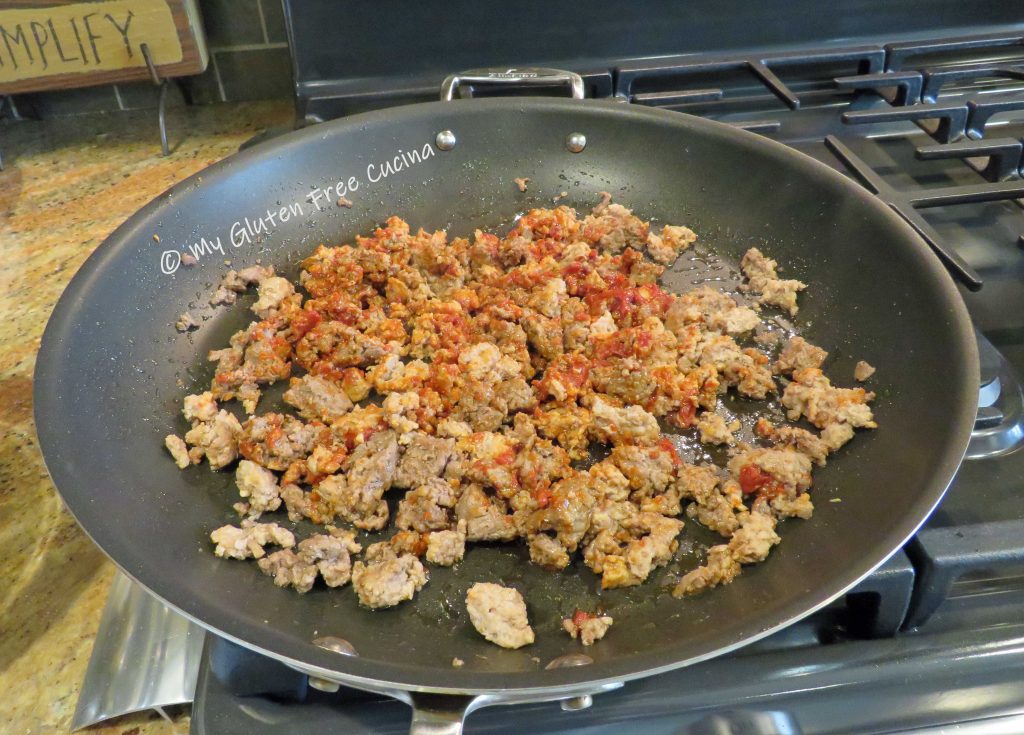
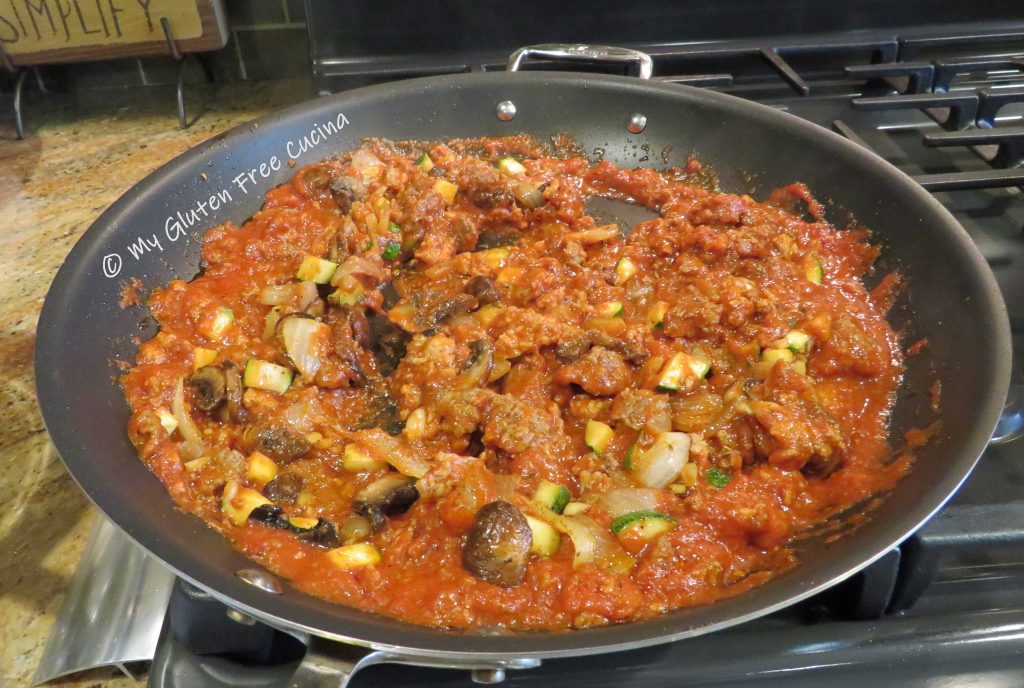
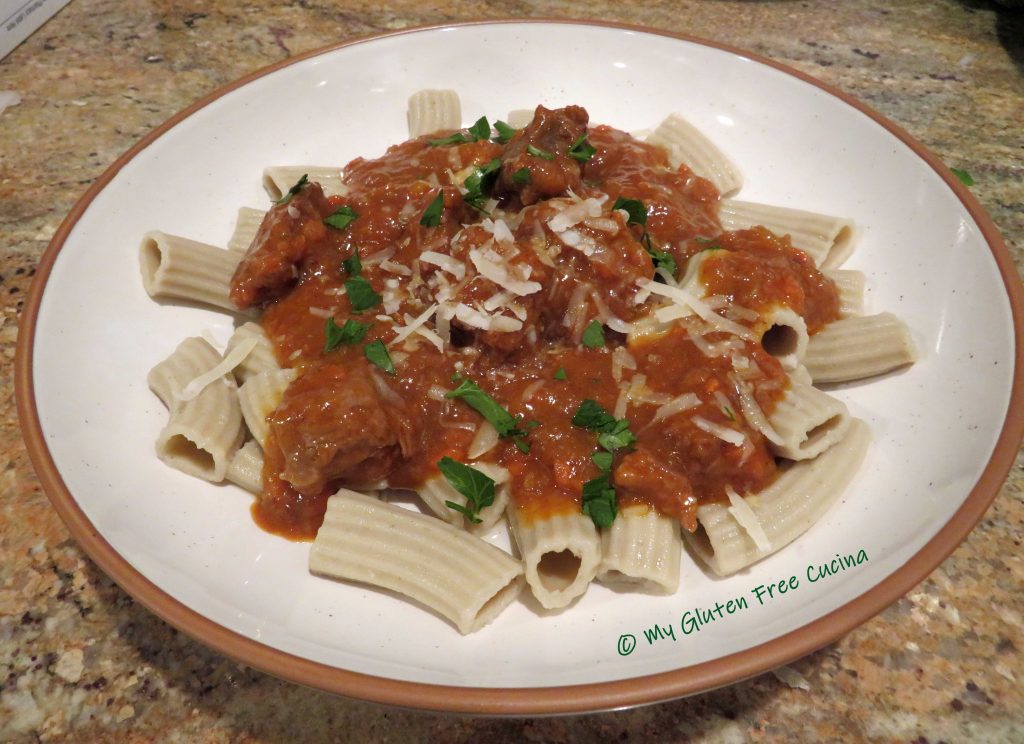
I see you ogling that sauce! 😉 It’s a hearty Sausage Ragu, perfect for ridged pasta like this one. Want to know more? Be sure to check out the next recipe!
Notes ♪♫ Some of my readers have mentioned that they would like a gluten free pasta made without eggs. This one is for you, friends. The dough is every bit as soft and supple as egg pasta, so whether you can’t have eggs for dietary reasons, pricing or availability, this pasta is one you must try!


 Read on
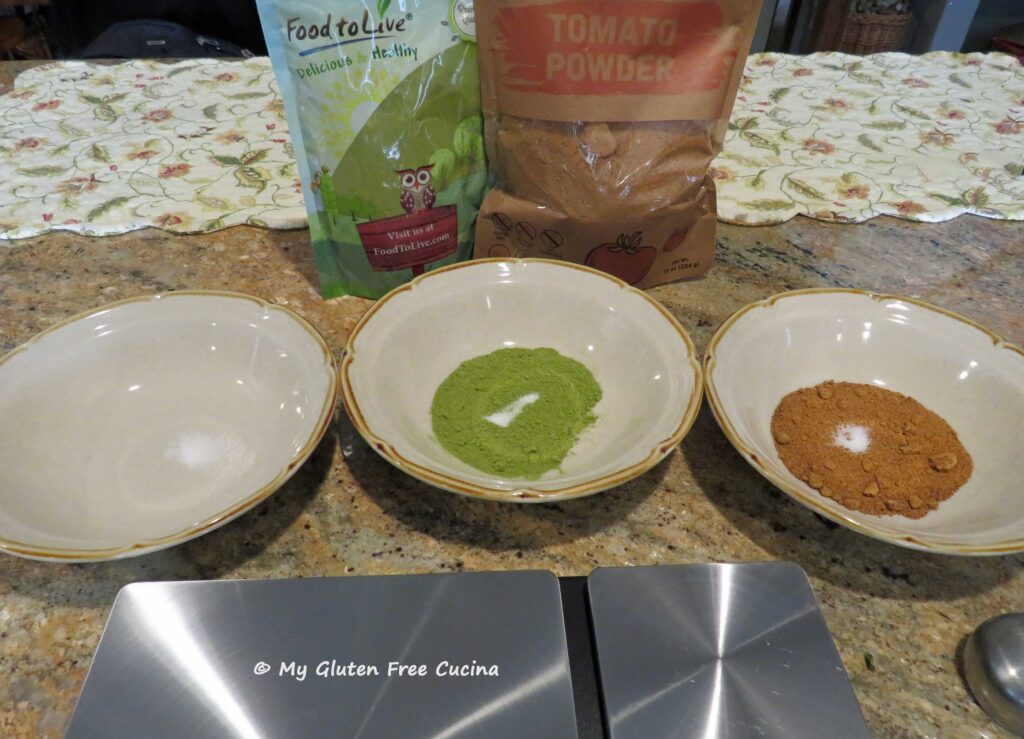
 Preparation:
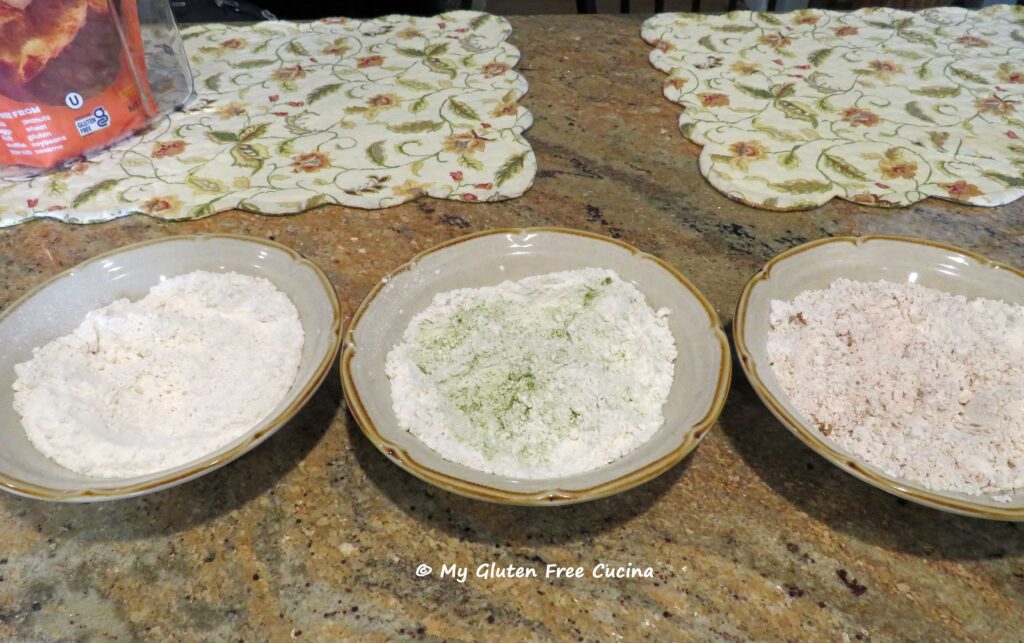 Next, working with one bowl at a time, add one egg to the bowl of a
 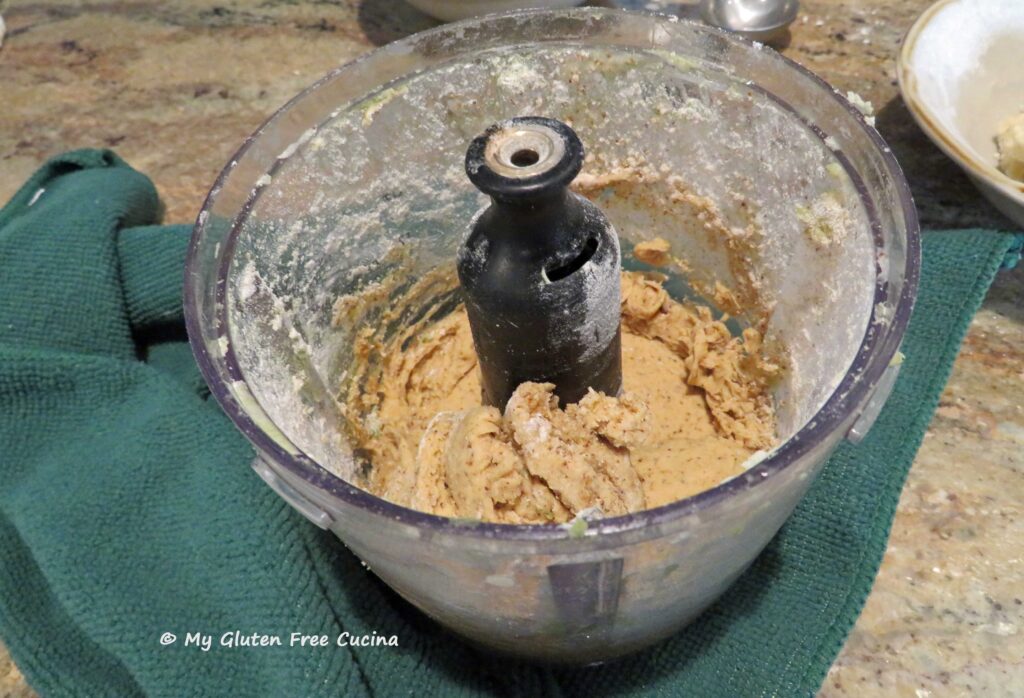 Hint: make the white dough first, so that you don’t have to wash the chopper in between batches.
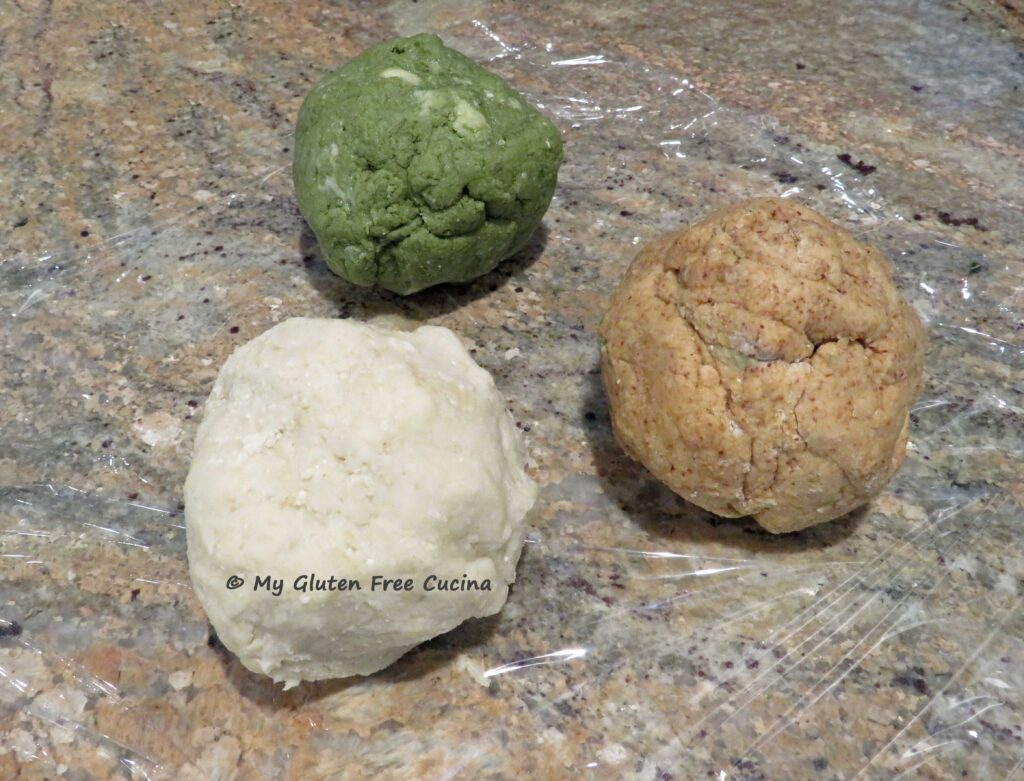 Lightly flour a large cutting board. Working with one color dough at a time, divide the ball in half and roll each section into a rope. Be patient, if it doesn’t roll easily dust with a little flour and gently press down with your palms as you roll the dough back and forth.
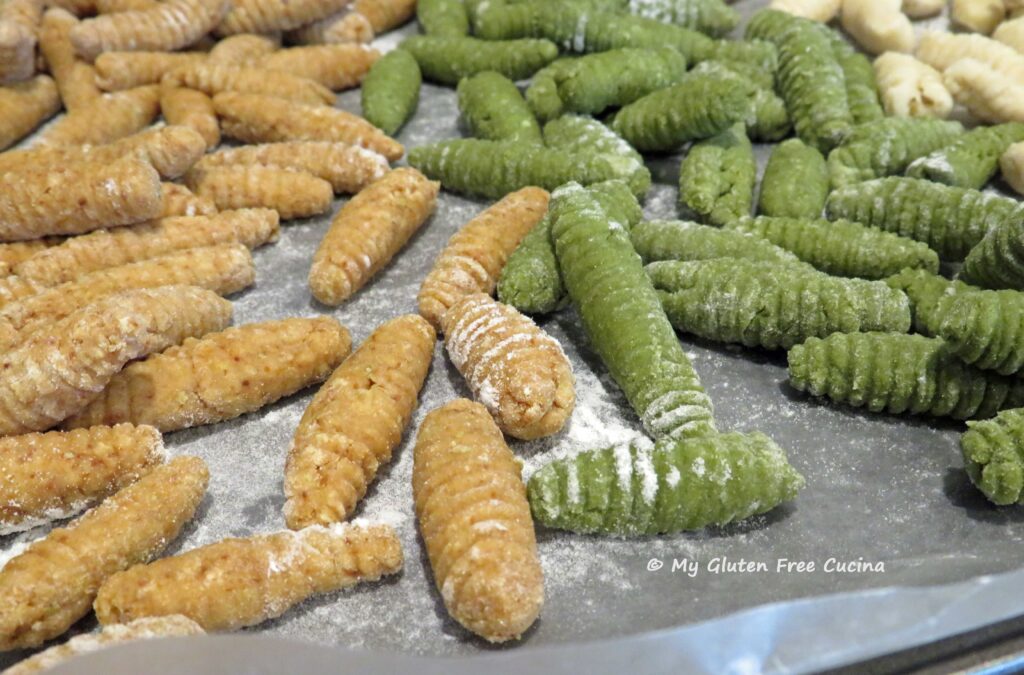
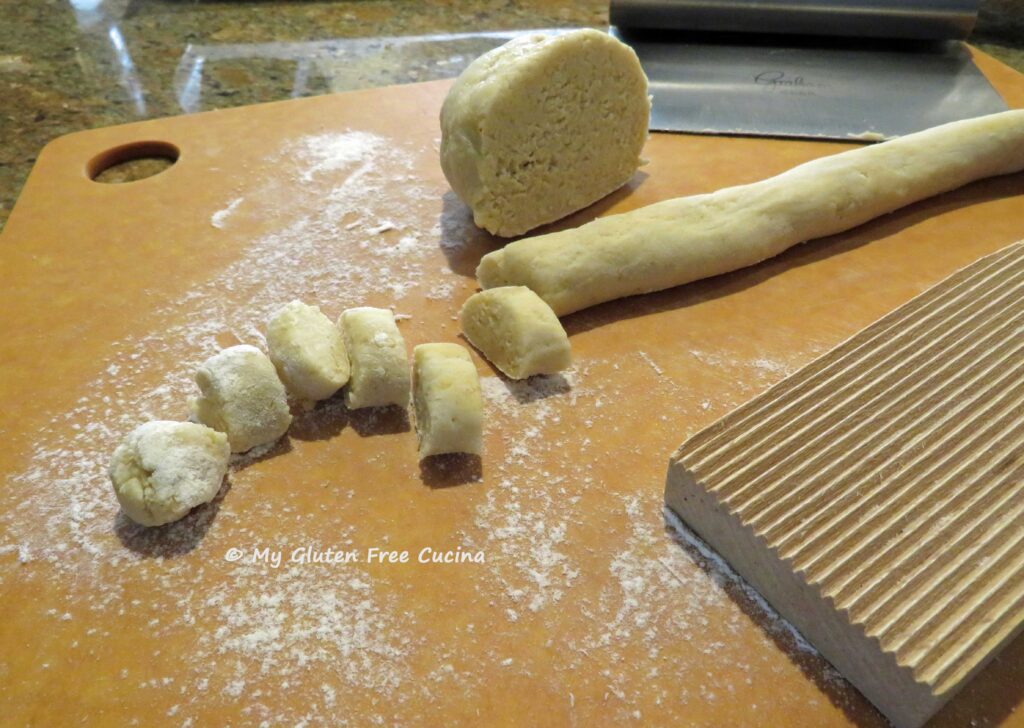 Roll each piece of dough between your palms then use your hand or a bench knife to roll it over a floured gnocchi board to create the ridges.
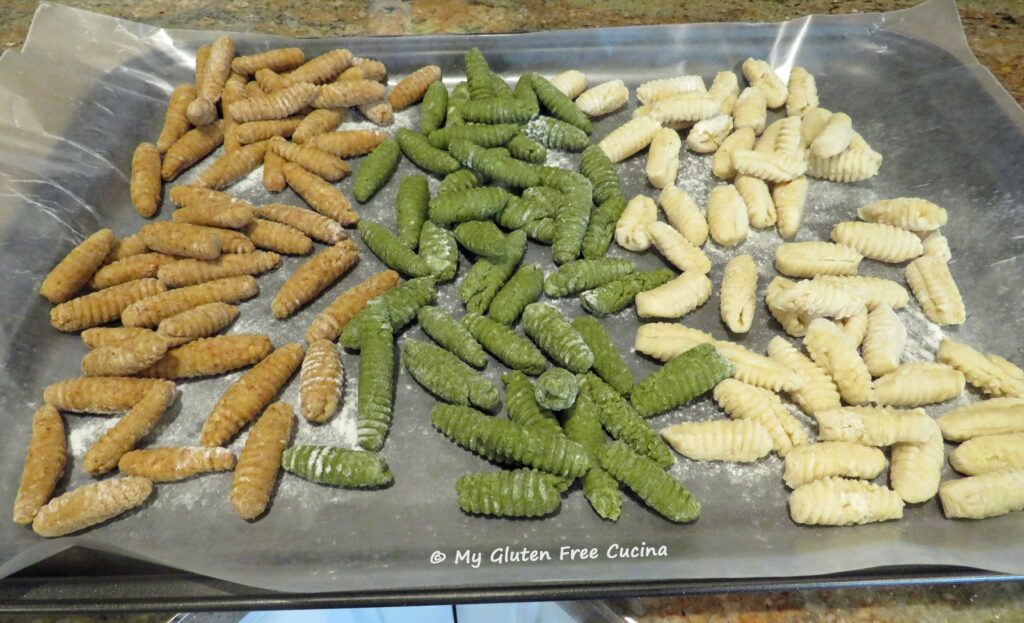
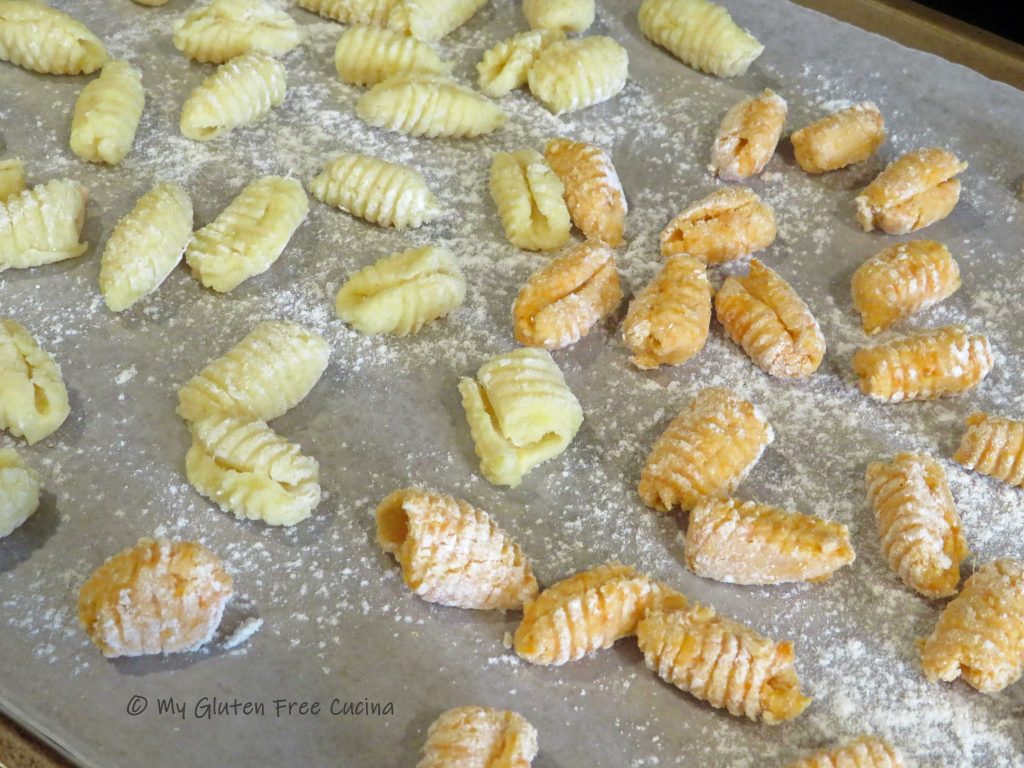
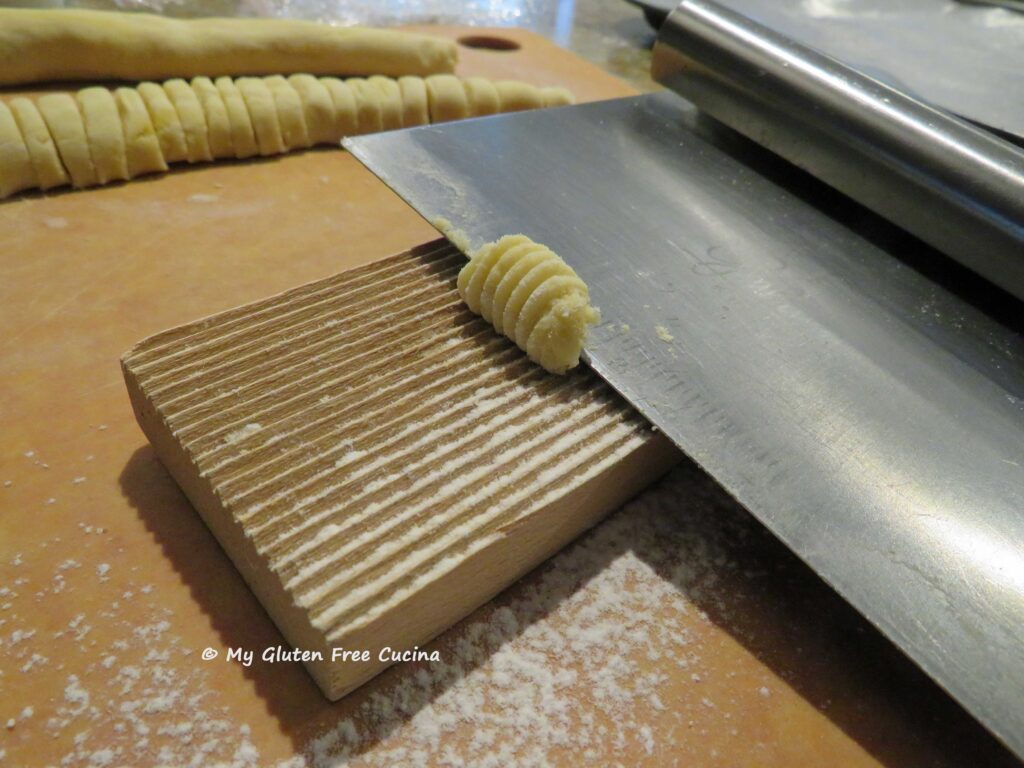 Place the finished pasta in a single layer on a floured baking sheet. I lined mine with wax paper.
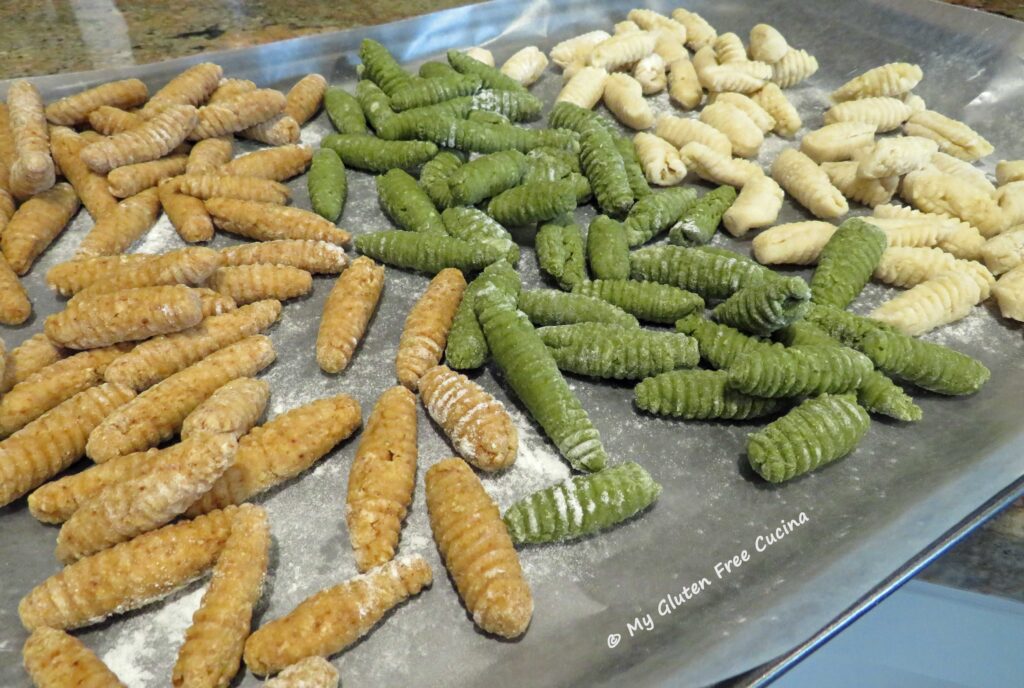 You can keep the pasta in the refrigerator if cooking the same day. Beyond that I recommend freezing it in an airtight container or freezer safe bag. I placed mine in the freezer right on the baking sheet and when they were firmed up, I transferred them to a
 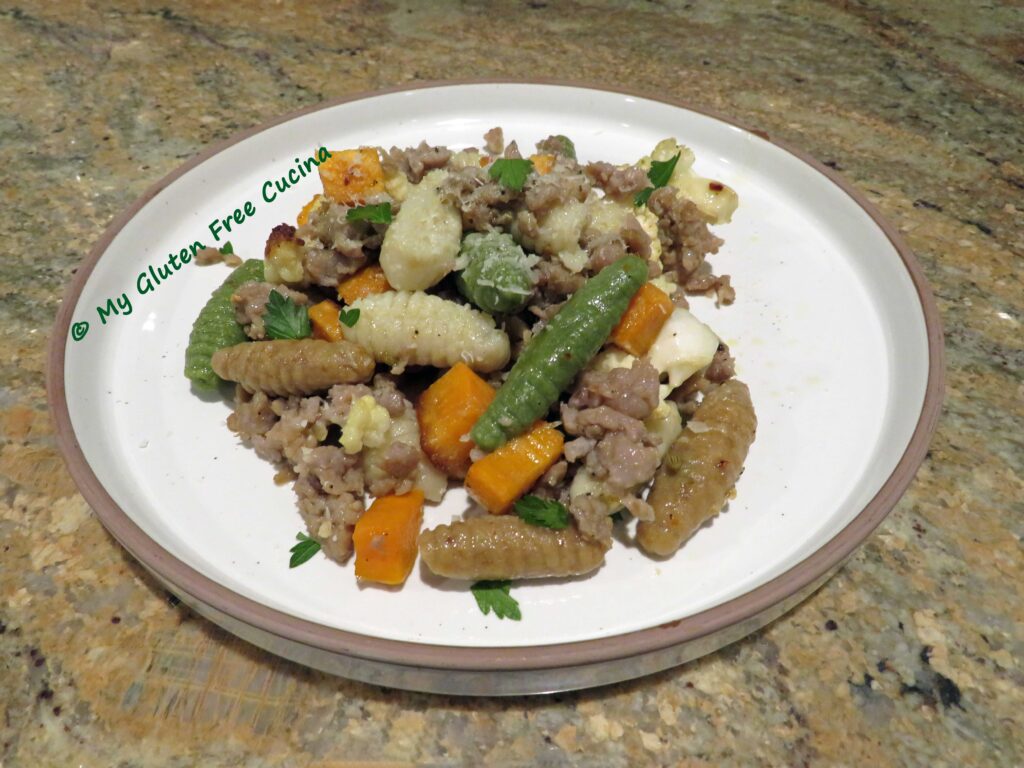 Making the pasta was a little time consuming, but I did it on a Sunday and froze it to have during the week. Freezing did not affect the texture at all, and the pasta cooked perfectly to al dente.


 Ingredients:
 Preparation:

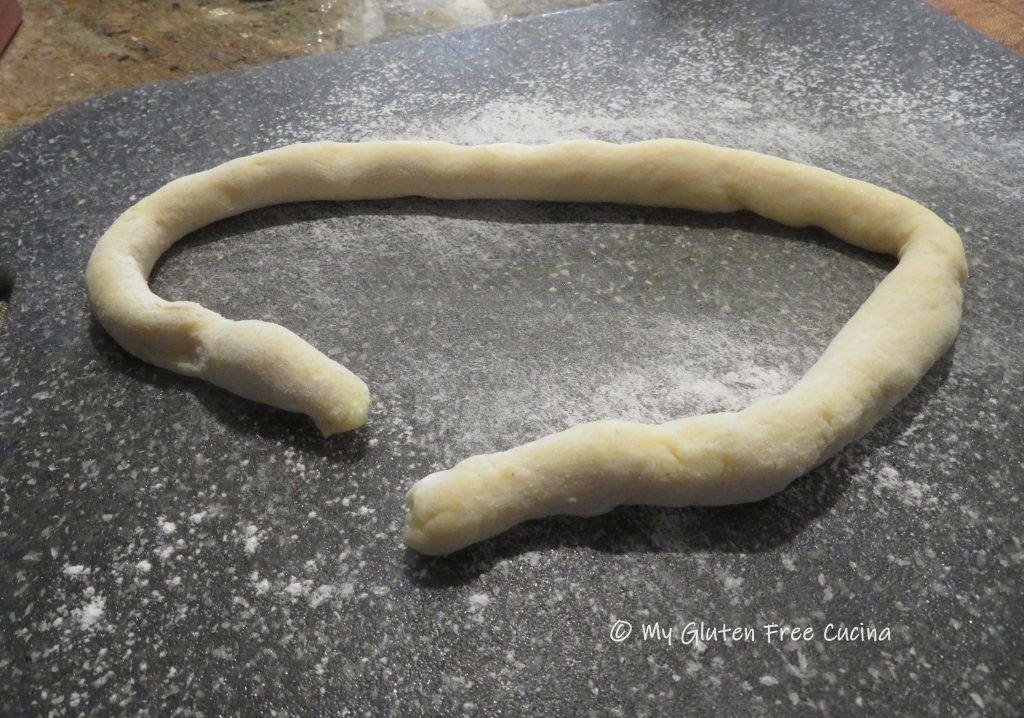
 Work with one section at a time, and keep the remaining dough covered so it doesn’t dry out. Start by rolling each section into a cylinder, like this.
 Cover and let it rest for 10 minutes. This is the secret to working with gluten free dough. Remember, it doesn’t stretch like gluten dough, but after a little rest it will be more cooperative. I repeated this process twice, before I finally was able to roll each section of dough into a rope, 3/4″ thick.
 Use a
Use a 

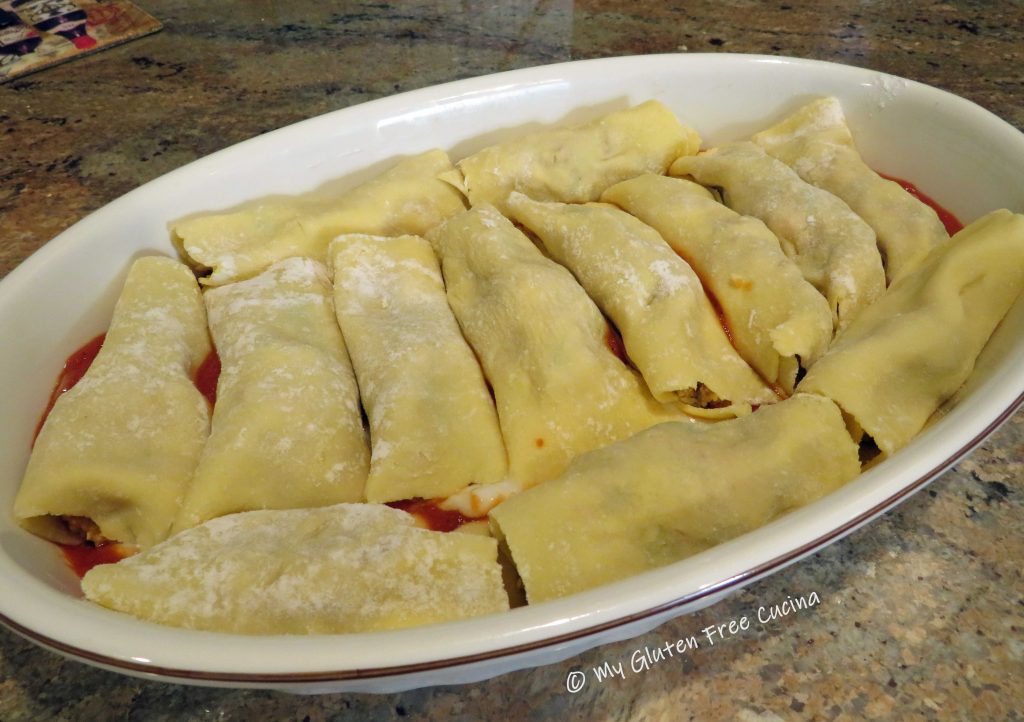
 Line a baking sheet with parchment or waxed paper, and dust lightly with flour. Place the finished Orecchiette on the baking sheet. Cover with plastic wrap and refrigerate if not cooking immediately.

 Slide the Orecchiette into the water and cook for 3 minutes, stirring occasionally. They will float to the top.


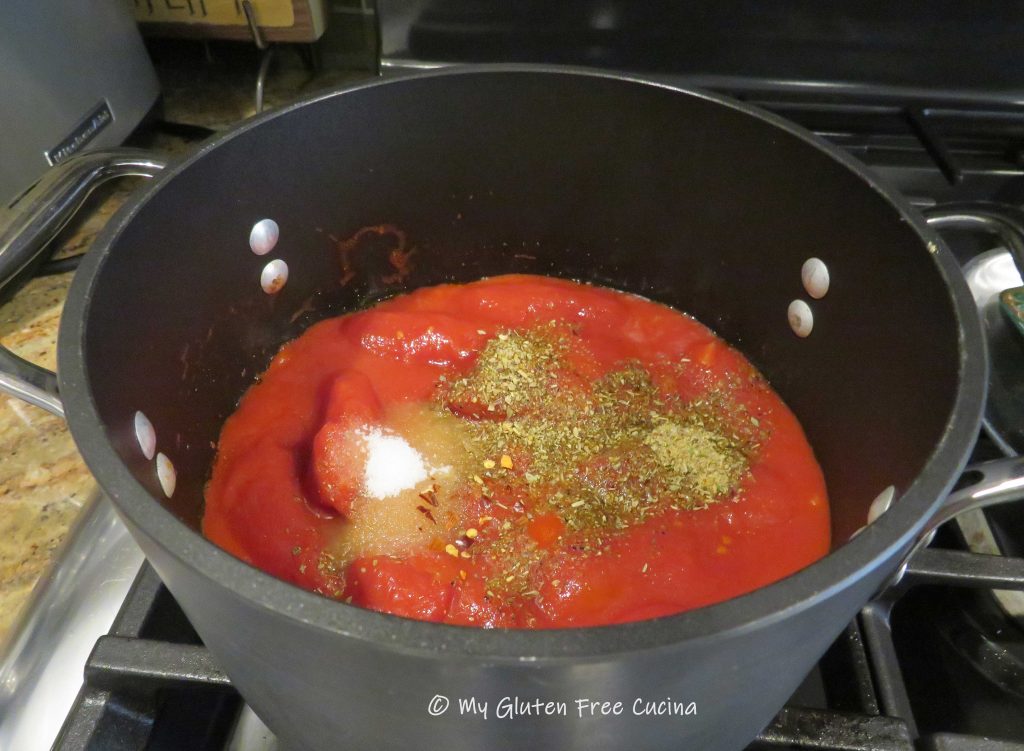 Cover and simmer on low for 2 hours, stirring occasionally. I like to use a
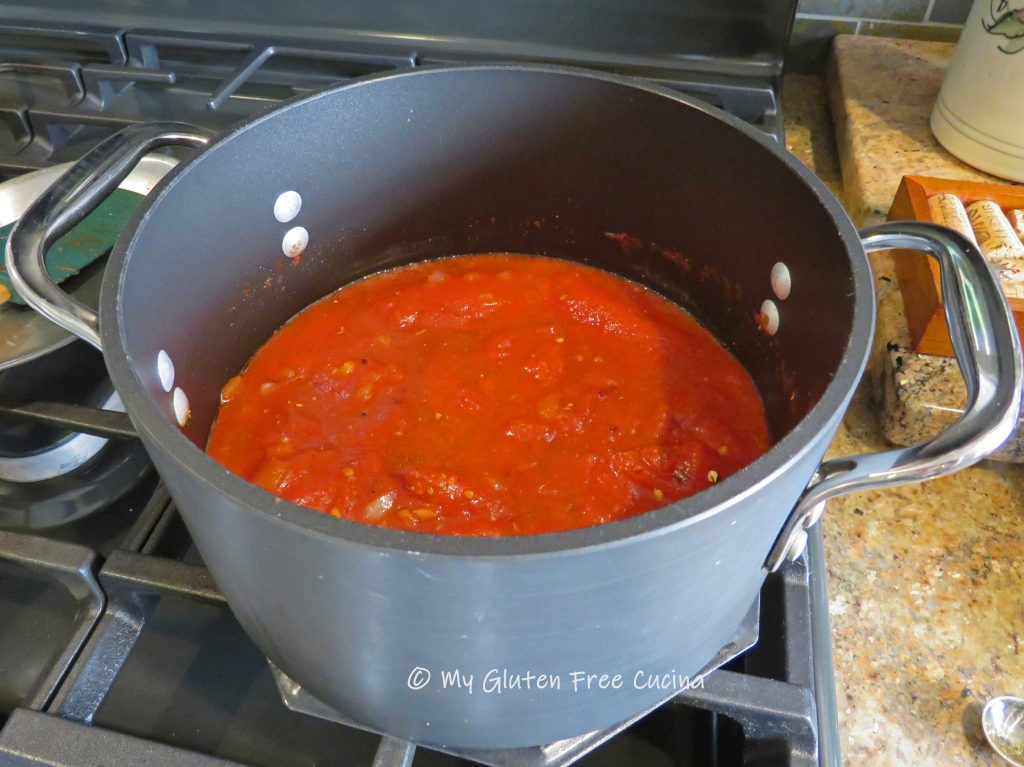
 Add the wine and continue cooking slowly, stirring frequently until most of the liquid evaporates.
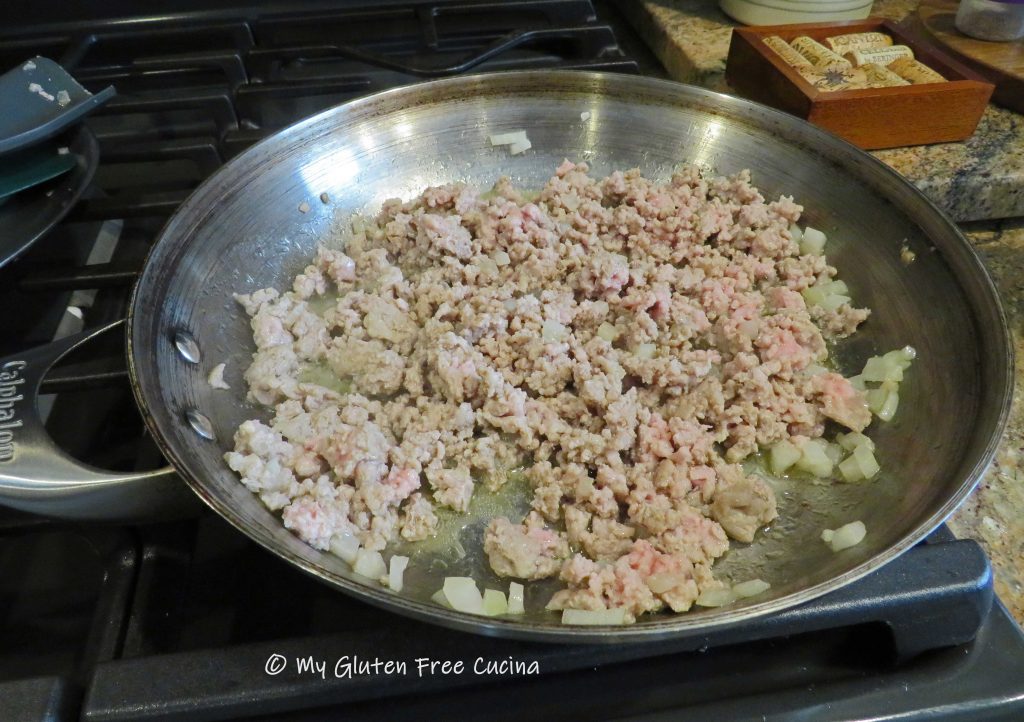
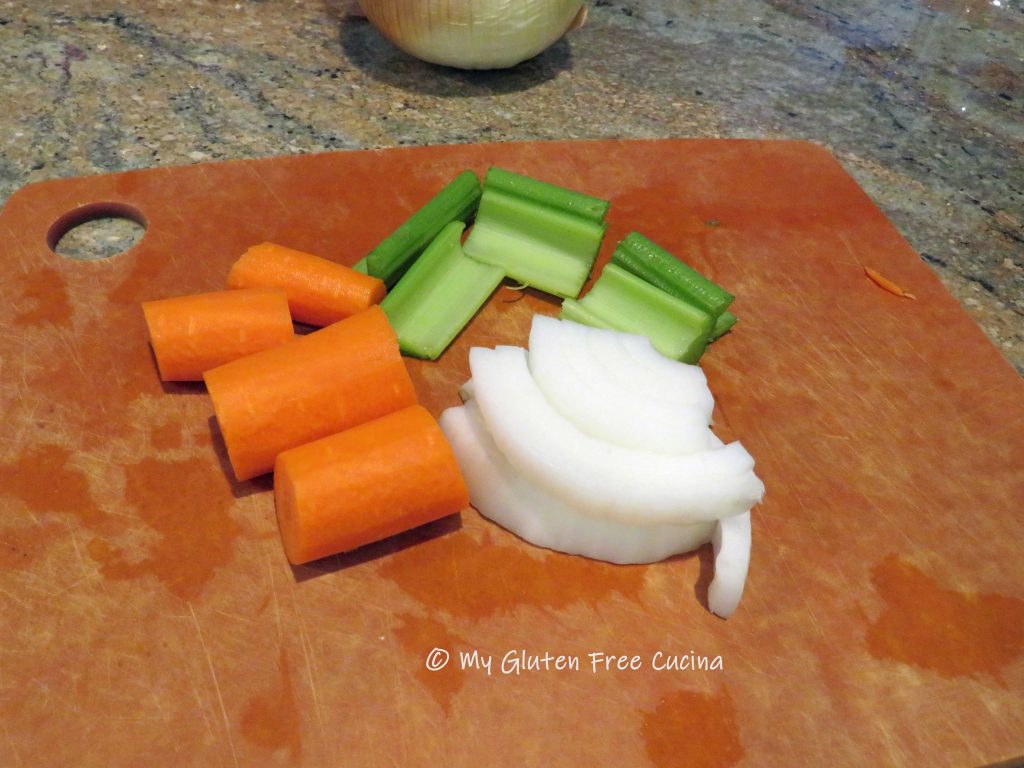
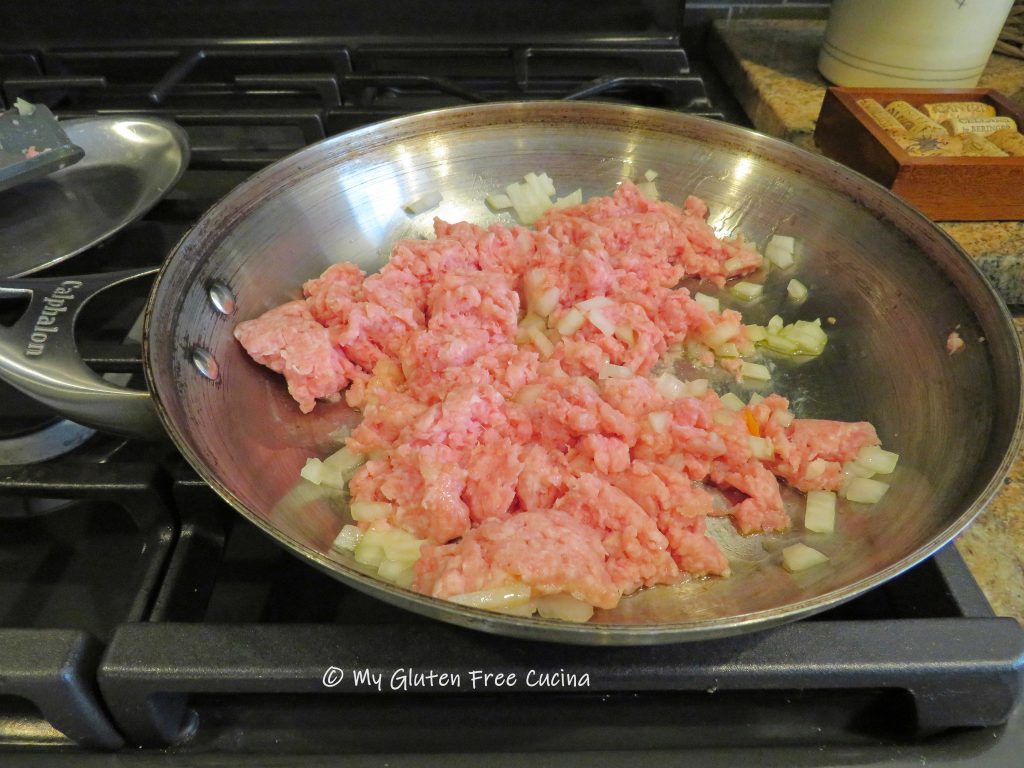
 Add the minced veggies to the pork and stir well.
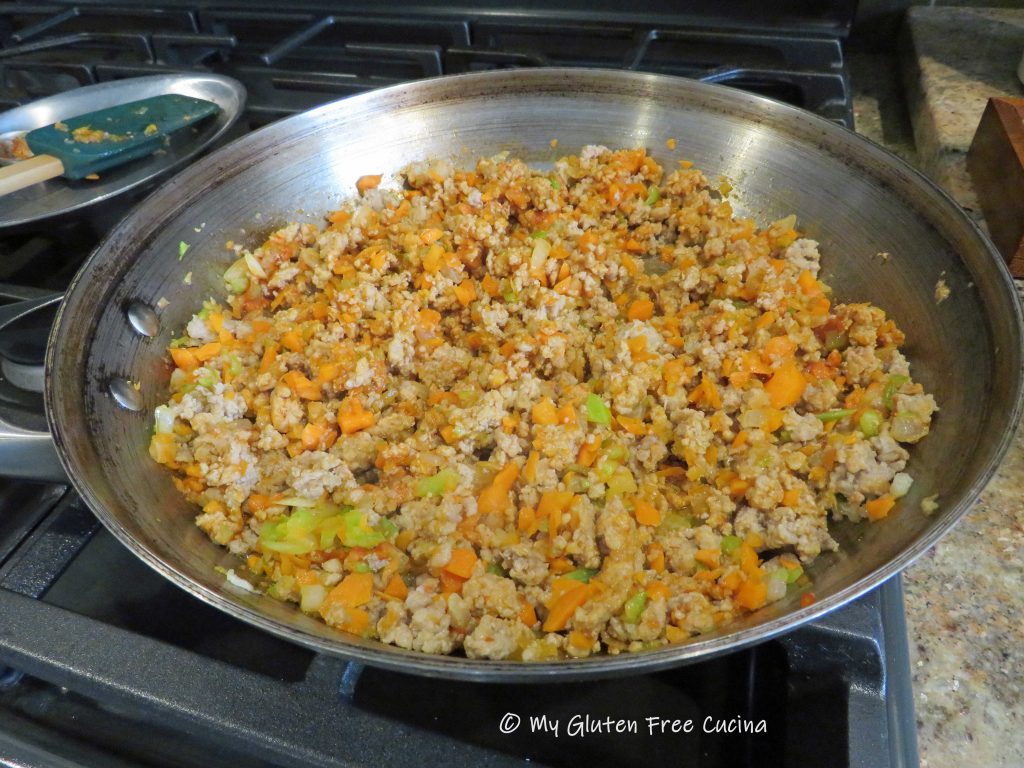
 Make a spot in the center of the pan and add the tomato paste. Let it toast for a minute before stirring it into the pork and veggies.
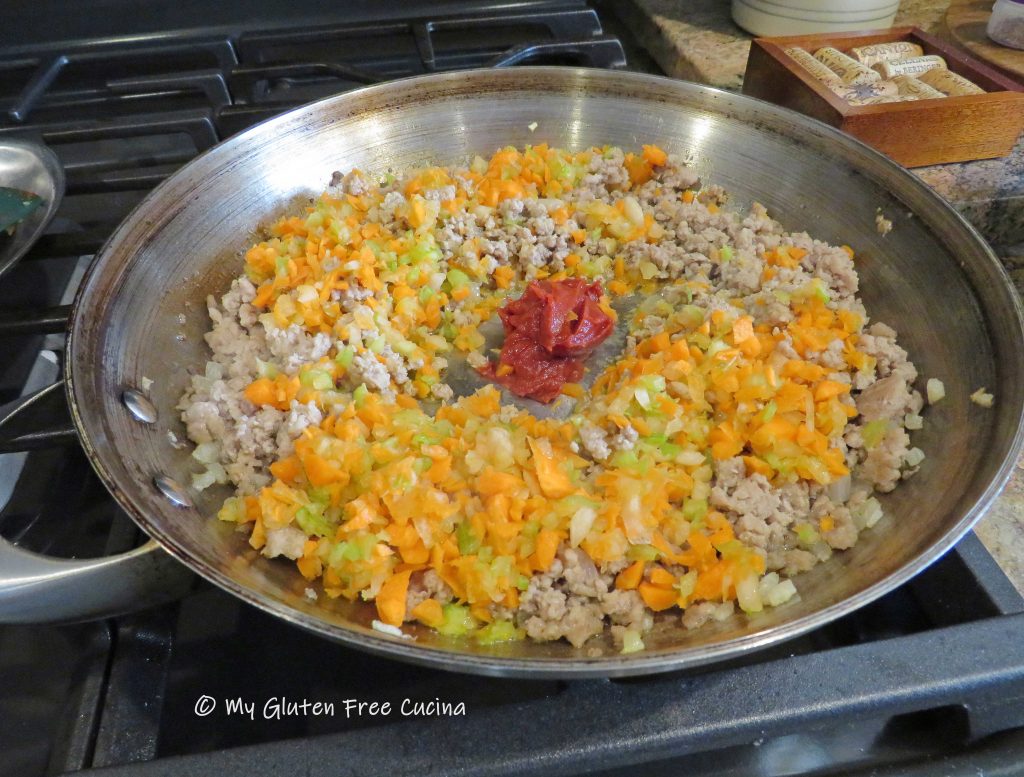
 Add the broth with salt to taste.
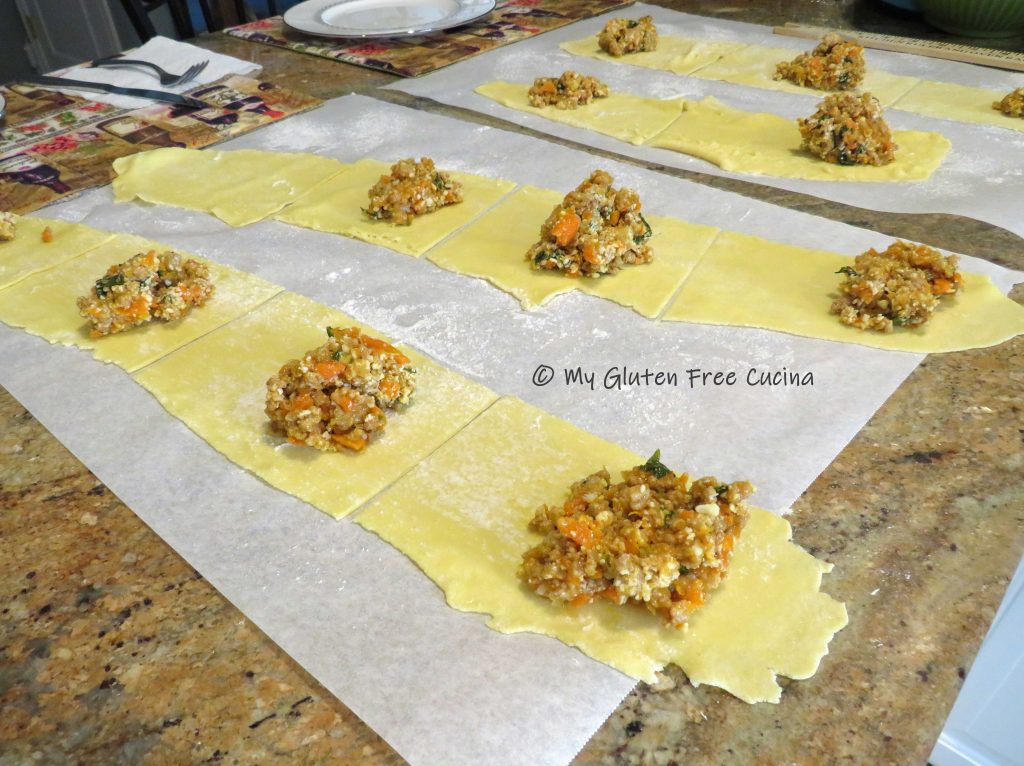
 Sprinkle the arrowroot evenly over the mixture and stir it in. Simmer on low until the filling has thickened. Stir in the baby spinach. The filling should be moist, but not watery.


 For this recipe, setting 3 on a


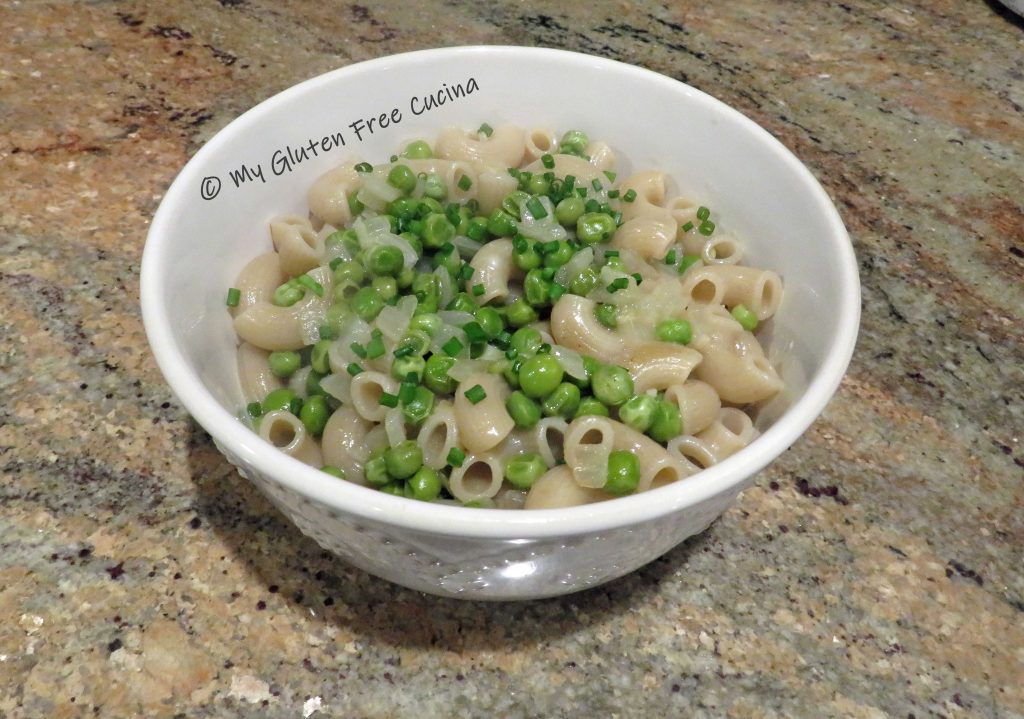
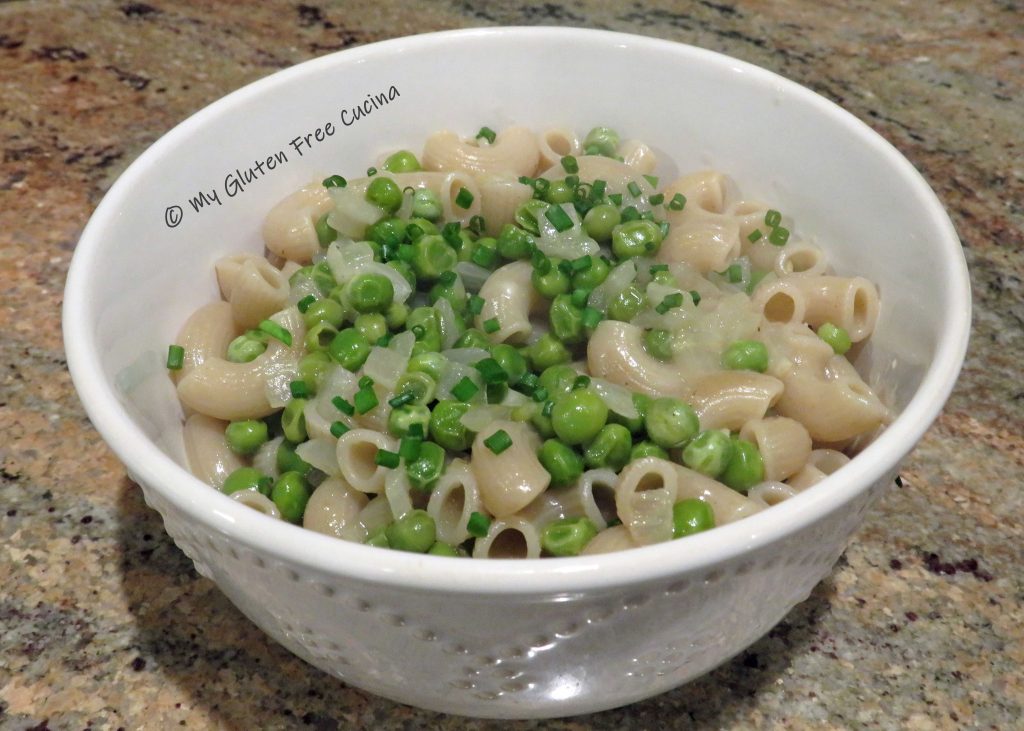
 Stir in 1 tbsp. butter, a heaping tbsp. of cheese (or more if you like) and transfer to a serving bowl.
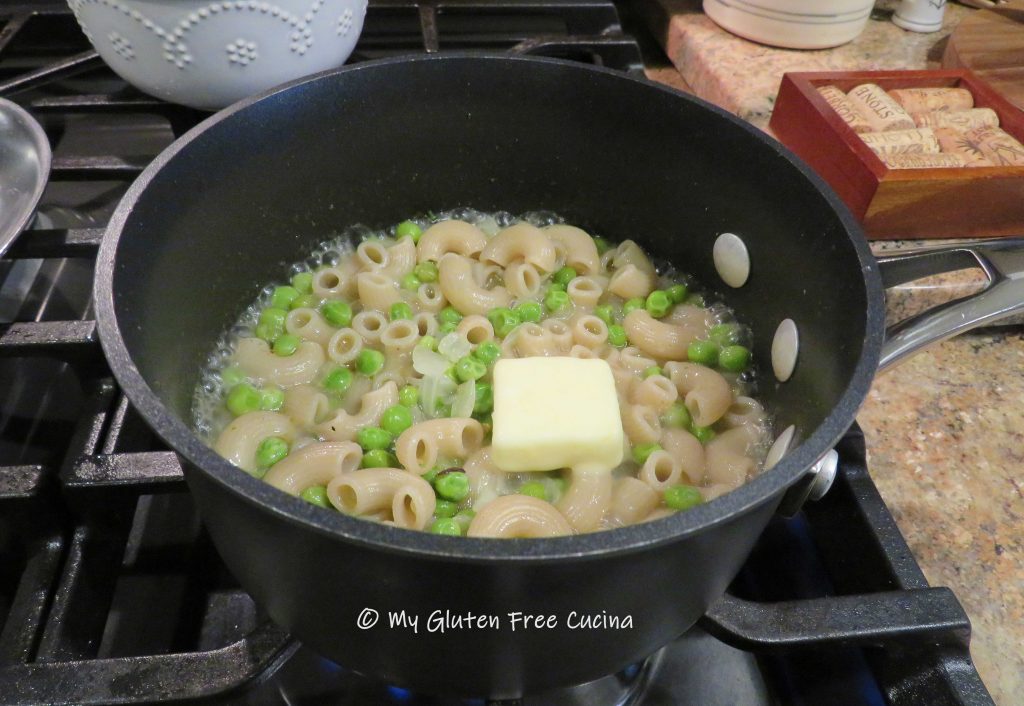


 Preparation:
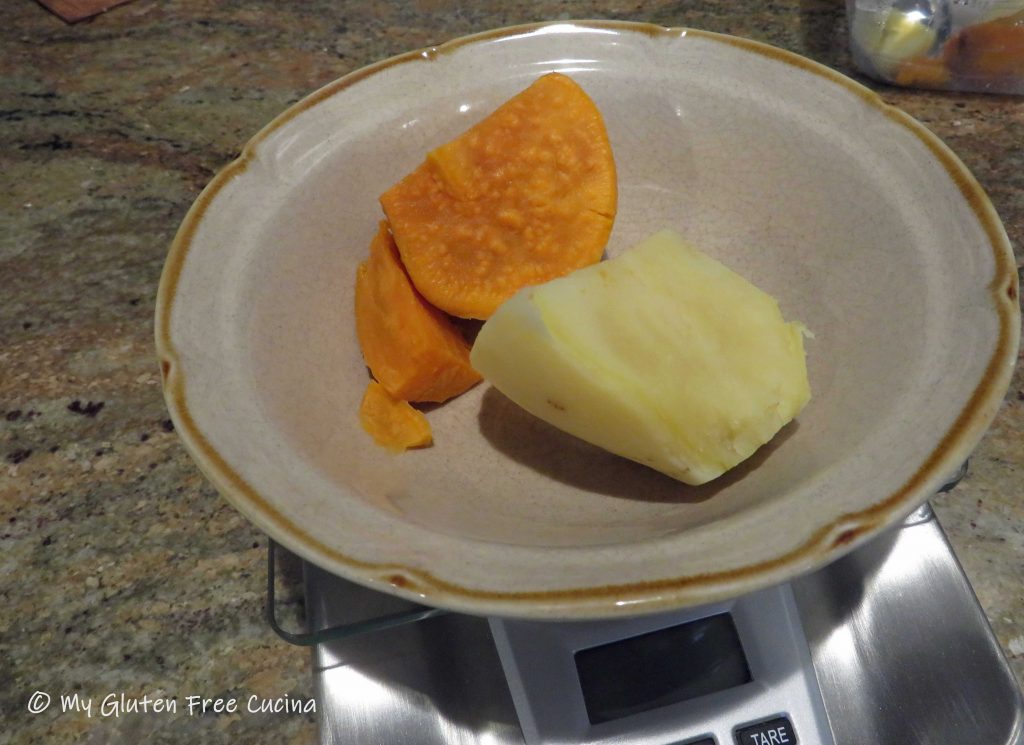


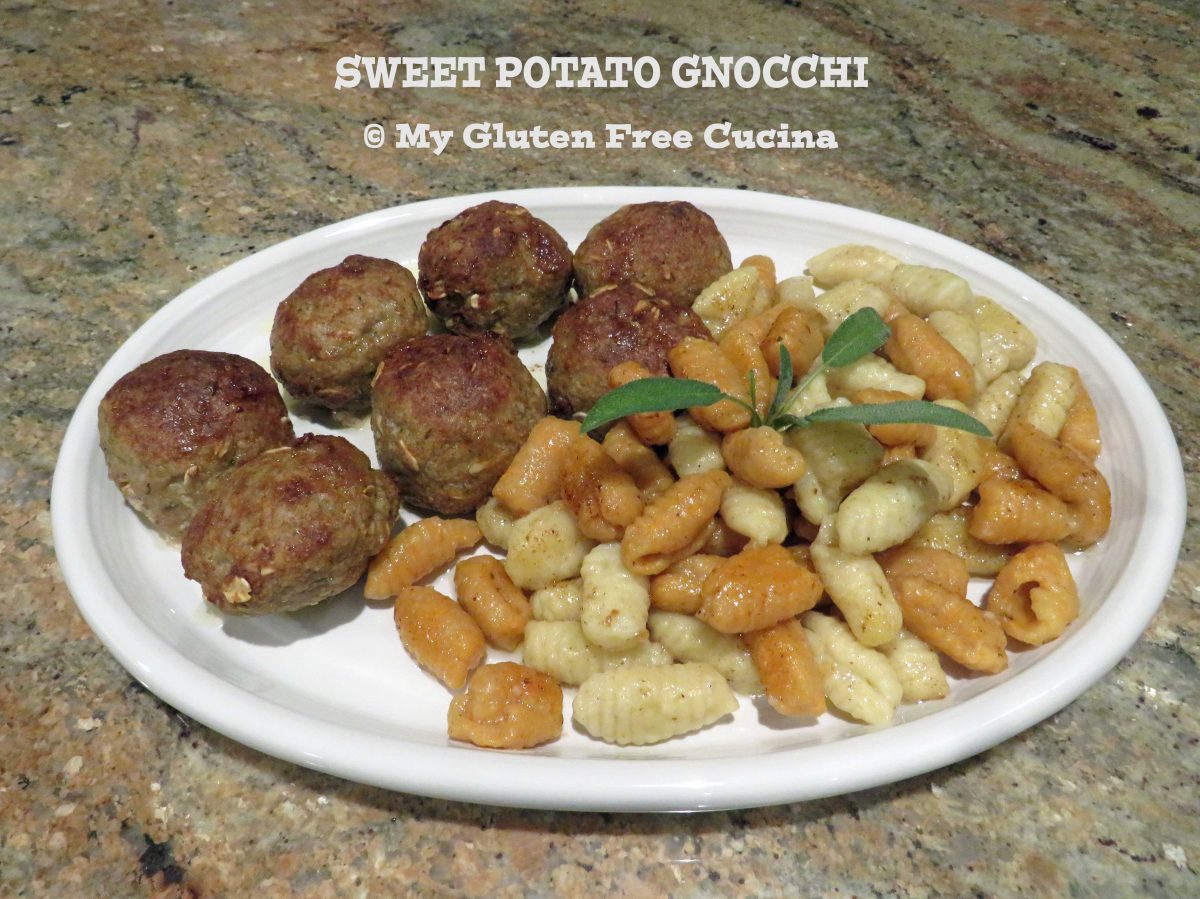
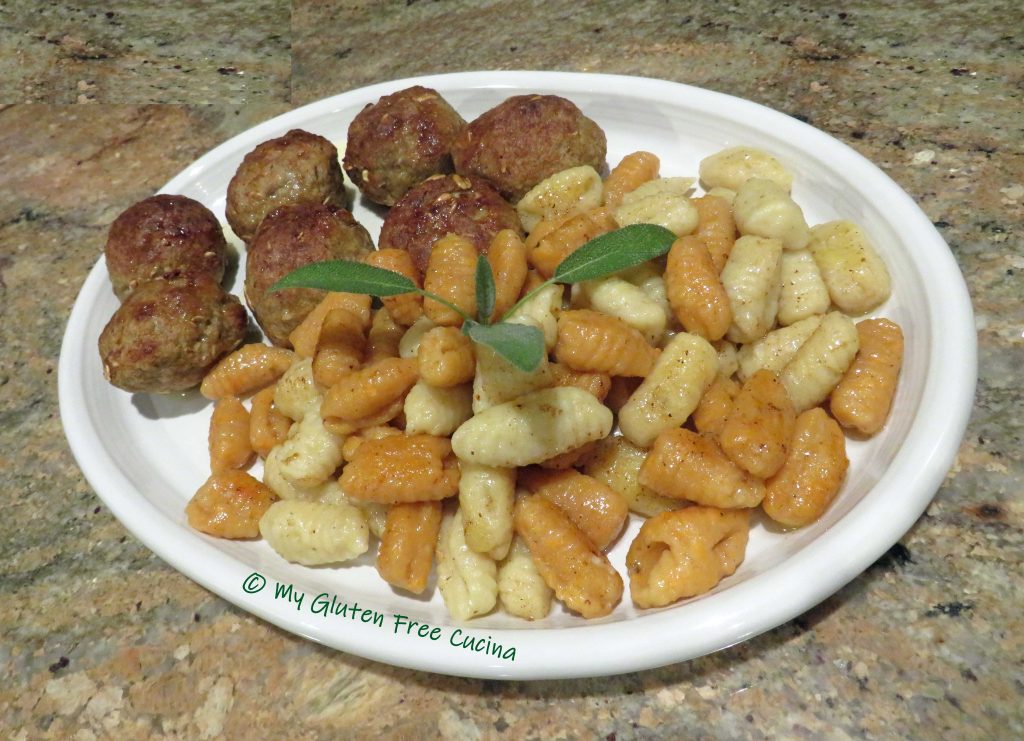
 I repeated the same process with the orange sweet potato, and here is where I lost track of the flour measurements. The orange sweet potato dough had absorbed all of the flour and was still very wet. It required quite a bit more flour to achieve the right consistency. All in all, I would say I used 3-4 times more flour for the orange potato dough as was needed for the white potato.
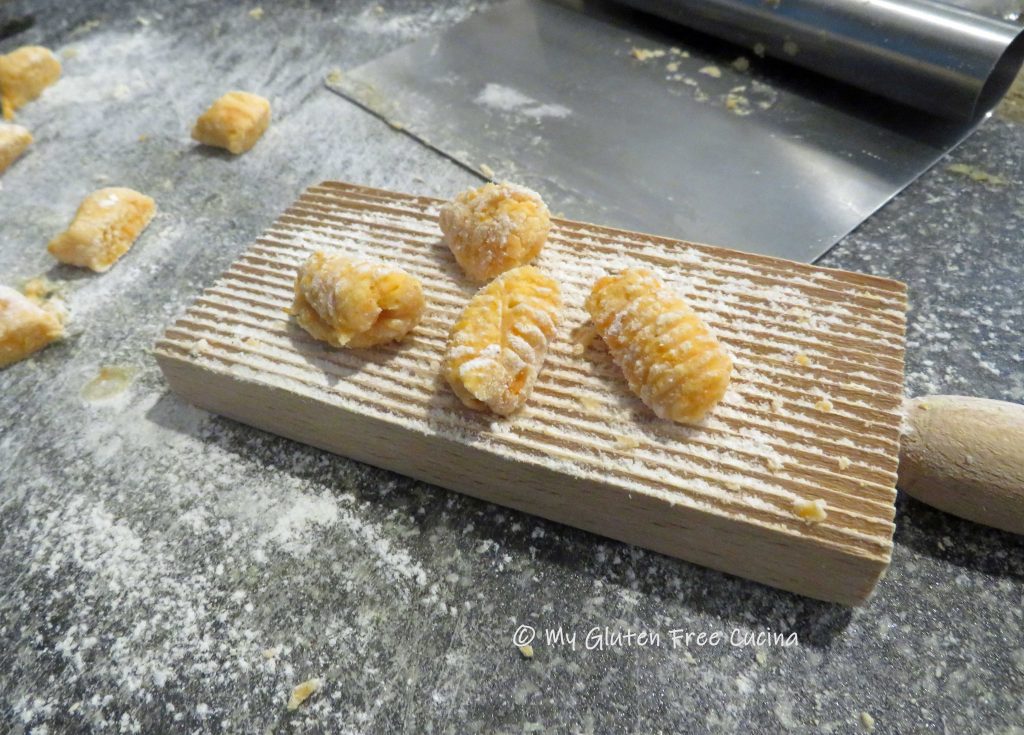
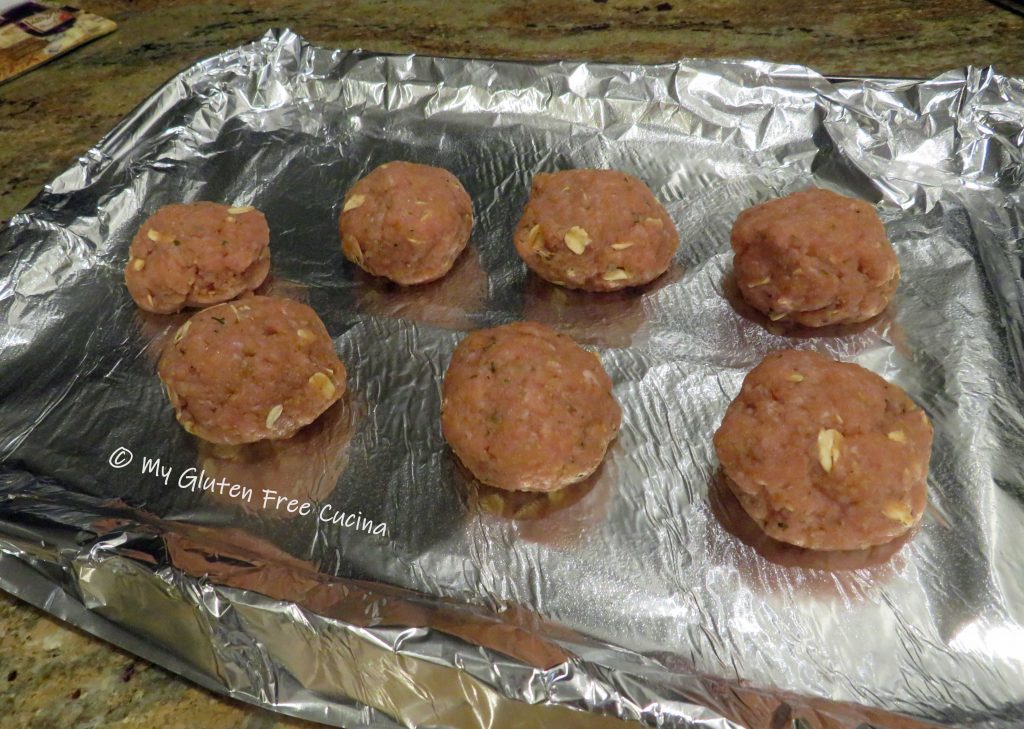 Place the meatballs on the baking sheet, and broil 5 minutes per side on high. Keep warm.


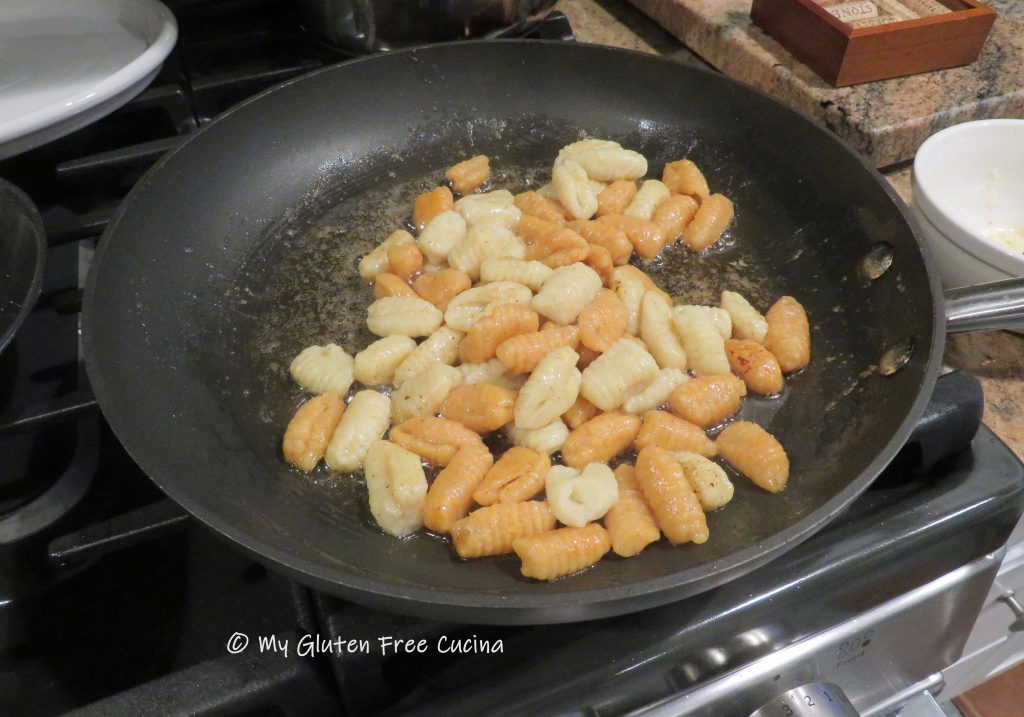
 Drain the pasta and add to the pan with 1/2 cup gruyere cheese. Toss to combine.
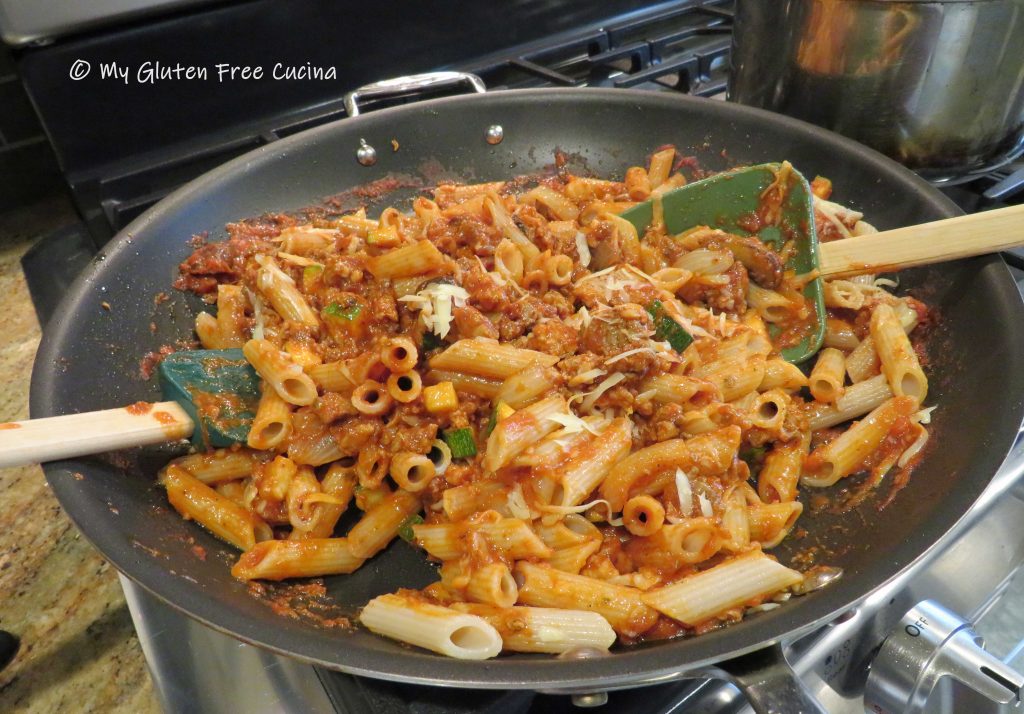


 Use a
Use a 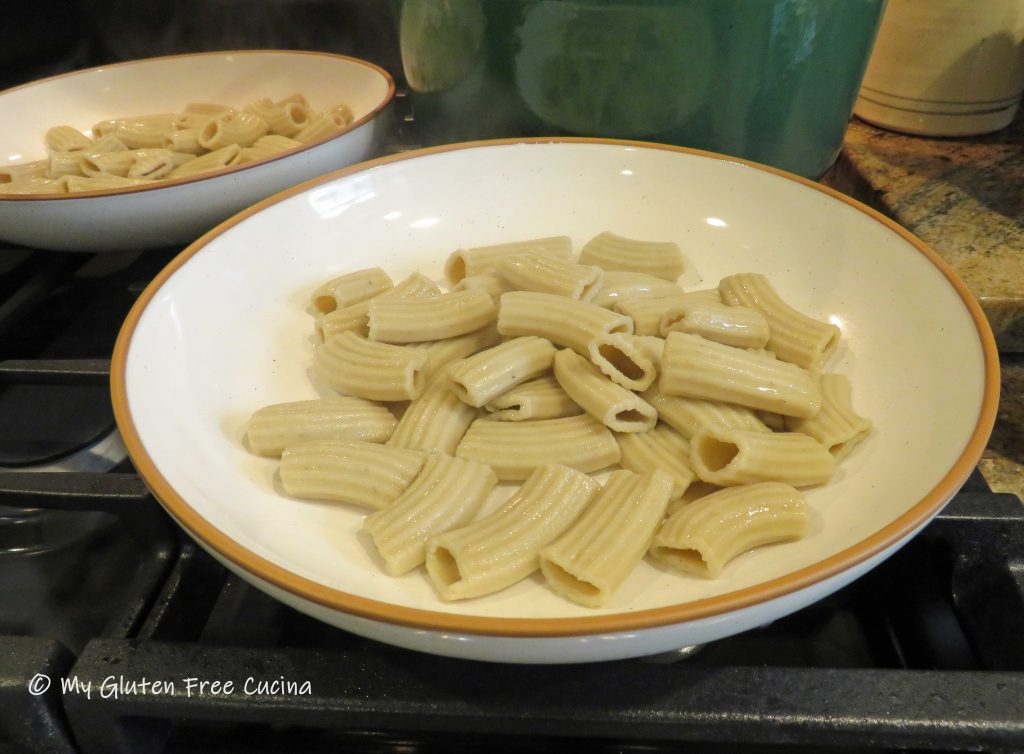
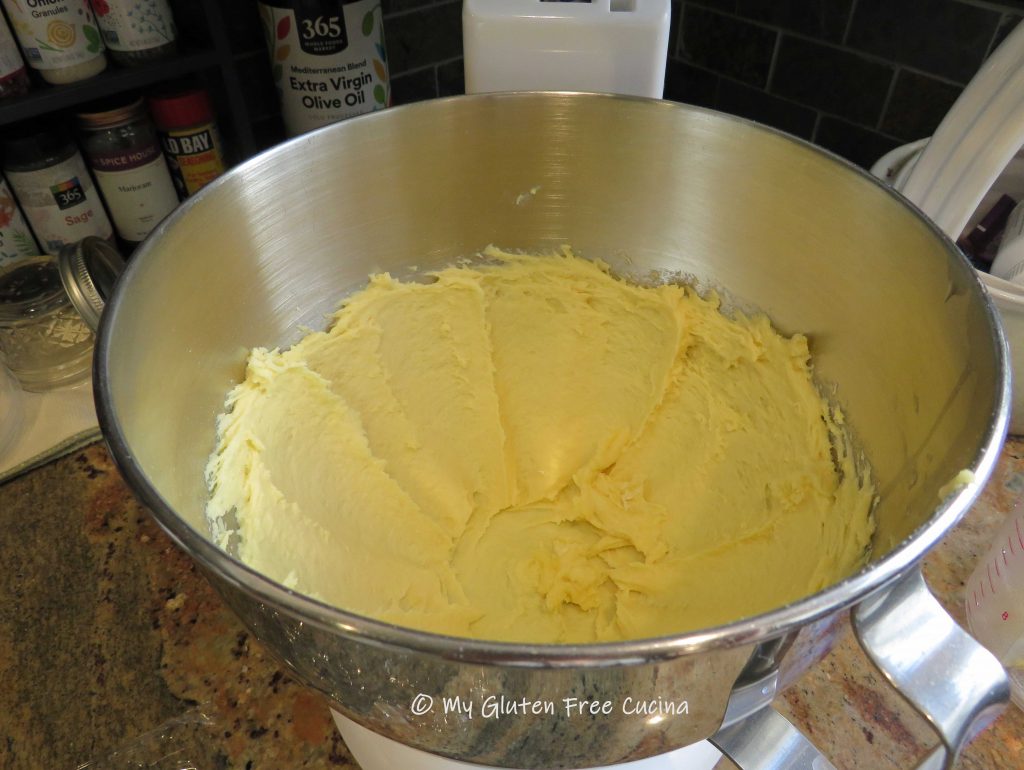
 Increase the speed and mix for 6-8 minutes until a smooth dough forms.
 Press the dough into a ball, cover with plastic wrap and rest for 1 hour.