Gluten Free Air Fryer Chicken Thighs

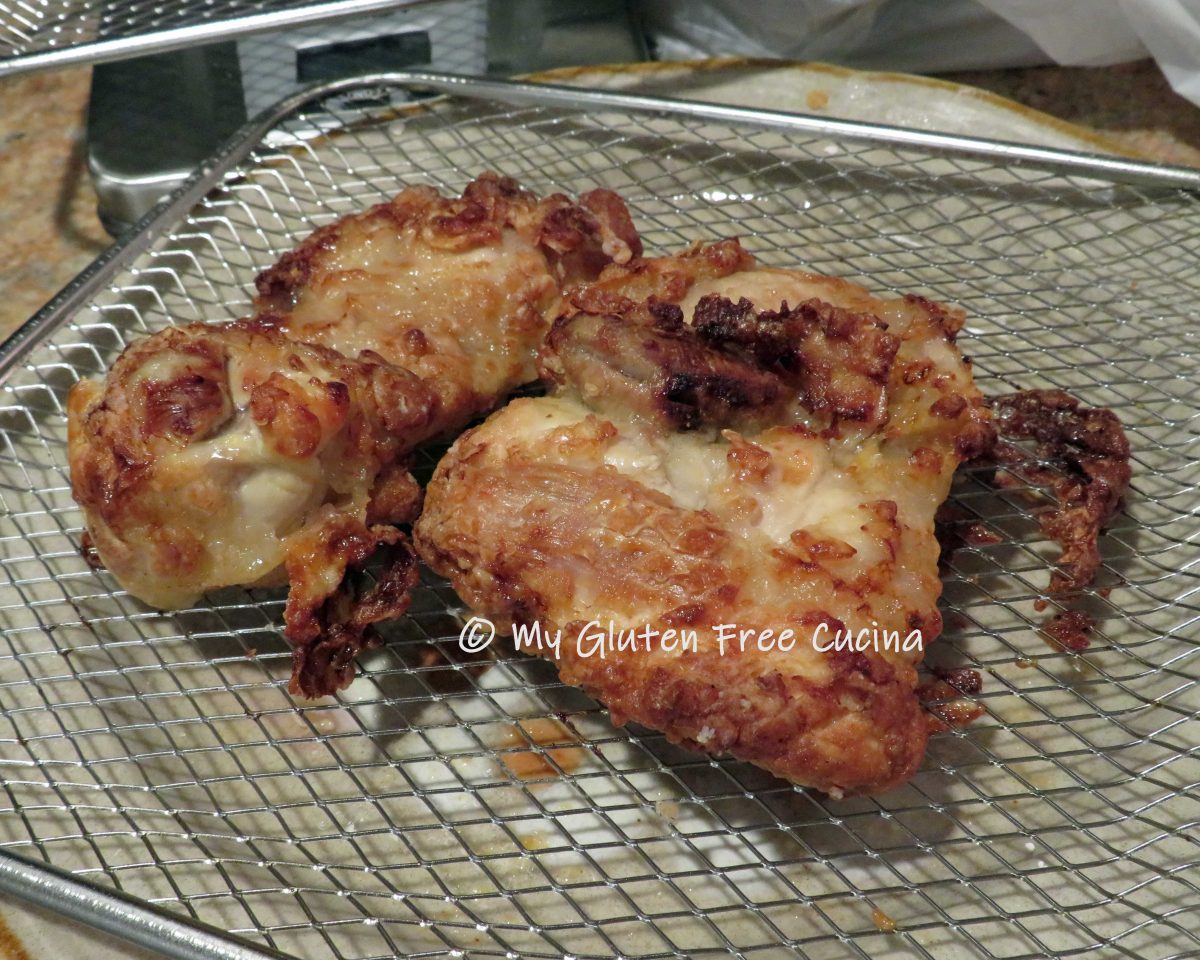
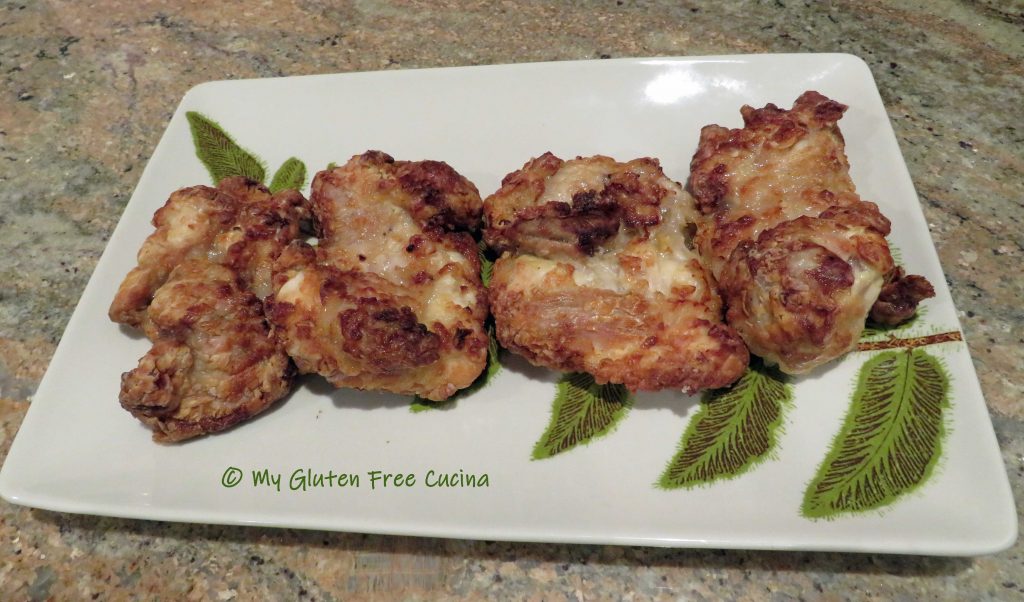
Look at those crispy chicken thighs!  Would you believe they were not deep fried?  Of course the title gives it away, this chicken was cooked in an air fryer.  Crispy on the outside, moist and juicy on the inside.  It reminds me of the “bucket of chicken” I loved as a child!  It’s hard to believe this chicken is gluten free!

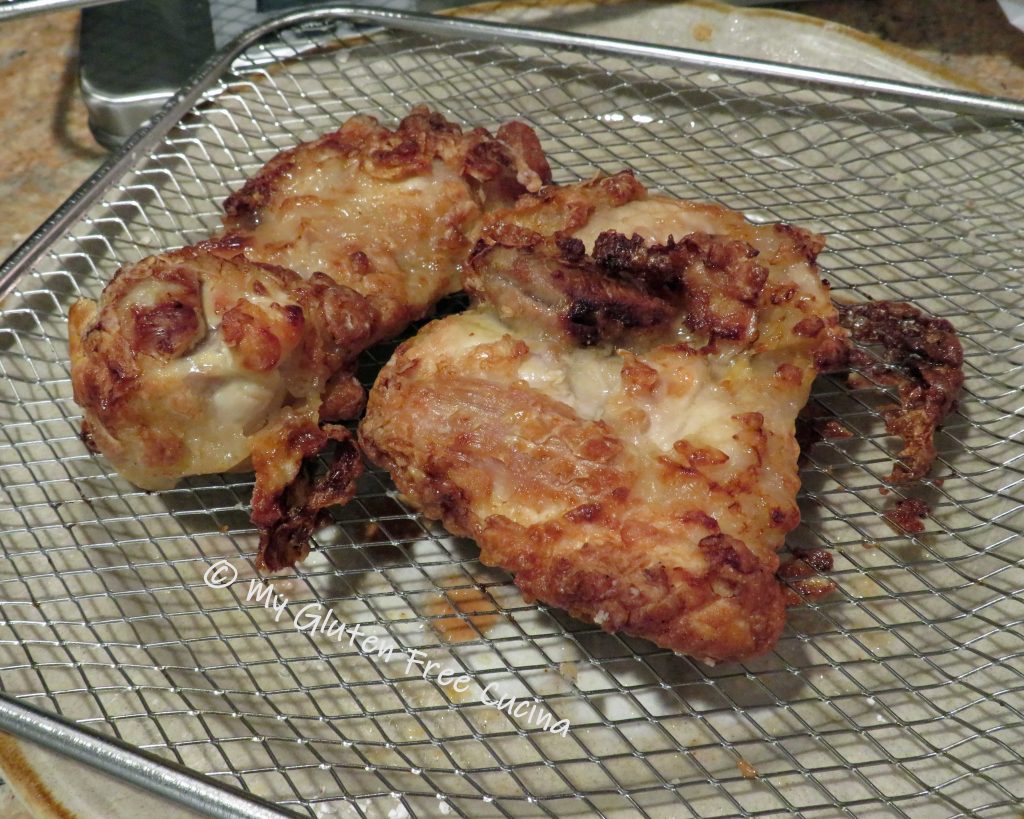
Now for the real surprise.  These chicken thighs are both boneless and skinless!  That’s right friends, you don’t need the skin to get that delicious crispy coating.  And it’s the best “fried” chicken I’ve had in years.

This post contains affiliate links.

4 Servings

Ingredients:

Preparation:

Whisk together the buttermilk (or use powdered equivalent), and Montreal chicken seasoning.  Buttermilk is not a pantry staple at our house, but I always keep buttermilk powder in the pantry.  Alternately, you can add 0ne tbsp. of lemon juice to regular milk and let the mixture stand for 15 minutes.

Set a clean food grade plastic bag (such as a bread bag) in a medium bowl.

Add the chicken pieces to the bag, and pour in the marinade.

Tie the bag to ensure all pieces are covered in the milk mixture, and let it sit at room temperature 1 hour.

In another plastic bag, add the tapioca starch and paprika.

Add the chicken to the flour mixture one piece at a time, shaking to coat.  Coat air fryer trays with cooking spray and arrange the chicken.  Use 2 trays to allow room for the air to circulate.

Refrigerate the floured chicken for 30 minutes.

Preheat the air fryer for 5 minutes at 400º.  Spray the top of the chicken with cooking spray (Important: you need that little bit of cooking spray to get the crispy crust.  You don’t need to saturate it, just a light even coating of oil.)  Place trays in the air fryer and set to 400º for 30 minutes.

Half way through, turn the chicken over and (don’t forget) spray with cooking spray.  Return to the air fryer, switching positions (the tray that was on top moves to the bottom) and continue cooking for another 15 minutes.  Check the internal temperature with a thermometer.  Thighs are done at 165º-170º.

Don’t they look delicious?  This chicken has become a new family favorite!

Notes ♪♫  The air fryer has been a game changer in my kitchen, as I can now enjoy some old favorites that I haven’t had in years!  Mine is a shelf style, so I was able to air fry all four pieces at once.  If you have a smaller model, or a basket style air fryer you may be limited to how many pieces you can prepare at once.

Print This Post Print This Post

Twice Baked Spaghetti Squash

This gluten free and grain free dish is a satisfying alternative to pasta.  Versatile spaghetti squash is baked, shredded, tossed with meat sauce and baked again in its own shell for a tasty finish!  I could not believe how delicious this was, and how good I felt after dinner.  Happy tummy for me, and my husband loved it too!

I used a medium sized spaghetti squash (about 8” long) for the two of us.  To double or triple the recipe, choose squash that are all about the same size so that they finish cooking at the same time.

2 Servings

This post contains affiliate links.

Ingredients:

For the Meat Sauce

  • 2 tbsp. Olive oil, divided
  • ½ lb. Lean ground beef
  • Italian seasoning, to taste
  • ½ cup onion, diced
  • 3 garlic cloves, minced
  • 1/2 cup mushrooms, diced
  • ¼ cup carrots, grated
  • 1 tsp. Basil
  • ½ tsp. Oregano
  • 15 oz. can tomato sauce
  • Ground pepper, a few grinds
  • drizzle of olive oil
  • dash of red wine vinegar
  • ½ cup grated parmesan cheese
  • parsley or chives

Preparation:

Using a sturdy knife, cut the spaghetti squash in half.  Believe it or not this is the most difficult part of the whole recipe!

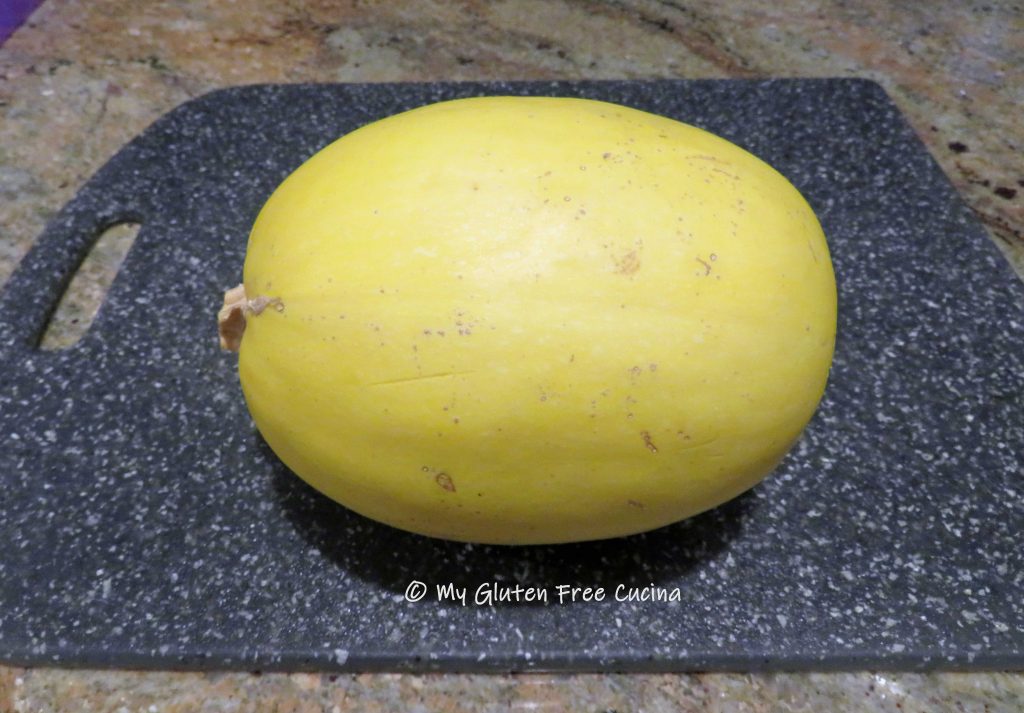
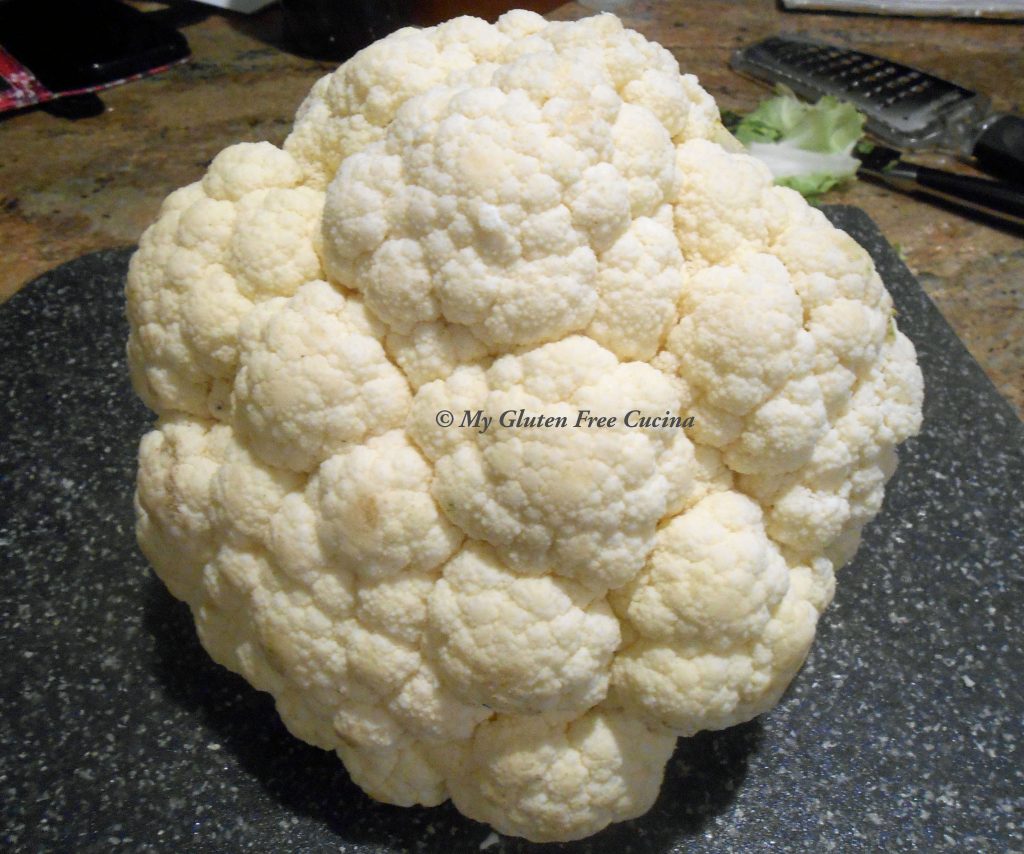
Scrape out the seeds with a large spoon.  Brush each half with about 1 tbsp. of olive oil, and sprinkle generously with Italian seasoning.

Place the two halves cut side down on a parchment lined baking sheet.  Bake for 1 hour at 400°.

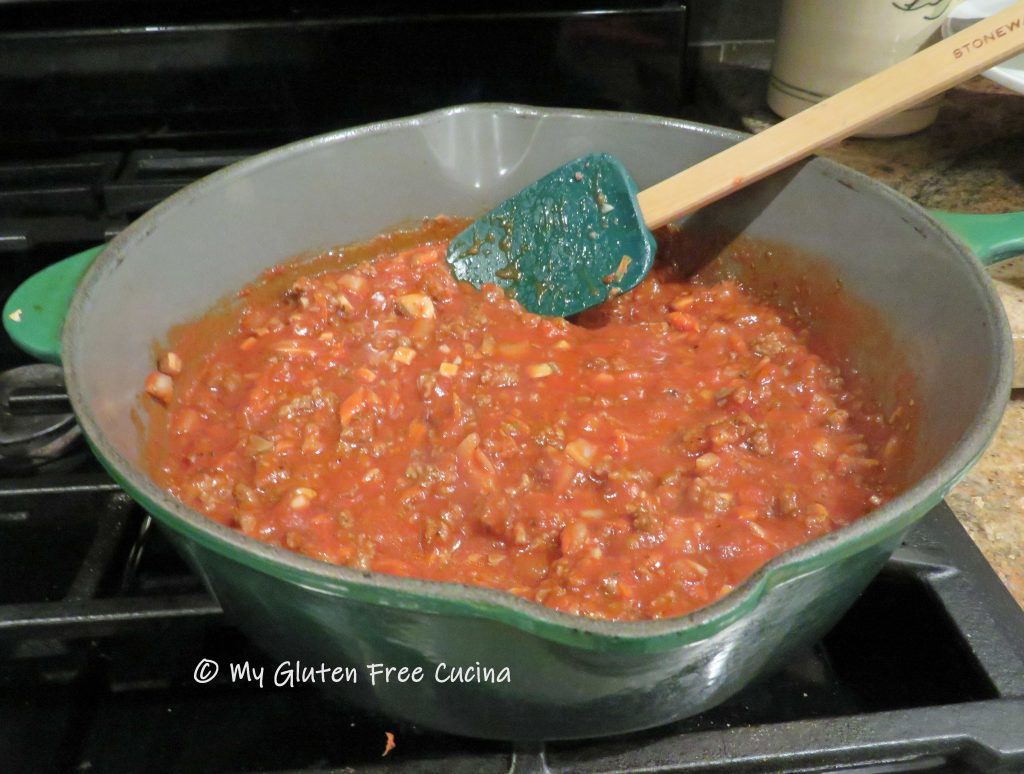
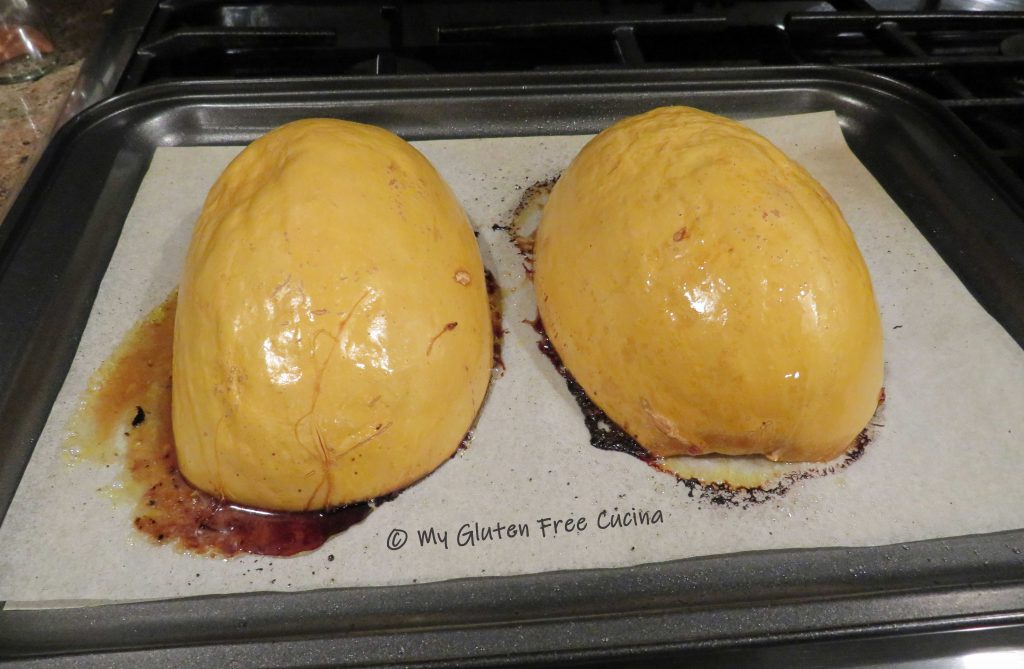
While the squash is baking make the meat sauce.
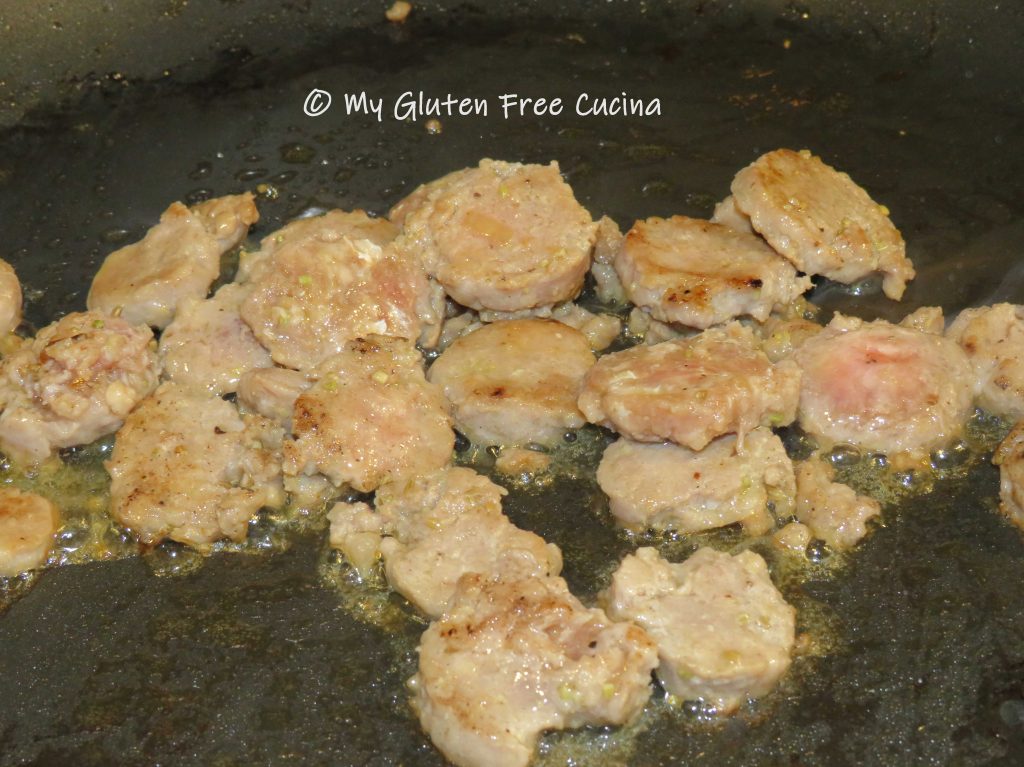
Heat a deep skillet with one tbsp. olive oil and add the ground beef.  Cook on low heat, turning and breaking up the meat with a meat spatula.

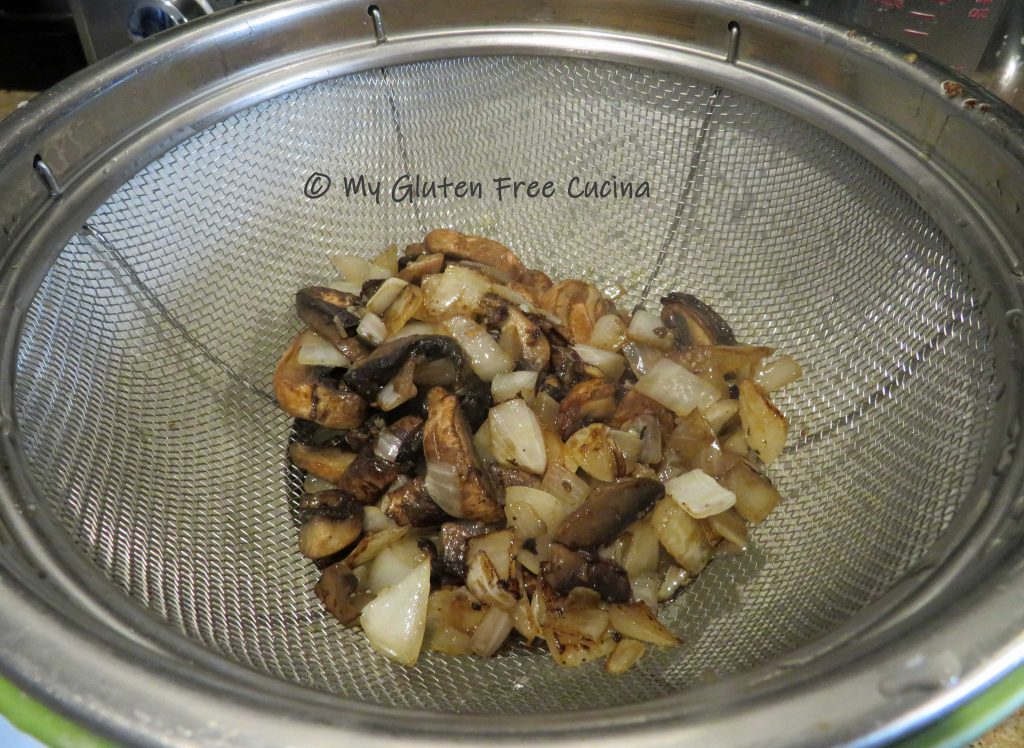
When the beef has browned, stir in the onions, followed by the garlic, carrots and mushrooms.  Sprinkle with Italian seasoning and fresh ground black pepper.  Continue cooking 3-4 minutes, stirring frequently to help the liquid evaporate.

Next add the tomato sauce, basil, and oregano.  Drizzle with 1 tbsp. olive oil and 1 tsp. red wine vinegar.  Simmer on low for about 30 minutes or until the squash is ready.  Stir frequently and watch that it doesn’t burn.

When the squash has baked for 1 hour, remove from the oven.  Use tongs to carefully turn the halves over and let them cool for 10-15 minutes until they are safe to handle.

Use 2 forks to shred and separate the “spaghetti” and transfer it to a bowl.

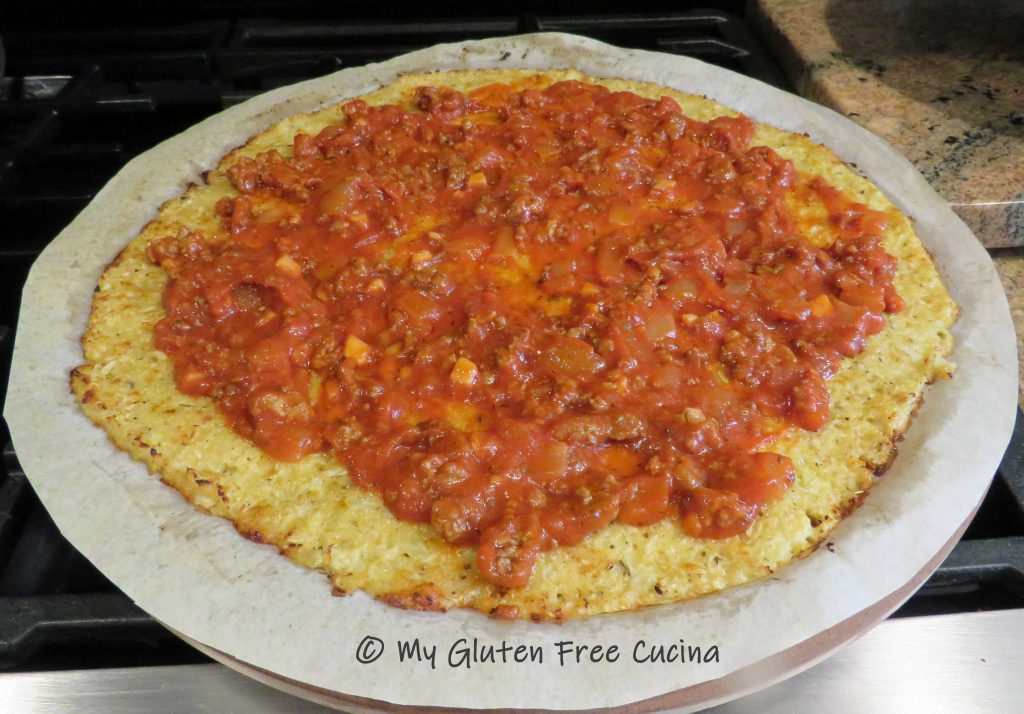
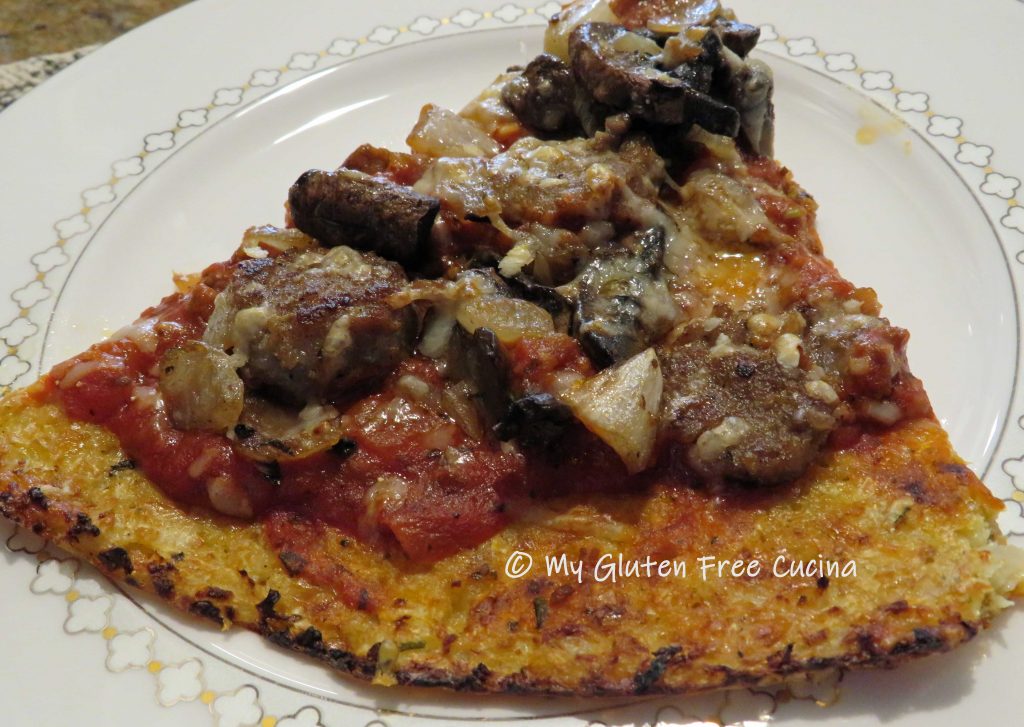
Toss with half of the meat sauce and spoon the mixture back into the squash shells.

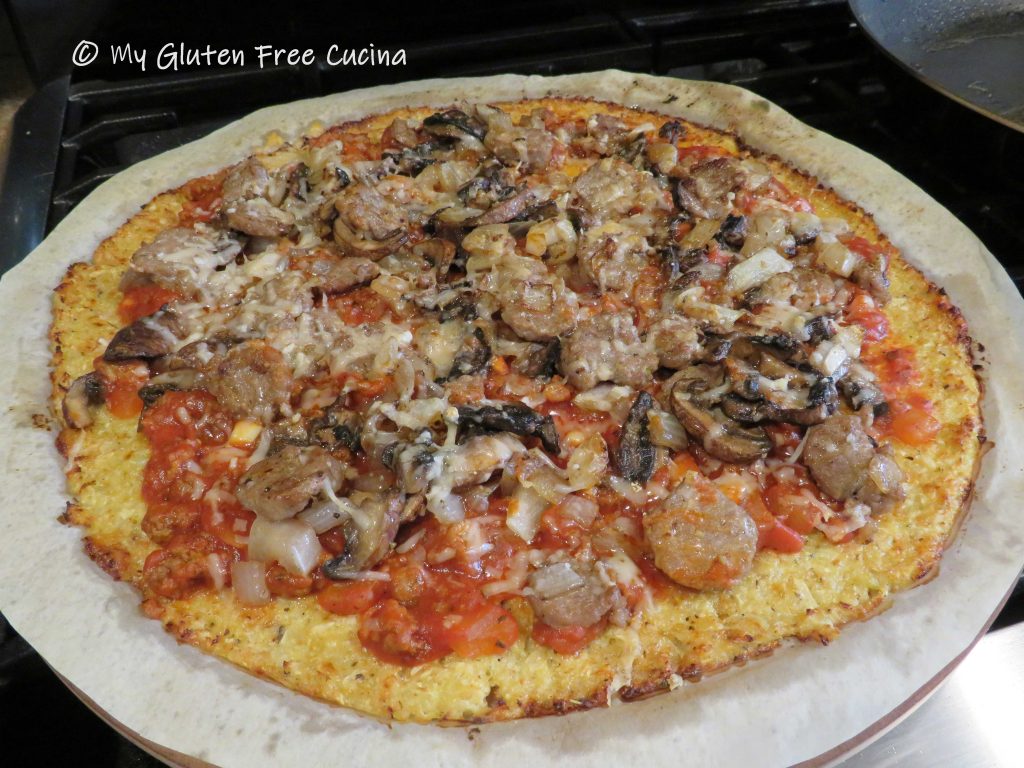
Top with more sauce, grated cheese and herbs.  Return to the oven for another 20-30 minutes.

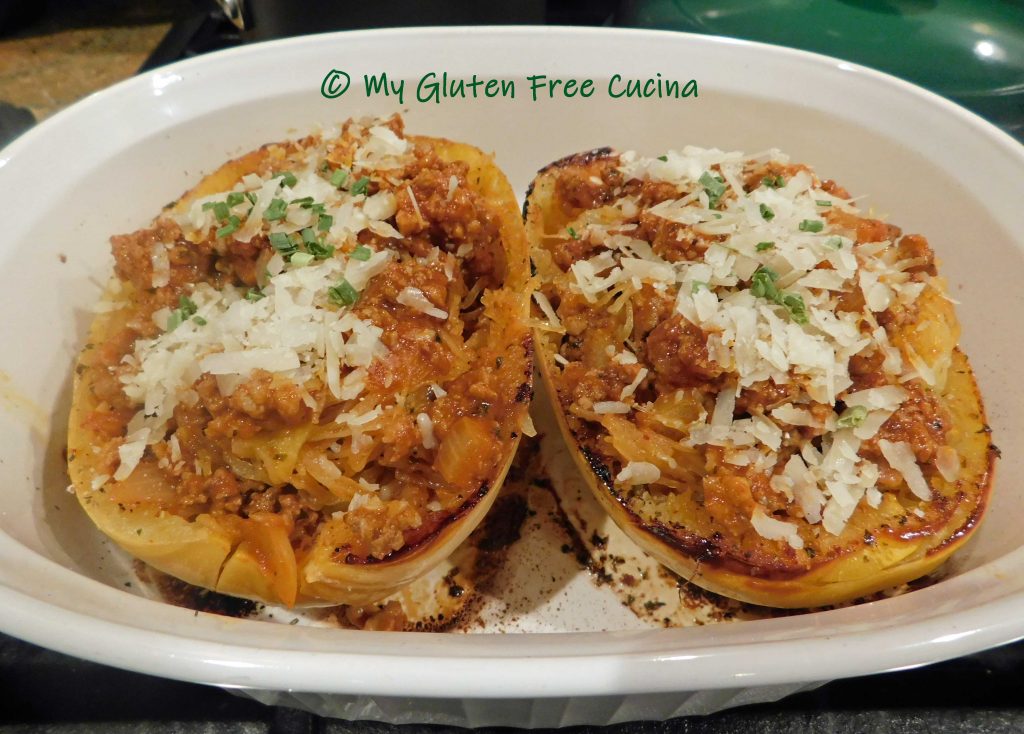
You can finish them off under the broiler for 2-3 minutes to crisp up the edges.

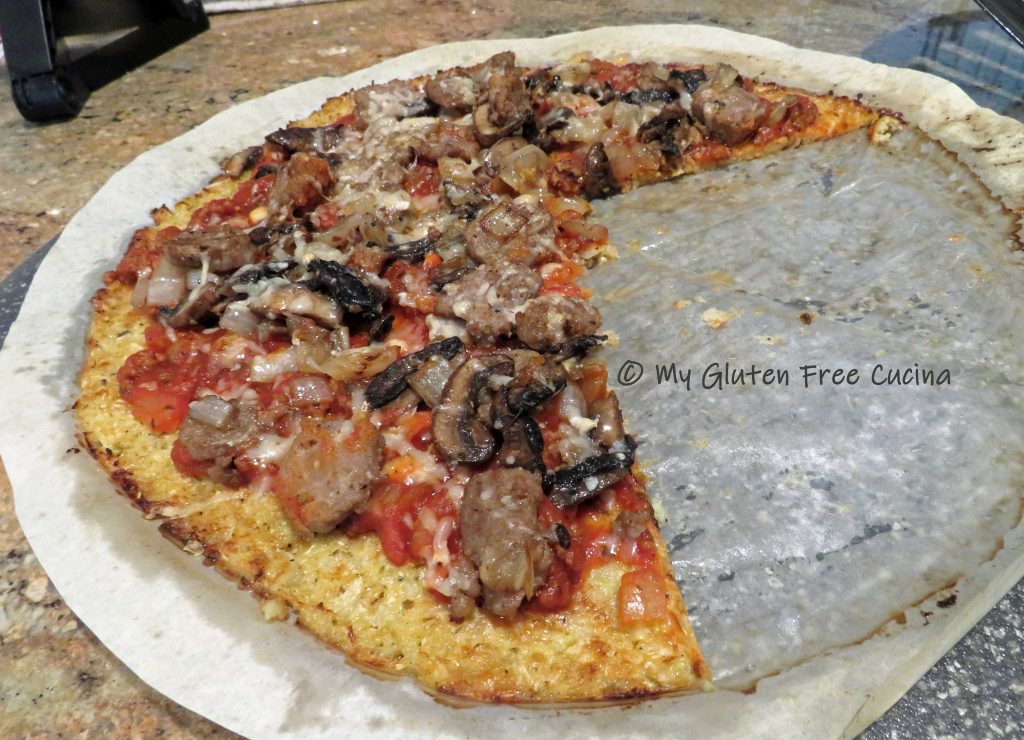
Serve in the shell with extra sauce on the side.

Notes: ♪♫ Roasting is my favorite way to prepare vegetables and spaghetti squash is no exception.  It does require more time than boiling but so worth it – you will taste the difference!

Print This Post Print This Post

Cauliflower Pizza Wreath

Since this is Christmas week, I thought I would make a festive wreath shaped Cauliflower pizza!  Both gluten free and grain free, try this guiltless indulgence to balance out all those holiday cookies!

This post contains affiliate links.

Ingredients:

  • 4 cups grated cauliflower
  • 1/4 cup cream cheese, softened
  • 3/4 cup grated gruyere cheese
  • 1/4 cup grated parmesan cheese
  • 2 boneless, skinless chicken thighs
  • 1/2 sweet onion, diced
  • 1/4 cup gluten free BBQ sauce (I love Stubbs)
  • 1 egg
  • Italian seasoning or seasoned salt
  • olive oil

Preparation:

Use a hand grater or electric chopper to make 4 cups of grated cauliflower.  I usually grate my own, but you can purchase pre-grated in the fresh or frozen section.

Cook the grated cauliflower for 3-5 minutes in a large nonstick skillet, with 2 tbsp. olive oil and 1/2 tsp. Italian seasoning.  Set aside to cool.

Toss the chicken thighs with 1 tbsp. olive oil and sprinkle with seasoning.  Bake for 1/2 hour at 350º.

Mix the cooled cauliflower with the beaten egg, cream cheese and gruyere cheese.

Line a pizza stone with parchment paper cut to size.

Spoon the cauliflower mixture onto the parchment and spread into a 1/2″ thick circle.

I used a small pinch bowl to make a circle in the center and scooped it out with a spoon.

Next use a spatula to create 8 sections and smooth the edges.  Brush with olive oil and sprinkle with more seasoning.

Bake for 25 minutes at 400º.  Meanwhile, cook the onion in a little olive oil until softened.  Chop the cooked chicken and add to the onion, drizzle with BBQ sauce.

Brush the baked cauliflower with more olive oil, especially around the edges and arrange the filling in an even layer.  Sprinkle with parmesan and drizzle more BBQ sauce.

Return to the oven for 5 more minutes to heat the chicken through and melt the cheese.

Notes ♪♫ Remember, a cauliflower pizza crust is baked separately from the toppings, which are added during the final 5 minutes of cook time.  That means any toppings you choose, like our chicken and onions must be fully cooked before adding to the pizza.

If you enjoyed this post, check out my Sausage and Mushroom Pizza on a Cauliflower Crust and my Cauliflower Cakes!

Print This Post Print This Post

Sweet Potato Flatbread

This delicious flatbread recipe features sweet potato and cassava flour.  The latest addition to my gluten free pantry, cassava flour is made from the root of the yuca plant.  The entire root is grated, dried, and ground into a mild tasting flour that is both gluten free and Paleo friendly.

This gluten free, grain free flat bread was a nice change from my usual potato side, really different from anything I have ever made.  To achieve the same results, I recommend weighing your ingredients.

6 Servings

This post contains affiliate links.

Ingredients:

  • 1 large sweet potato, about 12 oz.
  • 1/2 cup cassava flour, about 2.2 oz. plus more for dusting
  • 1/4 tsp. salt
  • 1/2 tsp. gluten free Italian seasoning
  • 2 tbsp. olive oil
  • 3/4 cup grated cheese such as parmesan, gruyere etc.

Preparation:

Peel the sweet potato and cut into chunks.  I used 1 sweet potato for this recipe.  After peeling, it weighed 10 oz.

Steam the potato until very soft, 25-30 minutes.  Remove the potato and add to the bowl of a stand mixer.

Beat with the paddle attachment until smooth.  Whisk together ½ cup of cassava flour with salt and Italian seasoning.  Add to the bowl and mix until a soft dough forms.  The dough will be heavy and clinging to the paddle, like this.

Transfer the dough to a sheet of parchment paper.  I used a pie dough roller and floured fingers to gently roll and press the dough into a 1/4″ thick round.  Use a spatula to neaten the edges.

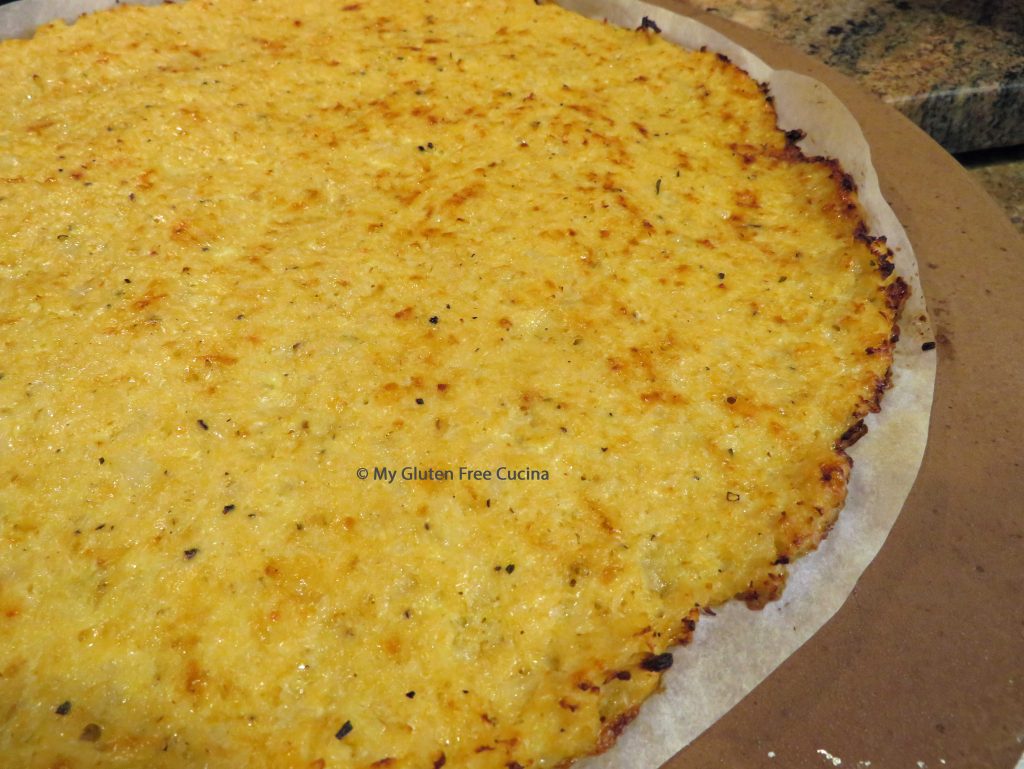
Slide the parchment onto a pizza stone.  Brush with olive oil, sprinkle with more seasoning and the grated cheese.  I used Parmesan and it browned up nicely, but Romano, Gruyere or even cheddar would be fine.  Use your favorite, or whatever you have on hand.  Bake at 375◦ for 25 minutes, then broil on high for 5 minutes.  The cheese should be melted and starting to brown, the edges crispy.  Watch that it doesn’t burn!

Use a large spatula to slide the flatbread off the parchment onto a cutting board.  Slice into wedges and serve.  You should hear a nice crunch when you cut into it.  Once the flatbread begins to cool it will soften up, so it is best eaten immediately.  Leftovers can be reheated on a pizza stone.

The verdict, hubby and I both loved it!  Potato lovers, change up your menu with this easy, gluten free side.  Everyone will want a slice, so be ready to share!

Notes ♪♫ Cassava flour is quickly gaining popularity in gluten free baking.  If you can’t find it at your supermarket it is widely available online from sites like Amazon.

Print This Post Print This Post

Sausage and Mushroom Pizza with a Cauliflower Crust

Tonight I made a gluten free and grain free pizza with a cauliflower crust.  If you have never had a cauliflower pizza crust you will be amazed at how tasty it is, and without the grain you won’t be left with that overly stuffed feeling!  The most important thing you need to know about this pizza is that the crust and the toppings are cooked separately.  Only at the end are they assembled and finished together.  This pizza features my favorite Italian style toppings, sausage and mushroom!

As a main course, one pizza will be enough to serve 3 (2 slices each).

Ingredients:

  • 4 cups grated cauliflower
  • 2 tbsp. olive oil
  • salt and pepper to taste
  • 1 tsp. gluten free Italian Seasoning, divided
  • 1 cup Gruyere cheese, grated
  • 1 large egg
  • 6 oz. gluten free sweet Italian sausage, cut into coins
  • 1/2 sweet onion, diced
  • 8 crimini (baby bella) mushrooms, sliced
  • 1/3 cup sauce (use leftover from another meal or jar sauce)
  • 1/3 cup Parmesan cheese, grated
The Lazy Gastronome

Preparation:

Pulse the cauliflower in a food processor or mini chopper and measure 4 cups.  Do the same with the Gruyere cheese, you will need 1 cup.

Heat 2 tbsp. olive oil in a large nonstick skillet, and cook the cauliflower for about 3 minutes, stirring frequently.  Season with salt, pepper and 1/2 tsp. Italian seasoning.  When finished, transfer the cauliflower to a bowl and cool to room temperature (you don’t want the egg to cook).  To speed things up you can place it in the fridge for 20 minutes.

When the cauliflower has cooled, beat the egg, 1/2 tsp. Italian seasoning and the grated Gruyere cheese.  Stir in the cooled cauliflower until thoroughly combined.

Trace a large sheet of parchment to fit a pizza stone, and turn out the cauliflower mixture onto the parchment.

Use a wide spatula to spread the cauliflower in an even 1/2″ layer and neaten up the edges.  This spatula from Oxo was designed for flipping eggs, but I find it is the perfect tool for smoothing out the cauliflower.

Bake the crust for 20 minutes at 400º, then finish under the broiler for 3 minutes on high.  Here is the baked crust, golden and crisp around the edges.  Brush it lightly with olive oil.

While the crust is baking, cook the toppings in the same skillet with a little olive oil and remaining 1/2 tsp. Italian seasoning.  Remember, all toppings must be cooked through completely.  Drain the toppings after cooking, so they don’t weigh down the crust or make it soggy.

Spread the crust lightly with sauce, and add toppings in an even layer.

Finish with Parmesan cheese and broil for 3 minutes on high.

Grab the edge of the parchment and carefully slide the pizza onto a cutting board.  Slice into wedges and use a thin spatula to lift and serve.

Notes: ♪♫  If you enjoyed this post, be sure to check out my Cauliflower Pizza with BBQ Chicken, another gluten free and grain free favorite!

Print This Post Print This Post


Cauliflower Pizza with BBQ Chicken

Years ago, before I even knew that I had Celiac disease I got into making pizza with a cauliflower crust.  We were trying to lose weight at the time, and I was experimenting with low carb recipes.

Today cauliflower pizza is back in our dinner rotation as a delicious gluten free, grain free option!

This post contains affiliate links.

Grated cauliflower has become so popular, you can find it in both the fresh and frozen food section of your market.  I still hand grate mine as it really doesn’t take that long, and you get the very best flavor and freshness.  If you have a food processor, that is another fast and easy option.

The cauliflower at the market this year have been huge.  This one is going to provide several meals for us.  I will roast florets for an easy side dish and grate the rest for pizzas and cauliflower cakes.

You will see in the preparation that I used a pizza stone for this recipe, but you can also use a regular pizza pan or a sheet pan.  Whichever you choose, you will need parchment paper for easy transfer of the pizza from pan, to oven to cutting board.

Ingredients:

  • 4 cups grated cauliflower
  • 2 tbsp. Olive oil
  • Salt and pepper to taste
  • 1/2 tsp. Italian seasoning
  • 1 cup grated Gruyere cheese
  • 1 egg
  • 1 lb. Chicken tenders
  • ½ sweet onion
  • 2 strips bacon
  • Olive oil
  • Gluten free BBQ Sauce, home made or purchased
  • ¾ cup grated parmesan

Preparation:

Grate the cauliflower using a food processor or hand grater.  Add it to a large non-stick skillet with 2 tbsp. olive oil, salt and pepper.  Cook for 3 minutes, stirring frequently.  Transfer to a bowl to cool.

Beat the egg, Gruyere cheese and Italian seasoning.  Stir in the cooled cauliflower, mixing thoroughly.

Preheat the oven to 400° and line a pizza stone with parchment paper, cut to size.  Spoon the cauliflower mixture onto the parchment and spread it into an even ½” circle.  Use a spatula to smooth it out and neaten the edges.

Bake for 20 minutes at 400°, then broil for 3 minutes on high.  Here’s what it will look like.

Wipe the skillet clean and begin cooking the bacon.  Drain on paper towels and dice.  Cook the onions in the bacon fat, then push to the side and add the chicken with a little olive oil.  When the chicken has cooked through, drizzle lightly with BBQ sauce.

Brush the crust with olive oil, then lightly spread with BBQ sauce, about 4 tbsp.

Spread the chicken mixture over the crust in an even layer.

Top with grated Parmesan cheese.

Broil 3 minutes on high, you should have a little nice browning around the edges but watch that it doesn’t burn.

Slide the pizza, parchment and all onto a cutting board.  Slice with a pizza cutter and use a narrow spatula to lift it off the parchment.

Notes: ♪♫ To keep the pizza from being too soggy, bake the crust by itself and add the toppings during the last few minutes of cooking.  Be sure that all toppings are completely cooked and drained ahead of time.

Print This Post Print This Post