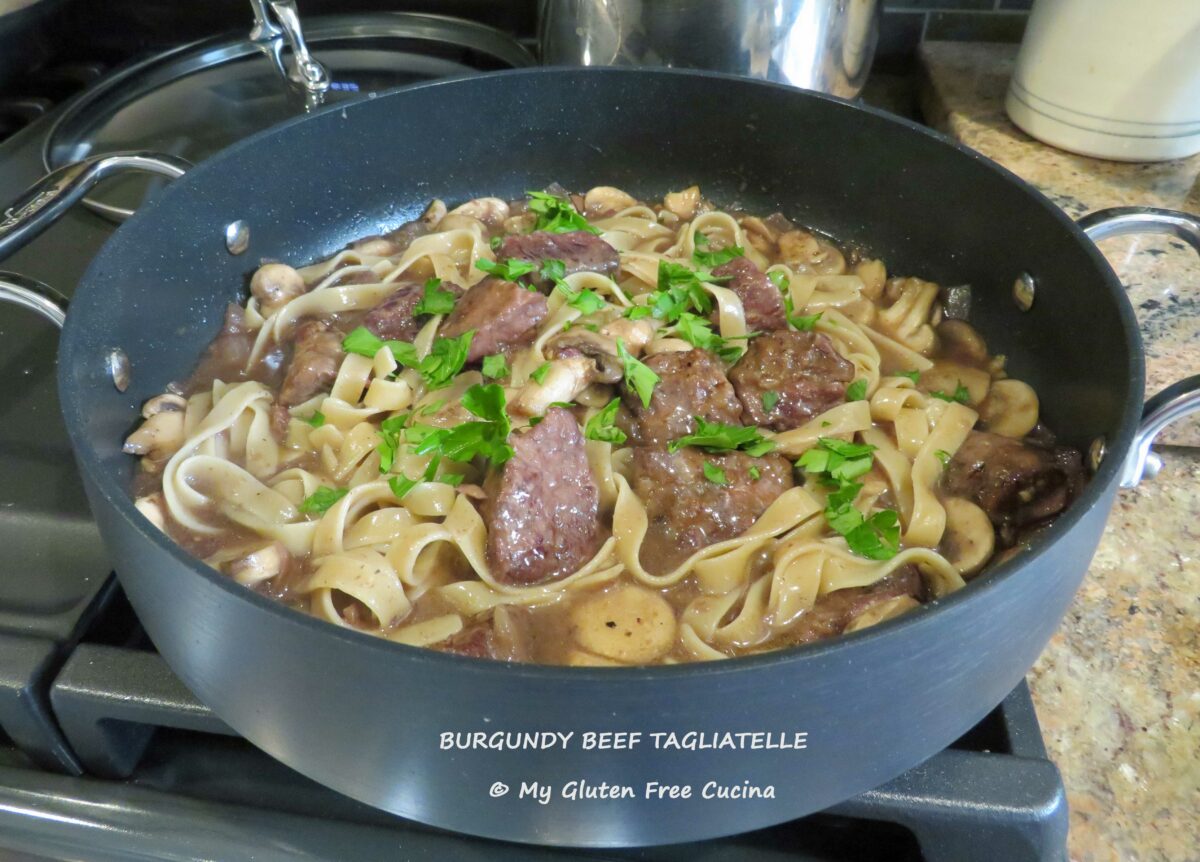
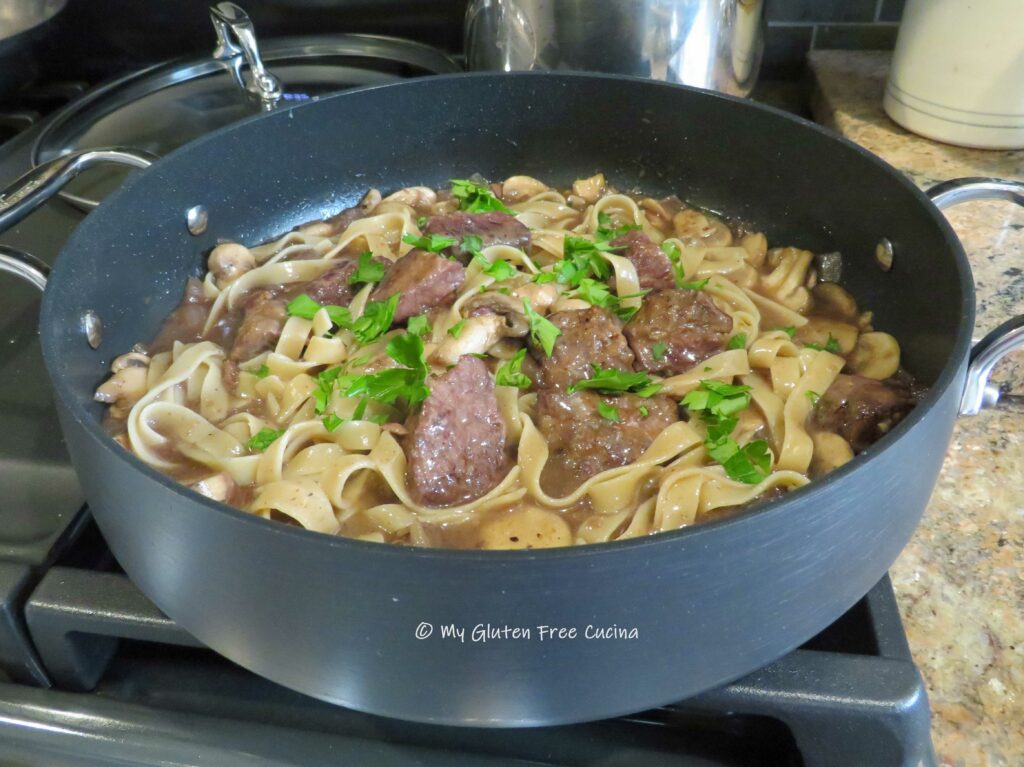
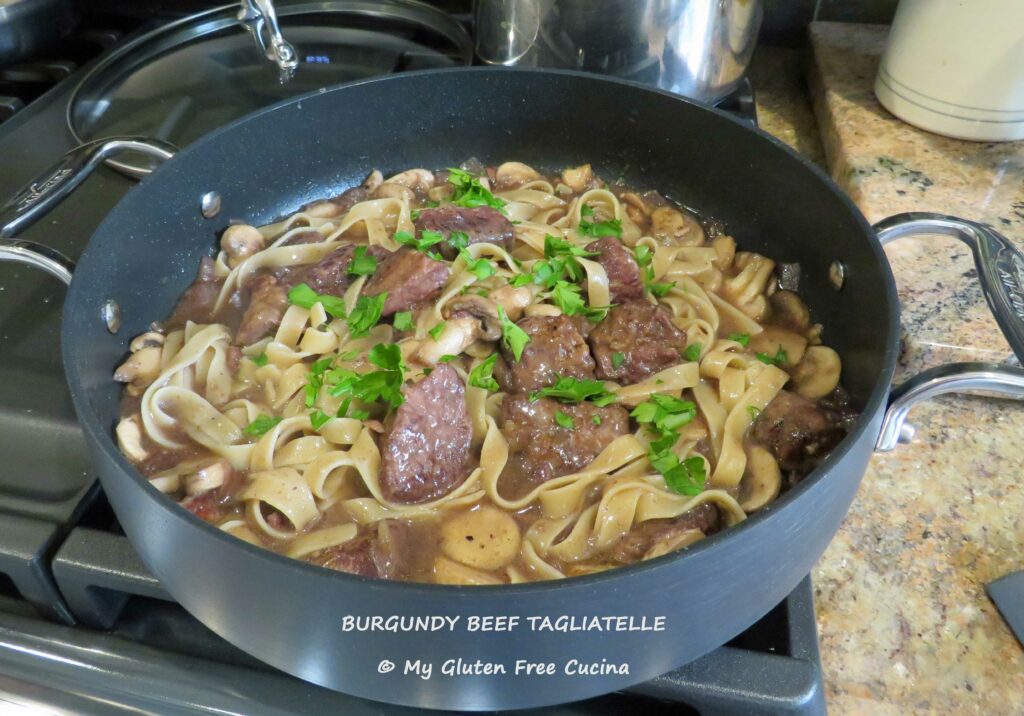
Burgundy Beef Tagliatelle

When you have comfort food on your mind, look no further than this hearty meal of sirloin tips, gently braised in a wine and mushroom sauce with gluten free noodles.

Years ago, I had something like this in a restaurant and never got it out of my mind.  It was easy to recreate at home, and I used Jovial gluten free tagliatelle noodles because they have the look and texture of egg noodles that you would traditionally see in a dish like this.  It came out amazing.  A hearty dinner that will satisfy big appetites!

This post contains affiliate links.

4 Servings

Ingredients:

  • 1 lb. sirloin tips
  • 1 tbsp. white rice flour
  • 3 tbsp. olive oil, divided
  • 1/2 of a large, sweet onion, diced
  • 1 tsp. Montreal steak seasoning, divided
  • 3/4 cup red wine (I used Barefoot Merlot)
  • 1 package white or baby bella mushrooms, cut into 1/4″ thick slices
  • 2 tbsp. butter, divided
  • 6 oz. gluten free egg tagliatelle pasta
  • 1/2 cup gluten free broth (beef, chicken or vegetable)
  • 1 tsp. arrowroot *See notes
  • fresh parsley for garnish

Preparation:

Cut the sirloin tips into 2″ chunks, trimming any excess fat.

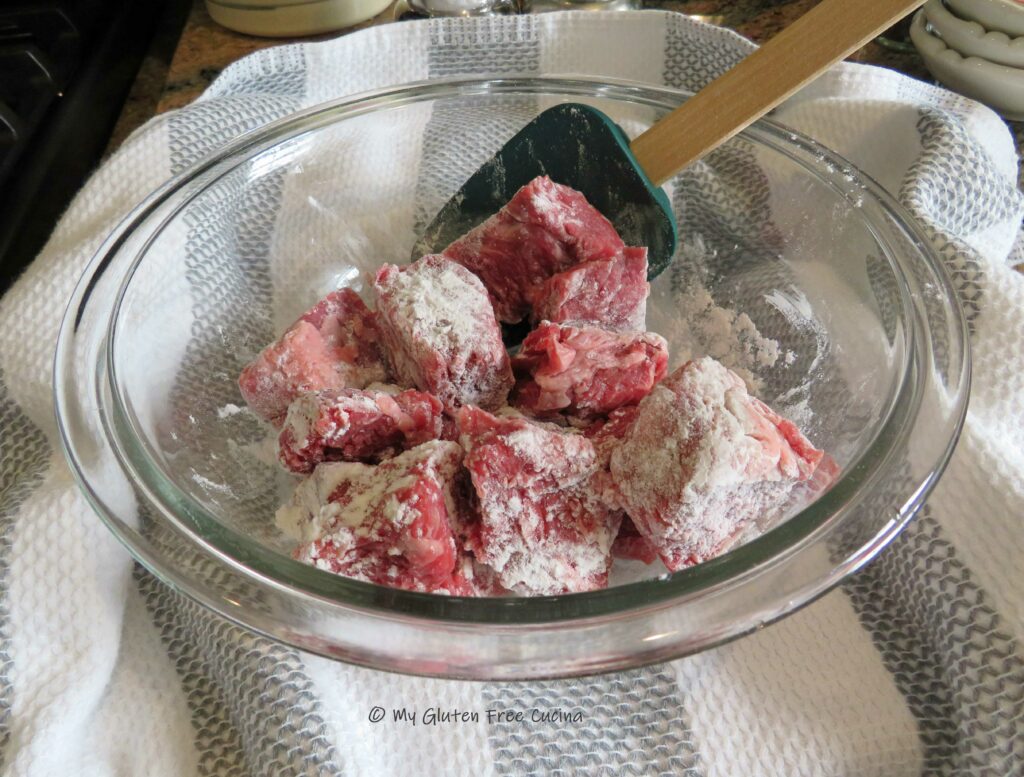
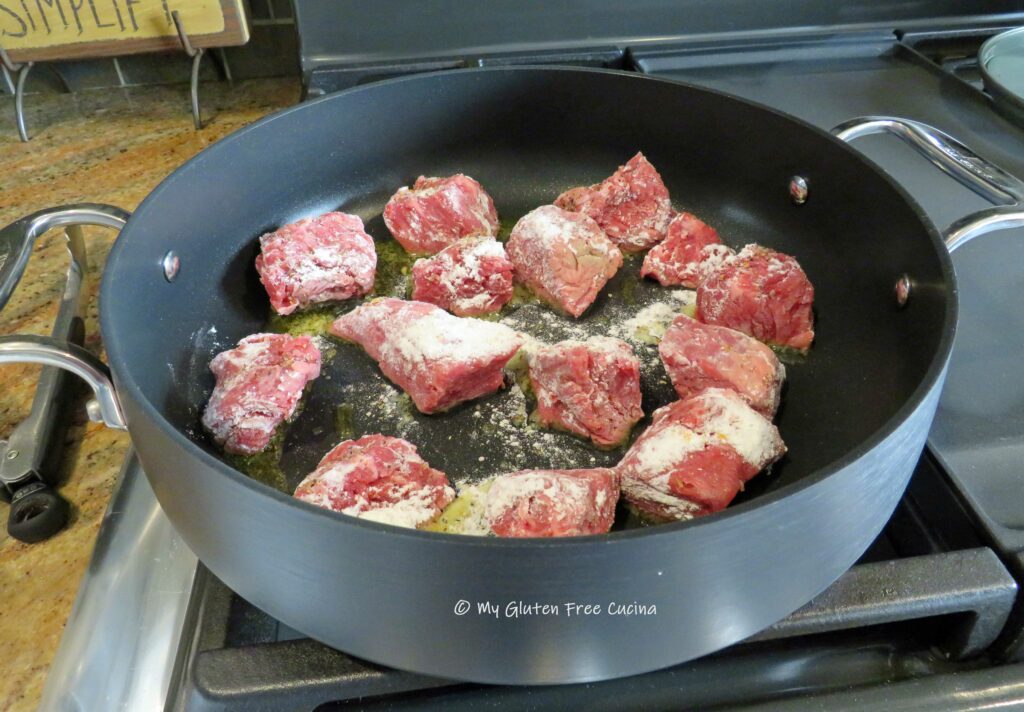
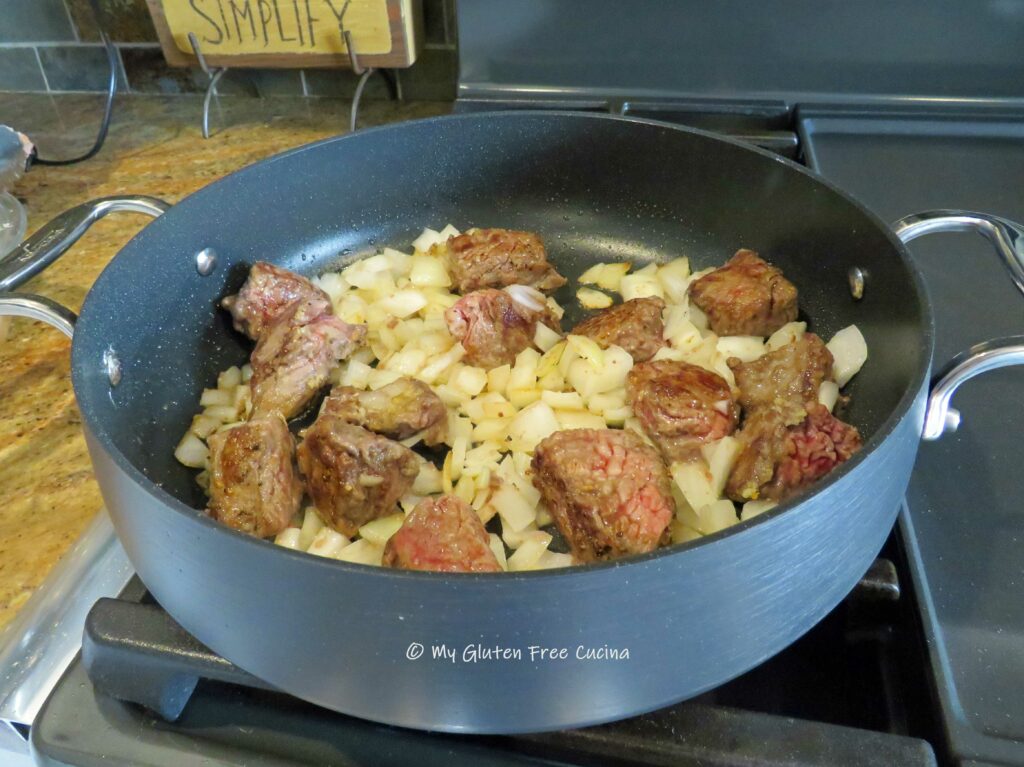
Heat 2 tbsp. olive oil in a heavy skillet or Sauteuse with cover or Dutch oven.  Toss the beef with the white rice flour, and brown in a single layer over medium low heat.

Season with 1/2 tsp. Montreal steak seasoning.

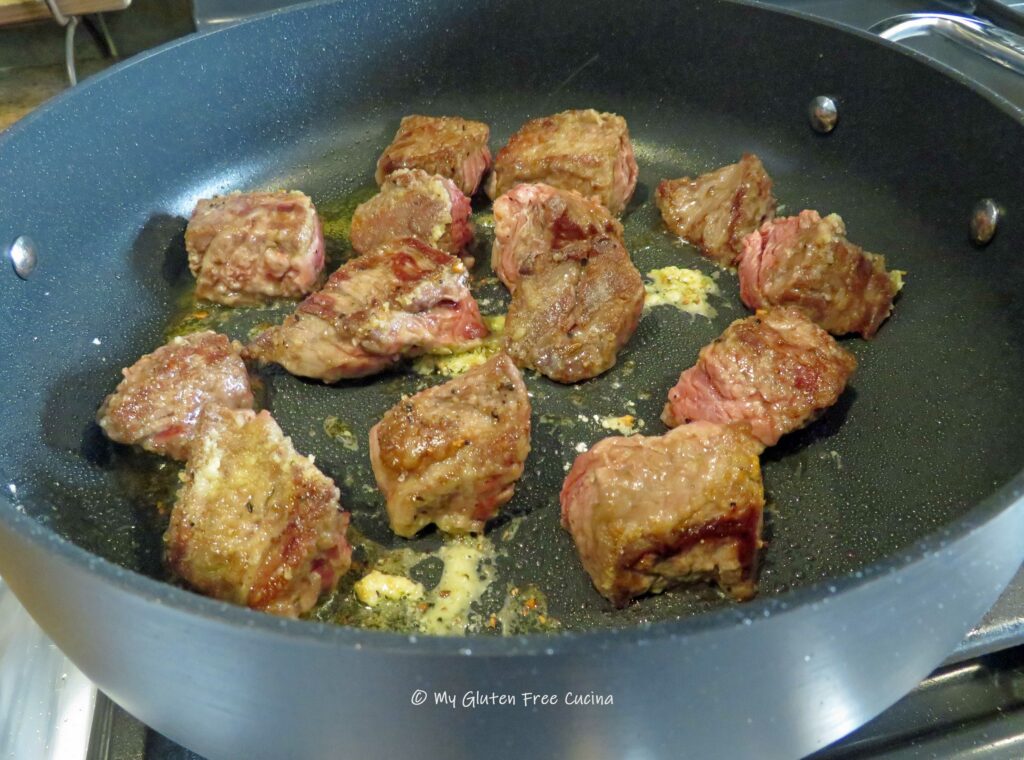
In a few minutes you should have good color on the beef and be able to see some caramelization.

Now add the onions and let them cook down for 3 minutes.

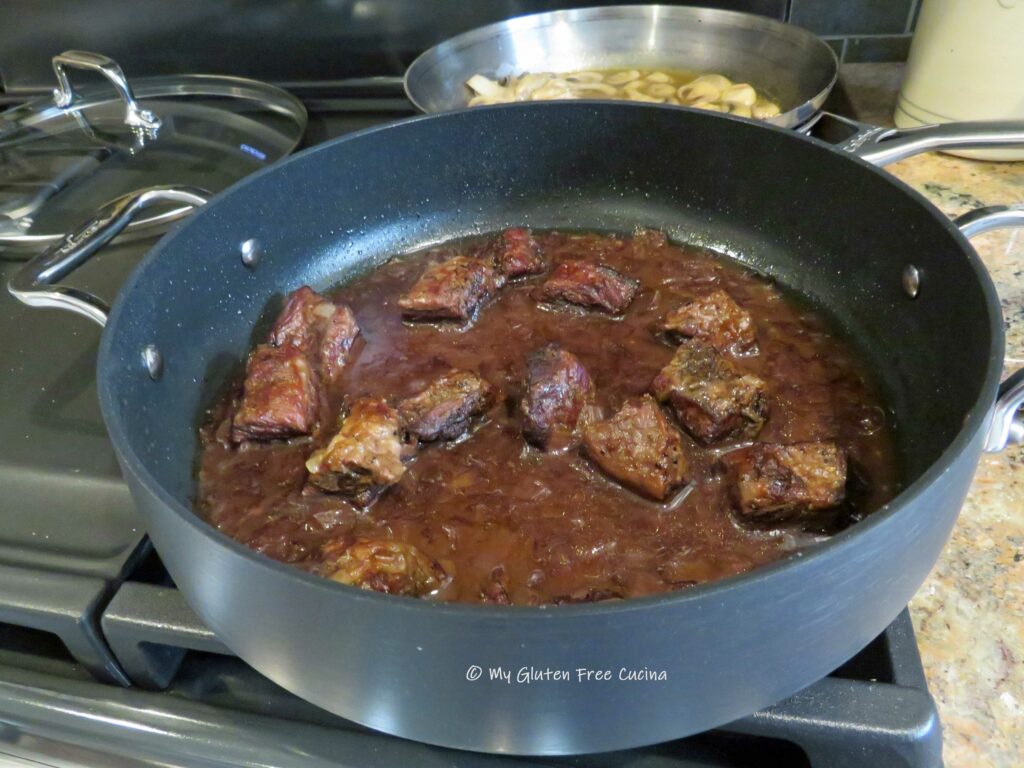
Add the wine and stir gently.  Bring to a simmer, then cover the pan and place in a 225º oven for 3 hours.

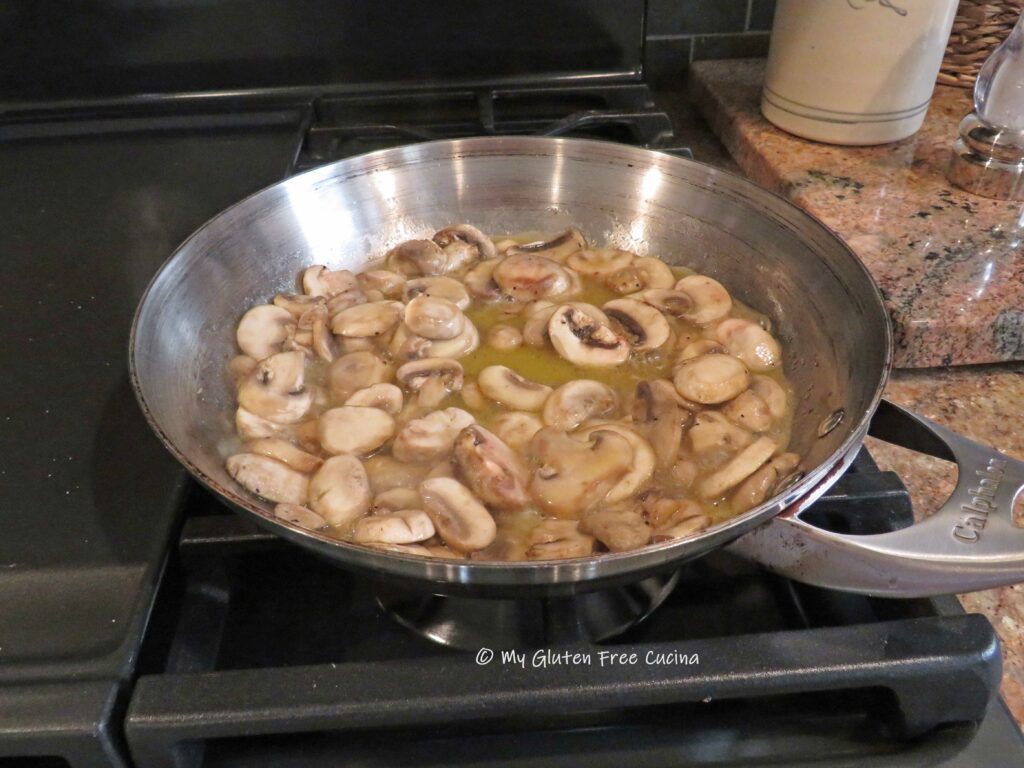
In the last 1/2 hour of cooking, heat 1 tbsp. olive oil and 1 tbsp. butter in a stainless-steel skillet (not nonstick).  Cook the mushrooms over low heat, just until they release their liquid and season with 1/2 tsp. Montreal Steak Seasoning.  Whisk the broth and arrowroot together and stir into the mushrooms, simmering to thicken.

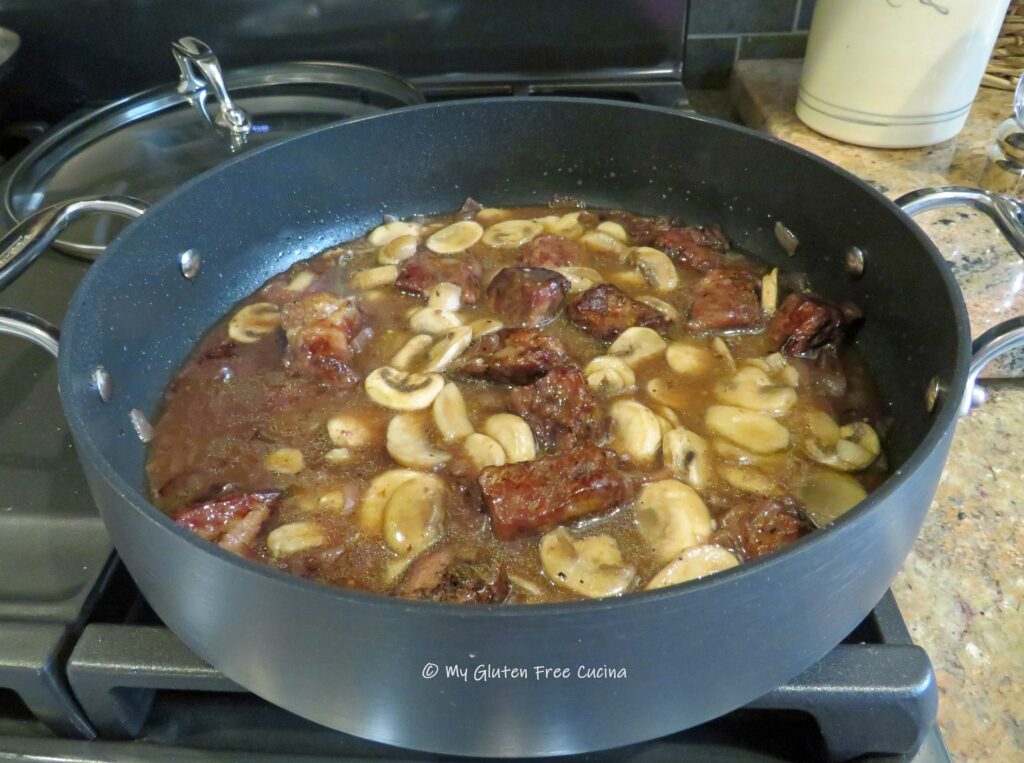
Return the beef to the stovetop and stir in the mushroom mixture.

Keep the heat on low and continue simmering the beef on the stovetop with the lid off.  Allow the liquid to reduce and thicken while you cook the pasta.

Cook the tagliatelle noodles to 2 minutes less than package directions.  When the noodles are ready, drain and add to the pan with a pat or 2 of butter.

Toss well to combine and cook for a minute longer.  Garnish with parsley and serve right from the pan!

This meal is so good, the pictures don’t do it justice!

Notes ♪♫ Arrowroot flour, also known as arrowroot starch or arrowroot powder is a staple in my gluten free pantry.  Whether I just need a teaspoon for thickening, or more for bread baking, arrowroot is a nice alternative to the usual corn, tapioca or potato starch.  It is superb for making a roux, no lumps ever!

Original post Oct 8, 2021                Rephotographed Jun 28, 2024

Print This Post Print This Post

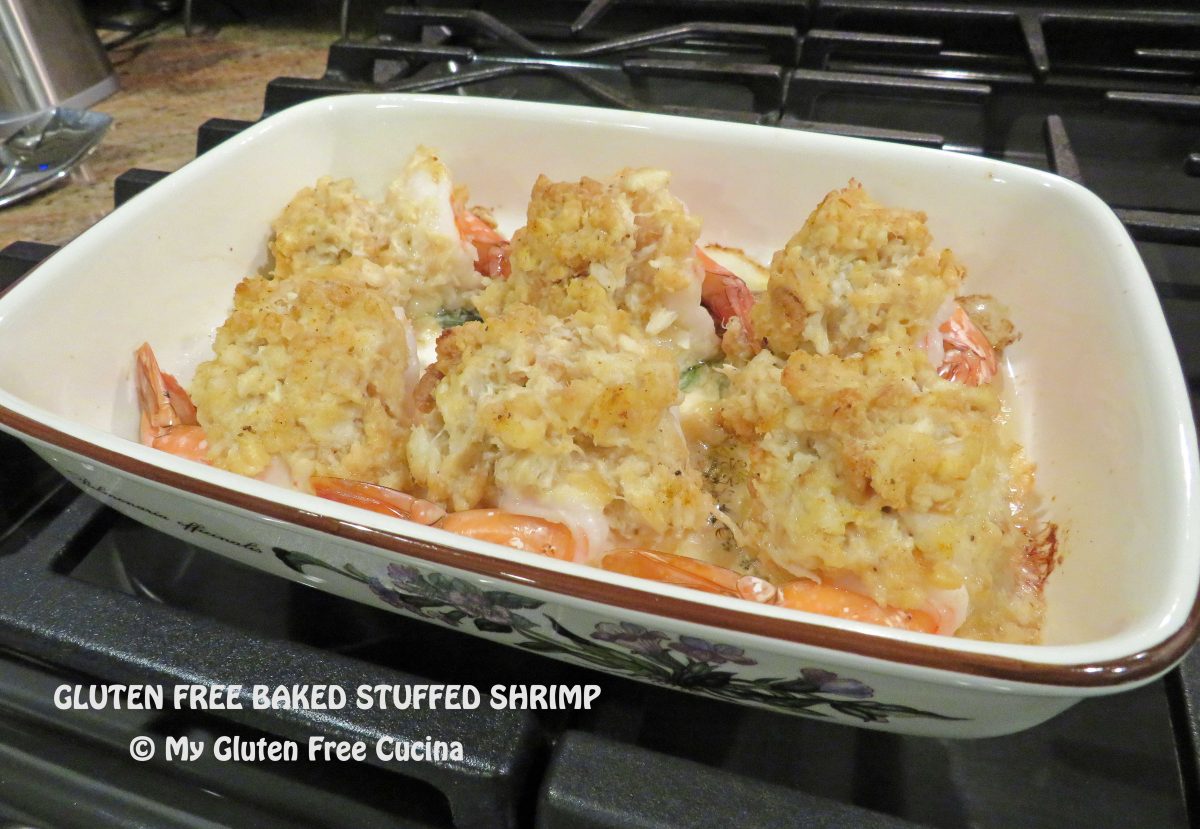
Gluten Free Baked Stuffed Shrimp

This 5-star entrée has all the makings of a romantic dinner for two.  Dine like a king and queen with this old restaurant favorite made right in your own kitchen, minus the gluten!  The addition of crab meat to the butter and cracker crumb stuffing makes it really special!  Make it tonight for your special someone!

This post contains affiliate links.

Dinner for two

Ingredients:

Preparation:

Preheat the oven to 400º.  Mist a baking dish with cooking spray.  Melt butter in a small saucepan and set aside.

Combine the crab meat, garlic powder, Old Bay, and cracker crumbs with 2 tbsp. of butter in a small bowl.

Rinse the shrimp under cold water and remove the shells.  Drain and pat dry.

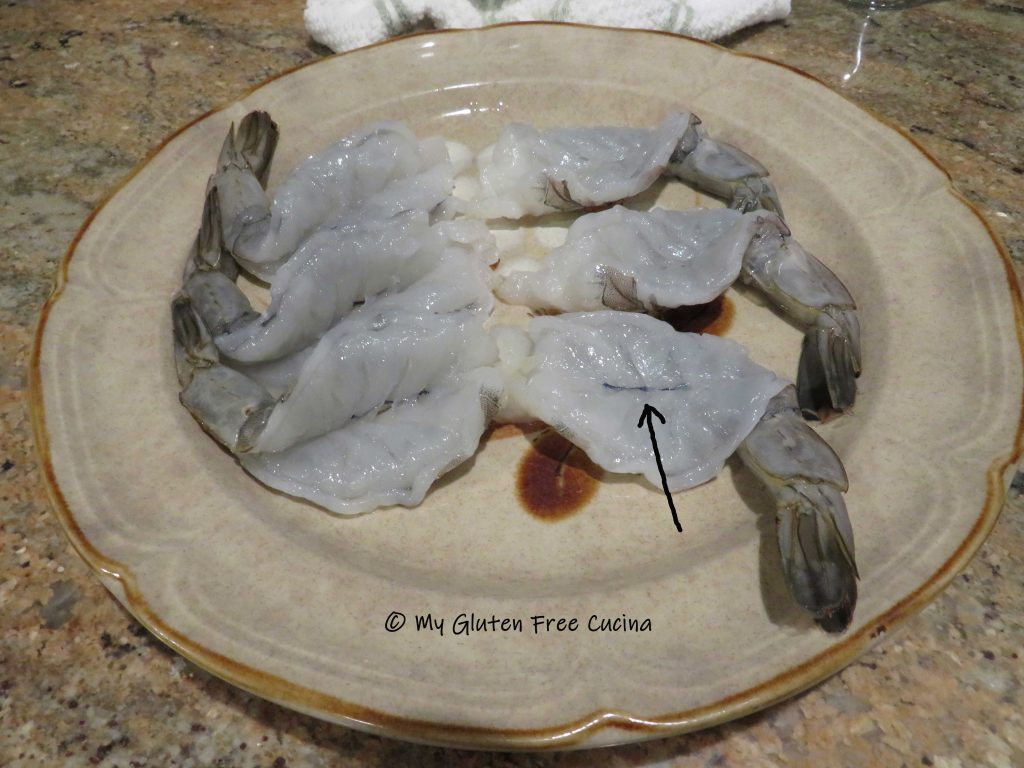
Lay each shrimp on its side, and run a paring knife along the backside, be careful not to cut all the way through.  Open the shrimp and lay on a clean plate or cutting board.

Remove the dark vein running down the center of the shrimp.

Mound the crab stuffing onto each shrimp.

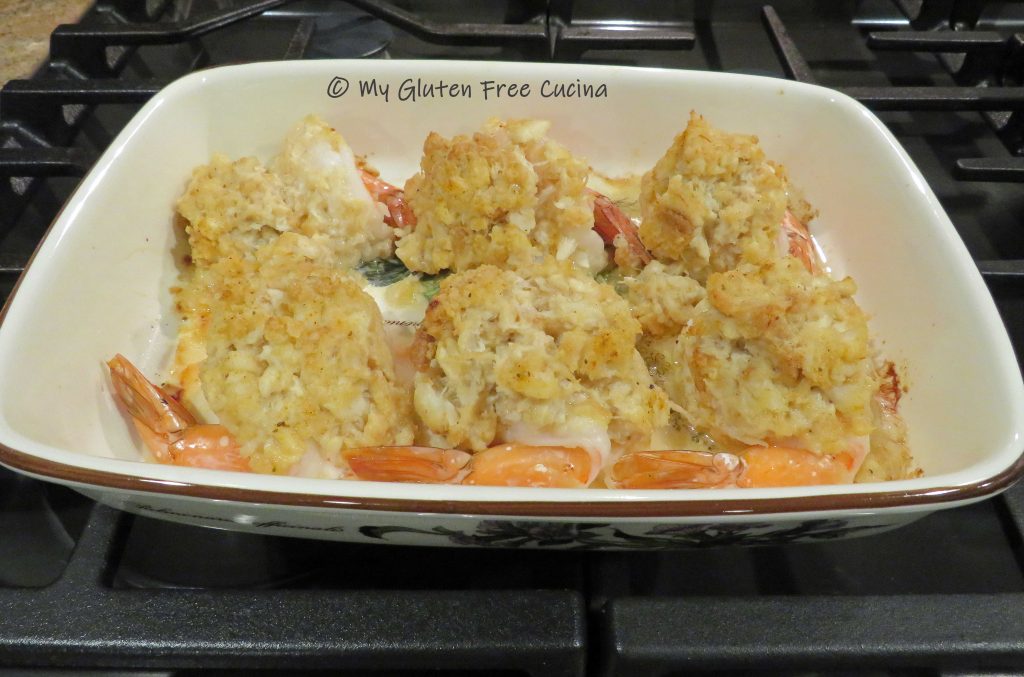
Arrange the shrimp in the baking dish and drizzle the remaining 2 tbsp. butter over the top.  Sprinkle with more Old Bay seasoning.

Bake for 15 minutes and serve.  This is a filling entrée!  Three shrimp each with a side salad and rice would make a wonderful meal.

Notes ♪♫ For a hearty dinner size portion, choose colossal shrimp (8-12 count).  I always look for sales in the frozen section and stock up when I can.  Thaw in the refrigerator and rinse under cold water to remove the shells.

Print This Post Print This Post

Lamb Chops

Isn’t it funny how food can bring back a memory?  I hadn’t had lamb chops since I was a little girl, 60+ years ago!  At a very young age though, I remember my grandmother would often make me a single lamb chop for lunch.  It was the perfect size for a picky kid’s appetite!

Today, lamb can be a bit of a splurge, but I will usually buy it when there’s a sale.

When my herb garden is in season, I use just a bit of fresh herbs and seasonings to bring out the natural flavor of these lamb chops.  You can use dried herbs during the winter months.

This post contains affiliate links.

Ingredients:

  • 6 Lamb Chops
  • 2 tbsp. olive oil
  • 1 garlic clove, crushed
  • fresh rosemary
  • fresh thyme
  • salt and pepper
  • 1/4 cup white wine
  • 1 tbsp. butter
  • fresh parsley, for garnish

Preparation:
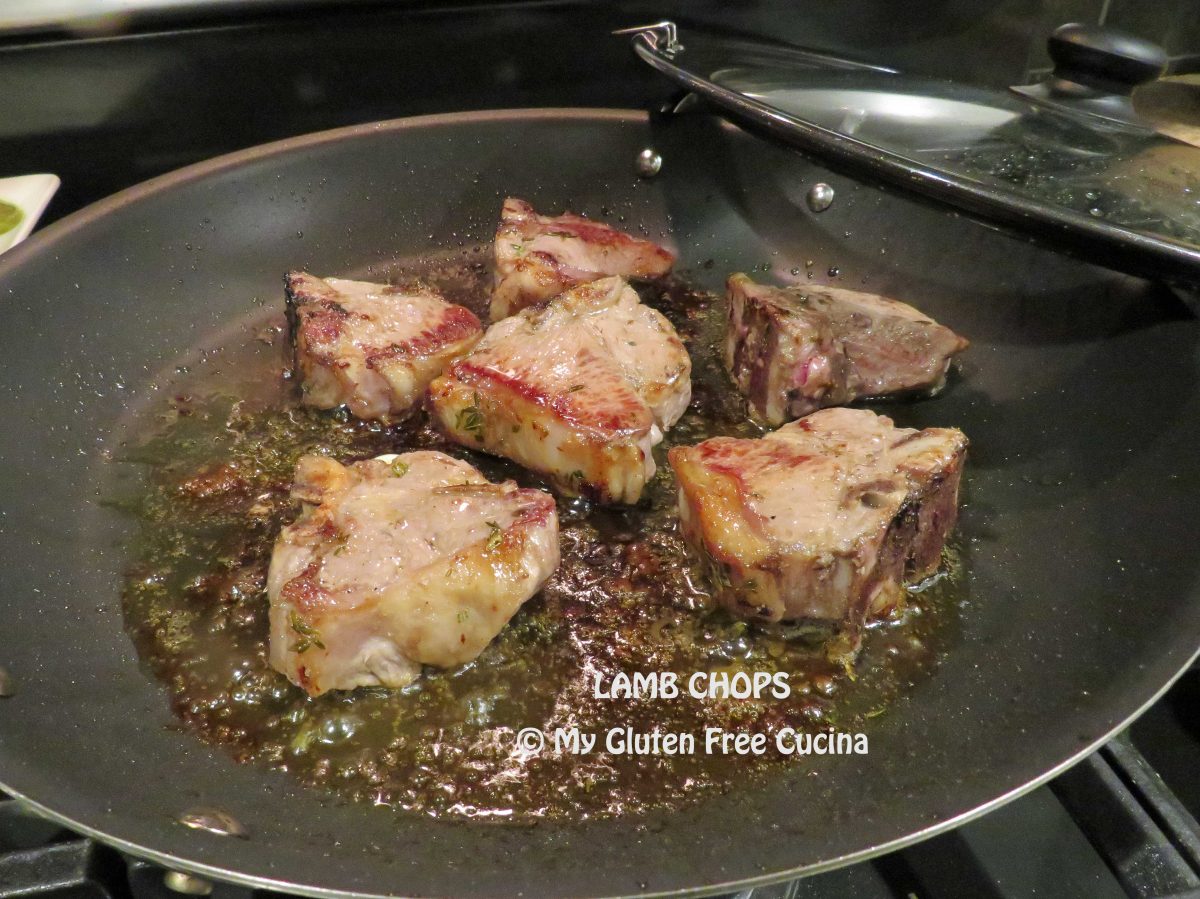
Pat the pork chops dry and season with salt and pepper.

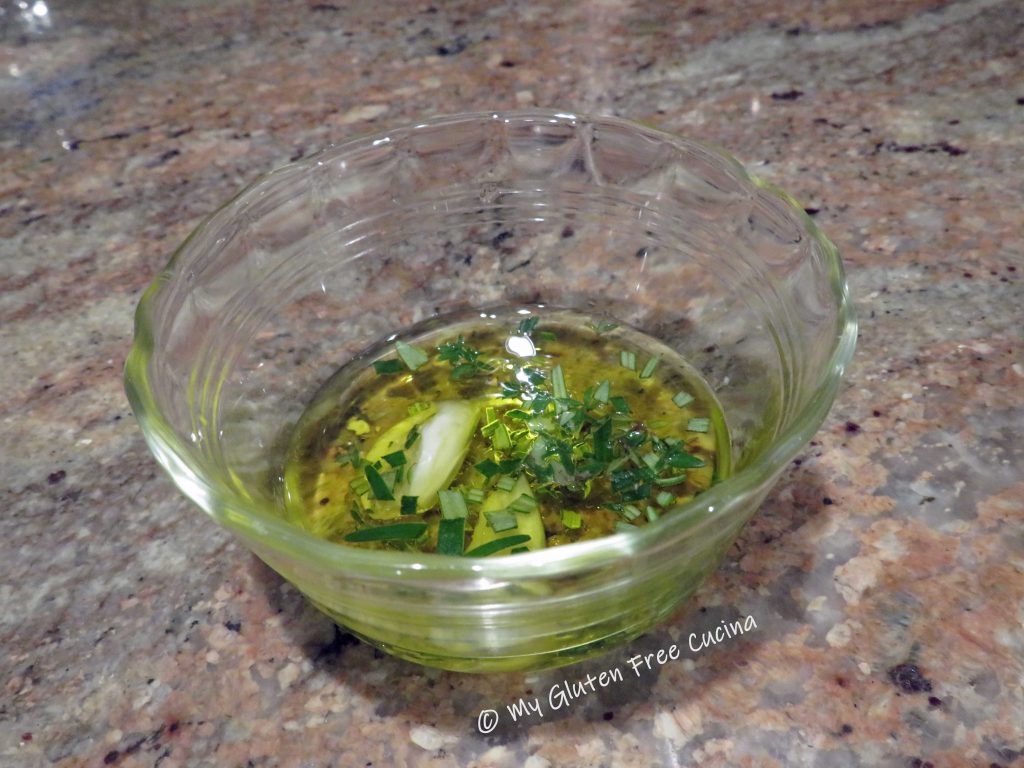
Heat olive oil in a large nonstick skillet with the fresh thyme and rosemary.

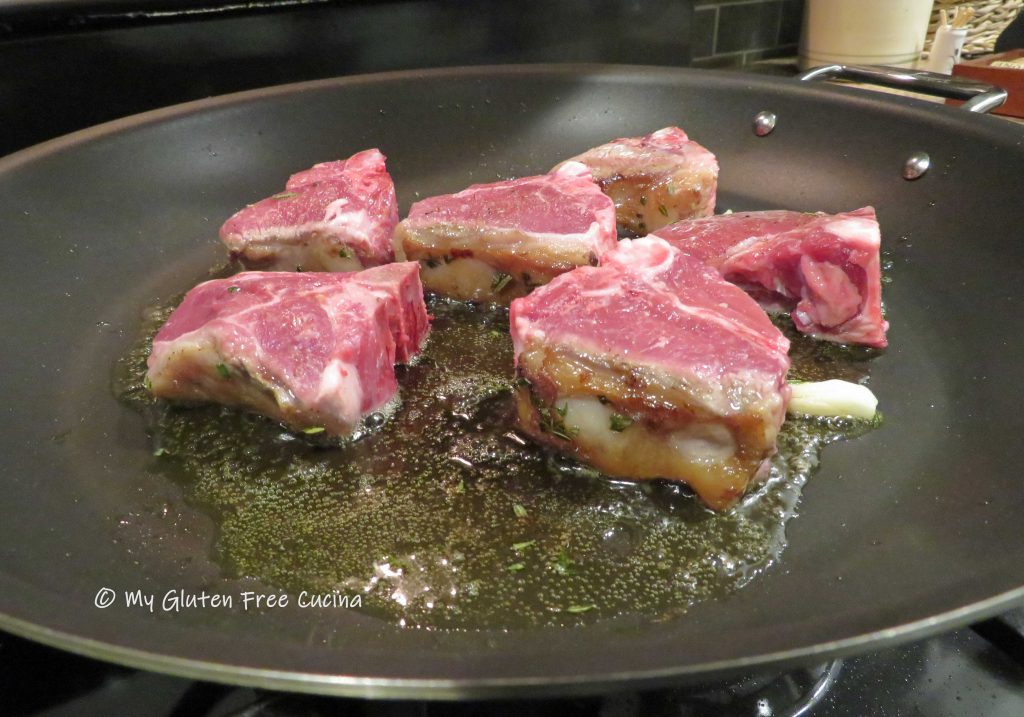
The chops will have fat on one side.  Stand the lamb chops on their side in the pan, with the fat side down and cook 5 minutes to render the fat.

Then lay the chops down, cover and cook 7 minutes on one side.

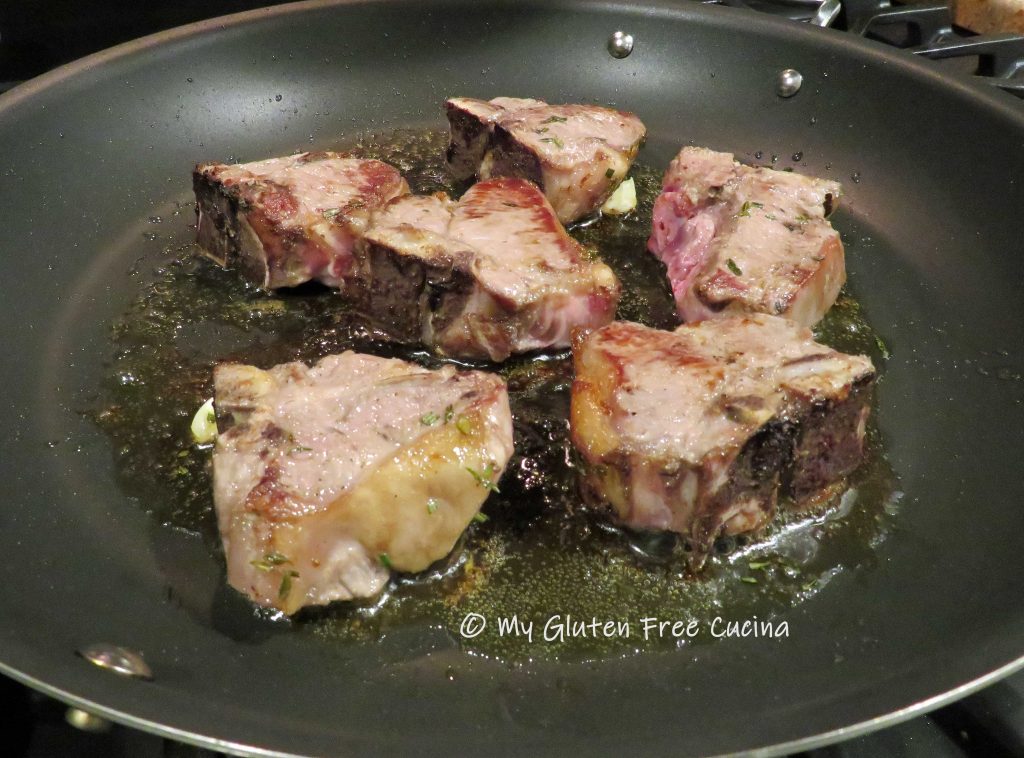
Turn the chops, cover and cook for 7 minutes longer.  During the last 2 minutes of cooking, uncover and add the wine and butter.

Check with a thermometer that the internal temperature reaches 145º for medium.

Place the chops on a serving dish and drizzle with pan juices.  Finish with fresh parsley.

Notes ♪♫ If you love lamb, check out my Braised Lamb Shanks.  A different cut that lends itself to a slow cooked dinner.

Print This Post Print This Post

Prosciutto Wrapped Pork Tenderloin

Pork tenderloin is an easy and delicious main course.  Whether you are having a casual family meal, romantic dinner for two or dinner party with guests, pork tenderloin is always a great choice.  With a simple, elegant preparation that looks like you fussed, you will have dinner on the table with plenty of time to make your side dishes and socialize!

If roasting more than one tenderloin try to get them about the same size, so that they all finish cooking at the same time.  For foolproof results, always use a meat thermometer!

Here’s how to make it.

This post contains affiliate links.

Ingredients:

  • Pork tenderloin (allow 4-6 oz. per serving)
  • Olive oil, about 1 tsp. per pound of meat
  • Salt and pepper to taste
  • Thinly sliced prosciutto, about 4 slices per tenderloin
  • Fresh Italian parsley

Preparation:

Preheat the oven to 325°

Remove the tenderloins from the package.  Pat dry with paper towels and rub with olive oil.  Season all over with salt and pepper, then wrap each tenderloin in prosciutto slices.  This keeps the meat very moist.  Tie each tenderloin every few inches with cooking twine.

Use a roasting pan with a rack.  Mist the rack with cooking spray and set the tenderloins with space between for the air to circulate.  Drape fresh parsley over the top and insert an oven safe thermometer in the thickest part of the largest tenderloin.

If you don’t have a probe (oven safe) thermometer, then roast for 20 minutes per pound and check often with an instant read.

When the internal temperature reaches 140° (pink in the center) remove from the oven and tent with foil.  If you like it more well done, then let it go a little longer, up to 150°.  Allow the roast to rest covered for at least 10 minutes to redistribute the juices.

Slice and serve.  Isn’t that beautiful?  Always a hit with family and friends.

Notes ♪♫ A packaged tenderloin will usually weigh between 2 to 2.5 lbs.  If you purchased a larger piece, you are likely to find that the package actually contains 2 smaller tenderloins.  For small households you can cook one and freeze the other.

Print This Post Print This Post

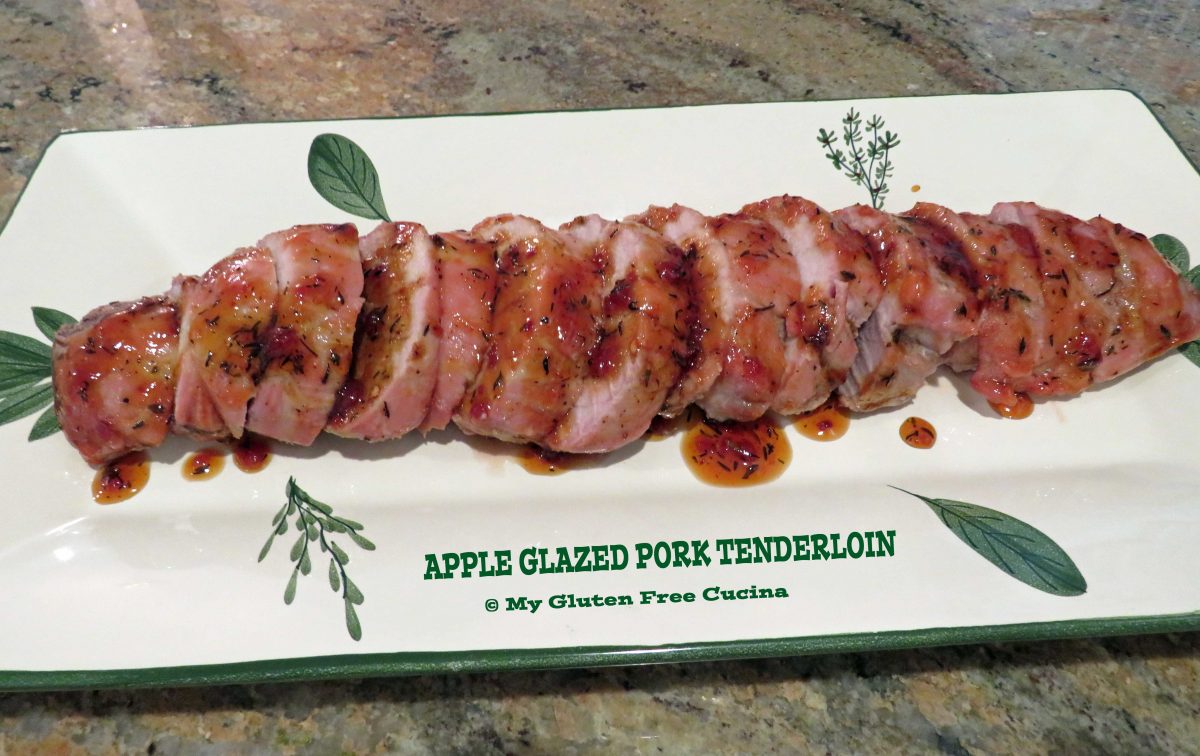
Apple Glazed Pork Tenderloin

Pork tenderloin, baked and basted with a sweet, apple-based barbecue glaze is the star of tonight’s fall inspired dinner.  Fancy enough to wow your guests, but so easy you can enjoy it any night of the week.  The secret ingredient – frozen apple juice concentrate!  As it simmers, the apple glaze will thicken to the consistency of a syrup, that is as beautiful as it is tasty.

4 Servings

This post contains affiliate links.

Ingredients:

  • 1 pork tenderloin, about 1-1/2 lbs.
  • 6 oz. frozen apple juice concentrate (1/2 can)
  • 1/4 cup ketchup
  • 2 tbsp. brown sugar
  • 1 tbsp. apple cider vinegar
  • 1 tsp. thyme
  • 1/4 tsp. red pepper flakes
  • salt and pepper
  • cooking spray

Preparation:

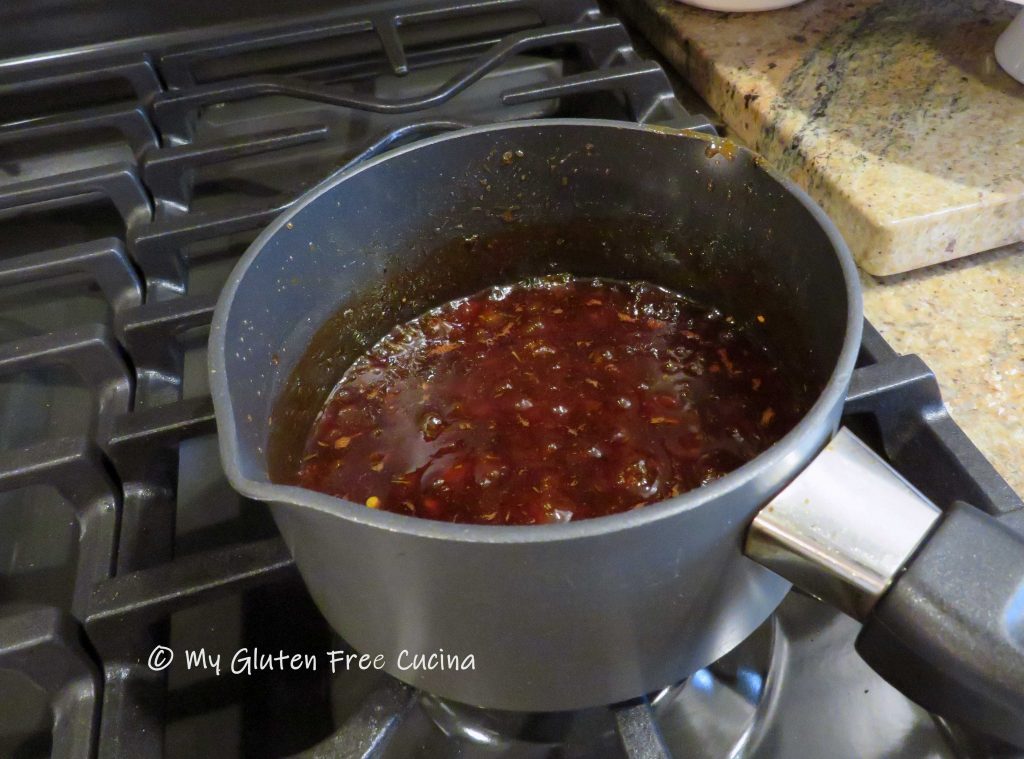
Preheat the oven to 425º.  In a small nonstick saucepan over low heat, stir together the apple juice concentrate, ketchup, brown sugar, cider vinegar, thyme and red pepper flakes.

Simmer on low to form a thick, syrupy glaze.

Line a baking sheet with foil and mist with cooking spray.  Remove the tenderloin from the packaging and pat it dry.  Use a sharp knife or kitchen shears to remove any membrane or silver skin (see below).  Season with salt and pepper to taste.

Tie the tenderloin with cooking twine every few inches to help keep its shape and bake evenly.

Insert a meat thermometer into the tenderloin, brush with glaze and place in the oven.  Keep the glaze on a low simmer and baste every 10-15 minutes.

Continue baking for 45 minutes, or until the internal temperature of the meat reaches 145º (if you prefer more well done, cook it a bit longer, to 160º).  When the tenderloin is ready, remove from the oven and tent with foil.  Let it rest for 5 minutes before slicing, to retain more of the juices.

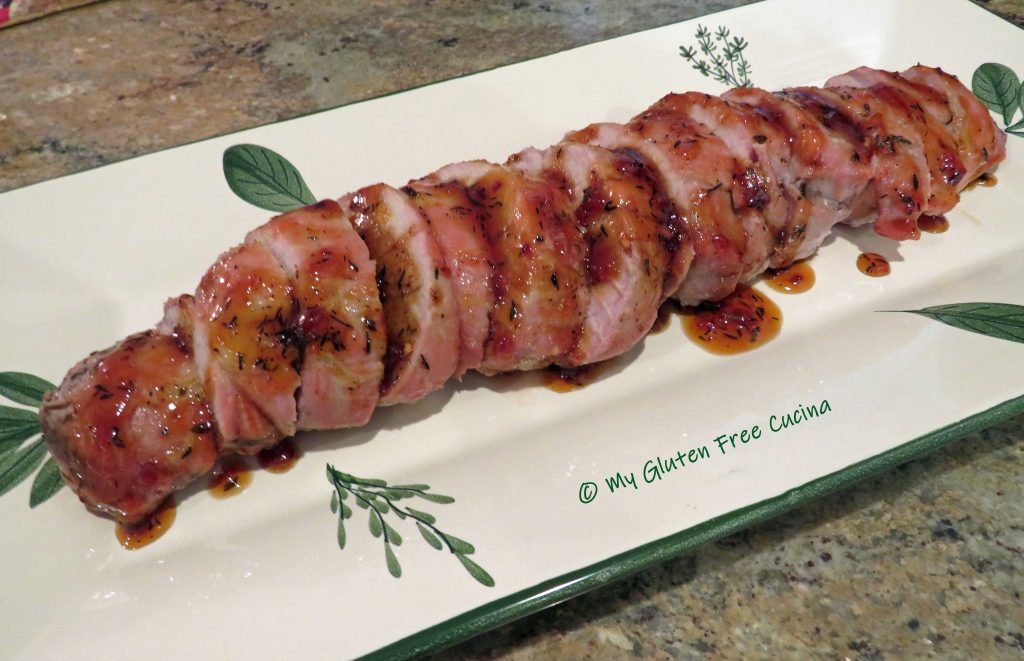
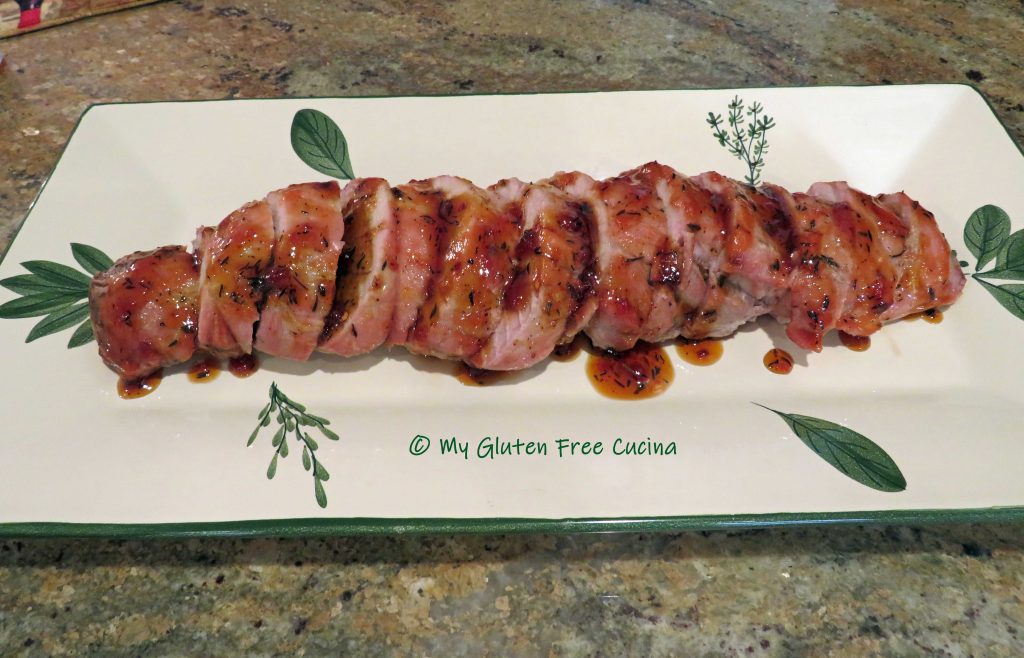
Transfer the slices to a serving dish and drizzle glaze over the top.  If you have a bit of extra glaze, you can bring it to the table in a small gravy boat.

Tenderloin goes well with potatoes, rice or just about any veggie.  I served it with roasted sweet potatoes and asparagus.

Notes: ♪♫ Always check ingredient labels for hidden gluten.  I used frozen apple juice concentrate made from 100% fruit juice with no added sweeteners.

Originally posted 09/07/2018                     Updated 7/06/2022

Print This Post Print This Post

Braised Lamb Shanks

Lamb shanks are slowly braised with aromatic veggies in this perfect early spring dinner for two.  The recipe fits right into my busy day.  After some initial prep, the meal is mostly hands off until dinner time.  It’s easy, and the entire dish can be cooked in one pan, so cleanup is a snap!

This post contains affiliate links.

White beans are a traditional accompaniment to this dish.  I opted for canned beans to save time.

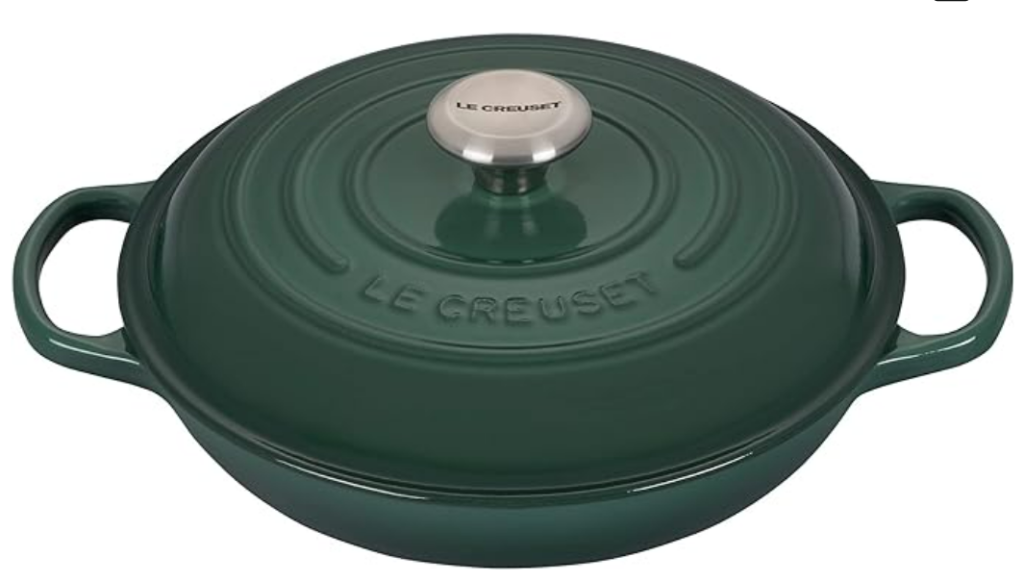
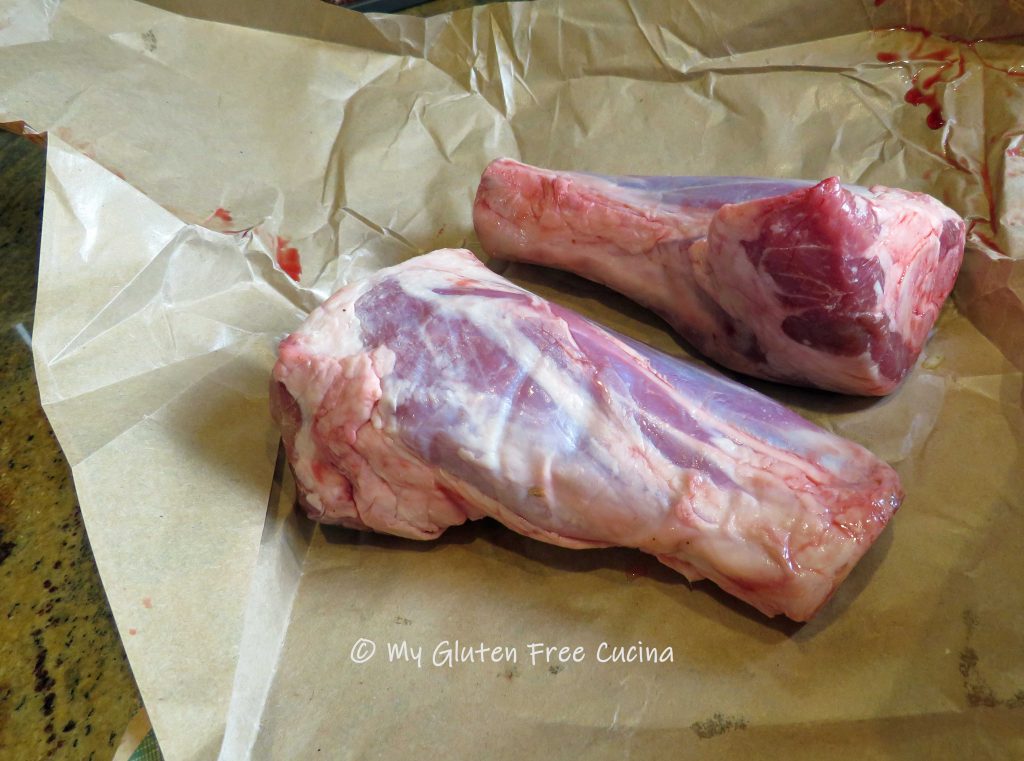
Choose lamb shanks weighing about 10-12 oz. each, they will shrink during cooking.  Use a deep, oven safe skillet or braising pan with a cover.  A Dutch oven would also work well.

2 Servings

Ingredients:

Preparation:
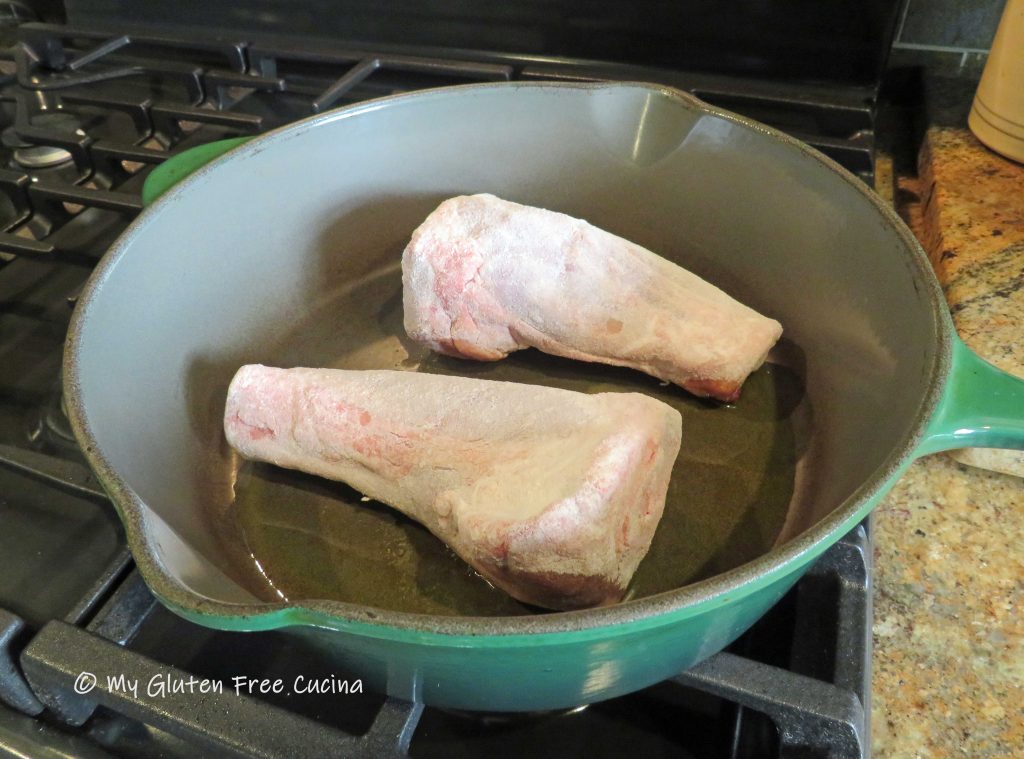
Place 1/4 cup rice flour in a food safe plastic bag, add the lamb shanks and shake to coat.  Discard any excess flour.

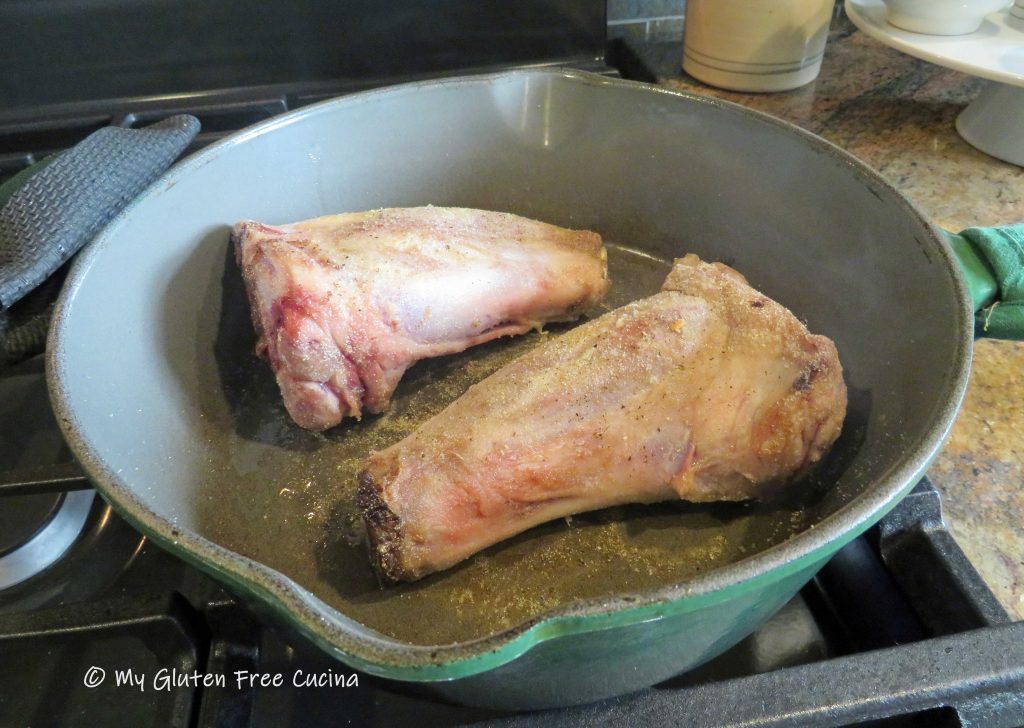
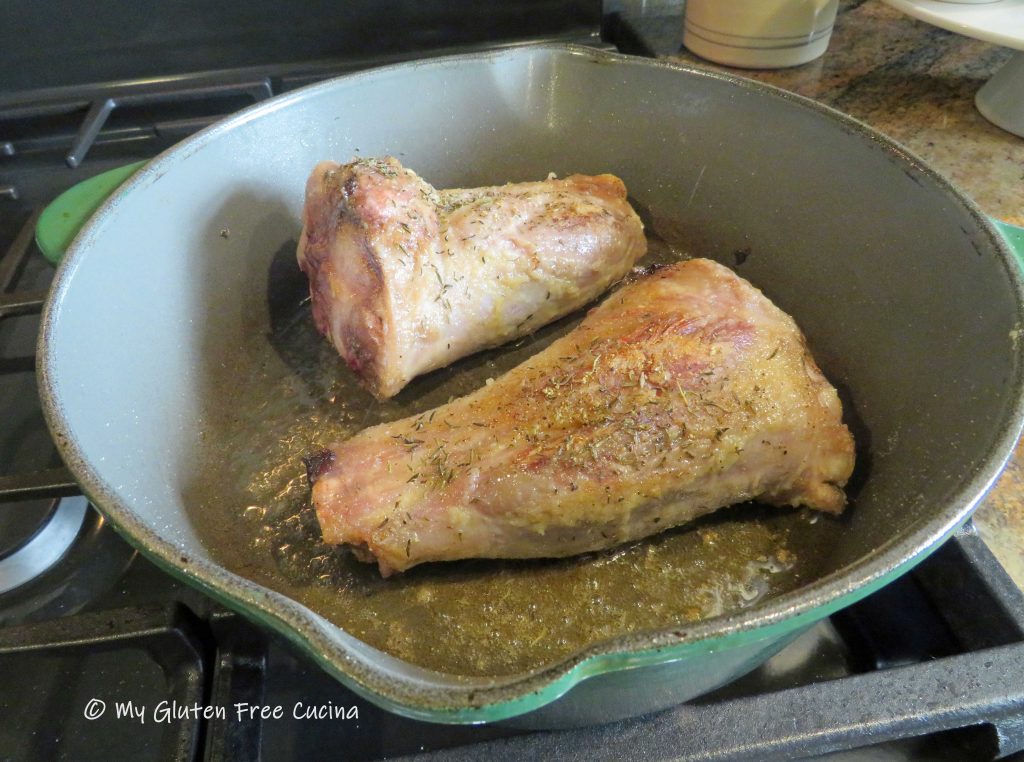
Heat a deep, oven safe skillet or braising pan with olive oil and brown the shanks on all sides.  Season with salt and pepper.

Add 1/4 cup white wine to the skillet.  Simmer on low heat until reduced by half.  Season again with salt, pepper and thyme.

Add 1/2 cup chicken broth, along with the onions and the carrots.

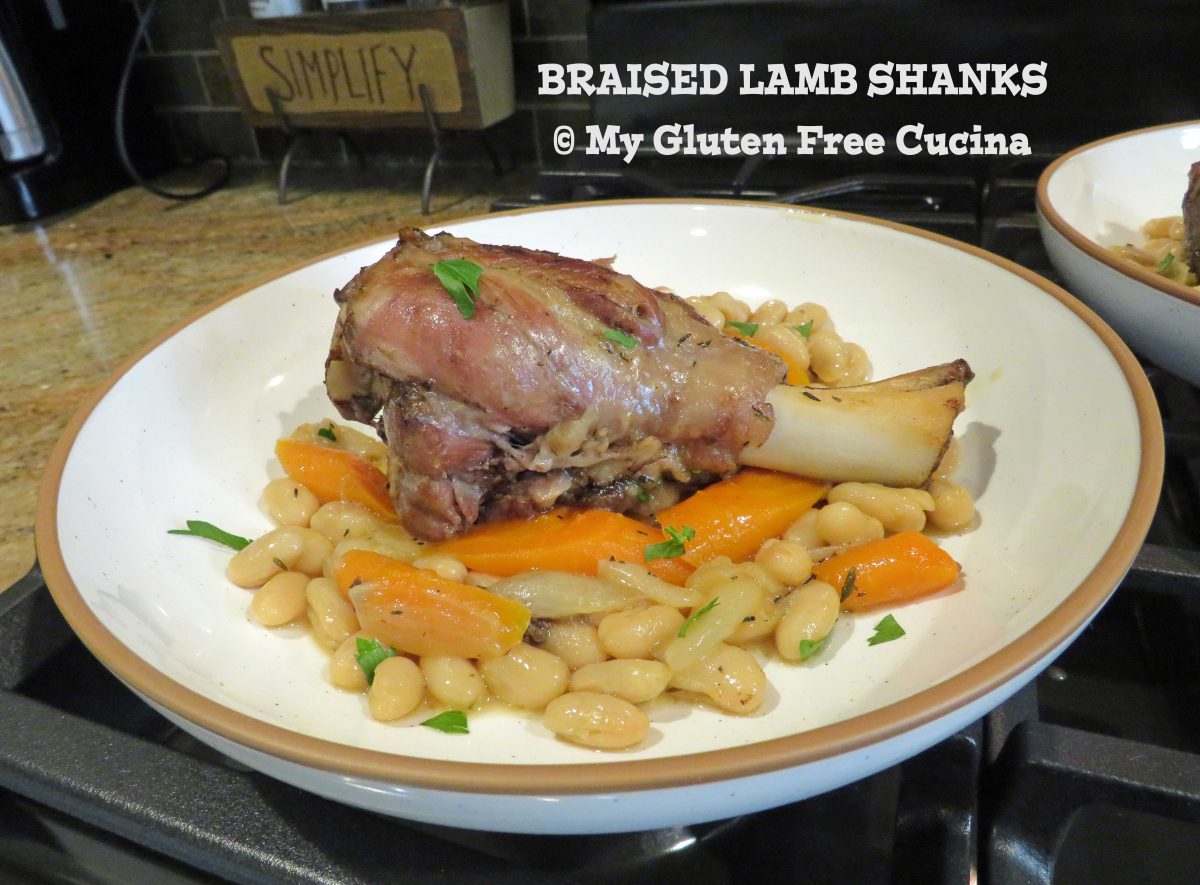
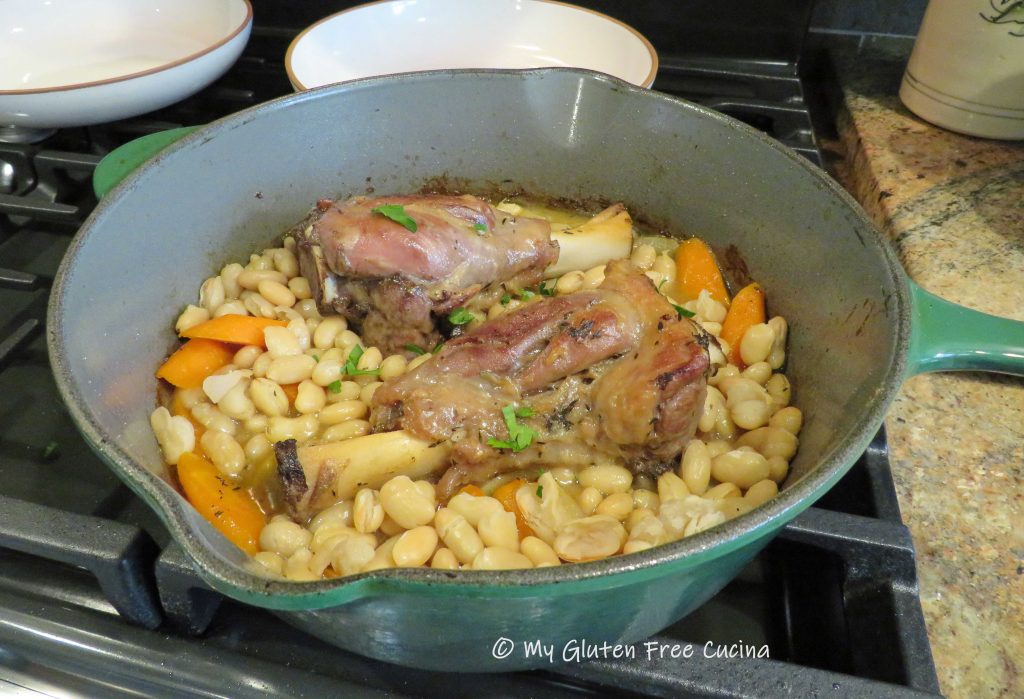
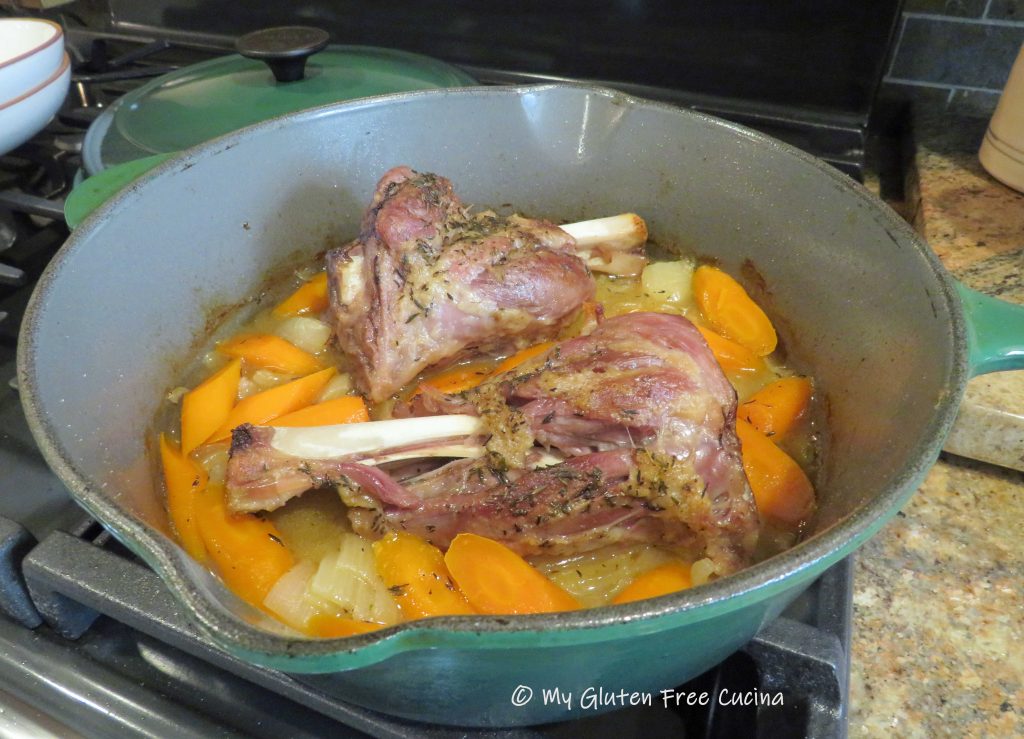
Cover and place in the oven for 2 hours at 300°, turning once.  See how the shanks have cooked down?

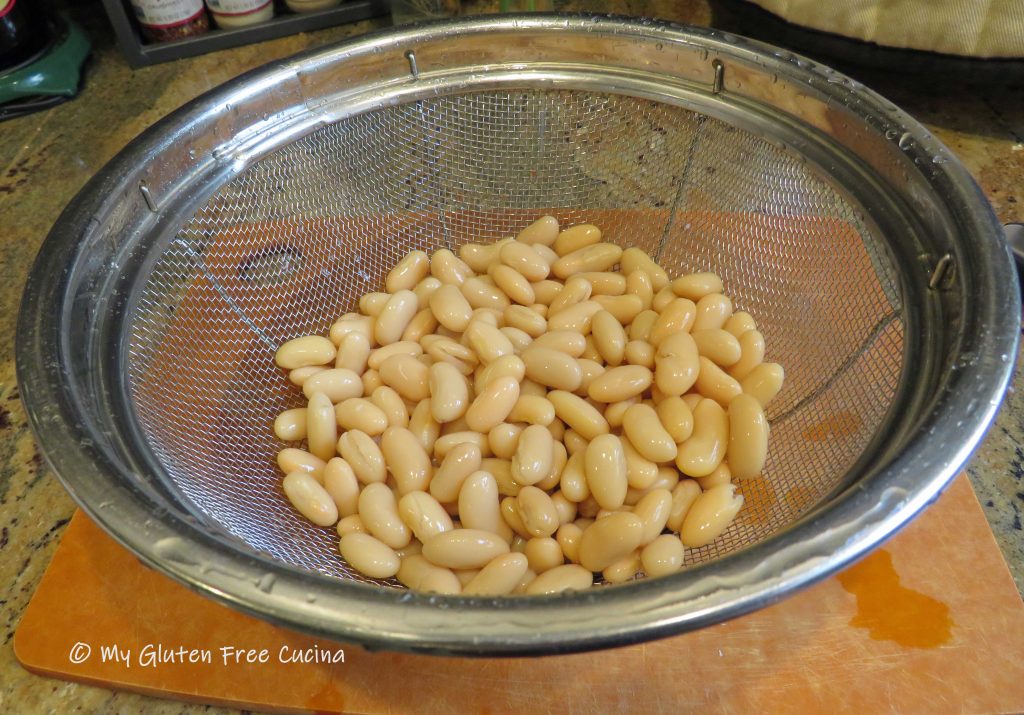
Drain and rinse the beans, and add them to the skillet with an additional 1/4 cup chicken broth.  Cover and return to the oven for an additional 30 minutes.

Doesn’t that look delicious?  The meat was so moist and tender, the beans full of flavor from the braising liquid.  This meal was SO good, I must make it more often!

Notes ♪♫ Use plain white rice flour to coat the lamb shanks, it works well for browning meat.  Save your expensive, gluten free all purpose blends for another recipe.

Originally posted 04/08/2019                                Updated 05/29/2022

Print This Post Print This Post

Air Fryer Ribeye Steak

Can you really cook a steak in the air fryer?  This is a question I had never even considered, until the day my stove malfunctioned.

Saturday night is steak night at our house, and my cooking method of choice has always been the reverse sear, which produces a perfectly cooked steak every time.  Read about it here.

Now without a stove, I turned to my other appliances.  Microwave, crock-pot, air fryer?  Hmmm.  Both Mr. Cucina and I were worried about ruining a perfectly good (and expensive) steak.  I did some research and decided to try the air fryer.

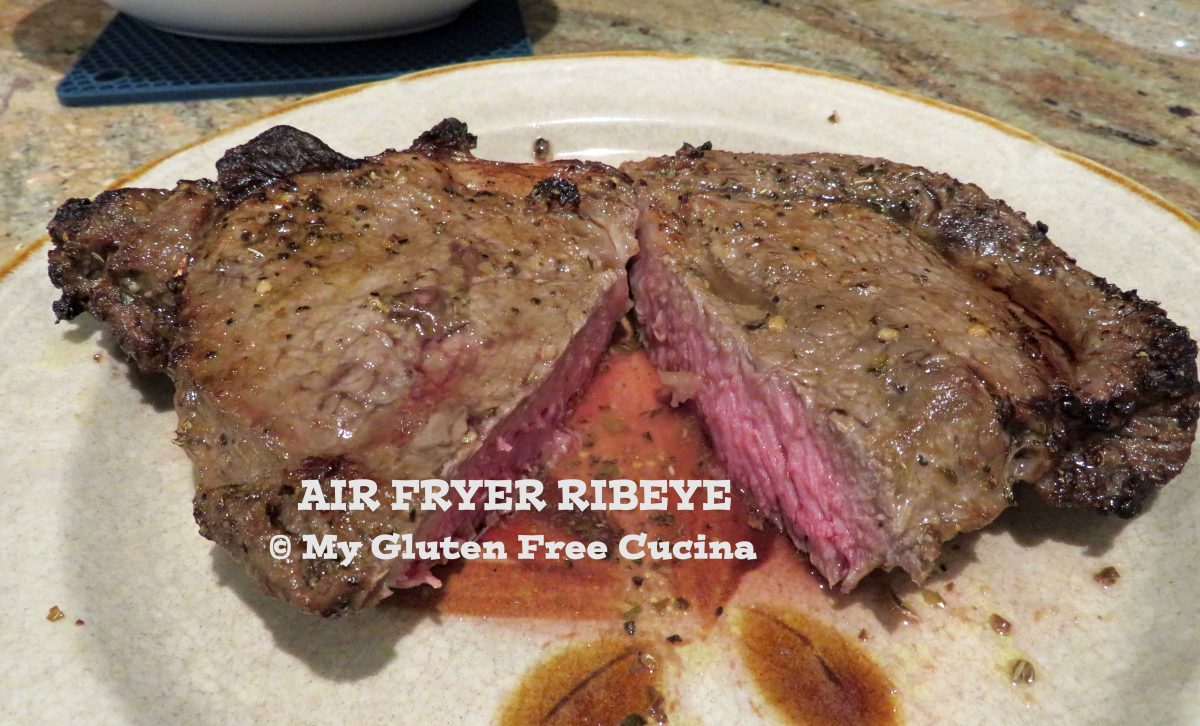
The verdict, excellent!  It turns out that yes, you can cook a steak in the air fryer, and it was delicious!

This post contains affiliate links.

Ingredients:

  • 1 lb. ribeye steak, about 1-1/2″ thick
  • gluten free steak marinade (recipe here)
  • cooking spray

Preparation:
Marinate the steak for 2 hours before cooking.  Whisk together the marinade ingredients in a non-reactive dish and add the steak, turning every 30 minutes.

Preheat the air fryer for 5 minutes at 400º.  Remove the steak from the marinade and place on a rack for a few minutes to drain off the excess liquid (if you have a basket style air fryer just pat your steak with paper towel before cooking).

Add 1 tbsp. of water to the bottom tray of the air fryer.  Add the steak and cook 8 minutes per side.

Continue cooking until your steak reaches the desired temperature.  We like ours cooked medium, and it took a total of 21 minutes for mine to reach 145º.

Time will vary from one air fryer to another, so be sure to check the temperature with a meat thermometer.

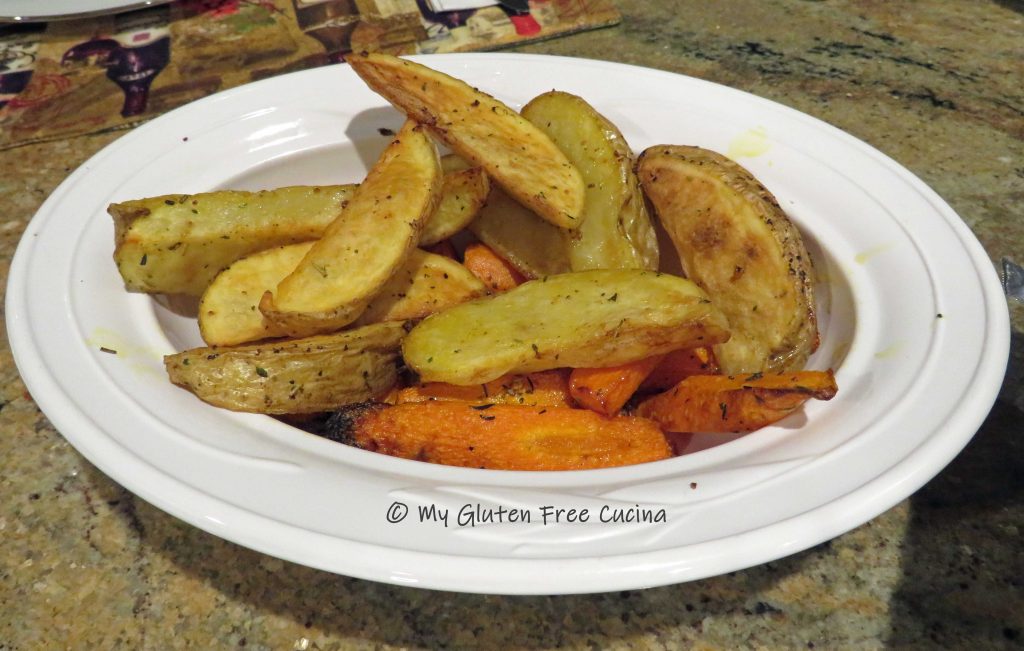
Also keep in mind that if you are cooking other things in the air fryer at the same time, it will most likely extend the cook time.  I had carrots and potatoes in the air fryer, and it took 30 minutes for the potatoes (started 10 minutes before the steak), and 20 minutes for the carrots.

Important!  Always let the steak rest 5 minutes before slicing.  Place it on a warm plate and cover with foil.  This allows the juices to redistribute and keeps the steak moist and flavorful.

Doesn’t that look good?  It looks like we won’t go hungry while we wait for our new range to arrive.  I can’t wait!

Notes: ♪♫ This dinner for two fit just right in my 3-shelf air fryer.  Potatoes on top, carrots in the middle and steak on the bottom.  You can rotate the shelves during cooking for even results.  Remember that items on the top shelf (closest to the fan) will cook faster, so watch that they don’t burn!

Print This Post Print This Post

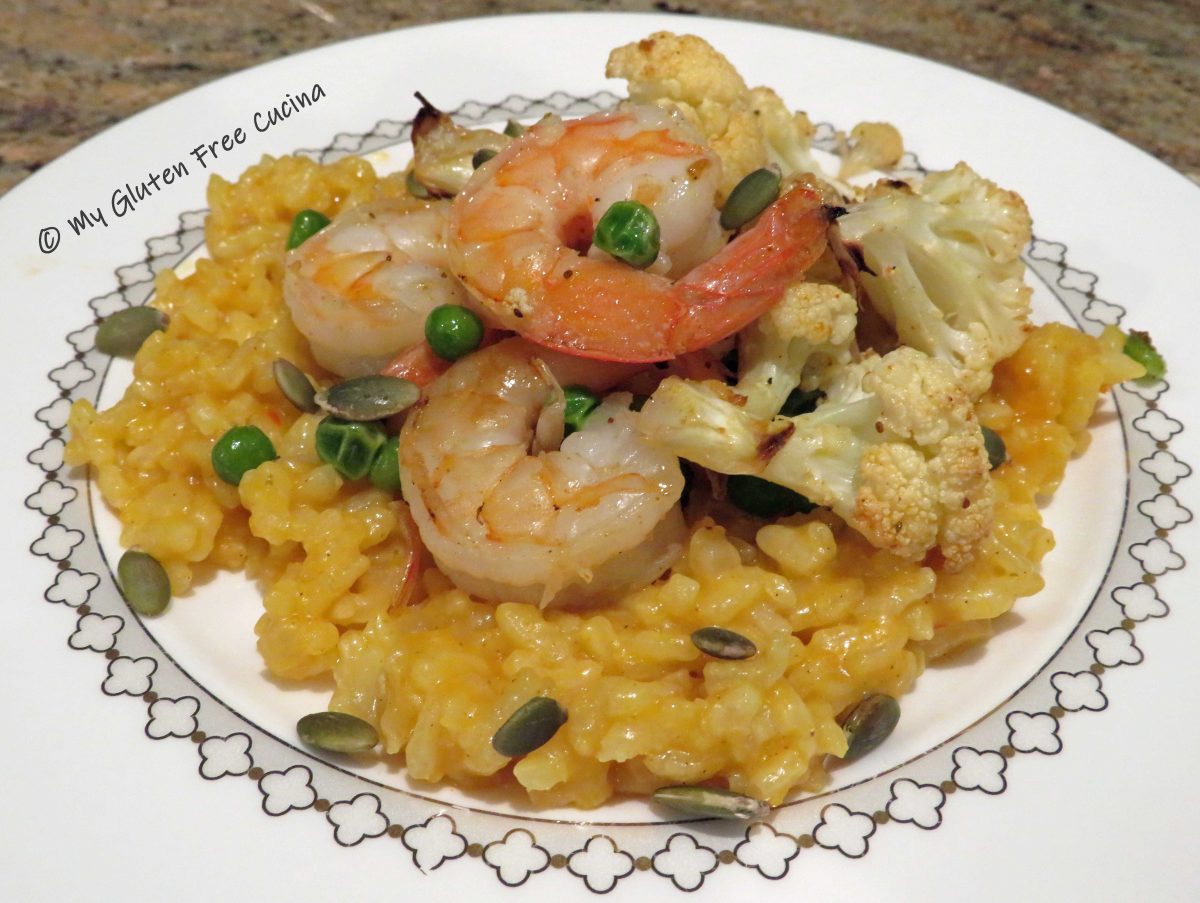
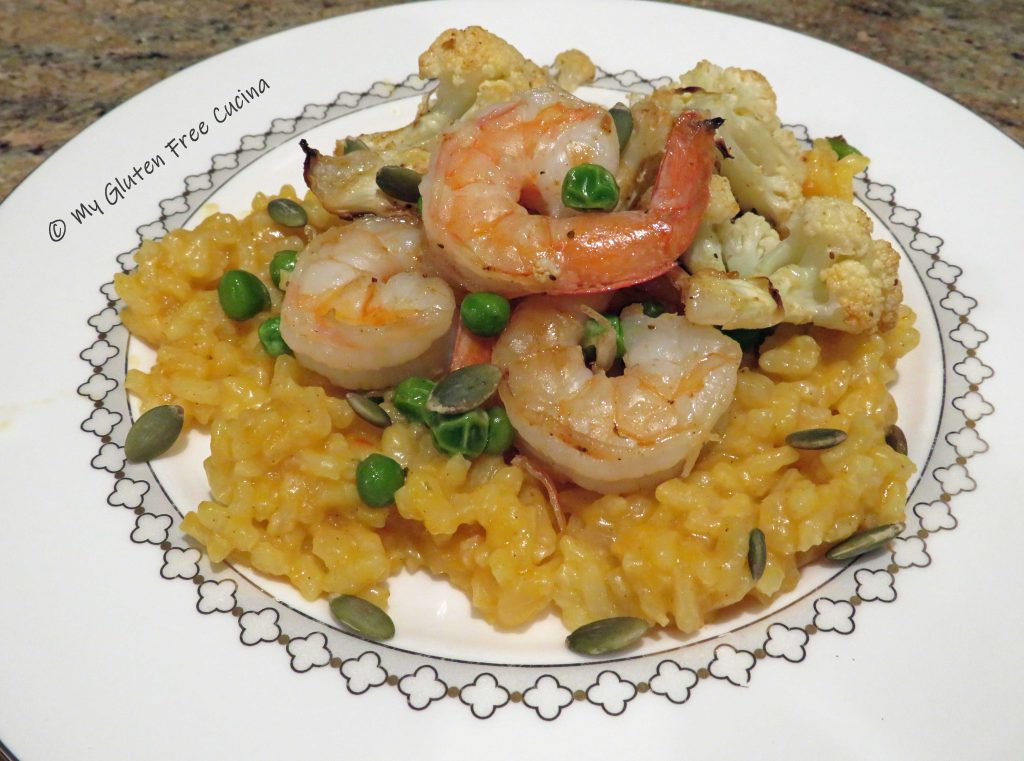
Butternut Squash Risotto with Shrimp and Roasted Vegetables

Did you ever have a restaurant meal that was so delicious you were inspired to recreate it at home?  This is one of those meals, after just one taste I knew that I had to make it myself!  An elegant dinner for two, it is both comfort food and fine dining rolled into one!  The steps are easy to follow and the results are impressive.  It’s a bit time consuming for a week night, but you can speed things up by making the risotto ahead of time.  I also used a bit of  butternut squash left over from another meal, and for a special garnish, I toasted a few pumpkin seeds.

Dinner for 2 

This post contains affiliate links.

Ingredients:

  • 1 dozen large raw shrimp, peeled and deveined
  • 1/4 cup frozen peas, thawed
  • 1/2 medium cauliflower, chopped into uniform pieces
  • 1/3 cup pureed butternut squash (reserved from another meal)
  • 1 cup cooked risotto, (see basic preparation here)
  • Old Bay® seasoning
  • 2 tbsp. butter, divided
  • 1 tbsp. olive oil
  • salt and pepper to taste
  • 1/3 cups gluten free chicken broth, or more as needed
  • 1 tbsp. pumpkin seeds for garnish

Preparation:

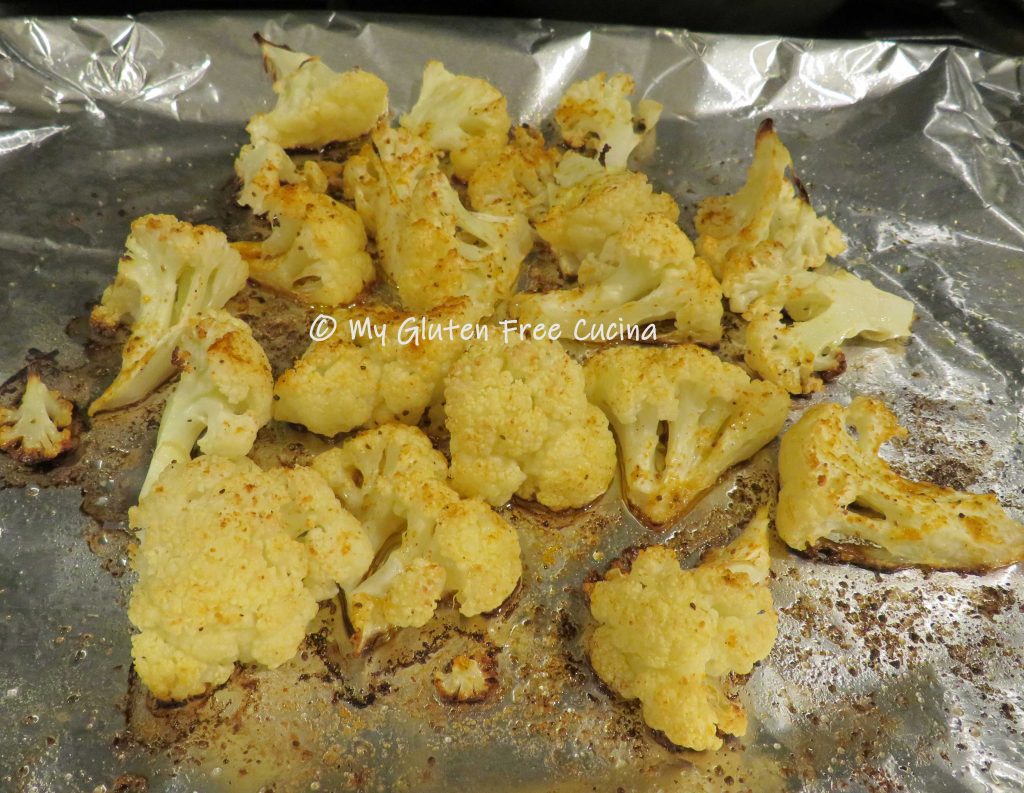
Chop the cauliflower into uniform size pieces, about 1-1/4″.  Rinse, toss with 1 tbsp. olive oil, and season with Old Bay.  Roast at 425º for 20 minutes.  You should see some browning around the edges.

Heat a cast iron braising pan or heavy skillet with 1 tbsp. butter.  Add the shrimp and peas, and sprinkle with Old Bay.

Cook the shrimp for several minutes, just until they turn pink.

Add the roasted cauliflower to the skillet.

Warm the cooked risotto in a small saucepan with the remaining 1 tbsp. of butter, then stir in the butternut squash puree.  If it’s too thick add 1/3 cup chicken broth.

To plate, make a bed of risotto and top with the shrimp and veggies.  Garnish with a few pumpkin seeds.

Isn’t that beautiful?  What a great meal for date night.  I think it was even better than the restaurant version!  If you’re hesitant about making risotto, be sure to give my Basic Risotto recipe a quick read.  It’s easy and you’ll be an expert in no time!

Originally posted 9/08/2019                                               Updated 2/03/2022

Print This Post Print This Post

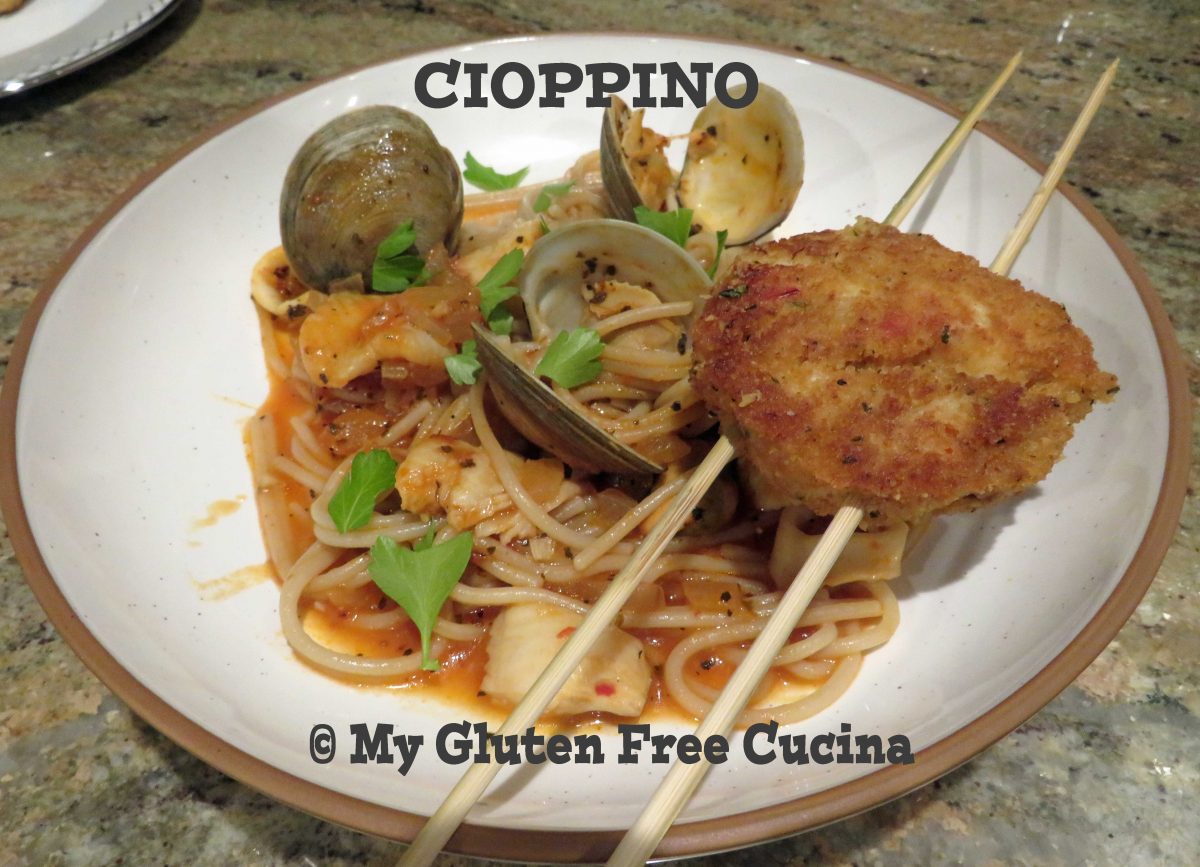
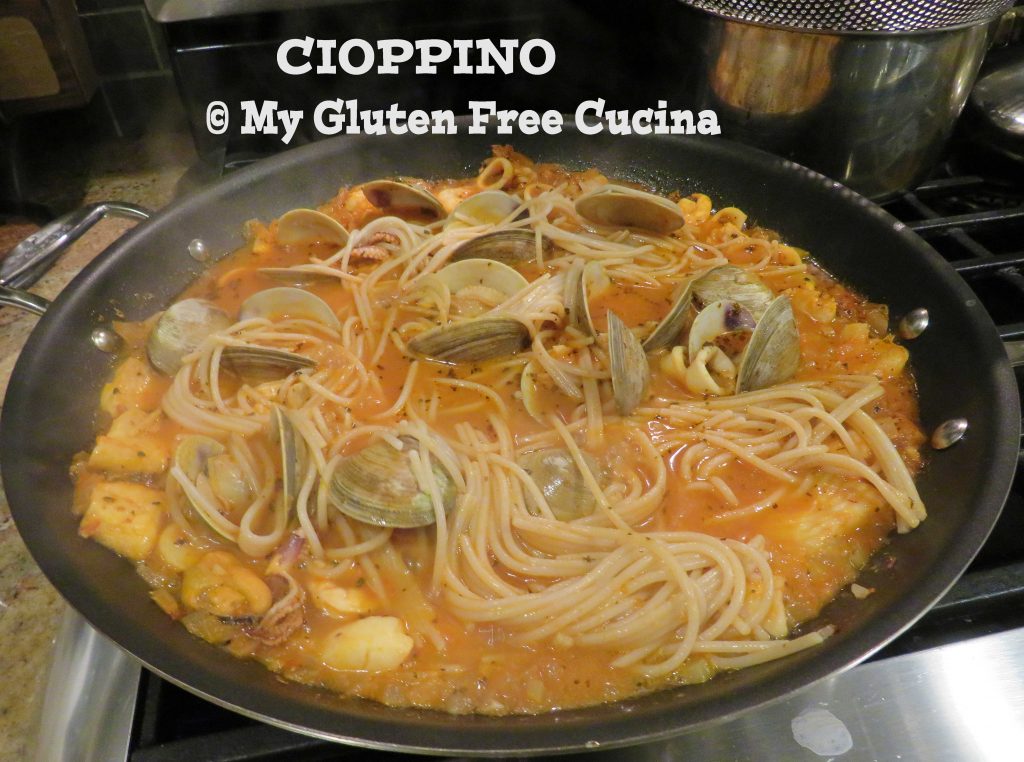
Cioppino

I have always wanted to prepare the traditional Feast of the Seven Fishes (La Cena Della Vigilia) for Christmas Eve.  I love seafood and have visions of our dining table laden with seven different courses, showcasing all my best recipes from appetizers to chowder to the main course.

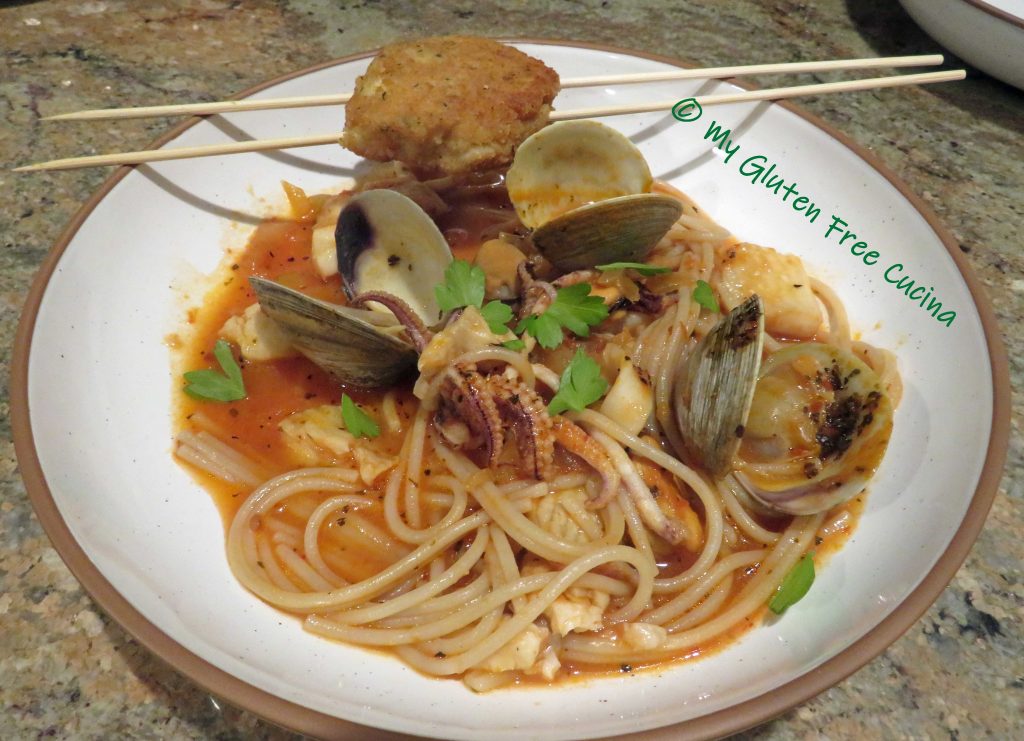
But what if your holiday gathering is a small one, or the family just doesn’t share your enthusiasm for seafood?  After some contemplation, I arrived at this downsized, one dish nod to The Feast of Seven Fishes.  A rich Cioppino, or seafood stew that is full of bright vibrant flavors, topped with a crab cake.  Yes, there are seven fishes in this bowl, and it was a feast indeed!

This post contains affiliate links.

To keep this recipe simple, head for the freezer section!  Last year I found a frozen seafood medley at Whole Foods.  It had four types of seafood (shrimp, scallops, squid and mussels) already prepped and ready to go!  If you can’t get this in your area, look for scallops, shrimp and squid rings in the frozen section.

To complete my seven fishes, I bought a dozen fresh littlenecks and flounder from the frozen aisle.  I topped it all off with a crab cake made with canned crab.

Not only was this meal perfect for a small gathering, but also easy to prepare!

The Lazy Gastronome


The Seven Fishes ????

  1. Crab (fresh, frozen or canned)
  2. Flounder (fresh or frozen)
  3. Shrimp (fresh or frozen)
  4. Scallops (fresh or frozen)
  5. Mussels (fresh or frozen)
  6. Squid (fresh or frozen)
  7. Littlenecks (fresh or frozen)

Ingredients:

  • 1 tbsp. olive oil
  • 1 tbsp. butter
  • 2 cloves garlic, minced
  • 1/2 medium sweet onion, minced
  • 1/2 rib of celery, minced
  • 1 cup gluten free fish stock or chicken broth
  • 1/4 cup white wine
  • 1 cup crushed tomatoes
  • 1/2 tsp. basil
  • 1/2 tsp. oregano
  • 1/4 tsp. red pepper flakes
  • 1 tbsp. fresh lemon juice
  • 1 tsp. gluten free Worcestershire sauce
  • 12 Littleneck clams
  • 16 oz. fresh or frozen seafood
  • 8 oz. canned crab meat
  • Italian parsley for garnish
  • 1 tbsp. butter for finishing
  • gluten free spaghetti, pasta or risotto for serving
  • crab cakes (see recipe link below)

Preparation:

Prepare the crab cakes (recipe here) and keep warm.

Cioppino:

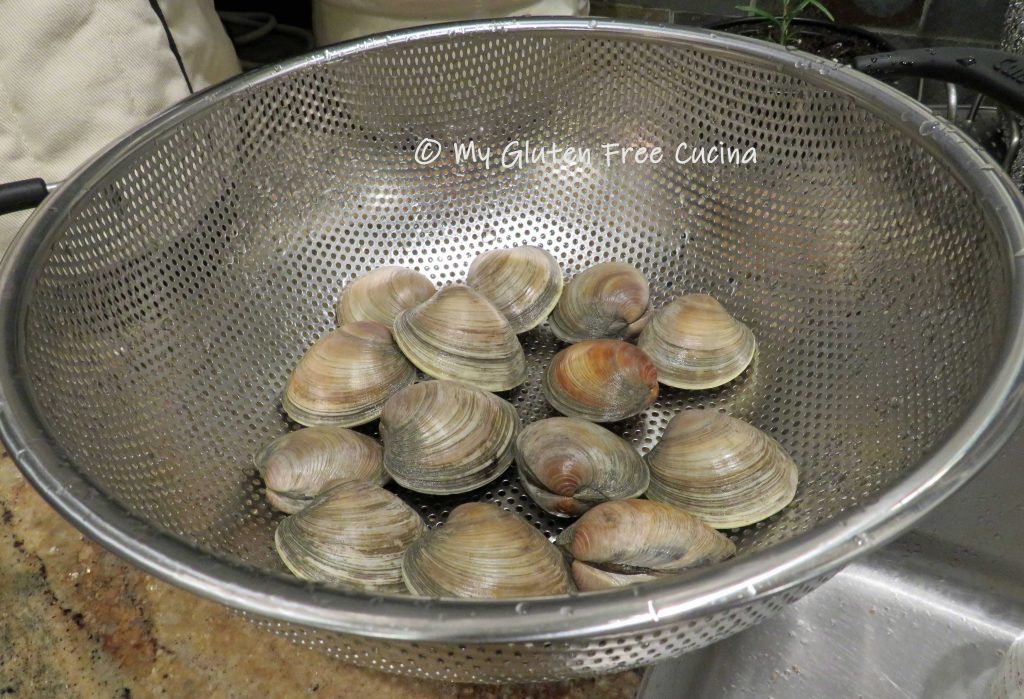
If using fresh mussels or clams, scrub and rinse well in cold water.  Discard any that are opened before cooking.

If using frozen fish, thaw before cooking.  You can improve the texture by soaking it in milk.

In a large, nonstick skillet (use one with a cover) melt the butter with the olive oil.  Add the celery, onion and garlic.

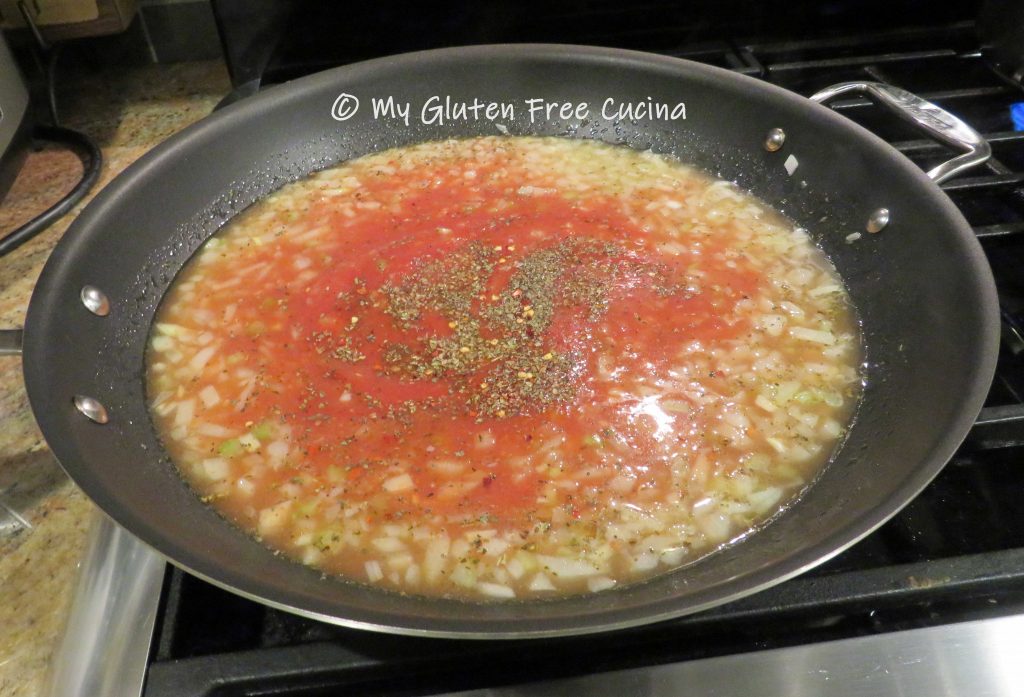
Sauté 2 minutes then add the tomatoes, lemon juice, Worcestershire sauce, stock, white wine and the spices.  Cover and simmer on low for 30 minutes.

Add all of the seafood.  Cover immediately and cook 6 minutes.

Discard any mussels or clams that did not open!  Stir in pasta with 1 tbsp. butter.

Serving:

Cioppino, with its flavorful tomato broth is delicious served over risotto.  You can also serve it as a zuppa with crusty bread, or over gluten free pasta as I have done here.  Garnish with Italian parsley and top it off with a skewered crab cake.

Notes ♪♫ While fresh fish is wonderful, using frozen is a great timesaver in the kitchen.  Look for frozen shrimp, scallops and squid, along with a white fish like cod, sole or flounder.  All are widely available in the freezer section.

Print This Post Print This Post

Gluten Free Pappardelle Pasta

Making pasta from scratch is a labor of love, and something I haven’t done in a very long time.  In fact, since my Celiac diagnosis in 2017, I have primarily used box pasta in my recipes.  Not that that’s a bad thing, as we have so many great options today.  But fresh pasta is such a treat!

So, this past weekend, it felt really good to get out the KitchenAid and make these beautiful Pappardelle noodles.  If you are gluten free and missing fresh pasta, this recipe is one you must have in your collection!

This post contains affiliate links.

The Lazy Gastronome


Although you can make pasta entirely by hand, there are some helpful tools you can buy to make the job easier.  Here are a few that I used in this recipe.

It takes minutes to make dough in a stand mixer, and I used the pasta roller attachment to create sheets of pasta.

As KitchenAid has yet to make a cutter attachment for Pappardelle, I used a pastry cutter.  It can be adjusted to cut pasta sheets into perfectly even strips, especially helpful if you want to make a wider noodle like Pappardelle.

I used a pasta drying rack to hang my noodles.  This rack has been in my kitchen for many years BC (before Celiac).  So, I covered the wooden arms with plastic wrap to prevent any gluten contamination.  Looks like I will be ordering a new rack, or two!

I made a small batch of just 2 servings for this post.  Dinner was so delicious, next time I will make more!  The recipe can be scaled, to make a dinner for two or a family size platter.  I give you the measurements below for 2, 4, 6 and 8 servings.

Ingredients:

  • gluten free flour blend (I used, and recommend Better Batter)
  • olive oil
  • salt
  • eggs
  • egg yolks

*SHOP BETTER BATTER AND USE MY CODE MGFC30 FOR 30% OFF YOUR NON-SALE PURCHASE!

INGREDIENTS: 2 Servings 4 Servings 6 Servings 8 Servings
Better Batter Flour 70 G 140 G 210 G 280 G
Olive oil 3/4 tsp. 1-1/2 tsp. 2-1/4 tsp. 3 tsp.
Salt 1/8 tsp. 1/4 tsp. 3/8 tsp. 1/2 tsp.
Egg 1 large 2 large 3 large 4 large
Egg Yolk 1 2 3 4

Preparation:

Egg yolks give the pasta a silky rich texture and beautiful color.  Begin by separating the eggs.  Reserve the whites for another use.

Combine all of the dough ingredients in the bowl of a stand mixer with the paddle attachment.  Weigh the flour, accuracy is important!  I used (and recommend) Better Batter Original Gluten Free Flour to make the pasta dough.  Results may differ if you use another brand, or you may need to adjust the measurements.

Pat the dough into a ball and sprinkle with flour.  Wrap in plastic wrap and let it rest for 15 minutes.

Divide the dough into sections.  For this 2 serving batch, I divided the dough into 4 pieces (adjust if you are making more).  Then take one section at a time and press into a disc.

Use a rolling pin or a pasta roller to roll each disc into a long thin sheet.  If using a pasta roller, remember that gluten free dough is more delicate and prone to tearing than wheat dough, so you will not be able to roll it as thin.  Sprinkle the dough with extra flour as you pass it through the roller to help avoid sticking and breakage.  I was able to roll mine out to the 3rd setting.

Lay the pasta sheets on lightly floured wax paper.  Use a knife or pizza wheel to cut the sheets into 3/4″ ribbons.  I used a pastry cutter to create perfectly even strips.

Separate the noodles and hang to dry for up to one hour.  They are best enjoyed immediately, but you can refrigerate if you are not ready to cook.

IMPORTANT:  Always follow food safety guidelines.  Egg pasta should be refrigerated within one hour and frozen if you need to store it for more than one day.

I always make my sauce first, so it’s ready when I finish making the pasta.

When it’s GO time, fill a large pot with water, salt generously and bring to a rolling boil.  Add the pappardelle with just a drop of olive oil, stir well and cover so that the water returns quickly to a full boil.  Cook for about 3 minutes, pasta will float to the top when it’s done.  Remember fresh pasta cooks quickly, be careful not to overcook!

Use a spider strainer to gently remove and drain the pappardelle and arrange on a serving dish.

Toss with sauce, and grated cheese.

Notes ♪♫ Pappardelle pairs perfectly with rich, meaty sauces like Bolognese.  Learn how to make a Traditional Bolognese Sauce in this post!

Print This Post Print This Post