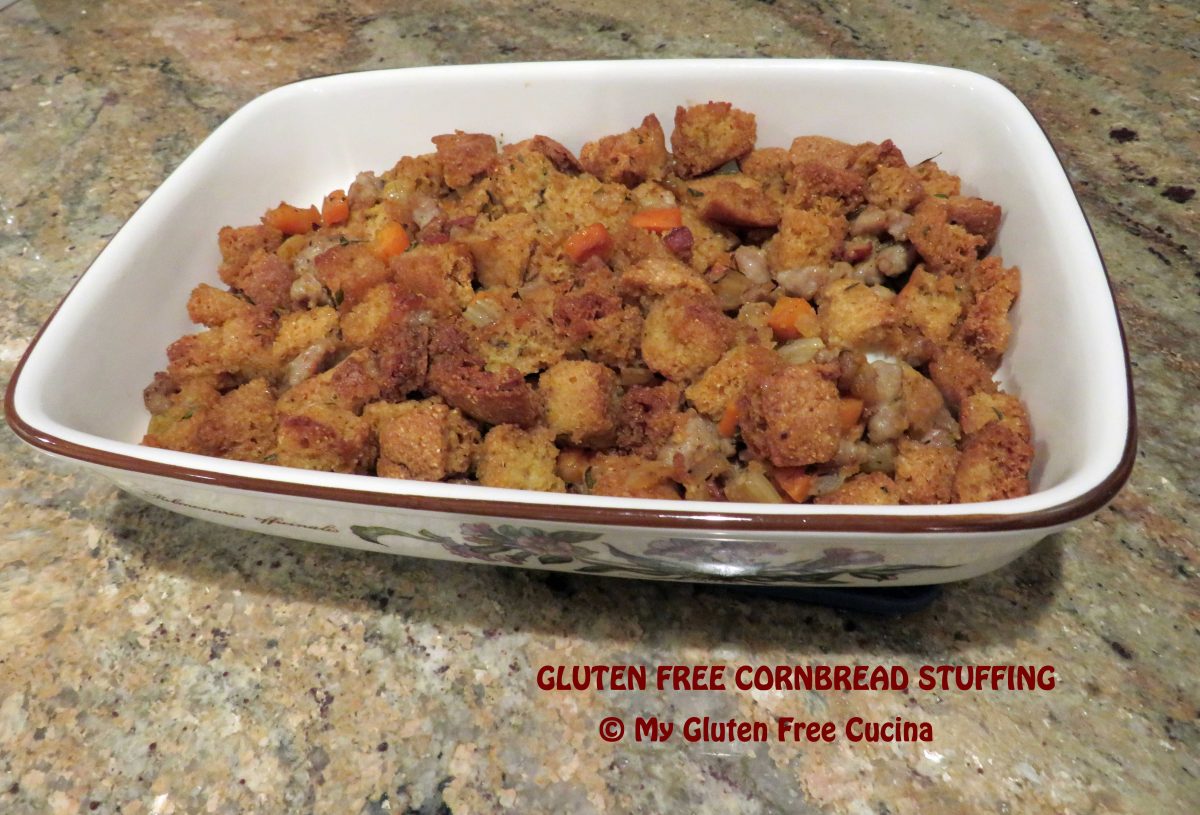
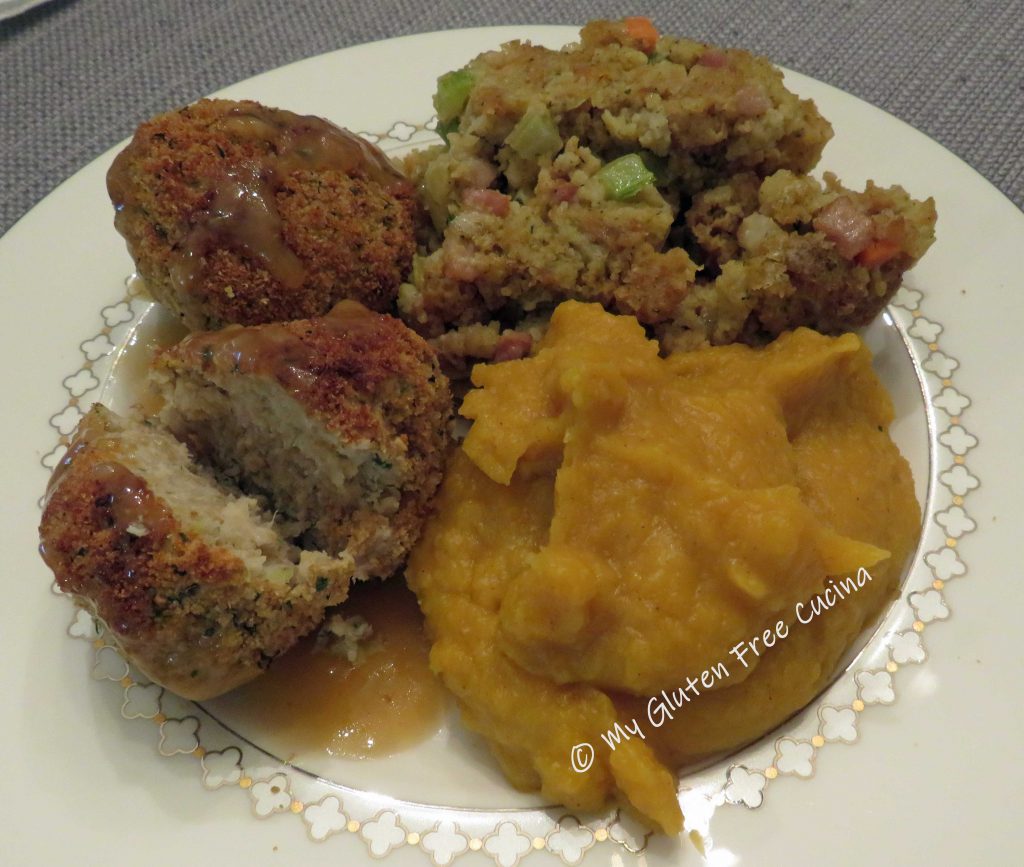
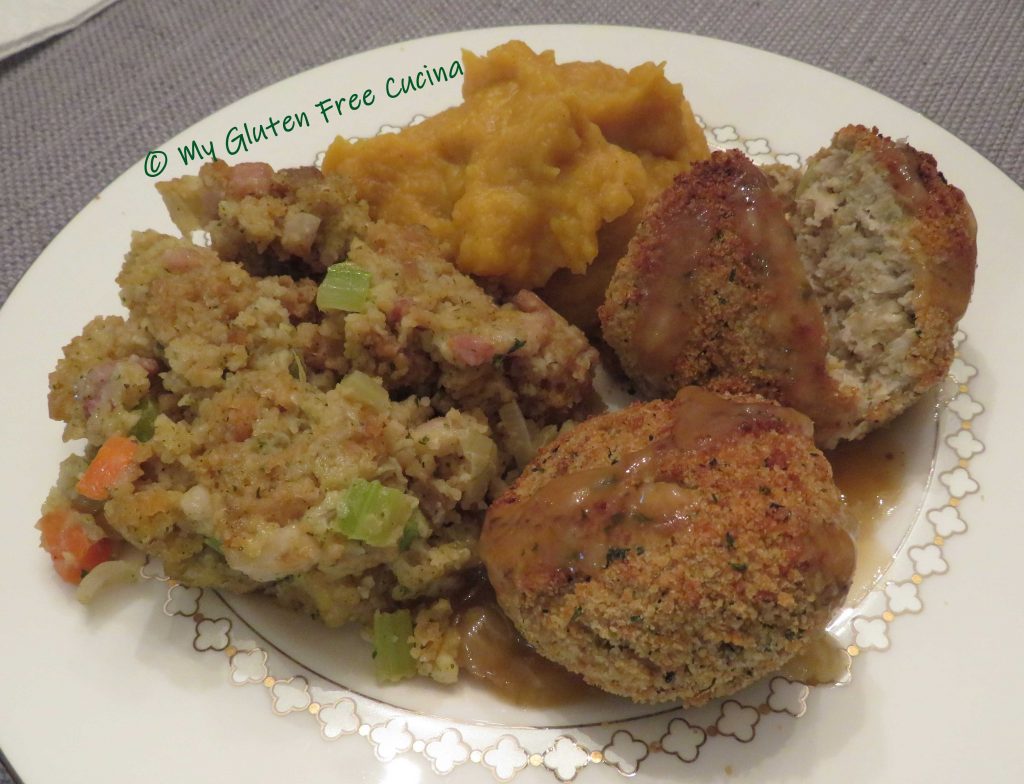
For me, the best part of Thanksgiving dinner has always been the stuffing. It’s so easy to make this delicious Gluten Free Cornbread Stuffing from scratch!

If you are hosting the holiday meal, this stuffing will please all of your guests, no one will know it’s gluten free! If you are visiting family and need to bring your own gluten free food, this is the perfect dish. Just be sure to make enough to share, everyone will want to sample it!

Gluten Free Cornbread Stuffing is moist and delicious “in or out of the bird”. This recipe makes enough to stuff a small (10-12 lb.) turkey with extra for a 1.5-quart baking dish. You can make half or double it for a large family.
This post contains affiliate links.
Ingredients:
- 4 cups of cubed gluten free cornbread
- 1/2 lb. gluten free sausage, casing removed (I used Premio)
- 4 strips of gluten free bacon
- 2 small carrots, peeled and cut into 1/4″ dice
- 2 celery stalks, cut into 1/4″ dice
- 1 medium sweet onion, chopped fine
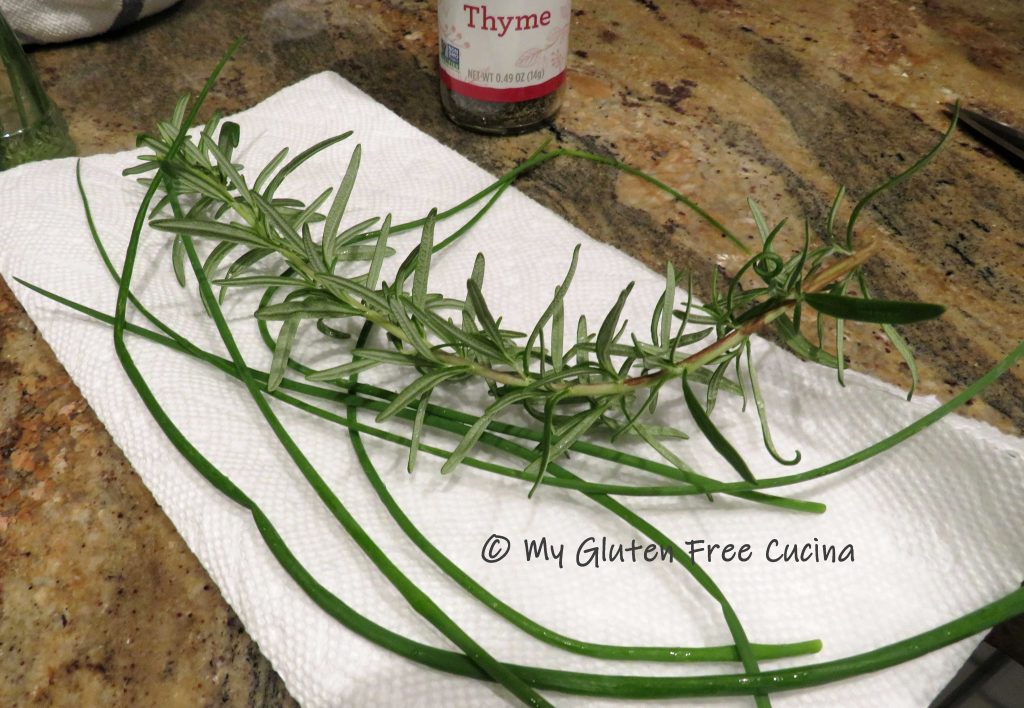
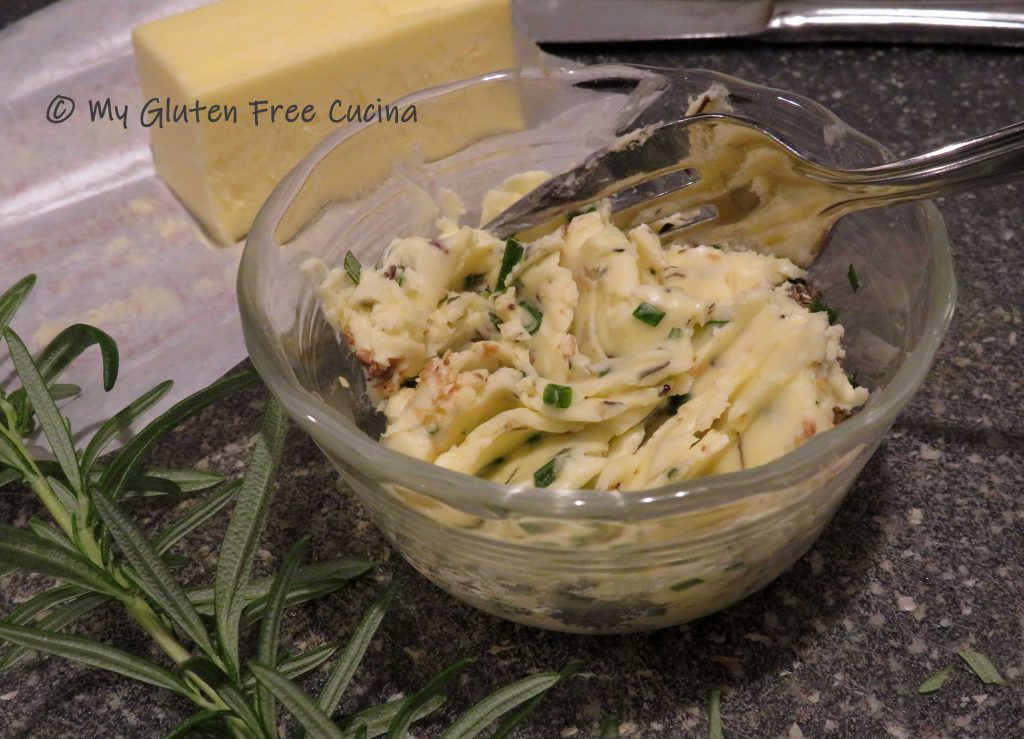
- 2 tbsp. minced fresh sage, thyme and rosemary (optional but very good)
- 2 tbsp. butter
- salt and pepper, to taste
- 1 egg
- 1/2 cup 1% milk
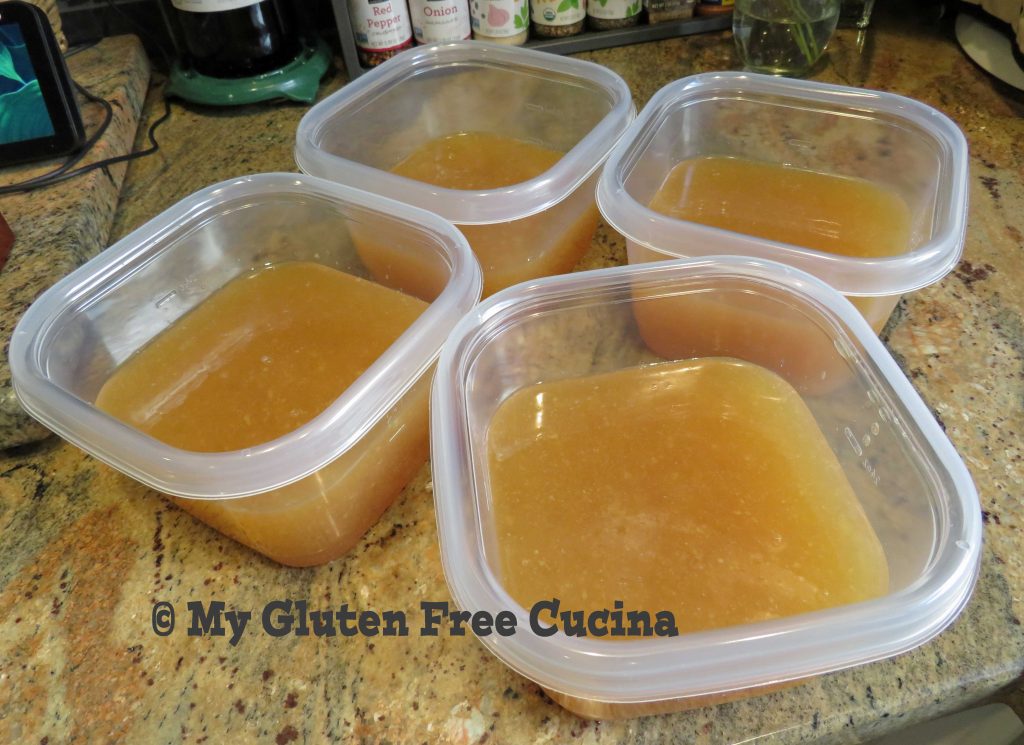
- 3/4 cup gluten free chicken or beef broth
- 1/4 tsp. each, dried sage and thyme
- cooking spray

Preparation:
Most of the initial prep for this stuffing can be done ahead of time, so you will only have to assemble and bake it the morning of the holiday. It all begins with this Gluten Free Corn Bread, that you can make ahead and freeze. You will need half of the cornbread for this stuffing recipe, and the rest can be a nice addition to your breadbasket for the holiday table.

Once the Cornbread has cooled to room temperature, wrap tightly in plastic wrap then again in foil. Place in a freezer safe bag until needed.
To make the stuffing, cut half of the cornbread into cubes, for a total of about 4 cups. Spread the cornbread cubes on a parchment lined baking sheet in a single layer. Bake at 250º until dried and slightly browned, 45 minutes to an hour.

Remove from the oven and set aside to cool in the pan. If you are doing this step ahead of time, make sure the cornbread is completely dry, then store in an airtight container for up to 3 days.

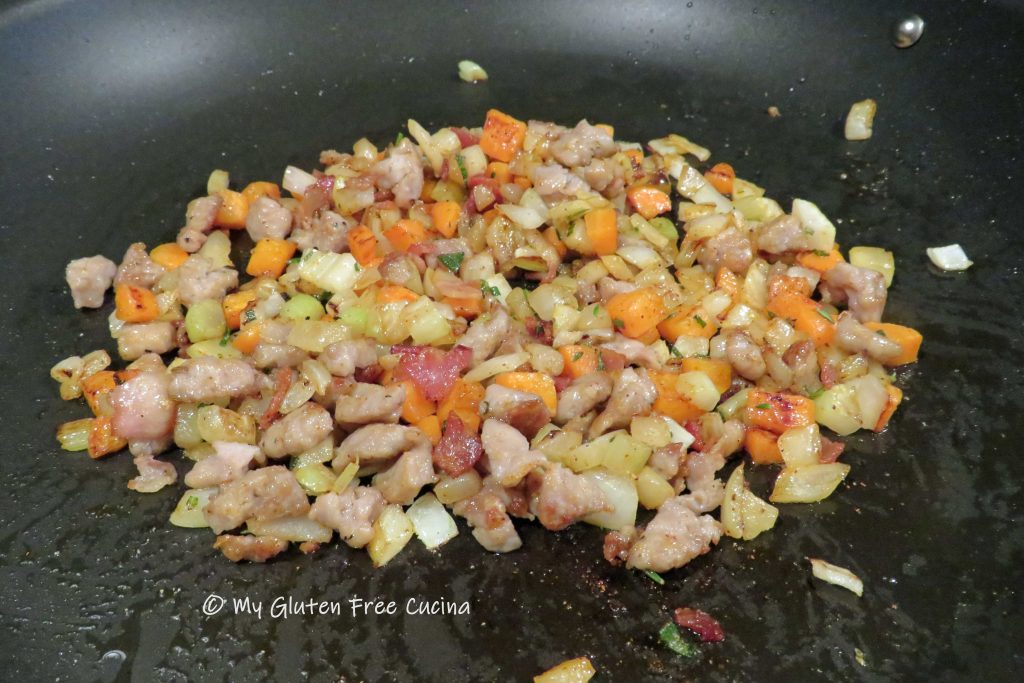
Chop the bacon and sausage into 1/2″ pieces.

Cook them together in a large, nonstick skillet until completely browned, then remove and drain on paper towels. Reserve the fat in the pan.

Next melt 2 tbsp. of butter in the same skillet and add the onion, celery and carrots. Season with salt and pepper, and the minced fresh herbs. Cook over low heat for 10-15 minutes, stirring frequently.
 Add back the sausage and bacon to the skillet and toss well to combine.
You can prepare the recipe up to this point the night before and refrigerate. You can also make ahead and freeze it, just spoon the mixture into a freezer safe bag or container and defrost the night before.
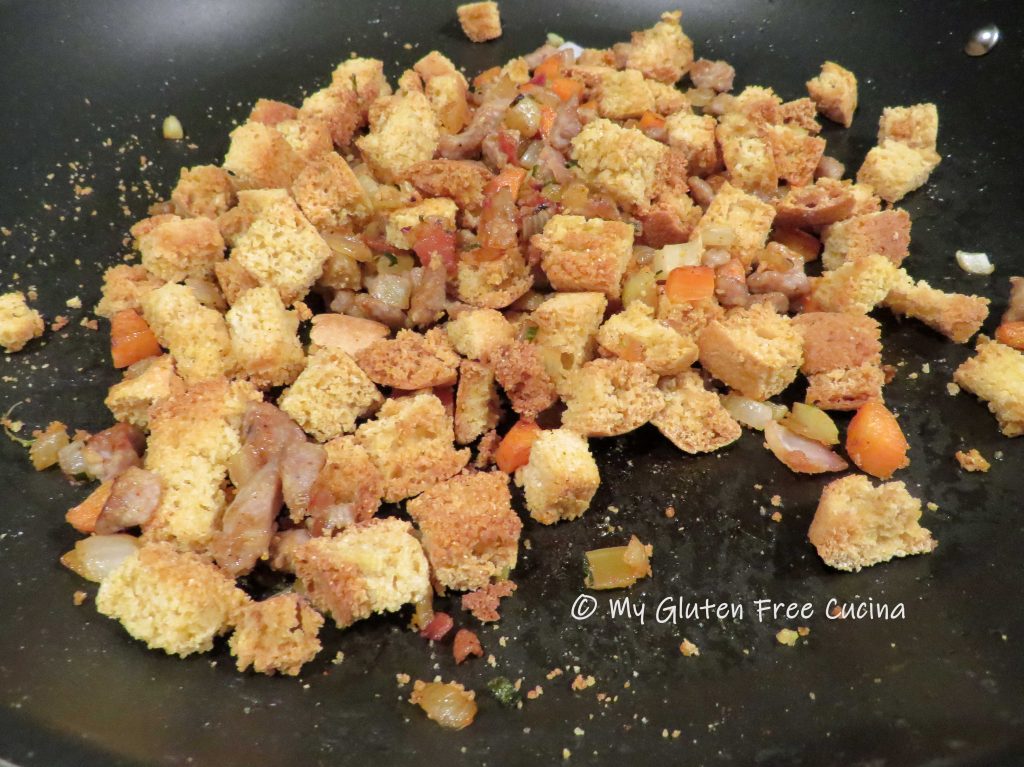
On the morning of the holiday, return the sausage and veggie mixture to the skillet over low heat and warm through. Turn off the heat and stir in the cornbread cubes.
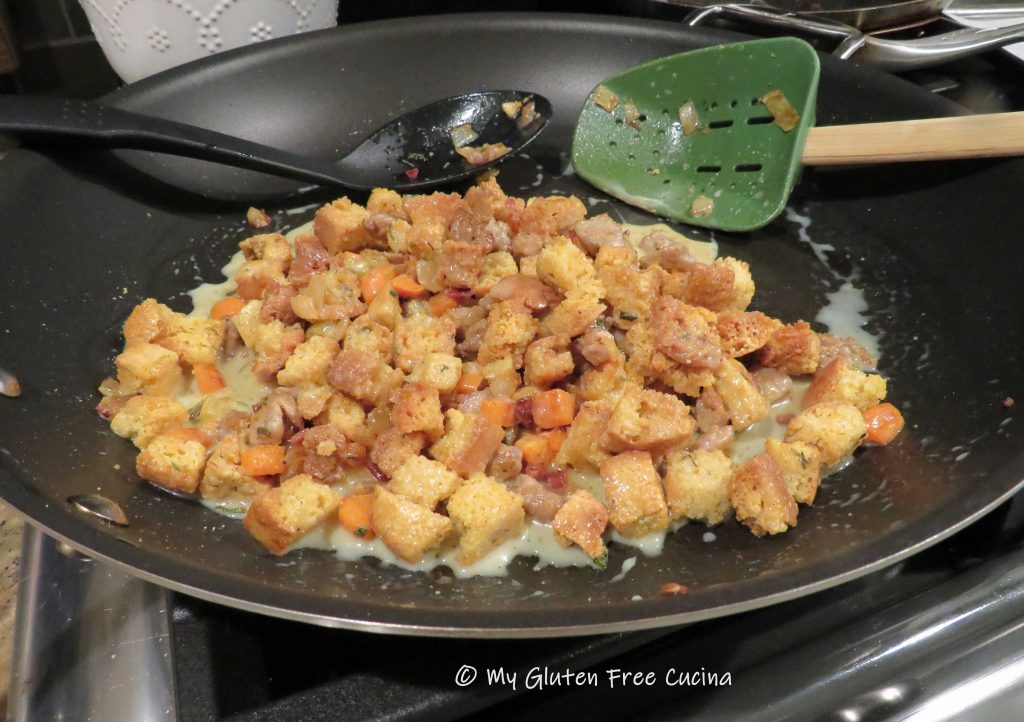
Whisk together the egg, milk, and broth with dried sage and thyme. Pour it over the cooled cornbread mixture and toss well until everything is moistened.

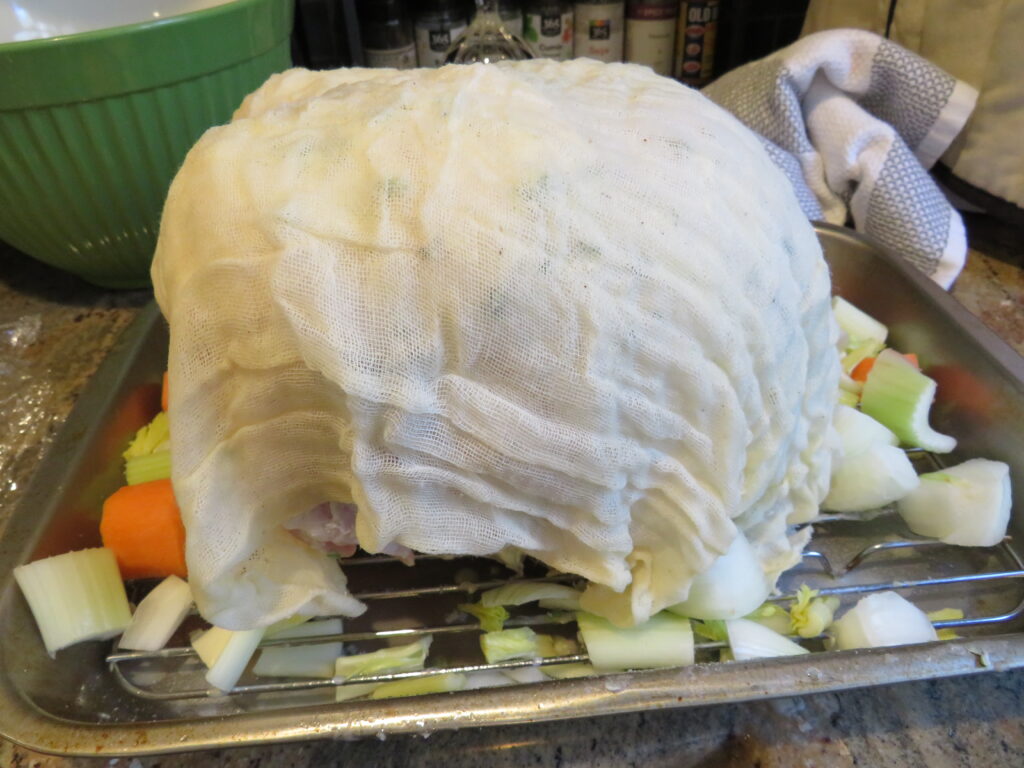
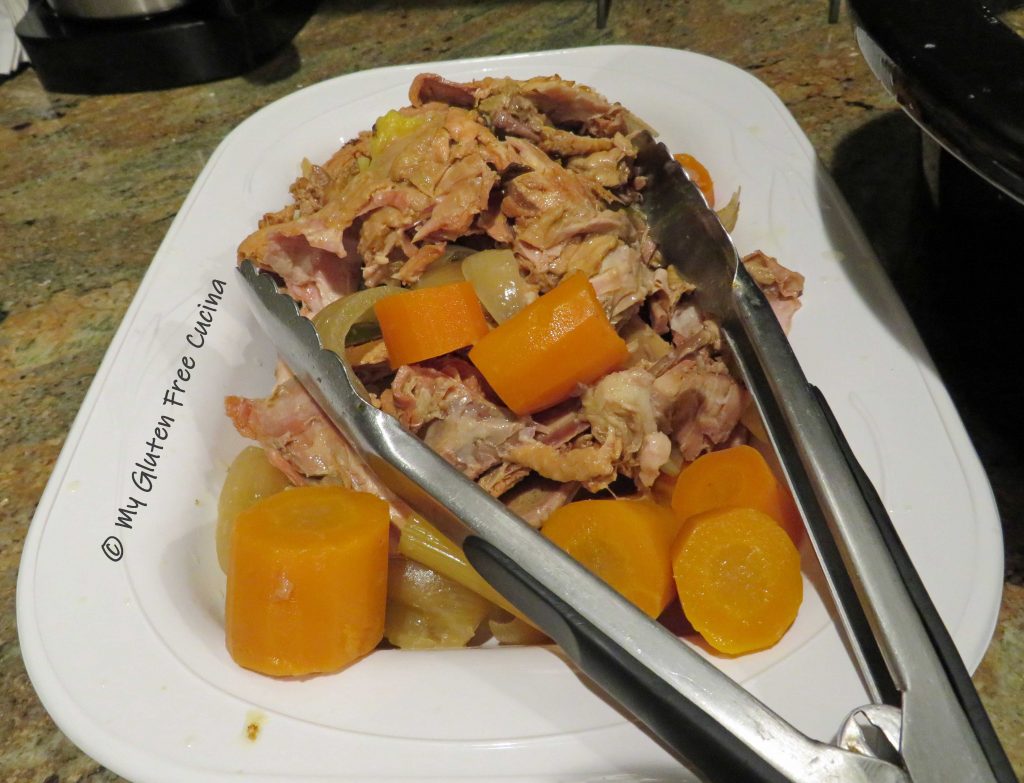
To stuff or not to stuff? You decide. Always follow food safety guidelines. If you stuff the turkey, do so just prior to roasting.
For those who prefer out of the bird, spray a baking dish with cooking spray and spread the stuffing evenly. Cover with foil and bake 35 minutes.

With a few great recipes like this one, the stress of being gluten free during the holidays will melt away. I hope it will become a tradition at your holiday table!

Notes ♪♫ Want to take a shortcut? If you prefer to use storebought bread cubes there are some great ones to choose from, I’ll never tell! Check out my Easy Gluten Free Ramekin Stuffing Cups, a recipe made with Aleia’s Gluten Free Stuffing Cubes.
Originally posted 11/04/2018 Updated 11/19/2022

[print_link]


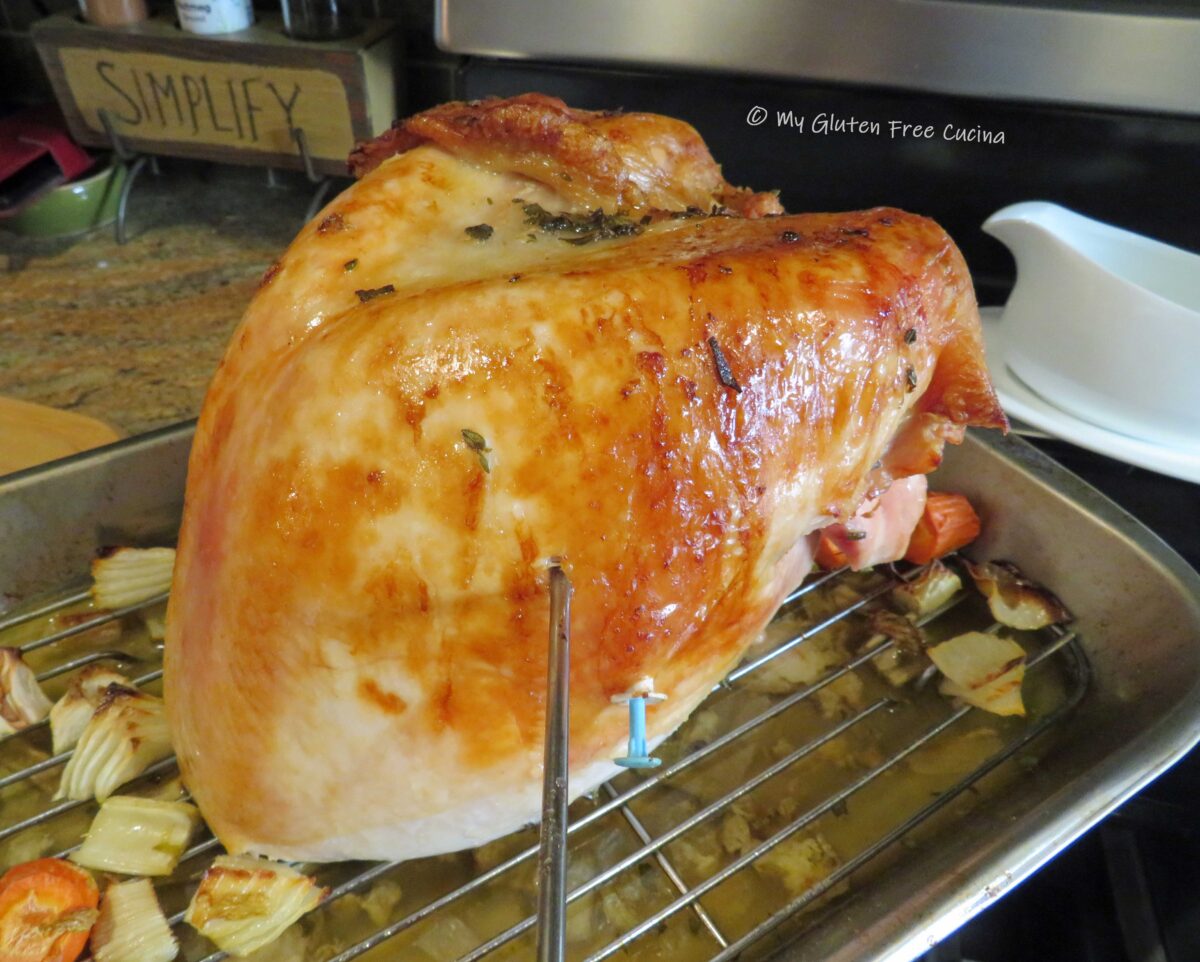
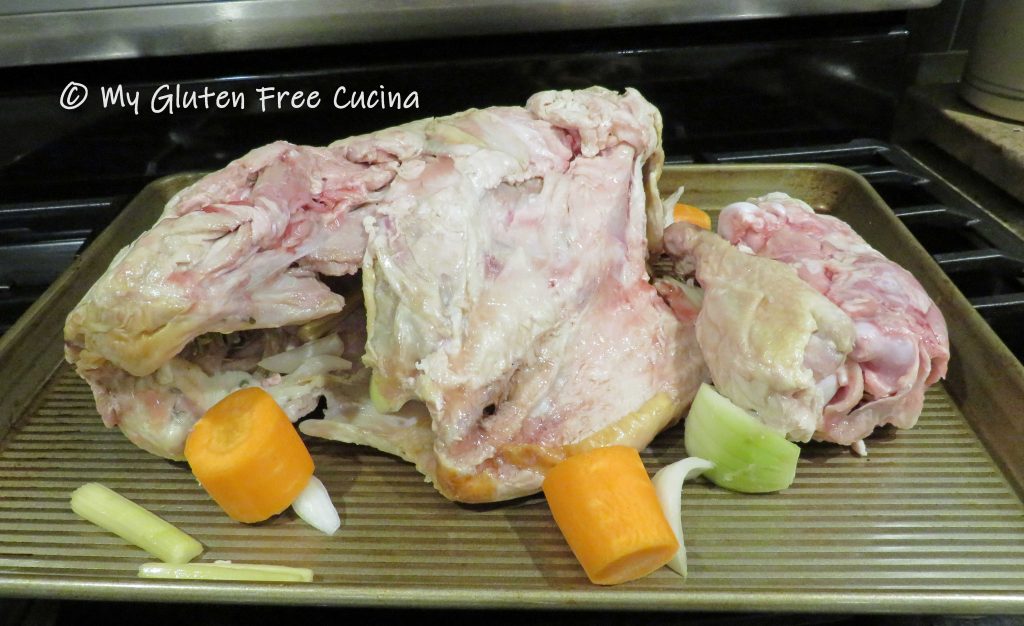
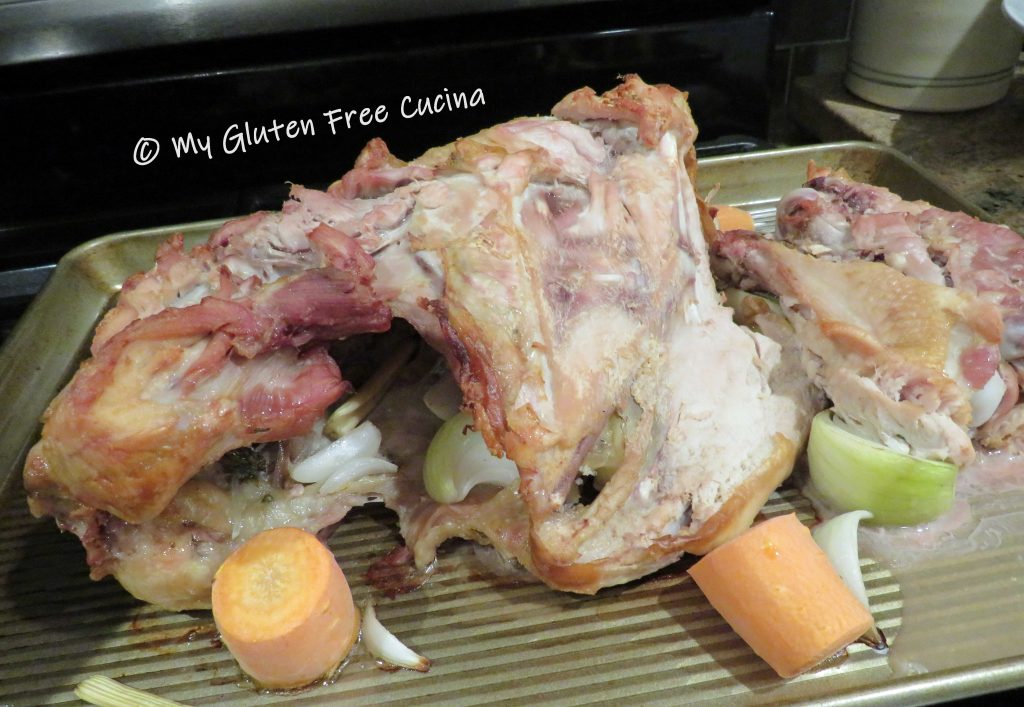
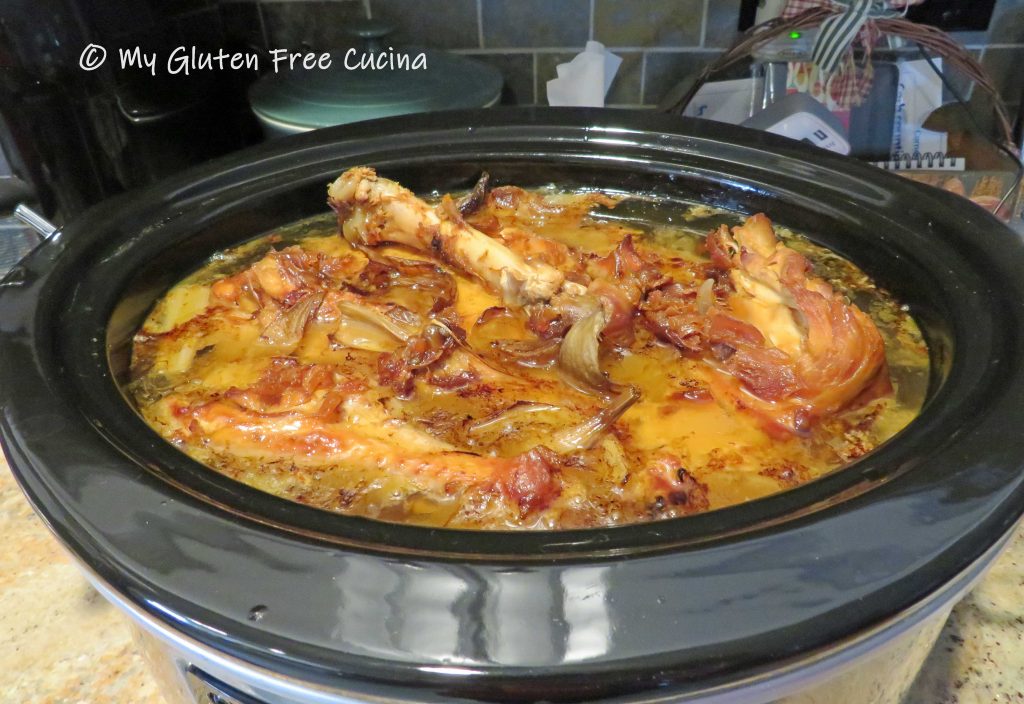
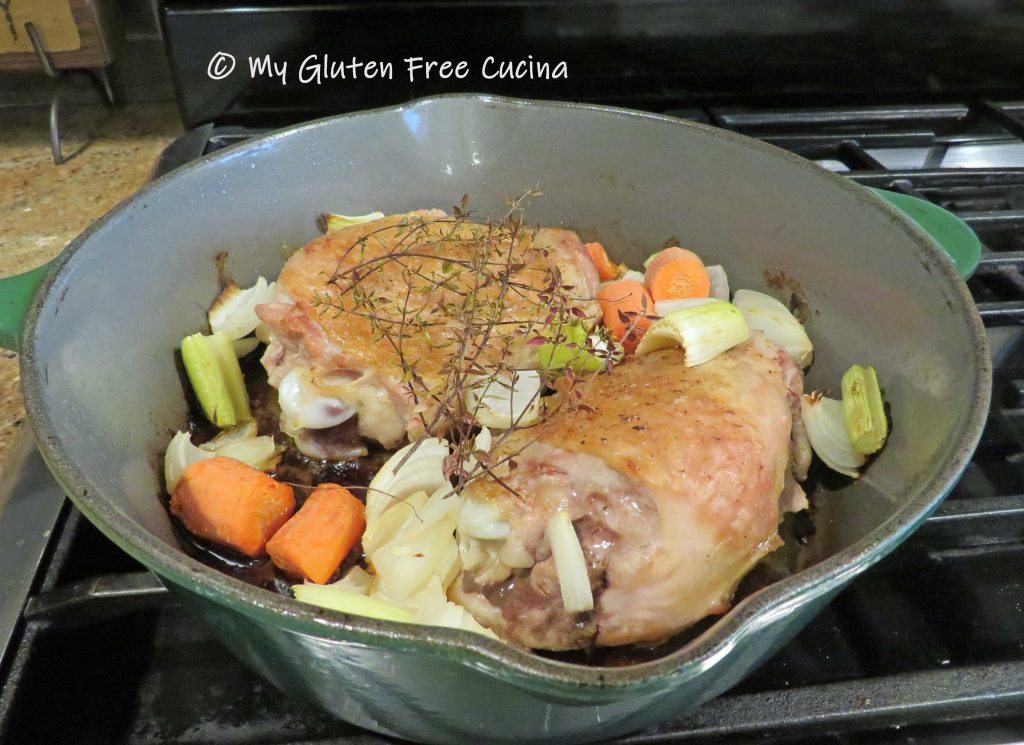
 Roast for 25 minutes per pound, or until a thermometer inserted into the thickest section registers 165º. The pop-up thermometer was spot on, but I was still glad that I used my own.
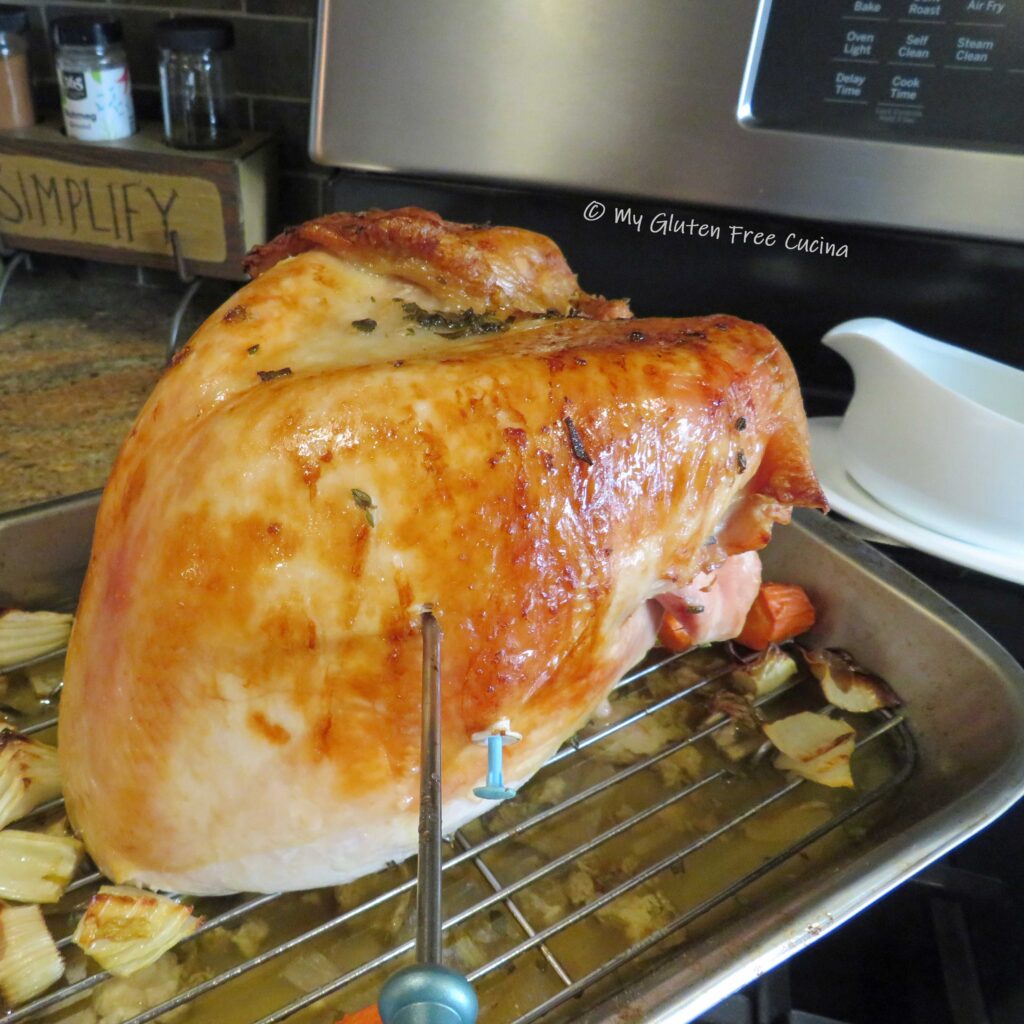
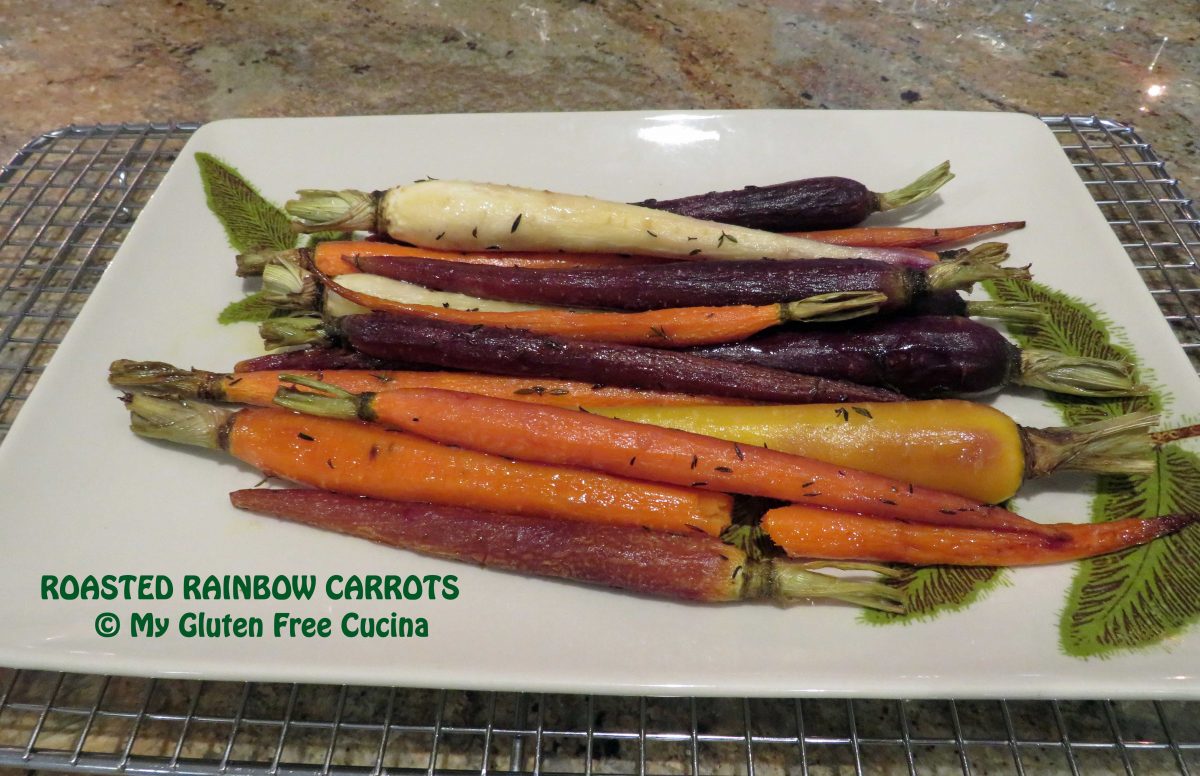
 Enjoy with
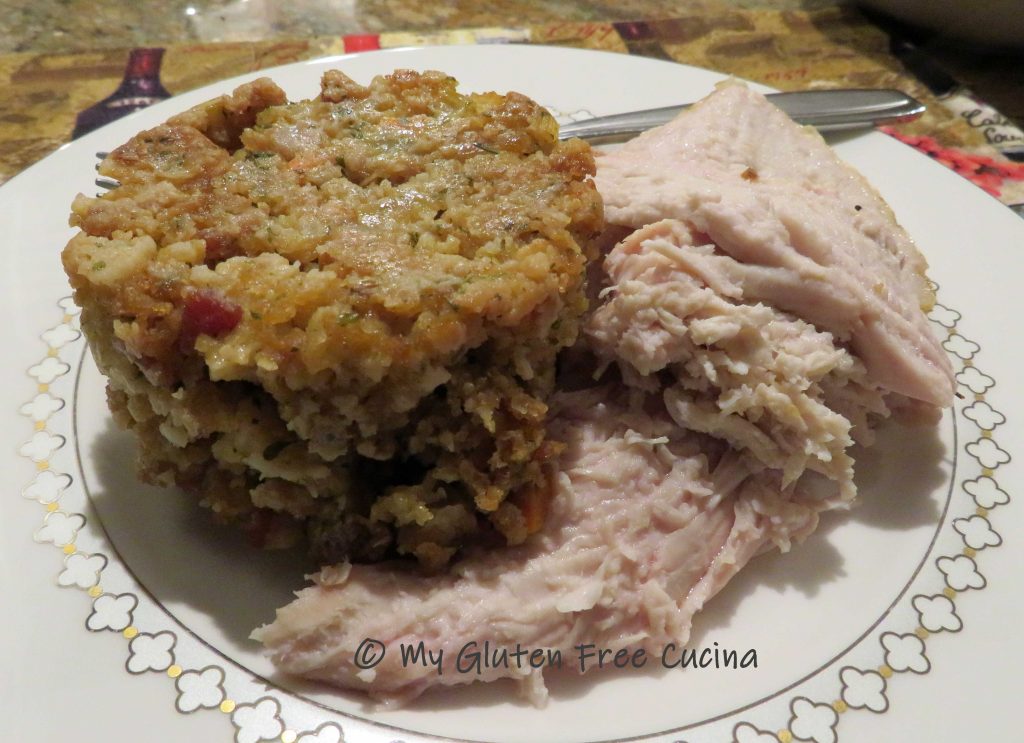


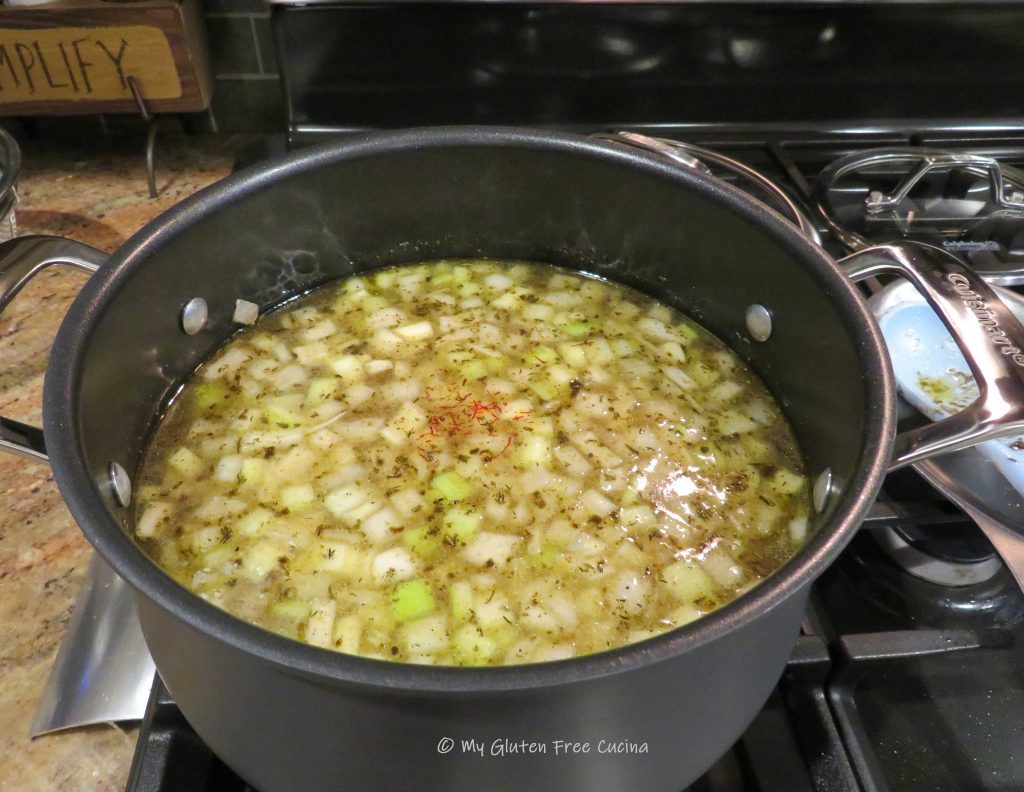
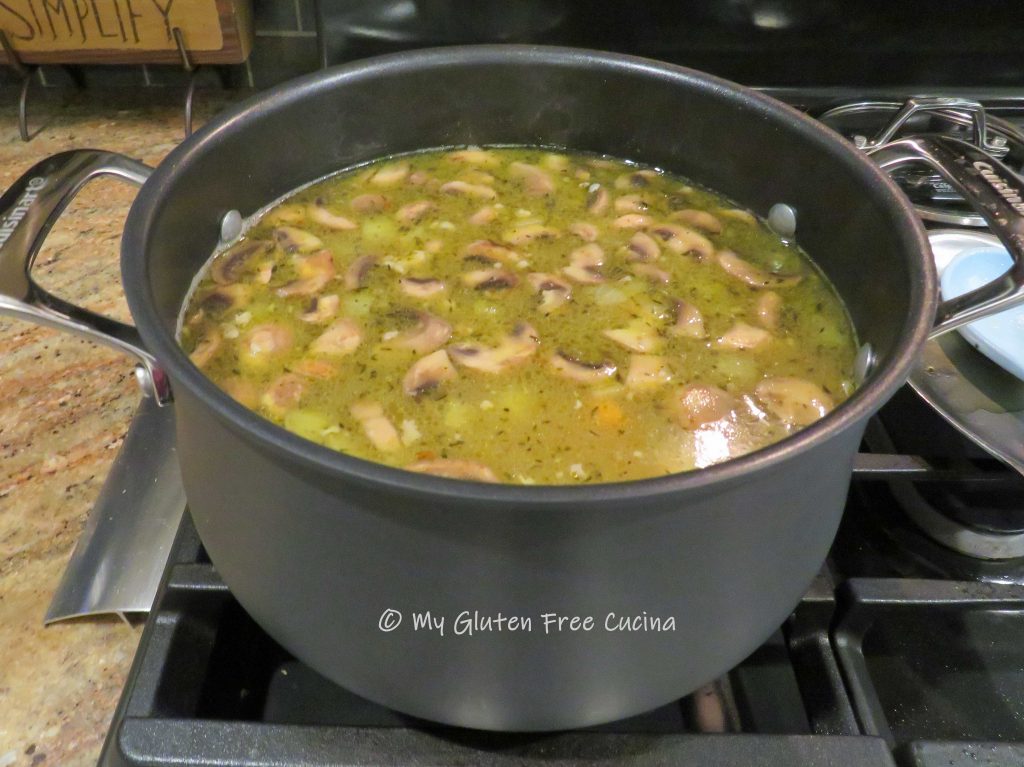
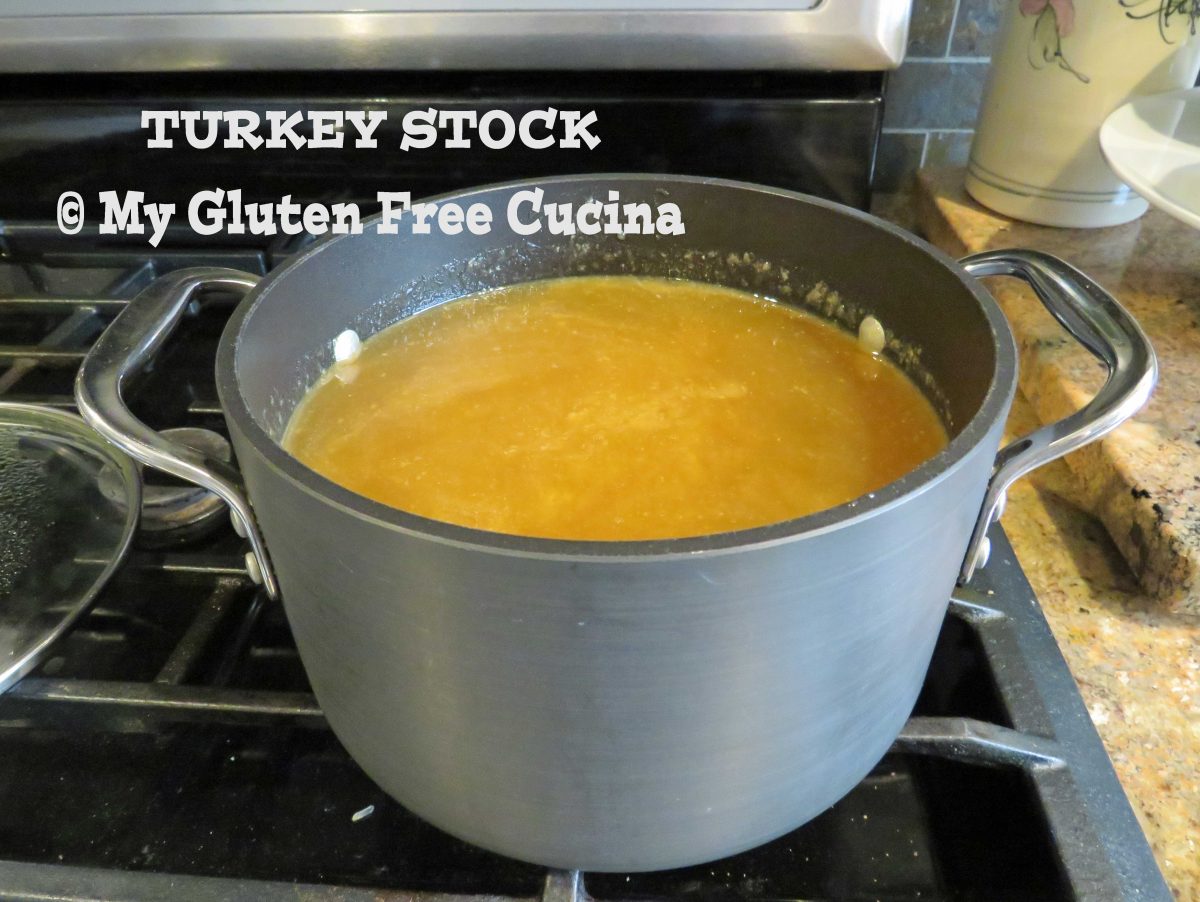
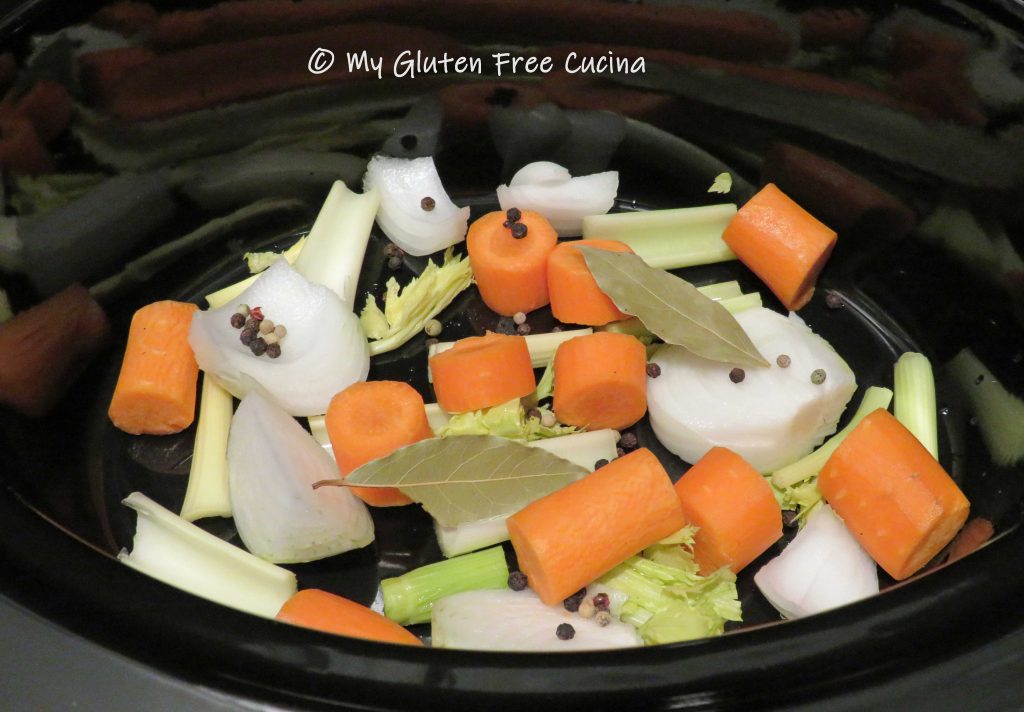
 Dice 6-8 carrots, 6-8 celery stalks, and one large onion. Try to cut the pieces to approximately the same size.
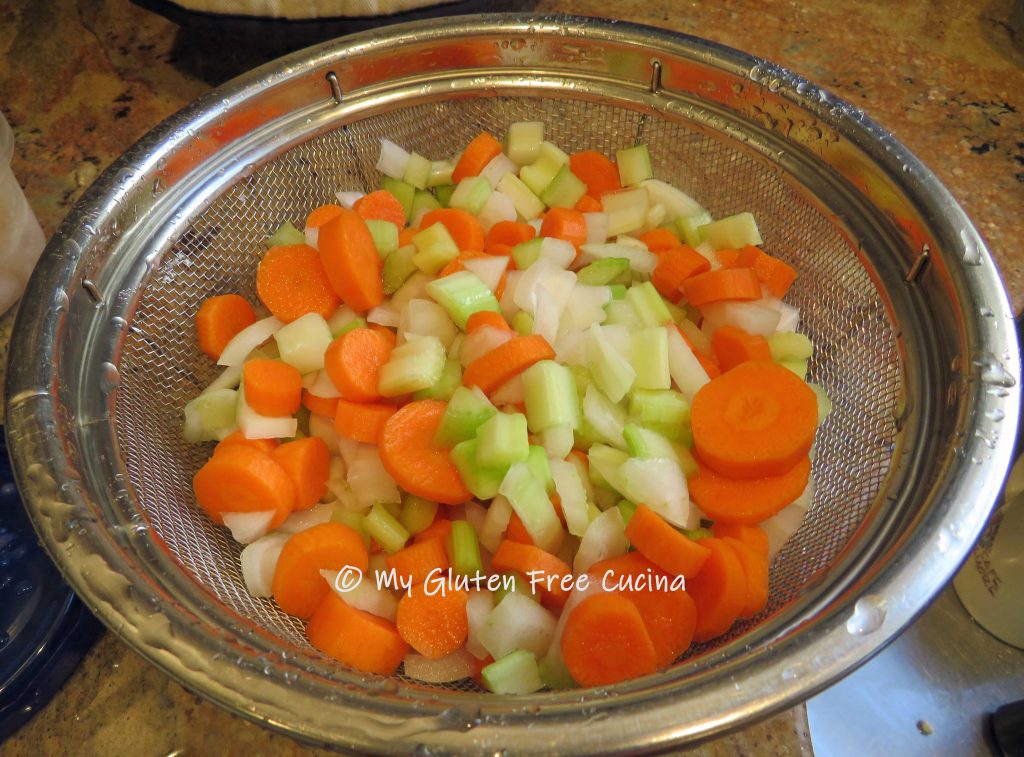 In a clean stockpot, sauté the vegetables in 1 tbsp. olive oil. Season with salt and pepper.
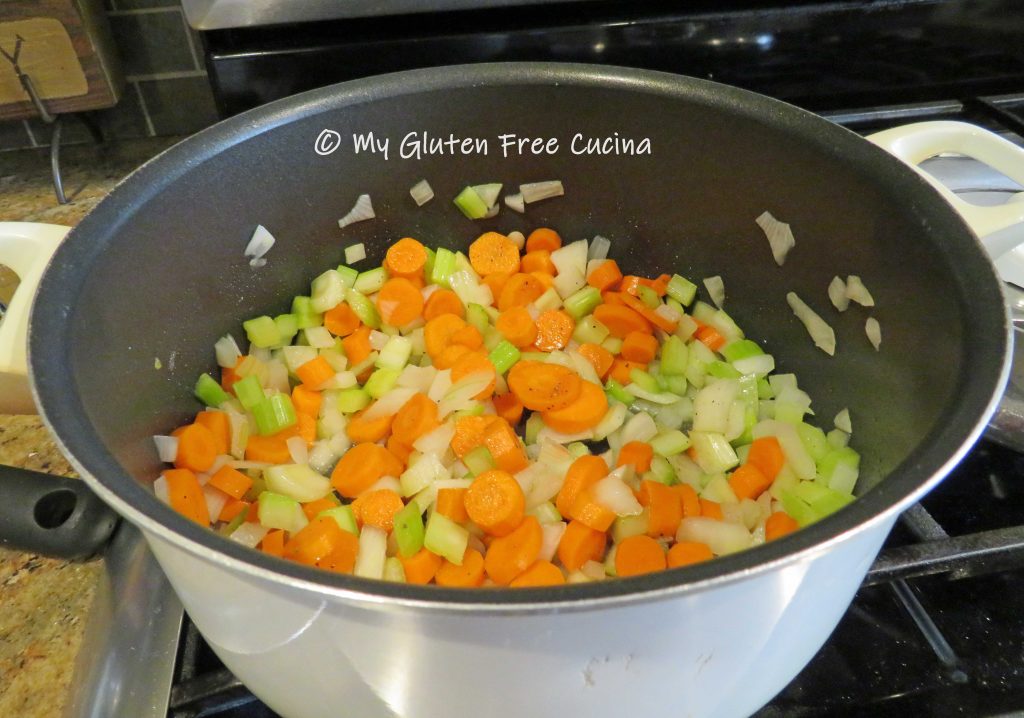

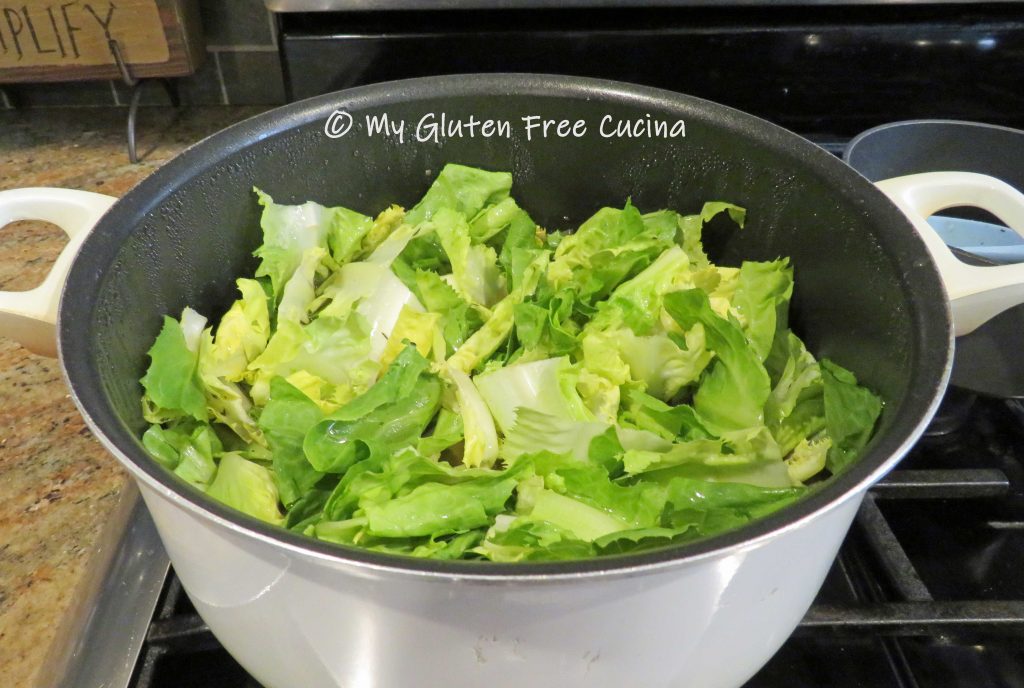
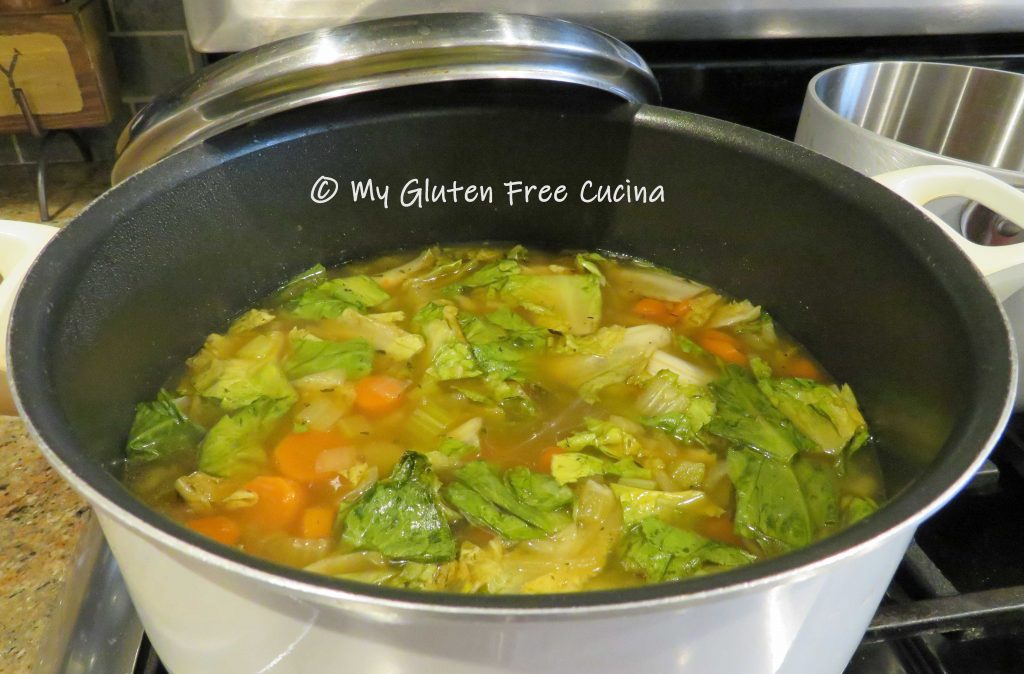
 Remove and discard the outer leaves of the escarole, then tear the leaves into large pieces and rinse thoroughly. To this day I can still hear my mother telling me to wash the escarole “leaf by leaf”.
 Escarole cooks quickly, and the residual heat is enough to wilt the leaves. Stir well, cover the pot and let it cool to room temperature. Refrigerate overnight.
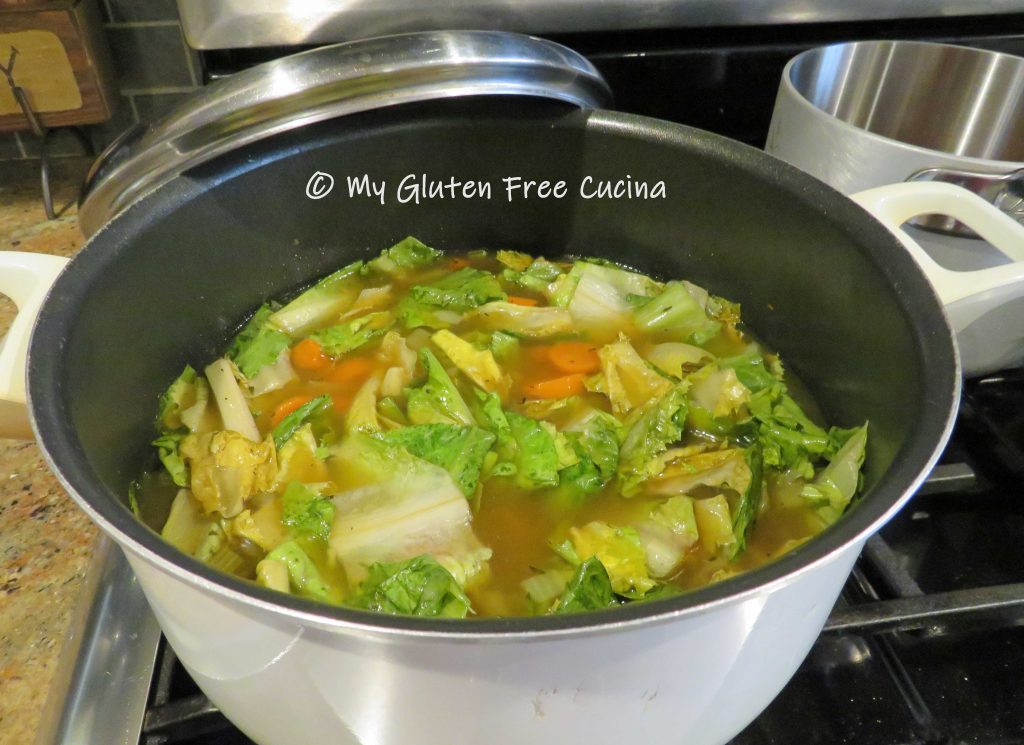


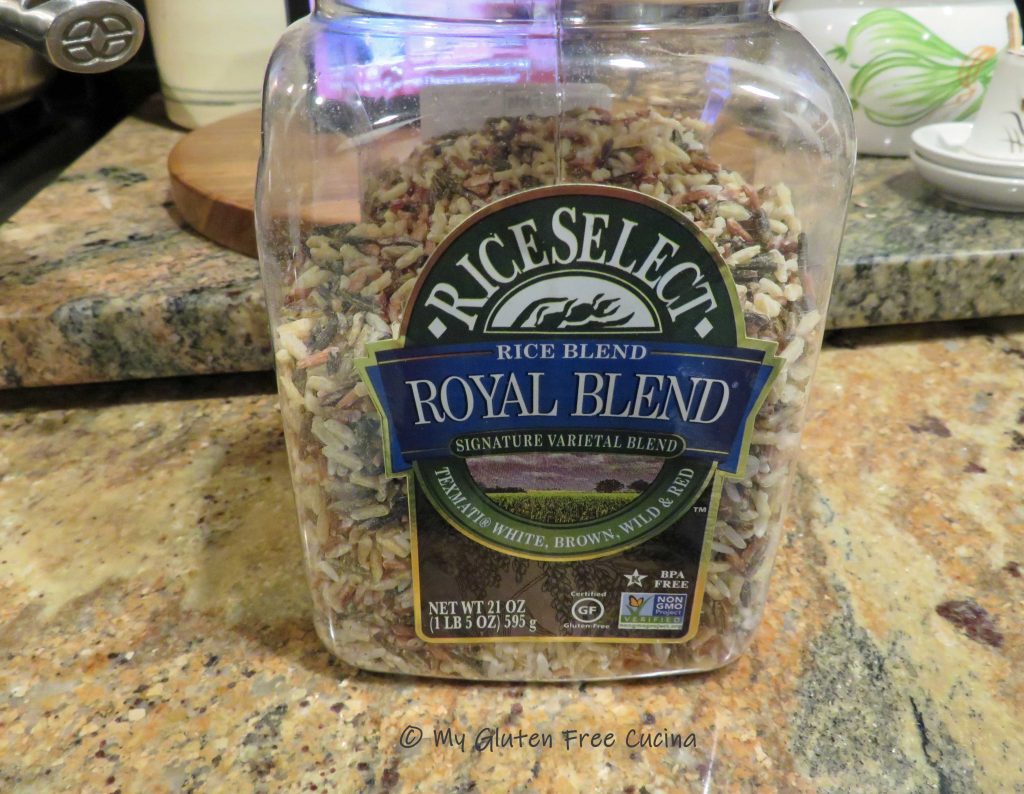


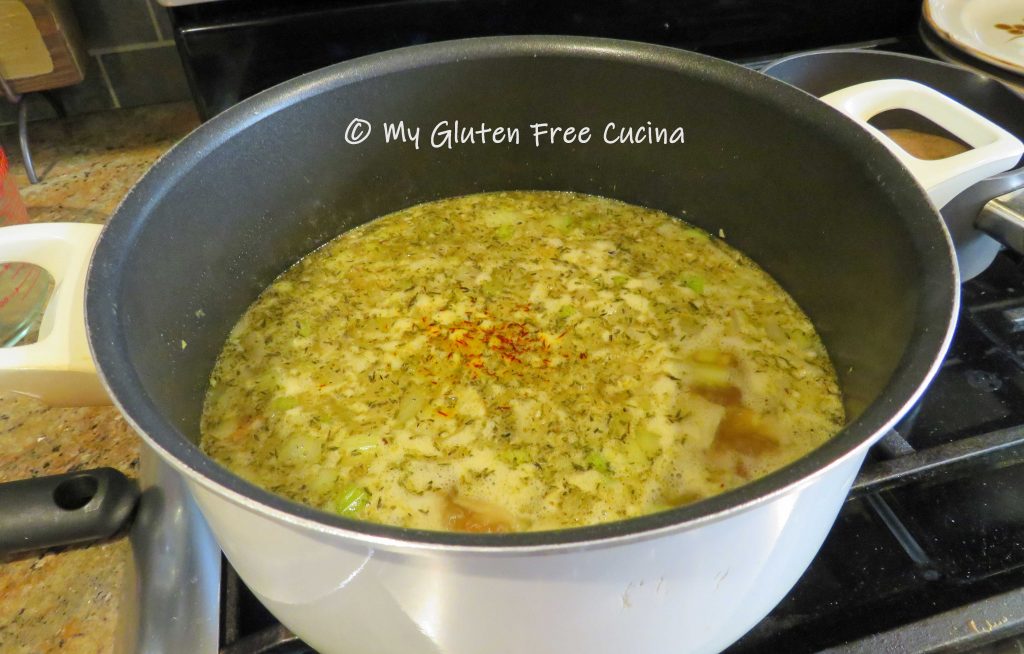
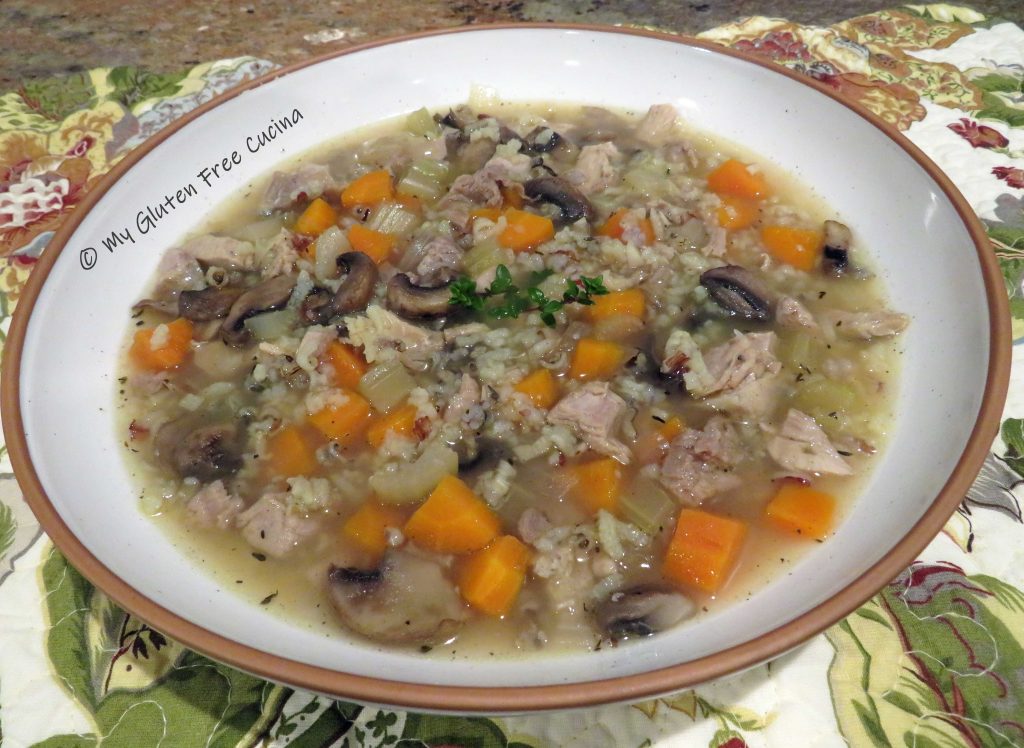
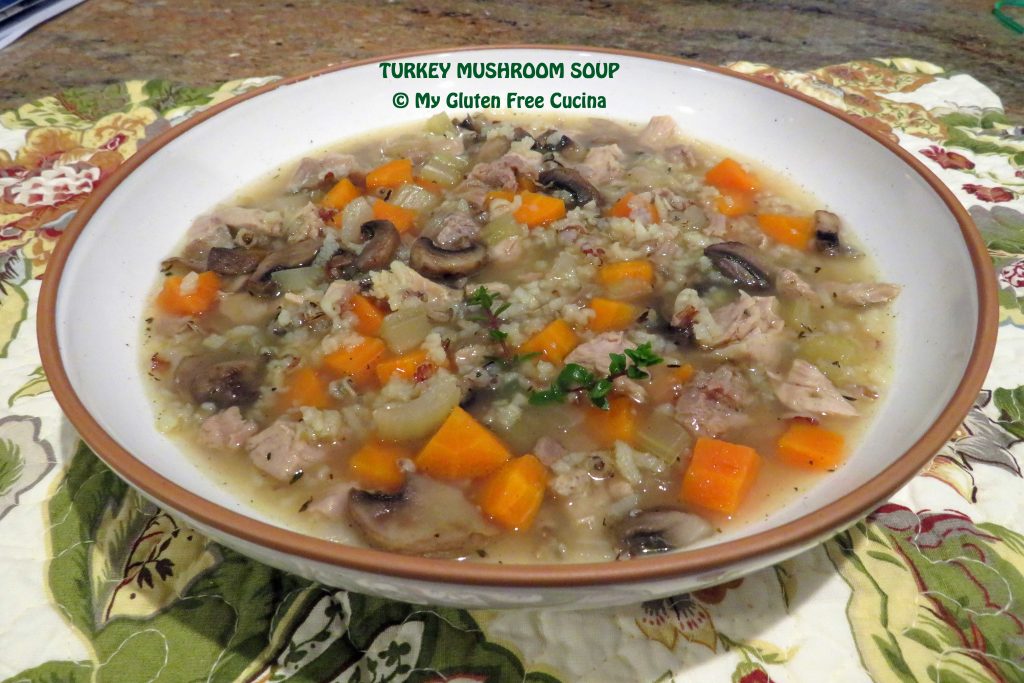
 While the soup simmers, cook the rice according to package directions.


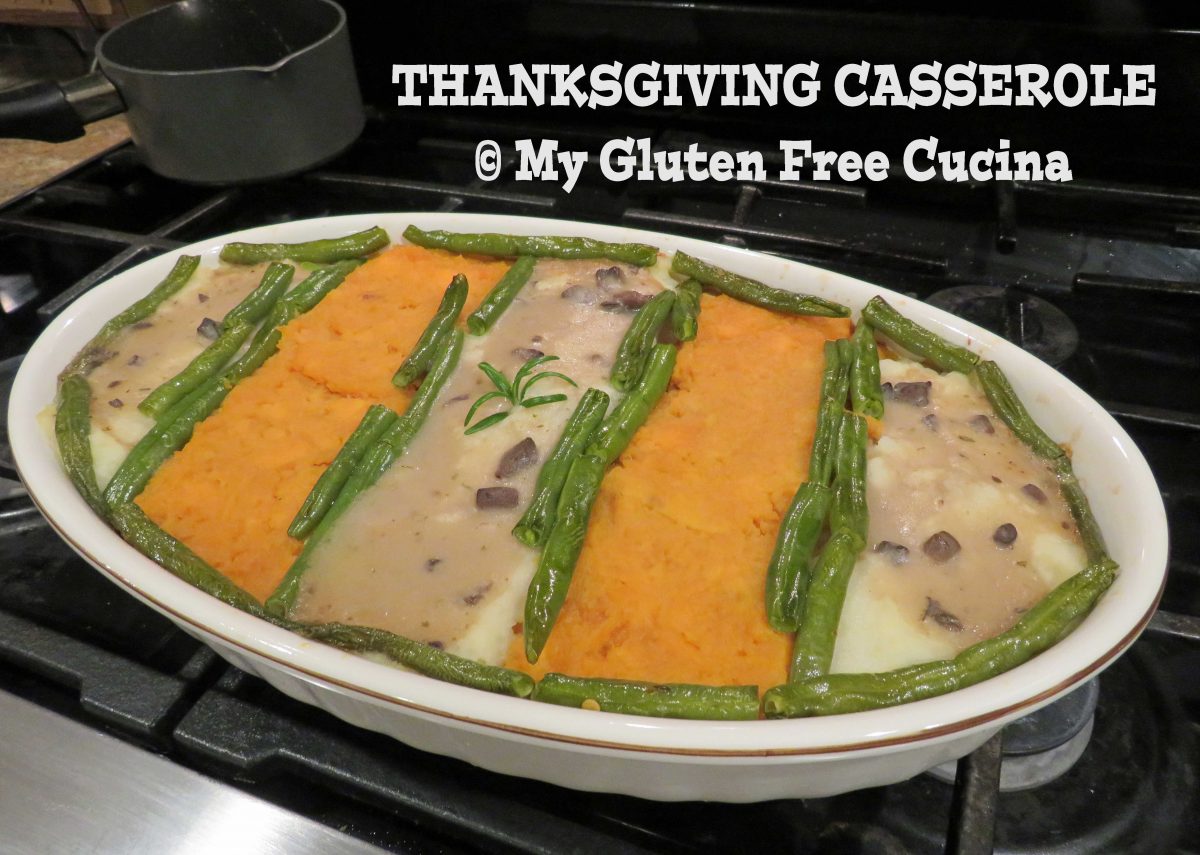
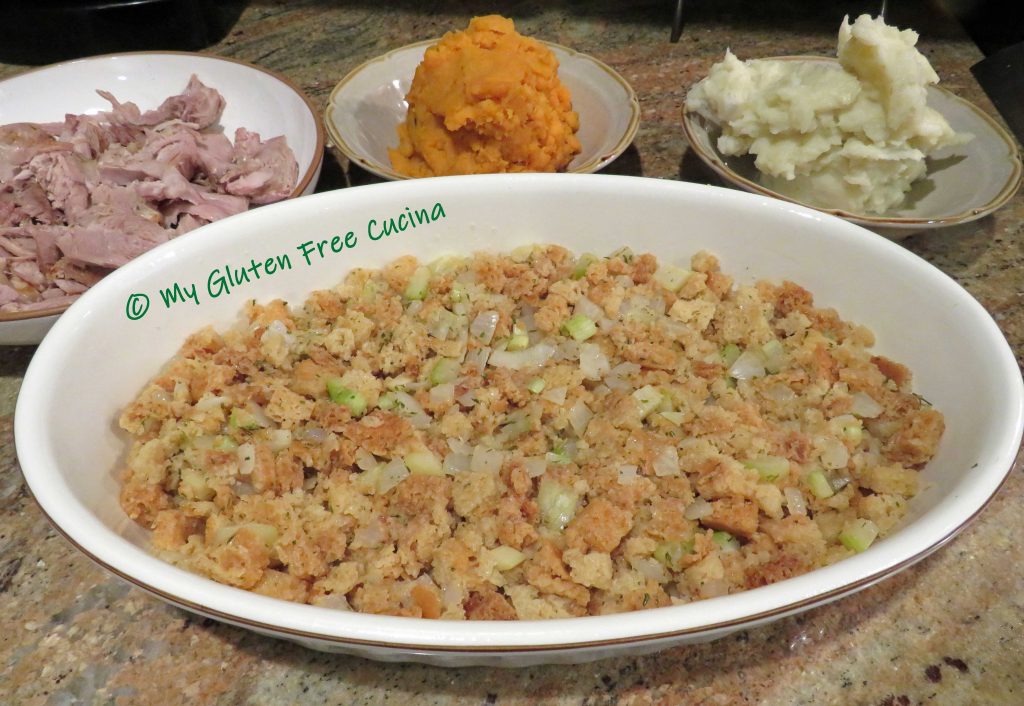
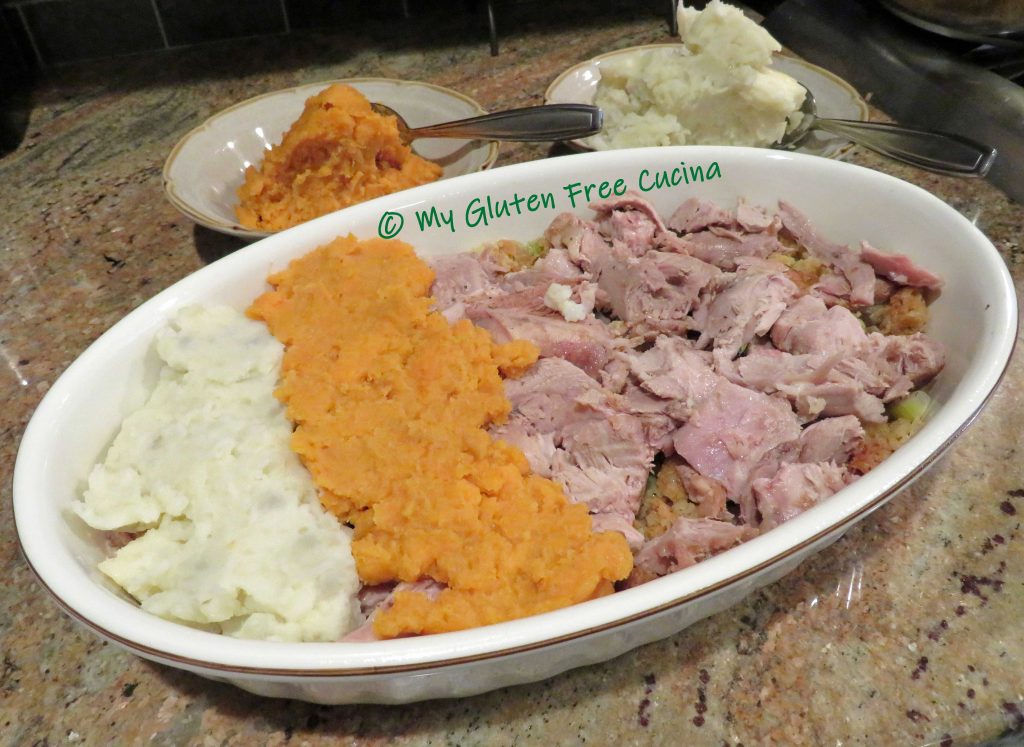
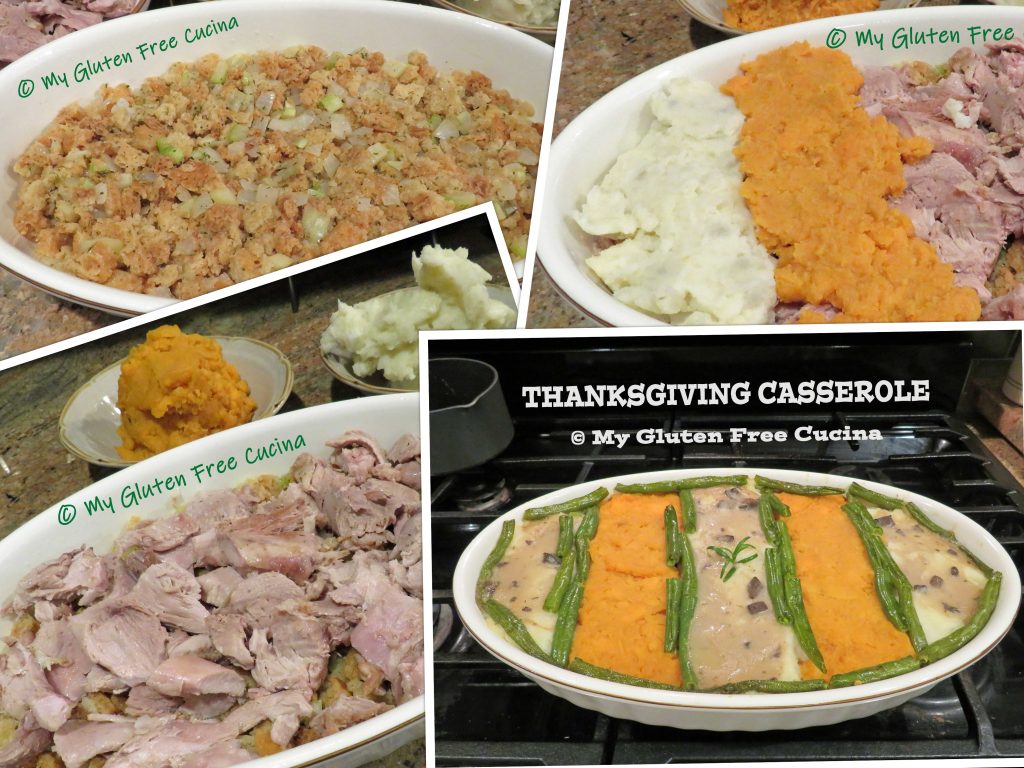 You can make each layer from scratch for a casual take on the traditional Thanksgiving meal or throw it together the next day with your Thanksgiving leftovers!
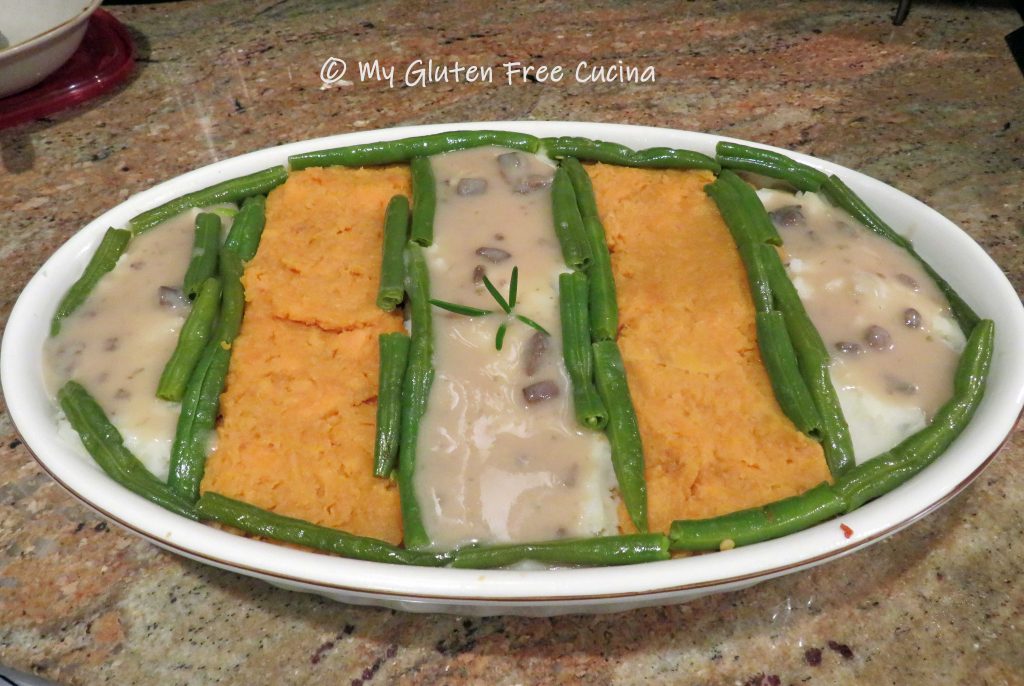


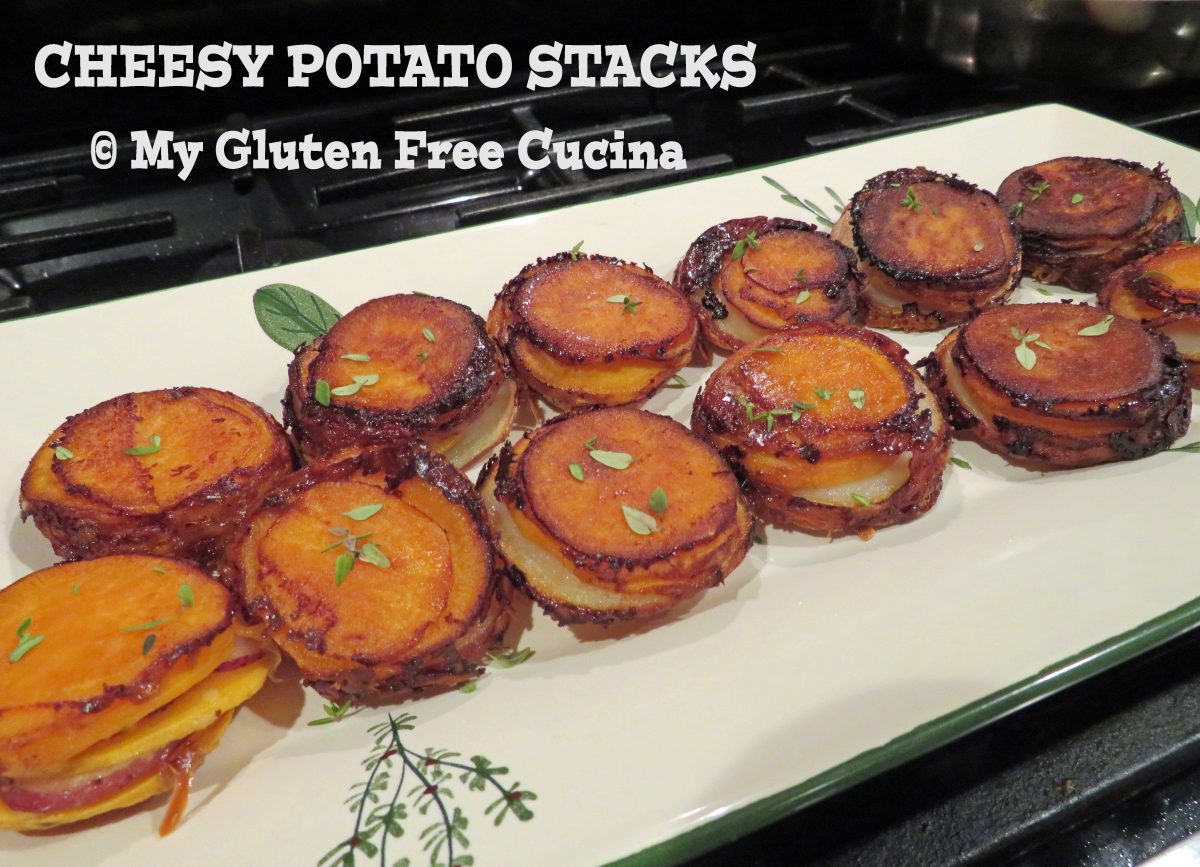
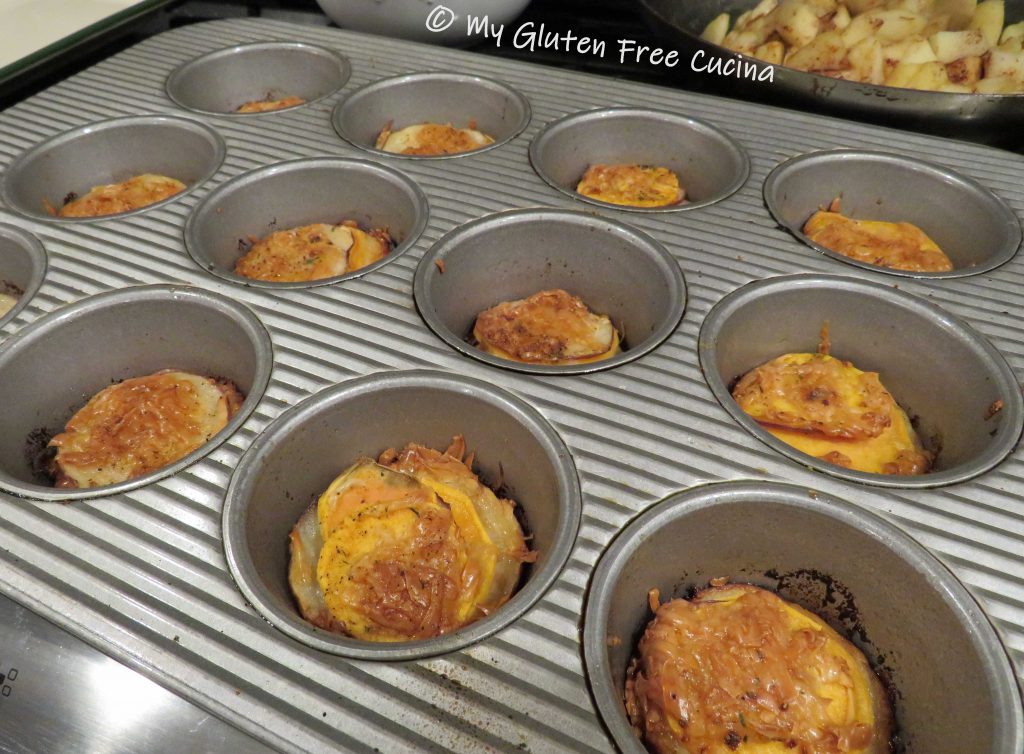


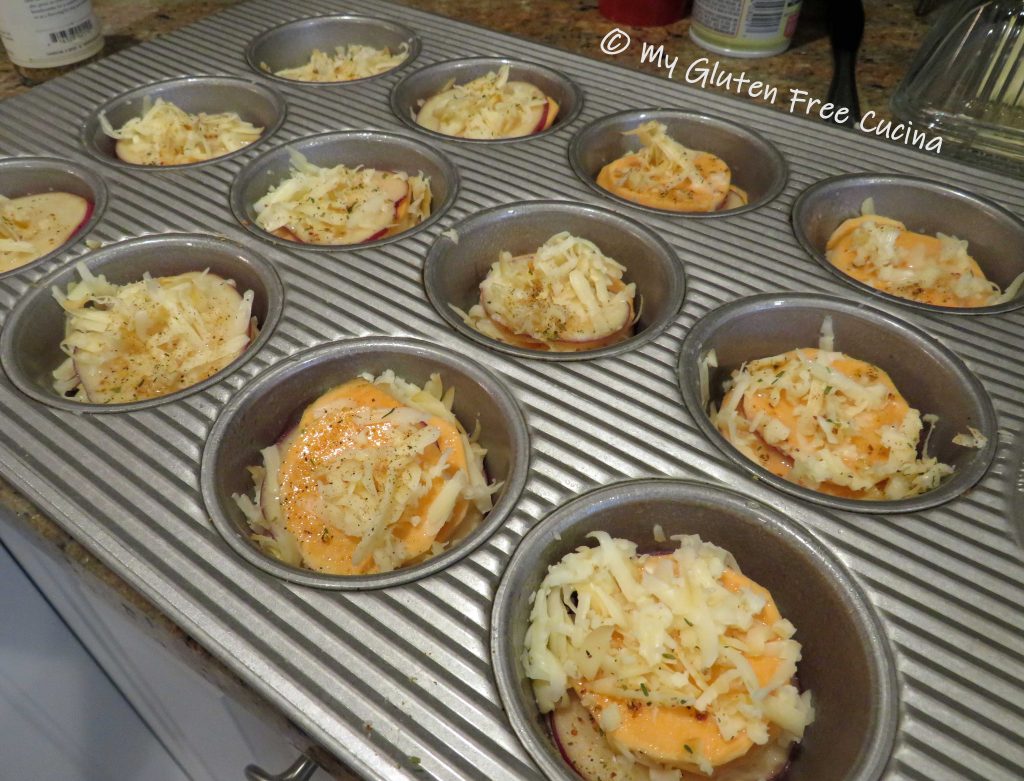
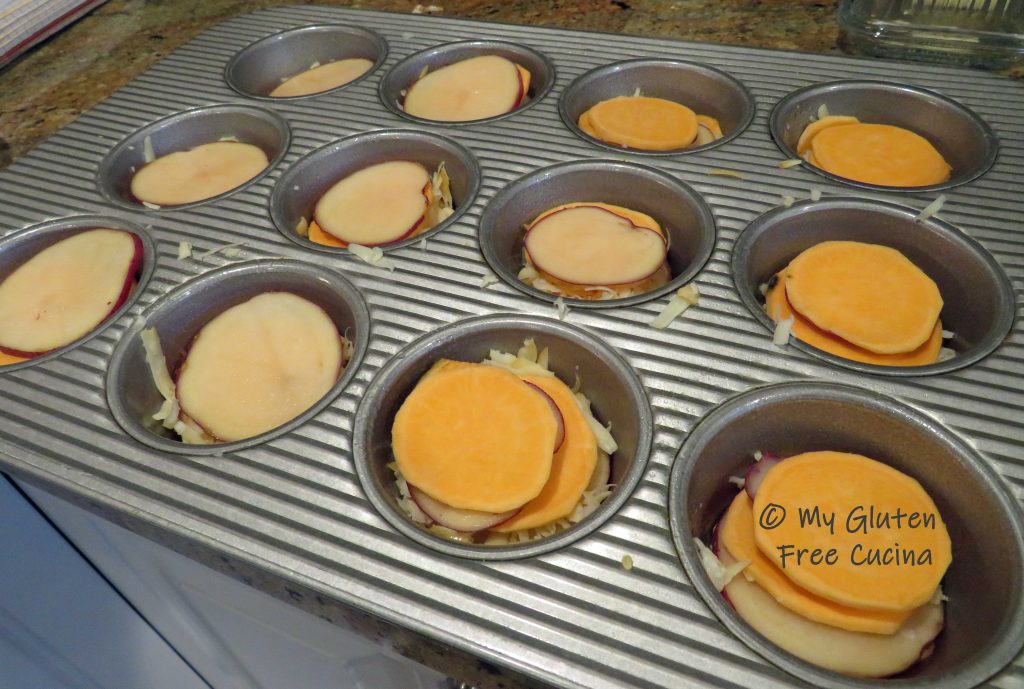 Use the smaller slices on the bottom for the best fit. Drizzle one tsp. of the butter mixture over each stack and top with half of the grated cheese.