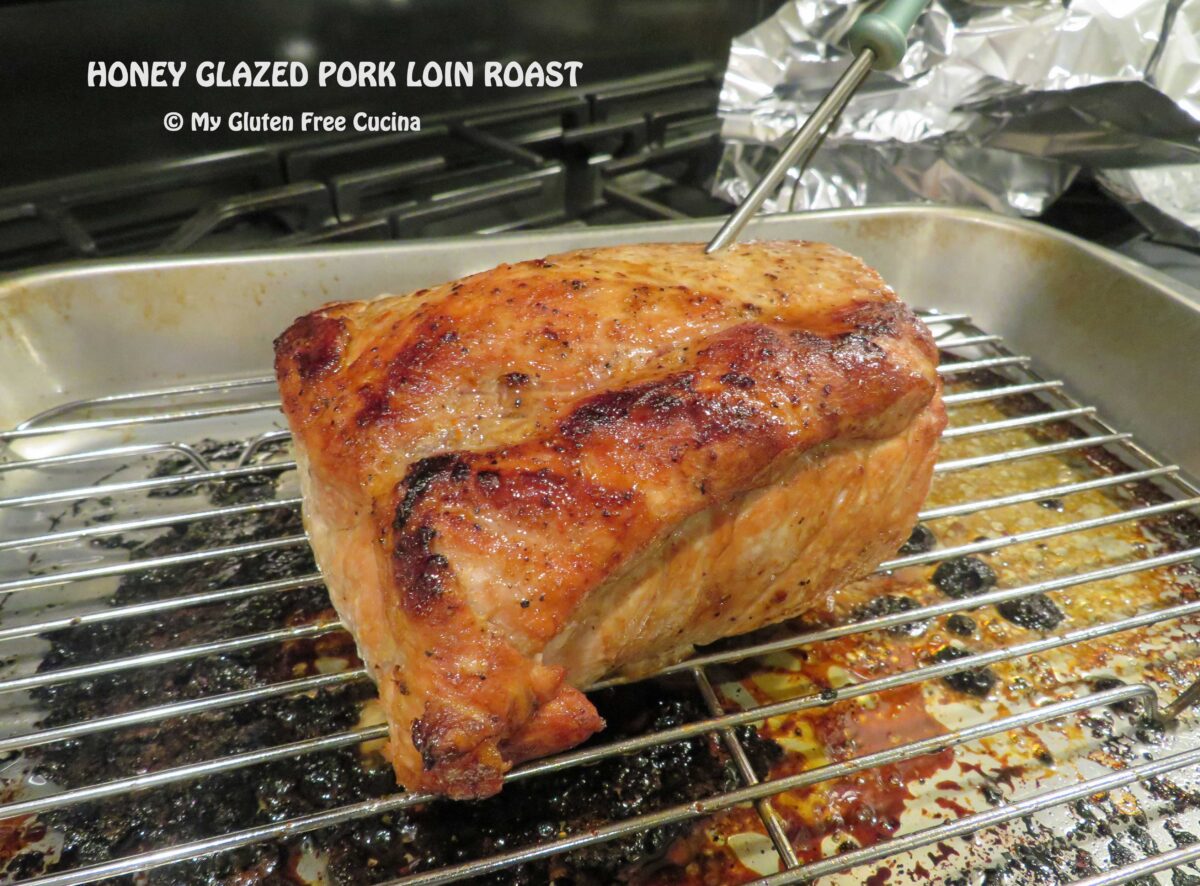
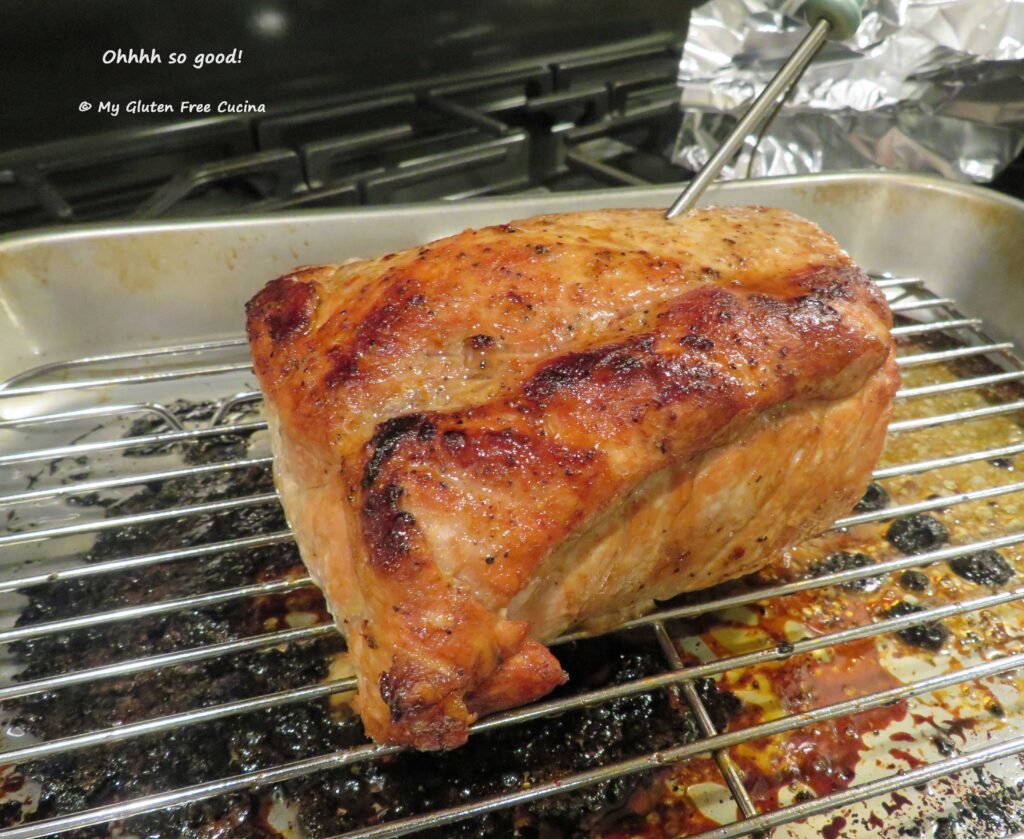
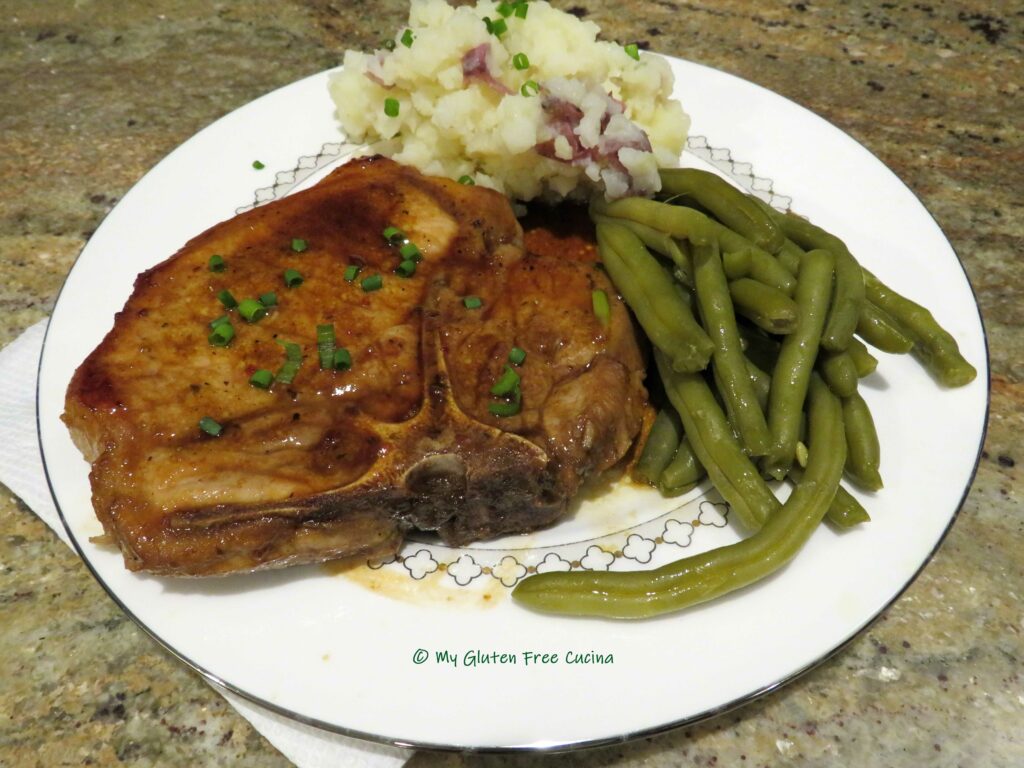
This pork roast was SO good, that I will be making it on repeat over the winter. It’s perfect for families, dinner guests or any time. The simple honey glaze perfectly complements the pork without overpowering it.
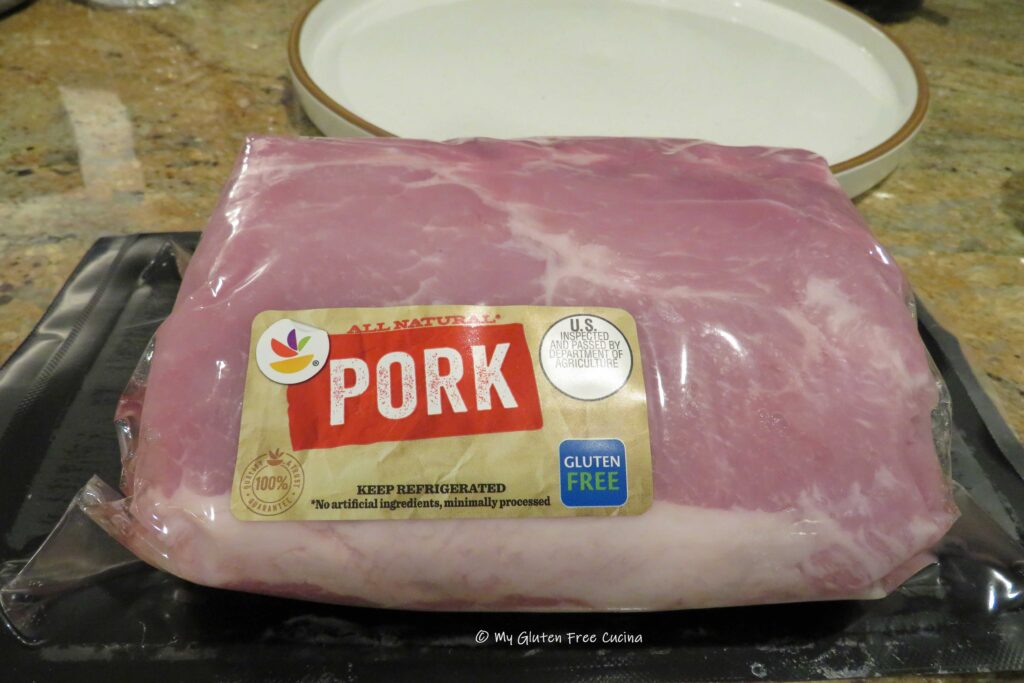
For this recipe, I used a pork loin roast. Not to be confused with tenderloin, the pork loin is a rectangular shaped roast with a layer of fat, or fat cap, which helps keep it juicy as it bakes.
This post contains affiliate links.
Ingredients:
- 2 lb. pork loin roast
- dry rub (I used this one)
- olive oil
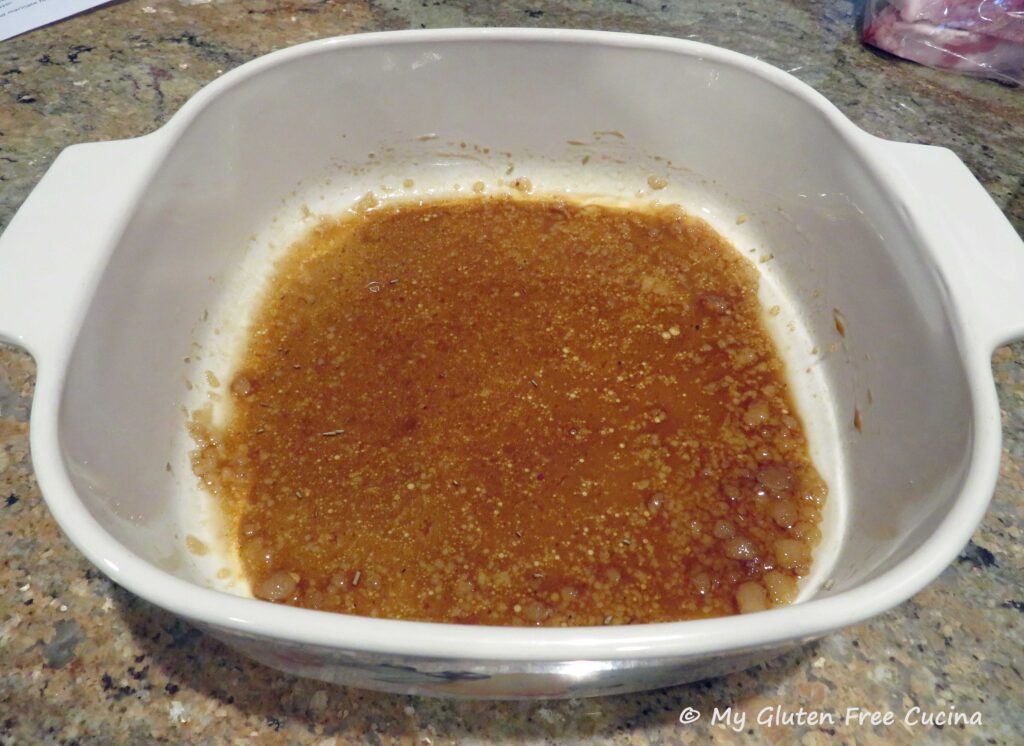
- 1 tbsp. honey
- 1 tsp. Dijon mustard
- 1 clove garlic
- 1 tbsp. gluten free soy sauce (tamari)
- 1 tbsp. olive oil
Preparation:
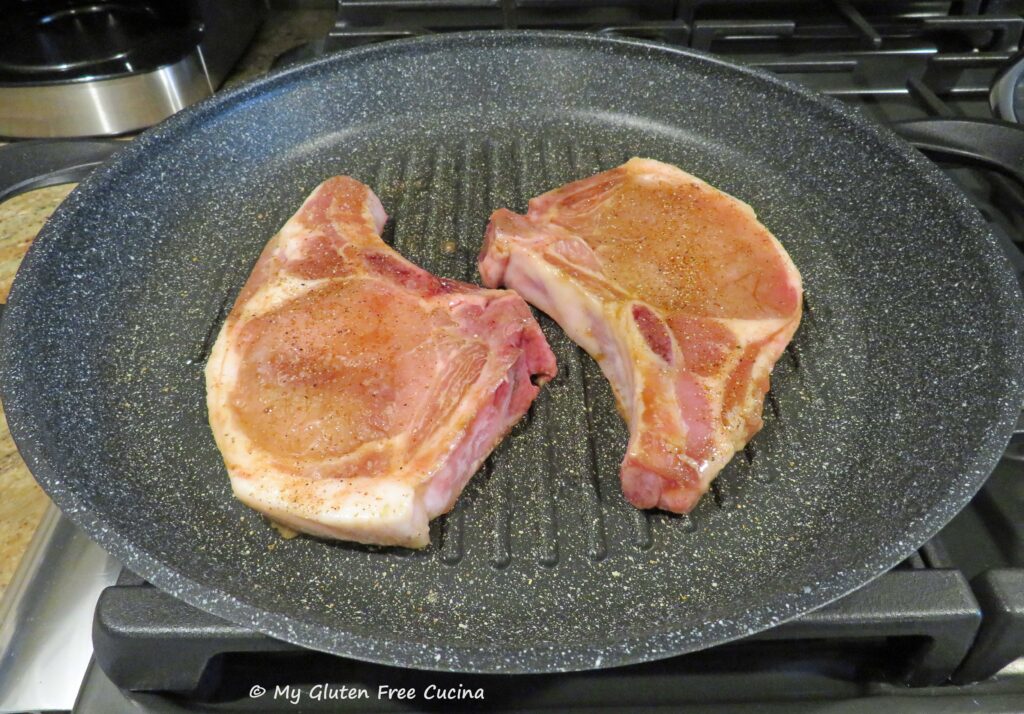
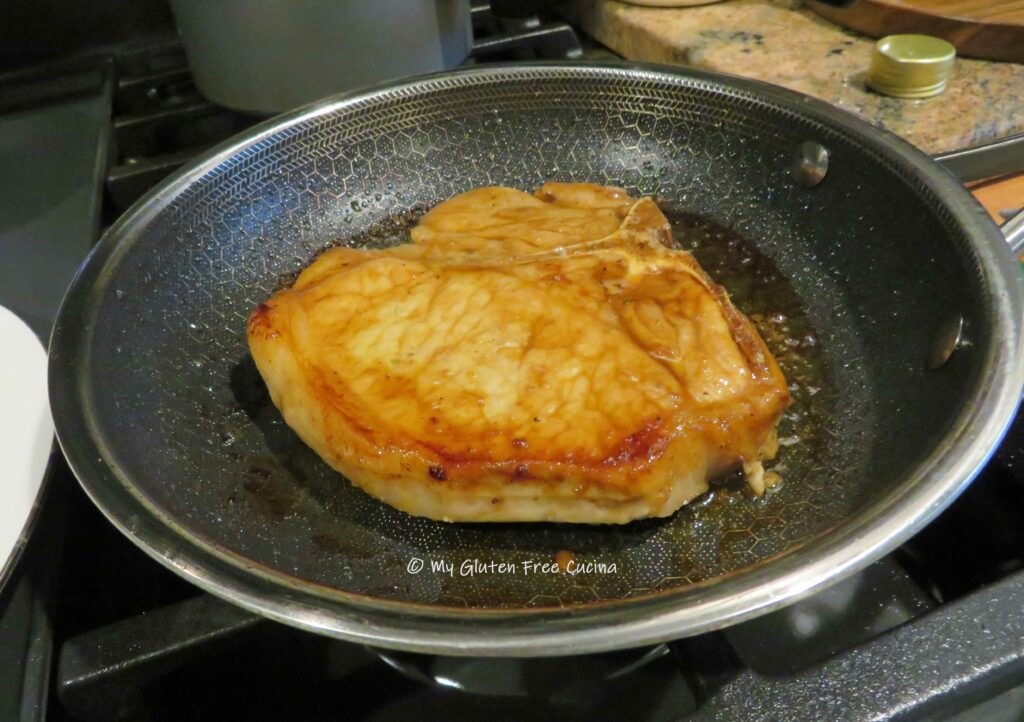
Preheat the oven to 450º. Heat a stainless-steel skillet with olive oil.
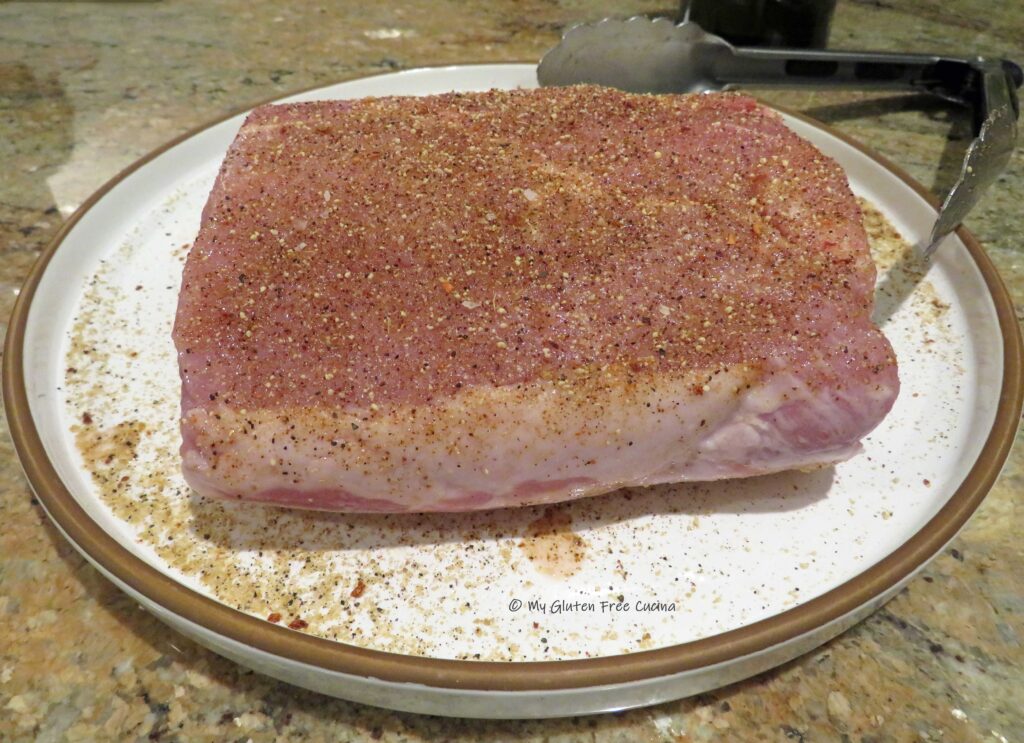
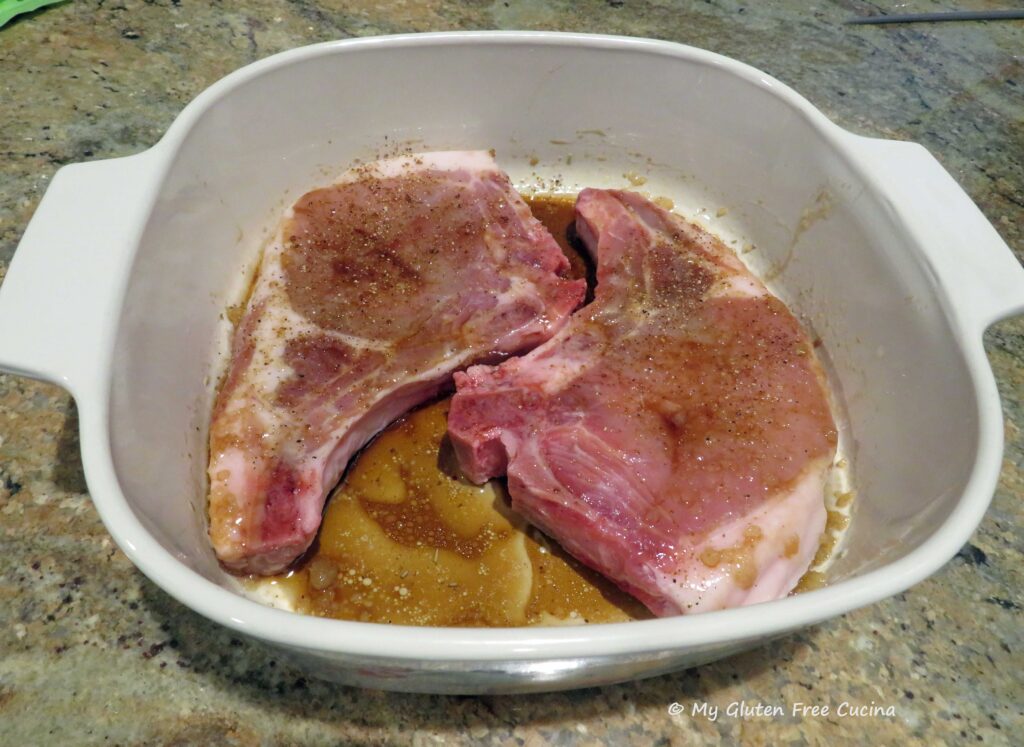
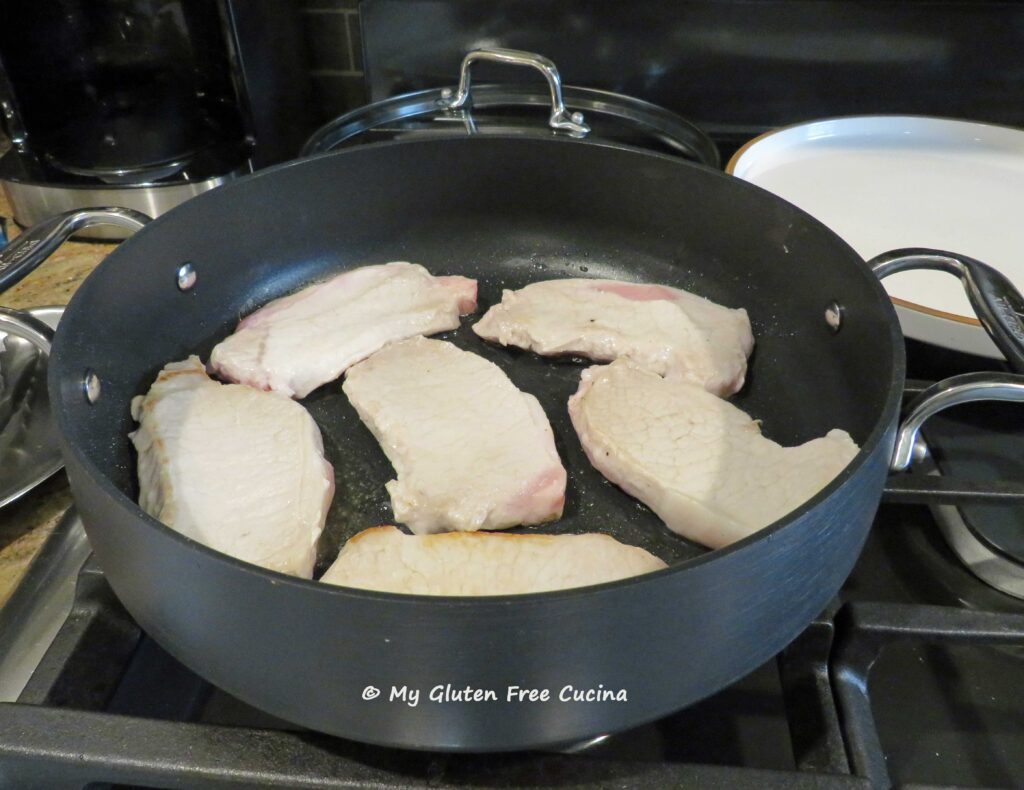
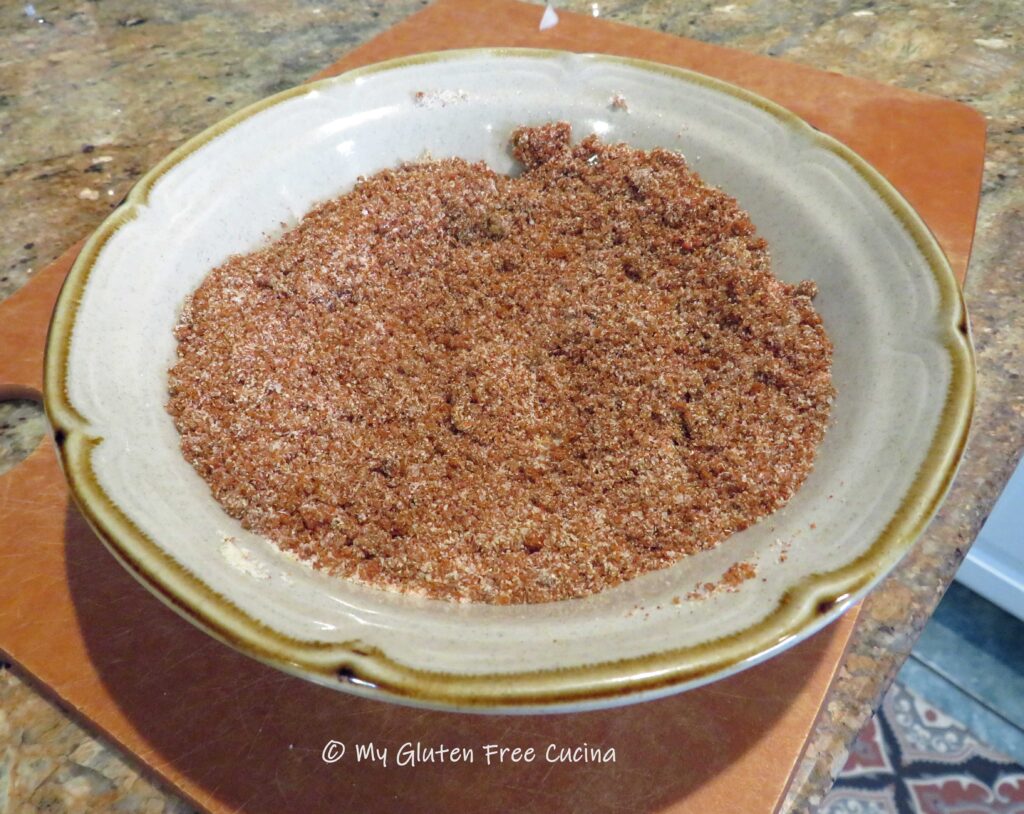
Season the roast all over with your dry rub of choice.
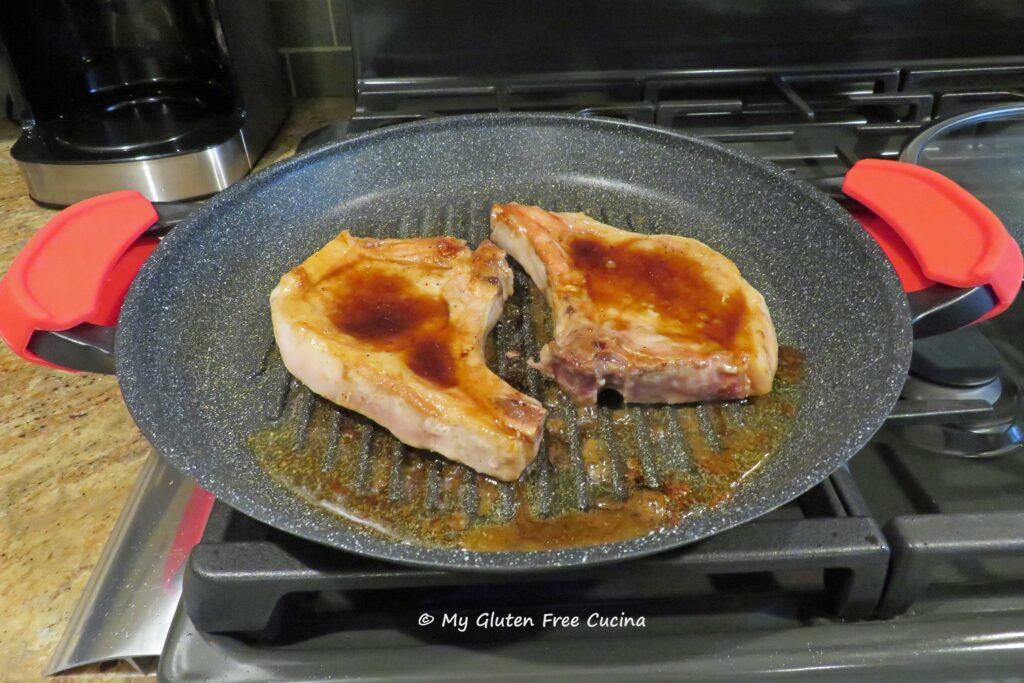
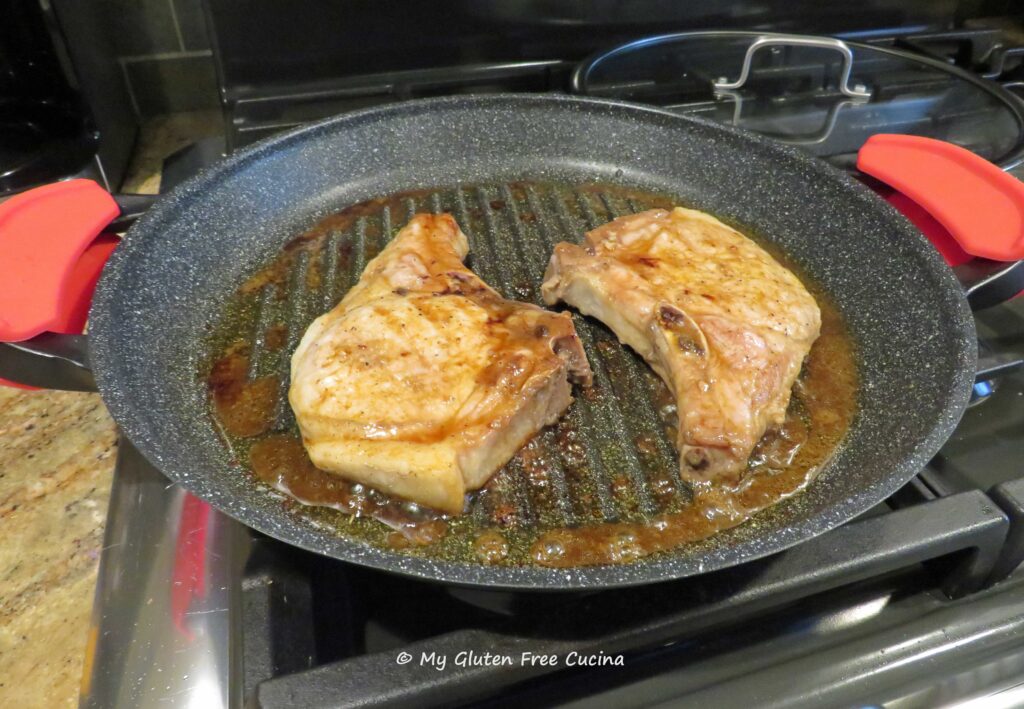
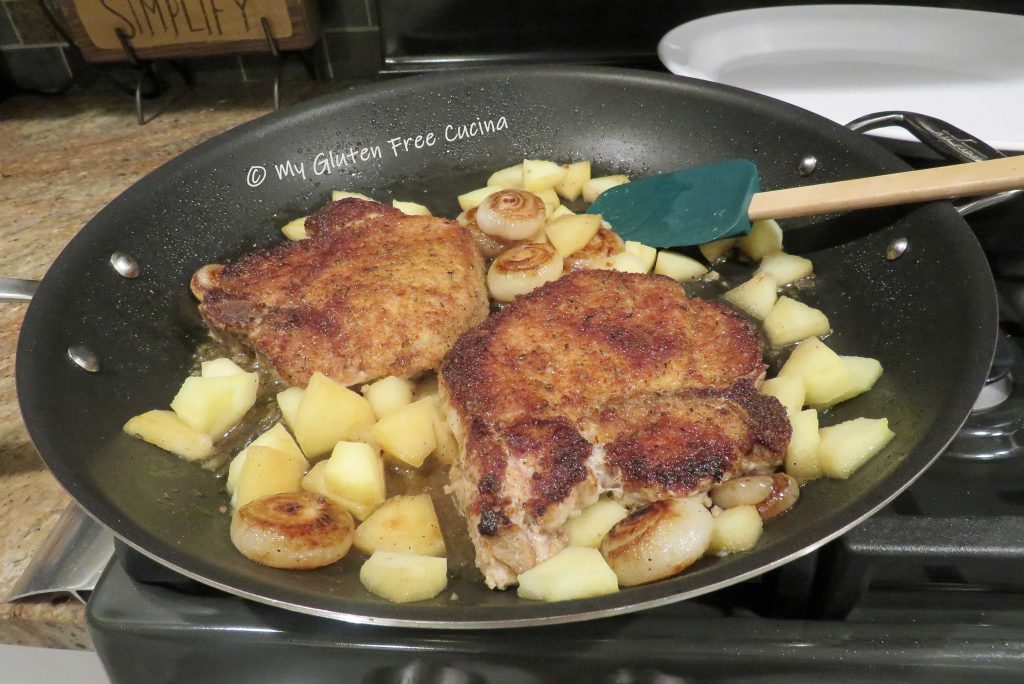
Sear the roast in olive oil, browning all sides.
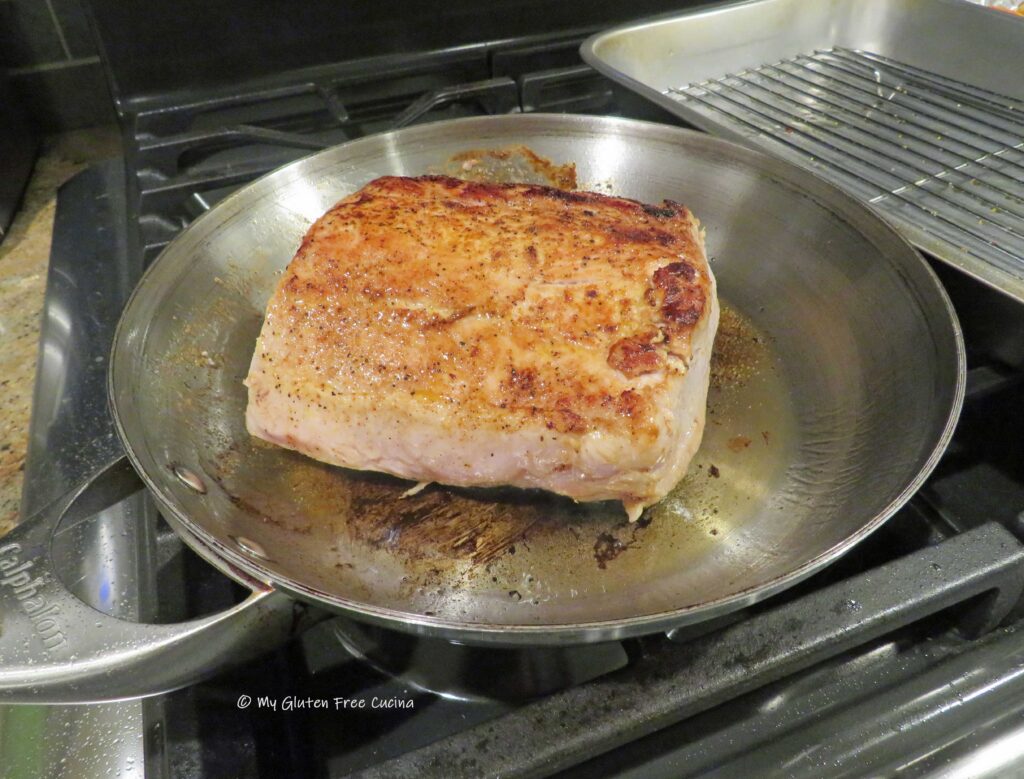
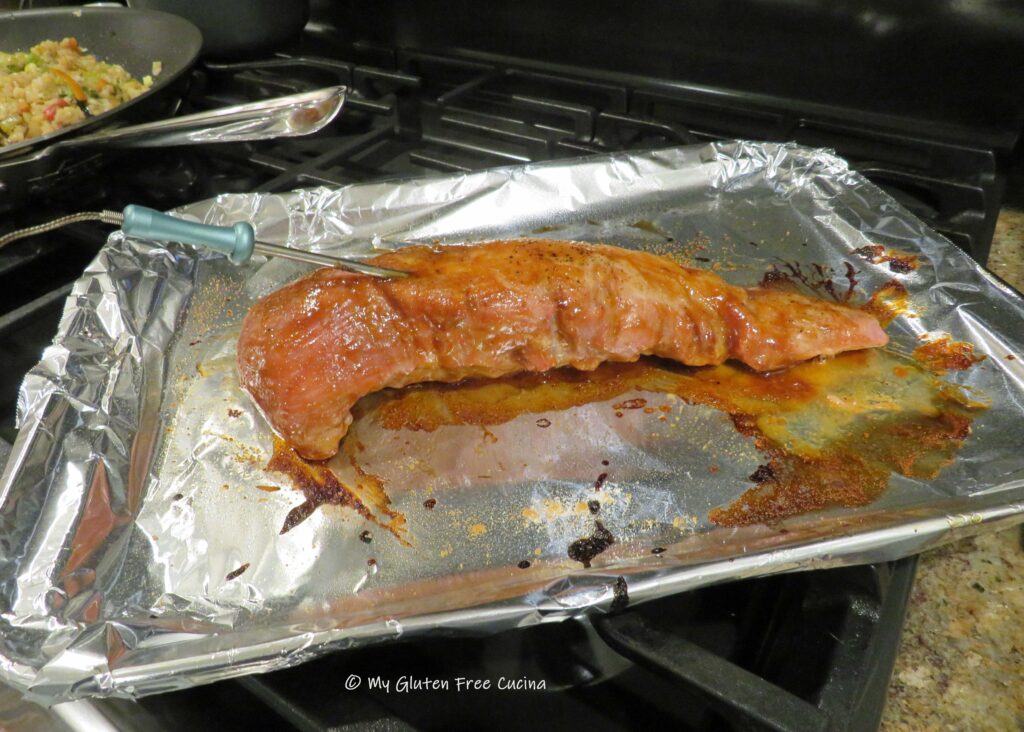
Next set up a small roasting pan with a rack, and mist with cooking spray. Add the roast and brush with half of the honey mixture.

Place the roast in the oven on the middle rack and lower the heat to 375º. Insert a thermometer and bake for 25 minutes.

After 25 minutes, carefully brush with the remaining glaze, tent with foil and continue roasting until the internal temperature reaches 140º, about 35 minutes longer.
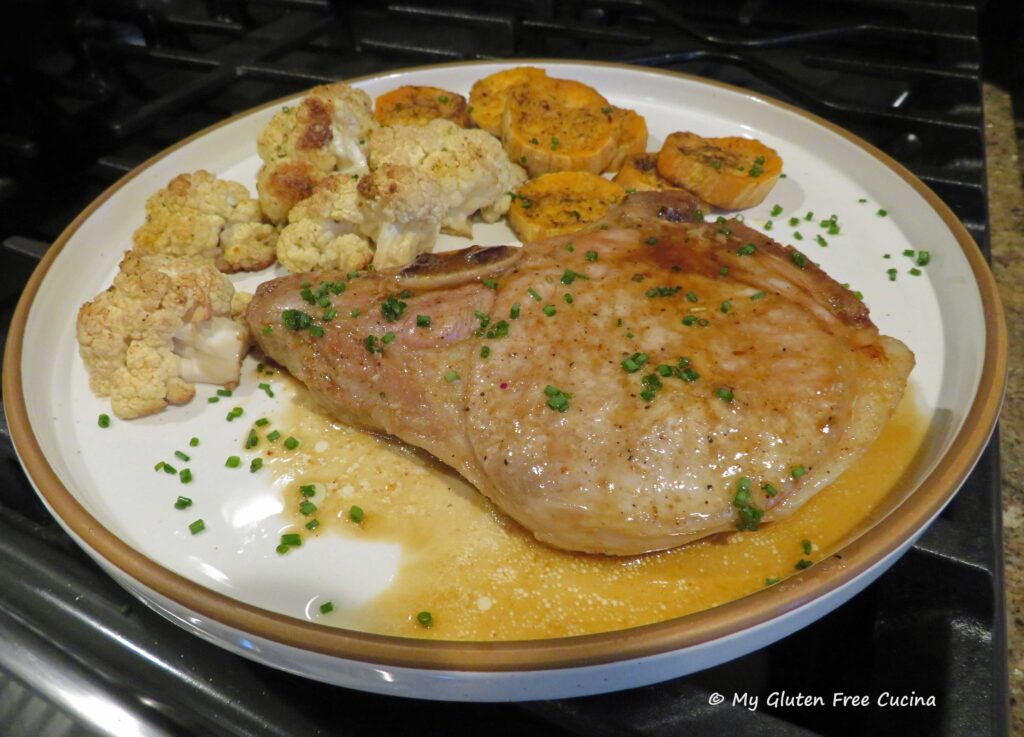
Remove from the oven and let it rest 10 minutes before slicing. As it rests, the internal temperature should continue to rise to 145º, which is perfect for me. If you like your meat well done, you can leave it in the oven a little longer.
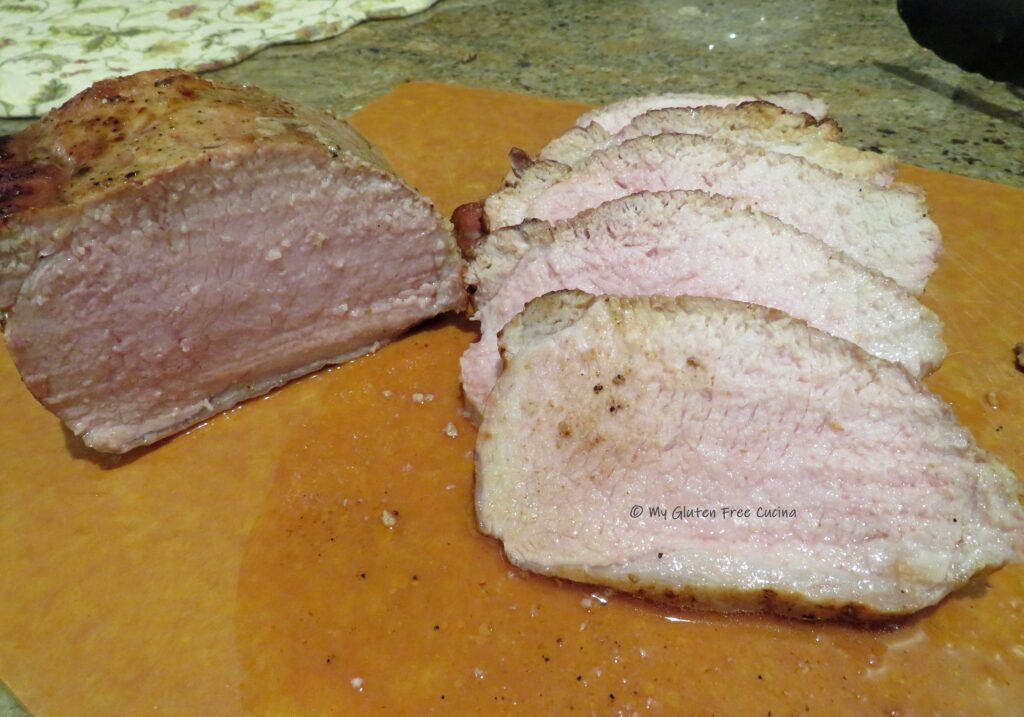
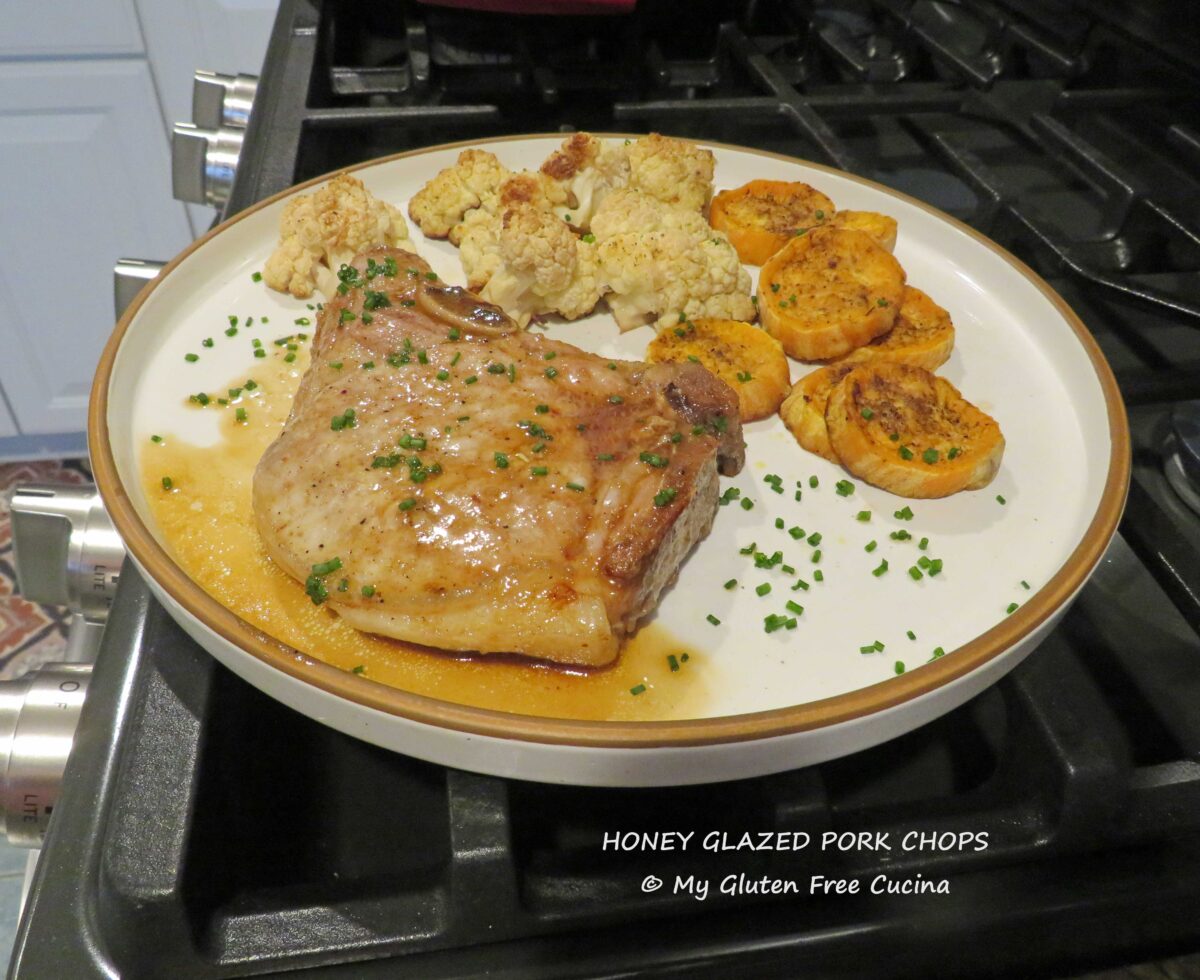
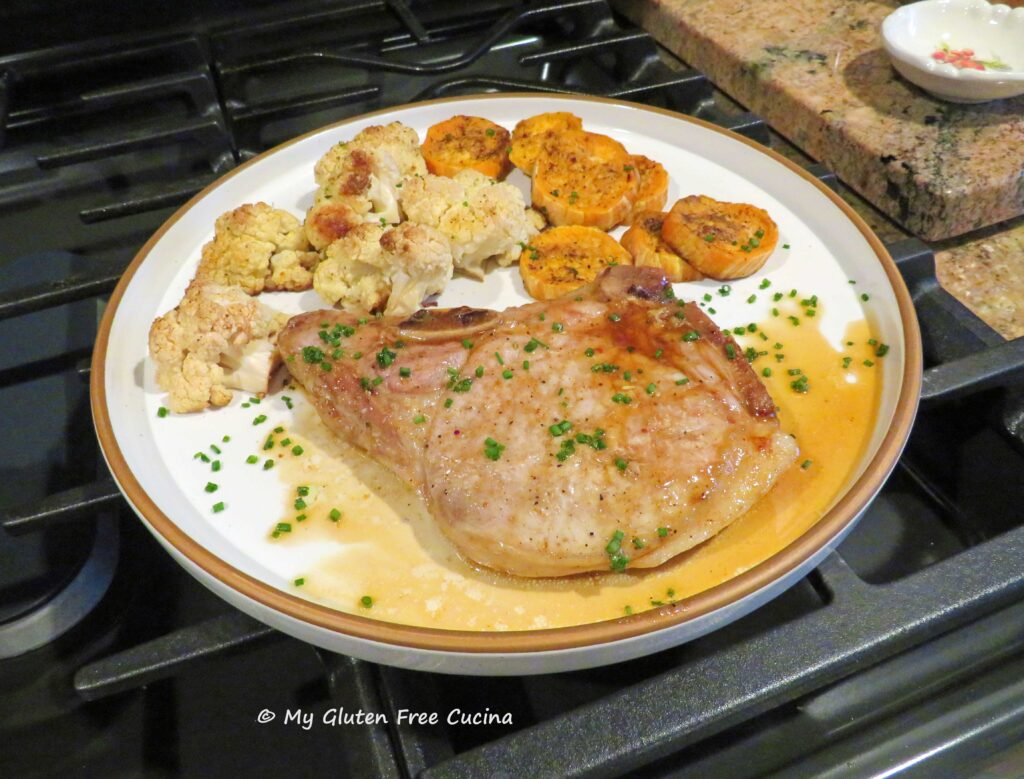
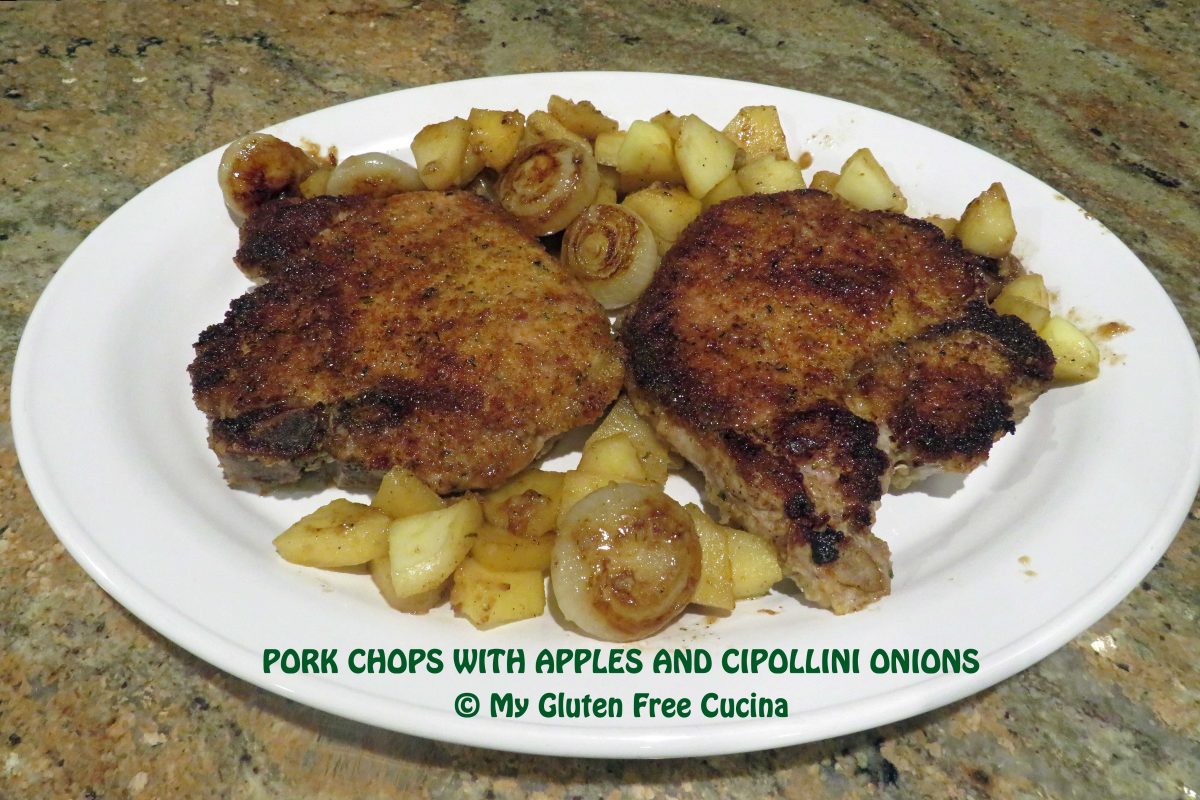
Doesn’t that look great? SO juicy! I served it with potatoes and carrots, but this versatile roast would go equally well with rice or noodles.
Notes ♪♫ This is not an ad, just a recommendation to try the Ginger Chile Espresso Maple Rub from The Spice House, which is what I used in this recipe. It is currently one of my favorite seasoning blends and goes especially well with pork dishes!


 Ingredients:
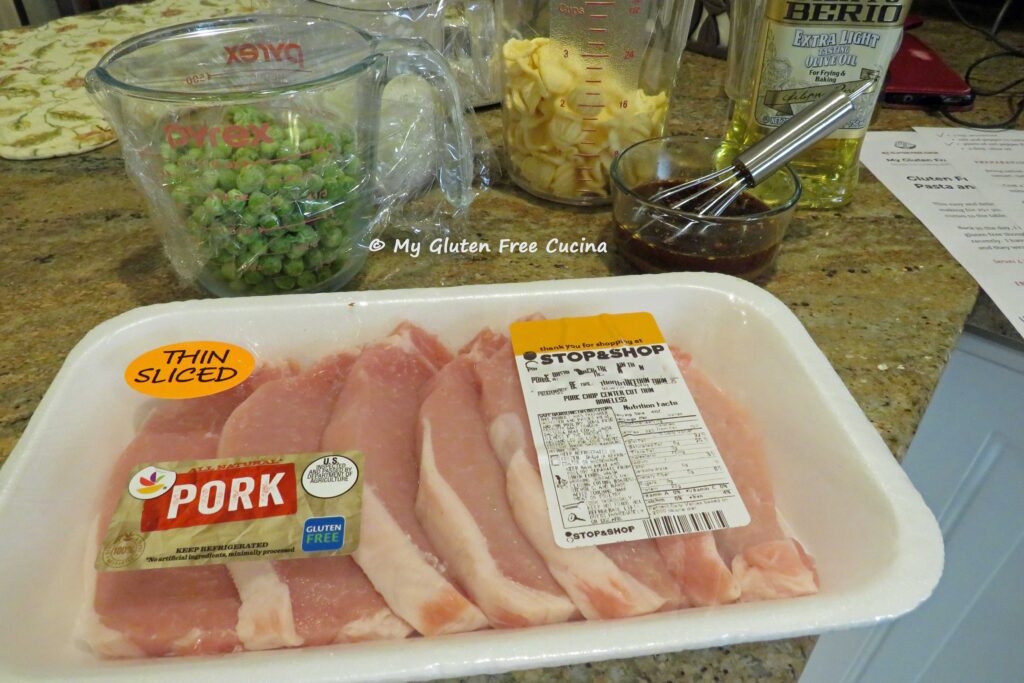
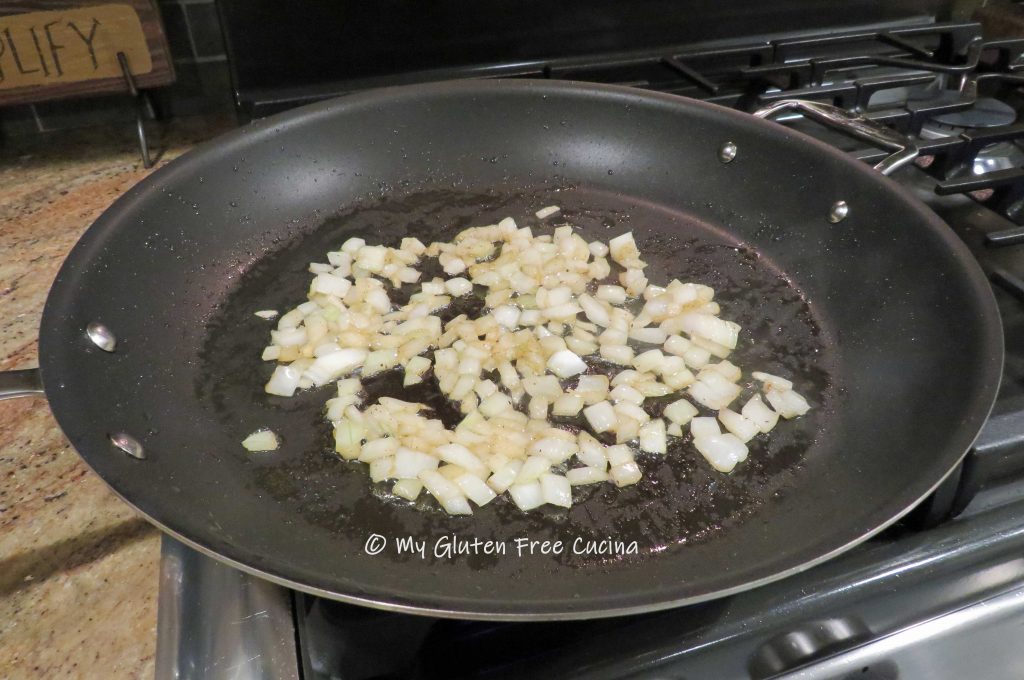
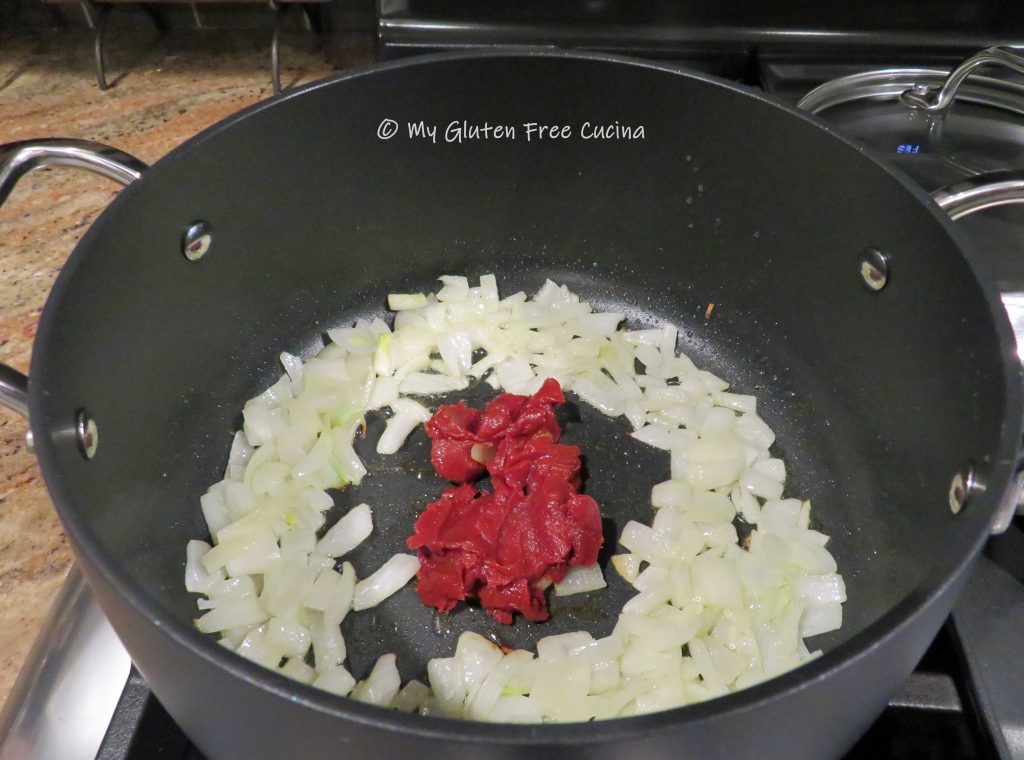
 Add the onions to the skillet with an additional tbsp. olive oil. When the onions are translucent, add 2 tbsp. of the balsamic mixture. Cook, stirring frequently until most of the liquid has evaporated.
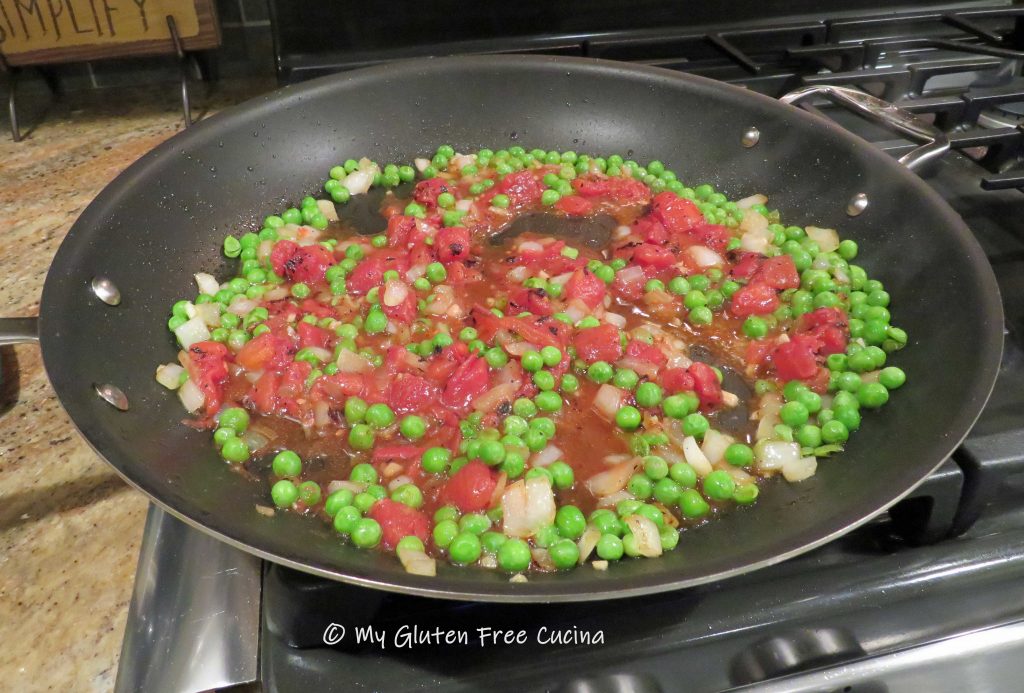
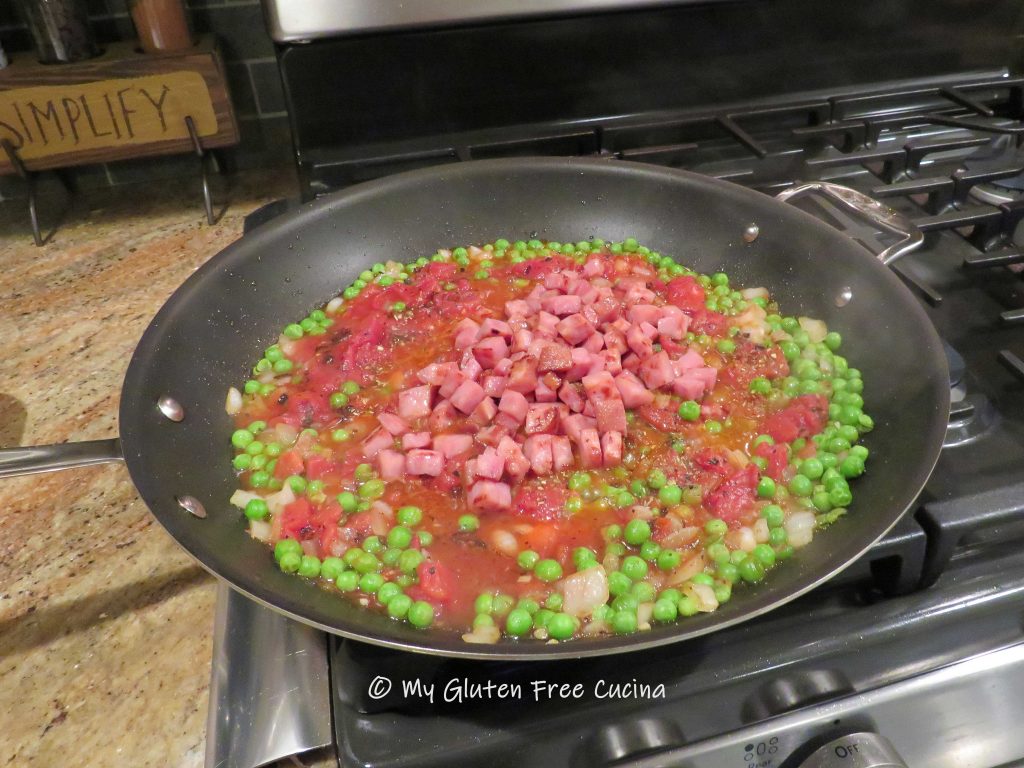
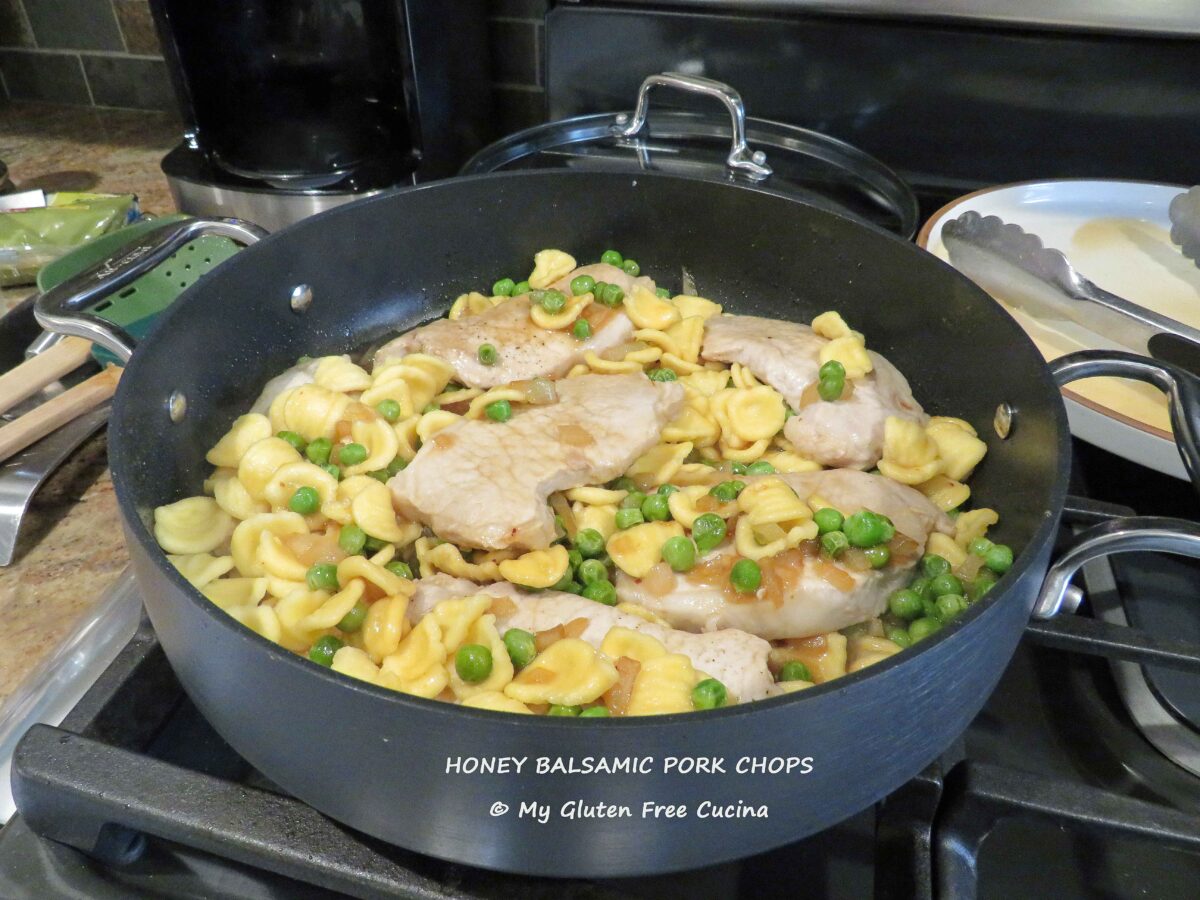
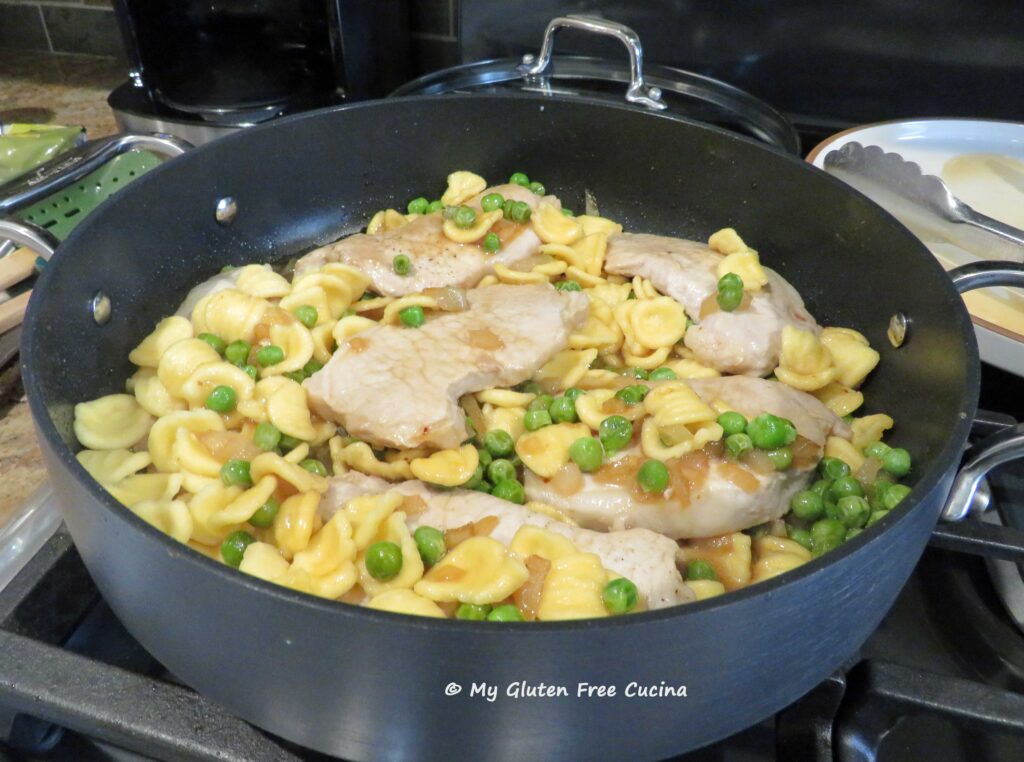
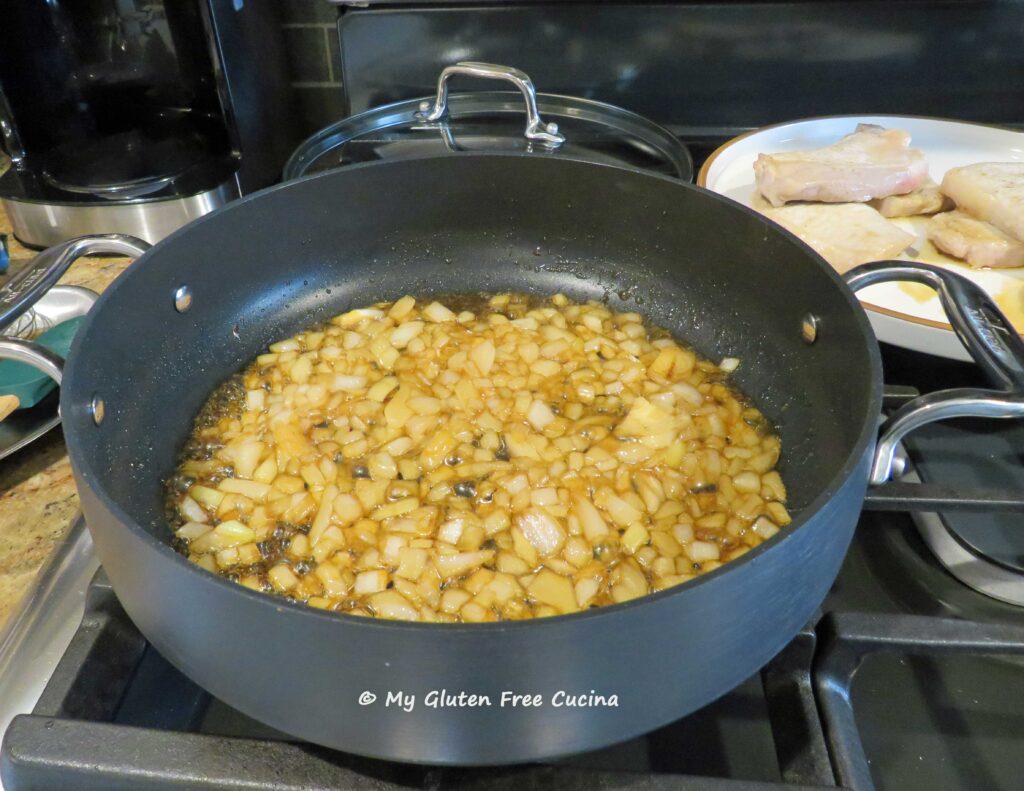 Return the pork chops to the skillet with the peas and drizzle with the remaining balsamic mixture. Continue to cook for several more minutes, until the pork chops are heated through.
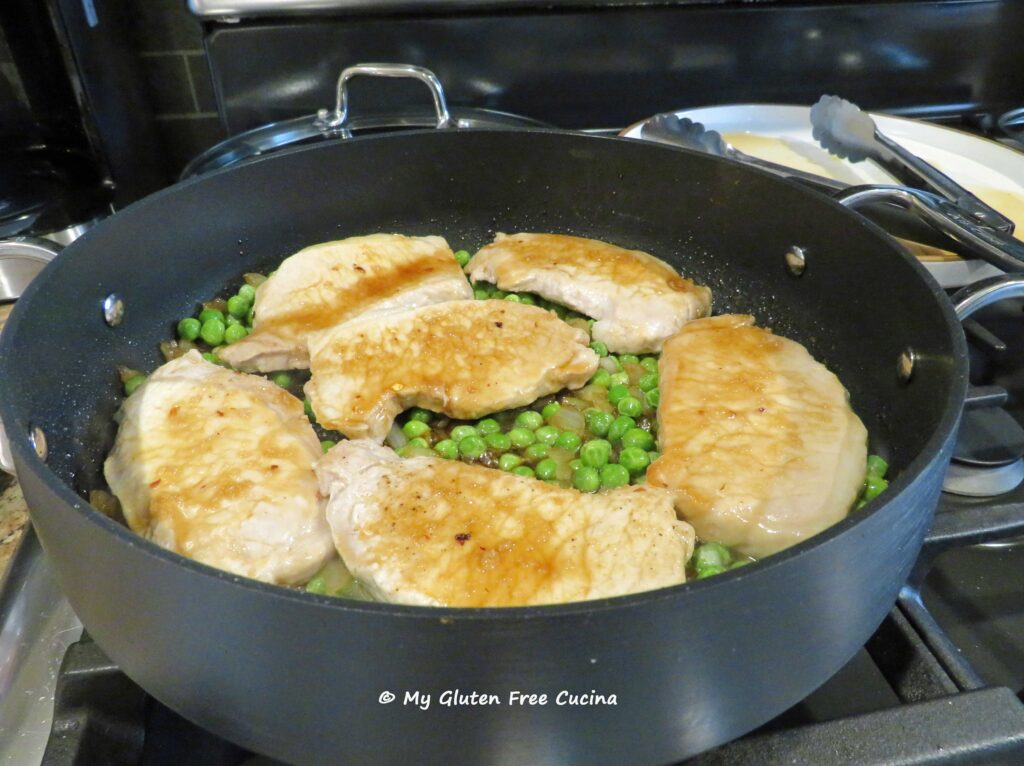 Drain the pasta, add to the skillet and toss to coat. Remove from heat and serve right in the pan for a casual dinner.
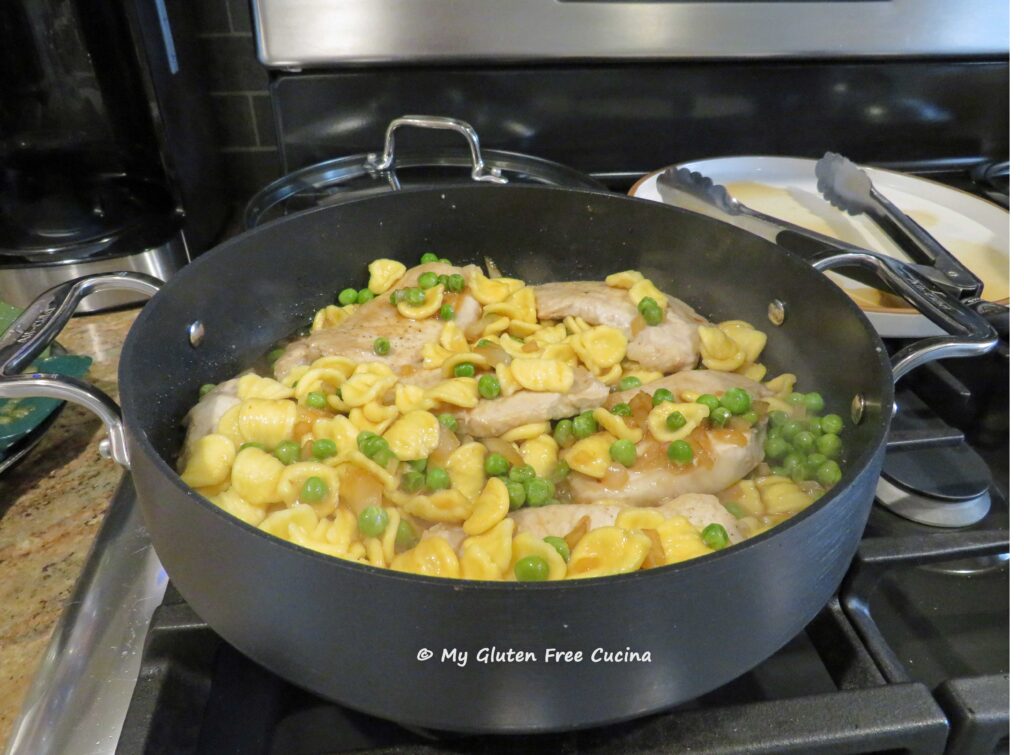 Notes ♪♫
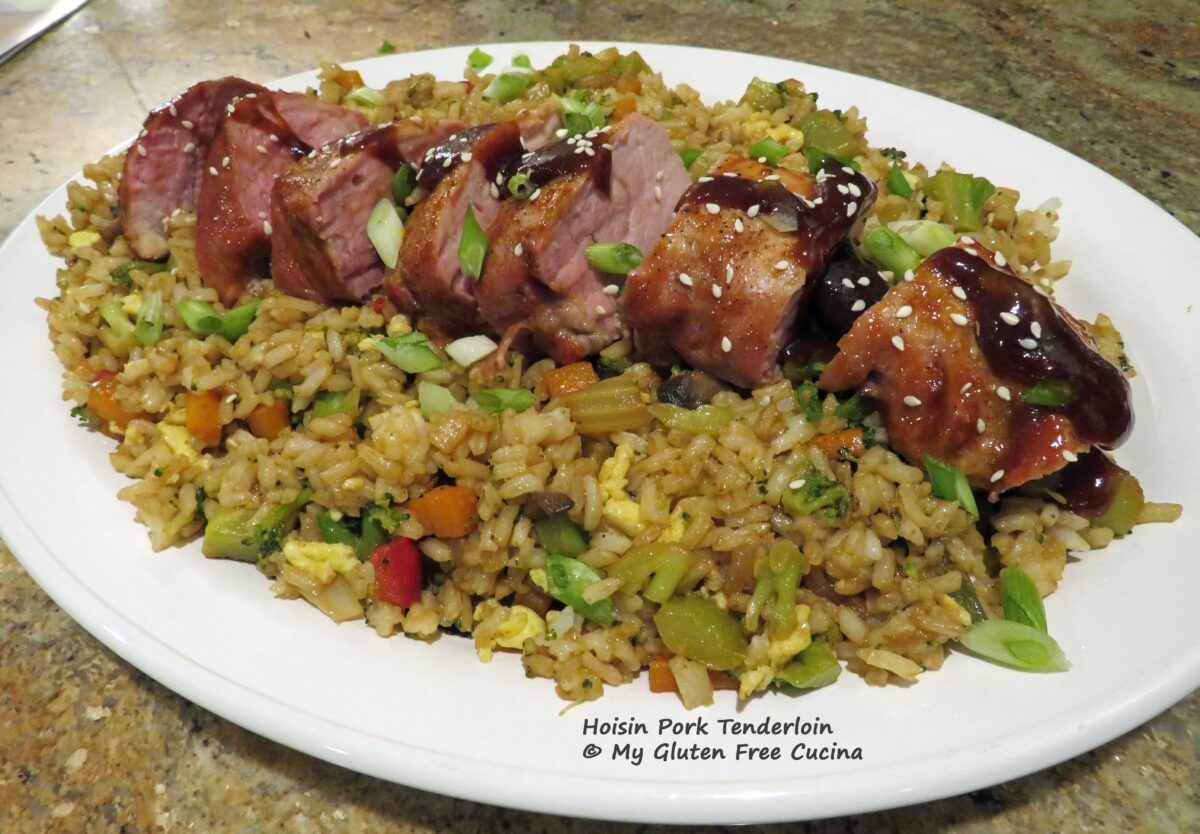


 Preparation:
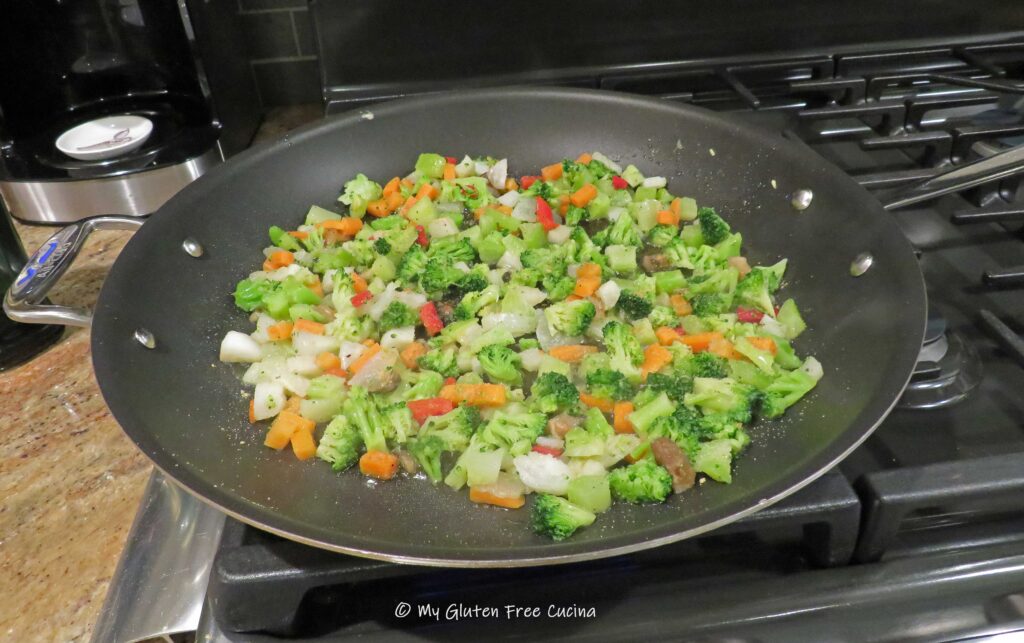
 I did think the veggies were a bit large for fried rice, so I cut them into smaller pieces. Season the veggies with salt and pepper to taste. Sprinkle with garlic and ginger powder and leave them out to defrost.


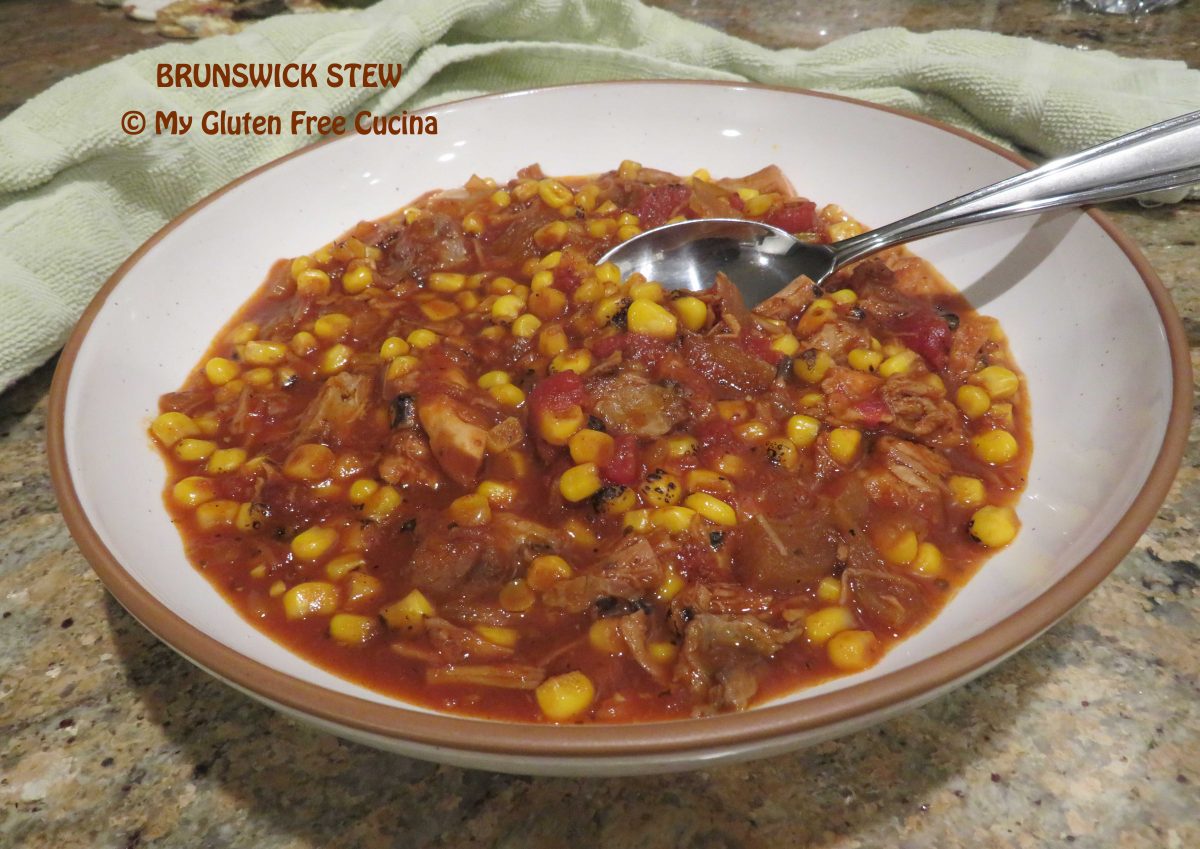

 Let it toast for a minute then add the stock, tomatoes, BBQ Sauce, brown sugar, Worcestershire sauce and seasonings.
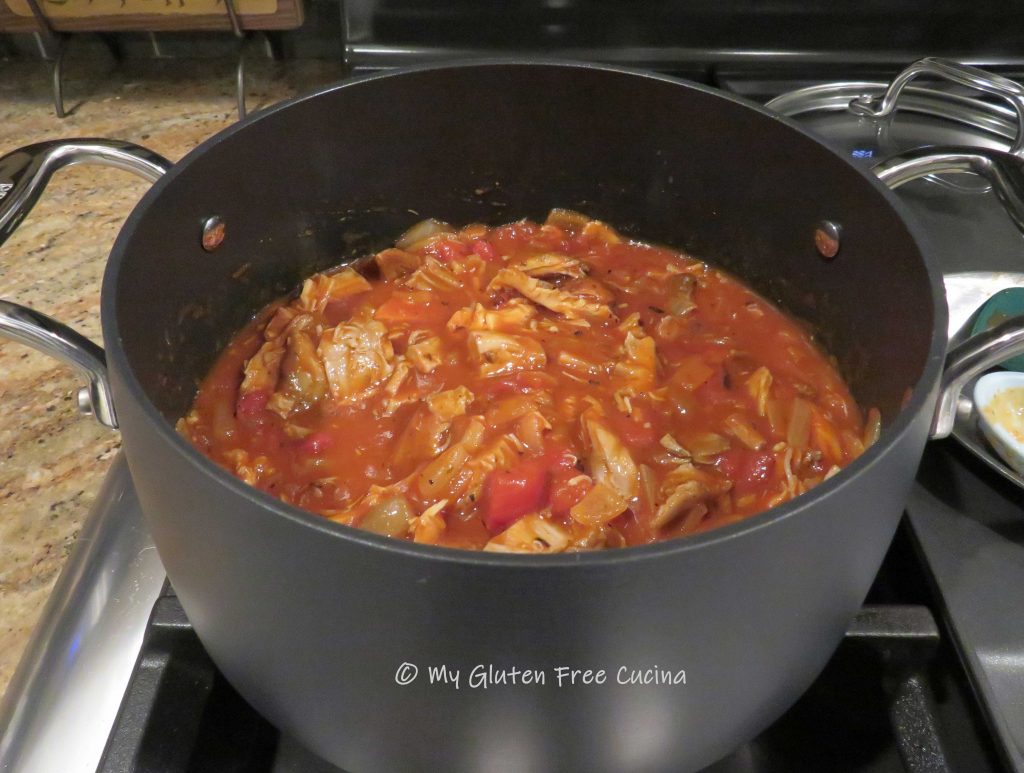 Finally add the fire roasted corn and stir everything together.


 Preparation:
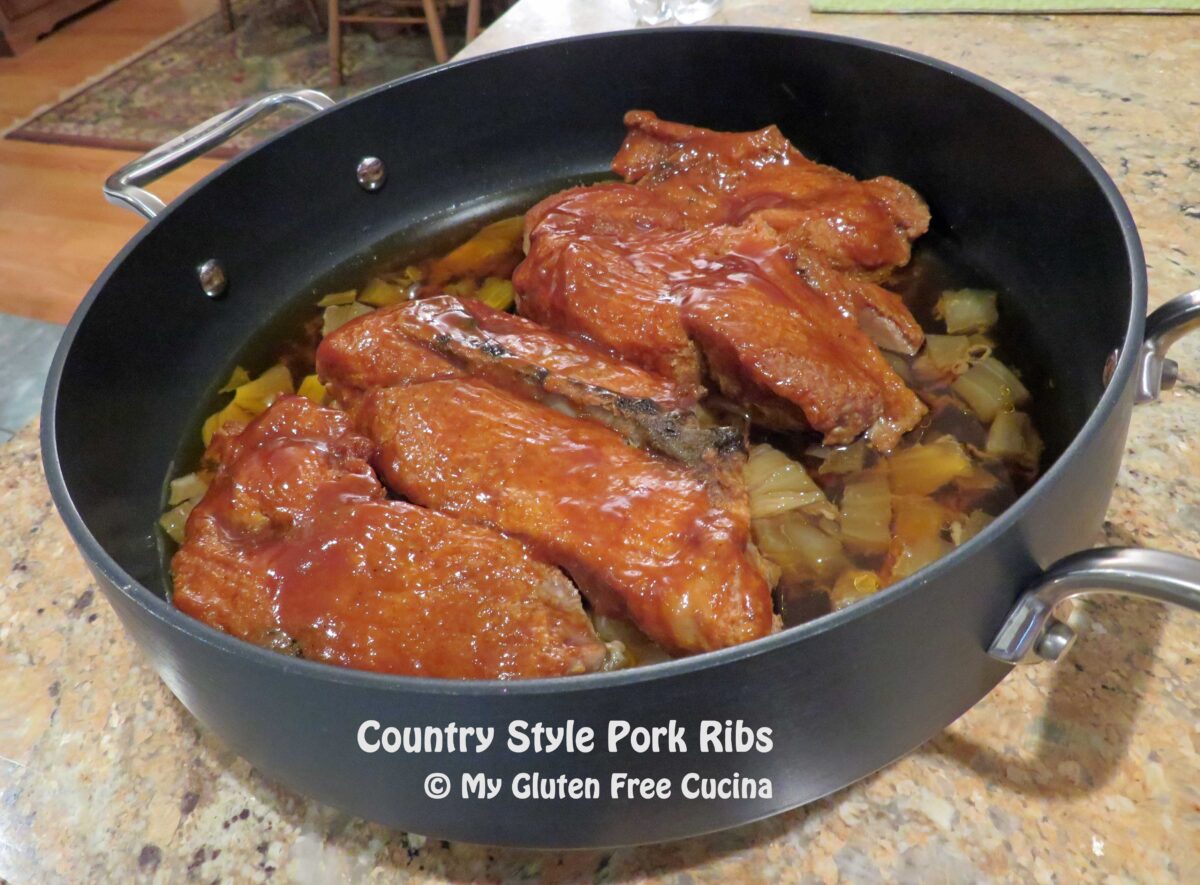
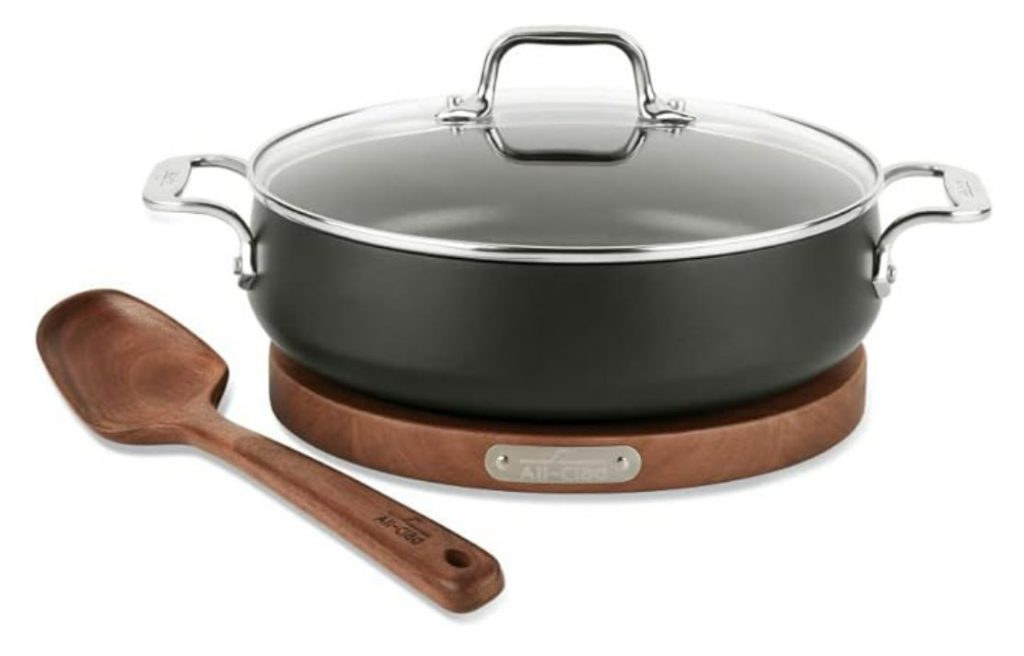
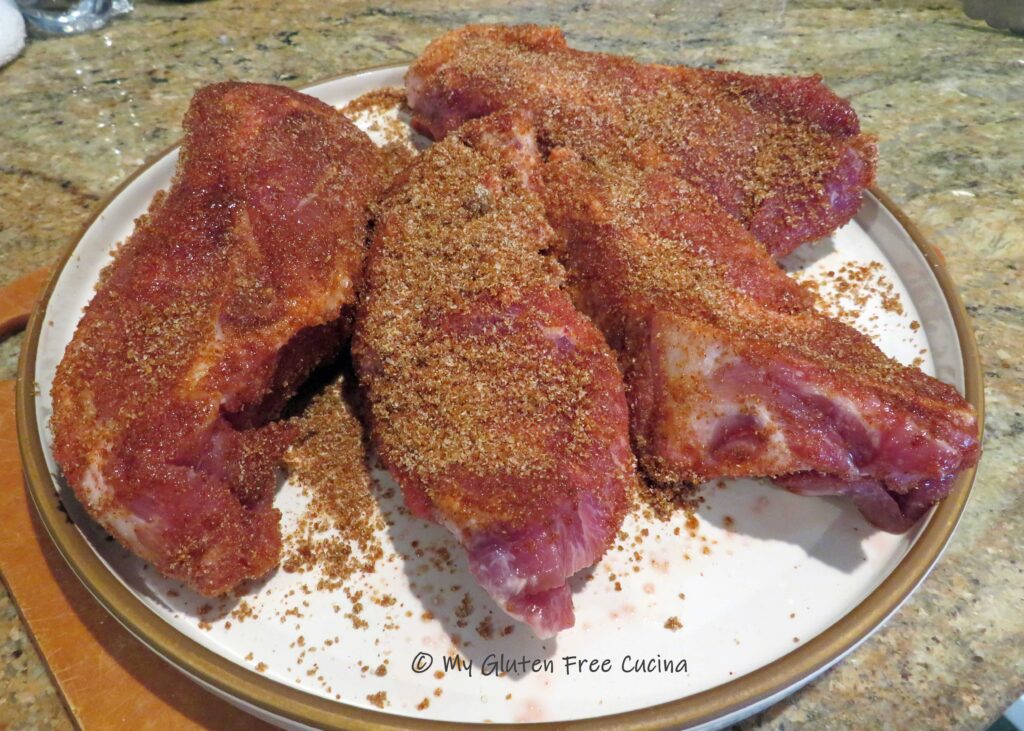 Mist a covered skillet, Dutch oven or braising pan with cooking spray. Cut the onions into large chunks and arrange in a single layer, to create a base for the ribs.
 Place the ribs on top of the onions. As the ribs cook down, they will release liquid, and you want them to be elevated for most of the cook time, not submerged.
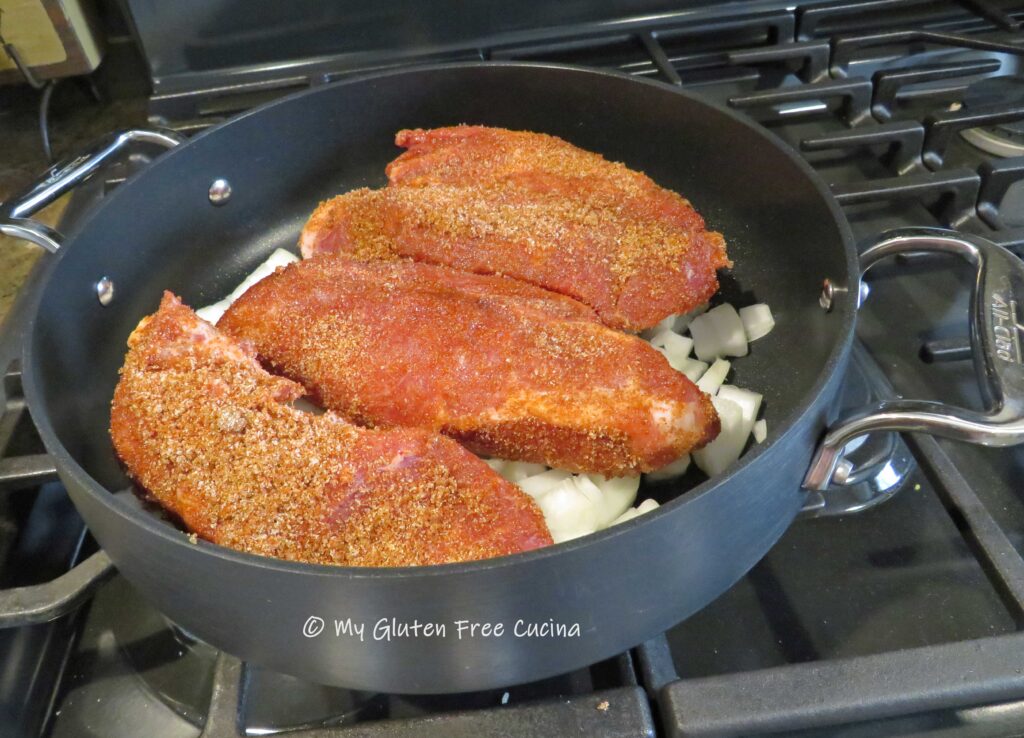 Cover and roast at 225° for 4 hours total. After 3-1/2 hours, uncover and brush liberally with BBQ sauce.
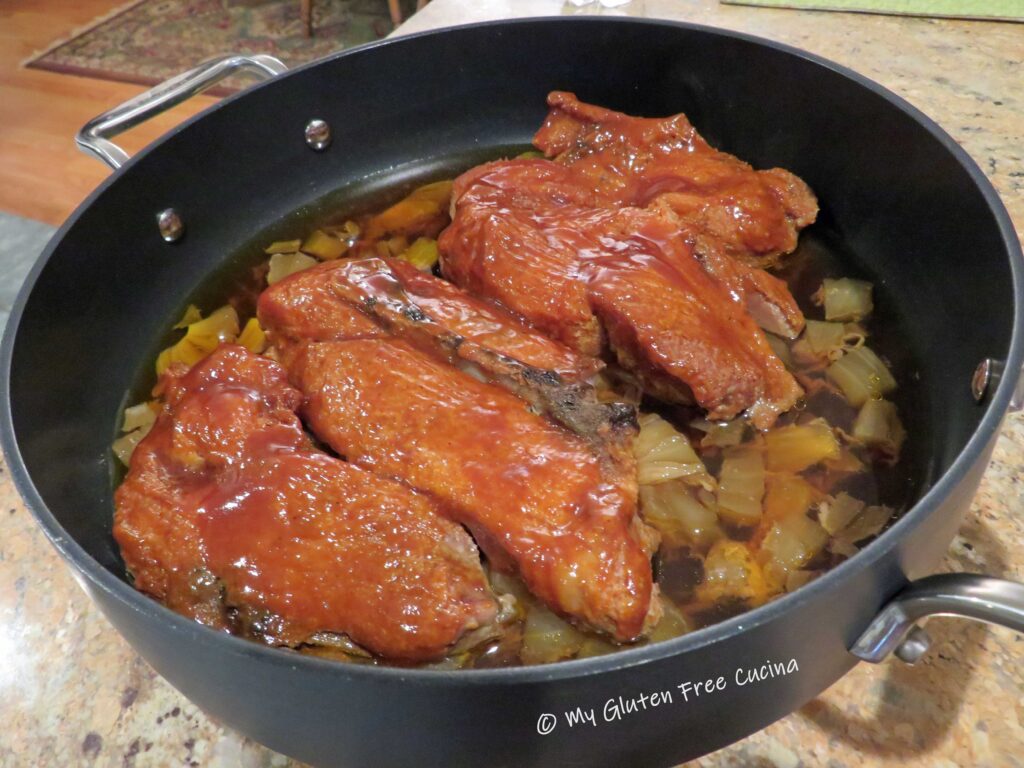 Continue cooking 1/2 hour longer. The meat will be falling off the bone tender!
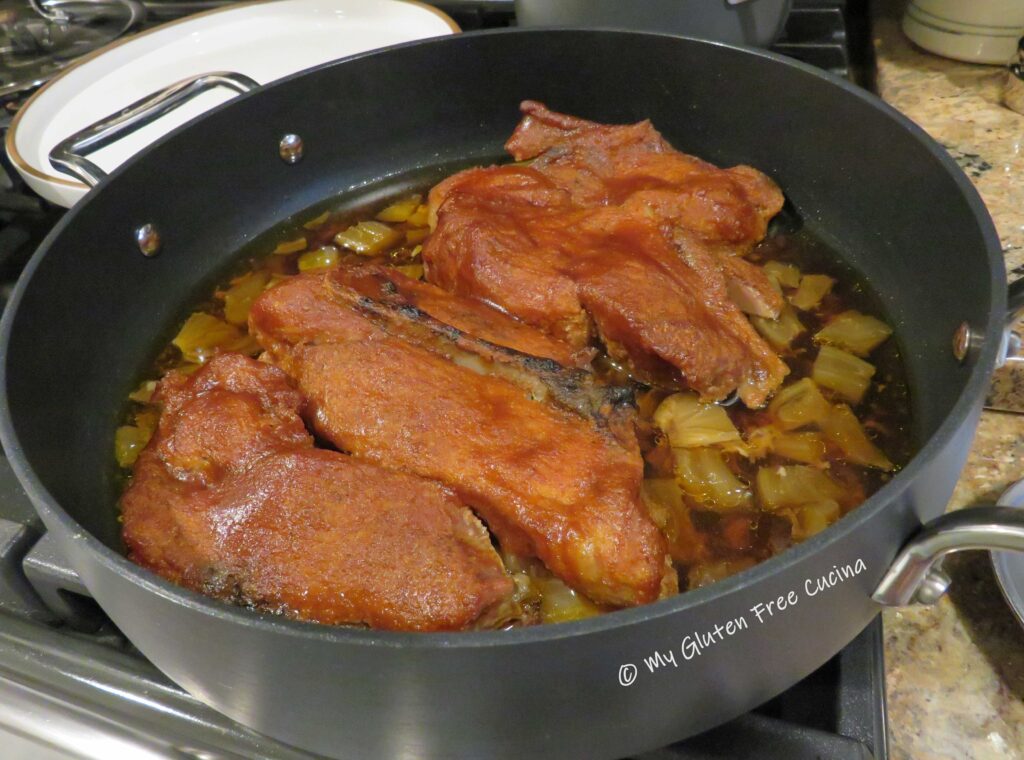 See how much liquid has accumulated in the bottom of the pan, yet the ribs are not swimming in it?
 To plate, spoon some of the onions and pan juice over the ribs. I served the ribs with a side of
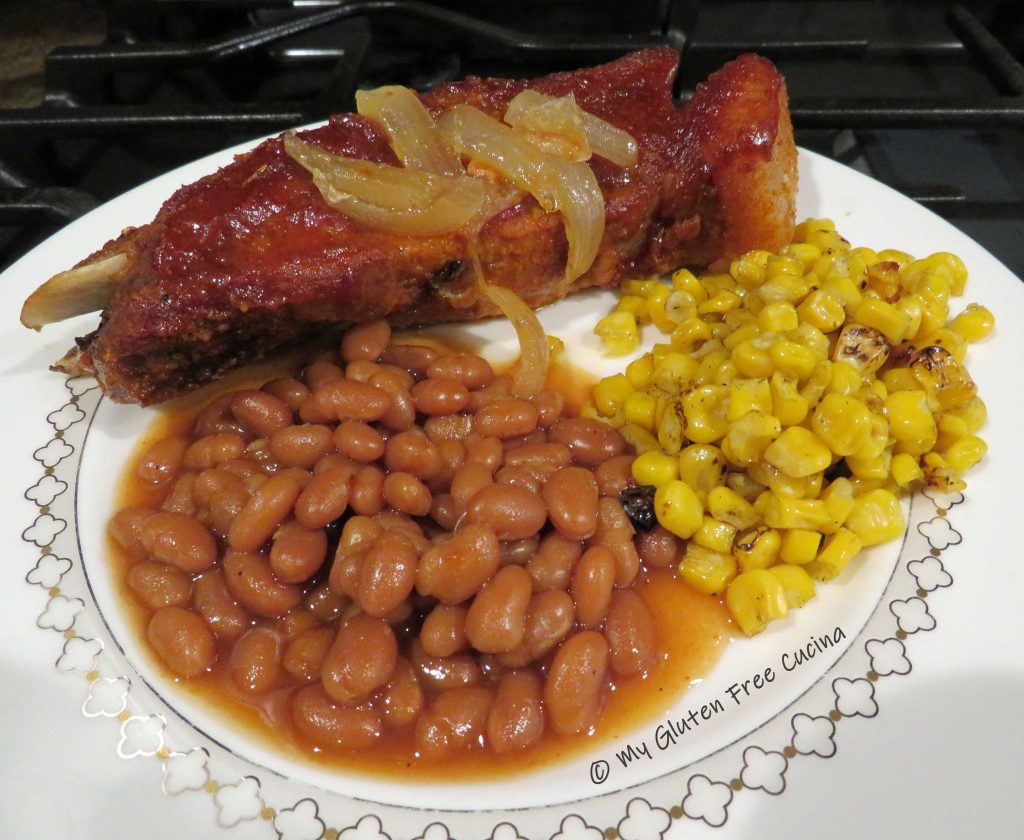
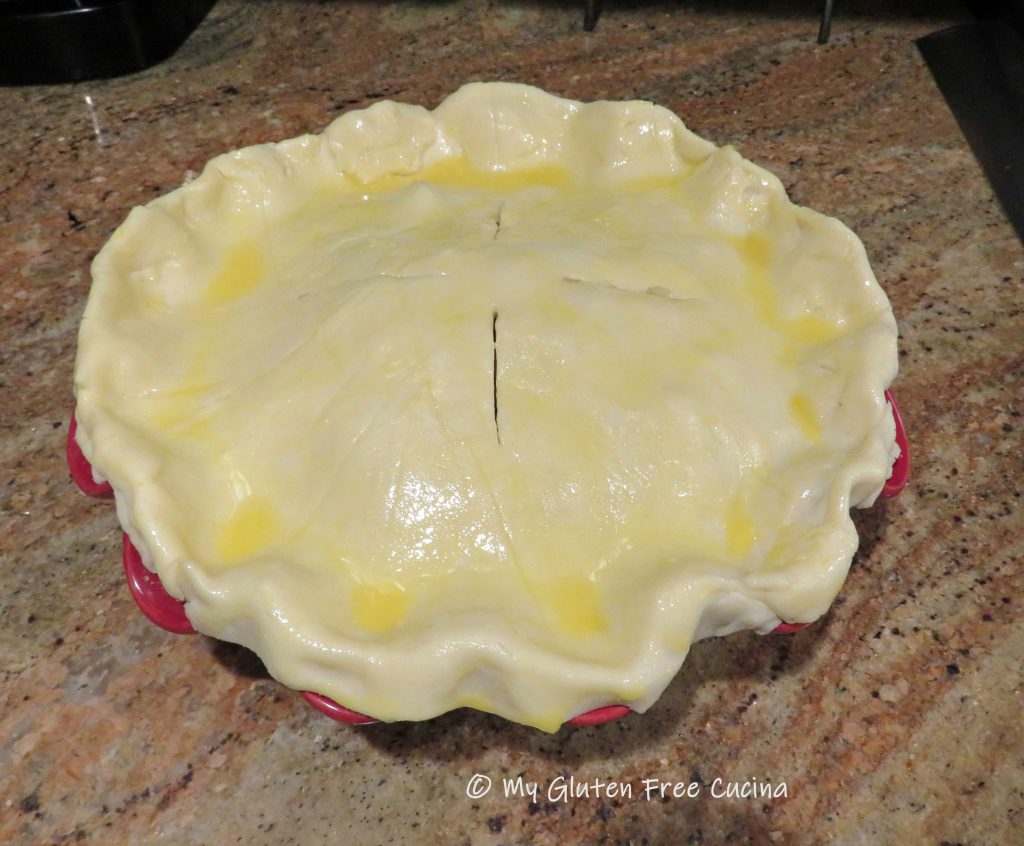
 Place one crust in the


 Preparation: