Split Chicken Breasts over Rice Stuffing

Split Chicken Breasts come out moist and delicious baked over a bed of colorful rice stuffing.  This deconstructed recipe is the easy way to serve Split Chicken Breast without the hassle of stuffing each piece!  Apple and bacon give the stuffing a sweet and savory flavor profile.

This post contains affiliate links.

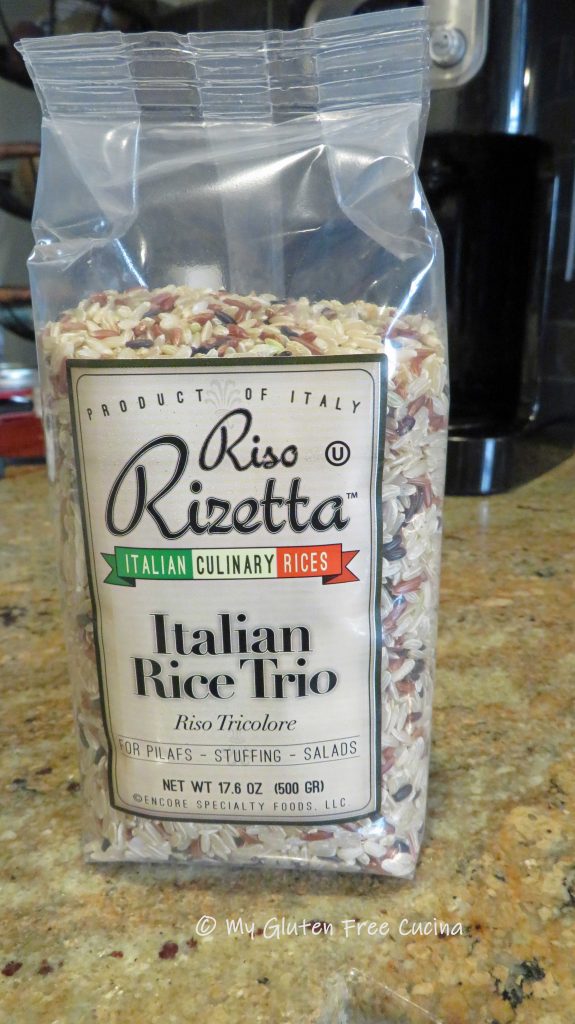
Here are some tips for making this dinner a success.  Use a baking dish large enough to hold the chicken breasts in a single layer.  Partially cook the chicken before adding the stuffing to the dish.  Drain the baking dish halfway through to remove some of the fat before adding the stuffing.  Choose a firm, short grain rice that will stand up to a longer cook time.
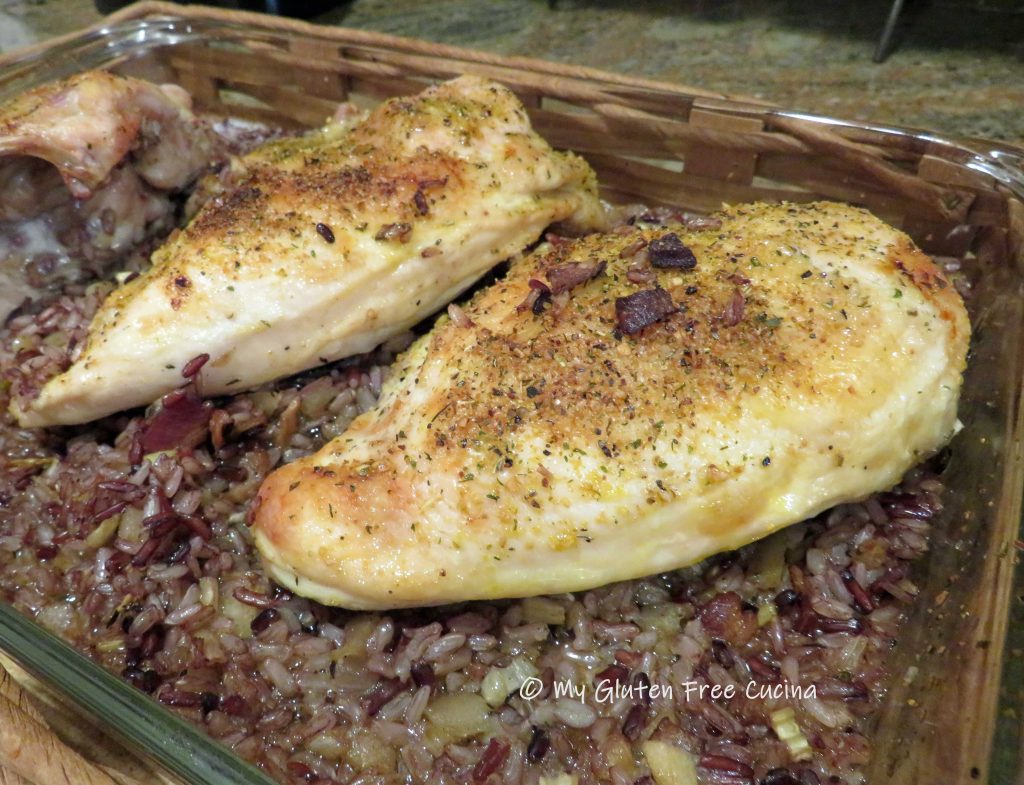
Some of my favorite seasoning blends for chicken are McCormick Montreal Chicken Seasoning, Shallot and Herb Seasoning and Tuscan Seasoning.  Use one or a combination as I have.  These blends are versatile and can be used in so many other dishes like pasta, potatoes and eggs.

This is a great family meal, perfect for casual entertaining!

3 Servings

Ingredients:

For the rice:

For the stuffing:

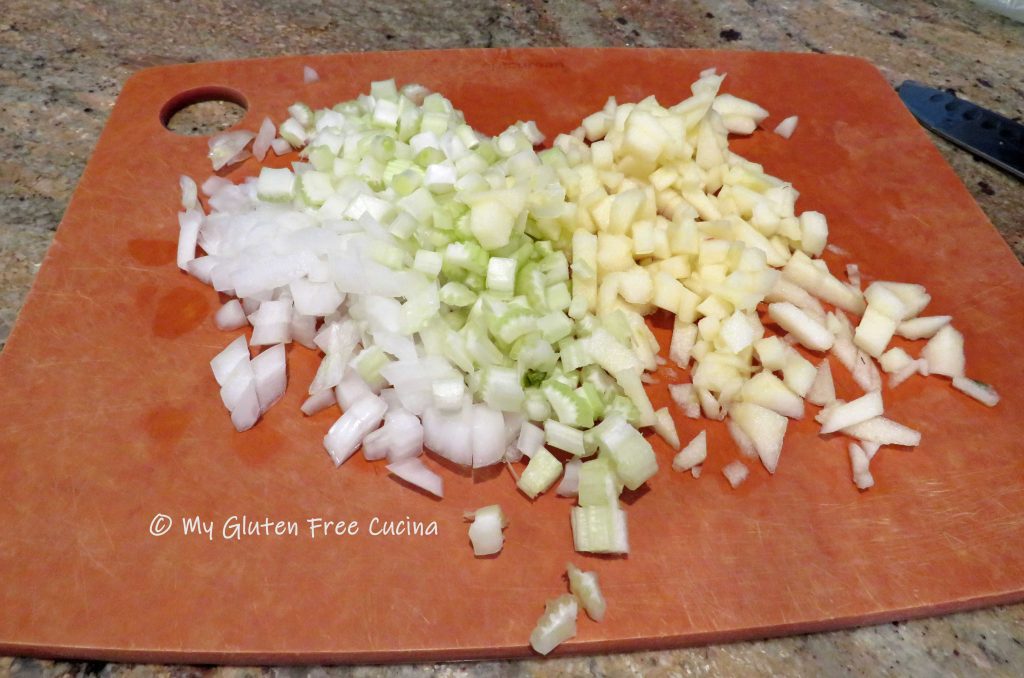
  • 1/2 cup onion, small dice
  • 1/2 cup apple, small dice
  • 1/2 cup celery, small dice
  • 2 strips bacon, cut into 1/2″ pieces
  • olive oil
  • sage
  • thyme
  • salt and pepper to taste

For the chicken:

Preparation:

Rinse the chicken and pat dry.  Brush with olive oil and season.  Coat a 9×13″ baking dish with cooking spray and arrange the chicken in a single layer.  Bake at 350º for 45 minutes.
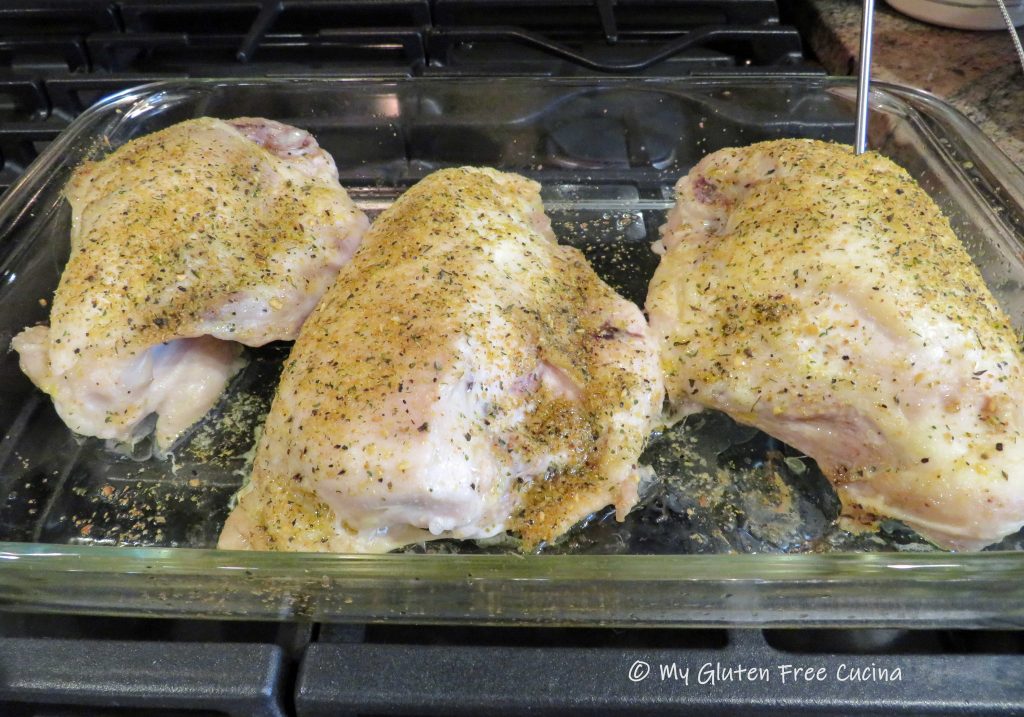
While the chicken bakes cook the rice.  I cooked 1 cup rice in 2 cups water and 3/4 tsp. seasoned salt.

To make the stuffing, begin cooking the diced bacon in a stainless-steel skillet until crisp.  Use a slotted spoon to remove the bacon bits and drain on paper towel, leaving any remaining bacon fat in the skillet.  Add a small amount of olive oil and sauté the onion, celery and apple until crisp tender. Season with sage and thyme then add back the bacon bits.
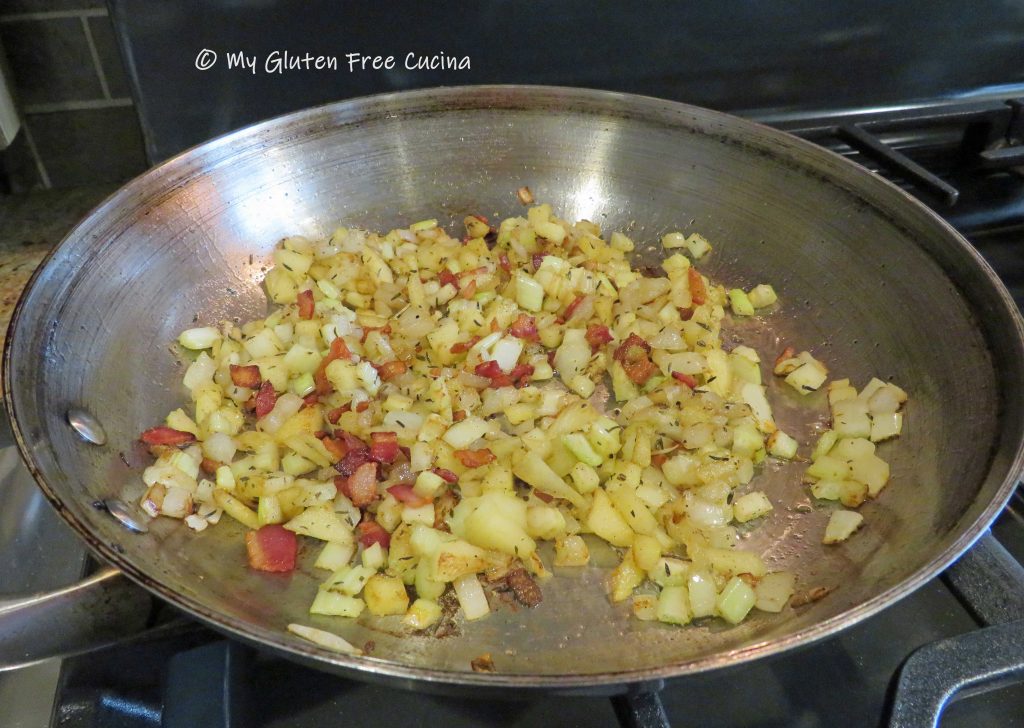
Add the cooked rice to the skillet with the stuffing and stir well to combine.
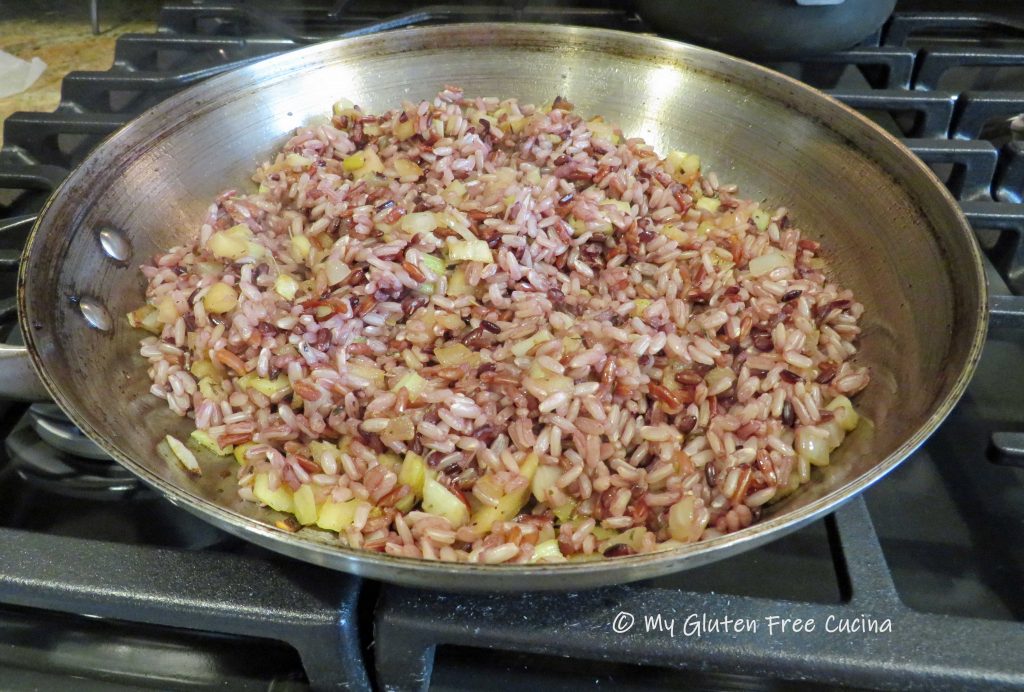
When the chicken has baked for 45 minutes, remove from the baking dish and drain any liquid.  Spread the rice and stuffing mixture evenly in the bottom of the baking dish and add 1/2 cup chicken broth.  Return the chicken to the baking dish and finish baking 45 minutes longer.
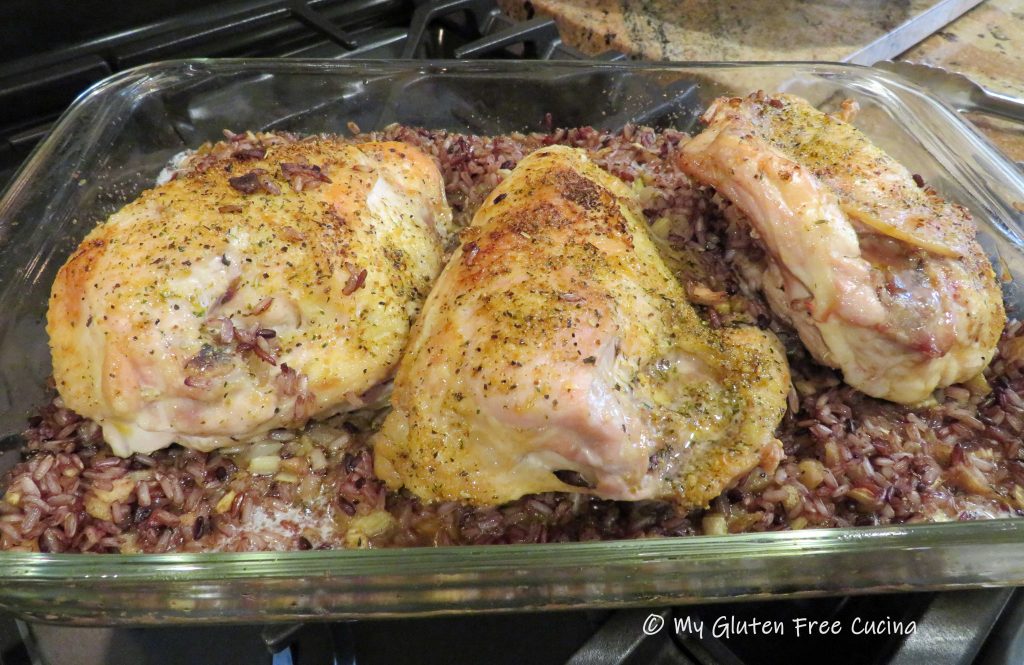
If you like a crispy skin, you can broil the chicken for a few minutes at the end of the cook time.
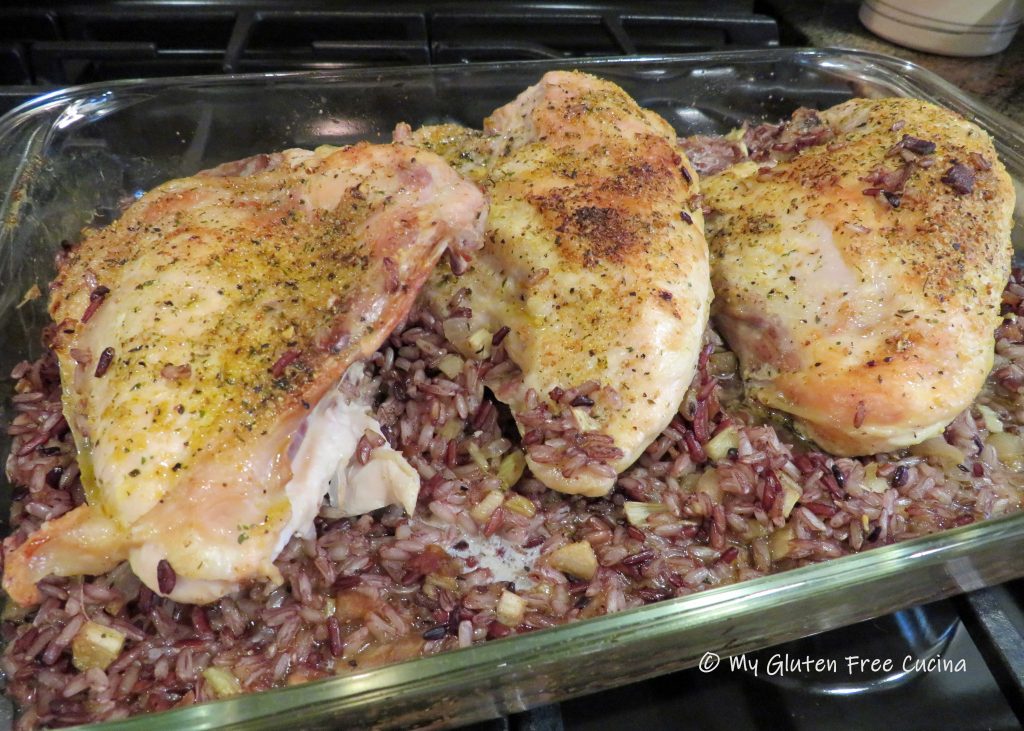
Notes ♪♫ I got this wonderful Italian tri-color rice at a local shop and have also purchased it on Amazon.  If Amazon is out of stock, try Rice Select Royal Blend for something similar.

Print This Post Print This Post

Gluten Free Air Fryer Chicken Thighs

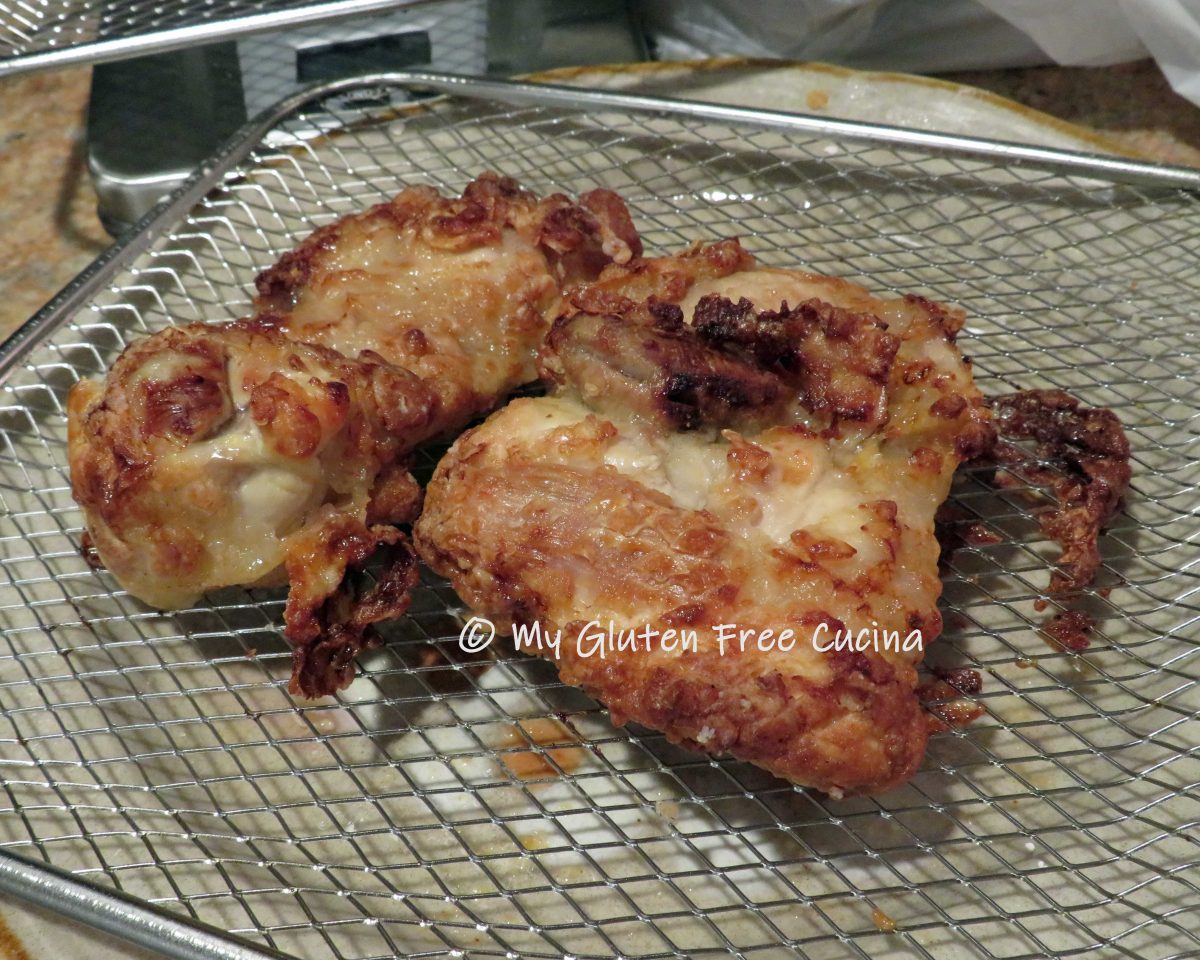
Look at those crispy chicken thighs!  Would you believe they were not deep fried?  Of course the title gives it away, this chicken was cooked in an air fryer.  Crispy on the outside, moist and juicy on the inside.  It reminds me of the “bucket of chicken” I loved as a child!  It’s hard to believe this chicken is gluten free!

Now for the real surprise.  These chicken thighs are both boneless and skinless!  That’s right friends, you don’t need the skin to get that delicious crispy coating.  And it’s the best “fried” chicken I’ve had in years.

This post contains affiliate links.

4 Servings

Ingredients:

Preparation:

Whisk together the buttermilk (or use powdered equivalent), and Montreal chicken seasoning.  Buttermilk is not a pantry staple at our house, but I always keep buttermilk powder in the pantry.  Alternately, you can add 0ne tbsp. of lemon juice to regular milk and let the mixture stand for 15 minutes.

Set a clean food grade plastic bag (such as a bread bag) in a medium bowl.

Add the chicken pieces to the bag, and pour in the marinade.

Tie the bag to ensure all pieces are covered in the milk mixture, and let it sit at room temperature 1 hour.

In another plastic bag, add the tapioca starch and paprika.

Add the chicken to the flour mixture one piece at a time, shaking to coat.  Coat air fryer trays with cooking spray and arrange the chicken.  Use 2 trays to allow room for the air to circulate.

Refrigerate the floured chicken for 30 minutes.

Preheat the air fryer for 5 minutes at 400º.  Spray the top of the chicken with cooking spray (Important: you need that little bit of cooking spray to get the crispy crust.  You don’t need to saturate it, just a light even coating of oil.)  Place trays in the air fryer and set to 400º for 30 minutes.

Half way through, turn the chicken over and (don’t forget) spray with cooking spray.  Return to the air fryer, switching positions (the tray that was on top moves to the bottom) and continue cooking for another 15 minutes.  Check the internal temperature with a thermometer.  Thighs are done at 165º-170º.

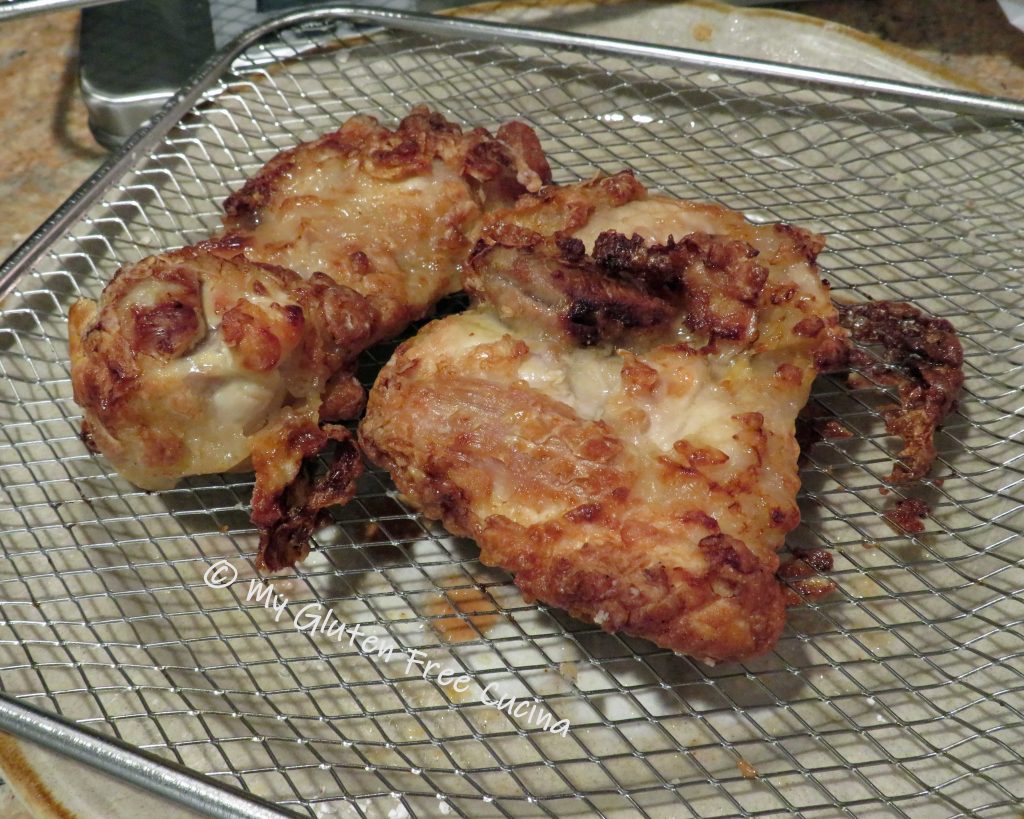
Don’t they look delicious?  This chicken has become a new family favorite!

Notes ♪♫  The air fryer has been a game changer in my kitchen, as I can now enjoy some old favorites that I haven’t had in years!  Mine is a shelf style, so I was able to air fry all four pieces at once.  If you have a smaller model, or a basket style air fryer you may be limited to how many pieces you can prepare at once.

Print This Post Print This Post

Gluten Free Chicken Tenders Saltimbocca

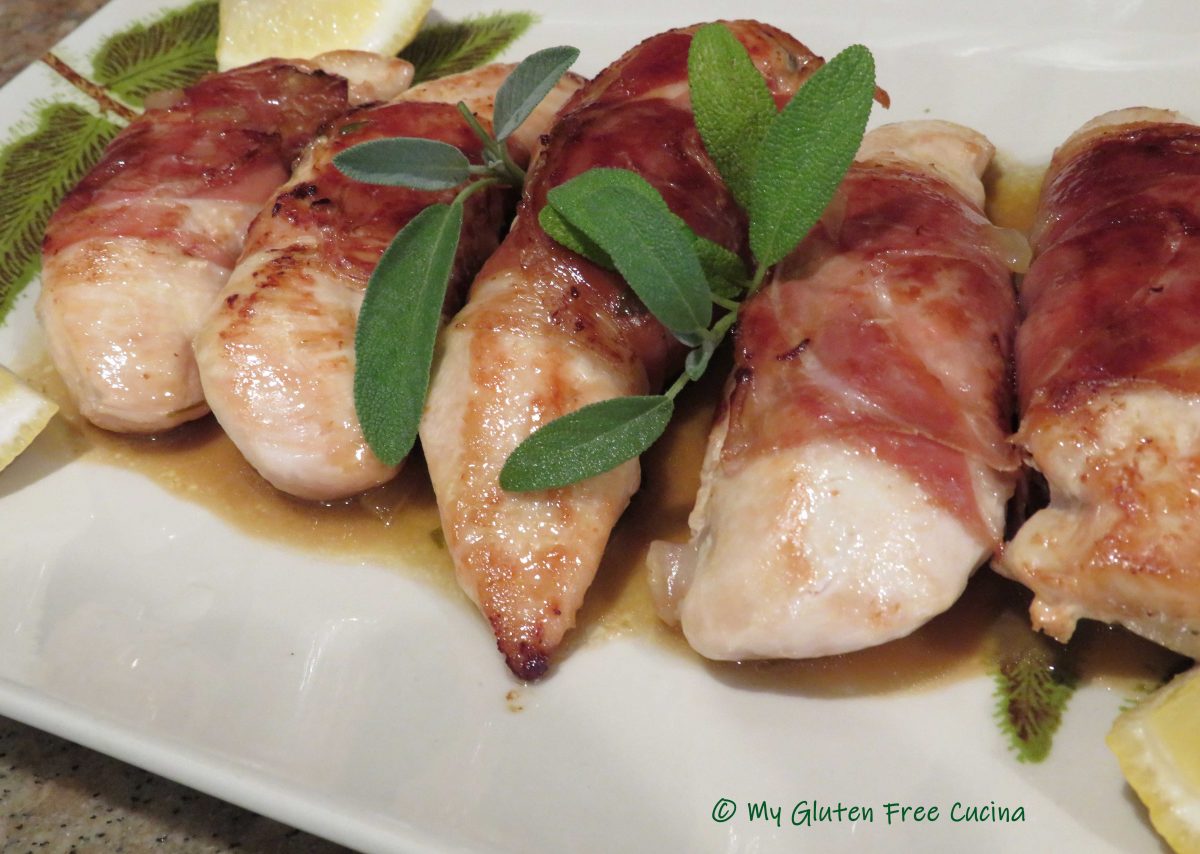
Saltimbocca is one of those restaurant classics that I have had on my recipe bucket list.  It can be made with chicken or veal; I’ve even had it as an appetizer with jumbo shrimp!  Today though, I’m going with something a bit humbler.  I’m using chicken tenders, easy on the pocketbook and easy on the prep!  Each tender is wrapped in prosciutto with a beautiful fresh sage leaf tucked in.  The bundles are then simmered in a simple sauce made with shallots, chicken broth, lemon and wine.

The inspiration for this post was a beautiful pot of sage from my herb garden.  I’m really proud that I grew it from seed!
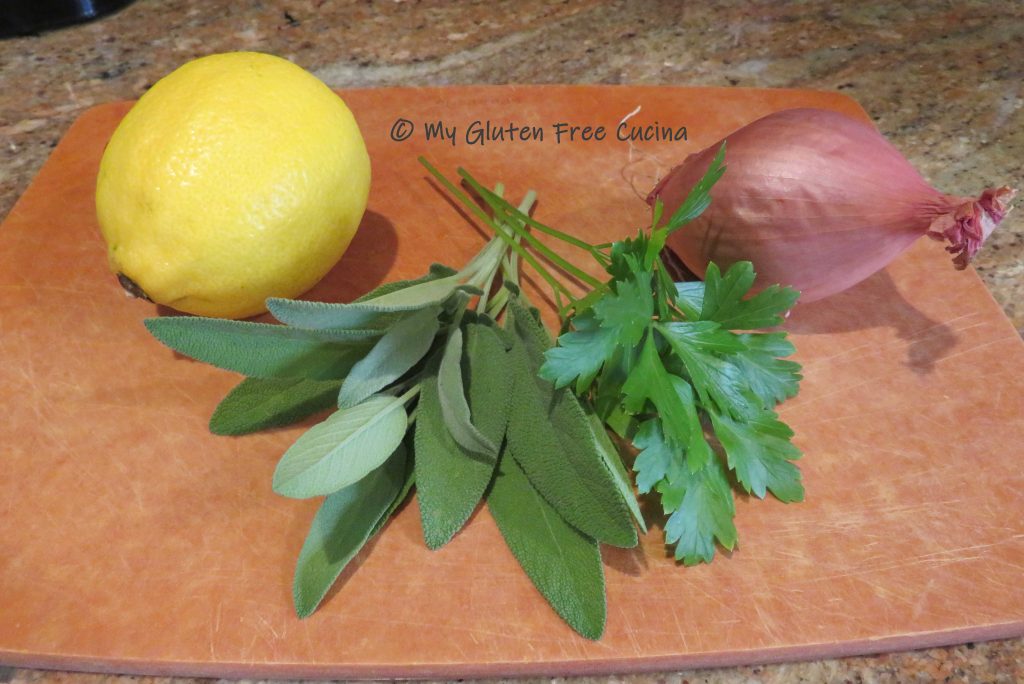
Fresh sage is really the star of this dish, really different than dried!  If you don’t have an herb garden look for it at the market.

This post contains affiliate links.

Ingredients:

  • 1 lb. chicken tenders, 5-6 pieces
  • fresh ground pepper
  • fresh sage leaves, whole plus 2 tbsp. minced
  • 6 slices of prosciutto, or 1 per tender
  • 2 tbsp. olive oil, divided
  • 1 shallot, chopped fine
  • 1 tsp. corn starch
  • 1/2 cup gluten free lower sodium chicken broth
  • 1/3 cup white wine (I used pinot grigio)
  • 2 tbsp. unsalted butter, divided
  • juice of 1/2 lemon
  • remaining half lemon, cut into wedges for serving

Preparation:

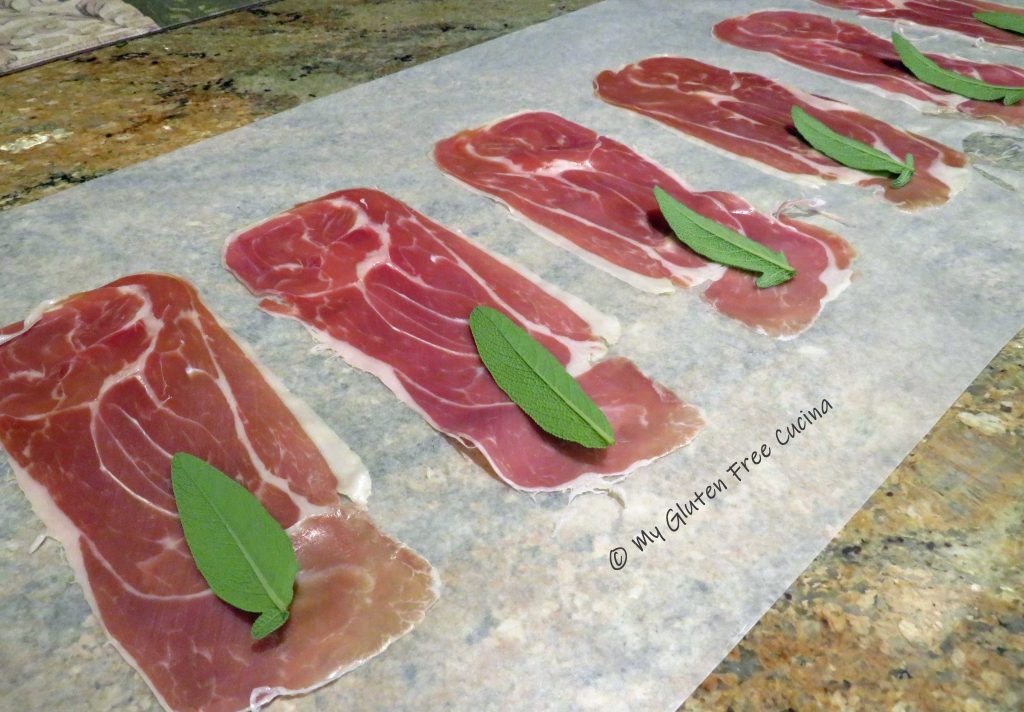
Line your counter with wax paper and lay out the prosciutto slices.  Place one whole sage leaf on the lower half of each slice.

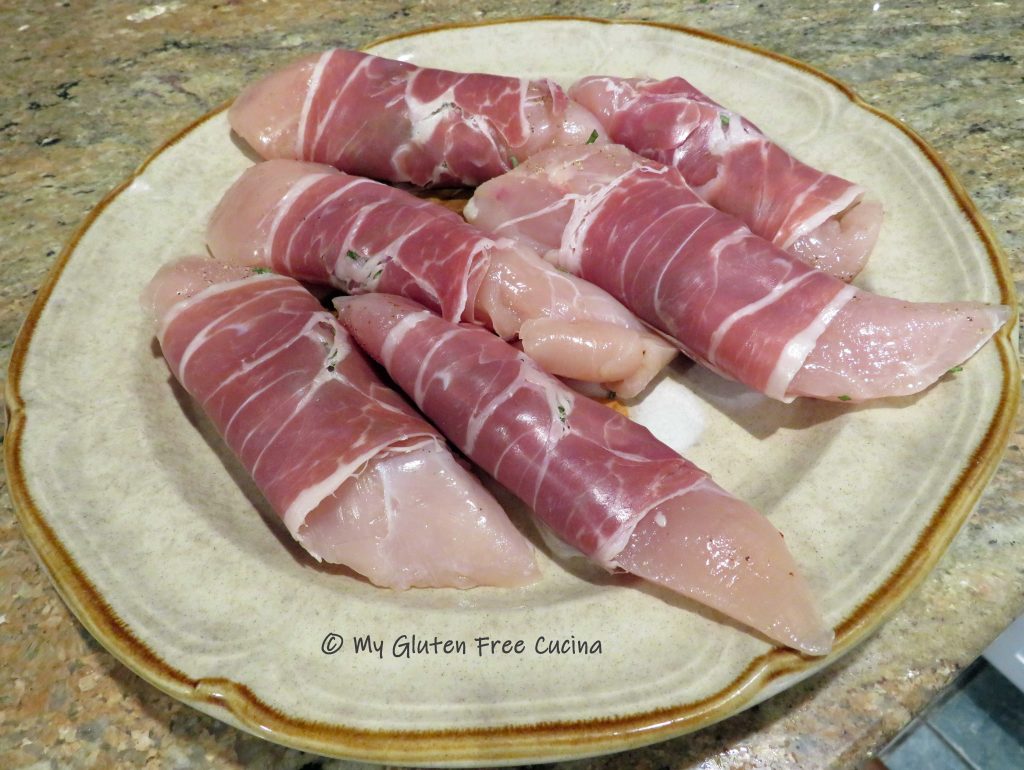
Place one chicken tender on each sage leaf.  Sprinkle with the minced sage and fresh ground pepper.

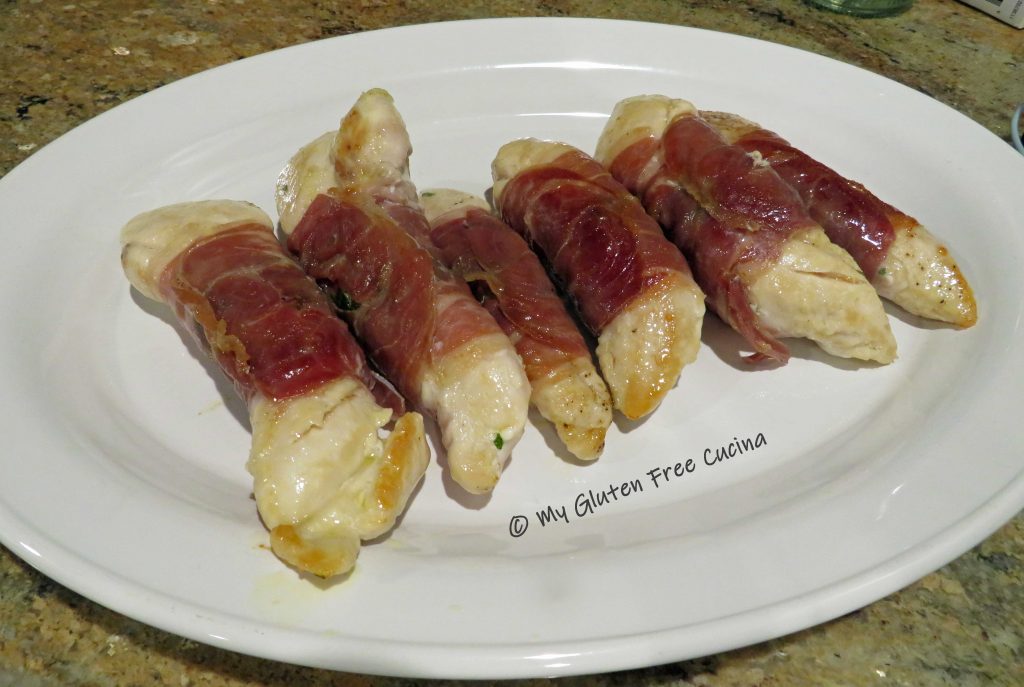
Roll each into a bundle.

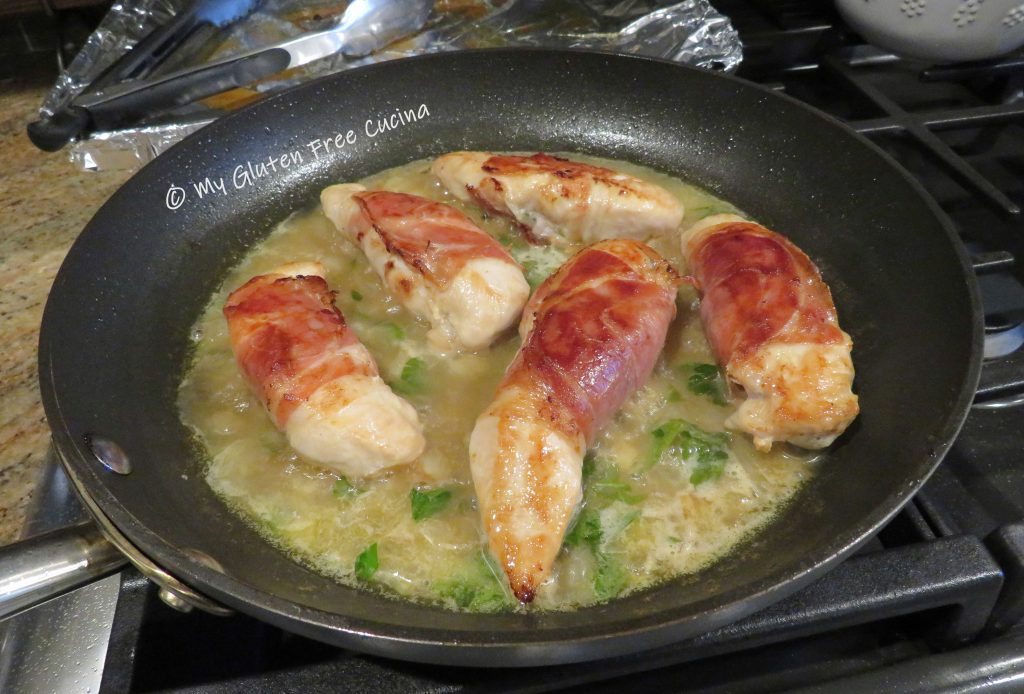
Heat a large nonstick skillet with 1 tbsp. each of butter and olive oil.  Place the bundles seam side down in the skillet and cook for about 8 minutes, turning halfway through.  See how searing the prosciutto has sealed the bundles, no toothpicks or twine needed!

Transfer the tenders to a platter while you make the sauce.

Add 1 tbsp. of olive oil to the skillet and stir in the shallots.  Cook for 1 minute.  Whisk in the corn starch for about 30 seconds.  Stream in the broth and the wine.  Bring to a simmer, then finish with the butter, lemon juice and parsley.  When the butter has melted, return the chicken to the skillet.  Toss with the sauce, then cover and cook several minutes longer to heat through.

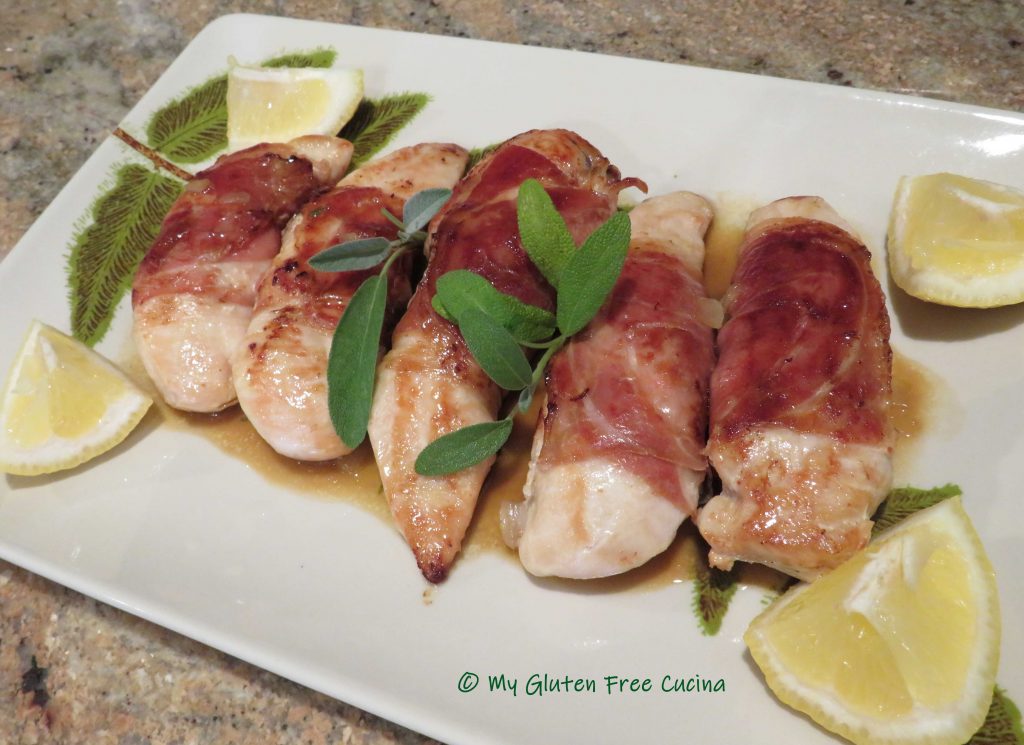
Transfer to a serving dish and spoon sauce over the top.  Garnish with fresh sage and lemon wedges.

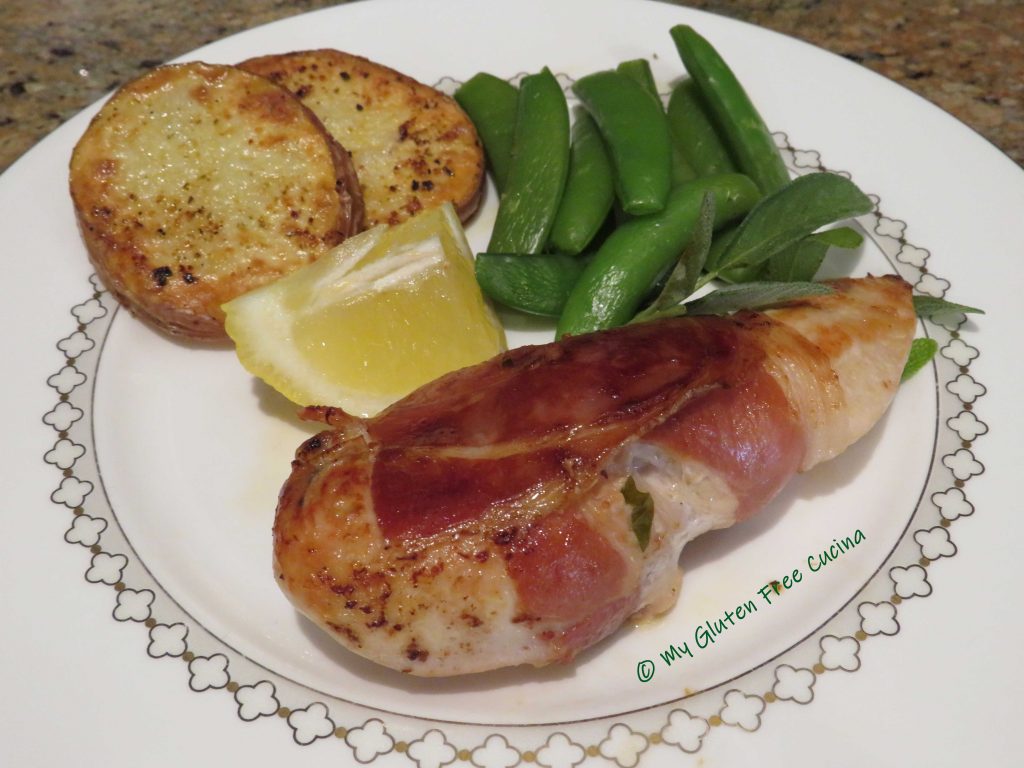
I served it with roasted potato slices and sugar snap peas.  So simple and delicious, as good as any restaurant!  Isn’t it great that we can still enjoy this traditional Italian favorite on the gluten free diet?

Notes ♪♫ In addition to being gluten free, we are a low sodium household.  Since the prosciutto in this recipe has plenty of salt, I did not add more to the recipe. 

Print This Post Print This Post