One of the things I miss most since my Celiac diagnosis is Chinese takeout. Oh, how I loved those noodles, veggies and fried rice!
At first glance you might think that many of these dishes are gluten free, but did you know that soy sauce contains gluten? It’s true, traditional soy sauce is fermented with wheat, so it is off limits on the gluten free diet.
Fortunately, there are gluten free alternatives. For my Asian inspired dishes, I often use San-J Tamari in place of regular soy sauce. It’s brewed with soybeans and no wheat.

For those who need to be mindful of salt intake, Coconut Aminos can be a lower sodium alternative to gluten free soy sauce or tamari. It has that umami flavor profile, but with less salt.
Another favorite condiment, Hoisin Sauce can also be found in the Asian aisle in most markets. It’s sweeter and much thicker than soy sauce and can be used for glazing and dipping. In this recipe, I use all of these condiments to create a sweet and savory flavor profile.

This post contains affiliate links.
4 servings
Ingredients:
- 1 cup uncooked long grain white rice
- 2 cups water
- 1/2 tsp. salt
- 14.4 oz. bag frozen stir fry vegetables (or fresh veggie combo of your choice)
- 1 lb. pork tenderloin
- salt and pepper
- garlic powder
- ginger powder
- 1 egg
- 1 tbsp. water
- olive oil
- sesame oil
- cooking spray
- gluten free Hoisin sauce
- gluten free Tamari, or Coconut Aminos
- fresh scallions for garnish
- sesame seeds for garnish
 Preparation:
Cook the rice according to package directions and set aside to cool. This step can be done ahead, in fact the rice works better in this recipe if it has been cooked in advance and refrigerated.
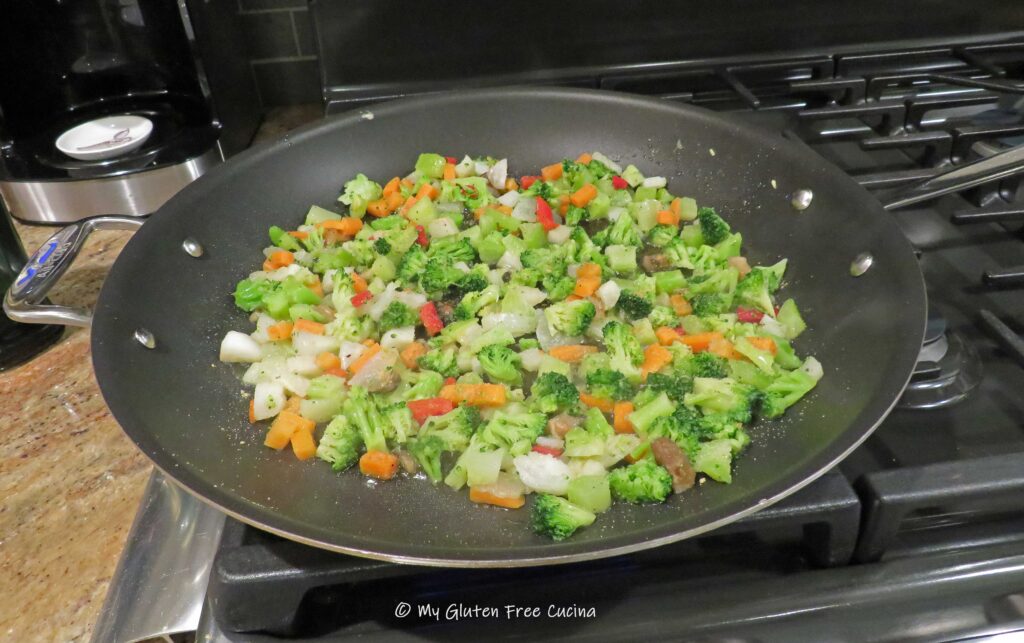
While the rice cooks, prep all the vegetables. Using a frozen stir fry blend like this one is a real time saver.
 I did think the veggies were a bit large for fried rice, so I cut them into smaller pieces. Season the veggies with salt and pepper to taste. Sprinkle with garlic and ginger powder and leave them out to defrost.

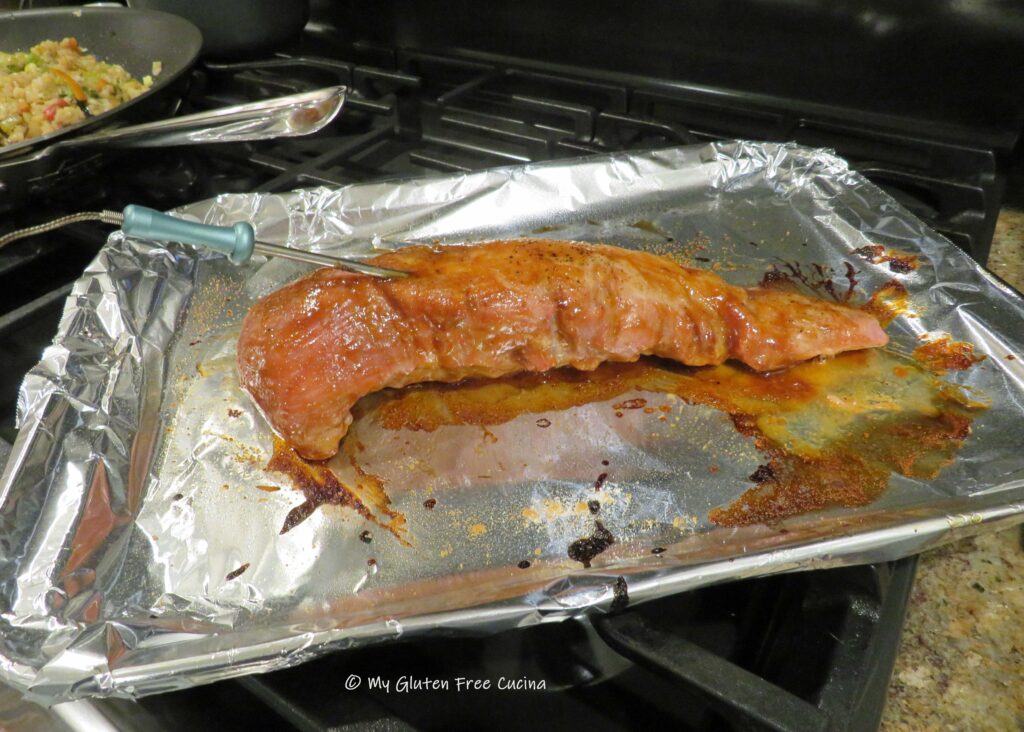
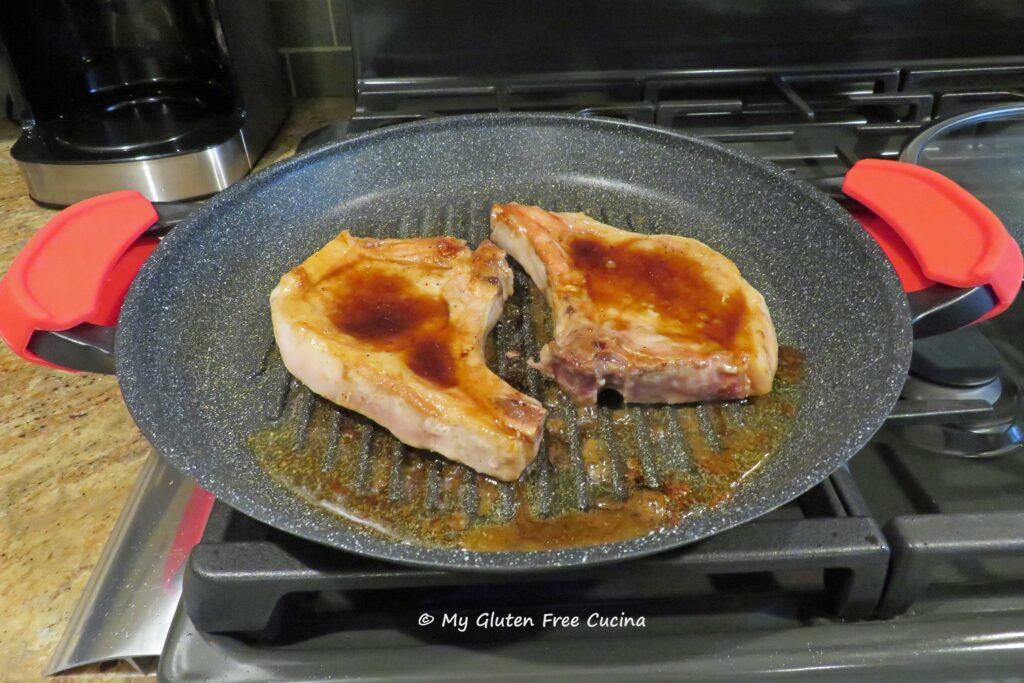
Preheat the oven to 375º. Arrange the tenderloin on a foil lined baking sheet. Sprinkle both sides with salt, pepper, garlic powder and ginger.
Insert an oven safe thermometer in the thickest part of the tenderloin and roast until it reaches 120º. Brush the roast with hoisin sauce and return to the oven until the internal temperature reaches 140º. When the meat is done, let it rest for 10 minutes.
For the rice, heat a large nonstick skillet over medium low and mist with cooking spray (I like Bertolli because it doesn’t damage my nonstick pans). Whisk the egg with 1 tbsp. water and scramble. Crumble the egg and set aside.
Next, add a little olive oil to the skillet with the veggies. Drizzle with just a little sesame oil, and sprinkle salt, pepper, garlic and ginger. When cooked through, add a few shakes of Tamari or Coconut Aminos.
Add the cooked rice and egg back to the skillet, with more sesame oil, Tamari and/or coconut aminos. The amount you add is up to you, just taste as you go.

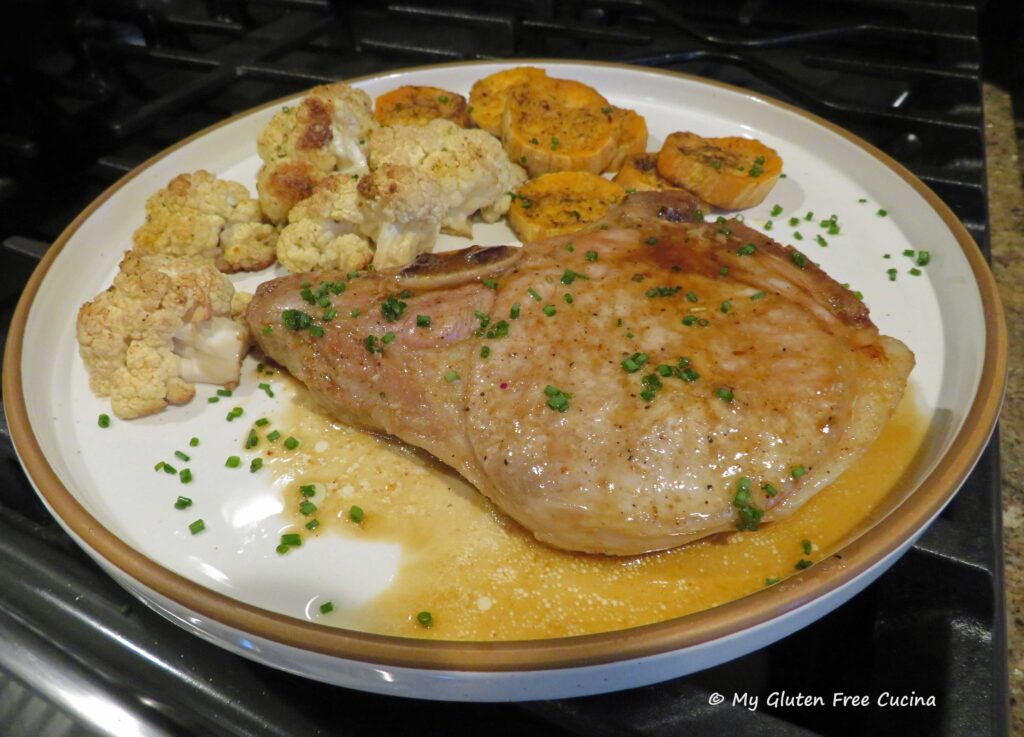
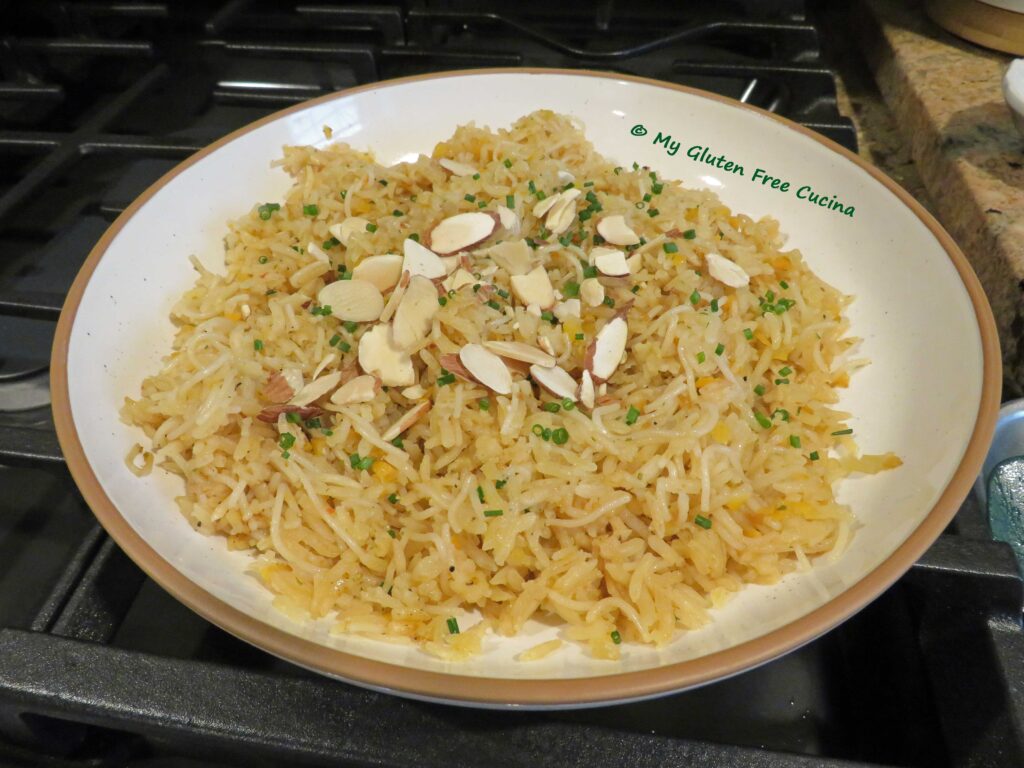
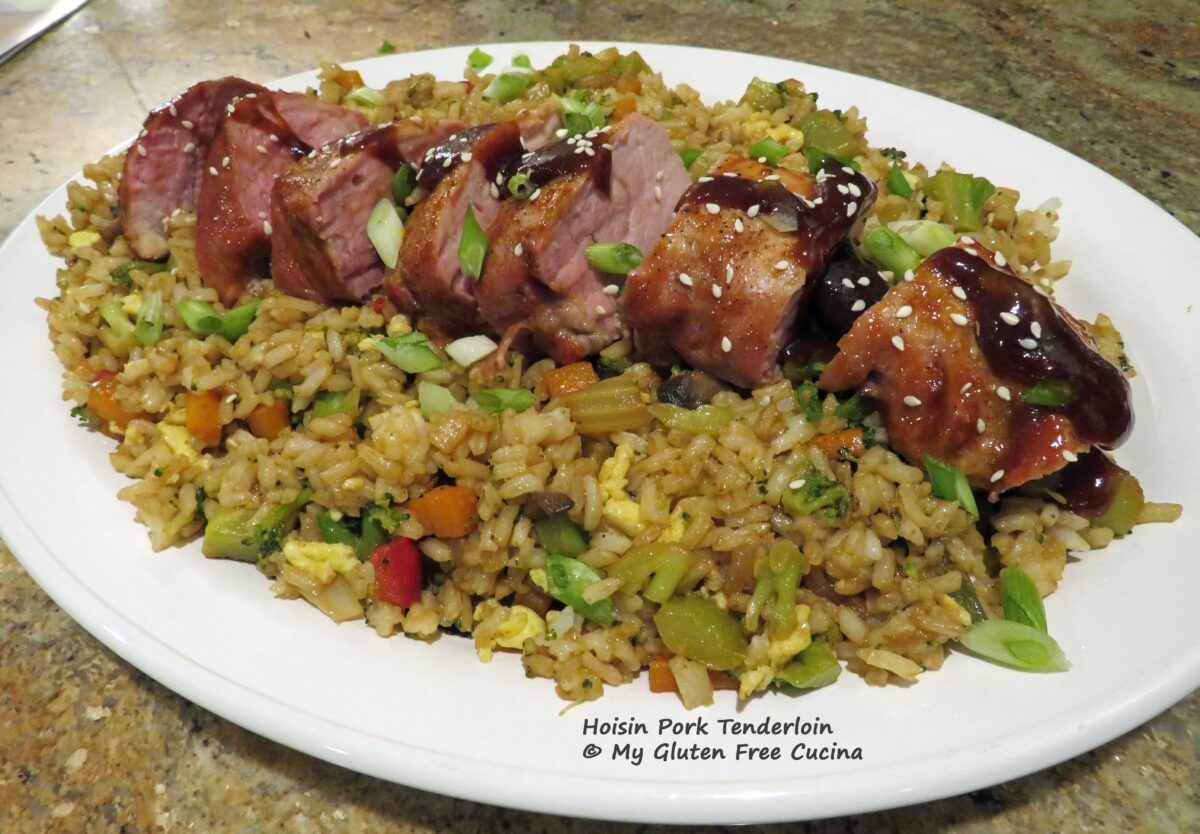
To plate, transfer the fried rice to a serving dish. Slice the tenderloin and arrange it over the rice. Drizzle hoisin sauce over the pork, and garnish with scallions and sesame seeds.

This Asian inspired dish is better than any restaurant! It has all the flavors that you have been missing, minus the gluten! Everyone in your family will love it!
Notes ♪♫ Gluten free Asian condiments can be found in most markets and online. Some of my favorite brands are San J, Sun Luck, and Coconut Secret. Always look for the gluten free label, as some brands will have both a regular and gluten free version of the same product.
Originally posted 10/21/2019 * Updated and rephotographed 11/20/2024


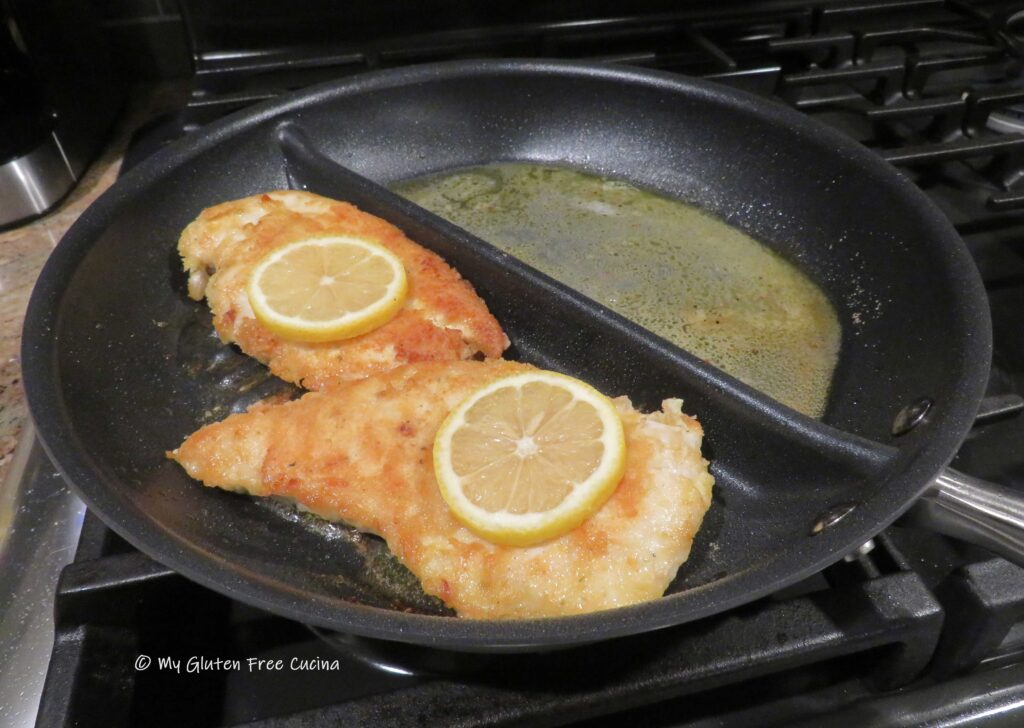
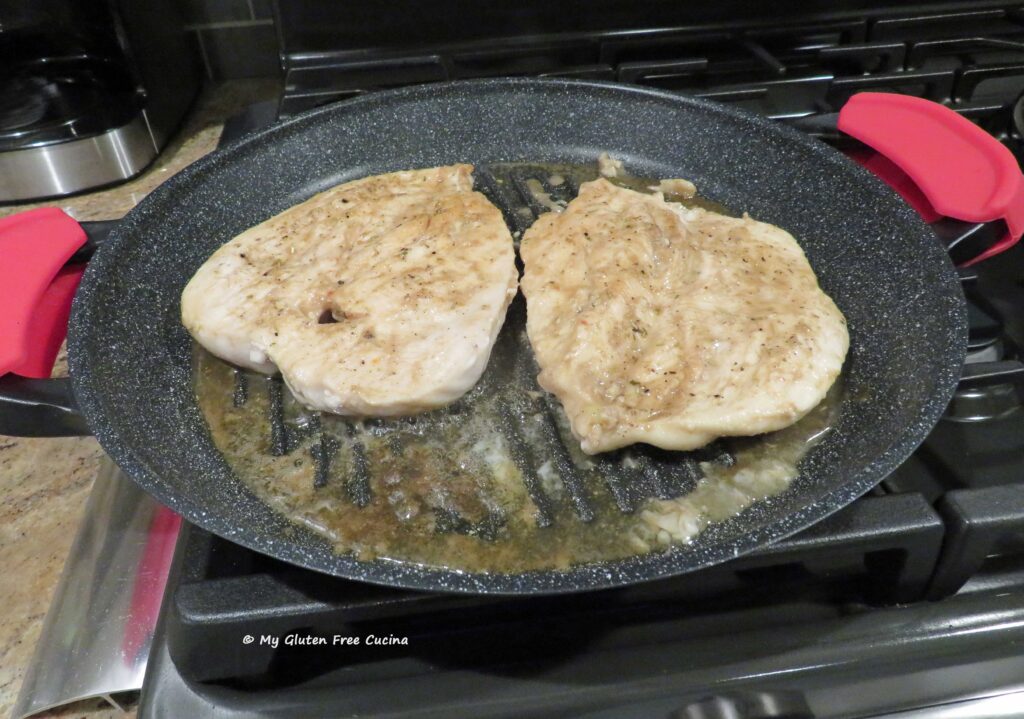
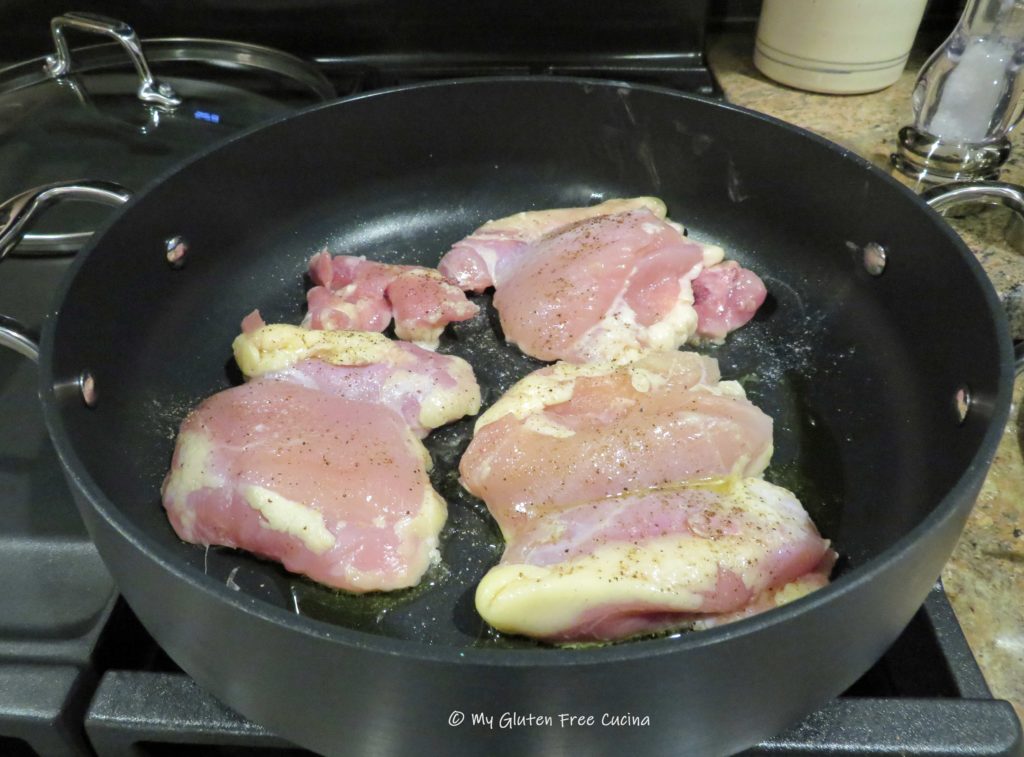
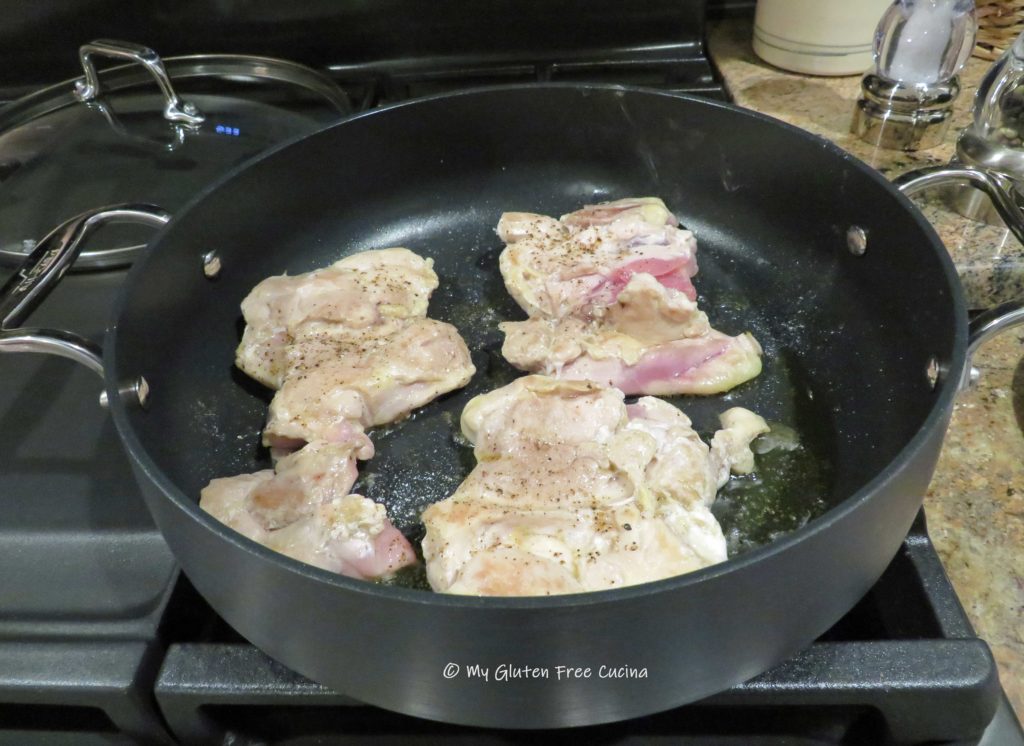
 When the pan is hot, add the chicken and cook for 6-7 minutes per side, turning once.
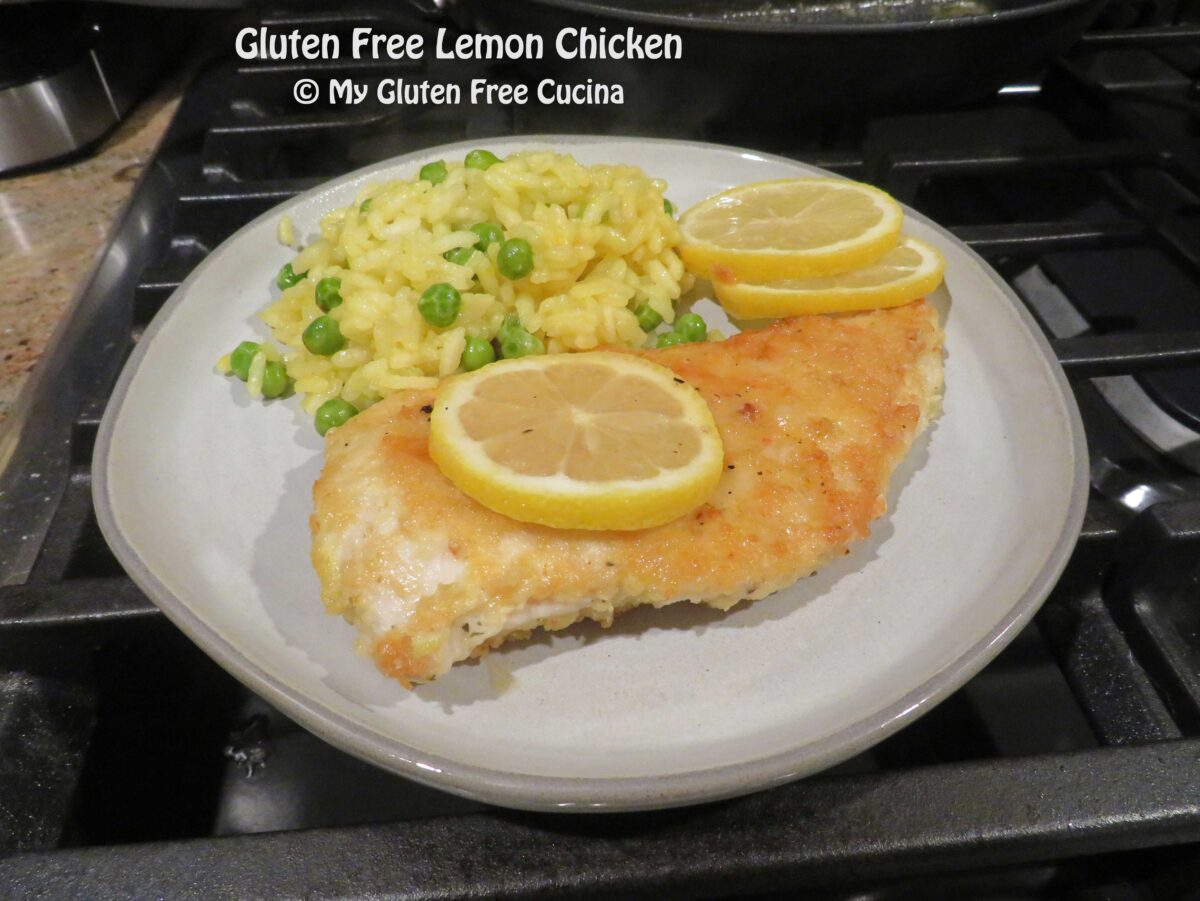
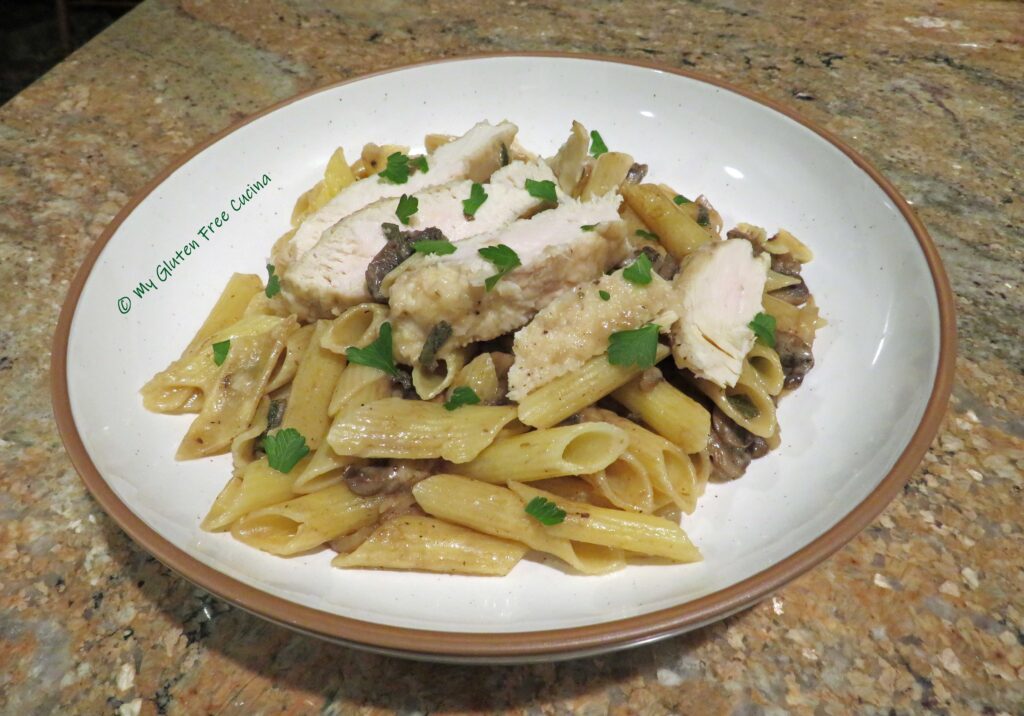
 I served it with risotto and peas. You could definitely do a side of pasta or potato and veg as well.
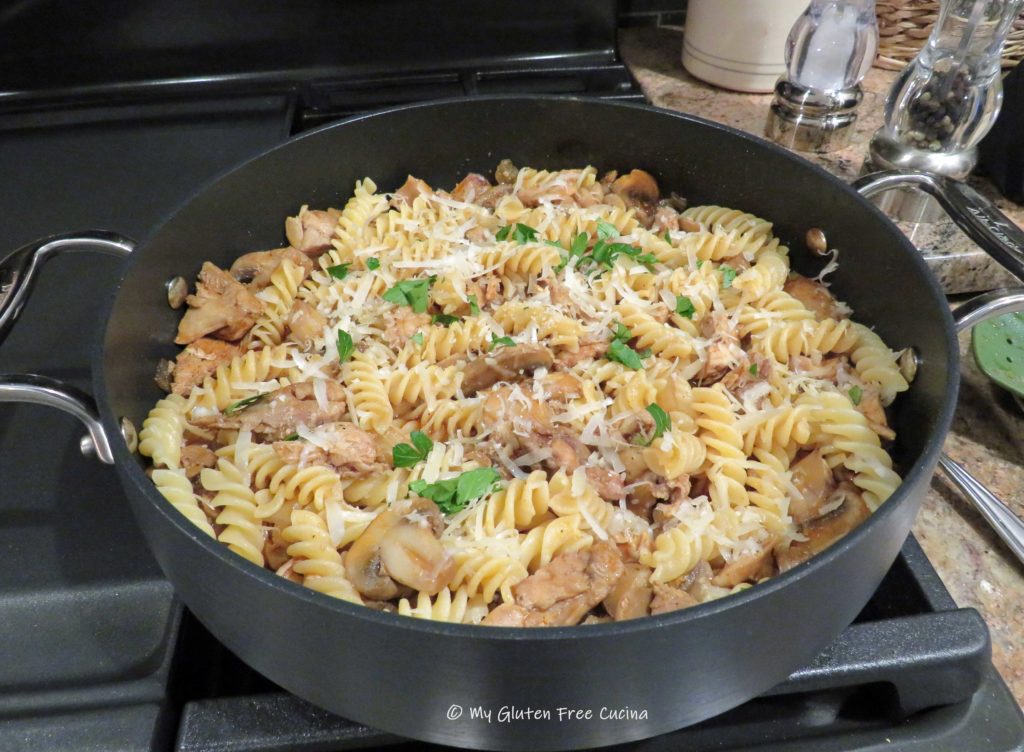
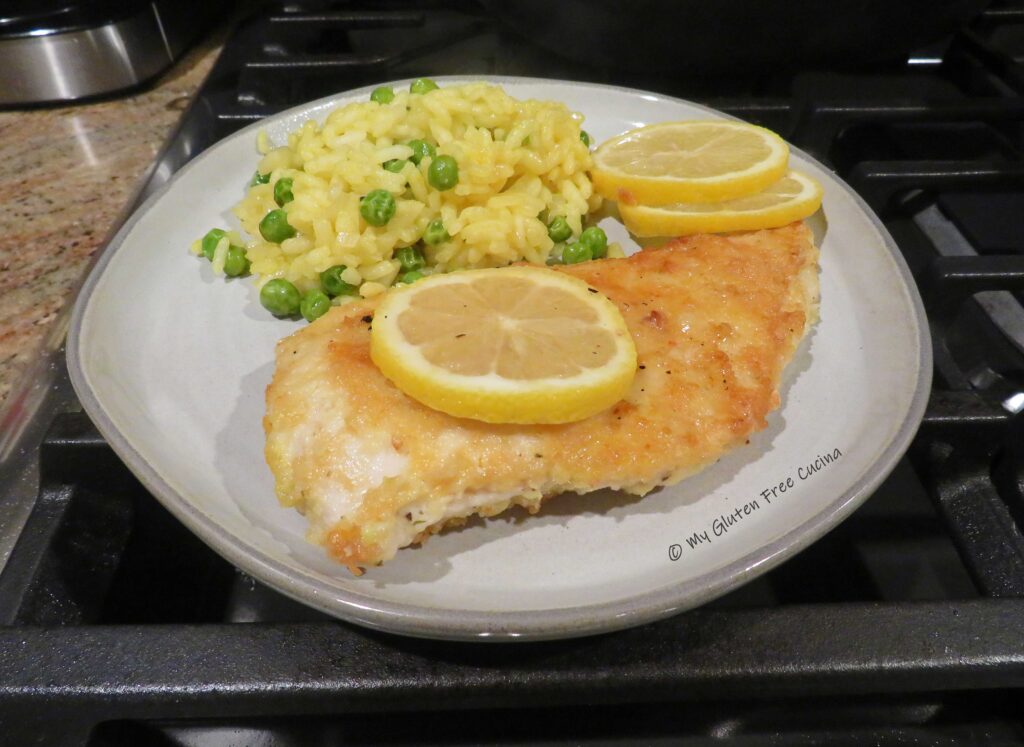 Notes ♪♫ Don’t reach for the plastic lemon, freshly squeezed lemon juice is a must for this dish! 🍋🍋🍋 The same goes for the cheese, grate your own Parmigiano Reggiano cheese and taste the difference!
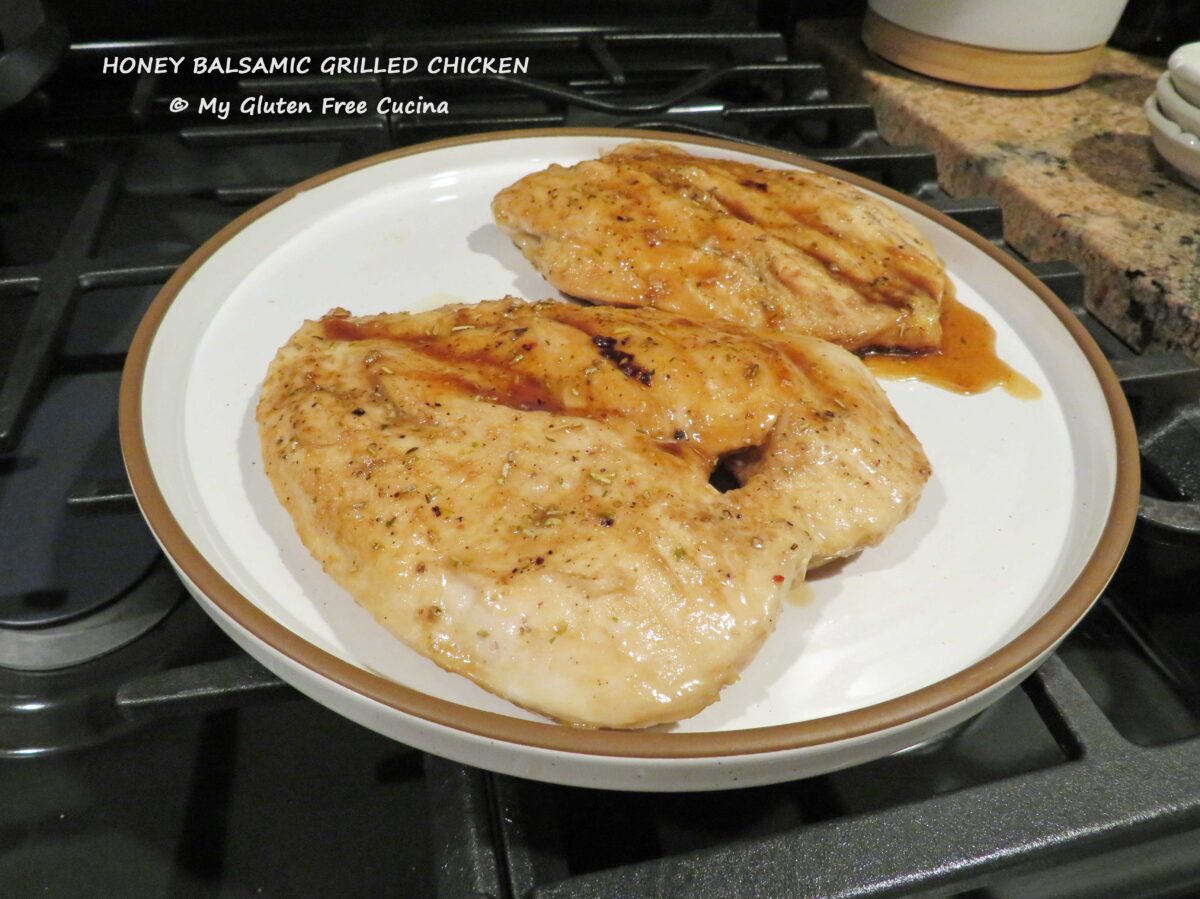
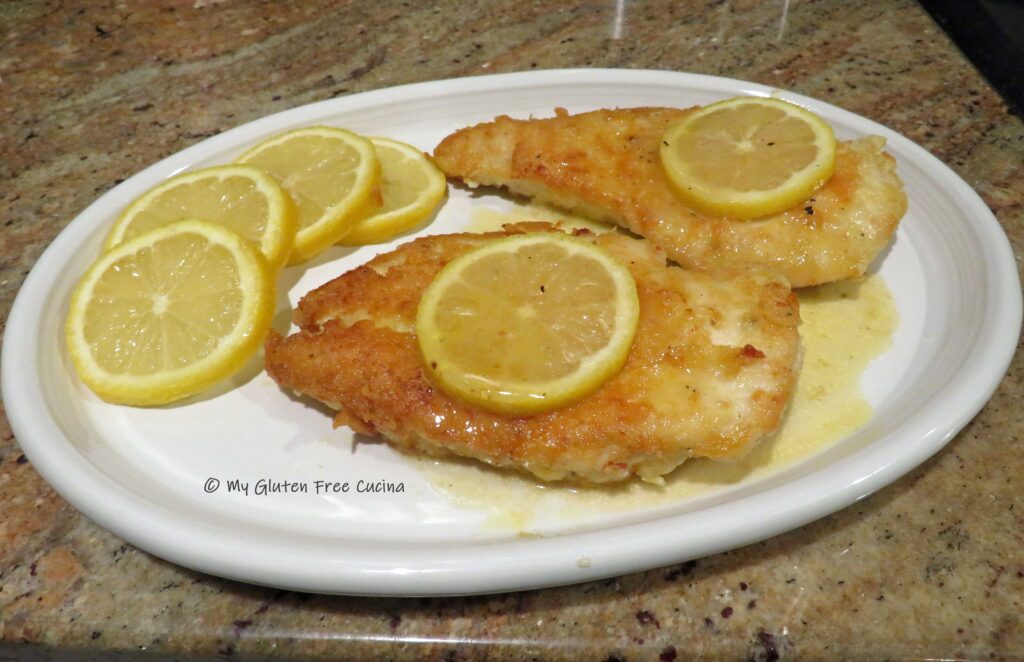
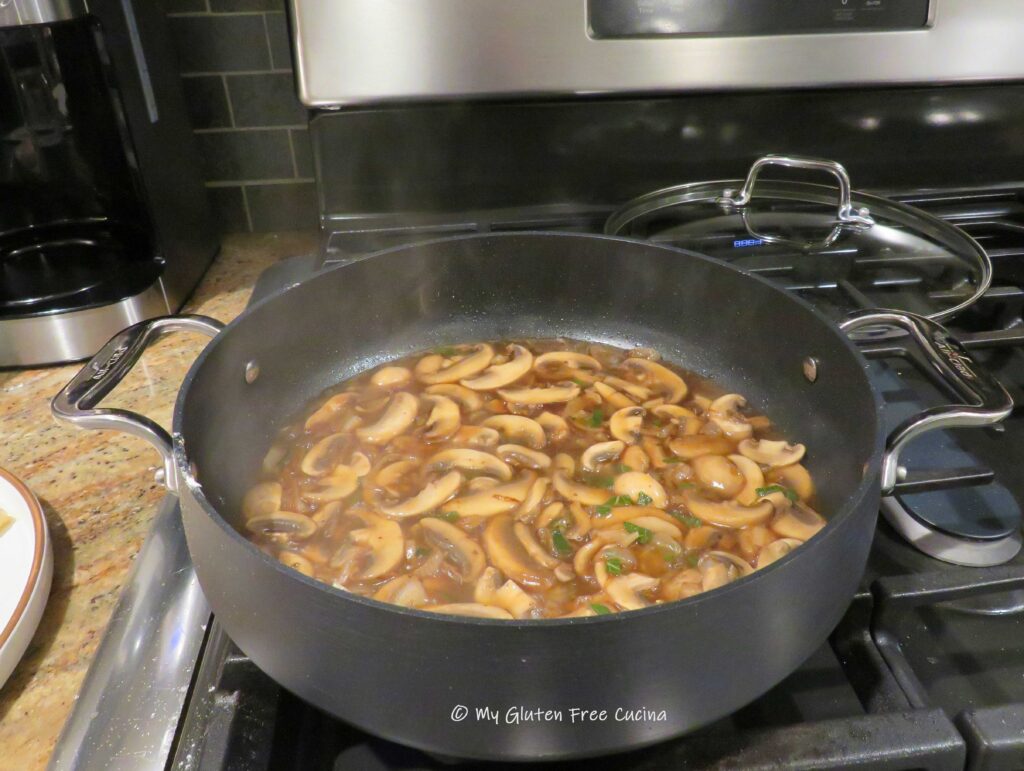
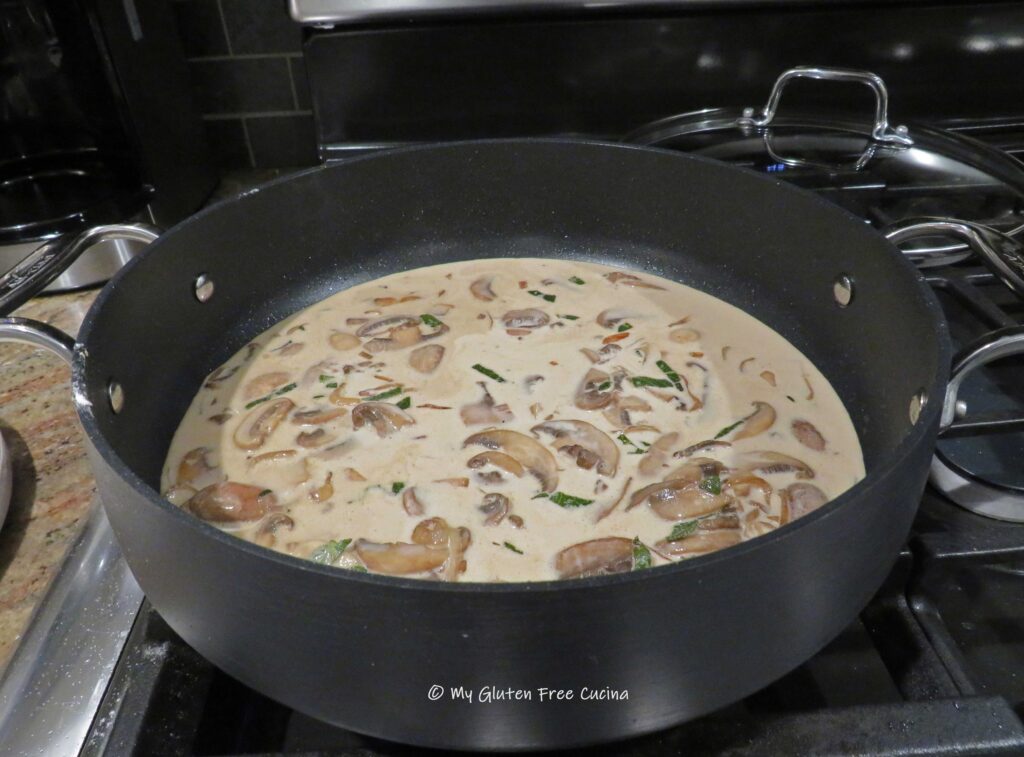
 Continue cooking with the cover off, allowing the liquid to bubble up and thicken.
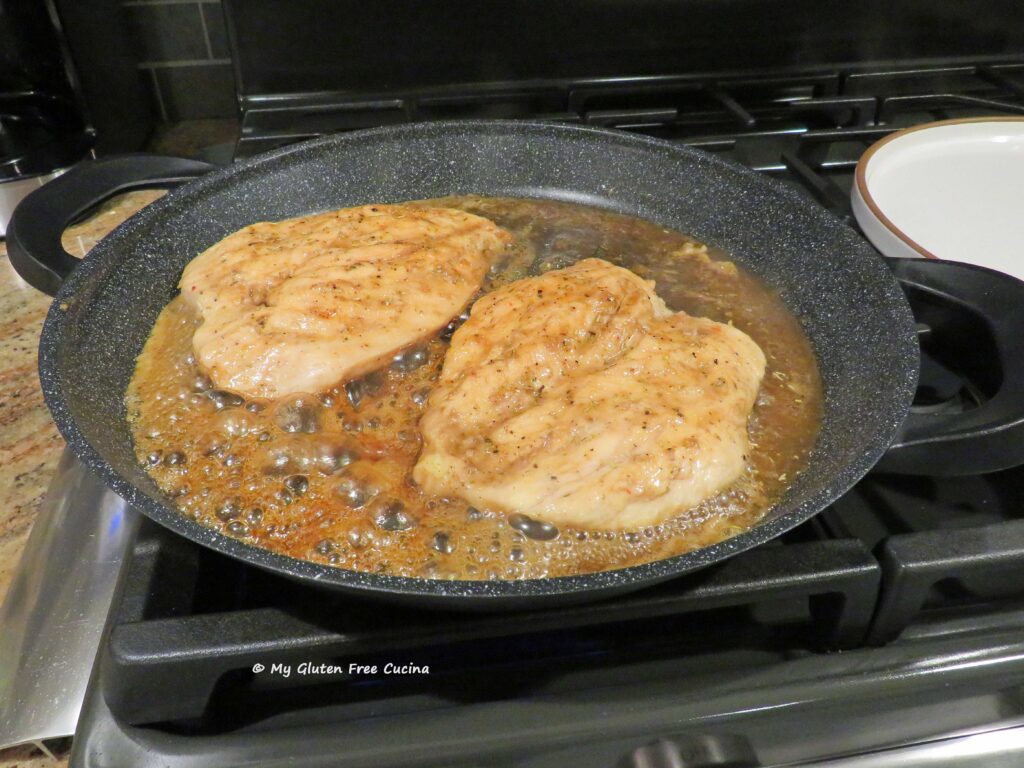 Chicken is finished when it reaches an internal temperature of 165º. Transfer to a serving dish and drizzle some of the pan juices over the top.
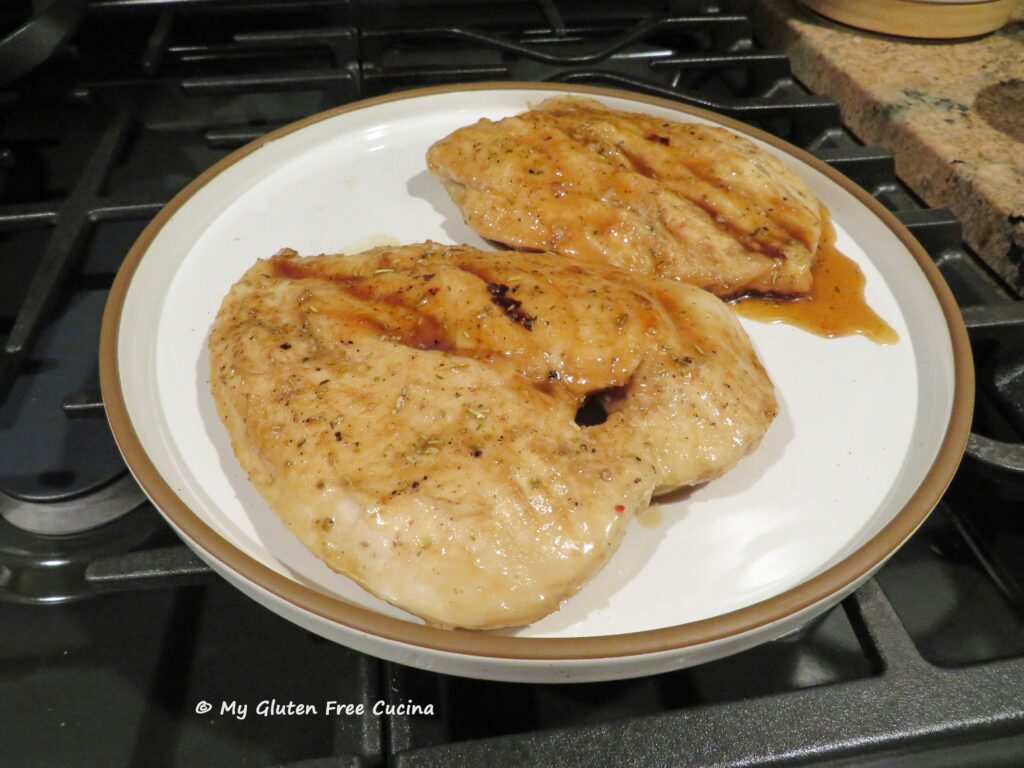
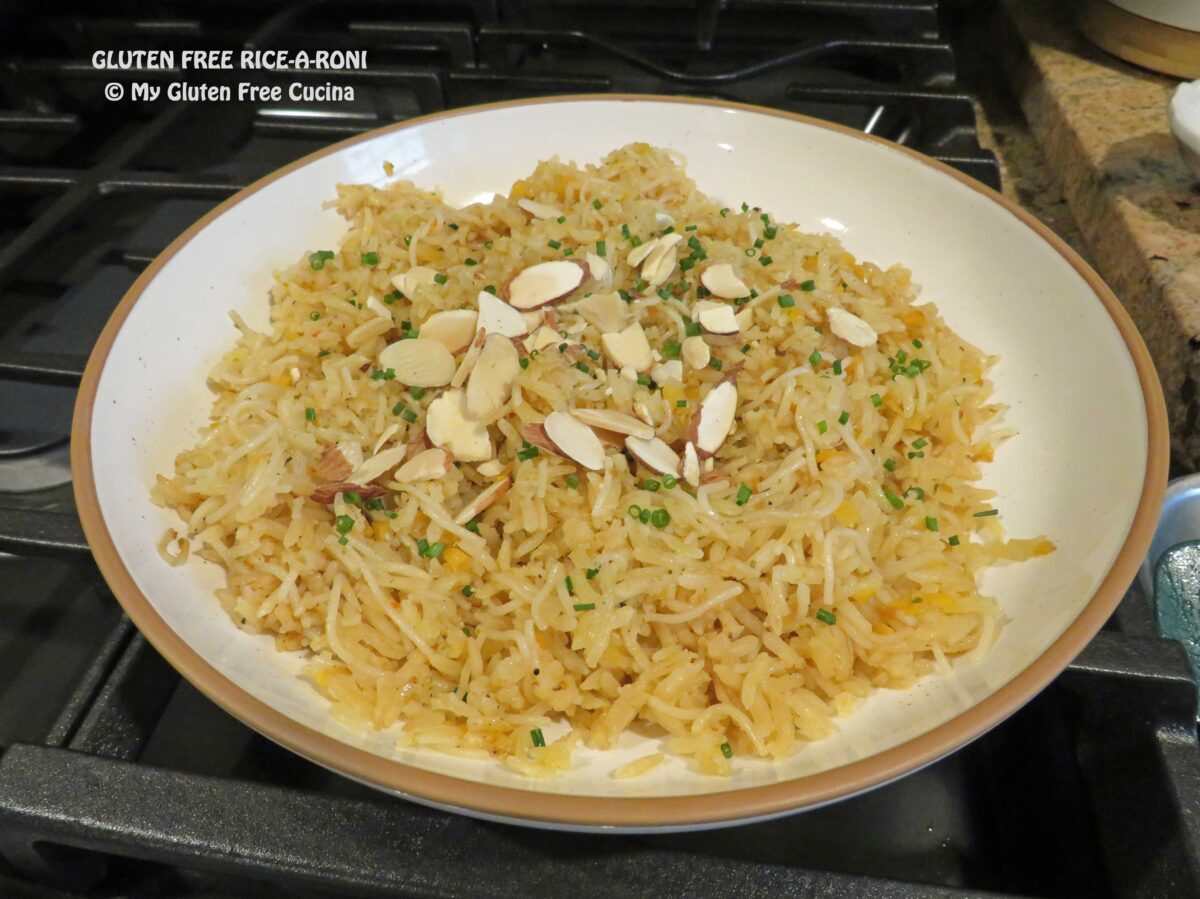
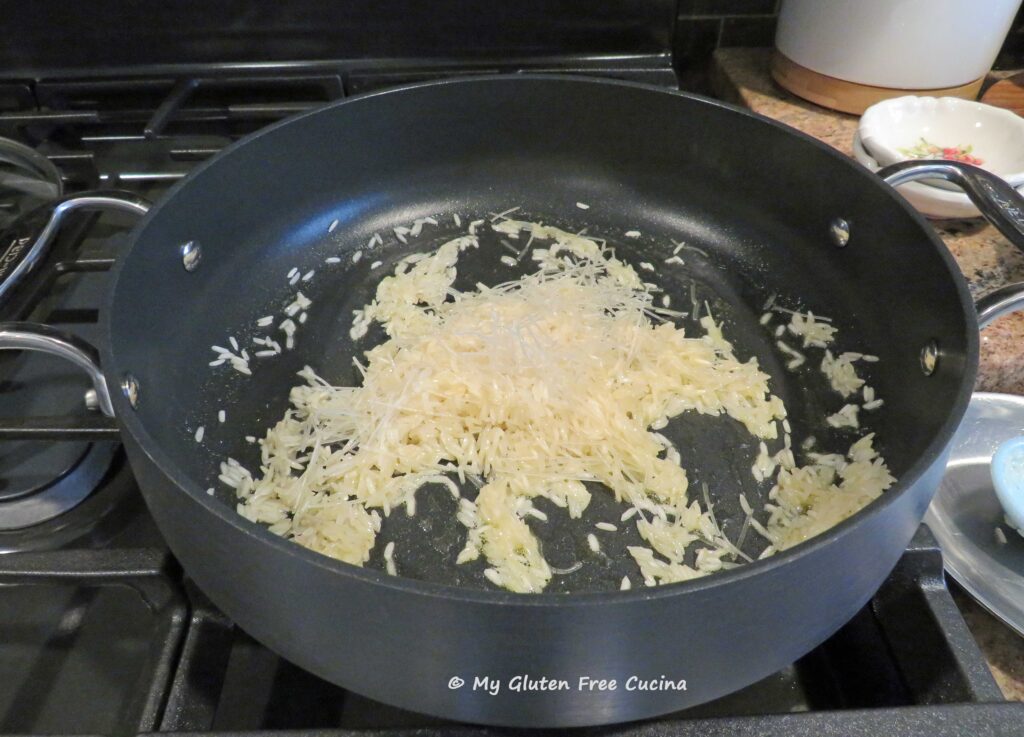
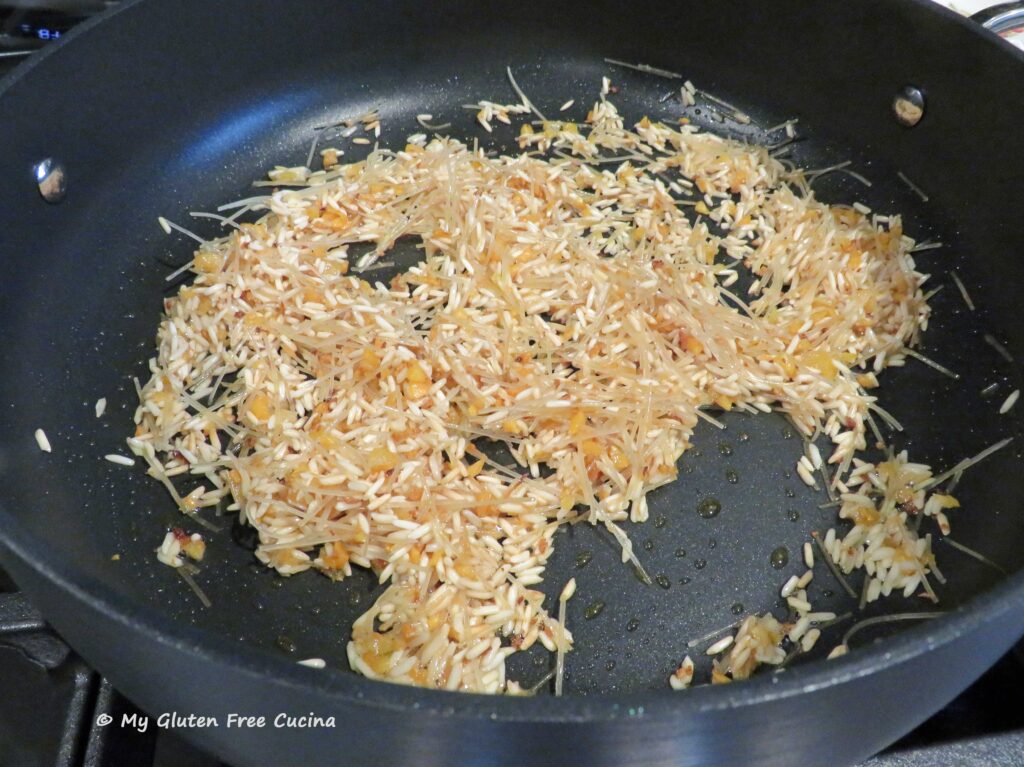
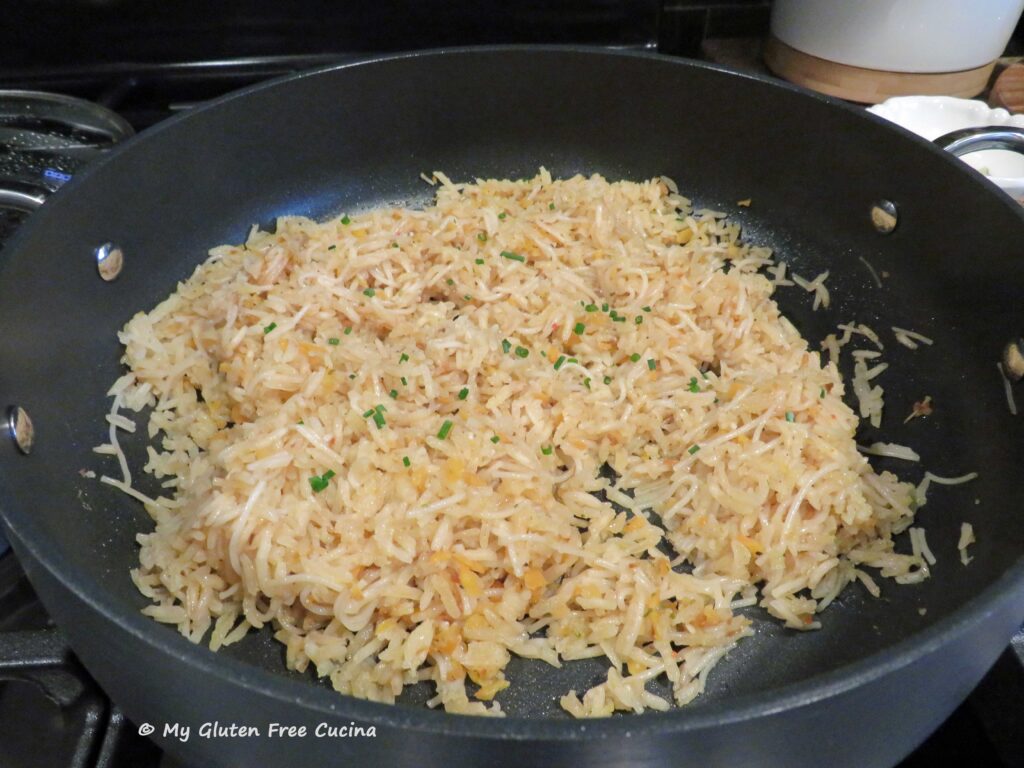 If you miss boxed mixes like Rice-a-Roni® on the gluten free diet, step into the kitchen with me, and I’ll show you how I made this gluten free copycat version, all fancied up with a little bit of veggies and slivered almonds. Only one ingredient swap was needed to make this recipe gluten free. In place of the vermicelli, I used these thin rice noodles from Thai Kitchen.
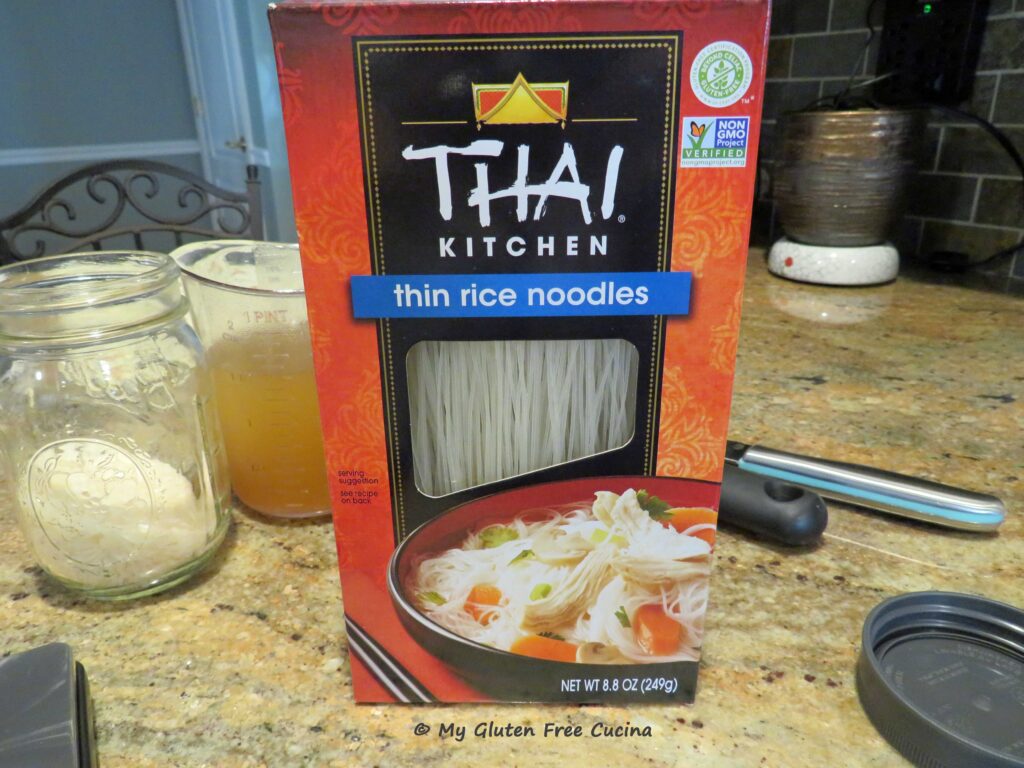
 Preparation:
 Notes ♪♫
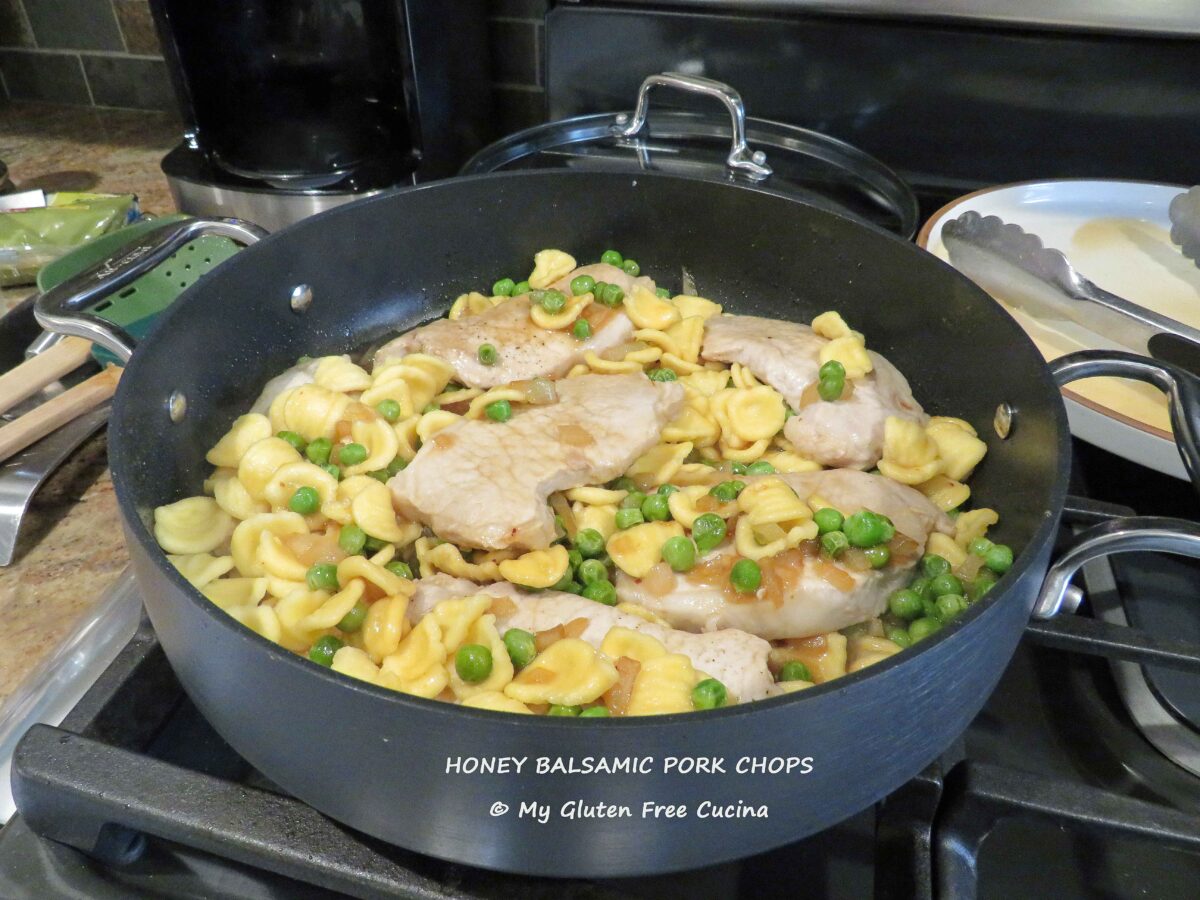
 Ingredients:
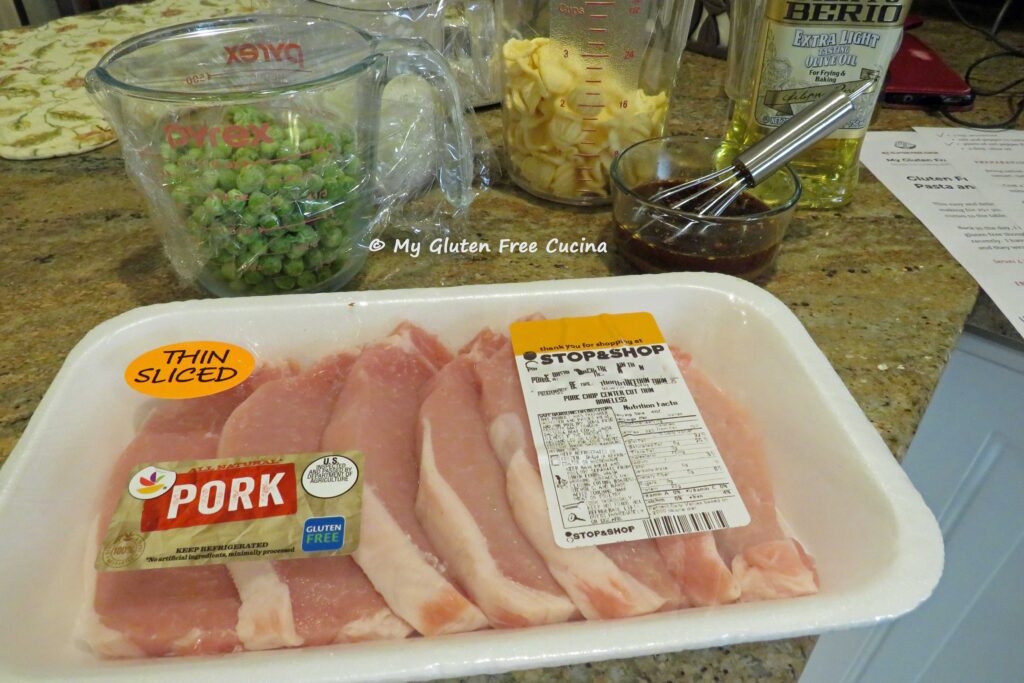
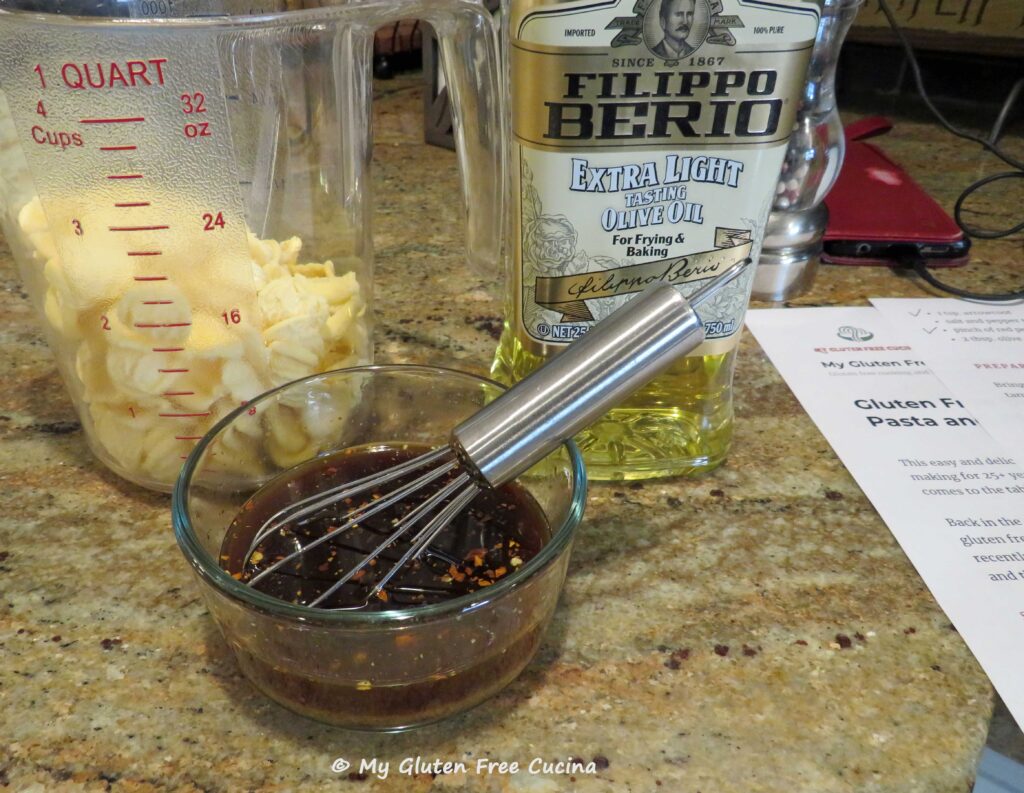
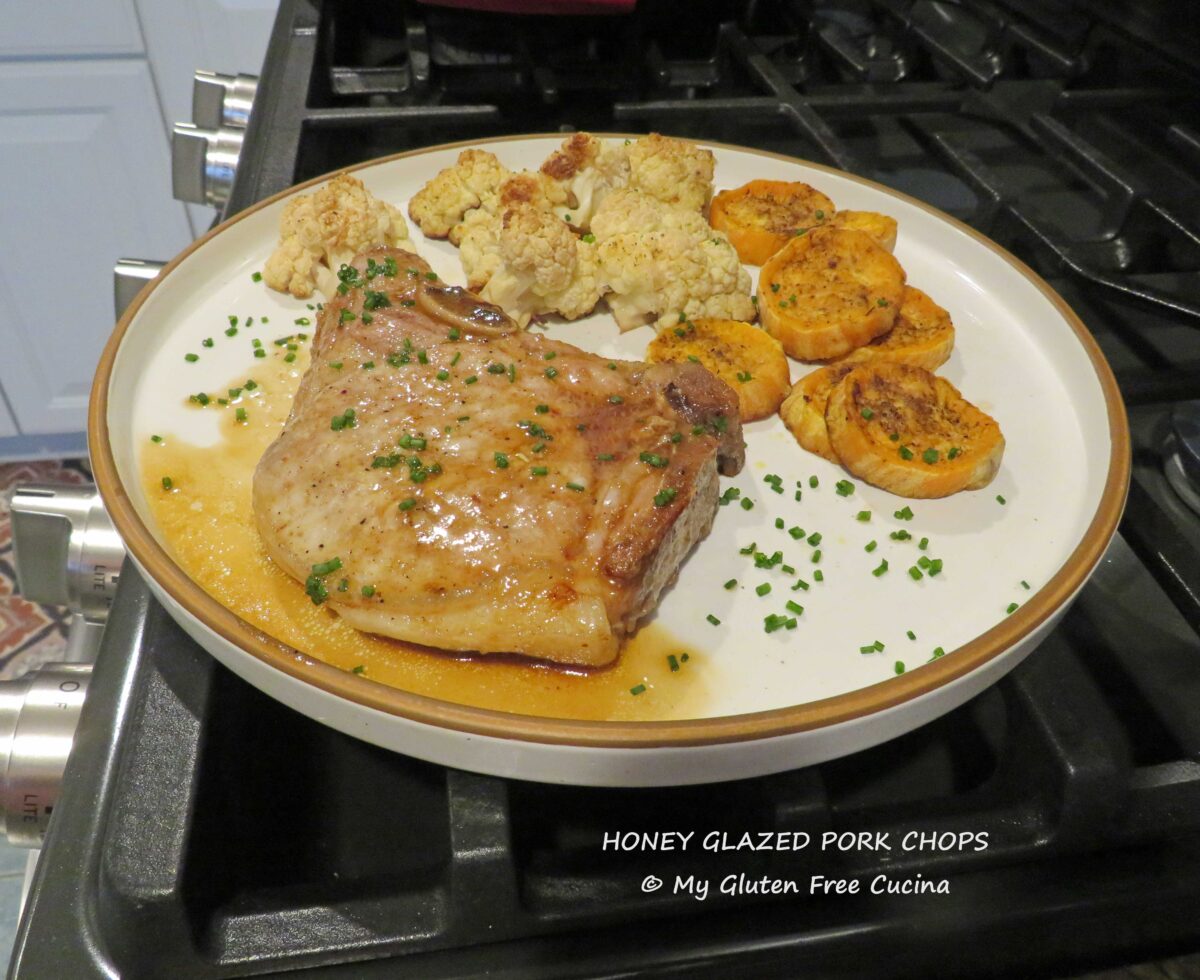
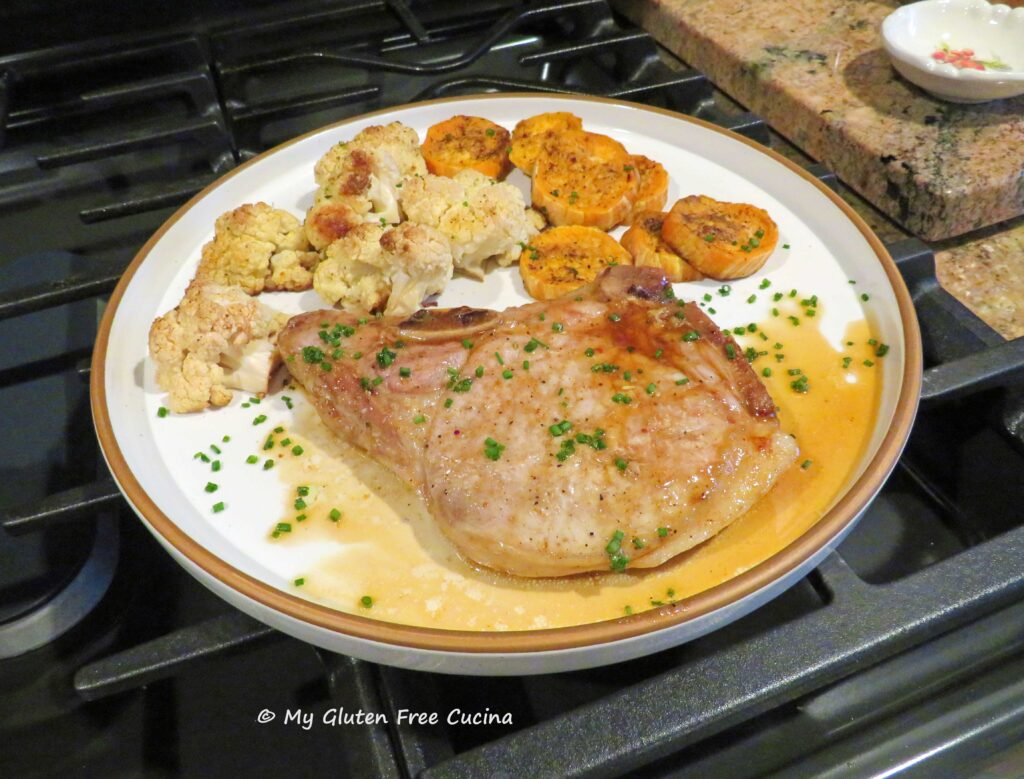
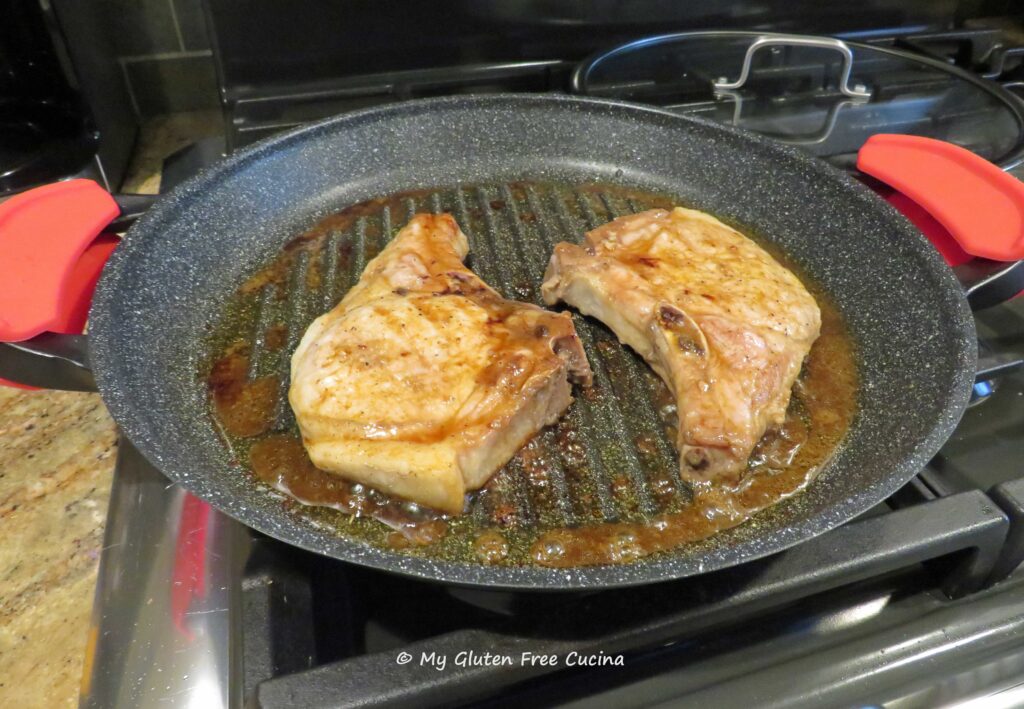
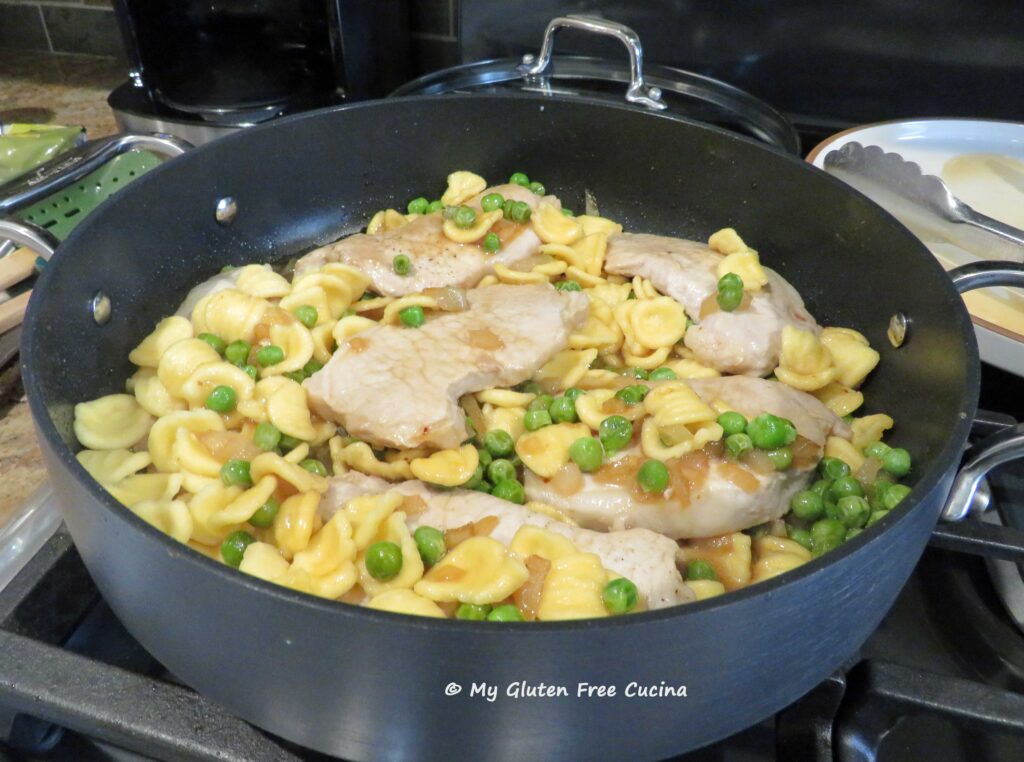
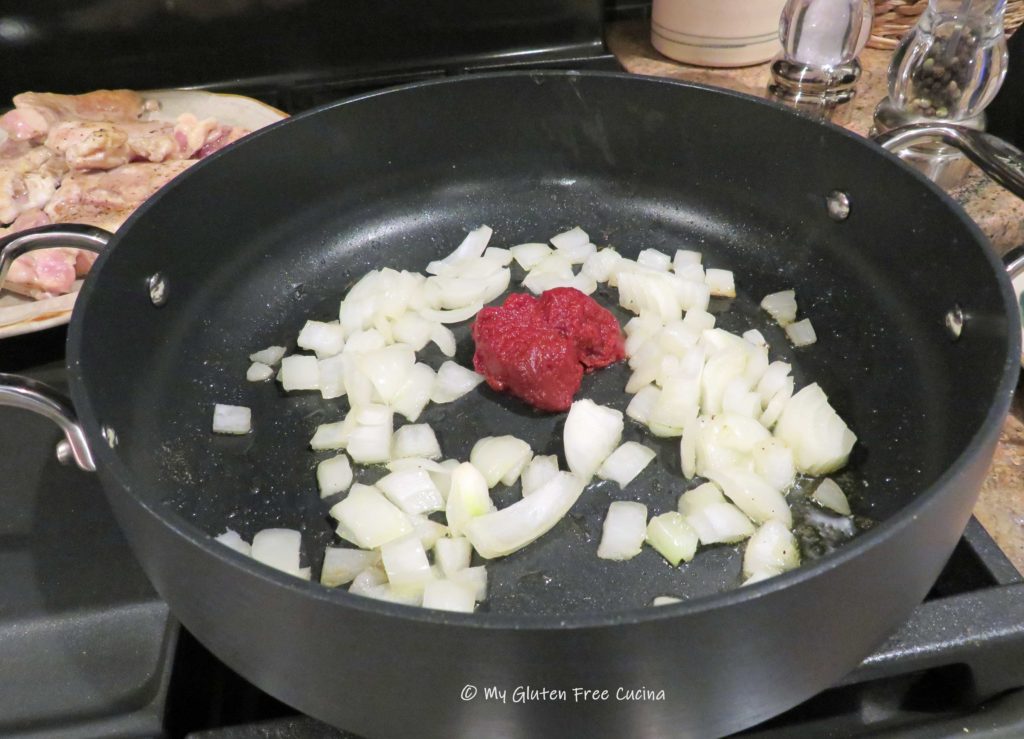
 Add the onions to the skillet with an additional tbsp. olive oil. When the onions are translucent, add 2 tbsp. of the balsamic mixture. Cook, stirring frequently until most of the liquid has evaporated.
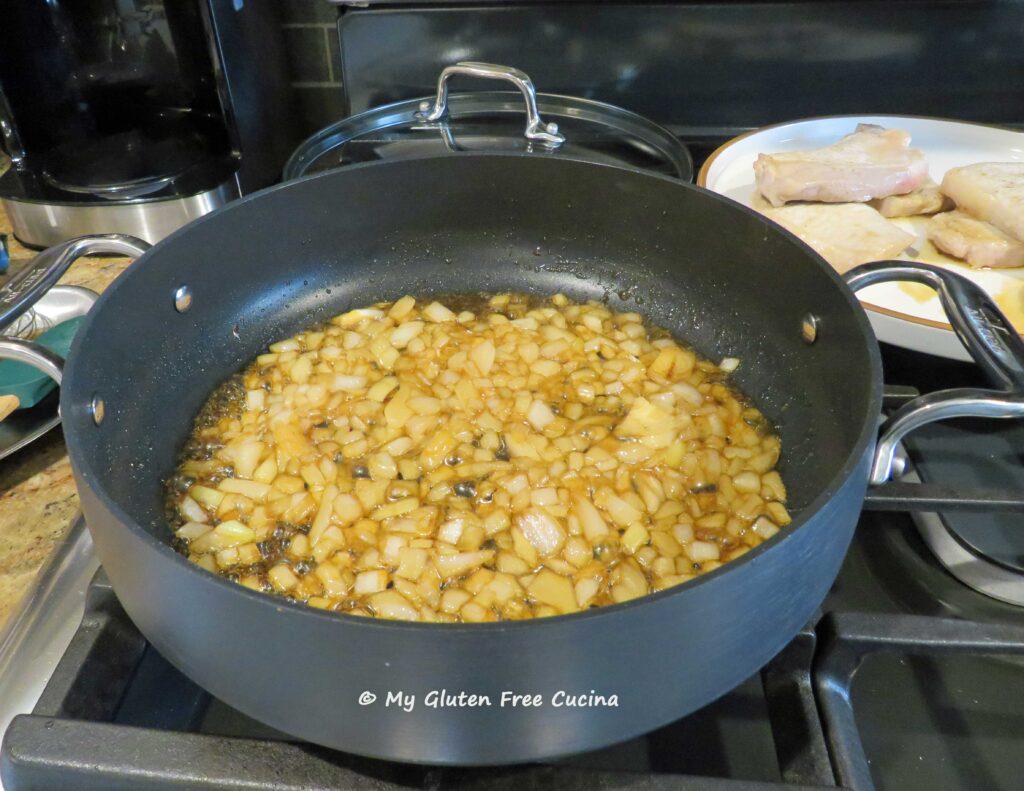 Return the pork chops to the skillet with the peas and drizzle with the remaining balsamic mixture. Continue to cook for several more minutes, until the pork chops are heated through.
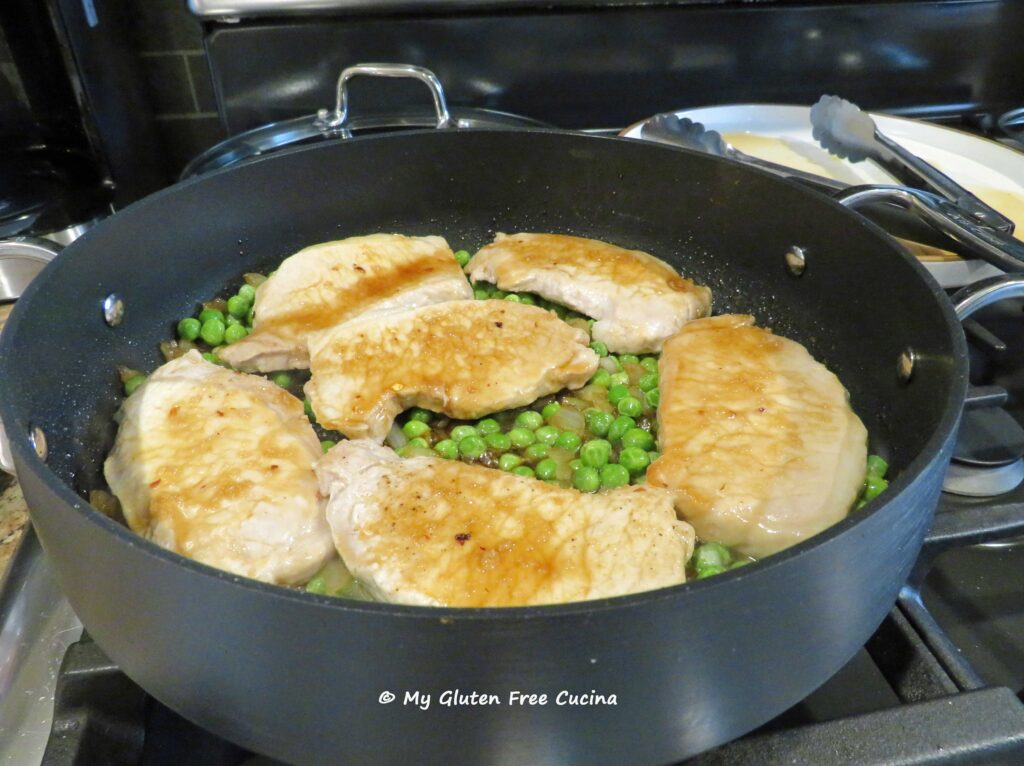 Drain the pasta, add to the skillet and toss to coat. Remove from heat and serve right in the pan for a casual dinner.
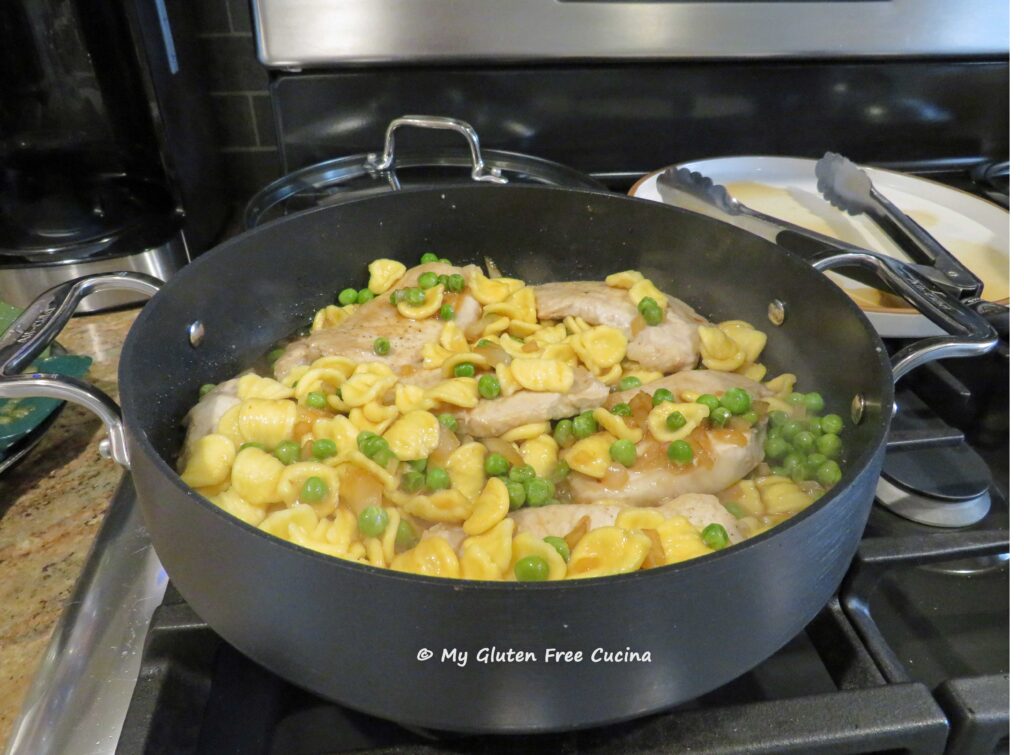 Notes ♪♫
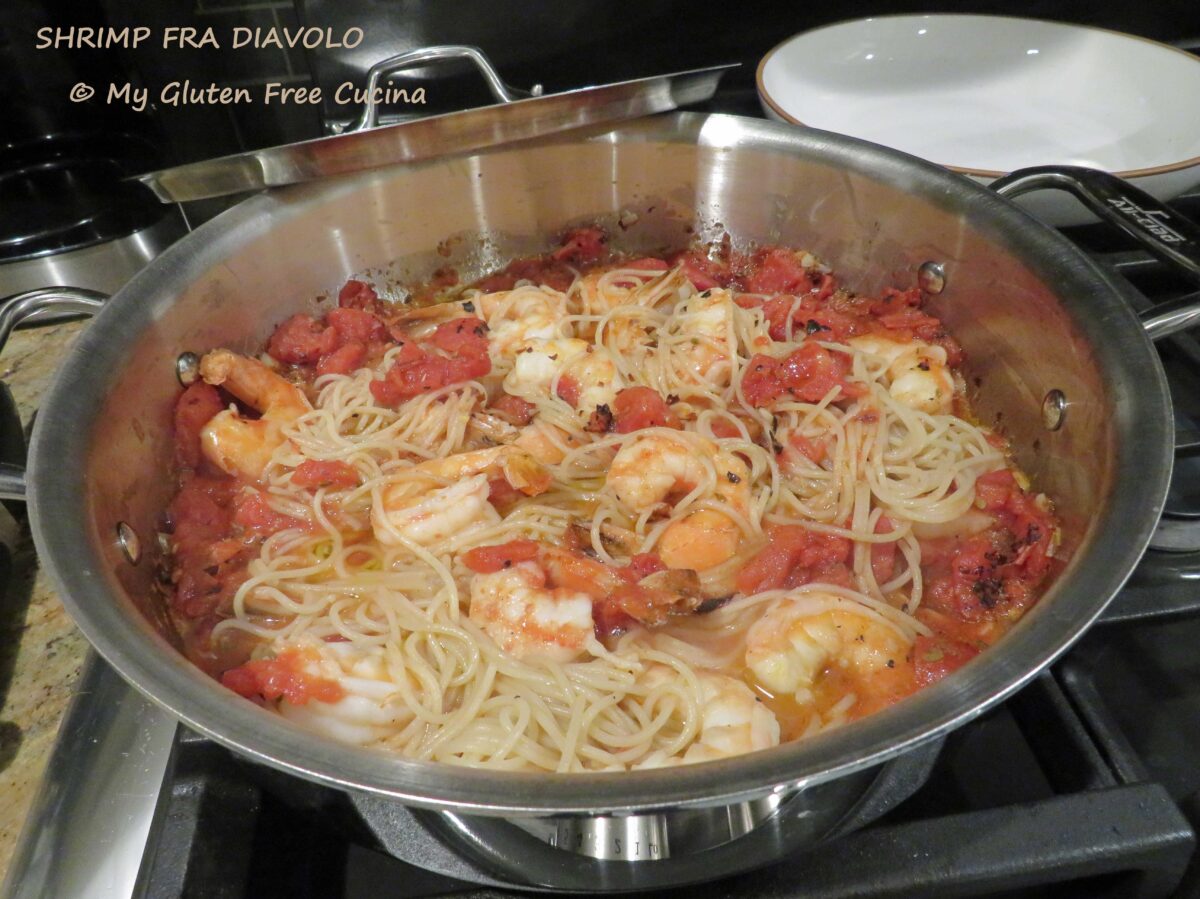
 Ingredients:
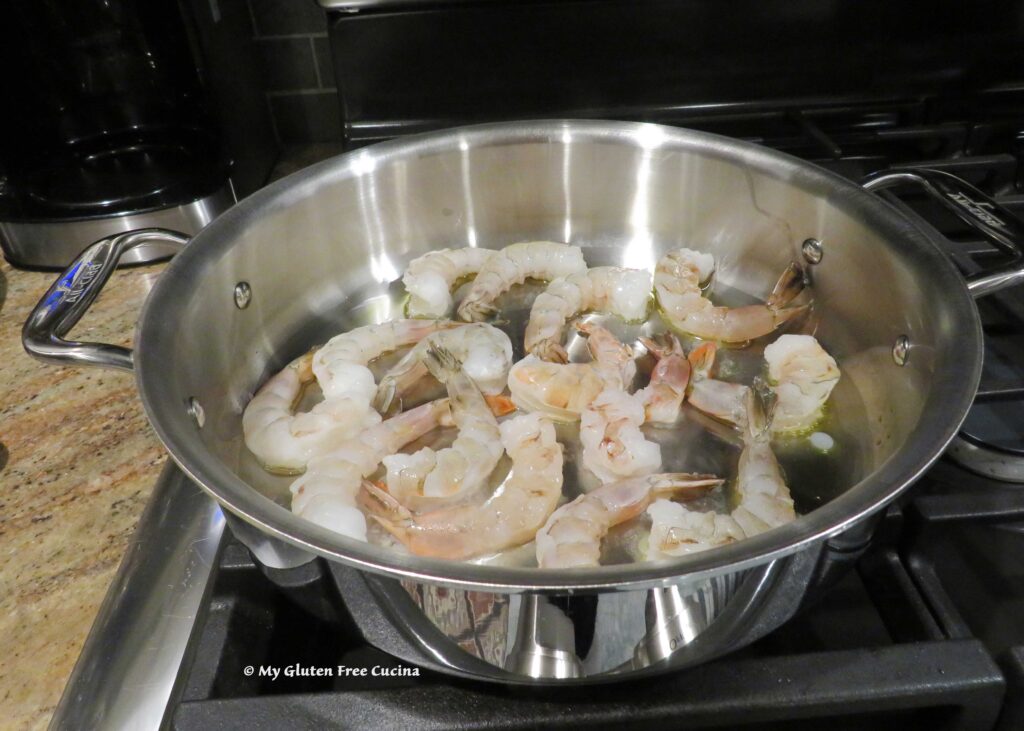
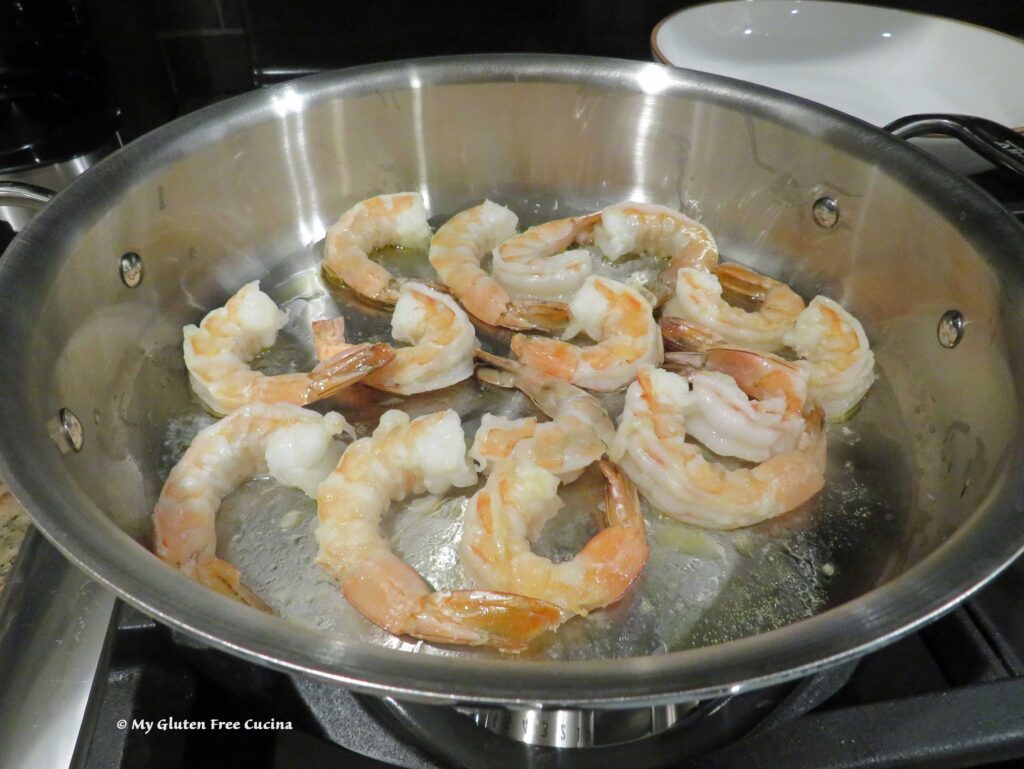 Remove the shrimp to a bowl and add another tbsp. olive oil to the skillet. Add the garlic and red pepper flakes, and cook for 30 seconds, stirring several times.
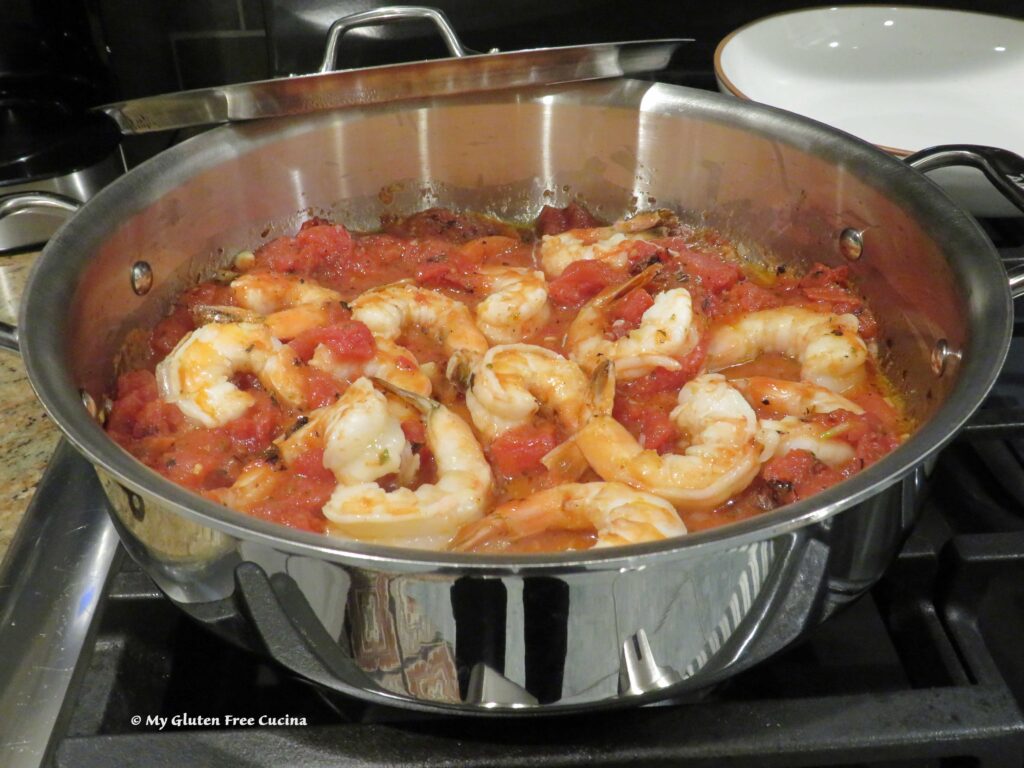
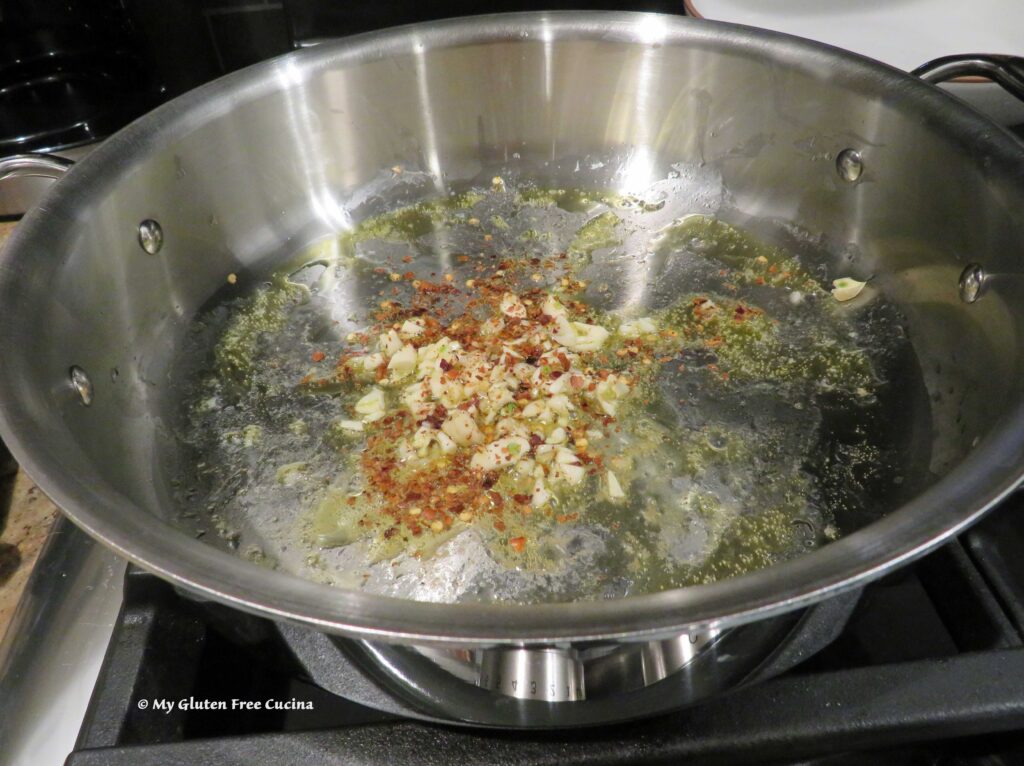 Add the fire roasted tomatoes with juice, 1/2 tsp. oregano and salt to taste.
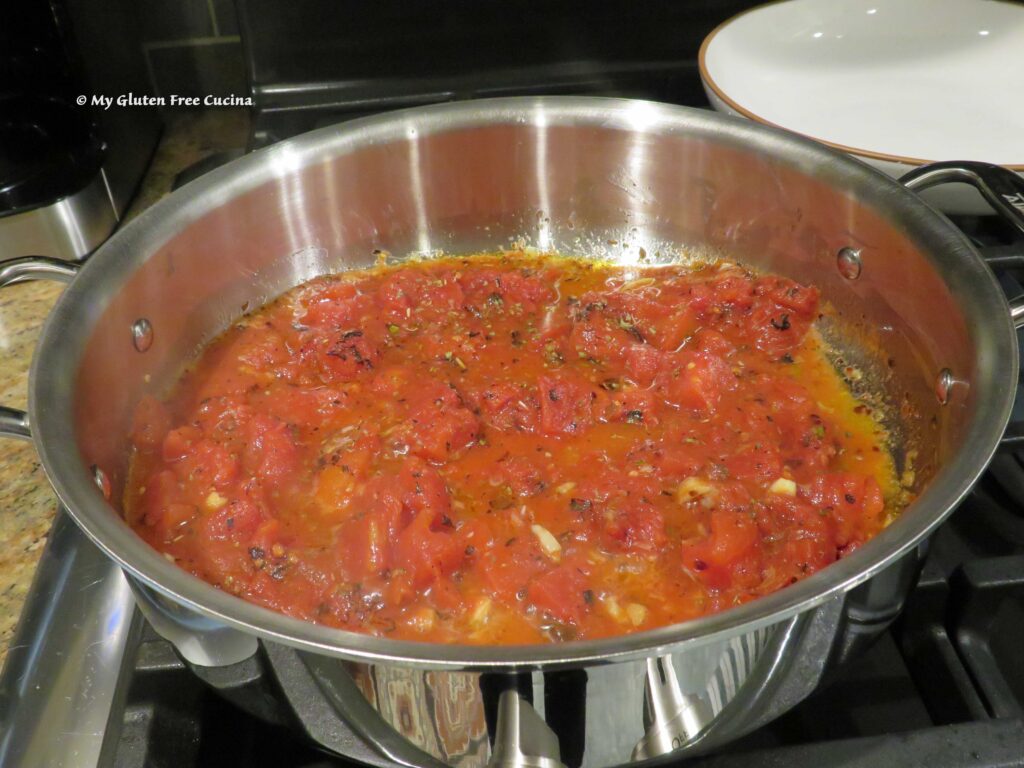 Cook the pasta to 2 minutes less than package directions. With 4 minutes to go on the pasta, add the shrimp to the sauce.
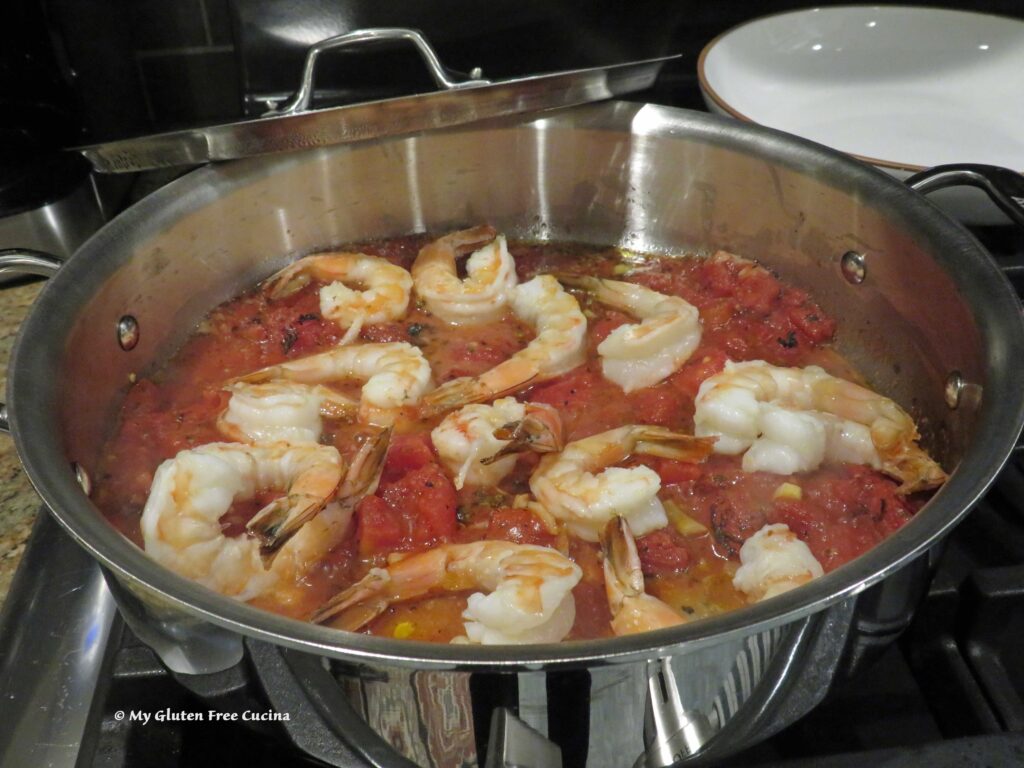 Drain the pasta, add it right into the sauce and toss with 1 more tbsp. olive oil and more red pepper flakes if you dare! ♨️
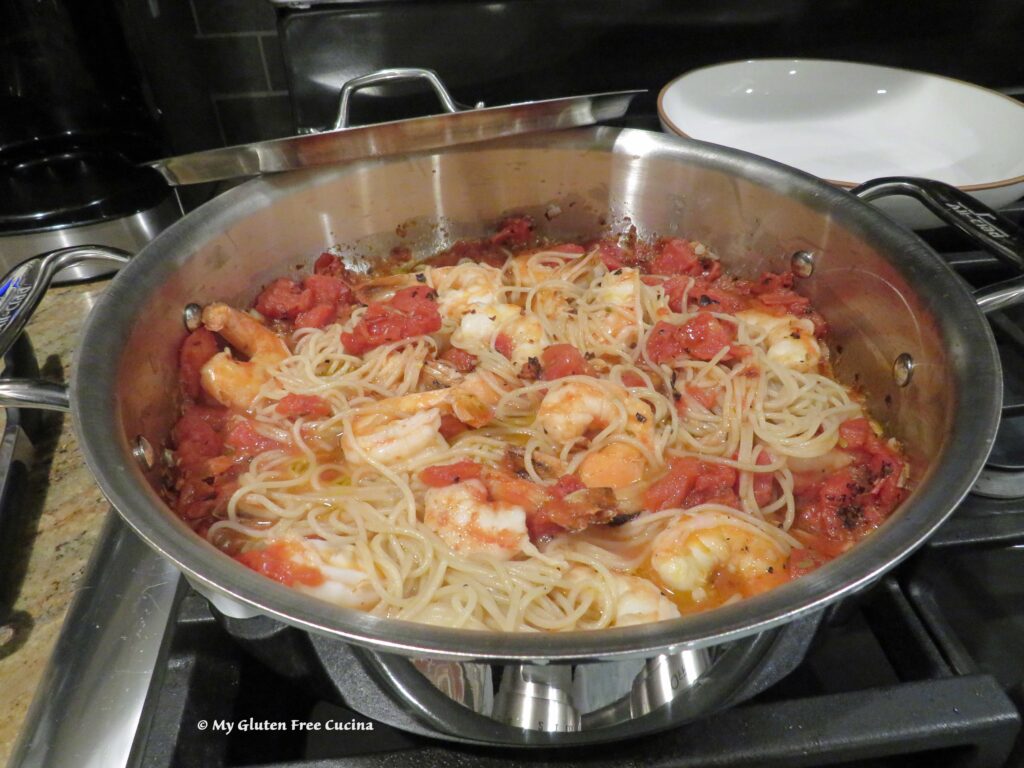 Transfer to serving bowls and garnish with fresh Italian parsley.
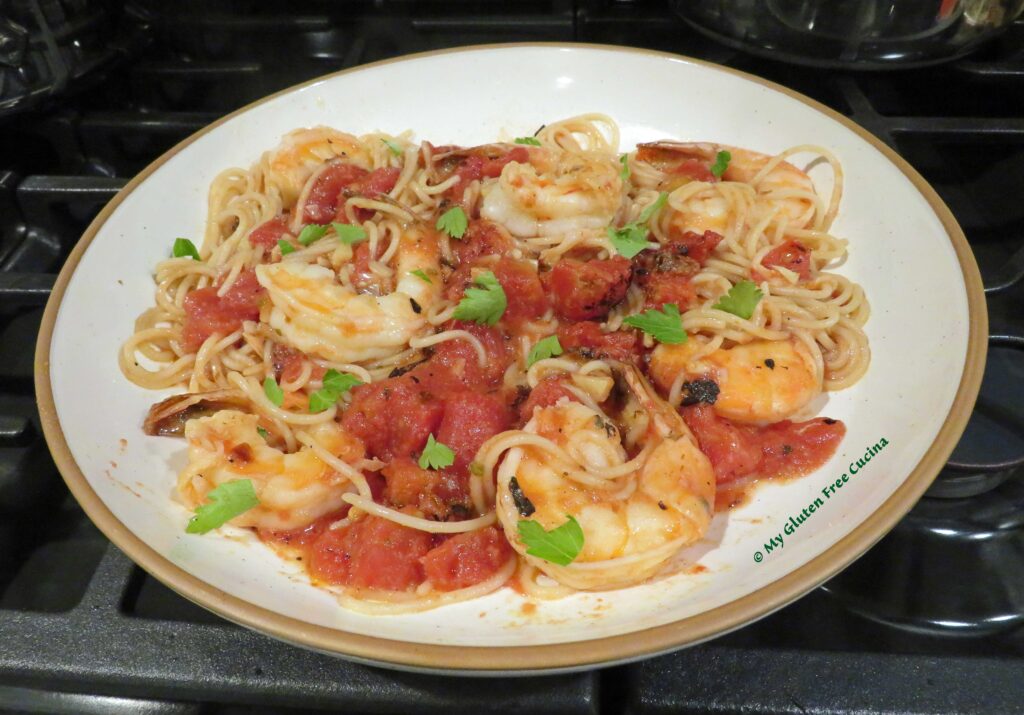


 Ingredients:
 Preparation:

 Work with one section at a time, and keep the remaining dough covered so it doesn’t dry out. Start by rolling each section into a cylinder, like this.
 Cover and let it rest for 10 minutes. This is the secret to working with gluten free dough. Remember, it doesn’t stretch like gluten dough, but after a little rest it will be more cooperative. I repeated this process twice, before I finally was able to roll each section of dough into a rope, 3/4″ thick.
 Use a
Use a 

 Line a baking sheet with parchment or waxed paper, and dust lightly with flour. Place the finished Orecchiette on the baking sheet. Cover with plastic wrap and refrigerate if not cooking immediately.

 Slide the Orecchiette into the water and cook for 3 minutes, stirring occasionally. They will float to the top.


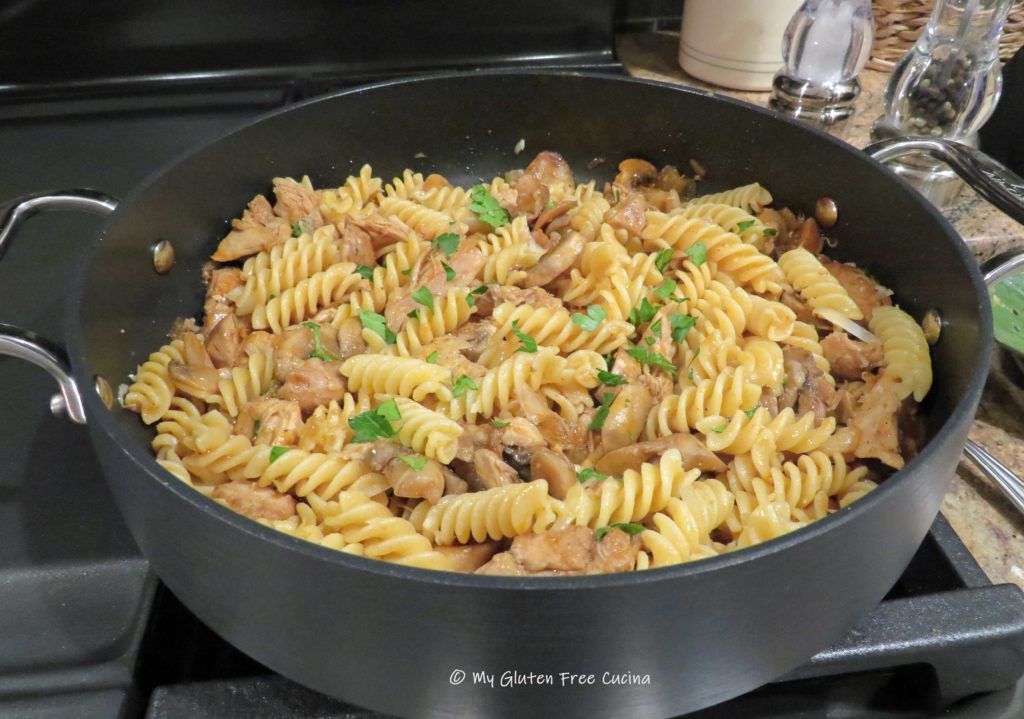
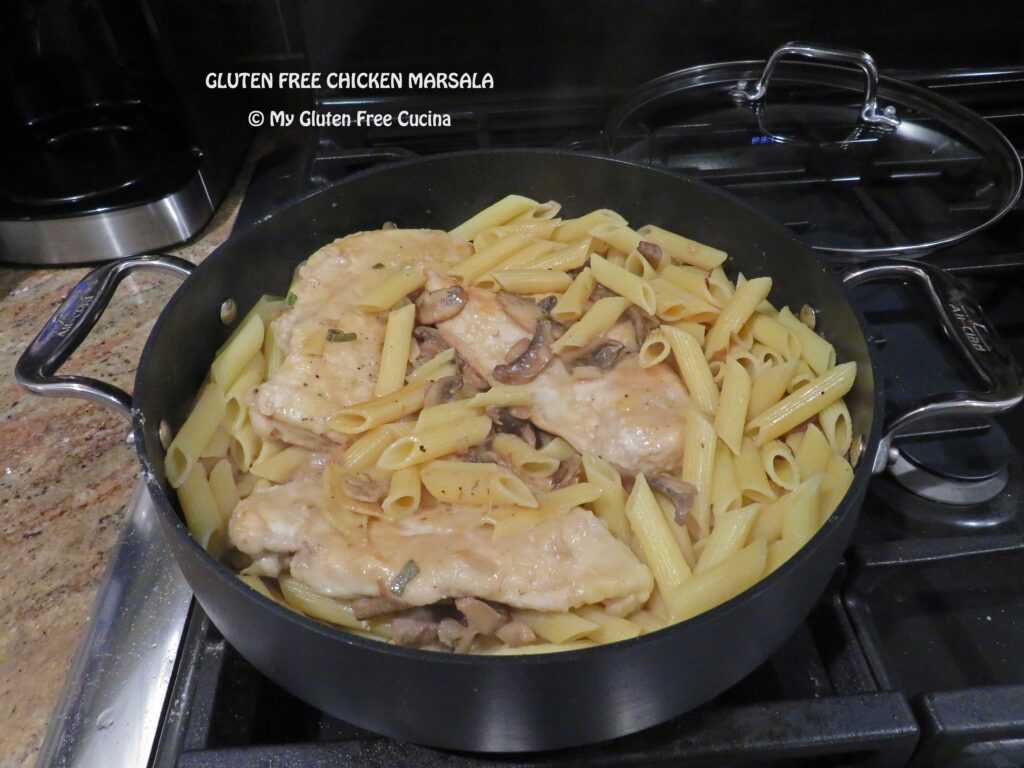
 Add the chicken back to the pan with about 1 cup of chicken broth. Cover and cook for 25 minutes.
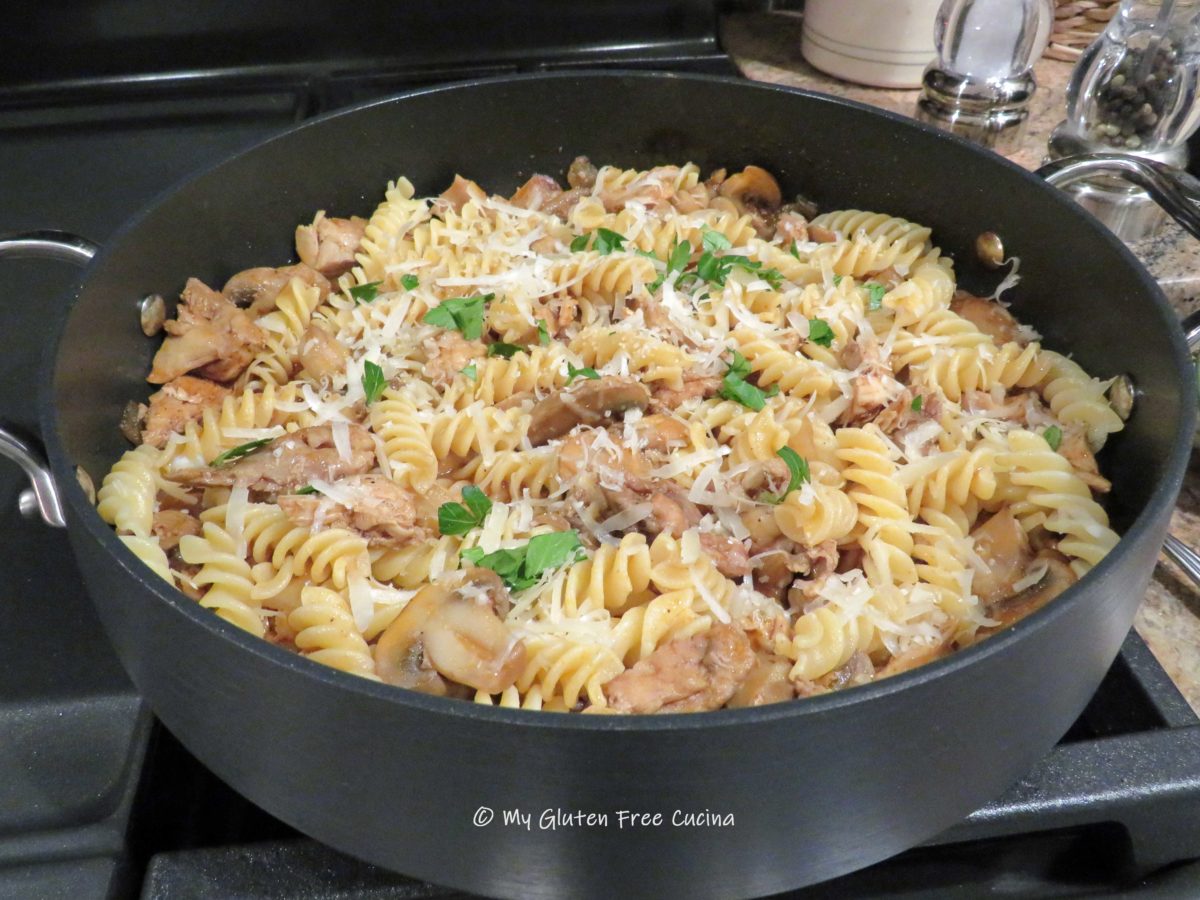
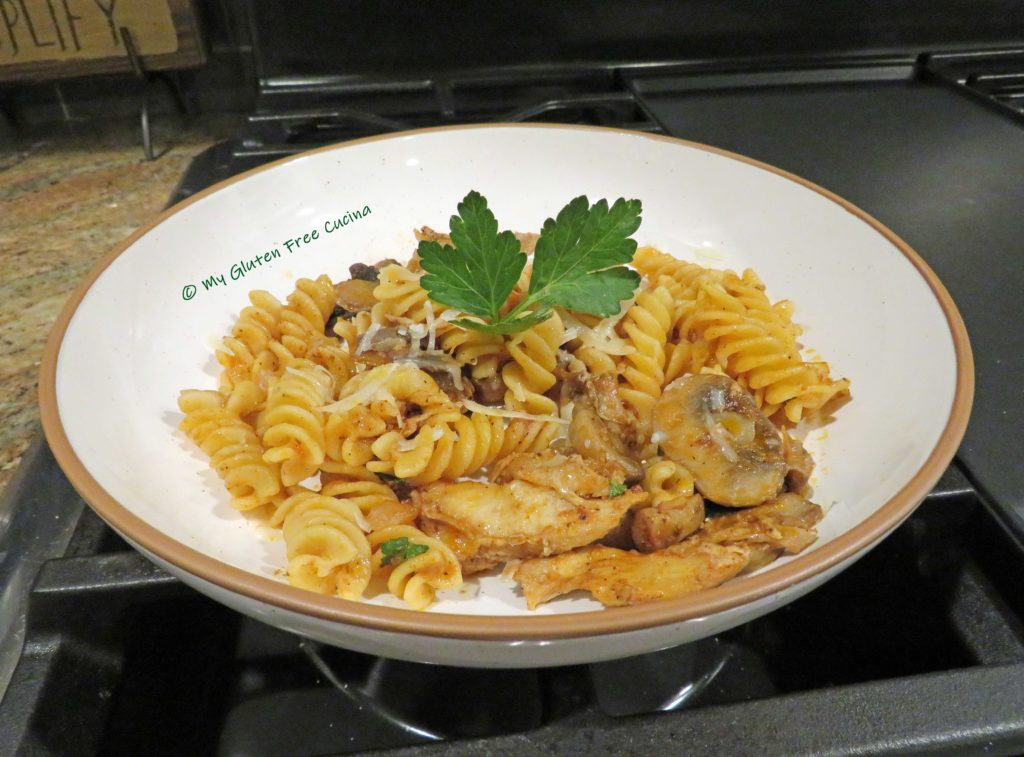
 Bring to a simmer and add back the chicken. Cook for an additional 15 minutes. While the ragu finishes, boil water for pasta.