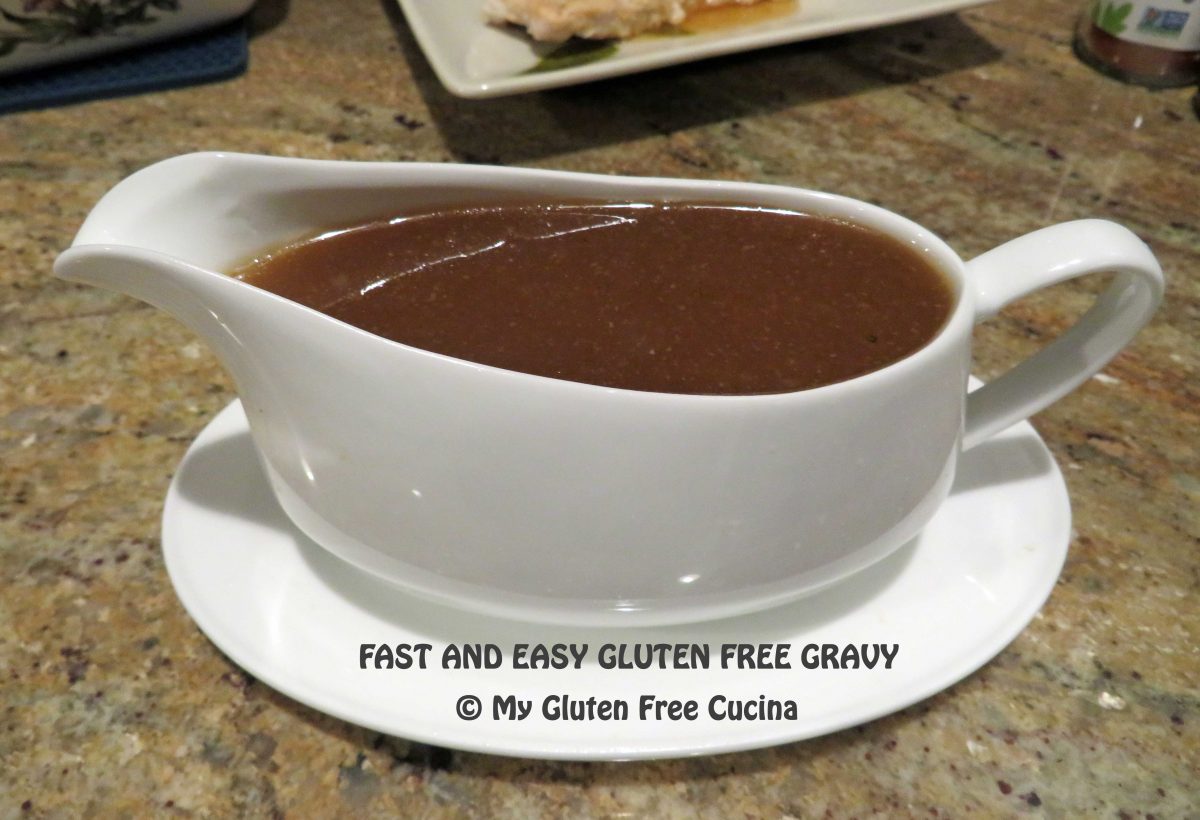
Fast and Easy Gluten Free Gravy

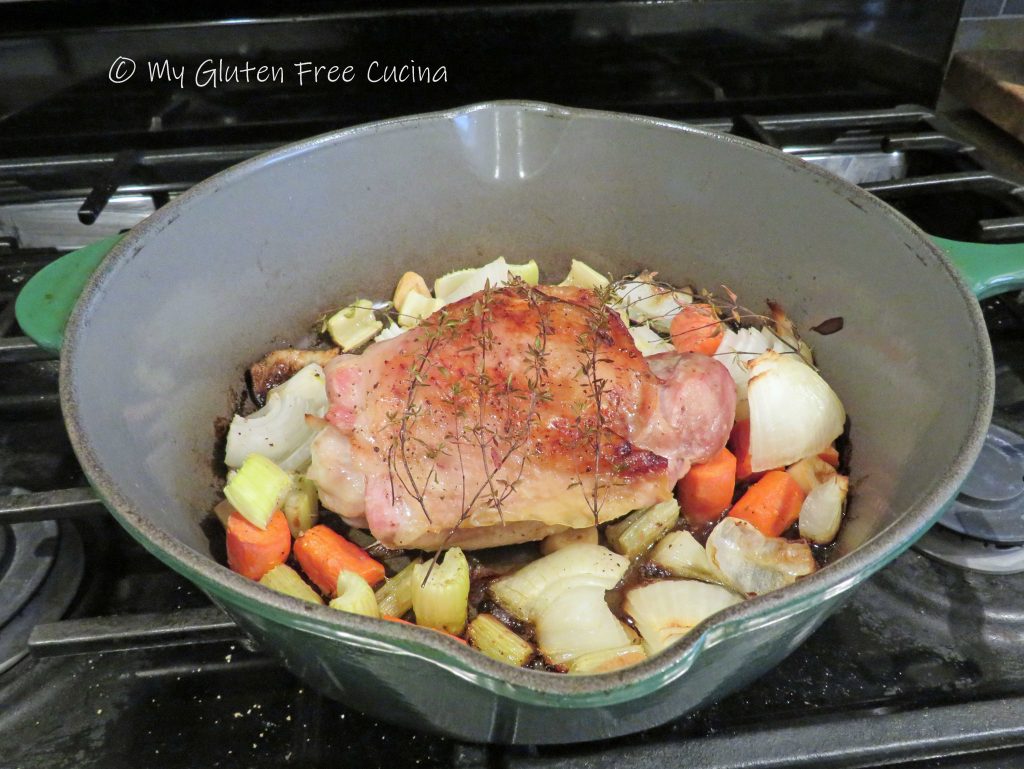
I have a wonderful recipe for Thanksgiving Turkey Gravy that I make every year.  I start with fresh turkey legs or thighs, roast them and braise with aromatic veggies to make a rich, flavorful stock that makes the most amazing gravy.  And while I love this make ahead recipe, I can appreciate that not everyone wants to go to all that trouble.
So, for all who are short on time and need a fast and easy recipe, this versatile gravy is for you!  It can be made a day ahead or morning of the holiday, no pan drippings needed!  It can be paired with pork, chicken, turkey, veal or even beef just by varying the base broth.

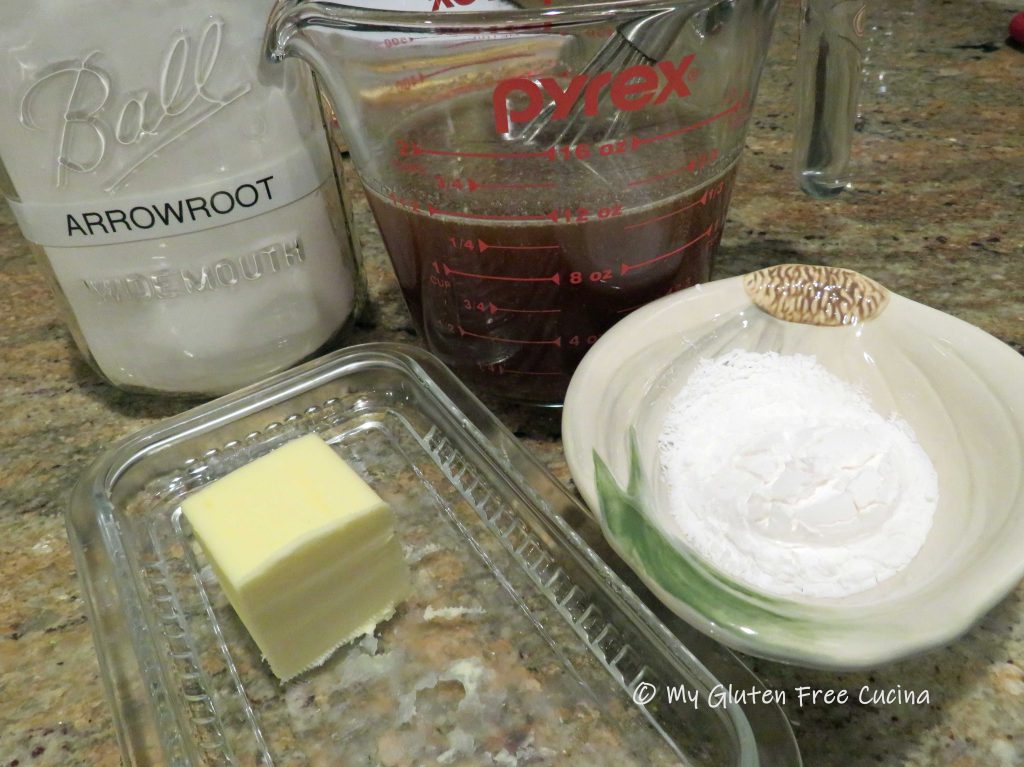
Arrowroot flour is gluten free and makes the smoothest roux, no lumps ever!

This post contains affiliate links.

4 Servings

Ingredients:

Preparation:

Whisk together the broth, onion powder and garlic powder in a microwave safe container.  Microwave for 90 seconds.

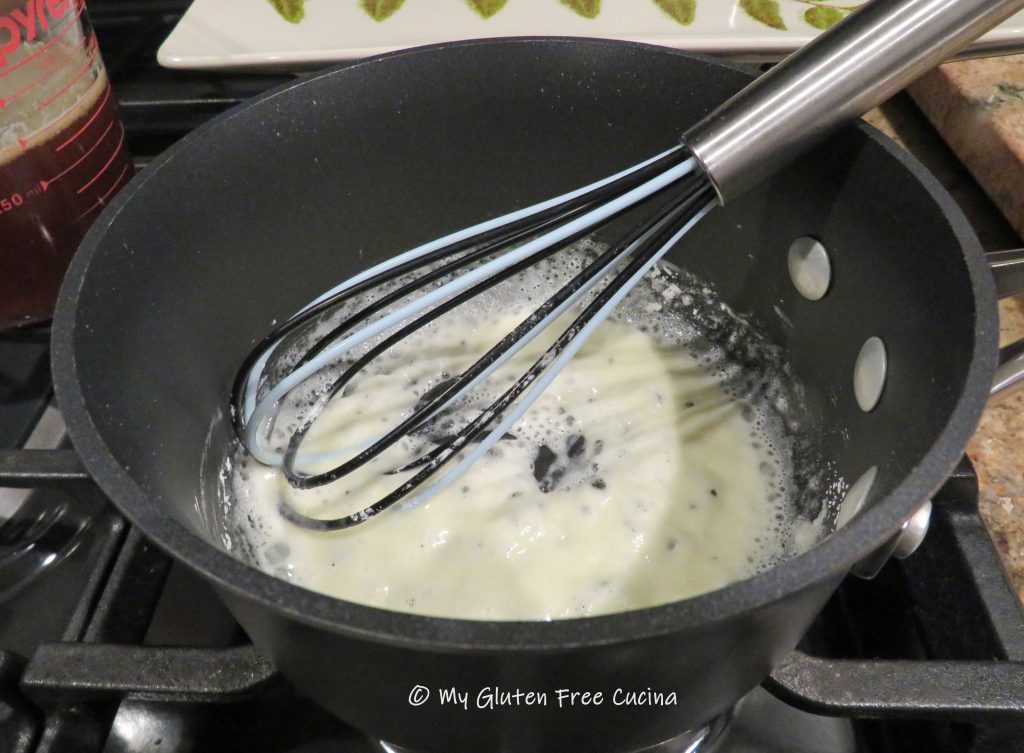
In a small nonstick saucepan, melt butter then whisk in the arrowroot flour to make a roux.
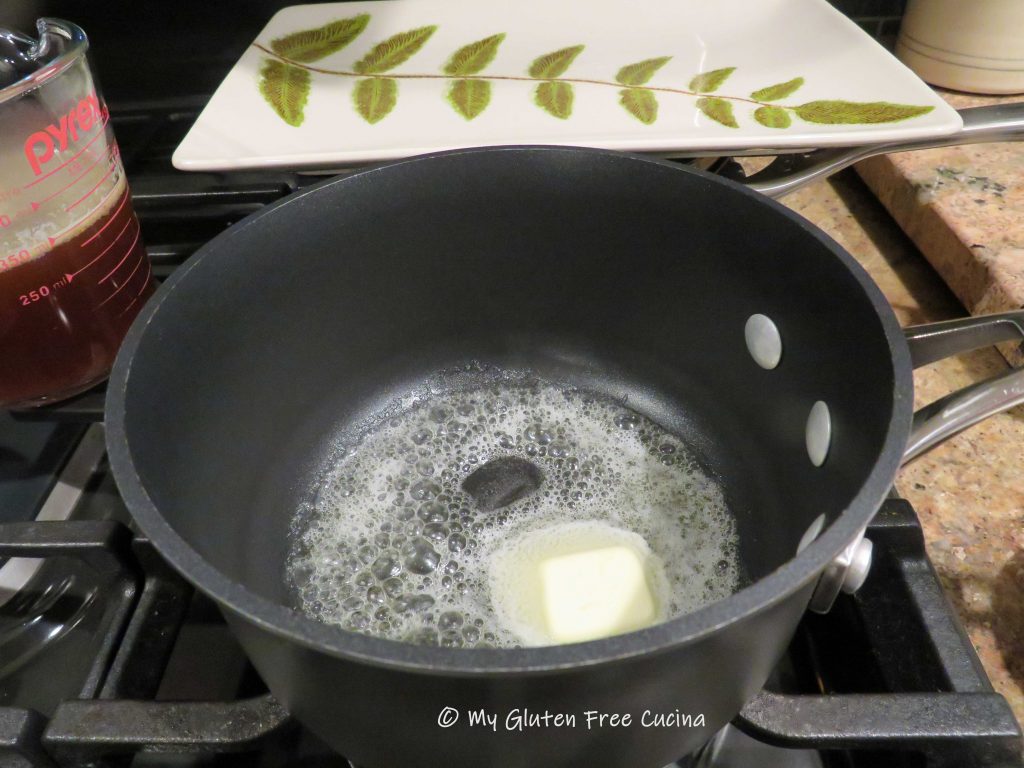
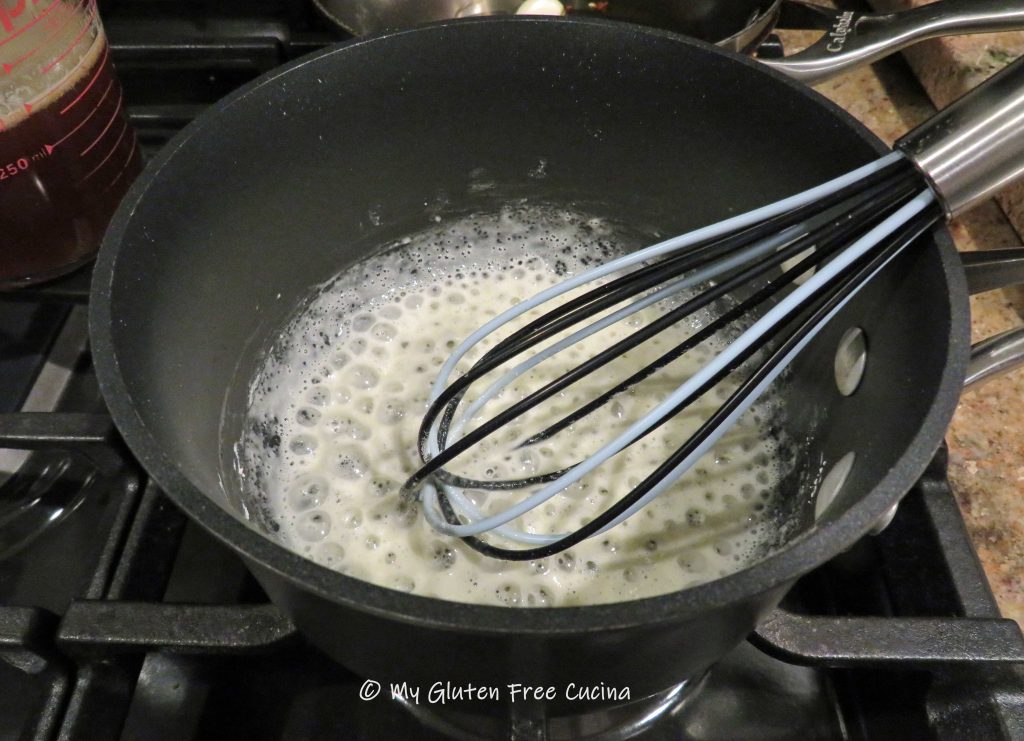
Continue whisking until the roux begins to take on a little color like this.
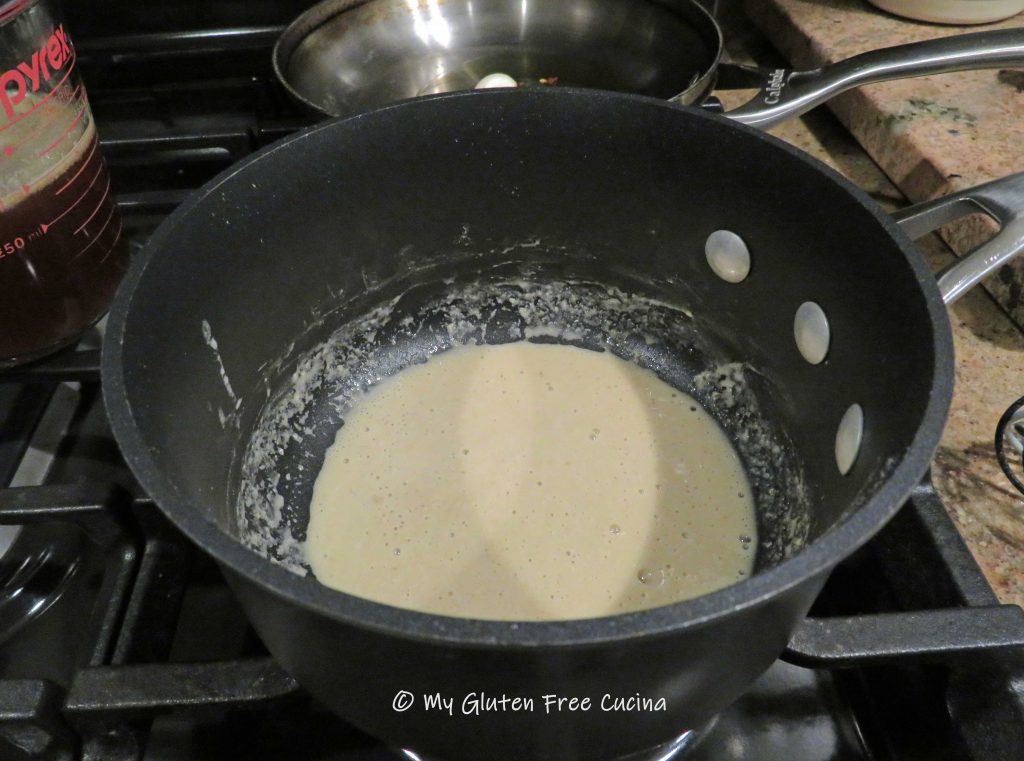
Then slowly stream in the warmed broth and whisk until smooth.

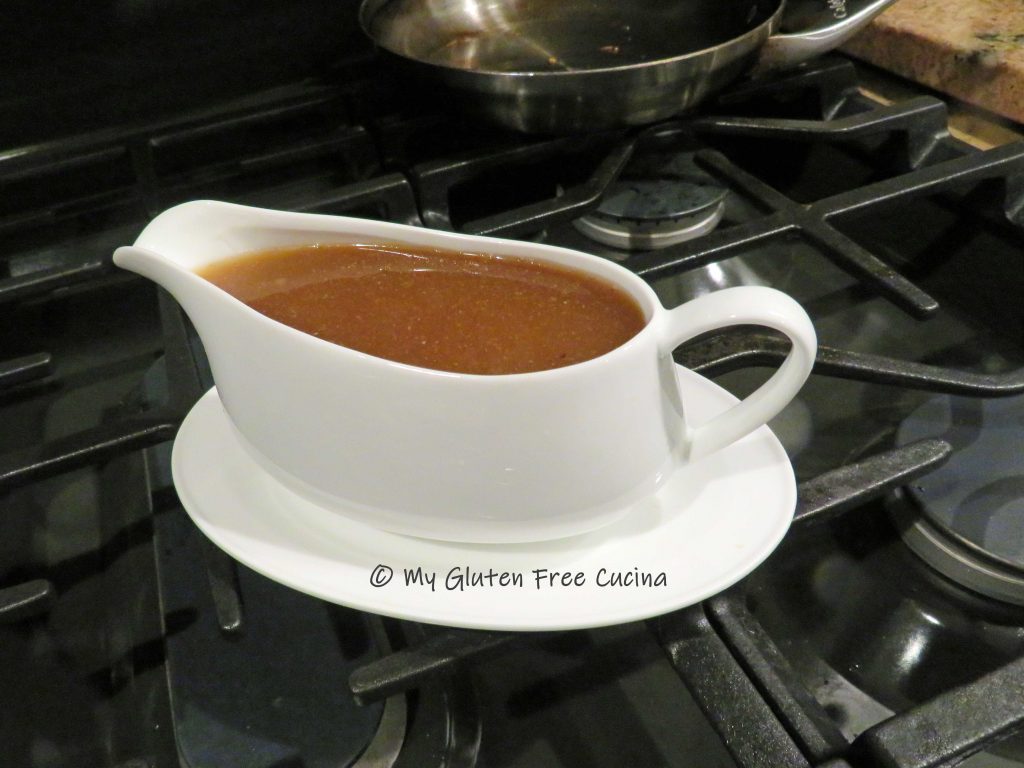
Continue simmering and when it reaches the color and thickness you prefer lower the heat and keep warm.
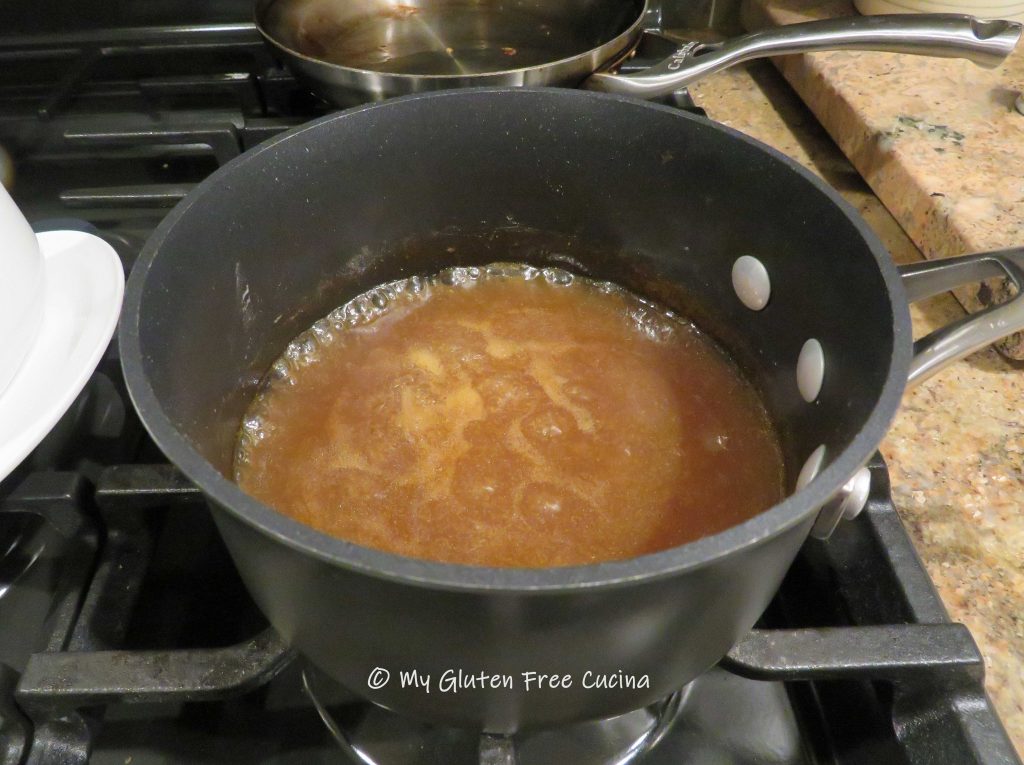
This is a gravy that you can whip up while you make dinner, even on a busy weeknight.  I made it to go with grilled turkey cutlets and Mr. Cucina said it was very good!

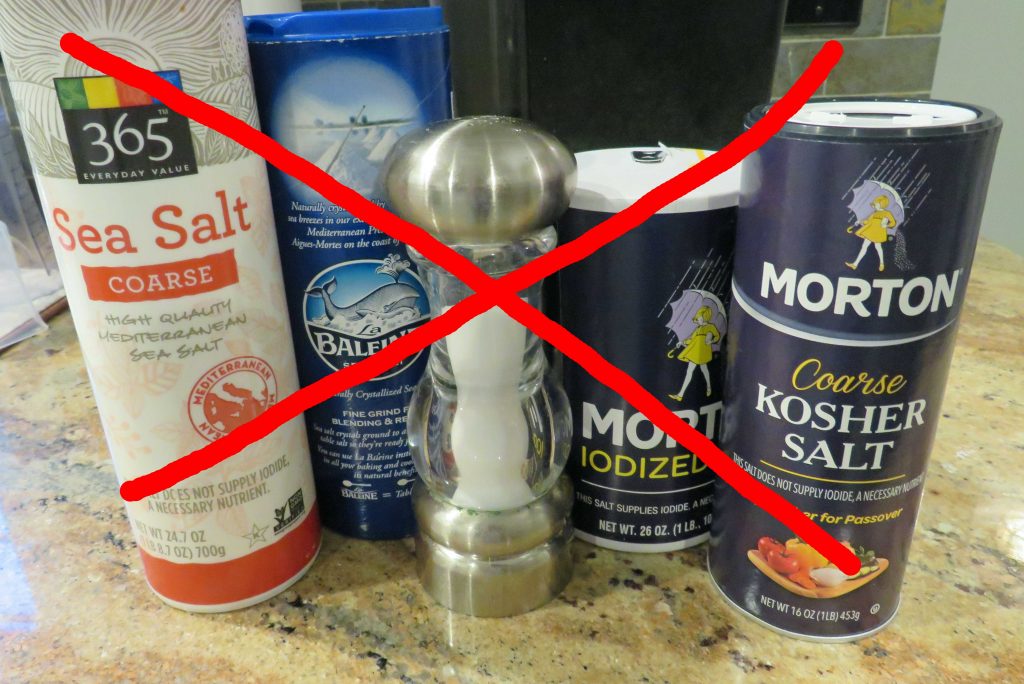
Notes ♪♫ One of the things I love about this gravy, is that in addition to being gluten free, you can control the salt content.  For those on a low sodium diet, start with salt free broth, unsalted butter and use garlic and onion powder (not salt).  You can always adjust the taste by adding salt, but you are in control!

Print This Post Print This Post

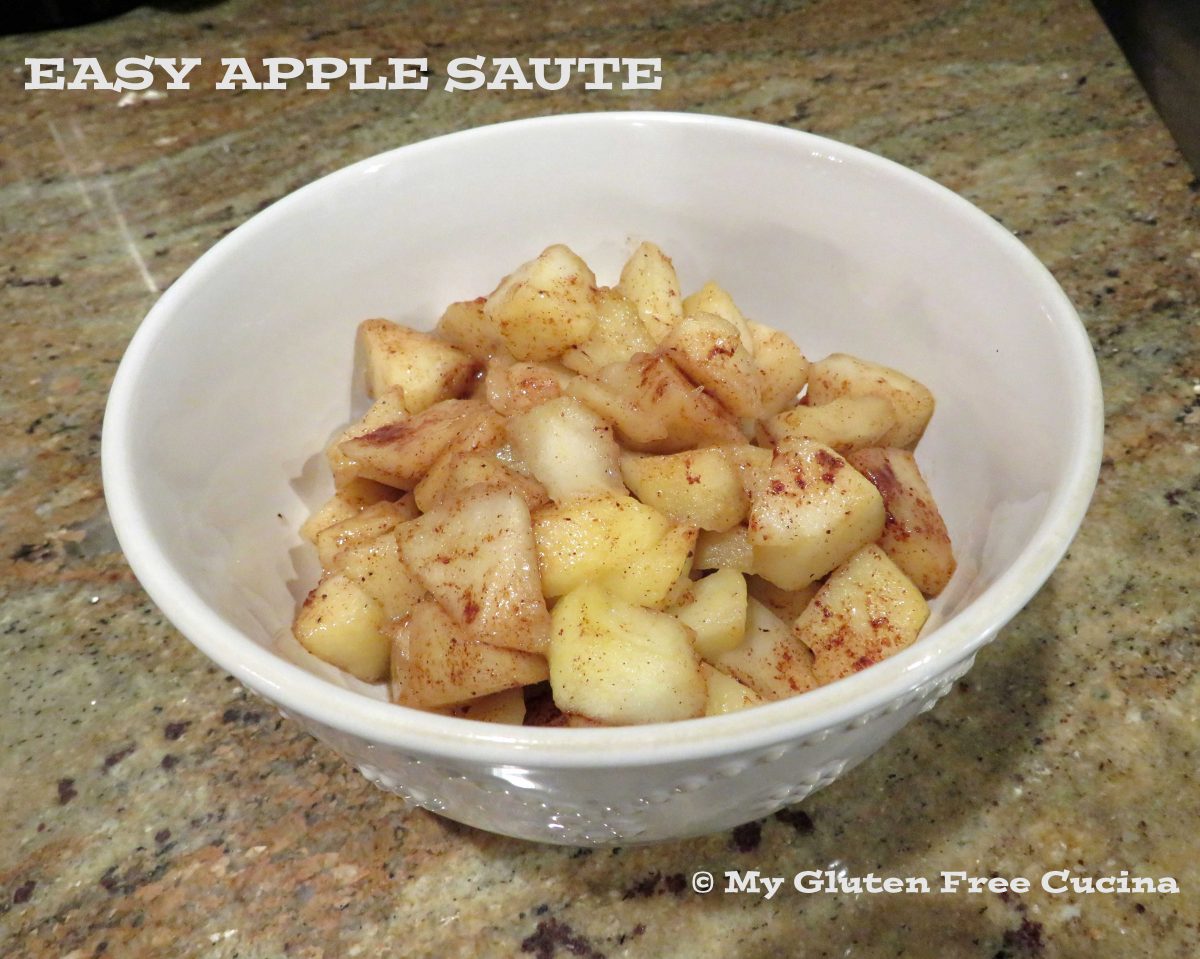
Easy Apple Sauté

This Easy Apple Sauté is a favorite at our house.  It makes a great breakfast accompaniment to oatmeal or pancakes.  Do you ever have a side of fruit with dinner instead of a veggie, just to change things up?  Apples go well with any pork dish or BBQ meal.  And if you like, this basic recipe can stand in as a light dessert without all the extra fat and carbs.  Best of all, it’s ready in 5 minutes, no baking!

Ingredients:

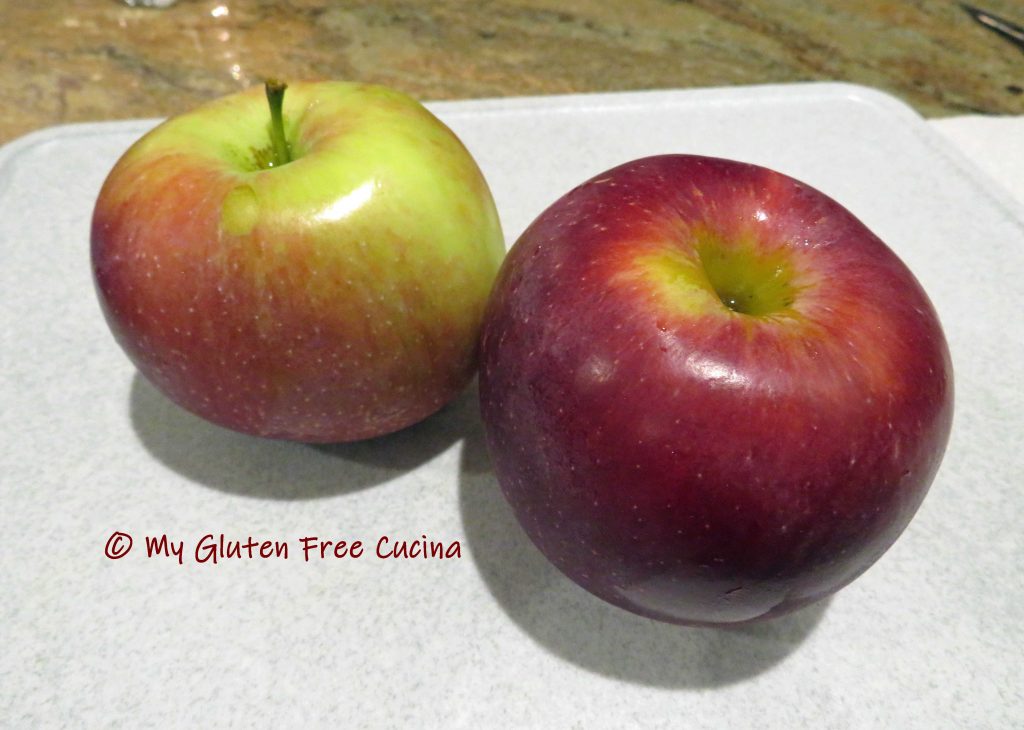
  • 2 apples (I used Cortland)
  • 1 tbsp. brown sugar
  • 1 tbsp. unsalted butter
  • cinnamon and nutmeg

This post contains affiliate links.

Preparation:

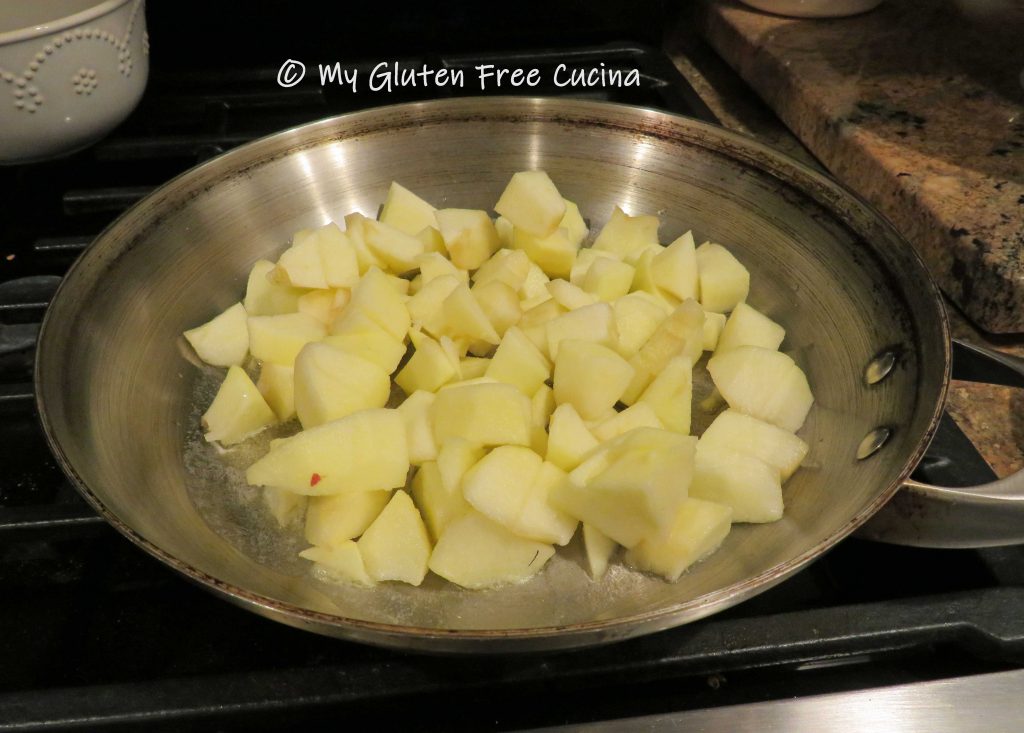
Peel and dice the apples.

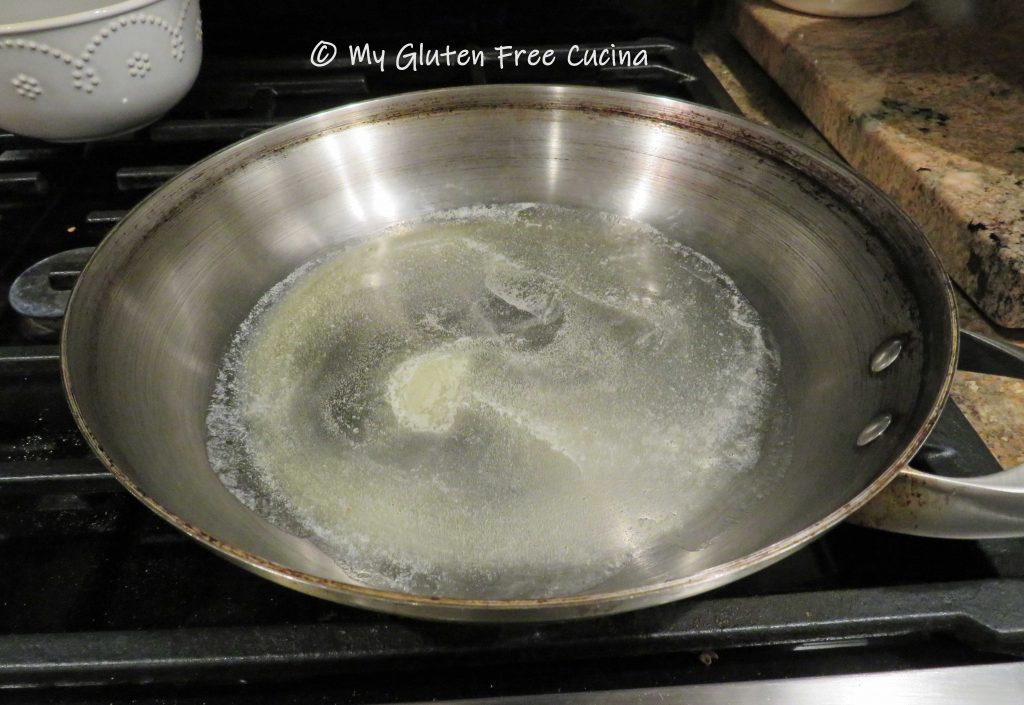
Heat a 10″ skillet on medium and melt the butter.

Add the apples to the skillet and toss to coat.  Cook 1-2 minutes.

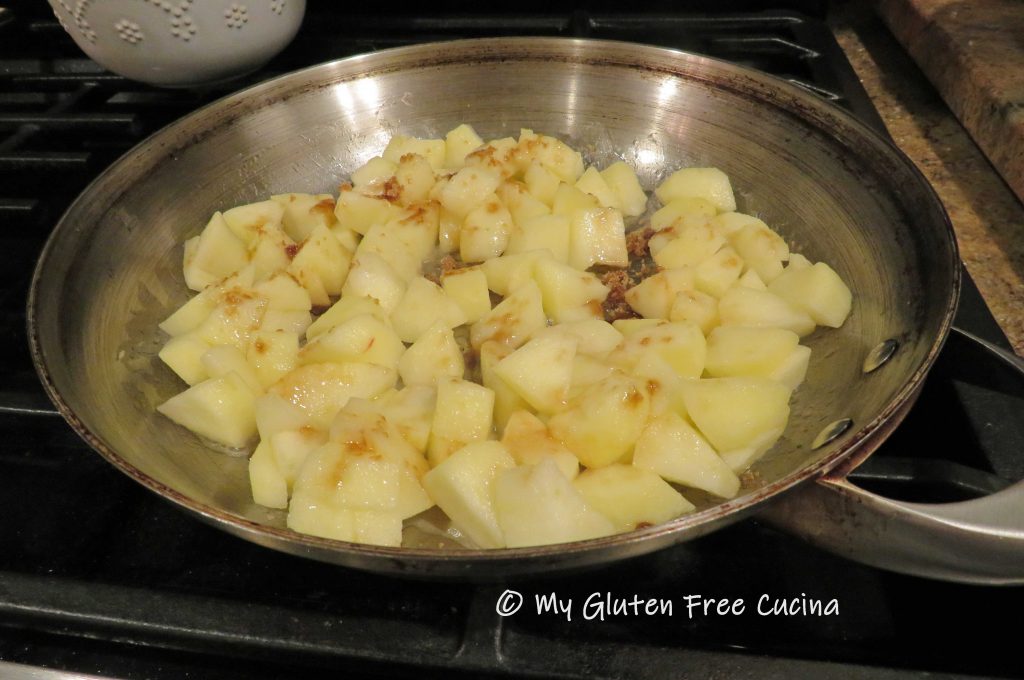
Sprinkle with  brown sugar, and stir it in to melt.

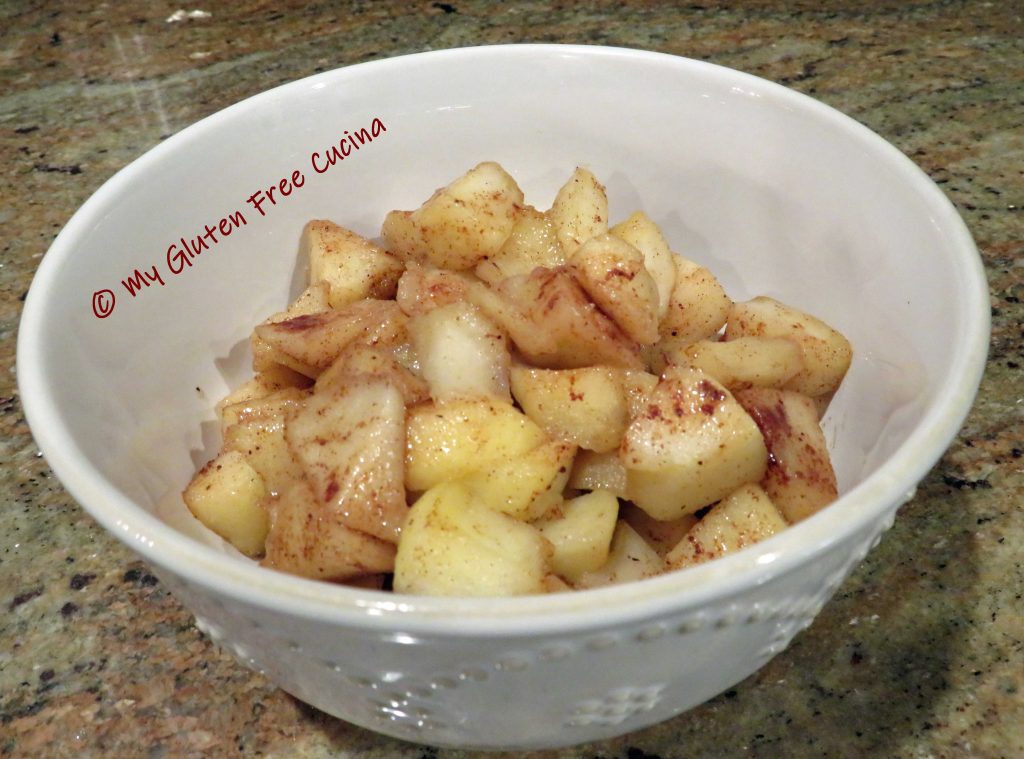
Sprinkle with cinnamon and nutmeg.  Cook for 2-3 more minutes, stirring frequently.  A light syrup will form in the pan.

I love this diet friendly treat as a standalone side or as a topping for other other fall veggies, like  my Apple Walnut Butternut Squash.

Notes ♪♫  Granny Smith apples are most often recommended for cooking, but there are so many varieties that would be delicious in this fast and easy preparation.  I used Cortland apples in this post because a dear neighbor recently gifted us a bag.  They were so good, so use what you have!

Print This Post Print This Post


Basic Fried Rice, Gluten Free and Lower Sodium

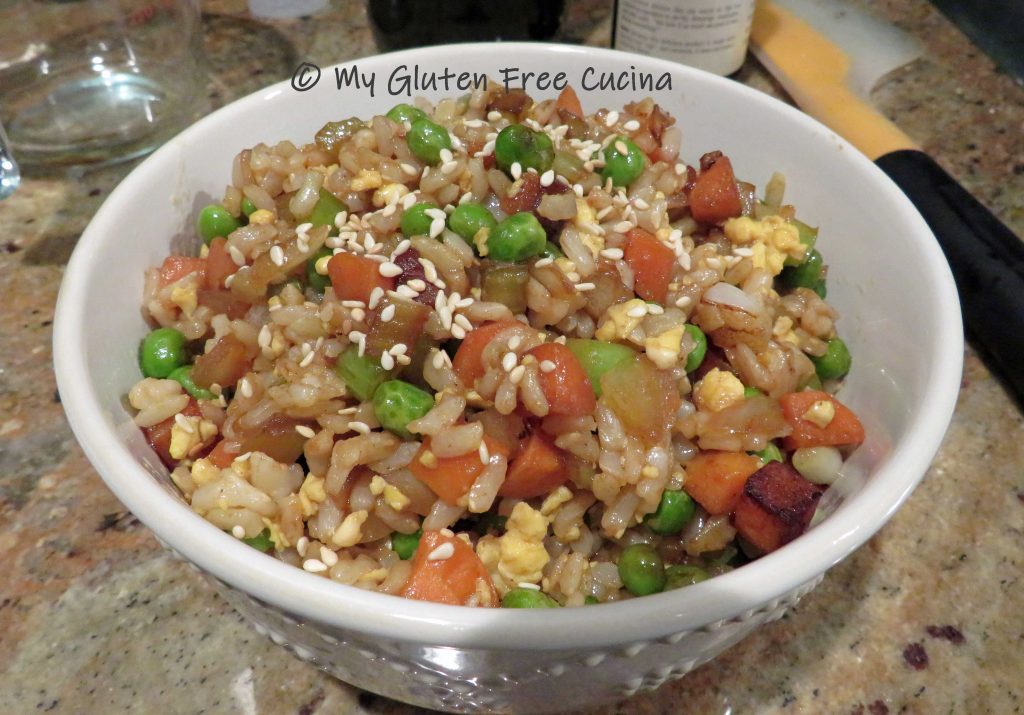
I have shared so many of my Asian inspired meals here on the blog and I know you love them as much as I do!  Today though, I thought I would focus on a basic recipe for fried rice that you can make at home with common pantry staples.  This is an easy preparation that is both gluten free and lower in sodium.  I did not add meat, but you can choose (just like in your takeout menu), to add chicken, shrimp, pork, beef, etc… whatever you like to make it a complete meal.

Why make it at home?  You control the salt, you control the fat, and you will be absolutely sure that it’s gluten free!

Cheat some of the prep work by using frozen veggies, like mixed peas and carrots.  Or, use up bits of leftover veggies from other meals, just chop them into small pieces and throw them in.  Get fancy and add canned water chestnuts or bean sprouts!

If you’re making this after a long day at work, it’s nice to be a step ahead in your prep, so cook your rice the day before!  In fact, this recipe works best when the rice is cooked ahead of time and refrigerated.

Ingredients:

Preparation:

A large, nonstick skillet is my first choice for stir fry dishes.  You may think a 14″ skillet is too large for your needs but having that extra surface area is great when you want to spread out your ingredients in the pan.

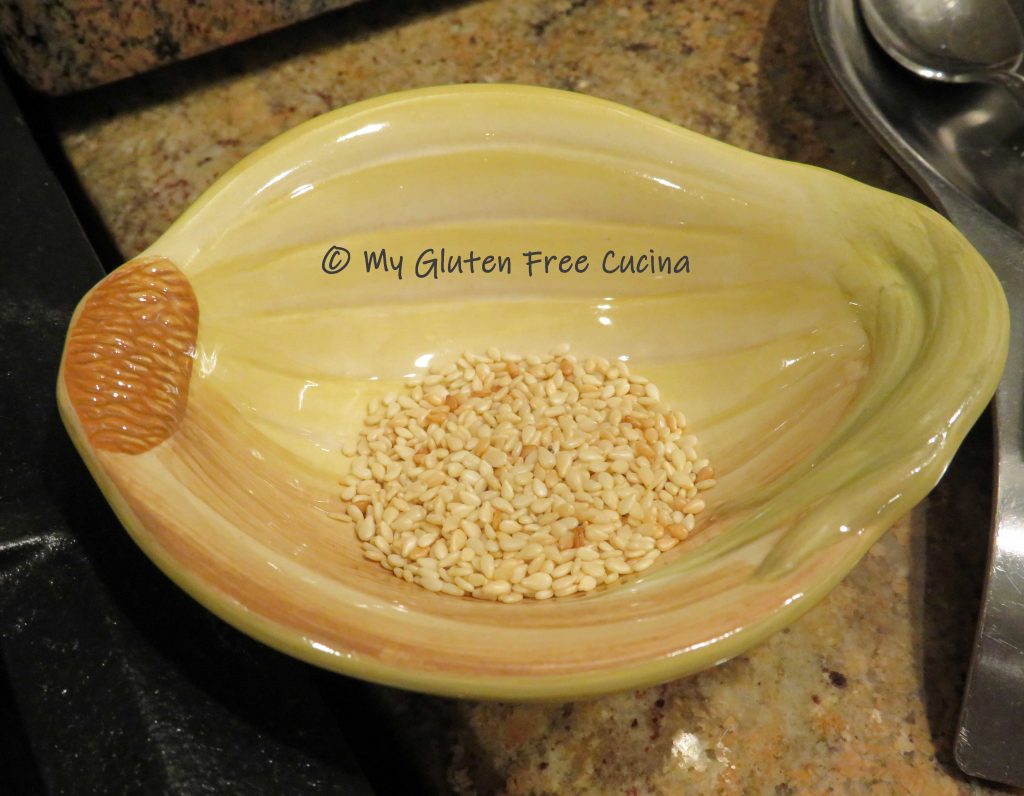
Make ahead steps: Cook the rice ahead of time, cool and refrigerate.  If using frozen vegetables, take them out to defrost.  Toast the sesame seeds in a small, nonstick sauce pan and set them aside for garnish.

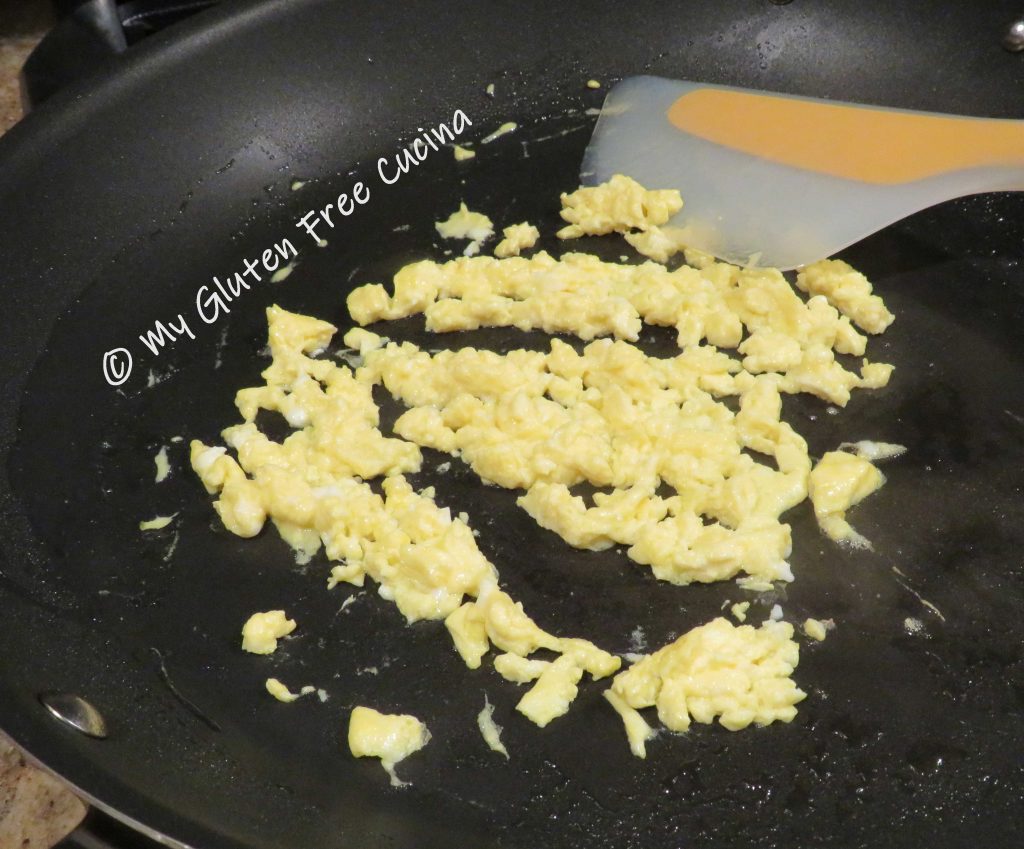
Heat a large, nonstick skillet with cooking spray.  Scramble the egg and break it up with a spatula.

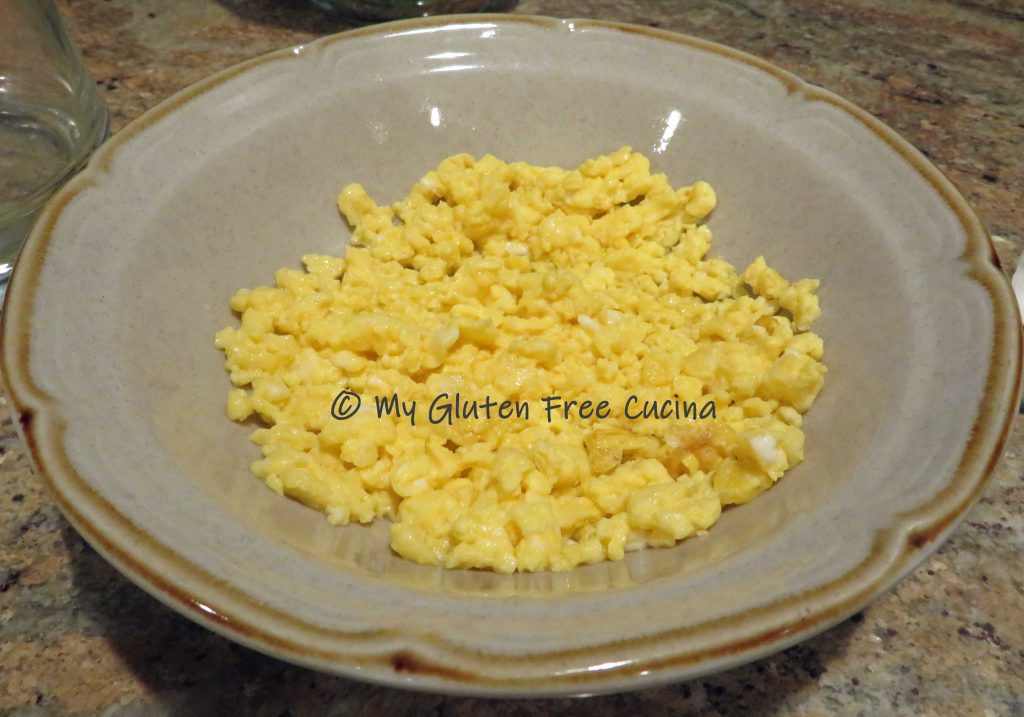
Set the egg aside and wipe the pan clean.

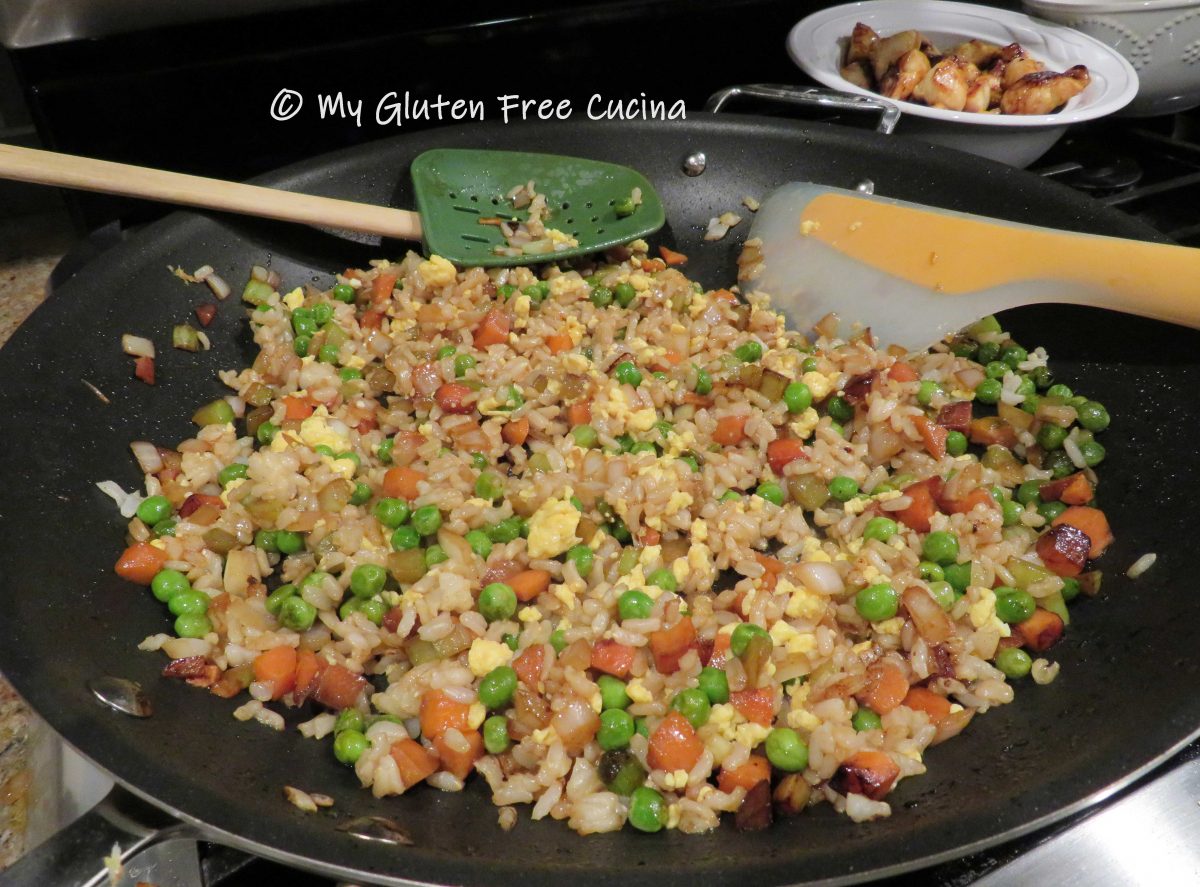
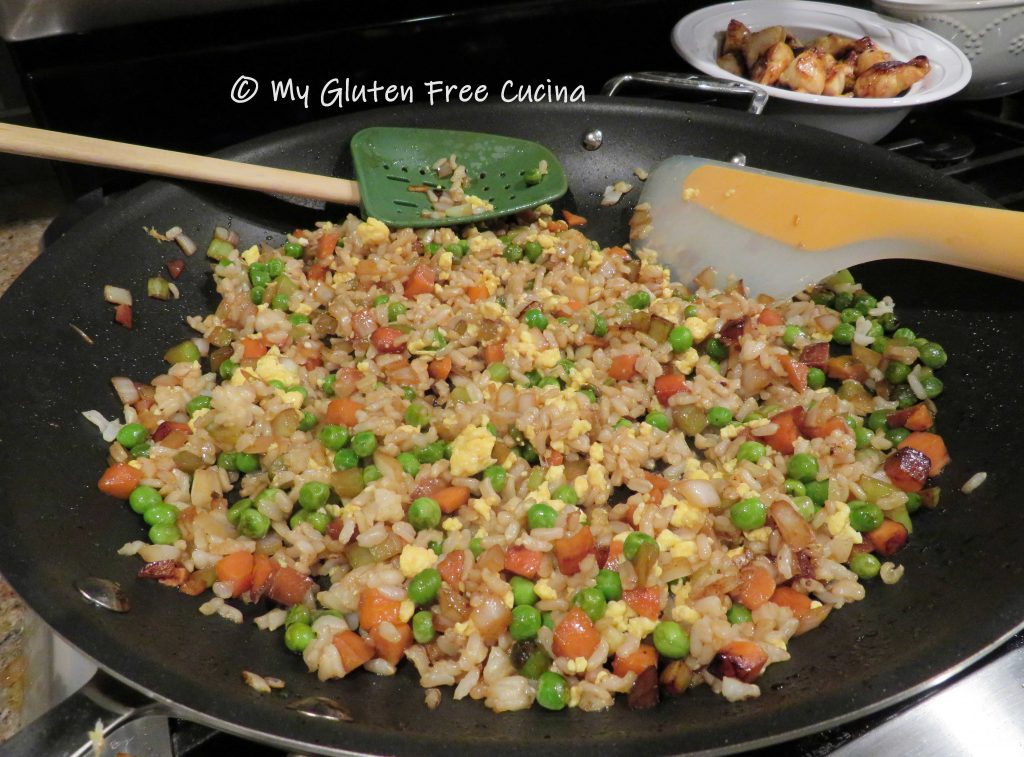
Mist the skillet with cooking spray and add 1 tbsp. olive oil, 1 tsp. sesame oil and 1 tbsp. coconut aminos.  Add the veggies, and sprinkle with the garlic and ginger.  Cook for 5 minutes over medium low heat, stirring frequently.

Add a little more sesame oil and coconut aminos, then stir in the cooked rice.  Cook 1 minute to heat through, then add back the scrambled egg.  Add a little more oil and coconut aminos.

Toss well to incorporate, and transfer to a serving bowl.  Garnish with toasted sesame seeds.

Notes ♪♫ I used coconut aminos in this recipe instead of soy sauce.  It is gluten free and much lower in sodium than tamari or gluten free soy sauce.  You can use any of these, or a combination to suit your taste and dietary needs.


Print This Post Print This Post

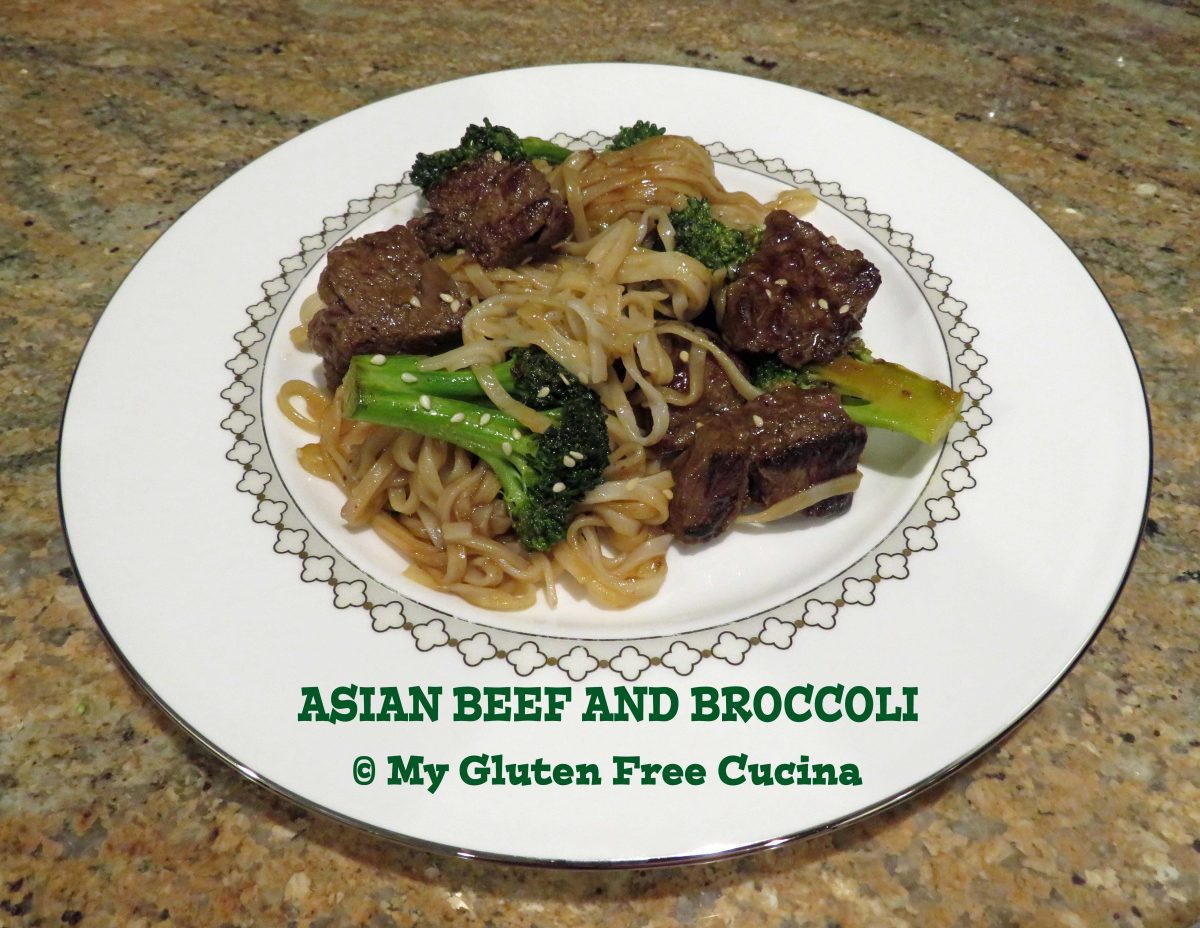
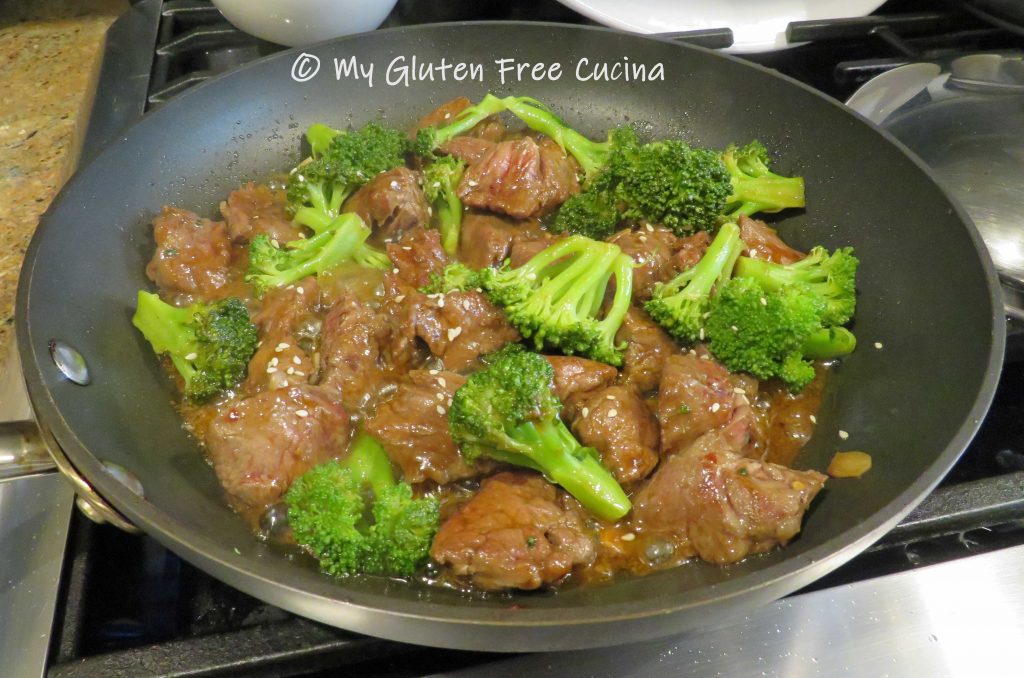
Gluten Free Asian Beef and Broccoli

Asian Beef and Broccoli is a restaurant favorite that can be made right at home with just a handful of ingredients.  Adapting the recipe to be gluten free was easy, so why haven’t I made it in a while?  The short answer, sodium.

These days I try to make meals that are not only gluten free, but also lower in salt.  That means some of my Asian inspired meals have gone on the back burner because they are made with a salt bomb of condiments!  With that in mind, I am on a mission this year to makeover some of my favorite gluten free recipes and this meal was definitely a success.

Would you believe my original recipe used 1/4 cup of gluten free soy sauce and 1/4 cup of hoisin sauce?  Whew, that’s a lot of sodium!

This post contains affiliate links.

In this recipe remake, I’m using Coconut Aminos, a pantry staple in my kitchen that is much lower in sodium than gluten free soy sauce or tamari.  I have substituted Coconut Aminos in many of my recipes that call for soy sauce.  And a little Hoisin Sauce goes a long way, I cut the original 1/4 cup down to 2 tbsp. and it was still delicious.

4 Servings

Ingredients:

  • 1 lb. sirloin tips or petite sirloin (top sirloin), cubed
  • 1 tbsp. coconut aminos
  • 1 tsp. dark brown sugar
  • 3 garlic cloves, sliced thin
  • 1-1/2 tsp. sesame oil, divided
  • 2 tbsp. olive oil, divided
  • 1/4 tsp. powdered ginger
  • 2 tsp. fresh chives
  • pinch red pepper flakes
  • 1 large broccoli crown (about 2 cups)
  • 2 tbsp. gluten free Hoisin sauce
  • 1 tsp. sesame seeds, toasted
  • rice or gluten free rice noodles for serving

Preparation:

Once you start cooking this dish comes together very quickly, so measure and prep all of the ingredients ahead of time.

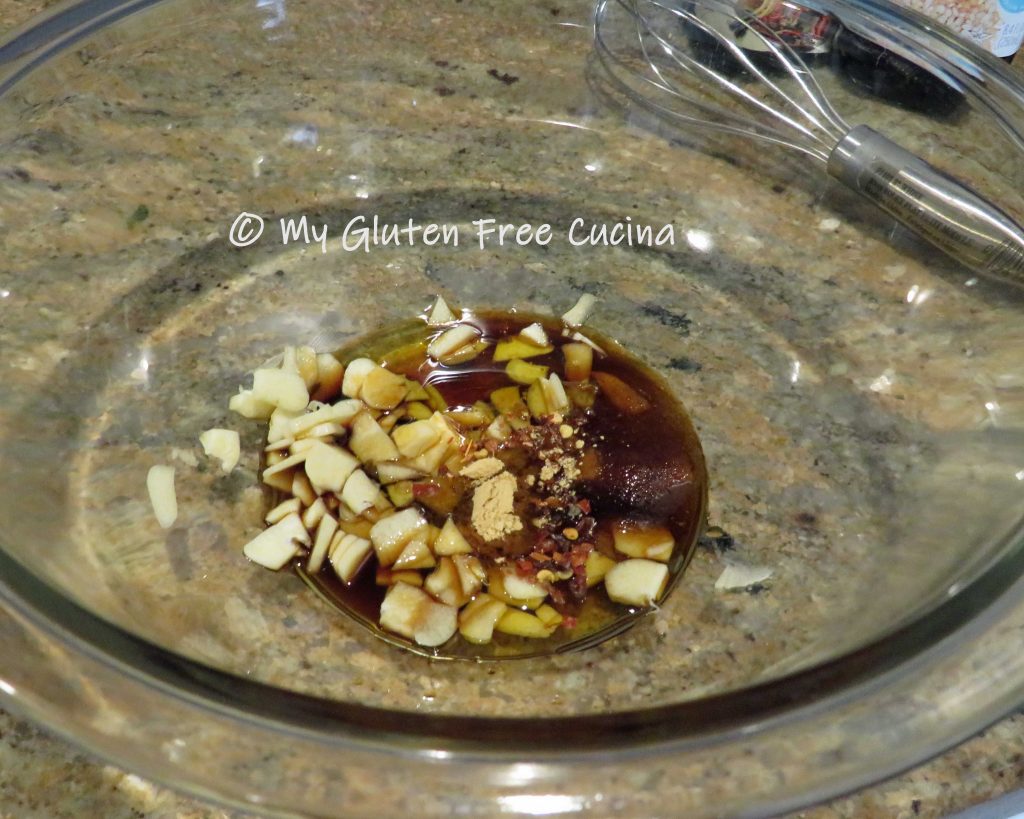
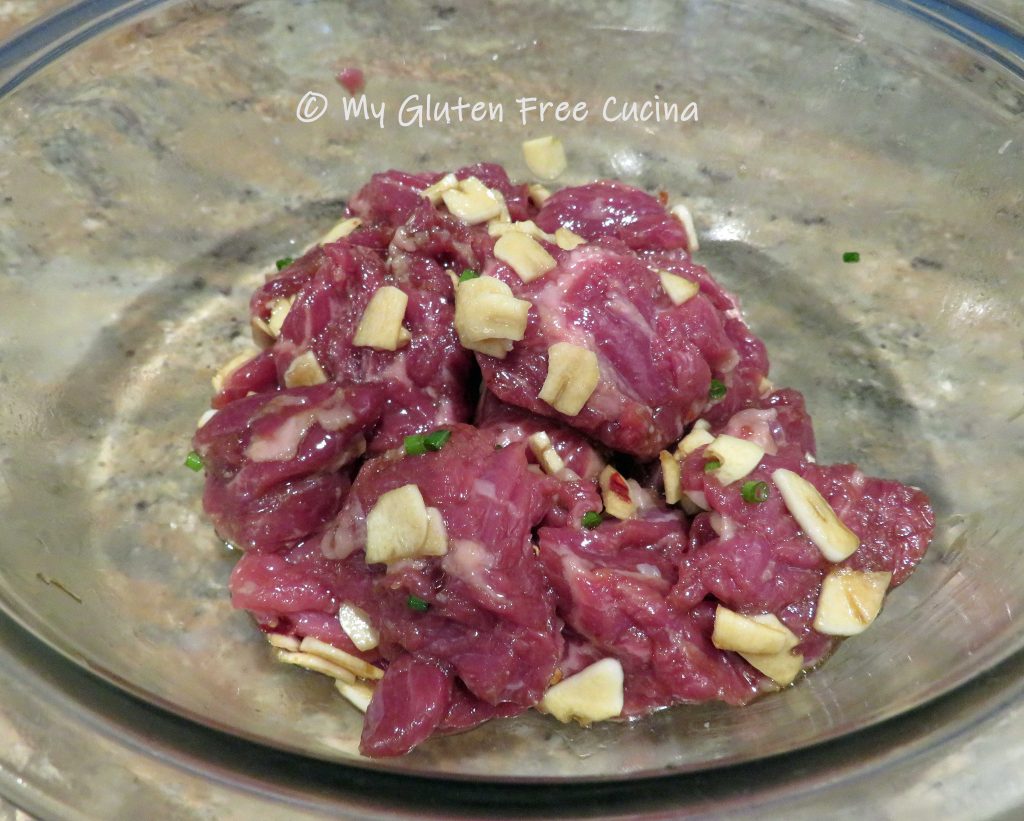
For the marinade, whisk together 1 tbsp. coconut aminos, 1 tsp. brown sugar, the garlic slices, 1 tbsp. of olive oil, 1/2 tsp. of sesame oil, 1/4 tsp. powdered ginger, chives and pinch of red pepper flakes.

Cut the sirloin (uncooked) into 1″ cubes and add to the marinade.  Cover and let it stand at room temperature for 30 minutes.

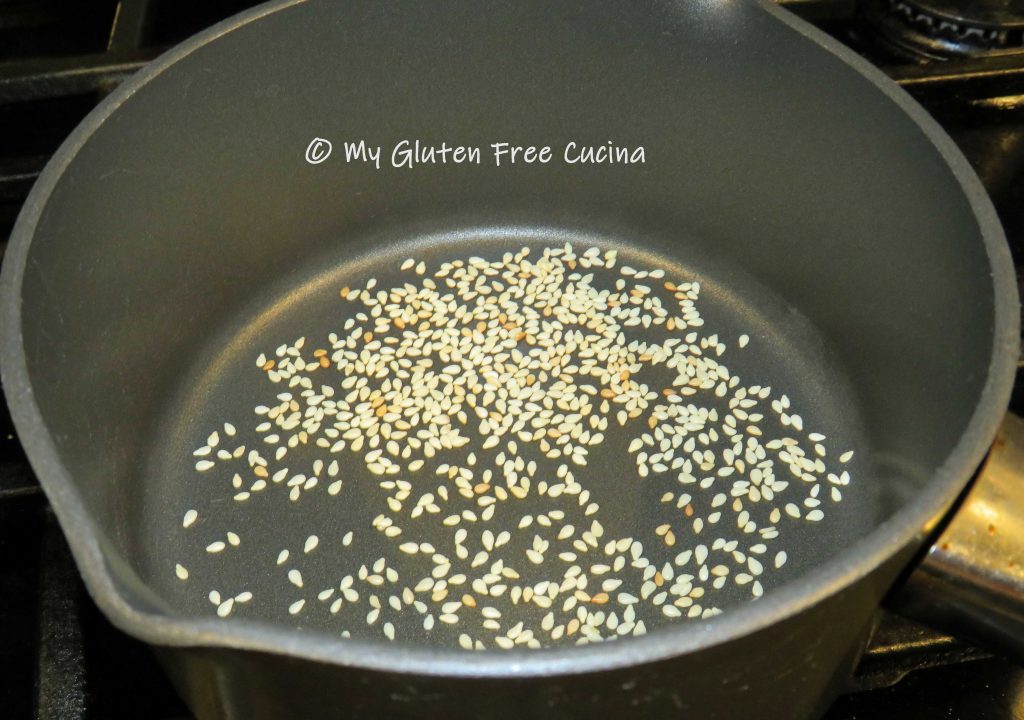
Toast the sesame seeds in a dry skillet, watching closely that they don’t burn.  Set aside for garnish.

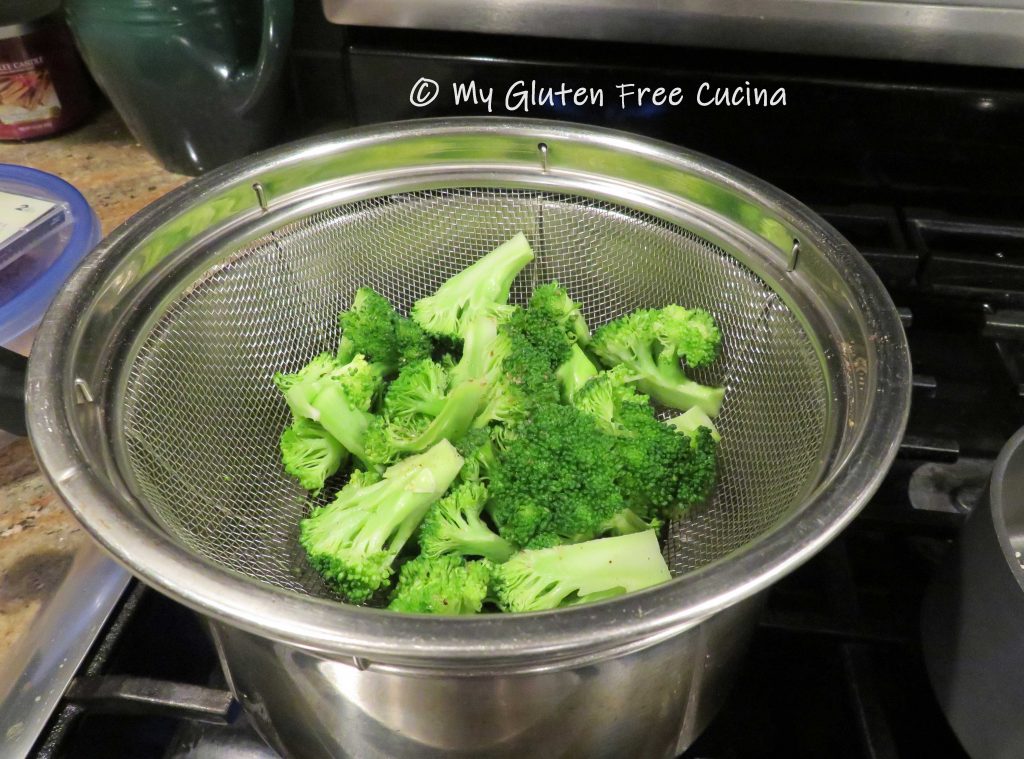
Next, cut the broccoli into uniform pieces.  Steam 5 minutes.  Remove the steamer basket from the heat and set aside while you finish the dish.

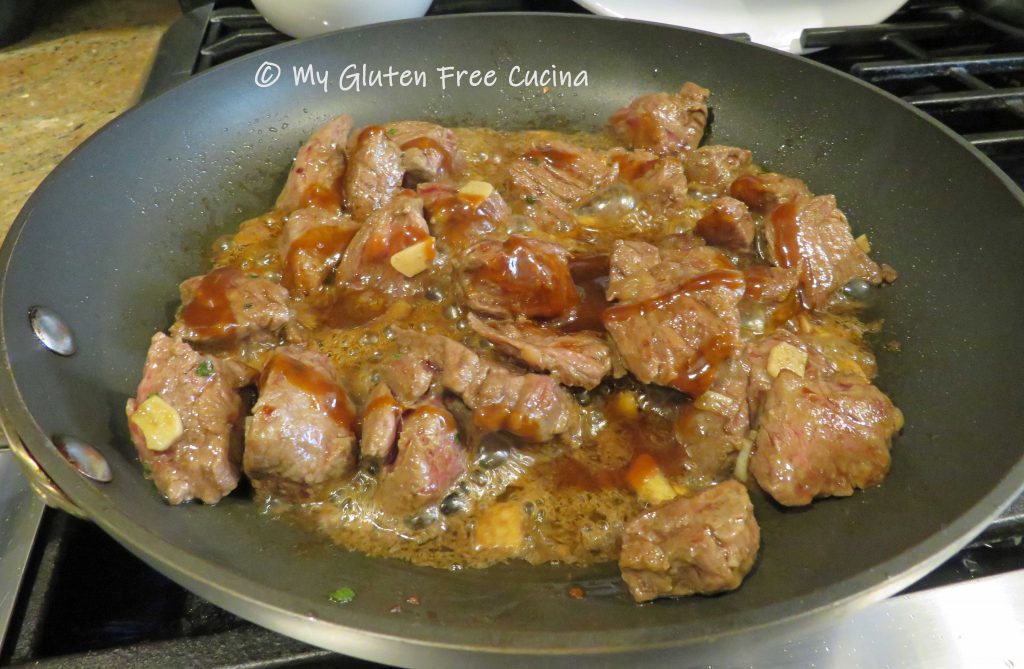
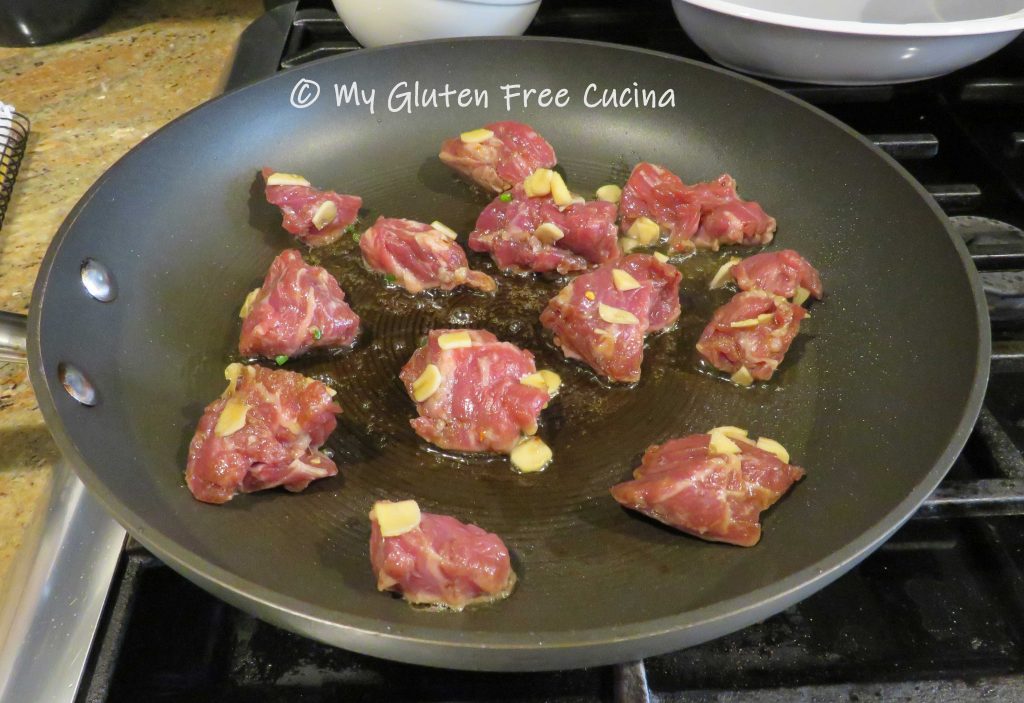
Add the remaining tbsp. olive oil and 1 tsp. sesame oil to the skillet and begin browning the beef.  Don’t crowd the pan, do it in 2 batches if needed.  Discard any marinade left in the bowl.

Stir in 2 tbsp. hoisin sauce.

Finally, add the broccoli to the skillet and toss with the beef.

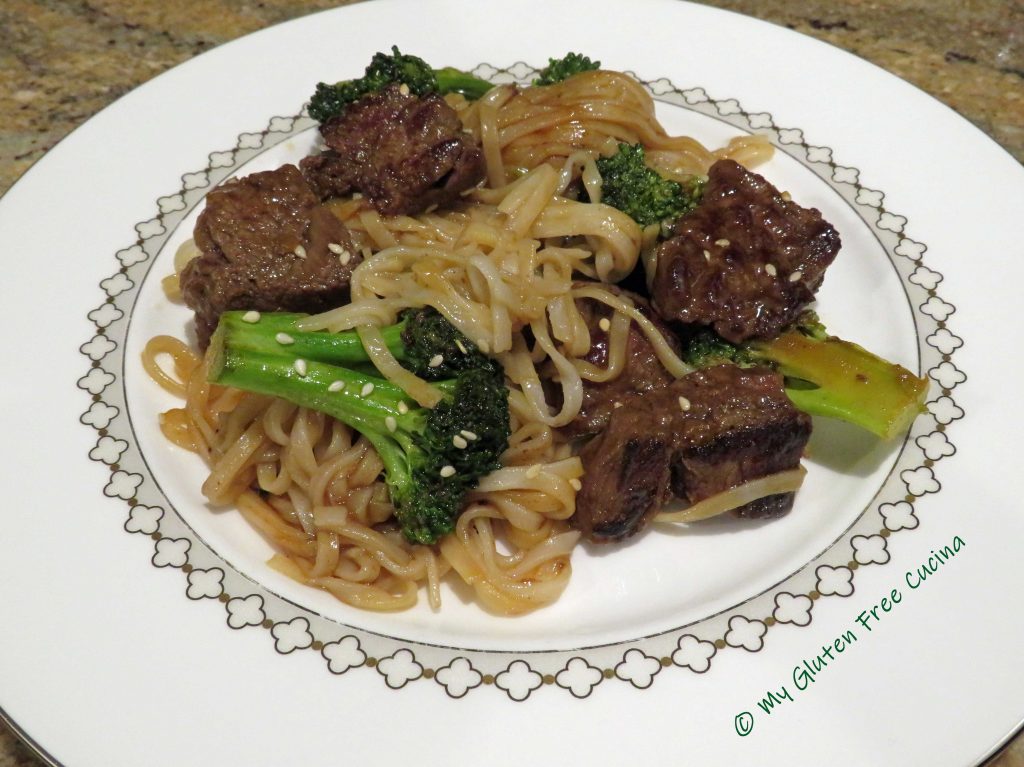
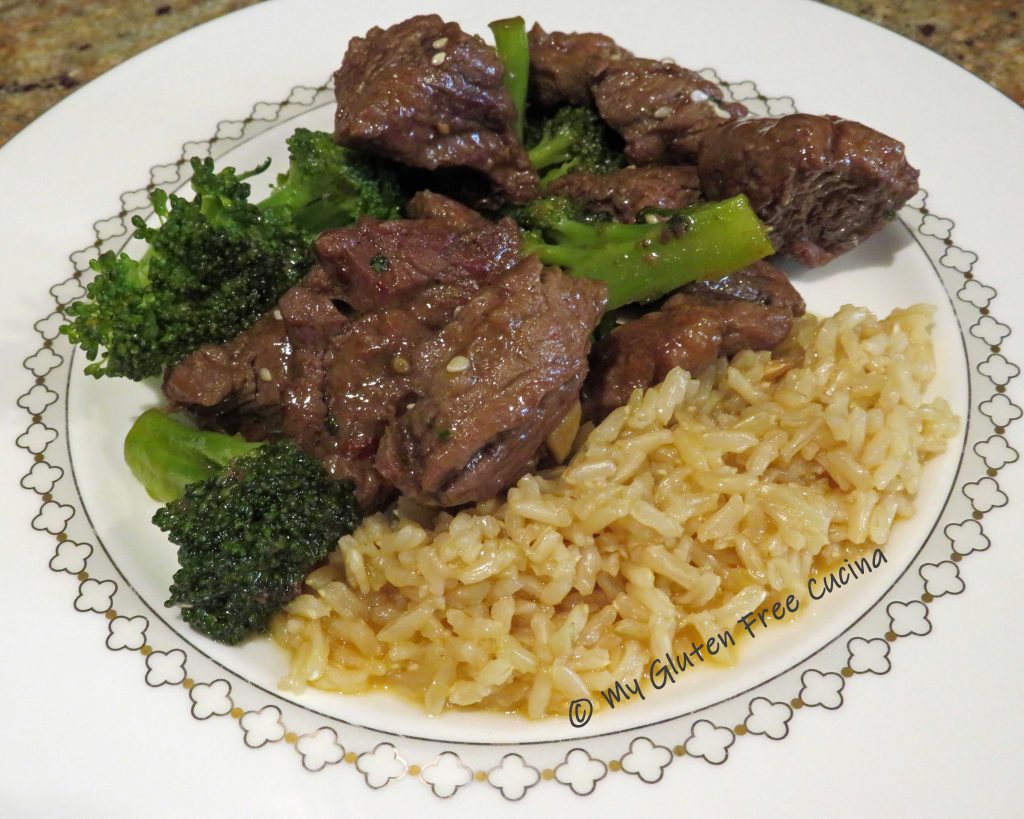
Let it cook for another minute or so, then transfer to a platter.  Garnish with toasted sesame seeds and either toss with rice noodles or serve with rice.

Here I served with Annie Chun’s Pad Thai rice noodles.

Shown here, served with rice.

So, were you thinking of ordering takeout?  Try this instead, you will love it!

Notes ♪♫ Coconut Aminos contain about 1/10th the sodium of gluten free soy sauce.  If you aren’t worried about sodium, try a gluten free soy sauce or tamari.  I like San-J Tamari, which also comes in a lower sodium version that is completely gluten free.

Print This Post Print This Post

Hibachi Style Chicken with Fried Rice, Gluten Free and Low Sodium

Asian inspired meals are among my favorites, and while I have had no problem adapting my recipes to a gluten free version, they still have quite a bit of salt.  So, in this recipe, I used Coconut Aminos, a staple in my gluten free pantry.

What exactly are coconut aminos?

A soy free alternative to soy sauce, coconut aminos are made with coconut tree sap and salt.  A savory seasoning with a salty, umami flavor profile it contains far less sodium than traditional soy sauce or tamari.  In fact, I was shocked to find that a tablespoon of coconut aminos had 1/10th the sodium of tamari!  A huge difference.

This meal was a success, gluten free and lower in sodium, still delicious!

4 servings

This post contains affiliate links.

Ingredients:

  • 16 oz. boneless chicken breast
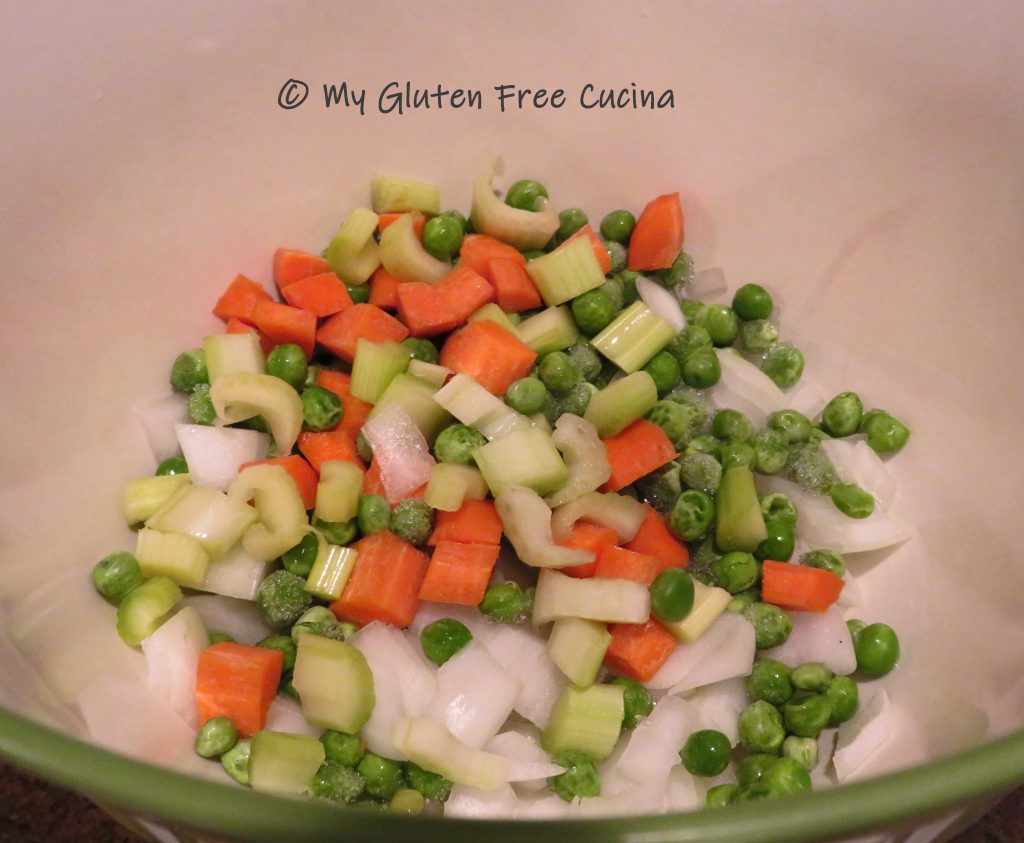
  • 1 cup mixed vegetables such as peas, carrots, onions, celery, mushrooms
  • 1 tbsp. olive oil
  • 3 tsp. toasted sesame oil, divided
  • 4 tbsp. Coconut Aminos, divided
  • 1 tsp. Tamari
  • 1/4 cup gluten free chicken broth
  • 1/4 tsp. powdered ginger
  • 1/4 tsp. garlic powder
  • 1 tsp. cornstarch

For the rice

  • 3/4 cup long grain brown rice
  • 1 cup gluten free broth (chicken or vegetable)
  • 1 cup water
  • 1/4 tsp. seasoned salt

For the egg

  • 1 egg + 1 tbsp. water
  • cooking spray

Preparation:

First make the rice.  You can do this ahead of time, in fact it will be better if you make the rice a day ahead and refrigerate.  Cook the rice according to package directions either stove top or in a rice cooker.

Next, whisk together the chicken broth, garlic powder, ginger and cornstarch.  Dice the chicken into 1″ cubes and toss with 1 tbsp. coconut aminos and 1 tsp. tamari.  Cut the vegetables into small dice (if using frozen vegetables, thaw them while you make the rest of the dish).

Coat a large, nonstick skillet with cooking spray over medium low heat.  Scramble the egg, chop into small pieces and set aside.

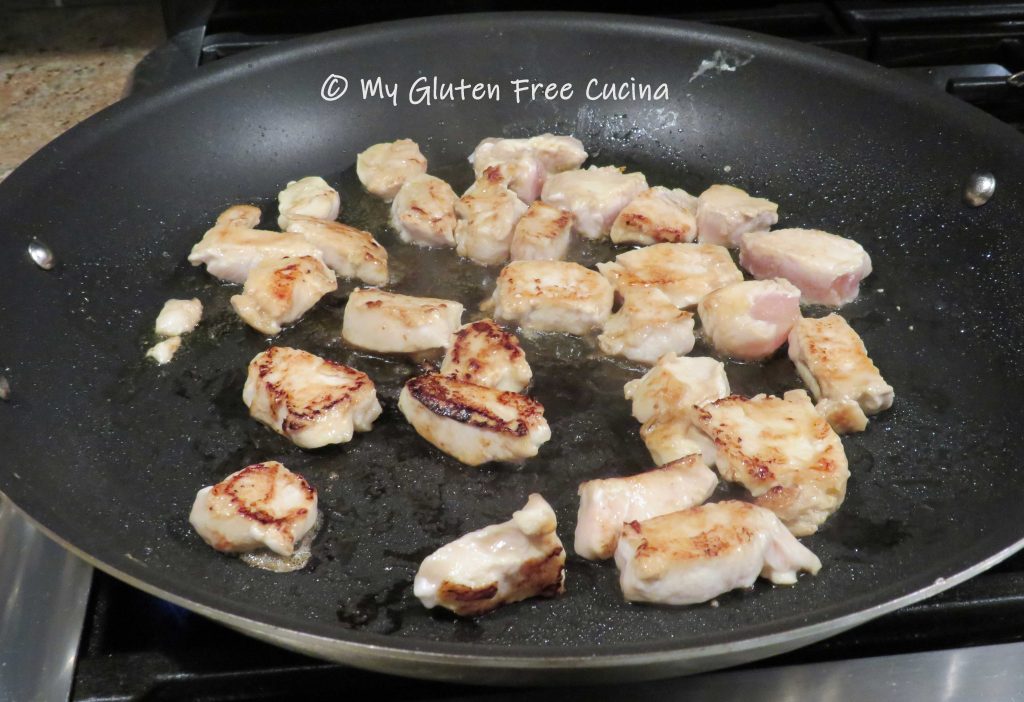
Add 1 tbsp. olive oil and 1 tsp. sesame oil to the skillet.  Add the diced chicken and begin browning.

Turn to finish cooking through.

Transfer the chicken to a bowl and keep warm.  Add the veggies to the skillet with 1 tsp. sesame oil and 1 tbsp. coconut aminos.

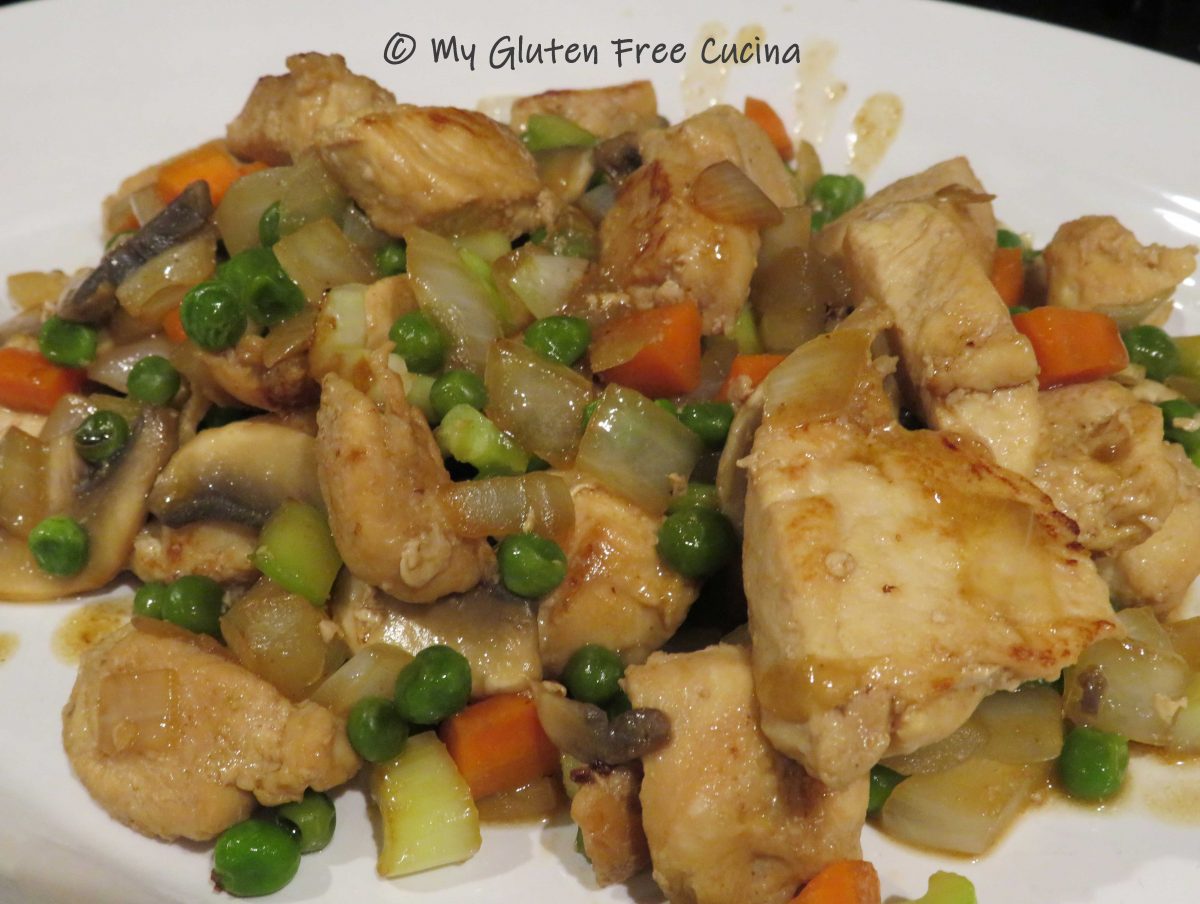
When the veggies are crisp tender add back the chicken.  Pour in the chicken broth mixture, stirring and tossing to combine until the liquid thickens.

Finish with 1 tbsp. coconut aminos and transfer to a serving dish.  Leave a few veggies in the pan to toss with the rice.

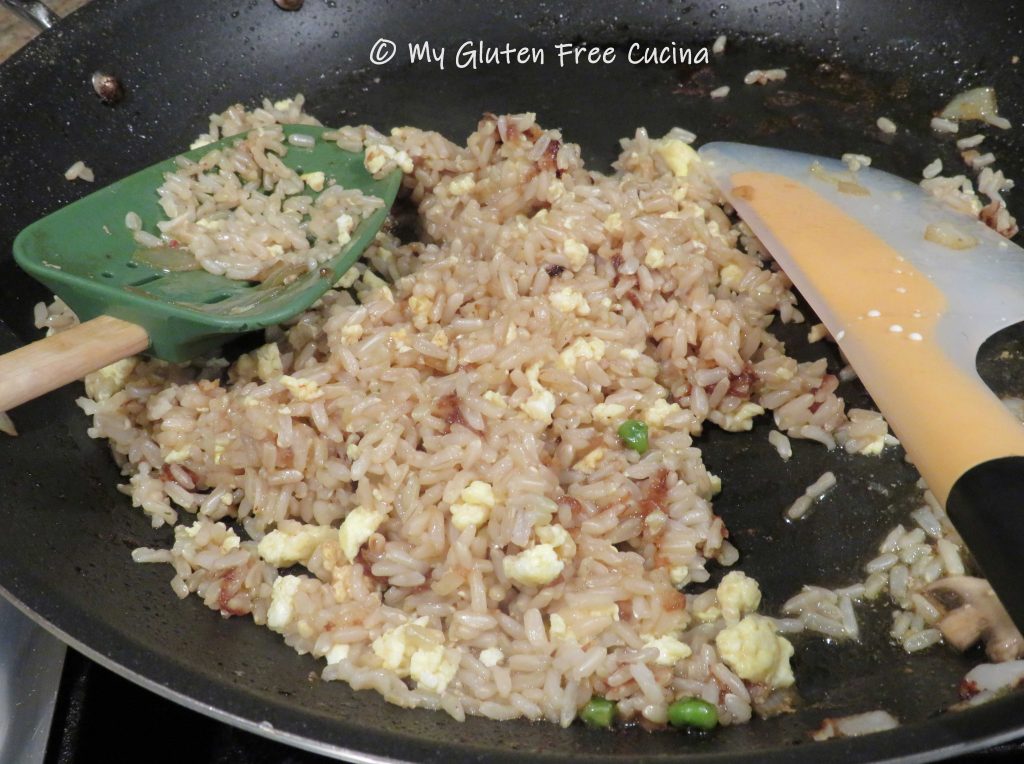
Finally, add the cooked rice to the skillet with 1 tbsp. coconut aminos and 1 tsp. sesame oil and stir to heat through.  Add back the cooked egg and this meal is ready!

Dinner is served, gluten free and low sodium!

Notes ♪♫ My late husband Mr. Cucina and I had a long-standing tradition of going out for Hibachi on Halloween night.  We did this every Halloween for over 20 years!  When I was diagnosed with Celiac disease, we even found a Hibachi restaurant that would prepare my meal gluten free, and the tradition continued.  When his health took a turn for the worse and we could no longer go out to eat, I made this meal for us at home one Halloween night.  Things change, but this old tradition of ours will always bring back happy memories.

Print This Post Print This Post


Easy Gluten Free Italian Sausage Patties No Salt

Why make your own sausage? 

Today we have so many brands of gluten free sausage that are widely available.  So why am I going through the trouble of making it from scratch?

The short answer, a couple of years ago when my blood pressure started going up, up, up I decided to embrace lower sodium cooking.  As a woman of a certain age, I can tell you when that check engine light goes on, you had best take it seriously!

I decided to make this homemade Italian Sausage with no added salt, so that I could use it freely without worry about adding yet more salt to a recipe.

This post contains affiliate links.

I have also replaced my favorite convenience items like chicken broth, canned tomatoes and beans with the unsalted or lower sodium version.  Some of my purchased spice blends had an amazing amount of salt, so sadly they too had to go.  I now mix my own blends, and they are better, fresher and less expensive.

Ok, back to the sausage.  I love using Italian sausage in my recipes.  I add a little to my Meatloaf, Meatballs, Pizza, even my Shepherd’s Pie!  These sausage patties are perfect for adding a little extra flavor to ground beef recipes!

Maybe you’re not worried about sodium.  Why then make your own sausage?  Because you control the ingredients.  Want less fat?  Instead of all pork use a combination of pork and turkey or use all turkey or chicken.  Don’t like fennel?  Leave it out.  Like it spicy?  Add more hot pepper flakes.  You get the idea.

Note- I am not grinding my own meat nor am I using casings.  Remember, I called this an easy recipe?

This post contains affiliate links.

Ingredients:

  • 1 lb. ground pork
  • 1 lb. ground turkey (optional, you can use 2 lbs. pork)
  • 2 tbsp. red wine vinegar
  • 1-1/2 tsp. peppercorns, ground
  • 2 tsp. parsley
  • 2 tsp. garlic granules
  • 2 tsp. onion granules
  • 2 tsp. basil
  • 1 tsp paprika
  • 1/4 tsp. red pepper flakes, ground
  • 1/2 tsp. ground fennel seed
  • 1/4 tsp. oregano
  • 1/4 tsp. thyme
  • 1 tsp. brown sugar

Preparation:

Measure the spices before you begin.  I used a coffee grinder to break up my peppercorns, fennel seed and red pepper flakes.

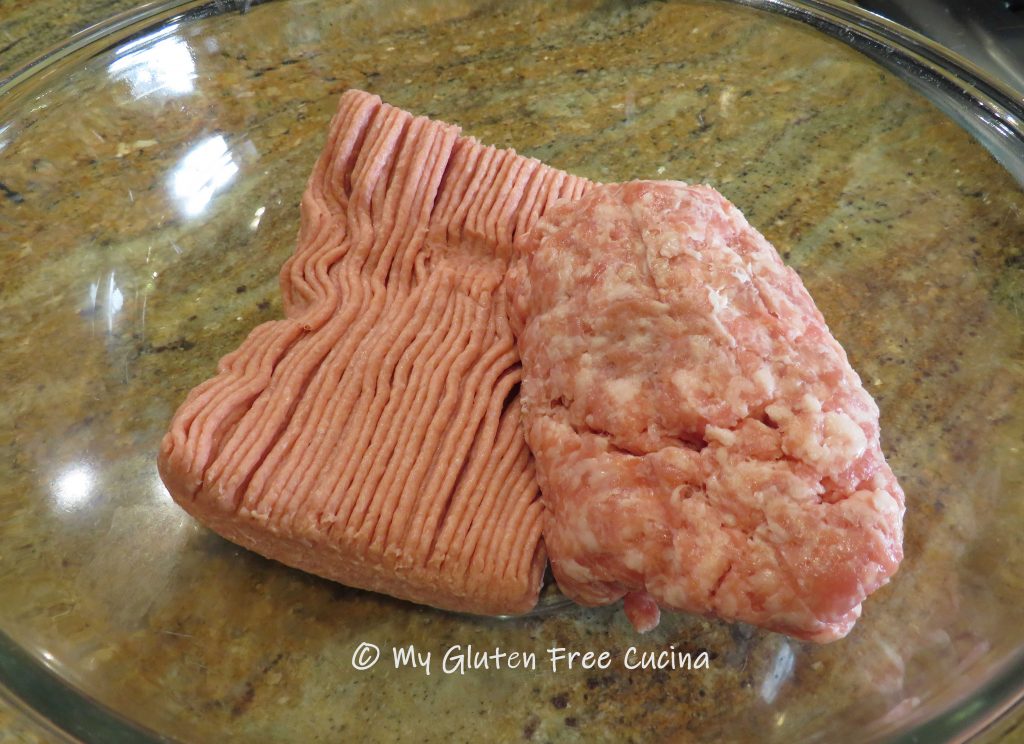
Add the pork and turkey to a large bowl.

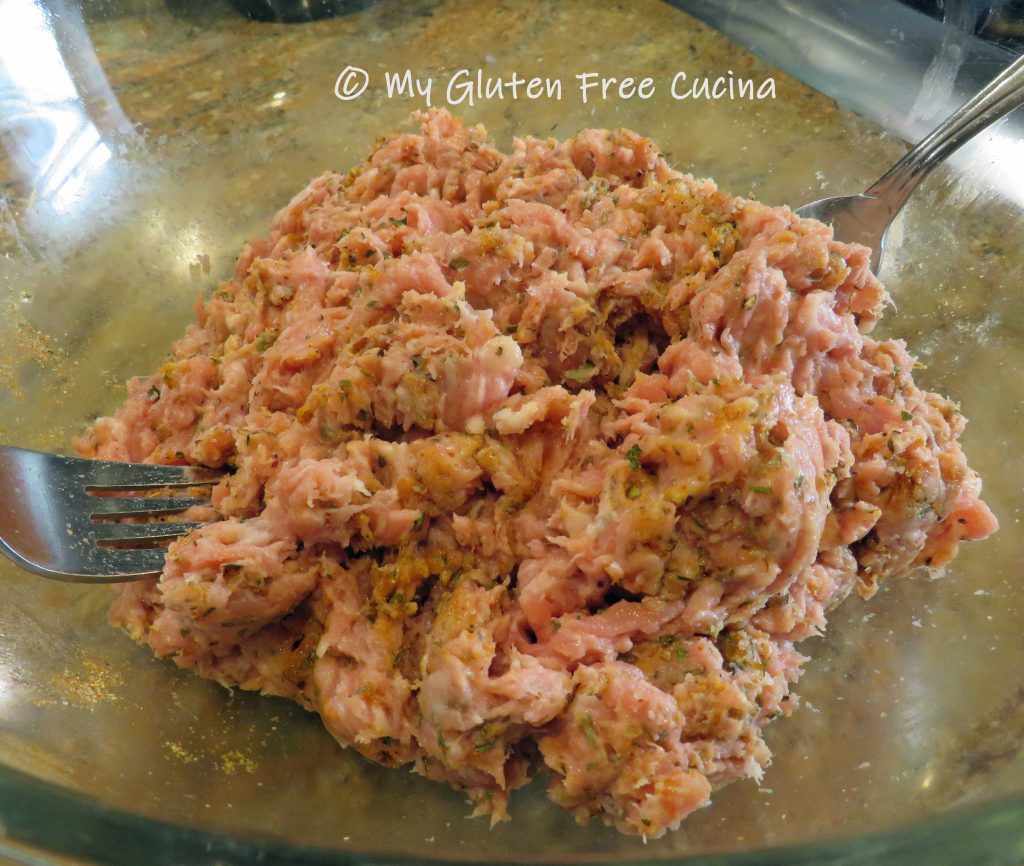
Use 2 forks to break apart the meat and mix it together.  This will take some time and patience, as you want it well mixed but not compressed.
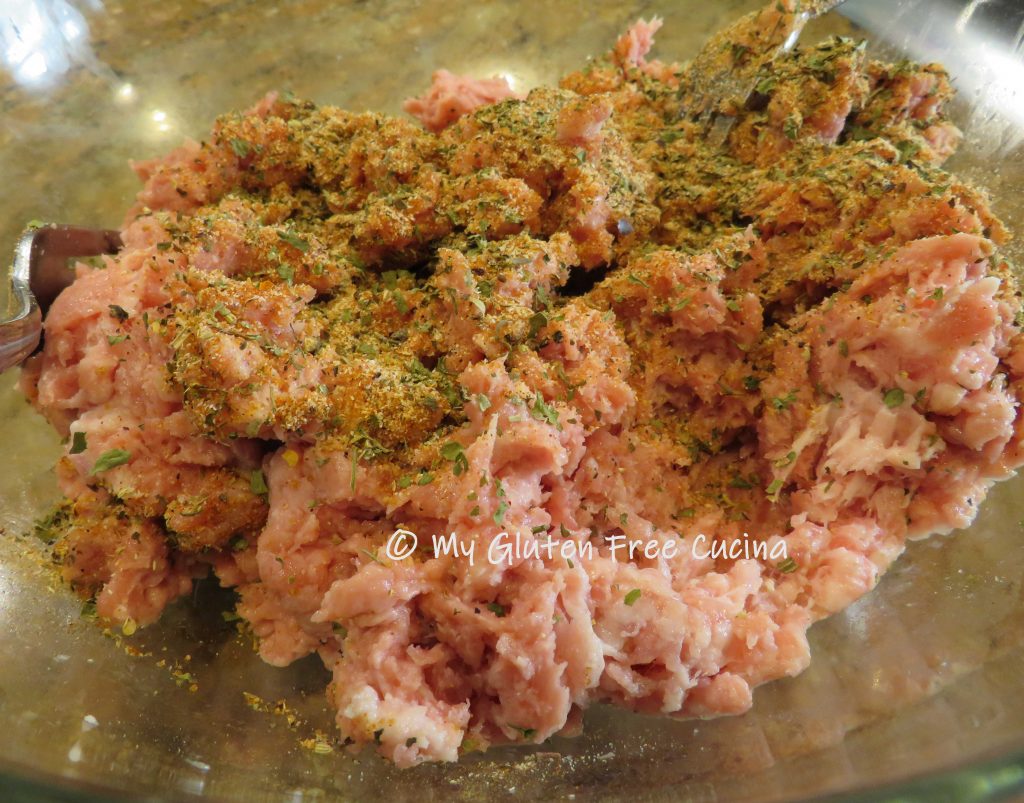
Add the vinegar one tbsp. at a time, mixing well after each addition.  Whisk the spices together and sprinkle over the meat, using the forks to incorporate the spices throughout the mixture.  If you’re not watching salt go ahead and add some here.

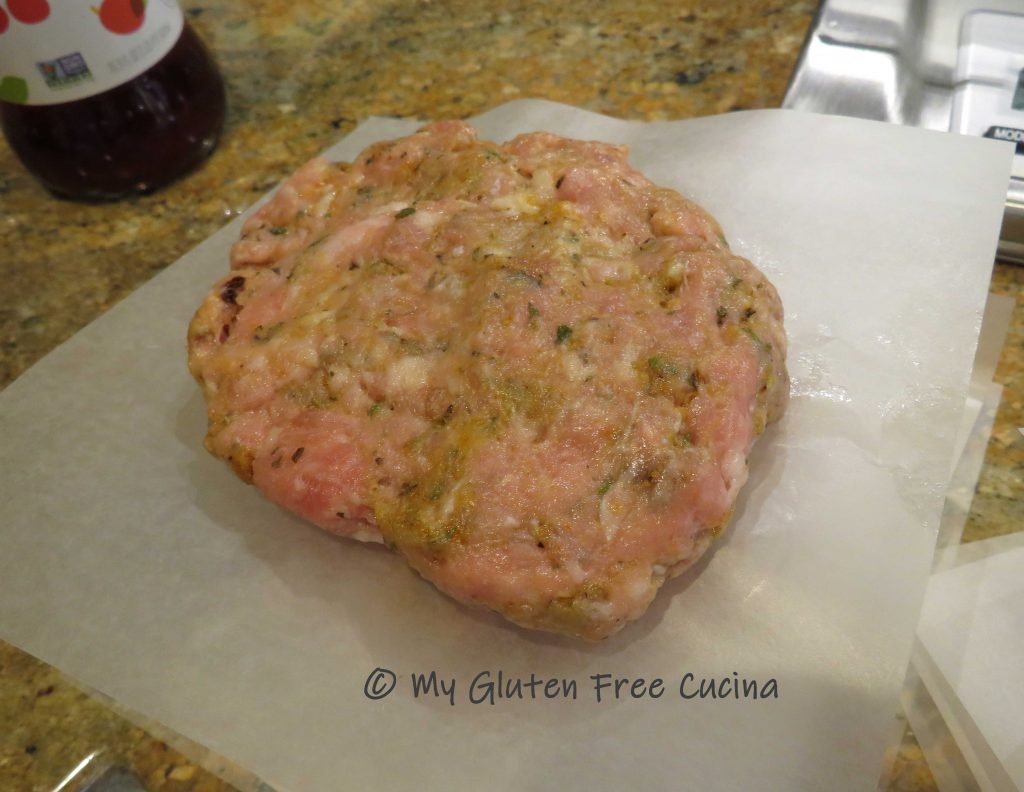
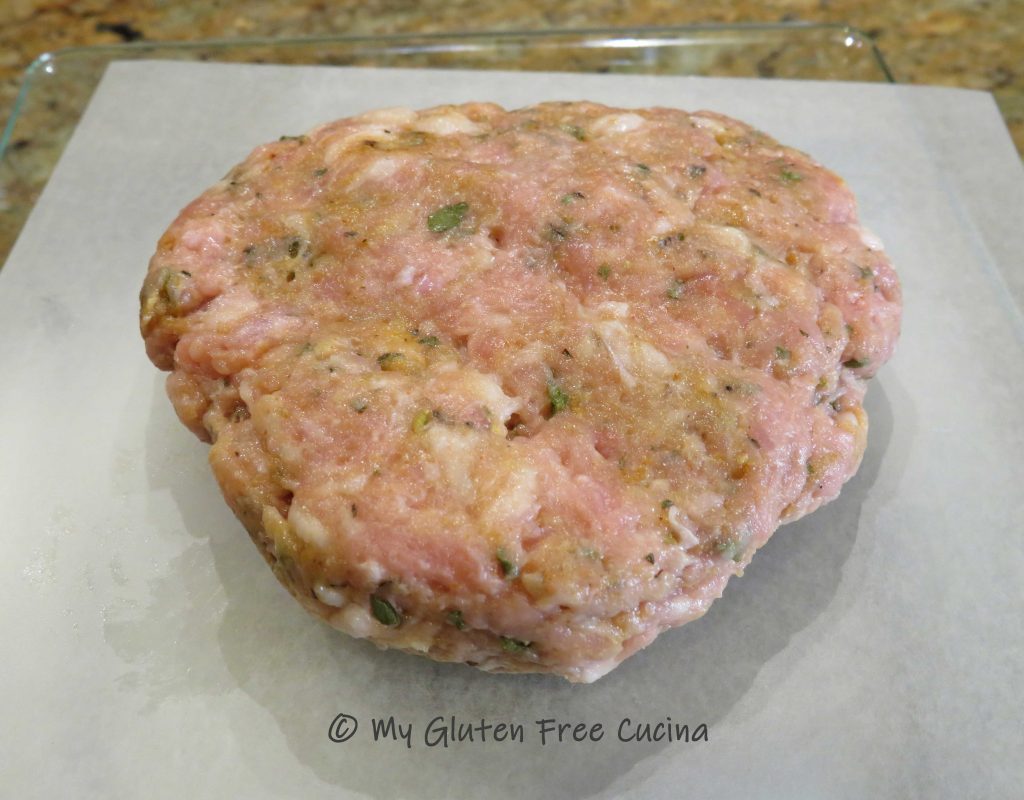
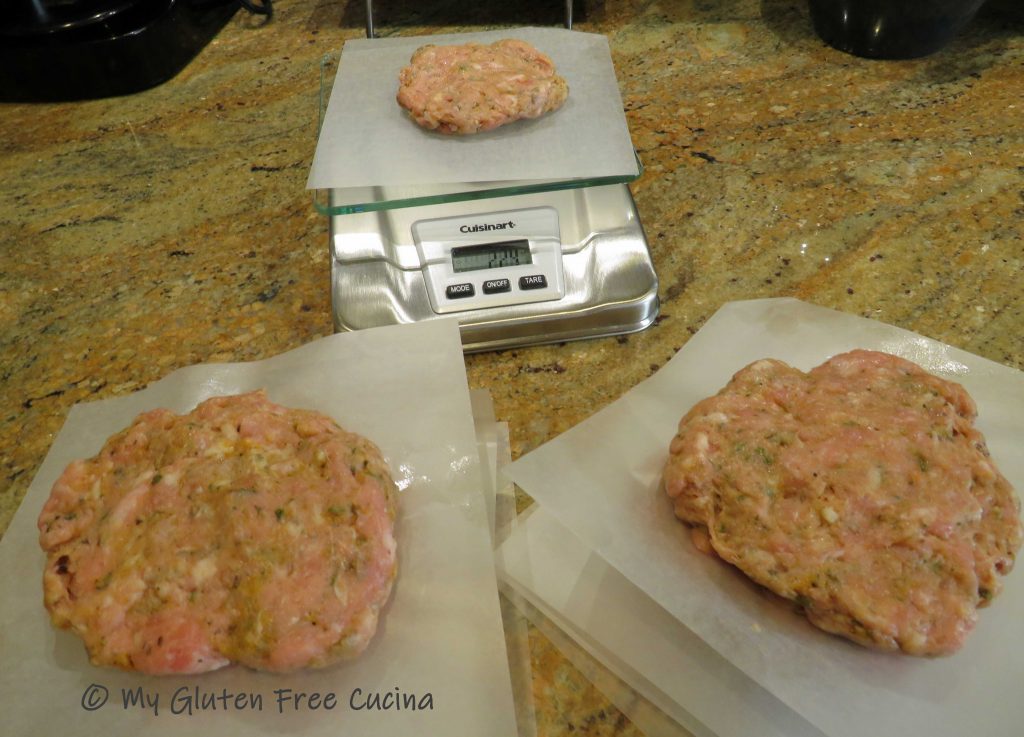
I used a scale to measure out 4 oz. patties.  I pressed them between wax paper squares.  This recipe yields 8 patties.

The patties need to rest for 12 hours in the refrigerator prior to cooking, this allows the flavors to meld, and the vinegar tenderizes the meat.

After 12 hours in the fridge the sausage patties are ready to be cooked or frozen.  They are great for breakfast or in a sandwich.

Use them in meat sauce, casseroles and stuffing.

Notes ♪♫ In most of my recipes I will recommend that you add salt or seasoning to taste.  Whether you need to limit salt for medical reasons or just a personal preference, when you cook from scratch you are always in control.

Print This Post Print This Post