

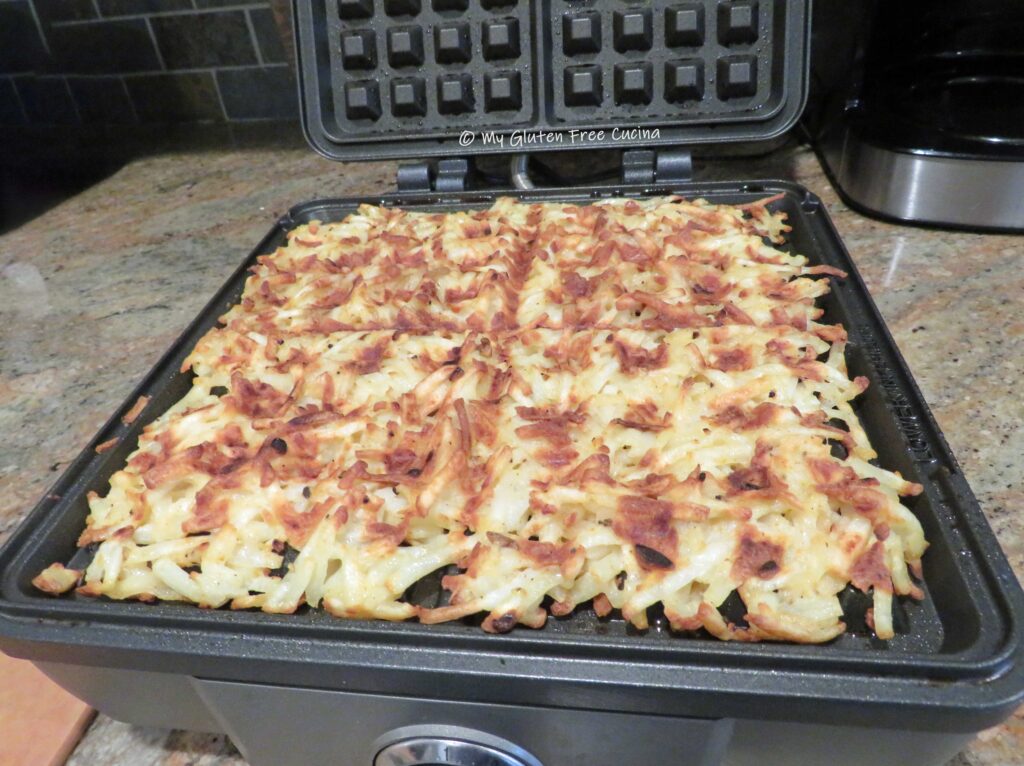
If these egg cups look familiar, it’s probably because I have shared a few variations of this recipe over the years, in the form of a quiche, casserole, or muffin. This is my absolute favorite rendition to date- they are the perfect blend of bacon, egg, potato and cheese. 😋
This recipe is great for family brunches, because you can prep most of it the day before and bake in the morning. The extra step of par-baking the crust is well worth the trouble because they are DELICIOUS!
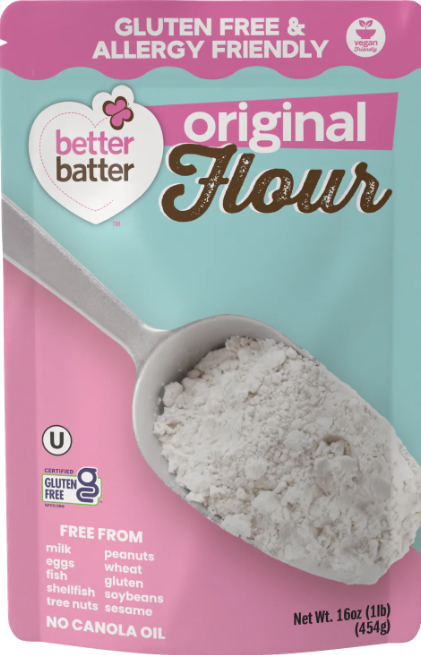
Naturally gluten free with no oddball ingredients to purchase, always a plus!
Ingredients:
-
Crust
- 2 large eggs, beaten
- 2 cups frozen shredded hash brown potatoes (I used Ore-Ida)
- 1/3 cup shredded cheddar cheese
- 1/2 tsp. salt
- pepper, about 10 grinds
-
Filling
- 2 strips of bacon, cooked and diced
- 6 large eggs
- dash of half and half (or milk)
- 1/2 cup shredded cheddar cheese
- 1/2 cup baby spinach, chopped
- 2 tbsp. fresh chives
This post contains affiliate links.

Preparation:
Take the hash brown potatoes out to defrost an hour ahead of preparing.
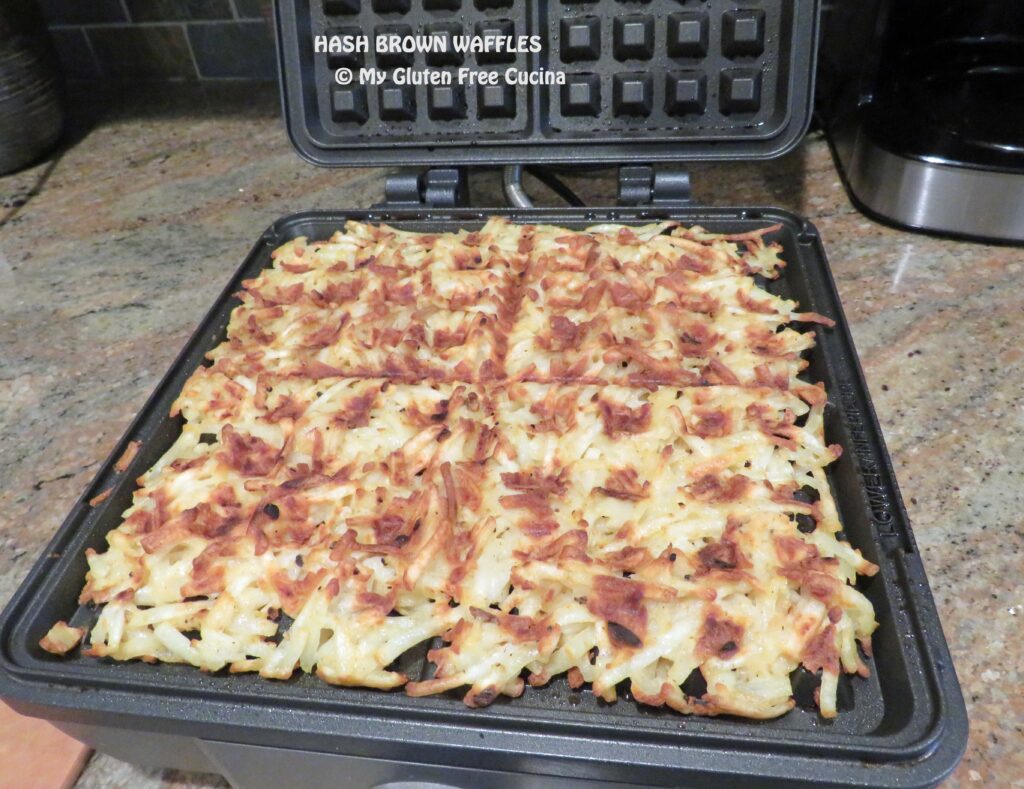
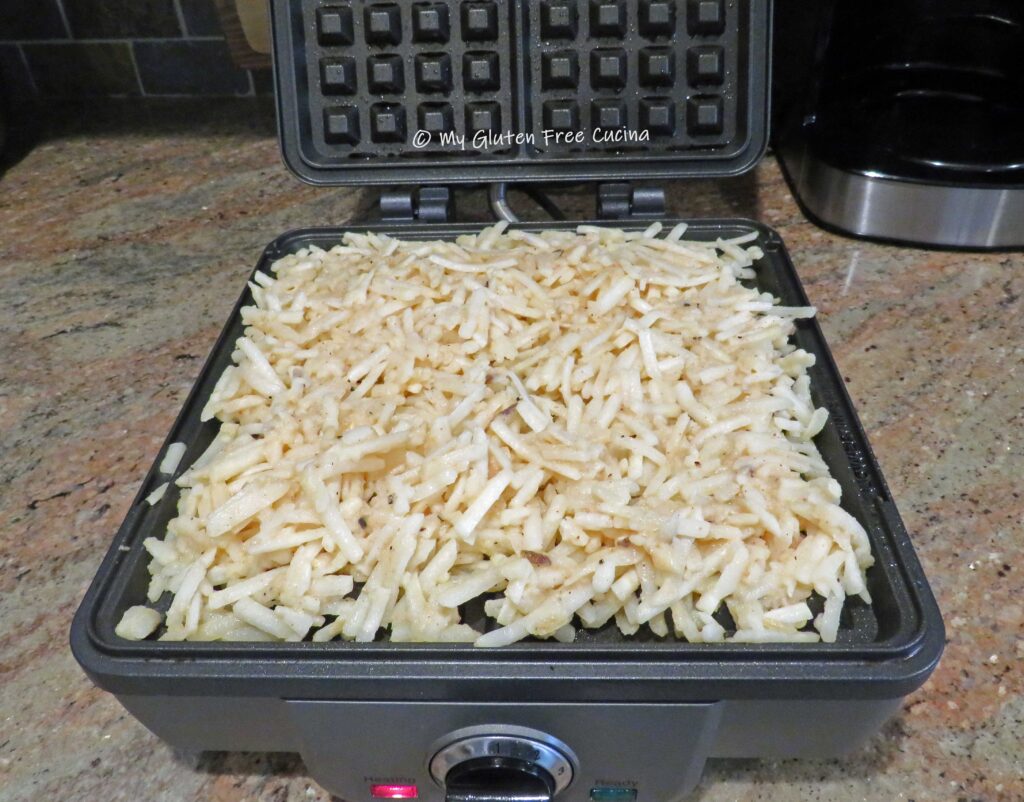
 Mist a 12-cup muffin tin with cooking spray and preheat the oven to 400º. Combine the egg, hash browns, cheese, salt and pepper in a mixing bowl and stir together. Divide the hash brown mixture evenly in each of the 12 muffin cups and press it into the bottom and about 2/3 of the way up the sides.

Par-bake the muffin cups for 12 minutes, remove from the oven and set aside to cool.
 Cook the bacon, drain on paper towels and cut into small dice. Cover and set aside.
For the filling, whisk together the remaining ingredients (eggs through chives).
Note ♪ You can prepare and refrigerate up to this point the night before. Keep the filling separate until ready to bake in the morning.

In the morning (or when you are ready), preheat the oven to 400º. If refrigerated, take the muffin tin out and let it sit on the counter 30 minutes before baking. You should also whisk the filling again, as it will have settled overnight.
Carefully fill the muffin cups to about ½” from the top (they will expand). Sprinkle the diced bacon over the top and bake for about 20 minutes or until the eggs are set.

Remove from the oven and rest for 10 minutes. To serve, use a spoon to carefully remove the muffin cups from the pan. You may need to run a knife or spatula around the edges to nudge them out.

The egg cups were a hit, delicious hot out of the oven, and again later as leftovers. They keep well in the fridge for several days and you can reheat them in the microwave for a quick meal. With all my favorite breakfast foods in one dish, this recipe is a keeper!
Notes ♪♫ When planning a brunch menu, I always include a savory dish to balance out the sweeter ones like French toast or muffins. Check out all my favorite brunch recipes here!

[print_link]

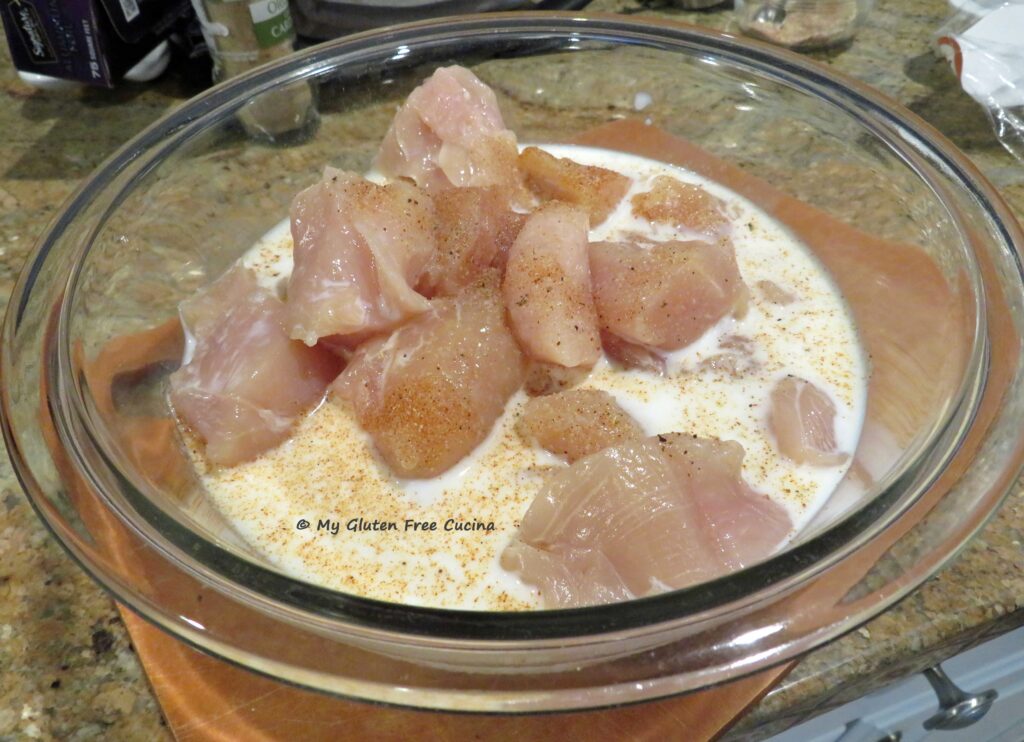 The next morning, heat the canola oil in a deep skillet. Add the cornstarch and the rest of the seasoning mixture to a small bowl. When oil is very hot, use tongs to pick up one piece of chicken at a time and dredge in the cornstarch, shaking off the excess. Add to the hot oil and cook until browned on both sides and the internal temperature reaches 165º. If you’re not sure, use a thermometer.
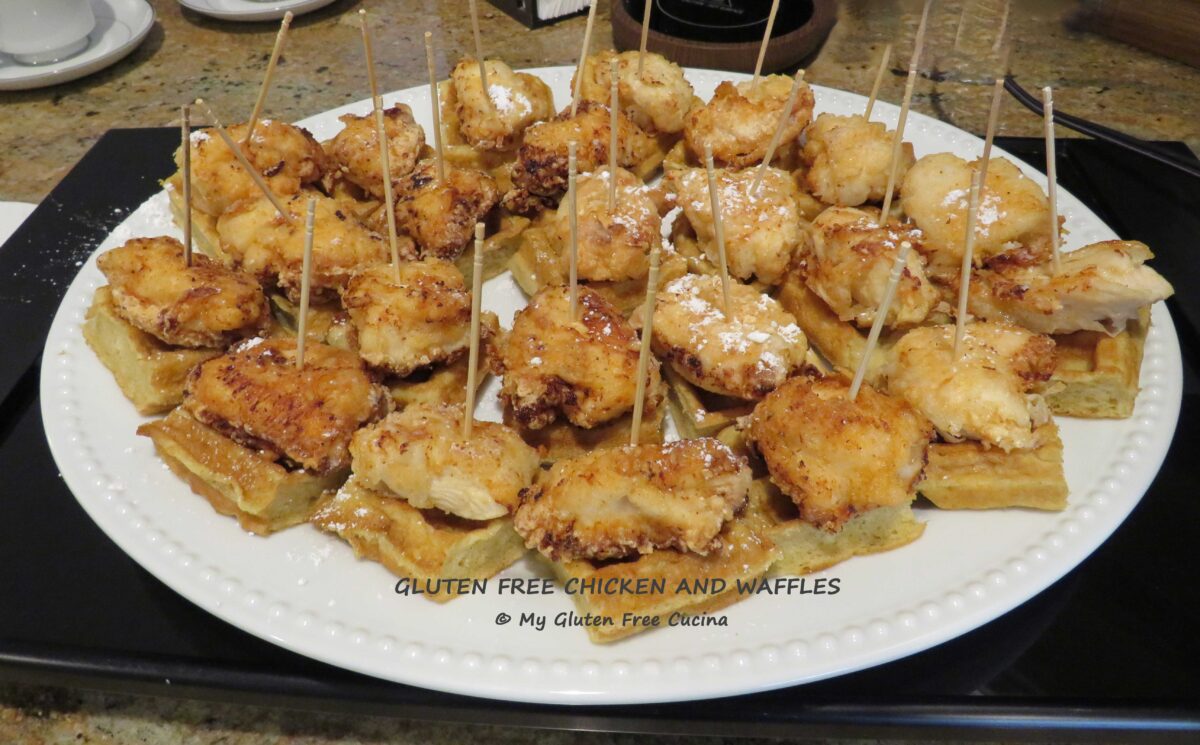
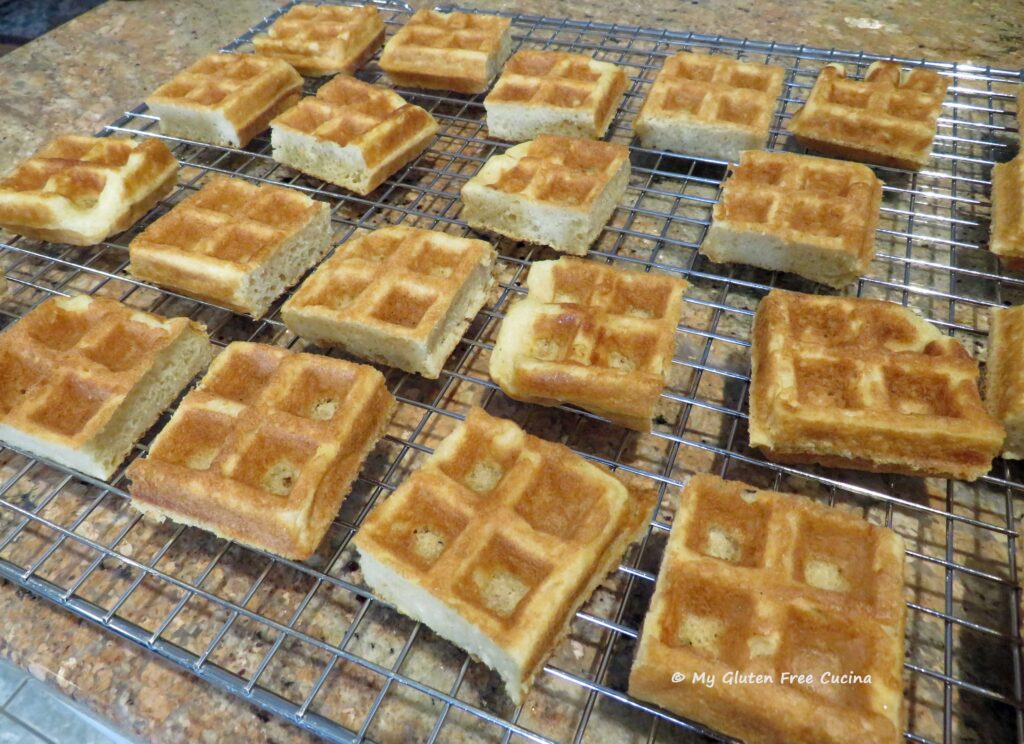
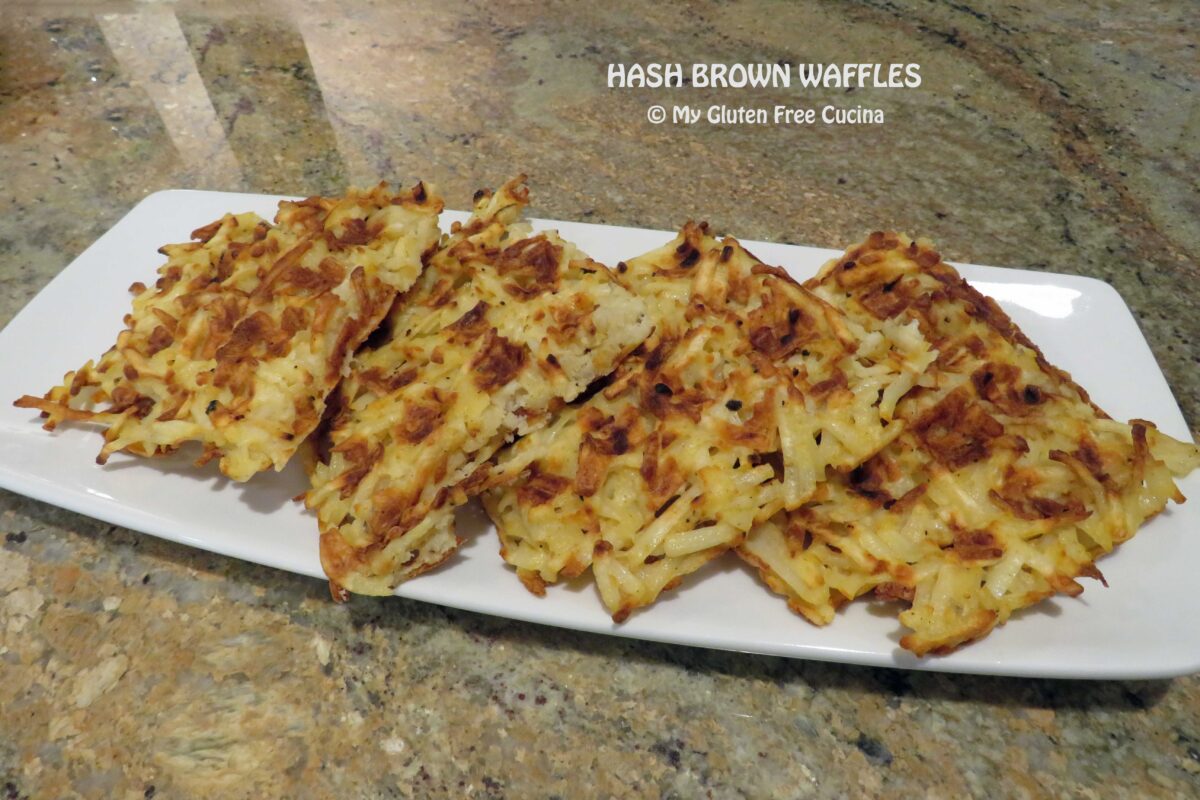
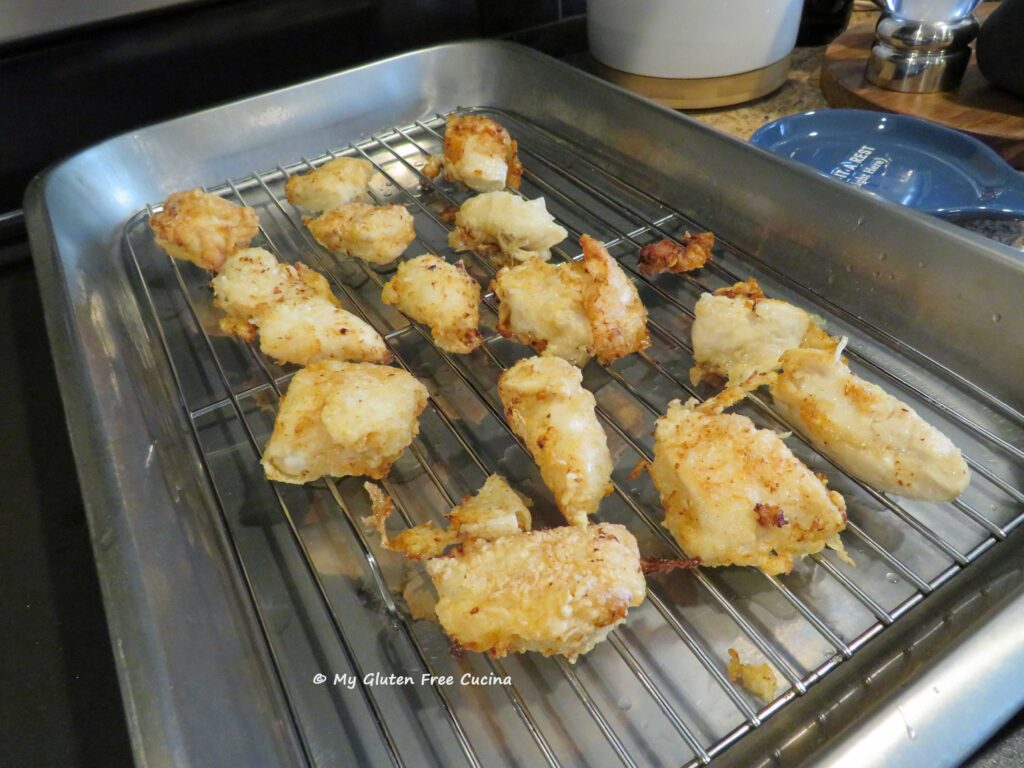 To assemble, arrange the waffles on a serving dish in a single layer (if you made them the night before, pop them into the microwave for 1 minute to reheat). Top each waffle section with a piece of chicken and secure with a skewer or toothpick.
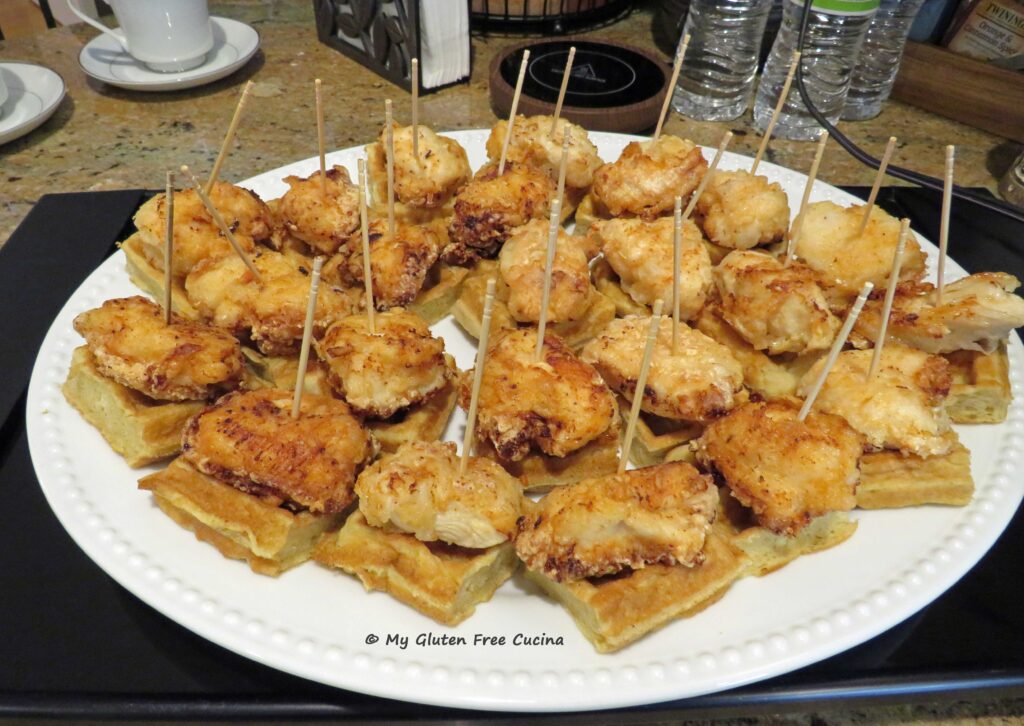 Wow, these little skewers were so tasty! The recipe was a bit of extra work, but I think everyone enjoyed them along with my usual brunch offerings. As I said before, it was all about trying something different. And would you believe, I myself had never had Chicken and Waffles before?
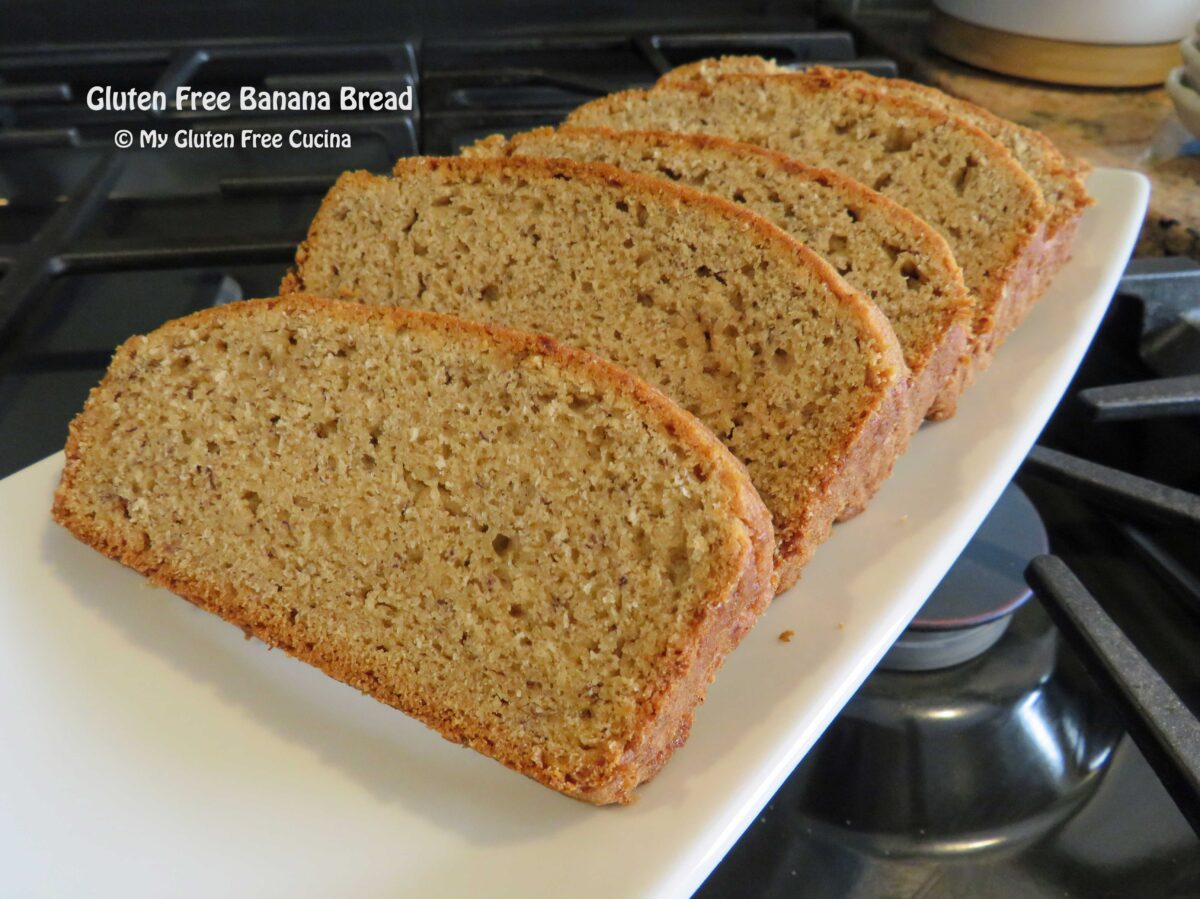
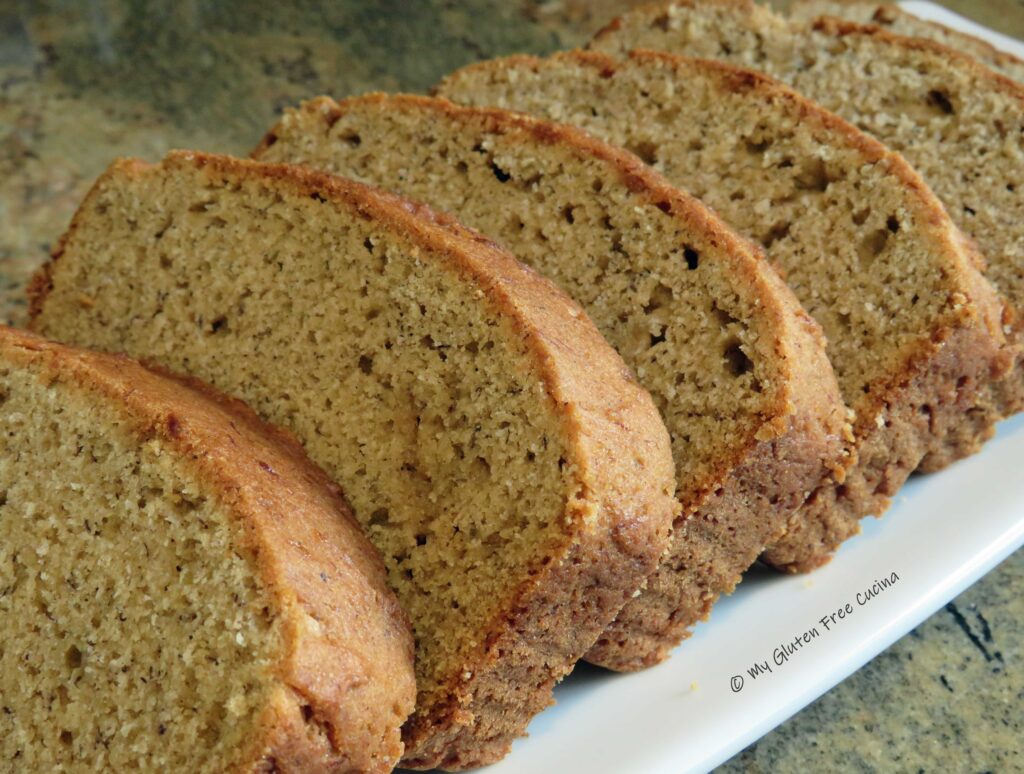
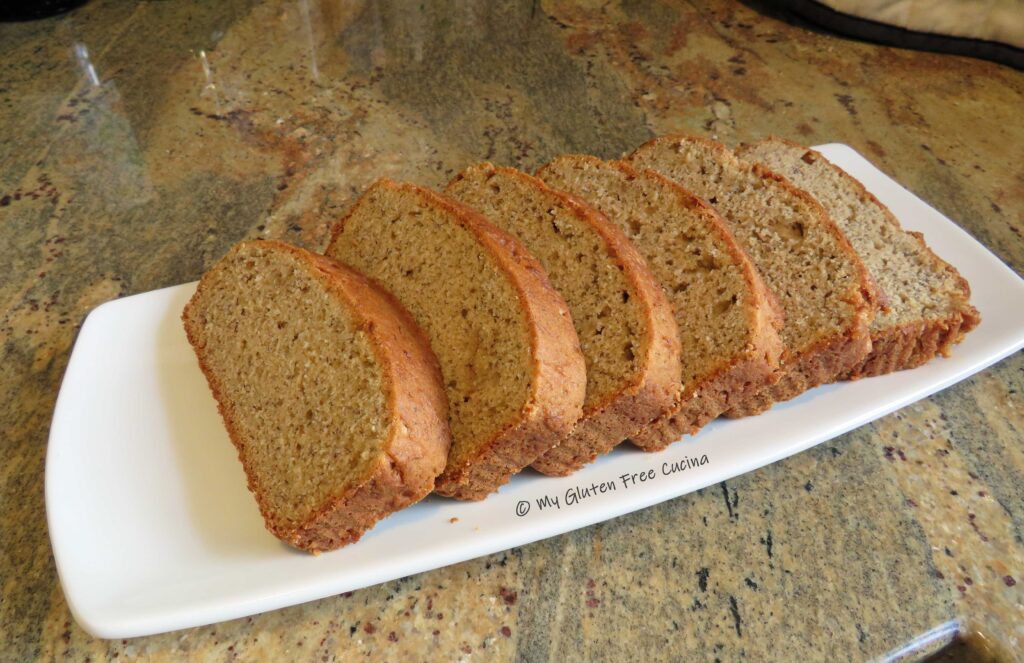
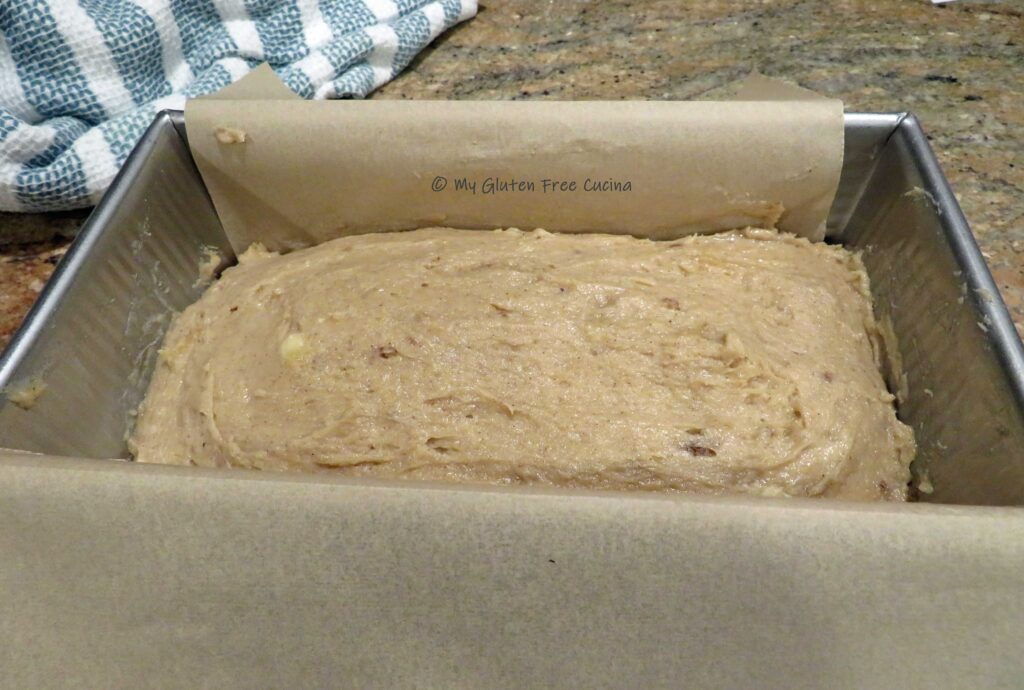
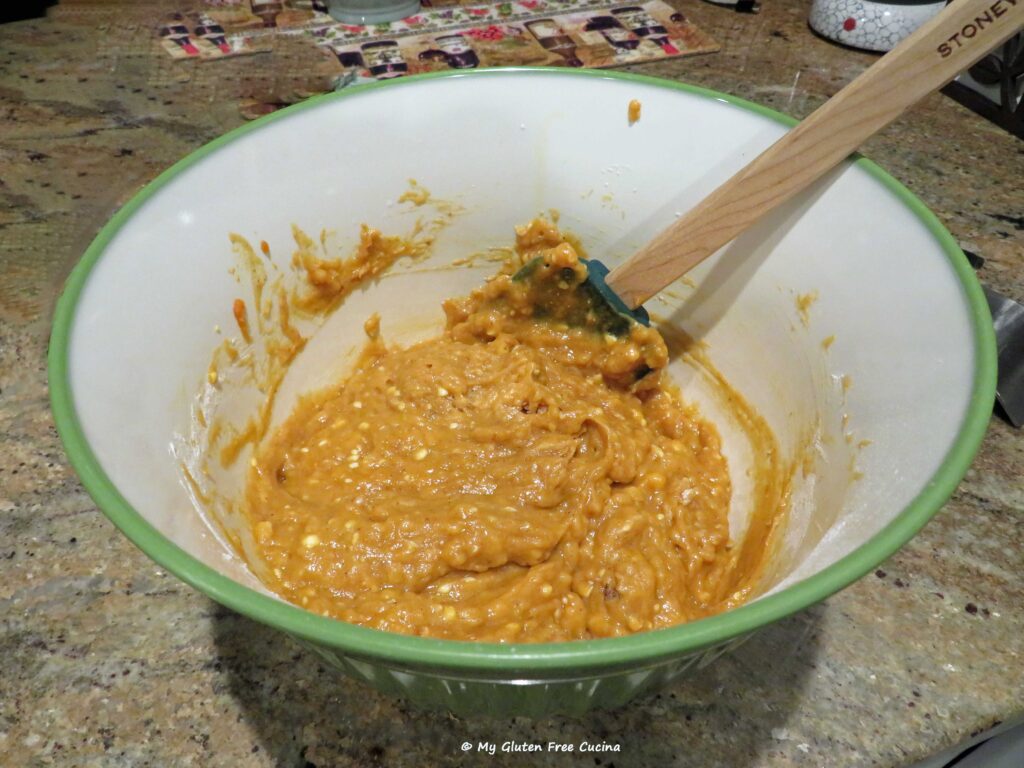
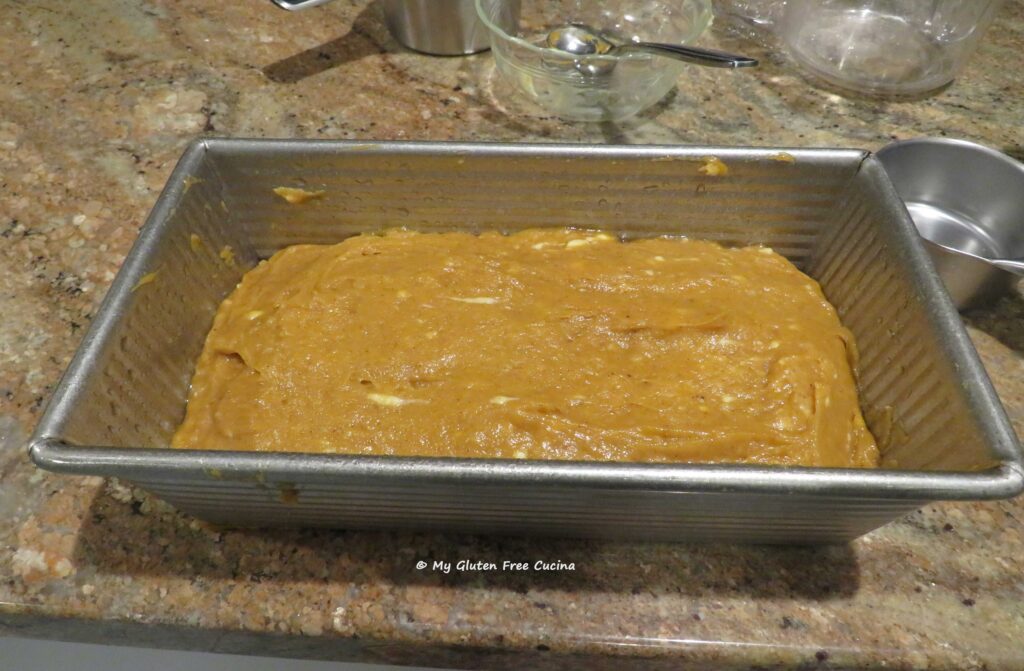
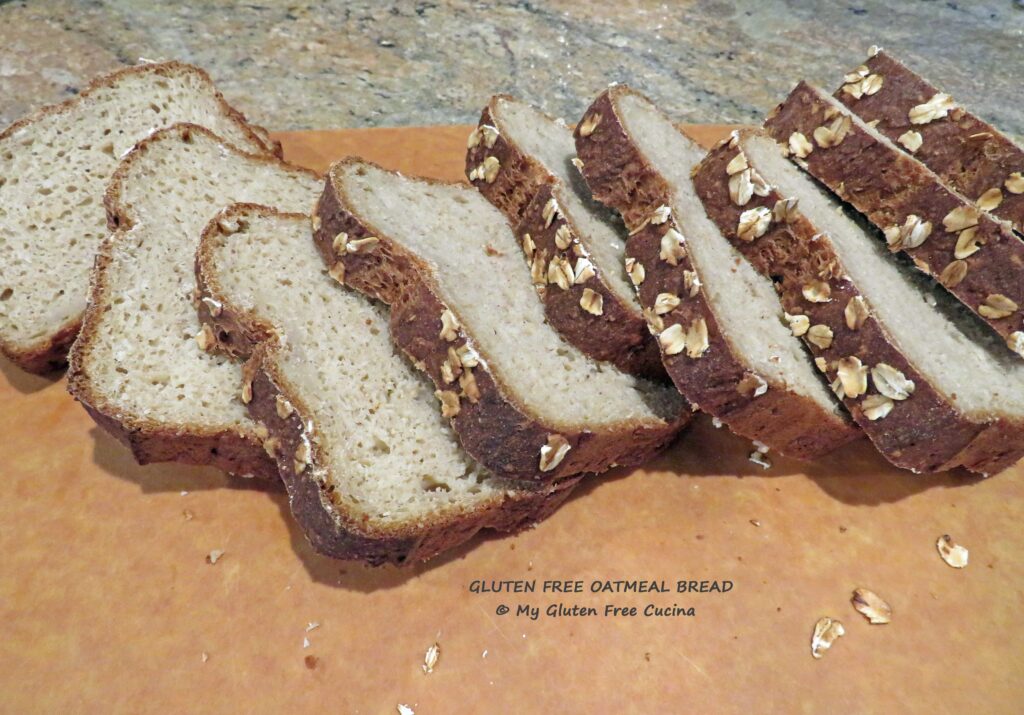
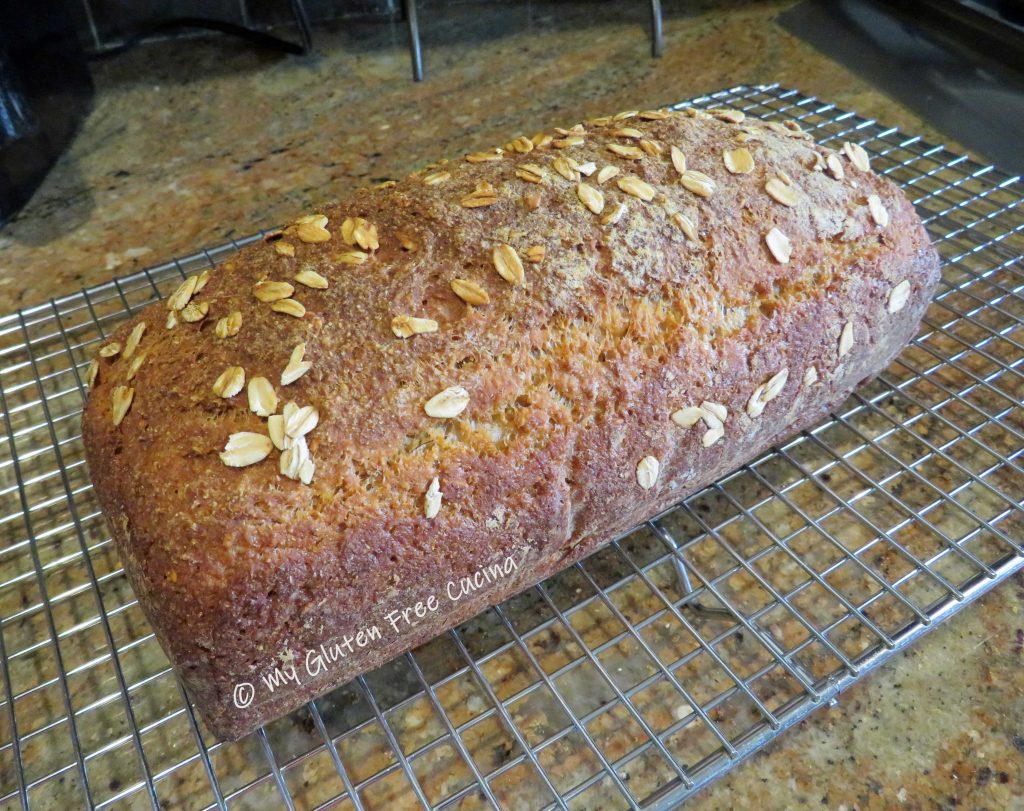
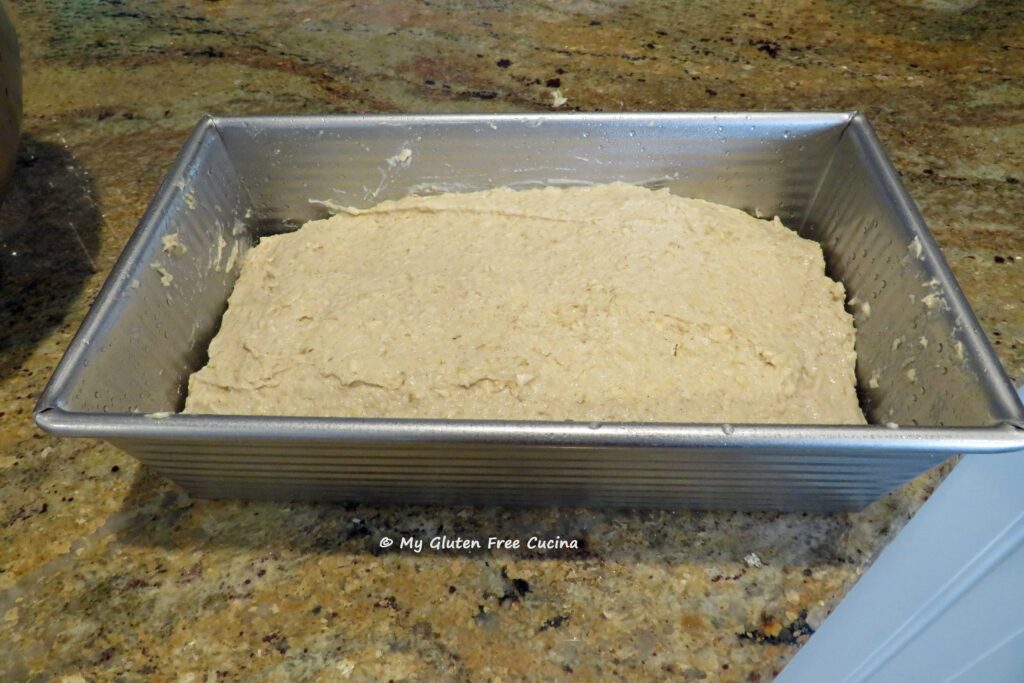
 Transfer to the prepared loaf pan and use a wet spatula to smooth the top out.
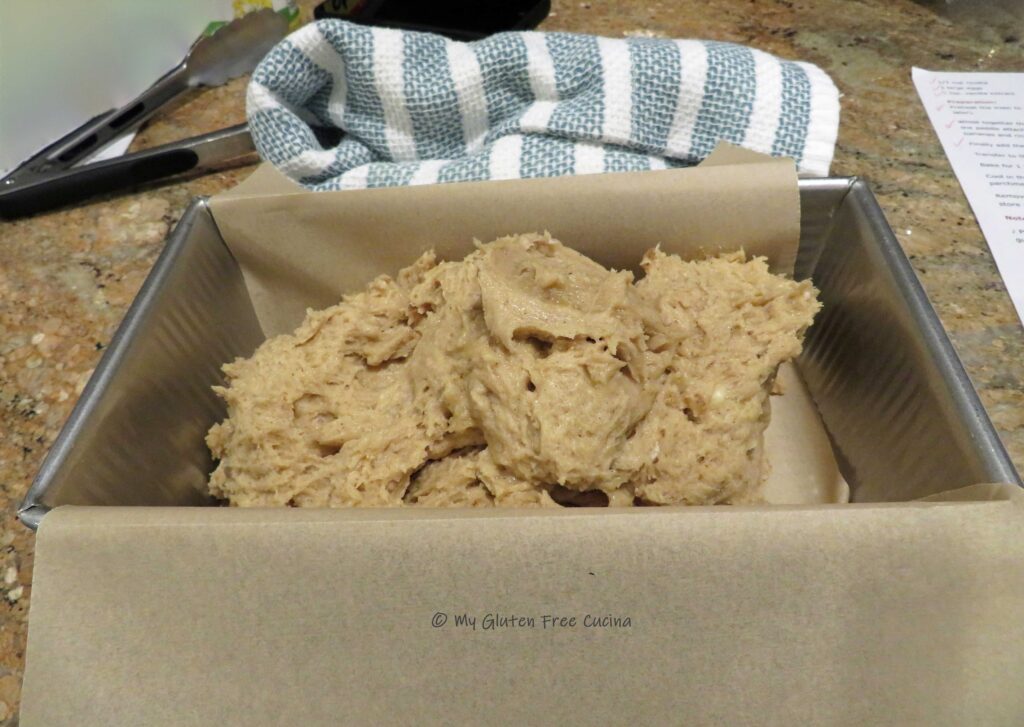
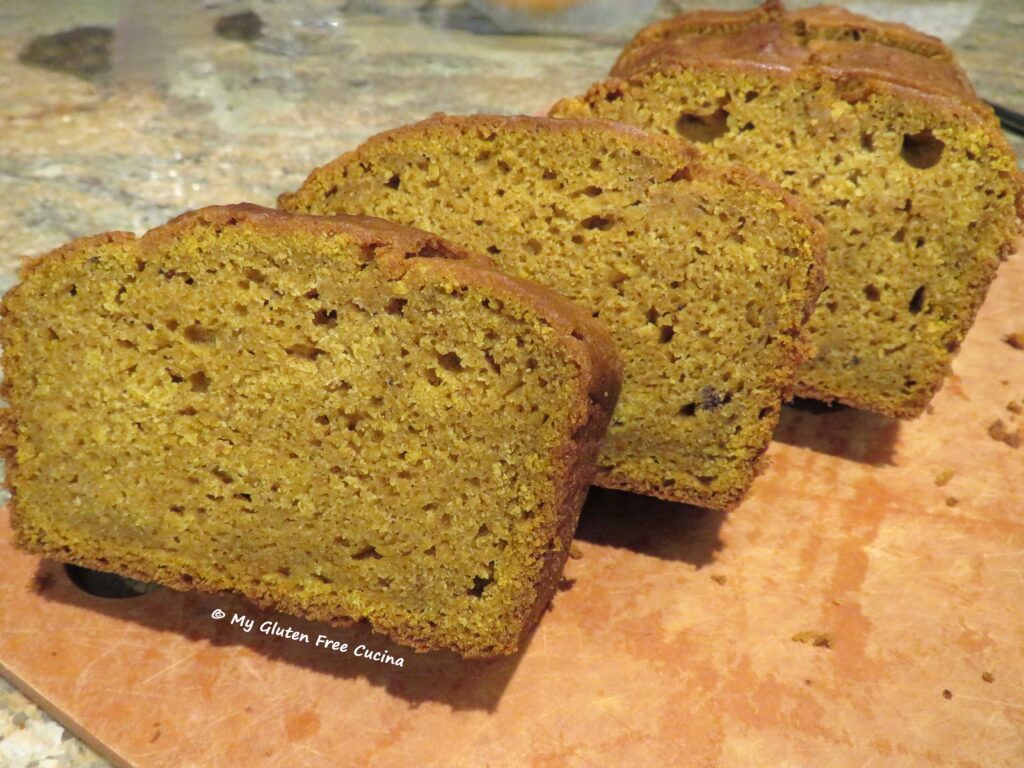
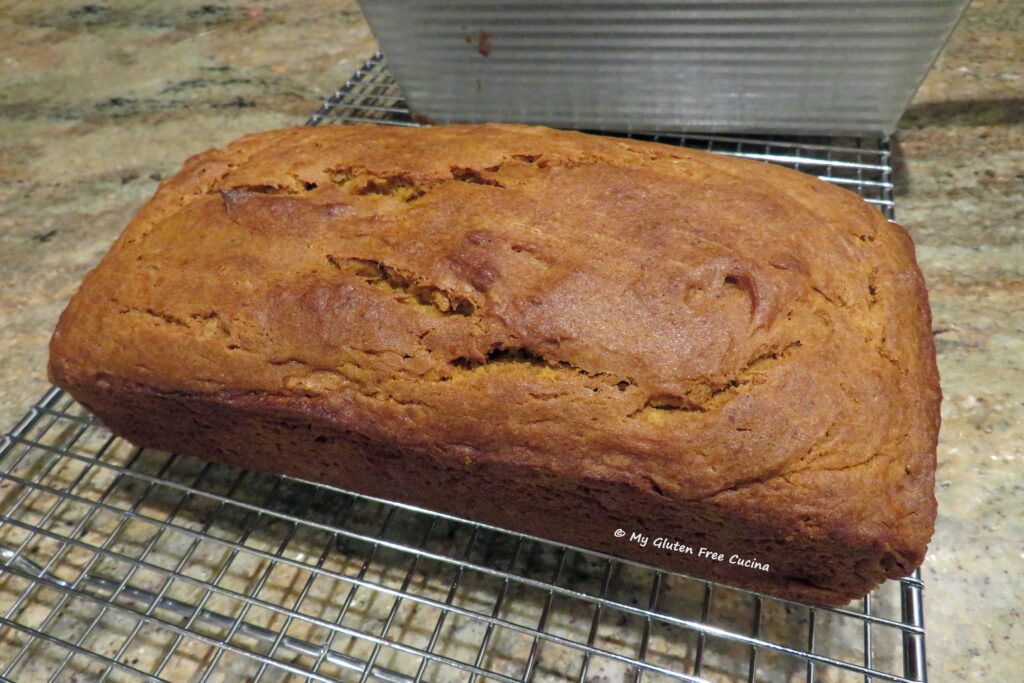
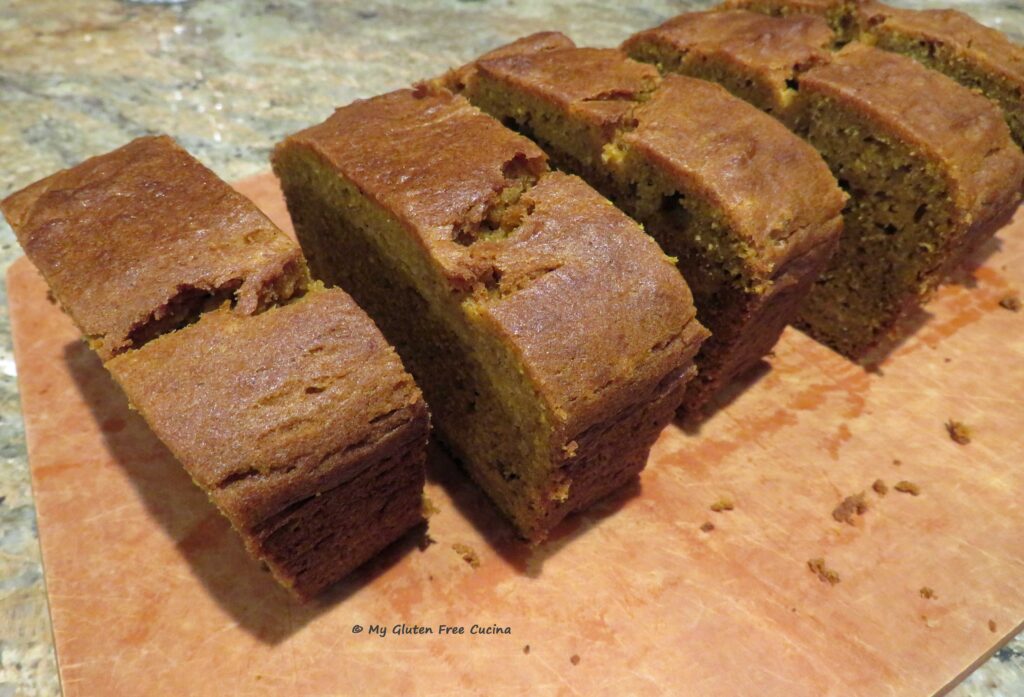
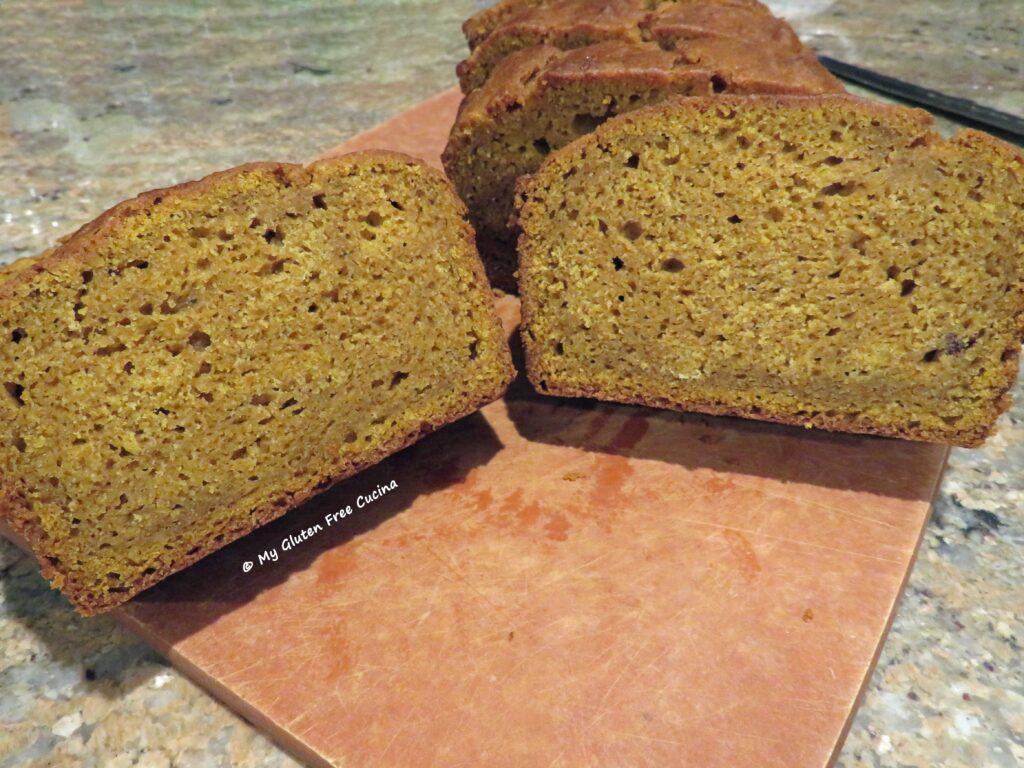
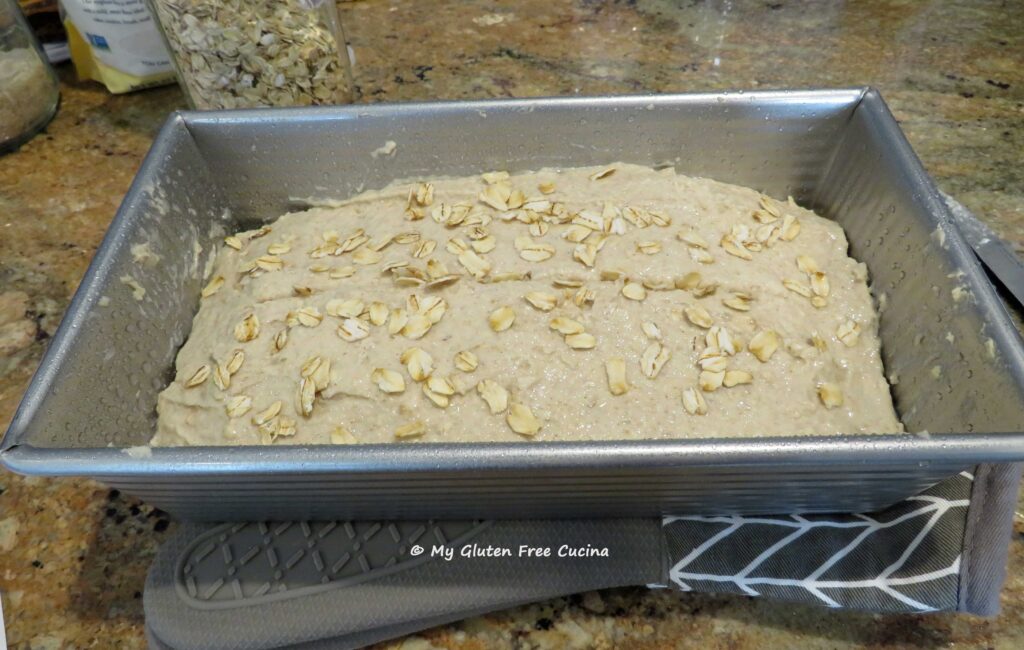
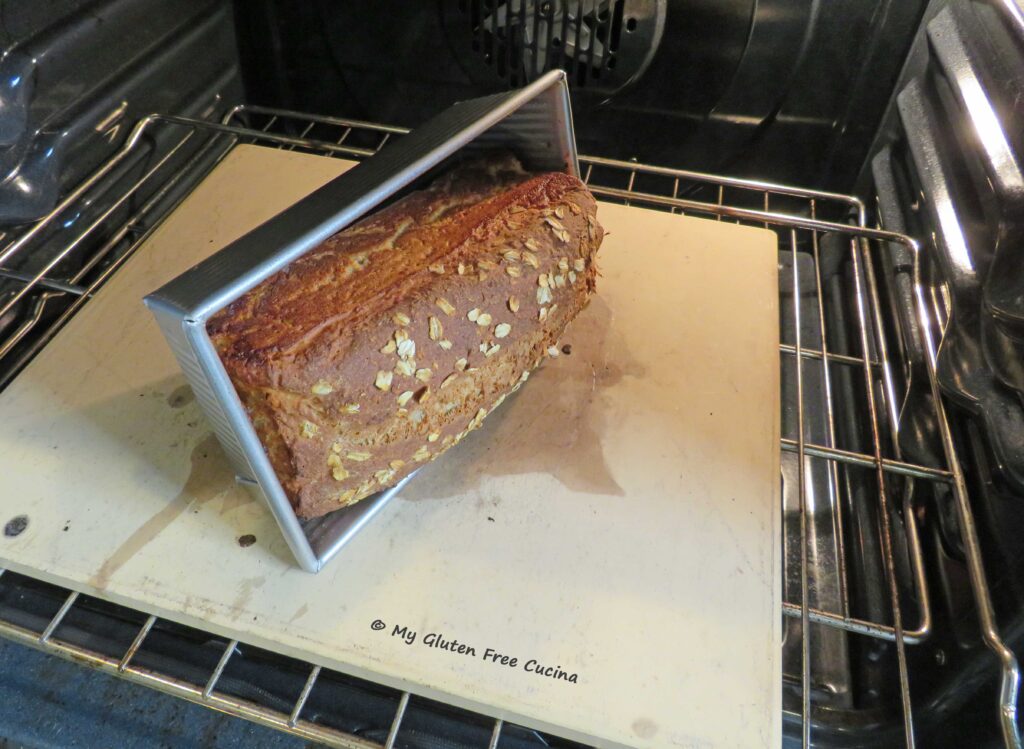
 Bake for 1 hour and check the center with a toothpick. The top should be nice and golden brown.
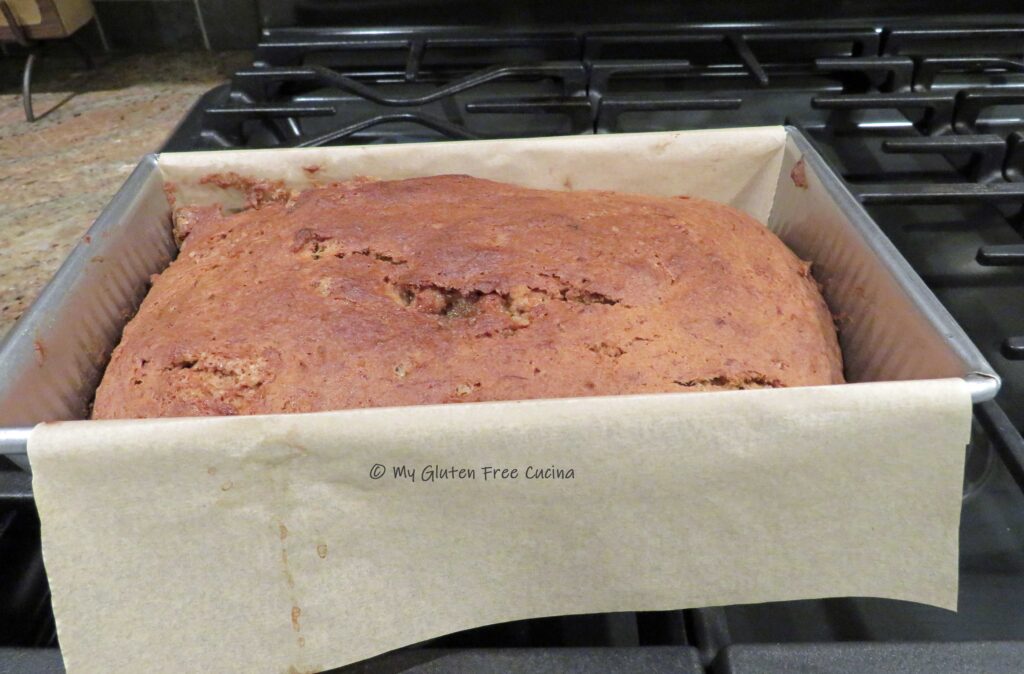 Cool in the pan for 10 minutes, then lift the loaf out of the pan by grasping both sides of the parchment paper (you’re welcome).
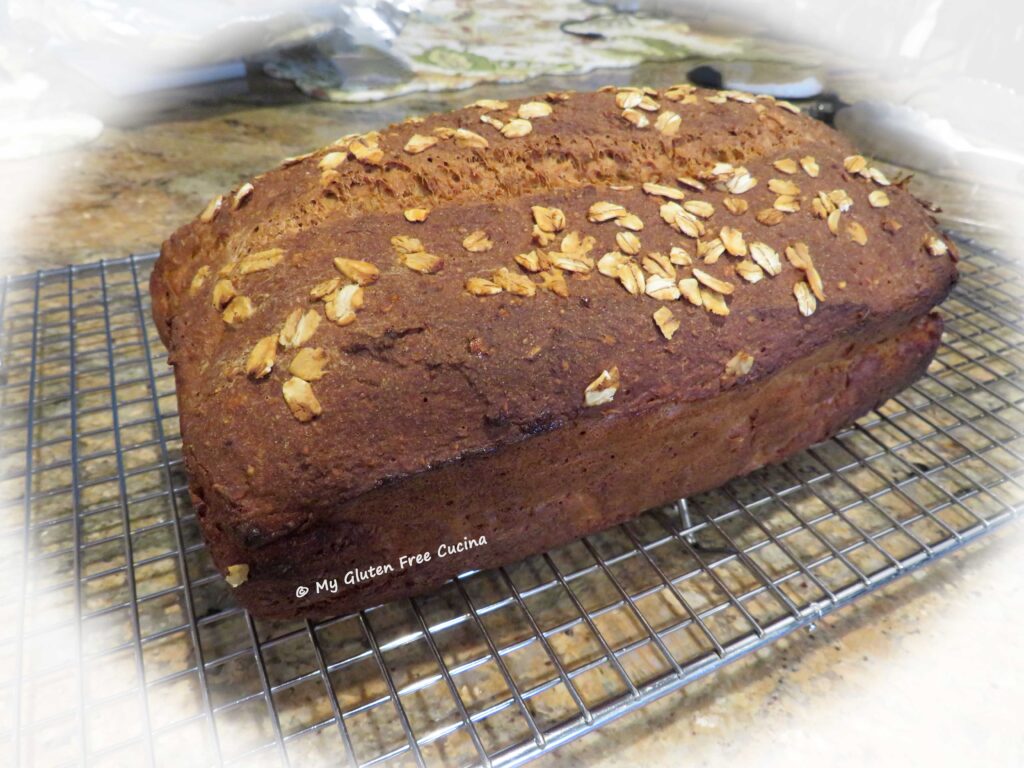
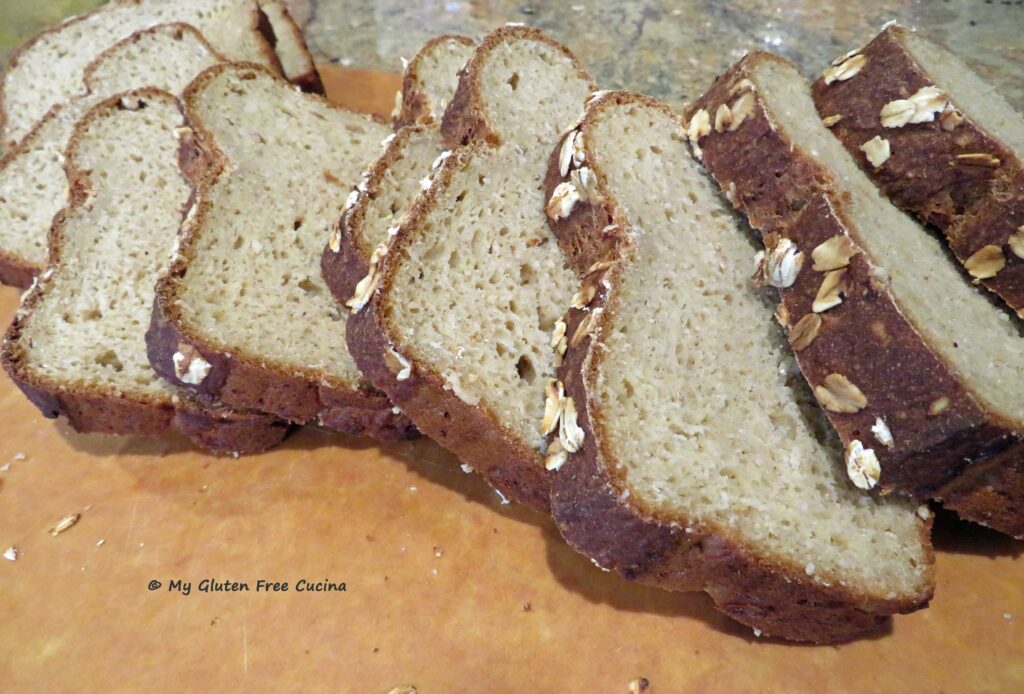
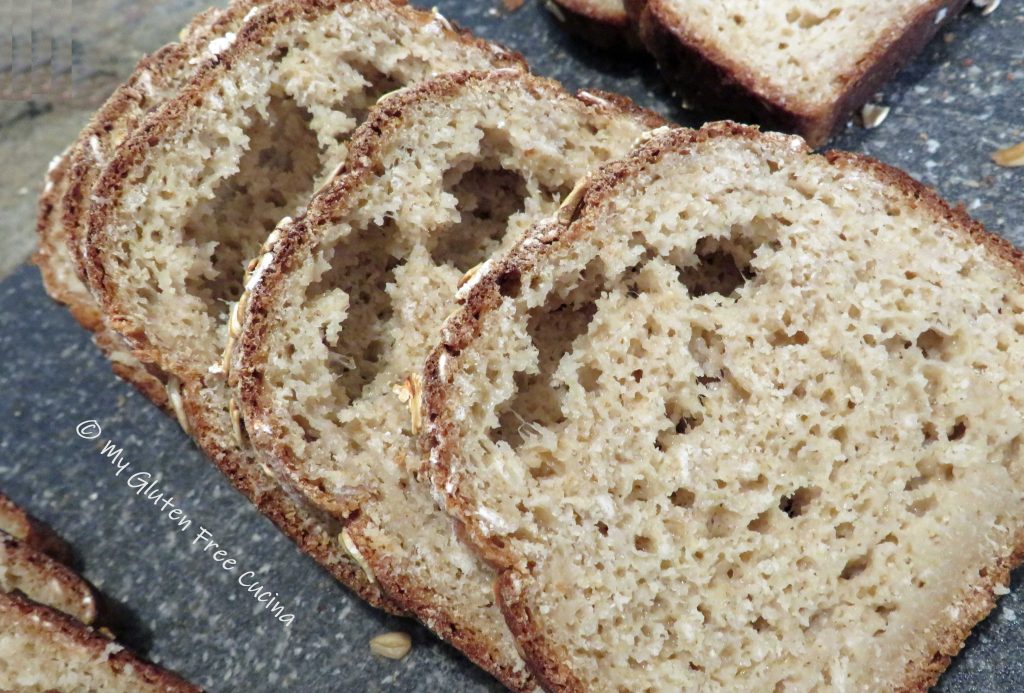
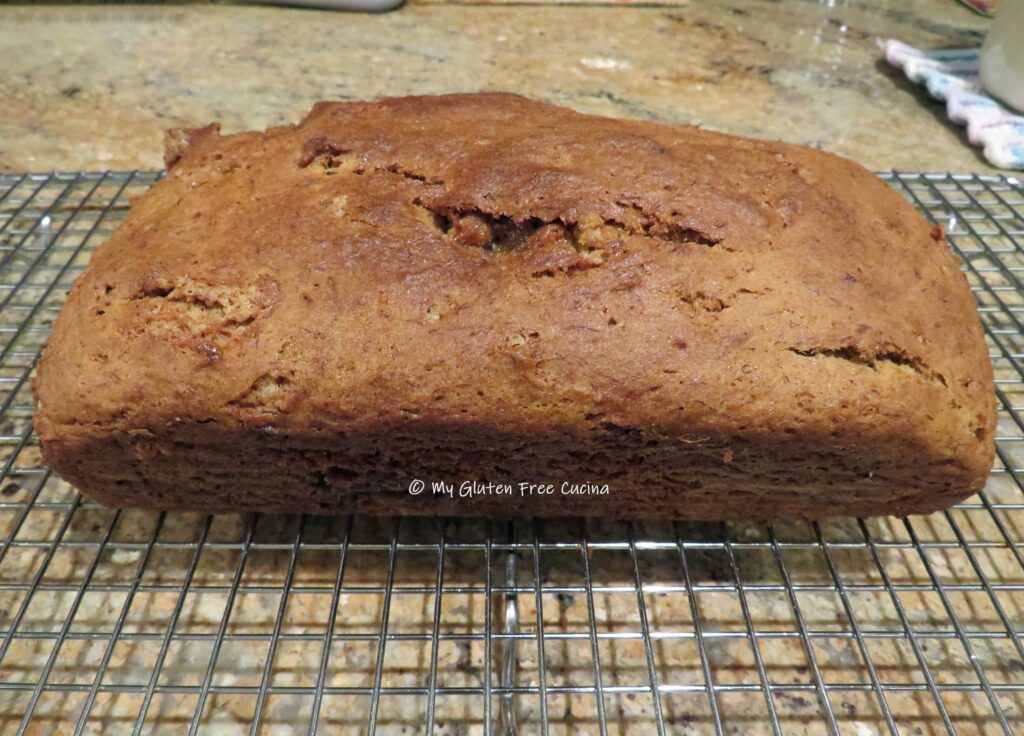 Remove the parchment and cool on a rack before slicing. Cover any leftovers in plastic wrap and store at room temperature for up to 3 days.
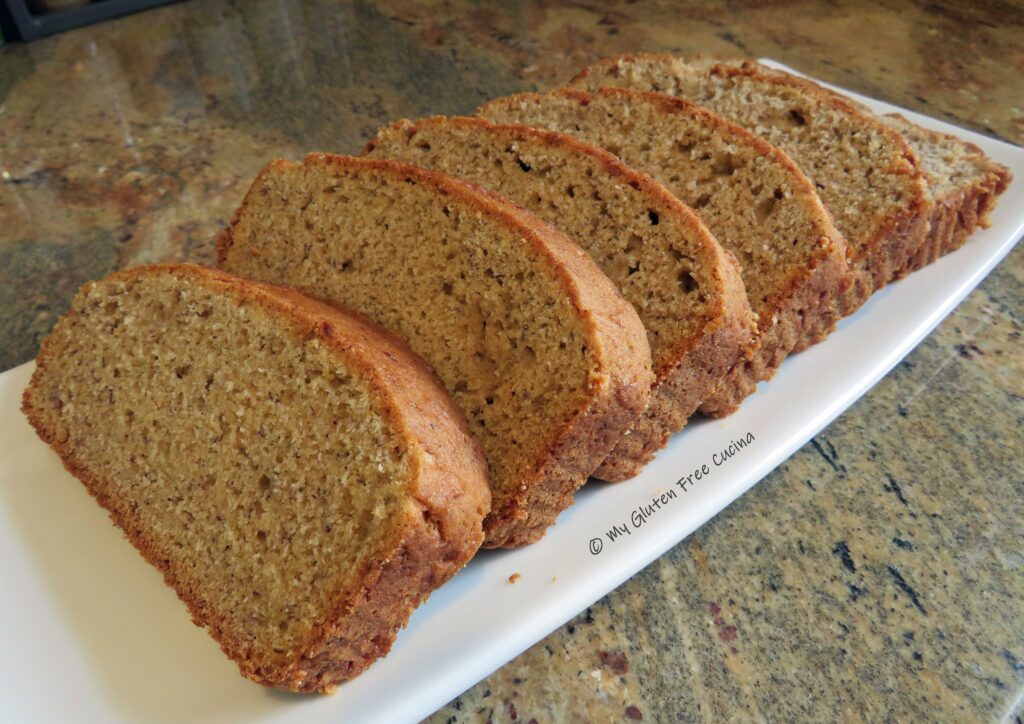 Notes:
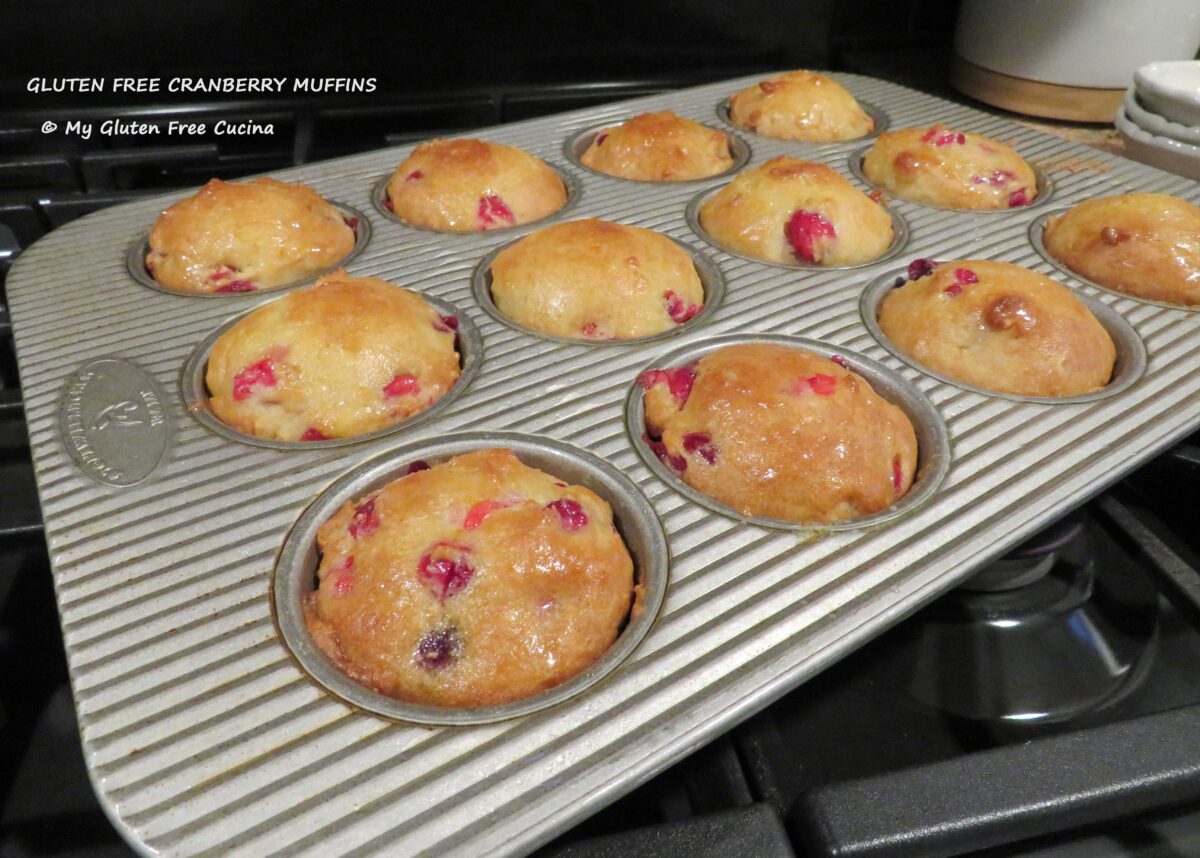

 Bake for 25 minutes (check with a toothpick). Brush the tops with melted butter then cool in the pan for 10 minutes.
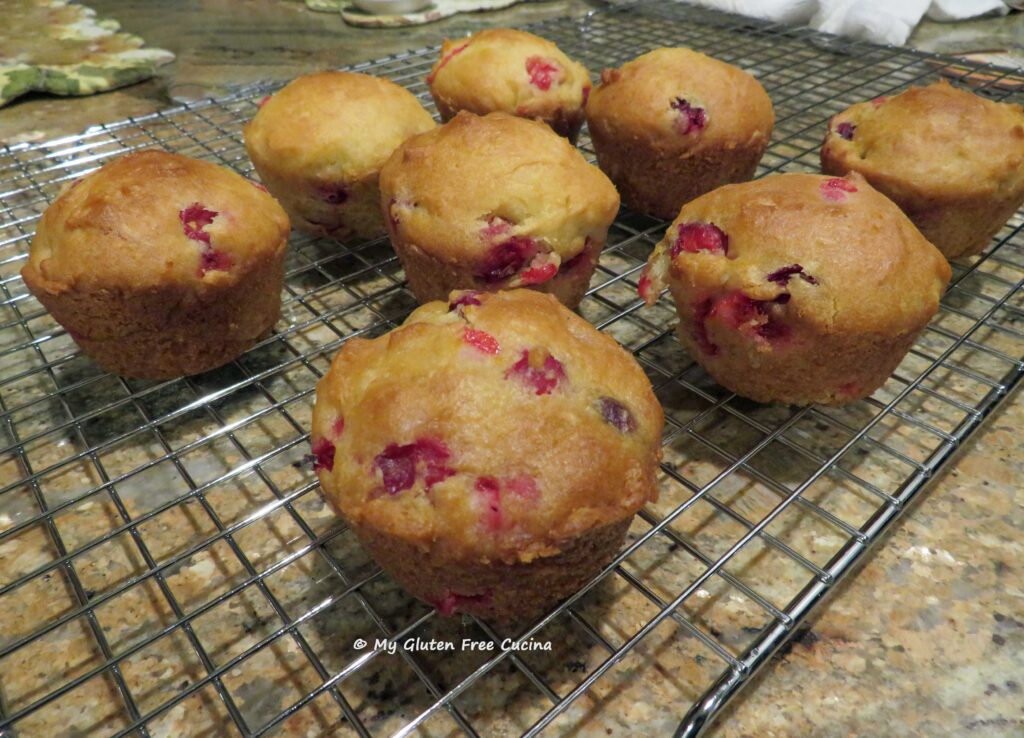
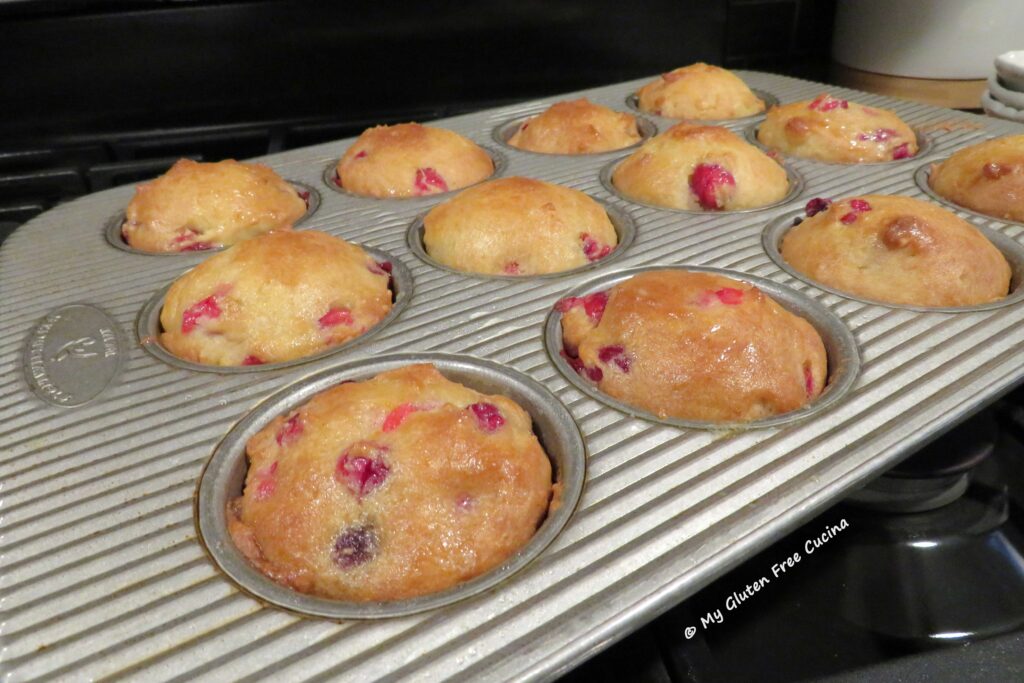 Transfer to a rack. If not serving immediately you can store them at room temperature in an airtight container for 1 day. Leftovers, if you have any can be frozen.
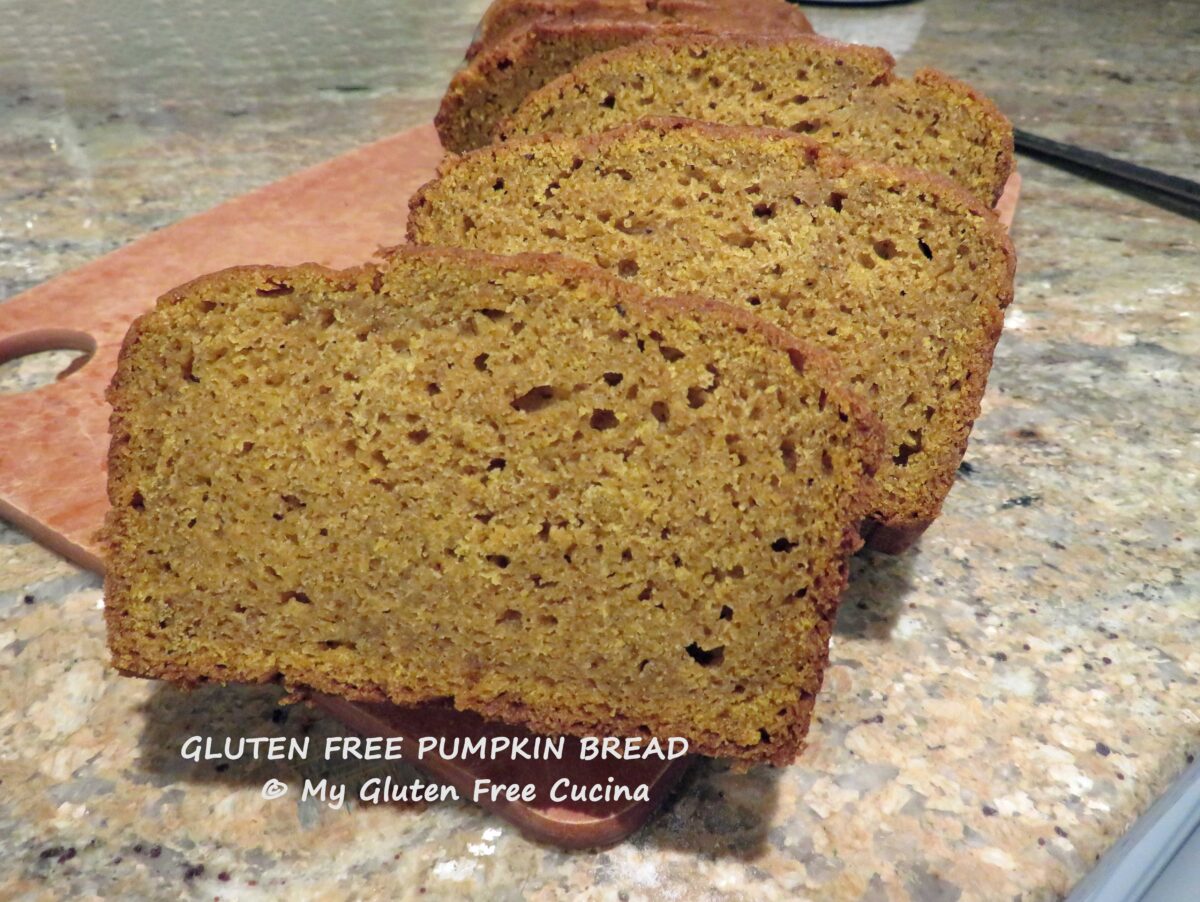


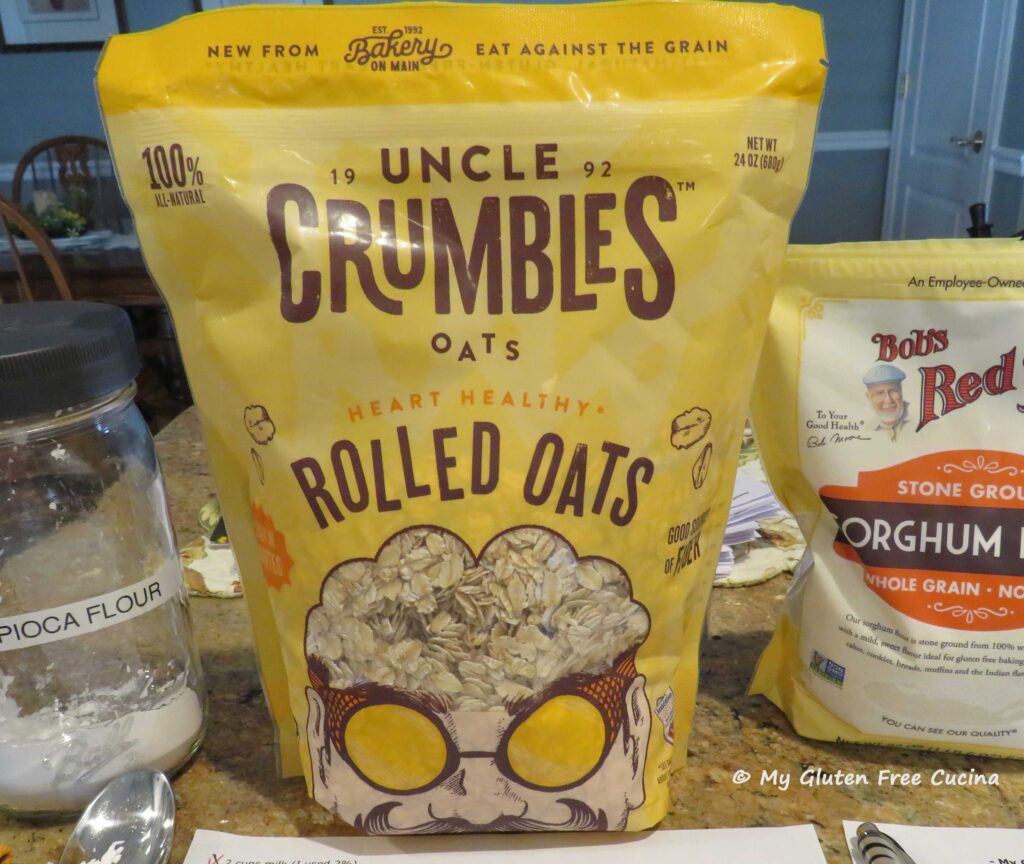
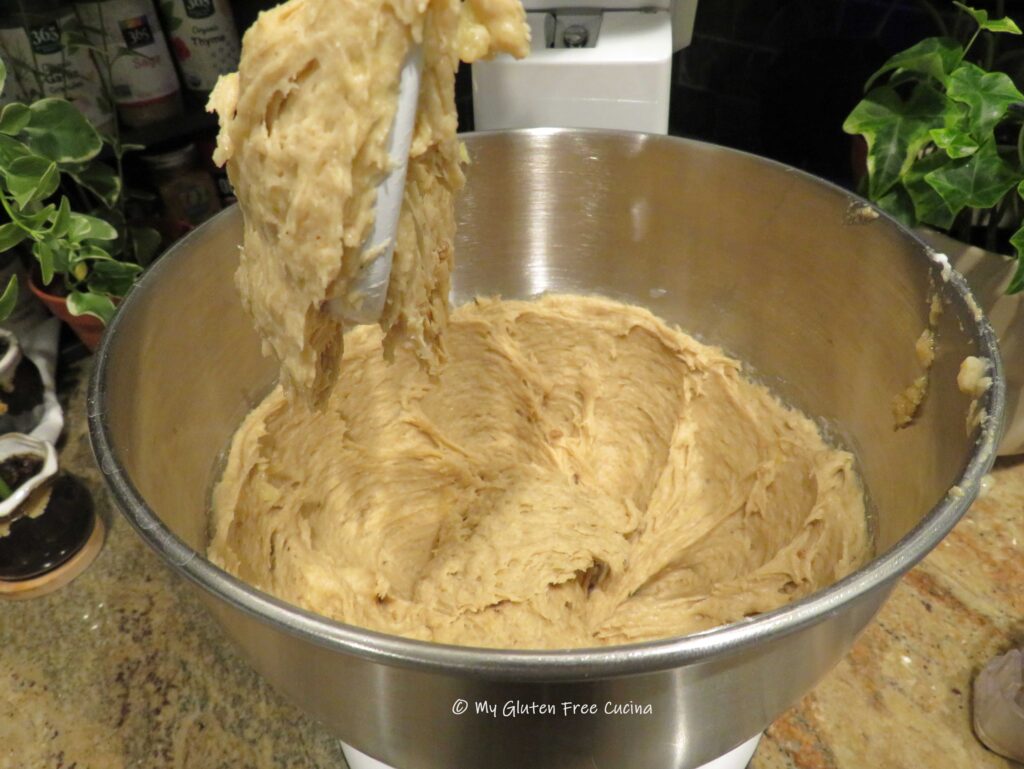
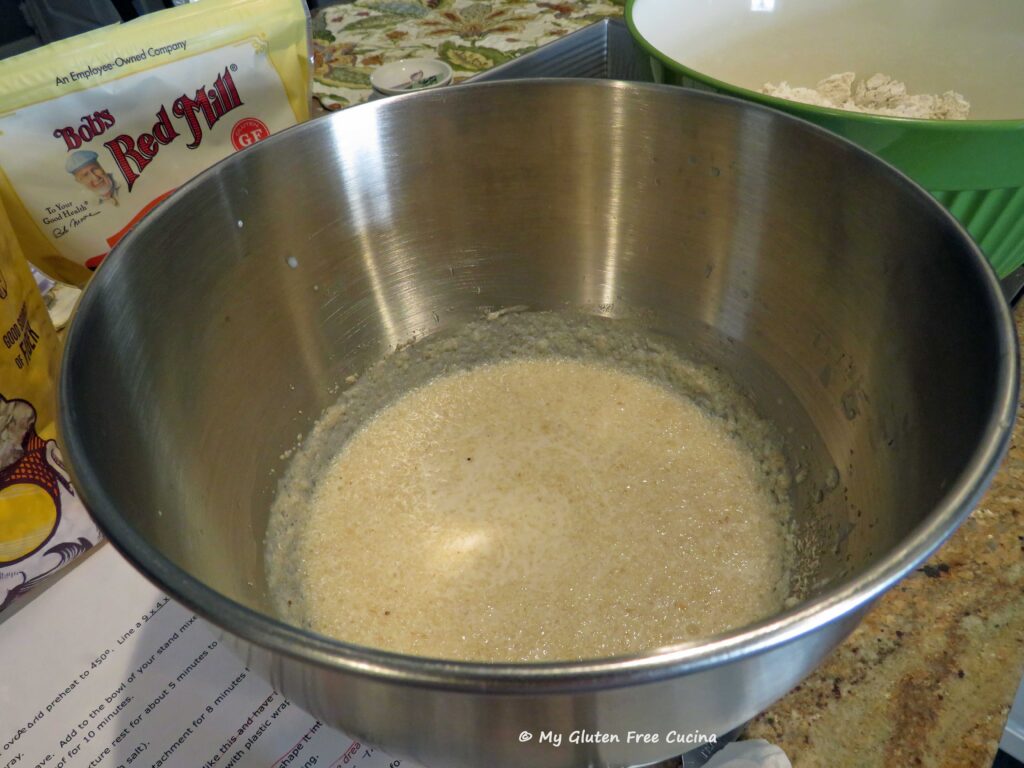 Whisk together the dry ingredients (sorghum flour through salt).
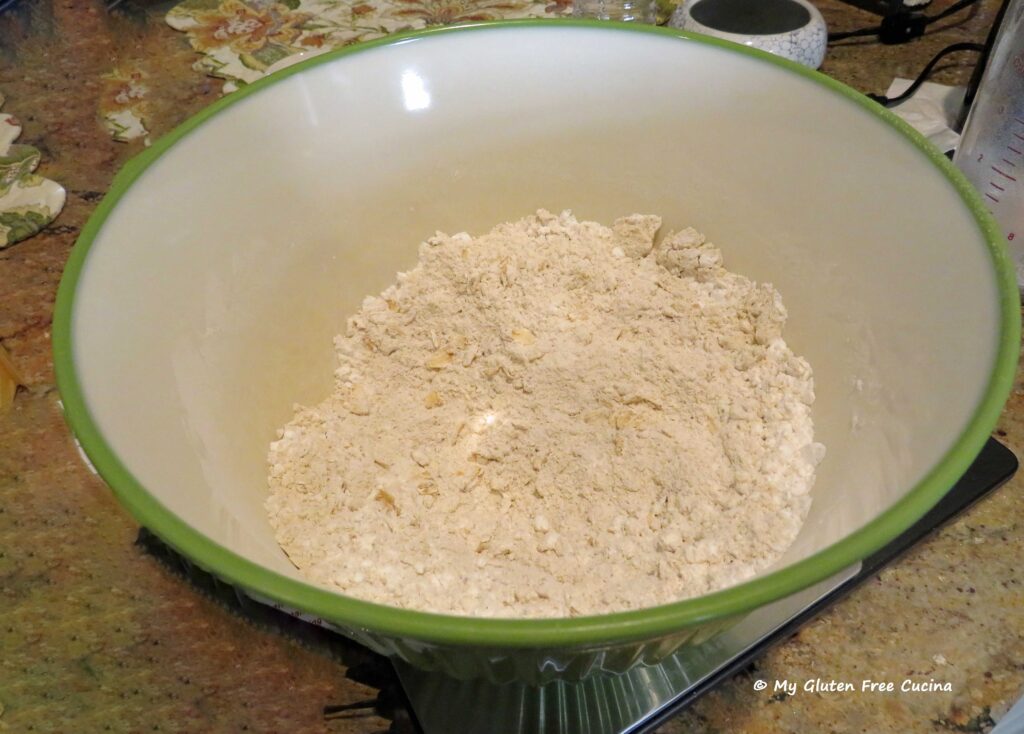 Add the dry ingredients to the wet and mix with the paddle attachment for 8 minutes to form a thick batter.
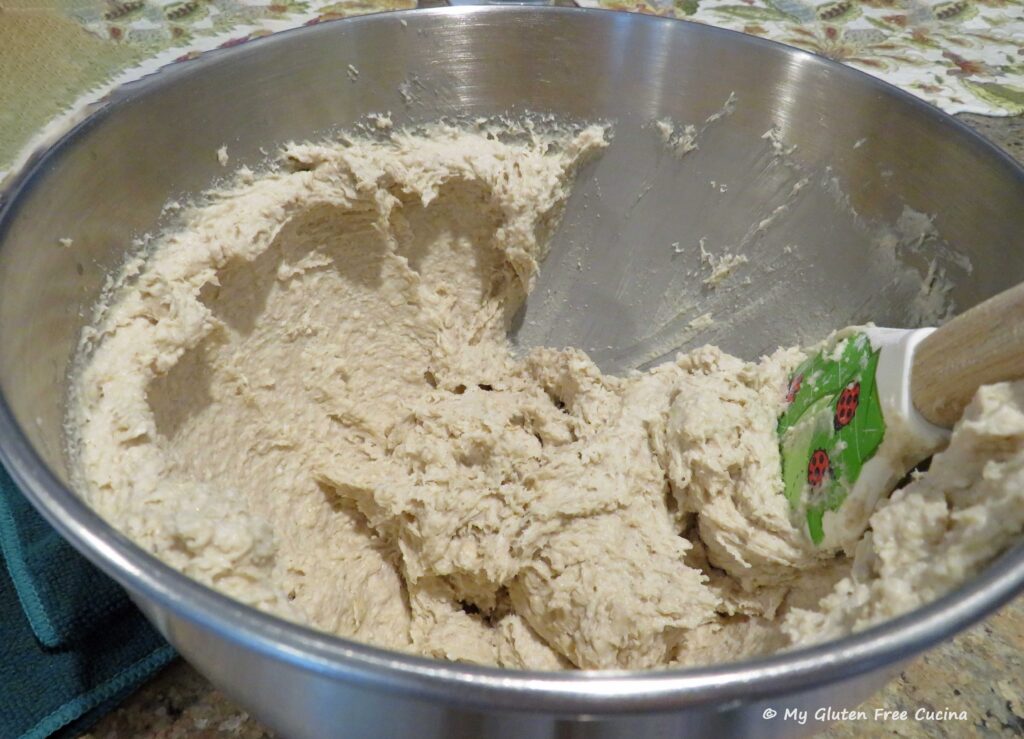
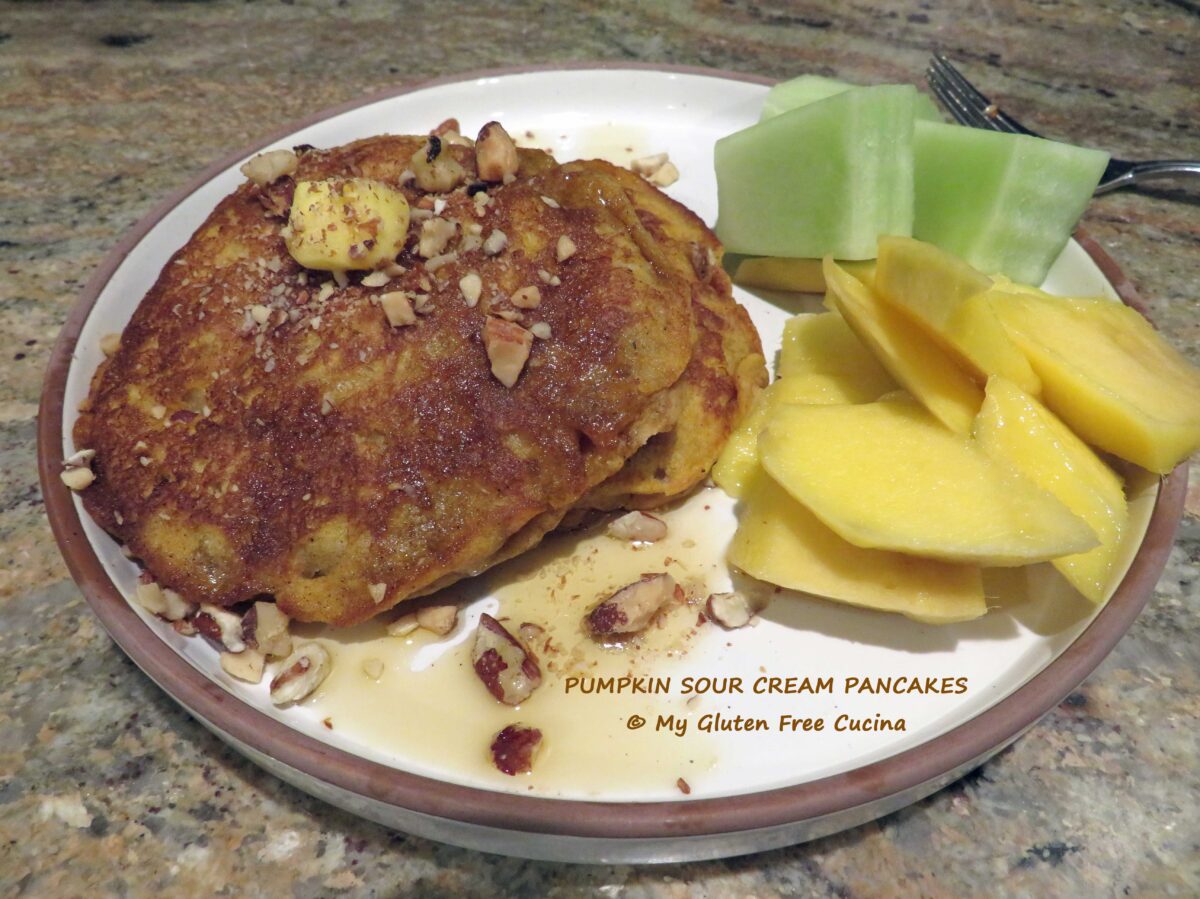
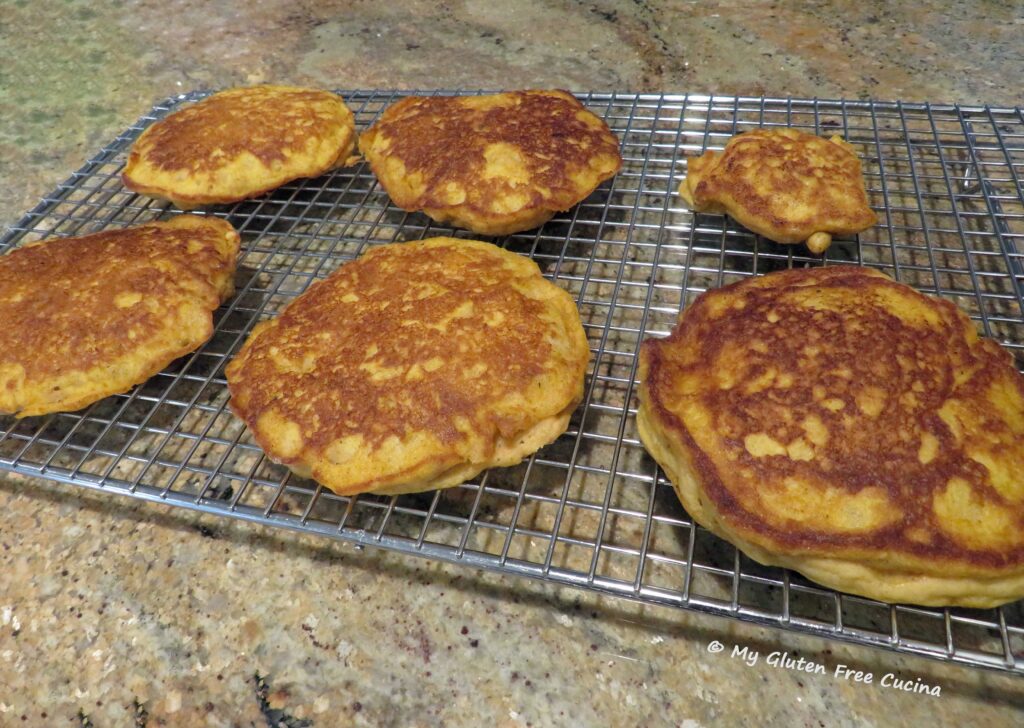 The recipe makes a small batch, breakfast for two. I ended up with 5 full size pancakes and one mini pancake. You can double or triple the recipe for a large family, or if you want extra to freeze for later.
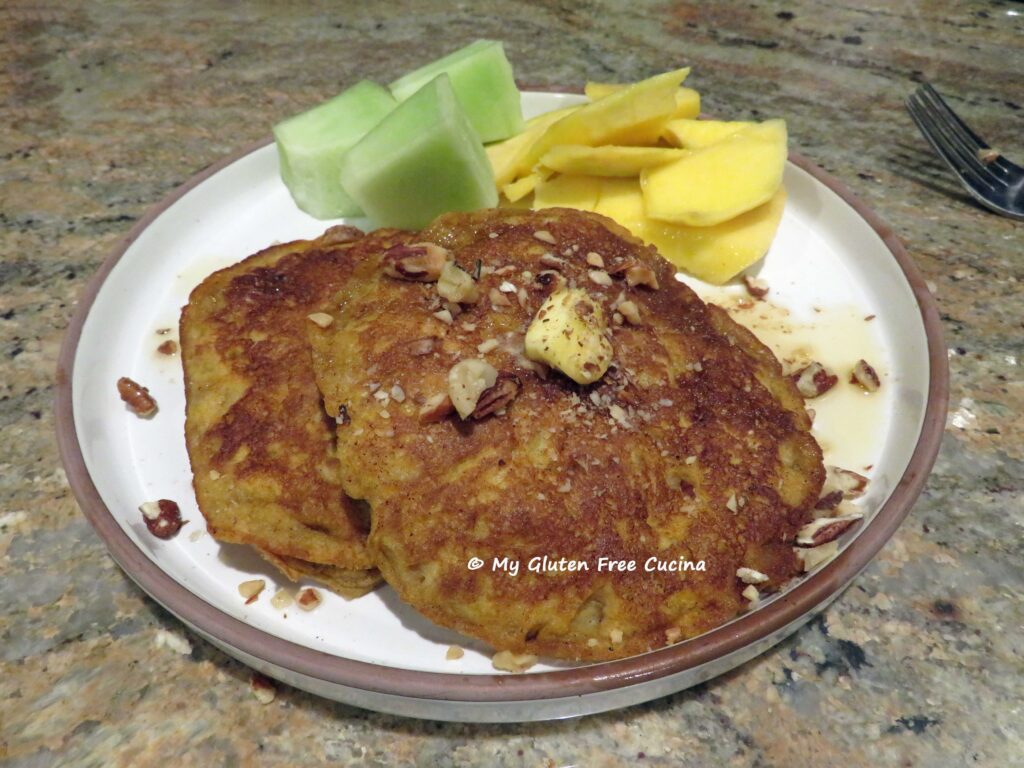 Preparation:
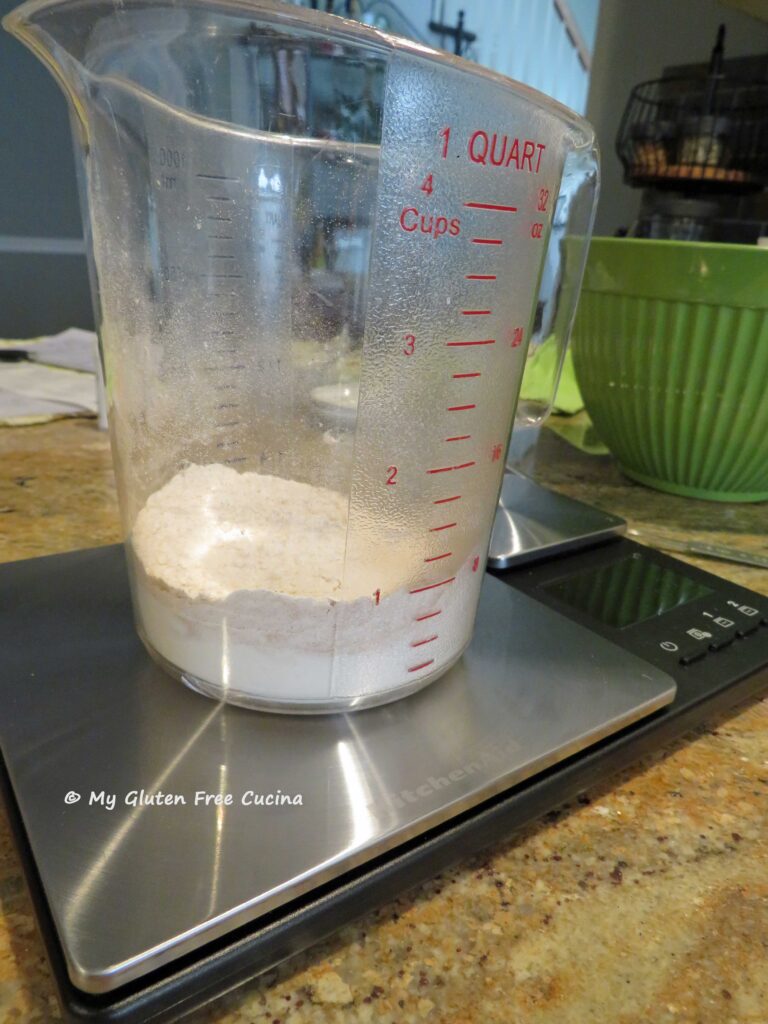 Set up 2 bowls, whisk together the dry ingredients in one bowl (I strongly recommend that you weigh the flour), and the wet ingredients in the other. Stir the wet and dry ingredients together, just until moistened.
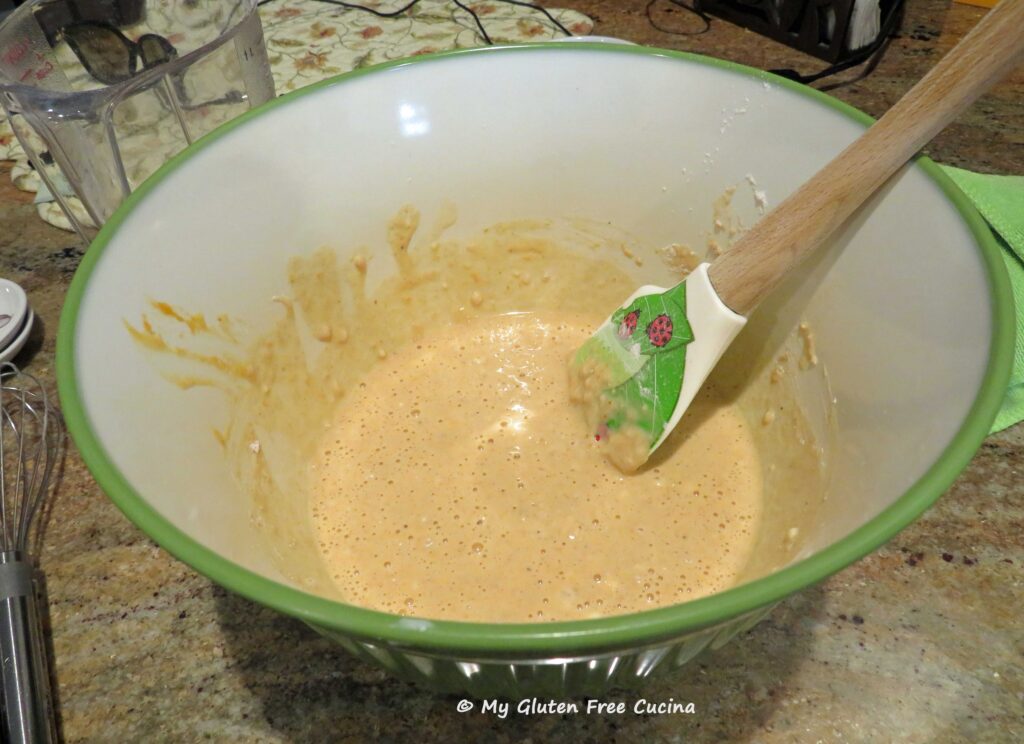 Melt butter 1 tbsp. at a time on the griddle. Scoop batter by 1/3 cups and add to the griddle, leaving space in between.
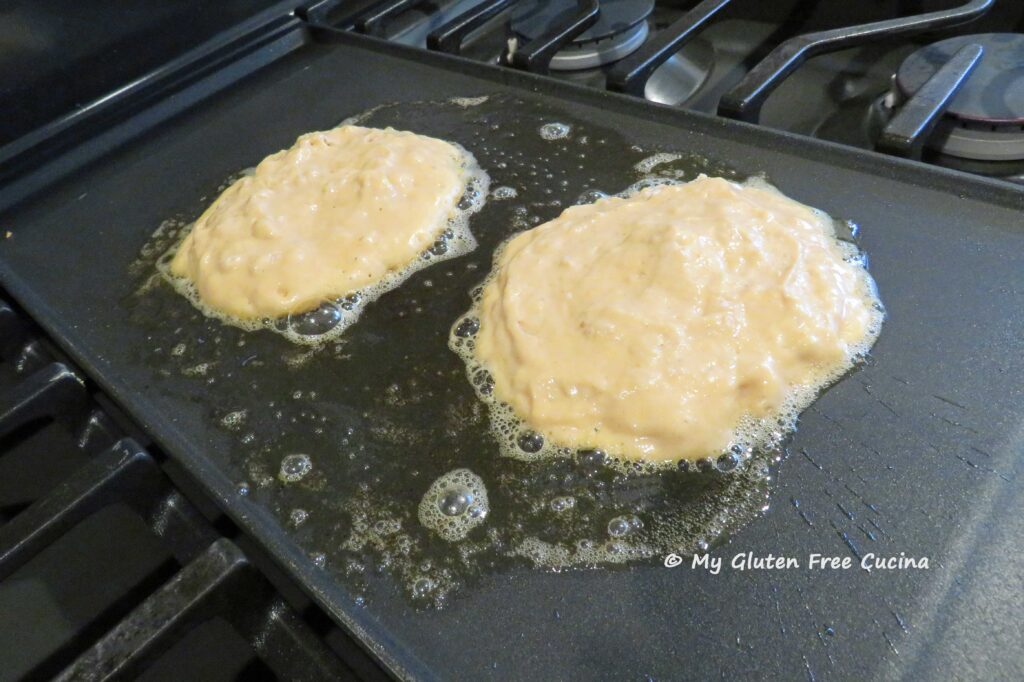 Cook for 5 minutes then flip. Cook 3-5 more minutes. Keep in mind that gluten free pancakes take longer to cook than regular pancakes. Check if they are done by inserting a toothpick in the center. If it comes out dry, they are ready.
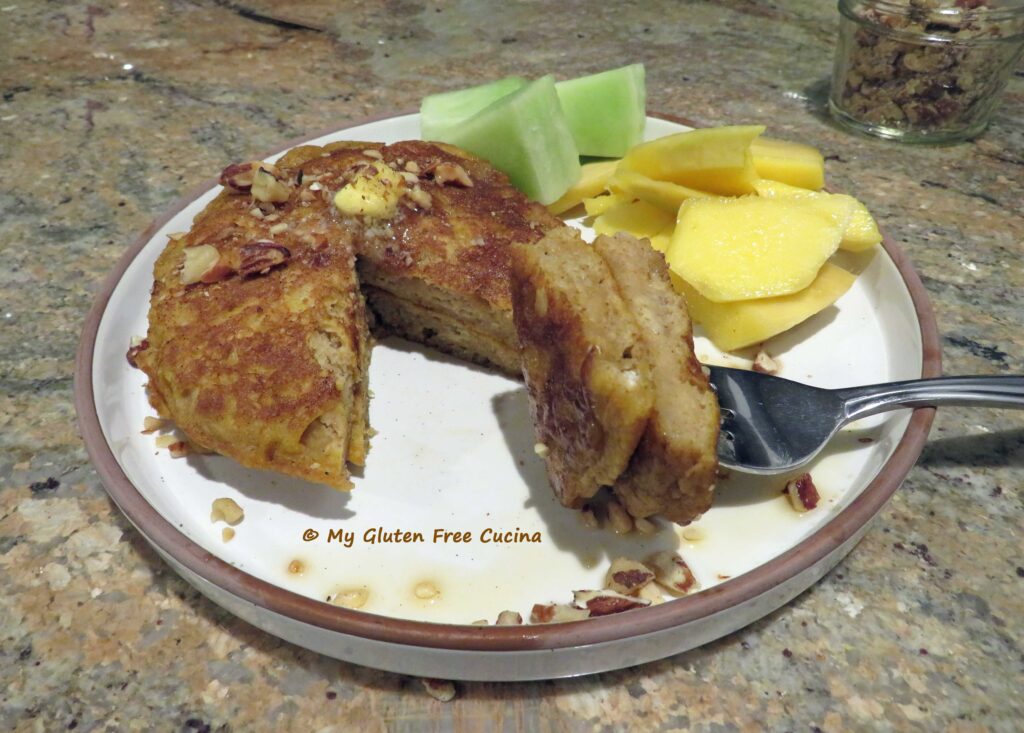
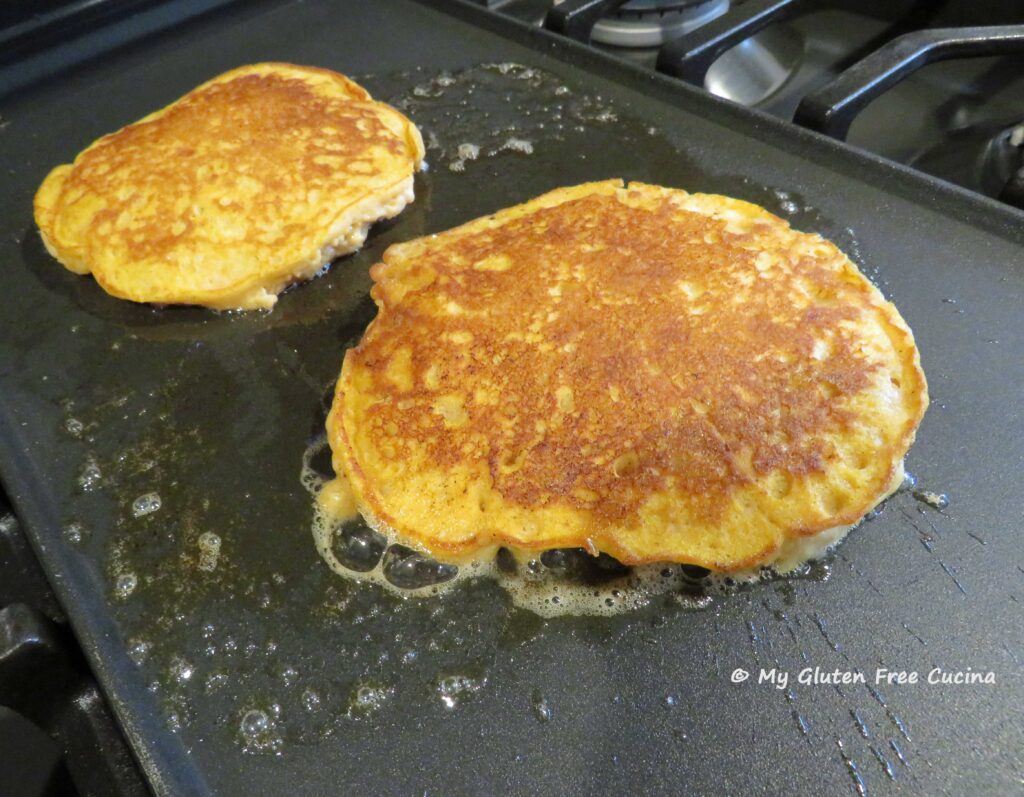 If you have a little batter left over at the end, you can make a test pancake, here’s mine. Just one bite!
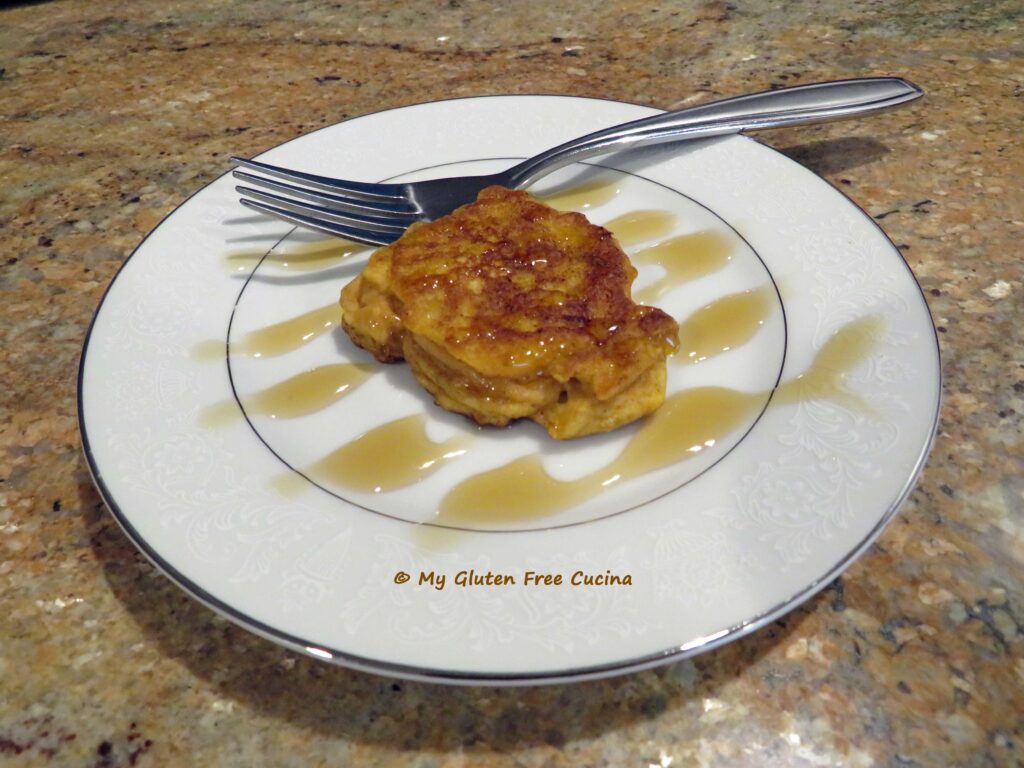 You can serve the pancakes immediately or freeze for later. I let mine cool completely on a rack, then wrapped them separately and stored in freezer safe bags.
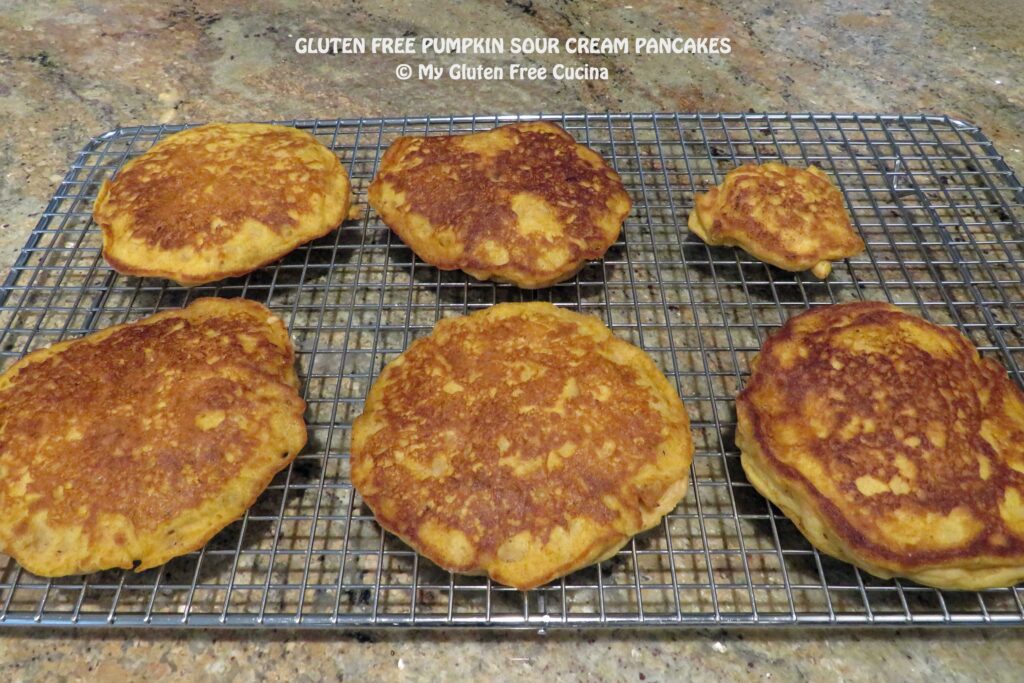


 Wet Ingredients:
 Preparation:
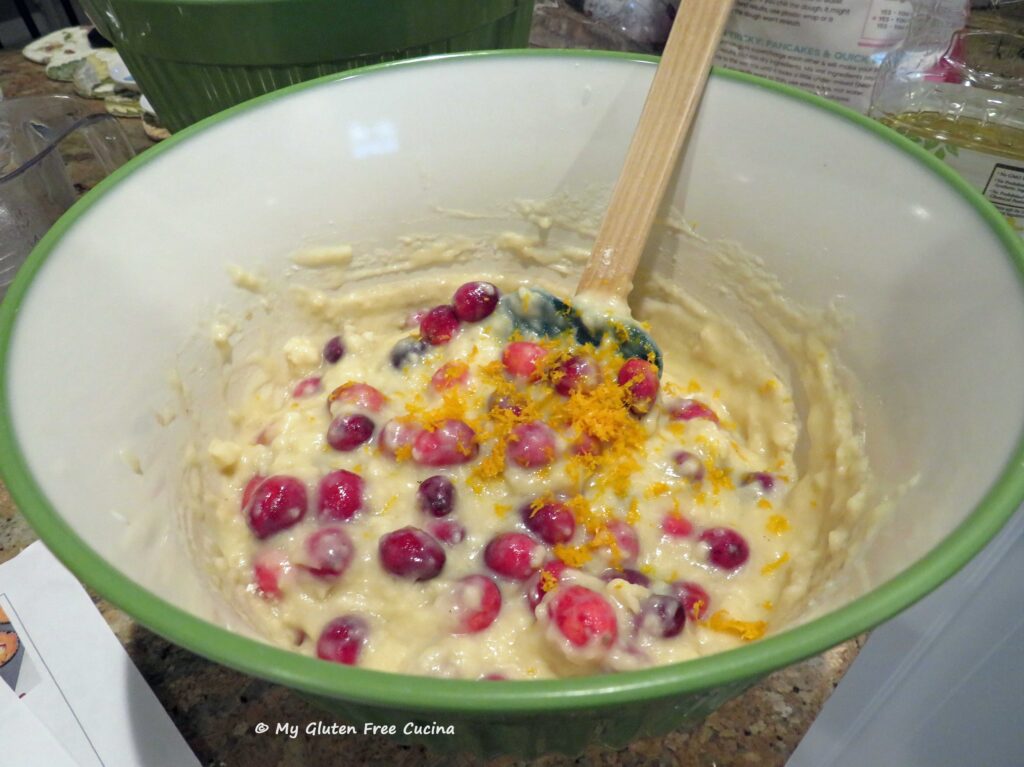
 Preheat the oven to 400º. Add the dry ingredients to the wet and use a
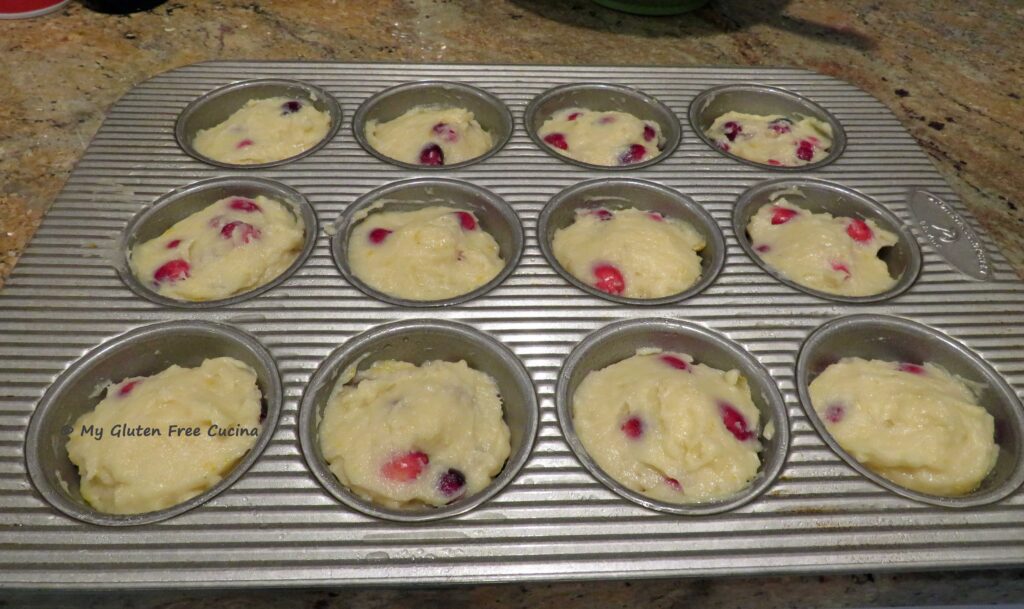
 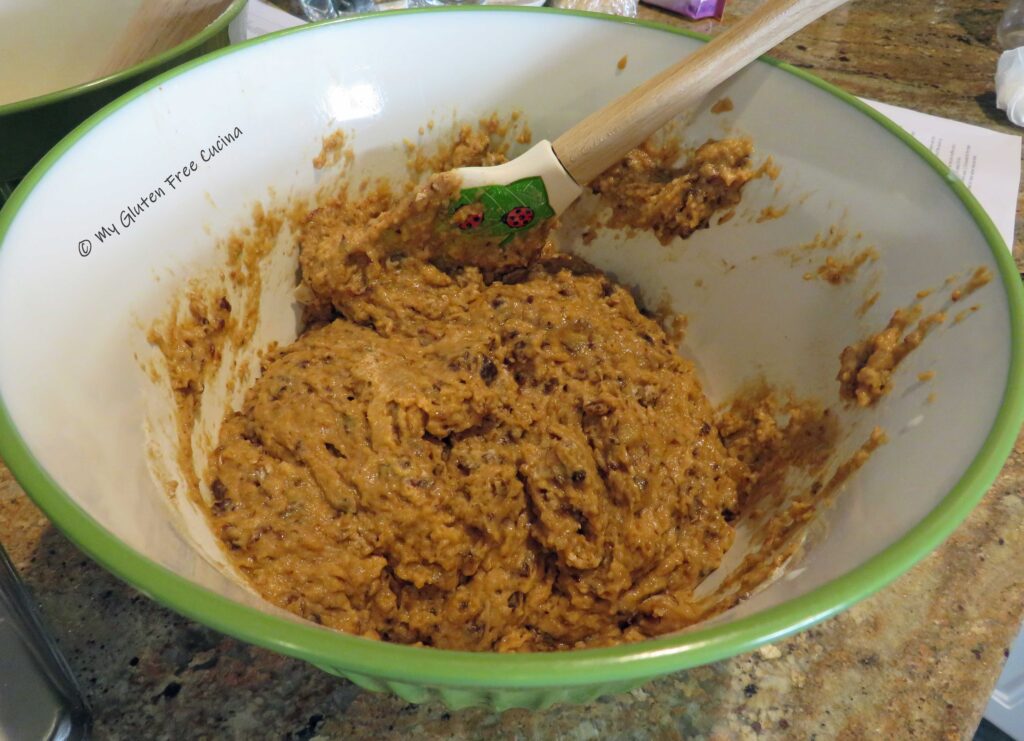 Let the batter rest while the oven preheats, then spoon into a
  Bake for 20 minutes and check that they are done with a toothpick.
 Cool in the pan for 15 minutes, then transfer to a rack.
 If not serving immediately, you can cool to room temperature then wrap individually in plastic wrap and store in a freezer safe bag. I usually freeze muffins to have for breakfast during the week.