Easy Sheet Pan Chicken and Vegetables

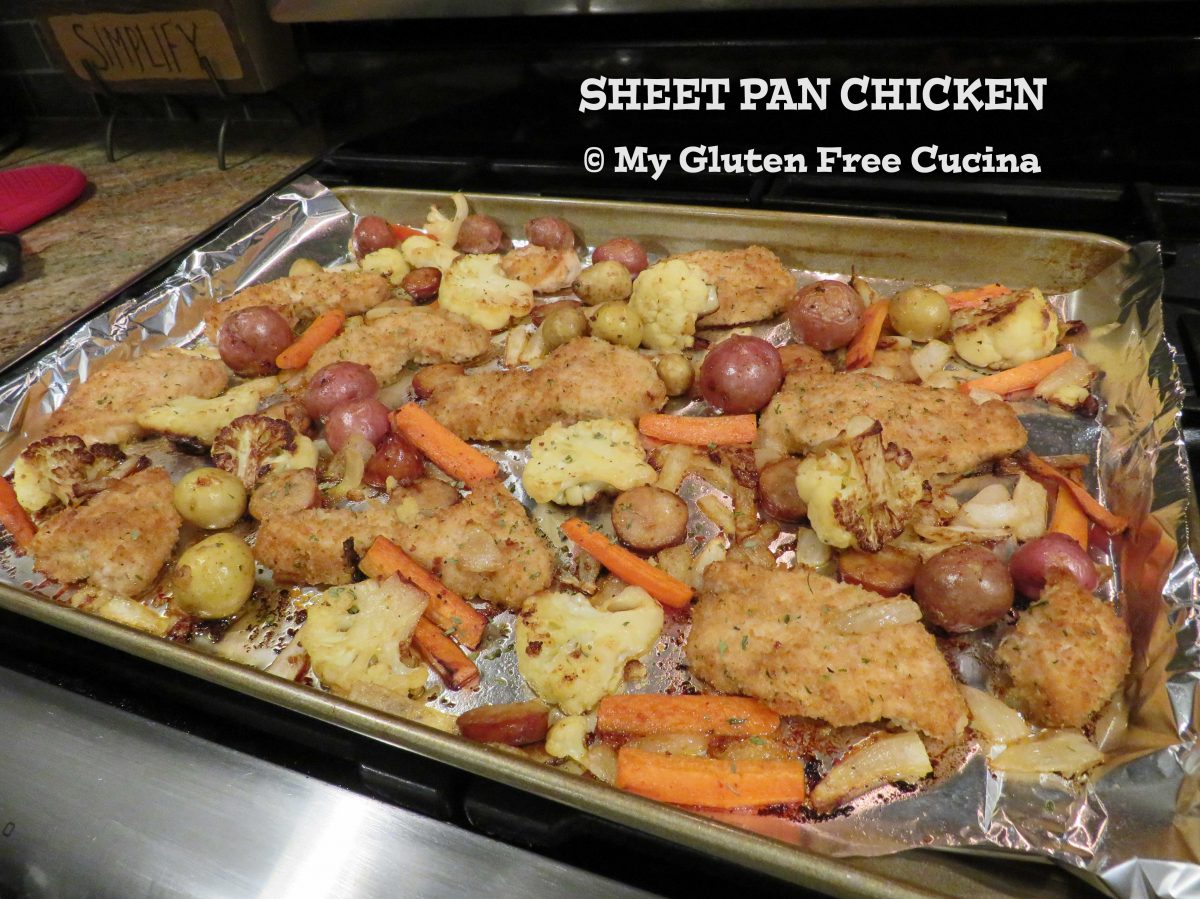
Boneless chicken medallions, breaded and baked with sausage, carrots, onions, potatoes and cauliflower.  This easy sheet pan dinner proves that gluten free does not have to be complicated!  From oven to table, you don’t even need a serving dish.

I didn’t take step by step pictures of the preparation as I normally do, because honestly I never thought this meal would make it to the blog.  But it came out really delicious, so here we are.

The simple, fresh ingredients speak for themselves in this perfectly seasoned, one dish meal.

I was featured at the senior salon pit stop

4 Servings

This post contains affiliate links.

Ingredients:

Preparation:

  1. Heat a large nonstick skillet with 2 tbsp. olive oil.  Line a half sheet pan with foil and mist with cooking spray.  Preheat the oven to 400º.
  2. Cook the sausage coins in the skillet until lightly browned, then use a slotted spoon to transfer them to the baking sheet.  Leave the oil behind in the skillet.
  3. Place the breadcrumbs in a food safe plastic bag, add the chicken medallions and shake to coat.
  4. Brown the chicken on both sides in the same skillet, about 1 minute per side.  Do not cook through, it will finish cooking in the oven.  Arrange the browned chicken on the baking sheet.
  5. Add several more tbsp. of olive oil to the skillet, with all of the vegetables.  Sprinkle liberally with Creole seasoning.  Par cook the vegetables in the skillet for about 10 minutes to give them a good head start, then arrange them on the baking sheet with the chicken and sausage in a single layer.
  6. Bake for 15-20 minutes at 400º and bring right to the table for a fun and casual meal.  If you like, serve with BBQ Sauce for dipping!

Notes ♪♫ While the chicken and sausage cooked very quickly, the veggies took quite a bit longer, especially the potatoes and carrots.  Giving the veggies a 10-minute head start in the skillet is the secret to having everything finish in the oven at the same time.

Print This Post Print This Post

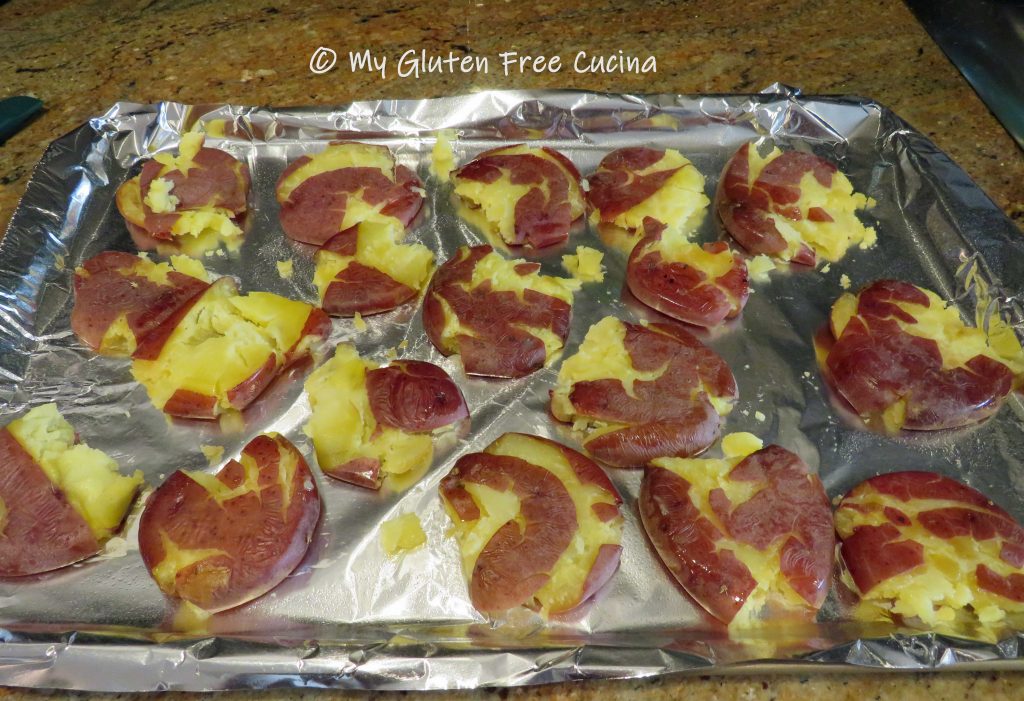
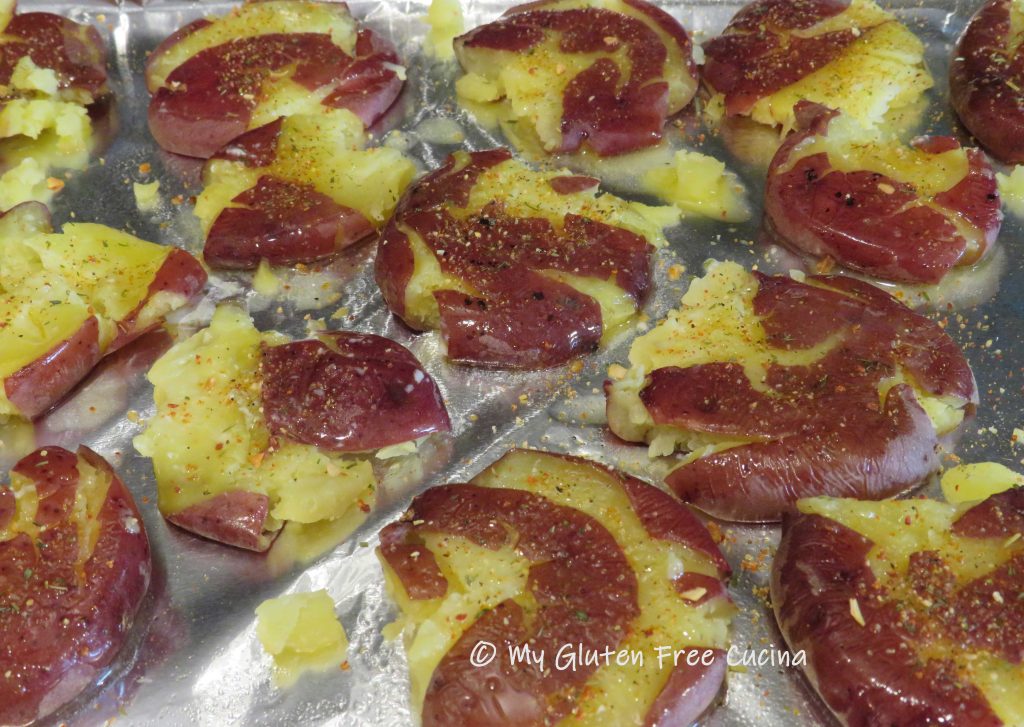
Smashed Potatoes

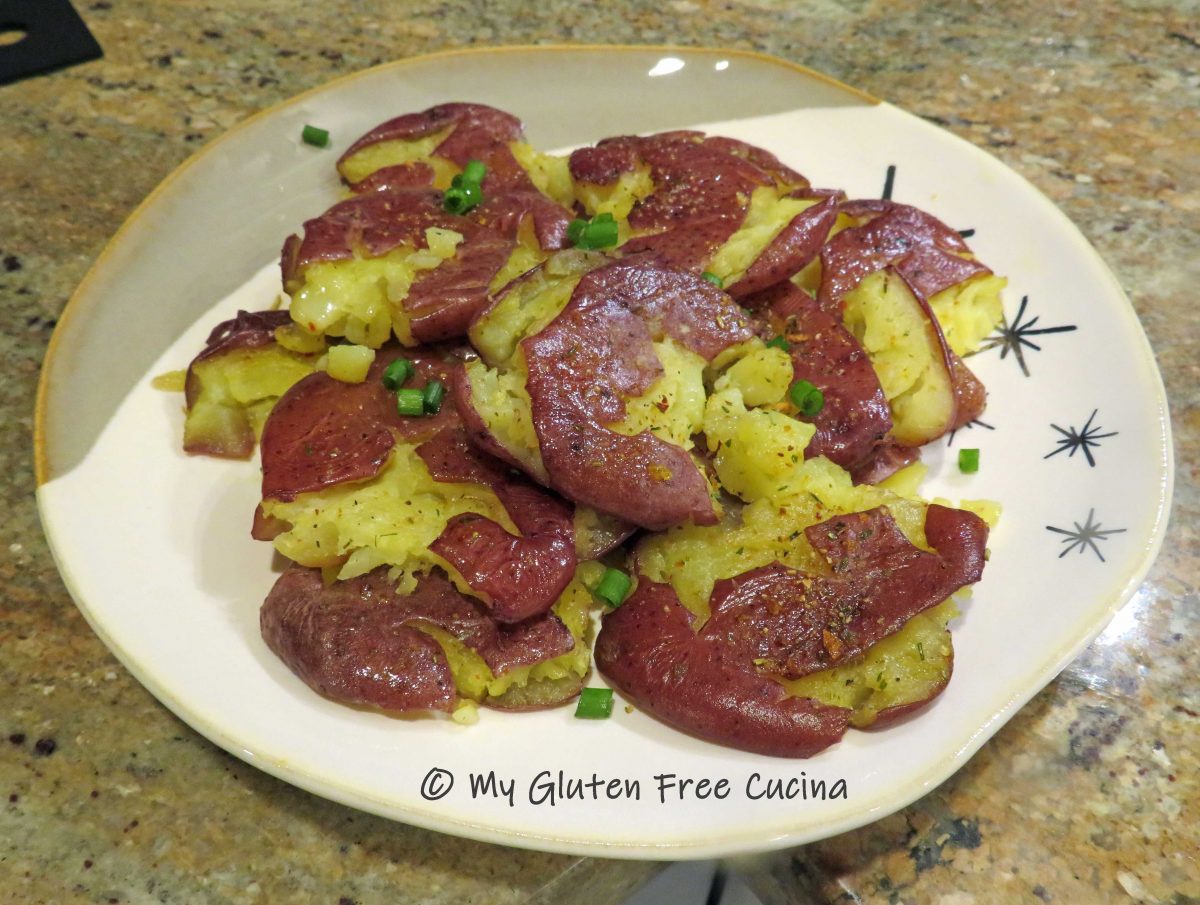
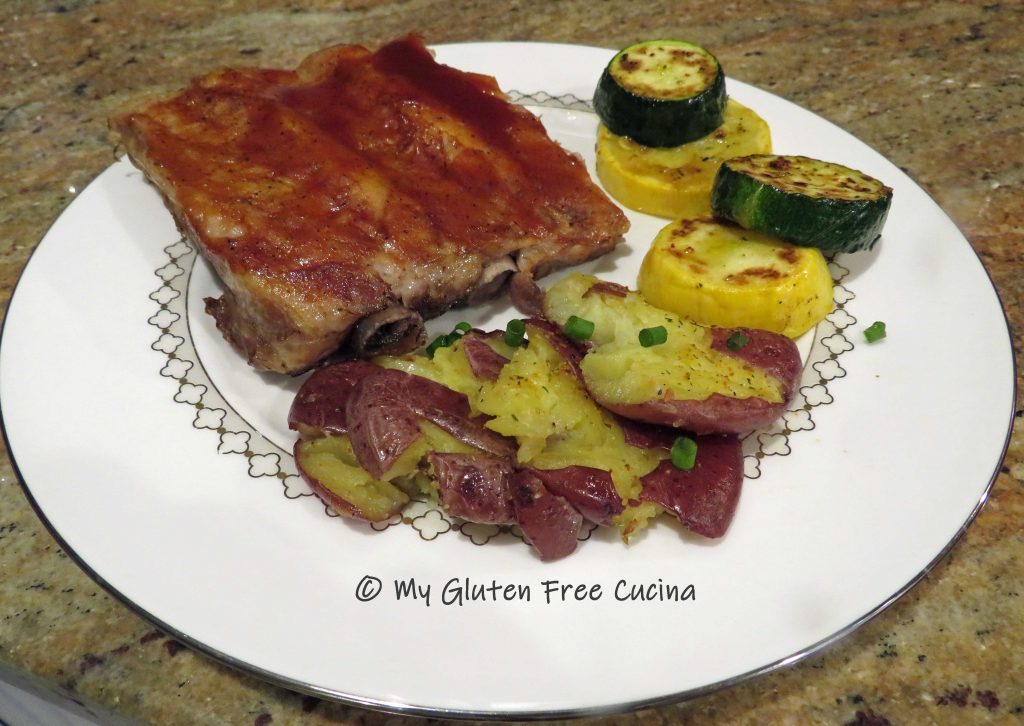
Tonight try something different from your usual potato side.  These little potatoes are so tasty!  This is a family style dish that you can serve on a pretty plate, or right from the pan- no fussing!

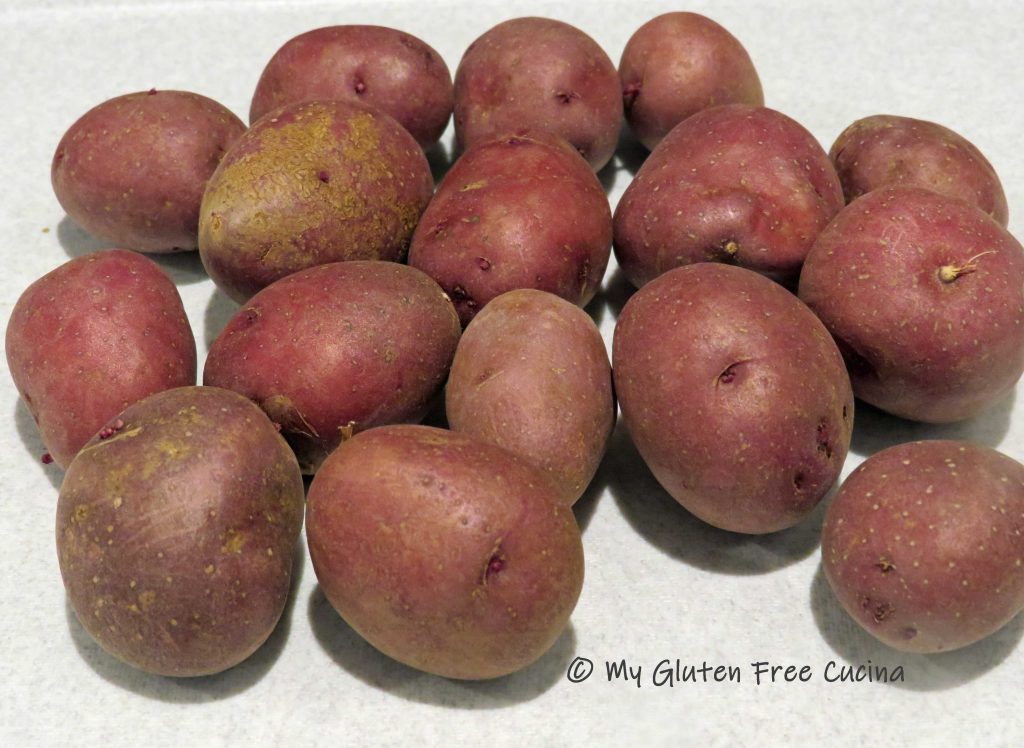
Marble potatoes come in round and fingerling variety and you can find them in red, gold and even purple shades, they are all delicious!  I like the round potatoes because they are more uniform in size, but if you can only find the fingerlings just cut them into smaller pieces so they all cook at the same time.

This easy dish is most definitely casual fare.  Would I serve it if the king and queen were coming to dinner?  Maybe not, but for everyday family meals it’s a winner.  It was Mr. Cucina’s favorite.

Naturally gluten free!

This post contains affiliate links.

Ingredients:

  • 1 bag marble or fingerling potatoes
  • 2 tbsp. olive oil
  • 2 tbsp. butter
  • seasoning of choice (I like this one)
  • fresh parsley or chives, for garnish
  • cooking spray

Preparation:

Use the amount of potatoes needed for your family.  For the two of us I used a half bag.  Rinse the potatoes and if needed cut the larger ones in half so that all are about the same size.  Preheat the oven to 350º.

Steam the potatoes for 20 minutes to soften.

Line a baking sheet with foil and mist with cooking spray.  Arrange the potatoes on the baking sheet, leaving at least 2″ space in between.

Use a wide bottom mug to “smash” the potatoes by gently pressing them to flatten.  I misted the bottom of the mug with cooking spray so the potatoes would release easily.

Melt butter and combine with the olive oil.  Brush over the potatoes and season.

Bake for 20 minutes.  Transfer to a serving platter or serve right in the pan.
For a pretty presentation garnish with fresh parsley or chives.

Notes: ♪♫ Potatoes are naturally gluten free and they are a regular part of my menu rotation.  If you are limiting white potatoes, you might give these little marble potatoes a try.  With more skin per bite, they are a healthier choice and a nice change from the usual!

Print This Post Print This Post

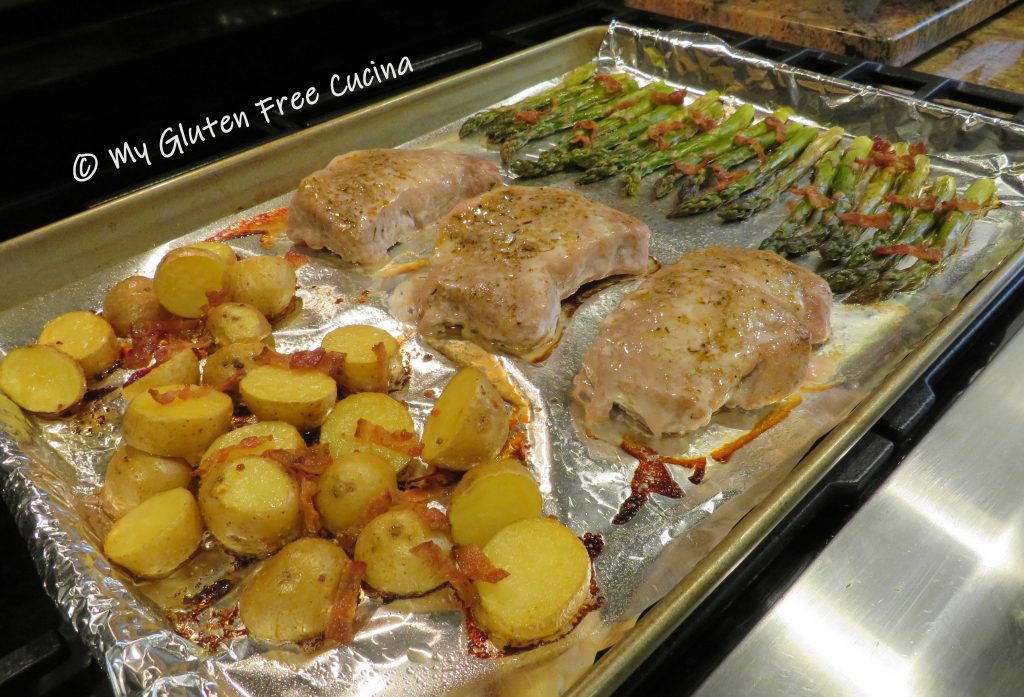
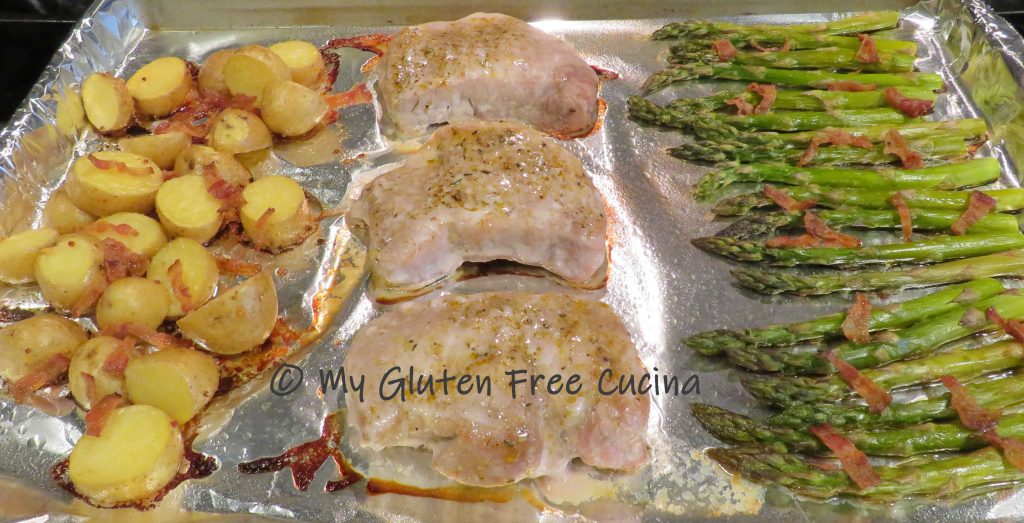
Sheet Pan Pork Chops, Potatoes and Asparagus

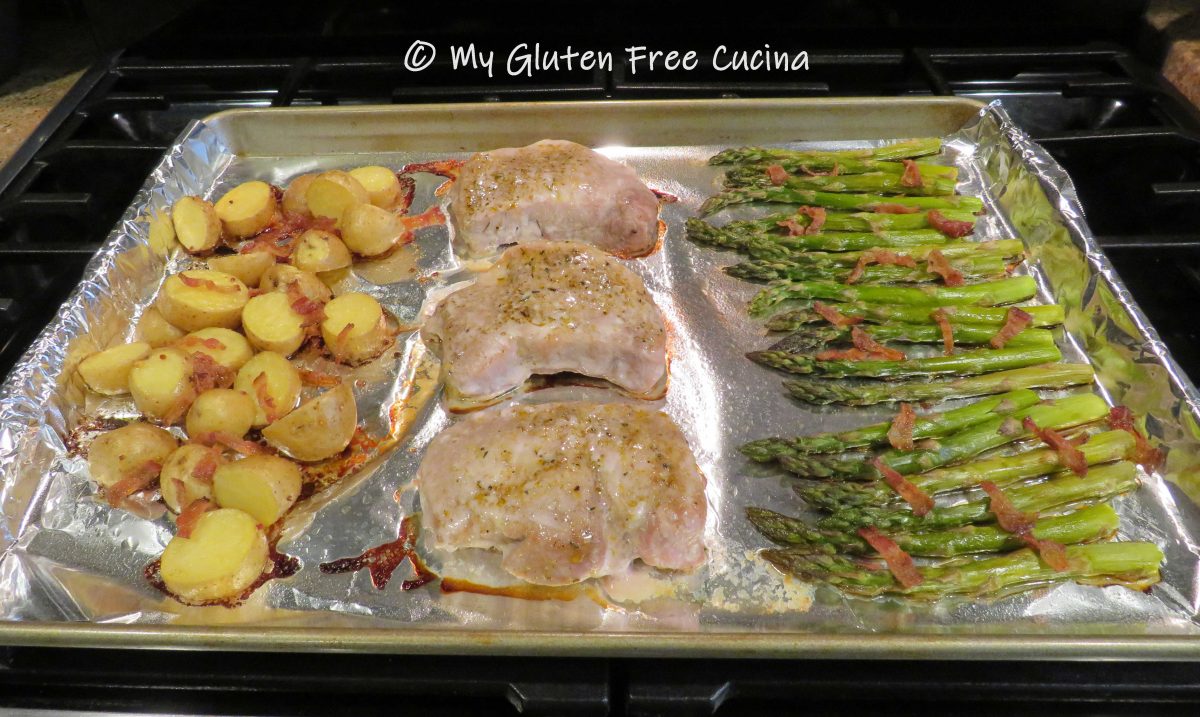
Easy, delicious and only one pan to clean?  Yes please!  Juicy pork chops, tender potatoes and asparagus spears all perfectly seasoned and baked in a sheet pan.  Both the cook and the dishwasher are sure to love this one dish meal!  You can change up the seasonings to suit your taste or just use salt and pepper.  I had a little leftover bacon from another meal, and it really made the veggies pop!

3 servings

This post contains affiliate links.

Ingredients:

Preparation:

Line a half sheet pan with foil and mist with cooking spray.  Preheat the oven to 350º.

For the potatoes

I used yellow marble potatoes because of their quick cook time.  If using russet potatoes, you may need to give them a 10-minute head start in the oven or microwave for a few minutes before baking.  Rinse the potatoes and cut them into even size pieces.  In a small bowl, toss them with olive oil and seasoning.  I like a garlic pepper seasoning like this one from Nashville Spice Co.  Spread the potatoes evenly on the right side of the pan and top with 1 strip of chopped bacon.

For the pork chops

Pat the pork chops dry with paper towels, then brush both sides with olive oil.  Sprinkle with seasoning and lay them out in the center of the pan.  Try a barbeque seasoning like this one, with hints of maple flavoring that picks up on the bacon in the veggies.

For the asparagus

Cut the bottom 3″ off the asparagus and discard.  Rinse and spread the spears out on the left side of the pan, drizzle with olive oil and top with remaining strip of chopped bacon.  Try a bold seasoning blend like this one, it’s not just for steak!

Bake for 40 minutes at 350º.  Potatoes should be fork-tender, and pork chops should reach an internal temperature of 145º.  Bring to the table right in the pan for casual dining and easy cleanup!

Notes ♪♫ I can be quite the spice snob at times.  Lately I’ve been using Nashville Spice Co products in my recipes.  They have an amazing variety of spice blends and seasonings that are gluten free, and the company is committed to the clear labelling of allergens and gluten containing ingredients.  They also offer salt free seasoning blends on their website.  I used their Pepper Roasted Garlic, Bourbon Maple Hops, and Montreal Steak Spice in this recipe.

Print This Post Print This Post

Gluten Free Air Fryer Fish and Chips

I haven’t had Fish and Chips in over 5 years!  The last time was long before my Celiac diagnosis, and even back then I didn’t order it often, because of how miserable I would feel afterward.  At the time I just thought that fried food didn’t agree with me.  Who knew?

Today, along with being gluten free, I still avoid fried food.  So, I never imagined I would be enjoying Fish and Chips again.

But never say never…

Enter the air fryer.

I’ve had my air fryer for just a few months now (best gift ever!) and have been obsessed with making fries, practicing over and over until I got the cook time and temperature just right.  In my air fryer, 25 minutes at 400º seems to be the sweet spot.  The size of the potato, thickness of the fries, and other food being cooked at the same time will all affect the results.  The fries need to be spread out evenly with plenty of space to get crispy on the outside.

Once I got my fries perfected, Fish and Chips just seemed like the next challenge.  After looking at a few traditional recipes I was able to make a gluten free version and it came out so good!  For the breading, do not use all-purpose gluten free flour.  Most of these flour blends are formulated for baking and contain starches and gums that can make your breading soggy.  In this recipe I used Bob’s Red Mill white rice flour and Gillian’s original gluten free breadcrumbs.  Rice flour is far less expensive than all purpose and gets the job done.

Dinner for two

This post contains affiliate links.

Ingredients:

For the Fish:
For the Chips:

Preparation:

I used a russet potato and left the skin on for better texture and nutrition.  Wash the potato and dry completely.  Slice into 1/3″ rounds, then cut into 1/2″ pieces.

Toss with 1 tbsp. olive oil, seasoned salt and a sprinkle of paprika.

Preheat the air fryer for 5 minutes at 400º.  Mist 2 trays with cooking spray and divide the potatoes between the two.  I found that using 2 trays gives a better result, as the potatoes can be spread farther apart in an even layer.  Place trays on the top 2 shelves of the air fryer and set it for 25 minutes at 400º.

While the chips are getting started prepare the fish.  You want a thick, firm white fish for this recipe.  Cod or haddock are the usual choices but today I got this beautiful Sablefish on sale.

Set up 3 breading trays with the rice flour, beaten egg + water, and breadcrumbs.  Season each with Old Bay.

Cut the fish into 4 pieces and remove the skin with a sharp knife.

Spray the air fryer tray with cooking spray.  Dip each piece of fish in the flour, then into the egg, shaking off the excess.  Next roll in the breadcrumbs and place on the rack.  Repeat with all 4 pieces.

When the fries have cooked for 10 minutes turn them over and move the trays to the bottom 2 racks.  Mist the fish lightly with cooking spray and place it on the top rack.

Continue cooking 15 minutes longer, turning the fish halfway through.  When you turn the fish over, mist the top with cooking spray.   Keep an eye on the fries and watch that they don’t burn.

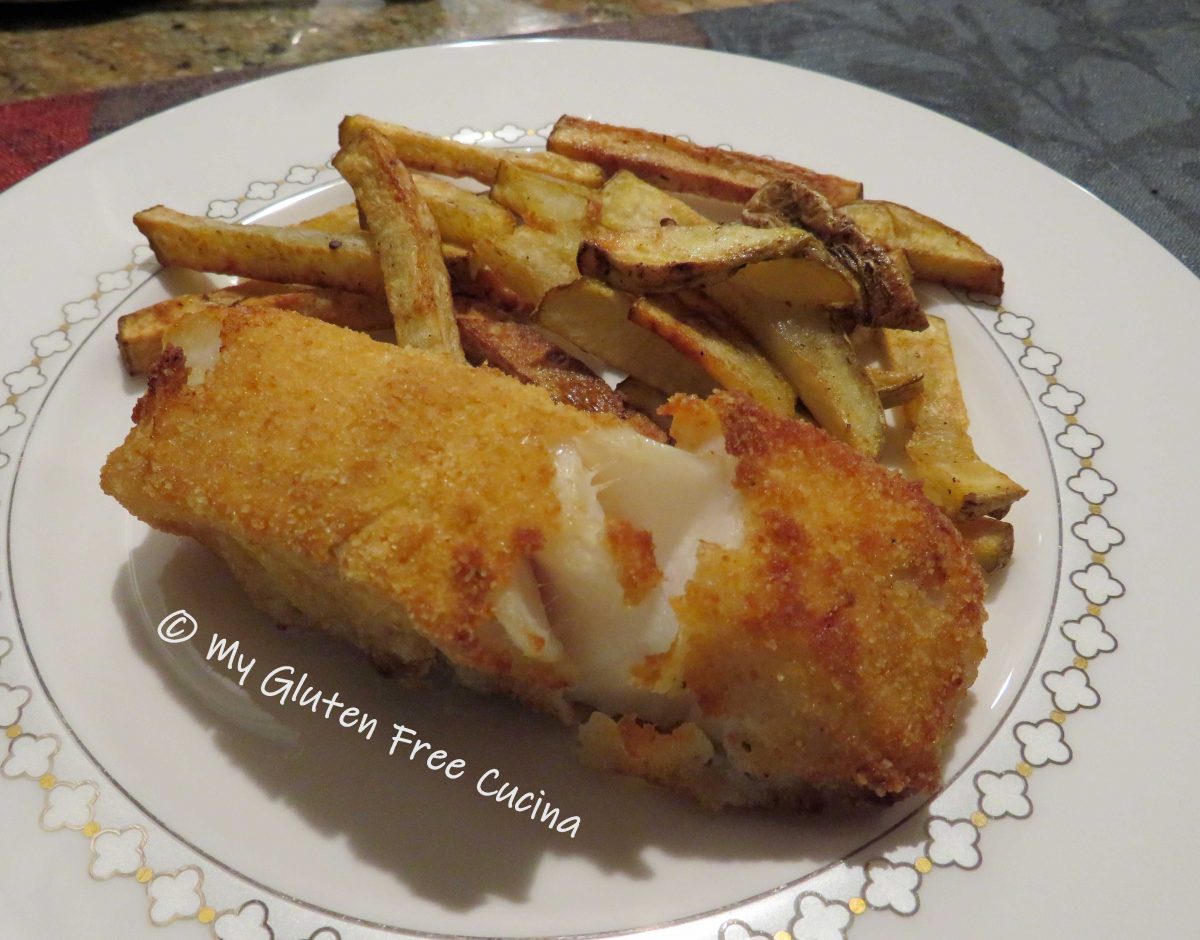
The fries (or chips) are perfect.  I mean, just look at them!

And here is the fish.  Light and crispy on the outside, moist and flaky on the inside.

The sablefish was amazing, I don’t know if I’ll be able to find it again at a reasonable price, but I will be on the lookout.  As mentioned before, this recipe will most certainly work with cod or any firm, white fish.

This was one of my favorite air fryer meals to date.  I will be making it over and over again!

Notes ♪♫ All air fryers are different.  Cook times given in this post are what works for me and should be used as a guide.  My air fryer is a shelf style (oven style with shelves and rotisserie).  If yours is a basket style, you will need to cook the fish and chips separately.  Cook the potatoes first as they take longer, and keep warm while you do the fish.  When the fish is ready you can reheat the fries for a minute or two.

Print This Post Print This Post