
When I was a kid growing up in the 1960’s, Icebox Cake was a summer staple. With no air conditioning, this refreshingly cold dessert was a welcome treat.
Today, the Ice Box Cake that my mom would make during those hot summer months seems to be making a comeback, with several posts coming into my feed just this week with the familiar layers of pudding and graham crackers.
For me, this is a nostalgic childhood memory. For my mom, it was a convenience recipe, as it consisted of only 3 ingredients.
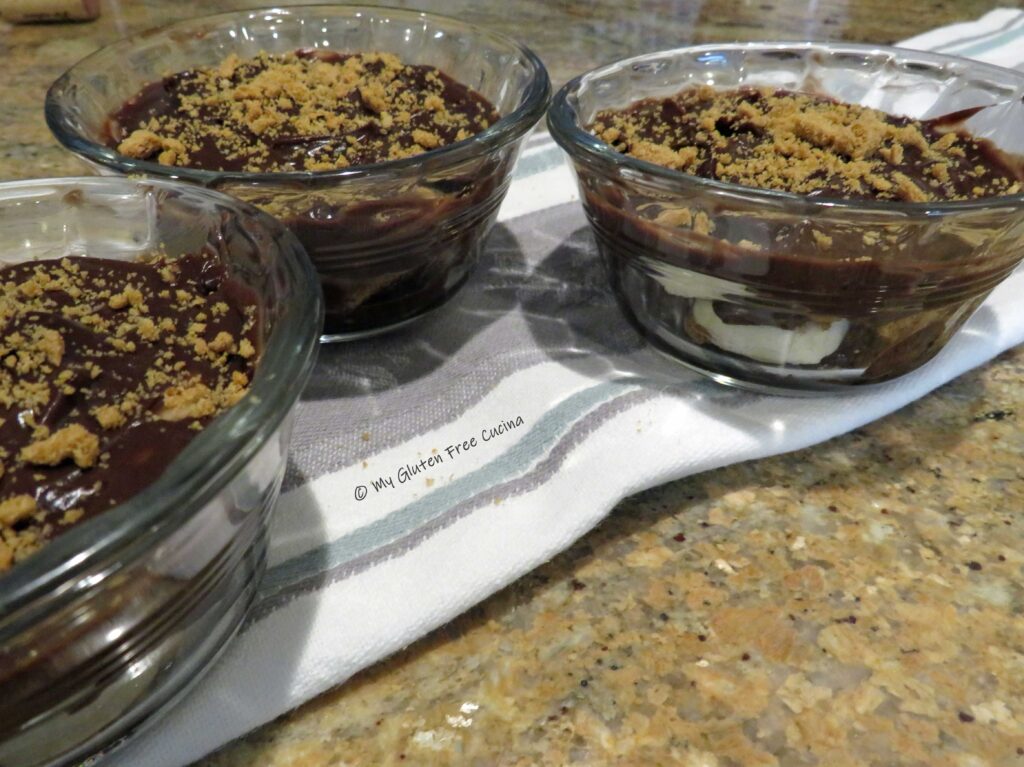 A layer of graham crackers, topped with thin slices of banana and a layer of chocolate pudding. The layering repeated to fill an 11 x 17″ Pyrex dish. After the final layer of pudding, she crumbled a few Graham crackers over the top to finish it off. Then into the refrigerator it went to chill for dinner. No baking!
There are times when I still reminisce about that dessert during the summer months and wanted to create something like it. Here it is, unbelievably easy and completely gluten free.
 This post contains affiliate links.
Did I say EASY? With the availability of gluten free graham crackers and ready-made pudding (something mom didn’t have back in the sixties!) this dessert is a no brainer. Yes, you could make the crackers and pudding from scratch, but today I’m going with convenience!
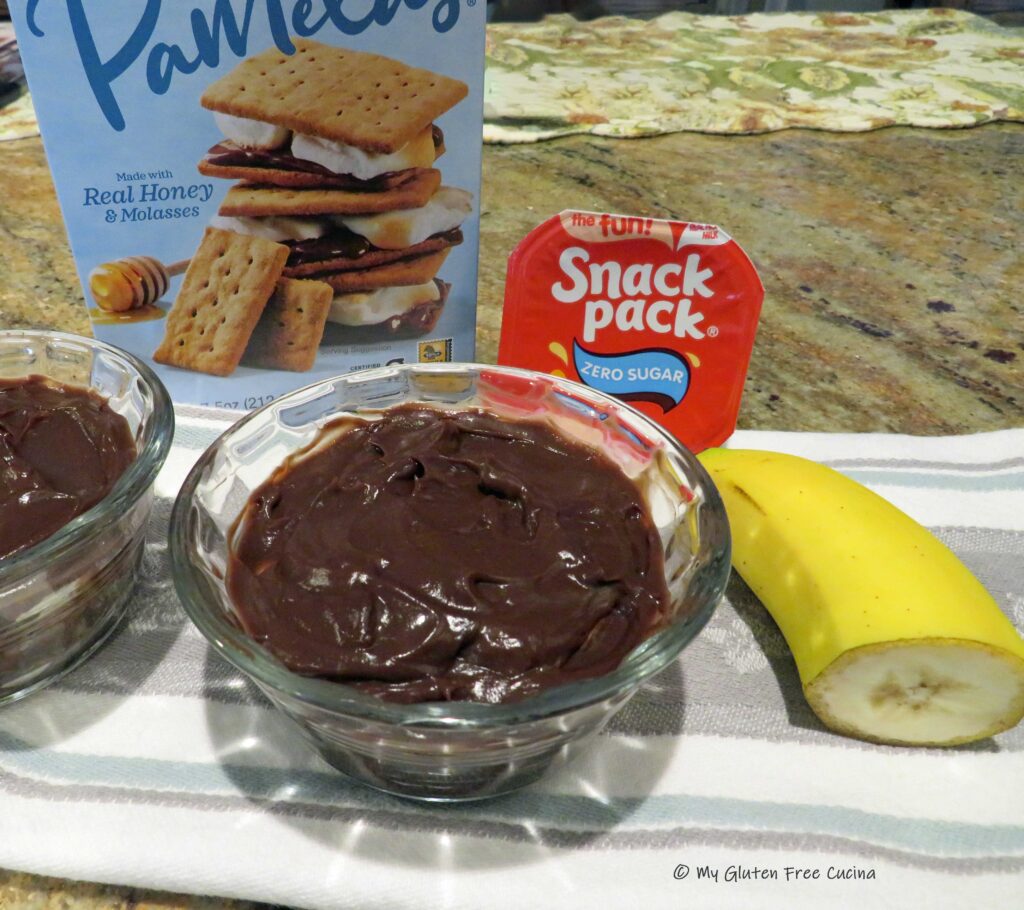
For the sake of portion control, I converted my mom’s recipe to single servings and in keeping with the nostalgic feel of this recipe, I used Pyrex glass custard cups. You can make one serving or a dozen!
Ingredients:
- gluten free graham crackers (I used Pamela’s)
- firm ripe banana
- gluten free chocolate pudding cups
Preparation:
Into each small bowl or ramekin, spread a layer of pudding, followed by a layer of graham crackers (break up the crackers to fit), and a layer of banana slices.
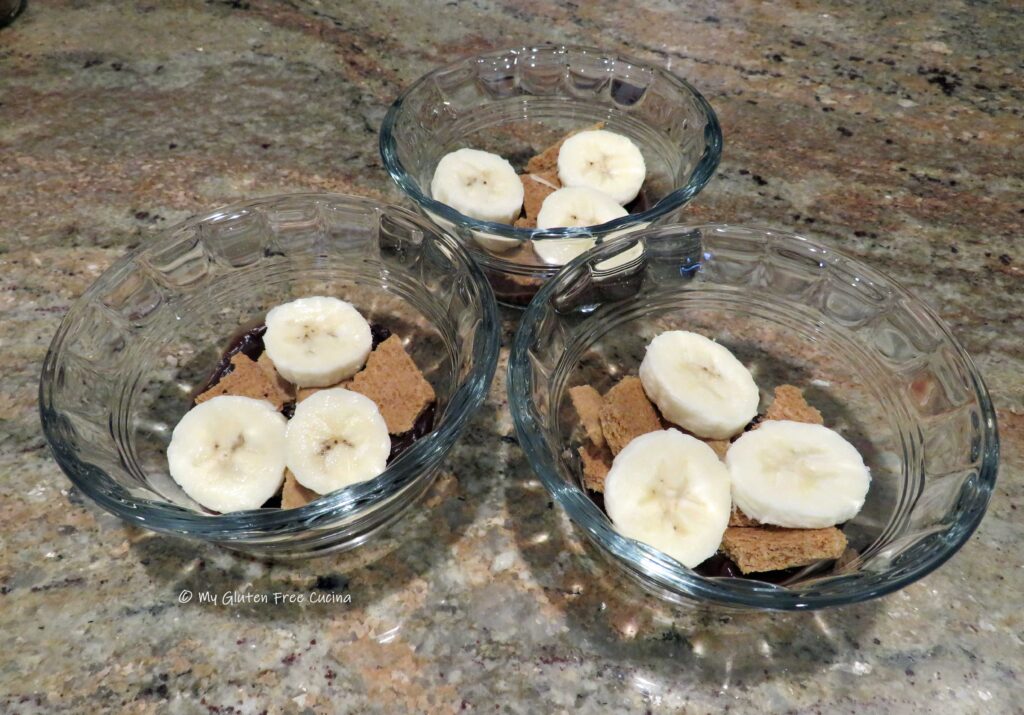 Repeat the layers, ending with a layer of chocolate. Crumble a few cracker crumbs over the top. Chill for at least 8 hours or make it the day before so that the crackers have time to soften up.
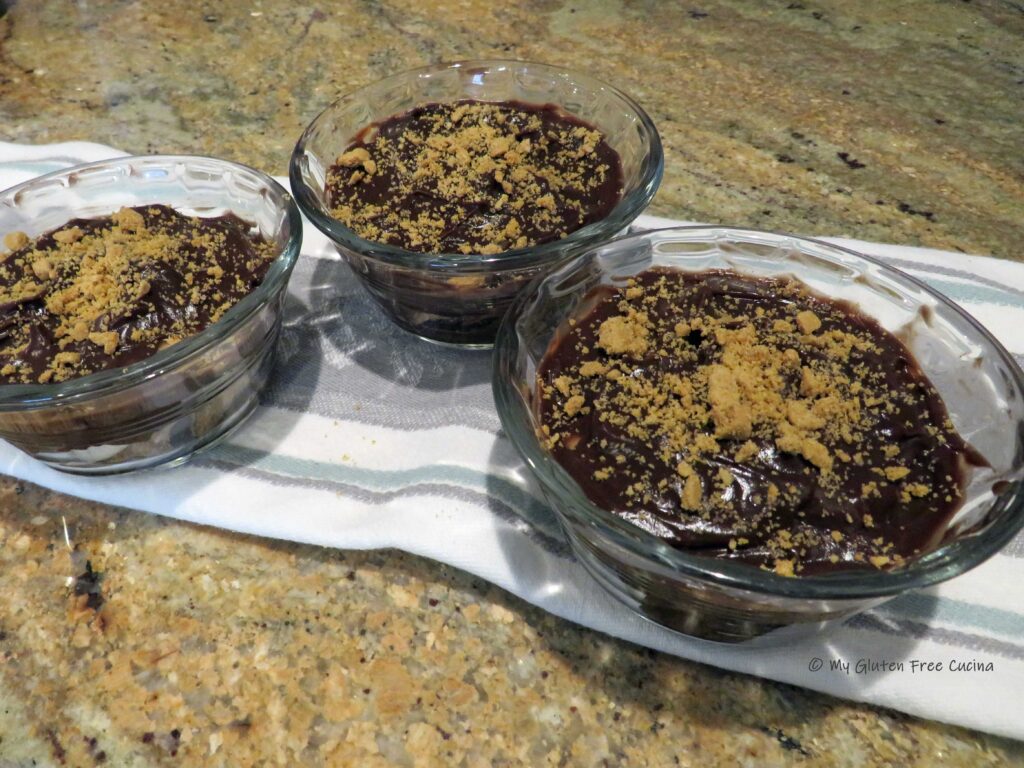
What do you say? Take a walk down memory lane with this easy recipe and if you have never had Ice Box Cake before, now’s your chance to try it!
Notes ♪♫ I used sugar free chocolate pudding in this recipe. You can change it up with any gluten free pudding you like.

Individual Icebox Cakes
- Category: Dessert
- Diet: Gluten-Free
Description
When I was a kid growing up in the 1960’s, Icebox Cake was a summer staple.
Ingredients
- gluten free graham crackers (I used Pamela's)
- firm ripe banana
- gluten free chocolate pudding cups
Instructions
Into each small bowl or ramekin, spread a layer of pudding, followed by a layer of graham crackers (break up the crackers to fit), and a layer of banana slices.
Repeat the layers, ending with a layer of chocolate. Crumble a few cracker crumbs over the top. Chill for at least 8 hours or make it the day before so that the crackers have time to soften up.
Notes
I used sugar free chocolate pudding in this recipe. You can change it up with any gluten free pudding you like.
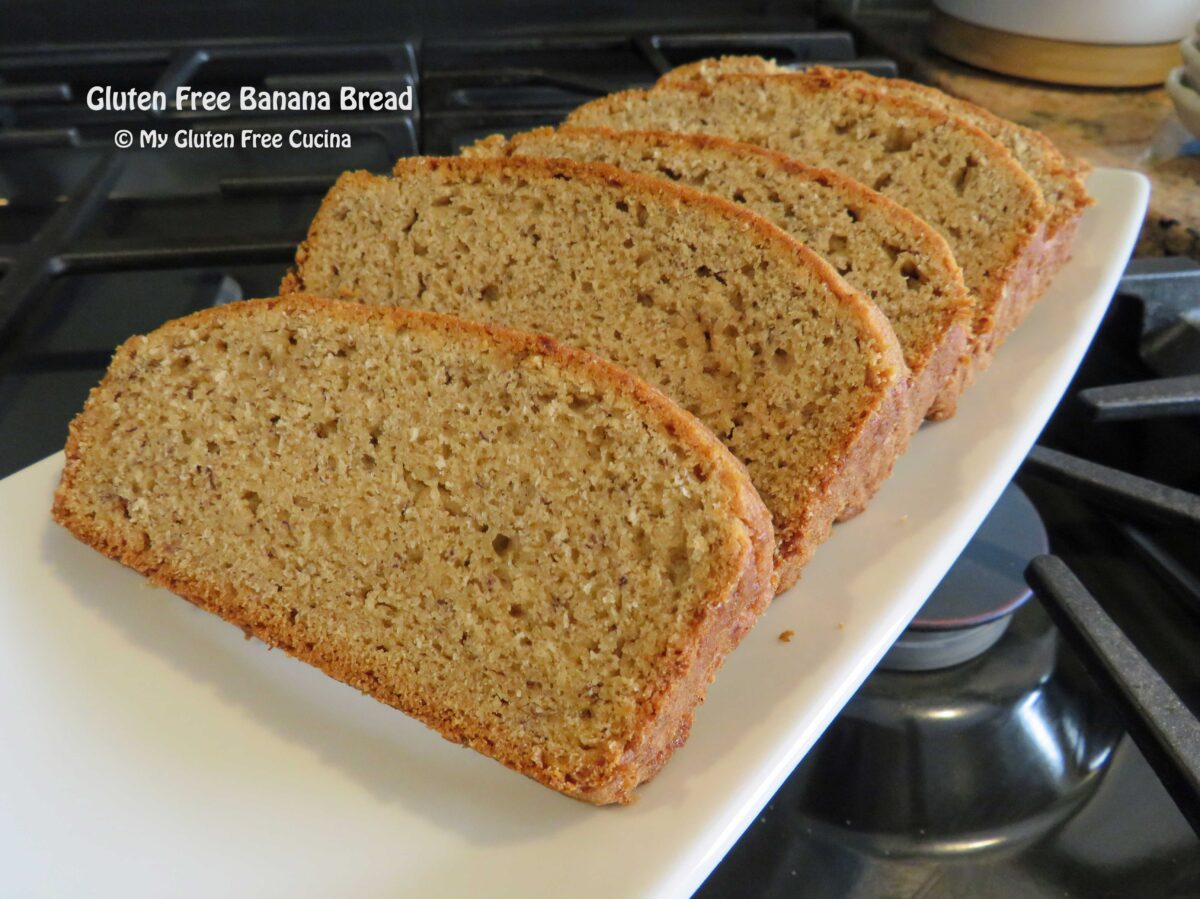
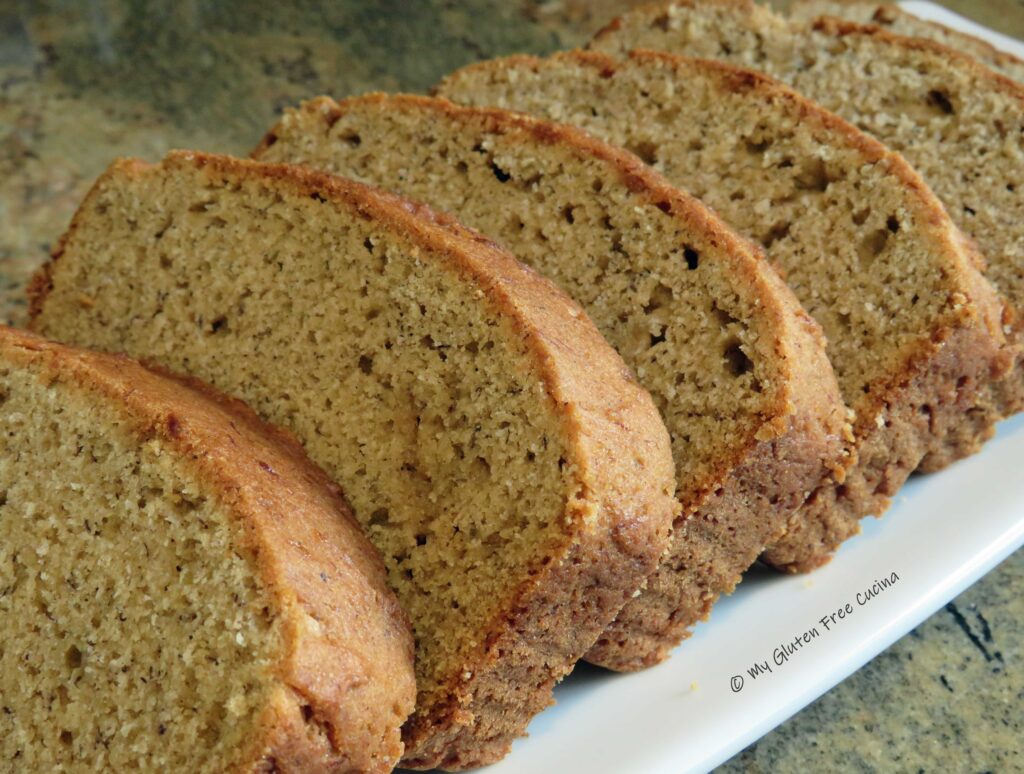
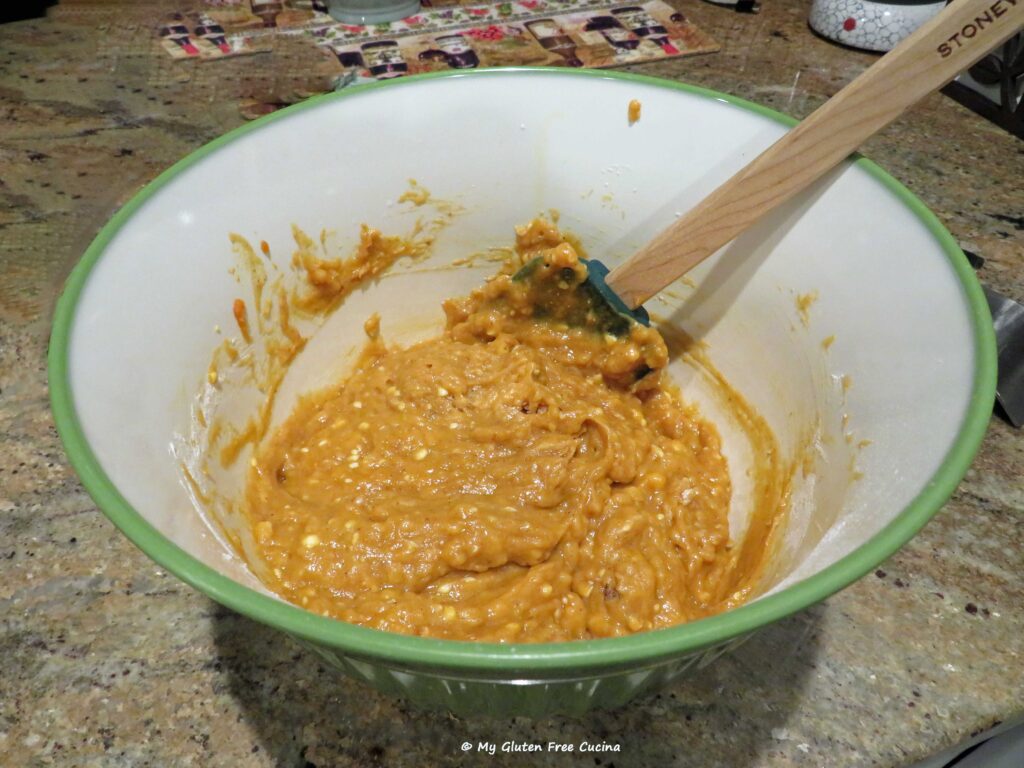
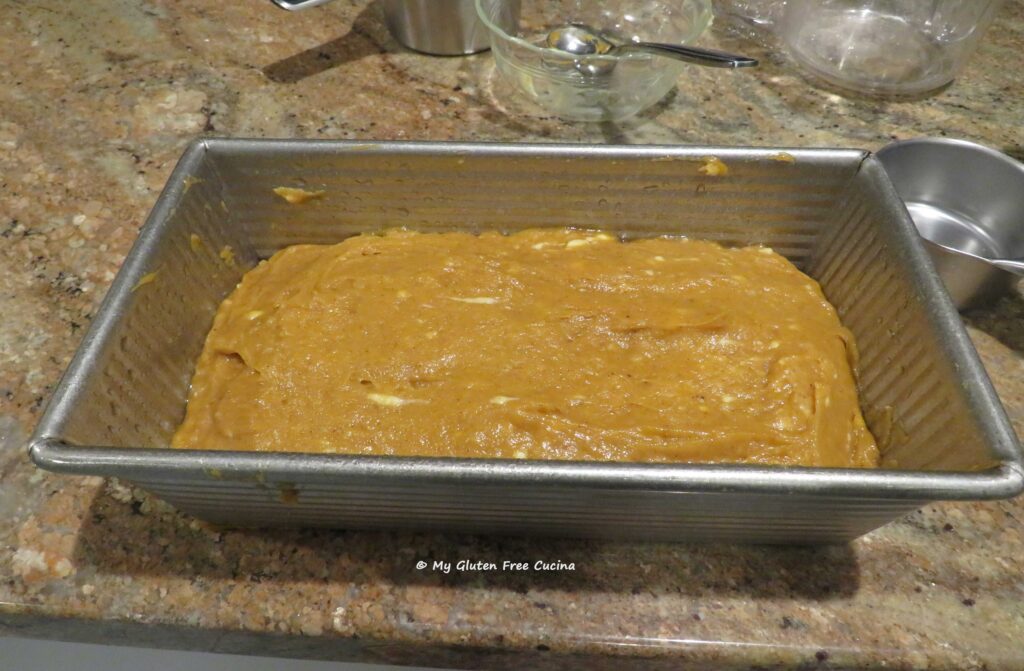
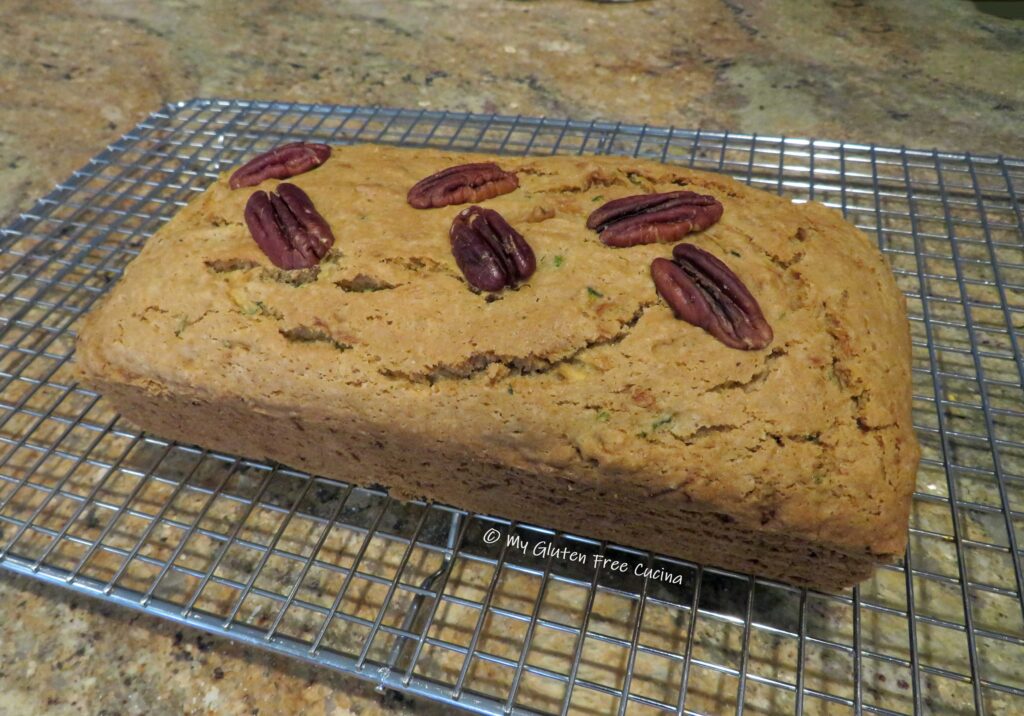
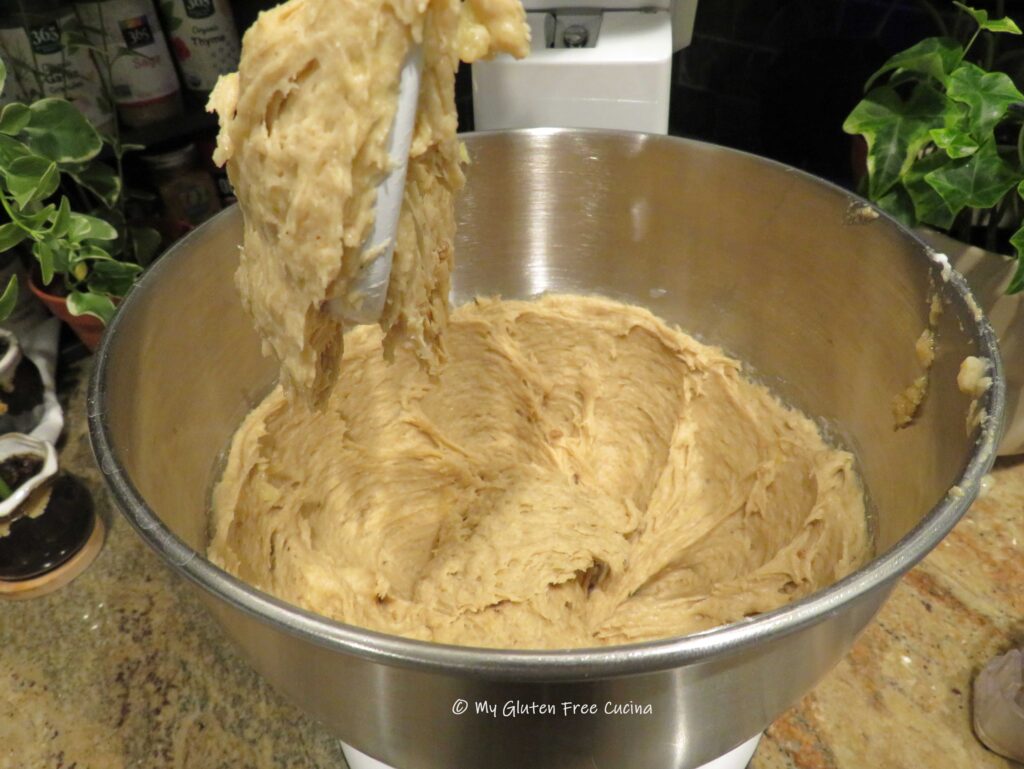 Transfer to the prepared loaf pan and use a wet spatula to smooth the top out.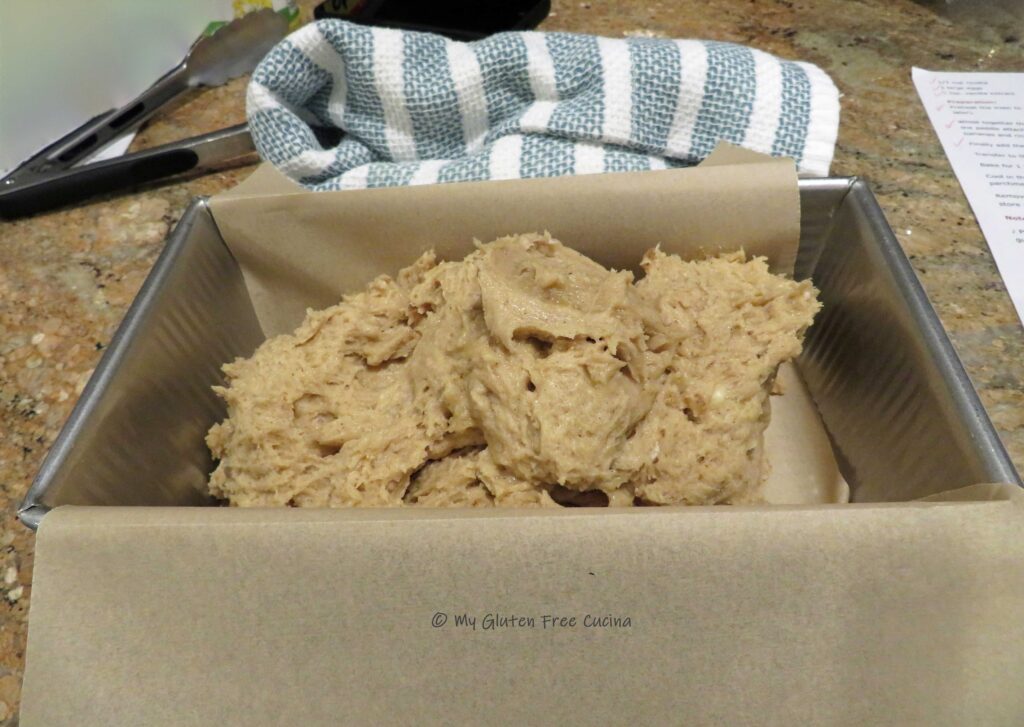
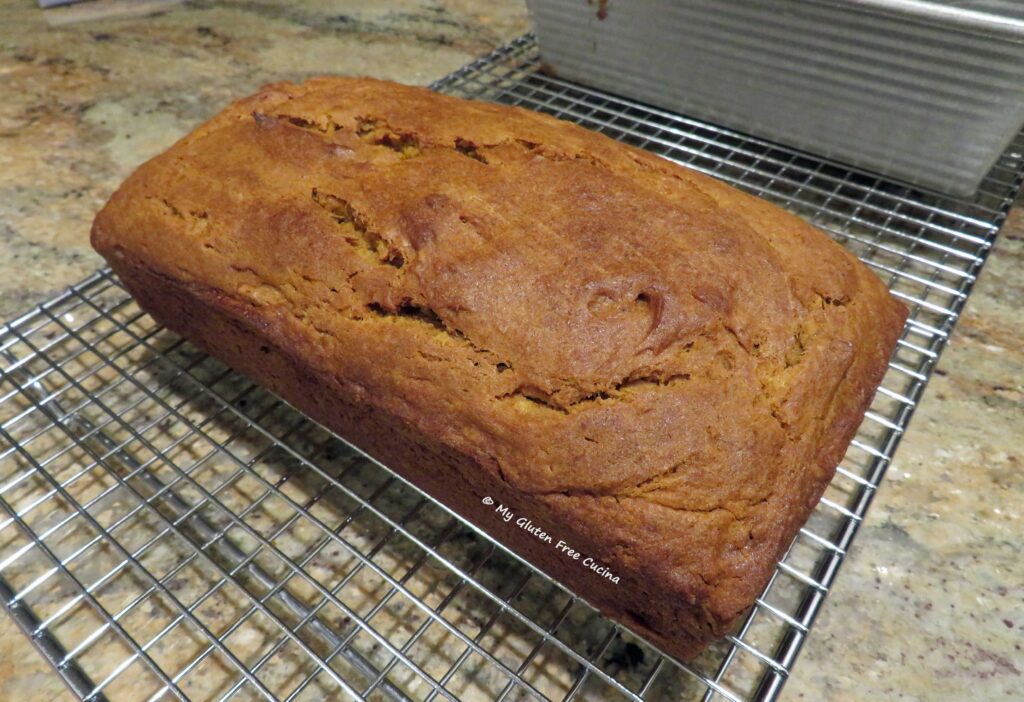
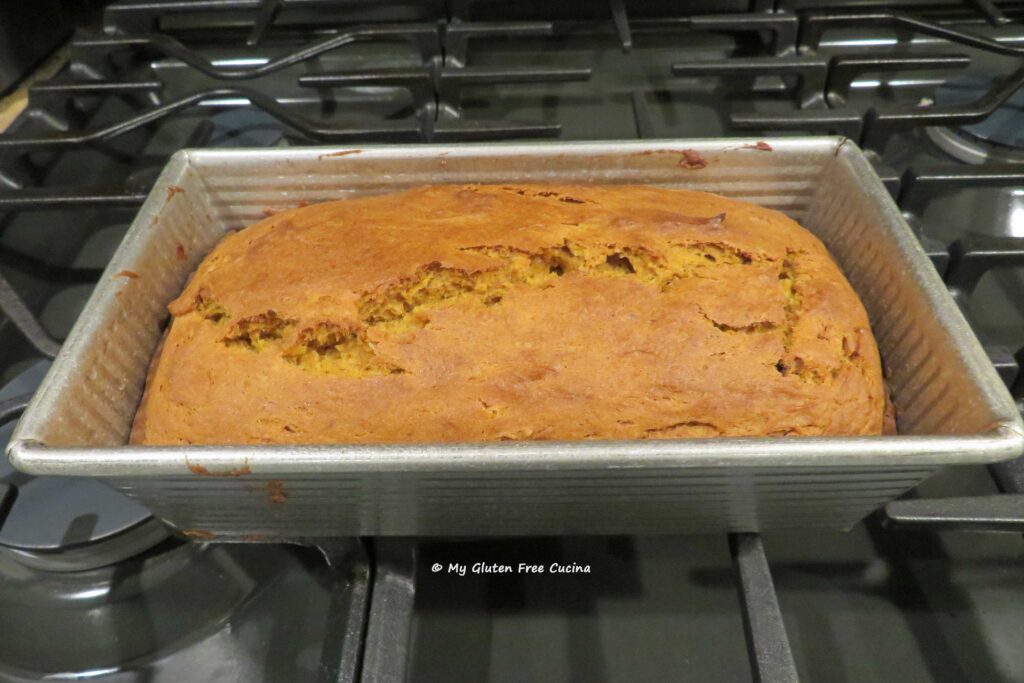
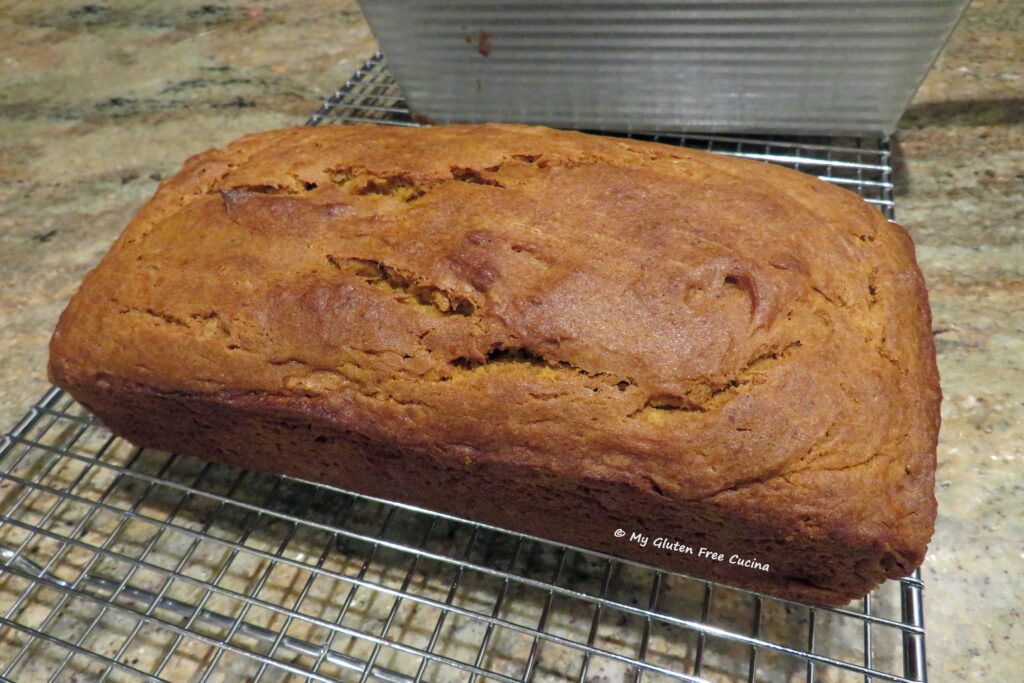
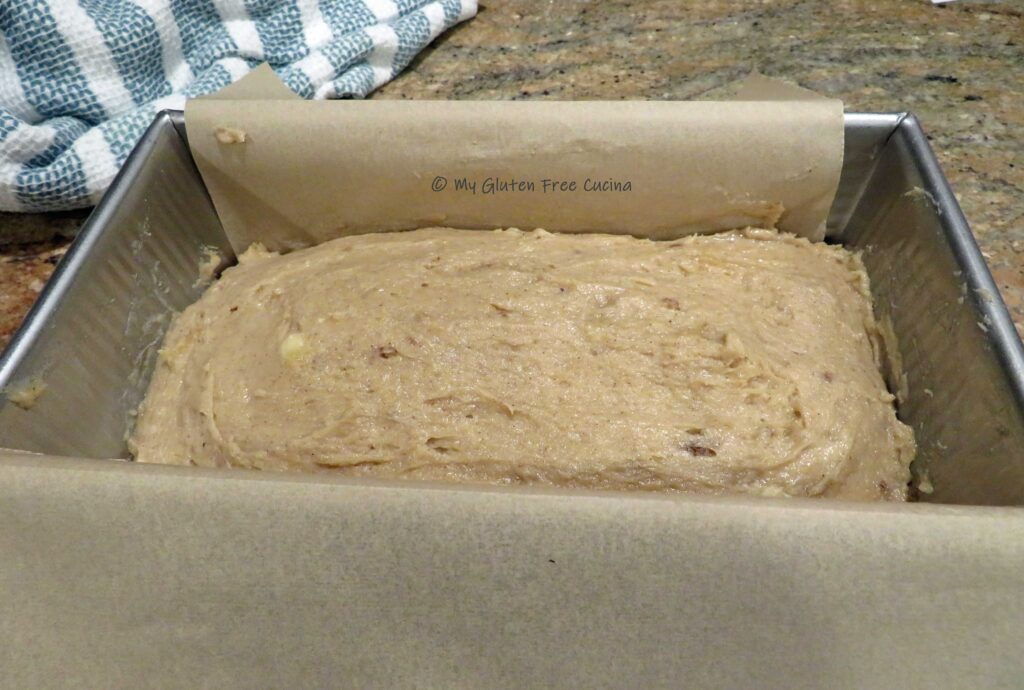 Bake for 1 hour and check the center with a toothpick. The top should be nice and golden brown.
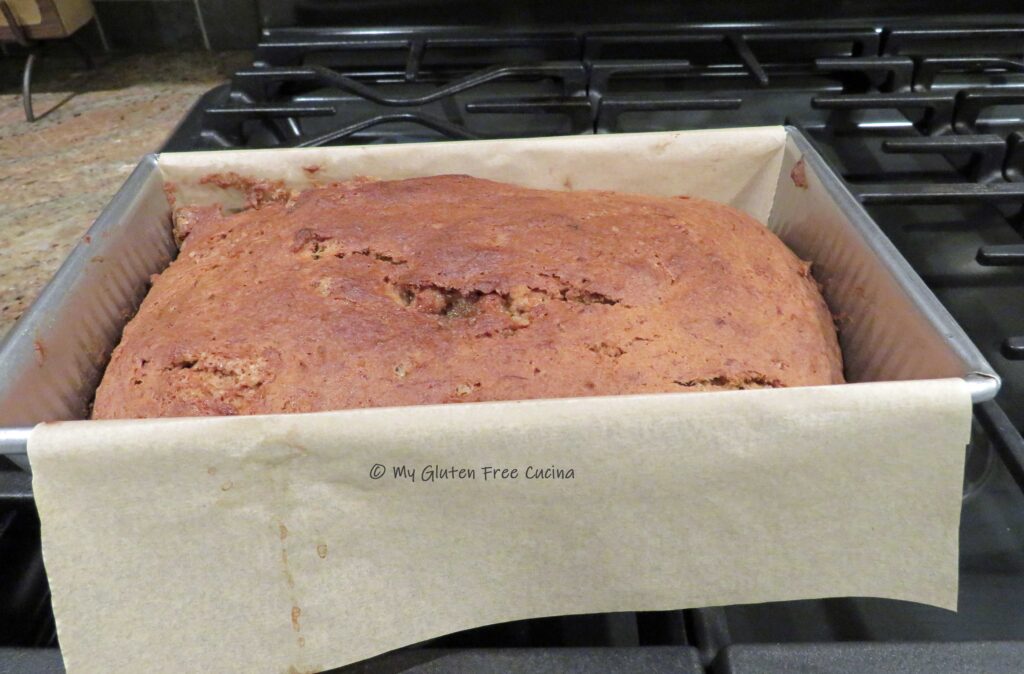 Cool in the pan for 10 minutes, then lift the loaf out of the pan by grasping both sides of the parchment paper (you’re welcome).
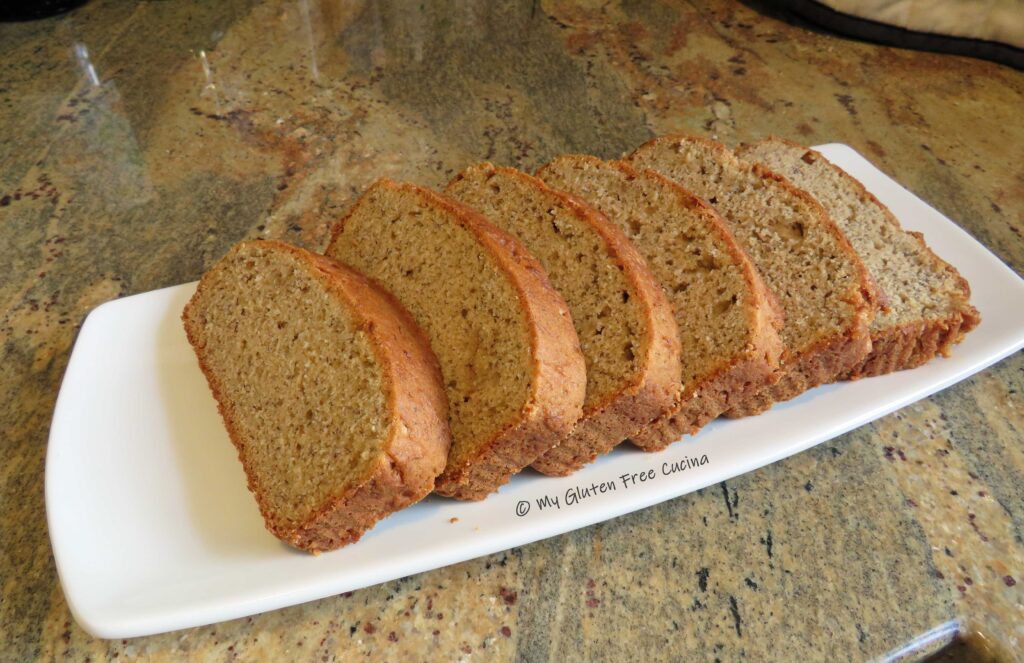
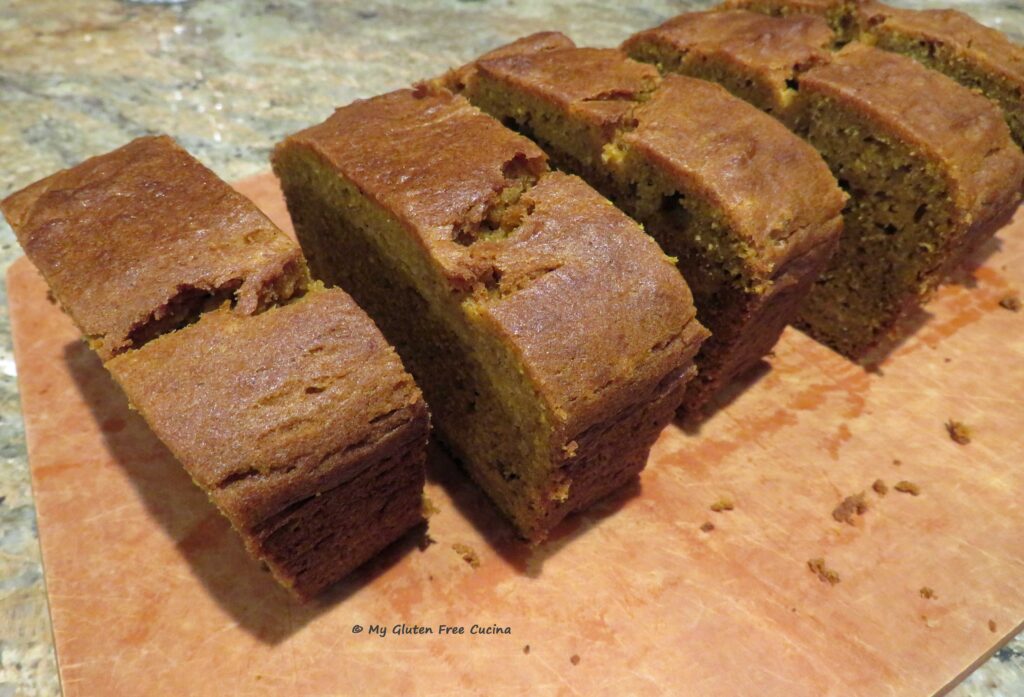
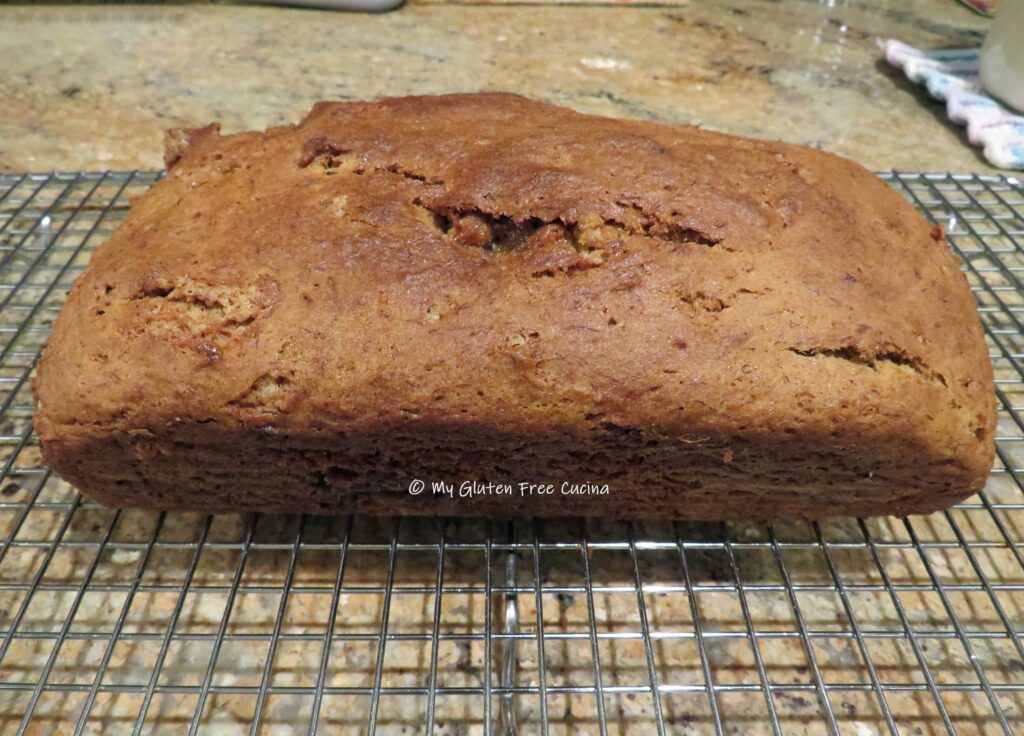 Remove the parchment and cool on a rack before slicing. Cover any leftovers in plastic wrap and store at room temperature for up to 3 days.
 Notes:

 Preparation: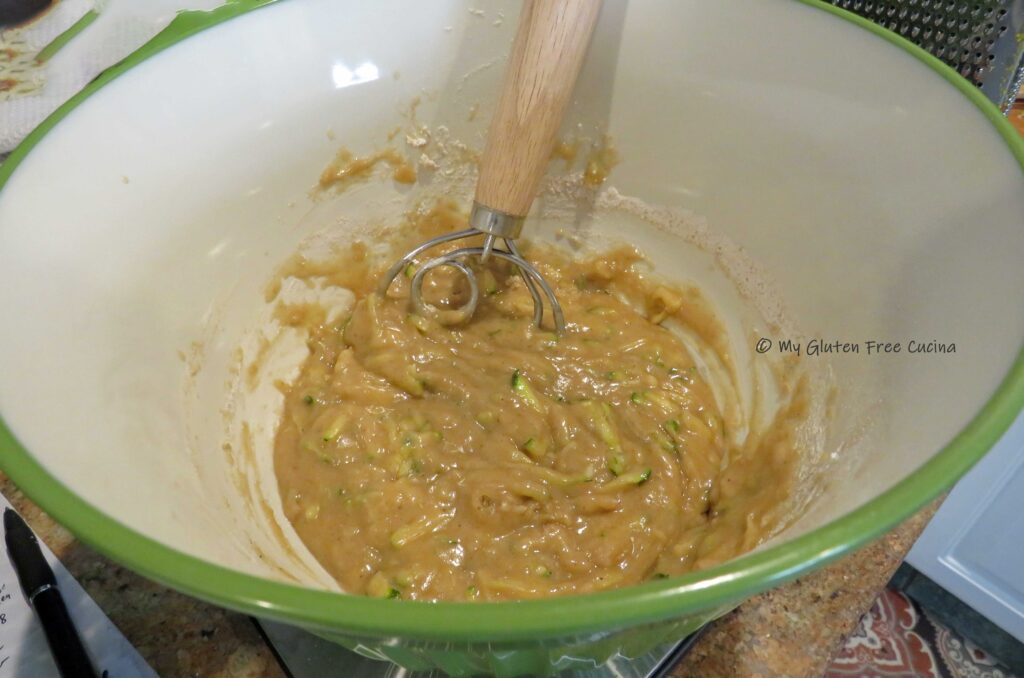
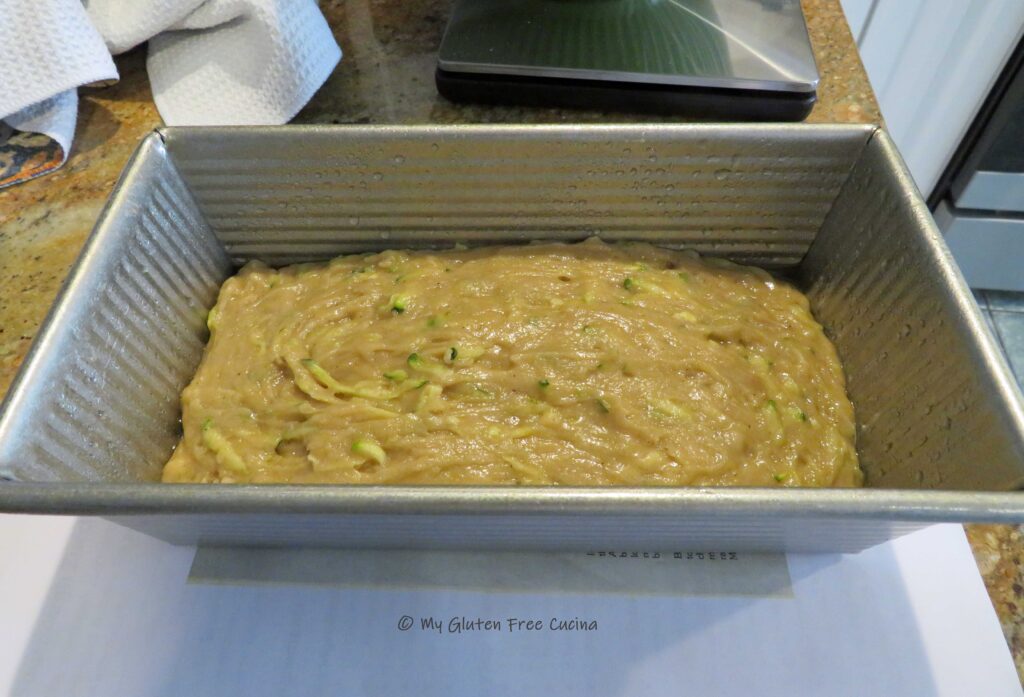
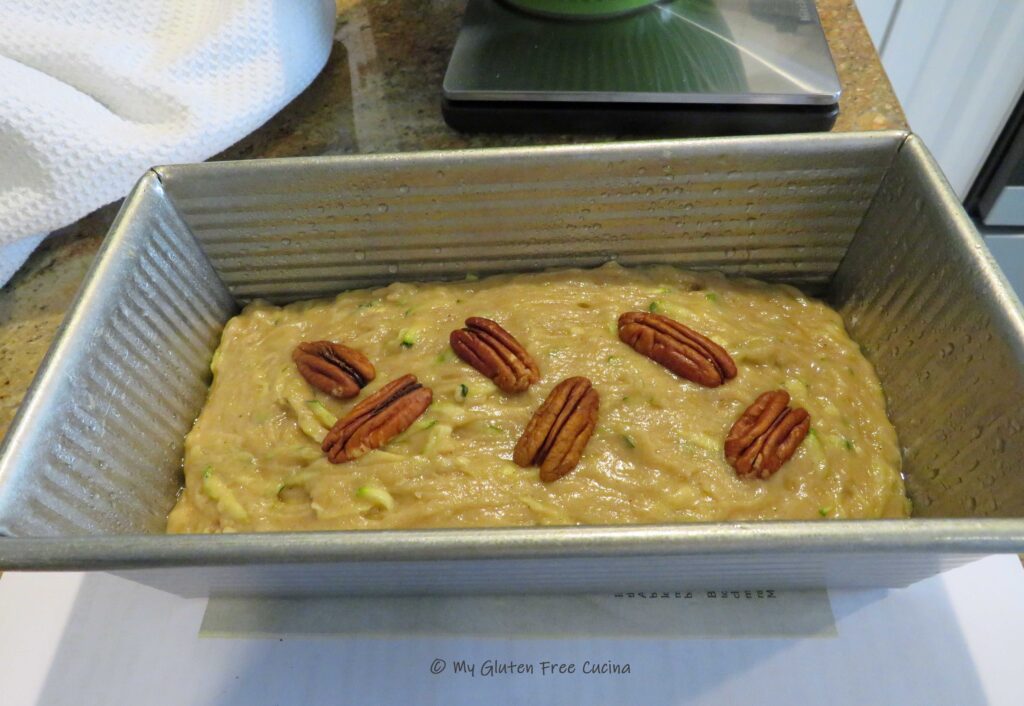
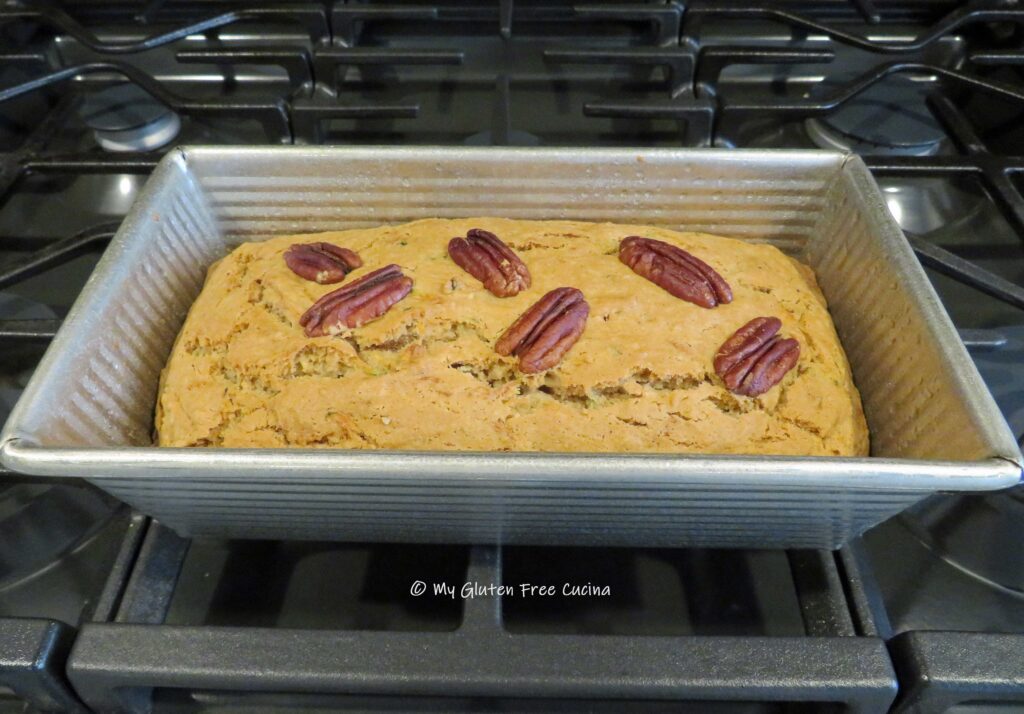
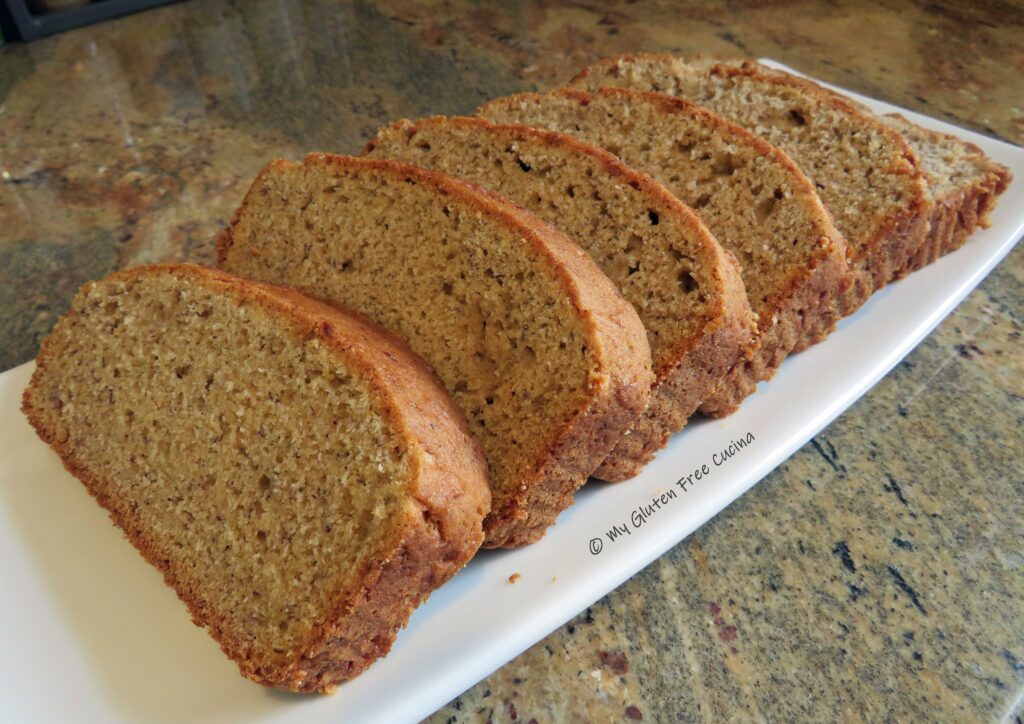
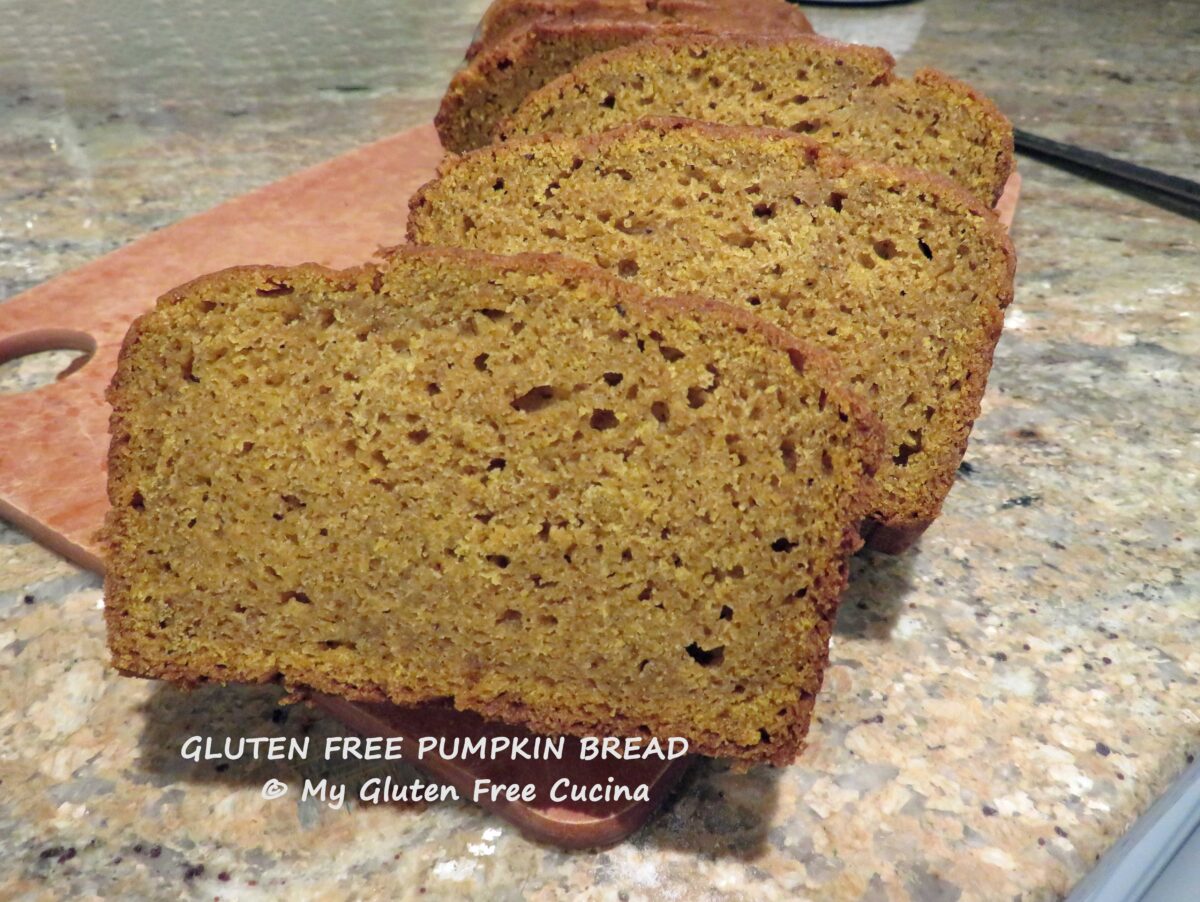
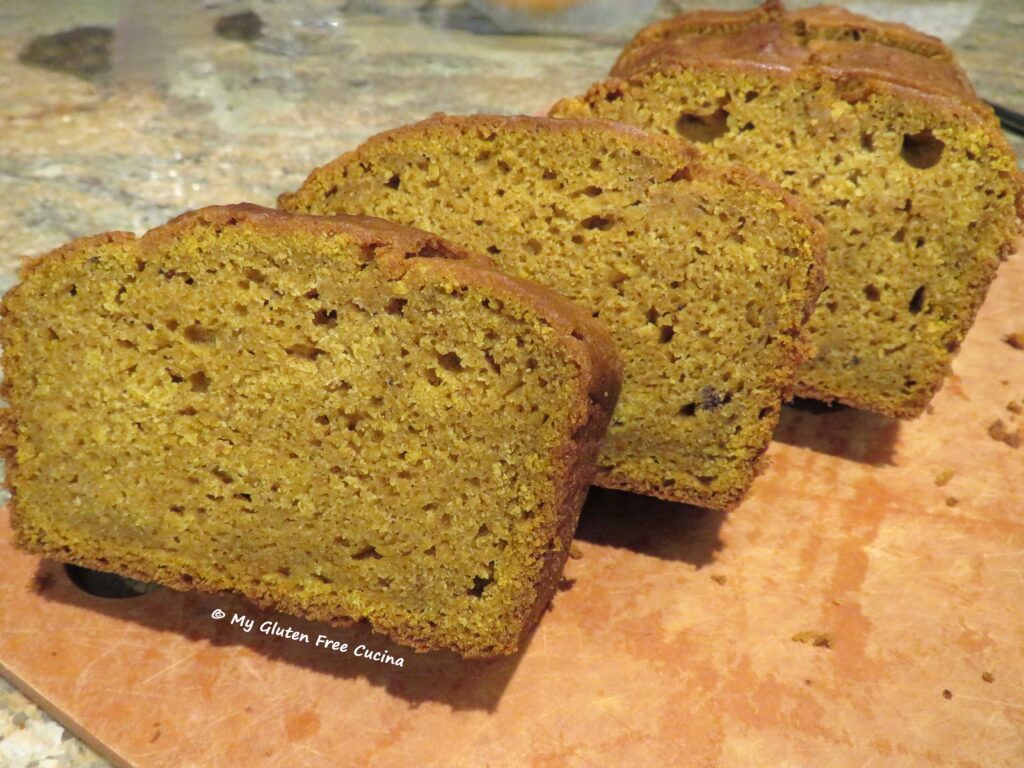
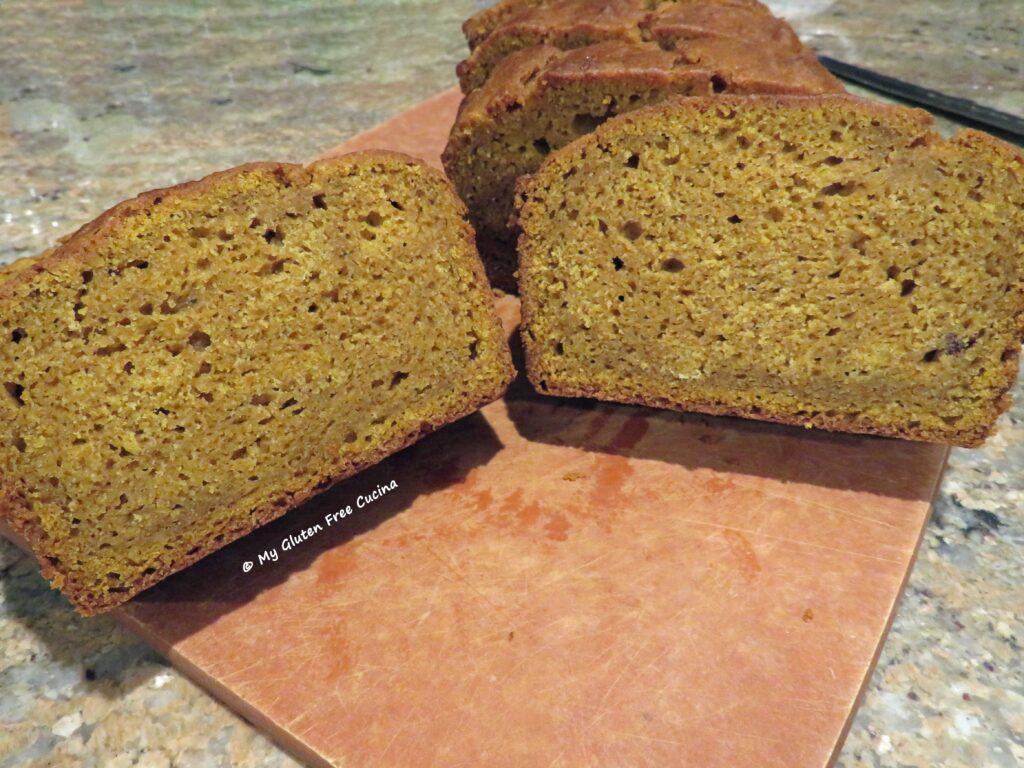
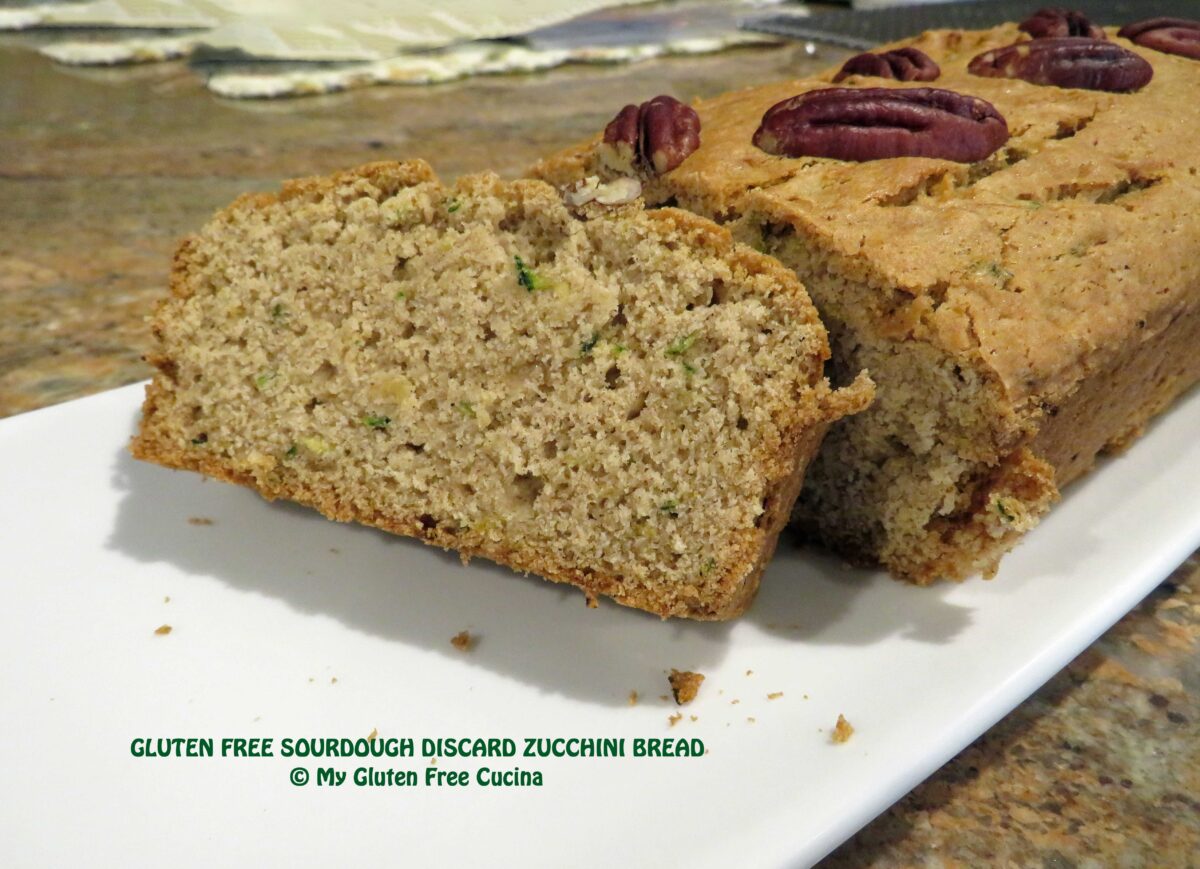
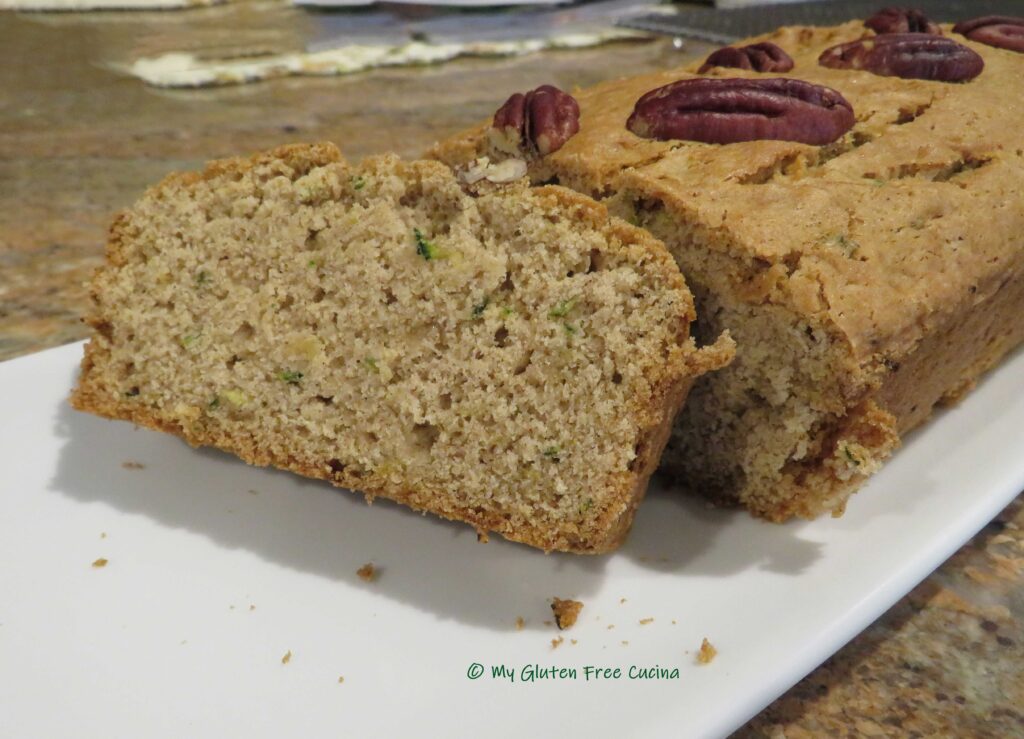
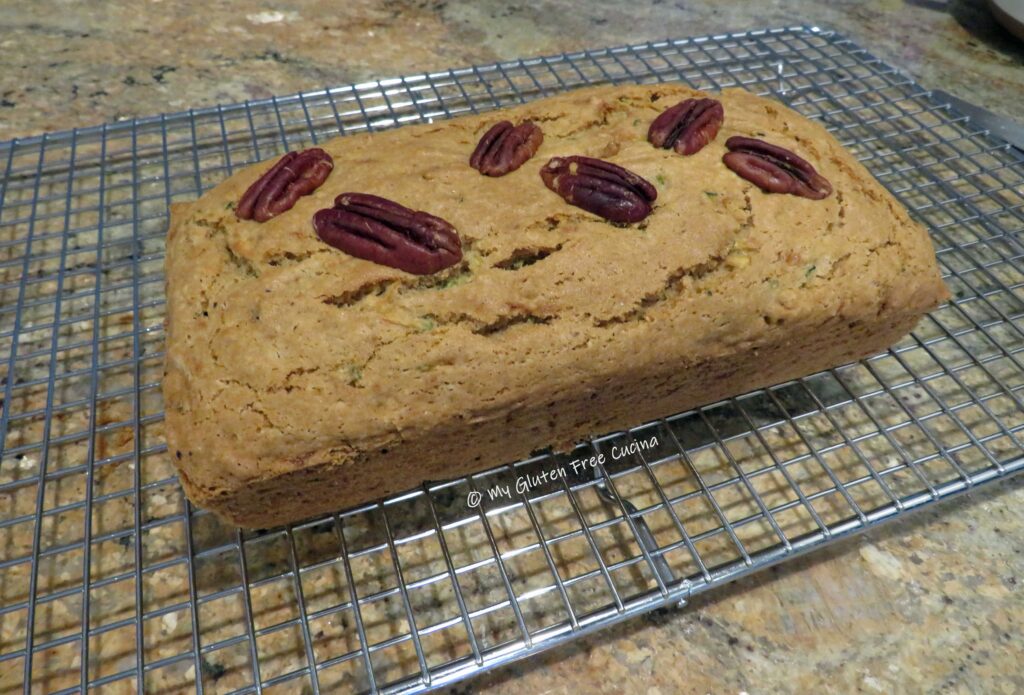 Check out the crumb, it came out so delicious and moist. Every bit the traditional zucchini bread, and you don’t really taste the sourdough.
 Leftovers can be stored at room temperature for a day. Beyond that, I recommend you wrap slices tightly in plastic wrap and freeze (store in a freezer safe bag).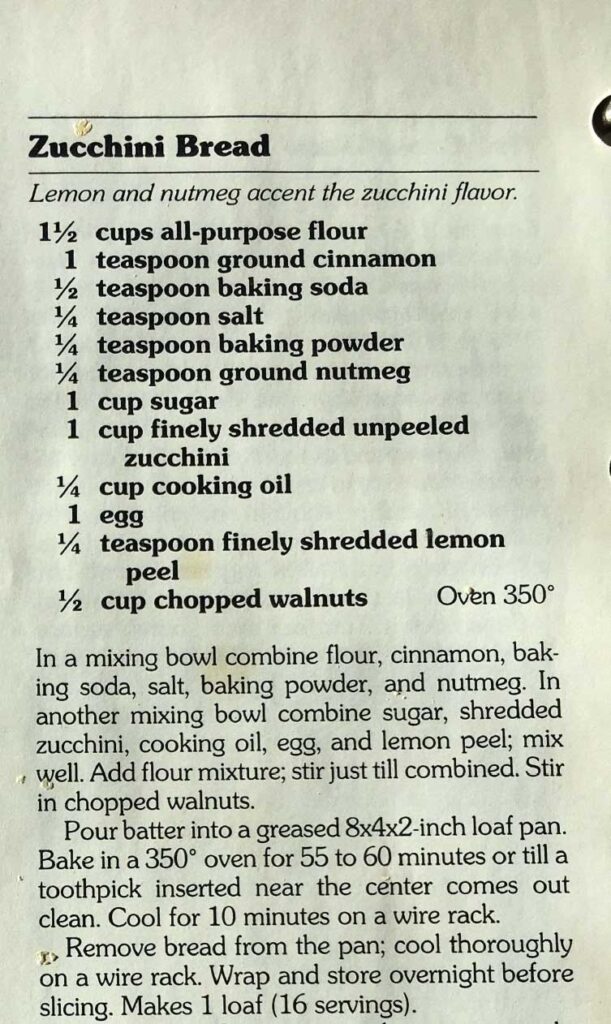

 Preparation: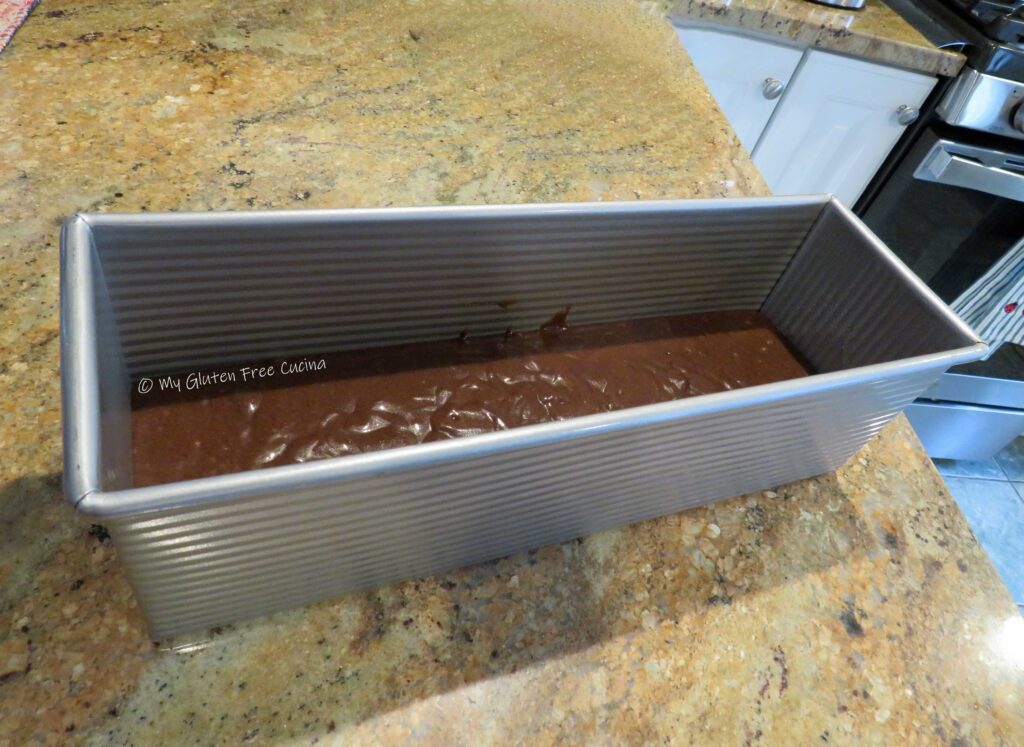
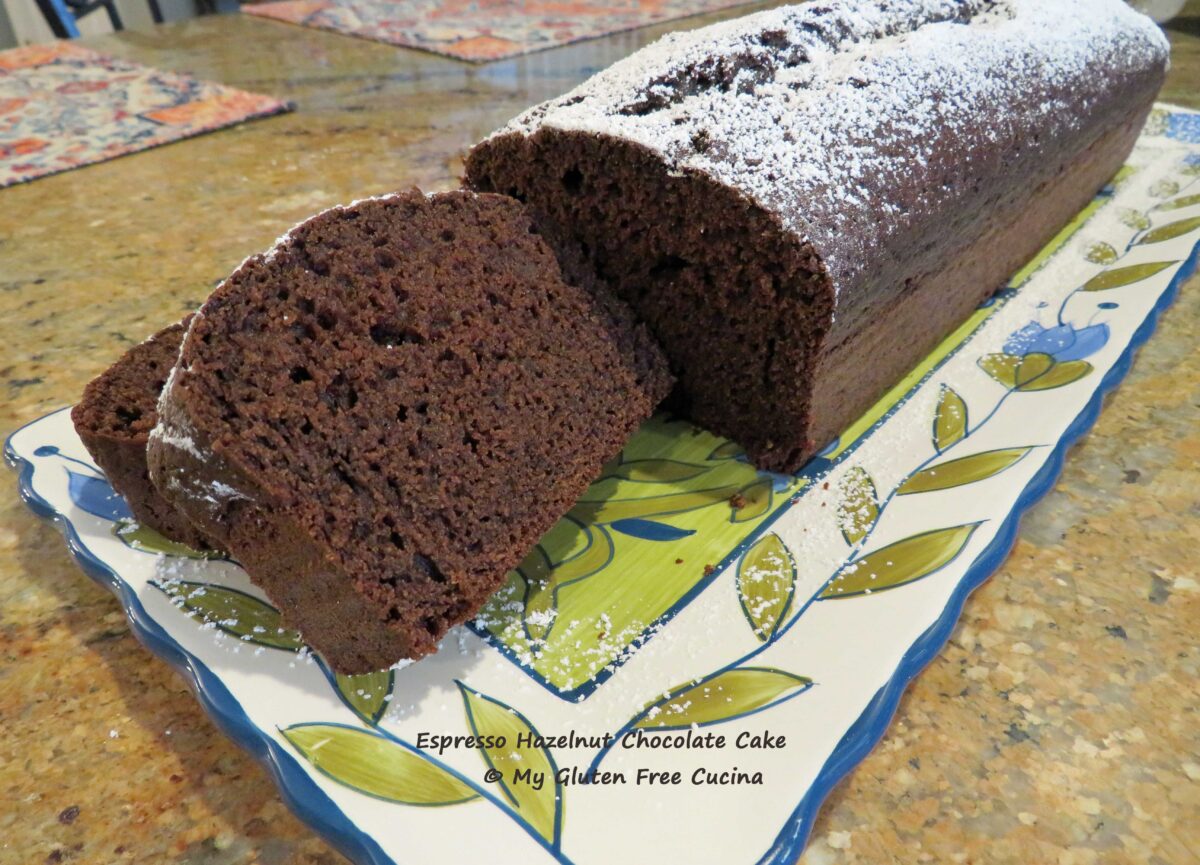
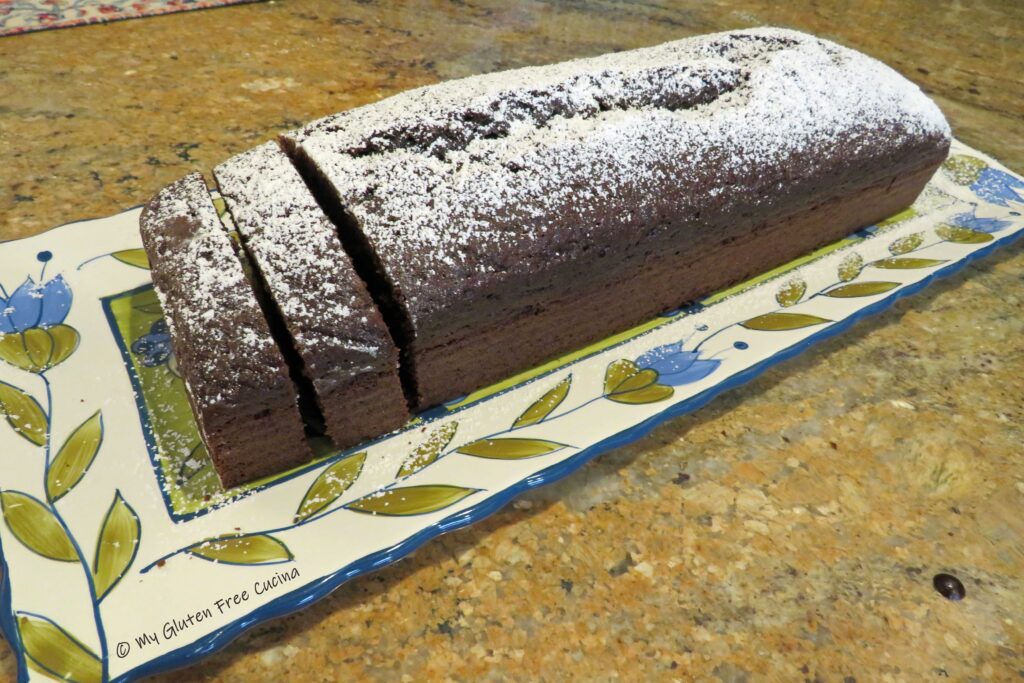
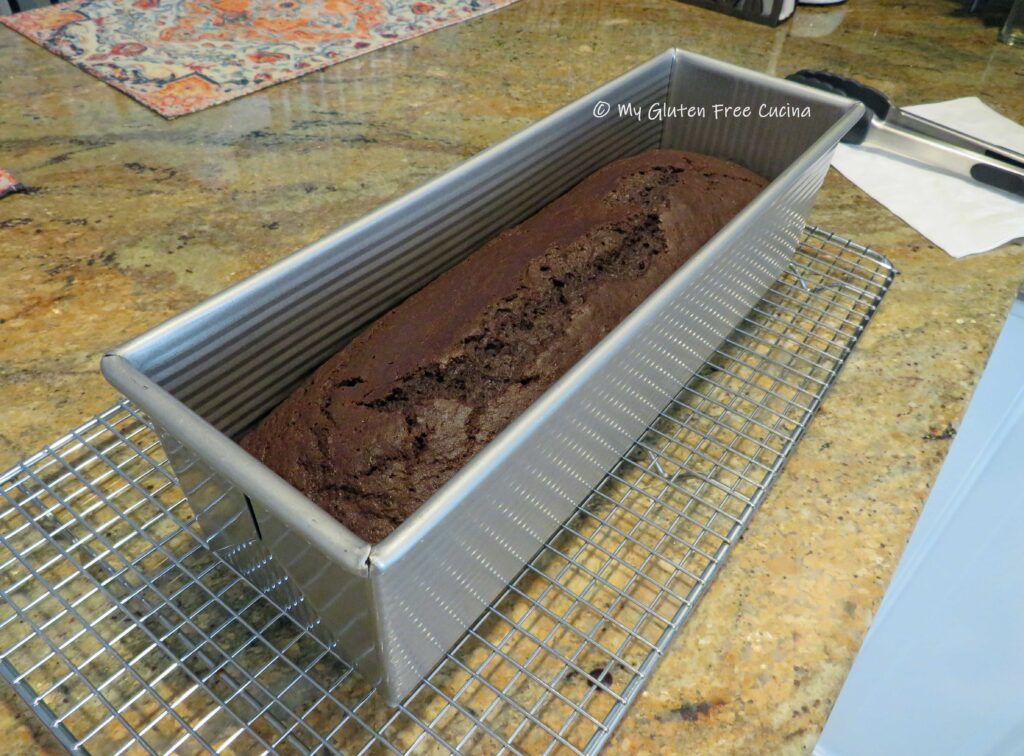 Remove from the oven and cool in the pan for 15 minutes then tip the pan gently to slide the cake onto a rack to cool.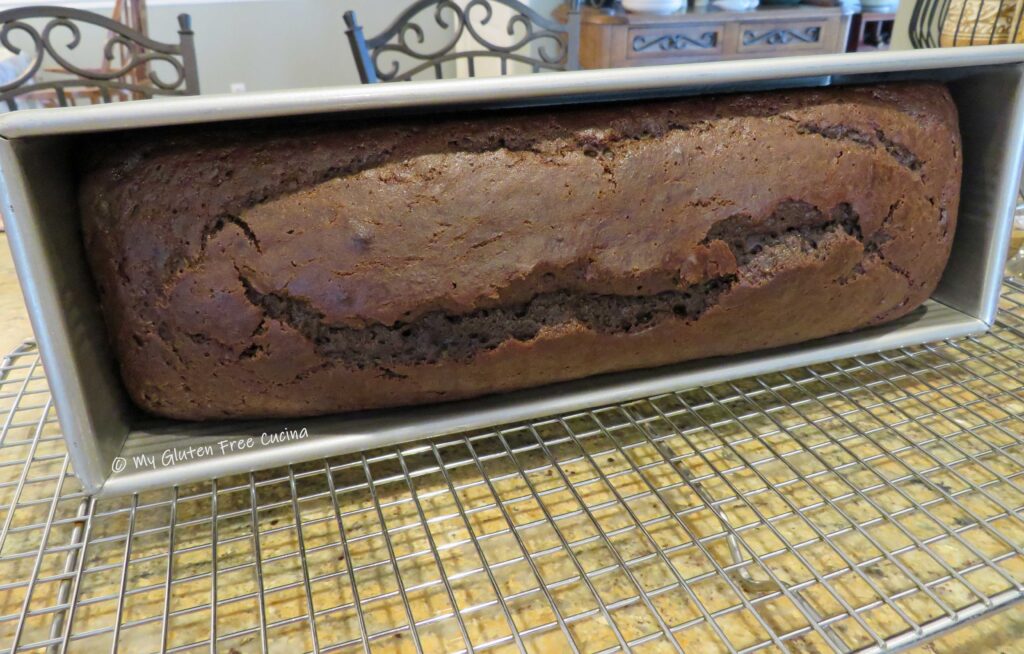
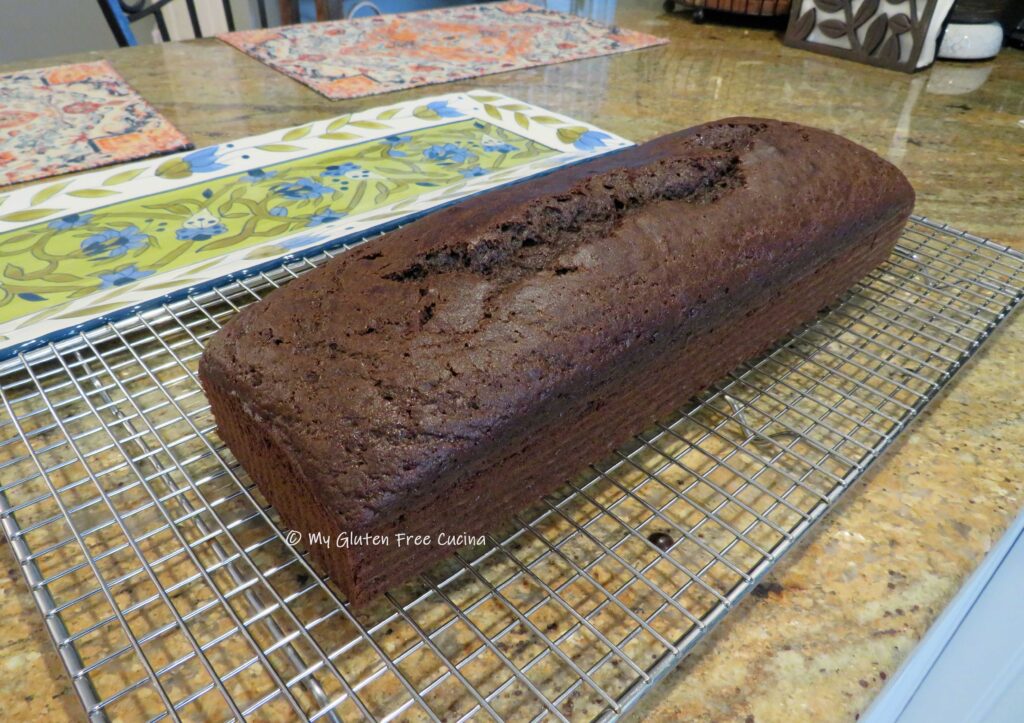

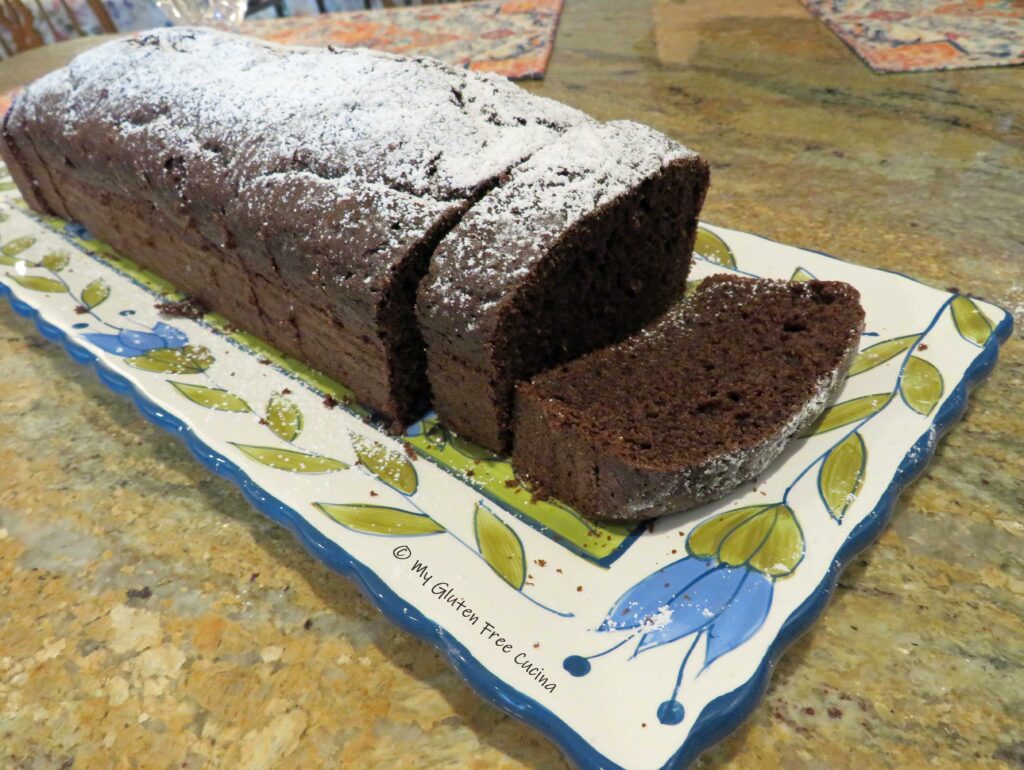
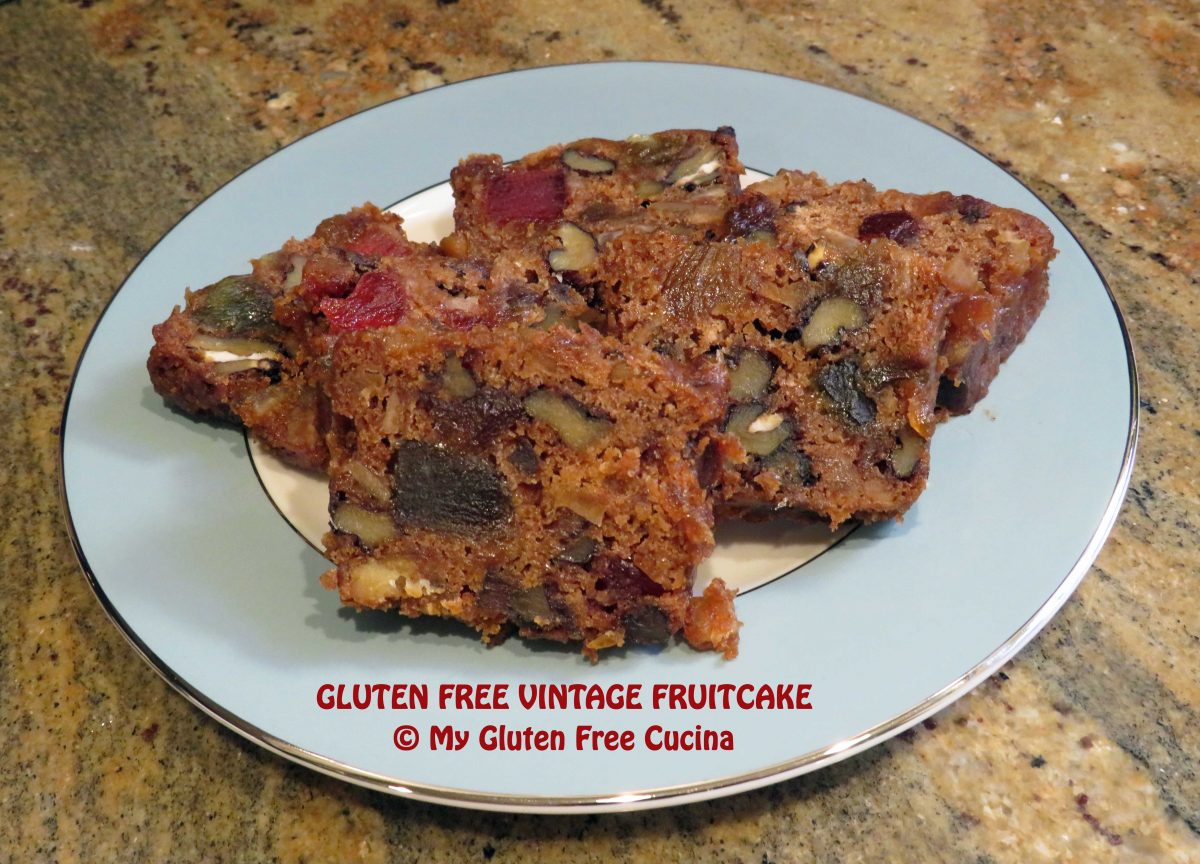
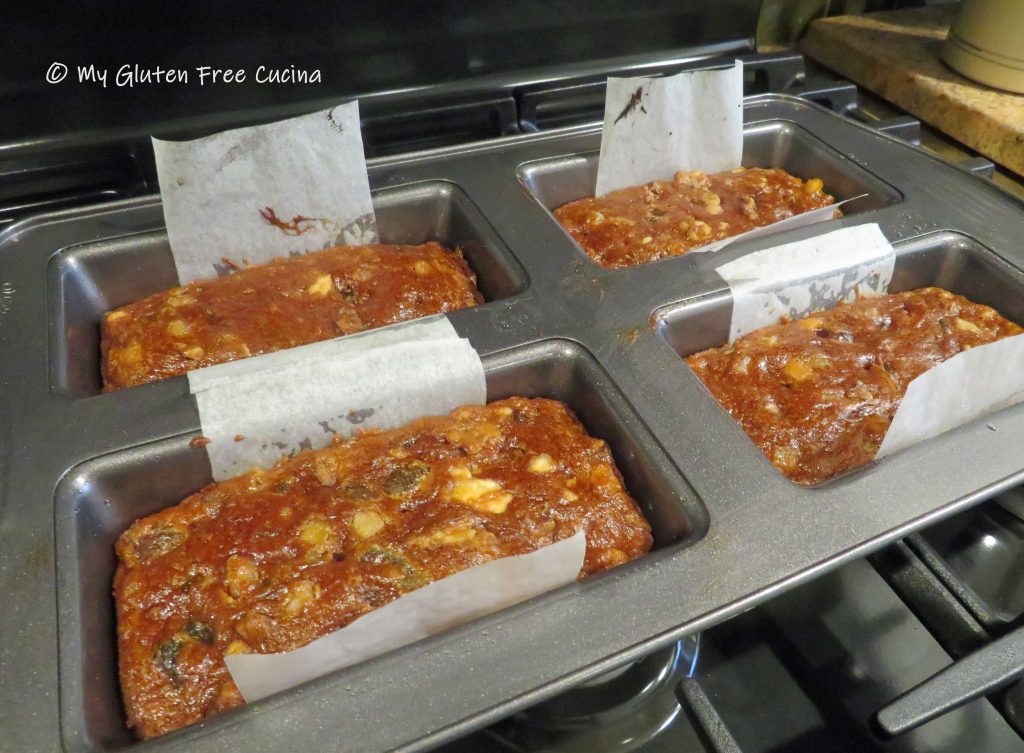
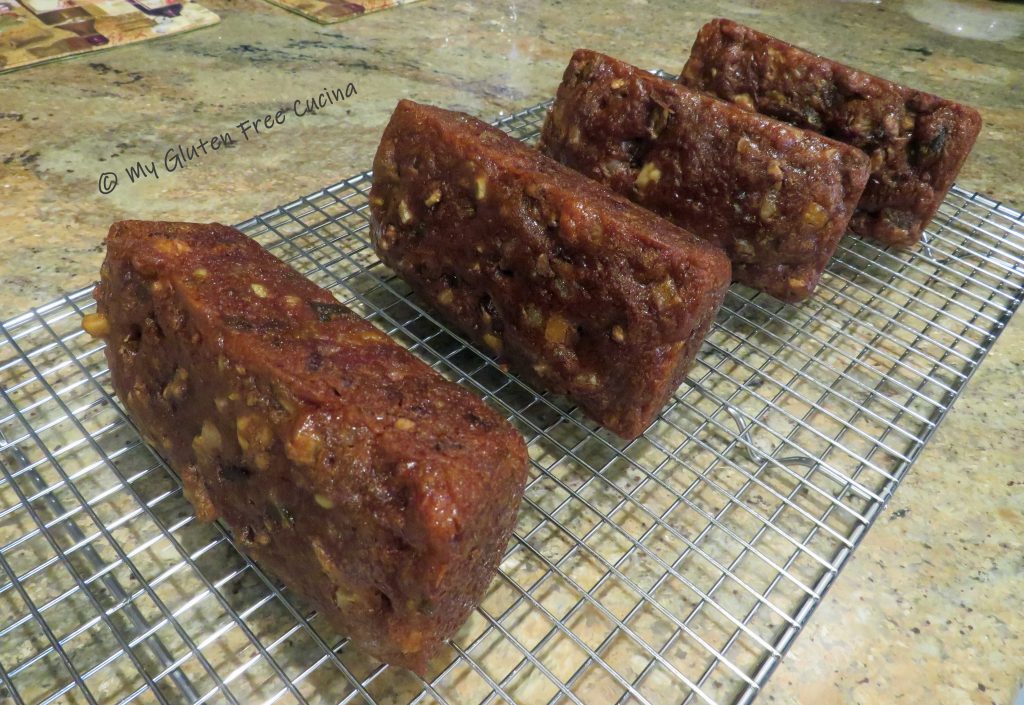
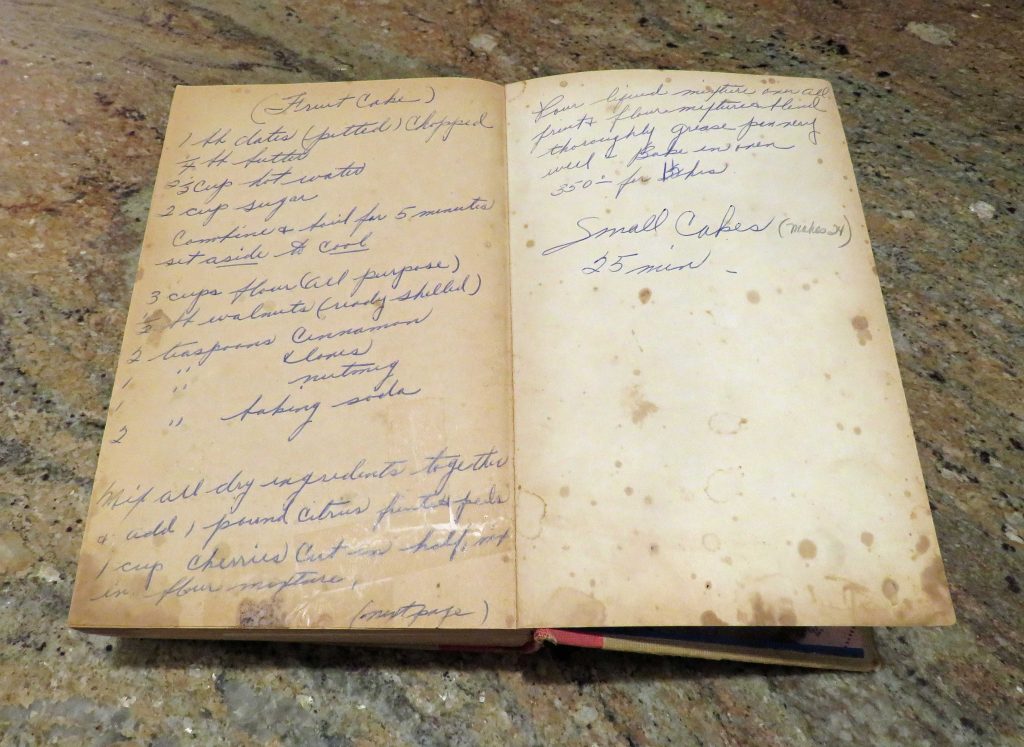
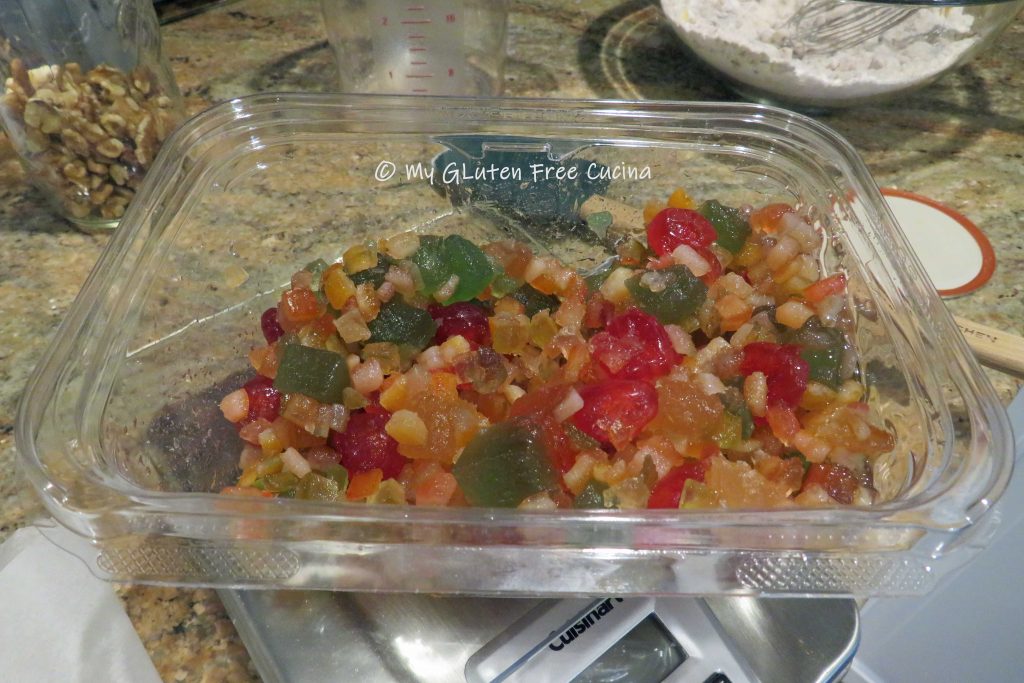
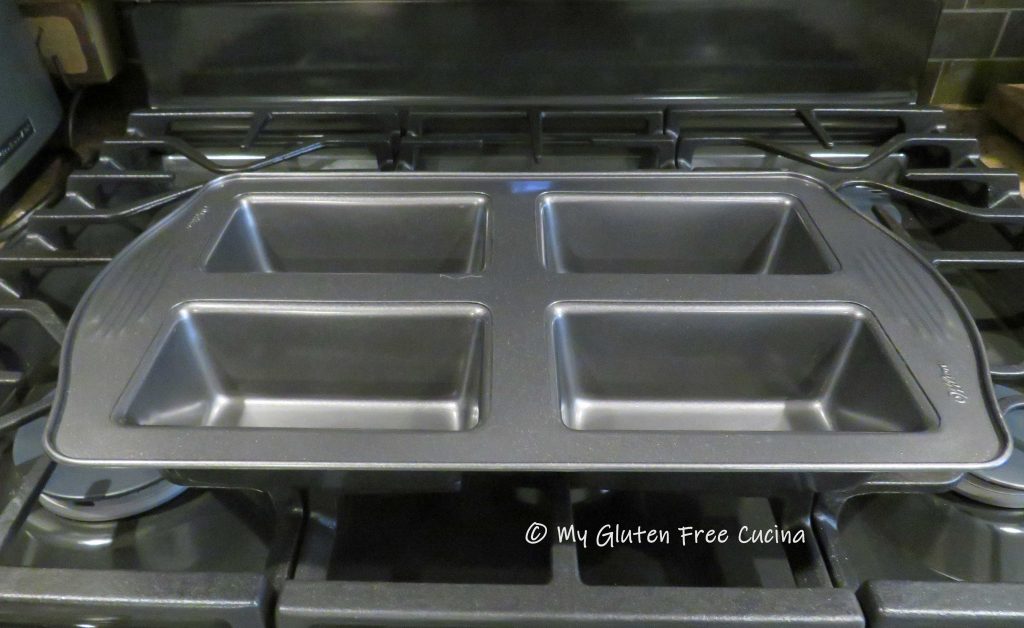
 Preparation: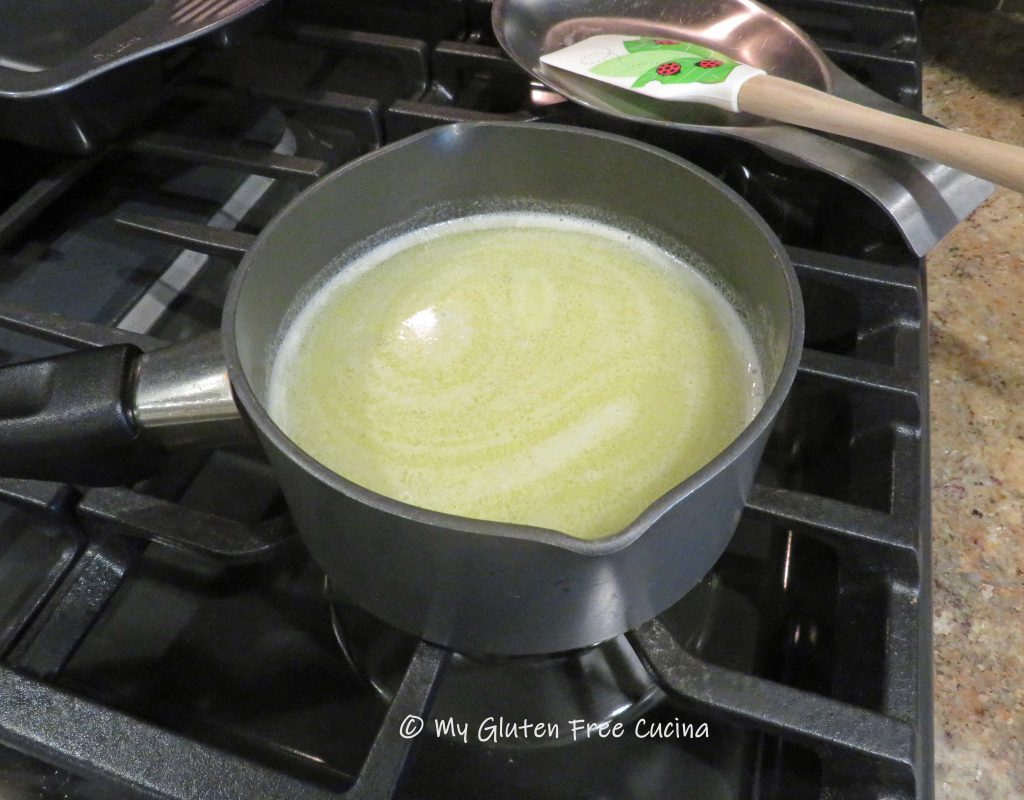
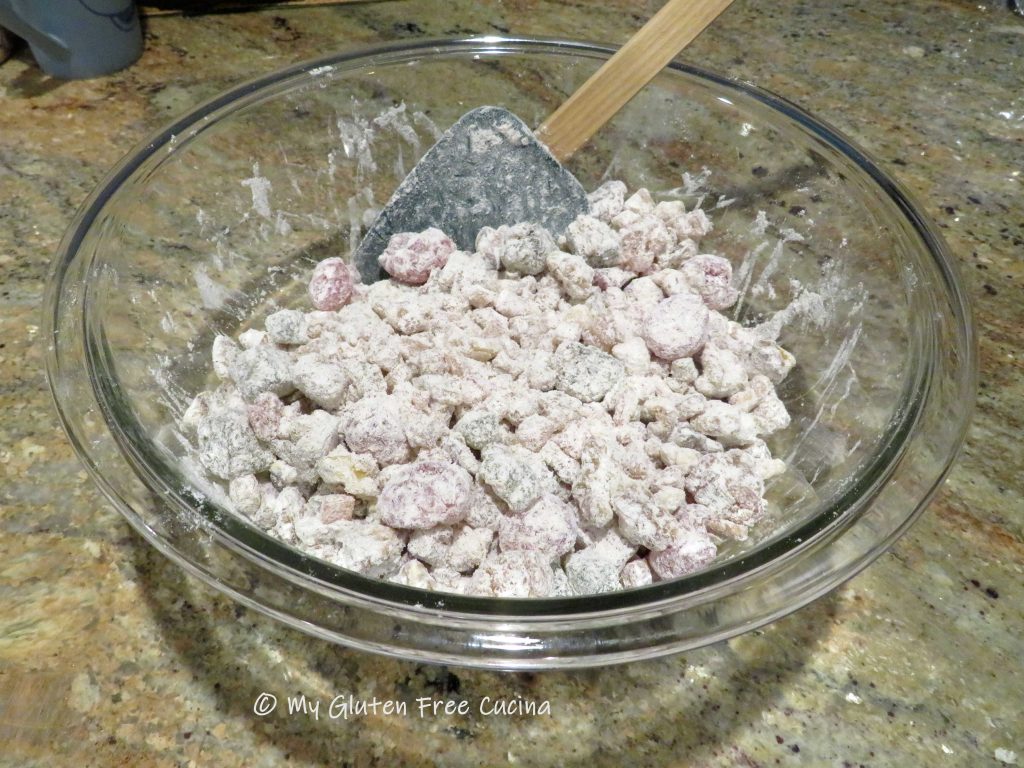
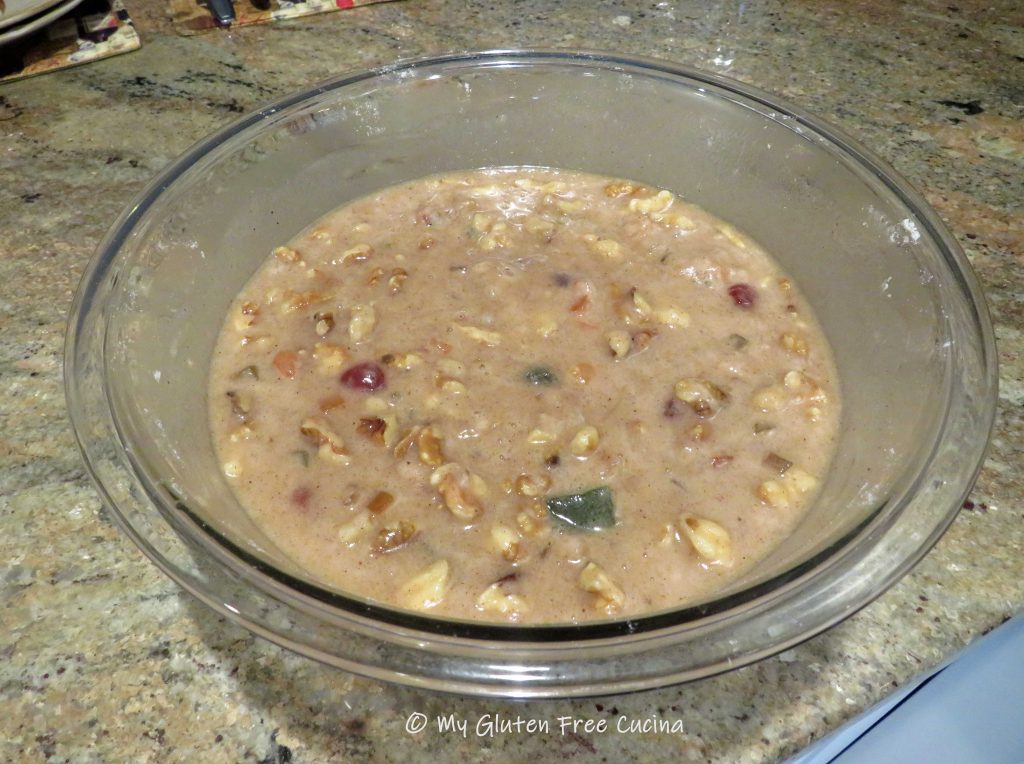
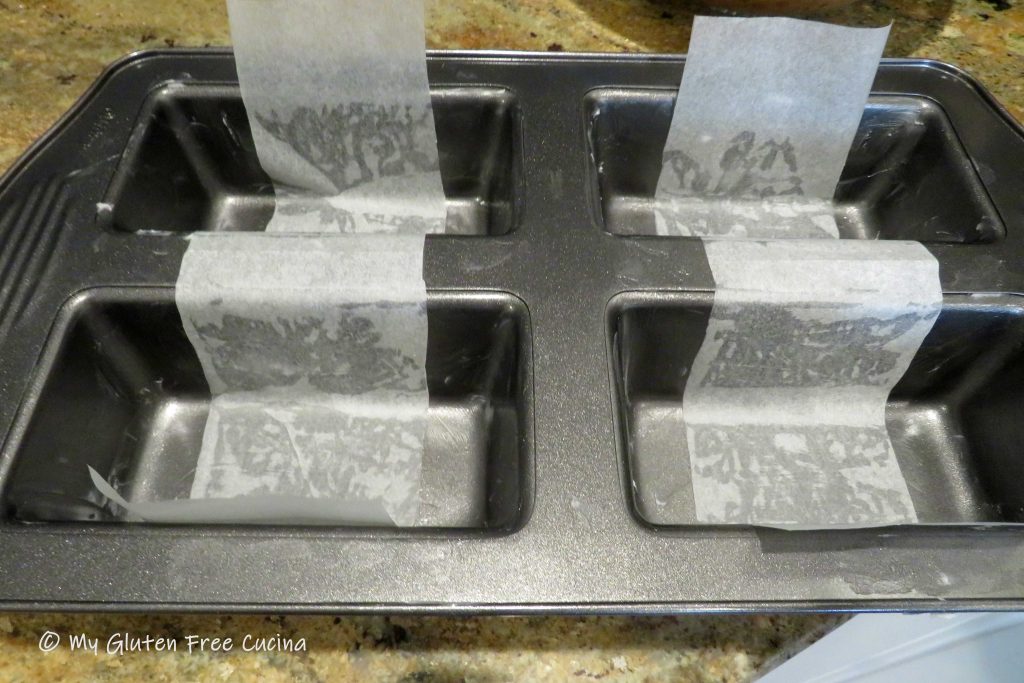
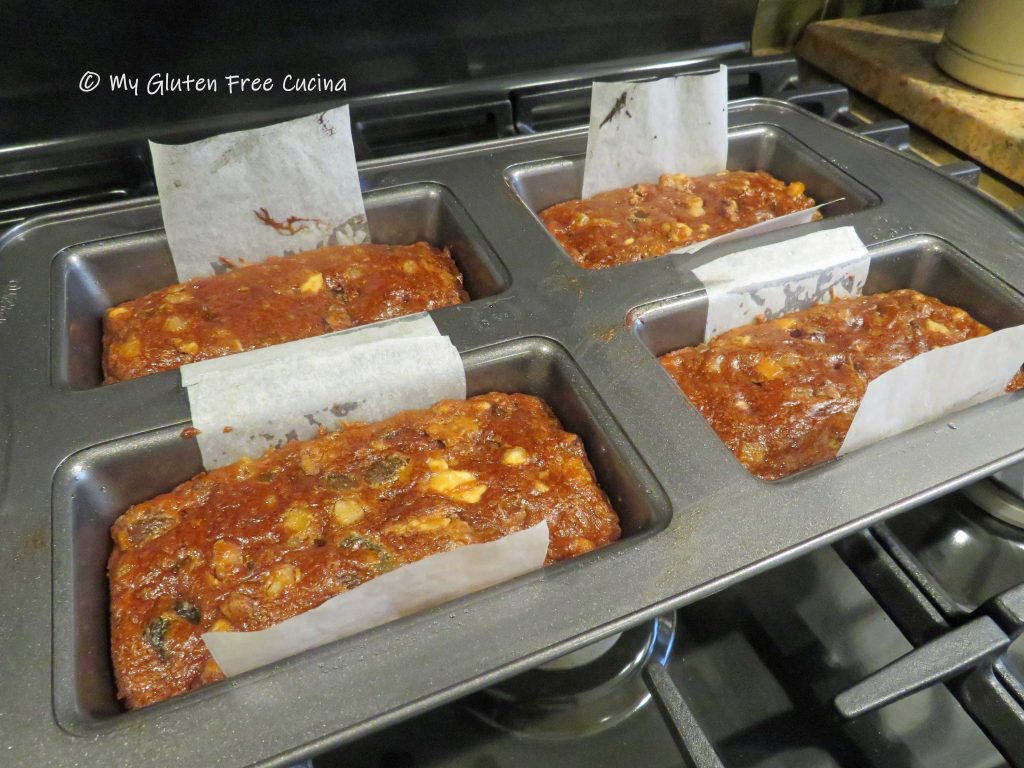
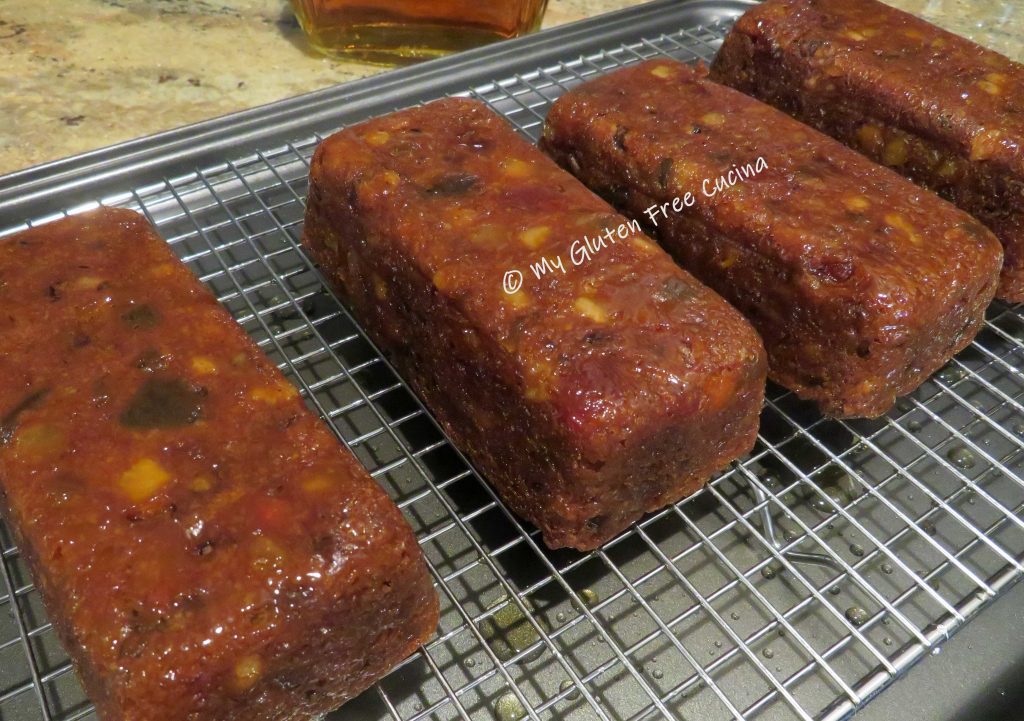
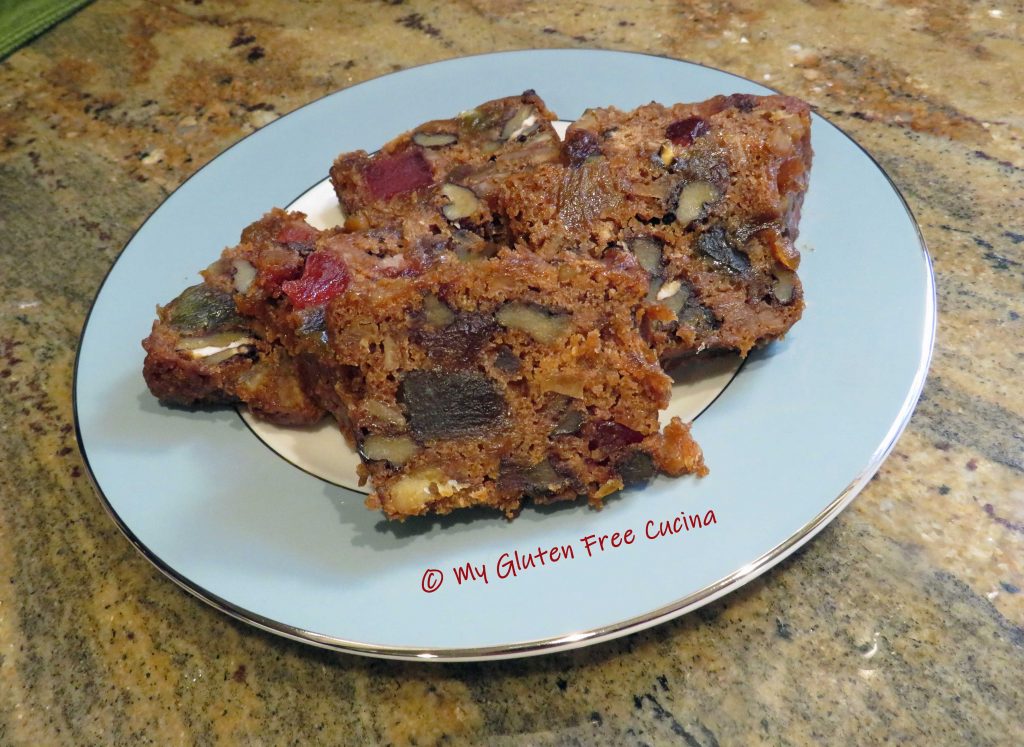
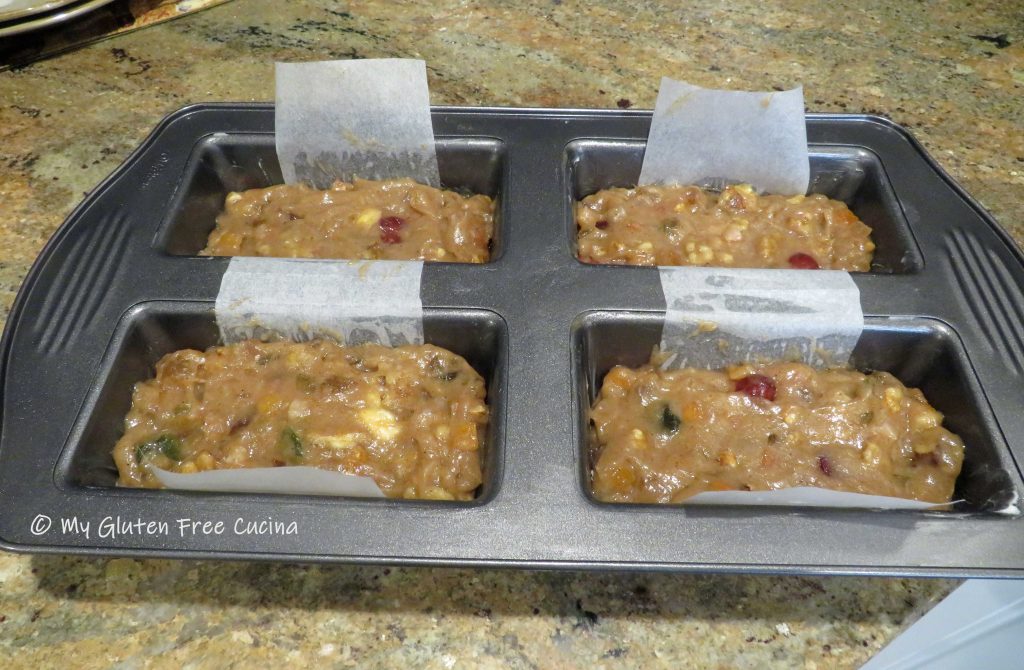 If using a 9″ loaf pan, bake for 1 to 1.5 hours, testing for doneness after 1 hour. The original recipe instructions said 1.5 hours and it will depend largely on your oven and the amount of moisture in the fruit blend.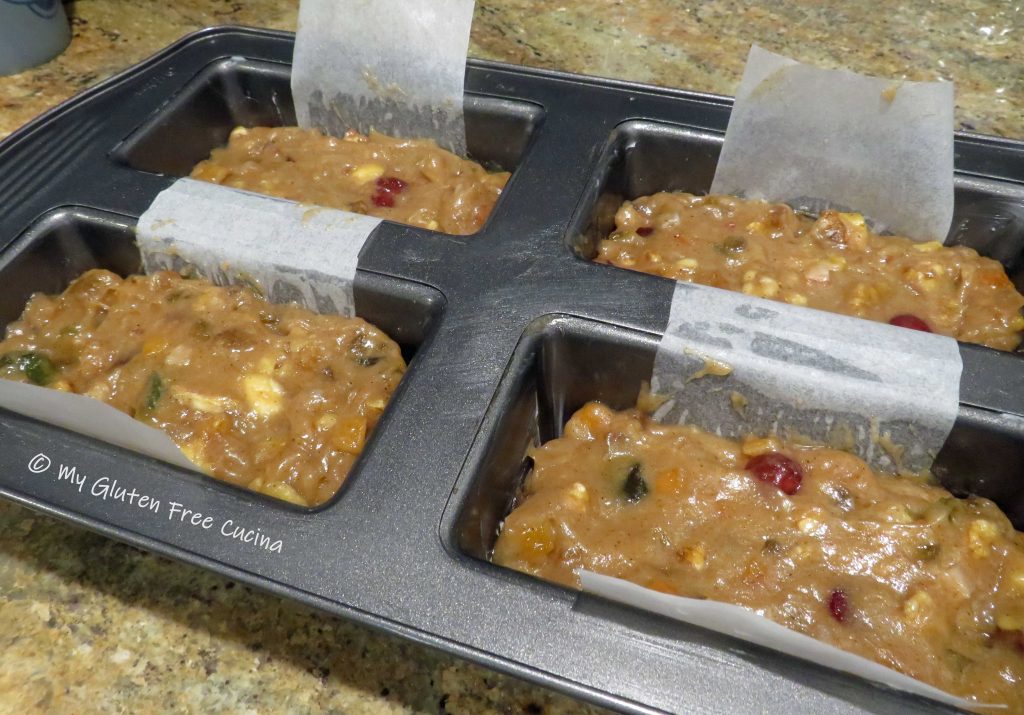








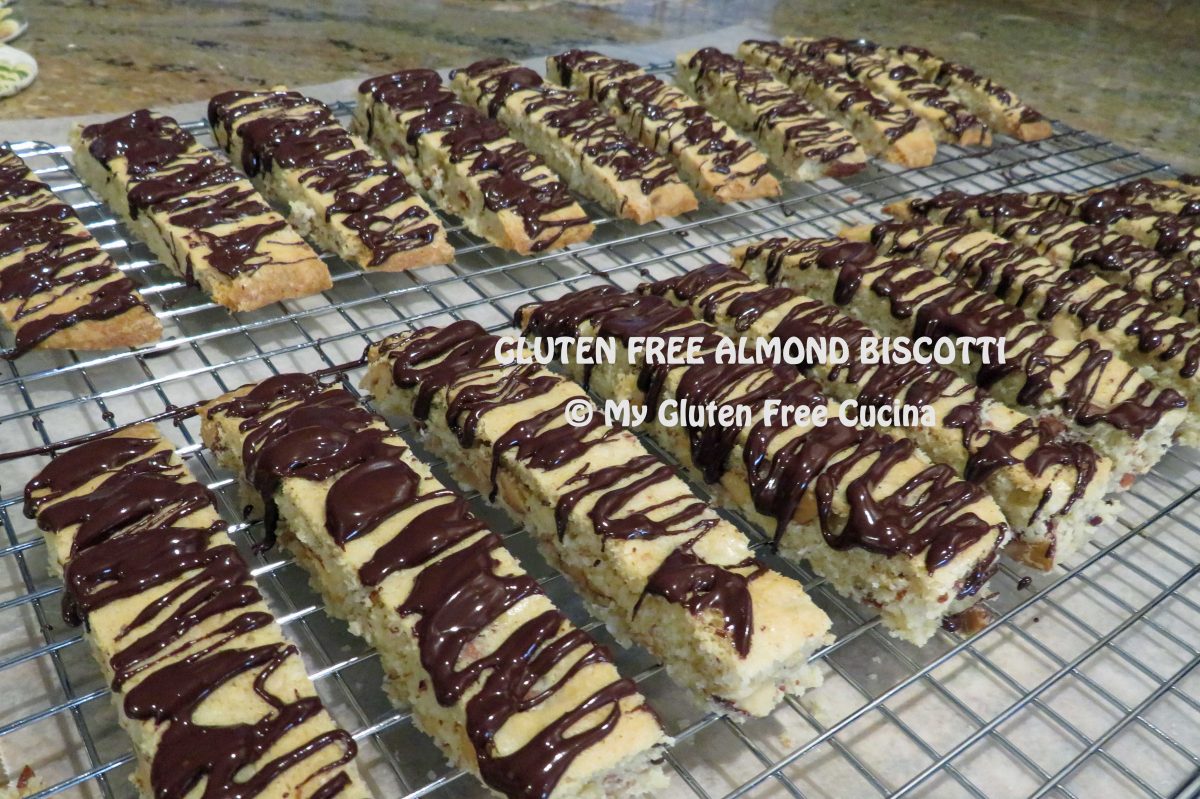




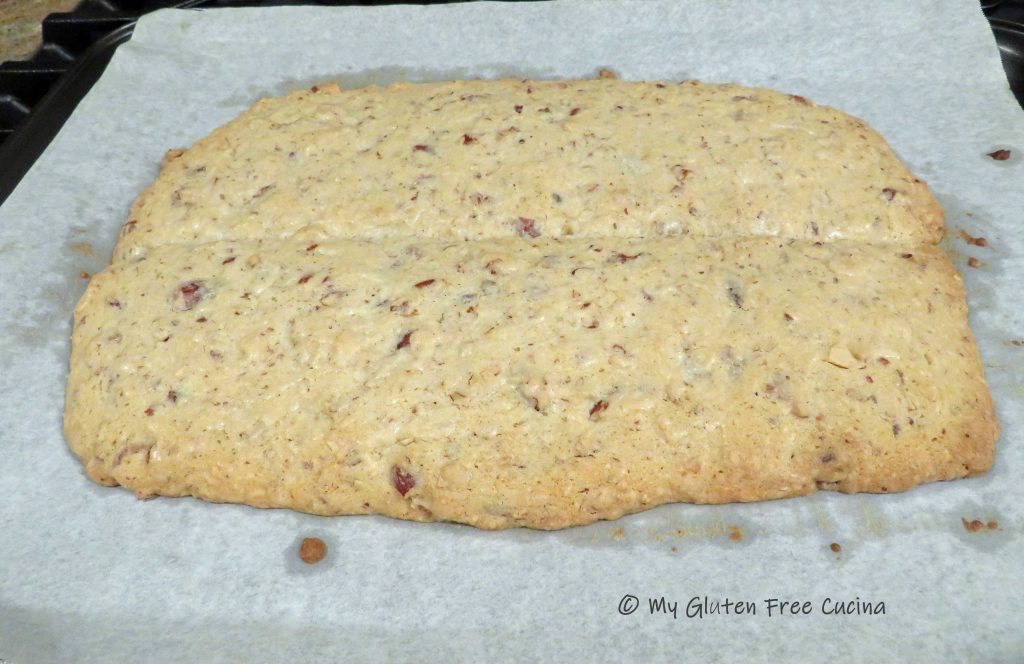
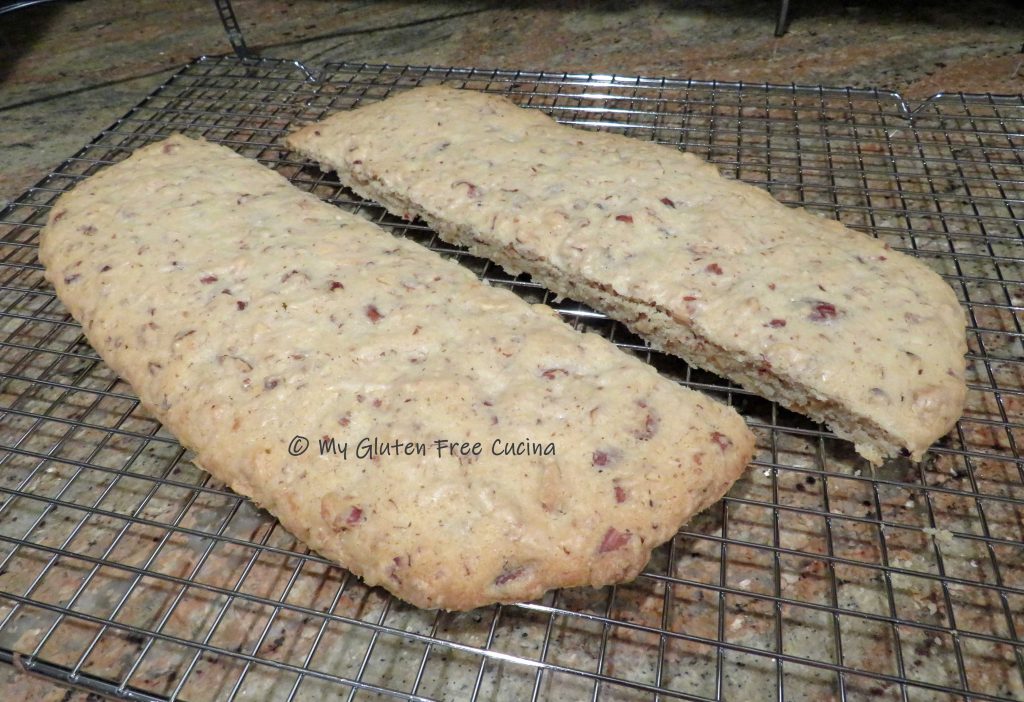
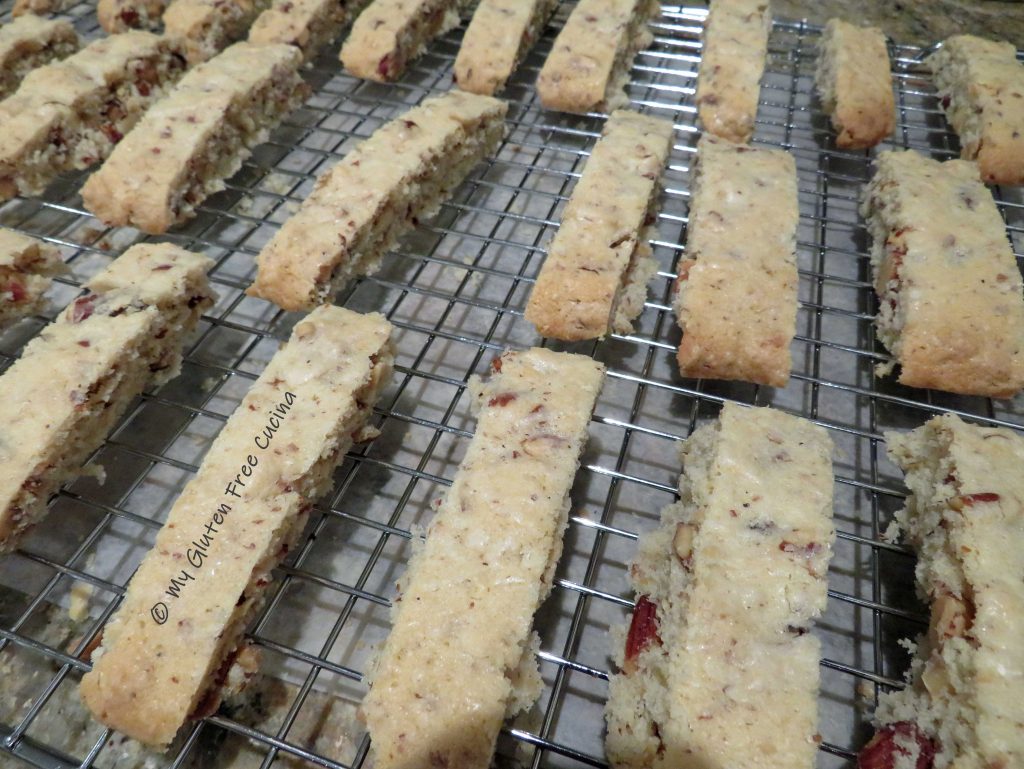 If you like a crisp, hard cookie (great for dunking) return the sliced biscotti to the baking sheet cut side up and bake for 10 minutes longer.