Fajitas with Spanish Rice

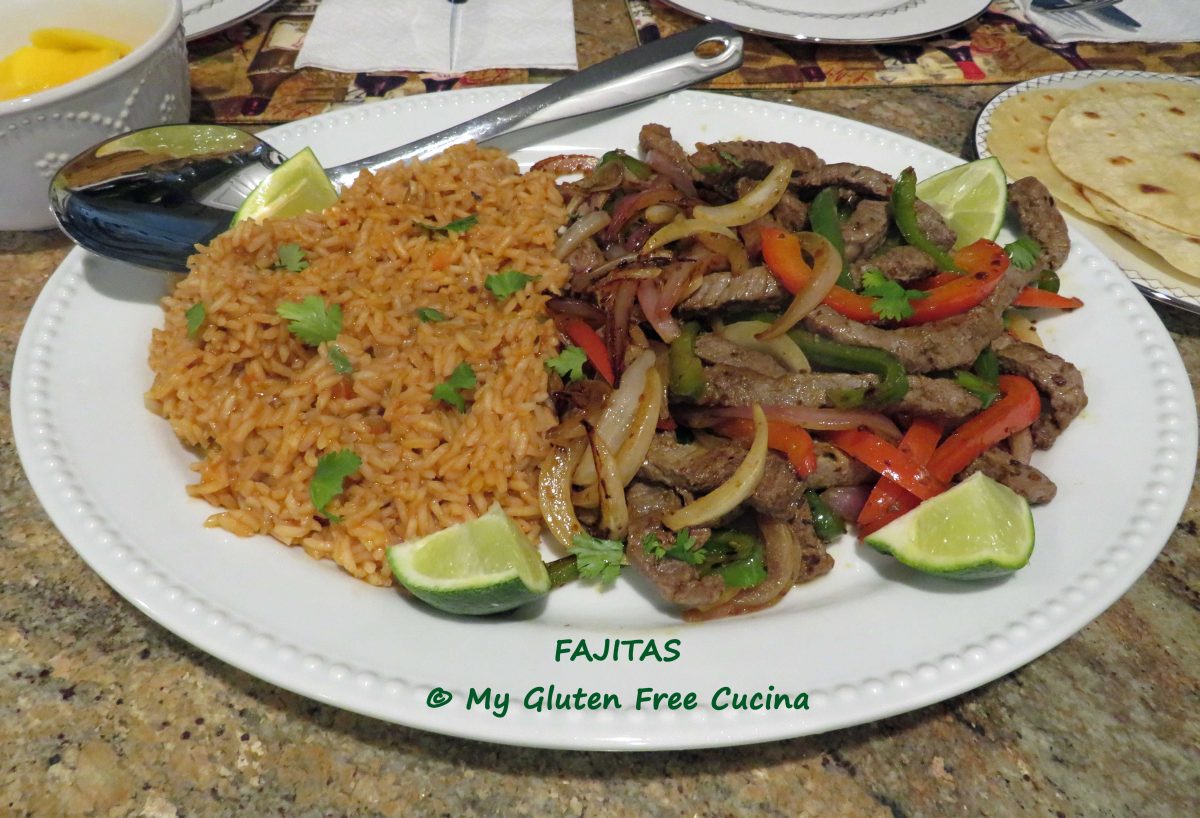
We had a Fajita night this week and here’s what I made.  Steak, peppers and onions cooked stovetop on the griddle with a side of Spanish Rice.  I served it all with gluten free corn tortillas, salsa and sliced fresh mango.

Fajitas are traditionally cooked and served in a cast iron pan like this one.  They make a great presentation, coming to the table with a sizzle.  But – if you don’t have one, or if like me you can’t lift cast iron pans anymore, it’s perfectly fine to use a nonstick griddle or skillet to cook this fun meal.

I mixed up my own seasoning blend for this recipe.  I always have a large collection of individual spices on hand, so I can blend together just enough for a specific meal with nothing wasted.  Another benefit is that I can adjust the flavors to my liking.  More heat?  Add more chipotle.  Don’t like cumin?  Just leave it out.  You get the idea.

For my friends who love spicy food, you are going to want to make this meal!  I loved the Spanish rice.  Considering I make rice several times a week, this was a nice change from my usual preparation.

4 servings

This post contains affiliate links.

Ingredients:

Seasoning:

  • 1 tsp. crushed chipotle chili flakes
  • 1/2 tsp. cumin
  • 1/2 tsp. paprika
  • 1/2 tsp. oregano
  • 1/4 tsp. garlic powder
  • 1/4 tsp. onion powder
  • 1/8 tsp. red pepper flakes
  • 1/2 tsp. sea salt

Fajitas:

  • 3/4 lb. sirloin, skirt steak or flank steak, sliced thin
  • 1/2 red bell pepper, cut into strips
  • 1/2 green bell pepper, cut into strips
  • 1/2 medium sweet onion, sliced thin
  • 1/2 medium red onion, sliced thin
  • 1 lime, half juiced and half for serving
  • 2 tbsp. olive oil
  • gluten free tortillas for serving
  • salsa, for serving (this one is my favorite)
  • fresh mango, for serving (optional, my favorite!)

Preparation:

Combine the spices and mix well.

Add the sliced peppers and onions to a medium bowl with 1 tbsp. olive oil and 1 tsp. of the spice blend.
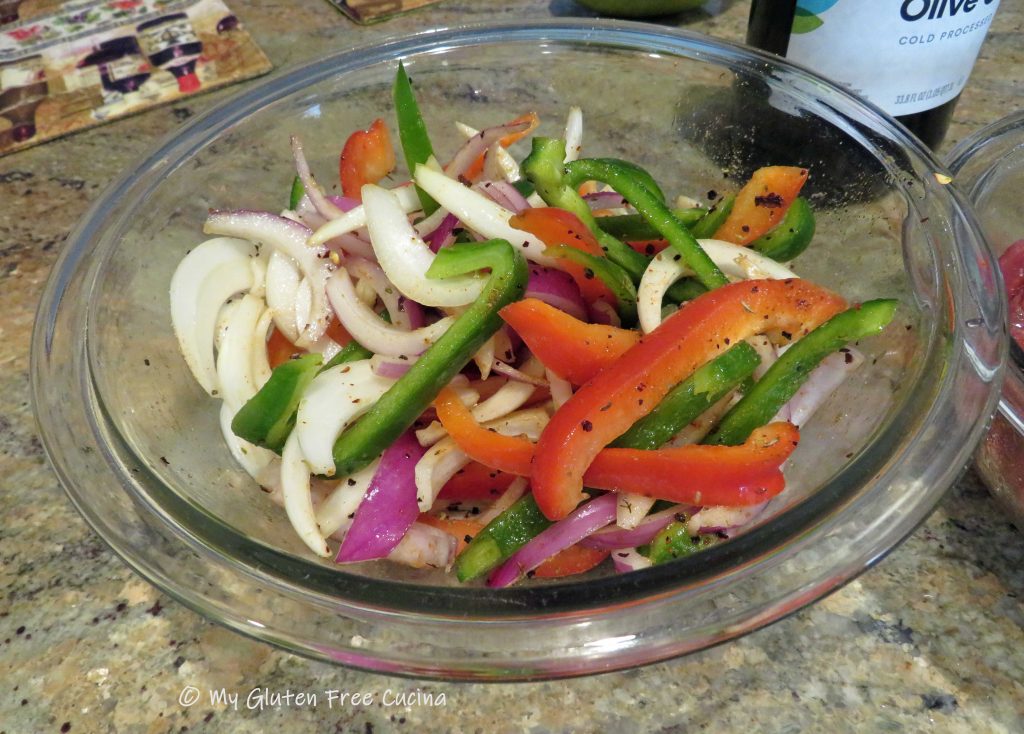
In a separate bowl, toss the beef strips with 1 tbsp. olive oil and 1 tsp. of the spice blend.

Heat a griddle or large nonstick skillet and warm the tortillas, about 30 seconds per side.  Remove to a plate and keep warm.

Add the peppers and onions to the griddle and cook to crisp tender, stirring occasionally.

Push the veggies to the back of the griddle and add the meat.  Cook quickly about 1 minute per side.

Toss with the peppers and onions and squeeze the juice from 1/2 lime over the top.  Garnish with fresh cilantro and serve with the tortillas, lime wedges, rice and salsa.

Spanish Rice Ingredients:

  • 1/2 cup long grain white rice
  • 1 tbsp. olive oil
  • 1/4 cup minced onion
  • 2 tbsp. minced bell pepper
  • 2 tbsp. tomato sauce
  • 1 cup chicken broth
  • 1 tsp. fajita seasoning (from above)

Preparation:

In a small saucepan, combine olive oil, onion and bell pepper and cook over medium low heat until the onions are translucent.  Stir in the rice, tomato sauce and chicken broth.  Cover and cook 15 minutes.  Garnish with cilantro.

Notes ♪♫ Truth be told, I was not a fan of the store-bought gluten free tortillas.  Next time I will make them myself, but that’s another blog post!  Sometimes you need a shortcut, right?  And this dinner was a success in every other way. 🙂

Print This Post Print This Post

Gluten Free Chicken Chow Mein

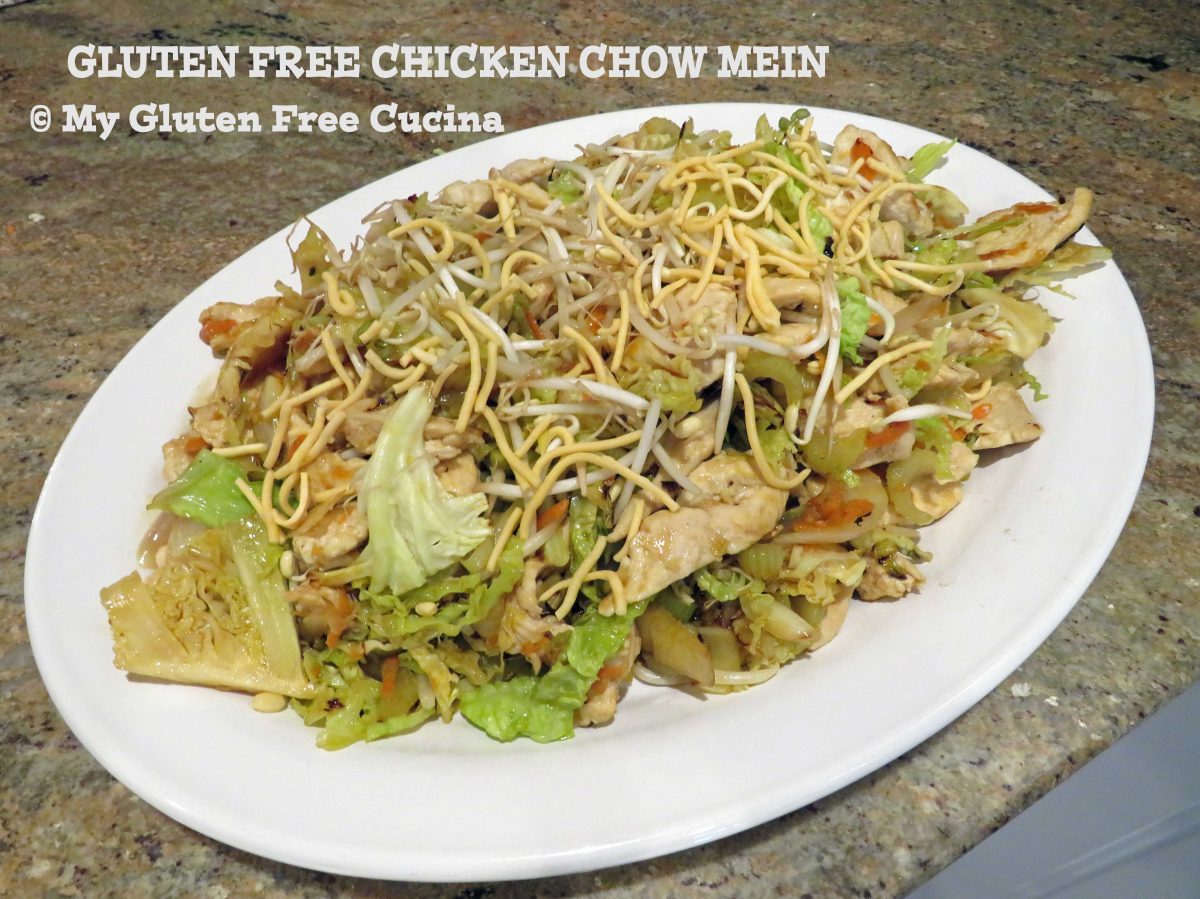
Chicken Chow Mein, that most popular of takeout meals was my first introduction to Chinese American cuisine.

As a kid, my “go-to” takeout order was a combination dinner of Chow Mein, fried rice and an egg roll.  I ordered it every time!  While I have recreated many of my favorite takeout recipes, I can’t even remember the last time I had Chicken Chow Mein.  So why has this one remained on the back burner?

The noodles. 

How could I replicate the crunchy, restaurant style fried noodles that go with Chow Mein?  Traditional Chow Mein noodles are made with wheat.  And while I am a big believer in make from scratch, I just didn’t want to make my own noodles.

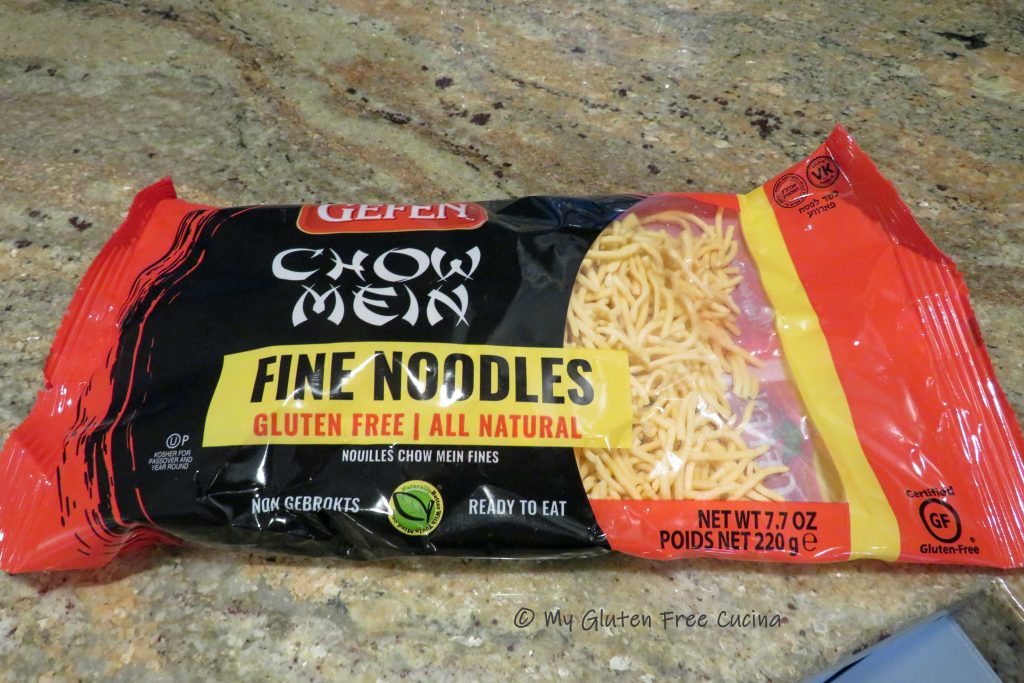
Then I discovered this!

I found these Gluten Free Chow Mein Noodles on Amazon, and they were spot on!  Get yours here!

For the connoisseurs out there, this is the East Coast version of Chow Mein, where the stir-fry is served over crispy fried noodles.

This post contains affiliate links.

Ingredients:

Veggies

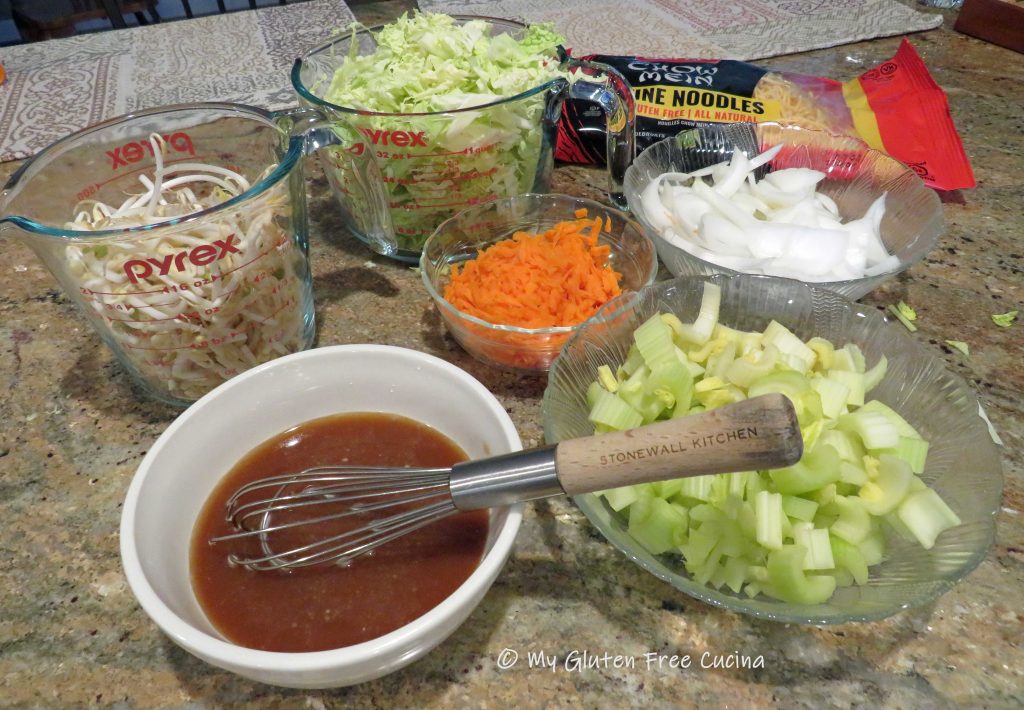
  • 1/2 sweet onion, cut into 1/4″ slices
  • 6 celery stalks, cut into 1/4″ slices
  • 1 carrot, coarsely grated
  • 1/2 head of green cabbage, shredded
  • 2 cups bean sprouts

Marinade

  • 1 tbsp. sesame oil
  • 1 tbsp. minced fresh ginger
  • 1 tbsp. minced garlic
  • black pepper, to taste

Sauce

  • 1/2 cup gluten free chicken broth
  • 3 tbsp. gluten free oyster sauce
  • 1 tbsp. gluten free soy sauce (tamari)
  • 2 tsp. corn starch
  • 1 tsp. sugar

Chicken

  • 1 lb. boneless chicken breast
  • olive oil
  • sesame oil
  • gluten free chow mein noodles

Preparation:

Let’s break down the recipe into four easy steps.  Ready?

  1. Prep the veggies
  2. Marinate the chicken
  3. Make the sauce
  4. Stir fry the chicken and veggies

First, prep the veggies.  I used a mandoline to slice the onion, cabbage and celery.  A coarse grater was perfect for shredding the carrot.

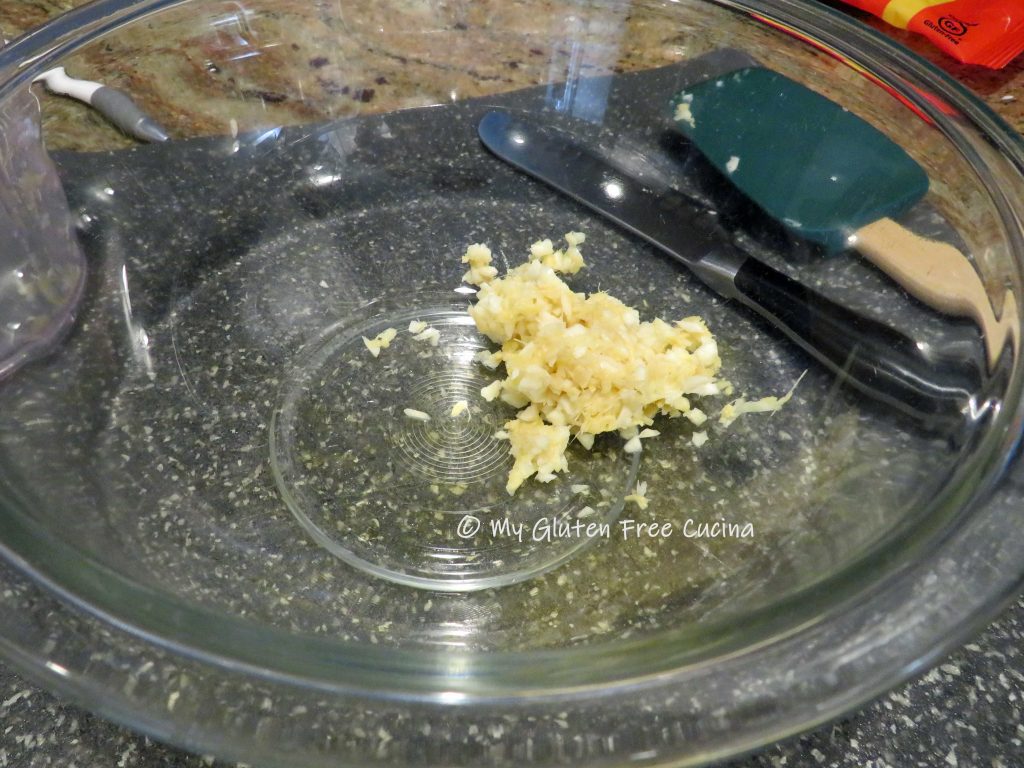
Next mix together the marinade ingredients.  I used an electric chopper to mince the garlic and ginger.

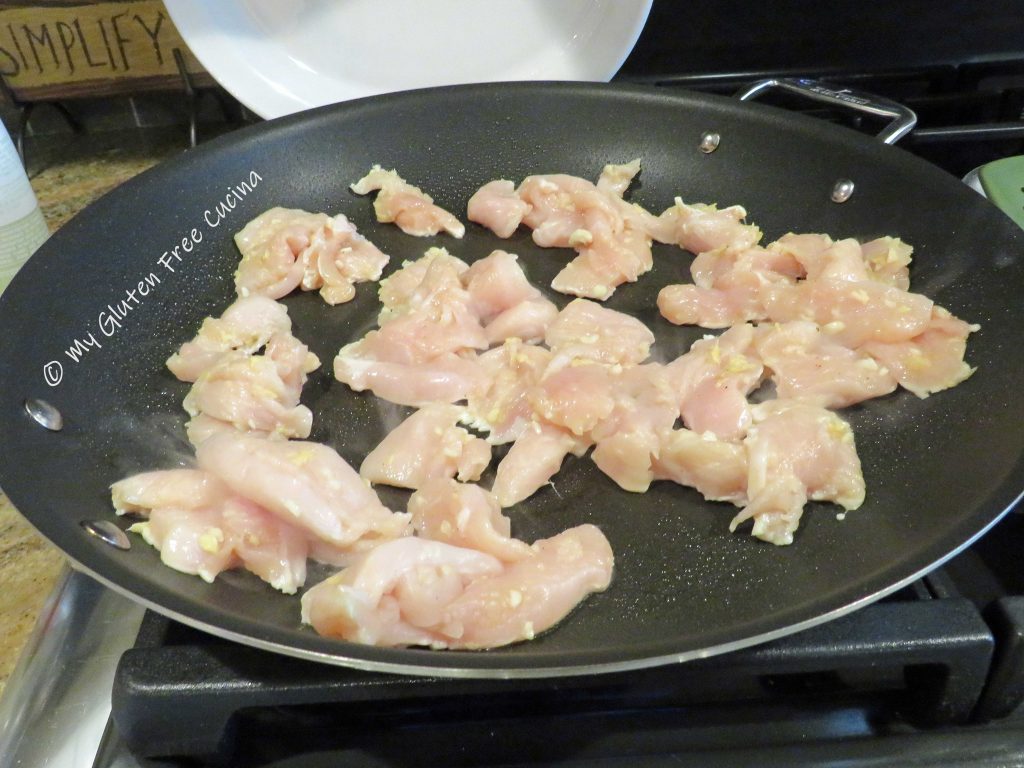
Slice the chicken breast into thin strips and toss with the marinade.  Cover and refrigerate for 1 hour.

Whisk together the sauce ingredients.

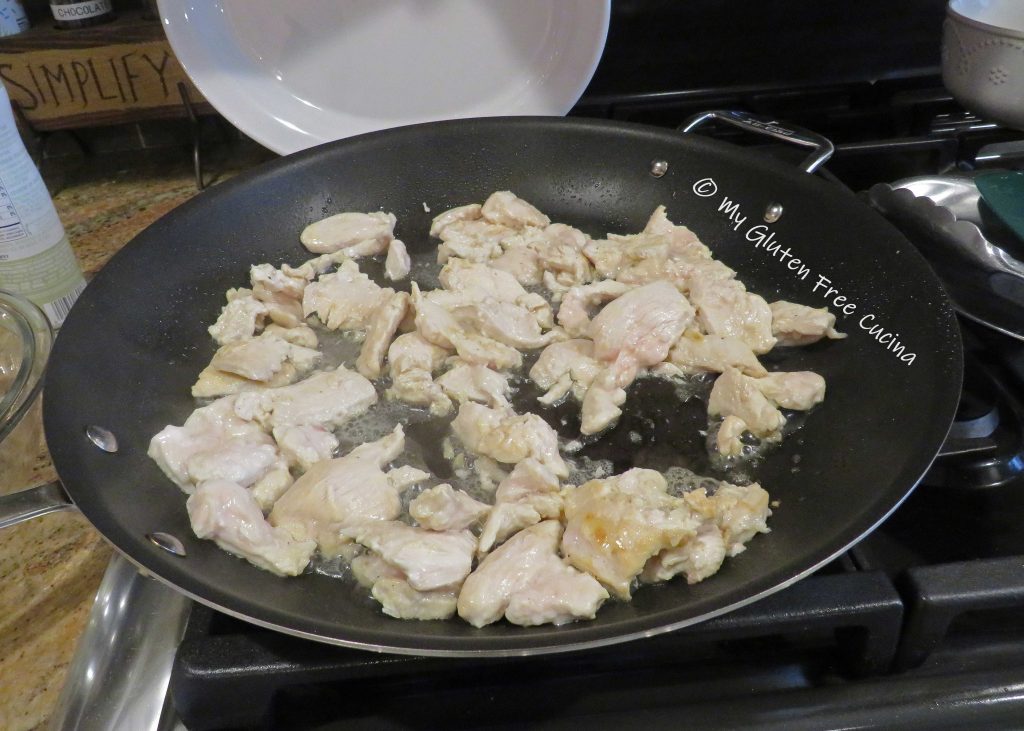
Heat 1 tbsp. olive oil and 1 tsp. sesame oil in a large, nonstick skillet over medium low heat.  Add the chicken and quickly brown on all sides.  It does not have to be cooked through.

Remove the chicken to a bowl and keep warm.  Wipe the skillet clean and add another tbsp. olive oil and 1 tsp. sesame oil.

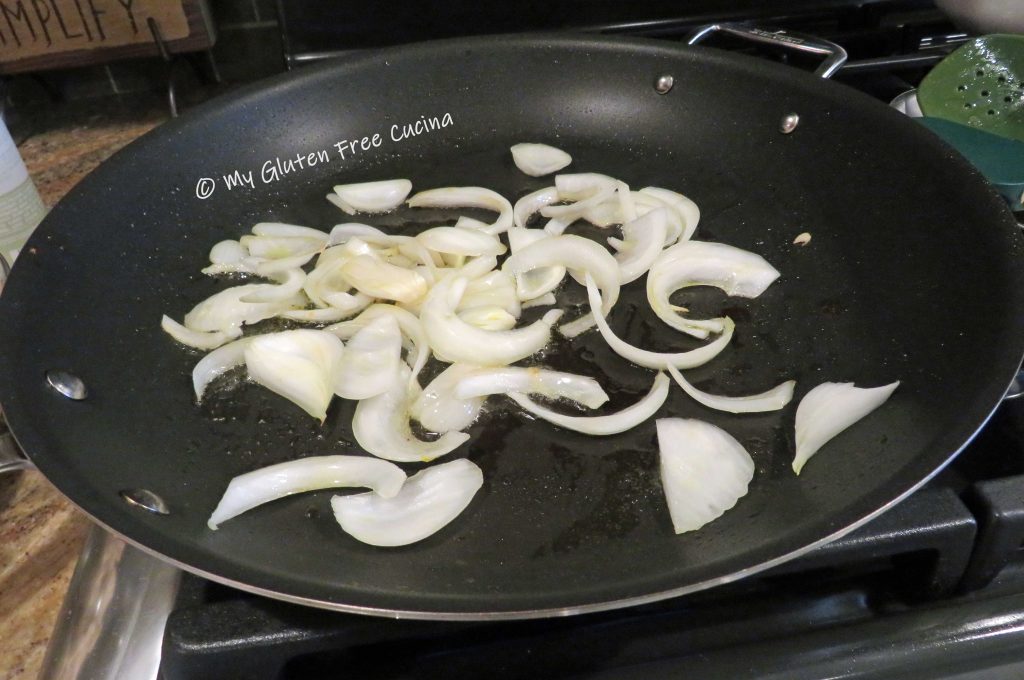
Add the onion first and stir fry until translucent.

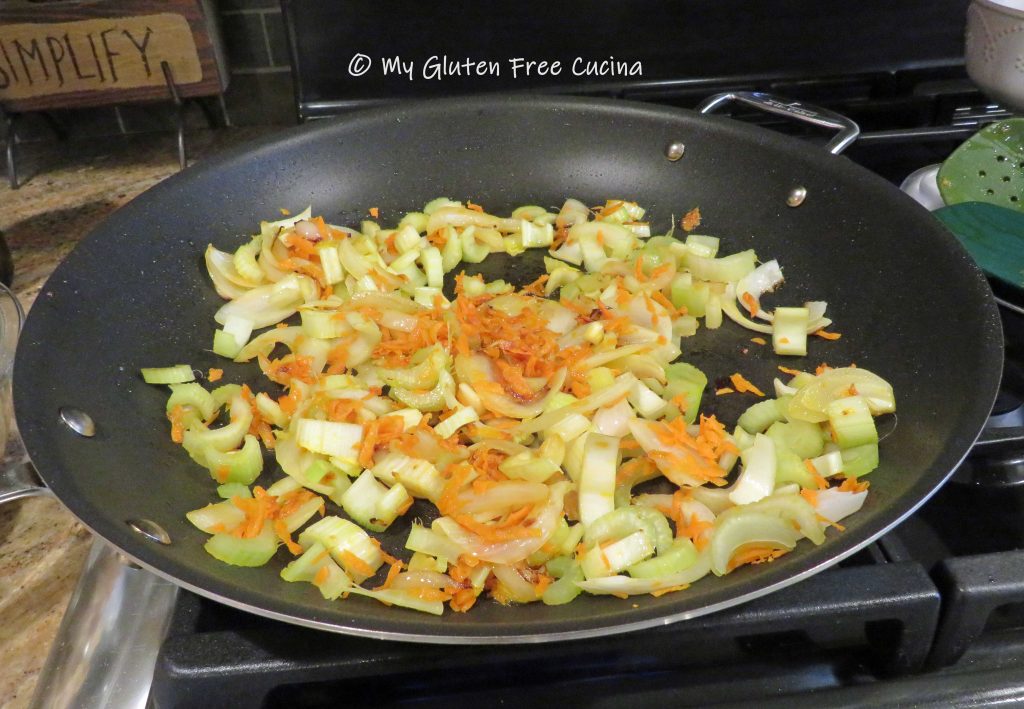
Add the carrot and celery.  Continue cooking for several minutes.

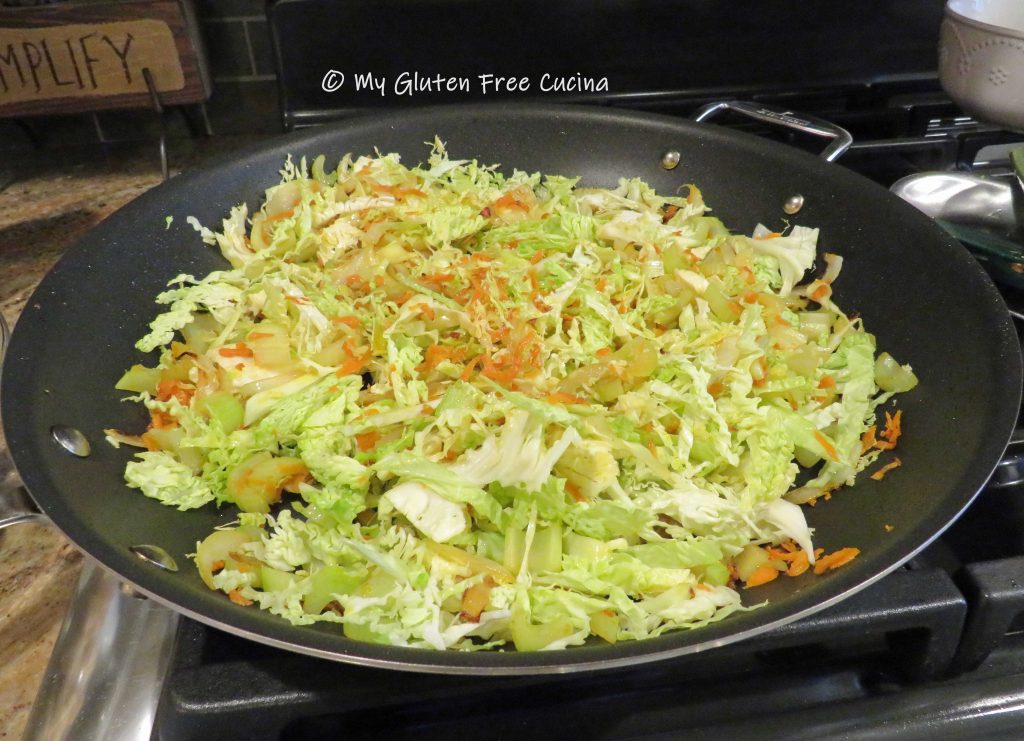
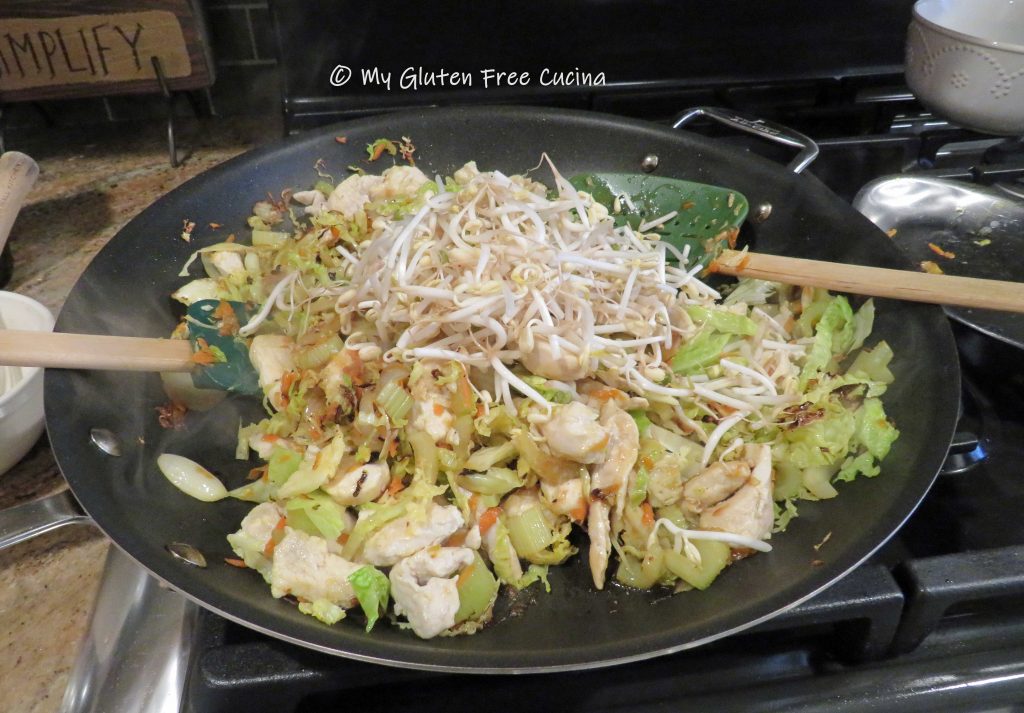
Add the cabbage and toss well to combine.  Cover and cook for about 5 minutes.

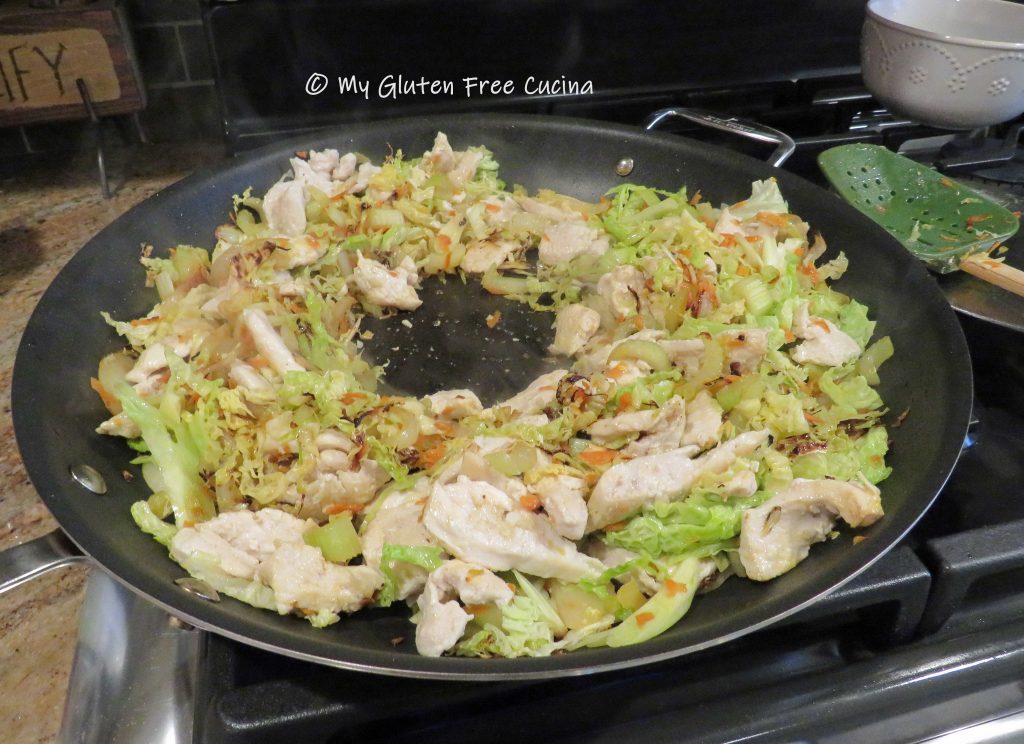
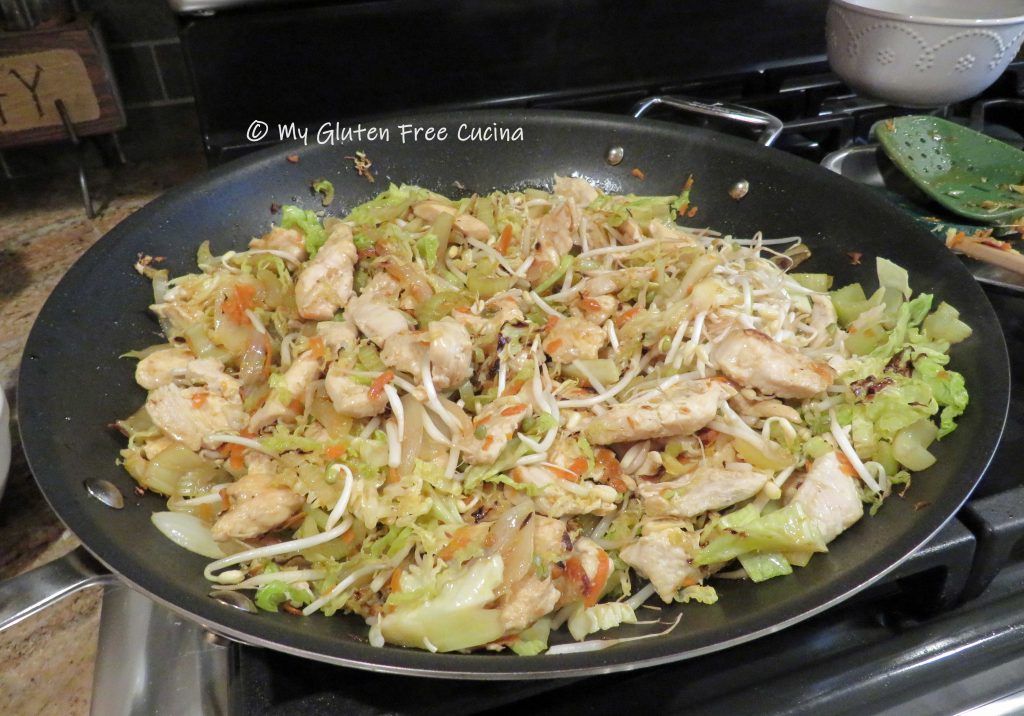
Add back the chicken and stir into the veggies.  Make a well in the center and pour in the sauce.

Add the bean sprouts and continue tossing and stirring as the liquid thickens.

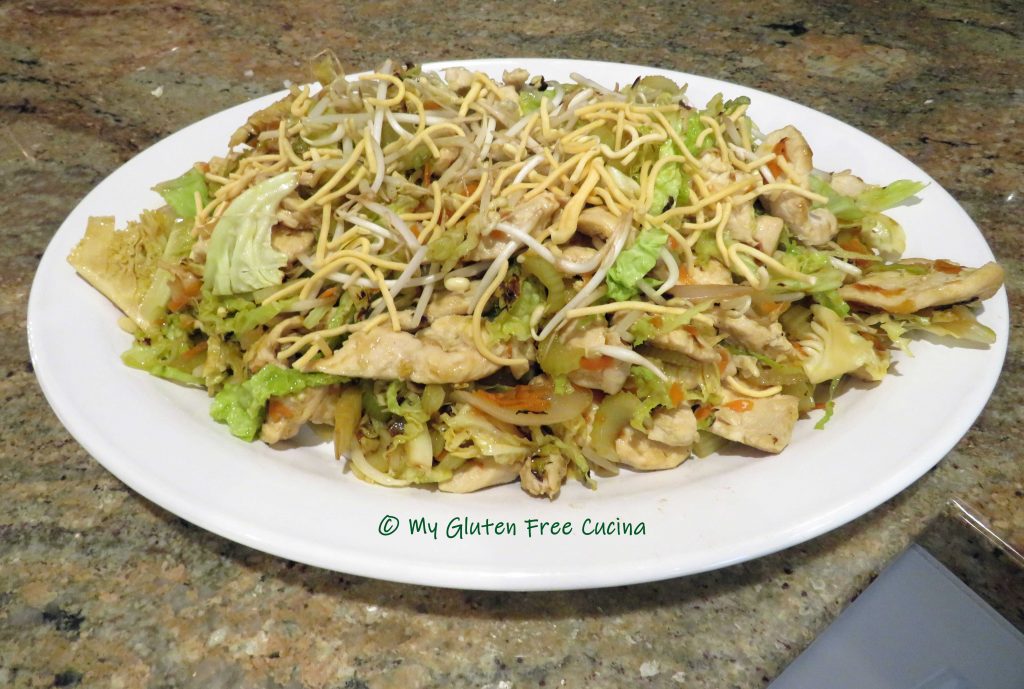
Transfer to a serving dish and sprinkle a few noodles over the top!

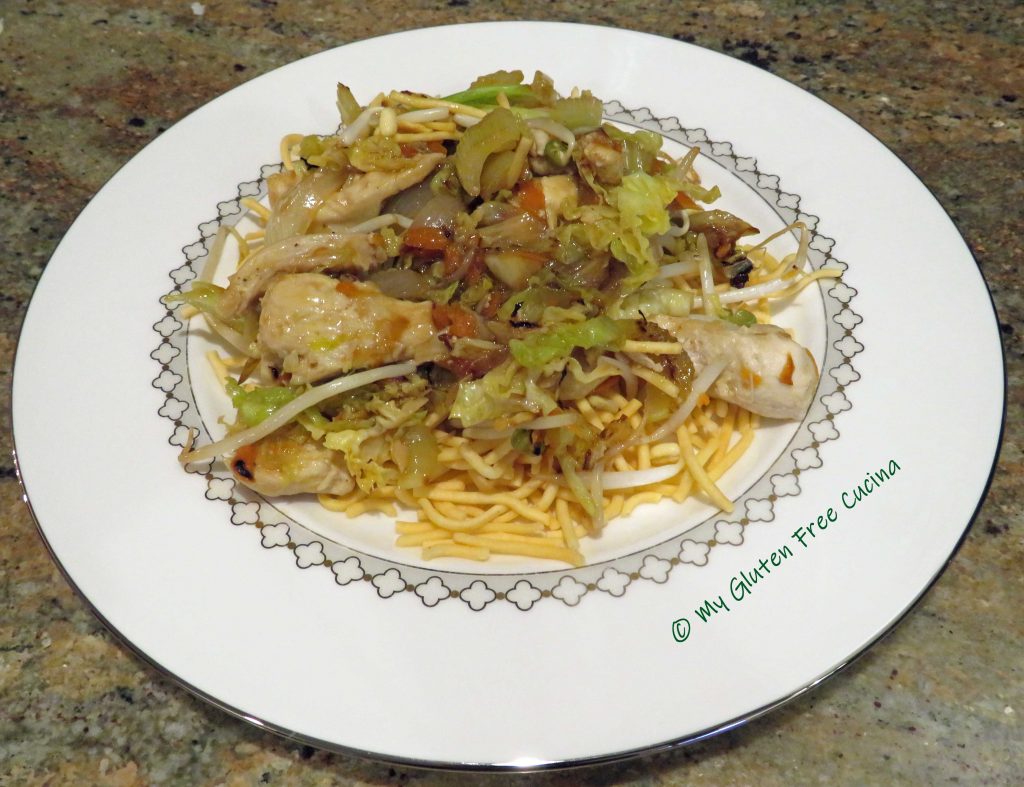
Serve over Chow Mein noodles with a side of white rice.

Notes ♪♫ My gluten eating family loved this meal!  The Chow Mein noodles are the bomb, and they are great with salads too!  I will definitely be adding this meal to our dinner rotation.

Print This Post Print This Post

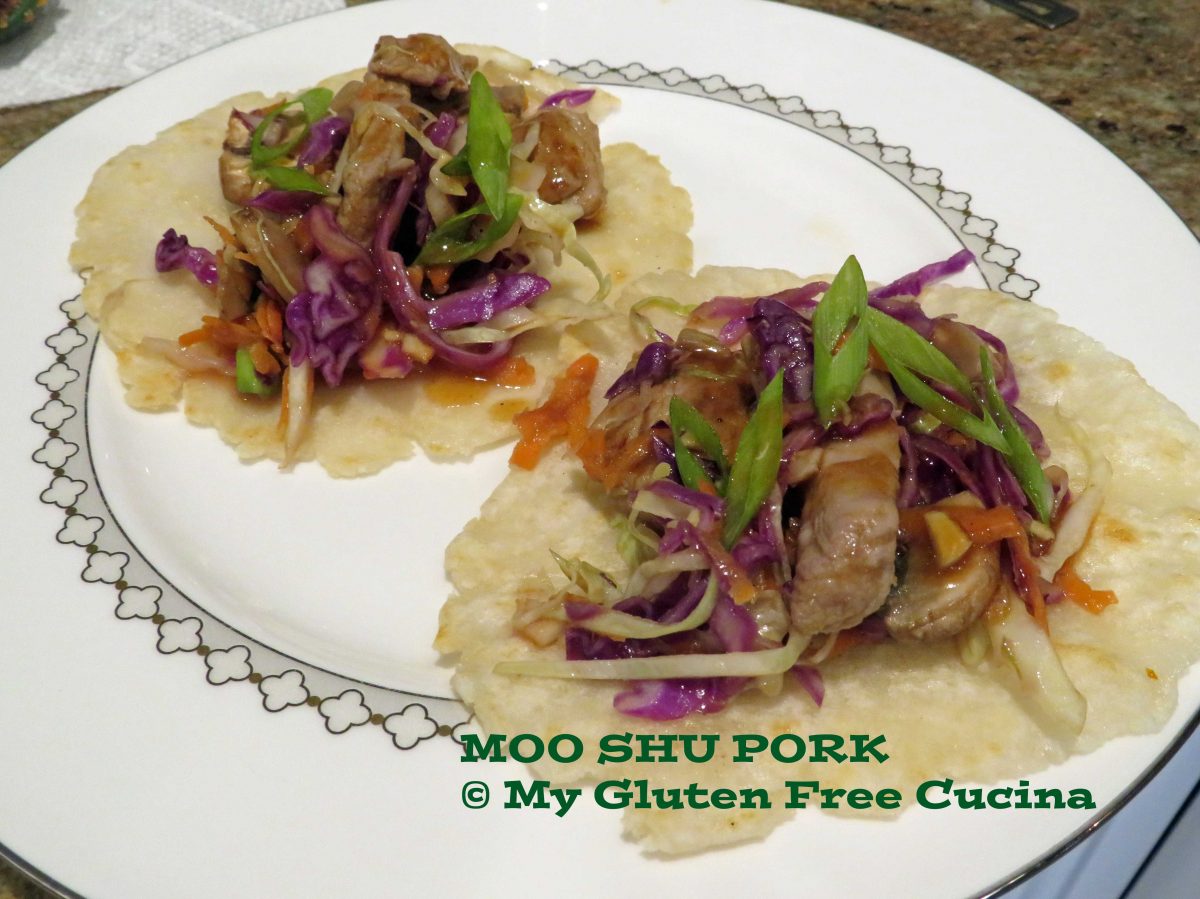
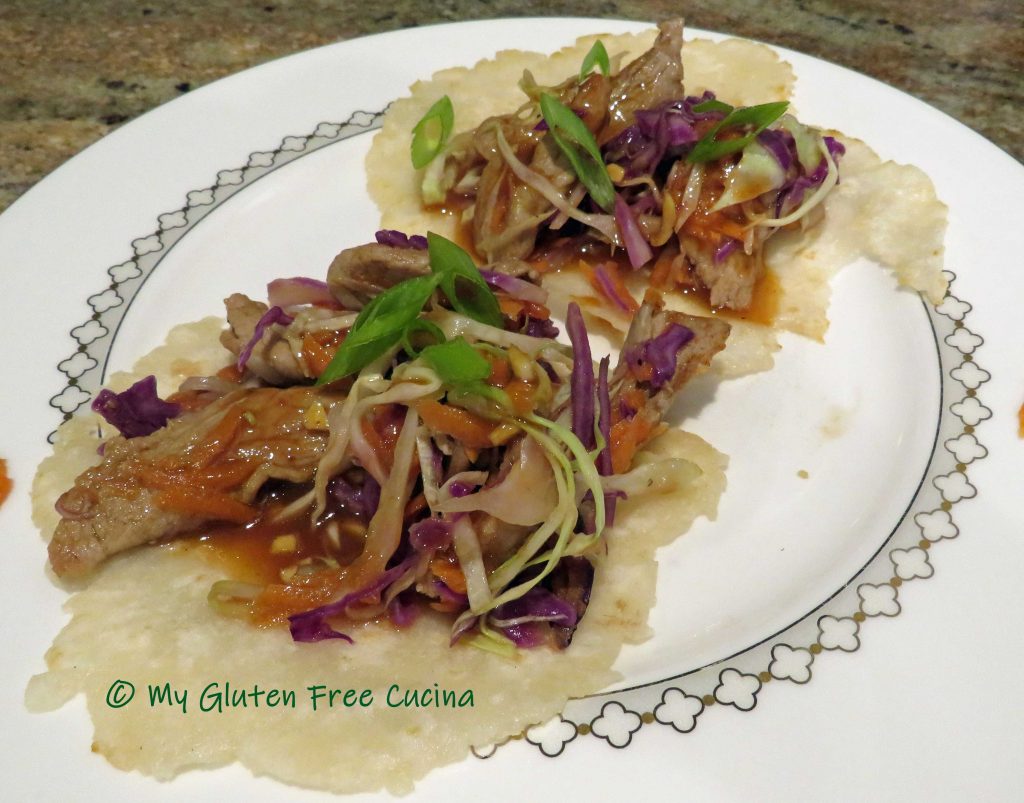
Gluten Free Moo Shu Pork

Gluten Free Moo Shu Pork

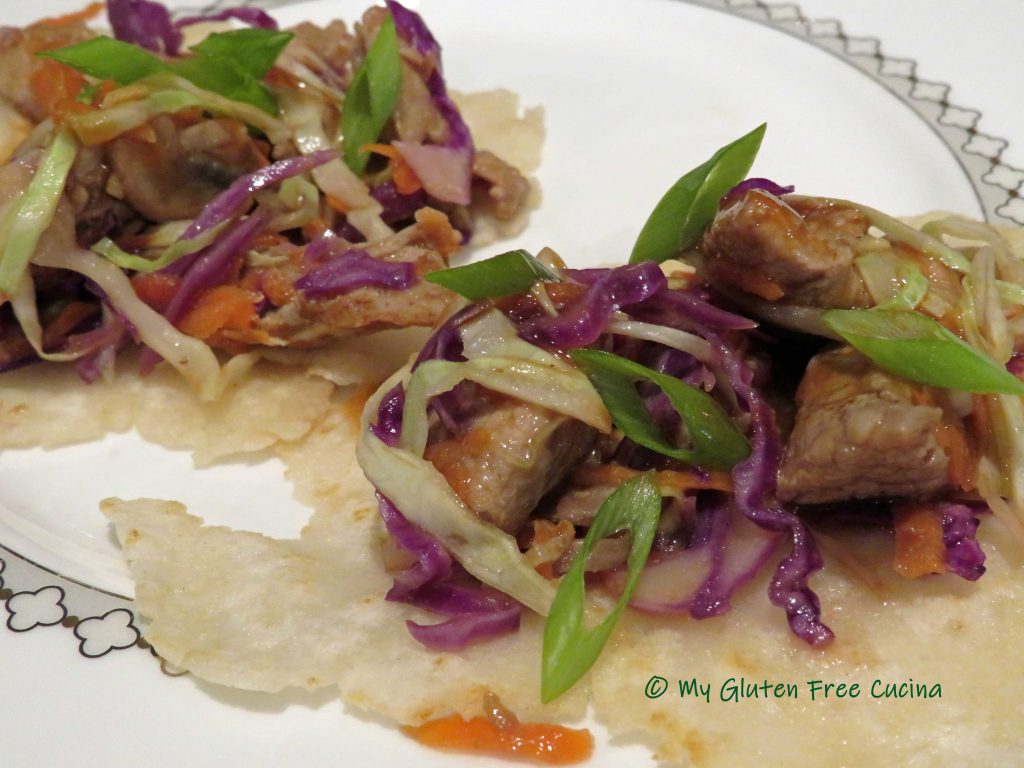
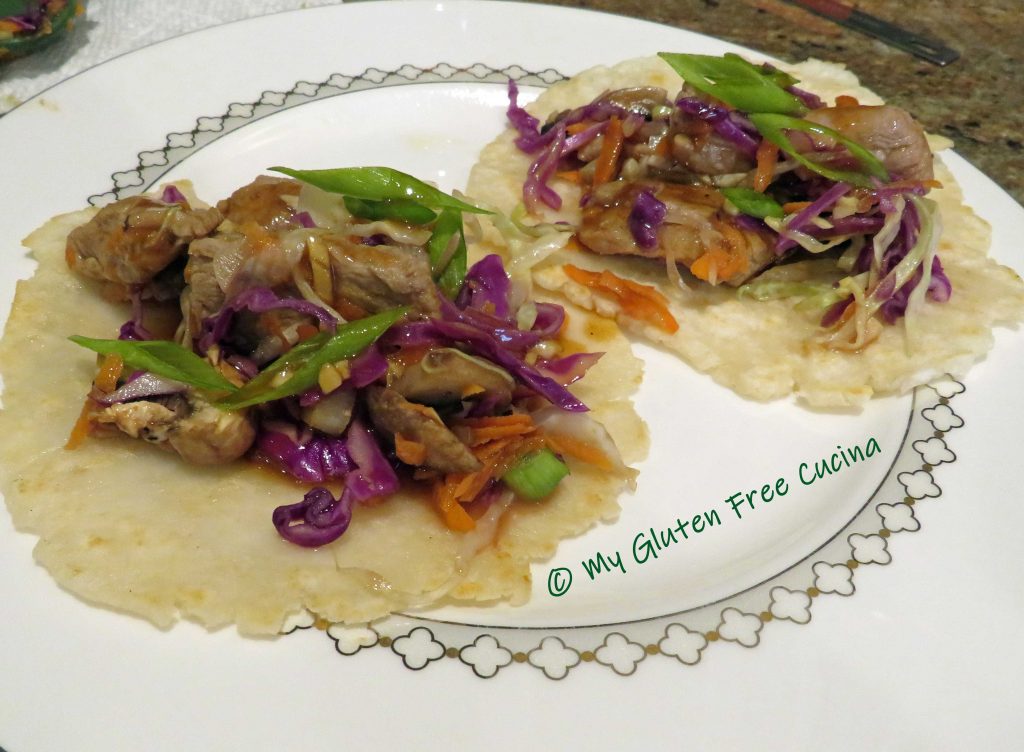
Moo Shu Pork!  Today was my first time making this popular Chinese-American dish, and it’s a keeper!  The flavor and texture of the marinated pork and crisp veggies was just incredible.  And how about those little Mandarin pancakes?

What makes this dish gluten free?

There are a few ingredients you will need to be cautious about in this dish.  While the pork and veggies are naturally gluten free, you need to read the labels on those Asian condiments!  Hoisin Sauce, Plum Sauce, Soy Sauce, Oyster Sauce all may contain wheat.  You can find gluten free condiments, just read the labels carefully!

I thought I would be getting out of my comfort zone with the Mandarin pancakes, but they were really easy to make!  Surprisingly, they have just 3 ingredients and require no special equipment!  That’s right, no stand mixer, no food processor, just a rolling pin!

Mise en Place

As with all stir-fry recipes, you need to have your ingredients prepped and organized before you begin the cooking.  I was well into the process when I realized I did not have enough Hoisin sauce for the recipe.  Don’t be like me (spoiler alert, I was able to improvise, and it came out great)!!!

4 Servings

This post contains affiliate links.

Ingredients:

Marinade Ingredients:

Stir-Fry Ingredients:

  • 12 oz. pork tenderloin, cut into thin strips
  • 1 cup grated carrot (about 1 medium)
  • 1-1/2 cups sliced mushrooms
  • 2 cups red cabbage, shredded
  • 2 cups green cabbage, shredded
  • 2 scallions, bottoms and reserve greens sliced on diagonal for garnish
  • toasted sesame oil

Mandarin Pancake Ingredients:

  • 125 g. (about 3/4 cup) gluten free all-purpose flour (I used and recommend Better Batter Original Blend)
  • 1/4 tsp. salt
  • 1/2 cup boiling water
  • toasted sesame oil

Preparation:

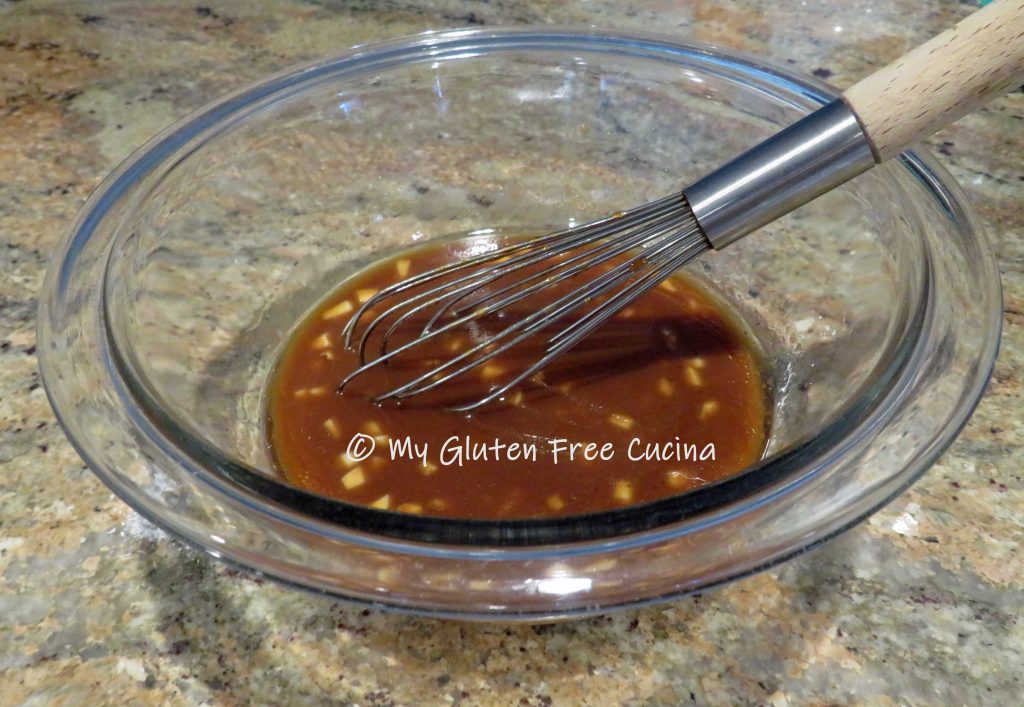
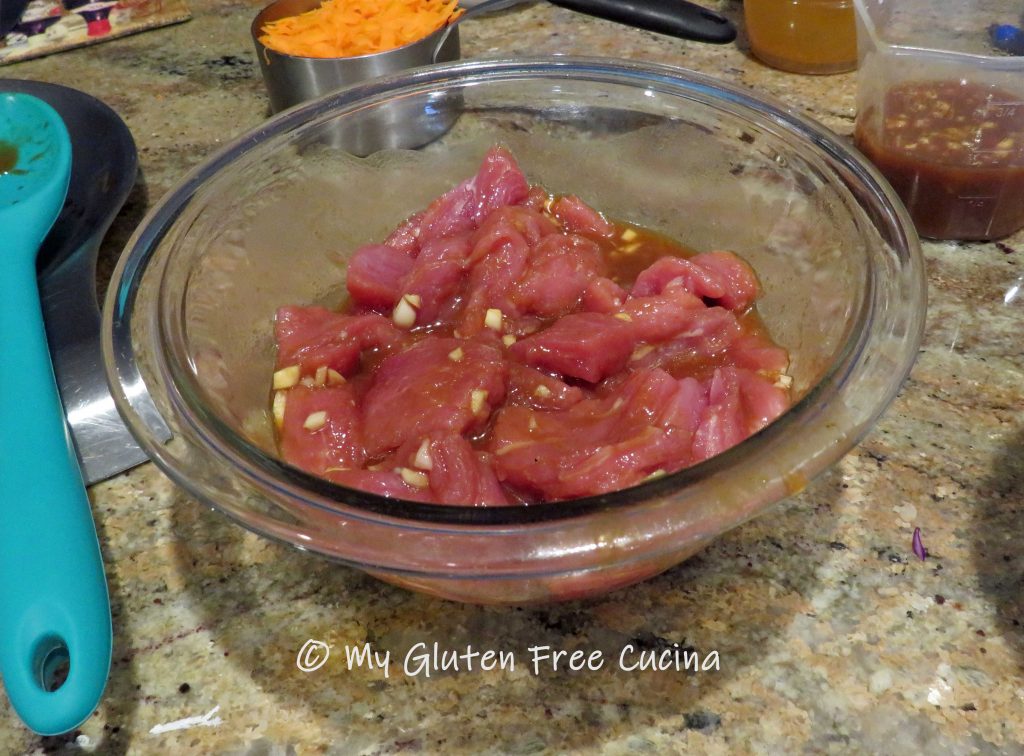
The first thing I did was whisk together the marinade ingredients.  This allows the flavors to meld a bit before you begin cooking.  Divide the marinade into 2 portions, use one for the meat and reserve one to drizzle on the finished dish.   Remember I said that I didn’t have enough Hoisin sauce for this recipe?  Well, I used what I had and topped it off with a little Plum sauce, so delicious!

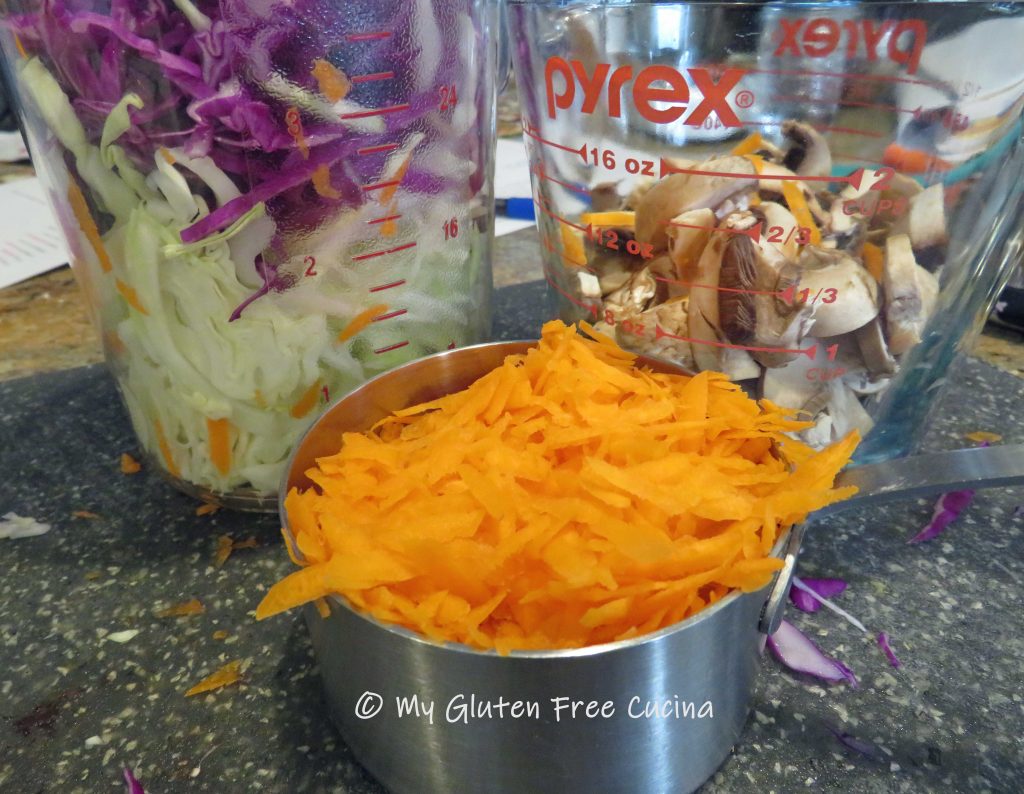
Next, I prepped the veggies.  I used a coarse grater for the carrots and a mandoline to shred the cabbage.

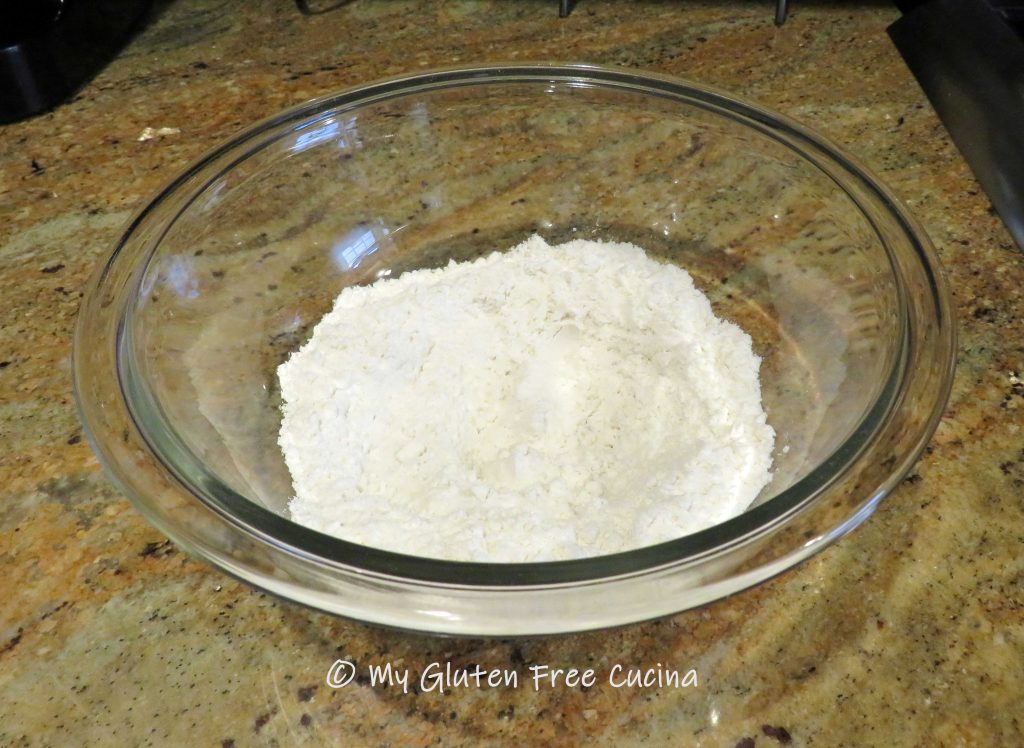
Now for the pancakes!  You are going to be surprised at how easy they come together.  First whisk together the flour and salt.

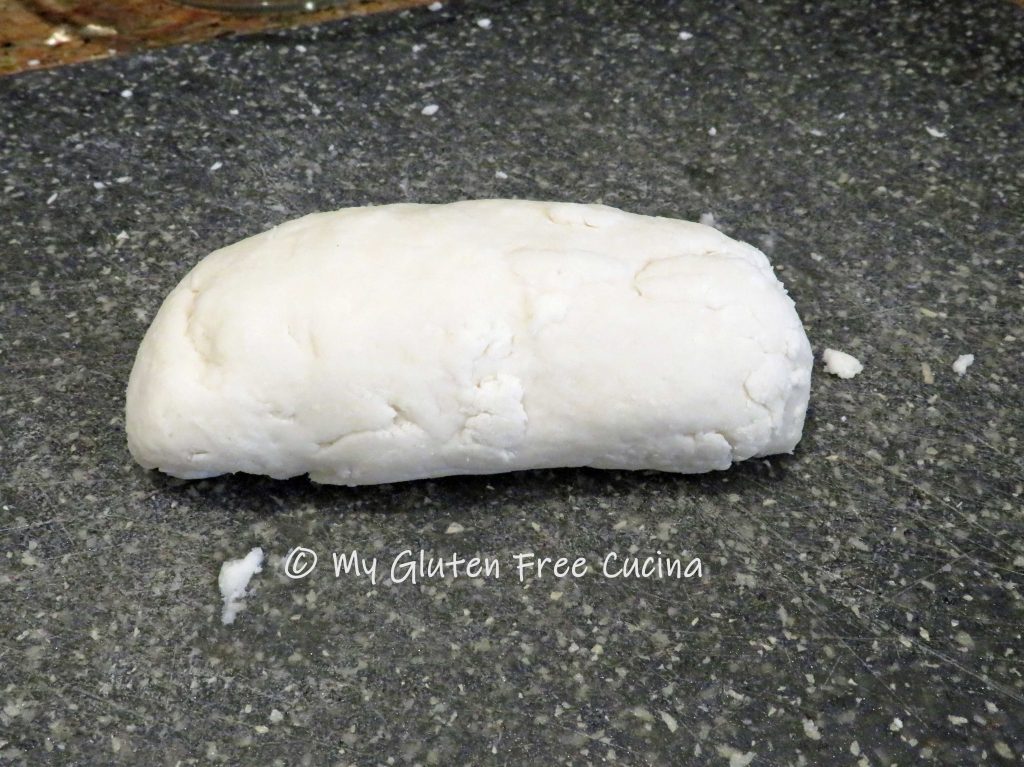
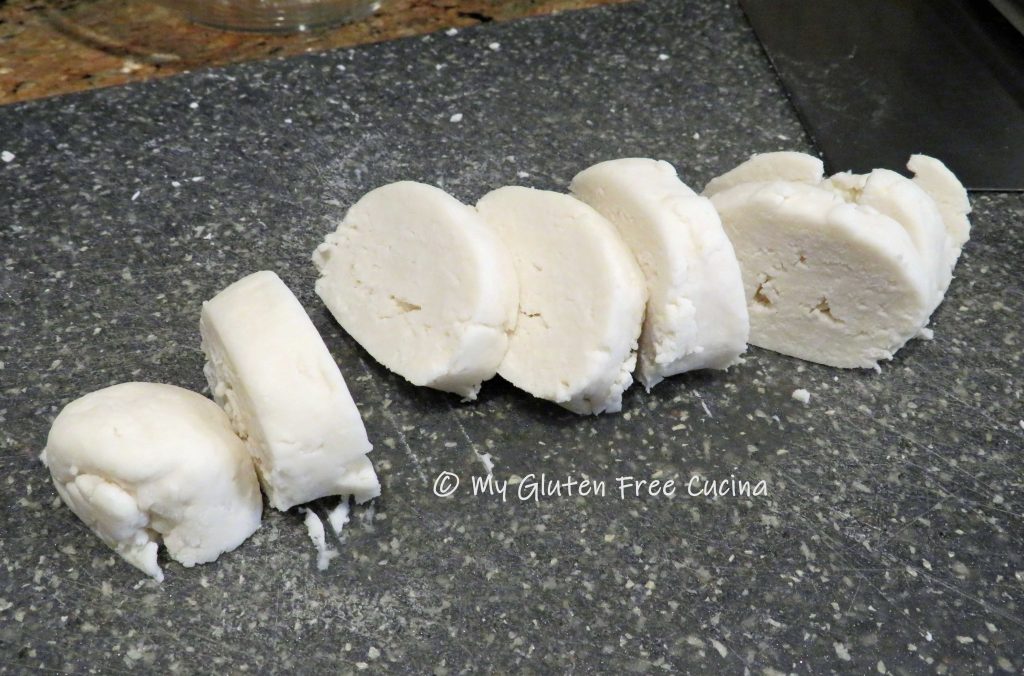
Add the water, stirring in a little at a time to form a dry, shaggy dough.  The dough should hold together when you give it a squeeze.  Shape the dough into a log.

Cover with plastic wrap or a damp towel, and let it rest for 10 minutes to hydrate.  While the dough is resting, cut the pork tenderloin into thin strips (I used kitchen shears).  Place the strips into a bowl with half of the marinade and stir to coat.

Use a bench knife to divide the dough log into 8 equal pieces.

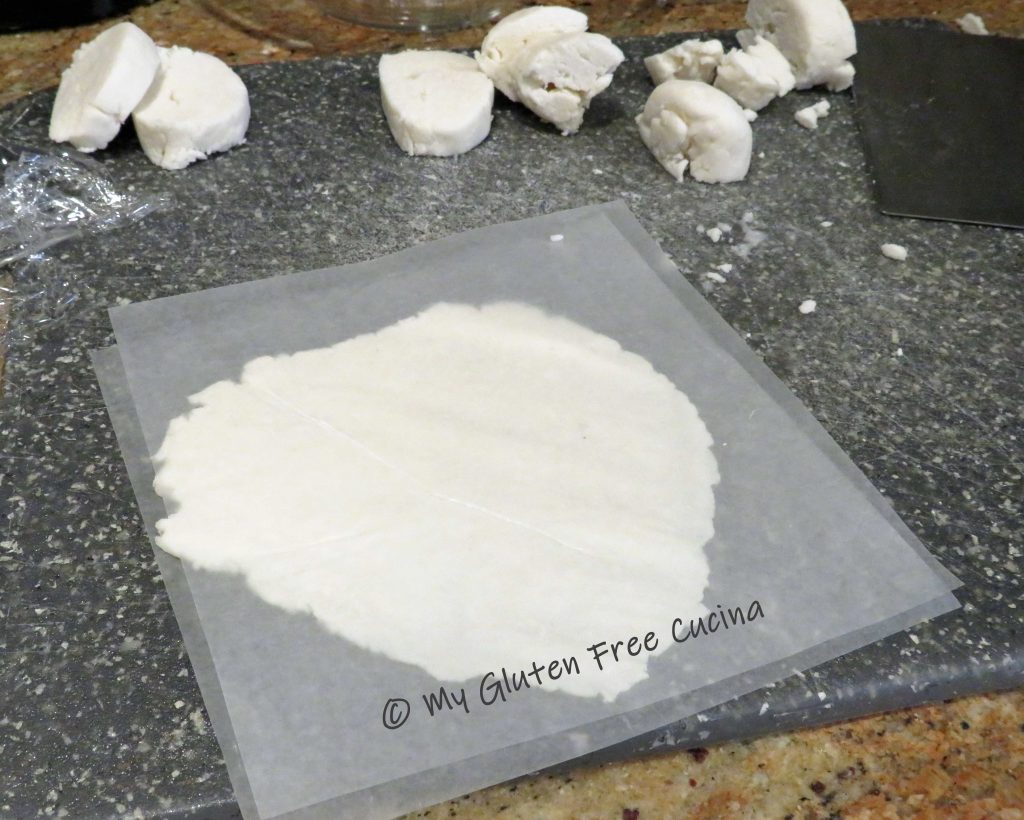
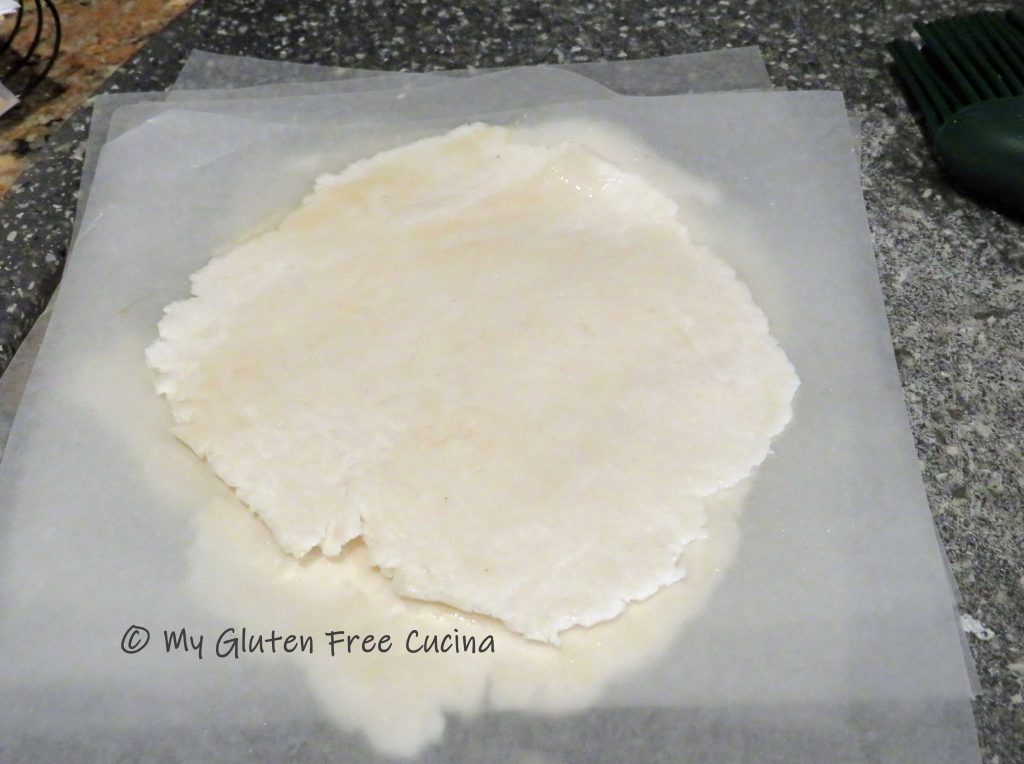
I used 6″ wax paper squares to help roll out the dough.  Brush the paper with toasted sesame oil (so it doesn’t stick), place one section of dough between two sheets and roll it out to about 5″ diameter and 1/8″ thickness.

Continue with the remaining sections of dough and stack them between sheets of oiled wax paper.

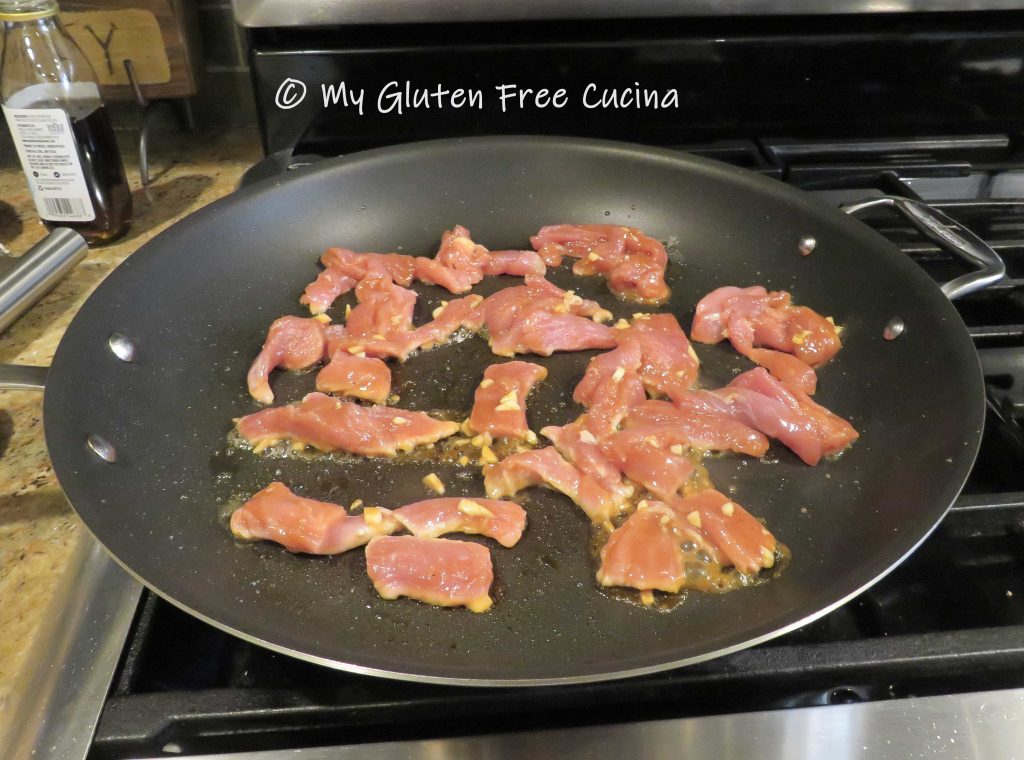
Now we are ready to finish the dish.  Heat 2 nonstick skillets, a larger one for the stir fry and a smaller one for the pancakes.  In the large skillet, begin cooking the pork.  Discard any marinade remaining in the bowl.

Use tongs to turn each piece to quickly brown both sides.  The pork does not have to be cooked through at this point; it will finish cooking with the veggies.

Add all of the vegetables to the skillet.
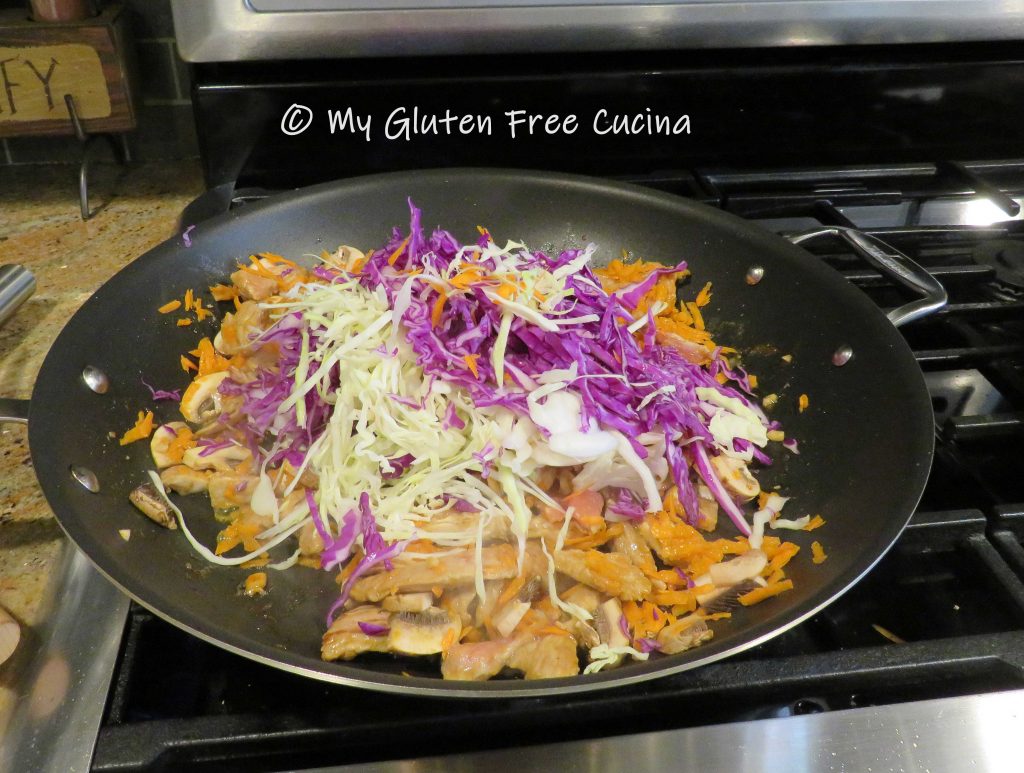
Stir fry the veggies for several minutes, turning frequently to wilt the cabbage.

When the veggies are crisp tender, turn down the heat.  Brush the smaller skillet with sesame oil.  Remove 2 of the Mandarin pancakes from the wax paper, stack one over the other and place in the skillet.  Cook for 30 seconds, flip and cook another 30 seconds.  Then, carefully separate the 2 layers and transfer to a plate.

Note ♪ Cooking the pancakes two at a time allows them to heat through on the outside and steam in the middle.  As long as they are well oiled, you should have no problem peeling the layers apart.

Continue with the remaining pancakes and arrange on a serving platter or individual plates.  Spoon the Moo Shu Pork onto each pancake.  Drizzle the reserved marinade over each and garnish with scallion greens.

If you have leftovers, they will keep well for a few days in the fridge.  I stored the Mandarin pancakes in a zip lock bag, with a sheet of wax paper between each and they remained soft and pliable.  Reheat the Moo Shu Pork in the microwave and spoon over a pancake, no need to heat the pancakes as they will warm through from the heat of the pork.

Notes ♪♫ Mandarin pancakes are a thin, unleavened flatbread, similar to a tortilla.  They came out great and reminded me of the wheat wraps I used to buy.  I used (and recommend) Better Batter Original gluten free flour for this recipe.  Even my gluten eating husband thought the Mandarin pancakes were delicious!  I have not tested the recipe with other flour blends, so be aware that if you decide to use a different brand your results may vary.  In general, I find that Better Batter is superior to other gluten free flours for recipes that require rolling and shaping of dough.  CLICK HERE for 30% off any non-sale item.

Print This Post Print This Post


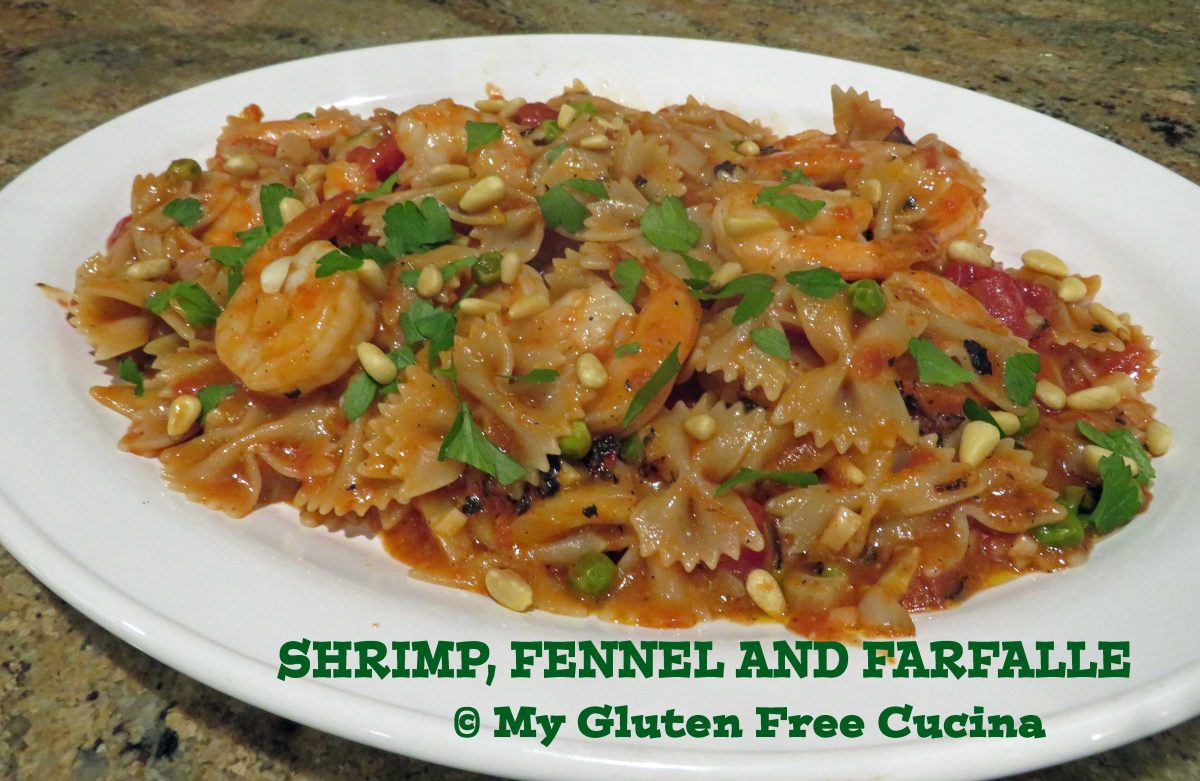
Gluten Free Shrimp, Fennel and Farfalle

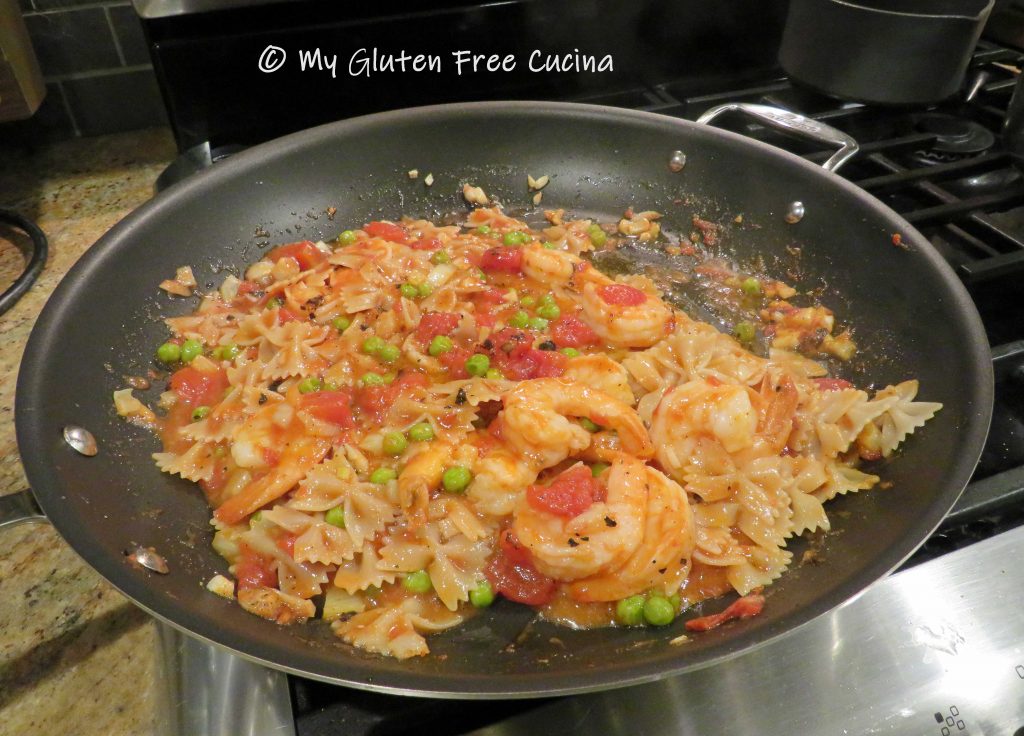
This skillet dinner has all the requirements of an easy weeknight meal.  With just a little prep, a few pantry ingredients and only 2 pans to clean, what’s not to love?

Have you tried fennel?  It’s a common ingredient in many Italian dishes, both in raw and cooked form.  Raw fennel has a pronounced flavor that becomes milder when cooked.

I used a small amount of fennel as an accent flavor in this dish, but you can adjust to your taste.  It is the perfect complement to the shrimp, garlic and tomatoes!

This post contains affiliate links.

Ingredients:

Preparation:

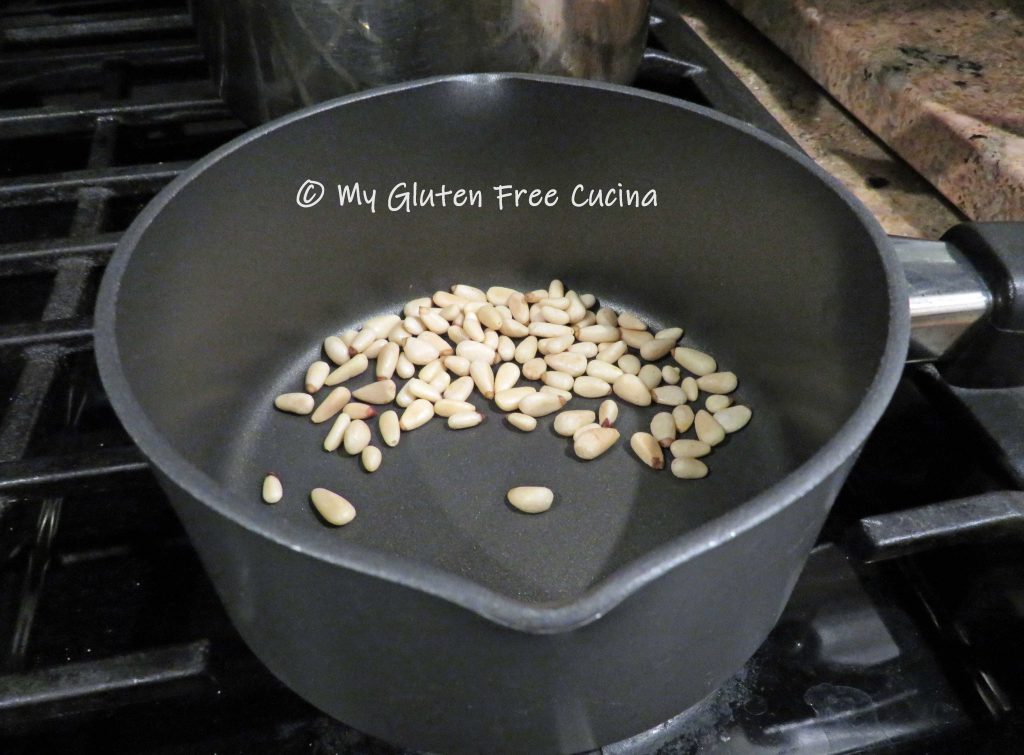
Before you get started, toast the pignoli in a dry skillet until lightly browned and fragrant.  Set aside for garnish.  Heat a pot of salted water for the pasta.

If your shrimp are frozen, rinse them under cool water to thaw.  Peel and devein the shrimp, pat dry and toss with 1 tbsp. white rice flour.

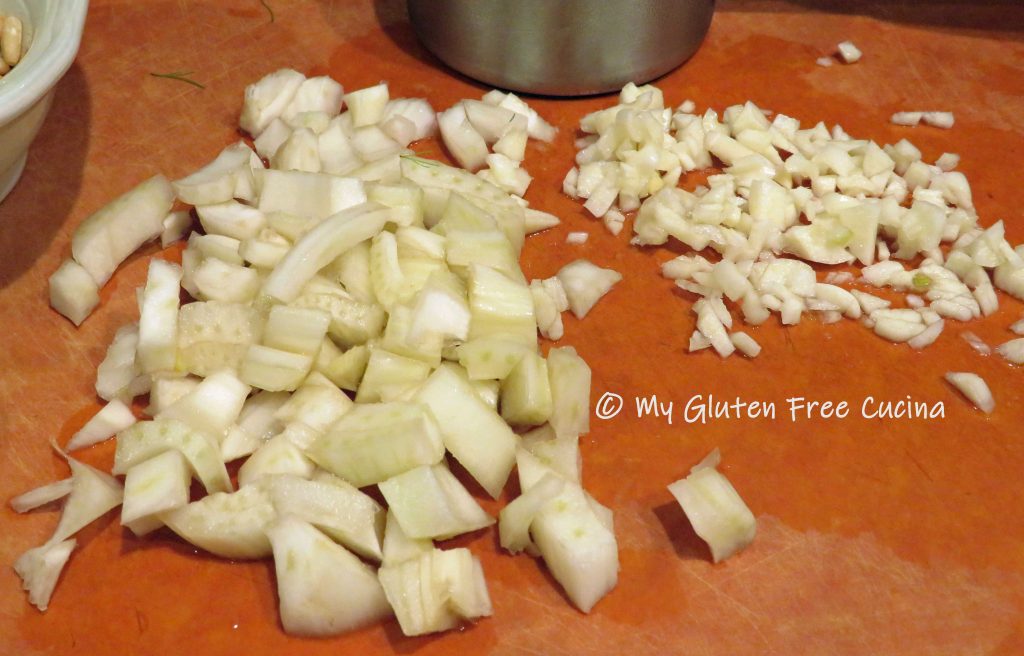
Mince the garlic and chop the fennel into 1/2″ dice.  Heat 2 tbsp. olive oil in a large nonstick skillet.

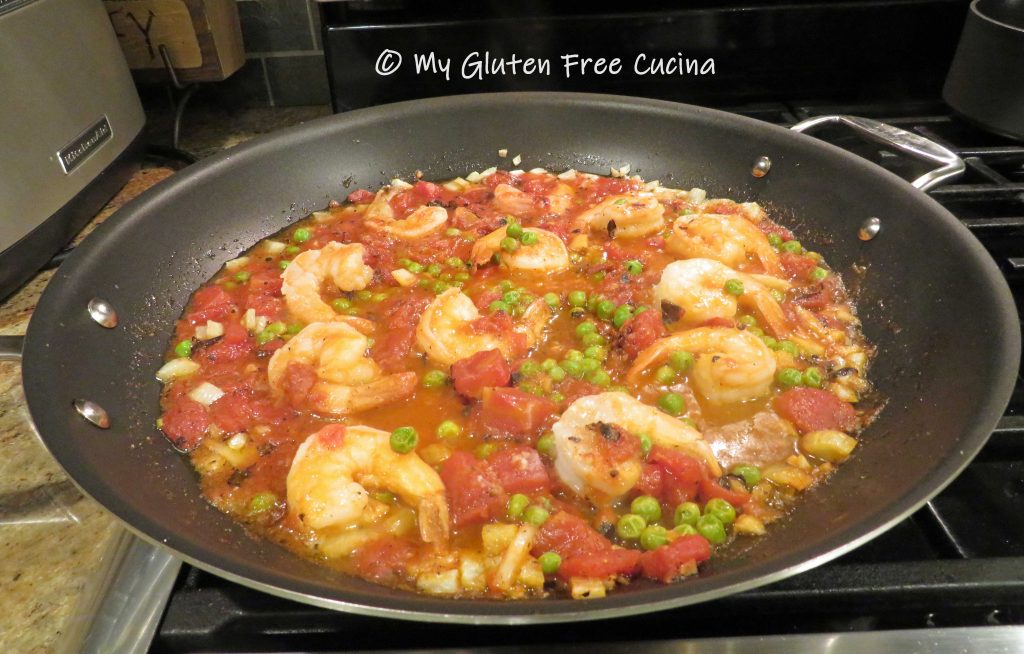
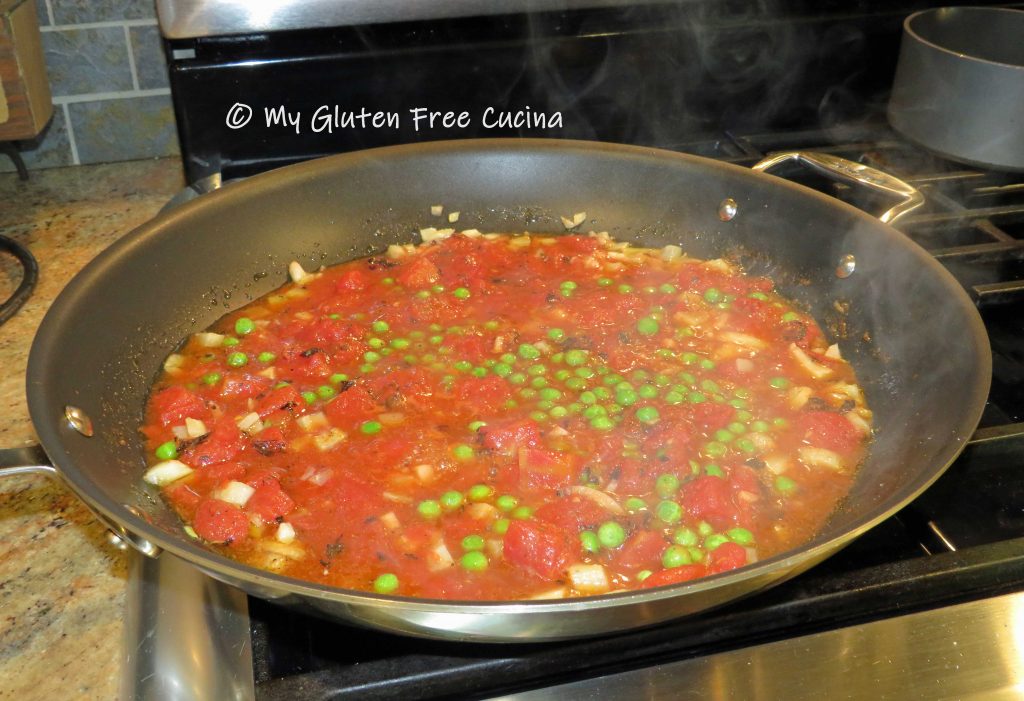
Add the diced fennel and cook for one minute, then add the garlic and cook for 30 seconds.  Stir in the diced tomatoes, peas, wine and seasoning.  Simmer for 10 minutes to reduce the liquid.
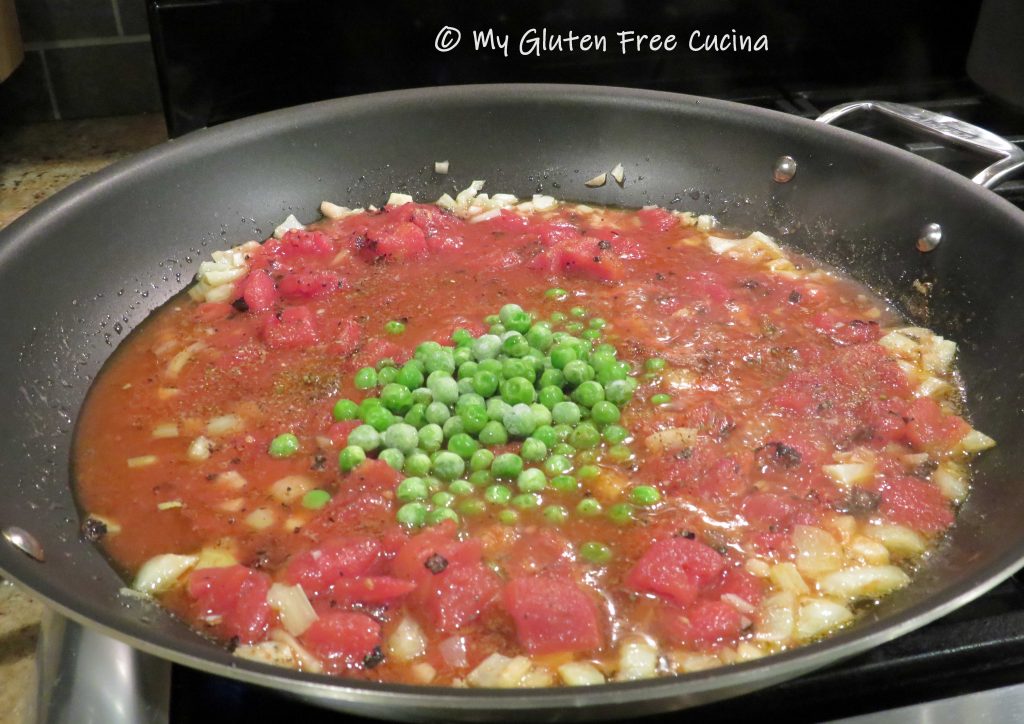
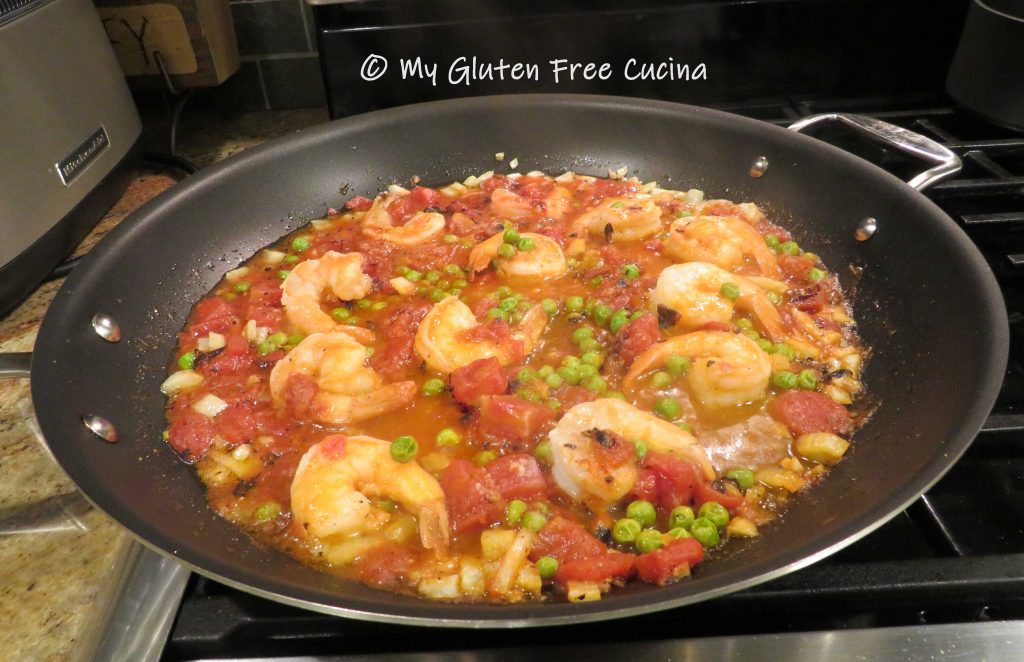
Cook the pasta for 2 minutes less than the package directions.  Add the shrimp to the skillet and cook for a few minutes more, just until the shrimp turn pink.  You can add a small amount of the pasta water if needed.

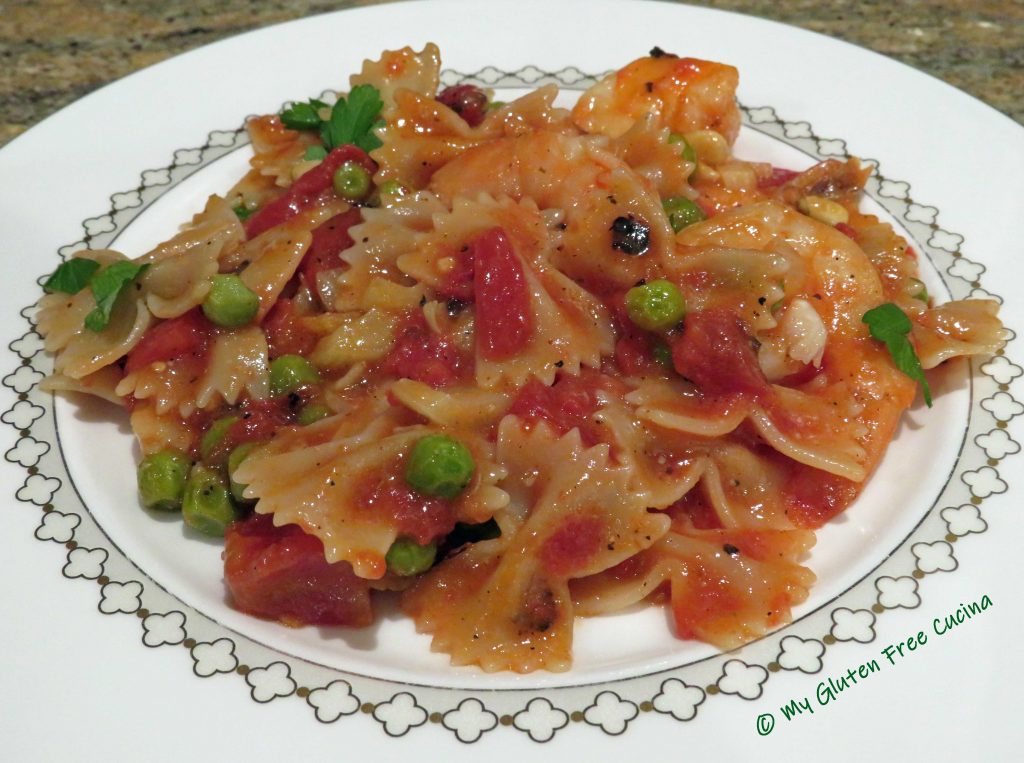
Drain the pasta, add to the skillet and toss well.

Transfer to a serving platter and finish with a drizzle of olive oil.  Garnish with fresh parsley and toasted pignoli.
Notes ♪♫  When you have a well stocked pantry you can always pull a meal together in a hurry.  I always have frozen shrimp, bags of frozen peas and canned tomatoes on hand.  I am Italian, so you know I have a six month supply of gluten free pasta!  Parsley and garlic are also pantry staples, so I really just had to buy the fennel to make this dish.  I hope you will try the recipe!

Print This Post Print This Post

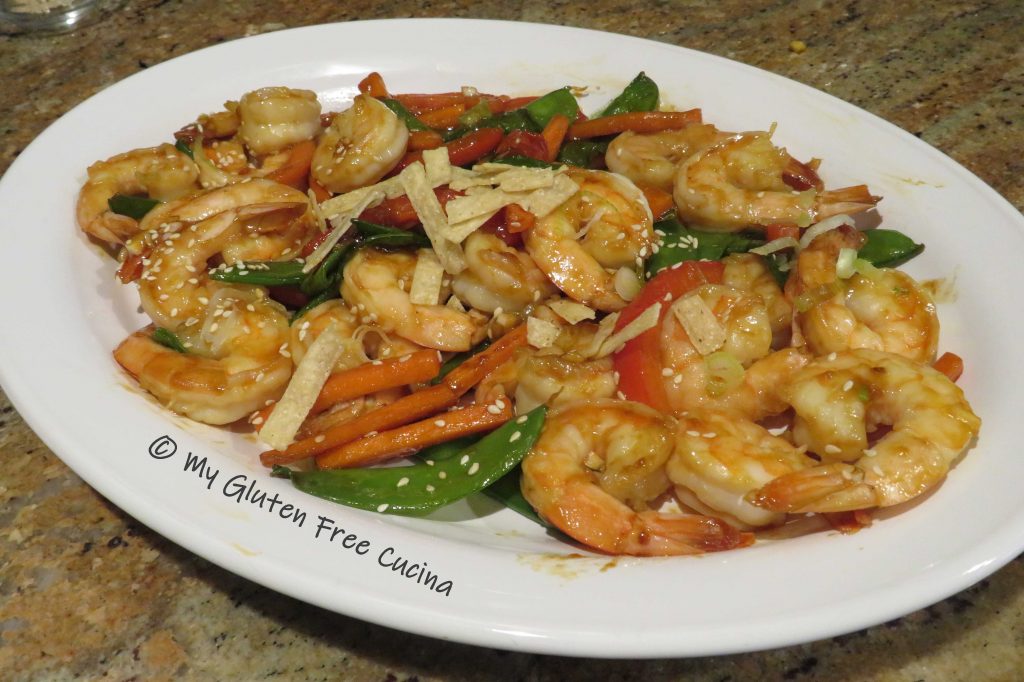
Gluten Free Garlic Shrimp Stir Fry

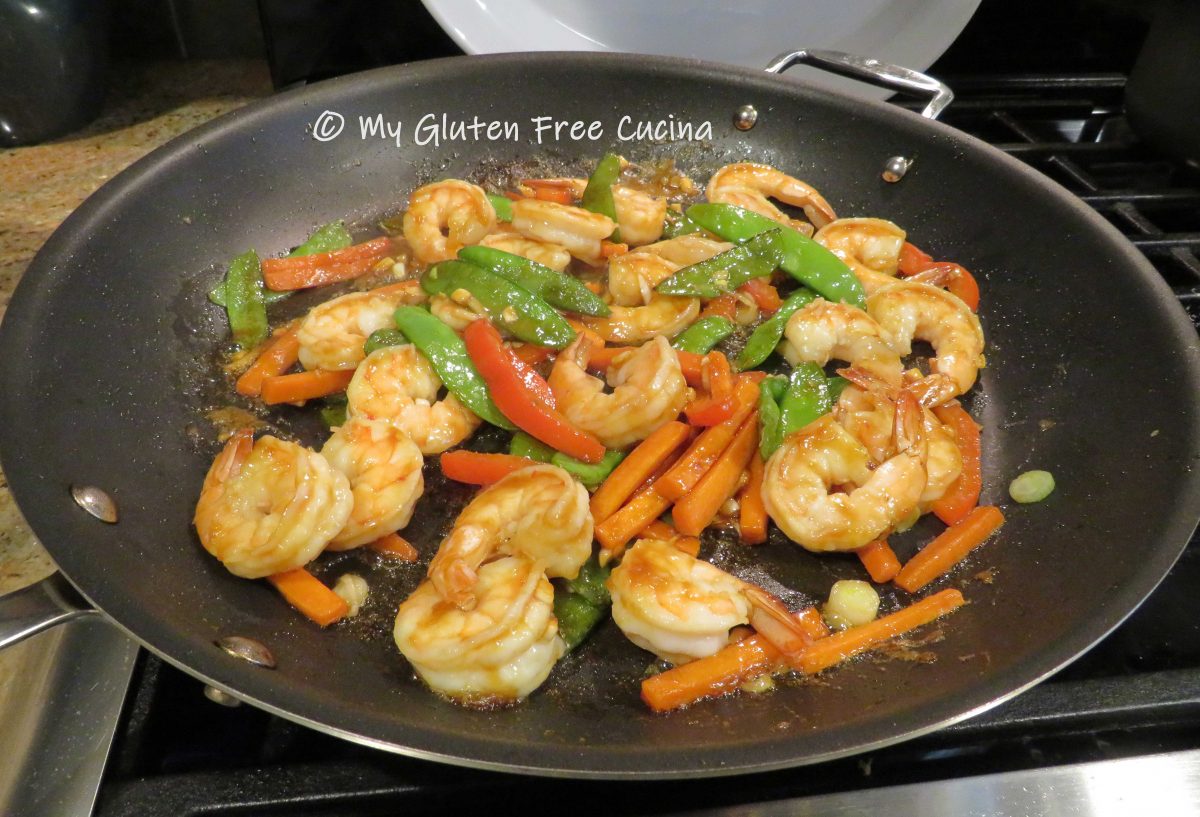
Easy stir fry meals like this one are a mainstay of busy weeknights.  In this dish, bright colorful veggies and beautiful jumbo shrimp come together in an Asian inspired sauce.  We love shrimp and I am always excited to buy the big, 2 lb. bag as it is both convenient and economical.  Typically the shrimp have already been deveined, so all that remains is to peel before cooking.  Completely gluten free, I used coconut aminos to keep the recipe lower in sodium and also made a very small amount of rice as we are watching carbs.  If salt is not a concern you can use all tamari, and of course you can adjust the rice serving for larger families (and appetites).

4 servings

This post contains affiliate links.

Ingredients:

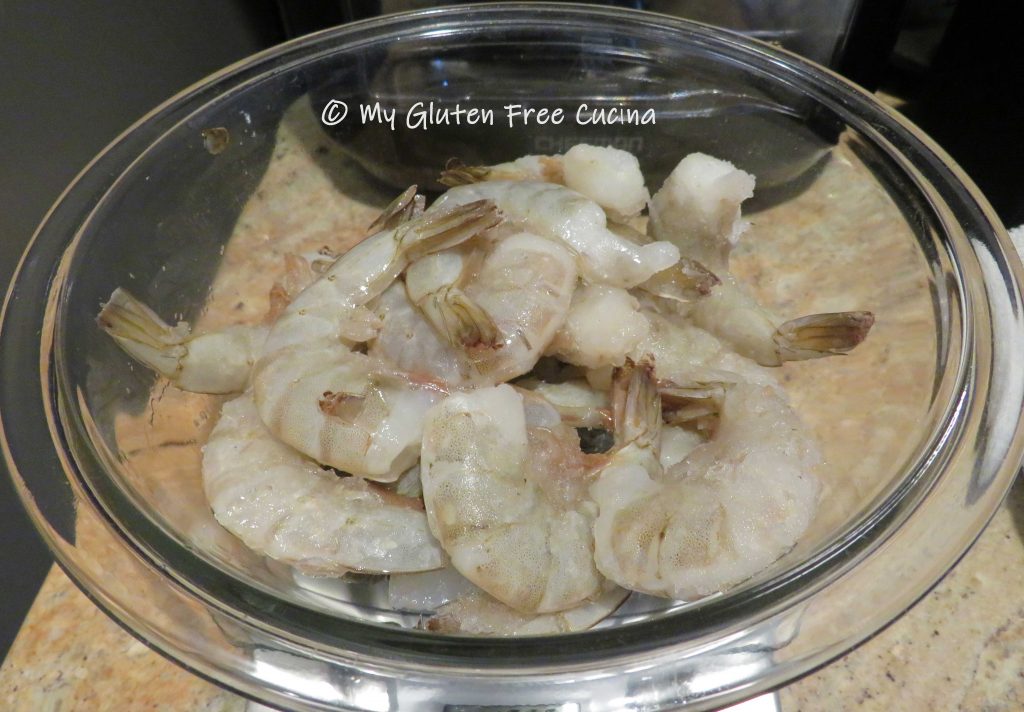
  • 1 lb. frozen jumbo shrimp (21/25 count per pound)
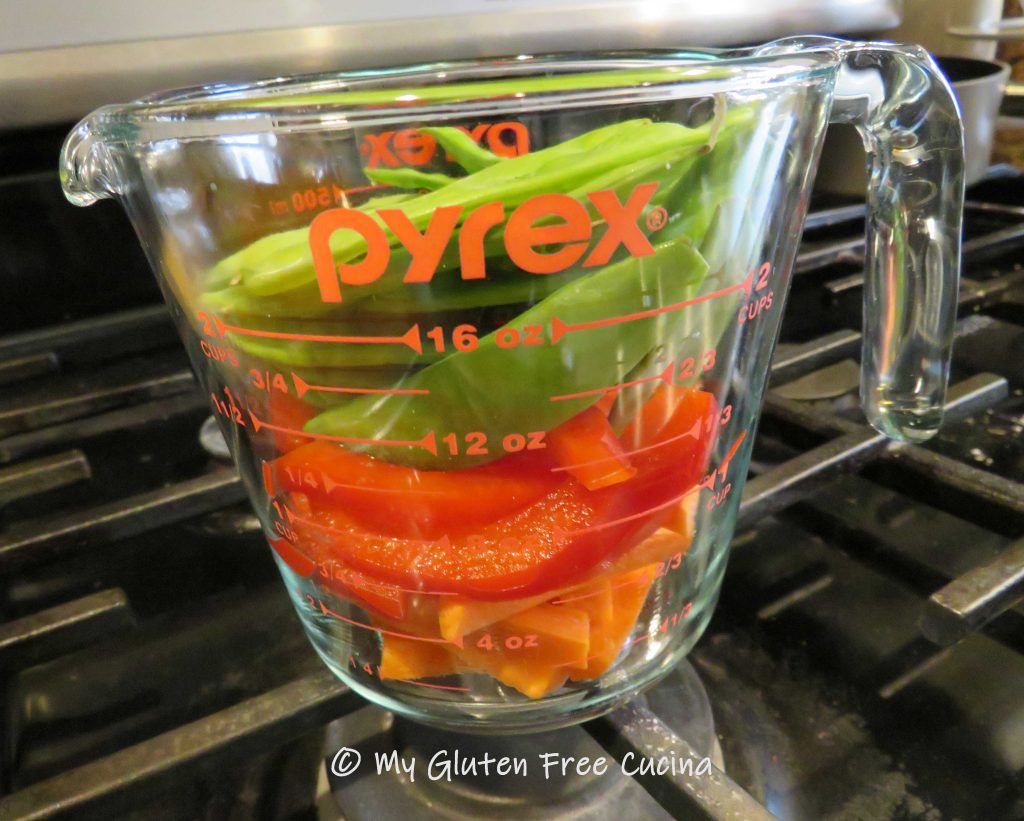
  • 1/2 cup red bell pepper, sliced thin
  • 1/2 cup carrot, cut into matchsticks
  • 1 cup snow peas
  • 1/3 cup white rice
  • 1 tsp. sesame seeds
  • 2 scallions sliced thin, divided use
  • gluten free tortilla strips

For the sauce:

Preparation:

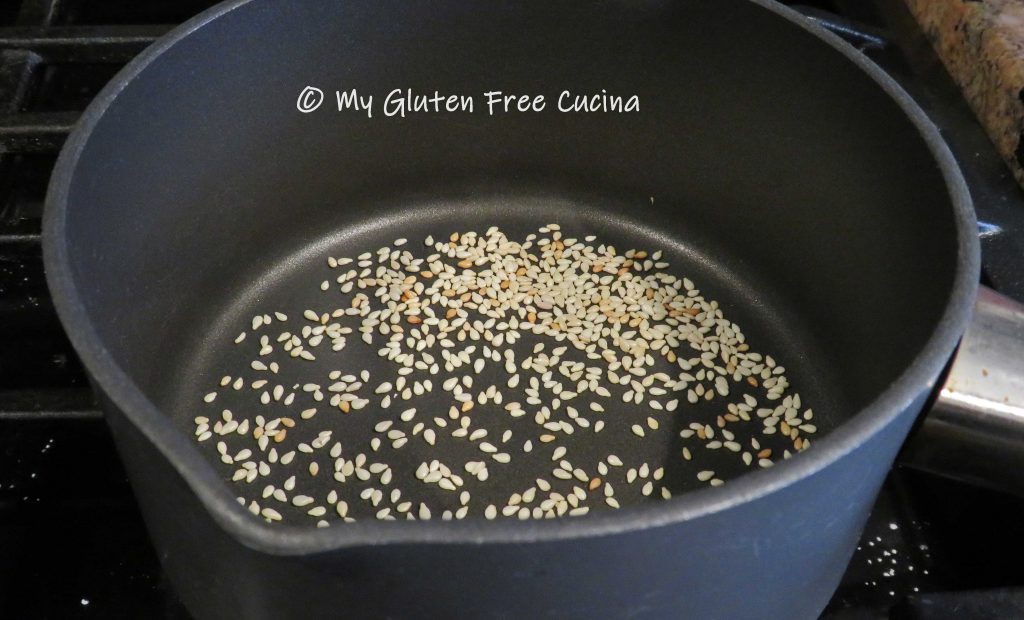
Toast the sesame seeds in a small nonstick saucepan and set aside.  Prep the veggies and cook the rice according to package directions.

If your shrimp are frozen, just run them under cool water for a minute then peel, leaving the tails on.

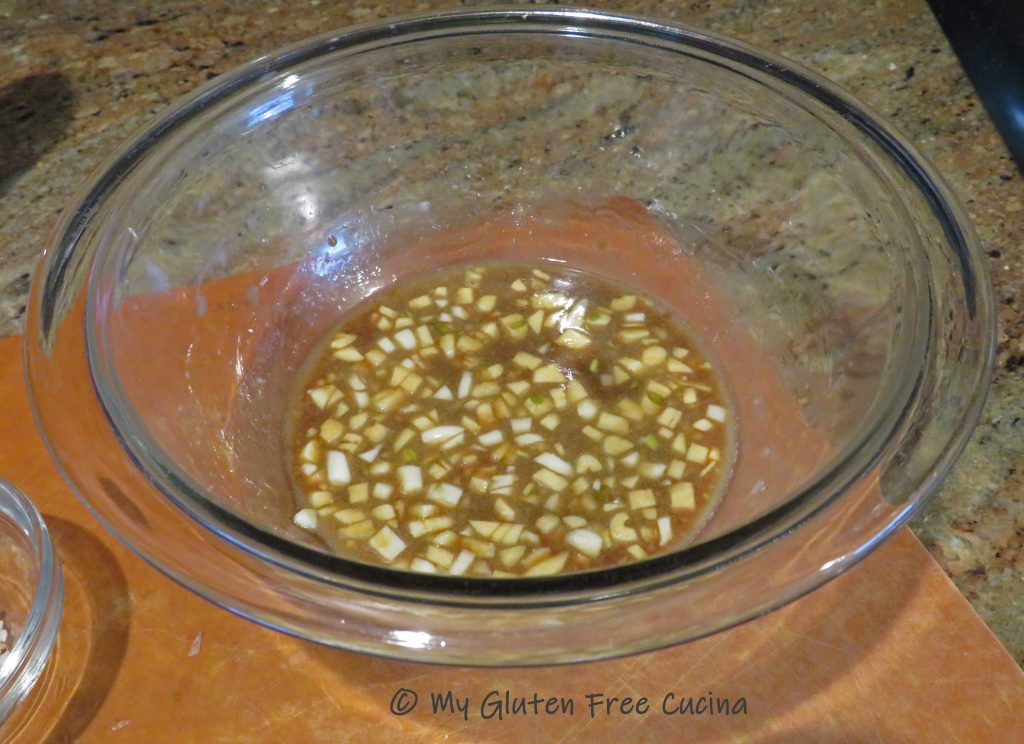
Whisk together the sauce ingredients.

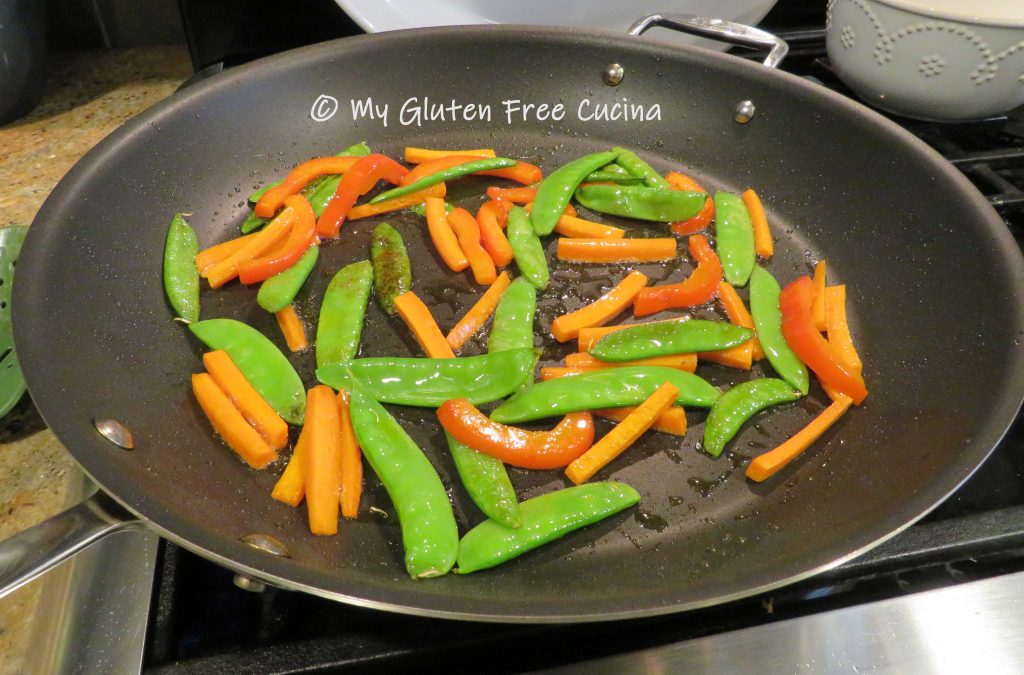
Heat the olive oil in a large, nonstick skillet over medium low.  Add the bell pepper, carrots and snow peas.  Cook the veggies for 3 minutes, stirring frequently.

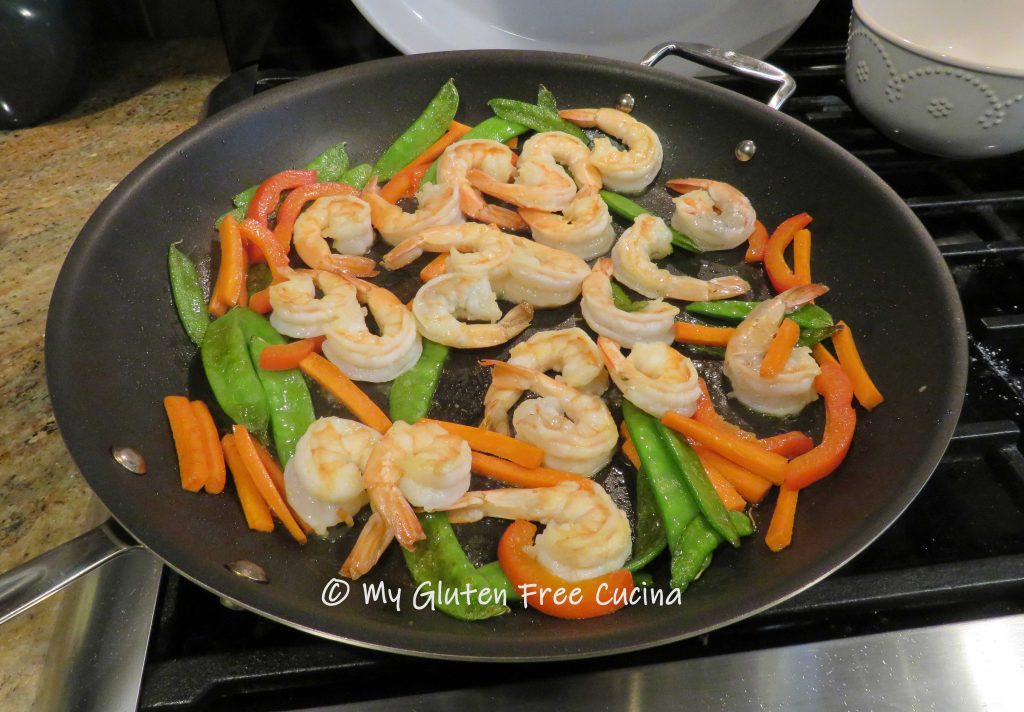
Add the shrimp to the pan and cook for 2 minutes longer, or just until they turn pink.

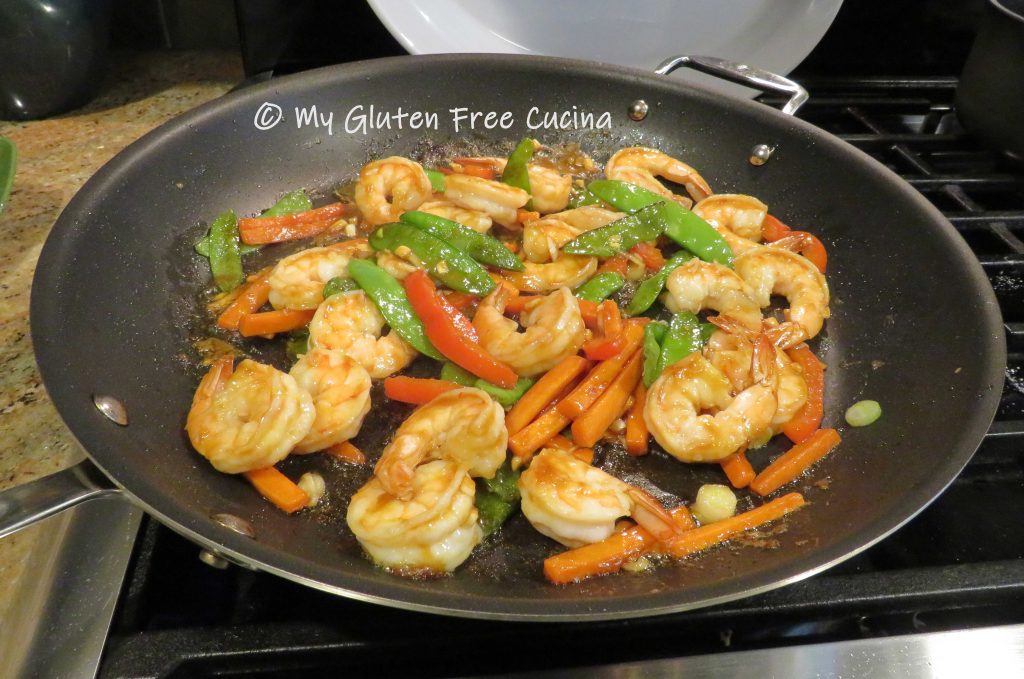
Pour the sauce over the shrimp and veggies, along with half of the scallions and cook several minutes longer.  As the sauce thickens, stir continuously.  Lower the heat if needed so it doesn’t burn.

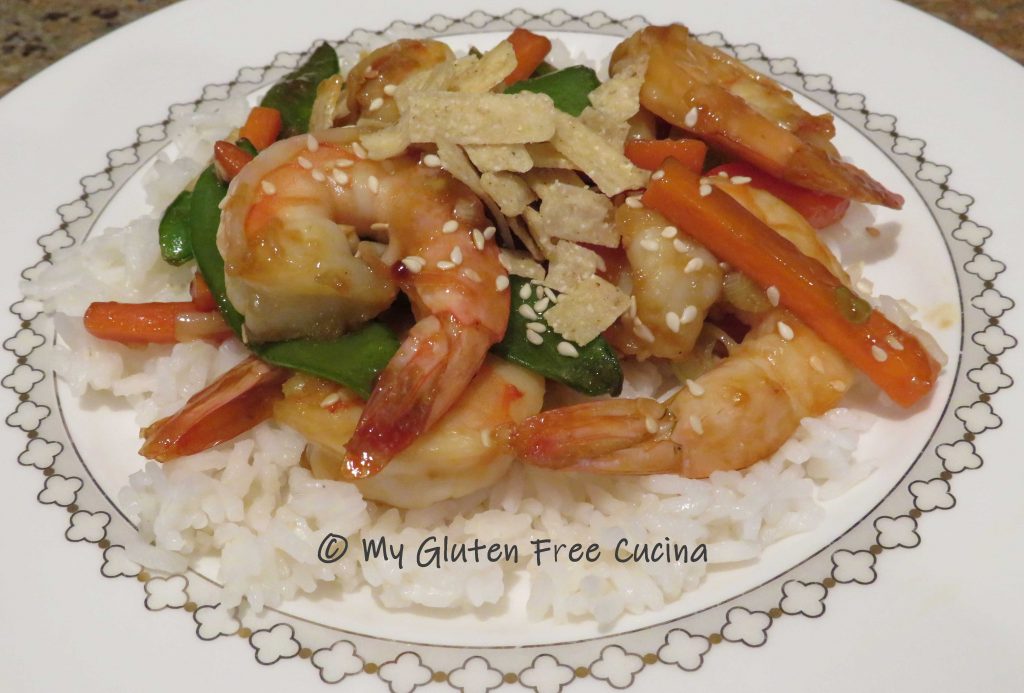
Transfer to a serving platter and garnish with the remaining scallions.  Sprinkle with sesame seeds and tortilla strips.

To serve, spoon the shrimp and veggies over the rice with more sesame seeds and tortilla strips.
Notes ♪♫ How much is a half tablespoon?  You won’t have to “eyeball it” with this cool set of magnetized measuring spoons that includes the unusual measures of 1/2 tbsp. and 3/4 tsp. Great when you are making a half recipe or quarter recipe!  Plus they’re magnetized, so they won’t get lost!

Print This Post Print This Post