Gluten Free Meatloaf

Are you missing meatloaf on your gluten free diet?  Meatloaf made with gluten free breadcrumbs can be disappointing, a wet soggy mess that doesn’t hold together.  Today I’ll show you how to make a moist tasty meatloaf that won’t fall apart when you slice it.  By the way, this meatloaf is loaded with healthy veggies, but that can be our little secret!

4 Servings

This post contains affiliate links.

Ingredients:

Preparation:

Finely mince the veggies, using a knife or electric chopper.

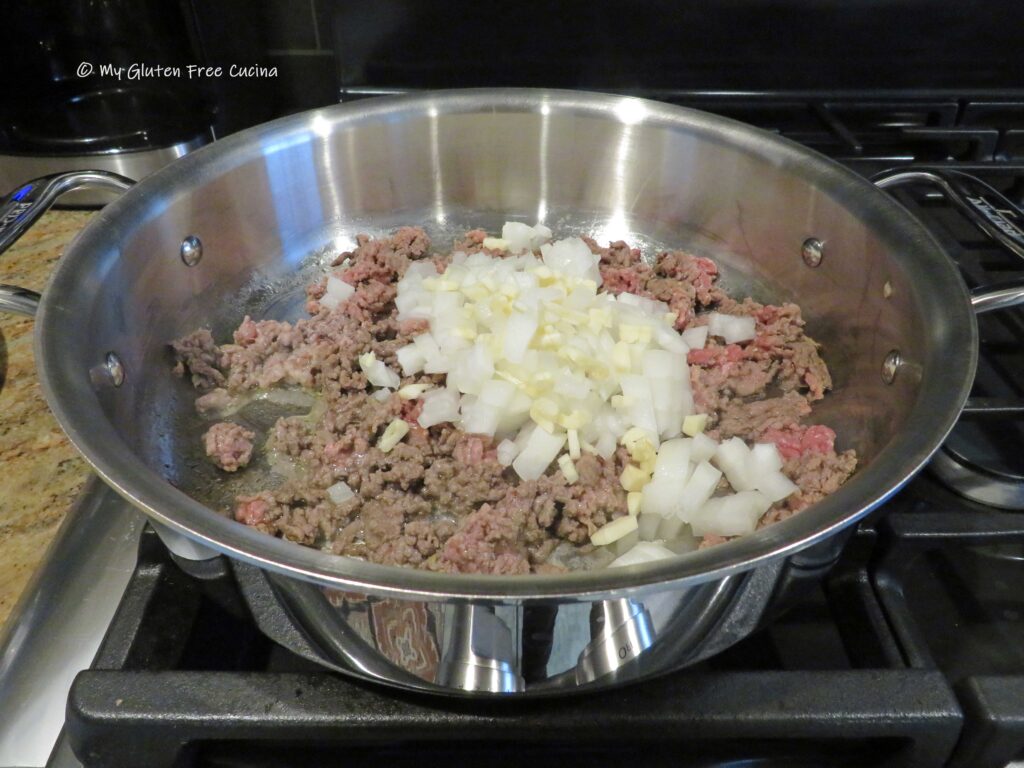
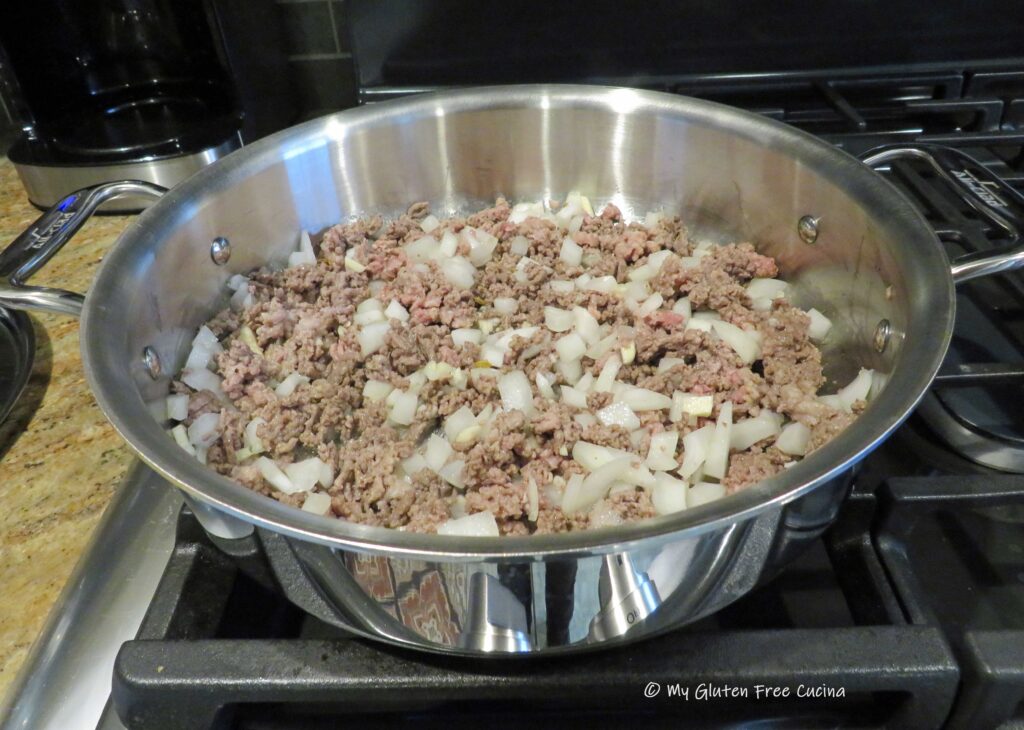
Season the veggies and garlic with salt and pepper, then sauté in a little olive oil.  I used onion, bell pepper, mushroom and zucchini.  They will almost disappear into the meatloaf (shhhh, don’t tell the kids)!

When the veggies have reduced by half and there is no visible liquid in the pan, set them aside to cool.

Whisk together the egg, ketchup, brown sugar, red pepper flakes and Worcestershire.  Be sure your Worcestershire sauce is gluten free, check labels and don’t hesitate to contact the manufacturer if needed.

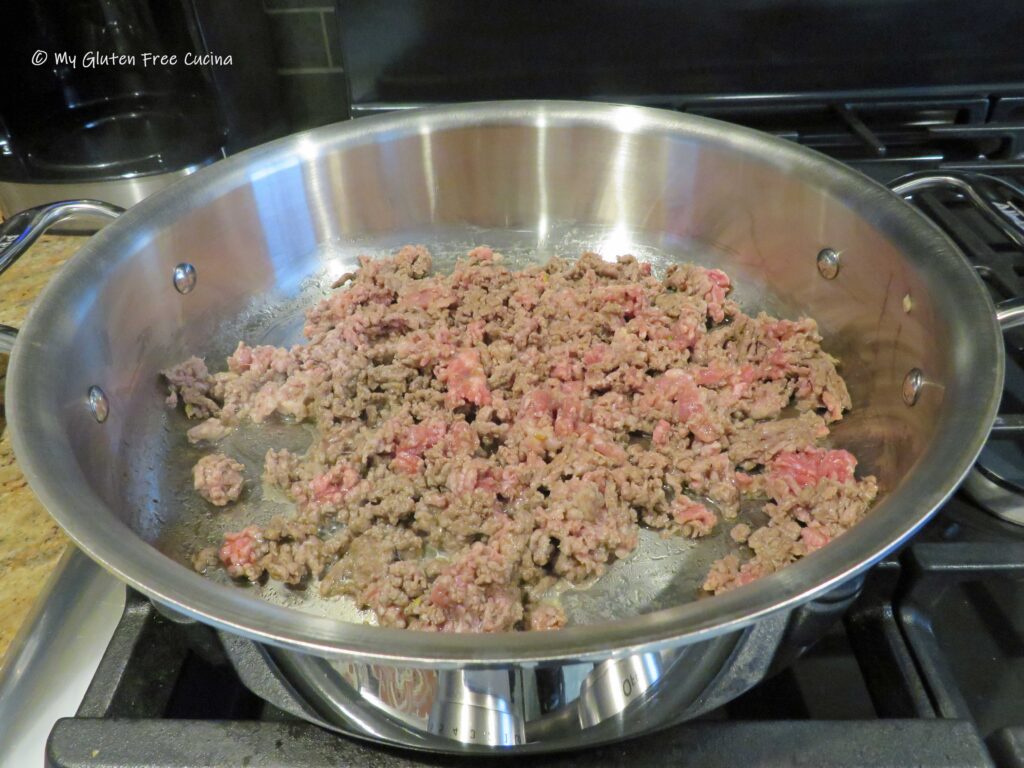
Now add the meat and the cooled vegetables, mixing it together with your hands.  I usually use pork sausage, but chicken or turkey sausage will work just as well.

Next add the breadcrumbs, rolled oats and potato flakes, and work together until well combined.

Press the mixture into a standard, 1 lb. loaf pan.  I used a nonstick metal pan, but if you have a glass loaf pan be sure to mist it with cooking spray.

Now squeeze a little ketchup over the top and use a fork to spread it evenly to make a line pattern, like this.

Bake for 30-35 minutes at 350º.  When it’s done, you should see a little browning around the edges, and the meatloaf will begin pulling away from the sides of the pan.  The internal temperature should reach 150-155º, if you’re not sure check with a thermometer.

Ready to serve, this meatloaf is moist and juicy, definitely not falling apart.

Meatloaf is great leftover, and you can even freeze it.  It makes a great lunch sandwich too!

Notes: ♪♫ How are you feeling about oats these days?  A while back there was a very concerning report from Gluten Free Watchdog stating that they could not recommend ANY brand of gluten free oats due to gluten content.  For myself, I have decided to only use gluten free oats processed under a purity protocol, such as Bakery on Main.  As always, consult with your own medical team for advice.  Whether or not you continue to consume oats is a personal choice.  

Originally published 04/09/2018           Updated 07/02/2024

Print This Post Print This Post

Burgundy Beef Tagliatelle

When you have comfort food on your mind, look no further than this hearty meal of sirloin tips, gently braised in a wine and mushroom sauce with gluten free noodles.

Years ago, I had something like this in a restaurant and never got it out of my mind.  It was easy to recreate at home, and I used Jovial gluten free tagliatelle noodles because they have the look and texture of egg noodles that you would traditionally see in a dish like this.  It came out amazing.  A hearty dinner that will satisfy big appetites!

This post contains affiliate links.

4 Servings

Ingredients:

  • 1 lb. sirloin tips
  • 1 tbsp. white rice flour
  • 3 tbsp. olive oil, divided
  • 1/2 of a large, sweet onion, diced
  • 1 tsp. Montreal steak seasoning, divided
  • 3/4 cup red wine (I used Barefoot Merlot)
  • 1 package white or baby bella mushrooms, cut into 1/4″ thick slices
  • 2 tbsp. butter, divided
  • 6 oz. gluten free egg tagliatelle pasta
  • 1/2 cup gluten free broth (beef, chicken or vegetable)
  • 1 tsp. arrowroot *See notes
  • fresh parsley for garnish

Preparation:

Cut the sirloin tips into 2″ chunks, trimming any excess fat.

Heat 2 tbsp. olive oil in a heavy skillet or Sauteuse with cover or Dutch oven.  Toss the beef with the white rice flour, and brown in a single layer over medium low heat.

Season with 1/2 tsp. Montreal steak seasoning.

In a few minutes you should have good color on the beef and be able to see some caramelization.

Now add the onions and let them cook down for 3 minutes.

Add the wine and stir gently.  Bring to a simmer, then cover the pan and place in a 225º oven for 3 hours.

In the last 1/2 hour of cooking, heat 1 tbsp. olive oil and 1 tbsp. butter in a stainless-steel skillet (not nonstick).  Cook the mushrooms over low heat, just until they release their liquid and season with 1/2 tsp. Montreal Steak Seasoning.  Whisk the broth and arrowroot together and stir into the mushrooms, simmering to thicken.

Return the beef to the stovetop and stir in the mushroom mixture.

Keep the heat on low and continue simmering the beef on the stovetop with the lid off.  Allow the liquid to reduce and thicken while you cook the pasta.

Cook the tagliatelle noodles to 2 minutes less than package directions.  When the noodles are ready, drain and add to the pan with a pat or 2 of butter.

Toss well to combine and cook for a minute longer.  Garnish with parsley and serve right from the pan!

This meal is so good, the pictures don’t do it justice!

Notes ♪♫ Arrowroot flour, also known as arrowroot starch or arrowroot powder is a staple in my gluten free pantry.  Whether I just need a teaspoon for thickening, or more for bread baking, arrowroot is a nice alternative to the usual corn, tapioca or potato starch.  It is superb for making a roux, no lumps ever!

Original post Oct 8, 2021                Rephotographed Jun 28, 2024

Print This Post Print This Post

Veal Stew with Caramelized Onions

You won’t believe how a few simple ingredients can produce the most tender, flavorful stew.  With today’s prices, you may think that veal is not in the budget, but stew veal is made with those tough but economical cuts that benefit from slow braising, easy on the pocketbook and perfect for Sunday afternoons!

This post contains affiliate links.

The basic stew is quite versatile and pairs well with so many things.  The onions cook down to make a delicious gravy.  You can serve it with risotto, pasta or polenta.  For a New England style dish, you could add potatoes and carrots.  So many possibilities!  And those caramelized onions- oh my!

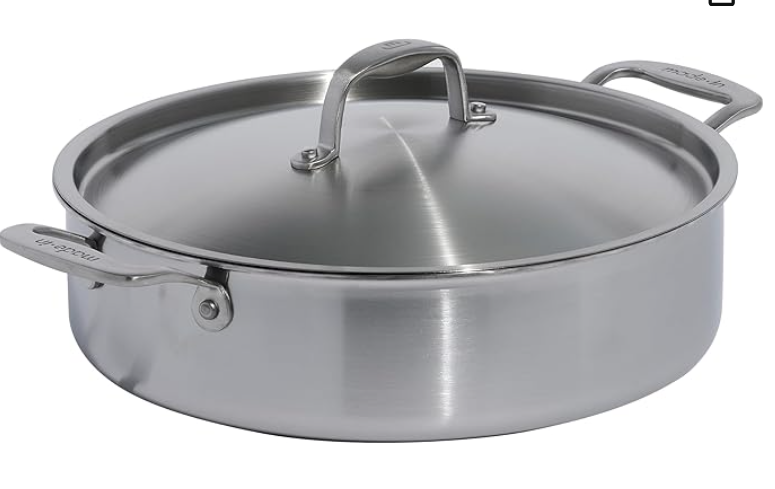
I used a stainless-steel universal pan to cook this meal, excellent for both caramelizing the onions and browning the meat.

Ingredients:

  • 1 lb. veal stew meat
  • 1 large, sweet onion
  • gluten free Italian seasoning
  • salt and pepper to taste
  • 2 tbsp. olive oil, divided
  • 2 tbsp. butter, divided
  • 1/2 cup white wine

Preparation:

Slice the onion into thin rings.  In a stainless-steel pan with cover, add 1 tbsp. each olive oil and butter.  Begin cooking the onions on low heat.

When the onions are soft and just beginning to brown, remove them from the pan and set aside.  They will finish caramelizing in the oven.

In the same pan, heat the remaining olive oil and butter and begin browning the meat on all sides.  Season with salt, pepper and Italian seasoning.

Add the onions back to the pan along with 1/2 cup of white wine.

That’s it friends.  Cover the pan and place in a 300º oven for 2 hours.

Look at that!  No knife needed to cut this meat- it is melt-in-your-mouth tender.

This was an easy meal that turned out great.  I love comfort food during the winter months and this one is on repeat!   

Notes ♪♫ Be sure to use real white wine (that you would drink) in this recipe.  Do not use cooking wine, it’s full of salt and who knows what!  I do not drink white wine, but I always keep a 4-pack of single serve bottles in the pantry for cooking.  Opening one small bottle at a time for a recipe means there is less waste.  Once opened, the remainder can go in the refrigerator.  If you enjoy the white wine, then pour a glass for the cook (red 🍷for me, please)!  Cheers!

Print This Post Print This Post

Gluten Free Teriyaki Chicken with Grilled Pineapple

Summer has arrived, and I’m welcoming the season with this beautiful platter of Gluten Free Teriyaki Chicken and Pineapple, served with rice and seasonal veggies!  This was the easiest meal to pull together, and SO delicious!  Shop ahead and you can absolutely make it on a weeknight, because I deliberately kept the prep to a minimum.

This post contains affiliate links.

I don’t usually take shortcuts with sauces and marinades, but I couldn’t resist trying this Gluten Free Teriyaki Marinade from Primal Kitchen.  It’s made with coconut aminos, which I often substitute for soy sauce in my recipes.  It was really good, the perfect choice for this meal!  Pick up a pack of boneless, skinless chicken thighs, sliced fresh pineapple, and pre-sliced zucchini and summer squash and we are ready to cook.

4 Servings

Ingredients:

  • 1-1/2 lbs. boneless, skinless chicken thighs
  • 1/2 cup gluten free teriyaki marinade, divided use
  • olive oil
  • 4 slices of fresh pineapple
  • 1/4 cup fresh chives, for garnish (optional)
  • rice and veggies for serving

Preparation:

Combine the chicken and 1/4 cup marinade in a bowl.  Turn the chicken to coat all sides, cover and refrigerate for 2 hours.

Start your rice and veggies first and cook according to package directions.  I made 1 cup of long grain brown rice, along with the zucchini and summer squash.

Add a little olive oil to a grill pan on medium heat.  Add the chicken, cover and cook 4 minutes.

Turn the chicken over and cook 4 minutes longer with the cover off.  Check with a thermometer that the internal temperature has reached 165º, then  remove the chicken to a plate and keep warm.

To the same pan, add the pineapple slices.  Cook 2 minutes per side to warm through and get those nice grill lines.  Warm the remaining 1/4 cup of teriyaki marinade in a small saucepan or use the microwave.

To plate, first spread the rice on a serving platter.  Arrange the veggies along one side.  Layer the chicken over the rice, and top with the pineapple slices.  Drizzle with the warmed teriyaki sauce and garnish with fresh chives.

Thanks for stopping by today friends!  I love hearing from you, so please leave a comment if you enjoyed this recipe!

Notes ♪♫ This meal would be fabulous, cooked outdoors on the grill.  If like me you don’t have a grill though, do what I did.  Cook the chicken and pineapple in a grill pan to get those distinctive lines.

Print This Post Print This Post


Marinated Grilled Pork Chops

Don’t you love a good pork chop?  There are so many ways to cook them, but sometimes simple is best.  A delicious marinade followed by a quick sear on the grill or skillet are all it needs to be the star of your summer plate.  This marinade is fabulous with pork chops or chicken.  Perfect for grilling or can be cooked stovetop.  The pork chops will be tender and juicy every time.

Serves 2, but you can double for a large family, or just make one for yourself.

Ingredients:

  • 2 bone-in pork chops
  • 1/4 cup olive oil
  • 2 tbsp. lemon juice
  • 2 tbsp. gluten free tamari (or sub coconut aminos)
  • 1 tbsp. balsamic vinegar
  • 2 tbsp. brown sugar
  • 2 tsp. Worcestershire sauce
  • 1/4 tsp. garlic powder
  • few grinds of fresh ground pepper
  • fresh chives for garnish

This post contains affiliate links.

Preparation:

Whisk together the marinade ingredients and pour over the pork chops.  Cover and marinate in the refrigerator for 3-4 hours, turning halfway through.

Prepare your outdoor grill or skillet by brushing with olive oil over medium heat.  Add the pork chops, cover and cook 4 minutes.  Turn the chops and cook for another 4 minutes uncovered, or until the internal temperature reaches a minimum of 140º (I like mine cooked to 145º for medium).

While the pork chops are cooking, pour the excess marinade into a small saucepan and bring to a boil.  Note: when marinating raw meat, you must bring the marinade to a boil before it can be consumed safely.

To serve, spoon marinade over pork chops and garnish with chives.  I served with green beans and mashed potatoes.

Notes ♪♫ I prefer bone in pork chops, because they are less likely to dry out.  Meat is pricey these days, but I always look for sales and buy family packs to stock up.

Print This Post Print This Post

Gluten Free Southwest Chicken Bowls

If you love that popular chain restaurant with the “irresistible” rice bowls, you know that this started out as a copycat recipe.  I love everything about this meal- the chicken and rice, the Pico de Gallo, the beans and corn, and that chimichurri sauce!

So, I used the restaurant entree as my inspiration, but the best part of cooking at home is that you can adapt a recipe to suit your own taste and preferences.  For instance, I left out the lettuce, and added more chicken and rice.  I used way less salt and hold the guac please (am the only person in the world who doesn’t like avocado?).

The verdict, I thought it came really close to the restaurant version, and the recipe was not difficult (shortcuts are ok!).

So, are you ready to cook?  Let’s break it down into easy steps.

4 Servings

This post contains affiliate links.

Ingredients:

Seasoning Blend

  • 1/2 tsp. Cipotle Chile
  • 1/2 tsp. oregano
  • 1/2 tsp. cumin
  • 1/2 tsp. onion granules

Chimichurri

  • 3 tbsp. olive oil
  • 1-1/2 tbsp. red wine vinegar
  • 2 tbsp. chopped fresh parsley
  • pinch red pepper flakes

OR take a short cut and use a chimichurri mix

Pico de Gallo

  • 1 plum tomato, small dice
  • 1/4 cup red onion, small dice
  • 1 tbsp. jalapeno, fine dice

OR take a short cut and use store bought 😉

Cilantro Lime Rice

  • 1 cup white rice (uncooked)
  • 1/2 cup corn (optional)
  • 2 cup water
  • 1/2 tsp. salt
  • 1/4 tsp. spice
  • squeeze of lime juice
  • 2 tbsp. chopped cilantro

Beans and Corn

  • 1 can black beans, drained and rinsed
  • 1 can sweet corn, drained and rinsed
  • 1/4 cup chicken broth
  • 1 tbsp. jalapeno, fine dice (or more, to taste)
  • 2 tbsp. olive oil

Grilled Chicken

  • 1 lb. boneless chicken breasts, thin sliced
  • olive oil
  • seasoning
  • lime juice
  • cilantro for garnish
  • gluten free tortilla strips, for serving

Preparation:

  1. Whisk together the seasoning ingredients.  This is my go-to spice blend for Mexican or Tex-Mex inspired meals.  Read more about it here.  It is bursting with flavor and brings all the components of the recipe together.  You can use as much or as little or you like.

2. Stir together the chimichurri ingredients.  If making from scratch, use kitchen shears to cut the parsley into small mince or for a large batch, you could use an electric chopper.  Be sure to do this ahead of time so the flavors have time to meld.

3. For the Pico de Gallo, dice the tomato, red onion and jalapeno and stir together with a squeeze of lime juice.  You can leave it at room temperature or refrigerate.  Score if you found it pre-made at the grocery store!

4. Next cook the rice.  Allow 15 minutes cook time and 5 minutes to rest.  Just before serving, stir in chopped cilantro and a squeeze of lime.

5. Drain and rinse the corn and beans.  In a small saucepan, stir together the corn, beans, olive oil, chicken broth and jalapeno.  Warm over low heat for 15-20 minutes.

6. Now for the final step, it’s time to cook the chicken breast.  Brush each breast with olive oil and sprinkle seasoning on both sides.  Heat a grill pan over medium heat.

Cook for 8-10 minutes depending on thickness, turning halfway.

Here’s how I served it.  I sliced the chicken breast and arranged it down one side of a platter.  I layered the rice in the center, beans and corn next, and finally the Pico de Gallo.  I drizzled the chimichurri sauce over the chicken and garnished with lime slices.  For the table, I had extra chimi sauce for serving along with gluten free tortilla strips.

Let everyone make up their bowls with a little bit of everything and drizzle more chimi sauce over the top.  Garnish with tortilla chips.  Adult beverages optional!

Notes ♪♫ When you cook from scratch at home, you have full control over your food and ingredients.  You will not have to weigh the risk of ordering from the “Gluten Sensitive” or “Gluten Friendly” menu or worry if kitchen and serving staff are trained to understand gluten free.  These bowls are absolutely, positively safe and delicious!

Print This Post Print This Post

Split Pea Soup

Another Easter has come and gone, and I’ll bet you still have some leftover ham in the fridge!  And since the winter weather just won’t give up here in New England, I’m craving soup.

Everyone has their own traditions for using up the holiday ham.  I always ring in the New Year with a pot of Lentil Soup.  After Easter though, I like to make Split Pea, which is essentially made the same way.

The ham bone, of course is what you would use to make a stock.  But what if you didn’t make a ham for Easter?  Or maybe your ham was boneless.  Well fear not, you can still use your leftovers or even pick up a ham steak and use that in the soup.  This year I actually cooked a 2 lb. petite boneless spiral ham for myself after the holiday and that’s what I used.

This post contains affiliate links.

Ingredients:

  • 1 lb. split peas
  • 1 tbsp. olive oil
  • 2 carrots, peeled and diced
  • 2 celery stalks, diced
  • 1/2 sweet onion, diced
  • salt and pepper to taste
  • 48 oz. gluten free chicken stock or stock from ham bone
  • 2 bay leaves
  • 1 tsp. sage
  • 1 tsp. thyme
  • 1 packet beef bouillon
  • 2 cups diced ham
  • Schar Table Crackers, for serving

Preparation:

Rinse the split peas thoroughly in a colander and examine them for stray bits of barley or pebbles.  Place them in a stock pot and bring to a boil.  Cover, remove from the heat and let them soak while you prepare the rest of the recipe.

Chop ham leftovers into small dice.  Set aside and refrigerate.

Cut the onion, celery and carrots into even sized small dice.  Add a little olive oil to a 5 qt. stock pot or Dutch oven and begin cooking the carrots, onion and celery over medium low heat.

Season with sage, thyme, salt and pepper.  Add 32 oz. of the chicken stock, bay leaves, and bouillon.  Simmer 30 minutes.

Drain and rinse the peas again.  Add them to the pot, stir well and continue cooking for another 45 minutes to an hour, or until the peas are tender.

As they simmer, the peas will absorb quite a bit of liquid, so add more chicken broth as needed.

When the soup is ready, partially puree it with an immersion blender (don’t forget to remove the bay leaves first).  I like to leave some of the veggies whole, but you can make it as smooth or chunky as you like.  After pureeing, add back the diced ham and heat through.

Serve with Schar Table Crackers (similar to saltines).  Leftovers will keep well in the fridge for at least a week.

Notes: ♪♫ If you have a ham bone and don’t want to make soup right away, don’t throw it away!  You can wrap it in foil then place in a freezer safe bag and store in the freezer for quite a few months.  There have been times that I would find a ham bone in the back of the freezer just in time for fall soup season.

Print This Post Print This Post

Gluten Free Chicken Mushroom Ragu with Fusilli

Gluten Free Chicken Mushroom Ragu with Fusilli

Like many Italian recipes handed down from one generation to the next, this one has the magical ability to transform simple ingredients from the pantry into the perfect comfort food meal.  I used boneless, skinless chicken thighs and pre-sliced mushrooms to simplify the prep.  In fact, if you buy some diced onions in the produce section, you can put away the cutting board.  How’s that for simple?

This post contains affiliate links.

I was featured at the senior salon pit stop

4 Servings:

Ingredients:

  • 1 carton gluten free chicken broth (you won’t need the whole thing)
  • 3 boneless skinless chicken thighs
  • salt and pepper to taste
  • olive oil
  • 1/2 medium sweet onion, diced
  • 2 tbsp. tomato paste
  • 1/2 tsp. Tuscan seasoning
  • 1 bay leaf
  • 1 sprig of rosemary
  • 1/8 tsp. ground cloves
  • 1/2 cup white wine (not cooking wine)
  • 8 oz. package white button mushrooms, sliced
  • 6 oz. gluten free fusilli pasta
  • Italian parsley for garnish
  • grated Parmigiano Reggiano for serving

Preparation:

Add 1 tbsp. olive oil to a deep nonstick skillet over medium low heat.  Add the chicken, season with salt and pepper and cook several minutes per side.  It does not have to be cooked through at this point.

Remove the chicken to a plate and sprinkle with Tuscan seasoning.  Add the onions to the pan.  Cook for several minutes then add the tomato paste in the center.  Let it toast for a minute then stir into the onions.

Stir in the white wine, bay leaf, rosemary and cloves.  Simmer 5 minutes to reduce by half.

Add the chicken back to the pan with about 1 cup of chicken broth.  Cover and cook for 25 minutes.

Remove the chicken from the pan and shred or cut into pieces.  Add all of the mushrooms to the pan with about 3/4 cup more chicken broth.

Bring to a simmer and add back the chicken.  Cook for an additional 15 minutes.  While the ragu finishes, boil water for pasta.

To serve, drain the cooked pasta and toss with the ragu.  Sprinkle with cheese and Italian parsley.  Serve it right in the pan, with extra cheese for the table.

Notes ♪♫ I used Rummo Gluten Free Fusilli in this dish.  I noticed it at Whole Foods and picked it up there but it’s available on Amazon as well.  The corkscrew shape is perfect for this dish, and it cooked up perfectly to al dente.

Print This Post Print This Post

Gluten Free Italian Sausage and Cabbage with Pasta

Cabbage!  It’s not just for St. Patrick’s Day.

🥬🥬🥬

Are you a once-a-year cabbage person? I always make the traditional Corned Beef and Cabbage dinner for St. Patrick’s Day, but until recently that was the extent of my cabbage repertoire.  Then somewhere along the way, I expanded my horizons.

This humble veggie is a key ingredient in so many recipes and cuisines.  Check out my Asian inspired Chicken and Cabbage, Moo Shoo Pork and Chicken Chow Mein.  Or how about this Portuguese Cabbage Soup with Linguica?  Polish stuffed cabbage rolls, yes please!  But wait, I’m Italian.  Shouldn’t I have an Italian recipe with cabbage?  Well now I do, and it is AMAZING.

This post contains affiliate links.

You know I love braised dishes, where the ingredients slowly cook down and the flavors concentrate and intensify.  Usually, this process takes several hours or more, but not in this recipe.  With a little advance prep, you can have dinner on the table in 30 minutes.  So easy to make, with very little seasoning needed as the sausage flavors the entire dish.  And what a delicious meal it is.  So, let’s get started.

Dinner for two

Ingredients:

  • olive oil
  • 4 oz. sweet Italian sausage (I like Premio)
  • 2 cups sliced sweet onion
  • 2 tbsp. tomato paste
  • 4 cups shredded savoy cabbage
  • crushed red pepper flakes, to taste
  • 1/4 tsp. thyme
  • 1 cup water, more as needed
  • 4 oz. gluten free pasta (I used Farabella Rigatoni) incredible!
  • 1/4 cup grated cheese (I used a combo of parmesan and Romano)

Preparation:

Boil salted water for the pasta.

In a 3 qt. stock pot, heat 1 tbsp. olive oil on medium low, remove casings from the sausage and begin breaking it up with a meat spatula.

Continue cooking until the meat is completely browned, then add the onions.

Stir frequently and cook for several minutes until the onions are translucent.  Then add the tomato paste to the center of the pan.

Let it toast for a minute, before stirring it into the sausage and onions.

Next, add all of the cabbage with the thyme, and a pinch of red pepper flakes (more if you like).

Stir thoroughly to combine, then add about 1 cup of water.  You can use a ladle of the pasta water if it’s ready.

Cover and simmer on low for 20 minutes, adding a bit more water if it seems dry.

Cook the pasta for 2 minutes less than package directions.  Drain and add it into the pan.  You can add a little of the pasta water as needed.  Toss well and continue cooking for 2 minutes longer to finish the pasta.  When ready to serve, remove the pan from the heat and drizzle with olive oil and half of the grated cheese.

Give it a good stir then transfer to a serving bowl and finish with a little more olive oil and cheese.

Doesn’t that look good?  It was really an excellent dinner and something you can make after St. Patrick’s Day if you still have cabbage in the fridge to use up.

You can even sneak this one by the kids, just don’t mention the veggies. 😉 Picky eaters will gobble up this yummy bowl of comfort food if you let the cabbage be your little secret!

Notes ♪♫ Is it gluten free?  The only ingredient substitution needed for this recipe was the pasta, and of course I had just the thing in the pantry!  This gluten free rigatoni from Farabella was a splurge, but it was incredible.  It tastes just like real pasta- so do check it out!  If you can’t find Farabella pasta near you it is available here on Amazon.

Print This Post Print This Post

Gluten Free Chicken Piccata Quick Toss

Do you love Chicken Piccata?  Get all the big restaurant flavor of this classic dish with a few shortcuts that will have dinner on the table in 20 minutes, minus the gluten!

Diced chicken tenders replace cutlets in this express recipe.  Perfect for those busy weeknights when you just want to get dinner on the table, tastes like you’ve been cooking for hours! ❤️

Dinner for two

This post contains affiliate links.

Ingredients:

  • 1/2 lb. chicken tenders, cut into chunks
  • 6 oz. gluten free pasta
  • 4 tsp. olive oil, divided plus more for finishing
  • 4 tsp. butter, divided
  • 1 shallot, minced
  • 2 garlic cloves, minced
  • zest and juice of 1/2 lemon
  • 1 tbsp. arrowroot flour
  • 1/4 cup white wine (not cooking wine)
  • 1/2 cup gluten free, low sodium chicken broth
  • salt and pepper
  • 1 tbsp. small capers (more if you like)
  • Italian parsley for garnish
  • grated cheese

Preparation:

Cook the pasta for 2 minutes less than the package directions, drain and set aside.

Use a large stainless-steel skillet to brown the chicken in 2 tsp. each of butter and olive oil.  Season with salt and pepper.  Don’t crowd the pan, if it doesn’t fit then make 2 batches.

Notice the chicken isn’t quite cooked through at this point, it will finish in the sauce at the end.

Transfer the chicken to a bowl and set aside, keep warm.  Add the remaining 2 tsp. each of butter and olive oil.  Add the shallots and garlic and cook for 1-2 minutes stirring constantly.

Be ready with the wine, lemon juice and chicken broth.  Sprinkle the flour over the shallots and garlic and whisk continuously.

Drizzle the liquid into the pan as you continue whisking.

Return the chicken and pasta to the pan and toss to heat through. Cook for several minutes, the liquid will thicken as it comes to a simmer.  Stir in the capers and lemon zest at the very end.

To finish, transfer to a serving bowl and drizzle with more olive oil, then garnish with Italian parsley and a little grated cheese.

Yum, how good does that look?  I love this kind of meal for busy weeknights.  Open a bottle of your favorite white wine for this recipe, and then pour a glass for the cook!

Notes ♪♫ I love arrowroot flour for thickening.  It makes a lump free roux every time and I use it in some of my flour blends for bread baking as well.  It’s something I always have on hand in my gluten free pantry!

Print This Post Print This Post