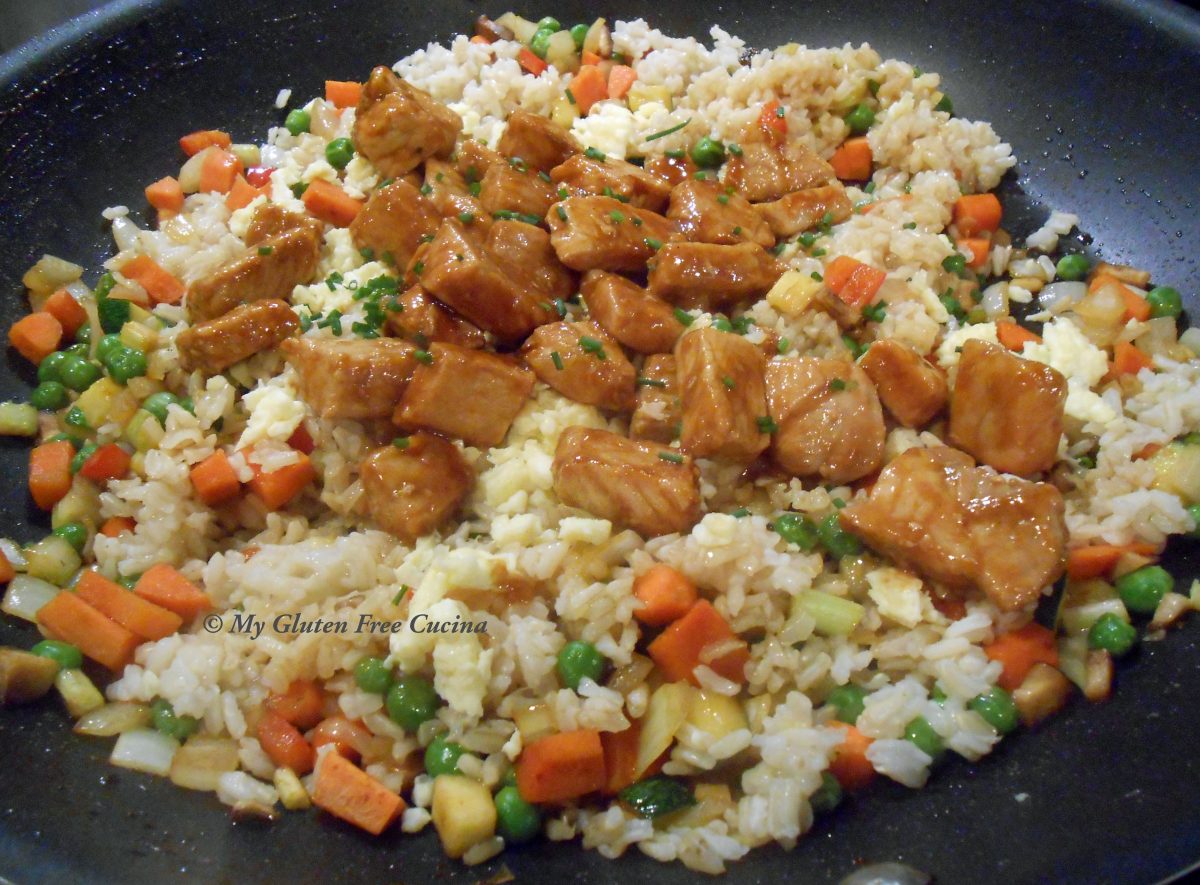
Hoisin Pork Tenderloin with Fried Rice

One of the things I miss most since my Celiac diagnosis is Chinese takeout.  Oh, how I loved those noodles, veggies and fried rice!

At first glance you might think that many of these dishes are gluten free, but did you know that soy sauce contains gluten?  It’s true, traditional soy sauce is fermented with wheat, so it is off limits on the gluten free diet.

Fortunately, there are gluten free alternatives.  For my Asian inspired dishes, I often use San-J Tamari in place of regular soy sauce.  It’s brewed with soybeans and no wheat.

For those who need to be mindful of salt intake, Coconut Aminos can be a lower sodium alternative to gluten free soy sauce or tamari.  It has that umami flavor profile, but with less salt.

Another favorite condiment, Hoisin Sauce can also be found in the Asian aisle in most markets.  It’s sweeter and much thicker than soy sauce and can be used for glazing and dipping.  In this recipe, I use all of these condiments to create a sweet and savory flavor profile.

This post contains affiliate links.

4 servings

Ingredients:

  • 1 cup uncooked long grain white rice
  • 2 cups water
  • 1/2 tsp. salt
  • 14.4 oz. bag frozen stir fry vegetables (or fresh veggie combo of your choice)
  • 1 lb. pork tenderloin
  • salt and pepper
  • garlic powder
  • ginger powder
  • 1 egg
  • 1 tbsp. water
  • olive oil
  • sesame oil
  • cooking spray
  • gluten free Hoisin sauce
  • gluten free Tamari, or Coconut Aminos
  • fresh scallions for garnish
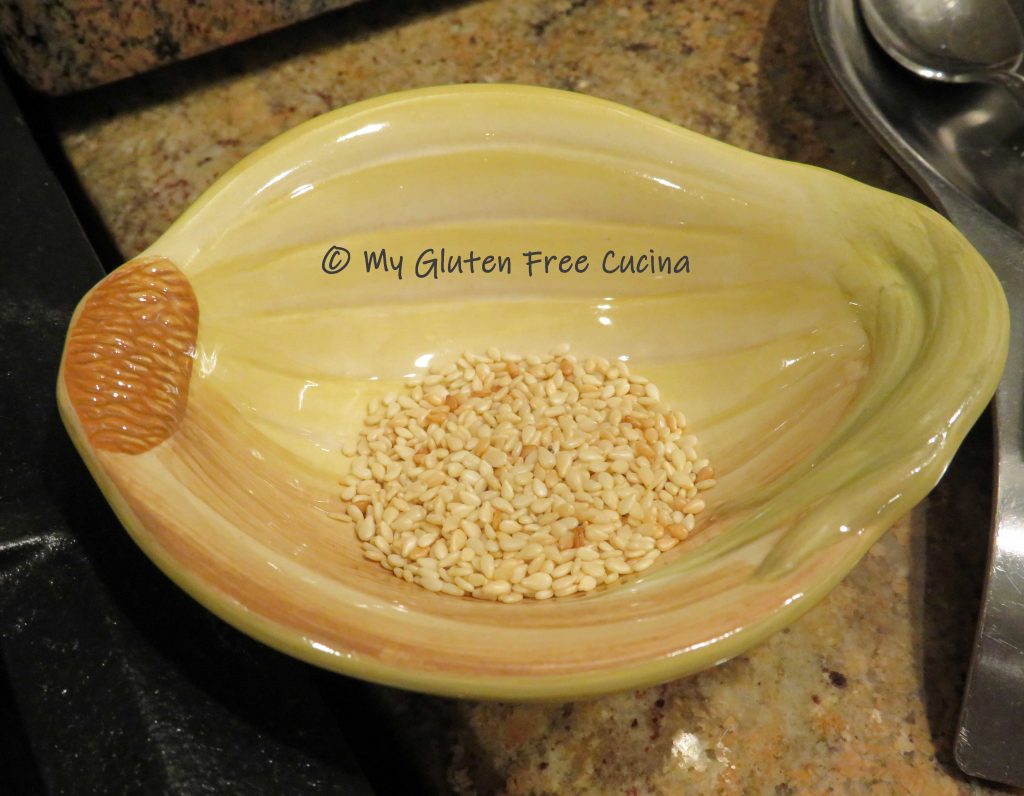
  • sesame seeds for garnish

Preparation:

Cook the rice according to package directions and set aside to cool.  This step can be done ahead, in fact the rice works better in this recipe if it has been cooked in advance and refrigerated.

While the rice cooks, prep all the vegetables.  Using a frozen stir fry blend like this one is a real time saver.

I did think the veggies were a bit large for fried rice, so I cut them into smaller pieces.  Season the veggies with salt and pepper to taste.  Sprinkle with garlic and ginger powder and leave them out to defrost.

Preheat the oven to 375º.  Arrange the tenderloin on a foil lined baking sheet.  Sprinkle both sides with salt, pepper, garlic powder and ginger.

Insert an oven safe thermometer in the thickest part of the tenderloin and roast until it reaches 120º.  Brush the roast with hoisin sauce and return to the oven until the internal temperature reaches 140º.  When the meat is done, let it rest for 10 minutes.

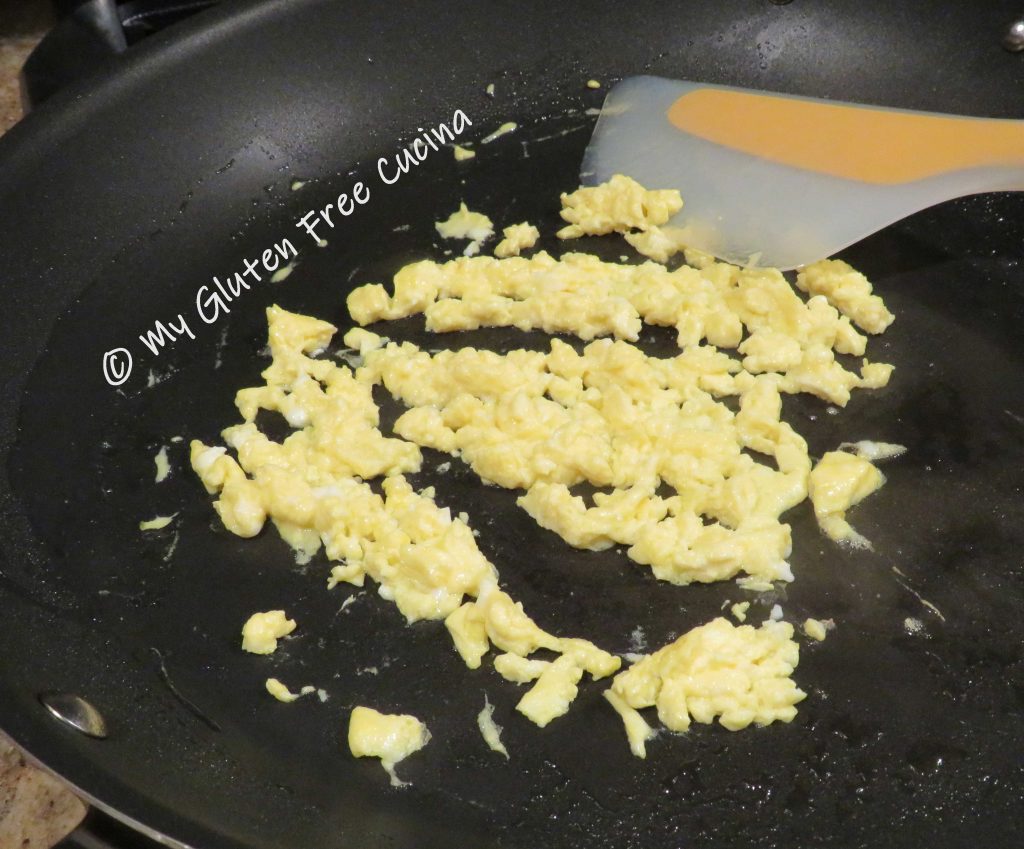
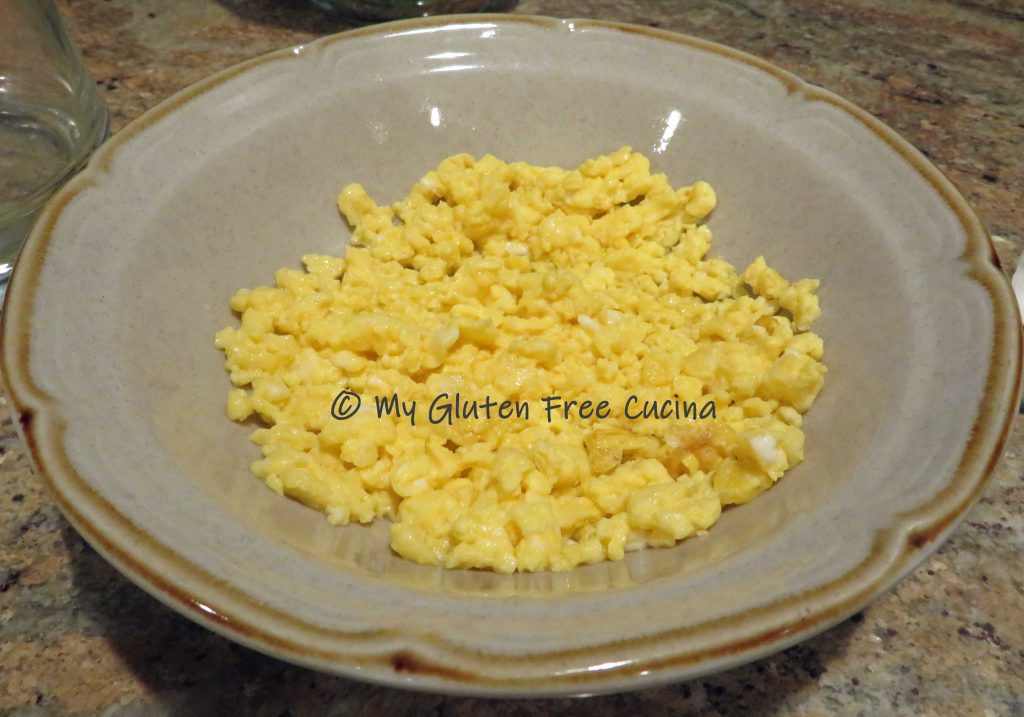
For the rice, heat a large nonstick skillet over medium low and mist with cooking spray (I like Bertolli because it doesn’t damage my nonstick pans).  Whisk the egg with 1 tbsp. water and scramble.  Crumble the egg and set aside.

Next, add a little olive oil to the skillet with the veggies.  Drizzle with just a little sesame oil, and sprinkle salt, pepper, garlic and ginger.  When cooked through, add a few shakes of Tamari or Coconut Aminos.

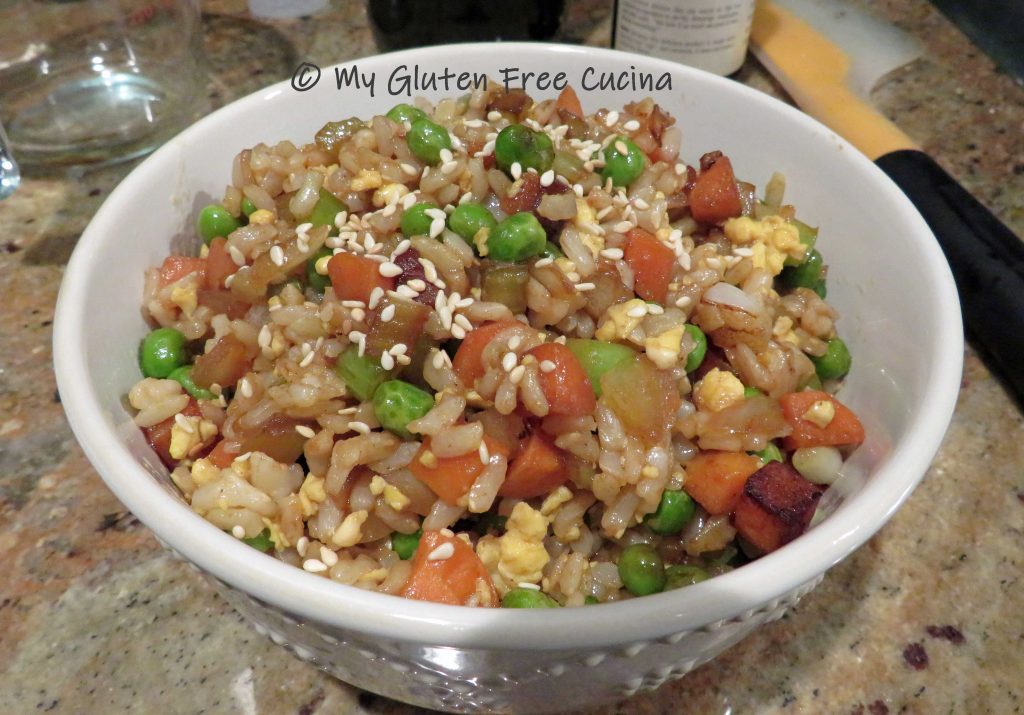
Add the cooked rice and egg back to the skillet, with more sesame oil, Tamari and/or coconut aminos.  The amount you add is up to you, just taste as you go.

To plate, transfer the fried rice to a serving dish.  Slice the tenderloin and arrange it over the rice.  Drizzle hoisin sauce over the pork, and garnish with scallions and sesame seeds.

This Asian inspired dish is better than any restaurant! It has all the flavors that you have been missing, minus the gluten!  Everyone in your family will love it!

Notes ♪♫ Gluten free Asian condiments can be found in most markets and online.  Some of my favorite brands are San J, Sun Luck, and Coconut Secret.  Always look for the gluten free label, as some brands will have both a regular and gluten free version of the same product.

Originally posted 10/21/2019   *   Updated and rephotographed 11/20/2024

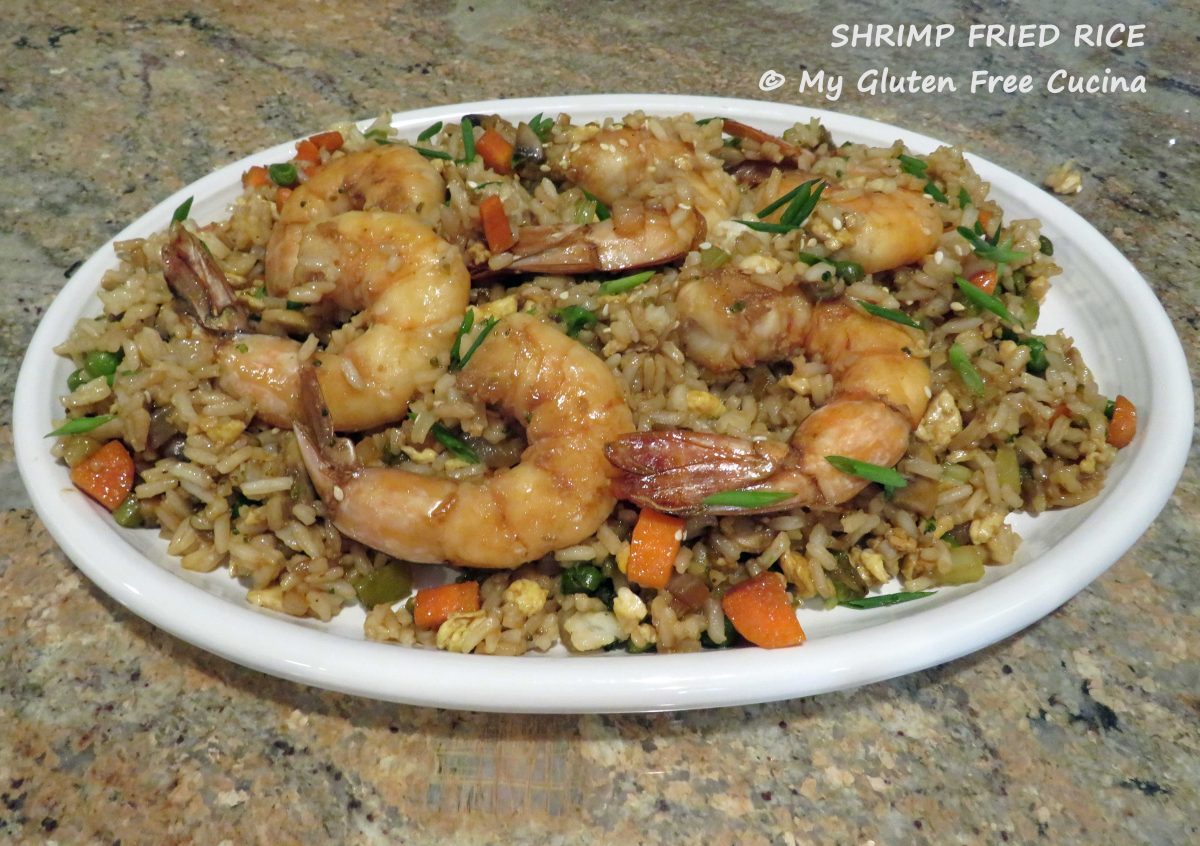
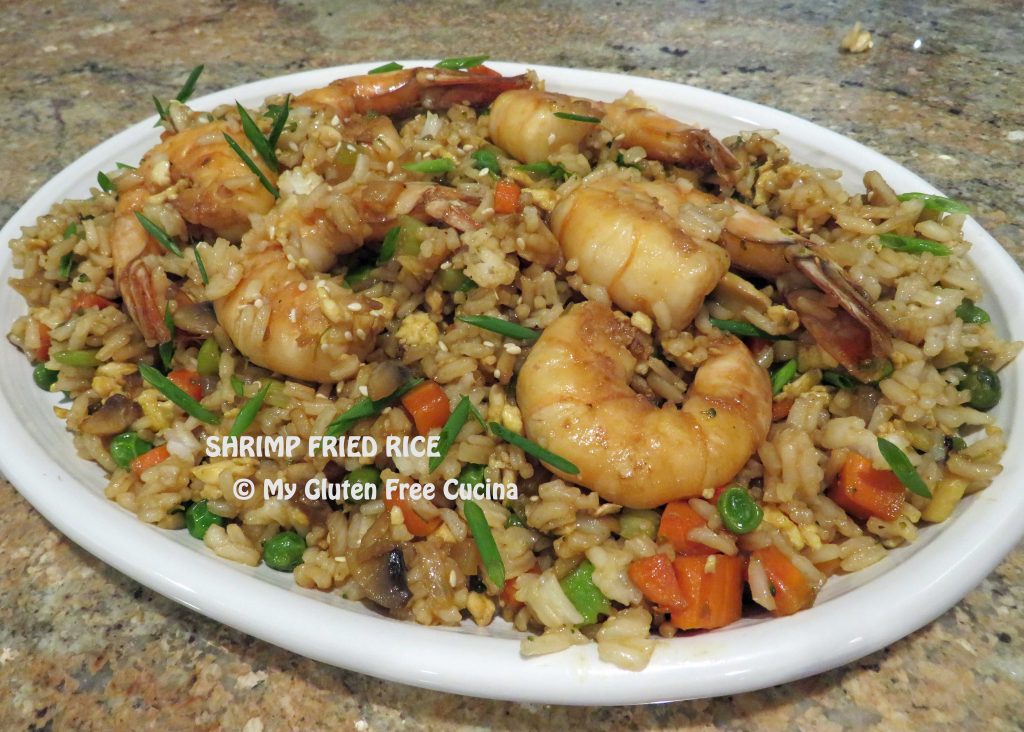
Shrimp Fried Rice

I love Asian inspired meals.  This dish satisfies my craving for takeout, which is usually off limits because of the gluten in soy sauce.  Easy to prepare at home, the measurements are approximate, and the recipe is very forgiving.  Substitute chicken, pork or beef for the shrimp and use veggies that you have on hand.  You can also save time by making the rice a day ahead, it’s actually better this way.

3-4 servings

This post contains affiliate links.

Ingredients:

  • 1/2 cup uncooked long grain rice (use white rice or brown rice)
  • 1 tsp. butter
  • 1 cup water
  • 1/8 tsp. salt
  • 8 oz. raw shrimp (about 12 large or 6 colossal) peeled and deveined
  • 1 large egg
  • 1 tsp. water
  • 1 tsp. butter
  • olive oil
  • toasted sesame oil
  • 1/2 cup carrot, diced
  • 1/4 cup each sweet onion, celery, mushrooms, broccoli, peas
  • 2 tbsp. mirin
  • 1/8 tsp. garlic powder
  • 1/8 tsp. ginger powder
  • 1/8 tsp. ground pepper
  • gluten free coconut aminos
  • toasted sesame seeds for garnish
  • fresh chives for garnish

Preparation:

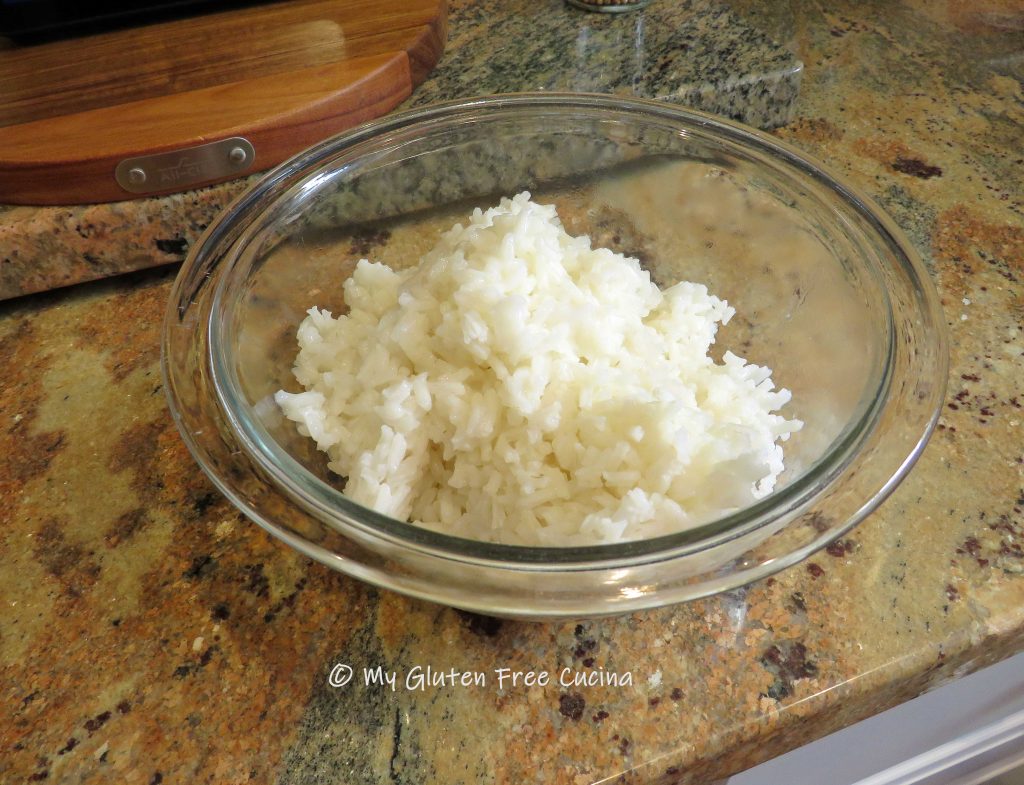
Combine the rice with 1 tsp. melted butter in a small saucepan, stirring to coat.  Add the water and salt, cover and bring to a boil.  Reduce heat to a simmer and cook according to package directions, about 15 minutes for white rice or 35 minutes for brown.  Chill the rice while you get the rest of the dish ready.

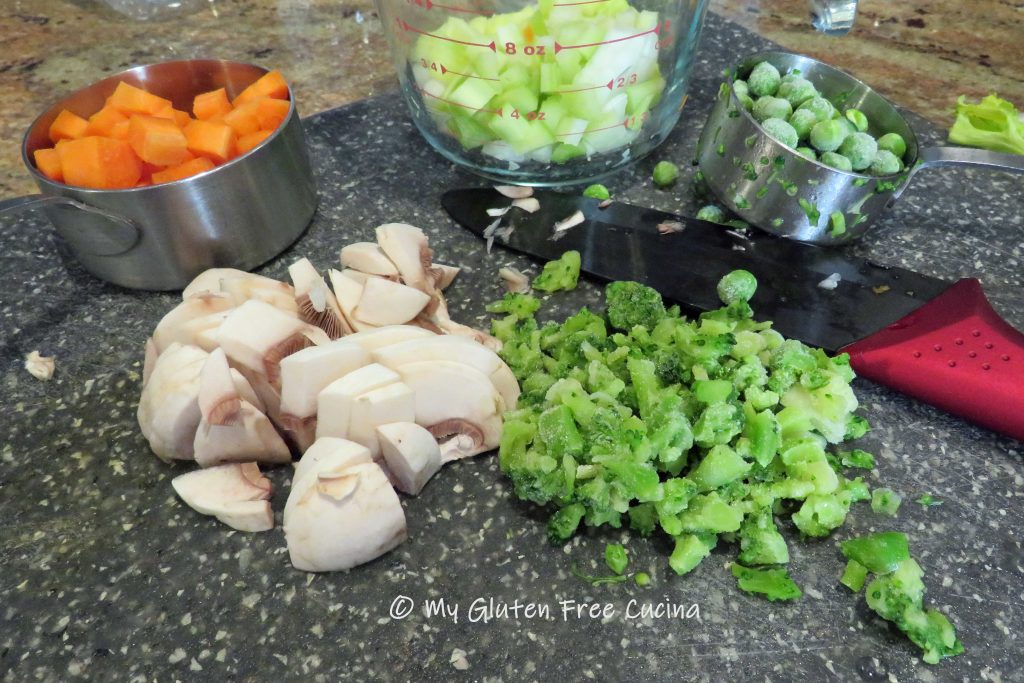
While the rice cooks, chop the veggies into small dice.  Whisk together the mirin, garlic and ginger powders.

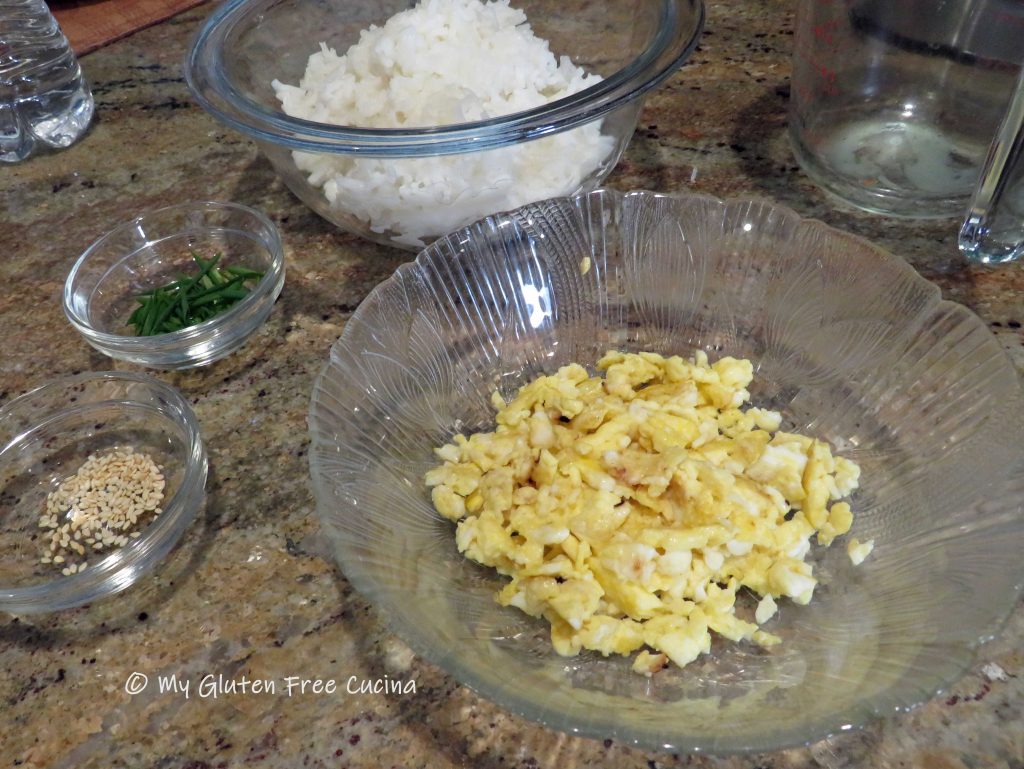
Toast the sesame seeds in a dry skillet and cut the chives on the diagonal into 1/2″ pieces.

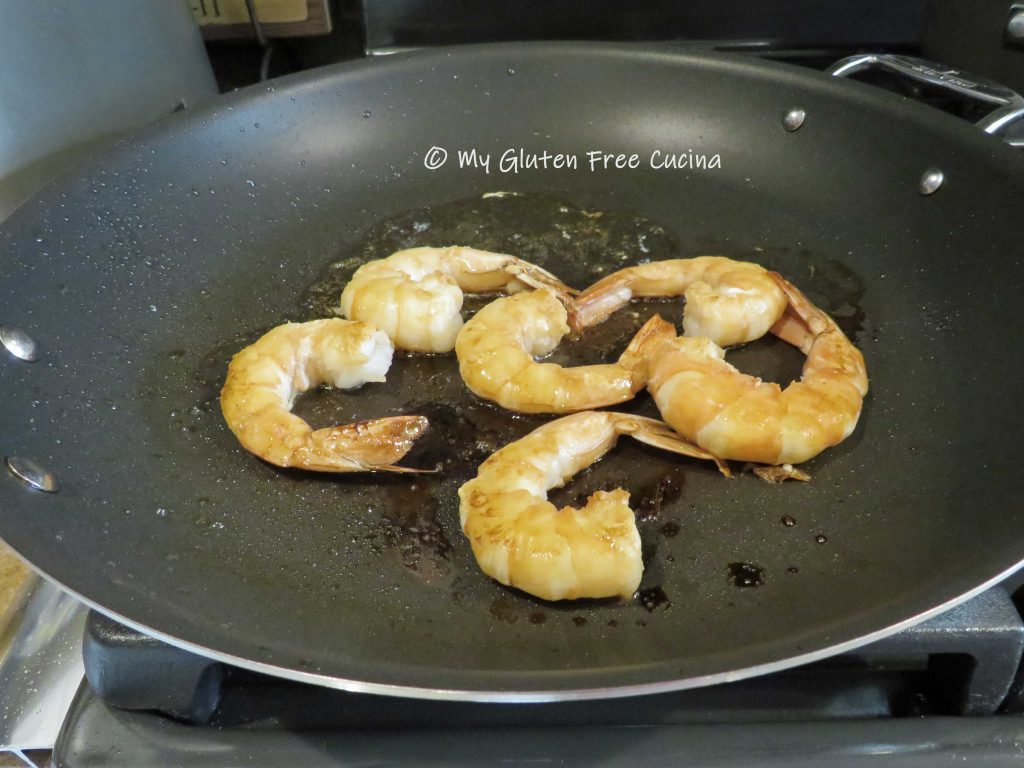
Peel and devein the shrimp, and sprinkle with coconut aminos.  Heat a large nonstick skillet over medium low and add 2 tsp. sesame oil.  Cook the shrimp in a single layer just until they turn pink, turning once.  Remove from the skillet and set aside.

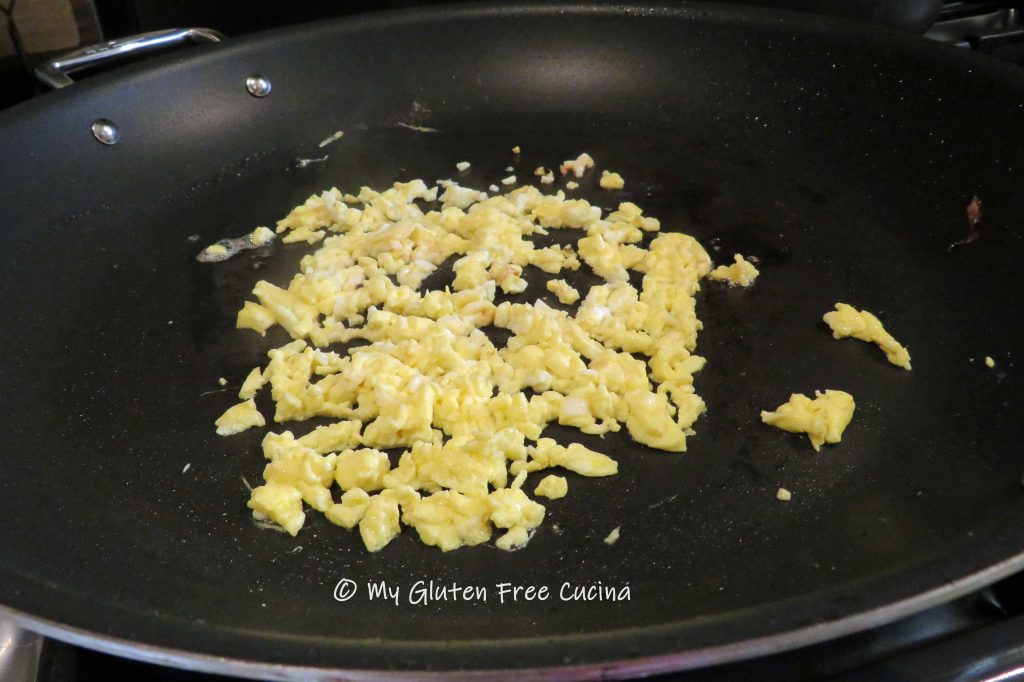
Wipe the skillet clean and add 1 tsp. of butter.  Whisk the egg with 1 tsp. of water and add to the skillet, turning to cook through.  Use a spatula to break the egg into small pieces, then transfer to a bowl and keep warm.

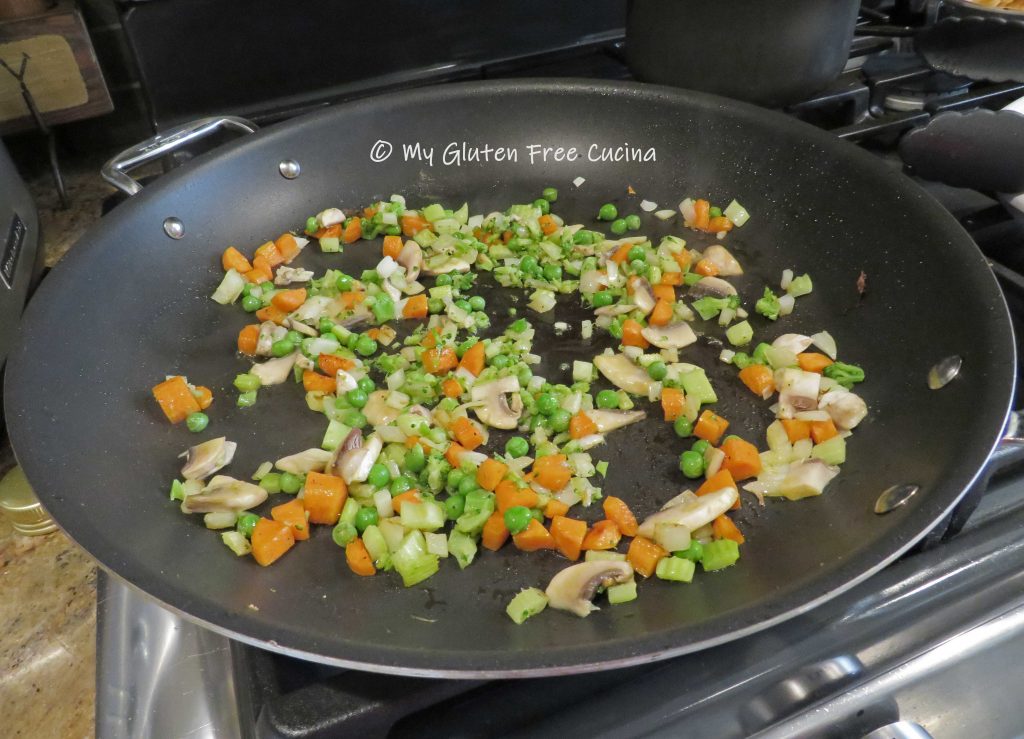
Next, add 2 tbsp. olive oil with 2 tsp. sesame oil to the skillet and cook the veggies.  Give the carrots a few minutes head start, followed by the onion and celery.  Soft veggies like broccoli, peas and mushrooms go in last.  Season with ground pepper, and sprinkle with coconut aminos.

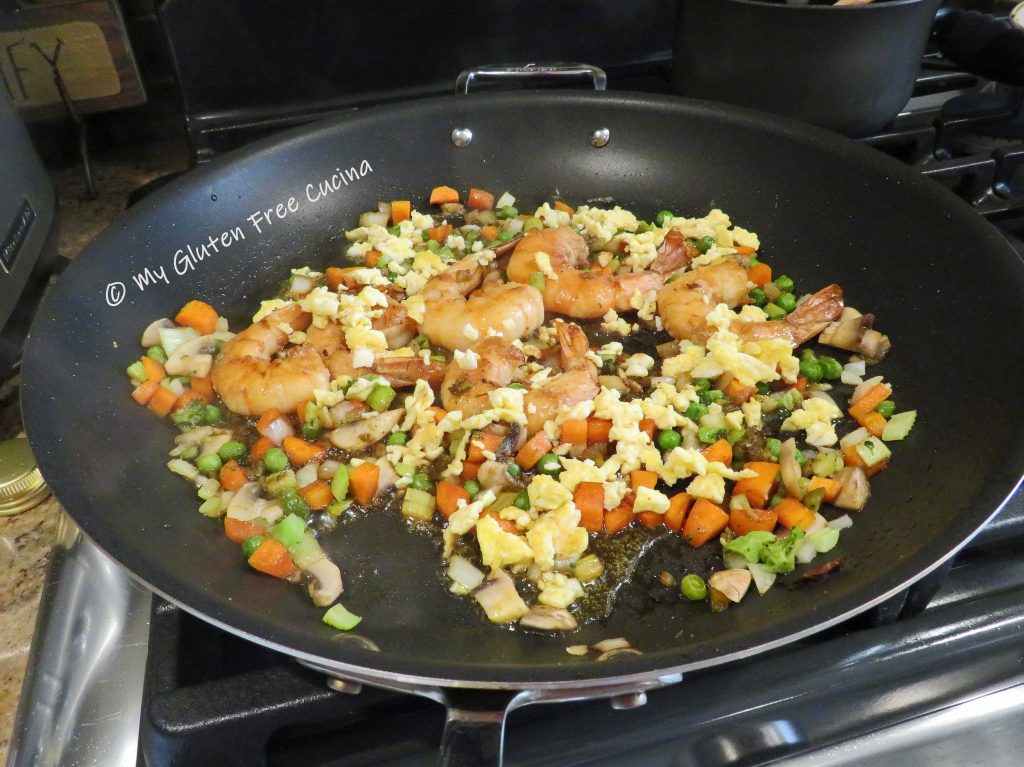
When the veggies are ready, it’s time to put everything together.  Stir in the mirin mixture, then add back the shrimp and egg.

Finally, add the rice and drizzle with 2 tsp. sesame oil and a little more coconut aminos.  Use 2 spatulas to stir and toss everything together until well blended and heated through.

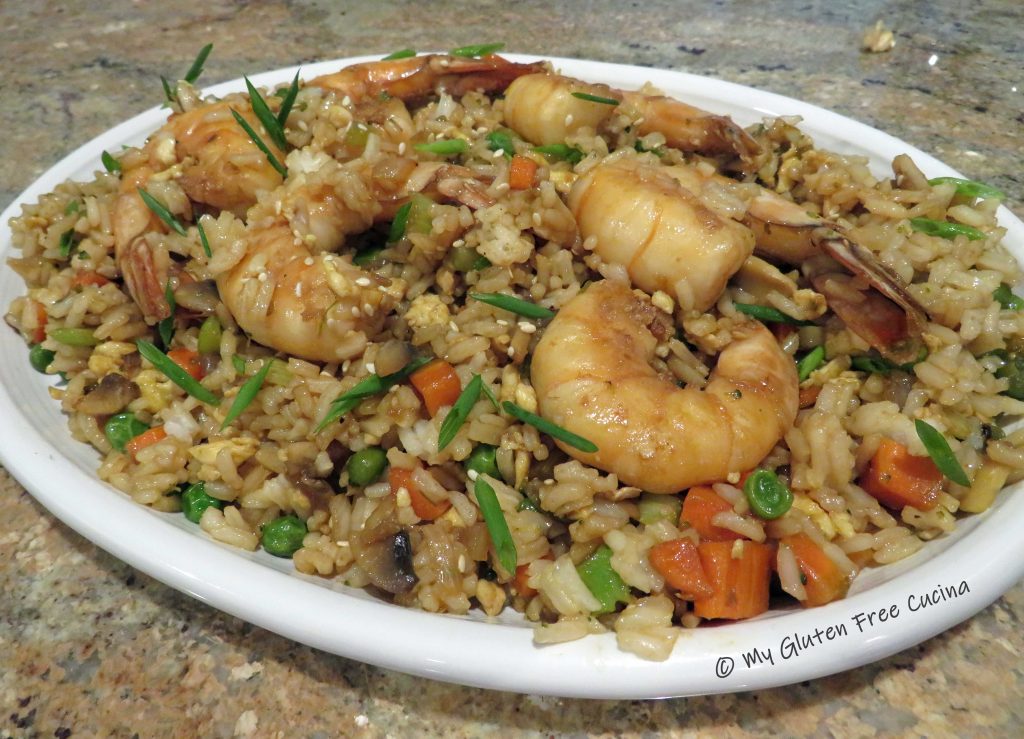
Transfer to a serving platter and garnish with the chives and toasted sesame seeds.
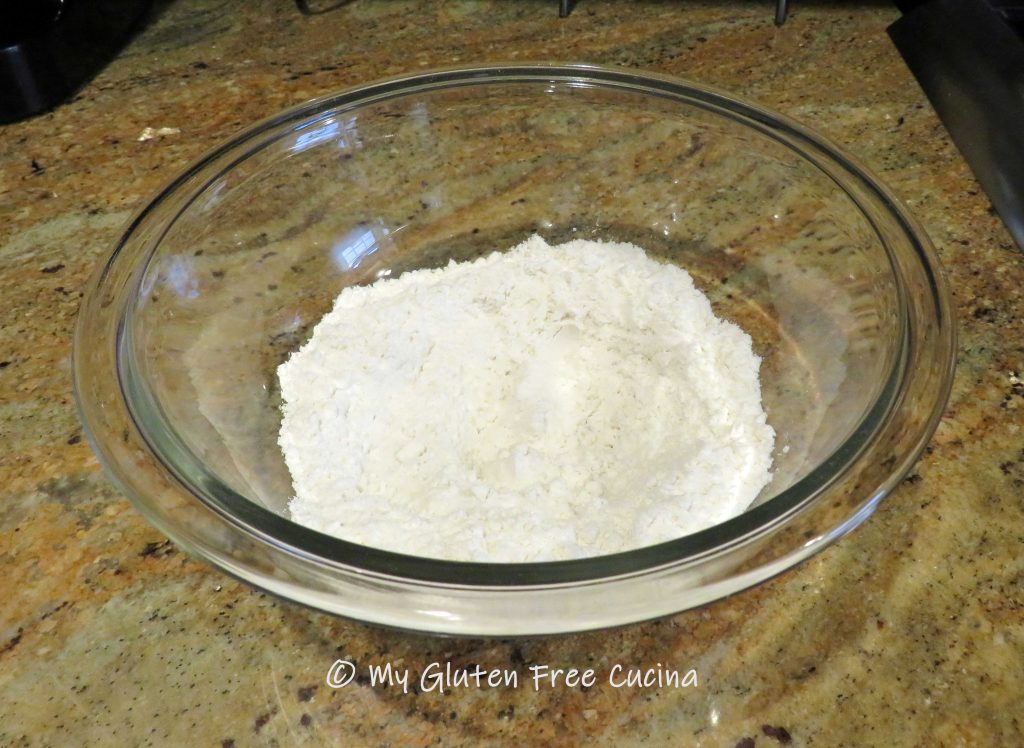
This is a delicious gluten free meal to add to your weeknight rotation.  Forget takeout!  With endless substitutions to keep it fresh, this will become one of your favorite go-to recipes.

Notes ♪♫ I used Coconut Aminos in this recipe instead of gluten free soy sauce.  We are a low sodium household, and coconut aminos have about a 10th the sodium of regular soy sauce.  If salt is not an issue, you can use gluten free soy sauce or tamari.  Remember, regular soy sauce is fermented in wheat and is not safe for those with Celiac disease.

Originally posted 06/22/2018                     Updated 07/10/2023

Print This Post Print This Post

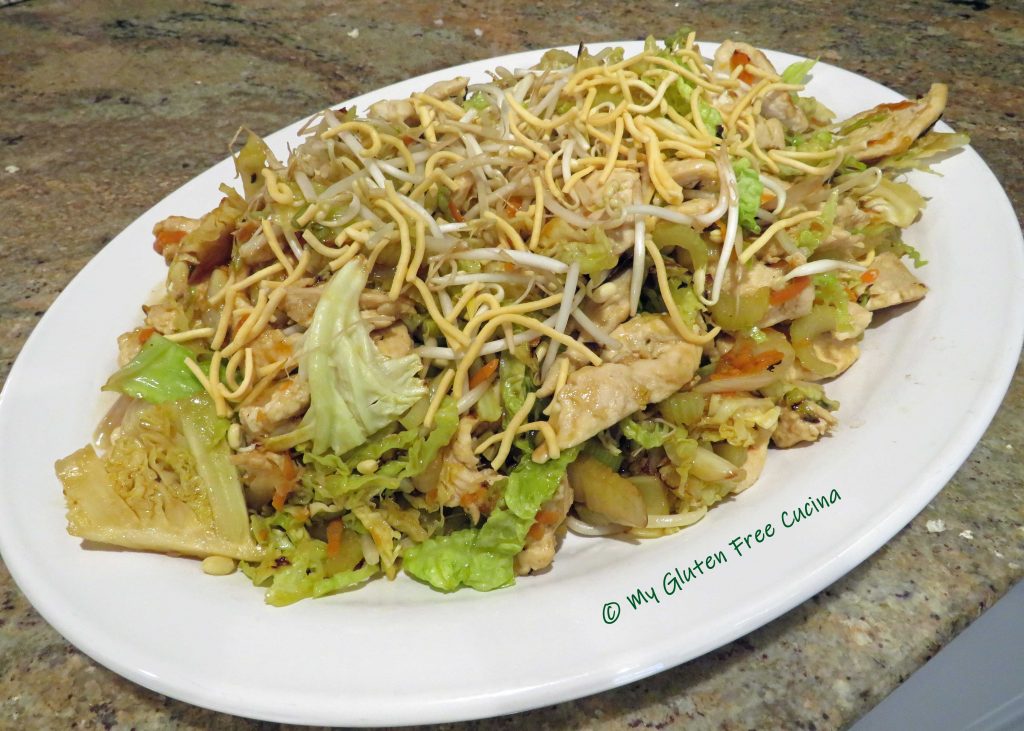
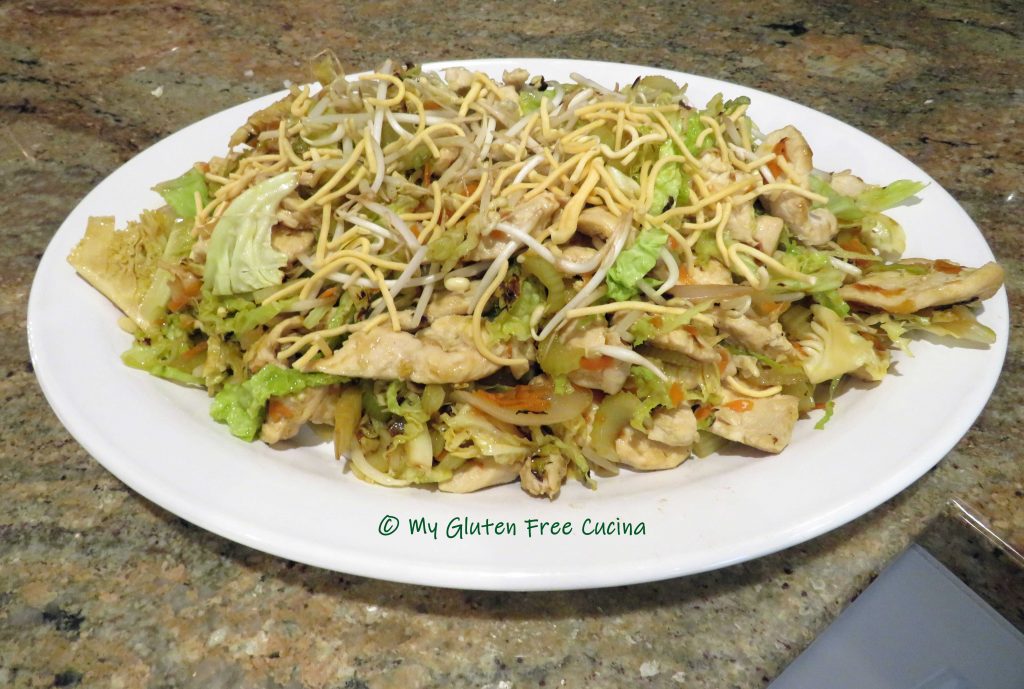
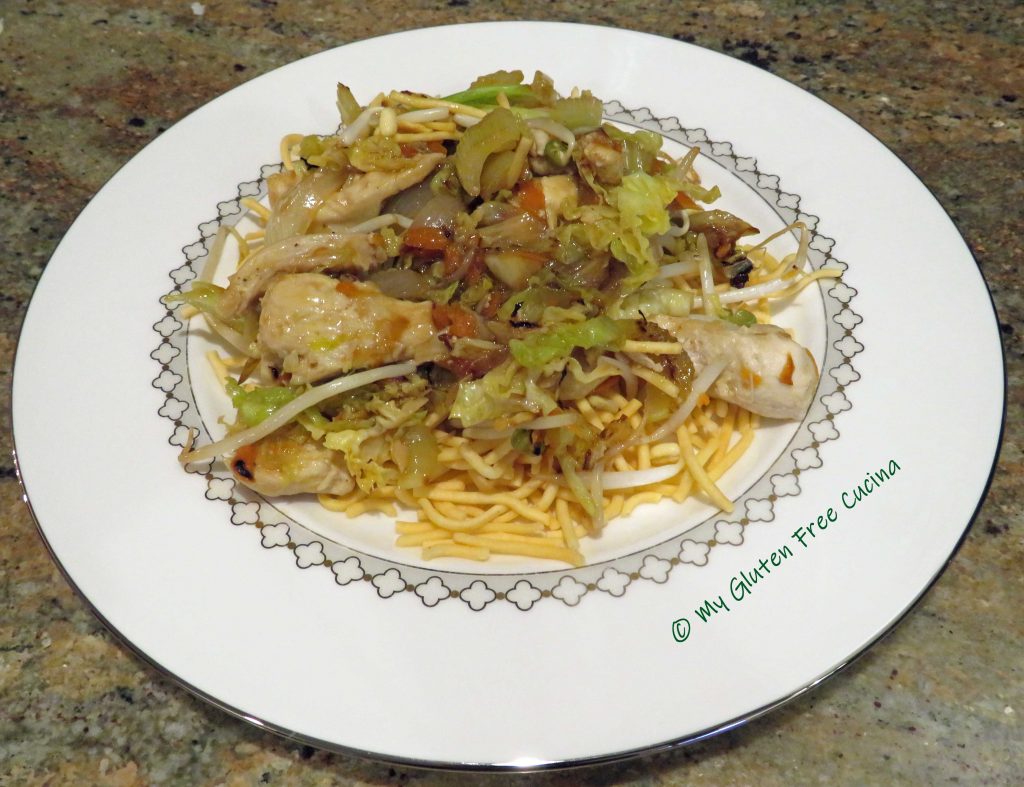
Gluten Free Chicken Chow Mein

Chicken Chow Mein, that most popular of takeout meals was my first introduction to Chinese American cuisine.

As a kid, my “go-to” takeout order was a combination dinner of Chow Mein, fried rice and an egg roll.  I ordered it every time!  While I have recreated many of my favorite takeout recipes, I can’t even remember the last time I had Chicken Chow Mein.  So why has this one remained on the back burner?

The noodles. 

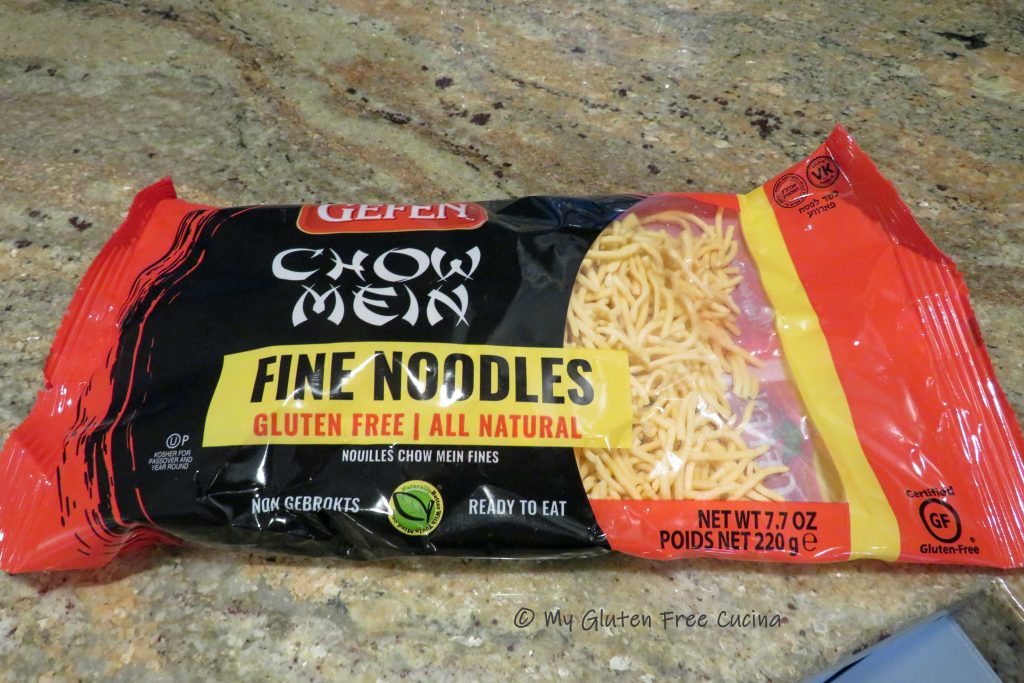
How could I replicate the crunchy, restaurant style fried noodles that go with Chow Mein?  Traditional Chow Mein noodles are made with wheat.  And while I am a big believer in make from scratch, I just didn’t want to make my own noodles.

Then I discovered this!

I found these Gluten Free Chow Mein Noodles on Amazon, and they were spot on!  Get yours here!

For the connoisseurs out there, this is the East Coast version of Chow Mein, where the stir-fry is served over crispy fried noodles.

This post contains affiliate links.

Ingredients:

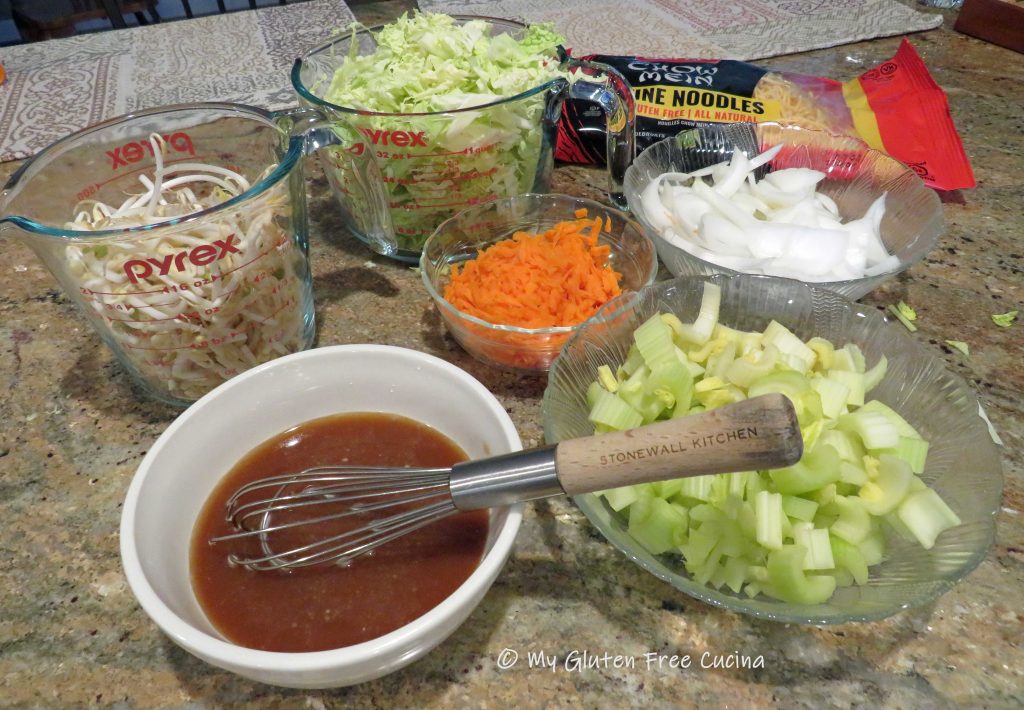
Veggies

  • 1/2 sweet onion, cut into 1/4″ slices
  • 6 celery stalks, cut into 1/4″ slices
  • 1 carrot, coarsely grated
  • 1/2 head of green cabbage, shredded
  • 2 cups bean sprouts

Marinade

  • 1 tbsp. sesame oil
  • 1 tbsp. minced fresh ginger
  • 1 tbsp. minced garlic
  • black pepper, to taste

Sauce

  • 1/2 cup gluten free chicken broth
  • 3 tbsp. gluten free oyster sauce
  • 1 tbsp. gluten free soy sauce (tamari)
  • 2 tsp. corn starch
  • 1 tsp. sugar

Chicken

  • 1 lb. boneless chicken breast
  • olive oil
  • sesame oil
  • gluten free chow mein noodles

Preparation:

Let’s break down the recipe into four easy steps.  Ready?

  1. Prep the veggies
  2. Marinate the chicken
  3. Make the sauce
  4. Stir fry the chicken and veggies

First, prep the veggies.  I used a mandoline to slice the onion, cabbage and celery.  A coarse grater was perfect for shredding the carrot.

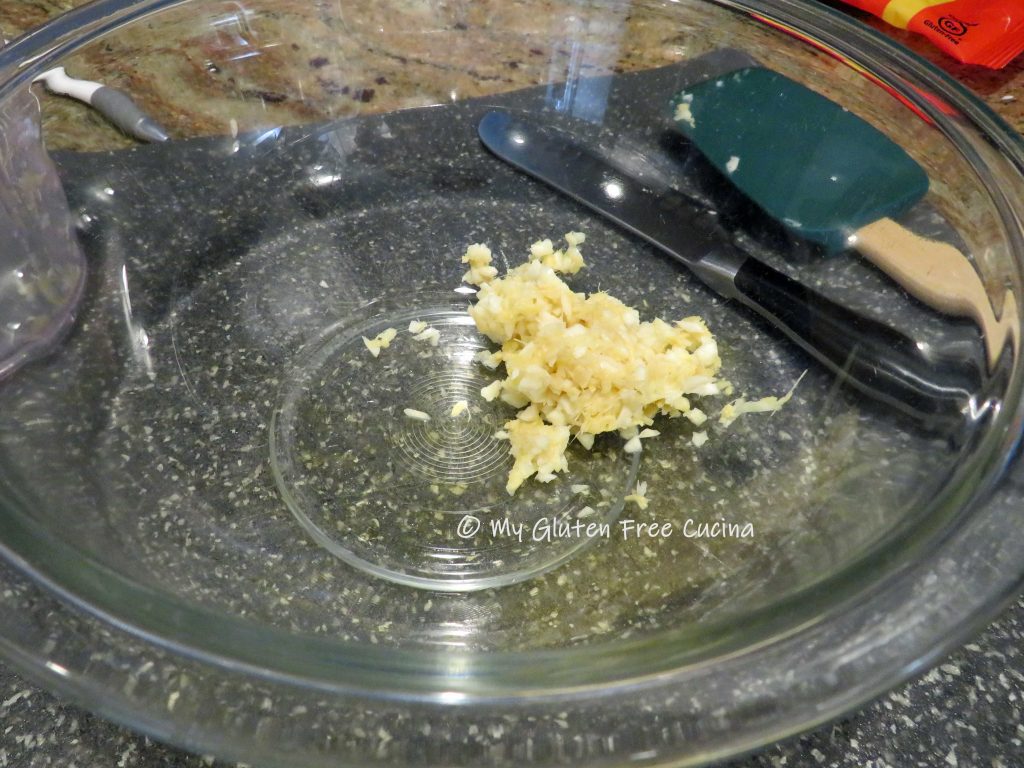
Next mix together the marinade ingredients.  I used an electric chopper to mince the garlic and ginger.

Slice the chicken breast into thin strips and toss with the marinade.  Cover and refrigerate for 1 hour.

Whisk together the sauce ingredients.

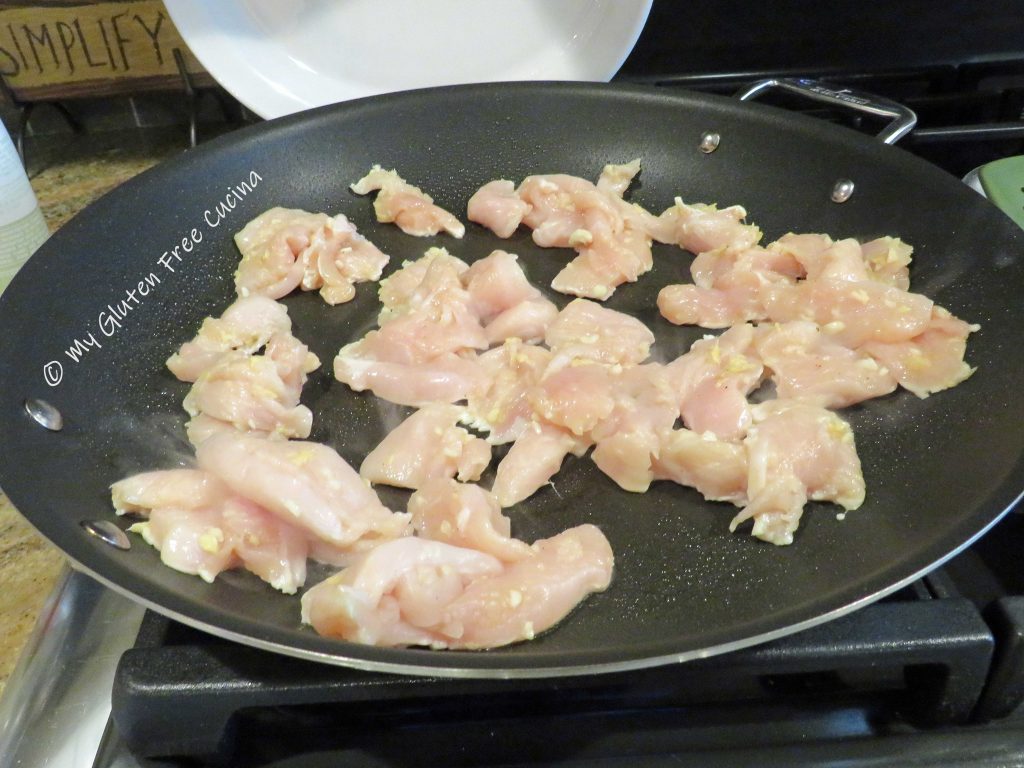
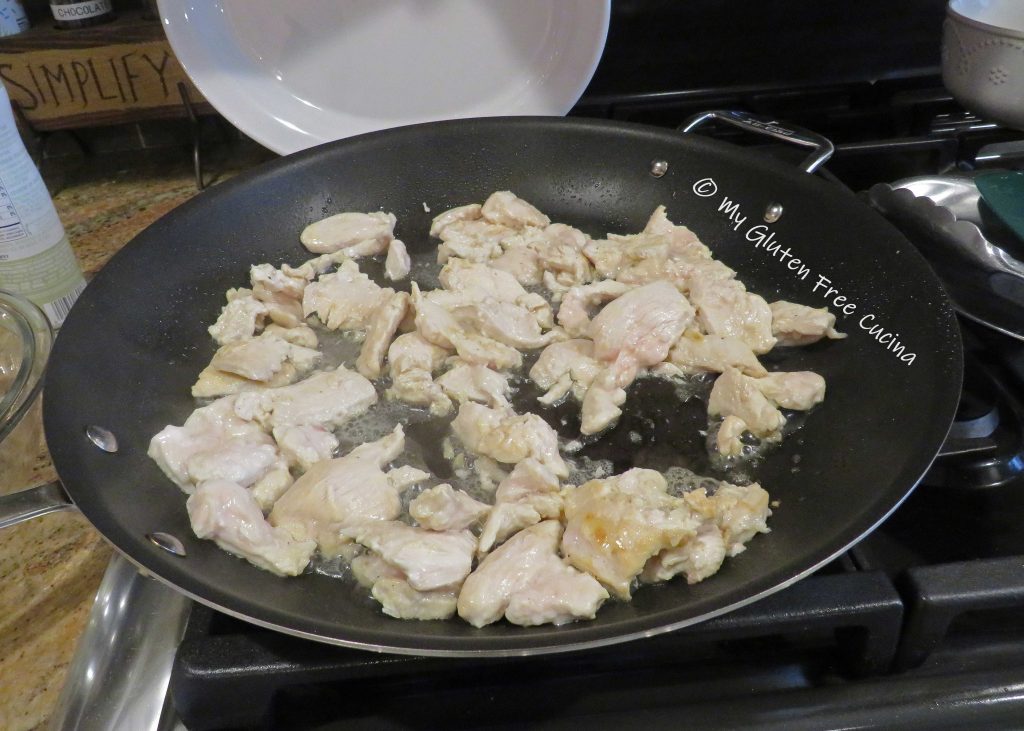
Heat 1 tbsp. olive oil and 1 tsp. sesame oil in a large, nonstick skillet over medium low heat.  Add the chicken and quickly brown on all sides.  It does not have to be cooked through.

Remove the chicken to a bowl and keep warm.  Wipe the skillet clean and add another tbsp. olive oil and 1 tsp. sesame oil.

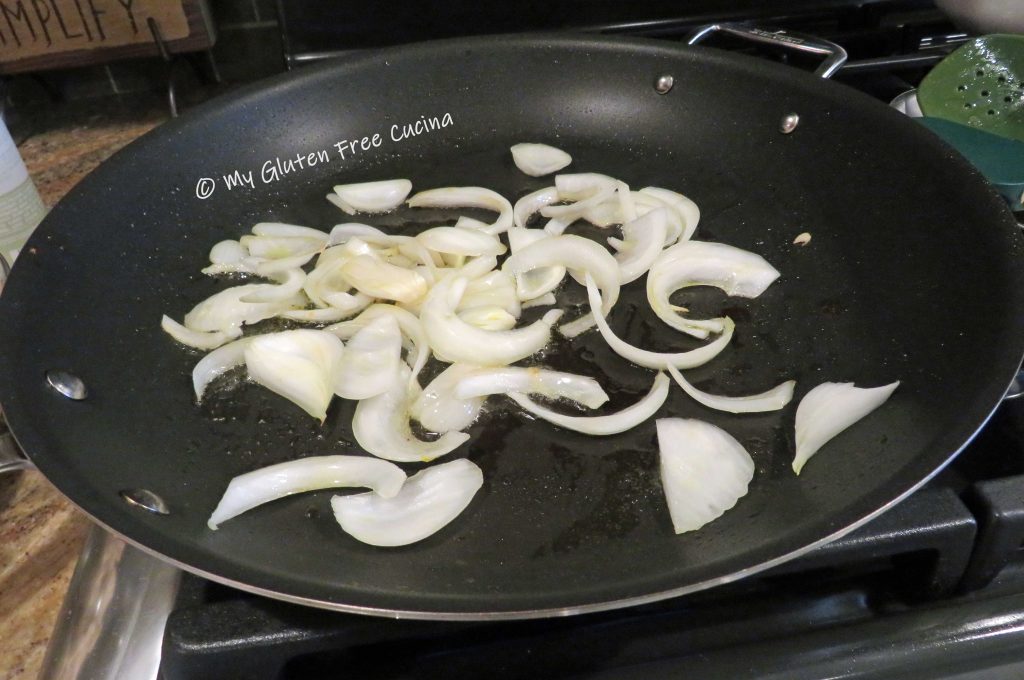
Add the onion first and stir fry until translucent.

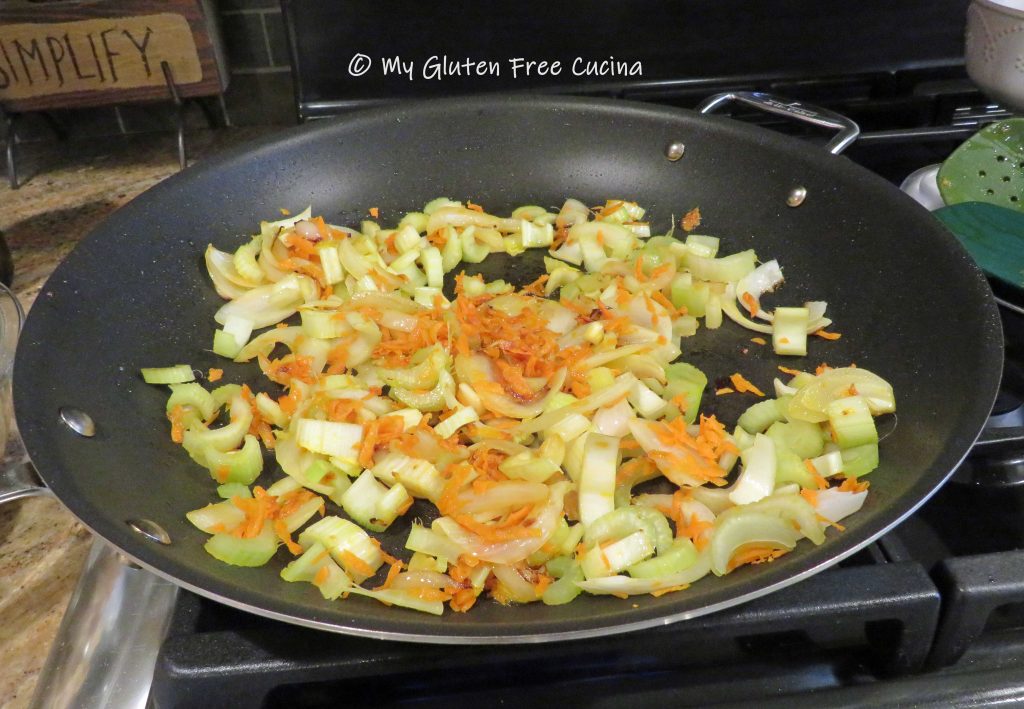
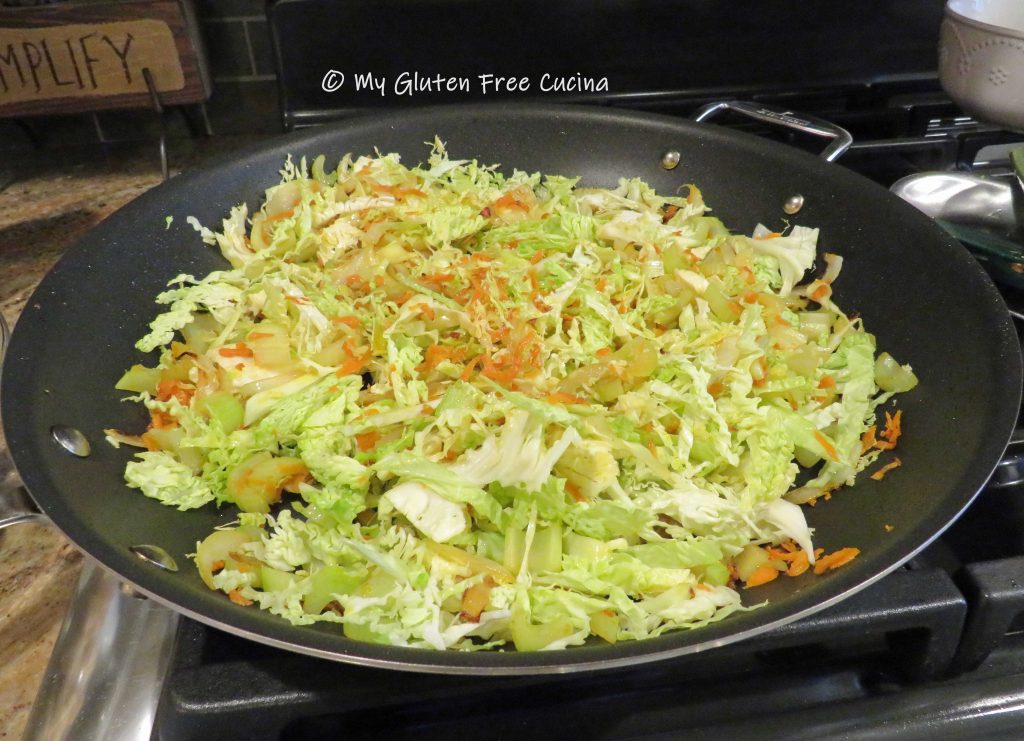
Add the carrot and celery.  Continue cooking for several minutes.

Add the cabbage and toss well to combine.  Cover and cook for about 5 minutes.

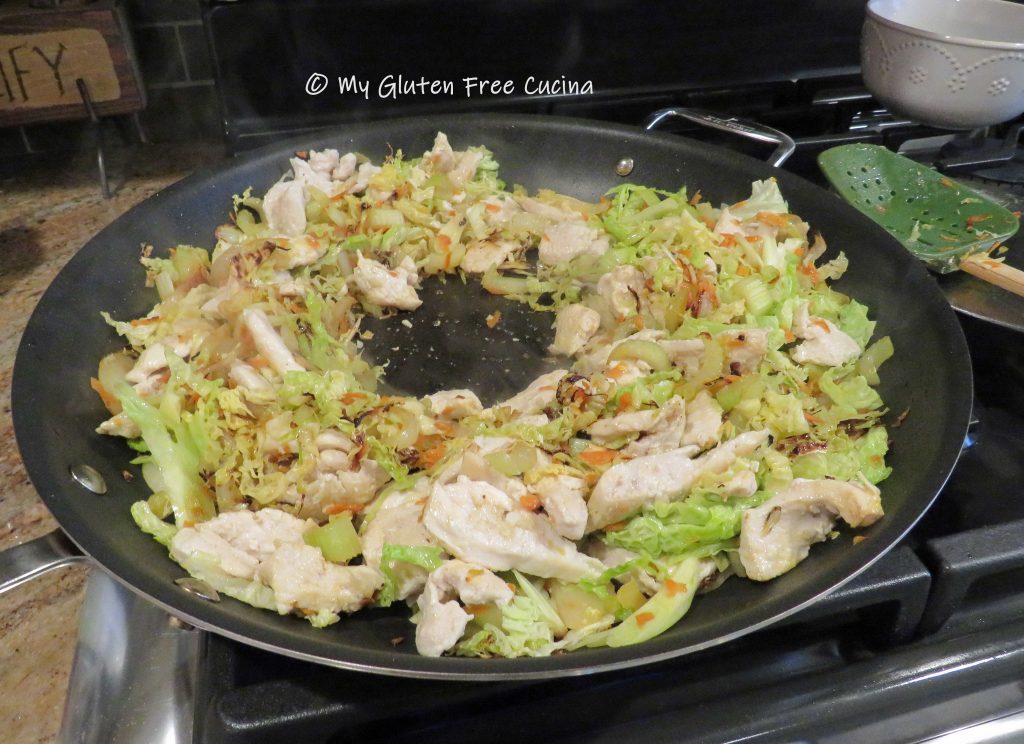
Add back the chicken and stir into the veggies.  Make a well in the center and pour in the sauce.

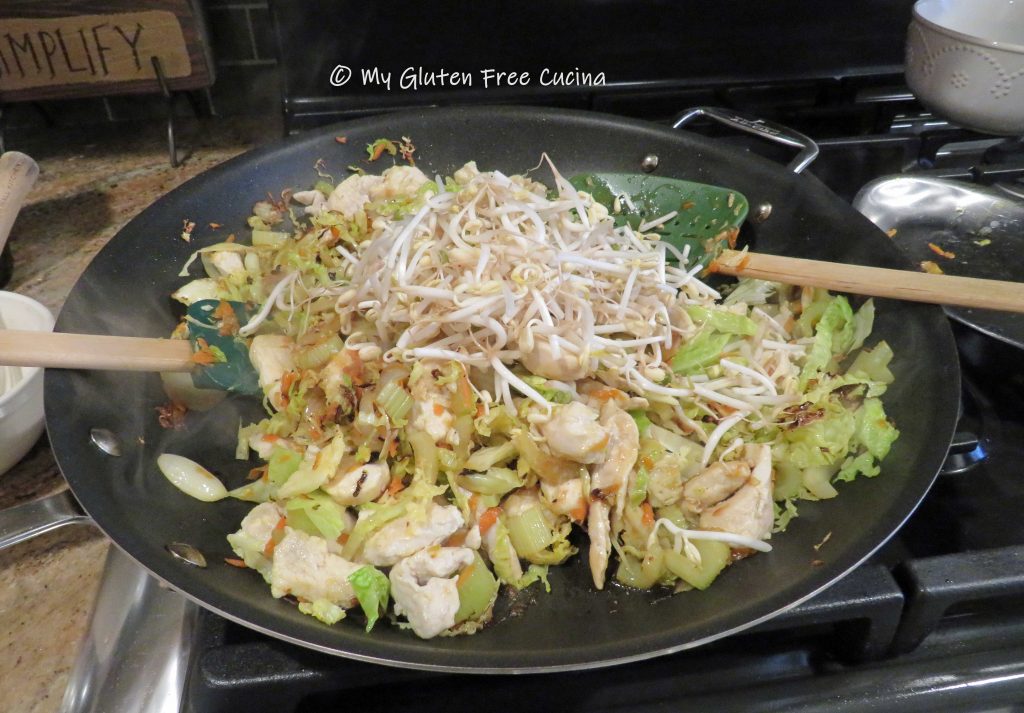
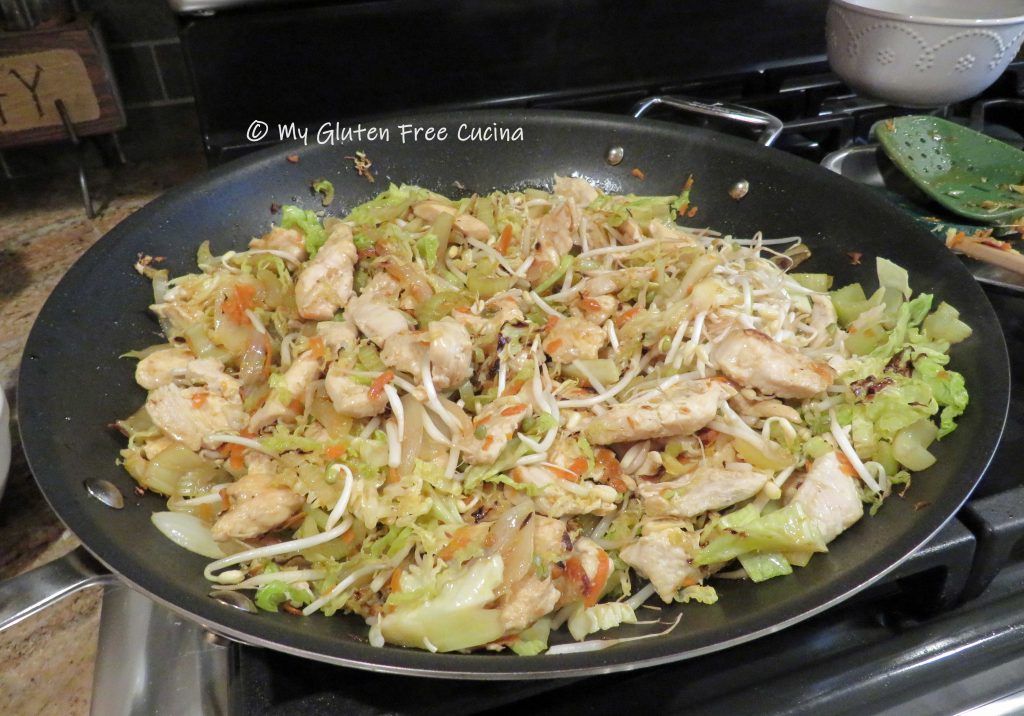
Add the bean sprouts and continue tossing and stirring as the liquid thickens.

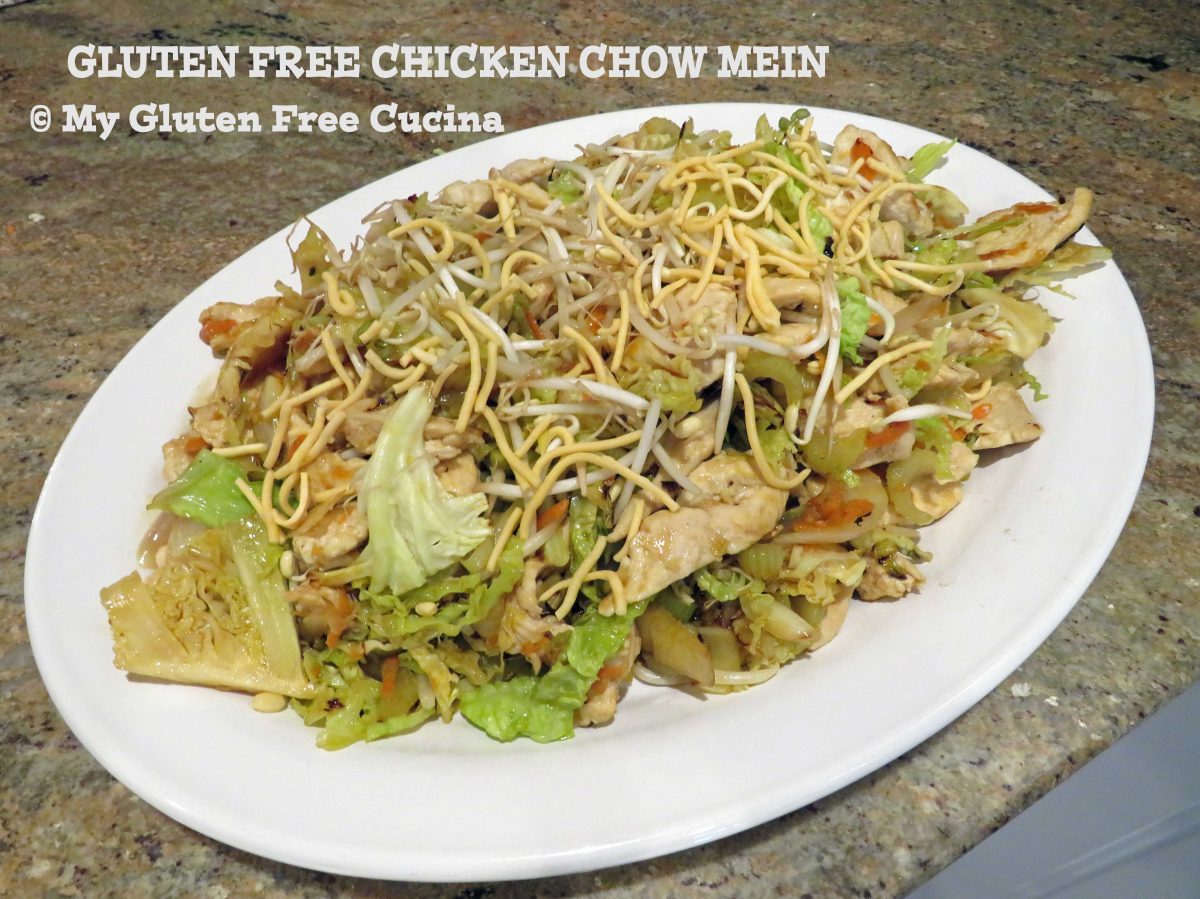
Transfer to a serving dish and sprinkle a few noodles over the top!
Serve over Chow Mein noodles with a side of white rice.

Notes ♪♫ My gluten eating family loved this meal!  The Chow Mein noodles are the bomb, and they are great with salads too!  I will definitely be adding this meal to our dinner rotation.

Print This Post Print This Post

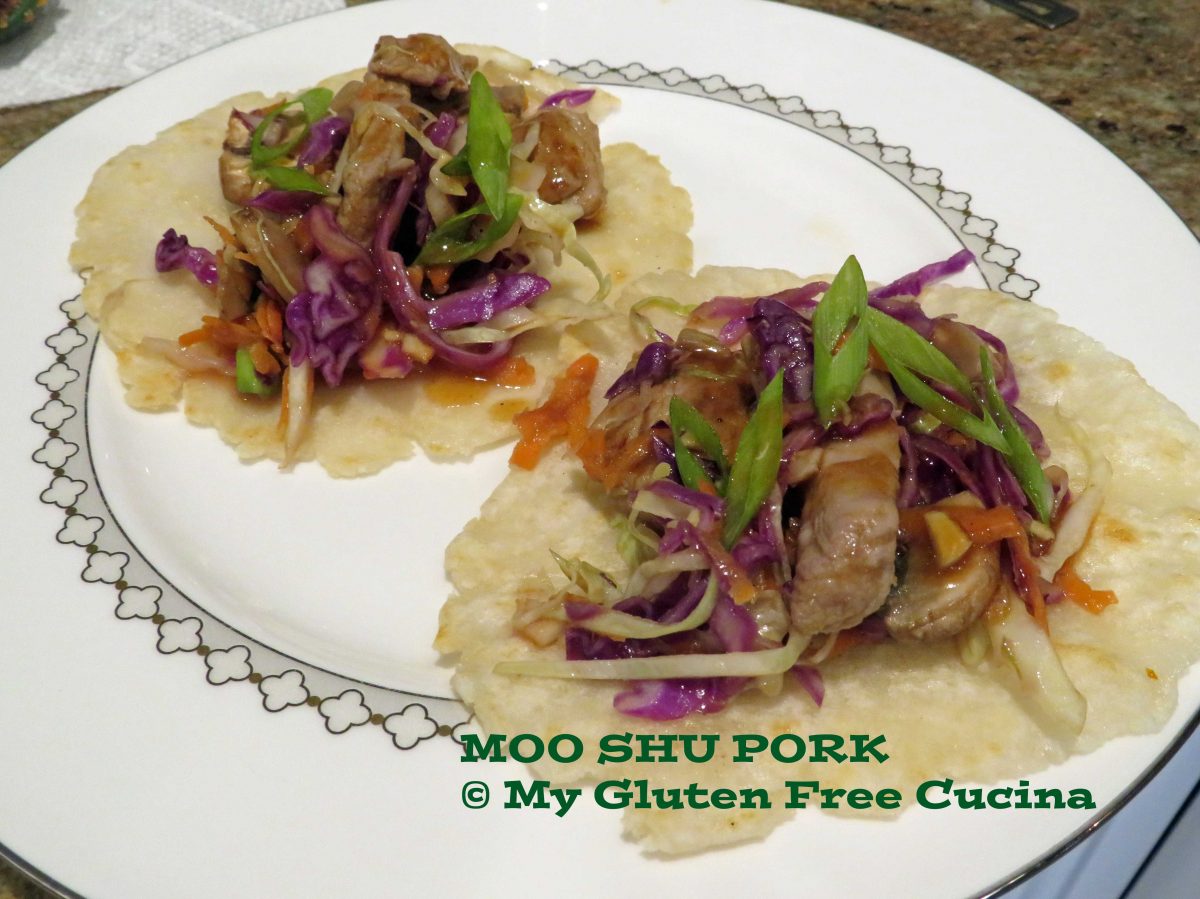
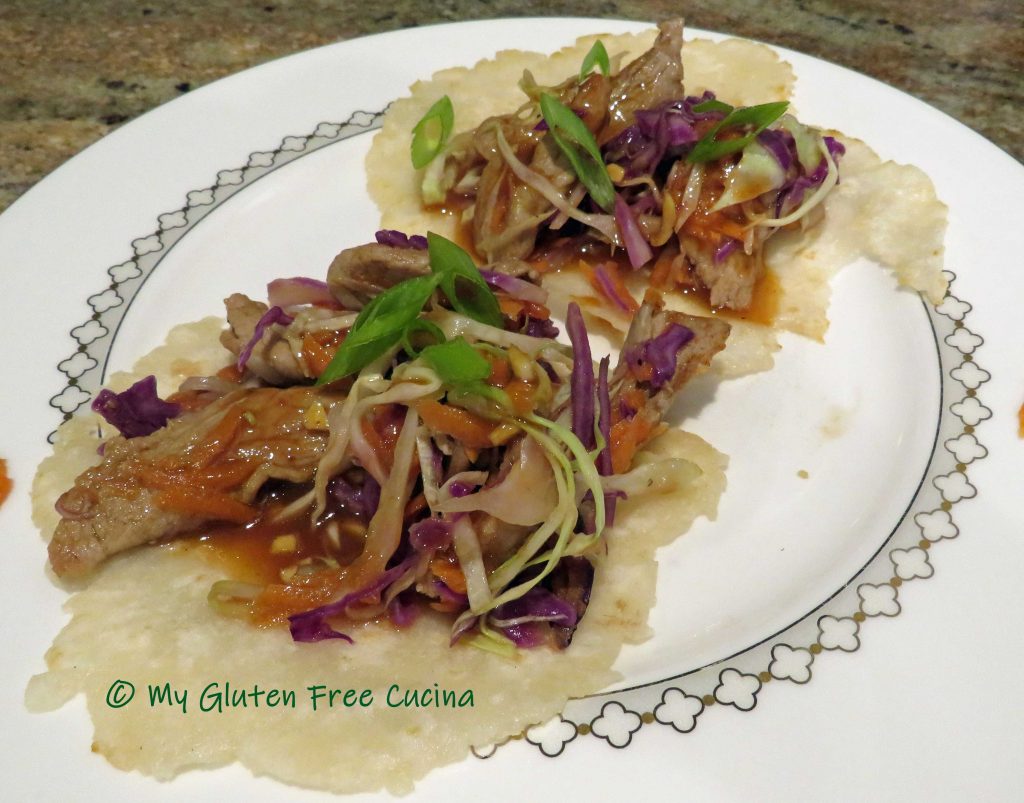
Gluten Free Moo Shu Pork

Gluten Free Moo Shu Pork

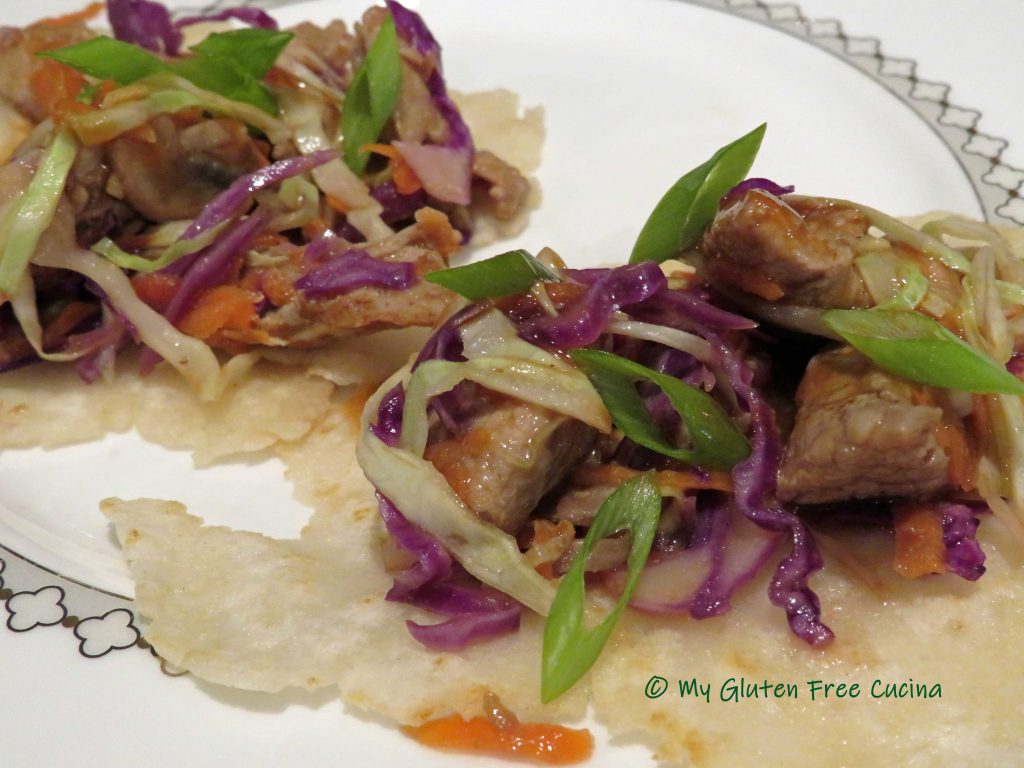
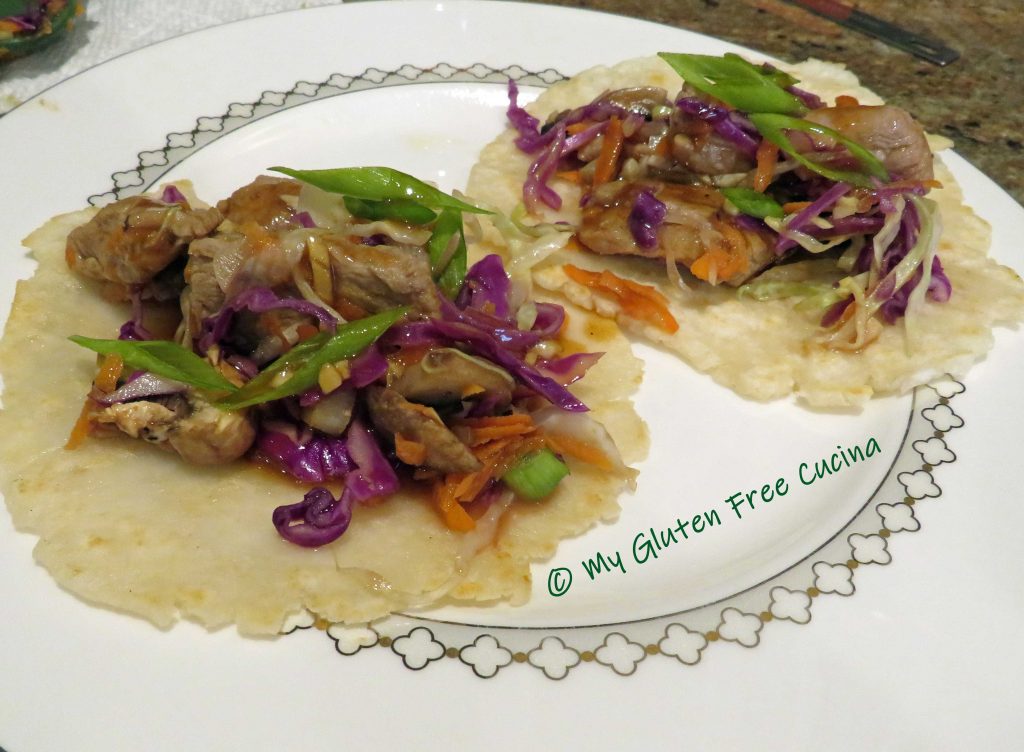
Moo Shu Pork!  Today was my first time making this popular Chinese-American dish, and it’s a keeper!  The flavor and texture of the marinated pork and crisp veggies was just incredible.  And how about those little Mandarin pancakes?

What makes this dish gluten free?

There are a few ingredients you will need to be cautious about in this dish.  While the pork and veggies are naturally gluten free, you need to read the labels on those Asian condiments!  Hoisin Sauce, Plum Sauce, Soy Sauce, Oyster Sauce all may contain wheat.  You can find gluten free condiments, just read the labels carefully!

I thought I would be getting out of my comfort zone with the Mandarin pancakes, but they were really easy to make!  Surprisingly, they have just 3 ingredients and require no special equipment!  That’s right, no stand mixer, no food processor, just a rolling pin!

Mise en Place

As with all stir-fry recipes, you need to have your ingredients prepped and organized before you begin the cooking.  I was well into the process when I realized I did not have enough Hoisin sauce for the recipe.  Don’t be like me (spoiler alert, I was able to improvise, and it came out great)!!!

4 Servings

This post contains affiliate links.

Ingredients:

Marinade Ingredients:

Stir-Fry Ingredients:

  • 12 oz. pork tenderloin, cut into thin strips
  • 1 cup grated carrot (about 1 medium)
  • 1-1/2 cups sliced mushrooms
  • 2 cups red cabbage, shredded
  • 2 cups green cabbage, shredded
  • 2 scallions, bottoms and reserve greens sliced on diagonal for garnish
  • toasted sesame oil

Mandarin Pancake Ingredients:

  • 125 g. (about 3/4 cup) gluten free all-purpose flour (I used and recommend Better Batter Original Blend)
  • 1/4 tsp. salt
  • 1/2 cup boiling water
  • toasted sesame oil

Preparation:

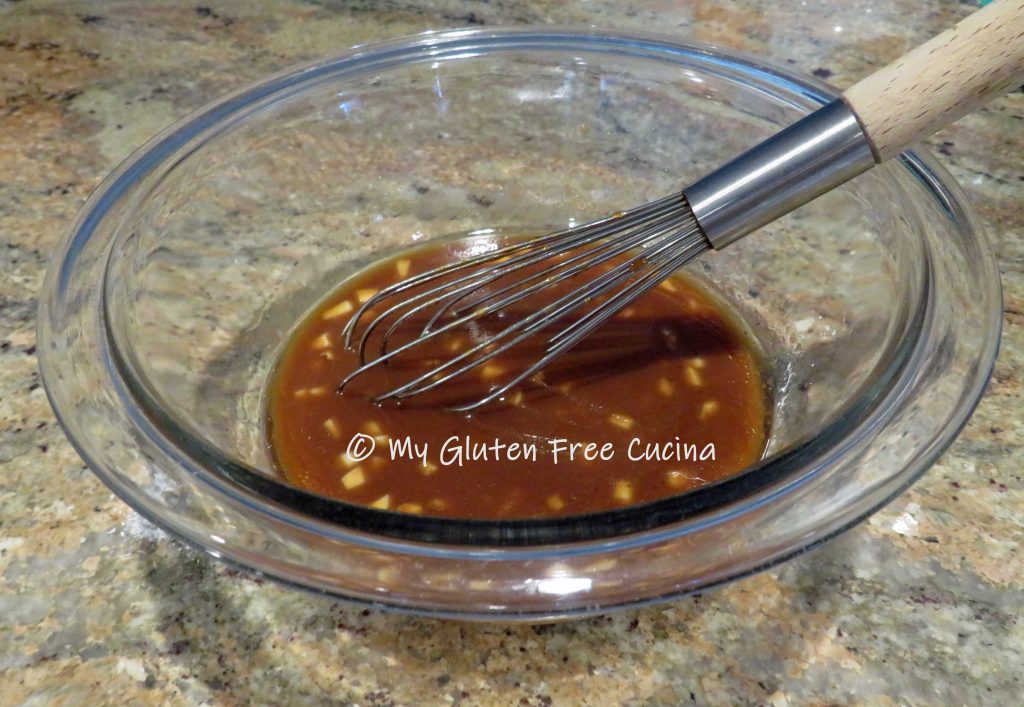
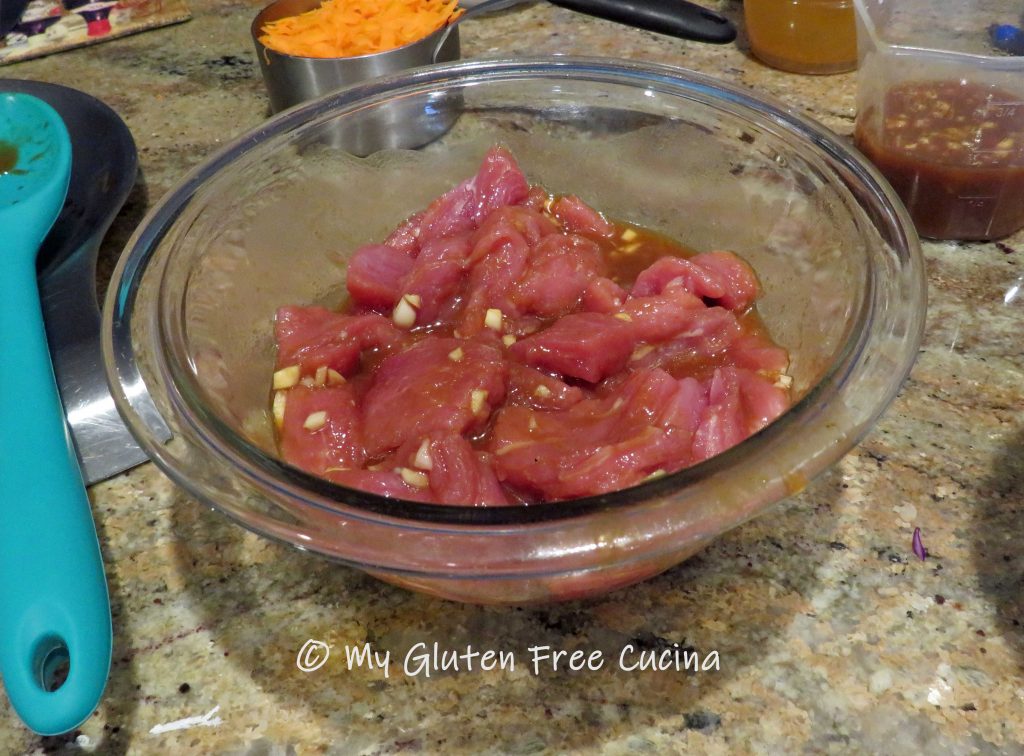
The first thing I did was whisk together the marinade ingredients.  This allows the flavors to meld a bit before you begin cooking.  Divide the marinade into 2 portions, use one for the meat and reserve one to drizzle on the finished dish.   Remember I said that I didn’t have enough Hoisin sauce for this recipe?  Well, I used what I had and topped it off with a little Plum sauce, so delicious!

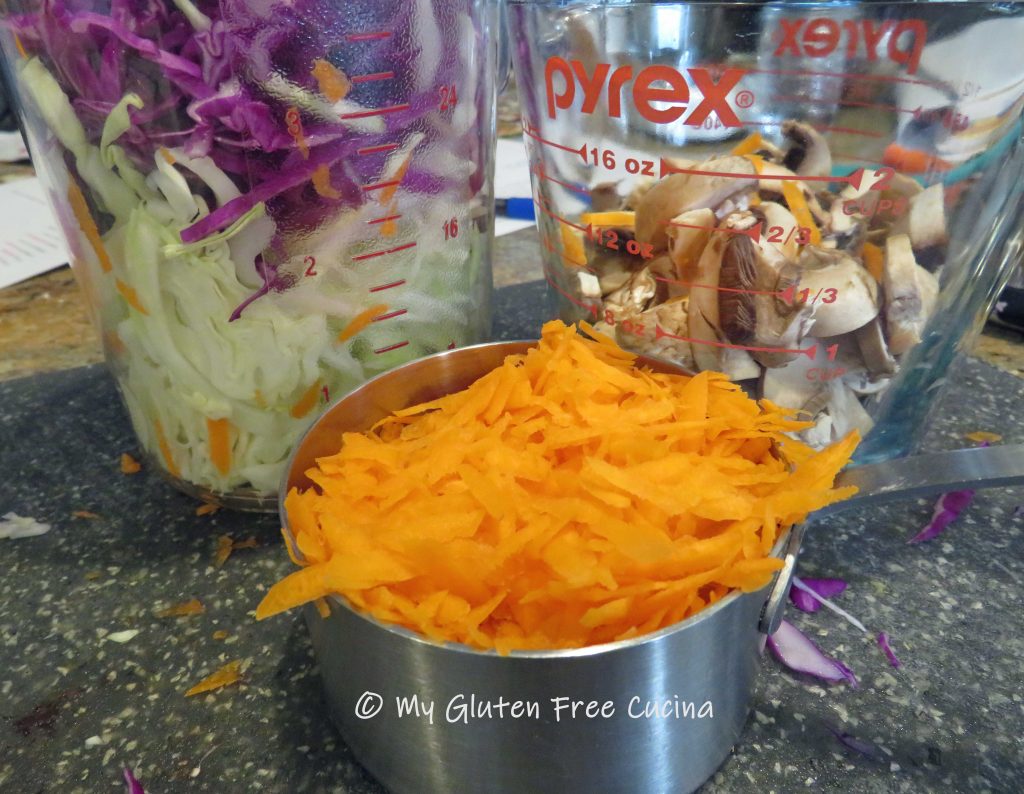
Next, I prepped the veggies.  I used a coarse grater for the carrots and a mandoline to shred the cabbage.

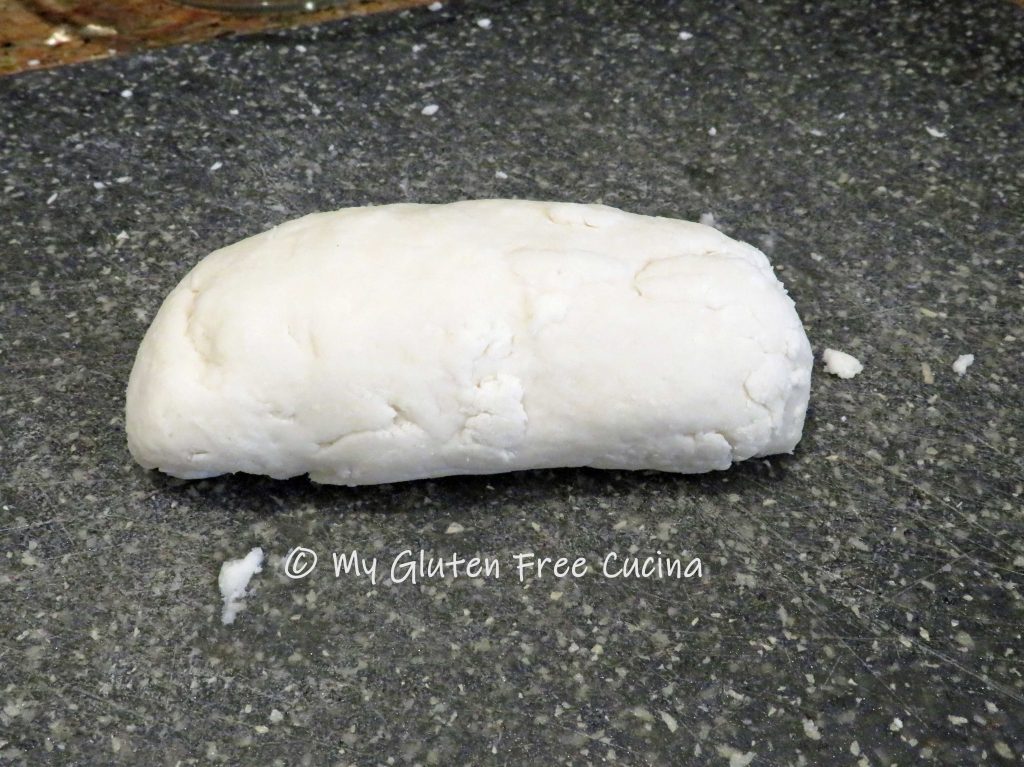
Now for the pancakes!  You are going to be surprised at how easy they come together.  First whisk together the flour and salt.

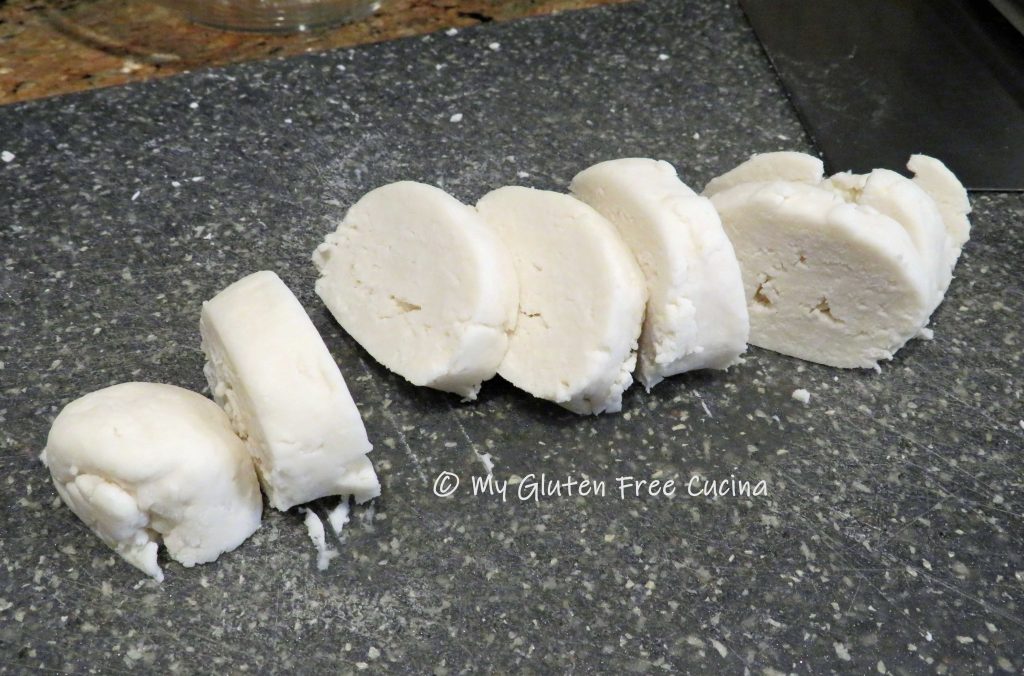
Add the water, stirring in a little at a time to form a dry, shaggy dough.  The dough should hold together when you give it a squeeze.  Shape the dough into a log.

Cover with plastic wrap or a damp towel, and let it rest for 10 minutes to hydrate.  While the dough is resting, cut the pork tenderloin into thin strips (I used kitchen shears).  Place the strips into a bowl with half of the marinade and stir to coat.

Use a bench knife to divide the dough log into 8 equal pieces.

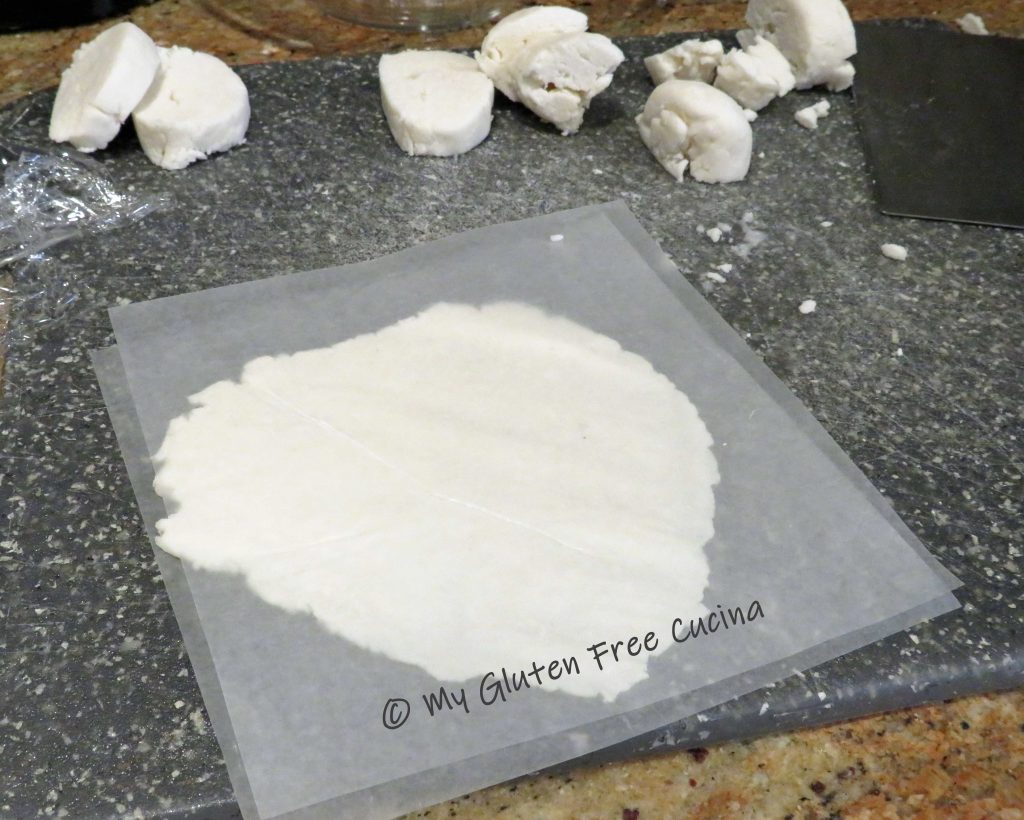
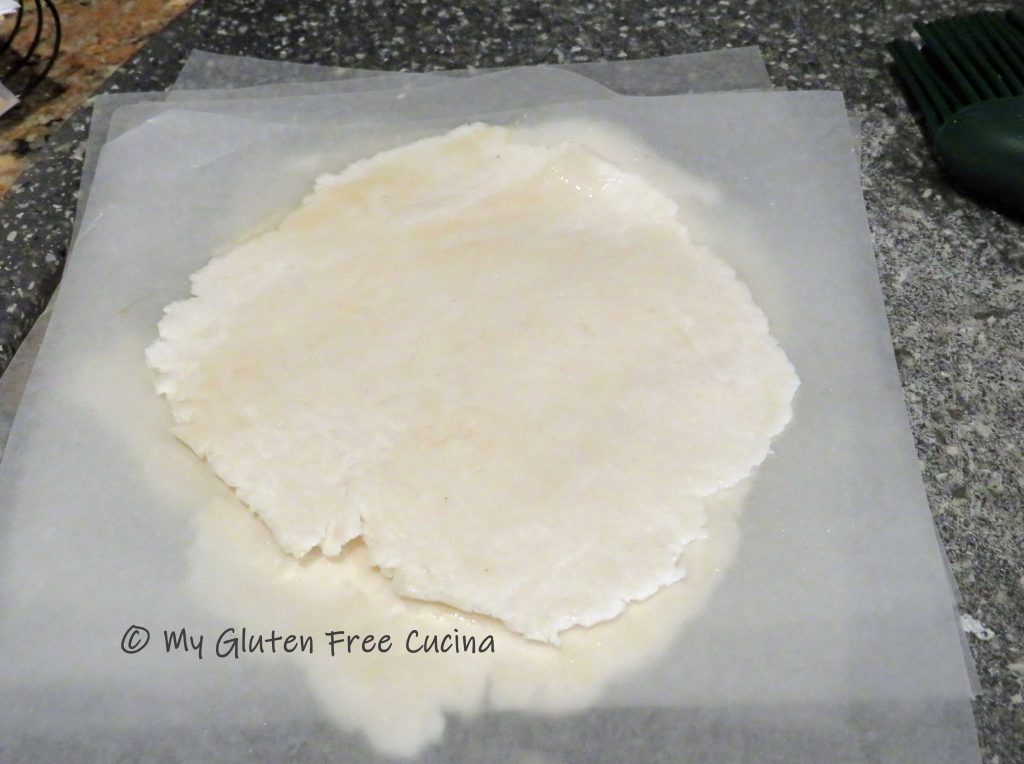
I used 6″ wax paper squares to help roll out the dough.  Brush the paper with toasted sesame oil (so it doesn’t stick), place one section of dough between two sheets and roll it out to about 5″ diameter and 1/8″ thickness.

Continue with the remaining sections of dough and stack them between sheets of oiled wax paper.

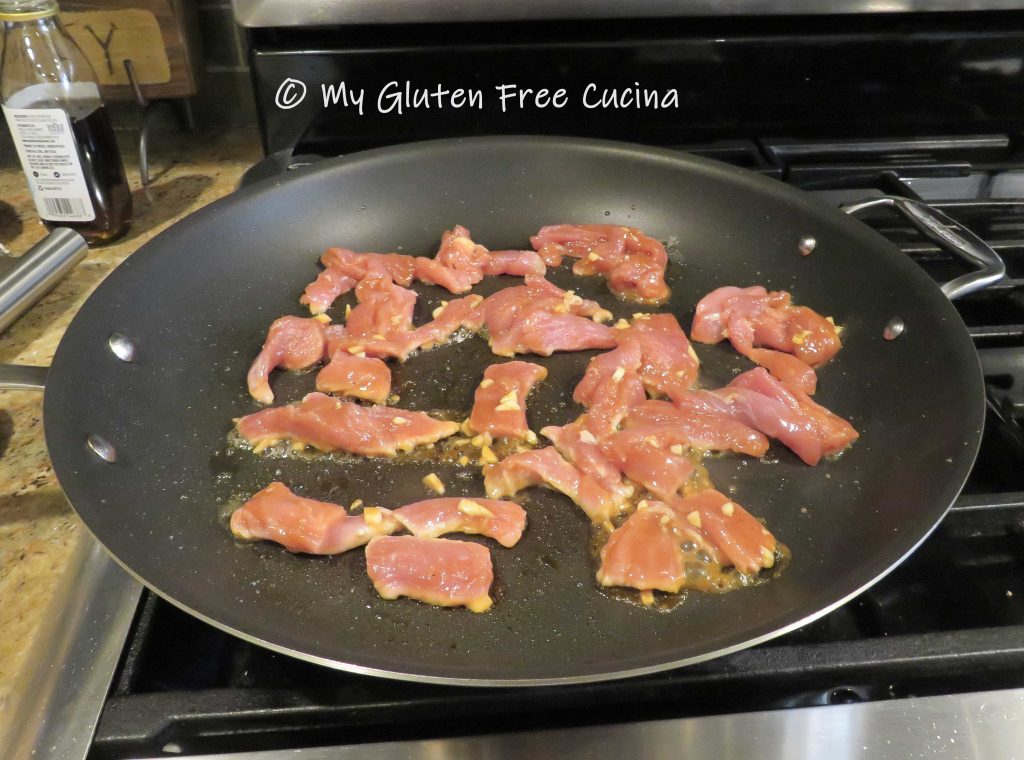
Now we are ready to finish the dish.  Heat 2 nonstick skillets, a larger one for the stir fry and a smaller one for the pancakes.  In the large skillet, begin cooking the pork.  Discard any marinade remaining in the bowl.

Use tongs to turn each piece to quickly brown both sides.  The pork does not have to be cooked through at this point; it will finish cooking with the veggies.

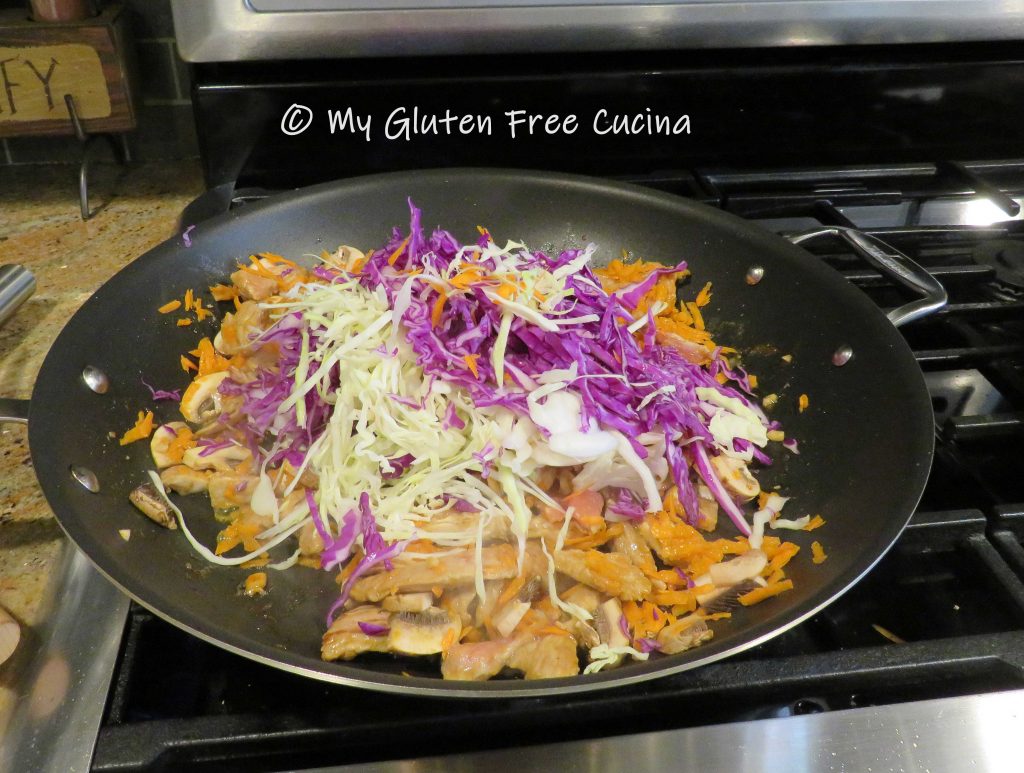
Add all of the vegetables to the skillet.

Stir fry the veggies for several minutes, turning frequently to wilt the cabbage.

When the veggies are crisp tender, turn down the heat.  Brush the smaller skillet with sesame oil.  Remove 2 of the Mandarin pancakes from the wax paper, stack one over the other and place in the skillet.  Cook for 30 seconds, flip and cook another 30 seconds.  Then, carefully separate the 2 layers and transfer to a plate.
Note ♪ Cooking the pancakes two at a time allows them to heat through on the outside and steam in the middle.  As long as they are well oiled, you should have no problem peeling the layers apart.

Continue with the remaining pancakes and arrange on a serving platter or individual plates.  Spoon the Moo Shu Pork onto each pancake.  Drizzle the reserved marinade over each and garnish with scallion greens.

If you have leftovers, they will keep well for a few days in the fridge.  I stored the Mandarin pancakes in a zip lock bag, with a sheet of wax paper between each and they remained soft and pliable.  Reheat the Moo Shu Pork in the microwave and spoon over a pancake, no need to heat the pancakes as they will warm through from the heat of the pork.

Notes ♪♫ Mandarin pancakes are a thin, unleavened flatbread, similar to a tortilla.  They came out great and reminded me of the wheat wraps I used to buy.  I used (and recommend) Better Batter Original gluten free flour for this recipe.  I have not tested the recipe with other flour blends, so be aware that if you decide to use a different brand your results may vary.  In general, I find that Better Batter is superior to other gluten free flours for recipes that require rolling and shaping of dough.  CLICK HERE for 30% off any non-sale item with my Code MGFC30.

Print This Post Print This Post


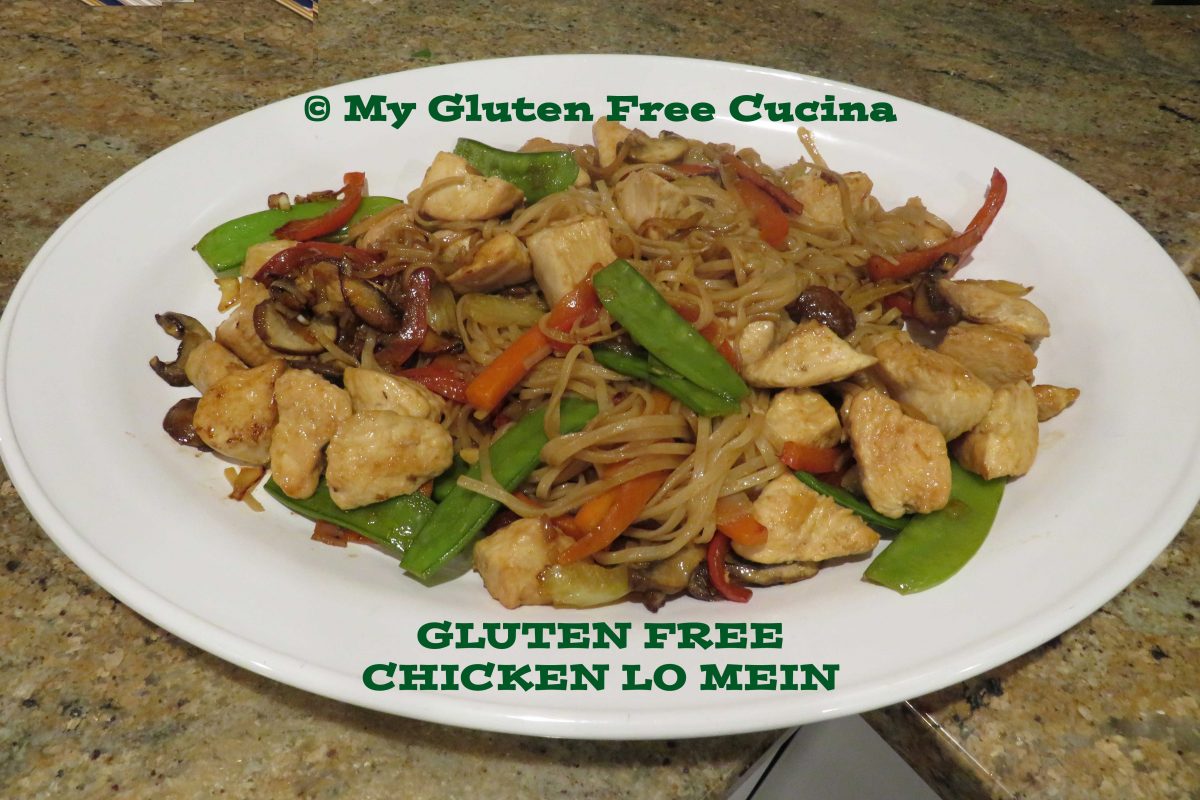
Gluten Free Chicken Lo Mein

Back in the day ordering Chinese takeout was such a treat.  I really miss being able to do that since being gluten free.  There are few places in our area that offer gluten free Chinese food, but cross contact is always a concern.

That’s why I learned to make gluten free alternatives at home, like this Lo Mein.  The recipe is gluten free and lower in sodium than takeout, so I would call that a success!

This post contains affiliate links.

Although a true Lo Mein would be made with egg noodles, I used Annie Chun’s Brown Rice Noodles in this recipe, and they were a great stand in.  I use their noodles in many of my Asian stir fry meals.

Ingredients:

For the Sauce:

For the Lo Mein:

  • 1 lb. boneless chicken breast, cut into 1″ cubes
  • 1/2 cup celery
  • 3/4 cup carrots
  • 3/4 cup onion
  • 3/4 cup mushrooms
  • 1/2 cup bell pepper
  • 3/4 cup snow peas
  • sesame oil
  • olive oil
  • coconut aminos
  • 1/2 tsp. garlic powder
  • 1/2 tsp. ginger powder
  • 4 oz. gluten free rice noodles

Preparation:

This is one of those recipes where you need to get organized before you begin cooking.  Prep the veggies, cut the chicken into cubes and have all other ingredients lined up and ready.

Begin by whisking the sauce ingredients together and set aside.

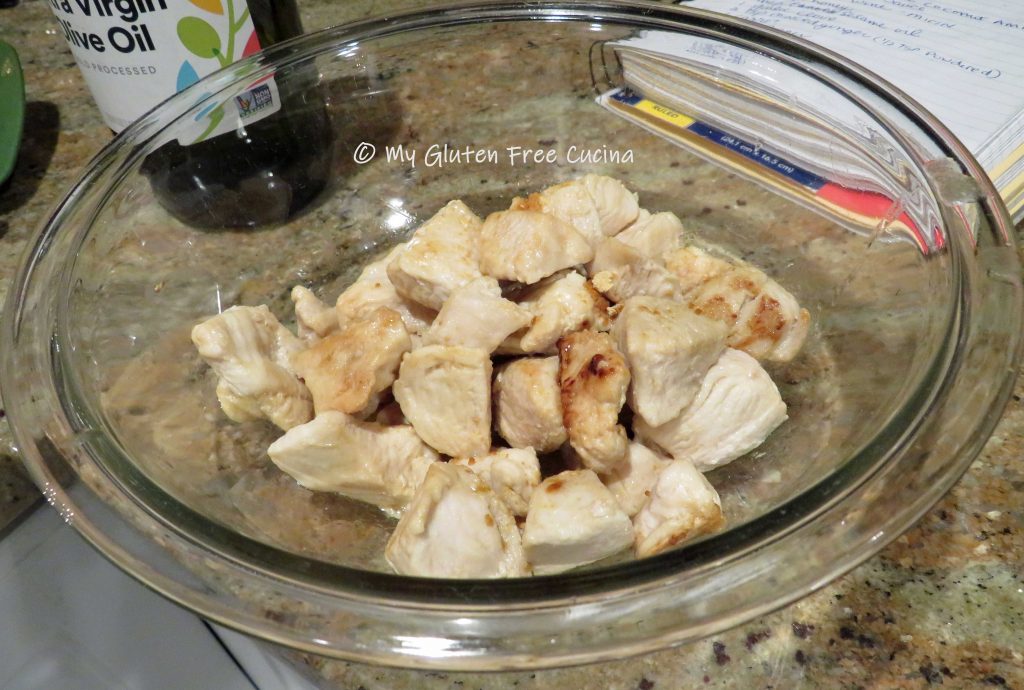
Set up a pot of salted water for the rice noodles and bring to a boil.  Heat a large nonstick skillet with 1 tbsp. olive oil and 1 tsp. sesame oil.  Cook the chicken, turning to brown on all sides.  When the chicken is almost cooked through, remove it from the pan and set aside.

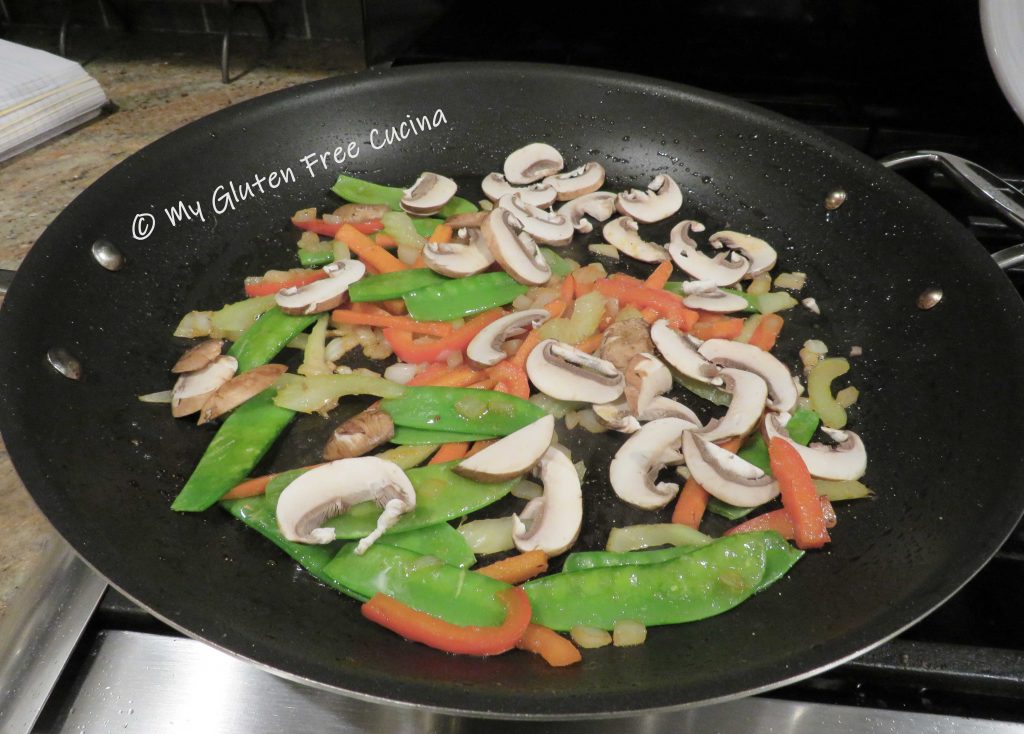
Wipe the pan clean and add 1 tsp. sesame oil.  Begin cooking the carrots, peppers and snow peas for several minutes until crisp tender.  Next add the mushrooms and garlic with an additional tsp. of sesame oil.  Cook for 1 minute.

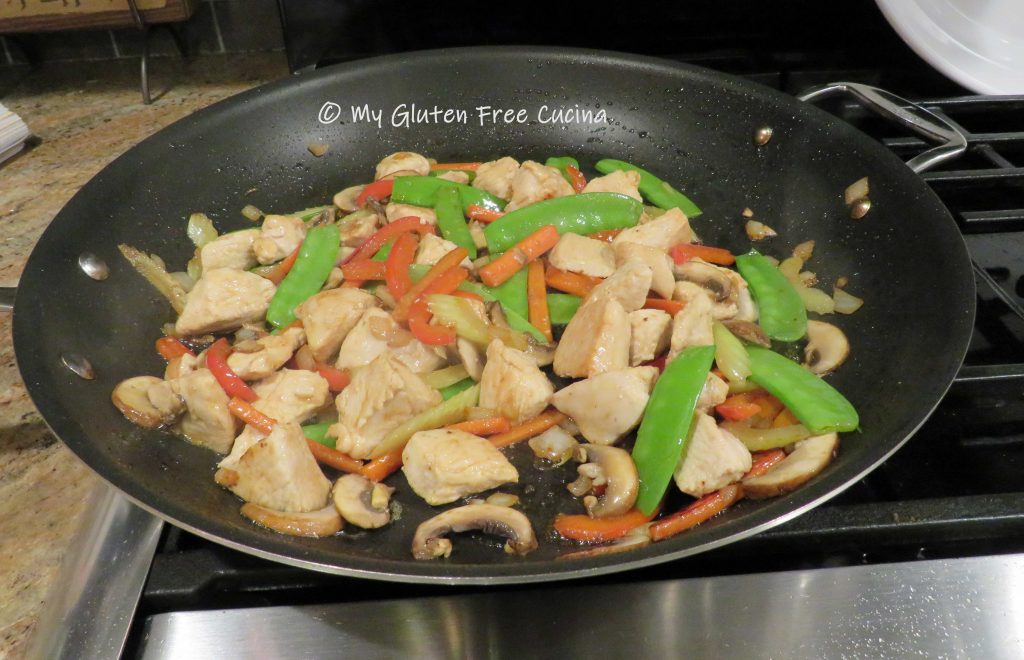
Add the rice noodles to the boiling water, and at the same time return the chicken to the skillet.  Pour half the sauce over the chicken and vegetables.

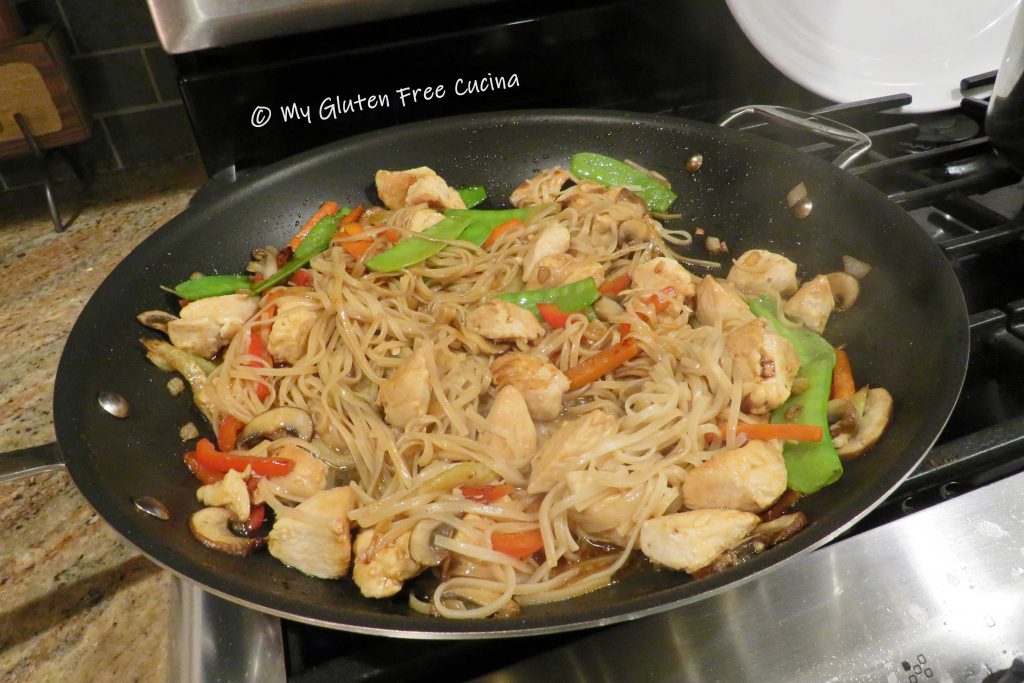
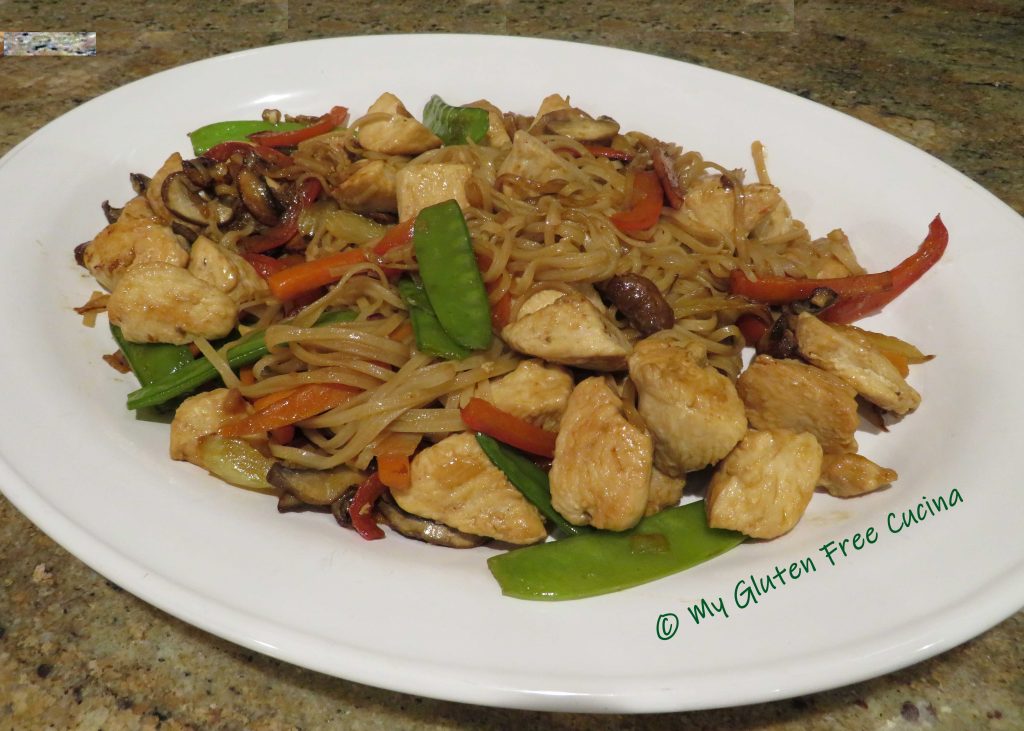
Drain the pasta after 3 minutes, add it to the skillet and top with the remaining sauce.  Toss well and stir to combine it all, cook for another minute.

Transfer to a platter and serve.
Notes ♪♫ Have you ever purchased a large piece of gingerroot for a recipe, only to use a small amount and have the rest go bad in the refrigerator?  Here’s a trick I learned this past winter, you can cut fresh ginger into smaller pieces and freeze them for later use.  It is so easy to grate gingerroot right out of the freezer.  Perfect for recipes like this one, where fresh ginger is a key flavor in the sauce.

Print This Post Print This Post


Gluten Free Hoisin Chicken Thighs

Chicken thighs are an easy and economical main course.  They are a favorite for family dinners, as you can adjust the quantity to feed one, two or a crowd.  They make great leftovers too!  Chicken thighs are so versatile, and can be adapted to many cuisines, from this simple Chicken Thighs with Andouille Sausage, to my Tex-Mex Chicken Thighs.  In today’s recipe, I’m giving them a fun Asian twist with just a brush of Hoisin Sauce and a side of fried rice.

4 Servings

This post contains affiliate links.

Ingredients:

  • 4 chicken thighs
  • 1/2 tsp. garlic granules
  • 1/2 tsp. ginger powder
  • cooking spray
  • 4 tbsp. gluten free Hoisin sauce
  • toasted sesame seeds for garnish, optional
  • chopped fresh chives for garnish, optional
  • Fried Rice for serving (get the recipe here!)

Preparation:

If you haven’t made fried rice before, check out my easy, basic recipe here.  You can pair it with seafood, pork, poultry or jazz it up with bean sprouts or more veggies.

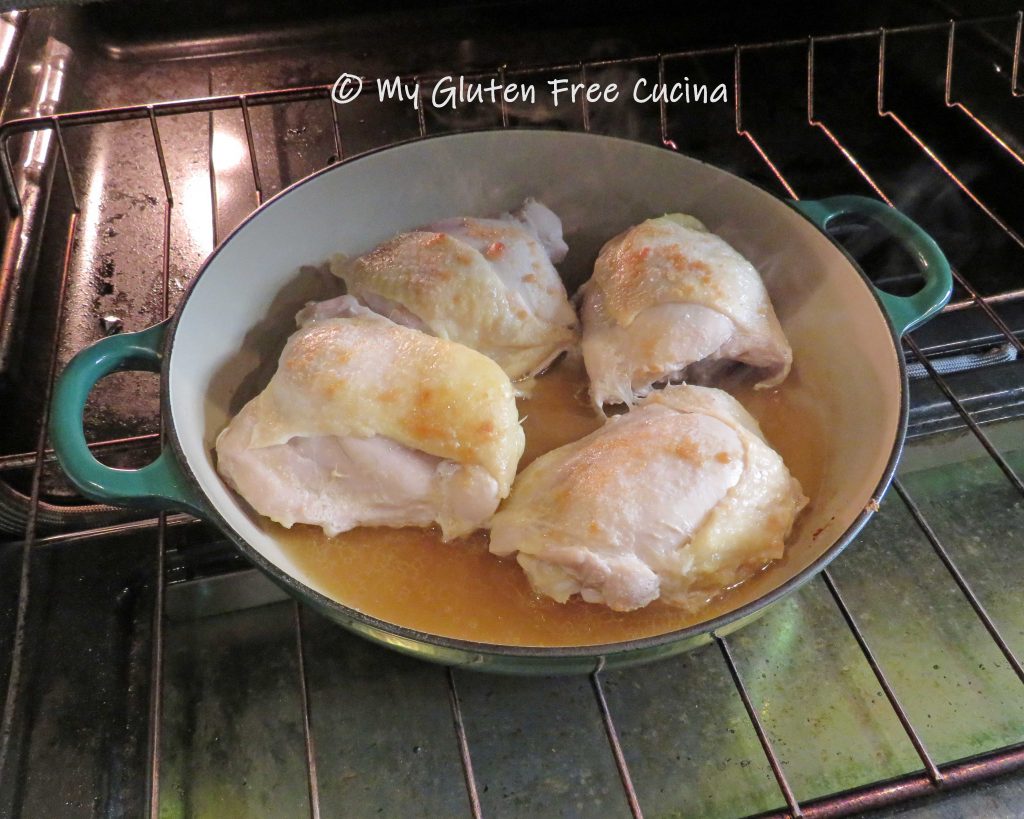
Rinse the chicken thighs and pat dry.  Trim excess fat and sprinkle the thighs with garlic and ginger powder.  Mist a cast iron braising pan or Dutch oven with cooking spray.  Arrange the thighs in the pan, cover and bake for 75 minutes at 350º.

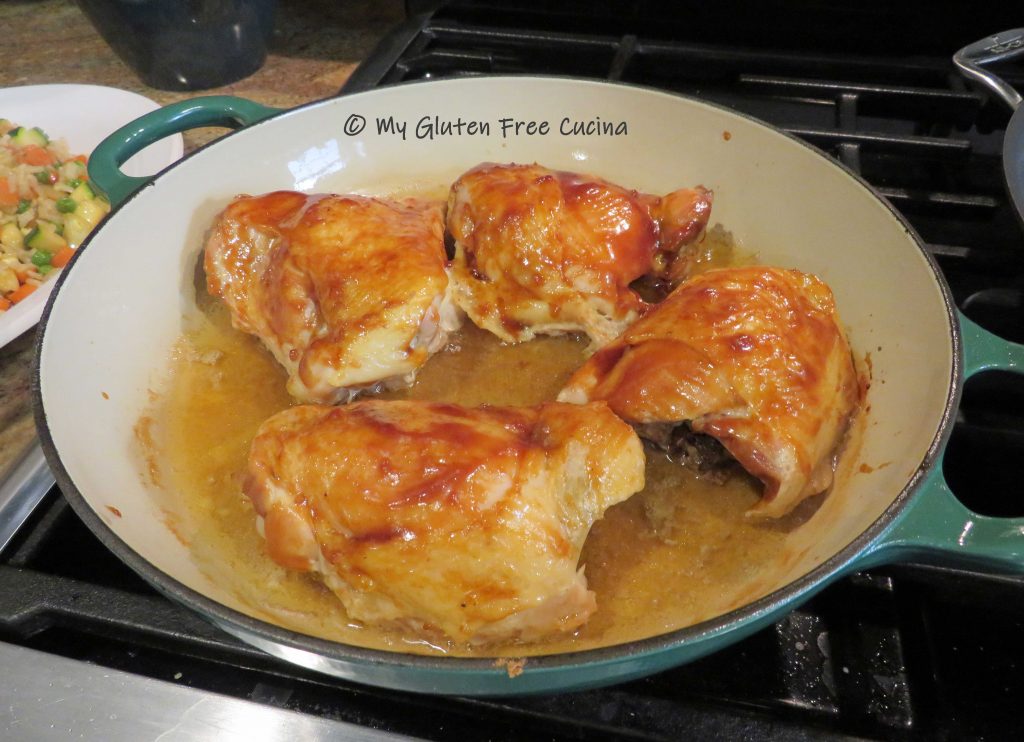
Liberally brush the thighs with hoisin sauce and cook uncovered for an additional 15 minutes.

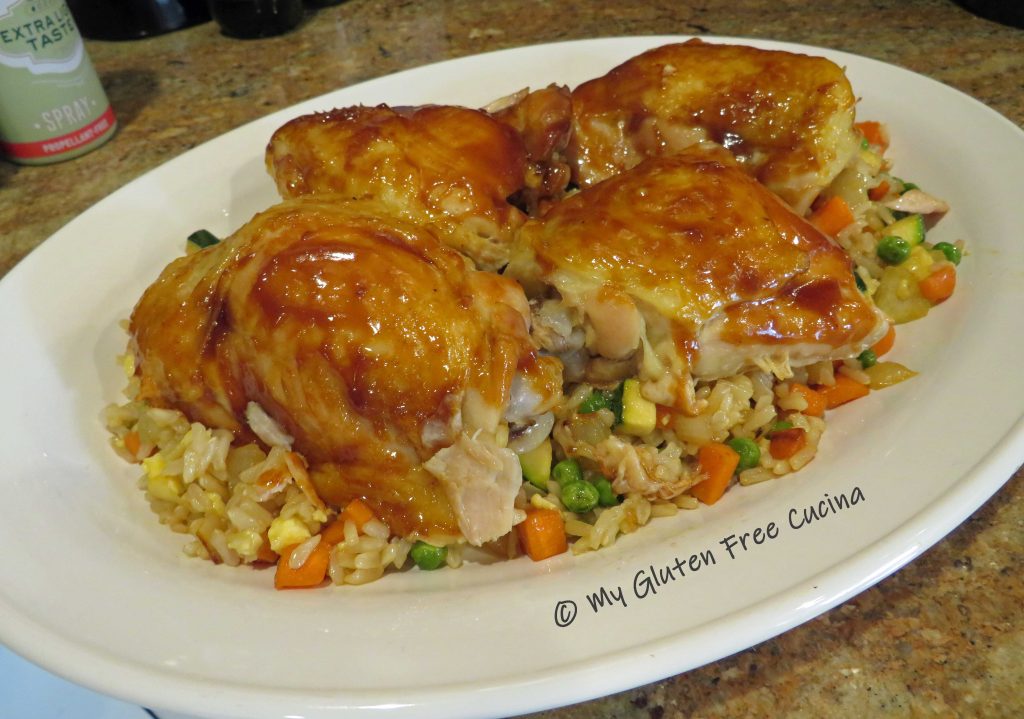
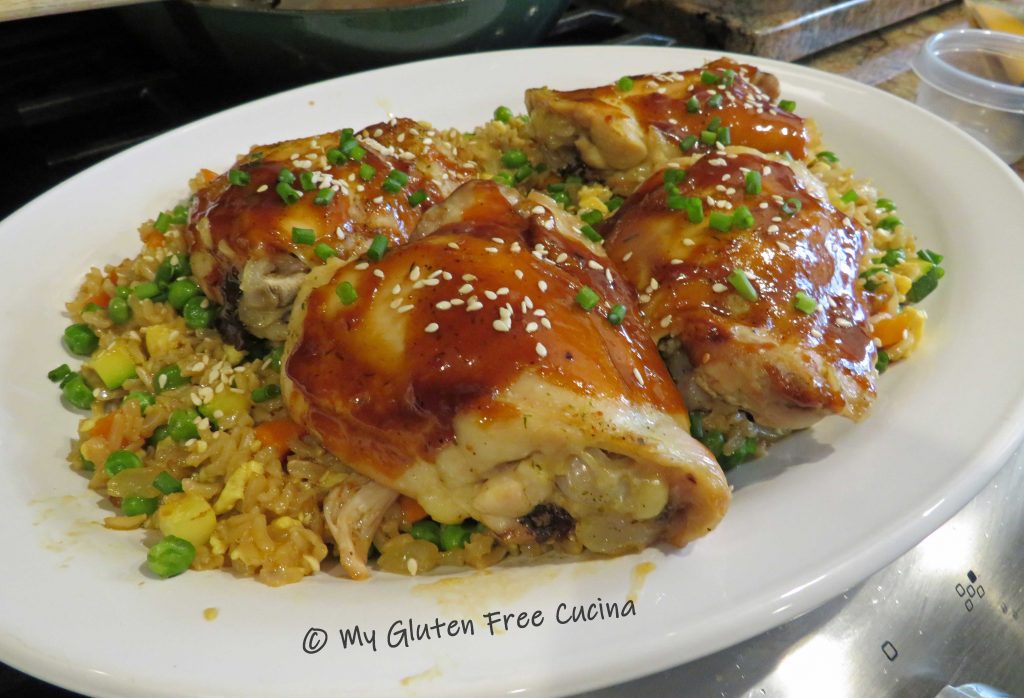
While the chicken was cooking, I made my fried rice.  You can get the basic recipe here.  I plated the chicken over the rice for a nice presentation.

For an extra garnish, you can sprinkle with toasted sesame seeds and scallions or chopped fresh chives.

For more recipes with fried rice, check out my Shrimp Fried Rice, Hoisin Pork Fried Rice, or Hibachi Chicken with Fried Rice!

Notes ♪♫ Hoisin sauce is a staple in Asian cooking.  Not all brands are gluten free, so be sure to check the label.  I used Sun Luck Hoisin Sauce in this recipe, available in the Asian aisle at your grocer or you can get it online.

Print This Post Print This Post

Spaghetti Squash Chicken Lo Mein

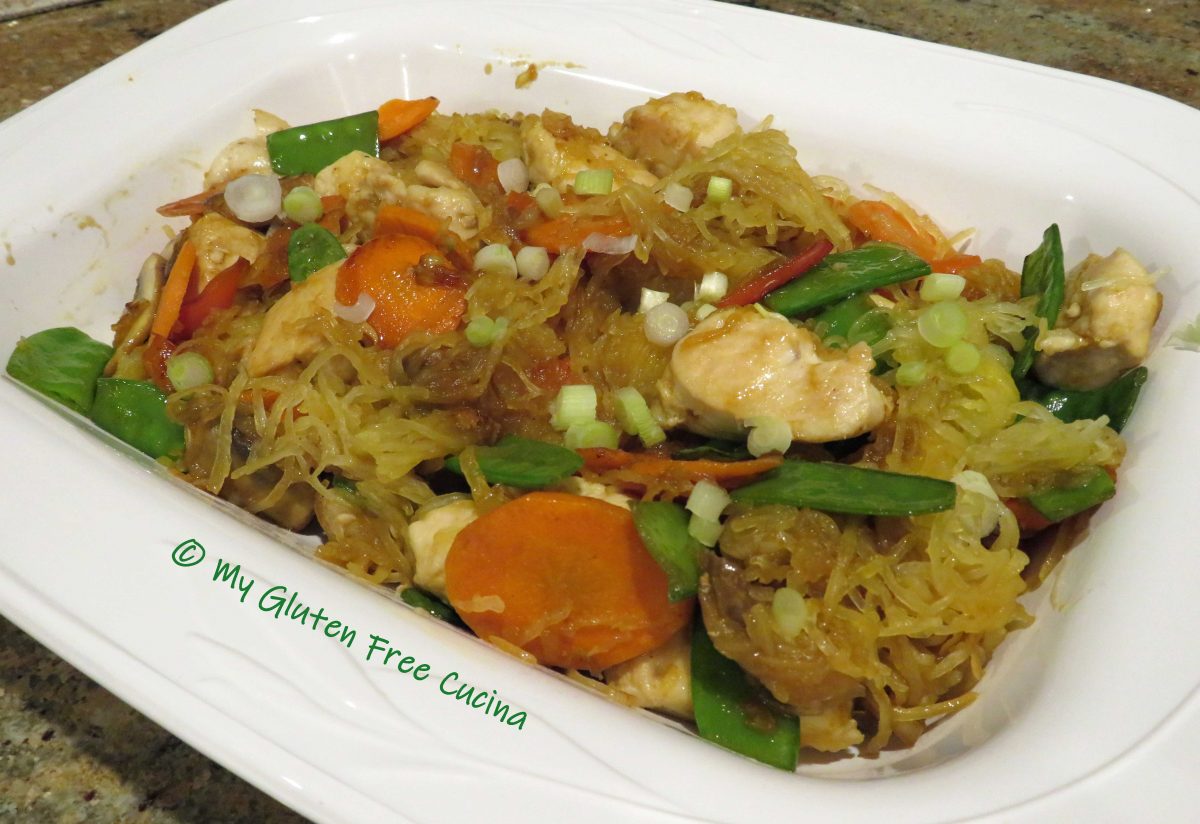
This Asian inspired meal checks so many of my boxes!  Healthy fresh ingredients, color, flavor, texture and of course it’s gluten free!  A nice change of pace from my usual stir fries that are made with noodles or rice, this grain free dish won’t leave you feeling stuffed!

We have spaghetti squash quite often, but usually I make an Italian dish like this Twice Baked Spaghetti Squash.  Who knew this humble veggie could also stand in for Chinese noodles!

This post contains affiliate links.

ingredients:

“Lo Mein” Squash Noodles:

  • 1 small spaghetti squash
  • 2 tbsp. olive oil
  • cooking spray

For the stir fry:

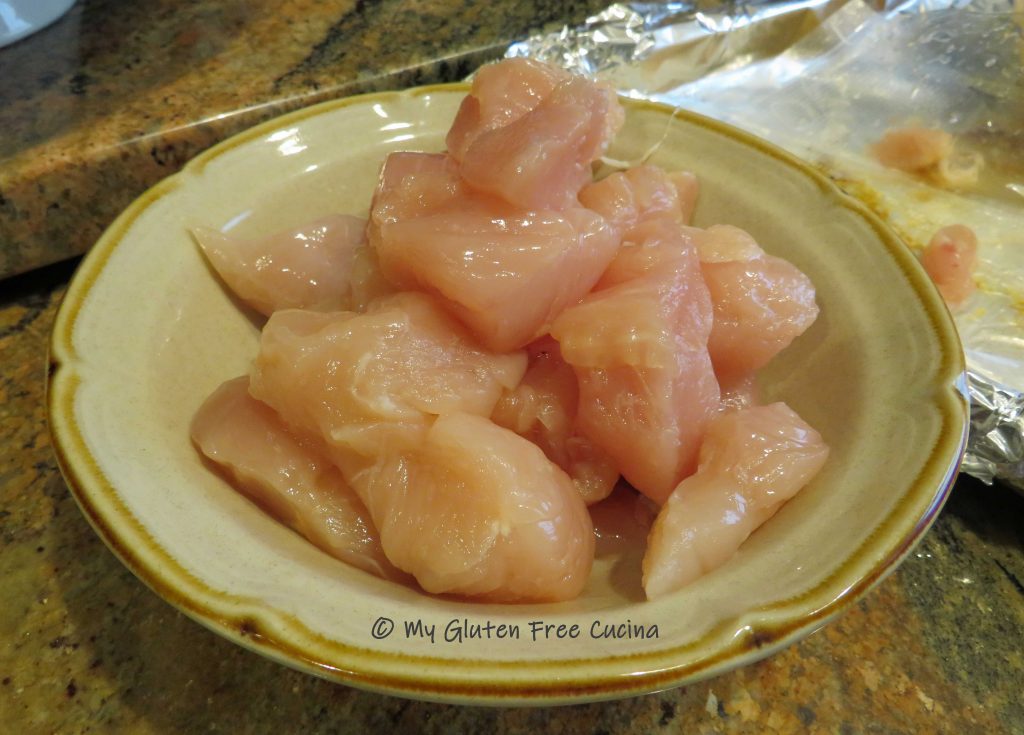
  • 12 oz. chicken breast, cubed
  • olive oil spray
  • toasted sesame oil
  • olive oil
  • 1/2 cup snow peas
  • 1/2 cup red bell pepper, cut into strips
  • 1/2 cup carrots, sliced
  • 1 garlic clove, sliced thin
  • 1/2 cup mushrooms (white button or baby bella), thin sliced
  • 1/4 cup scallions, divided use

For the Sauce:

Preparation:

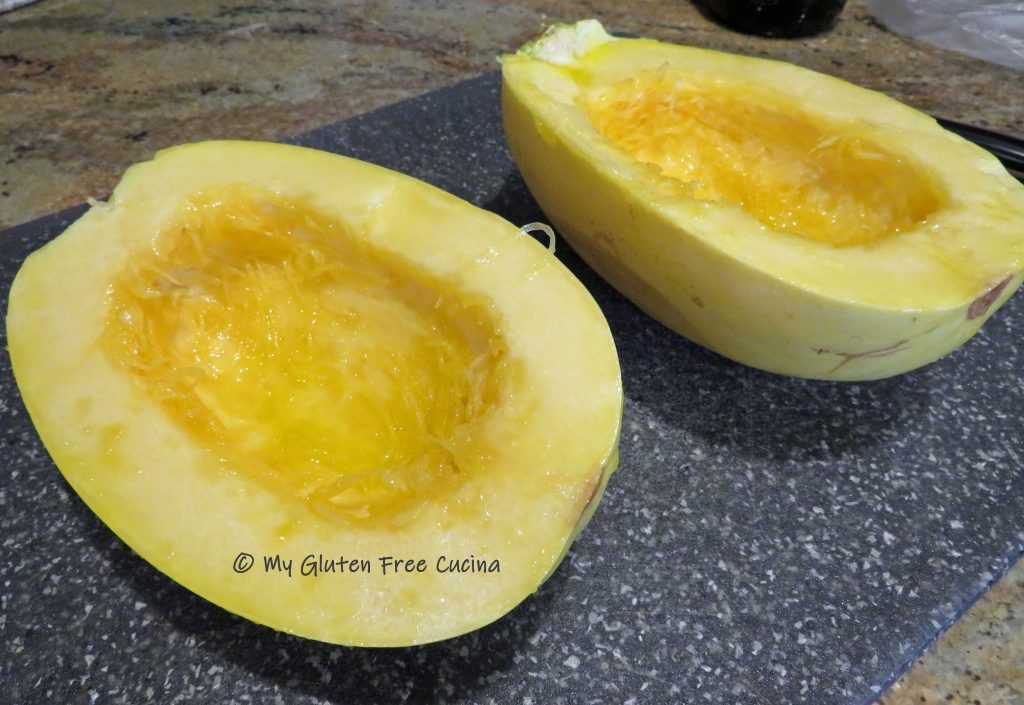
This is a basic preparation for spaghetti squash that you can use as a starting point for so many recipes.  First, cut the squash in half and use a spoon to scrape out the seeds.  Brush each side with 1 tbsp. of olive oil.  I am not salting the squash at this point, because this recipe is already heavy on sodium.  You can certainly season it if you like!

Line a baking sheet with foil and mist with cooking spray.  Place the squash cut side down and roast for 1 hour at 400º.

Use tongs to carefully turn the squash over, and let it cool for a few minutes.

Use 2 forks to shred the spaghetti squash.  Transfer to a bowl and set aside.
Now that we have our lo mein “noodles” we can move on with the rest of the recipe.

Mise En Place

Organization is the key to stir fry recipes!  Before you cook, be sure to have all the ingredients prepped and ready to go – “everything in its place”.  That means chopping the veggies, dicing the chicken and stirring the sauce ingredients together.

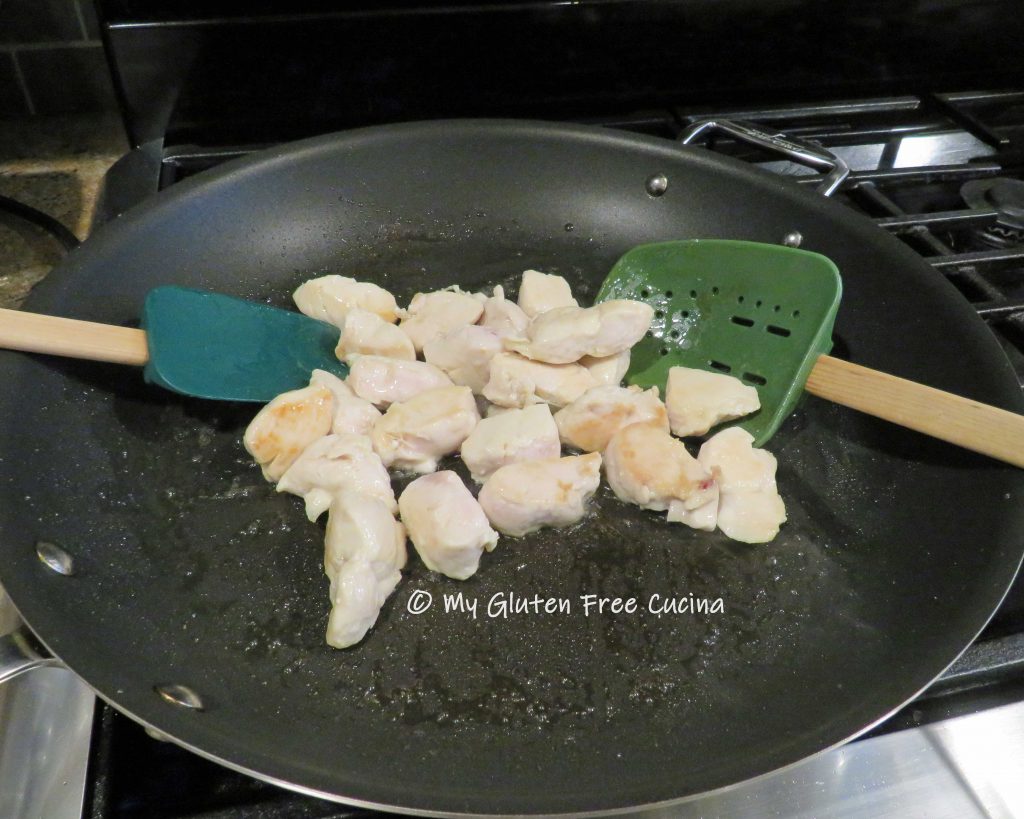
Coat a large nonstick skillet with olive oil spray and add 1 tbsp. olive oil and 1 tsp. sesame oil.  Begin browning the chicken, do it in batches if needed so you don’t crowd the pan.  You want to get a little color on the outside of the chicken at this point, but it does not have to be cooked through.  We’ll finish it at the end of the recipe.

When all sides have been browned set the chicken aside in a bowl.  Add the carrots, peppers and snow peas to the skillet with 1 tsp. sesame oil.  Stir fry for several minutes until crisp tender.  Next add the mushrooms, garlic and 1/2 of the scallions along with another tsp. of sesame oil.  Cook 1 minute longer.

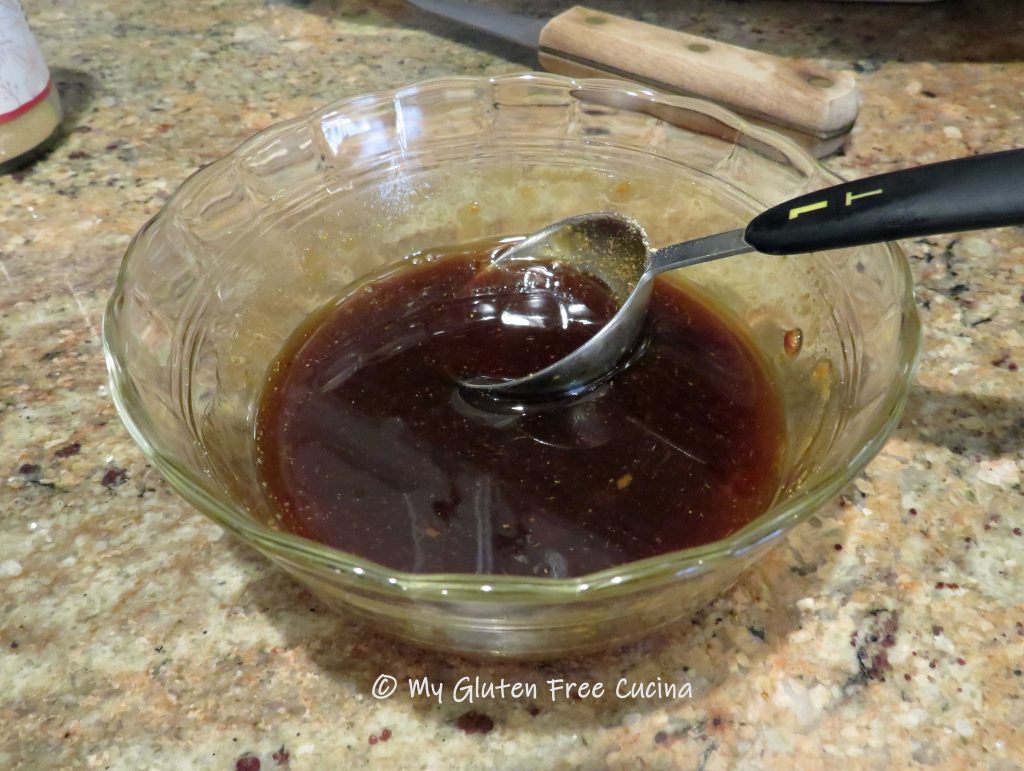
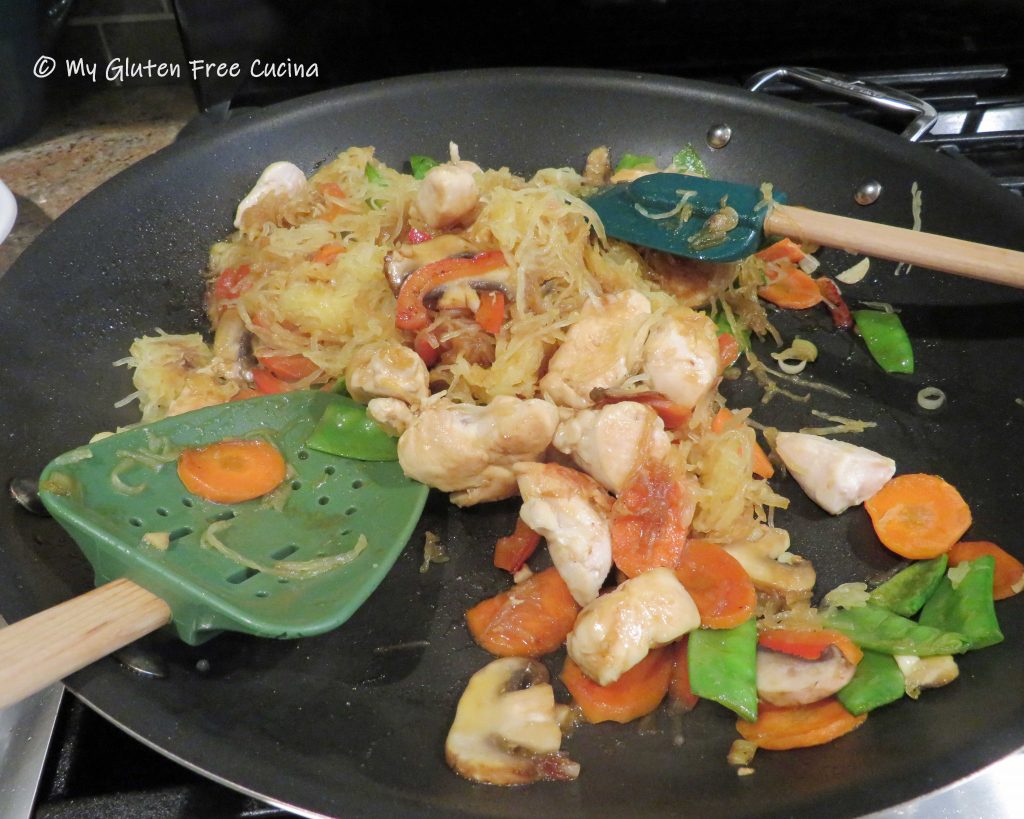
Now add back the chicken and toss well with the veggies.  Using tongs, add the spaghetti squash to the skillet in 1/4 cup portions so that it is well distributed.  Whisk the sauce and pour it over everything, and stir-fry one minute longer to thicken and blend the flavors.

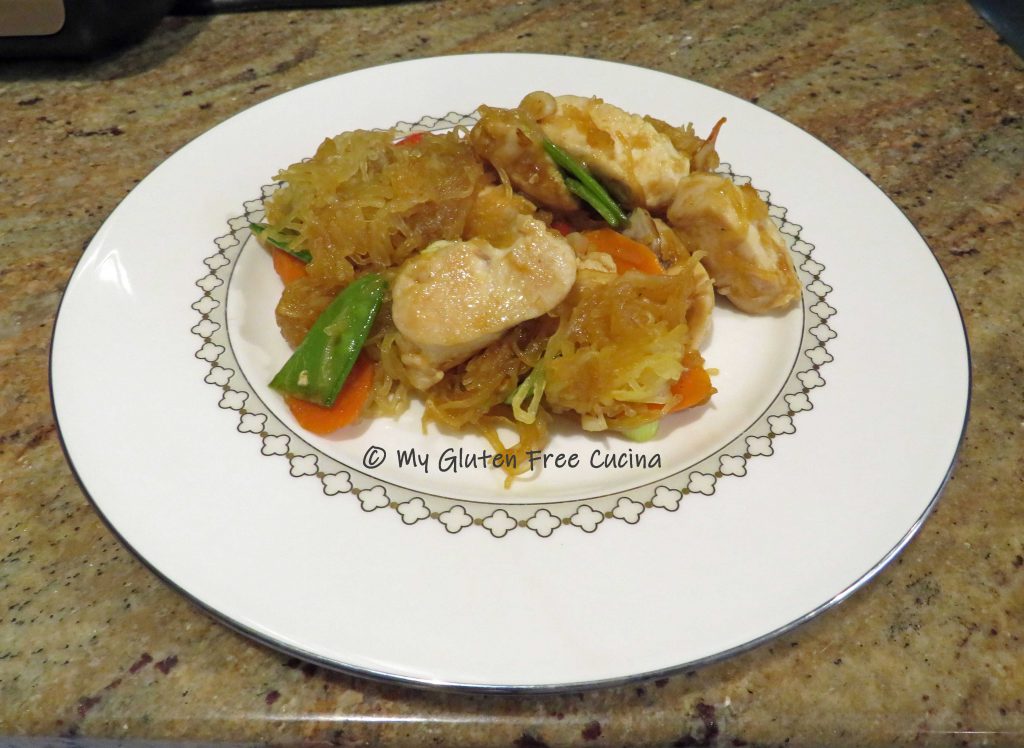
Transfer to a serving bowl and top with the remaining scallions.
Can you guess how it tasted?  It was delicious!  And I will definitely be experimenting with spaghetti squash in more of my Asian inspired recipes!

Notes ♪♫ I am a big fan of using Coconut Aminos in place of gluten free Soy Sauce.  That’s because it has significantly less sodium, which is important in our household.  If you are not limiting salt in your diet, try using Tamari for a rich, umami flavor.

Print This Post Print This Post

Gluten Free Garlic Shrimp Stir Fry

Easy stir fry meals like this one are a mainstay of busy weeknights.  In this dish, bright colorful veggies and beautiful jumbo shrimp come together in an Asian inspired sauce.  We love shrimp and I am always excited to buy the big, 2 lb. bag as it is both convenient and economical.  Typically the shrimp have already been deveined, so all that remains is to peel before cooking.  Completely gluten free, I used coconut aminos to keep the recipe lower in sodium and also made a very small amount of rice as we are watching carbs.  If salt is not a concern you can use all tamari, and of course you can adjust the rice serving for larger families (and appetites).

4 servings

This post contains affiliate links.

Ingredients:

  • 1 lb. frozen jumbo shrimp (21/25 count per pound)
  • 1/2 cup red bell pepper, sliced thin
  • 1/2 cup carrot, cut into matchsticks
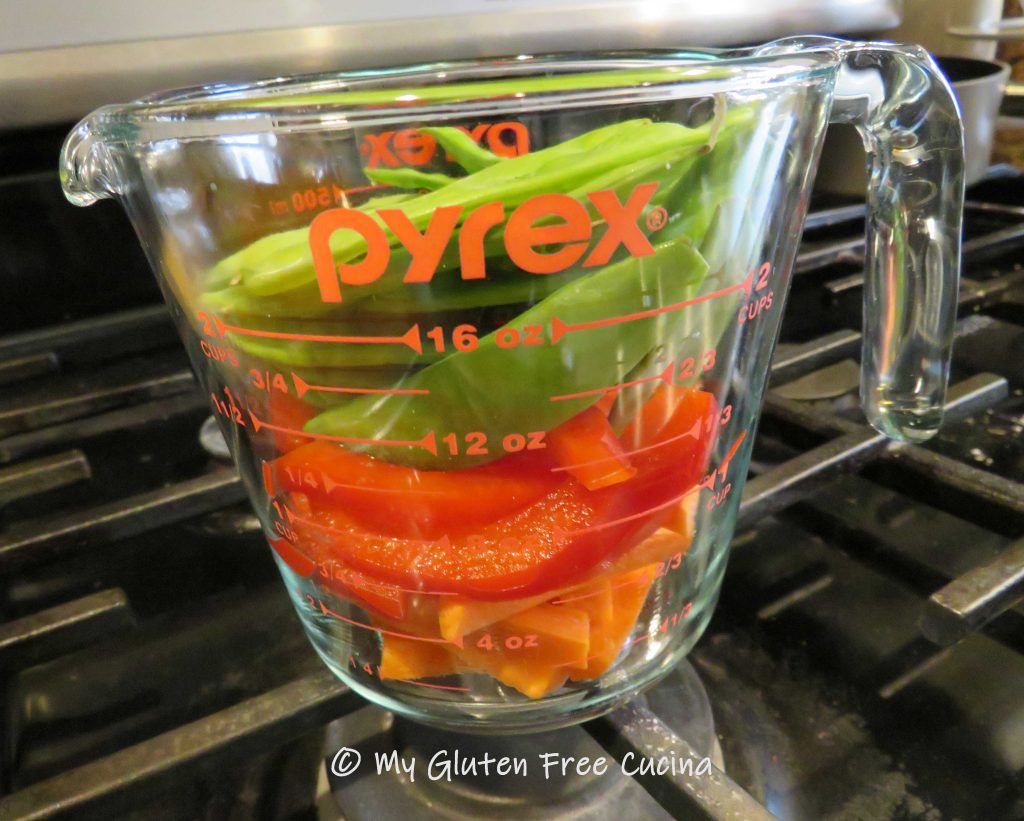
  • 1 cup snow peas
  • 1/3 cup white rice
  • 1 tsp. sesame seeds
  • 2 scallions sliced thin, divided use
  • gluten free tortilla strips

For the sauce:

Preparation:

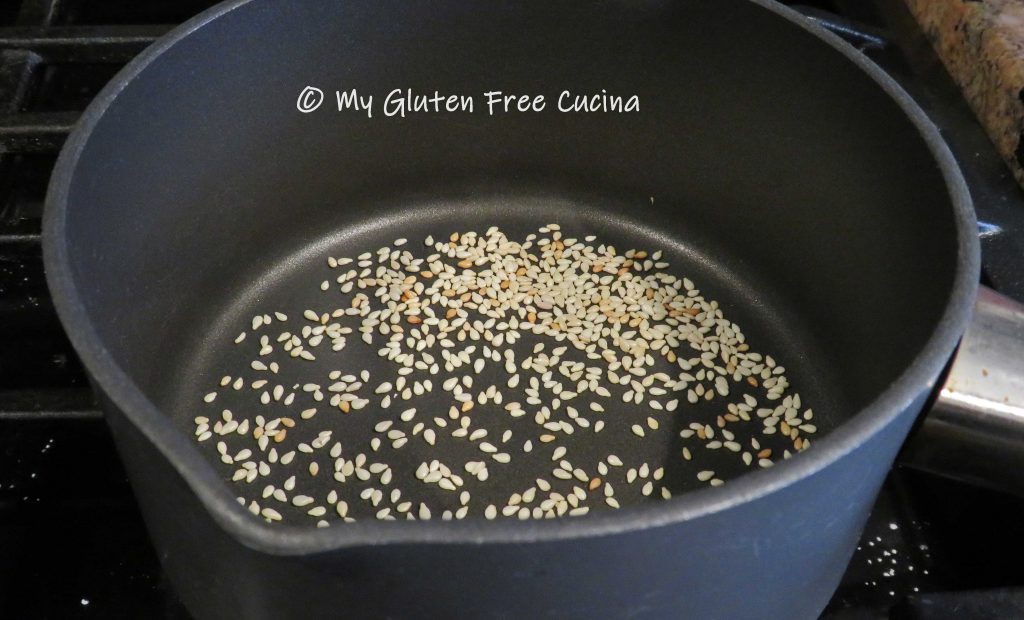
Toast the sesame seeds in a small nonstick saucepan and set aside.  Prep the veggies and cook the rice according to package directions.

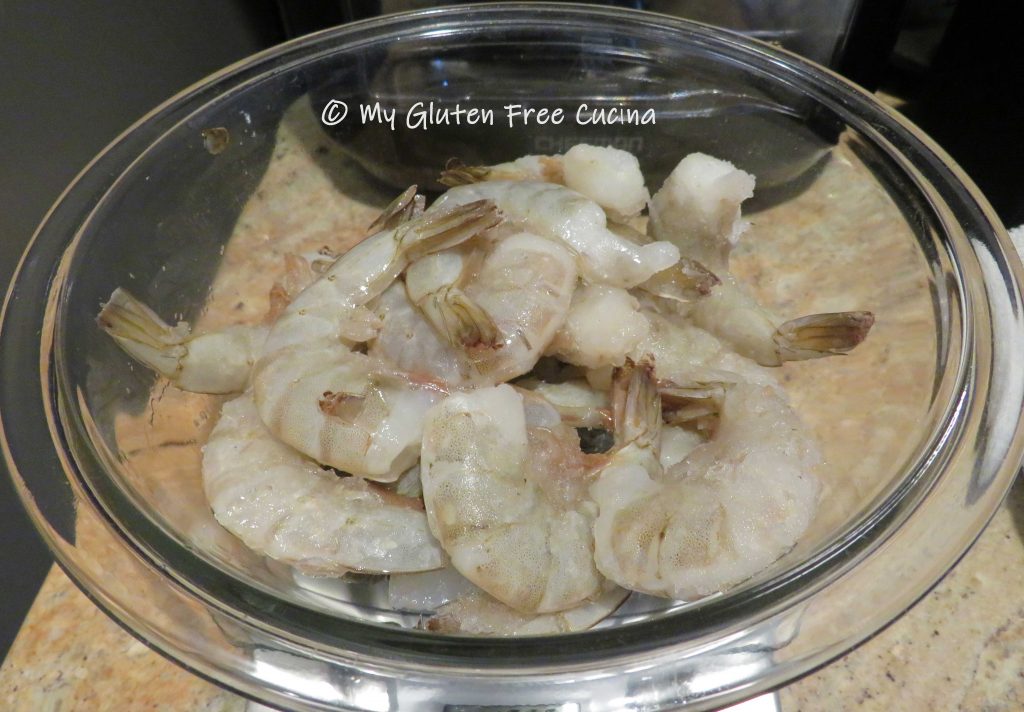
If your shrimp are frozen, just run them under cool water for a minute then peel, leaving the tails on.

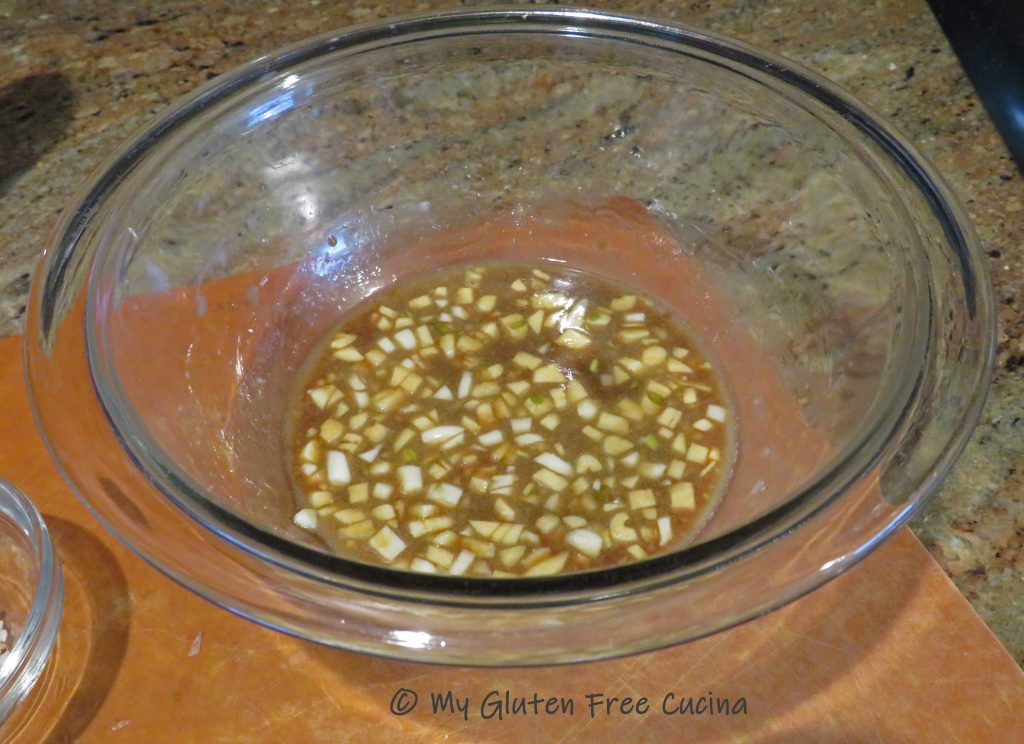
Whisk together the sauce ingredients.

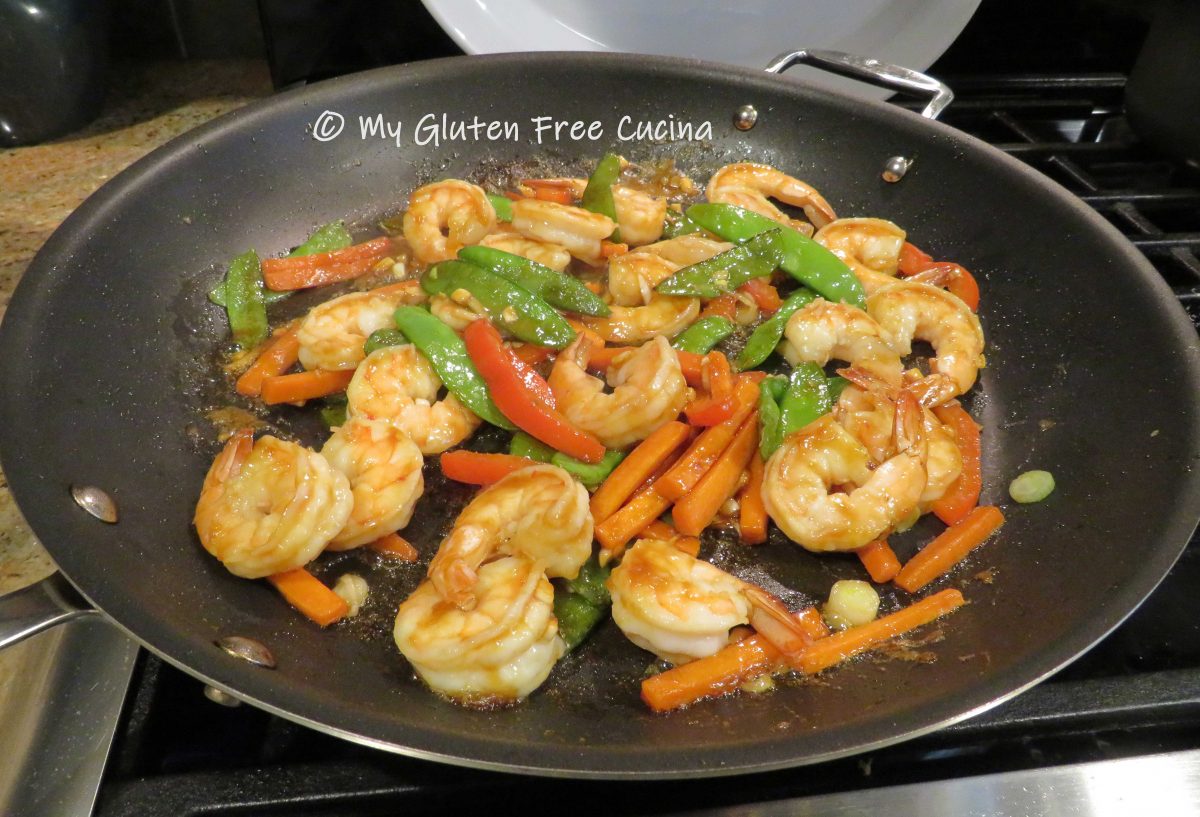
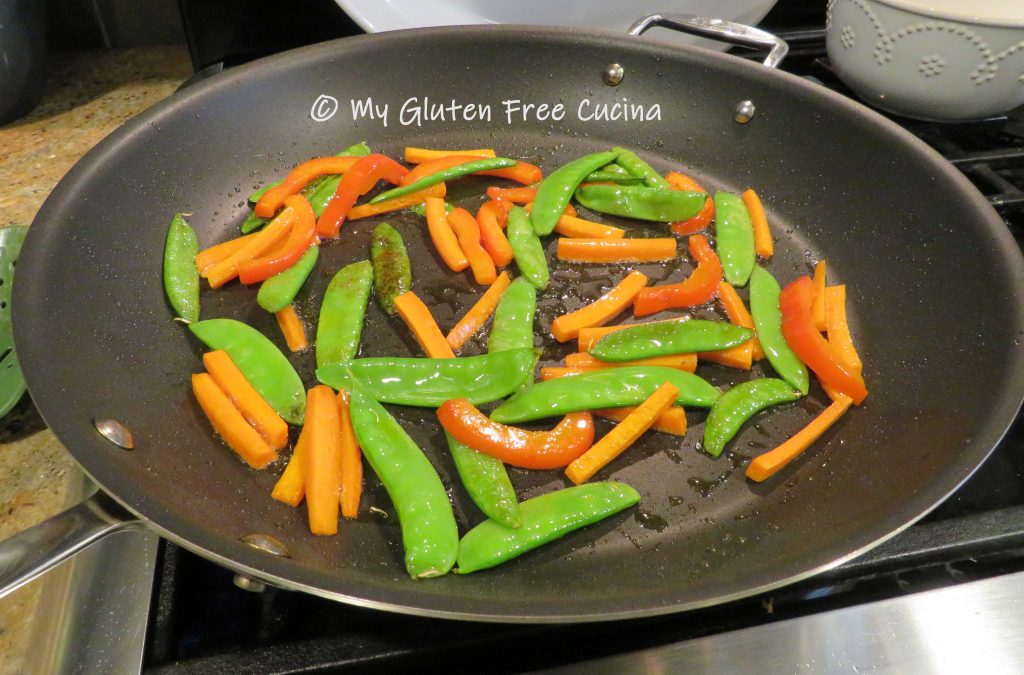
Heat the olive oil in a large, nonstick skillet over medium low.  Add the bell pepper, carrots and snow peas.  Cook the veggies for 3 minutes, stirring frequently.

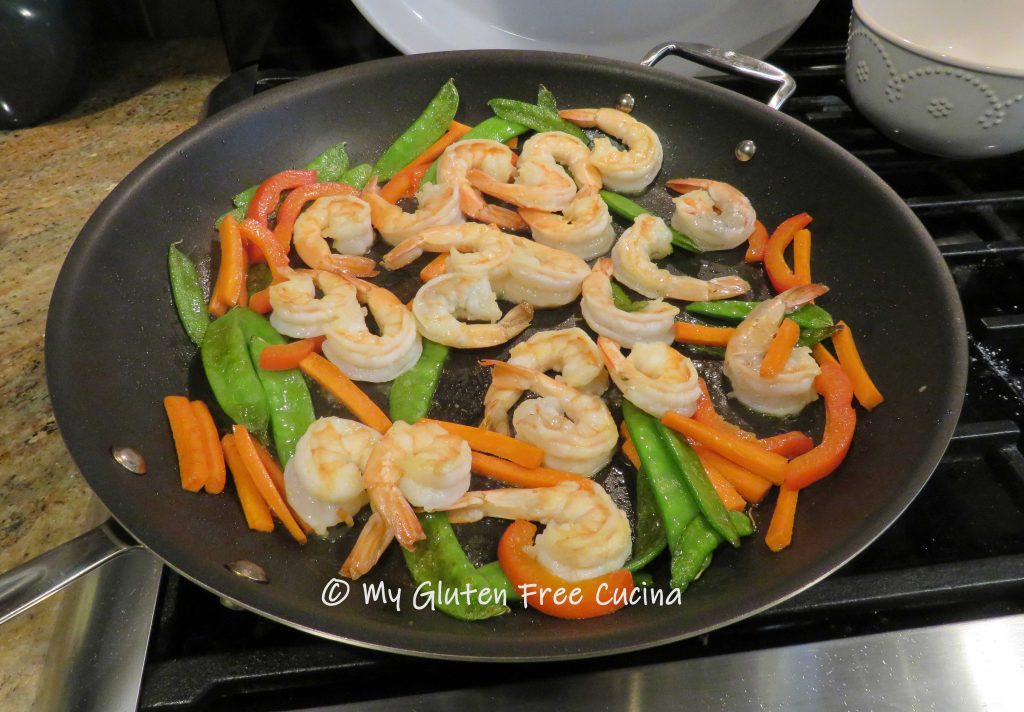
Add the shrimp to the pan and cook for 2 minutes longer, or just until they turn pink.

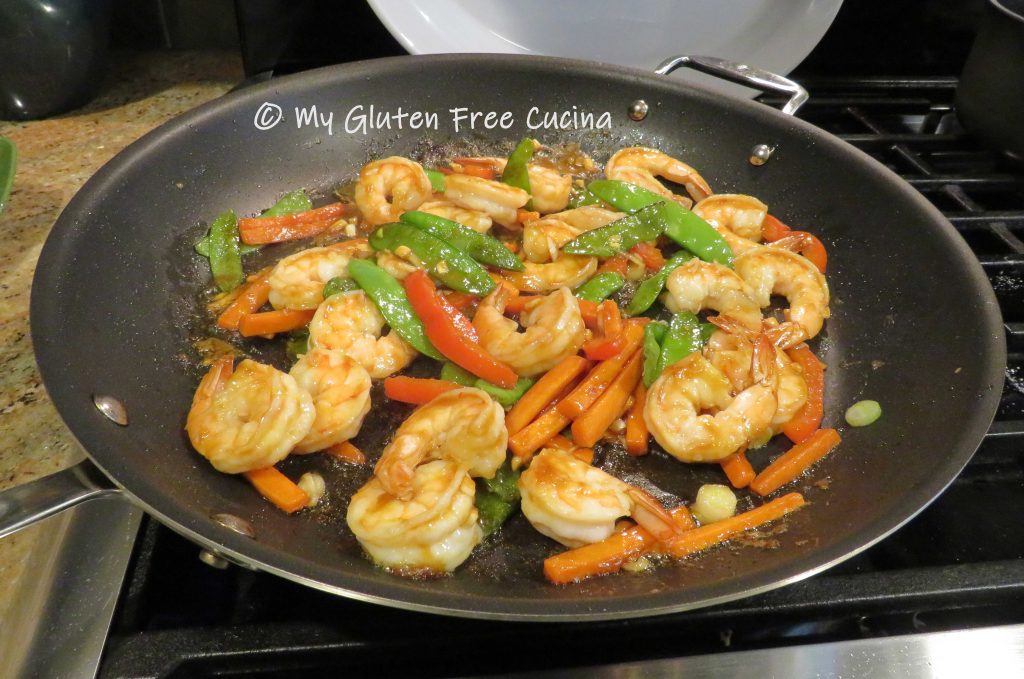
Pour the sauce over the shrimp and veggies, along with half of the scallions and cook several minutes longer.  As the sauce thickens, stir continuously.  Lower the heat if needed so it doesn’t burn.

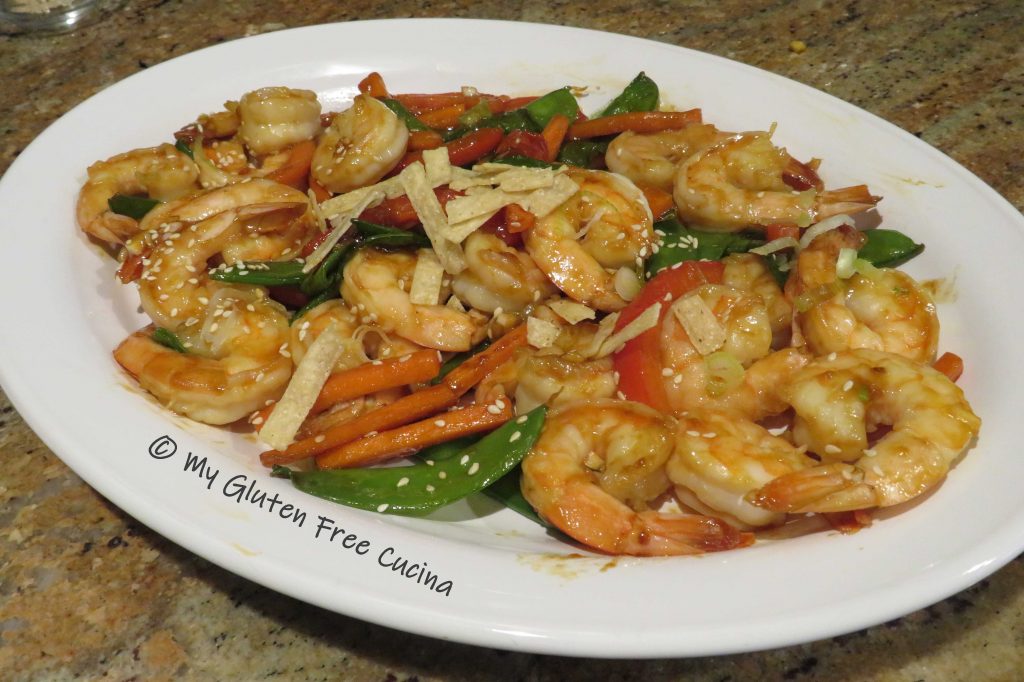
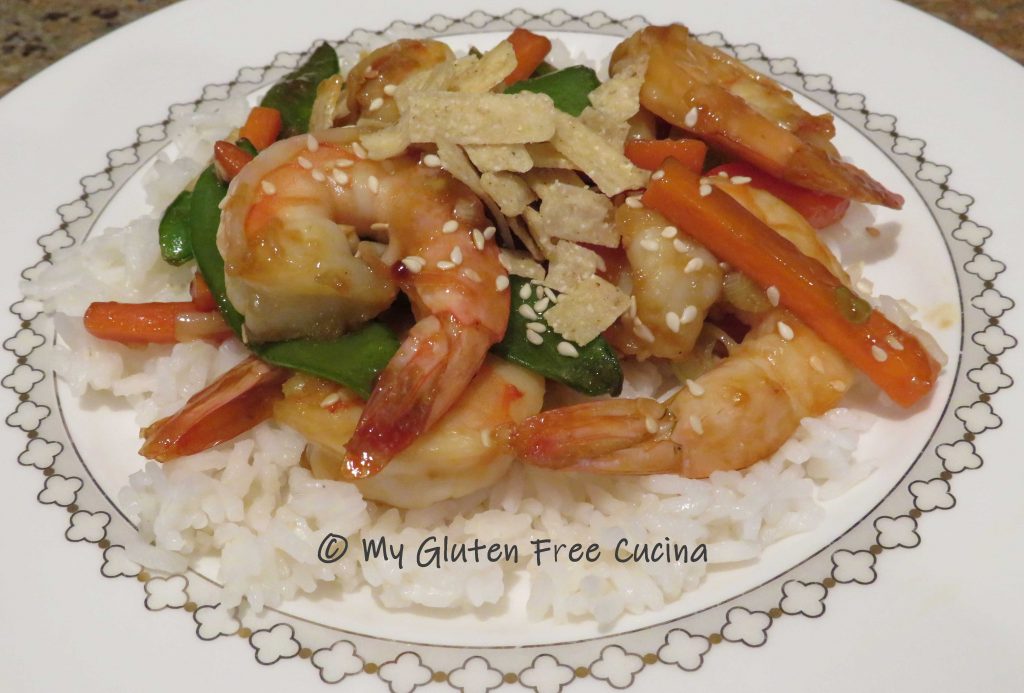
Transfer to a serving platter and garnish with the remaining scallions.  Sprinkle with sesame seeds and tortilla strips.
To serve, spoon the shrimp and veggies over the rice with more sesame seeds and tortilla strips.
Notes ♪♫ How much is a half tablespoon?  You won’t have to “eyeball it” with this cool set of magnetized measuring spoons that includes the unusual measures of 1/2 tbsp. and 3/4 tsp. Great when you are making a half recipe or quarter recipe!  Plus they’re magnetized, so they won’t get lost!

Print This Post Print This Post

Basic Fried Rice, Gluten Free and Lower Sodium

I have shared so many of my Asian inspired meals here on the blog and I know you love them as much as I do!  Today though, I thought I would focus on a basic recipe for fried rice that you can make at home with common pantry staples.  This is an easy preparation that is both gluten free and lower in sodium.  I did not add meat, but you can choose (just like in your takeout menu), to add chicken, shrimp, pork, beef, etc… whatever you like to make it a complete meal.

Why make it at home?  You control the salt, you control the fat, and you will be absolutely sure that it’s gluten free!

Cheat some of the prep work by using frozen veggies, like mixed peas and carrots.  Or, use up bits of leftover veggies from other meals, just chop them into small pieces and throw them in.  Get fancy and add canned water chestnuts or bean sprouts!

If you’re making this after a long day at work, it’s nice to be a step ahead in your prep, so cook your rice the day before!  In fact, this recipe works best when the rice is cooked ahead of time and refrigerated.

Ingredients:

Preparation:

A large, nonstick skillet is my first choice for stir fry dishes.  You may think a 14″ skillet is too large for your needs but having that extra surface area is great when you want to spread out your ingredients in the pan.

Make ahead steps: Cook the rice ahead of time, cool and refrigerate.  If using frozen vegetables, take them out to defrost.  Toast the sesame seeds in a small, nonstick sauce pan and set them aside for garnish.

Heat a large, nonstick skillet with cooking spray.  Scramble the egg and break it up with a spatula.

Set the egg aside and wipe the pan clean.

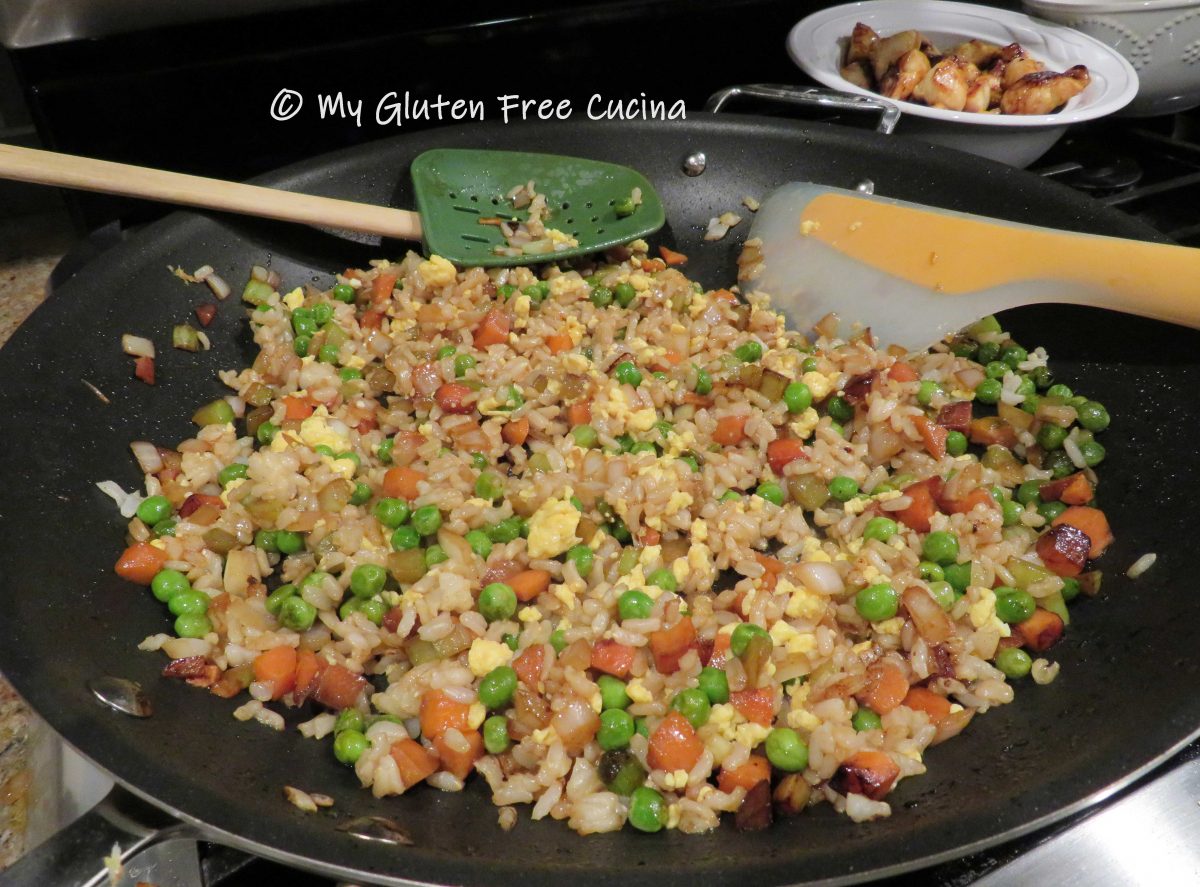
Mist the skillet with cooking spray and add 1 tbsp. olive oil, 1 tsp. sesame oil and 1 tbsp. coconut aminos.  Add the veggies, and sprinkle with the garlic and ginger.  Cook for 5 minutes over medium low heat, stirring frequently.

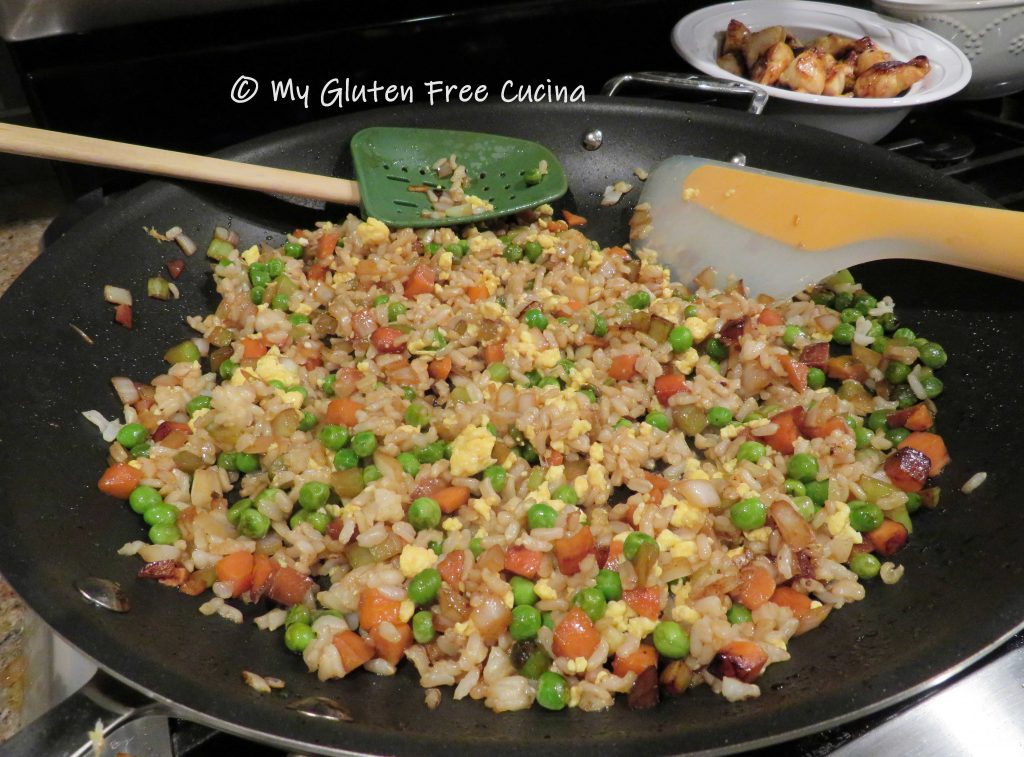
Add a little more sesame oil and coconut aminos, then stir in the cooked rice.  Cook 1 minute to heat through, then add back the scrambled egg.  Add a little more oil and coconut aminos.

Toss well to incorporate, and transfer to a serving bowl.  Garnish with toasted sesame seeds.

Notes ♪♫ I used coconut aminos in this recipe instead of soy sauce.  It is gluten free and much lower in sodium than tamari or gluten free soy sauce.  You can use any of these, or a combination to suit your taste and dietary needs.


Print This Post Print This Post

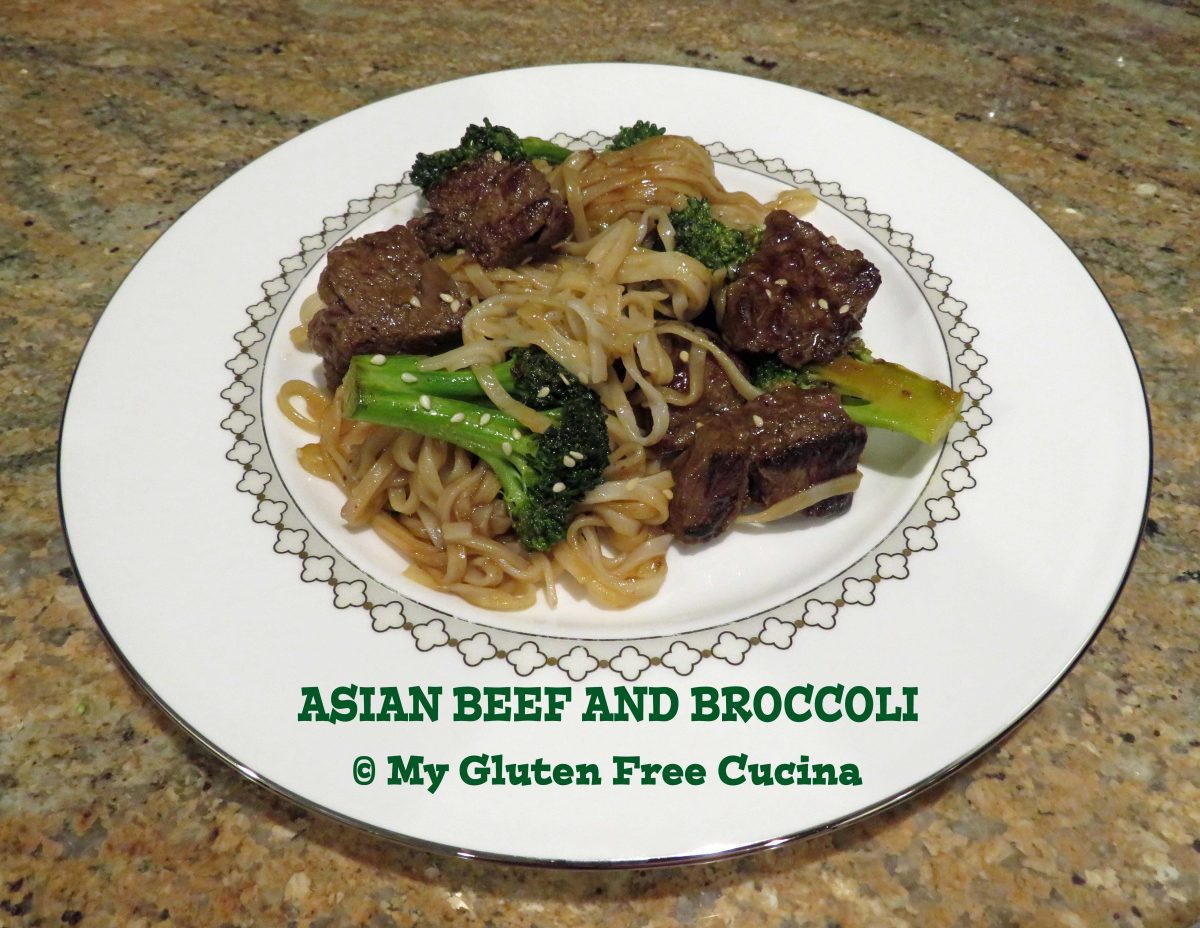
Gluten Free Asian Beef and Broccoli

Asian Beef and Broccoli is a restaurant favorite that can be made right at home with just a handful of ingredients.  Adapting the recipe to be gluten free was easy, so why haven’t I made it in a while?  The short answer, sodium.

These days I try to make meals that are not only gluten free, but also lower in salt.  That means some of my Asian inspired meals have gone on the back burner because they are made with a salt bomb of condiments!  With that in mind, I am on a mission this year to makeover some of my favorite gluten free recipes and this meal was definitely a success.

Would you believe my original recipe used 1/4 cup of gluten free soy sauce and 1/4 cup of hoisin sauce?  Whew, that’s a lot of sodium!

This post contains affiliate links.

In this recipe remake, I’m using Coconut Aminos, a pantry staple in my kitchen that is much lower in sodium than gluten free soy sauce or tamari.  I have substituted Coconut Aminos in many of my recipes that call for soy sauce.  And a little Hoisin Sauce goes a long way, I cut the original 1/4 cup down to 2 tbsp. and it was still delicious.

4 Servings

Ingredients:

  • 1 lb. sirloin tips or petite sirloin (top sirloin), cubed
  • 1 tbsp. coconut aminos
  • 1 tsp. dark brown sugar
  • 3 garlic cloves, sliced thin
  • 1-1/2 tsp. sesame oil, divided
  • 2 tbsp. olive oil, divided
  • 1/4 tsp. powdered ginger
  • 2 tsp. fresh chives
  • pinch red pepper flakes
  • 1 large broccoli crown (about 2 cups)
  • 2 tbsp. gluten free Hoisin sauce
  • 1 tsp. sesame seeds, toasted
  • rice or gluten free rice noodles for serving

Preparation:

Once you start cooking this dish comes together very quickly, so measure and prep all of the ingredients ahead of time.

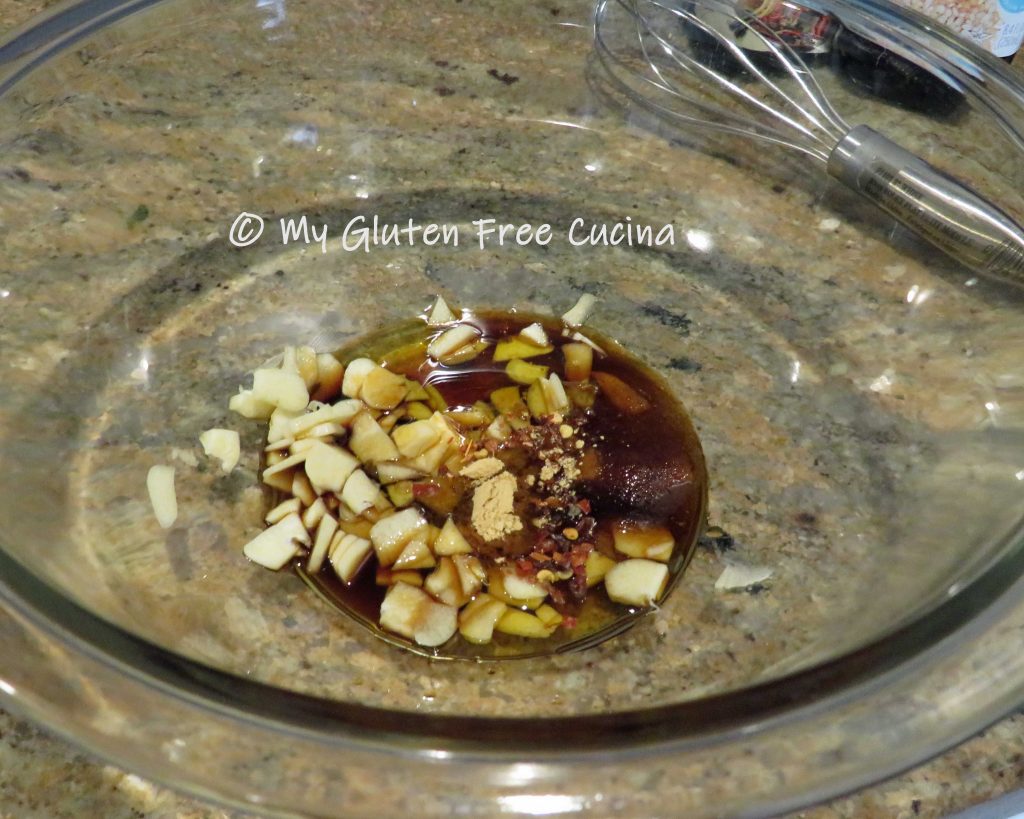
For the marinade, whisk together 1 tbsp. coconut aminos, 1 tsp. brown sugar, the garlic slices, 1 tbsp. of olive oil, 1/2 tsp. of sesame oil, 1/4 tsp. powdered ginger, chives and pinch of red pepper flakes.

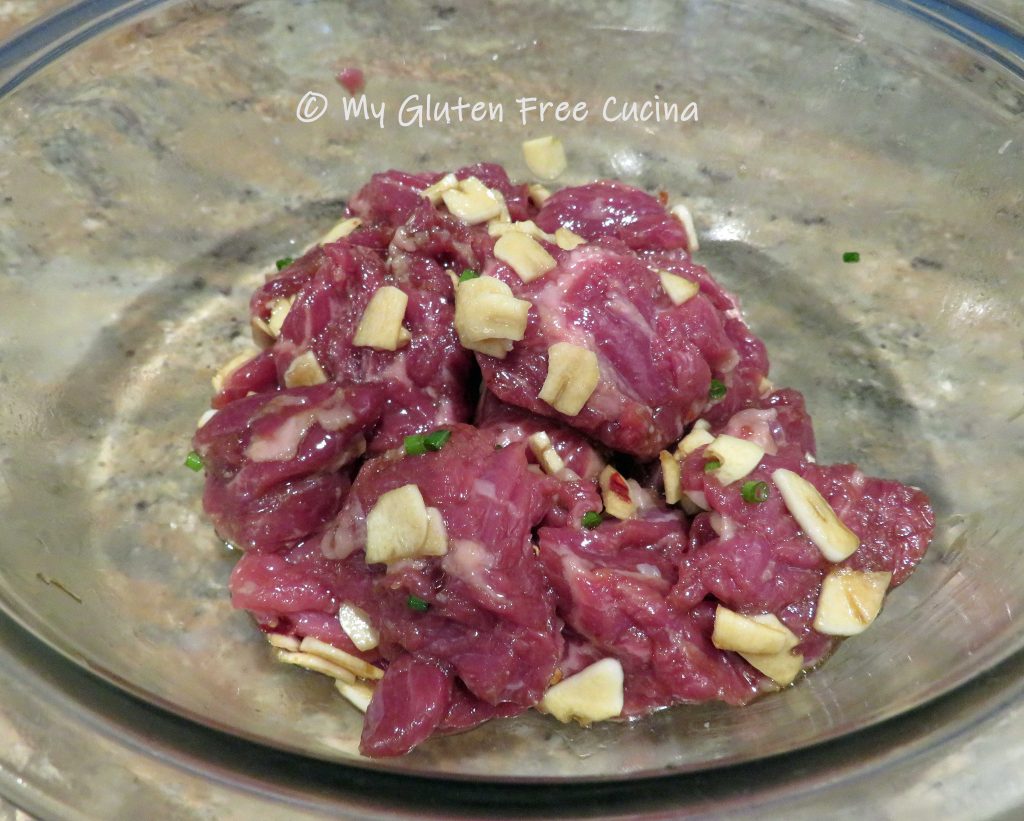
Cut the sirloin (uncooked) into 1″ cubes and add to the marinade.  Cover and let it stand at room temperature for 30 minutes.

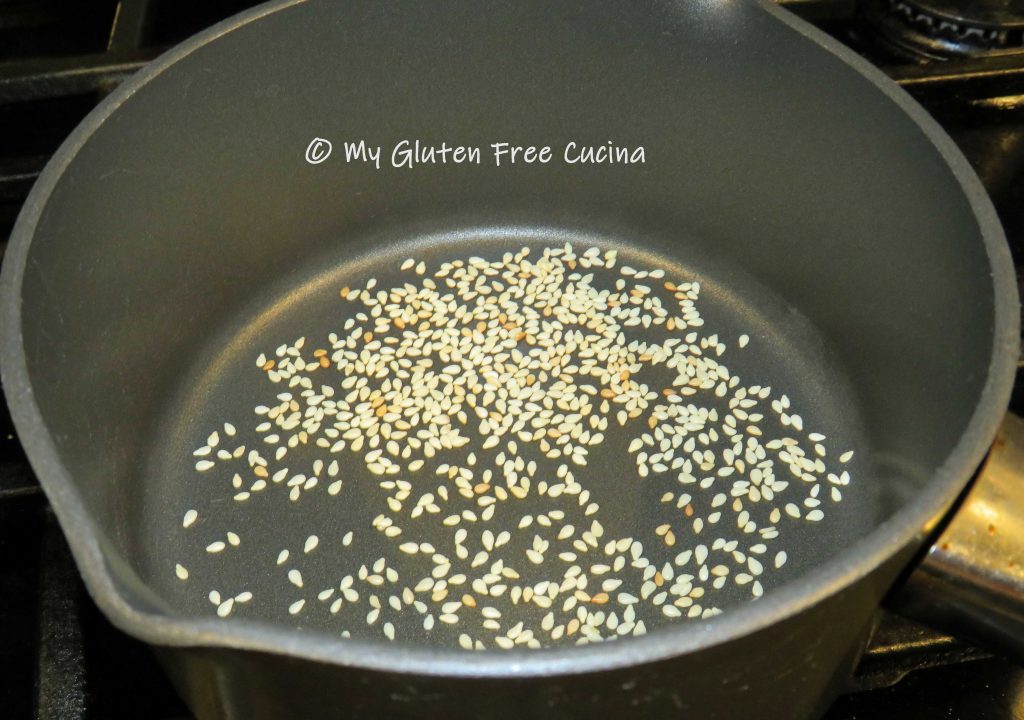
Toast the sesame seeds in a dry skillet, watching closely that they don’t burn.  Set aside for garnish.

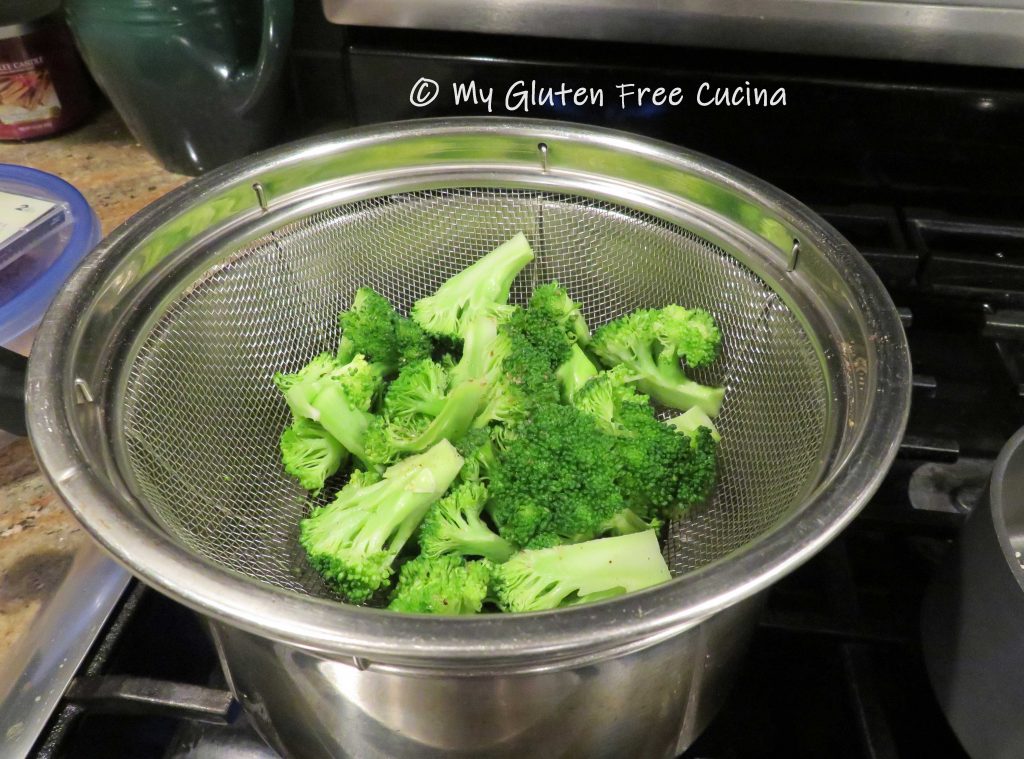
Next, cut the broccoli into uniform pieces.  Steam 5 minutes.  Remove the steamer basket from the heat and set aside while you finish the dish.

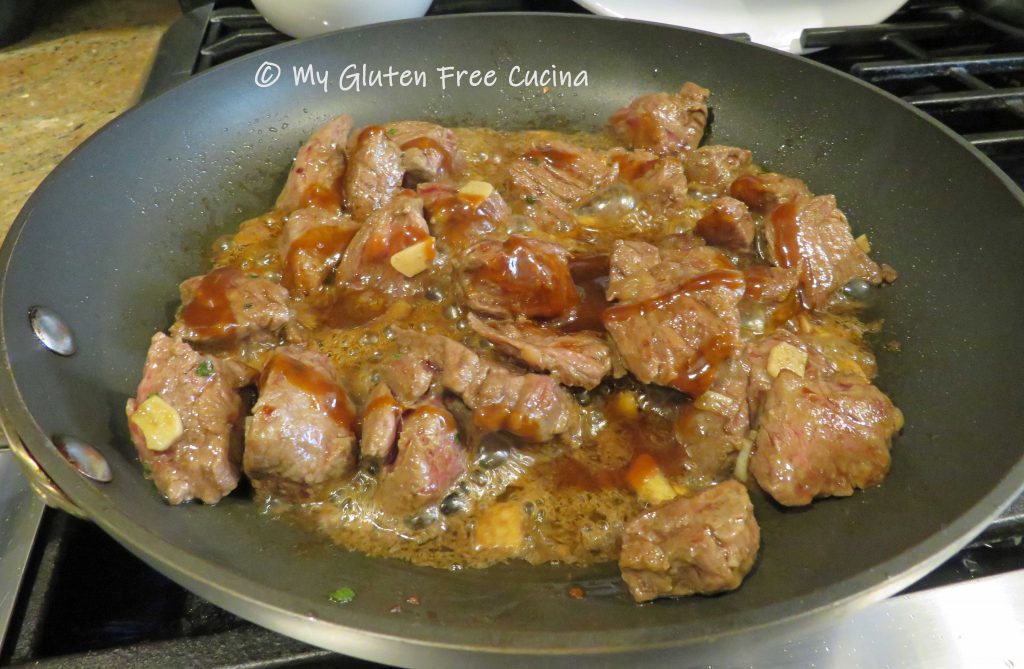
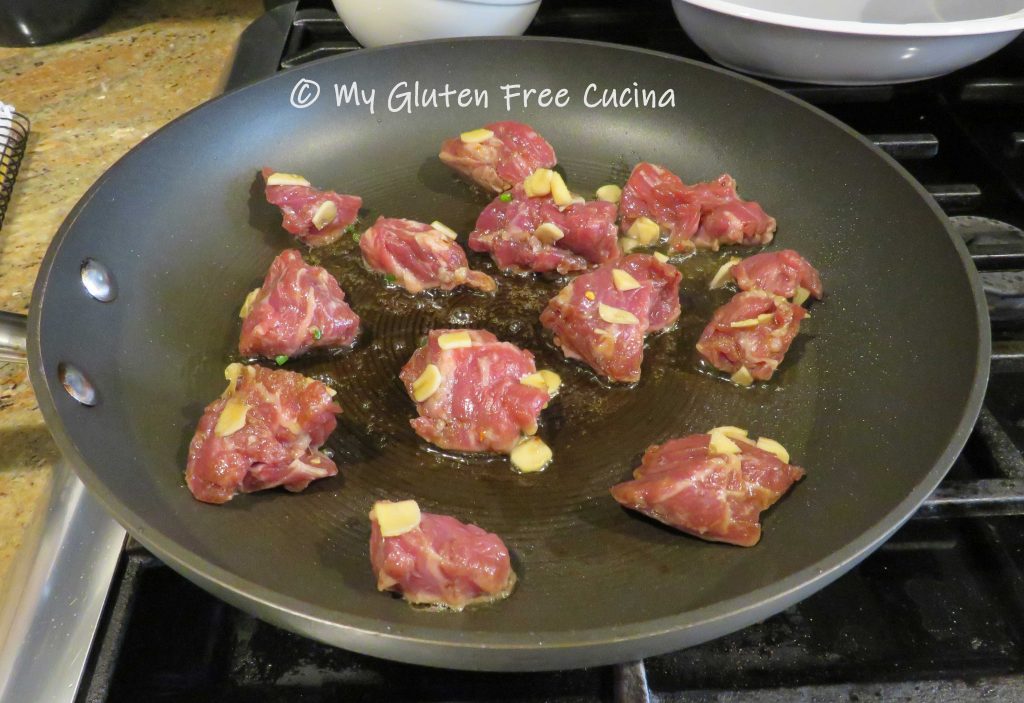
Add the remaining tbsp. olive oil and 1 tsp. sesame oil to the skillet and begin browning the beef.  Don’t crowd the pan, do it in 2 batches if needed.  Discard any marinade left in the bowl.

Stir in 2 tbsp. hoisin sauce.

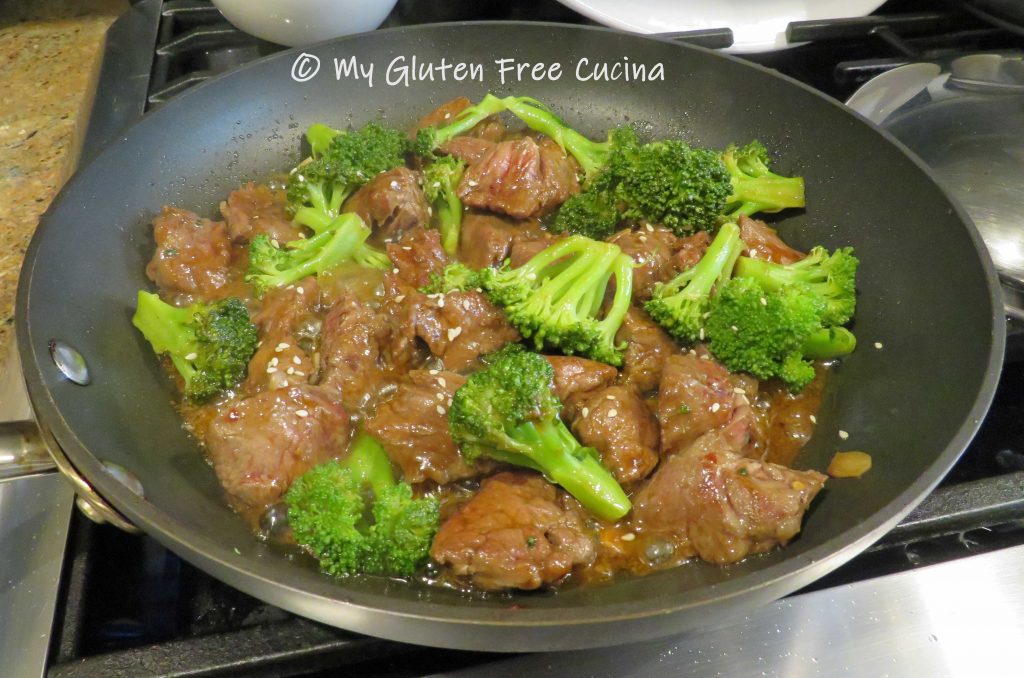
Finally, add the broccoli to the skillet and toss with the beef.

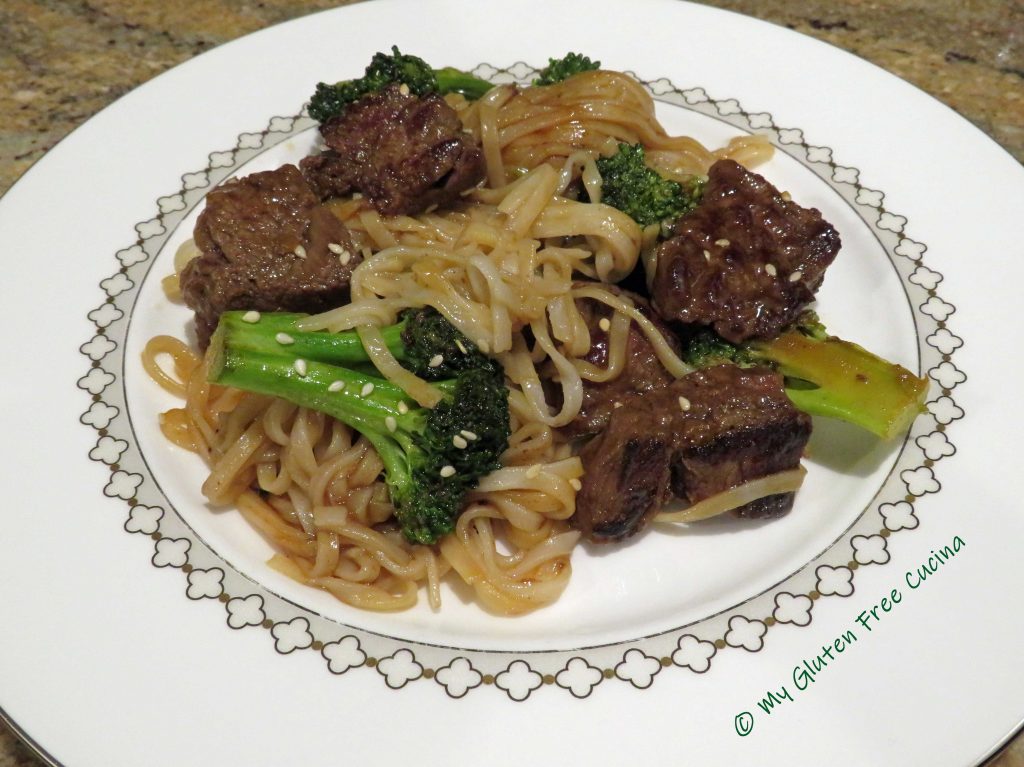
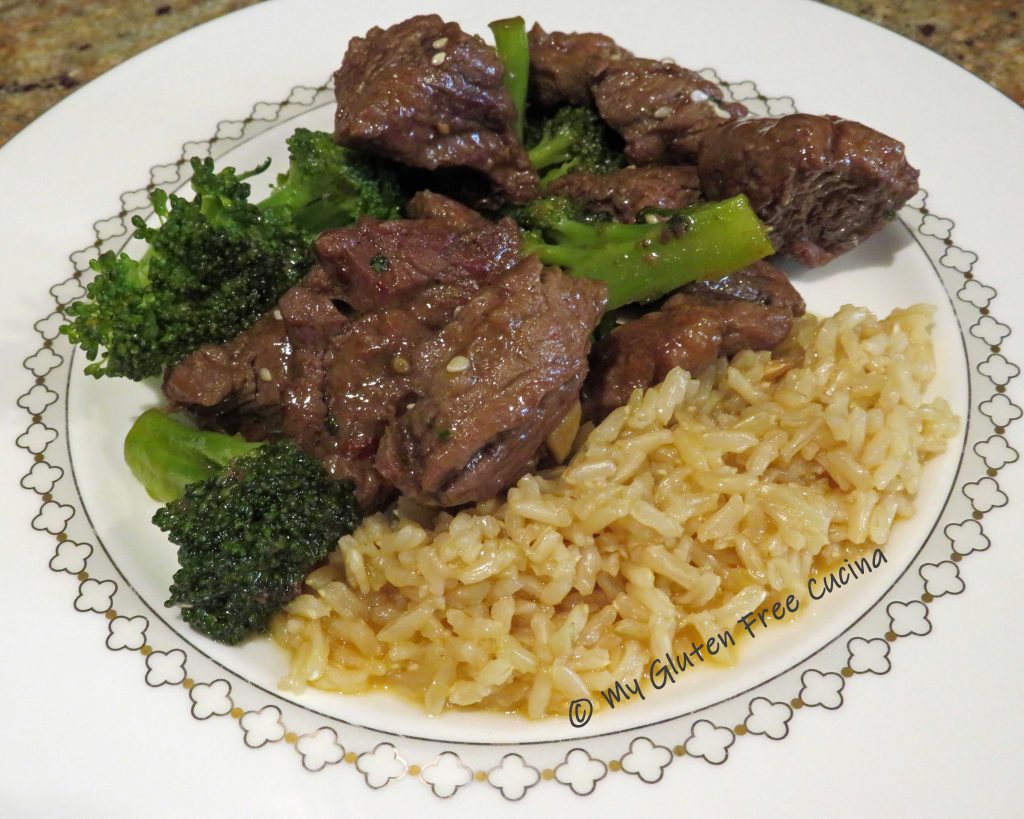
Let it cook for another minute or so, then transfer to a platter.  Garnish with toasted sesame seeds and either toss with rice noodles or serve with rice.

Here I served with Annie Chun’s Pad Thai rice noodles.

Shown here, served with rice.

So, were you thinking of ordering takeout?  Try this instead, you will love it!

Notes ♪♫ Coconut Aminos contain about 1/10th the sodium of gluten free soy sauce.  If you aren’t worried about sodium, try a gluten free soy sauce or tamari.  I like San-J Tamari, which also comes in a lower sodium version that is completely gluten free.

Print This Post Print This Post