Gluten Free Eggplant Timbale

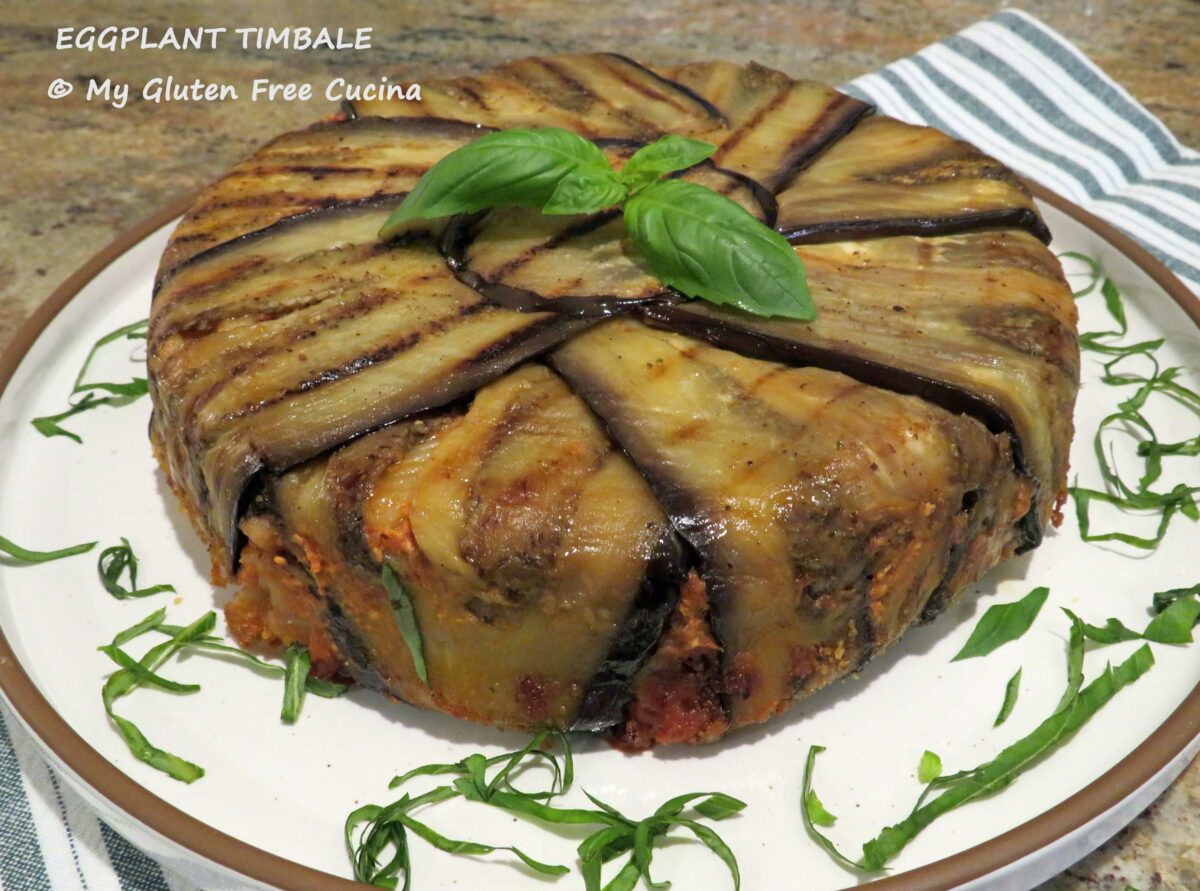
Eggplant Timbale.

Also known as Timballo, or Timpano, this dish gets its name from the Italian word for “drum” and refers to how the contents are pressed into the pan to create the drum shape.  It is truly a dramatic presentation.

It has long been on my culinary bucket list to make this classic Sicilian pasta dish.  Labor intensive?  Yes, but is well worth the time and effort when you bring this stunning dish to the table.  Perfect for Italian Sunday Dinner!
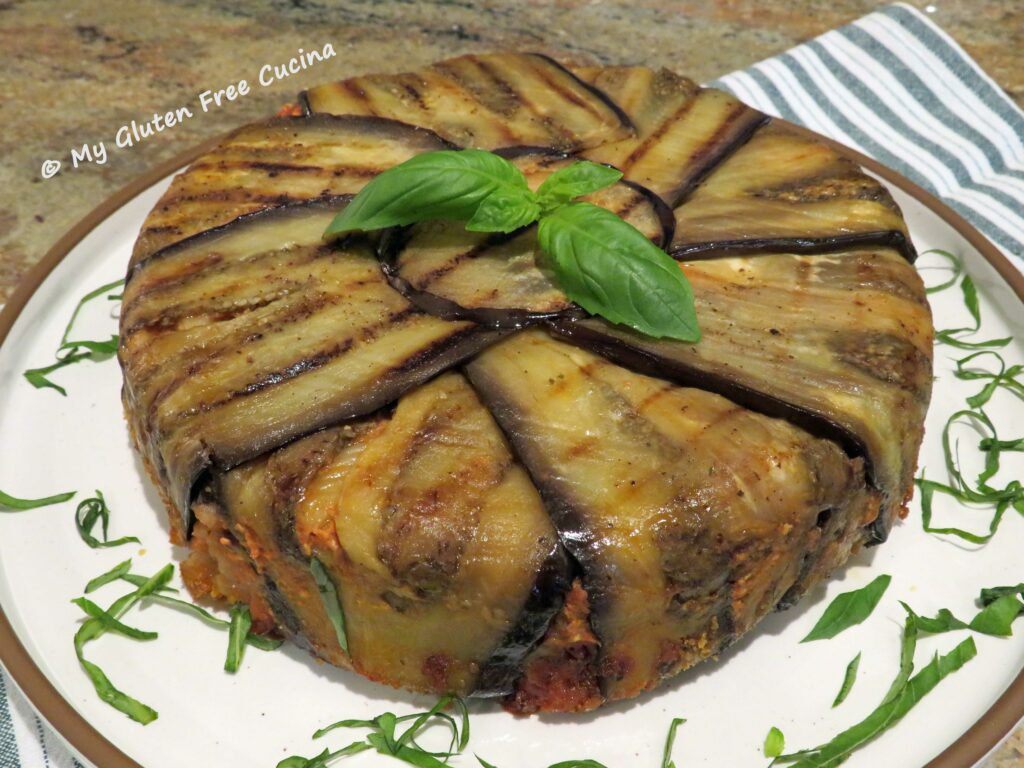
There are many variations of Timbale throughout Italy.  The Sicilian style, like this one is traditionally wrapped in eggplant.  What else is in it- gluten free penne, meatballs, tomatoes and cheese.  Ordinary ingredients perhaps, but this recipe puts them all together in a most impressive presentation!  It looks and tastes amazing!  Like a classy, sophisticated lasagna.
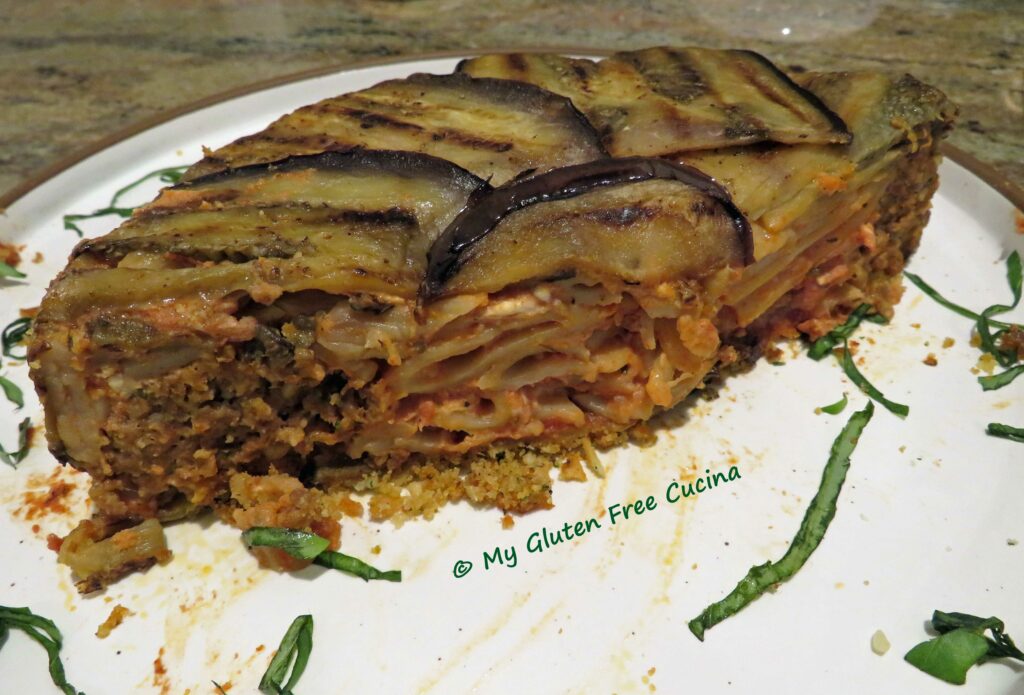
It took me several hours total to prep the ingredients and assemble the dish, although I made the sauce and the meatballs a day ahead.

Don’t be intimidated by all the steps.  In this post I break the recipe down and make it easy for you to follow.  You can opt to do some of the prep in advance as I did, or all at once if time permits.  Remember to allow for a few hours rest in the refrigerator before baking, as this helps the Timbale to set up and hold its shape.

This dish is often baked in a springform pan, but for a small family, an 8” round baking dish pan works perfectly (although it was a little tricky flipping it over!).  For a larger family, use 2 eggplant and make extra sauce, then bake in a springform pan or make 2 of the 8” cake pans.

This is an incredible meal, and you will be surprised at how filling it is.  Even with this smaller version you may have leftovers for lunch.

4-6 servings

This post contains affiliate links.

INGREDIENTS:

Sauce

  • 28 oz. Can tomato sauce (reserve ½ cup for the meatballs)
  • 4 garlic cloves, minced
  • 1 small onion, diced
  • 1 tbsp. Olive oil
  • 2 tsp. Brown sugar
  • 1 tsp. Basil
  • ½ tsp. Oregano
  • Fresh ground pepper, to taste

Meatballs

  • ½ lb. Ground beef
  • ¼ lb. Gluten free Italian sausage
  • ½ cup tomato sauce
  • 1 egg
  • ¼ cup gluten free rolled oats
  • ¼ cup potato flakes
  • ¼ cup gluten free seasoned breadcrumbs
  • ¼ tsp. Gluten free Italian seasoning

Eggplant

  • 1 medium eggplant
  • Olive oil
  • Salt and pepper
  • Cooking spray

Pasta

  • 4 oz gluten free pasta (I used Jovial penne)

Other

  • ½ cup ricotta cheese
  • 1/3 cup grated Parmesan cheese
  • 1/4 cup gluten free seasoned breadcrumbs

PREPARATION:

First, make the marinara sauce.  Heat a heavy saucepan or deep skillet with 1 tbsp. Olive oil.  Add the diced onions and cook, stirring frequently until they are translucent.  Add the garlic and stir for 30 seconds.  Next add the tomato sauce, reserving ½ cup for the meatballs.  Stir in the sugar, basil, oregano and fresh ground pepper.  Cover and simmer on low for ½ hour, then remove from the heat and cool to room temperature.  Check out this post for more detailed instructions on making a marinara sauce.
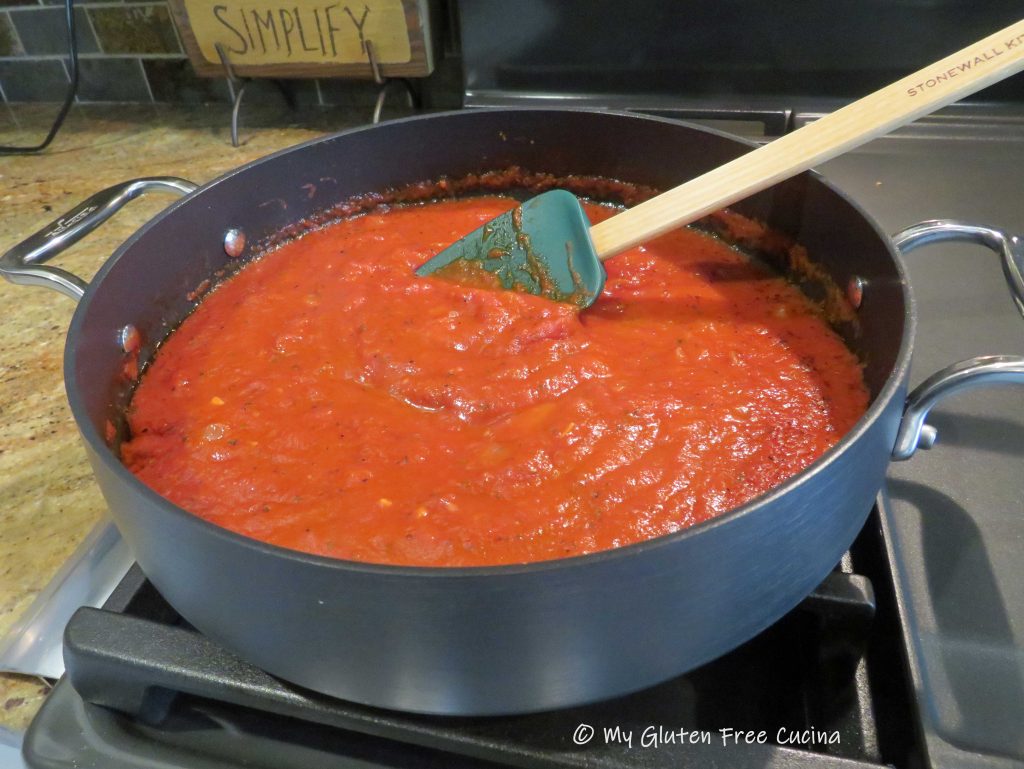
Now I can just hear you saying, can’t I cheat and use jar sauce?  Of course you can, just be sure it’s gluten free and I’ll never tell! 😉

Next, we will make the meatballs.  Whisk together the egg, reserved ½ cup of tomato sauce and Italian seasoning.  In a separate bowl, combine the rolled oats, potato flakes and breadcrumbs.  Add the beef and sausage to the egg mixture and work it in with your hands.  Read more about making meatballs in this post.

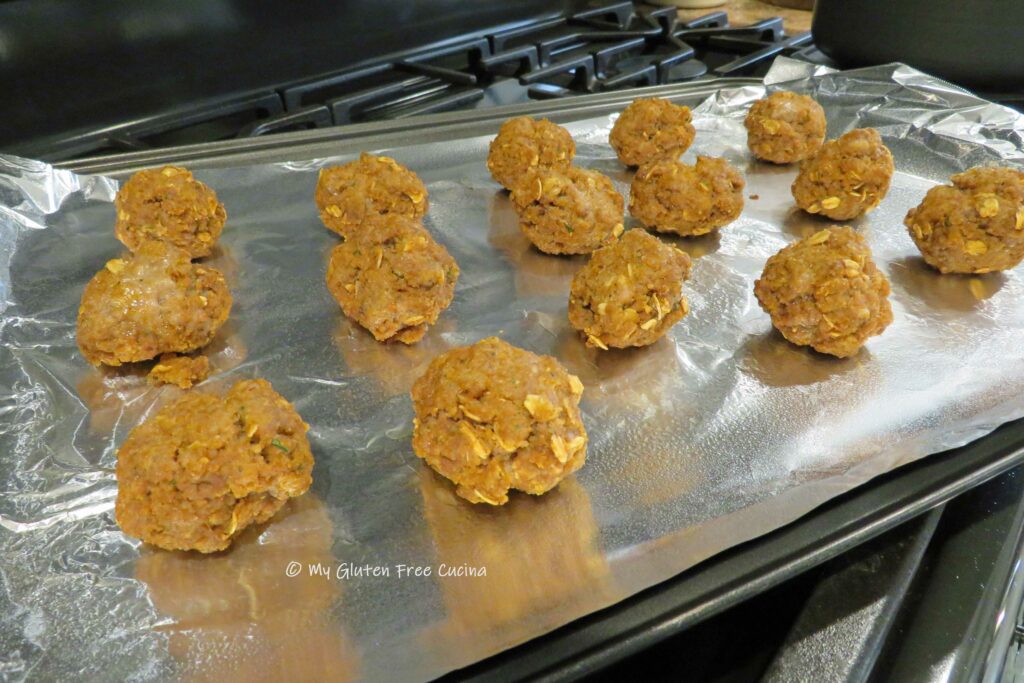
When the meat is well combined, add the dry ingredients and continue working the mixture to distribute everything evenly.  Line a baking sheet with foil and mist with cooking spray.  Form 24 small meatballs (about 1-½ inch) and place them on the baking sheet with space in between.  Broil 3 minutes per side on high, then set them aside and cool to room temperature.  *Note that I only used one dozen meatballs in this recipe, you will need all of them if you make a double batch or use a larger pan.
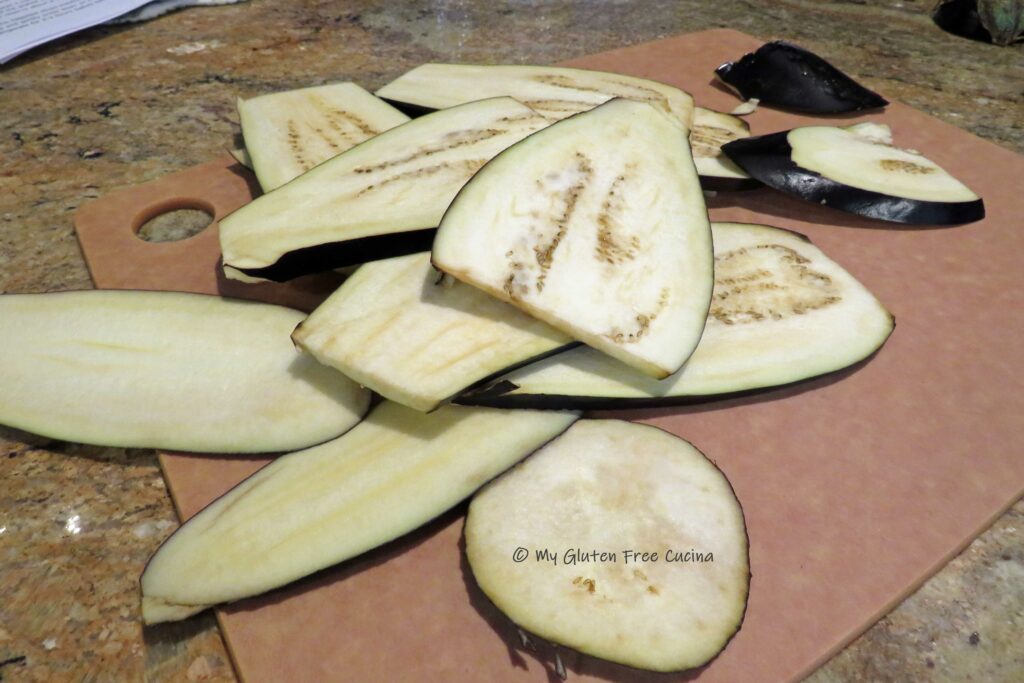
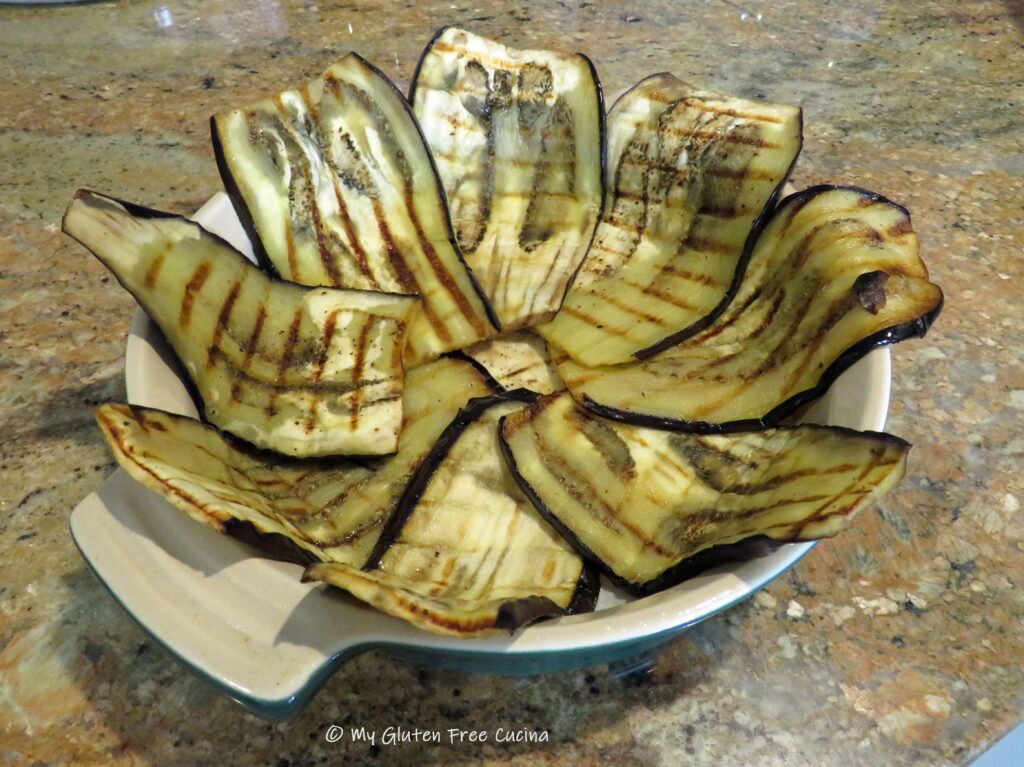
For the eggplant, cut off a slice at the stem and one from the bottom so that you can stand it up on your cutting board.  If you prefer, peel the eggplant by running a sharp knife down the sides to remove the skin.  If you don’t mind the skin, leave it on, it will look beautiful in the finished dish.

Cut one small round off the top then slice the eggplant lengthwise into thin strips, about ¼” wide.  I used a mandoline so that my slices would all be the exact same thickness.
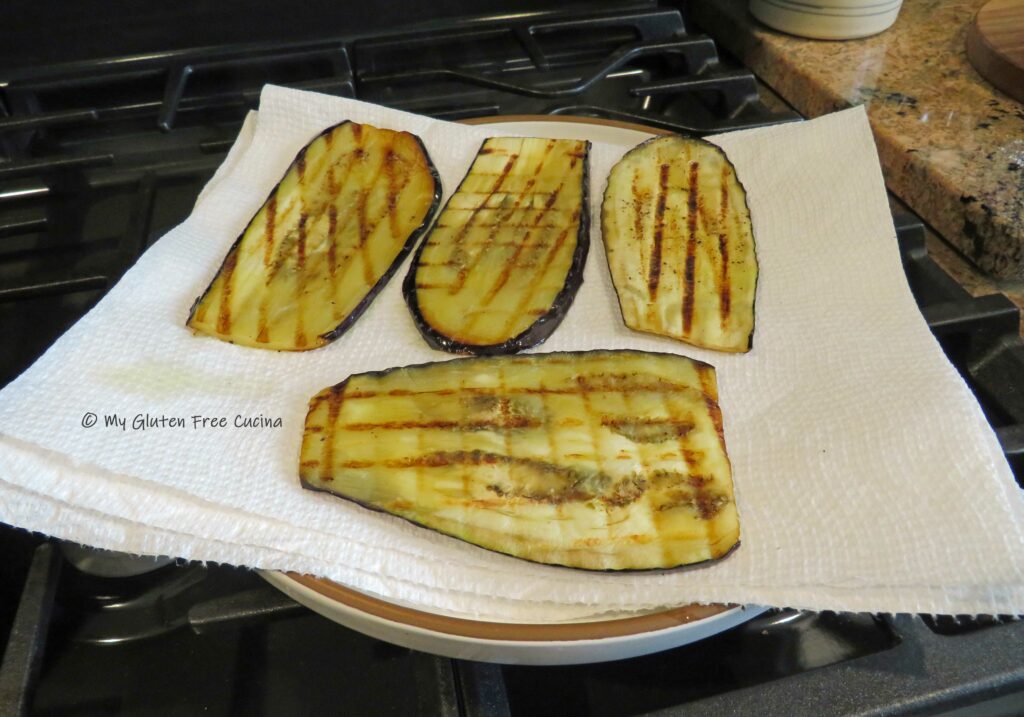
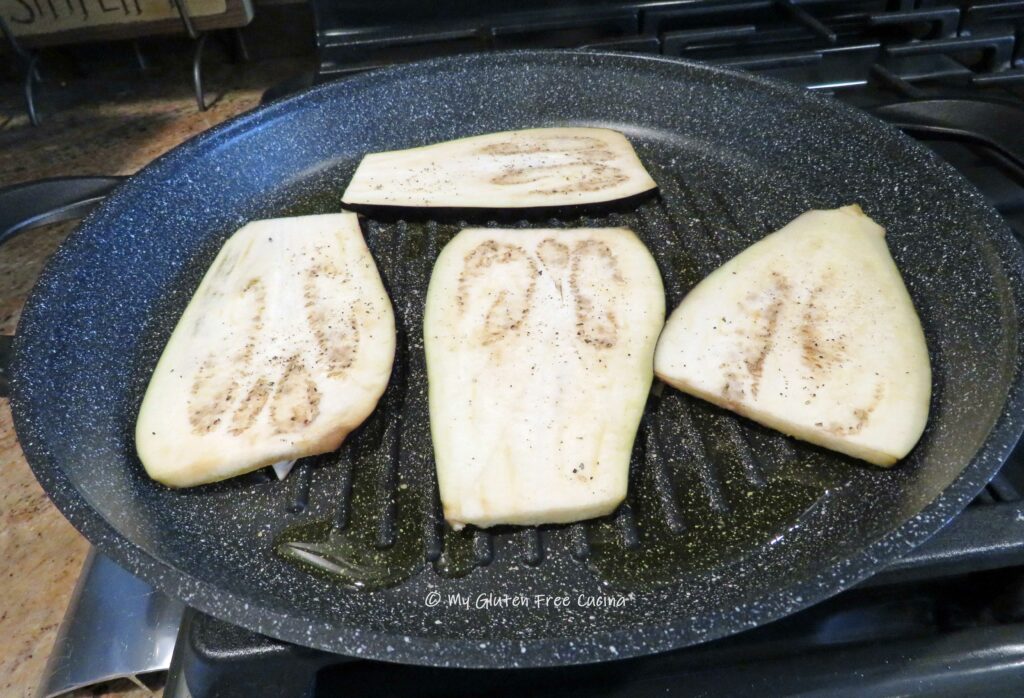
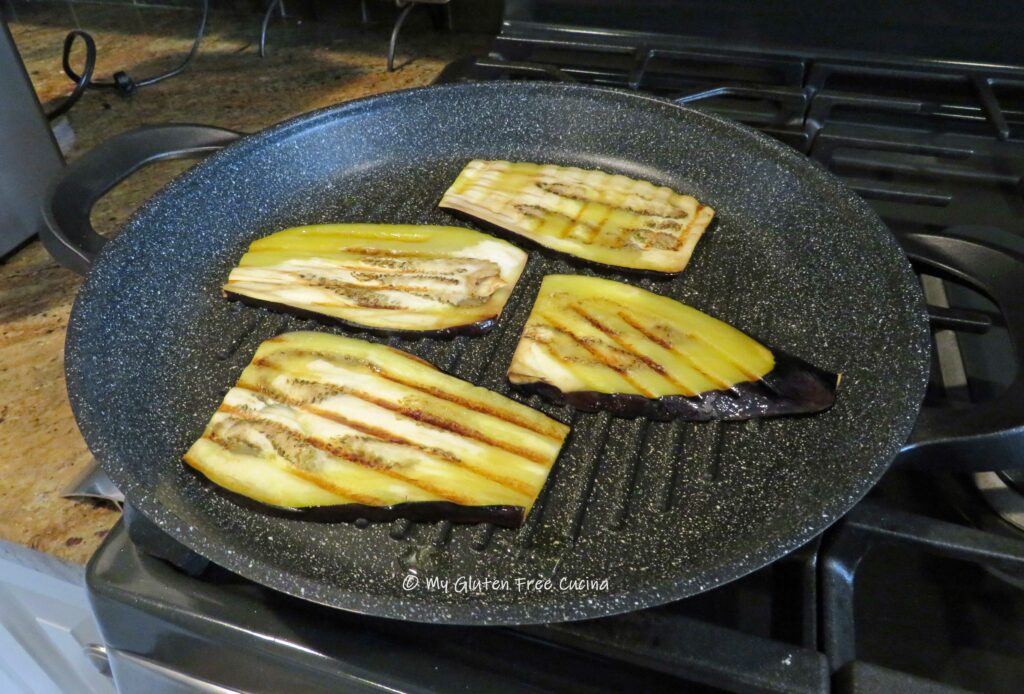
Cook the eggplant in a large grill pan brushed with olive oil.  Season the slices as you cook them.  The goal here is to cook the eggplant just to where the slices are bendable, they will finish cooking in the oven. Don’t crowd the pan, cook it in batches if needed and drain the slices on paper towels.
Finally, cook the pasta to 2 minutes less than the package directions.  I recommend Jovial Brown Rice Pasta for this recipe because it holds up well to boiling and baking.  After cooking, drain and rinse the pasta under cold water.

And now (finally) we are finally ready for the assembly.  Mist your baking pan or springform pan generously with cooking spray.  Cut a circle of parchment paper to fit the bottom of your pan and place the small round of eggplant in the center.
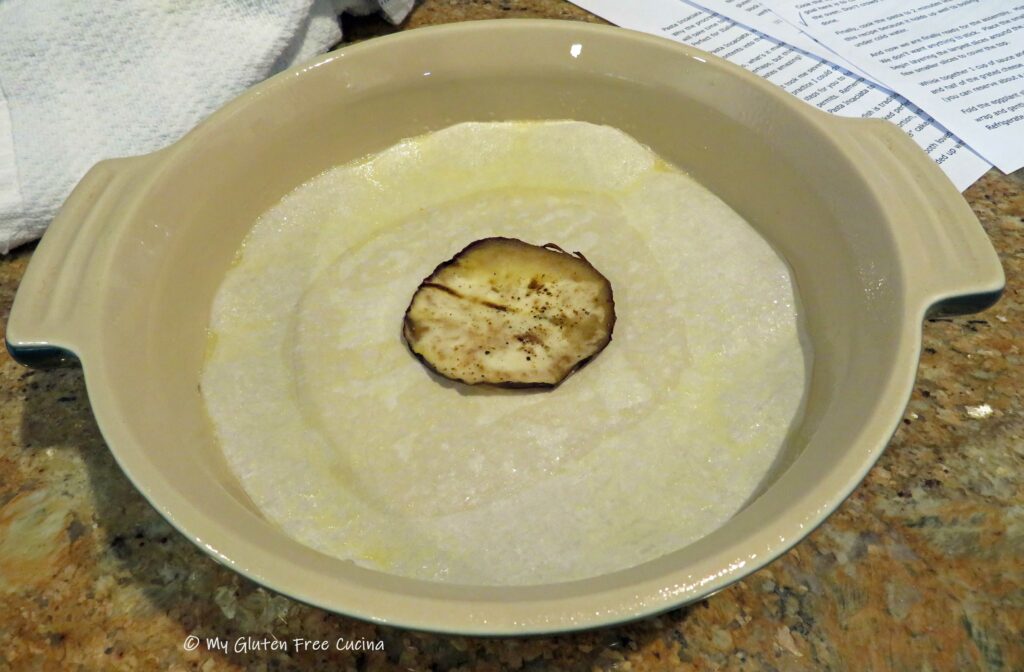
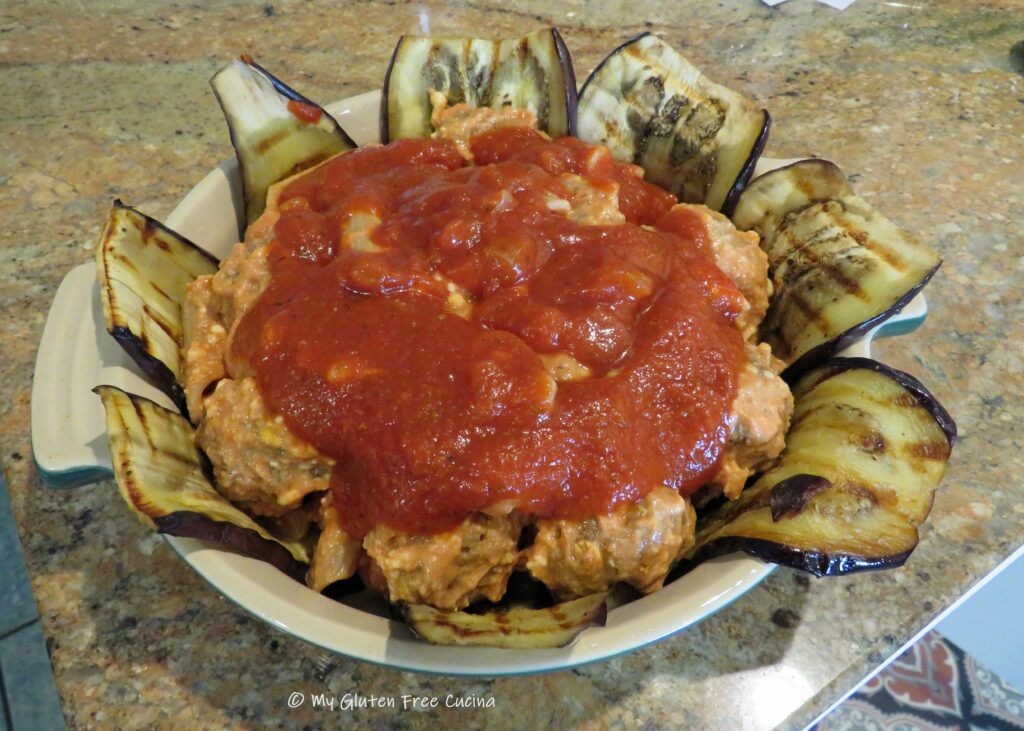
Next begin layering the largest slices around the pan, letting them drape over the side, like this.  Save a few smaller slices to cover the top.
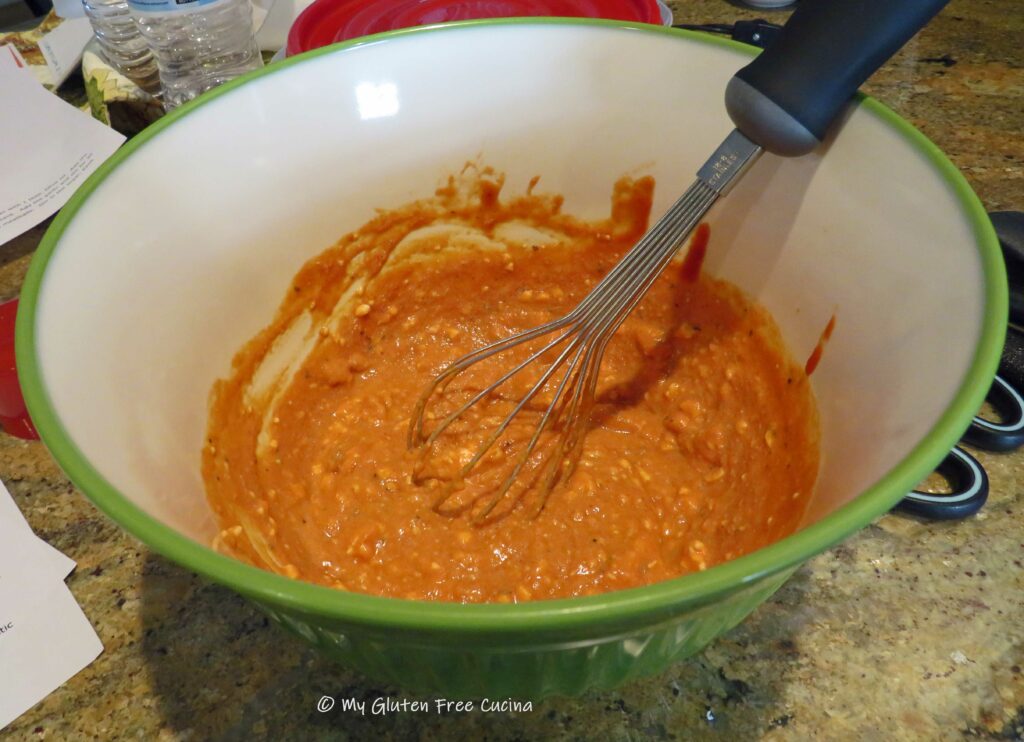
Whisk together 1 cup of sauce and ½ cup of ricotta cheese.  Fold in the pasta, half of the meatballs (about a dozen) and half of the grated cheese, then spoon the mixture over the eggplant and top with more sauce (you can reserve a cup of the sauce for serving).
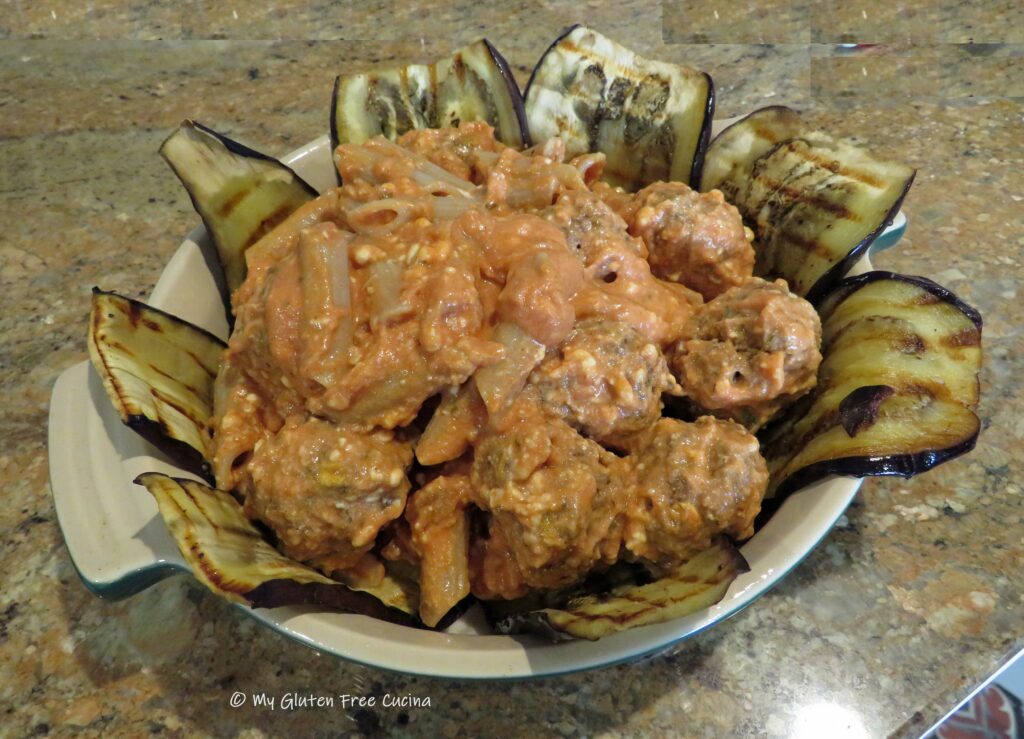
Fold the eggplant slices inward, then use the smaller slices to fill in the center.  Cover with plastic wrap and gently press down on the mixture, so that it will set up in the shape of the pan.  Refrigerate for 2-3 hours before baking.
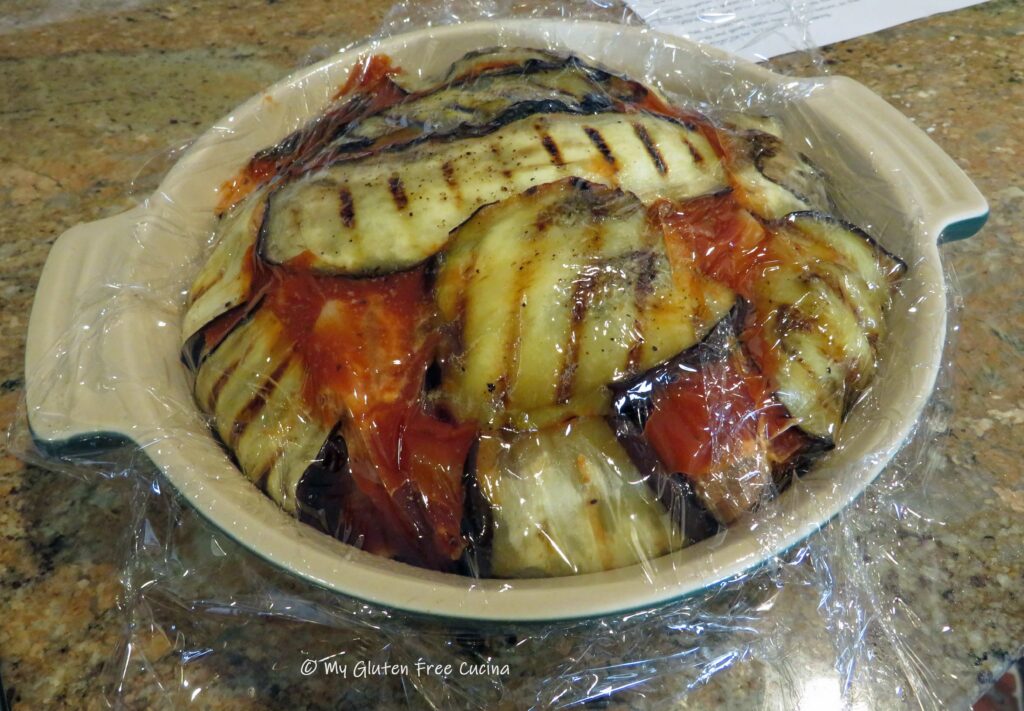
Preheat the oven to 350 degrees.  Remove the plastic wrap and sprinkle with the remaining grated cheese and breadcrumbs.
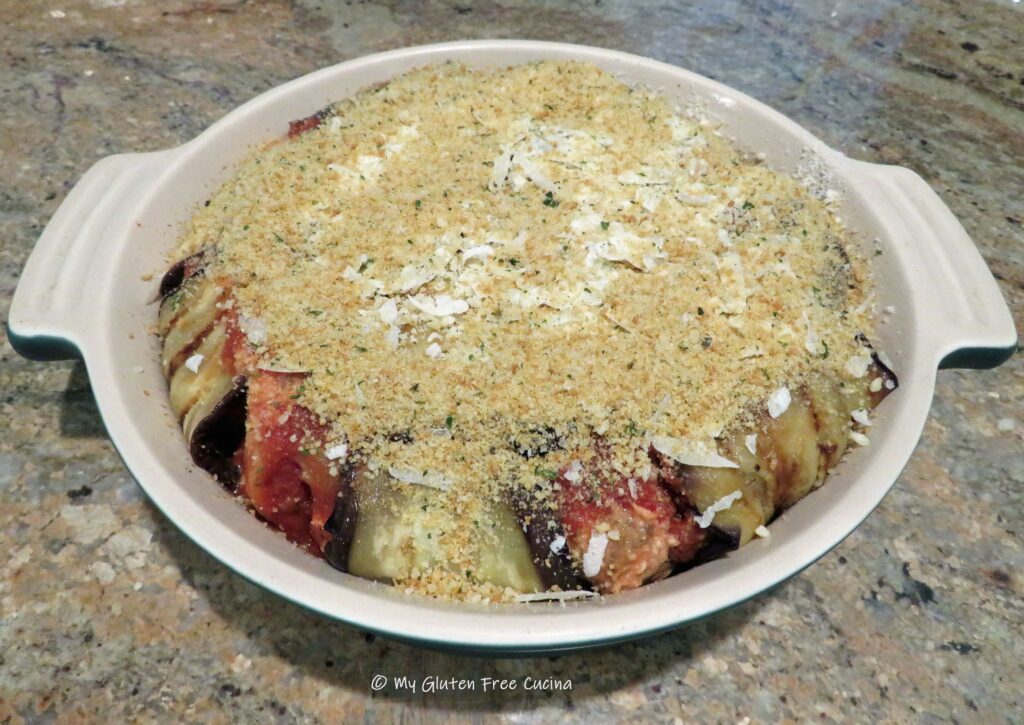
Mist a sheet of foil with cooking spray and cover the pan.  Don’t make it too tight, you don’t want the foil to stick.  Bake for 30 minutes, then carefully remove the foil and bake 30 minutes more.  You should see bubbling on the sides of the pan.

Now for the unveiling.  You really could serve it just like this, and I took a lot of pictures in case of a faux pas when I flipped it over!
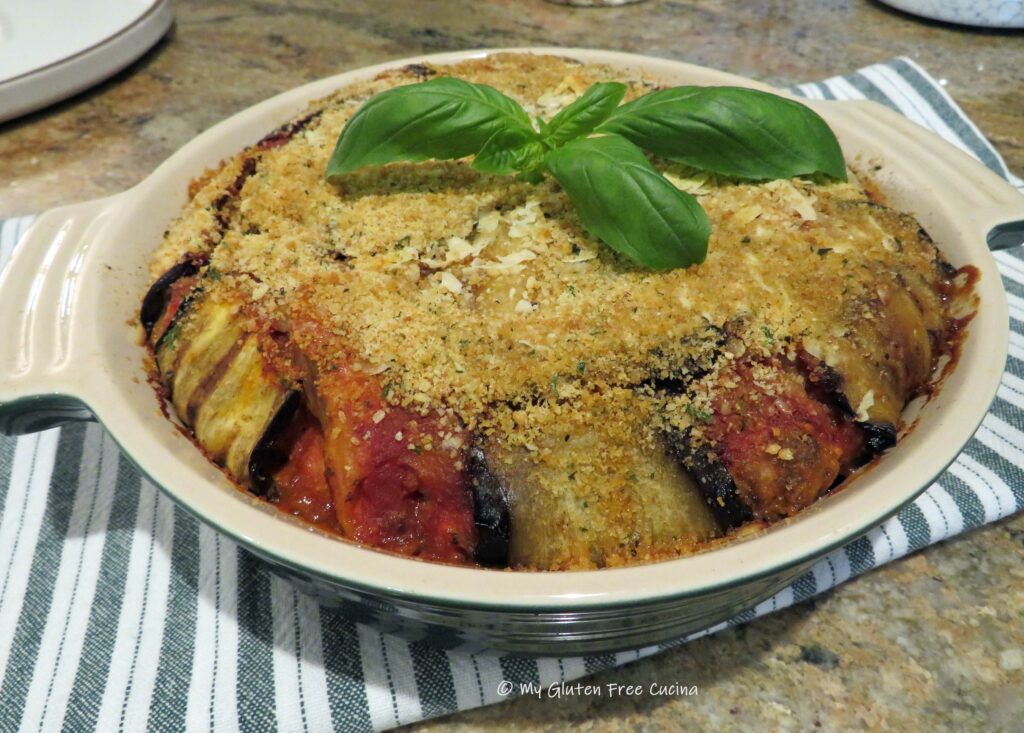
The easiest way to do this is to run a butter knife around the edges then cover the pan with a plate and quickly invert it.  Careful, the pan will still be hot.

TADA!!! There it is!  Peel away the parchment paper and let it rest for 10 minutes before serving.  I like to garnish with fresh basil.
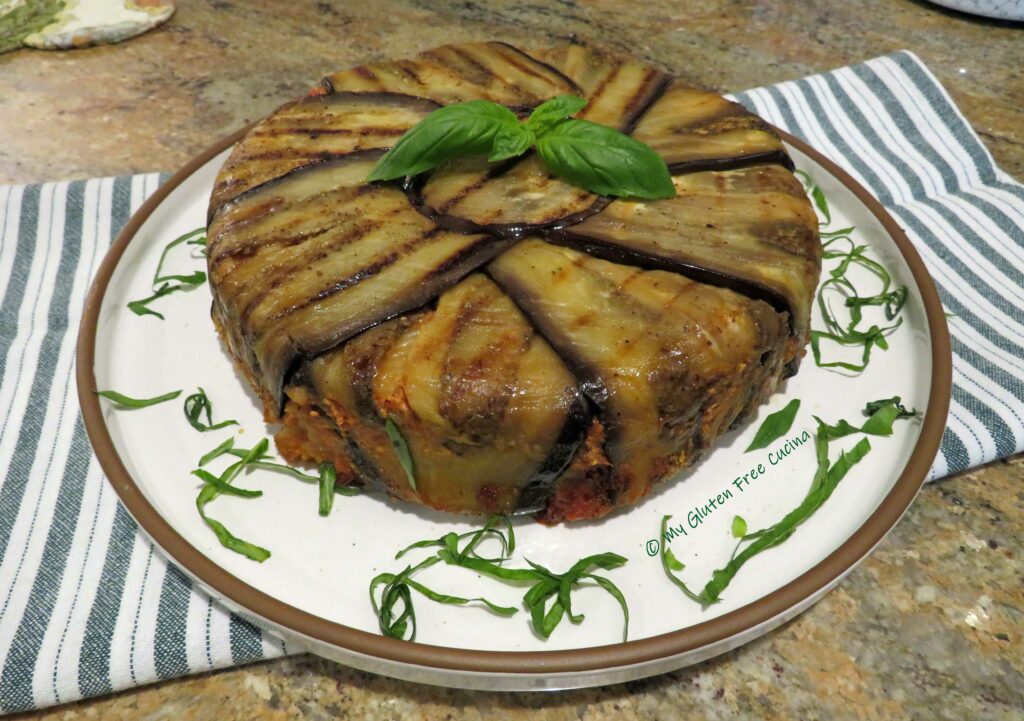
Slice into wedges and serve with more sauce and grated cheese.
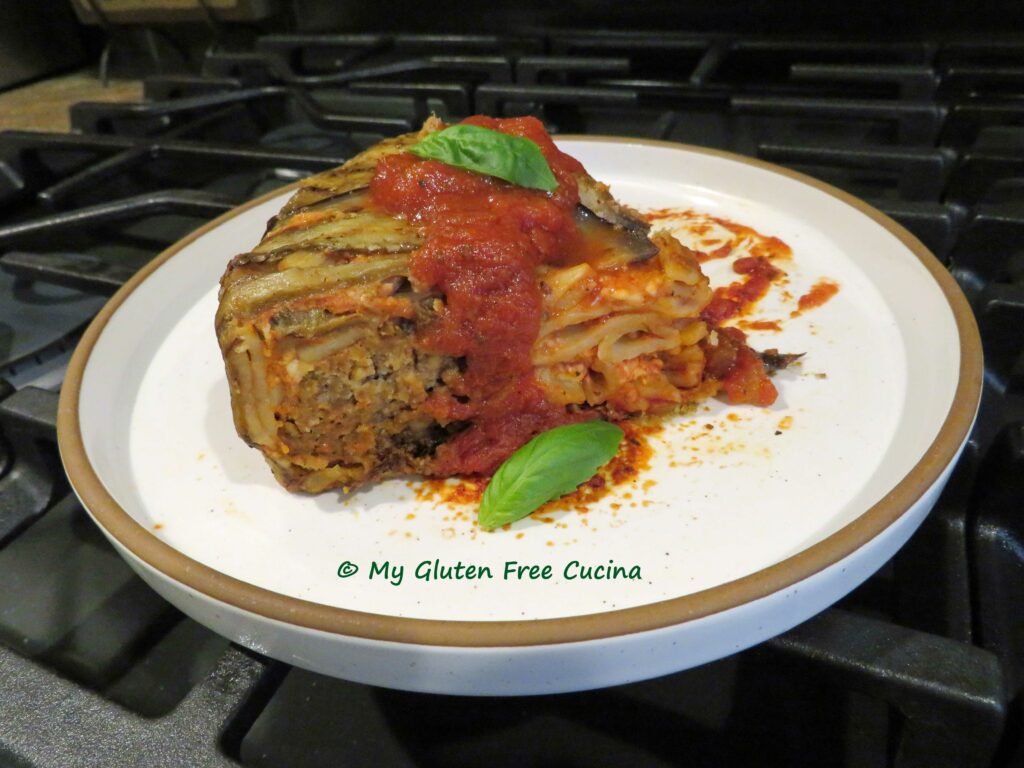
Friends, what a meal!  This is not a dish that I will make often, but it is truly a joy for this home cook to say that I’ve done it!  And as for being gluten free, I promise no one will even know.  You do not have to give up delicious pasta dishes on the gluten free diet, and this recipe is a true testament.

Notes ♪♫ Always check ingredient labels.  You know that your pasta and breadcrumbs must be gluten free, but don’t forget to check the sausage.  How about that grated cheese?  I always buy a block of cheese and grate my own, so I don’t have to worry about additives.  For those who cannot have oats, you can add a bit more potato flakes and breadcrumbs to the meatballs.

Print This Post Print This Post

Gluten Free Orecchiette with Pancetta and Peas

What are Orecchiette?

One of my favorite pasta shapes, orecchiette are a small, cup shaped pasta said to originate in the Puglia region of southern Italy.  Orecchiette means “little ears” in Italian.  You can see why!

Forming this rustic pasta is easy and kid friendly, everyone will enjoy making it as much as they love to eat it.  It’s a wonderful project for a Sunday afternoon, when you can take your time and enjoy the process!

A little dough goes a long way!  This recipe makes plenty for two people and you can double or triple the ingredients as needed.  Follow the easy steps, showing you just how to make this pasta along with the classic pairing of pancetta and peas!

Note ♪♪ I used the new Gluten Free Bread Flour from Better Batter in this recipe.  Shop Better Batter and use my code MGFC30 at checkout to receive 30% off any non-sale item!

Ingredients:

For the dough

To finish

  • 3 tbsp. olive oil
  • 2 oz. diced pancetta
  • 1 cup frozen peas, defrosted
  • 1/2 tsp. Italian seasoning
  • pinch of red pepper flakes
  • grated cheese
  • fresh ground pepper

Preparation:

Weigh the flour.  I have tested this recipe many times to come up with exactly the right dough consistency for this pasta, and accuracy is important if you want to get the same result!  Combine all of the dough ingredients in the bowl of a stand mixer.  Beat with the paddle attachment for 5 minutes on low.  The dough will be soft, but not wet.  It should not stick to the beater.

Scrape down the sides of the bowl and bring the dough together in a ball.  Wrap it in plastic wrap and let it rest at room temperature for 10-15 minutes.

Lightly flour a cutting board and divide the dough ball into 4 sections.

Work with one section at a time, and keep the remaining dough covered so it doesn’t dry out.  Start by rolling each section into a cylinder, like this.

Cover and let it rest for 10 minutes.  This is the secret to working with gluten free dough.  Remember, it doesn’t stretch like gluten dough, but after a little rest it will be more cooperative.  I repeated this process twice, before I finally was able to roll each section of dough into a rope, 3/4″ thick.

Use a bench knife to cut the ropes into 1/2″ pieces (note- smaller is better, they will grow quite a bit when cooked!)

Roll each piece between your palms to form round, dime sized balls.  For the final shaping, use a knife to pull the dough ball toward you, like this.

Then invert it over your thumb or forefinger, to form the “ear” shape.

Line a baking sheet with parchment or waxed paper, and dust lightly with flour.  Place the finished Orecchiette on the baking sheet.  Cover with plastic wrap and refrigerate if not cooking immediately.

To finish the dish, bring a large pot of salted water to a rolling boil.  Render the pancetta in 2 tbsp. olive oil for about 5 minutes then add the peas, Italian seasoning and red pepper flakes.  Cook several minutes longer, stirring frequently.

Slide the Orecchiette into the water and cook for 3 minutes, stirring occasionally.  They will float to the top.

Gently remove them with a slotted strainer and toss with the pancetta and peas.

Drizzle with more olive oil, and finish with grated cheese and some fresh ground black pepper.

Notes ♪♫ Orecchiette is one of those pasta shapes that is very hard to find in gluten free (do tell if you have spotted it!).  Fortunately, they are very easy to make, and even a simple meal becomes extra special when you add fresh, homemade pasta.

Print This Post Print This Post

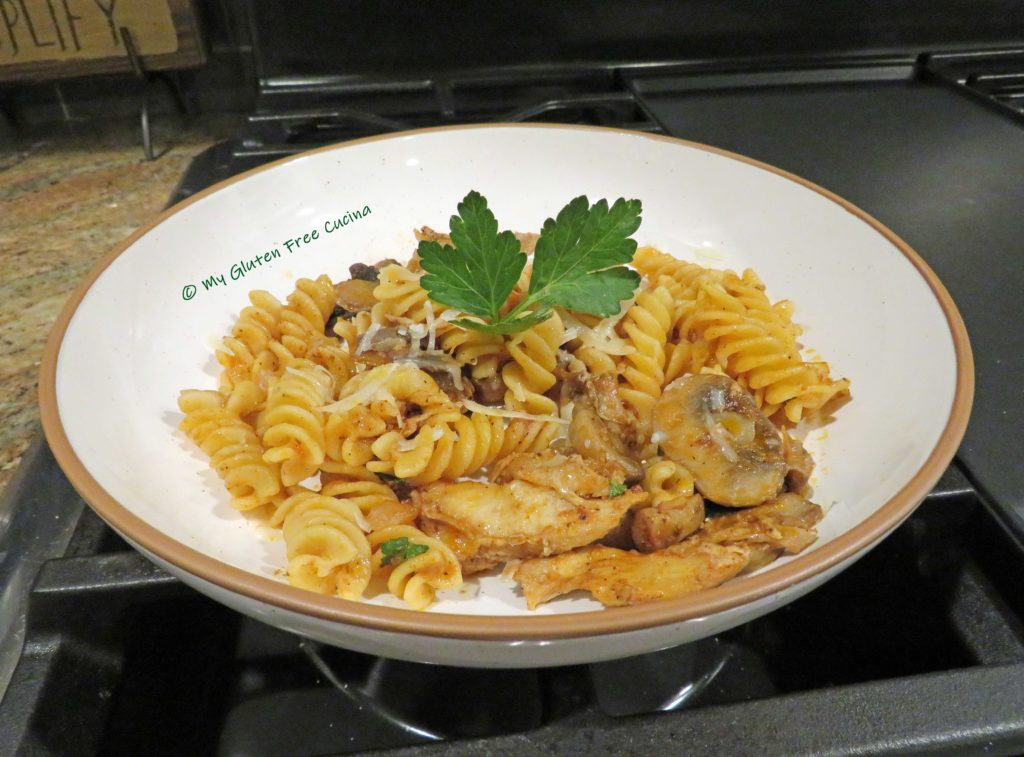
Gluten Free Chicken Mushroom Ragu with Fusilli

Gluten Free Chicken Mushroom Ragu with Fusilli

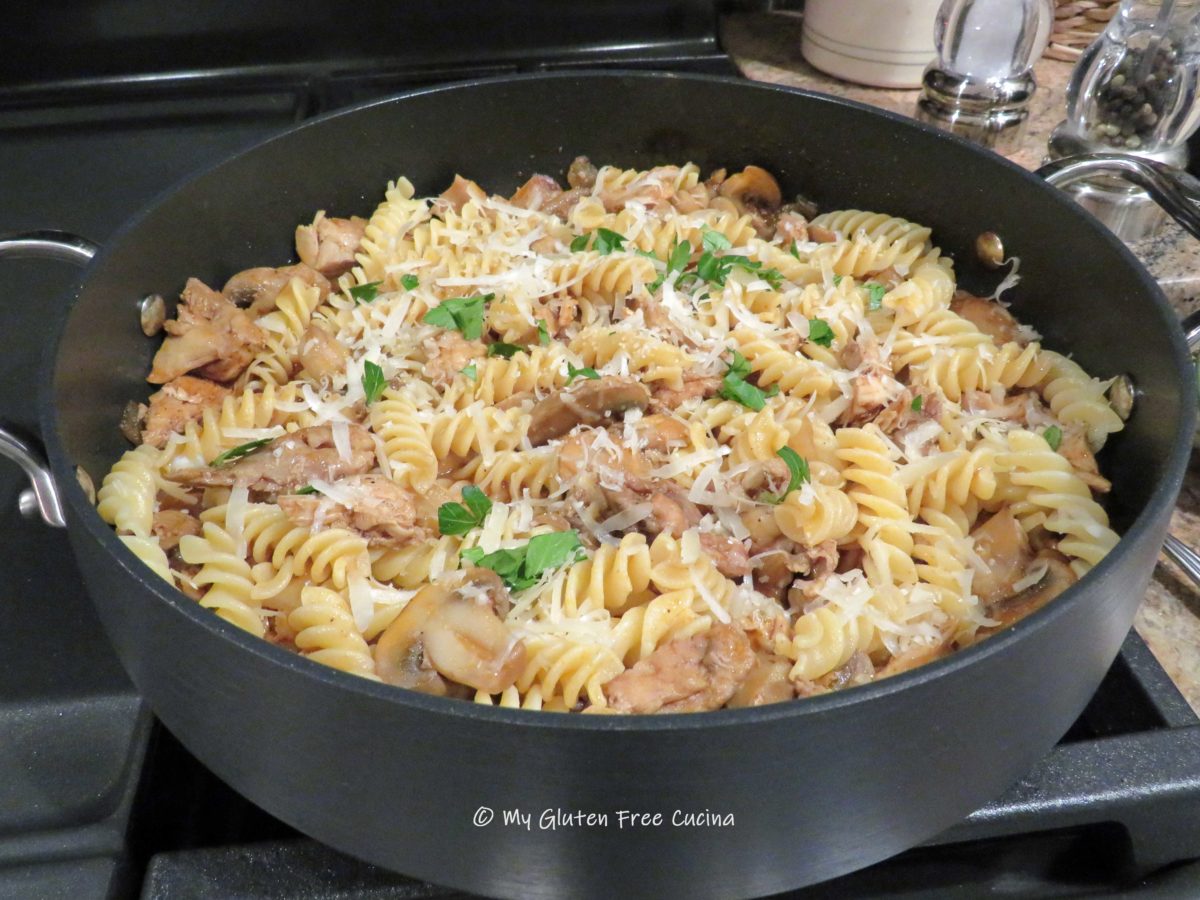
Like many Italian recipes handed down from one generation to the next, this one has the magical ability to transform simple ingredients from the pantry into the perfect comfort food meal.  I used boneless, skinless chicken thighs and pre-sliced mushrooms to simplify the prep.  In fact, if you buy some diced onions in the produce section, you can put away the cutting board.  How’s that for simple?

This post contains affiliate links.

I was featured at the senior salon pit stop

4 Servings:

Ingredients:

  • 1 carton gluten free chicken broth (you won’t need the whole thing)
  • 3 boneless skinless chicken thighs
  • salt and pepper to taste
  • olive oil
  • 1/2 medium sweet onion, diced
  • 2 tbsp. tomato paste
  • 1/2 tsp. Tuscan seasoning
  • 1 bay leaf
  • 1 sprig of rosemary
  • 1/8 tsp. ground cloves
  • 1/2 cup white wine (not cooking wine)
  • 8 oz. package white button mushrooms, sliced
  • 6 oz. gluten free fusilli pasta
  • Italian parsley for garnish
  • grated Parmigiano Reggiano for serving

Preparation:

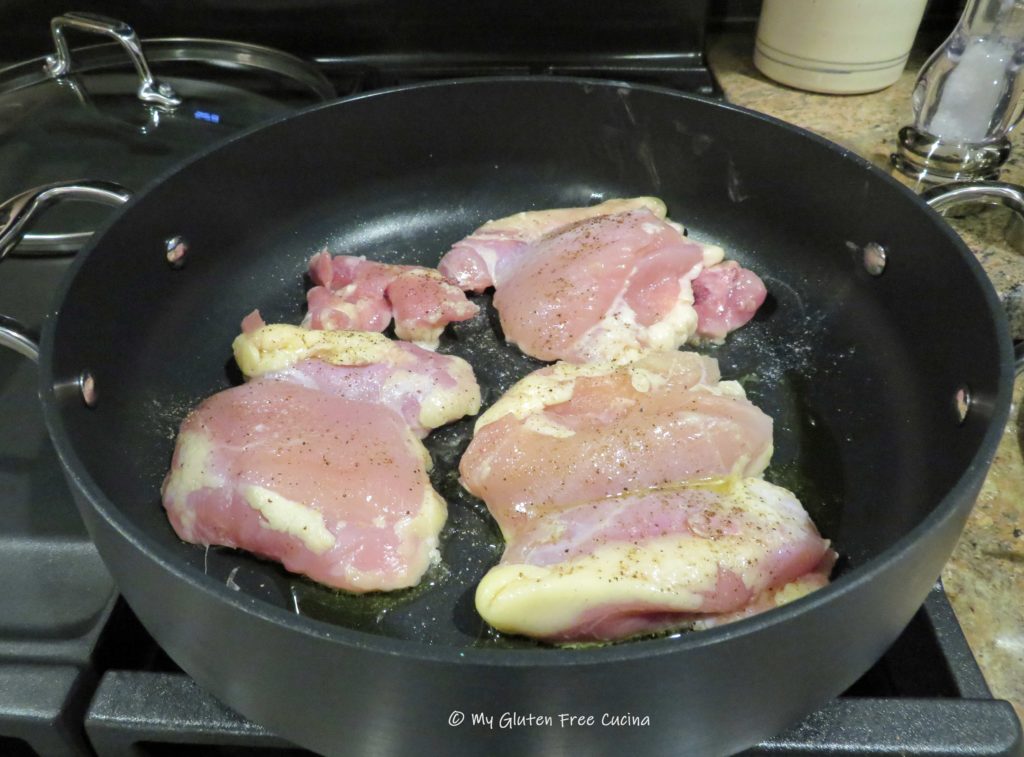
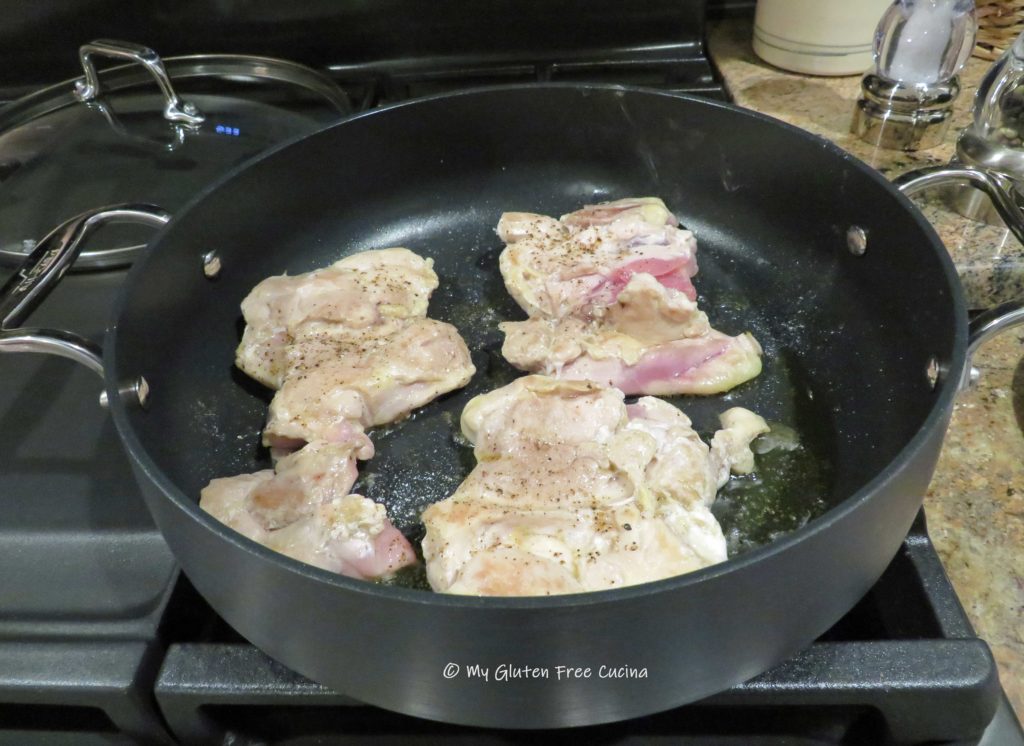
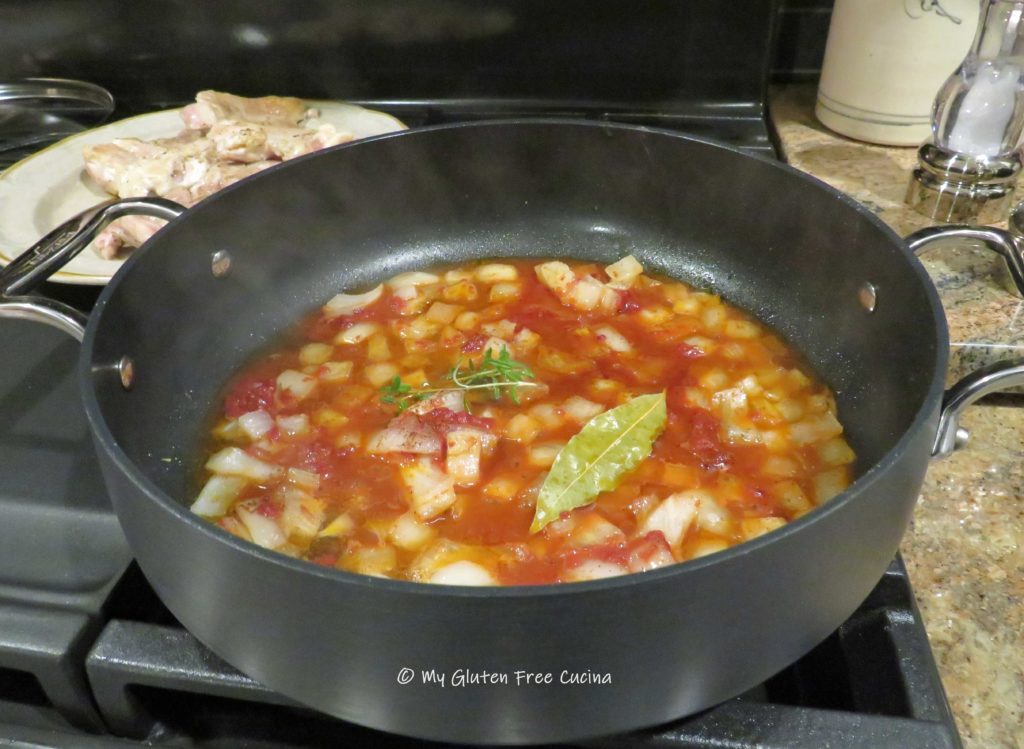
Add 1 tbsp. olive oil to a deep nonstick skillet over medium low heat.  Add the chicken, season with salt and pepper and cook several minutes per side.  It does not have to be cooked through at this point.

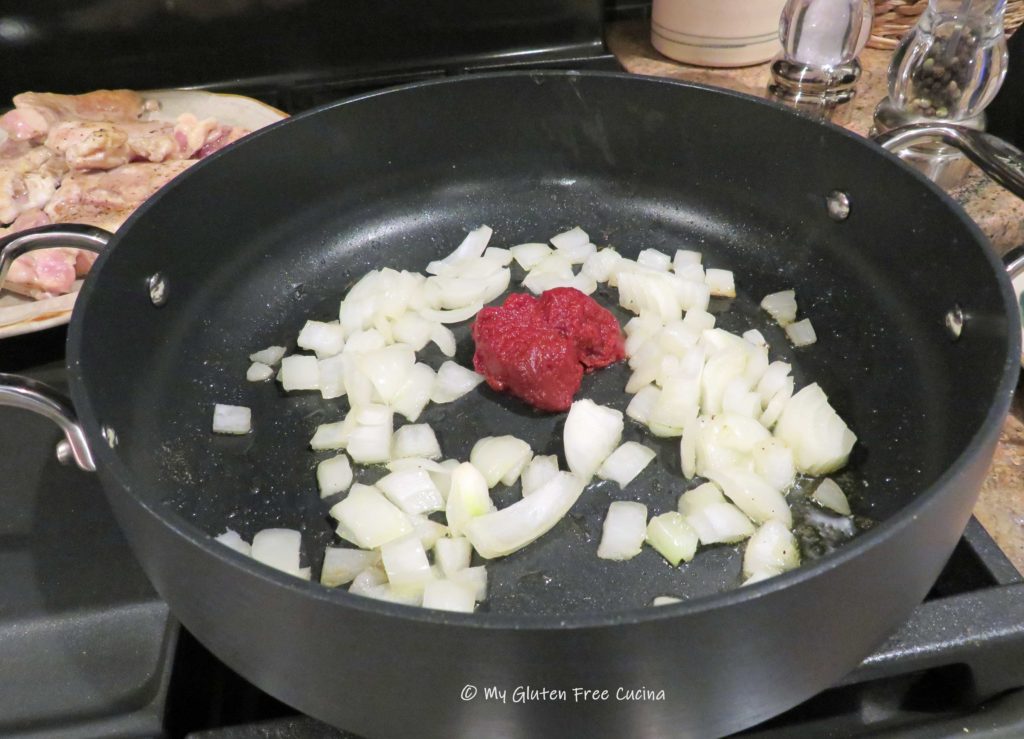
Remove the chicken to a plate and sprinkle with Tuscan seasoning.  Add the onions to the pan.  Cook for several minutes then add the tomato paste in the center.  Let it toast for a minute then stir into the onions.

Stir in the white wine, bay leaf, rosemary and cloves.  Simmer 5 minutes to reduce by half.

Add the chicken back to the pan with about 1 cup of chicken broth.  Cover and cook for 25 minutes.
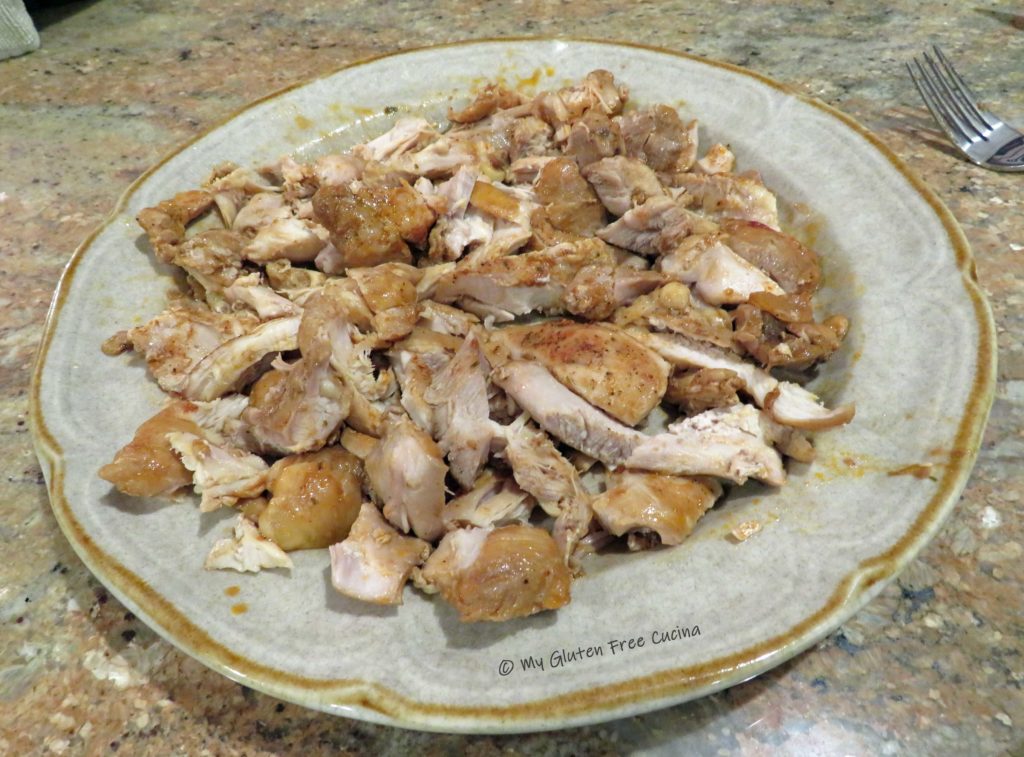
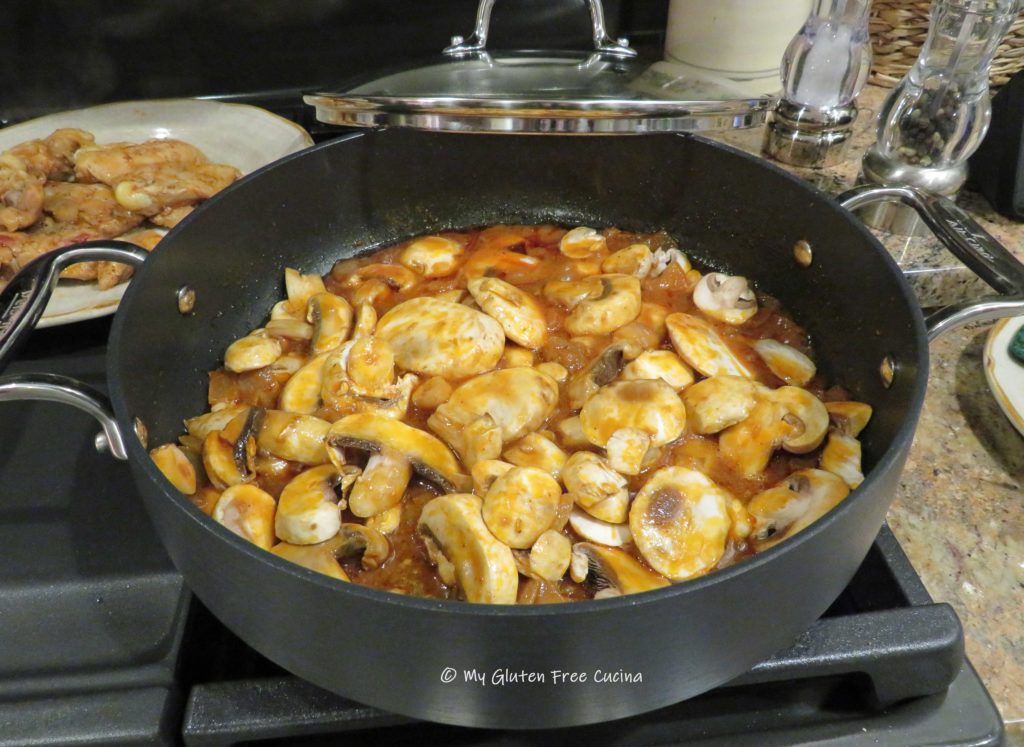
Remove the chicken from the pan and shred or cut into pieces.  Add all of the mushrooms to the pan with about 3/4 cup more chicken broth.

Bring to a simmer and add back the chicken.  Cook for an additional 15 minutes.  While the ragu finishes, boil water for pasta.
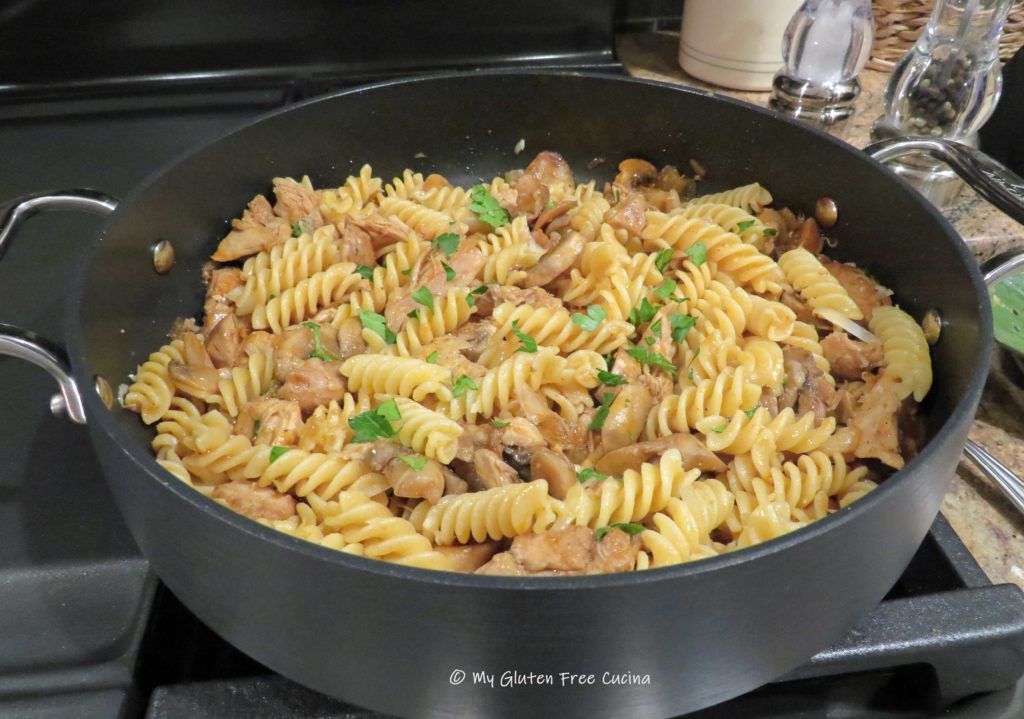
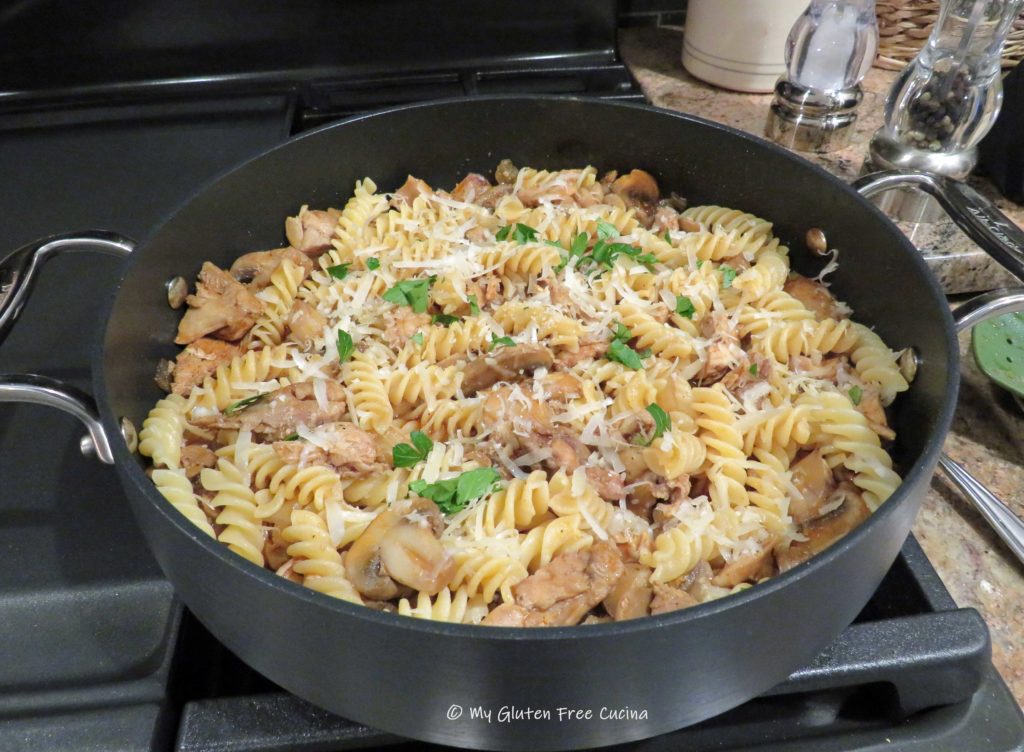
To serve, drain the cooked pasta and toss with the ragu.  Sprinkle with cheese and Italian parsley.  Serve it right in the pan, with extra cheese for the table.

Notes ♪♫ I used Rummo Gluten Free Fusilli in this dish.  I noticed it at Whole Foods and picked it up there but it’s available on Amazon as well.  The corkscrew shape is perfect for this dish, and it cooked up perfectly to al dente.

Print This Post Print This Post

Gluten Free Chicken Piccata Quick Toss

Do you love Chicken Piccata?  Get all the big restaurant flavor of this classic dish with a few shortcuts that will have dinner on the table in 20 minutes, minus the gluten!

Diced chicken tenders replace cutlets in this express recipe.  Perfect for those busy weeknights when you just want to get dinner on the table, tastes like you’ve been cooking for hours! ❤️

Dinner for two

This post contains affiliate links.

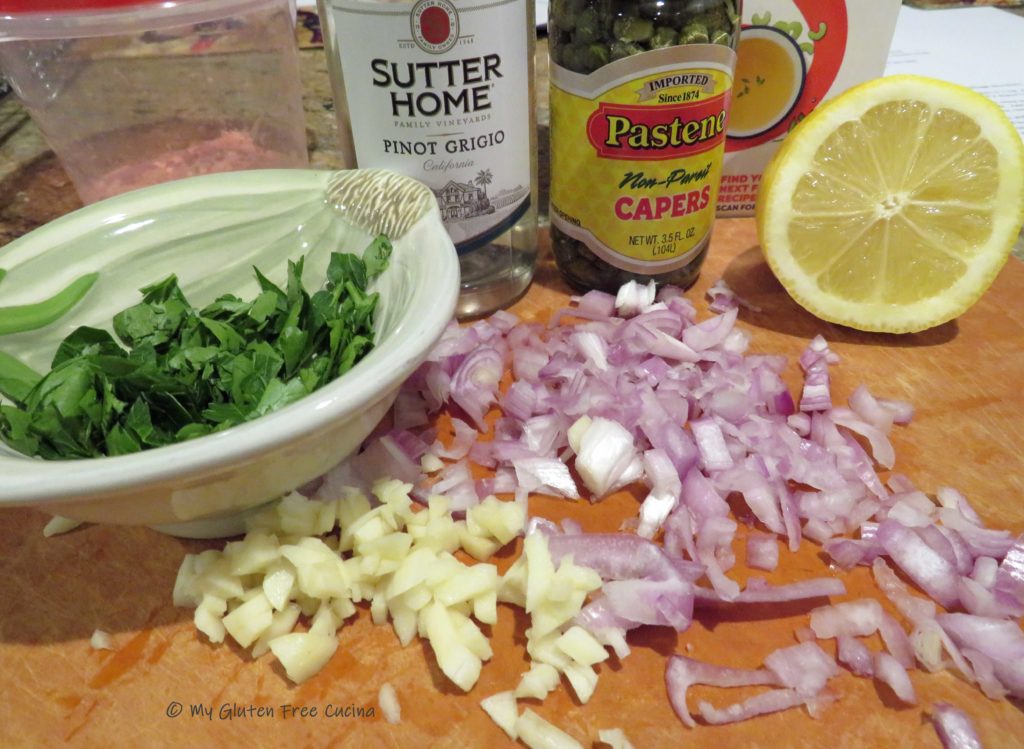
Ingredients:

  • 1/2 lb. chicken tenders, cut into chunks
  • 6 oz. gluten free pasta
  • 4 tsp. olive oil, divided plus more for finishing
  • 4 tsp. butter, divided
  • 1 shallot, minced
  • 2 garlic cloves, minced
  • zest and juice of 1/2 lemon
  • 1 tbsp. arrowroot flour
  • 1/4 cup white wine (not cooking wine)
  • 1/2 cup gluten free, low sodium chicken broth
  • salt and pepper
  • 1 tbsp. small capers (more if you like)
  • Italian parsley for garnish
  • grated cheese

Preparation:

Cook the pasta for 2 minutes less than the package directions, drain and set aside.

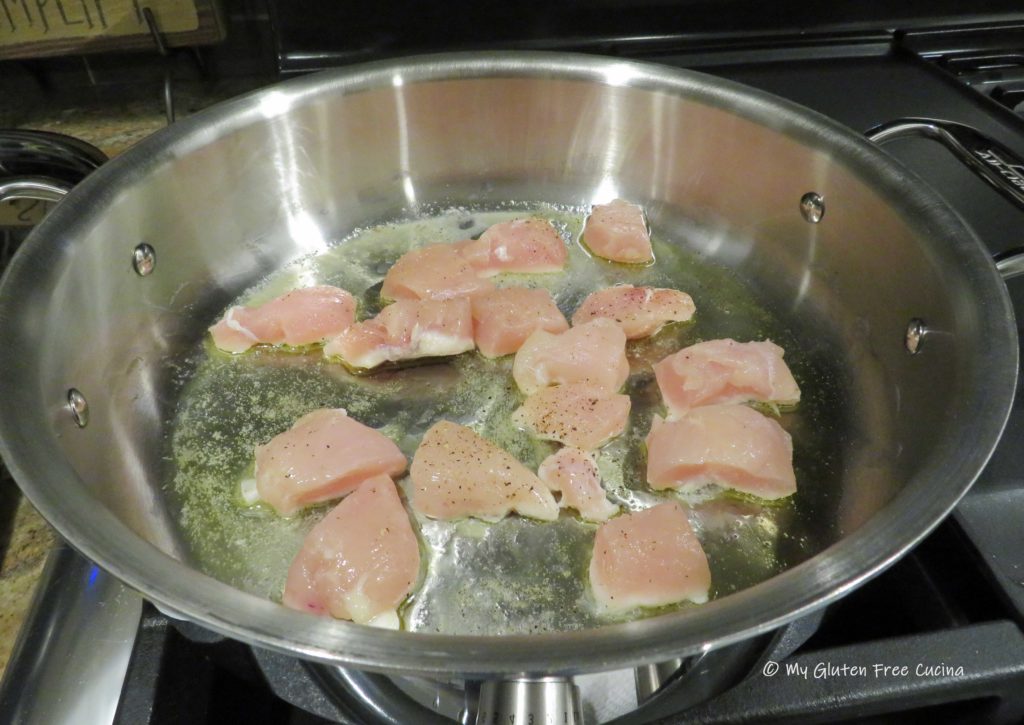
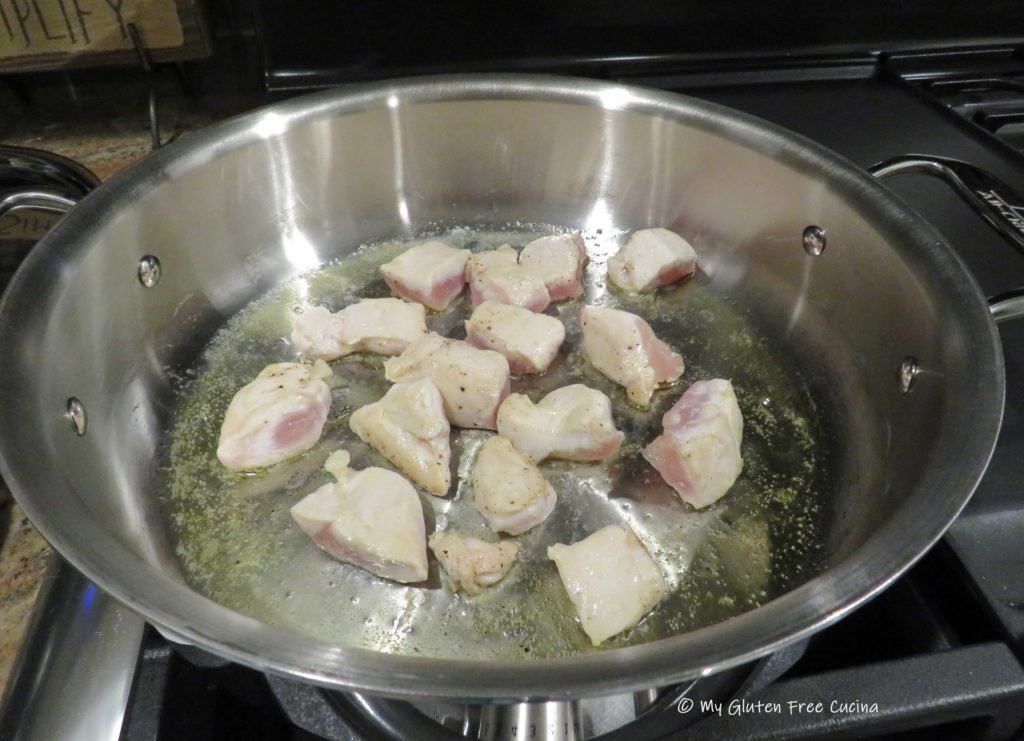
Use a large stainless-steel skillet to brown the chicken in 2 tsp. each of butter and olive oil.  Season with salt and pepper.  Don’t crowd the pan, if it doesn’t fit then make 2 batches.

Notice the chicken isn’t quite cooked through at this point, it will finish in the sauce at the end.

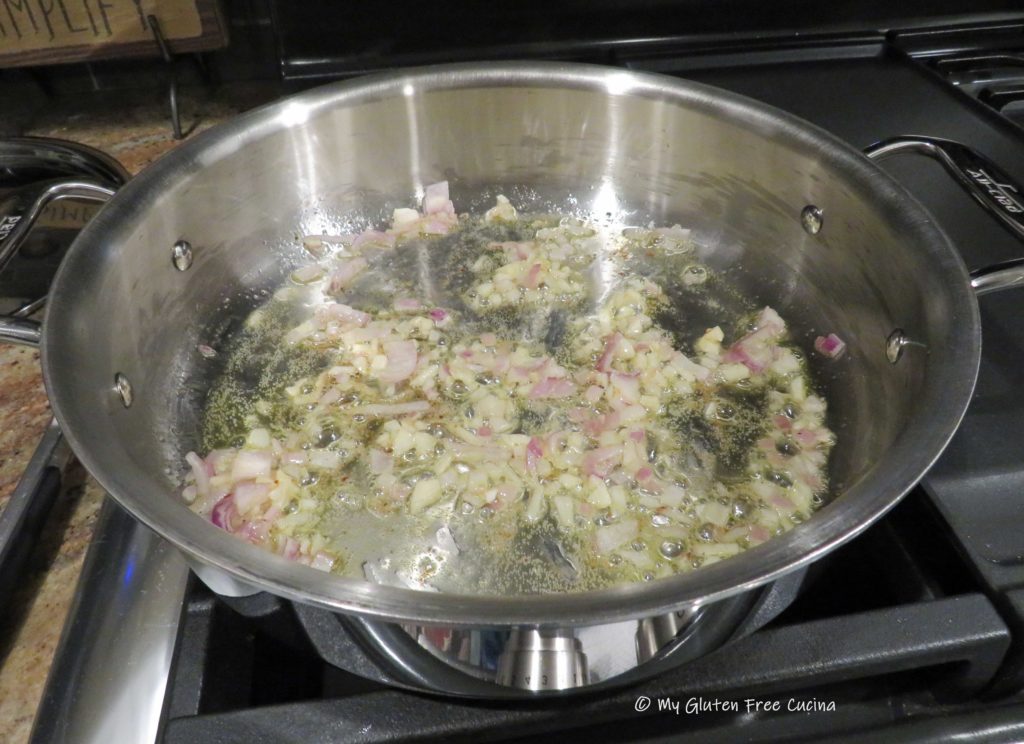
Transfer the chicken to a bowl and set aside, keep warm.  Add the remaining 2 tsp. each of butter and olive oil.  Add the shallots and garlic and cook for 1-2 minutes stirring constantly.

Be ready with the wine, lemon juice and chicken broth.  Sprinkle the flour over the shallots and garlic and whisk continuously.

Drizzle the liquid into the pan as you continue whisking.
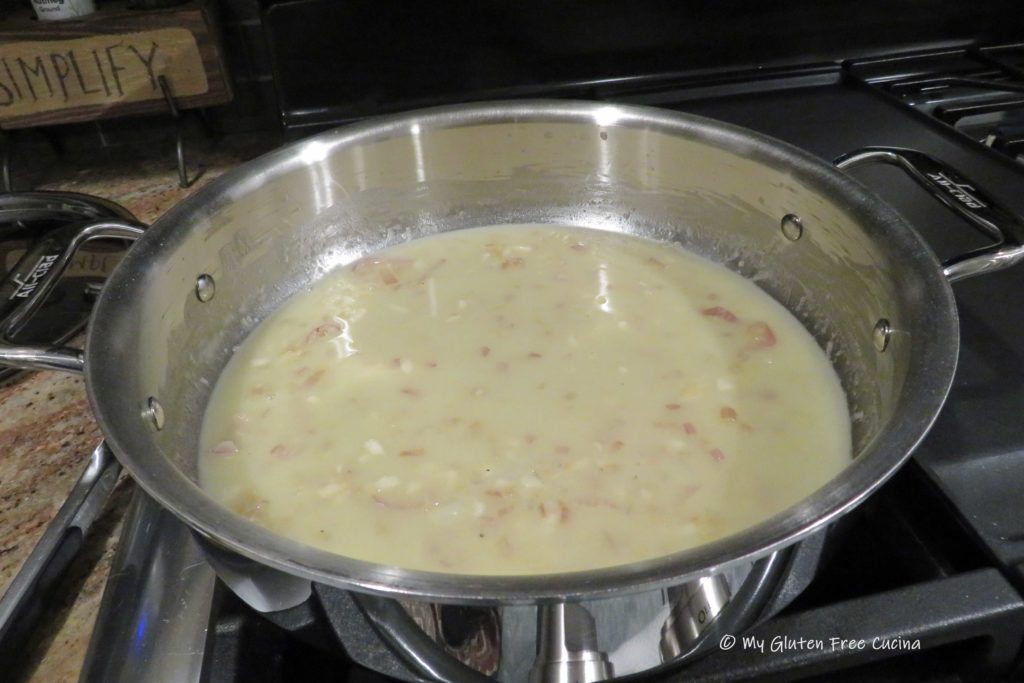
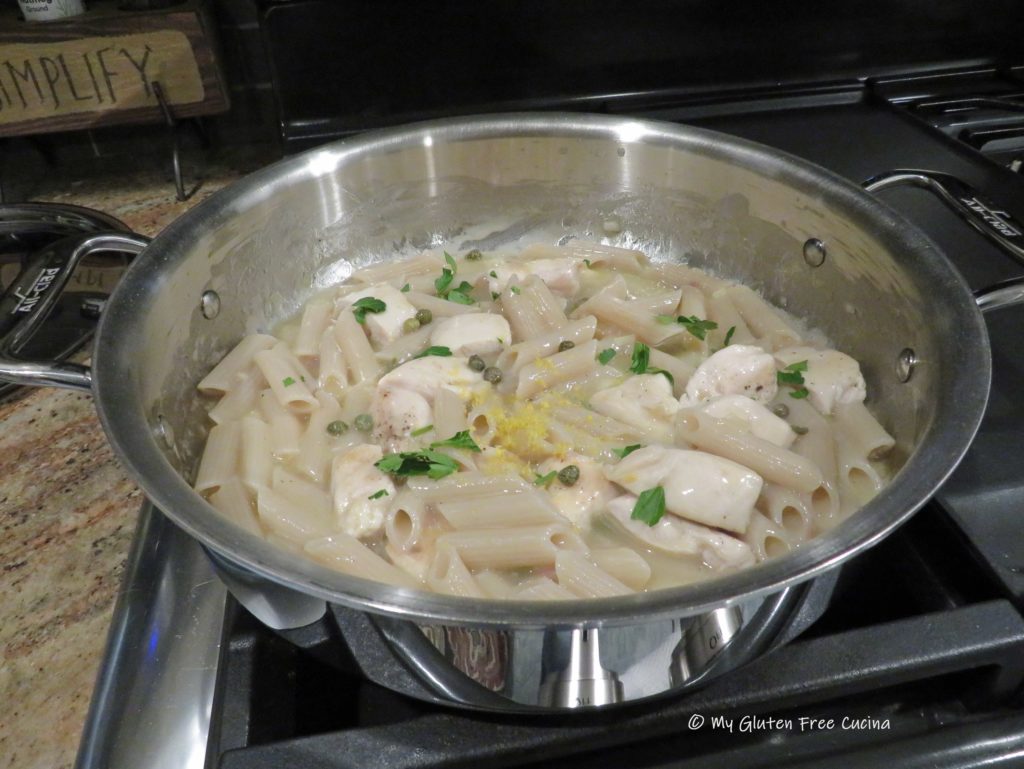
Return the chicken and pasta to the pan and toss to heat through. Cook for several minutes, the liquid will thicken as it comes to a simmer.  Stir in the capers and lemon zest at the very end.

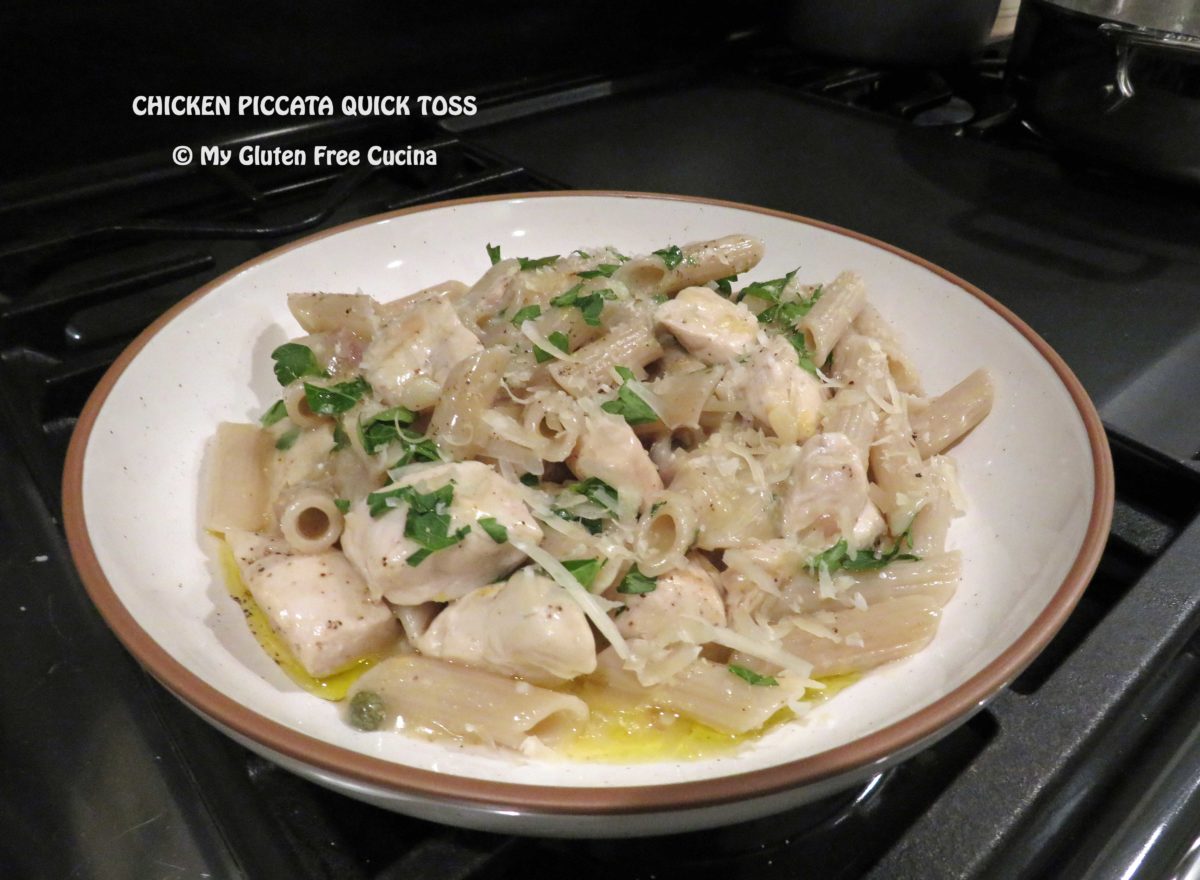
To finish, transfer to a serving bowl and drizzle with more olive oil, then garnish with Italian parsley and a little grated cheese.

Yum, how good does that look?  I love this kind of meal for busy weeknights.  Open a bottle of your favorite white wine for this recipe, and then pour a glass for the cook!

Notes ♪♫ I love arrowroot flour for thickening.  It makes a lump free roux every time and I use it in some of my flour blends for bread baking as well.  It’s something I always have on hand in my gluten free pantry!

Print This Post Print This Post

Gluten Free Italian Veal Cutlets

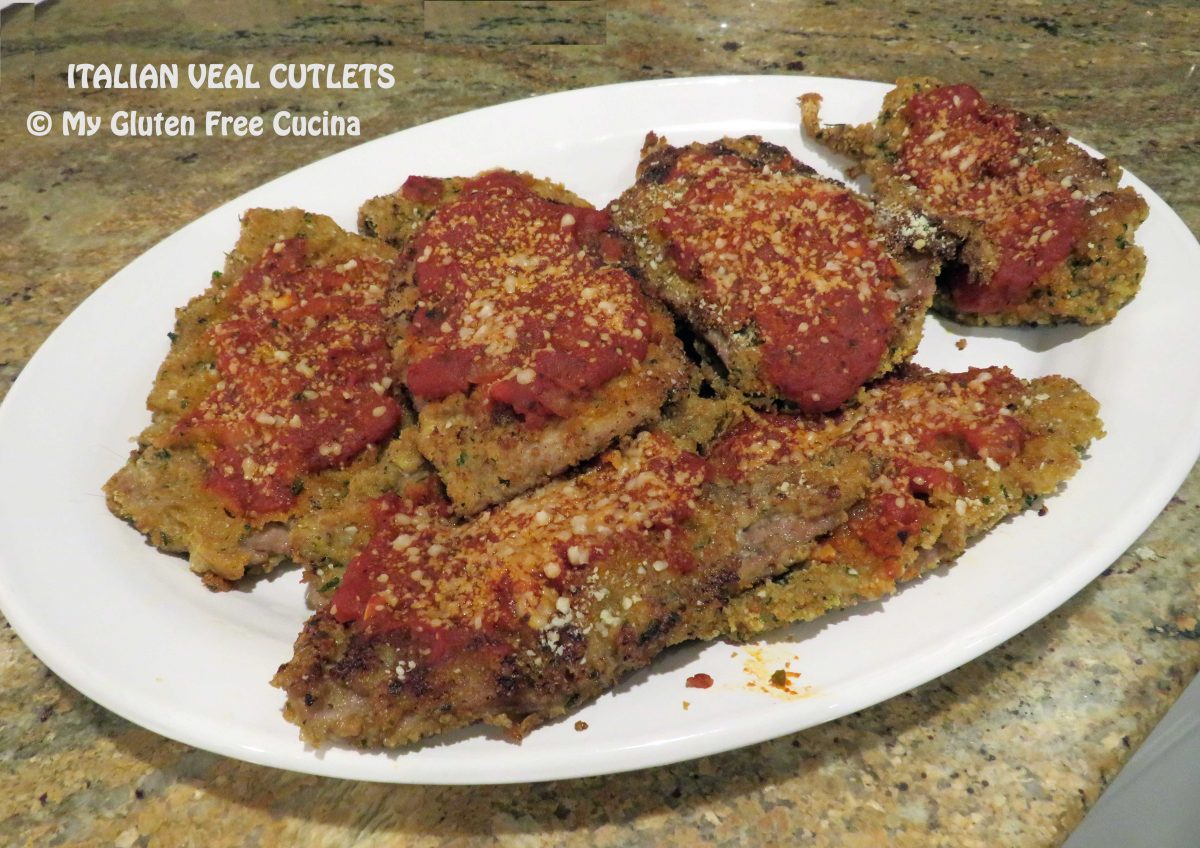
For a special Sunday Dinner, make your family a nice platter of Italian Veal Cutlets.  This was one of my dad’s favorite meals, I especially remember how he loved to order a veal cutlet sandwich at one of the local restaurants.  So be sure to make enough for dinner and leftovers for sandwiches the next day!

This post contains affiliate links.

I am fortunate to live in an Italian neighborhood where we can find thin sliced veal cutlets at the market.  At today’s prices, it’s a splurge but if you are making a nice dinner for two you can get away with less than a pound.  Serve with gluten free pasta and extra marinara sauce.

Ingredients:

Preparation:

Set up 3 breading trays (or use plates), one with rice flour, one with beaten egg and one with breadcrumbs.  Preheat the oven to 350º.

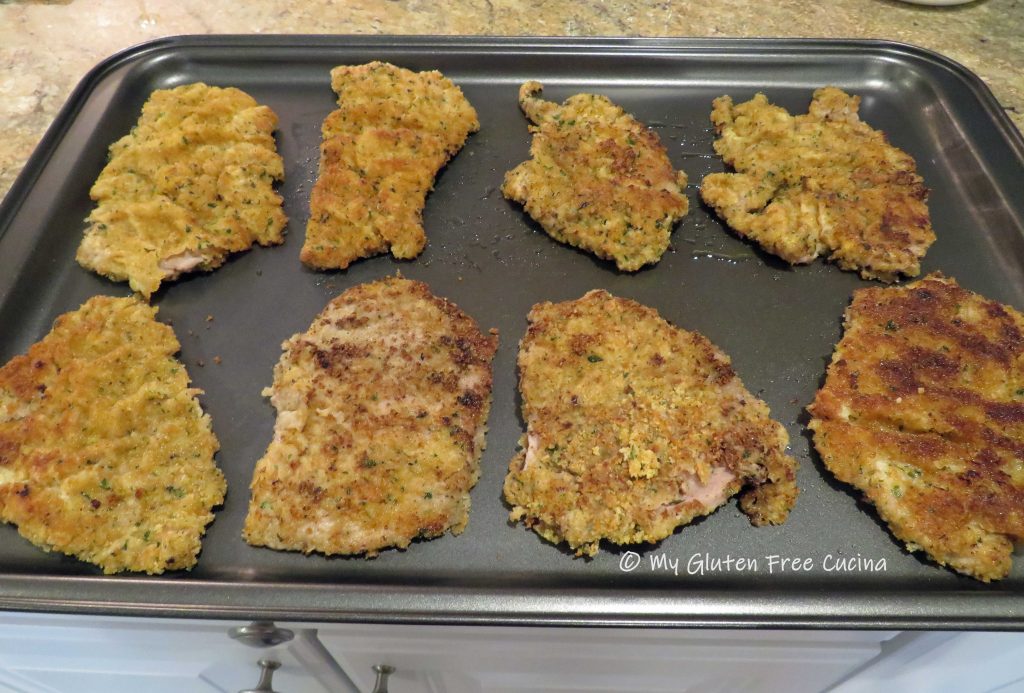
Heat a large nonstick skillet with several tablespoons of olive oil.  Keep the heat on medium low.  Working quickly, dredge each piece of veal in the flour, then dip in the egg mixture.  Shake off the excess egg and dredge in the breadcrumbs.  As you finish coating each piece add it to the skillet.  Cook 2 minutes per side until nicely browned, then transfer to a baking sheet.  Continue with the remaining slices, adding more olive oil to the pan as needed.  The cutlets do not have to be cooked through at this point, they will finish in the oven.

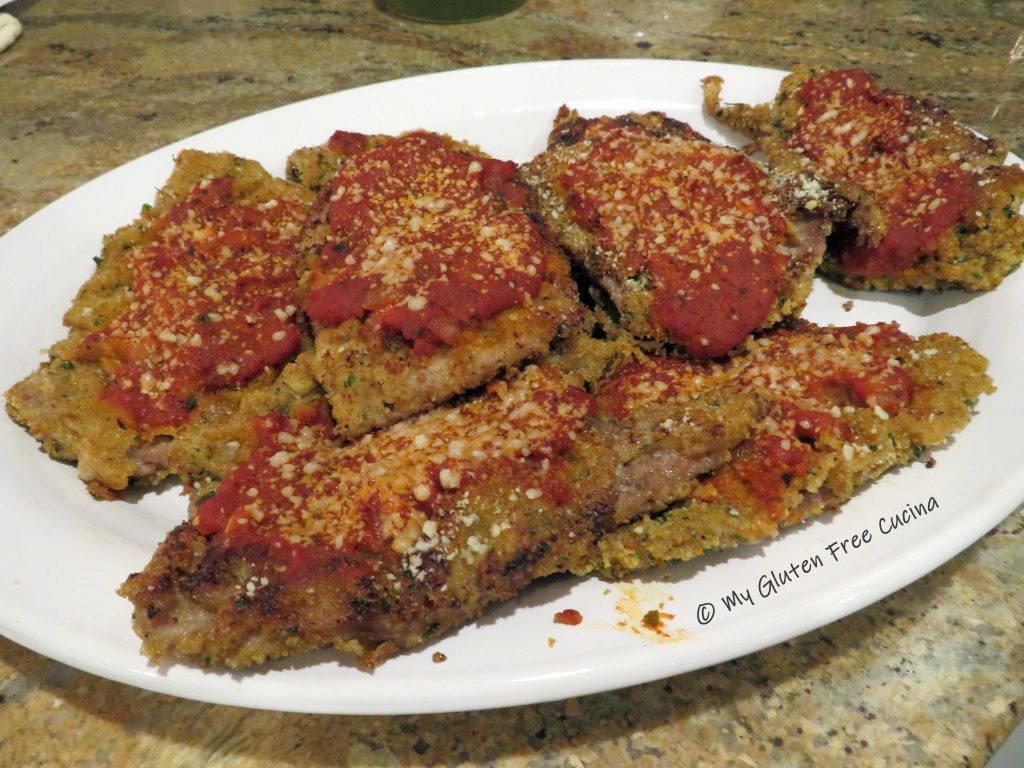
Ladle marinara over each slice and top with grated cheese, as much as you like.

Place in the oven for 15-20 minutes, just enough to melt the cheese.
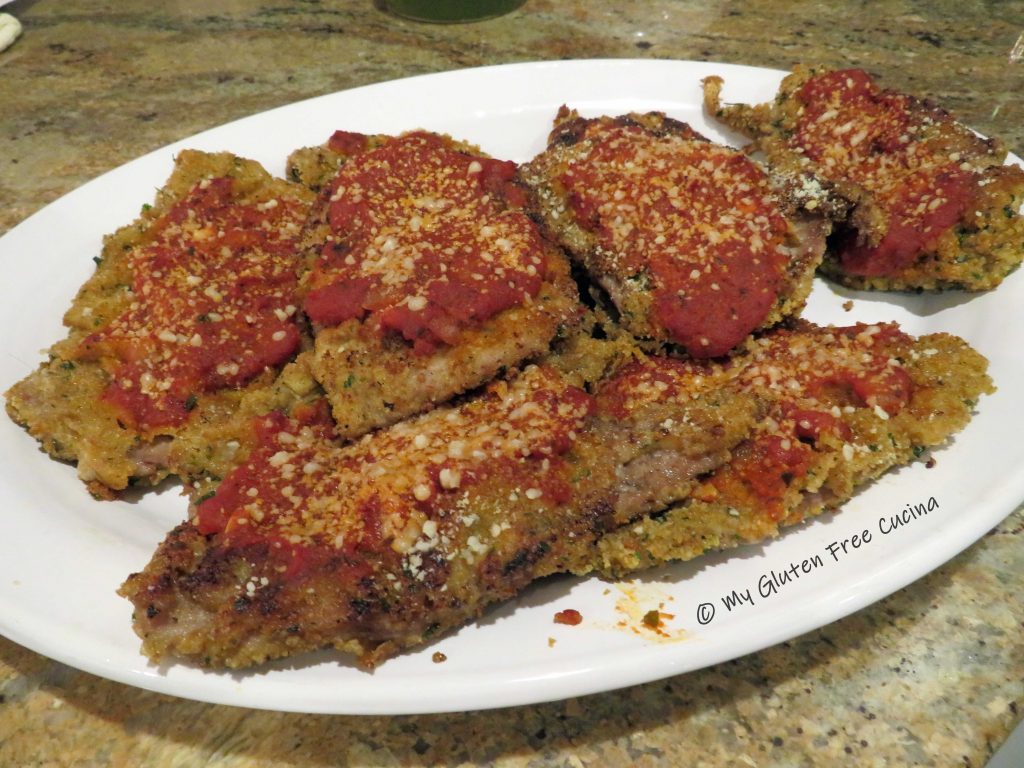
That’s it.  Not complicated at all.  Serve with a nice plate of pasta and some good gluten free bread to soak up the sauce and you’ve got a fine meal on the table in under an hour (they’ll think you’ve been cooking all day though).

Notes ♪♫ Veal cutlets need to be sliced very thin.  If you can’t get them this way at the store you will need to place the meat between 2 sheets of plastic wrap and pound to 1/4″ thickness with a meat mallet.  If veal is not in the budget, you will be happy to know you can also make this recipe with chicken!

Print This Post Print This Post

Easy Marinara Sauce

Why can’t restaurants make a good marinara sauce?  I’m often so disappointed when ordering a simple pasta dish.  It’s the sauce.  You know that bland watery tomato sauce straight out of the can with no seasoning?  Honestly, sometimes I want to walk into the kitchen and show them how to do it!

Well, maybe I’ll just show you, dear readers, that it’s not difficult to make a marinara sauce at home.  Do you really need certified San Marzano DOP dell’agro Sarnese Nocerino tomatoes?  Ok yes, they are out of this world good, but if you’re on a budget it is perfectly fine to start with any canned plum tomatoes or sauce, you just have to jazz it up!

This post contains affiliate links.

I confess, to this day I still prefer Hunts Sauce for my marinara because that’s what my mother used, and it brings back such memories of our Italian Sunday dinners growing up.  If you do decide to splurge on real Certified San Marzano tomatoes, I recommend you shop around.  I paid $6.99 a can at my grocery store but later found them online for less!

Before we get started with the recipe, I will tell you that this is not the purist version of marinara sauce.  Yes, I am 100% Italian, and I add onions (gasp) and sugar to my marinara.  It’s the way I make it, and everyone loves it.   Try it, you’ll see!  So much better than jar sauce and in case you were wondering, marinara sauce is gluten free when you make it yourself and there are no mystery ingredients!

Start with whole peeled tomatoes if you like it chunky, or plain tomato sauce if you prefer a smooth sauce with no seeds.  You can use a combination of the two.

Ingredients:

Preparation:

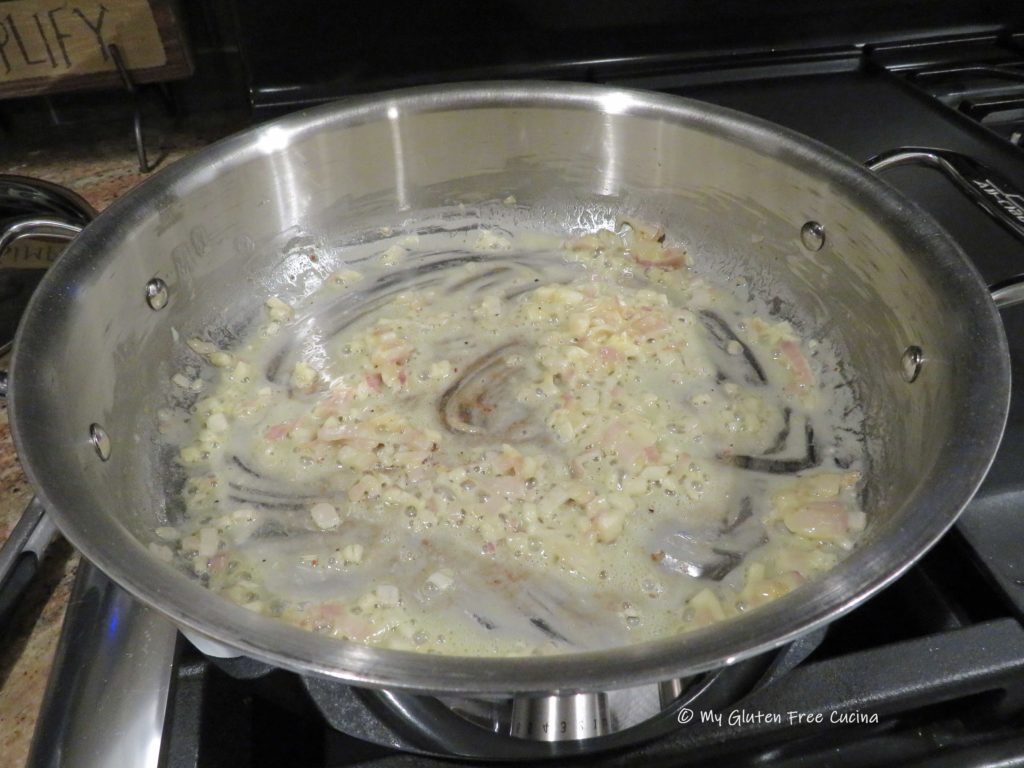
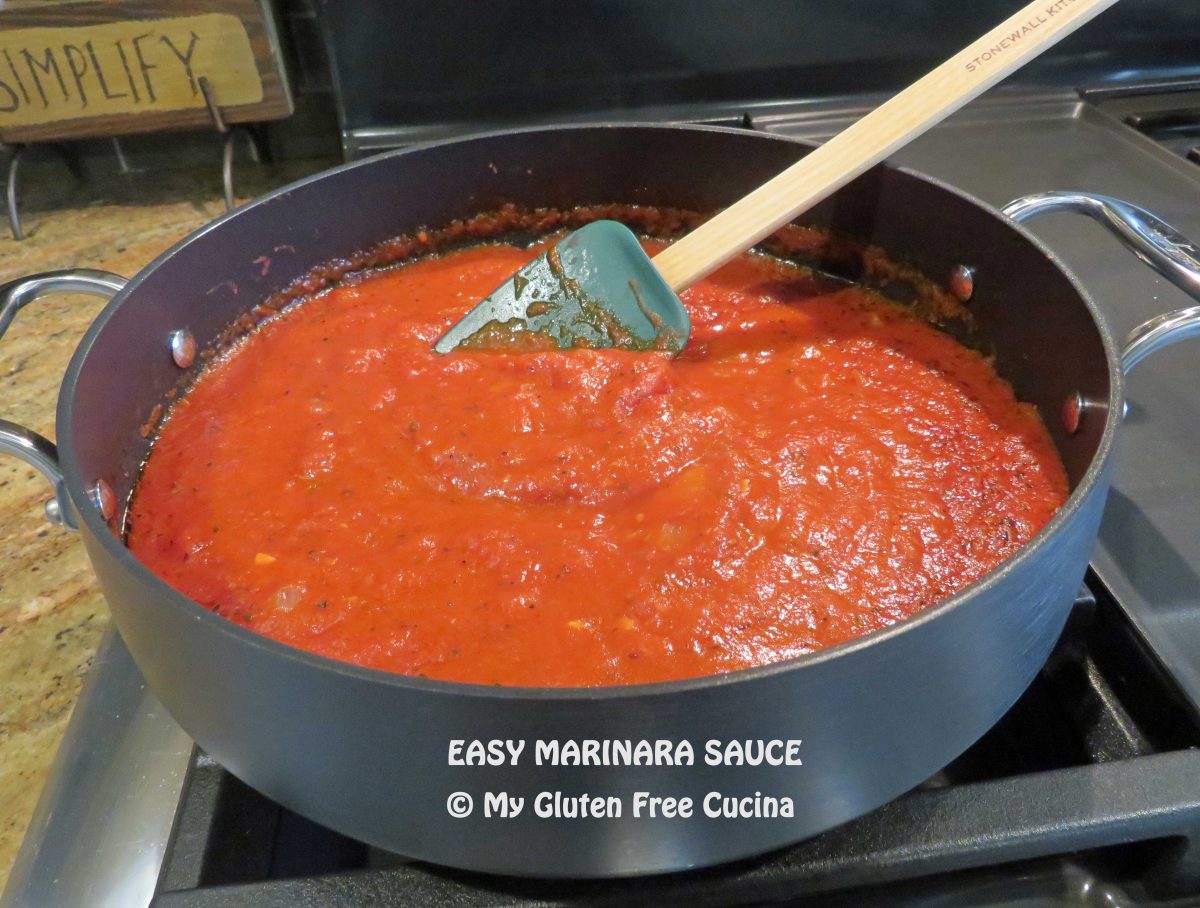
Add 2 tbsp. olive oil to a nonstick deep skillet or Sauteuse and heat over medium low (do not use a saucepan, you want something with a wide surface that will allow the sauce to reduce).  Add the onions and cook for several minutes, stirring frequently until they are fragrant and translucent.  Add the garlic and cook for another 30 seconds, be careful not to let it burn.

Next add the tomato paste.  Using paste gives the sauce body and makes it less watery.  Make a space in the center of the pan and drop it in, then let it toast for a minute before stirring it into the onions and garlic.

Now add the sauce and/or whole peeled tomatoes (break them up with your hands first), brown sugar, pepper, basil and oregano.  I do not add sugar to a meat sauce, but for a marinara I love just a tablespoon of sugar or brown sugar per large can of tomatoes.

Stir it up, cover and simmer on low for about 30 minutes, stirring occasionally.  A simmer mat is great for maintaining a low, gentle simmer and you don’t have to worry about burning your sauce.

When finished, remove the lid and let the sauce sit for 15 minutes.

Now that you know how to make a good marinara sauce, what restaurant favorite will you have for dinner tonight?  How about Spaghetti and Meatballs?  Chicken and shells?  With a great marinara recipe, you can recreate all those great meals right at home!
For some other great sauces, check out my Harvest Pasta Sauce, Traditional Bolognese Sauce, and Mushroom Cream Sauce!

Notes ♪♫ Fun fact, my mother would put a whole onion into her sauce, then remove it before serving “so no one would know”!  She made a huge pot of sauce every month then froze it in portions for Sunday dinner.  I still remember that big Farberware pot on the stove.  I always said my mother’s sauce was better the week after she made it, so go ahead and make a double or triple recipe to always have some on hand!  You can freeze marinara sauce for 6 months.  

Print This Post Print This Post

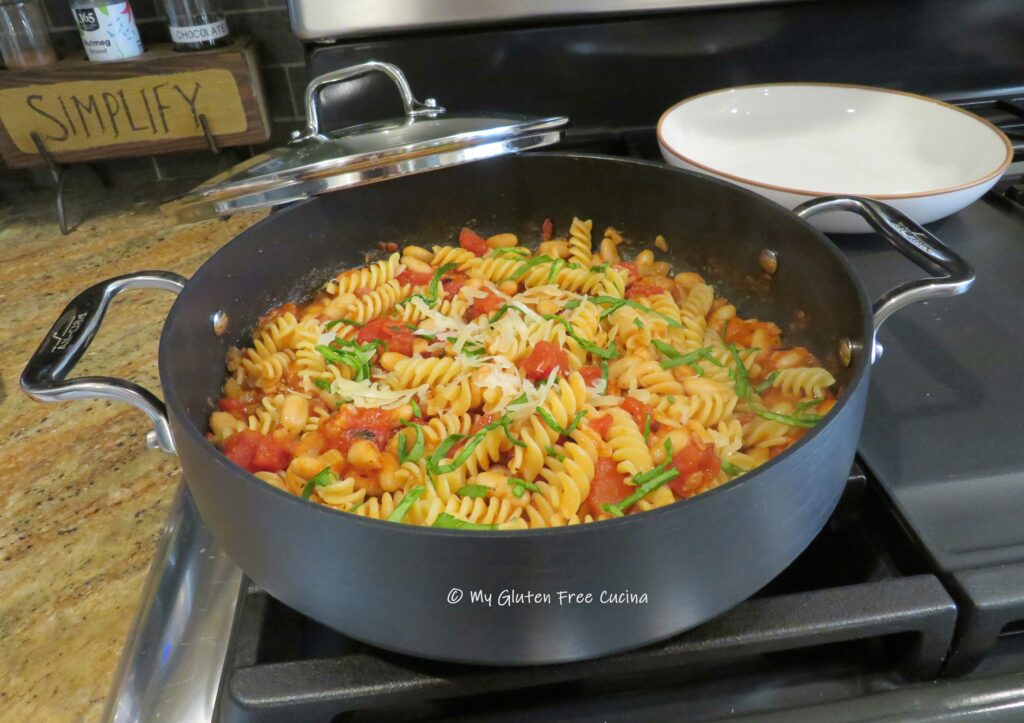
Gluten Free Macaroni and Beans

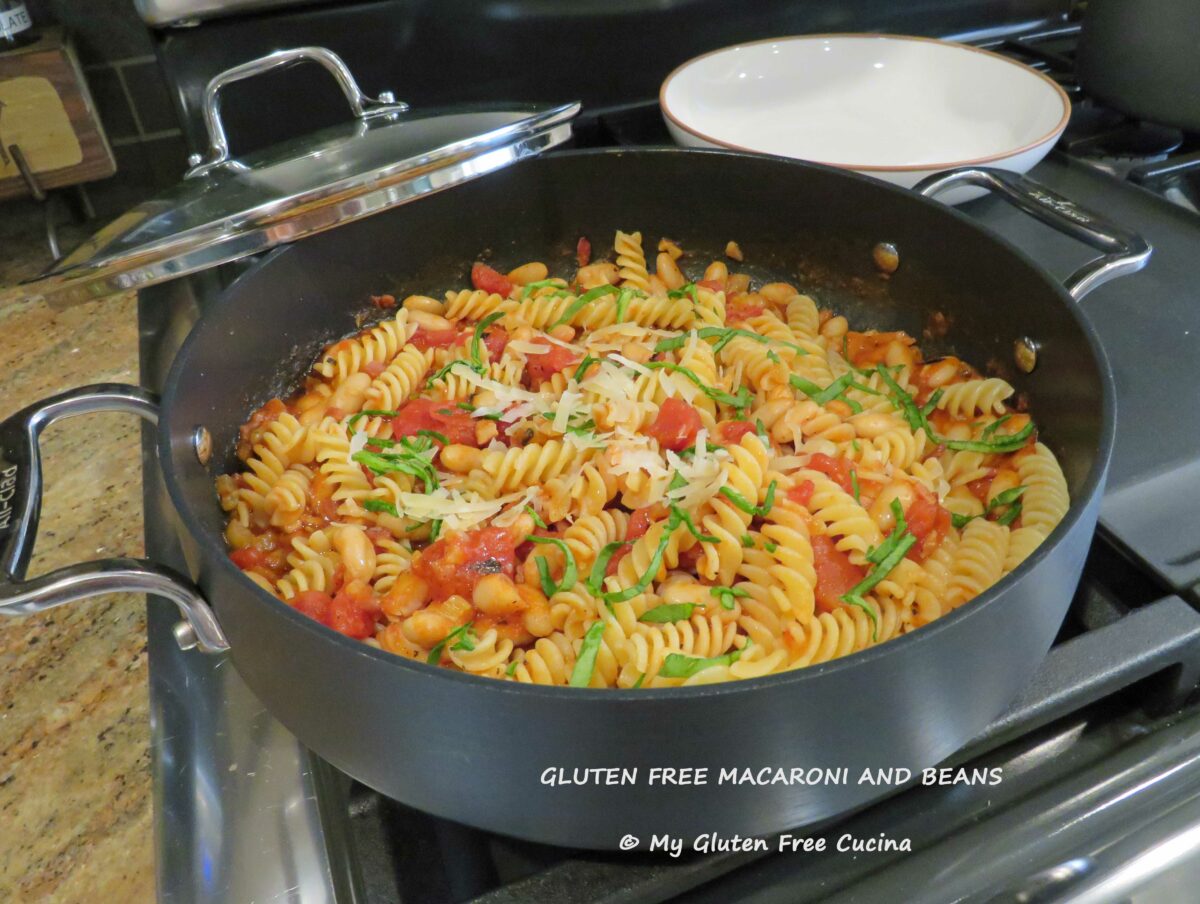
I’ve been making this fast and easy peasant dish for over 30 years.  Long before I knew I had Celiac!  After my diagnosis, I quickly realized that the pasta was the only ingredient that had to be changed to make this meal gluten free!

This meal satisfies my craving for comfort food with a minimal amount of fuss.  I serve it right in the pan for easy cleanup.

The recipe is not difficult, and you probably have most of the ingredients in your pantry!  Here’s what you will need…

This post contains affiliate links.

Ingredients:

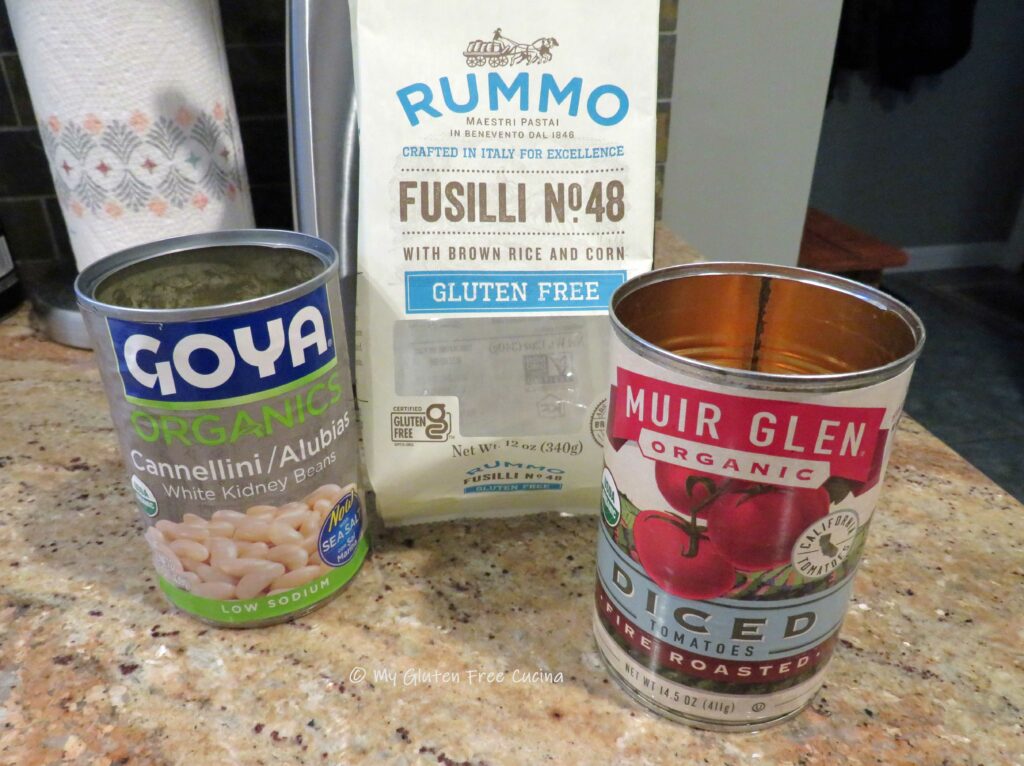
  • 1 can diced tomatoes
  • 1 can cannellini beans, drained and rinsed
  • 4 cloves garlic, minced
  • 1 stalk celery, small dice
  • 2 oz. pancetta or bacon, diced
  • 2 tbsp. tomato paste
  • olive oil
  • 3/4 tsp. Italian seasoning
  • fresh ground pepper
  • 8 oz. gluten free pasta
  • fresh basil
  • fresh Italian parsley
  • parmesan cheese

Preparation:

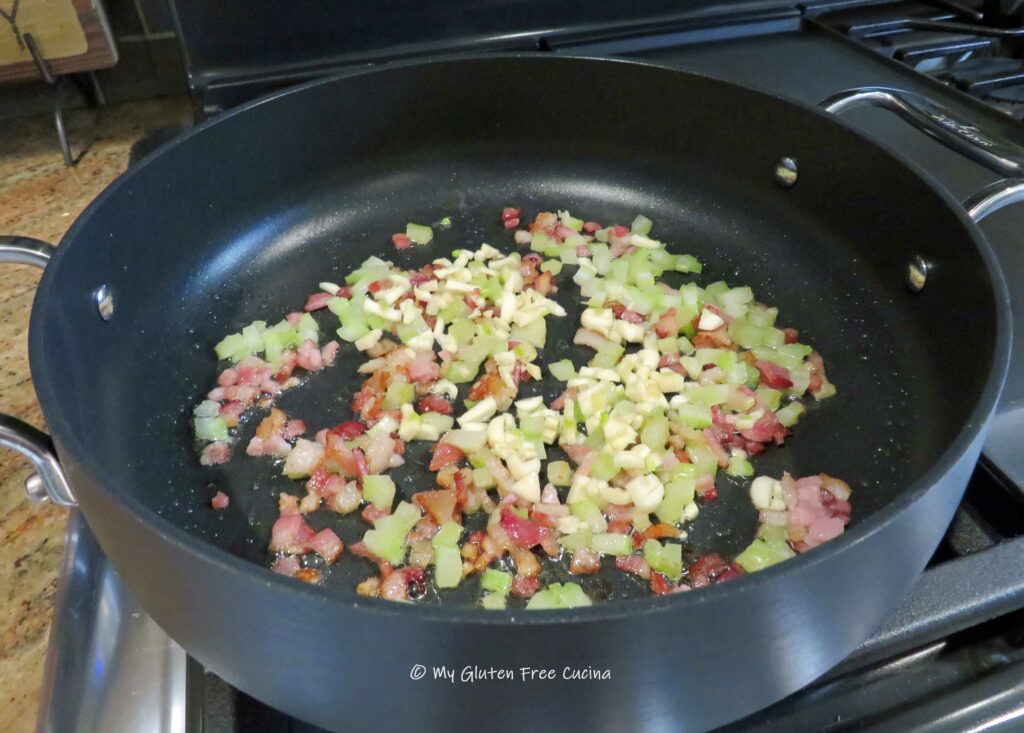
Render the pancetta or bacon in a deep skillet.  Add a little olive oil, along with the celery.  Cook for 3 minutes then add the garlic.  Cook for 1 minute more, stirring frequently.

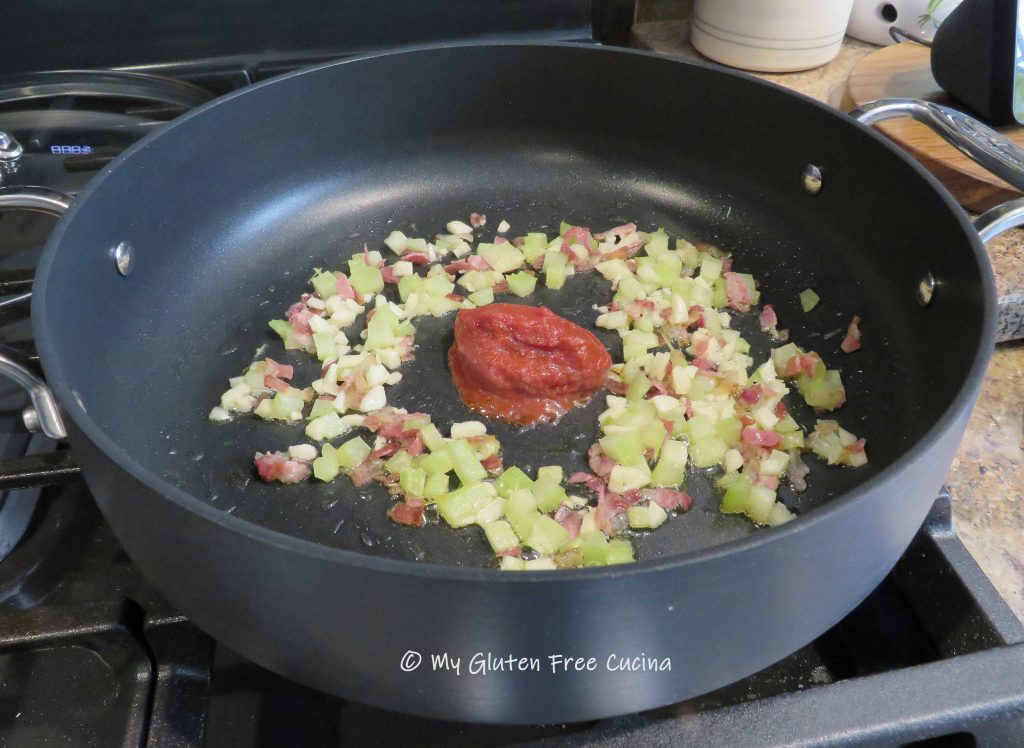
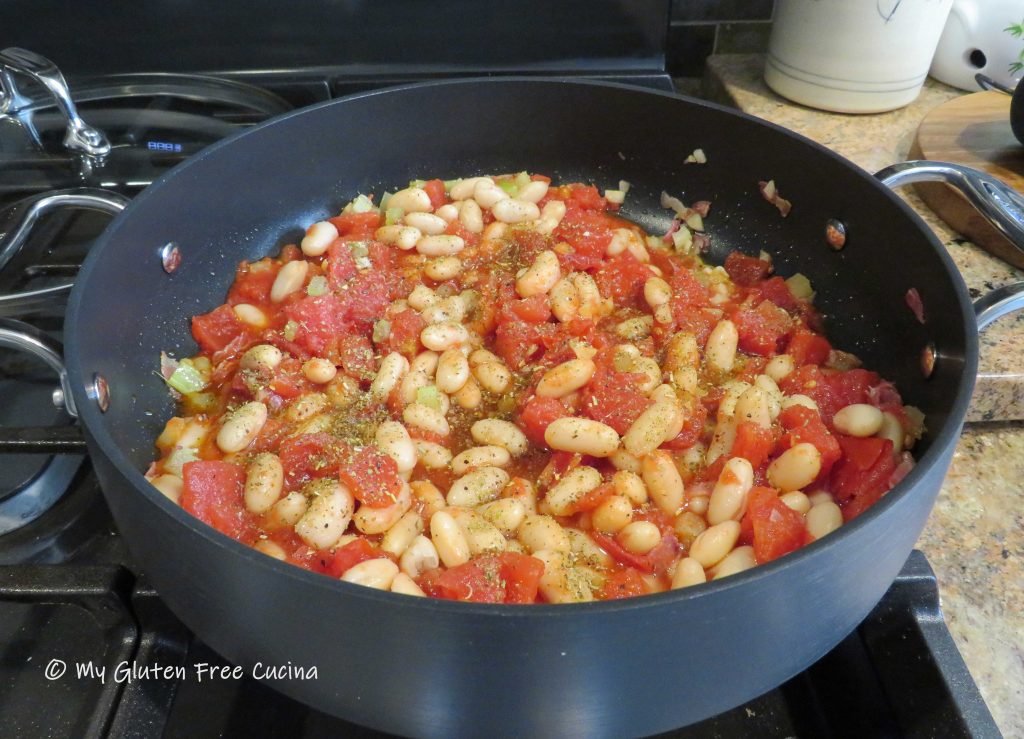
Make a space in the center of the skillet and drop in the tomato paste.  Toast it for just a minute, then stir in the drained beans and diced tomatoes, with all of their juices.

Sprinkle with Italian seasoning and fresh ground pepper to taste, then cover and simmer on low for 15 minutes.

Cook pasta according to package directions.

Drain the pasta and add it right into the skillet.  It’s peasant food, you don’t need a serving dish!  Toss well and garnish with a drizzle of olive oil and some chopped fresh herbs.

Serve with grated cheese and a glass of wine.

Notes ♪♫ Is pancetta a part of your gluten free pantry?  I buy the 4 oz. packages of diced uncured pancetta and store them in the freezer.  It adds just the right amount of salt and flavor to dishes like this one!

Originally published July 19, 2022                      Updated August 8, 2023

Print This Post Print This Post

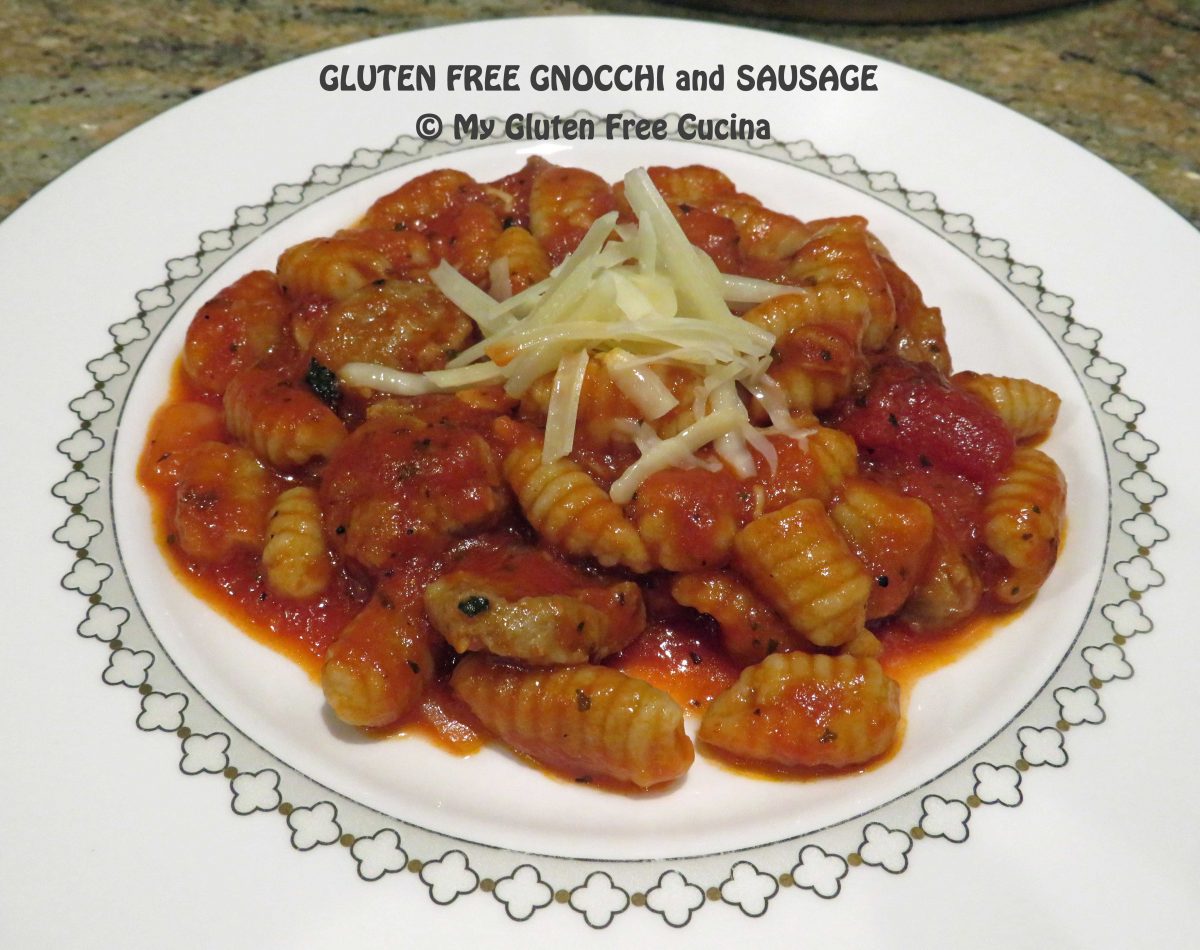
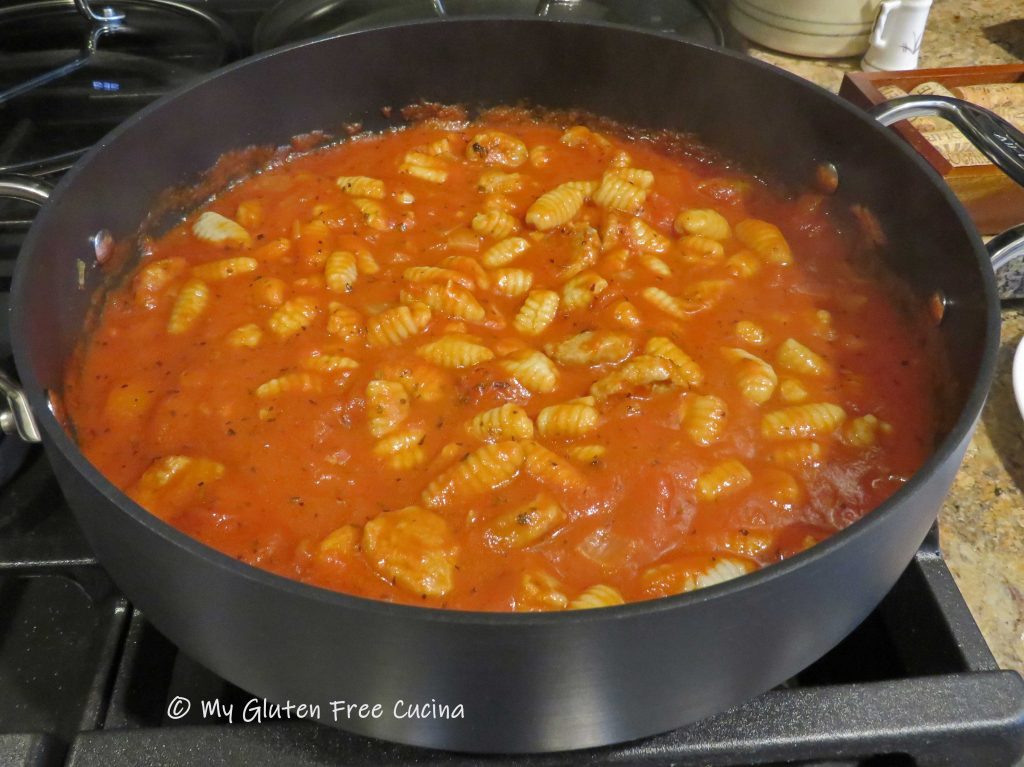
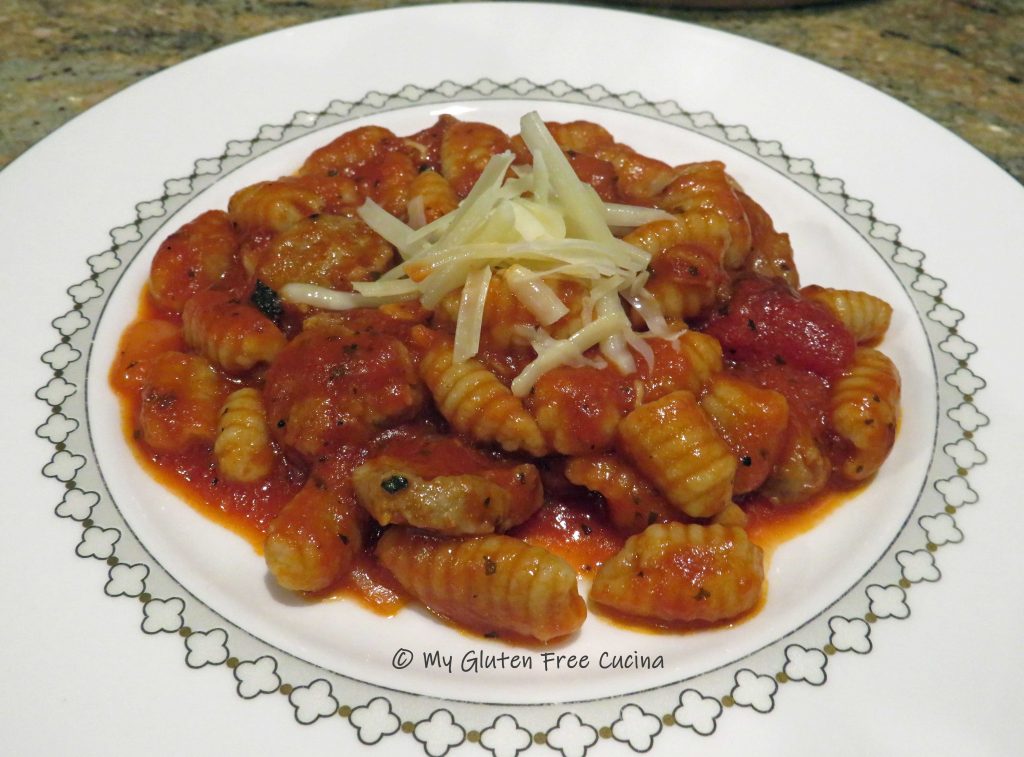
Gluten Free Gnocchi with Sausage

Homemade Gnocchi are my favorite pasta to prepare on a Sunday afternoon.  There is something soothing about rolling these dumplings one by one.  The joy only continues when it is time to eat!

This post contains affiliate links.

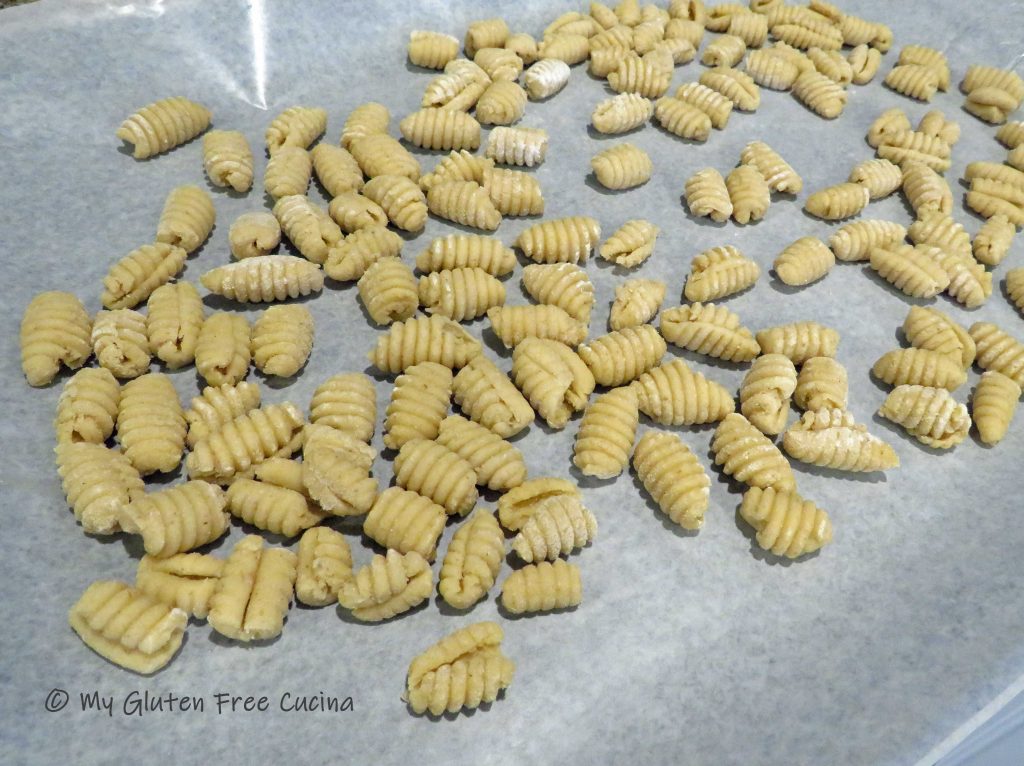
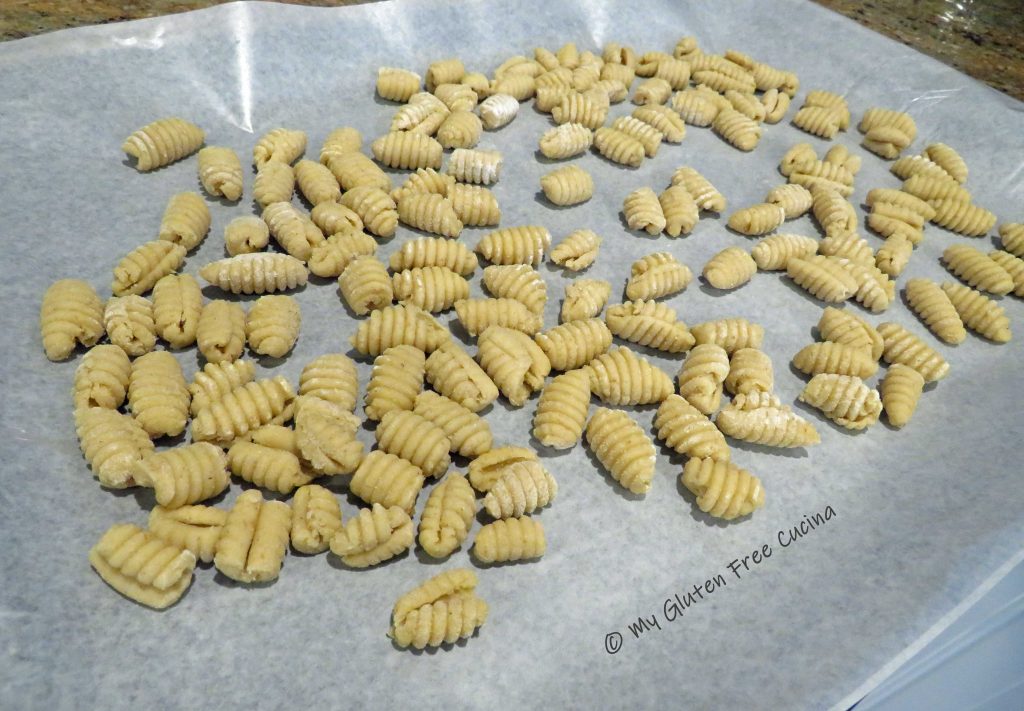
My long-time readers know that I am a huge fan of Better Batter.  You have all heard me sing the praises of their Artisan Flour Blend, for making yeasted bread and pizza.  But did you know, it also makes the most wonderful pasta?  Yes, this beautiful tray of gnocchi was made with the flour that I call my little miracle in a bag!

When you shop Better Batter and use my code MGFC30 at checkout, you will receive 30% off any non-sale item!

Paired with a simple sauce we had a wonderful Sunday dinner for two.

Ingredients:

  • 120g. Better Batter Artisan Flour Blend
  • 1/2 tsp. salt
  • 1 large egg
  • 2 tbsp. egg whites
  • 1-1/2 tsp. olive oil
  • 2 tbsp. water
  • ——————————-
  • 2 Italian sausage links, sliced into coins
  • 1/2 cup sweet onion, diced
  • 2 garlic cloves, minced
  • 1 can (14.5 oz.) tomato sauce
  • 1/2 tsp. oregano
  • 1 tsp. basil
  • 1 tbsp. olive oil

Preparation:

  1. Combine the first 6 ingredients in the bowl of a stand mixer (flour through water).  Beat with the paddle attachment to form a soft dough.
  2. Bring the dough into a ball, and cover with plastic wrap.  Rest at room temperature 20 minutes.
  3. Line a baking sheet with wax paper and dust with gluten free flour.  Place the dough ball on a floured cutting board and divide into 4 pieces.
  4. Working with 1 section at a time, roll the dough into a long rope, 1/2″ thick.  Cut the rope into 3/4″ pieces and roll each piece over a floured gnocchi board or fork.
  5. Place the formed gnocchi on the baking sheet and refrigerate until ready to cook.

For the sauce, add olive oil to a stock pot or deep skillet and begin cooking the onions, until translucent.  Add the sausage coins and brown on both sides.  Next add the garlic and stir for 30 seconds.  Add the tomato sauce, basil and oregano.  Simmer 30 minutes.

Bring a pot of salted water to a rolling boil.  Add the gnocchi and cook for 3 minutes.  Fresh pasta cooks quickly, don’t overcook!

Drain the pasta and add to the sauce, tossing well to incorporate.

Serve with grated cheese.

Notes ♪♫ Love gnocchi?  There are so many ways to make it!  Check out this Gluten Free Gnocchi with Chicken and Roasted Cauliflower.  Or how about Potato Gnocchi with Cassava Flour?  Or, if you love sweet potato, check out this Sweet Potato Gnocchi made with white and sweet potato!

Print This Post Print This Post


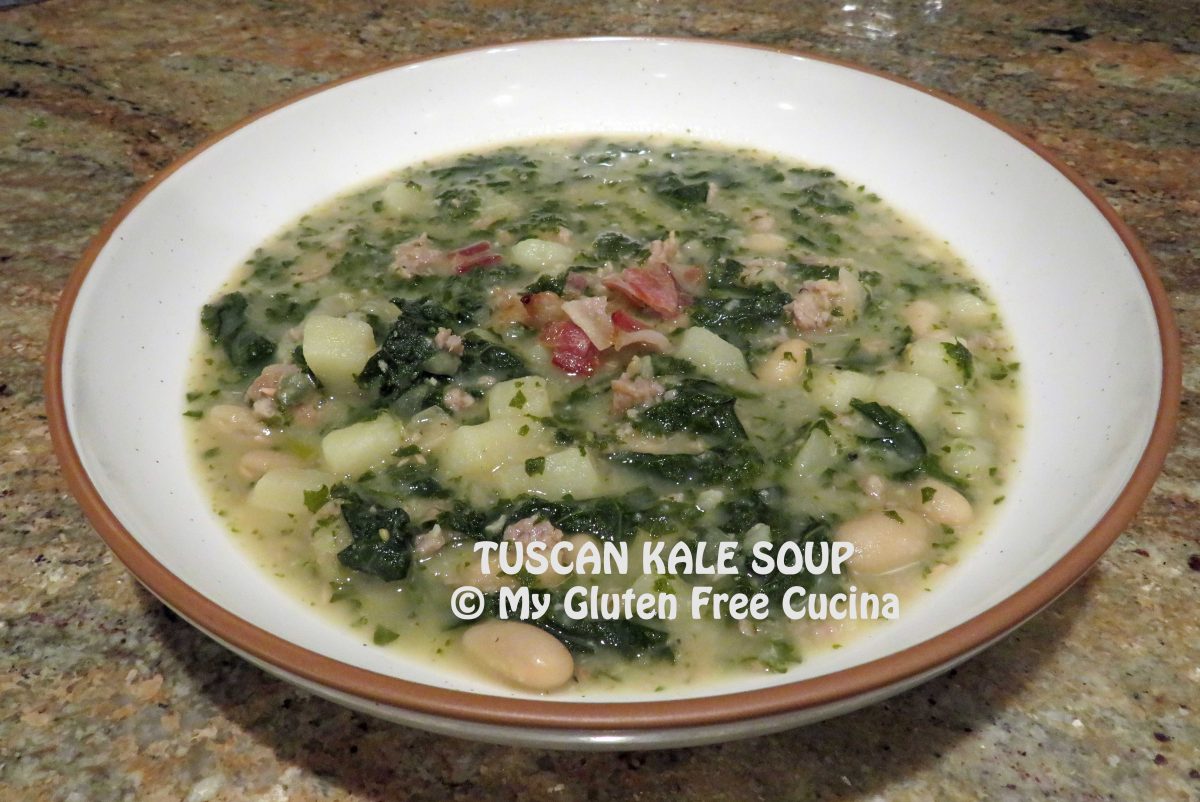
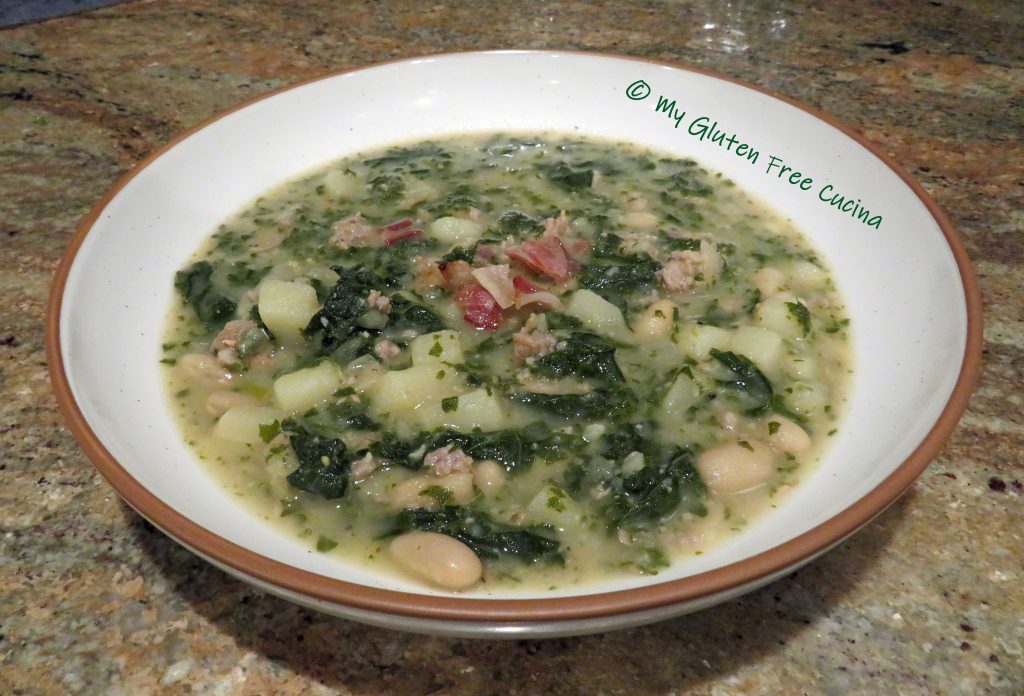
Gluten Free Tuscan Kale Soup

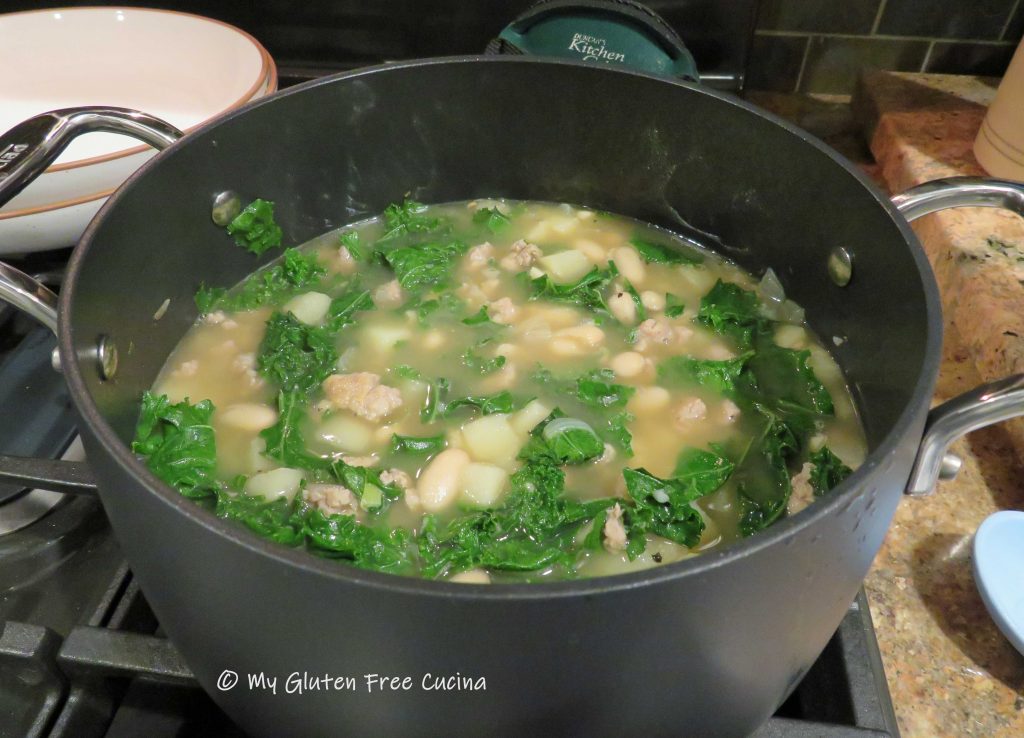
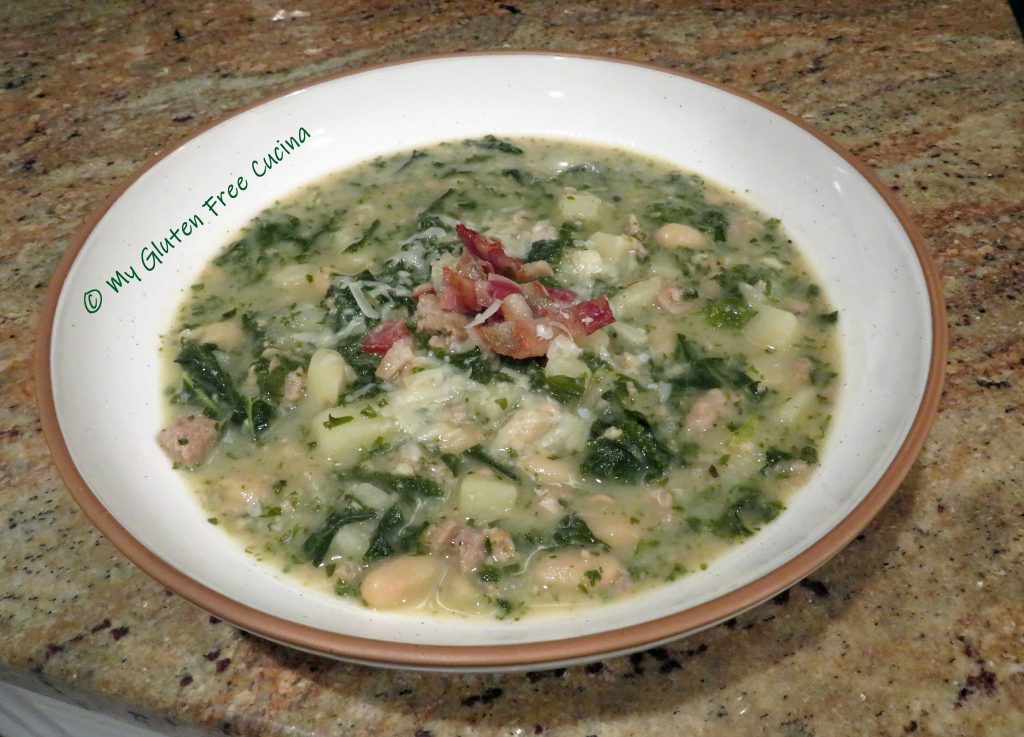
Tuscan Kale Soup, also called Zuppa Toscana is a restaurant favorite.  Made with potatoes, sausage, cannellini beans and (of course) kale, it is a hearty soup that can be a meal in itself.  Most of the ingredients are naturally gluten free, just watch labels on sausage, broth and seasonings.

The recipe makes 6-8 cup size servings or 4 dinner bowl size servings.

This post contains affiliate links.

Ingredients:

  • 2 strips of bacon
  • 1/2 medium sweet onion, diced
  • 2 cloves garlic, minced
  • 6 oz. gluten free Italian sausage (I used Premio)
  • 3.5 cups gluten free chicken broth
  • 1 tsp. Tuscan seasoning
  • salt and pepper, to taste
  • 1 medium russet potato, peeled and diced
  • 1 bunch of Tuscan kale, ribs and stems removed
  • 15.5 oz. can cannellini beans
  • 2 tbsp. heavy cream
  • grated cheese, for serving

Preparation:

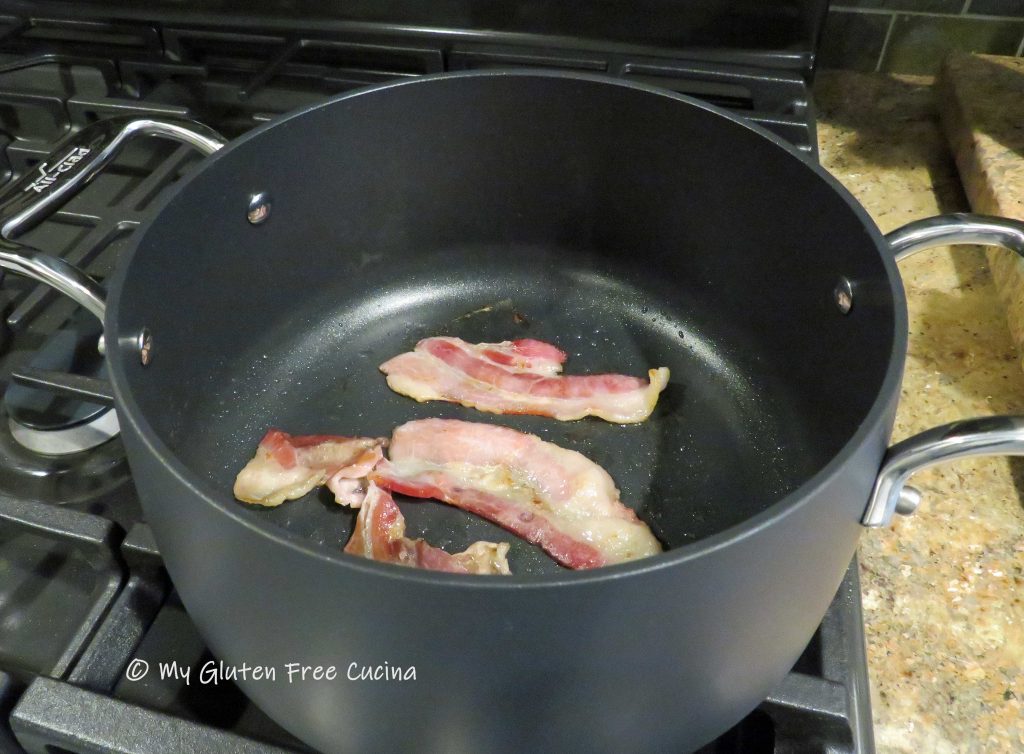
Heat a 4 qt. soup pot on medium low.  Cook the bacon and drain on paper towels.  Crumble and set aside for serving.

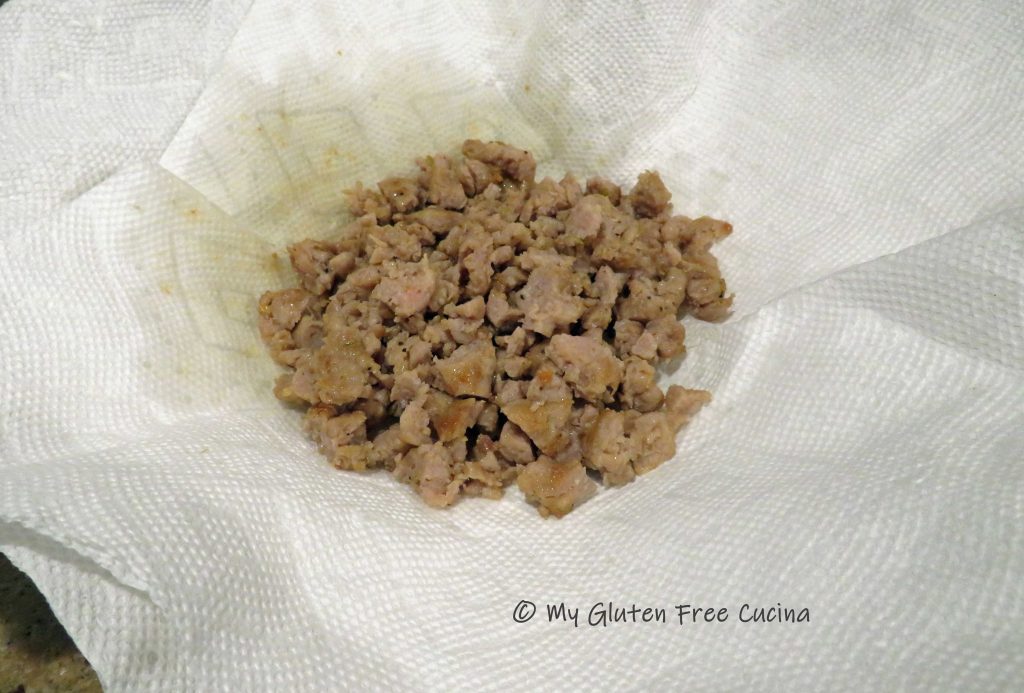
Next, remove sausage from casings and cook, breaking up the meat with a spatula.  Drain on paper towels.

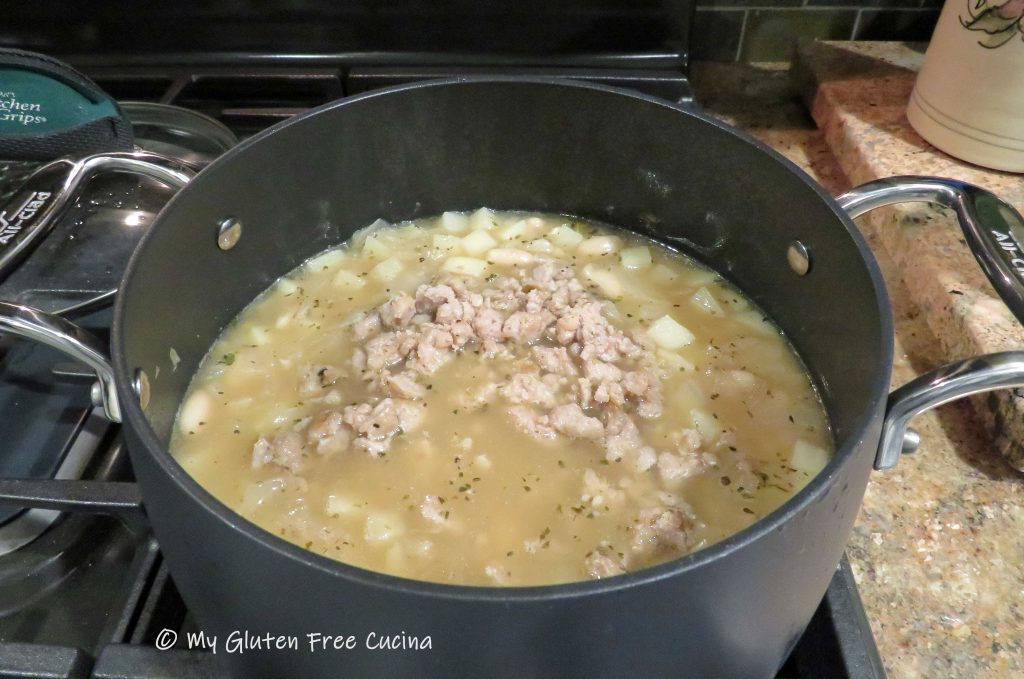
Remove all but 1 tbsp. of fat from the pot.  Add the onions and cook for 5 minutes.  Add the garlic, diced potatoes, chicken broth and seasoning.  Simmer 15 minutes.

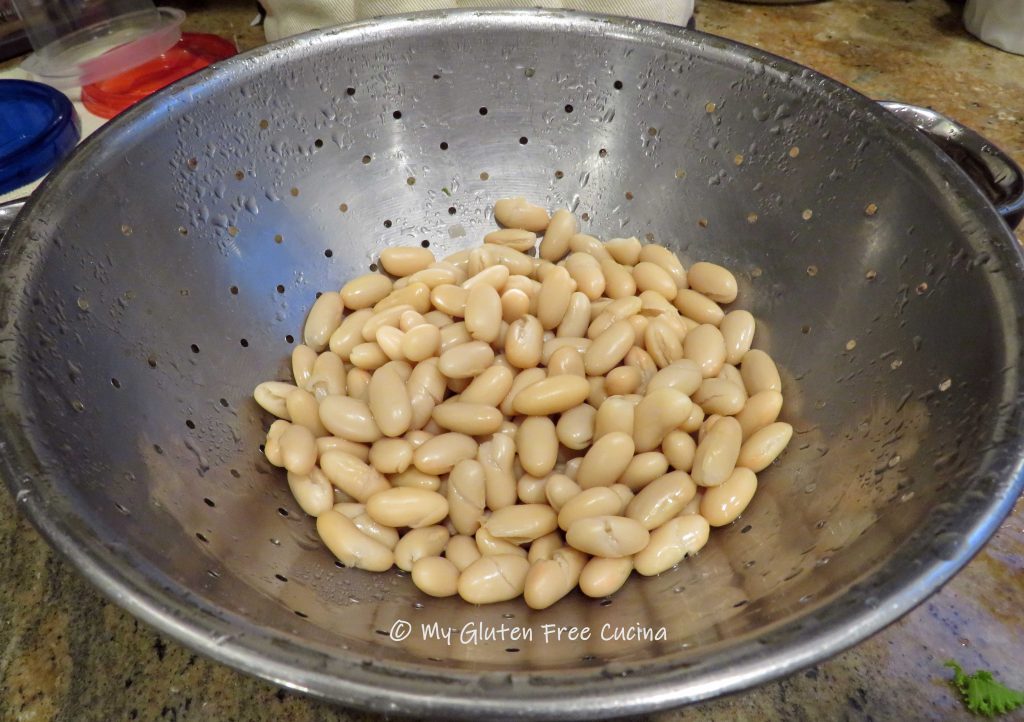
Drain and rinse the beans.  Add the beans and sausage back to the pot and simmer 5 minutes.

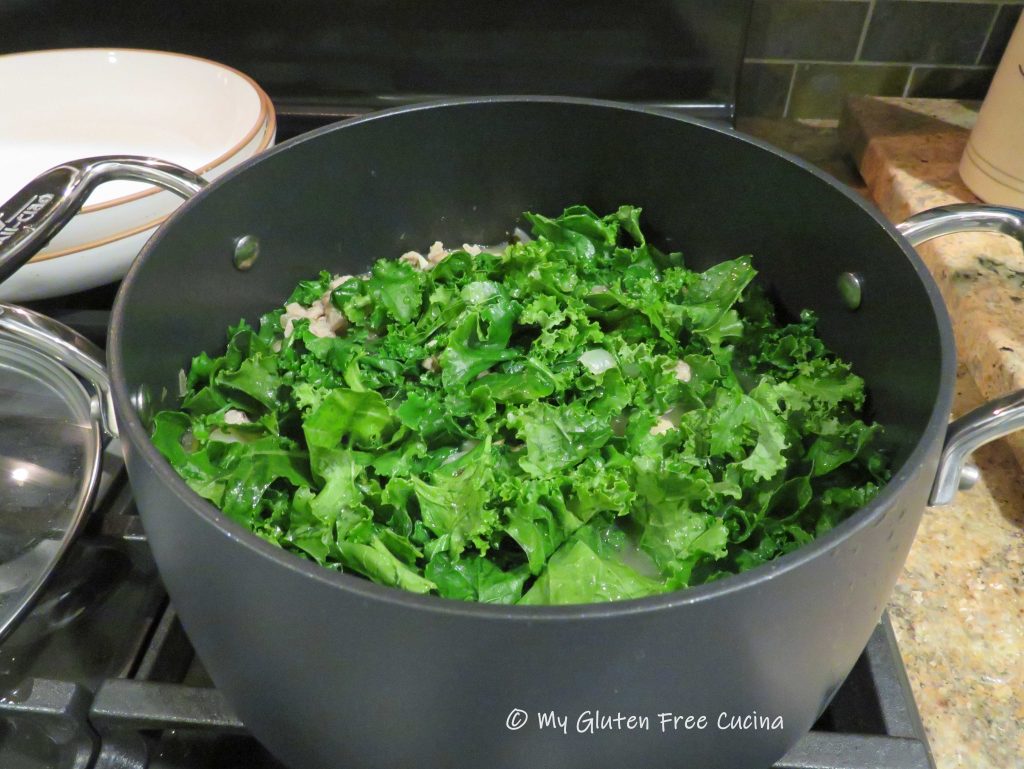
Rinse the kale thoroughly, remove ribs and stems, and tear into small pieces.  Add kale to the pot and simmer 15 minutes more (don’t worry, it will cook down).

Stir the cream in just before serving.  You can leave the soup just like this, or partially puree it with a stick blender.

Ladle into bowls, garnish with crumbled bacon and grated cheese.

Notes ♪♫ Gluten free sausage is widely available today, but it is usually smoked or fully cooked.  When I spotted this fresh Italian sausage from Premio at the market, I knew exactly what I was going to make with it.  Here is a link to the sausage I used in this recipe.  Premio Sweet Italian Sausage 

Print This Post Print This Post

Beef Guazzetto – Italian Beef Stew

Would you believe that a recipe from an Italian cooking show could be gluten free?  You might be surprised to know, that other than the pasta, there was only one ingredient swap needed to make this meal completely gluten free!

Beef Guazzetto, or Italian Beef Stew was adapted from a recent episode of Lidia’s Italy, Lidia has long been one of my favorite TV chefs!

While it’s true that some recipes require major modifications, the vast majority of meals will only need a swap of one or two ingredients to be gluten free.  Today’s recipe is a great example.

If you are thinking that you cannot enjoy your favorite meals on the gluten free diet, think again.  Or better yet, let me inspire you!

This post contains affiliate links.

Ingredients:

  • 1 lb. stew beef (chuck), cut into cubes
  • 3 cups chicken stock
  • salt, to taste
  • 1/4 cup gluten free flour (you can use rice flour)
  • 3 tbsp. olive oil
  • 1/2 sweet onion, minced
  • 2 small carrots, minced or grated
  • 2 small celery stalks, minced
  • 1/4 cup tomato paste
  • 1/2 cup white wine
  • 2 bay leaves
  • gluten free pasta
  • grated cheese, for serving
  • fresh Italian parsley, for garnish

Preparation:

First, make a “soffritto” by pulsing the onion, carrot and celery in a food processor or electric chopper.

Dry the beef with paper towels, this helps with browning.

Place the beef cubes in a food safe plastic bag with 1/4 cup gluten free flour and shake to coat.

Heat olive oil in a Dutch oven and begin browning the beef.  Don’t crowd the pan, brown in batches if needed.

Leave those caramelized brown bits in the bottom of the pan, they are full of flavor!  Set the beef aside and keep warm.

Add more olive oil to the pan with the onion, carrot, and celery.  Cook for several minutes, stirring frequently, then clear a space in the center for the tomato paste.
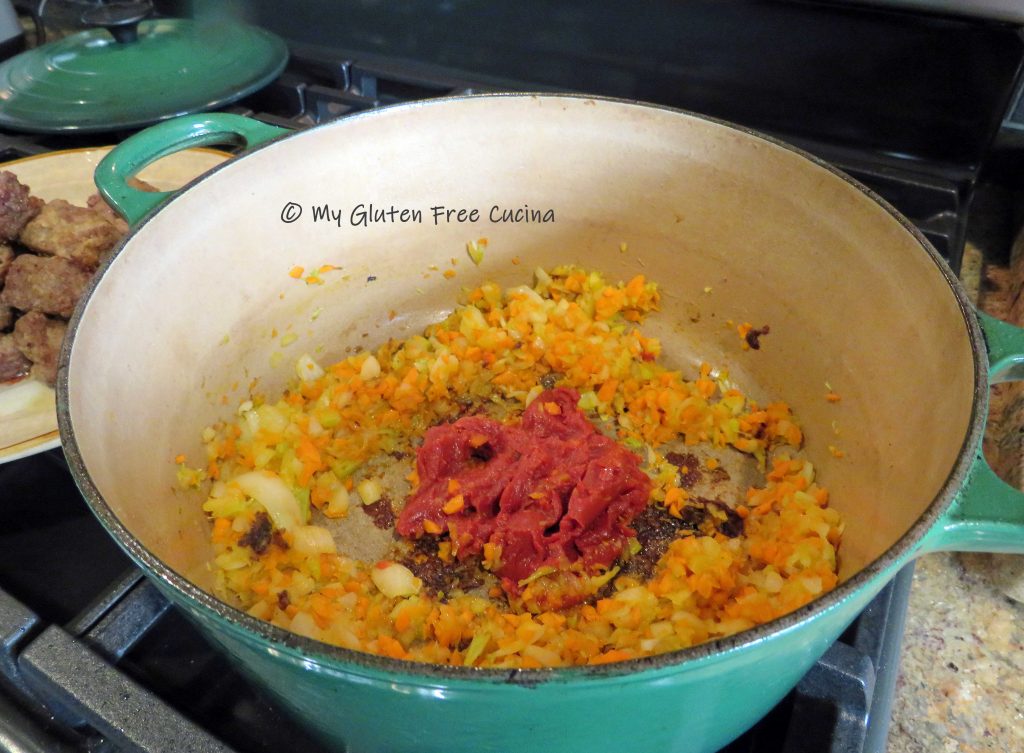
Toast the tomato paste for a minute, then stir it into the vegetables.  Add the wine, using a spatula to scrape up those browned bits at the bottom of the pan.  Reduce heat to a simmer and continue cooking until the wine is reduced by half.
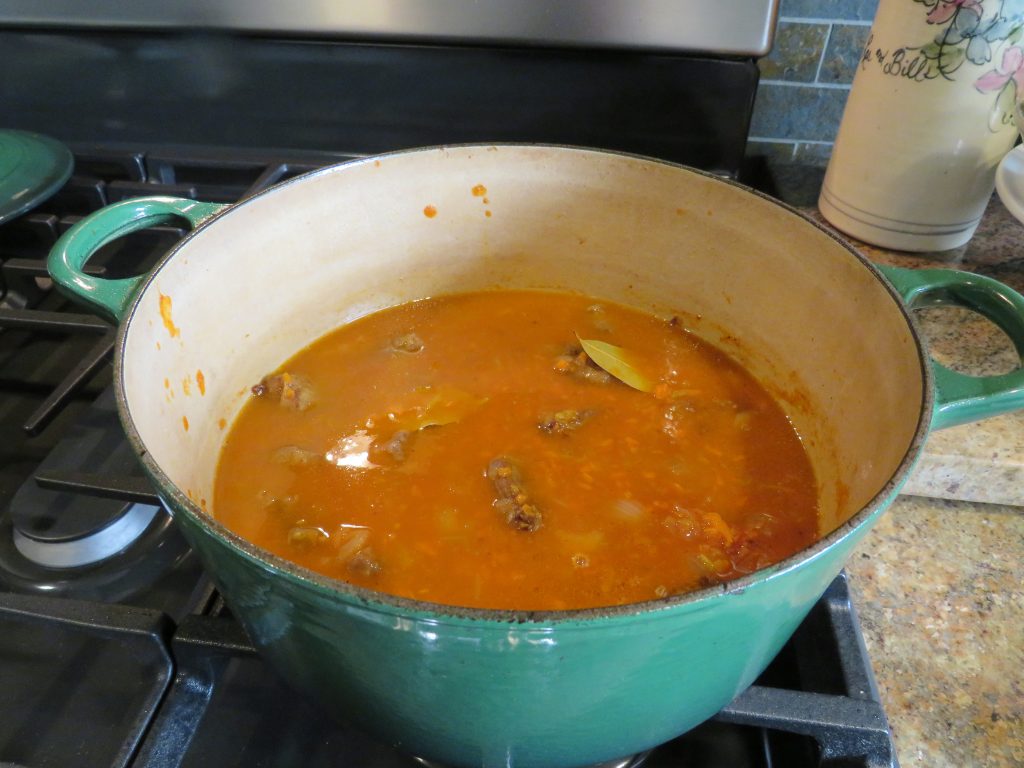
Add the beef cubes back to the pan, with the bay leaves.

Stir in the chicken stock, cover and simmer on lowest heat for 2 hours.  Add more stock if needed.

Stir the sauce frequently, be sure it isn’t sticking to the bottom of the pan.  A simmer mat is great for keeping sauces on a low simmer.  As it cooks, you will see the stew gradually thickening.

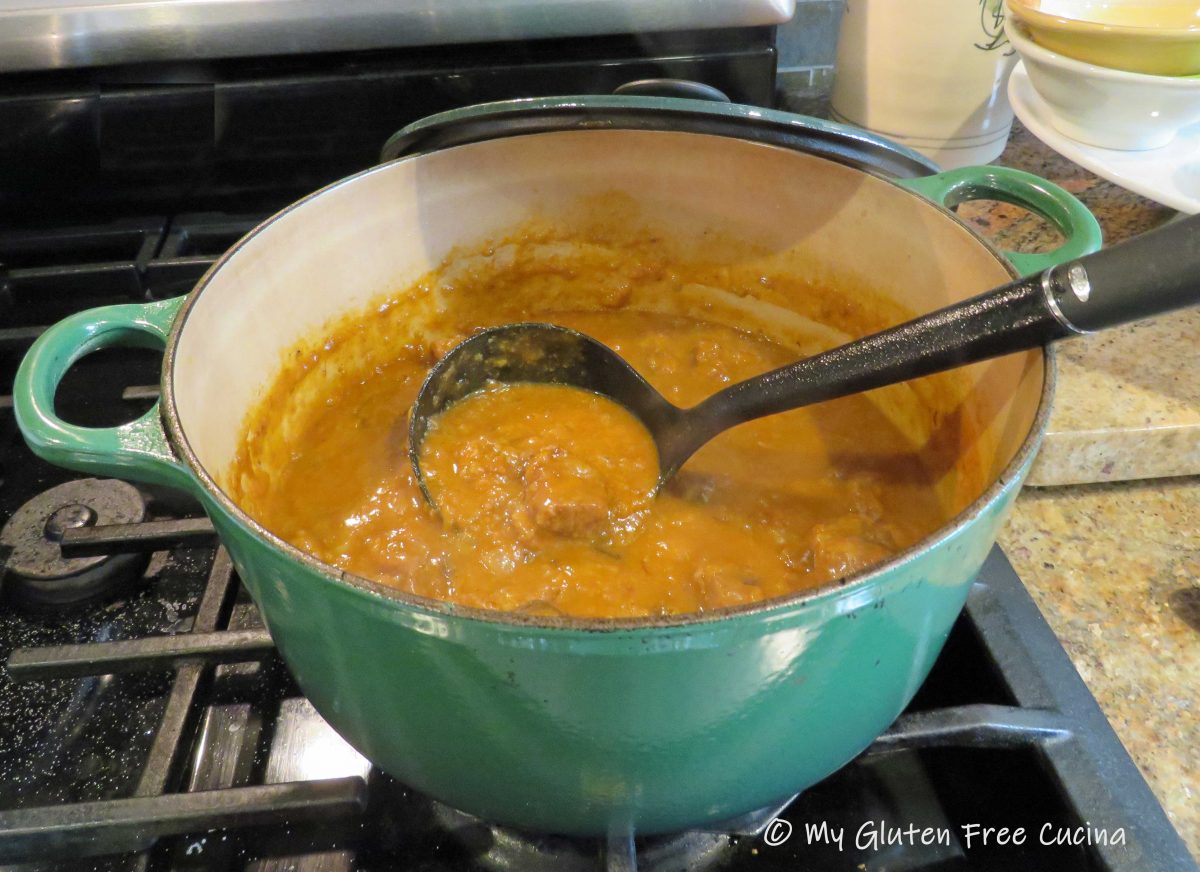
After 2 hours, this is what it will look like.  You will still have distinct chunks of beef, but some will partially break down and become one with the sauce.  It is incredible!

A meal like this deserves an extra special pasta.  I decided to get out my KitchenAid® and make some fresh rigatoni.  Read about how I made it here! Of course, you can use any gluten free pasta you have on hand.  One of my favorites is Jovial brown rice pasta.

To plate, spoon cooked pasta into serving bowls and ladle the Beef Guazzetto over the top.  Sprinkle with grated cheese and fresh Italian parsley.

Notes ♪♫ An economical cut like beef chuck becomes melt in your mouth tender using this slow cooked, braising method.  With today’s soaring food prices, it is a great way to stretch your grocery budget.


Print This Post Print This Post