
Chicken and Waffles, Breakfast on a Skewer!
I tend to stick with the same basic brunch menu year after year, maybe changing an ingredient here or there, but leaning into what I know has worked in the past. This year for Easter though, I wanted to try something different.
These Chicken and Waffle Skewers were a great addition to my brunch repertoire. Unlike their full-sized version, you can sample a bite or two and still have room for all the other goodies. Everyone seemed to enjoy them, and I thought they were great.
6 Servings
This post contains affiliate links.

Ingredients:
Waffle ingredients:
- 3 tbsp. melted butter at room temperature
- 3 tbsp. sugar
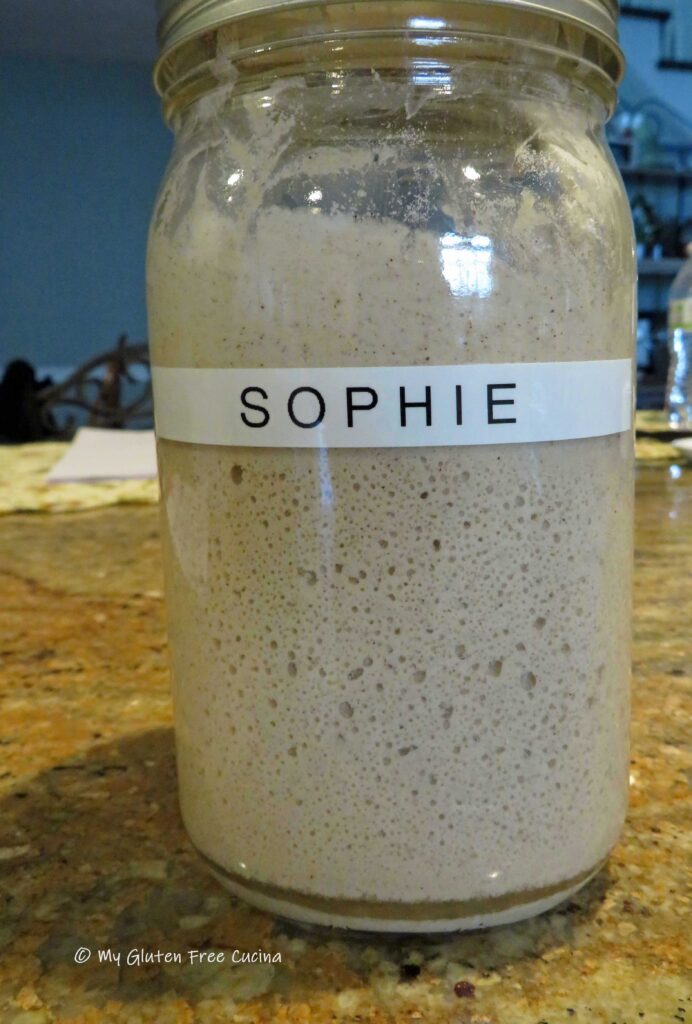
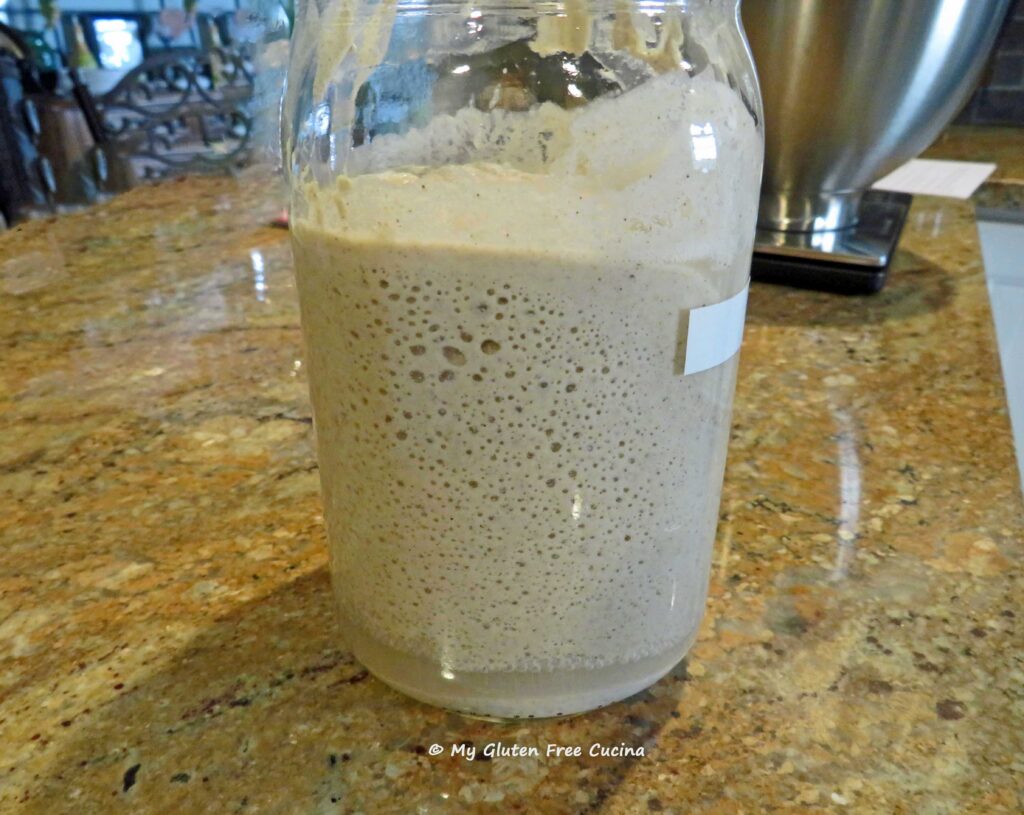
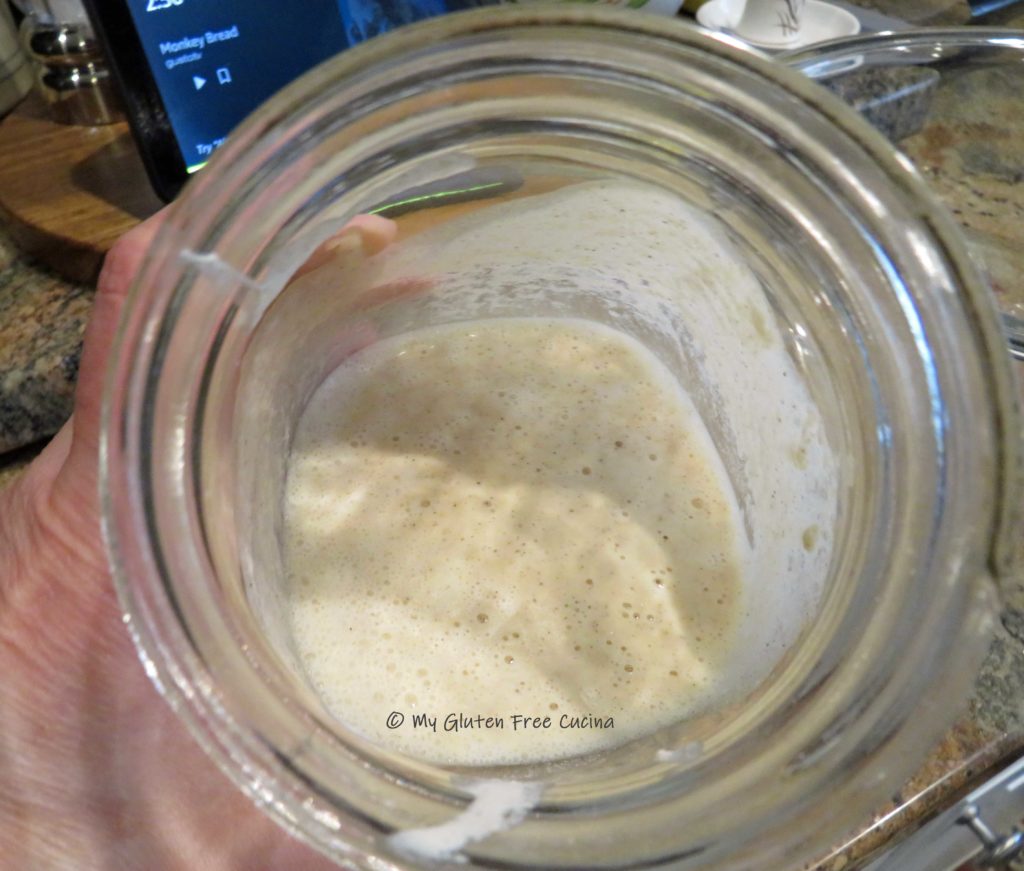
- 1/3 cup sourdough discard
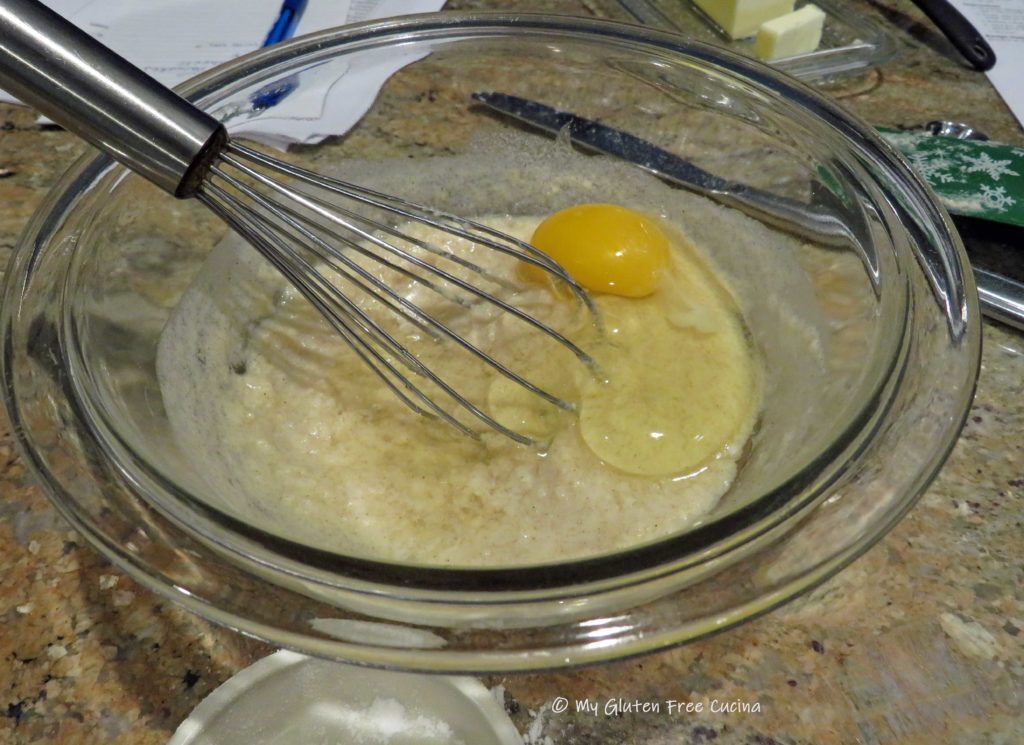
- 2 eggs
- 3/4 tsp. vanilla
- 1 cup milk (I used 2%)
- 155 g. gluten free all-purpose flour
- 1-½ tsp. baking powder
- ¾ tsp. baking soda
- ¾ tsp. salt
Chicken ingredients:
- ½ tsp. salt
- ½ tsp. pepper
- ½ tsp. garlic granules
- ½ tsp. onion granules
- ½ tsp. paprika
- 8 chicken breast tenders
- milk or buttermilk (see preparation)
- 1 cup cornstarch
- 1 cup canola oil
- powdered sugar and maple syrup for serving
Preparation:
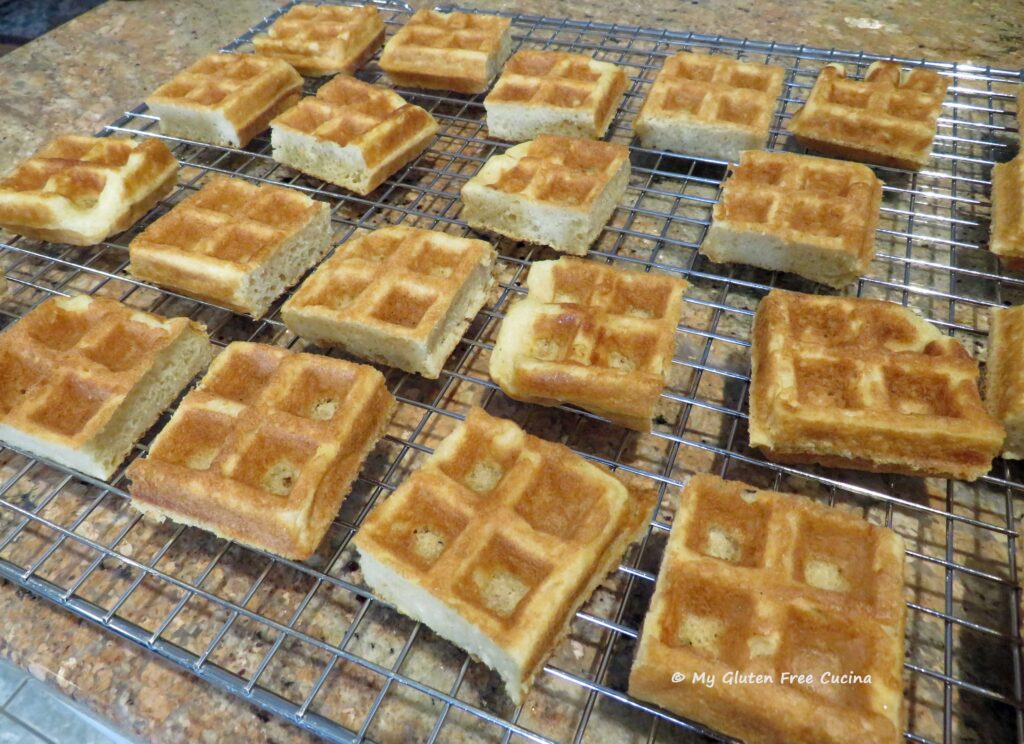
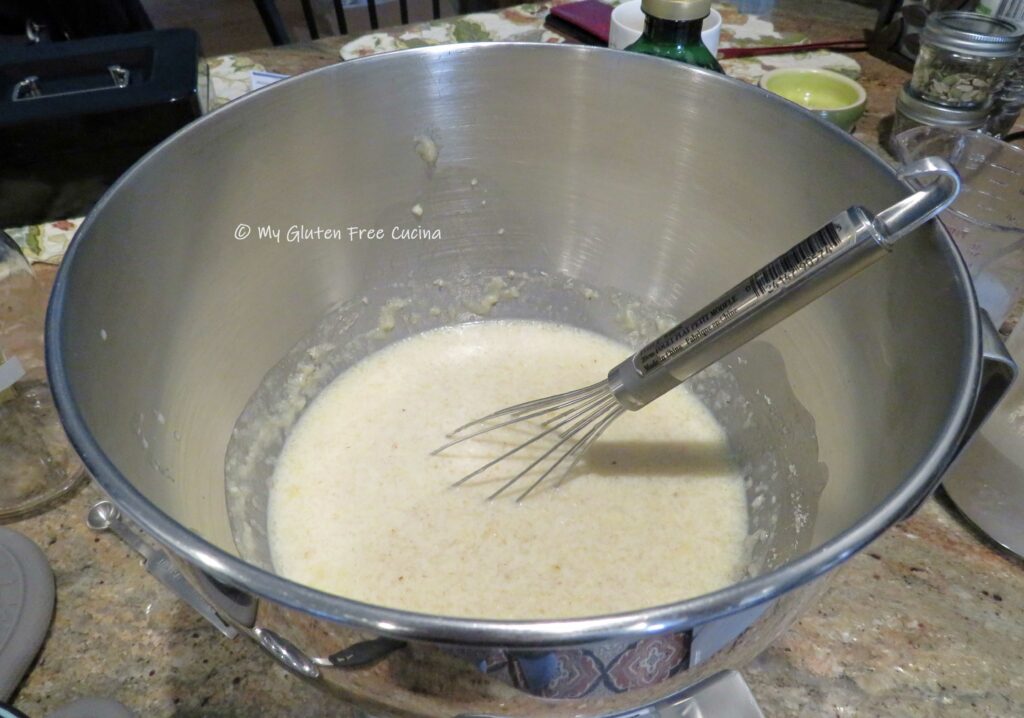
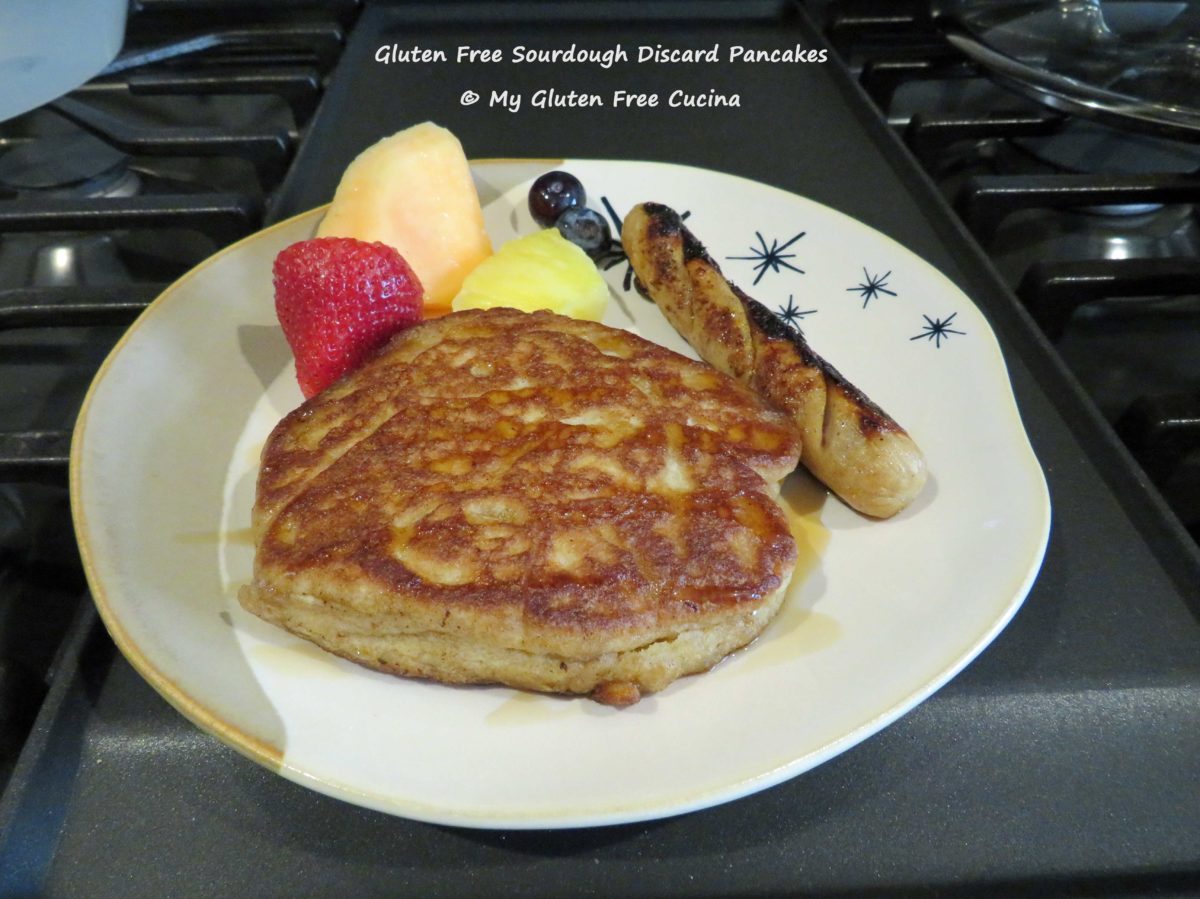
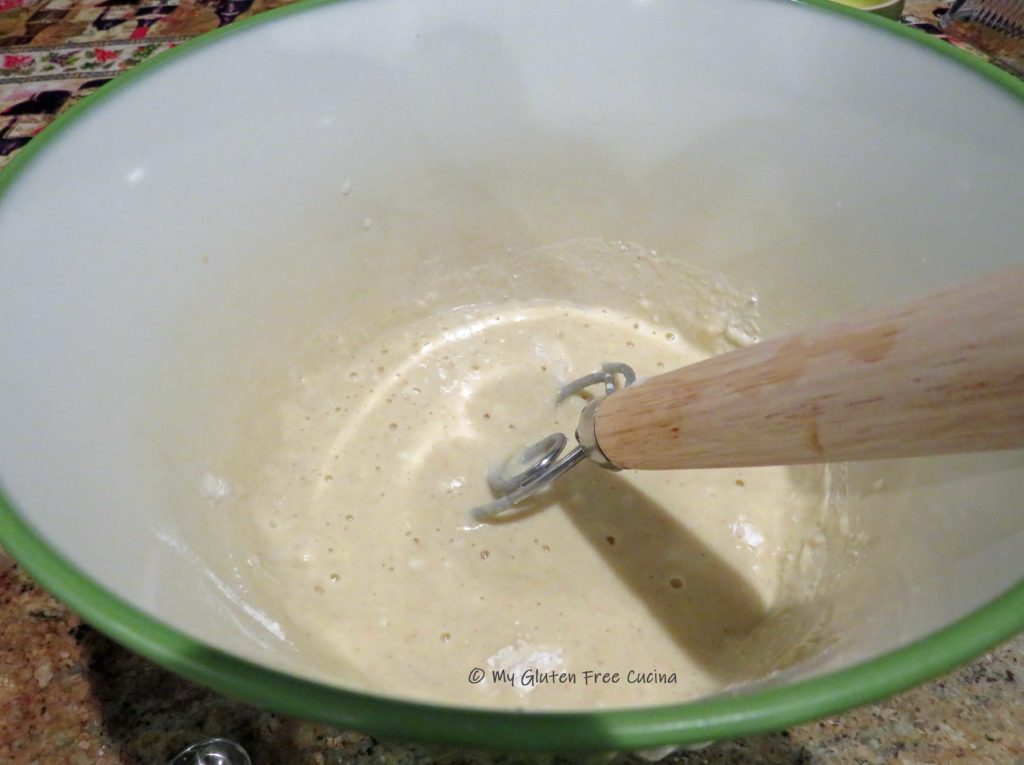
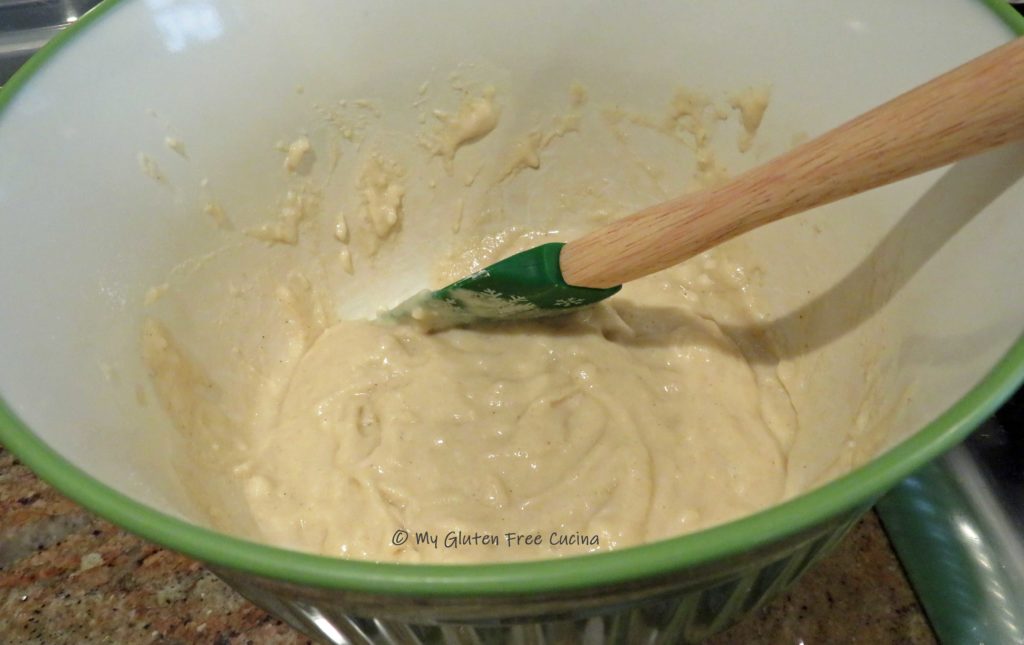
For the gluten free waffles, I used the batter from my Gluten Free Sourdough Discard Pancake recipe and adjusted the yield to 6 servings or 6 full-sized waffles.
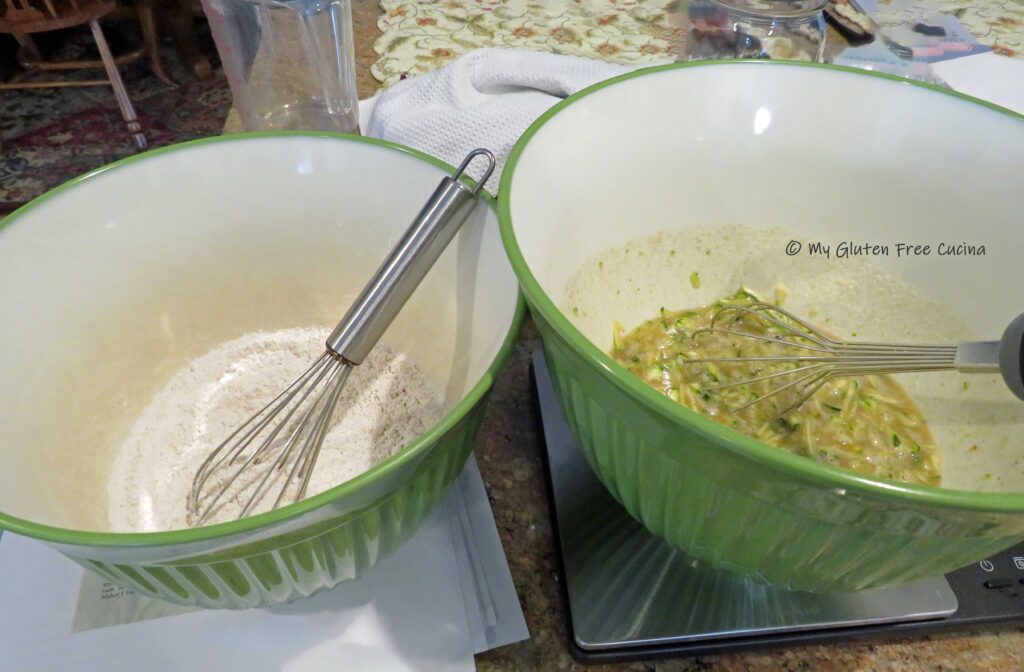
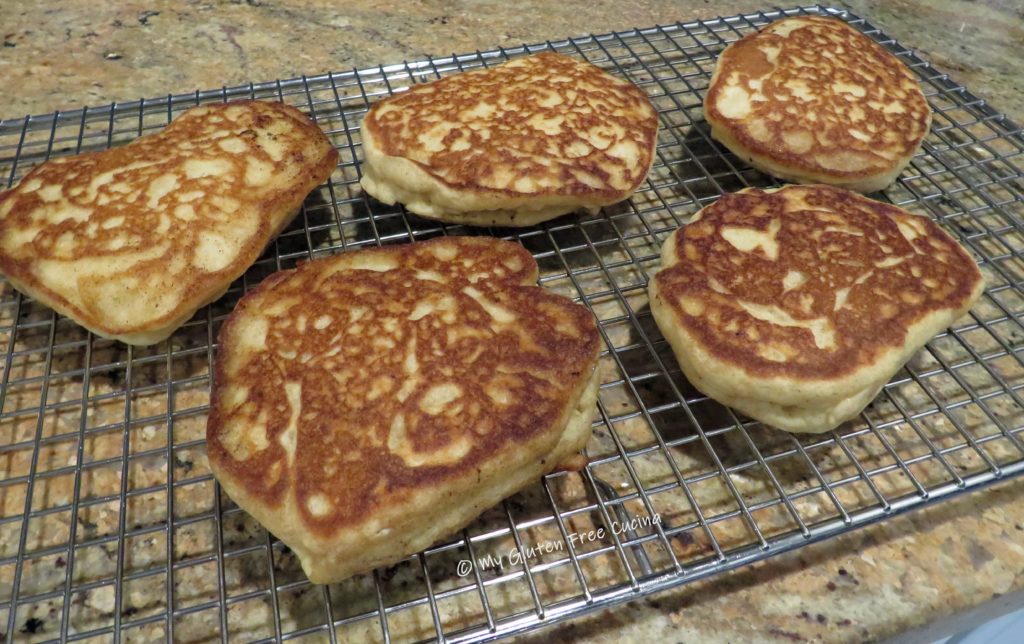
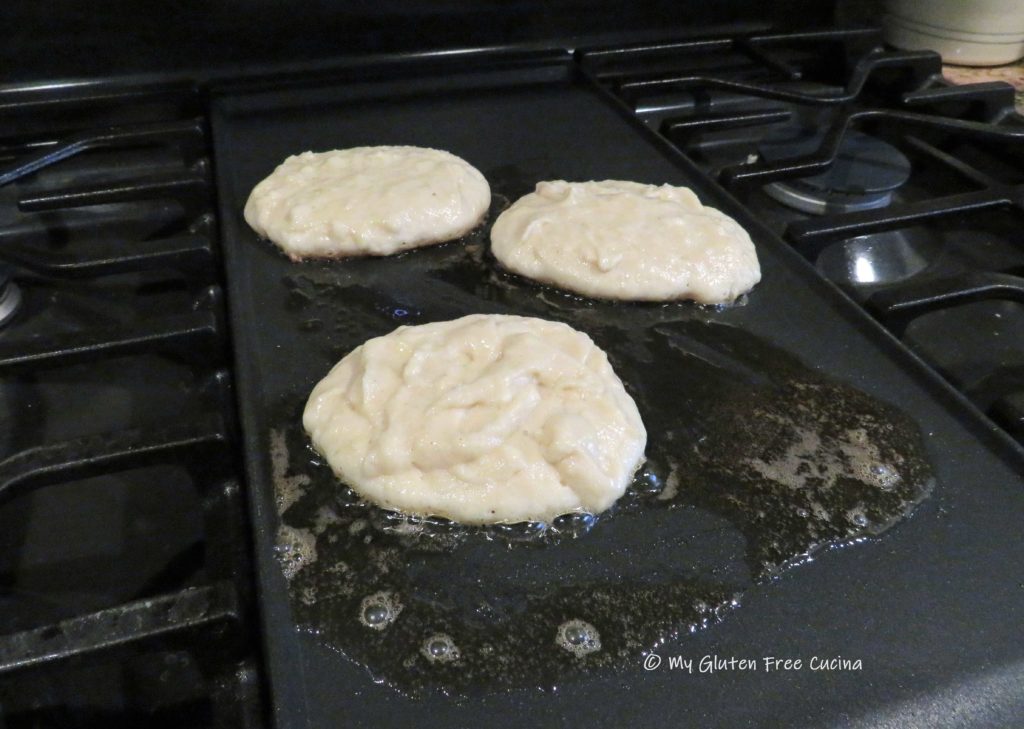
Just whisk together all of the ingredients and cook on your waffle iron at 350º for 4 minutes. Cool the waffles on a rack then cut each waffle into 4 pieces. You can make the waffles the day before and refrigerate them.
Can you use a gluten free waffle mix, or even (gasp) buy frozen waffles? Of course you can, I won’t tell! 😉
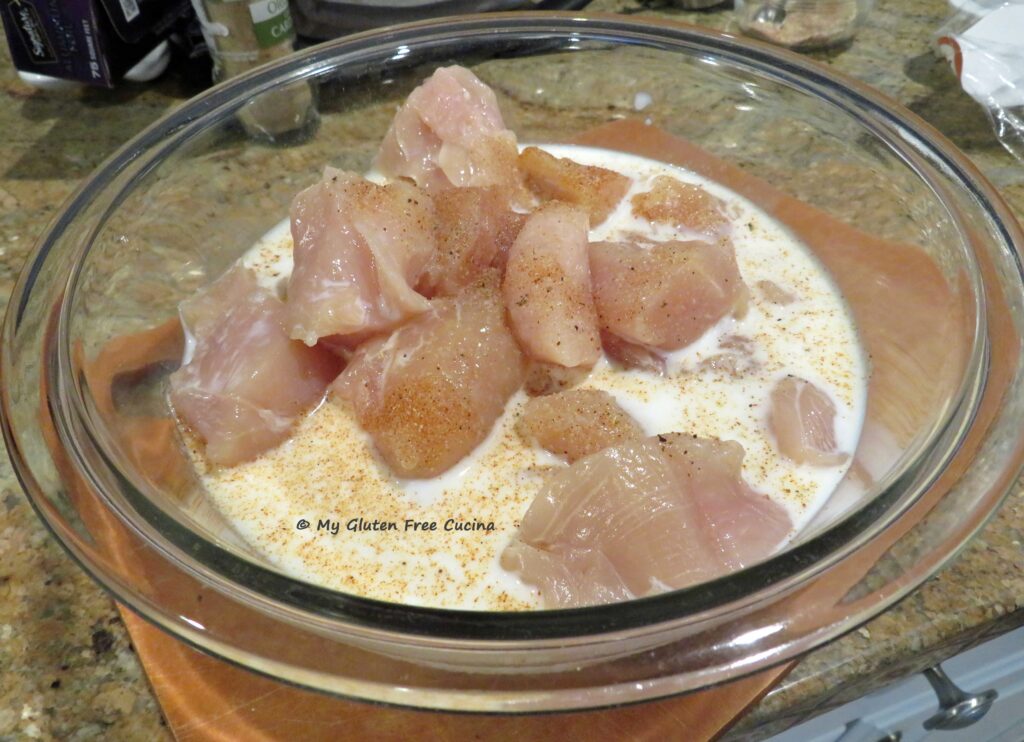
For the chicken, whisk together the first 5 ingredients, salt through paprika. Cut each chicken tender into 3 pieces, they should be about the same size as your waffle squares. Place the cut-up chicken in a bowl and add just enough milk to cover. Sprinkle with ½ tsp. of the spice mixture.
Cover and refrigerate overnight.
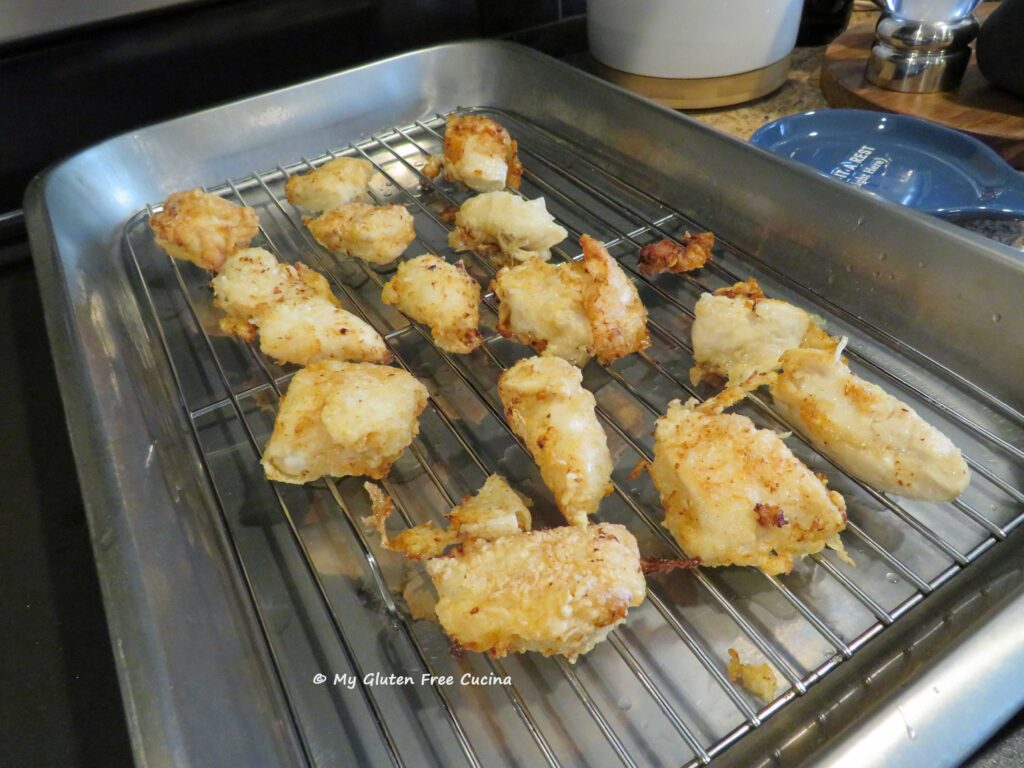
 The next morning, heat the canola oil in a deep skillet. Add the cornstarch and the rest of the seasoning mixture to a small bowl. When oil is very hot, use tongs to pick up one piece of chicken at a time and dredge in the cornstarch, shaking off the excess. Add to the hot oil and cook until browned on both sides and the internal temperature reaches 165º. If you’re not sure, use a thermometer.
Don’t crowd the pan, cook the chicken in batches if needed. As the pieces finish, place them on a rack to drain.
 To assemble, arrange the waffles on a serving dish in a single layer (if you made them the night before, pop them into the microwave for 1 minute to reheat). Top each waffle section with a piece of chicken and secure with a skewer or toothpick.
You can sift a little powdered sugar over the top and have maple syrup to pass around at the table.
 Wow, these little skewers were so tasty! The recipe was a bit of extra work, but I think everyone enjoyed them along with my usual brunch offerings. As I said before, it was all about trying something different. And would you believe, I myself had never had Chicken and Waffles before?
Notes ♪ When serving alongside other courses, you can plan on 2 to 4 skewers per person depending on appetites. I made 2 dozen for a gathering of 6 people and we did have leftovers. They were great the next day, reheated in the microwave.
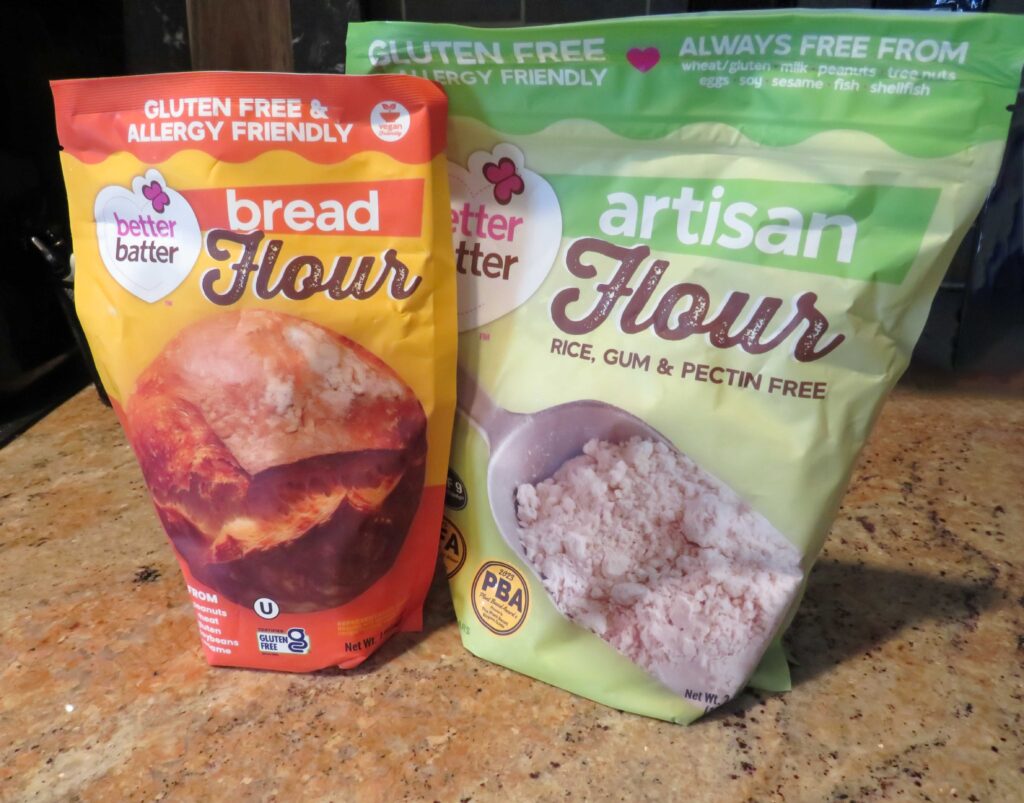
Notes ♫ For the waffles, try Better Batter Gluten Free All-Purpose Flour- Use my Promo Code MGFC30 for 30% off your full price purchase!


 This post contains affiliate links.
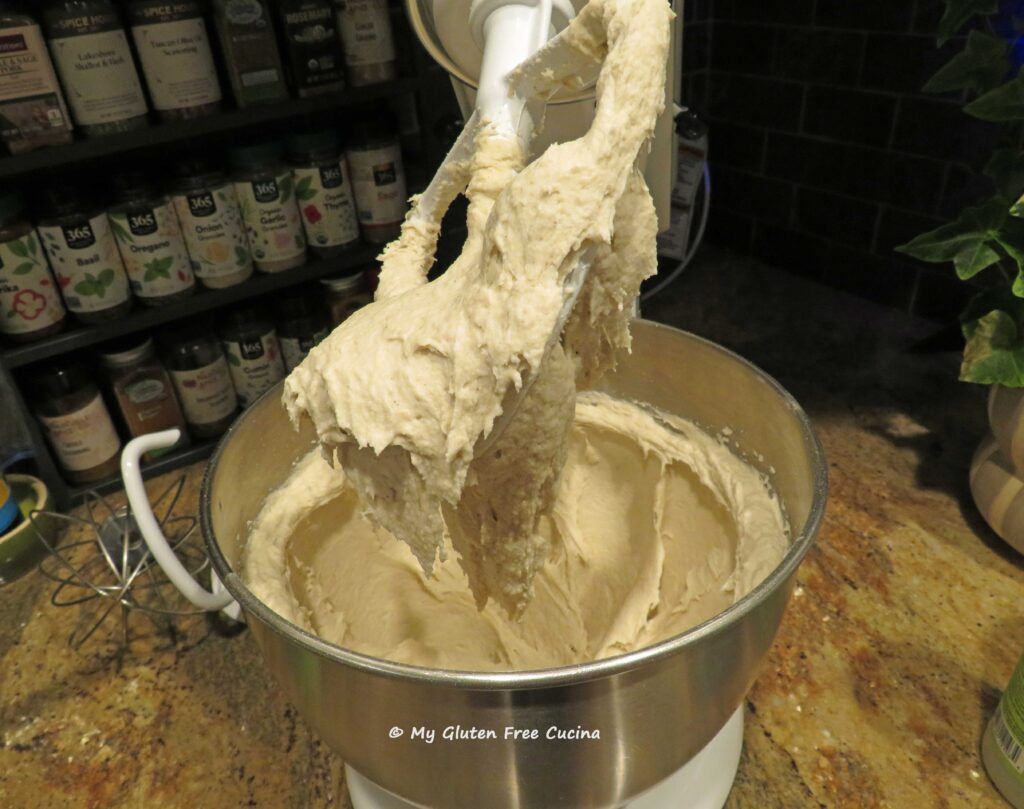
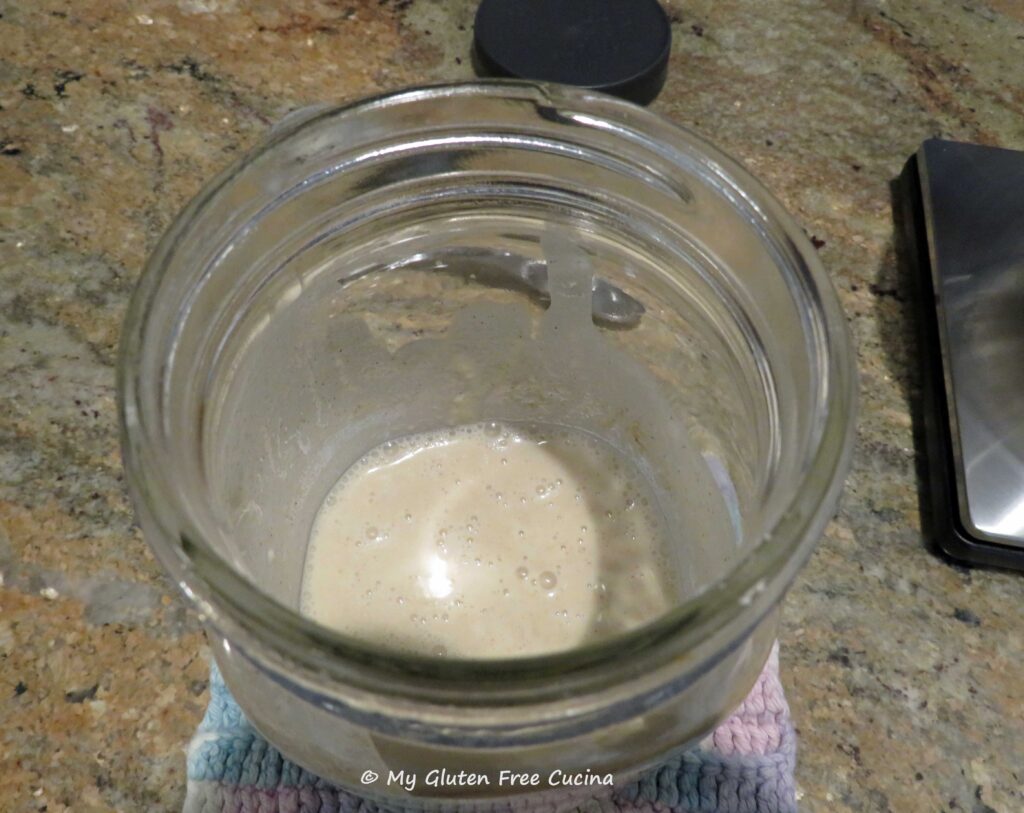
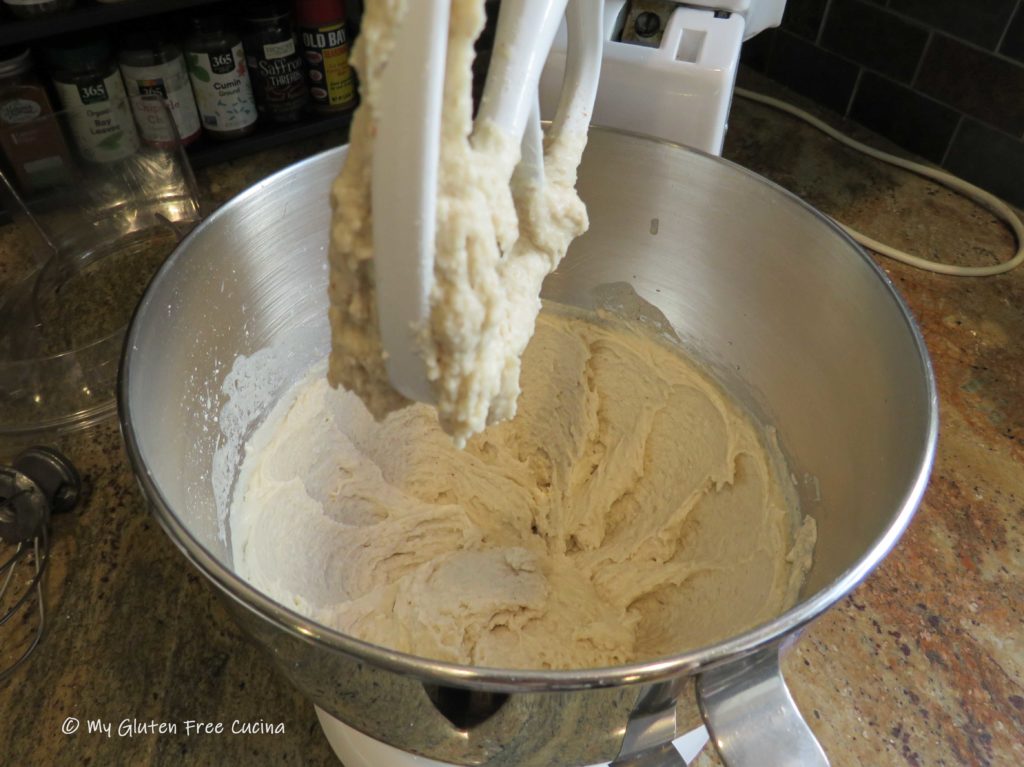
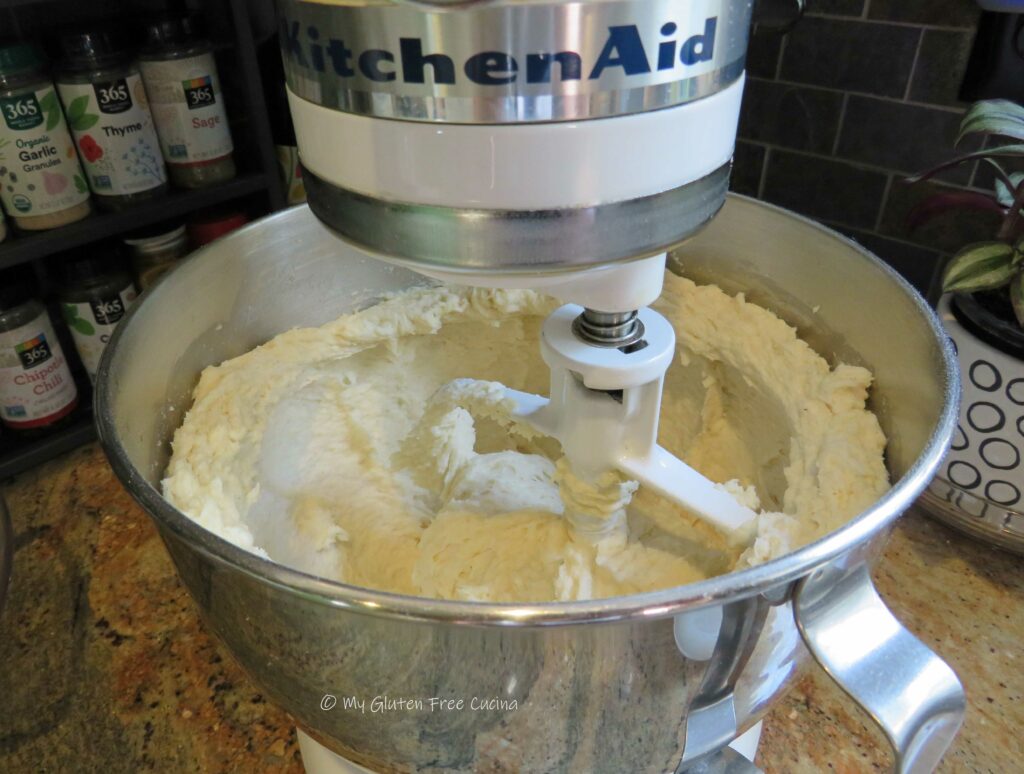
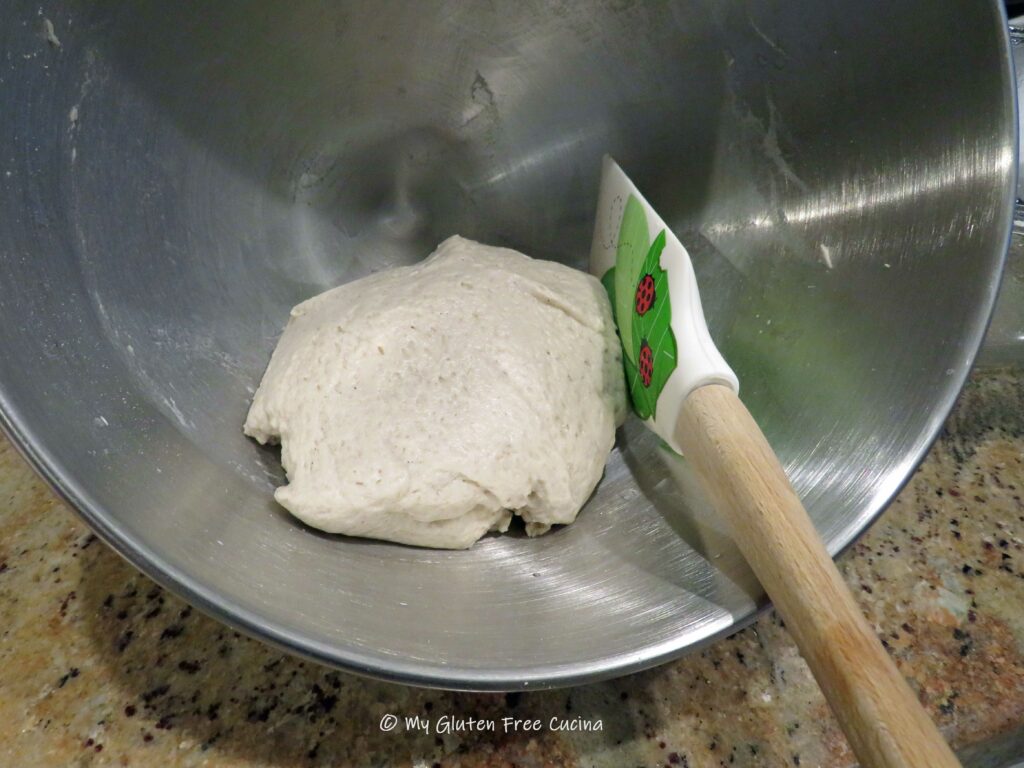
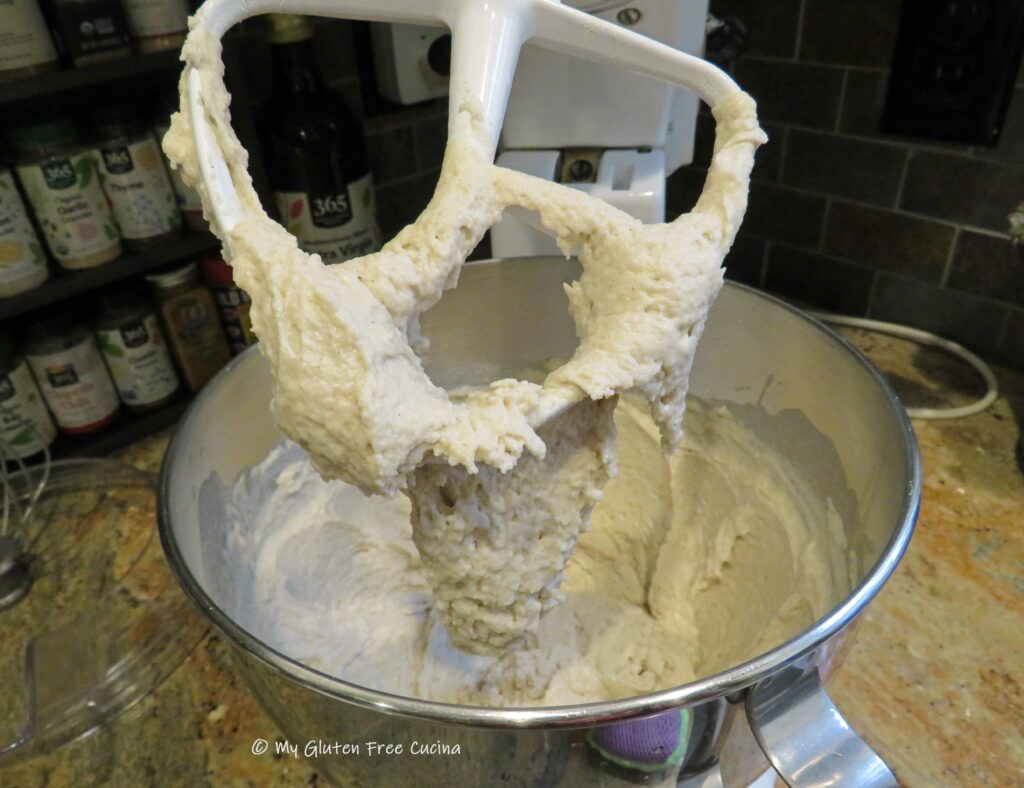
 Combine the wet ingredients, starter through canola oil, in the bowl of a stand mixer. In another bowl, whisk together the dry ingredients, dry milk powder through instant yeast. Add the dry ingredients to the mixer bowl with the paddle attachment and beat on low speed for 5 minutes to form a smooth, sticky dough.
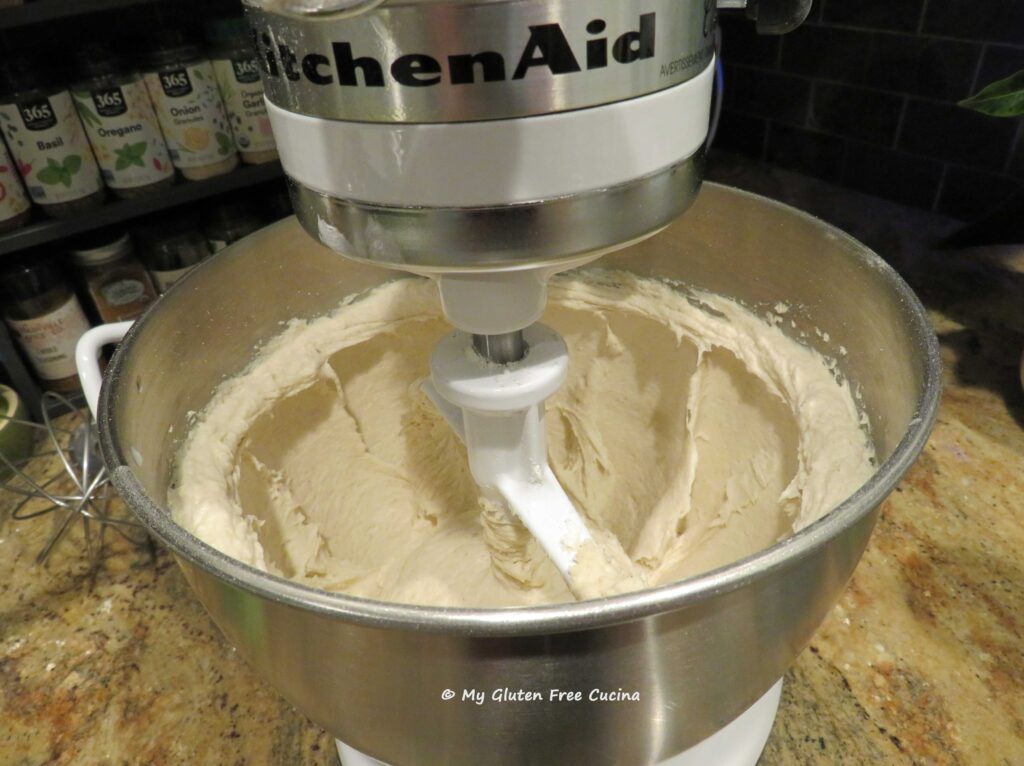
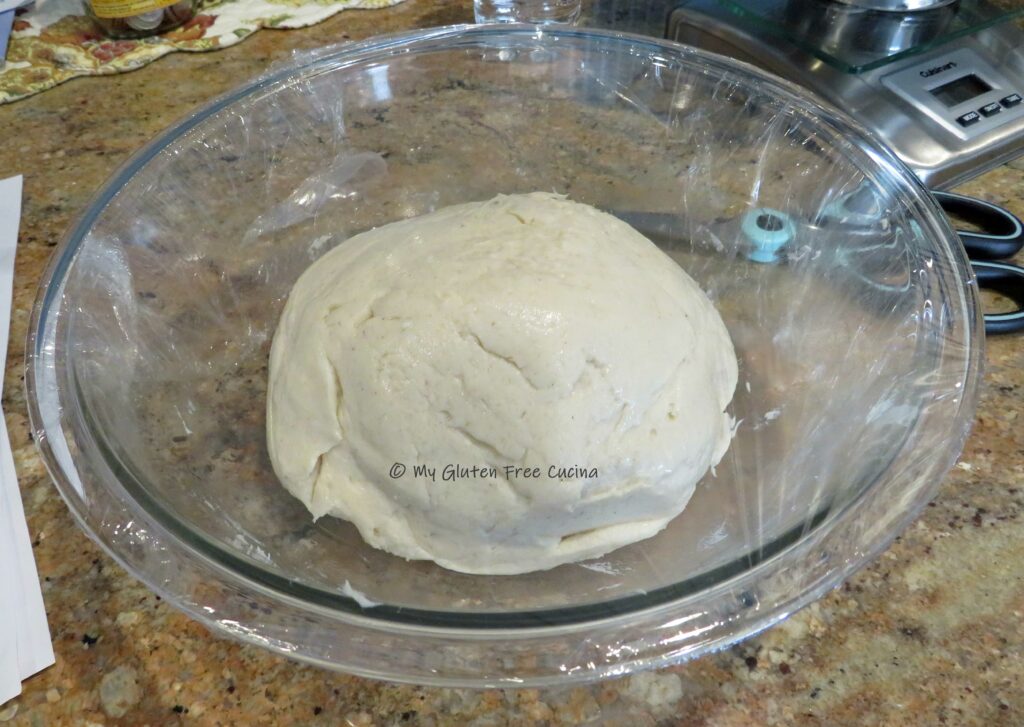
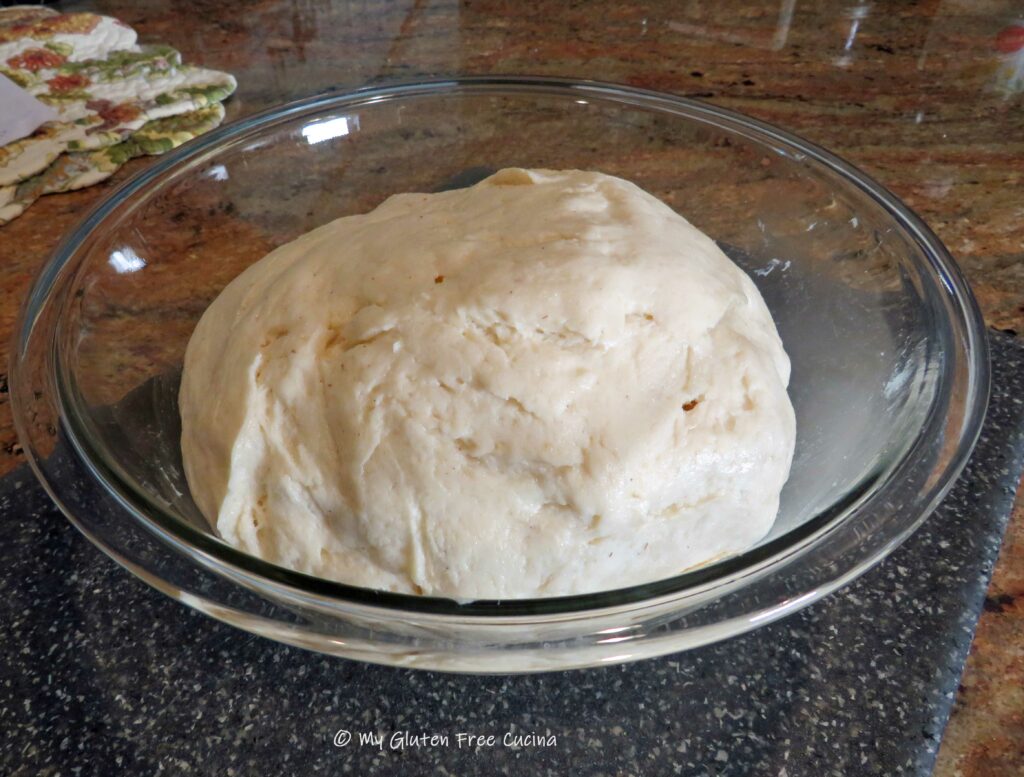
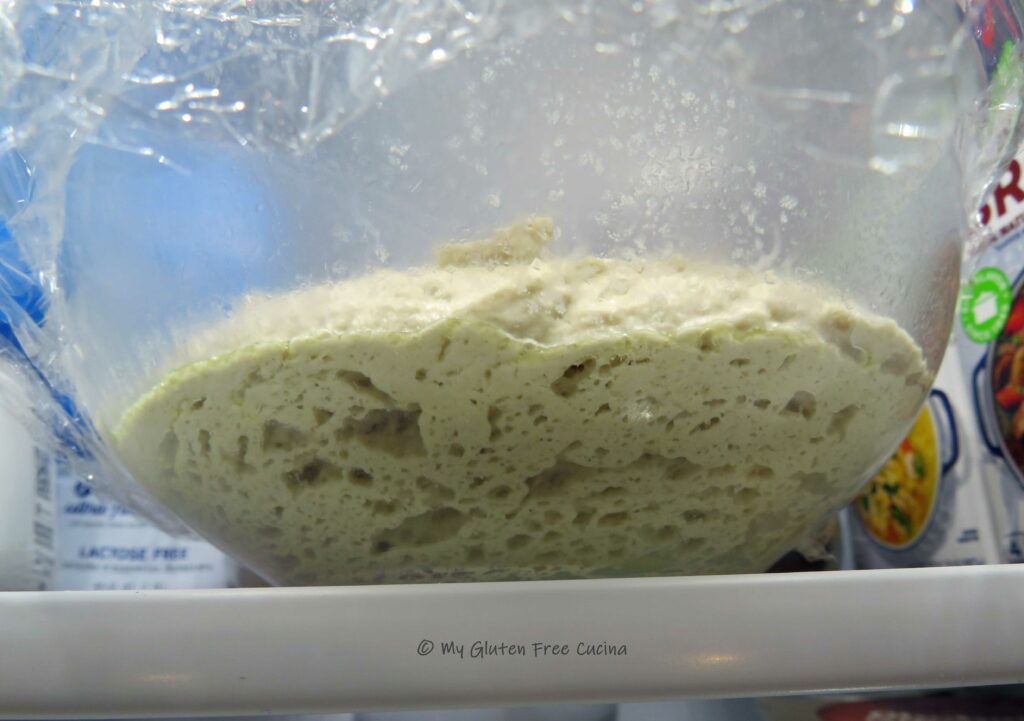
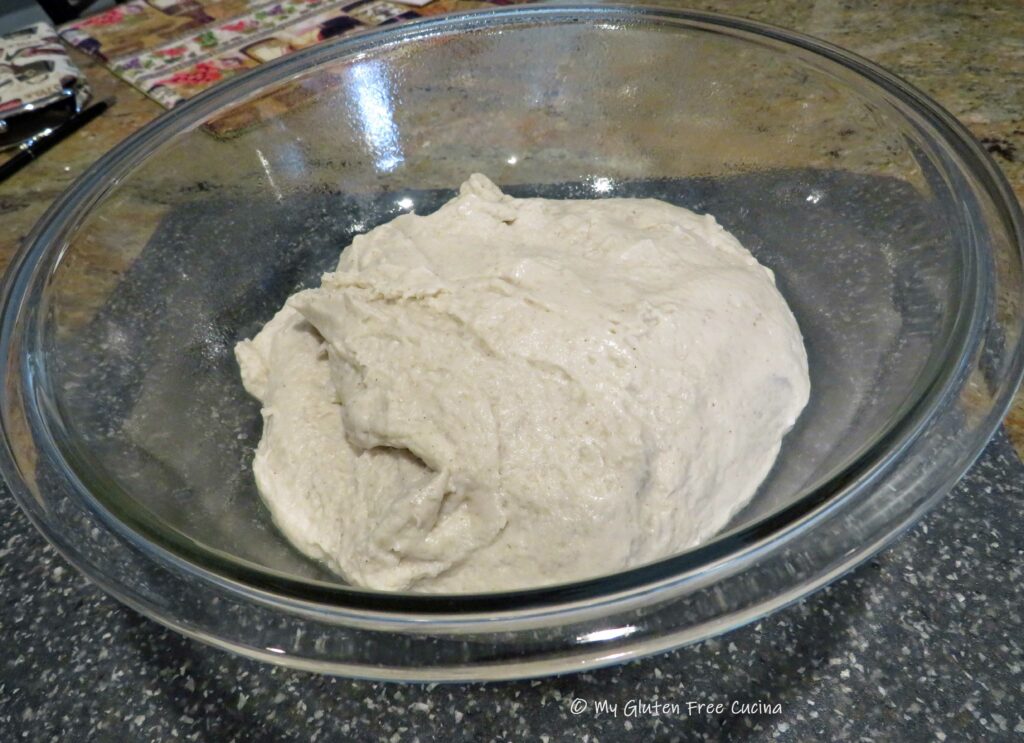
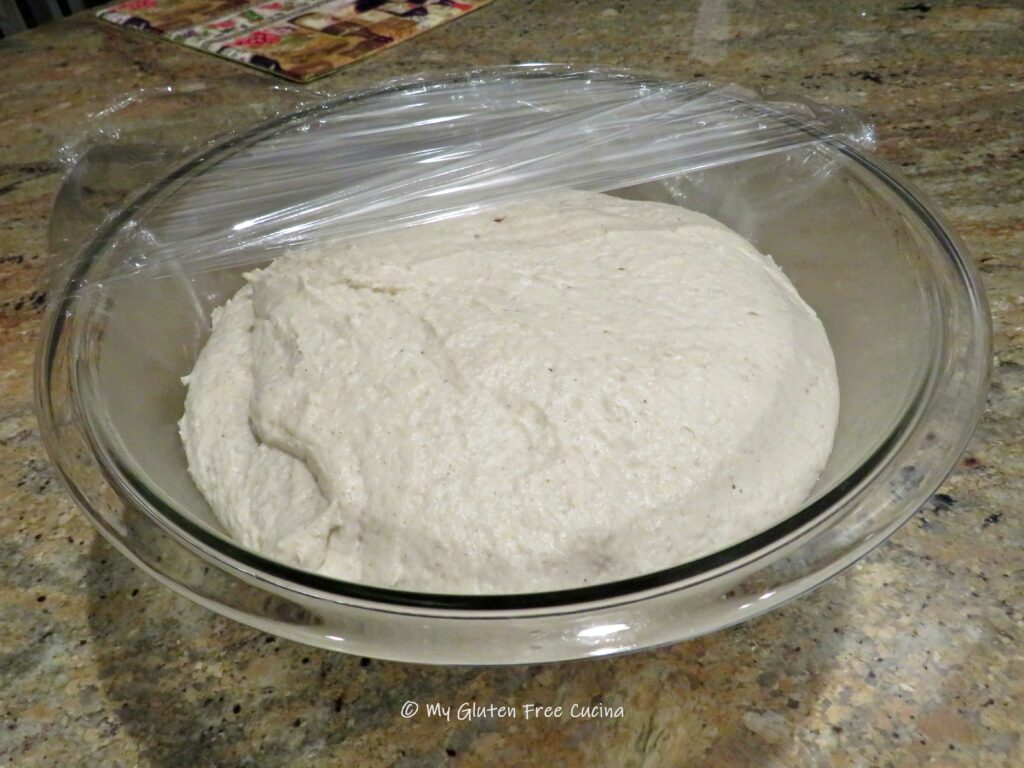
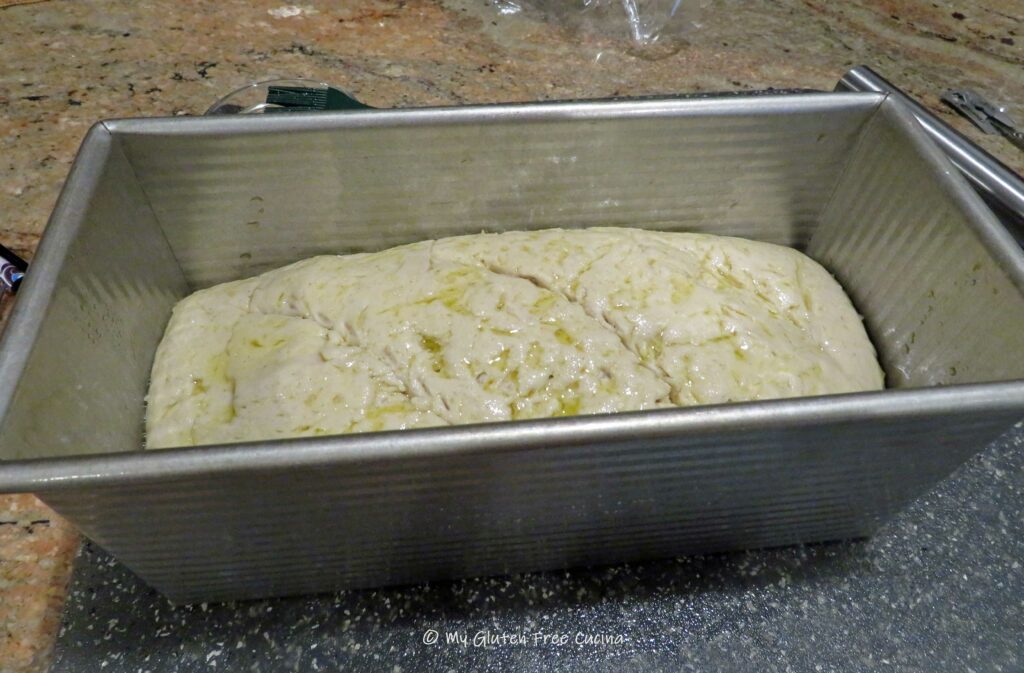
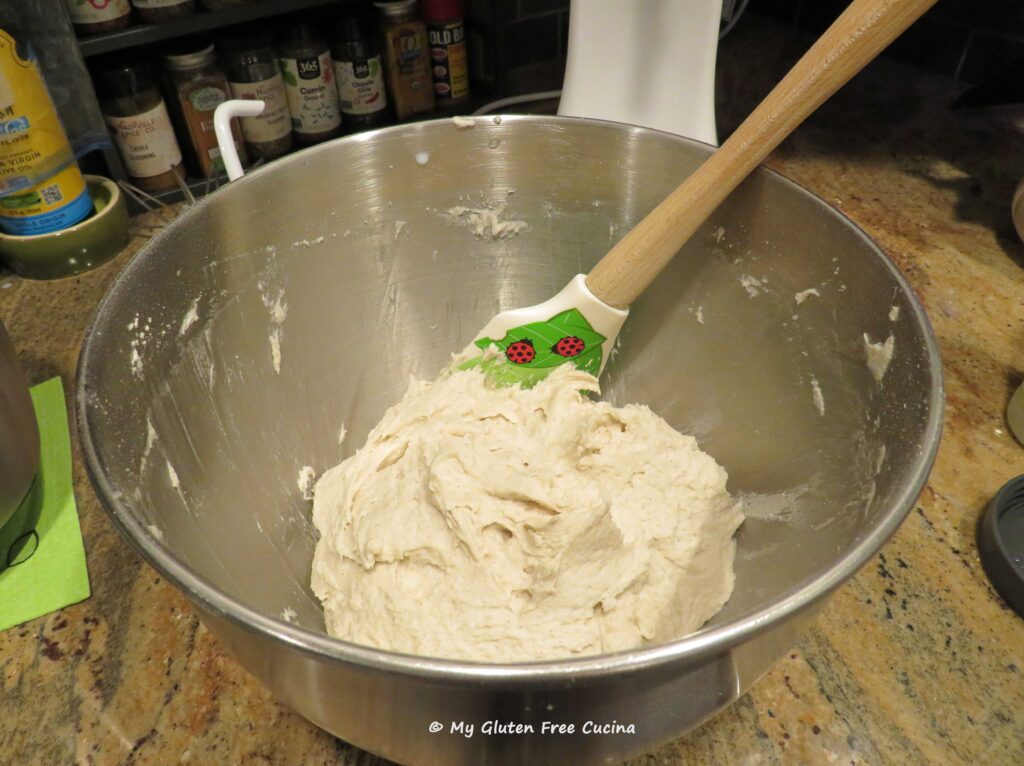 Transfer the dough into an oiled bowl and smooth the top with a wet spatula. Cover with plastic wrap and refrigerate overnight, up to 15 hours.
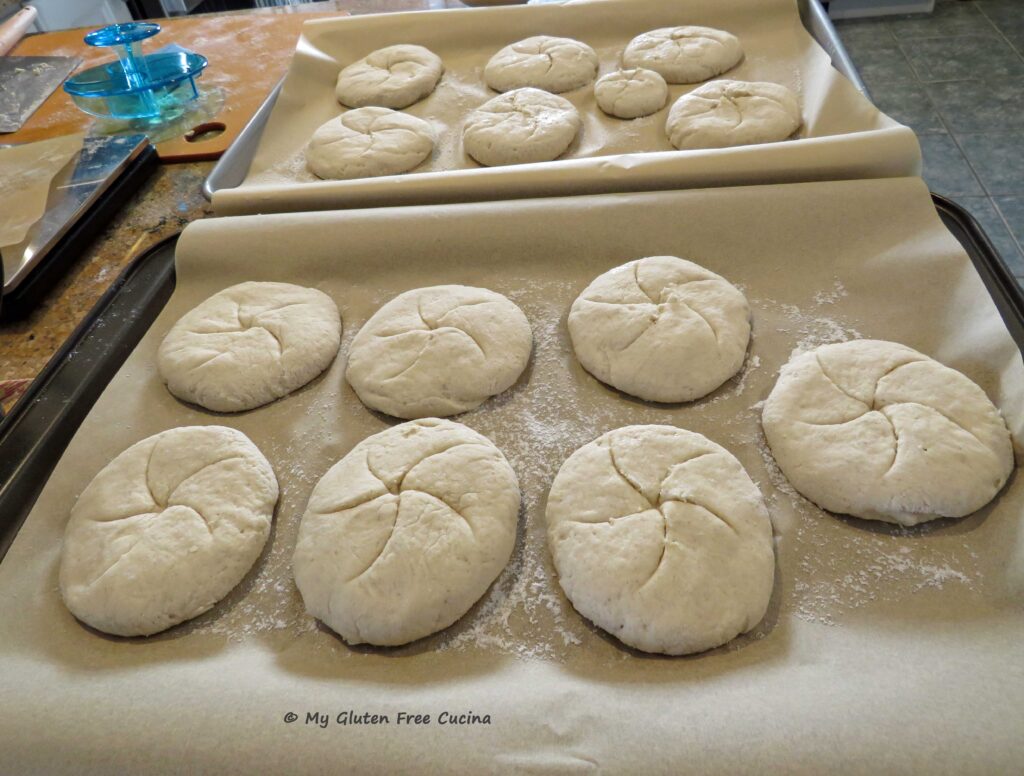
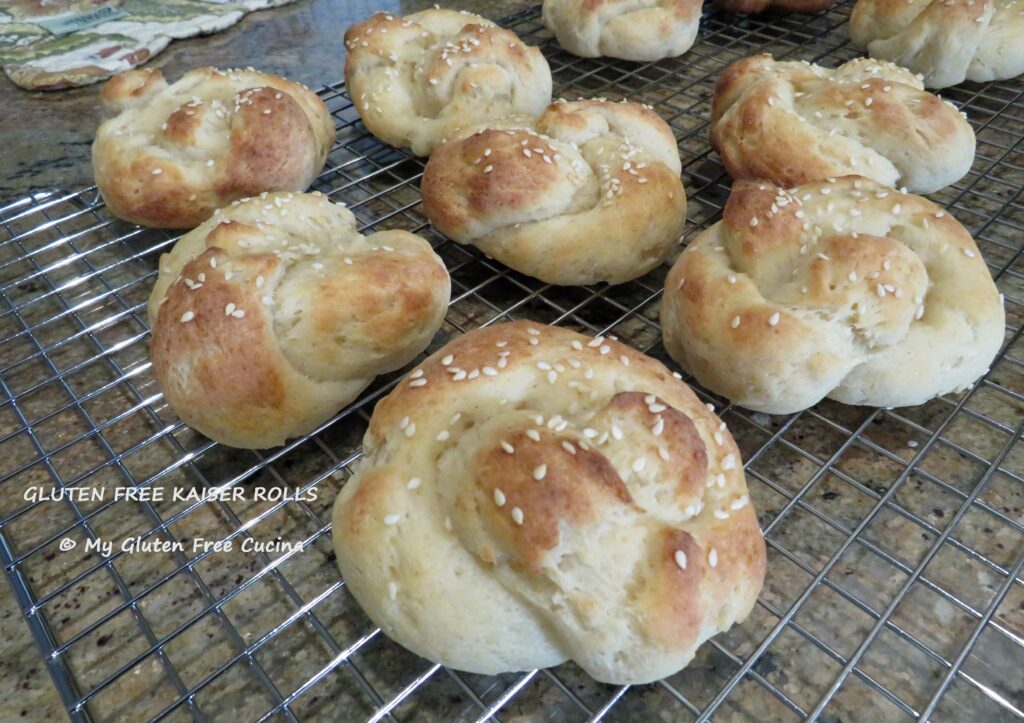
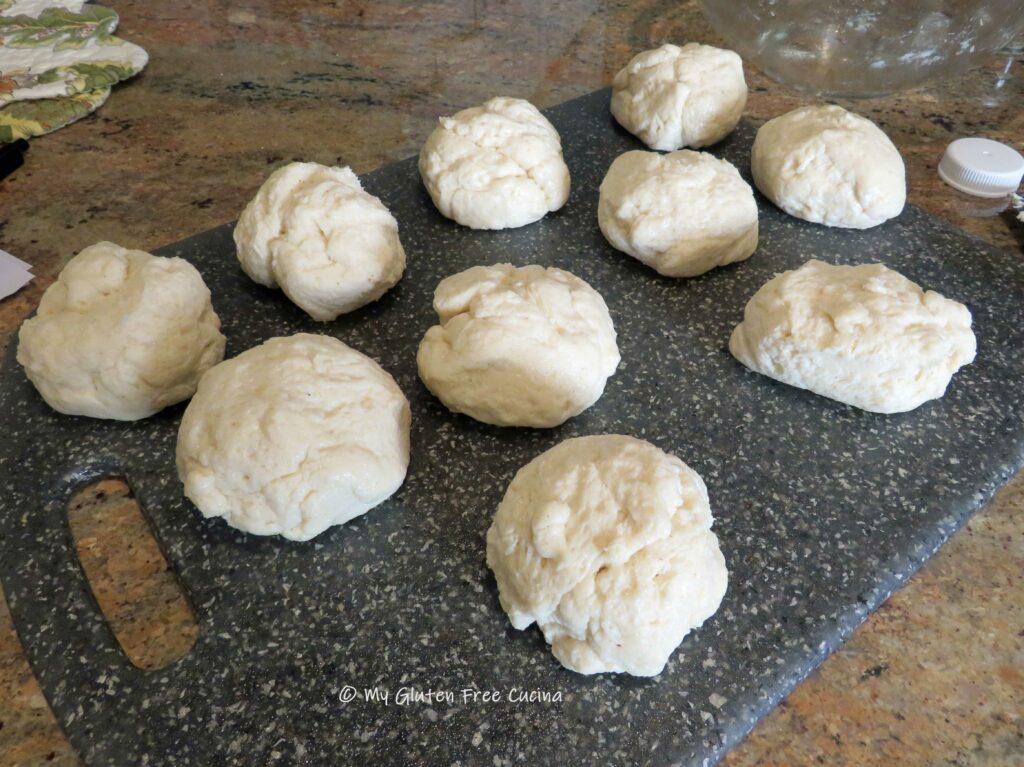
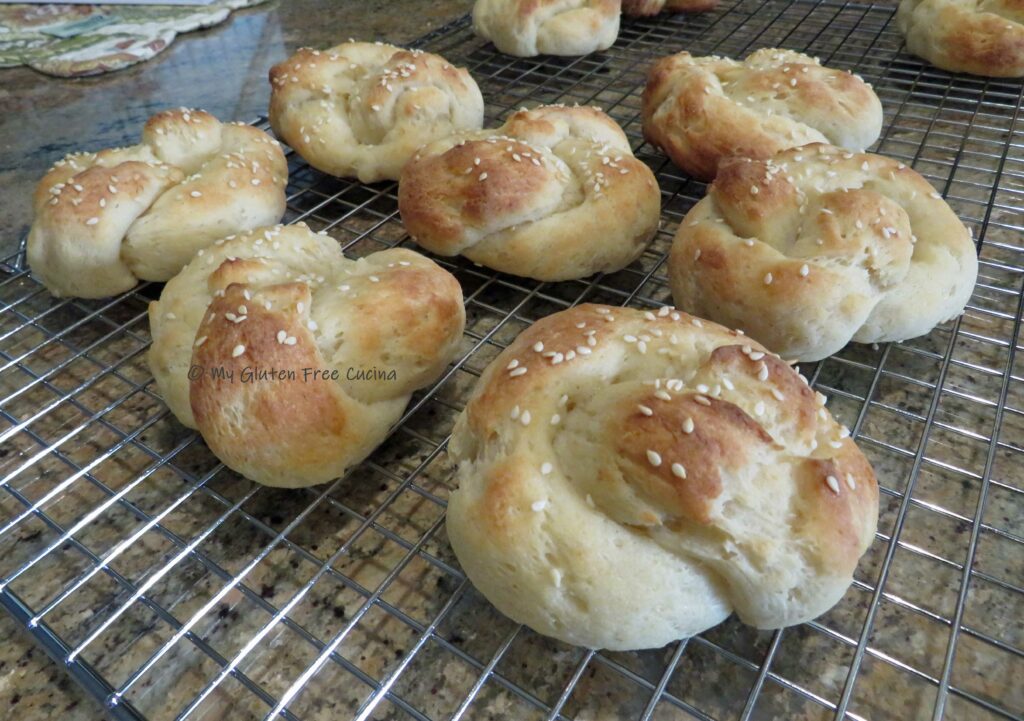
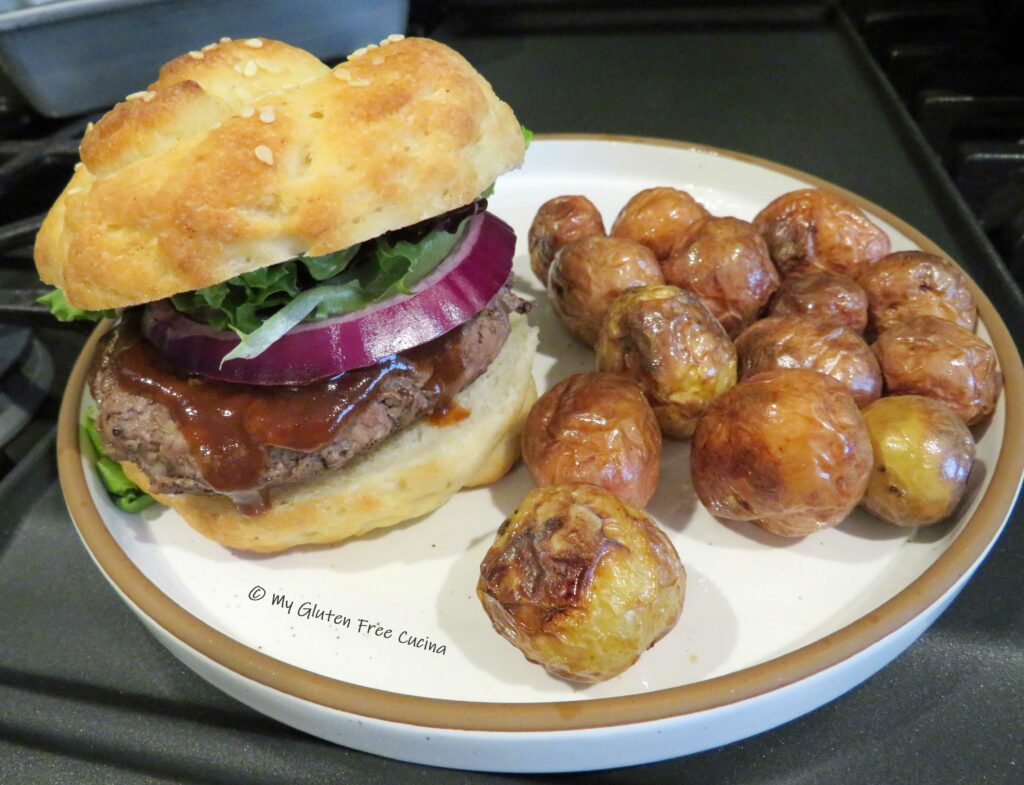
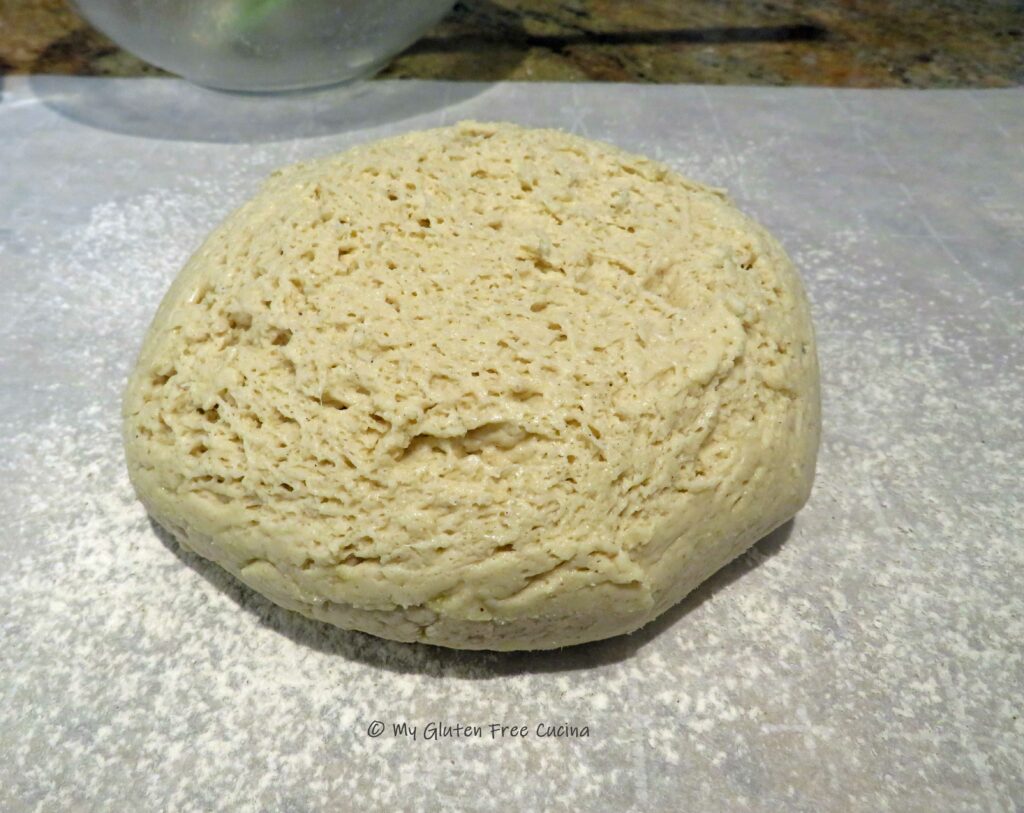
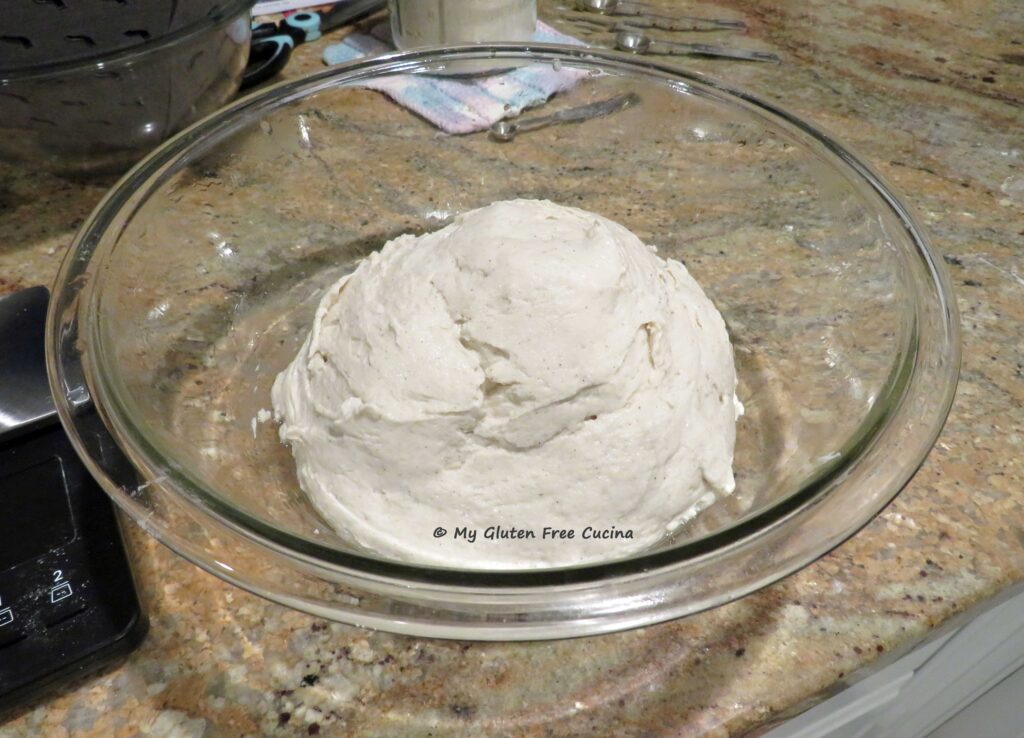 I usually make small rolls for my lunch sandwiches, so I divided my dough into 13 rolls that weighed about 2½ oz. each. You could do 2 oz. each for dinner rolls or sliders. For hamburger buns, 3-4 oz. is a good size.
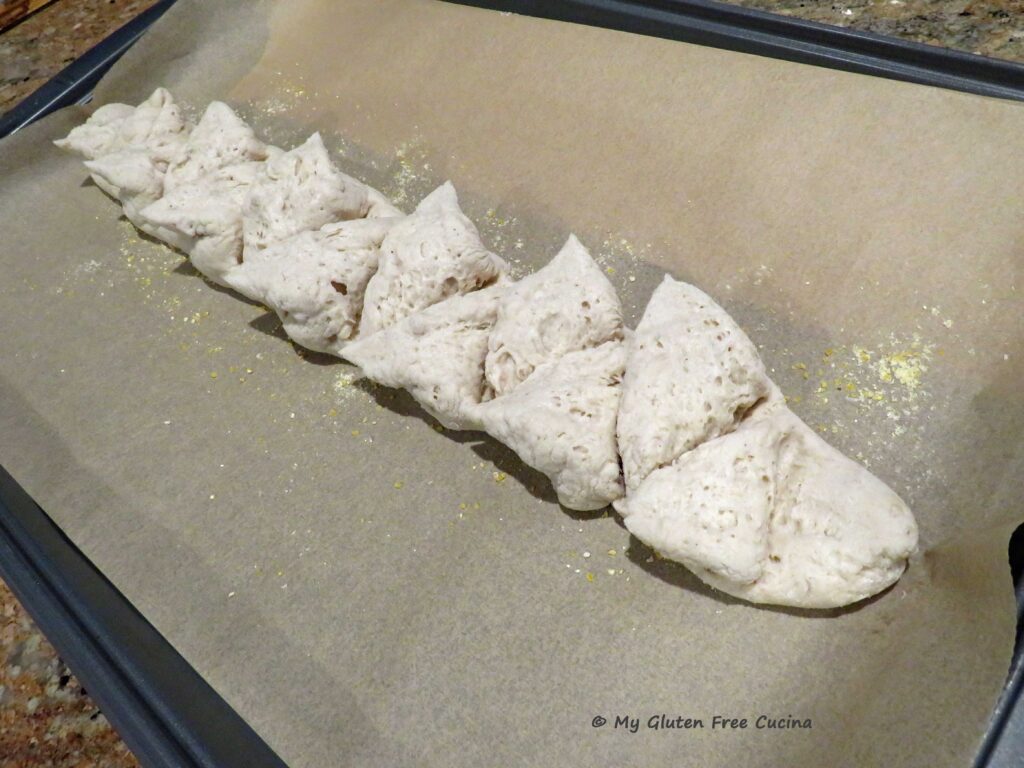
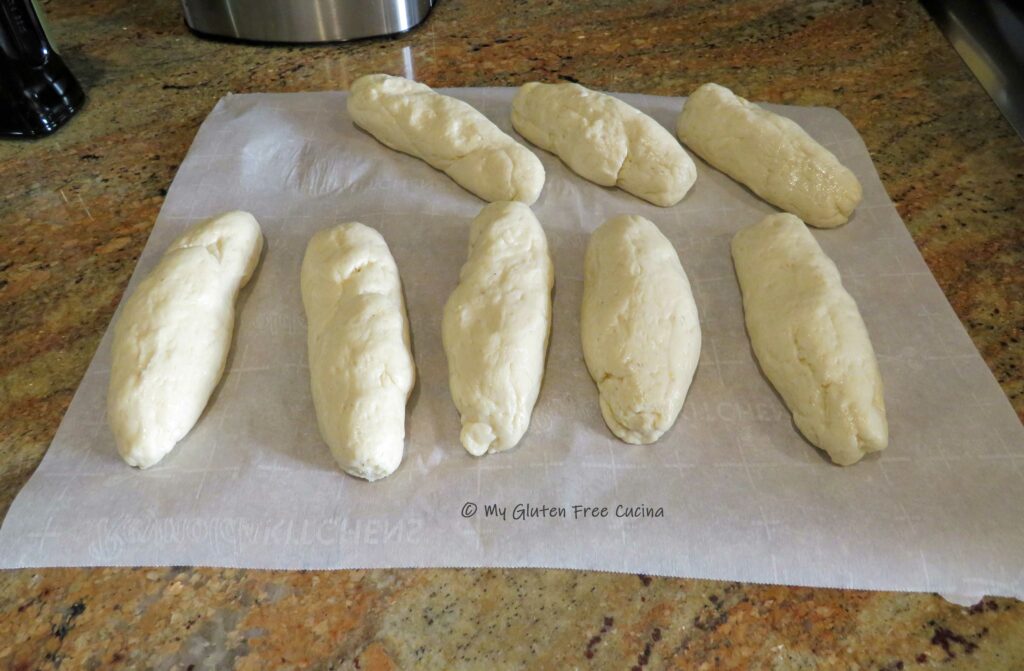
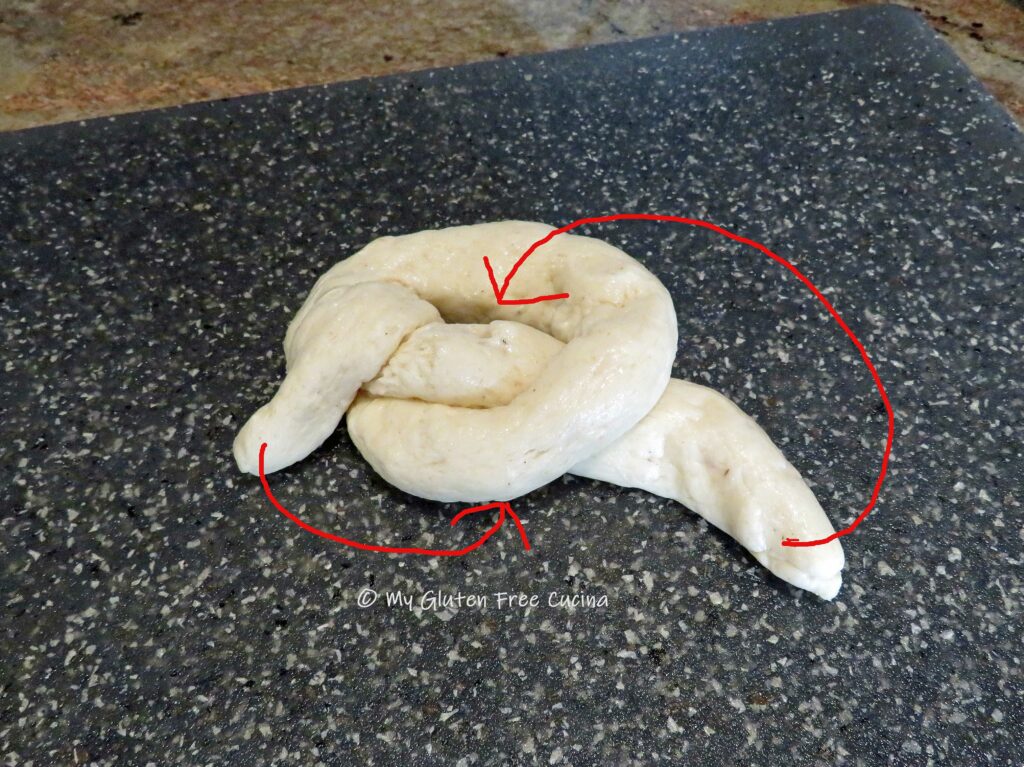
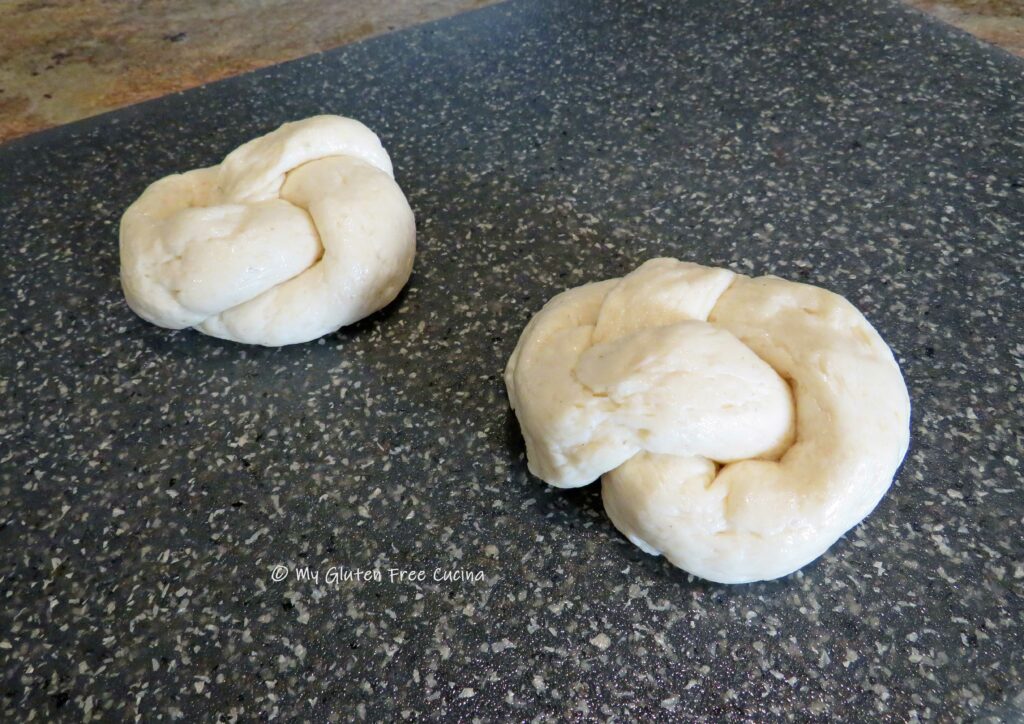
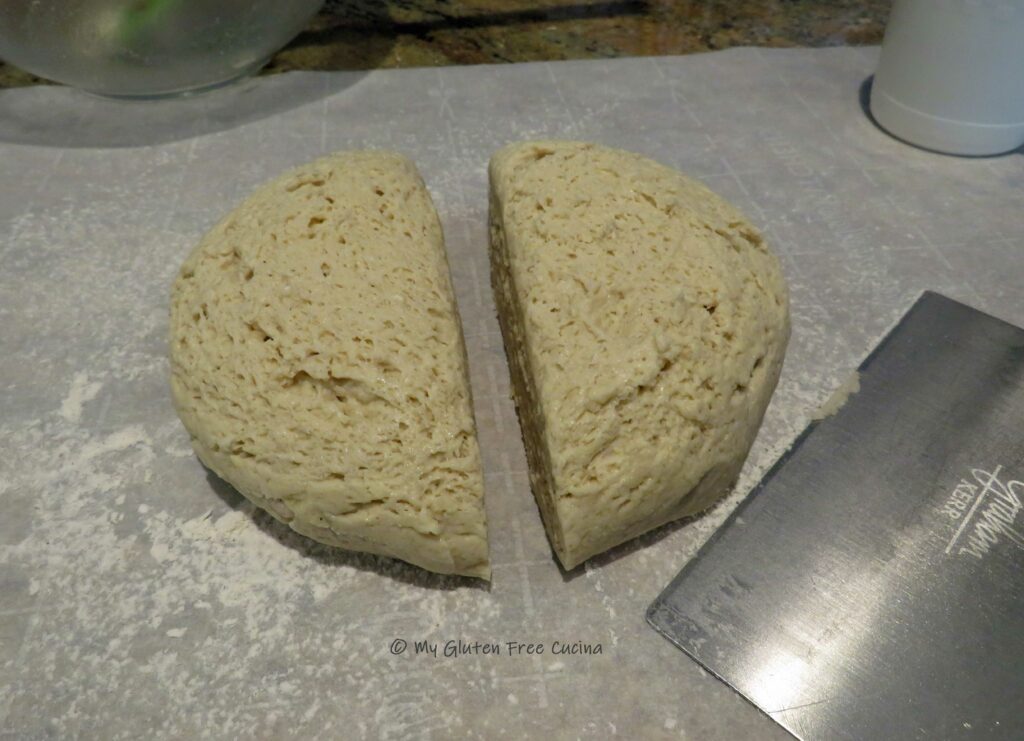
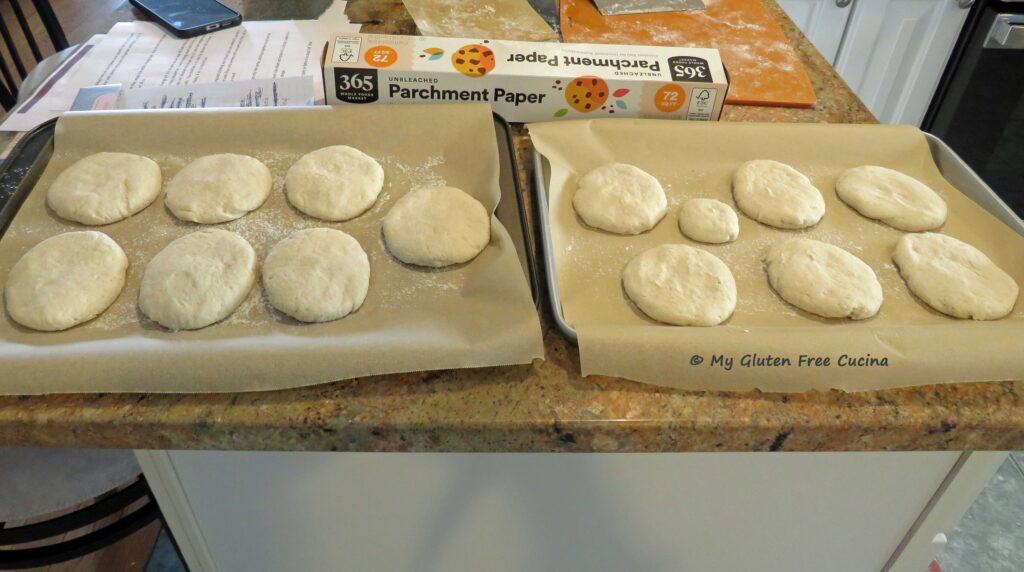 Continue with the rest of the dough, arranging your shaped rolls on a
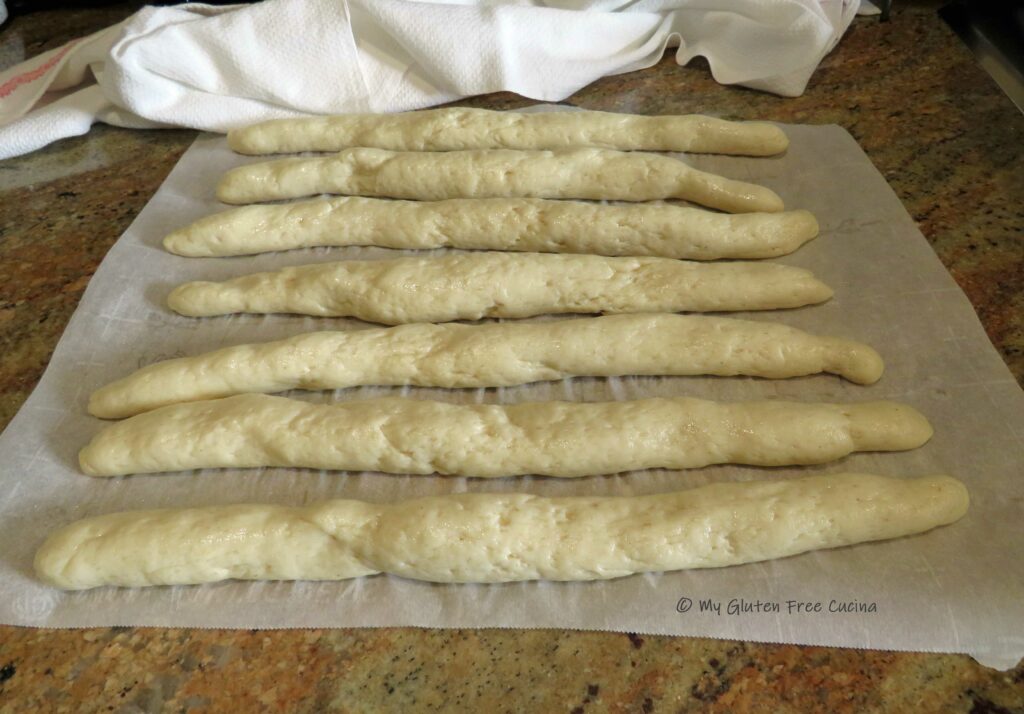
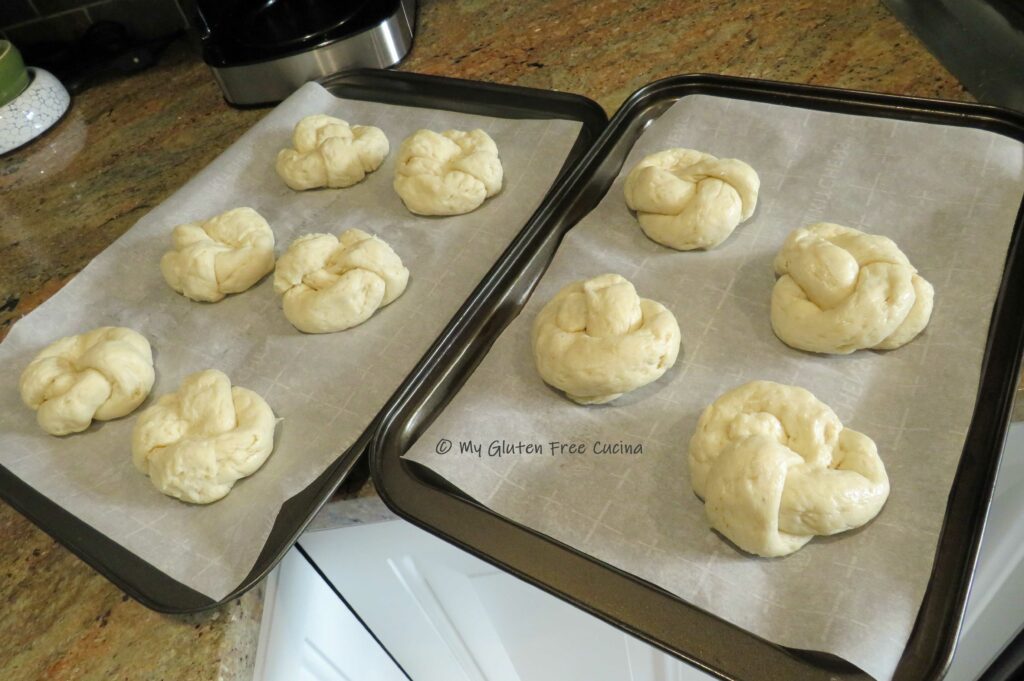
  Cover the rolls and let them rest for 30 minutes while you preheat the oven to 475º. Score the top of each roll.
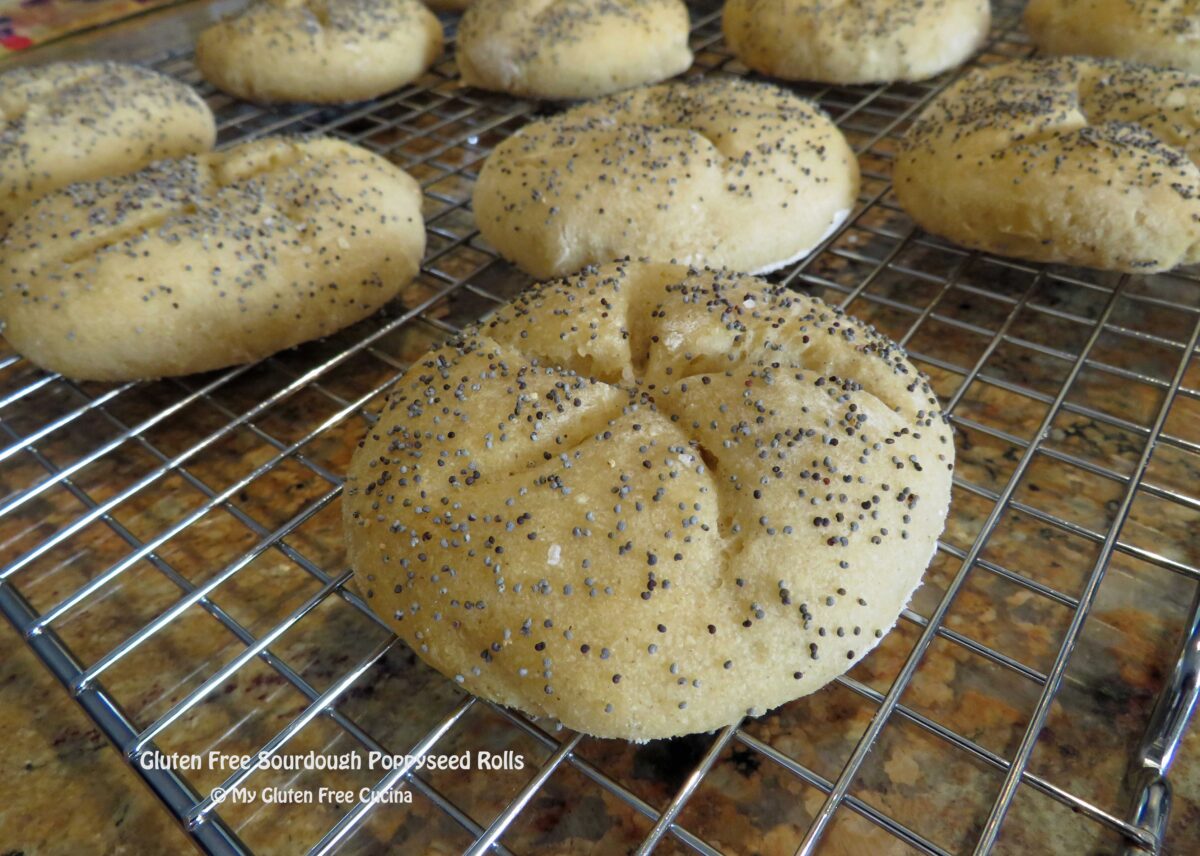
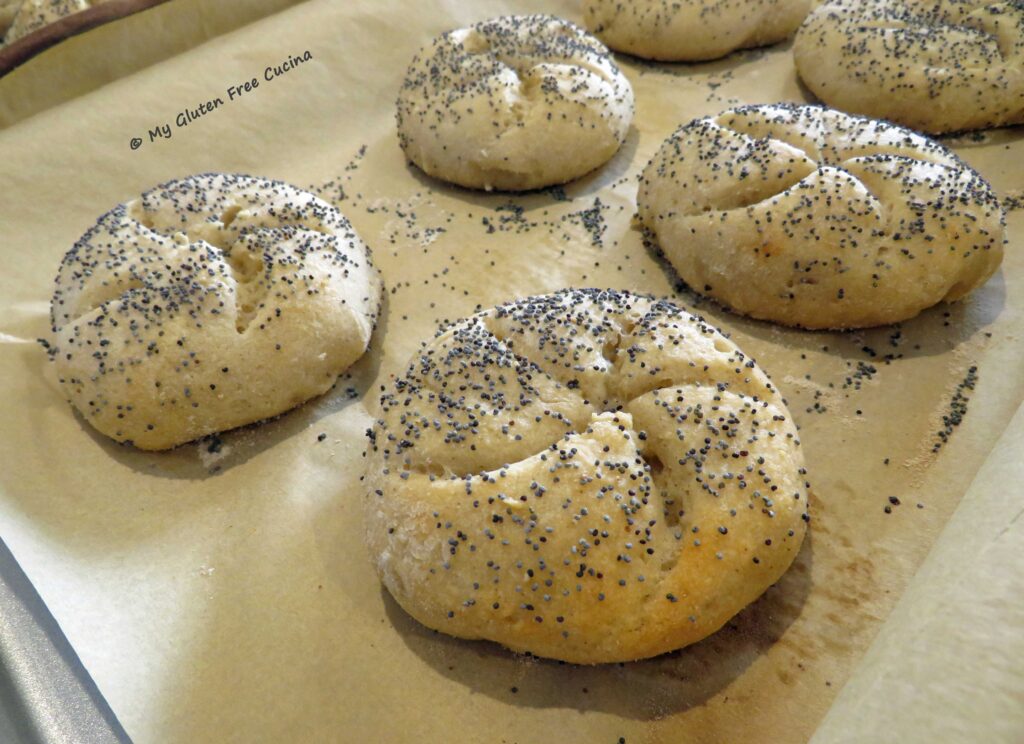
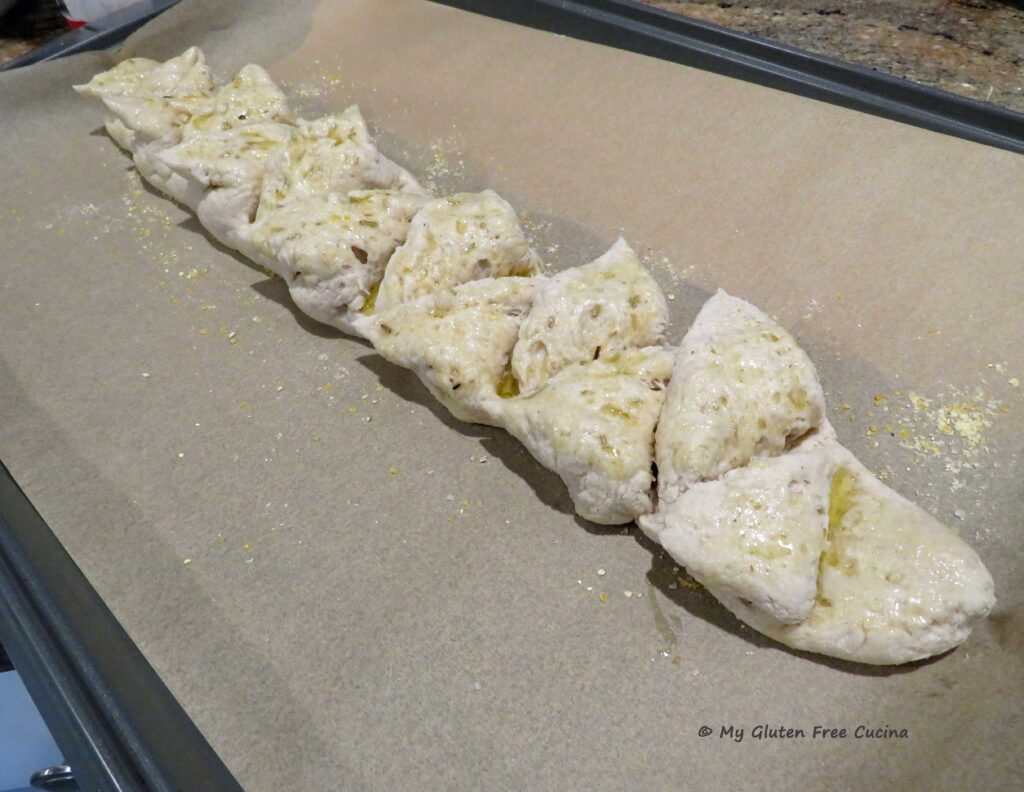
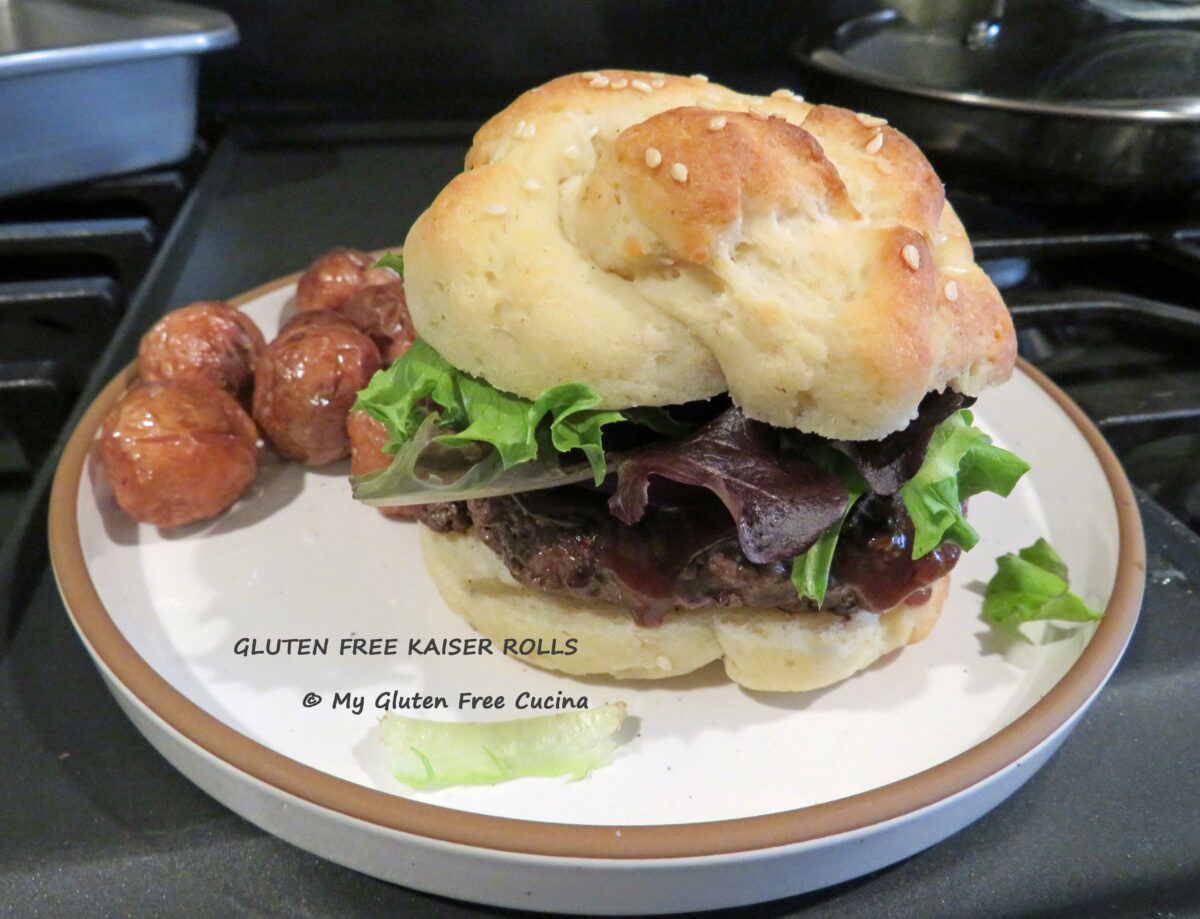
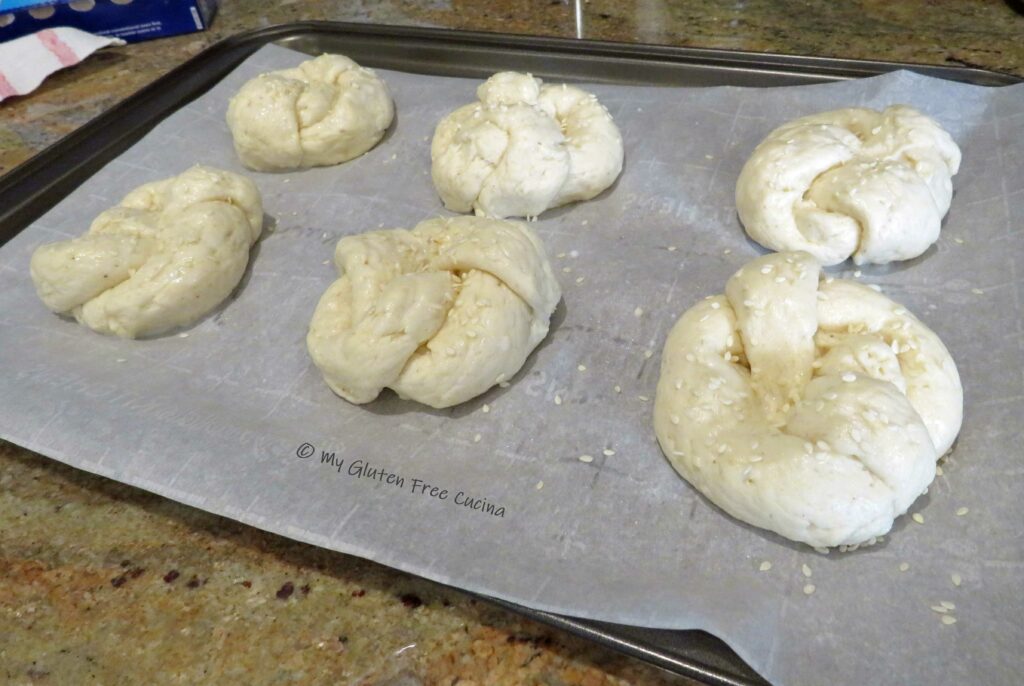
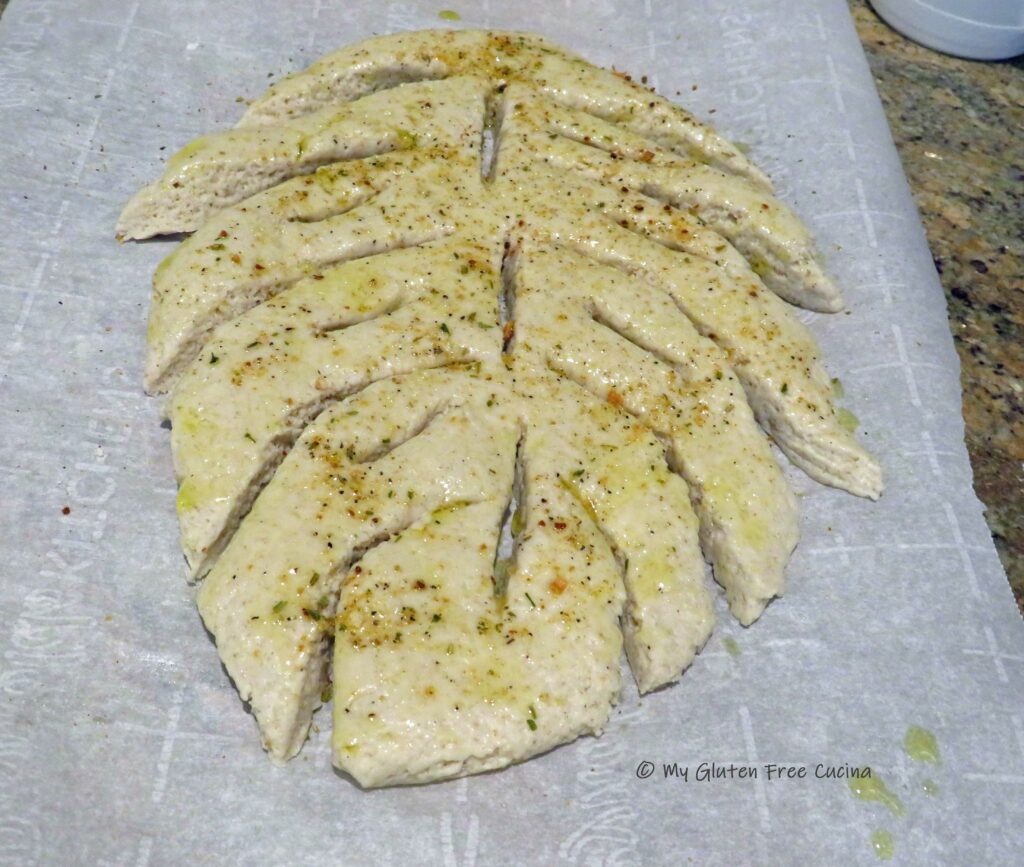
 Just before baking, brush the rolls with milk, or spray with water (you can also use an egg wash). Sprinkle the rolls with poppy seeds and coarse salt (optional).
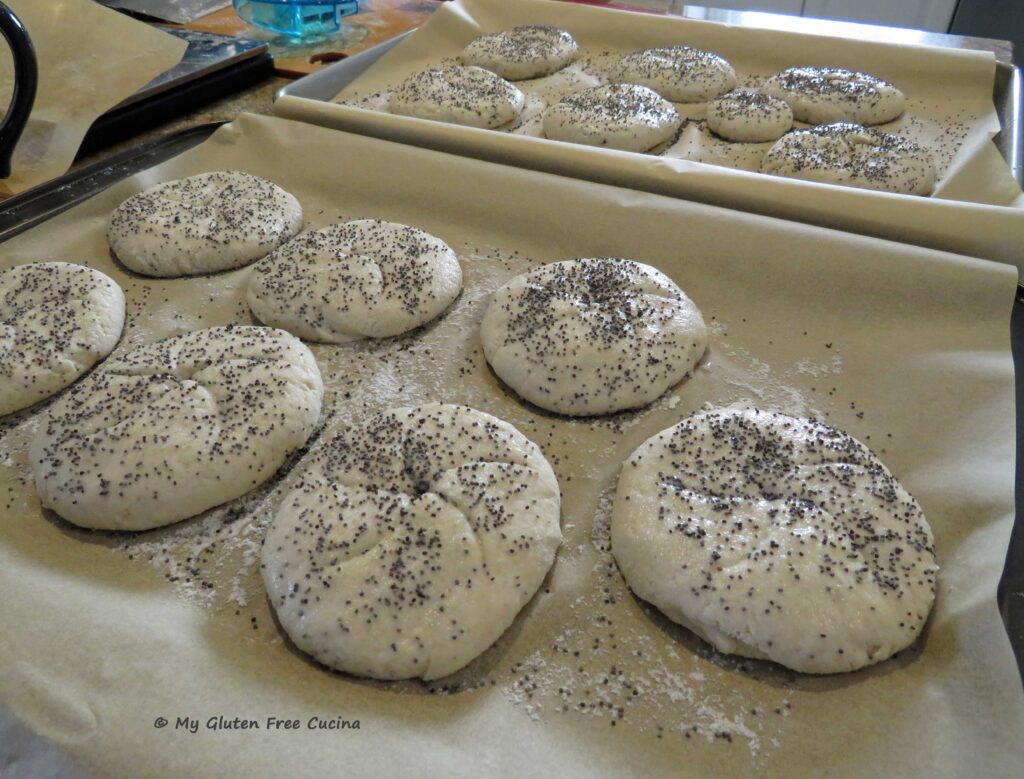 Place the pans on the center rack and throw a few ice cubes into the bottom of the oven. Bake for 5 minutes, then lower the oven temperature to 375º.
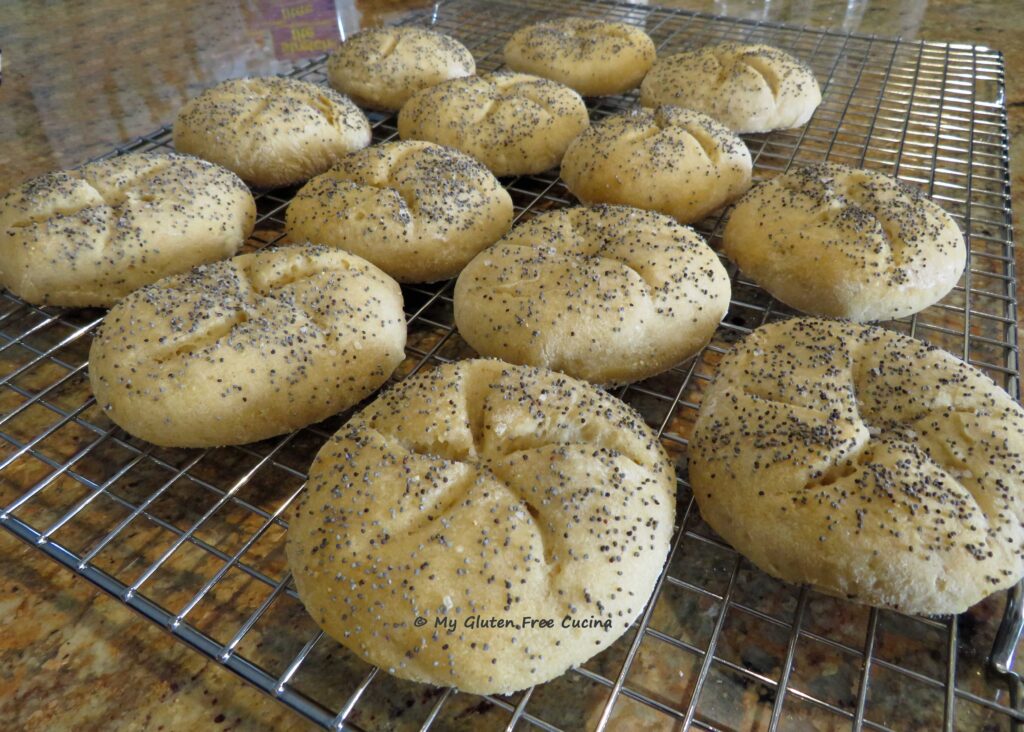
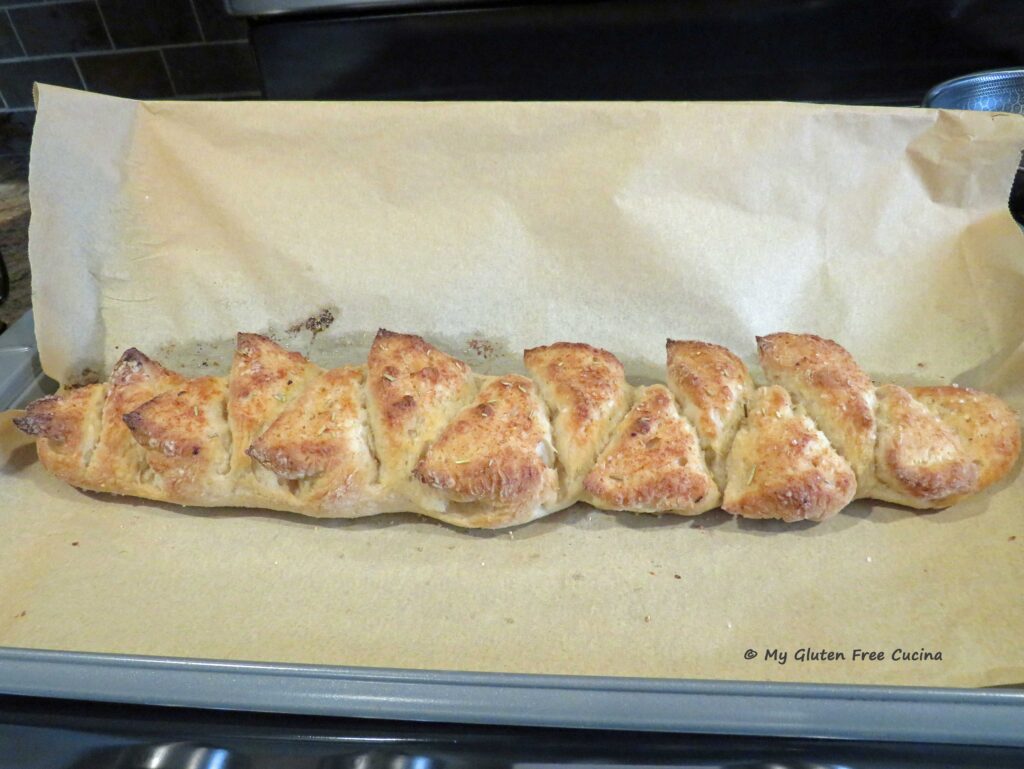
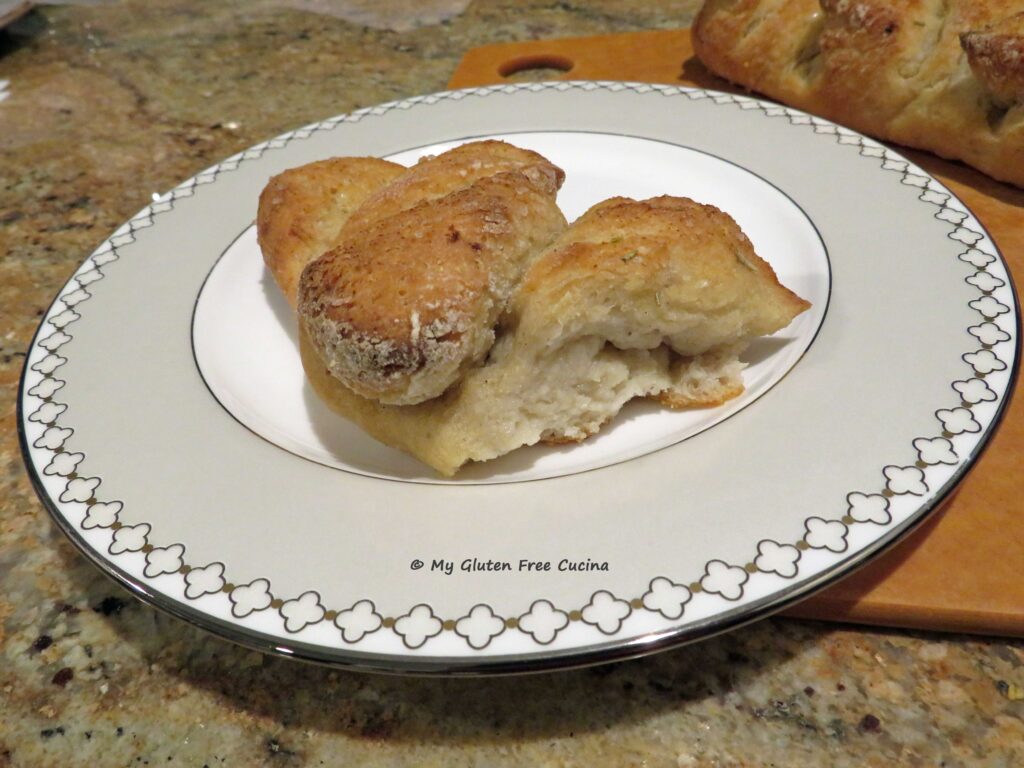
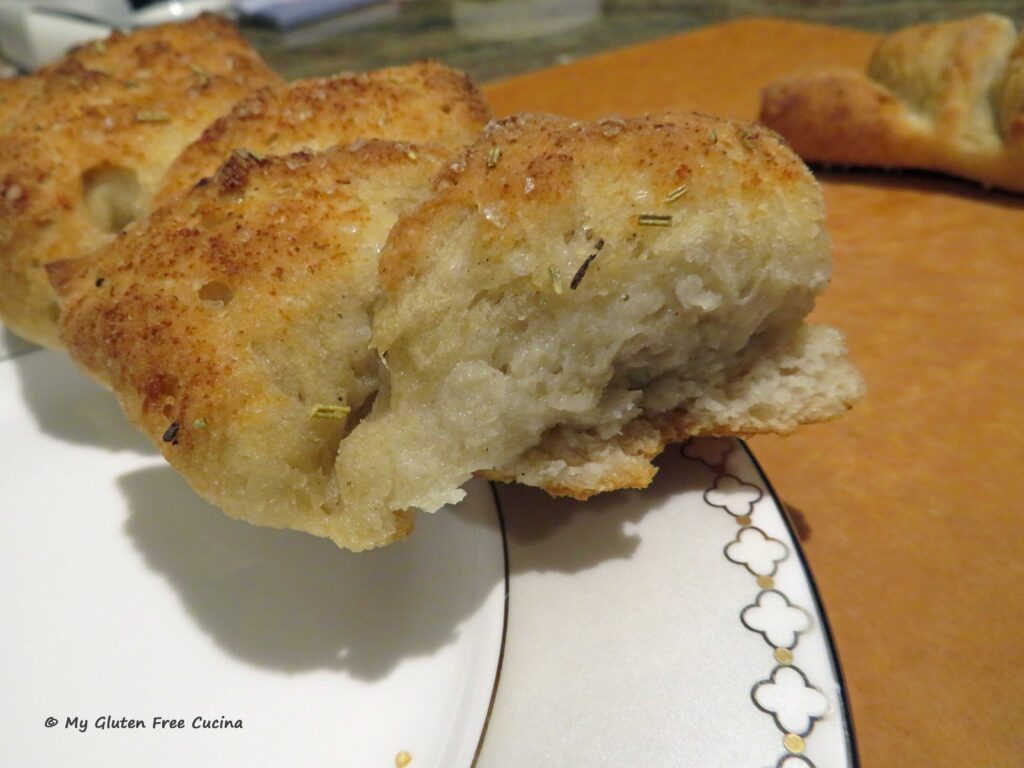
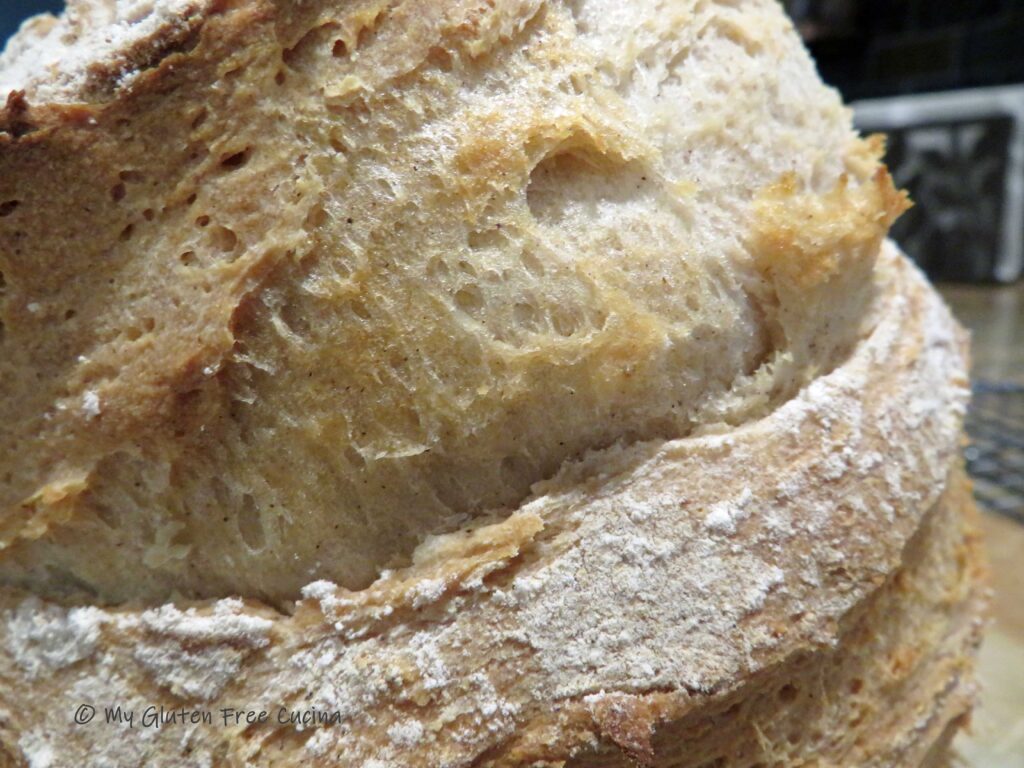
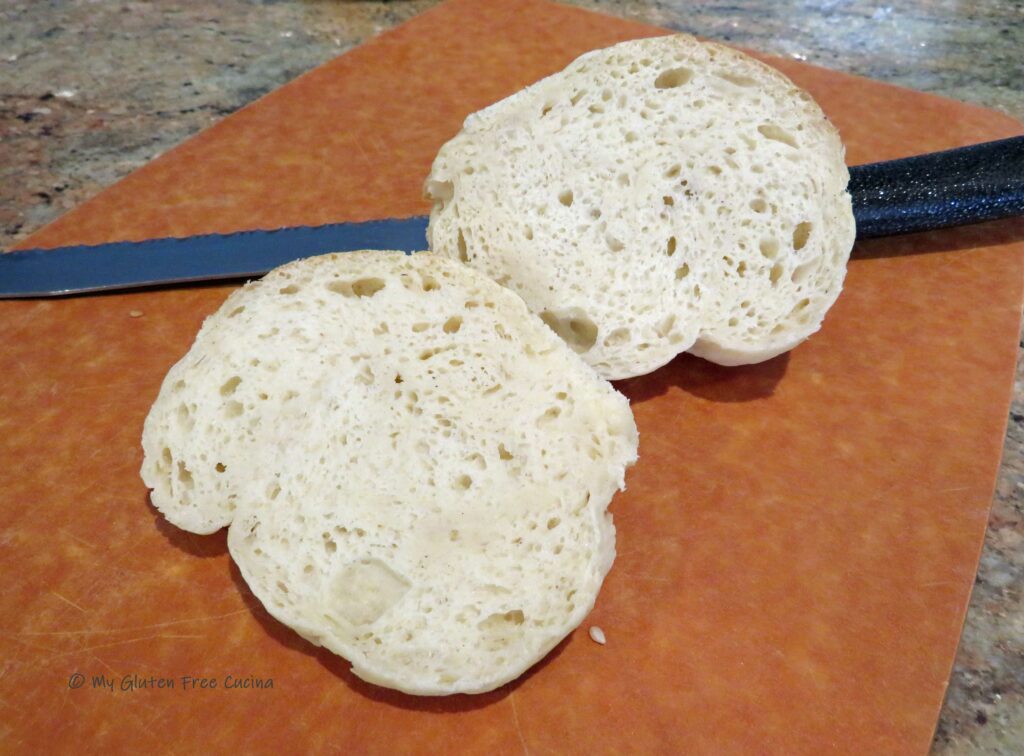
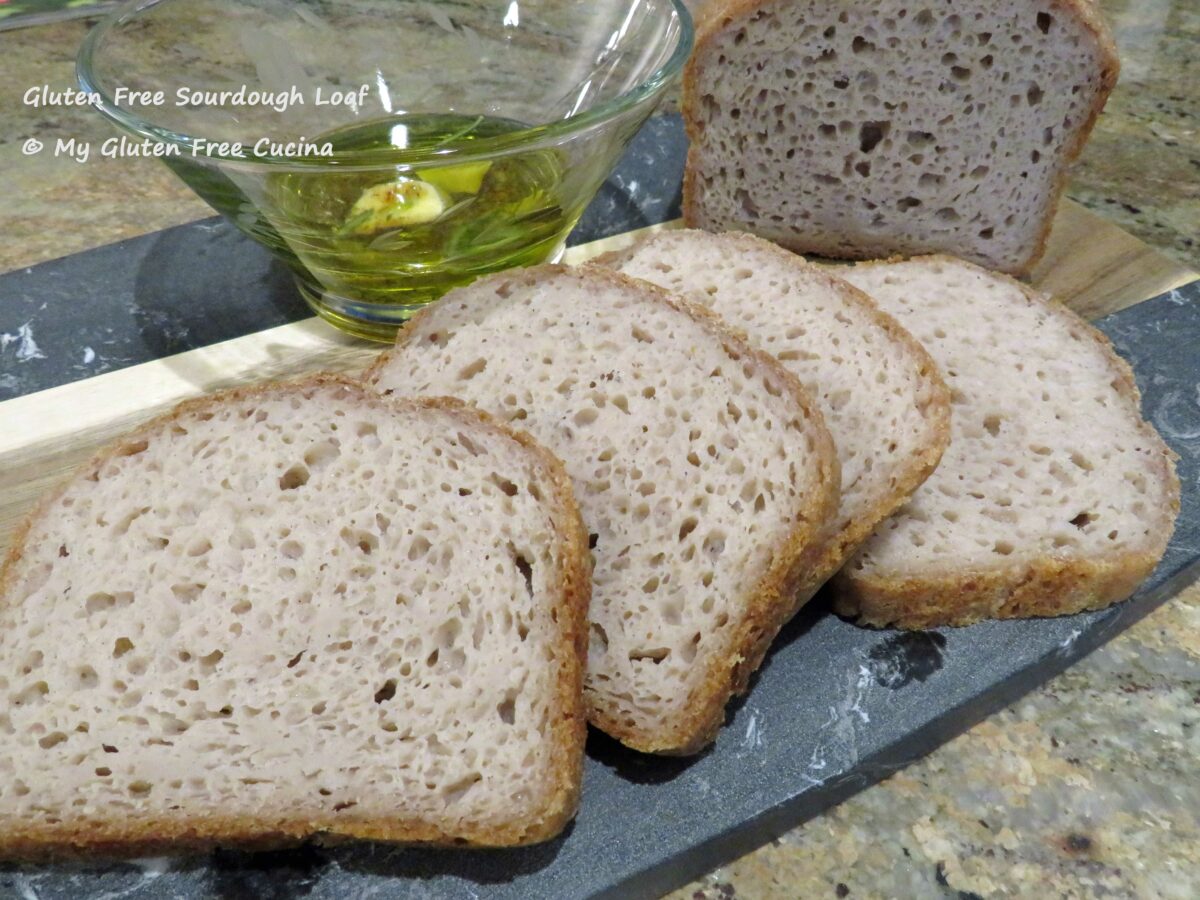
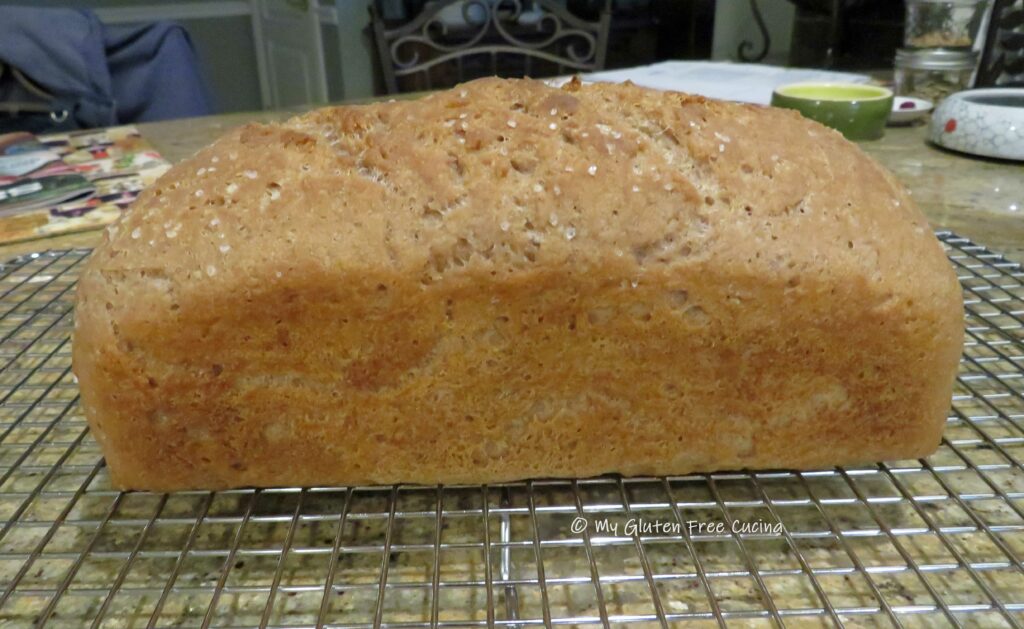
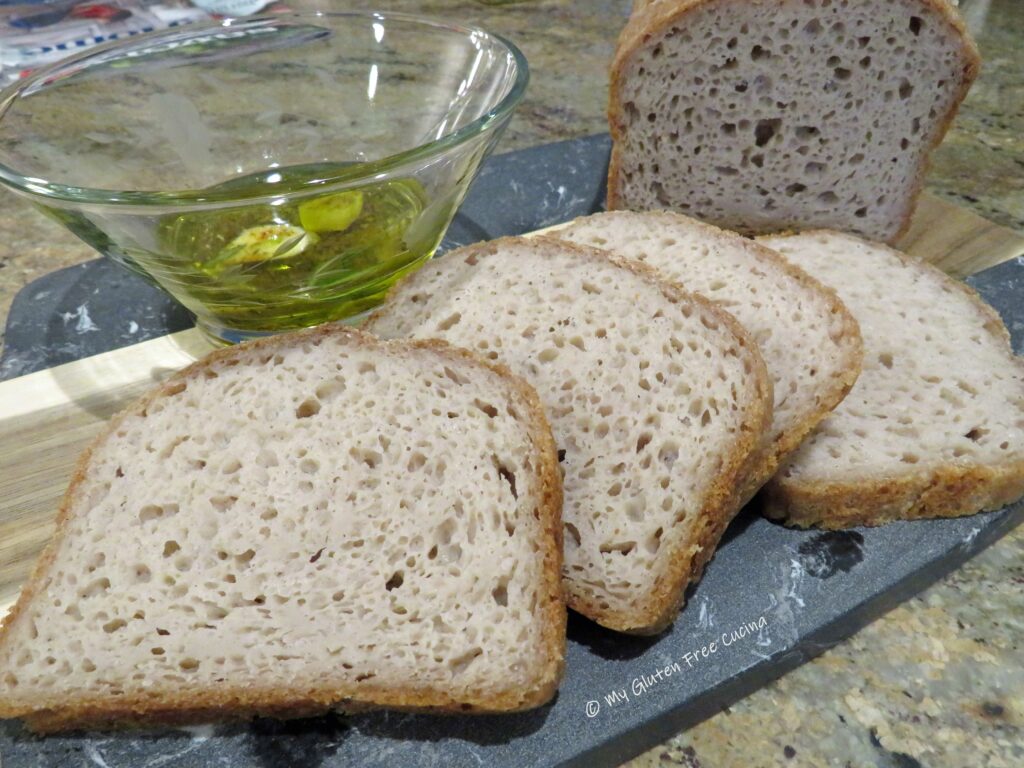
 Here’s the crumb shot. The rolls don’t need to be toasted, but they are great either way. Just the right size for me.
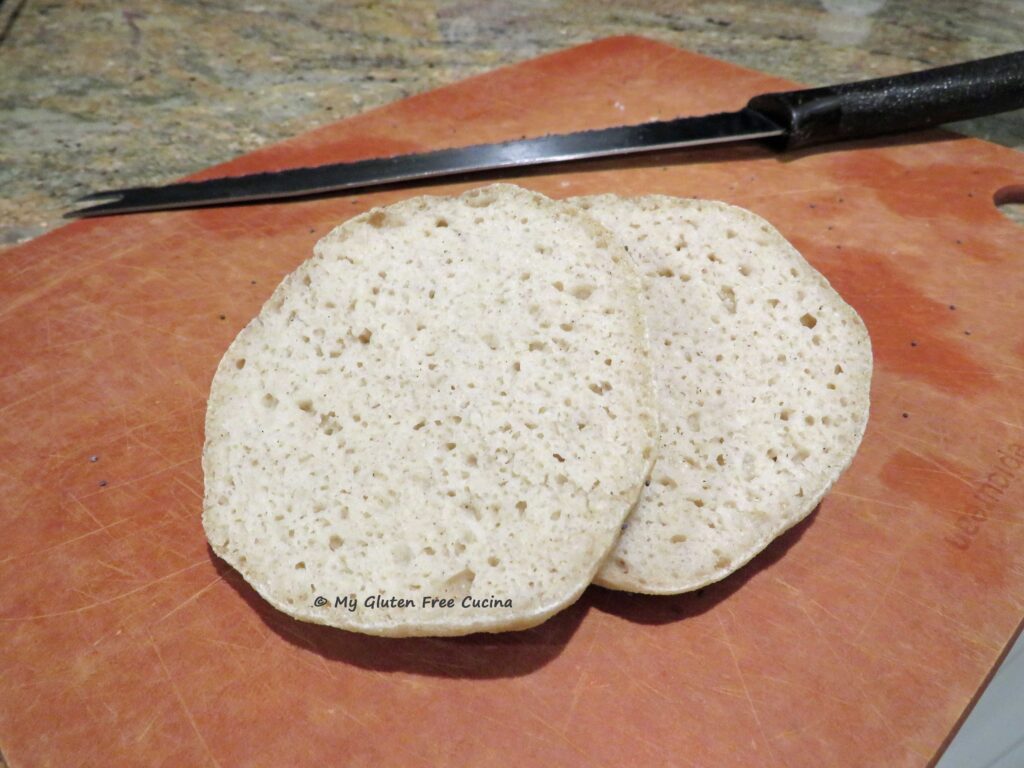

 Oh, and as if you hadn’t waited long enough, the baked loaf will need to rest a full day before slicing! Most gluten free breads need extra time to release their moisture but for this one I don’t slice for a full 24 hours. It is worth the wait.
 Day 2 –
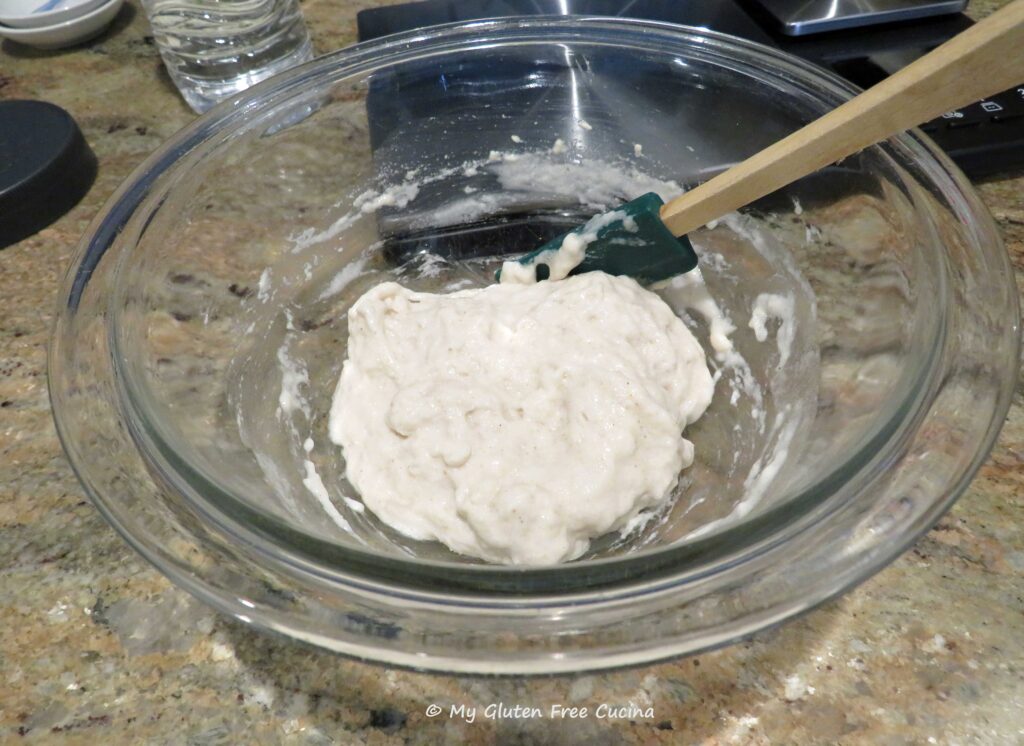
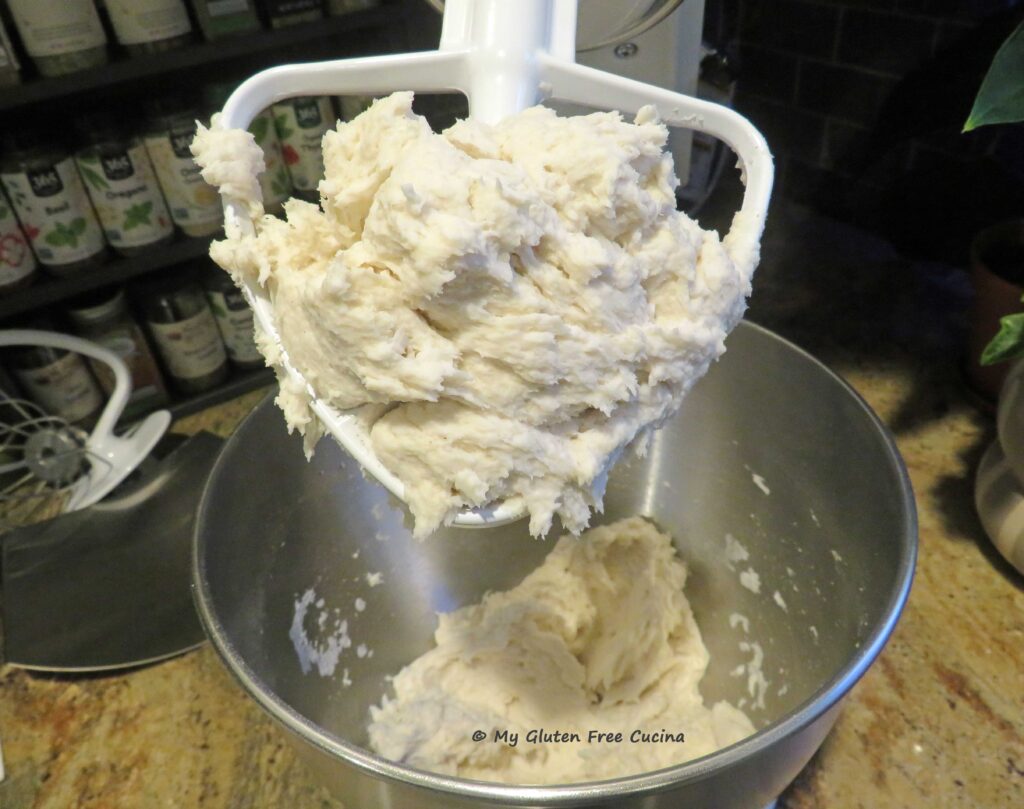 Transfer the dough to a lightly oiled bowl, cover with plastic wrap and let it rest 45 minutes while you have dinner.
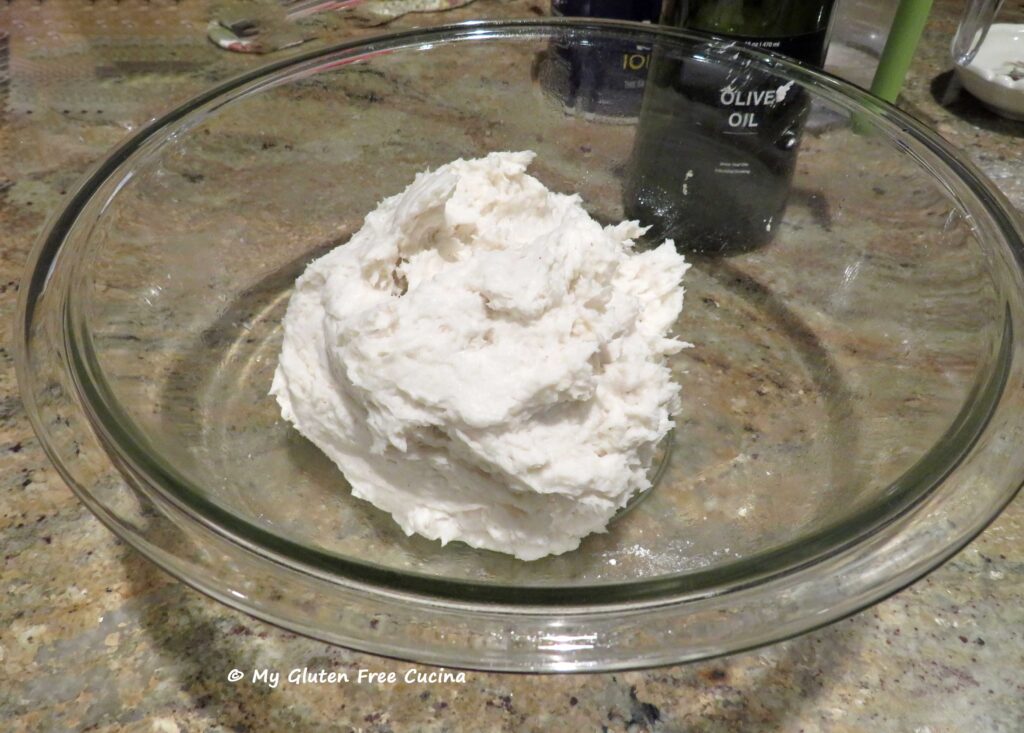 Evening
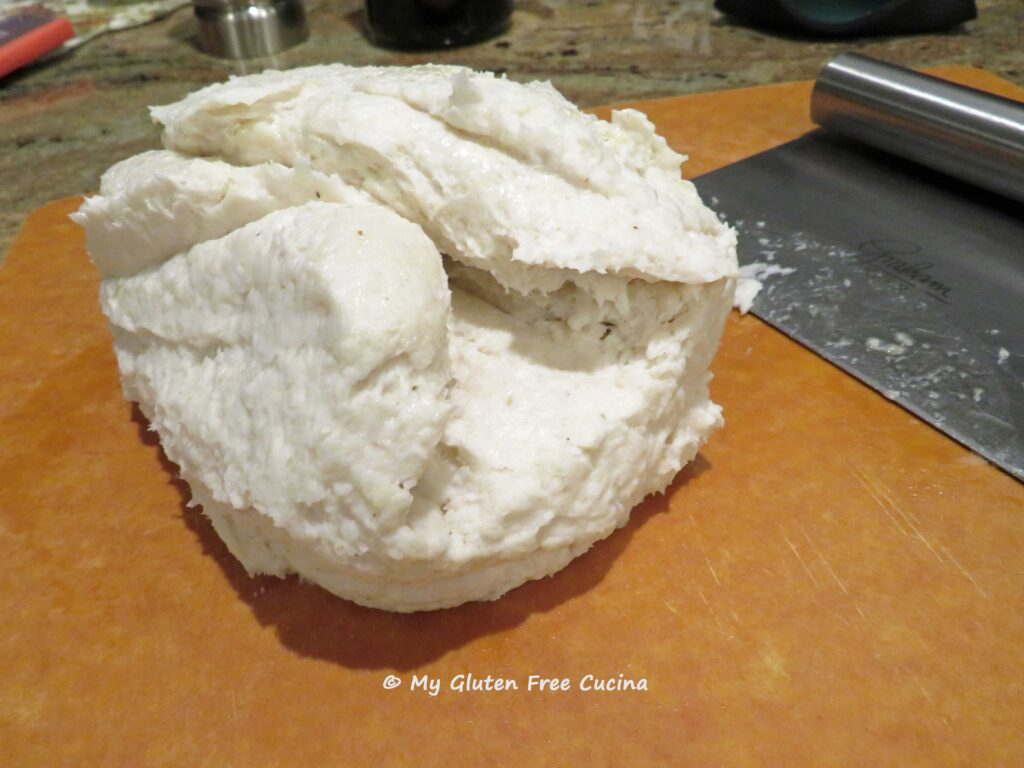
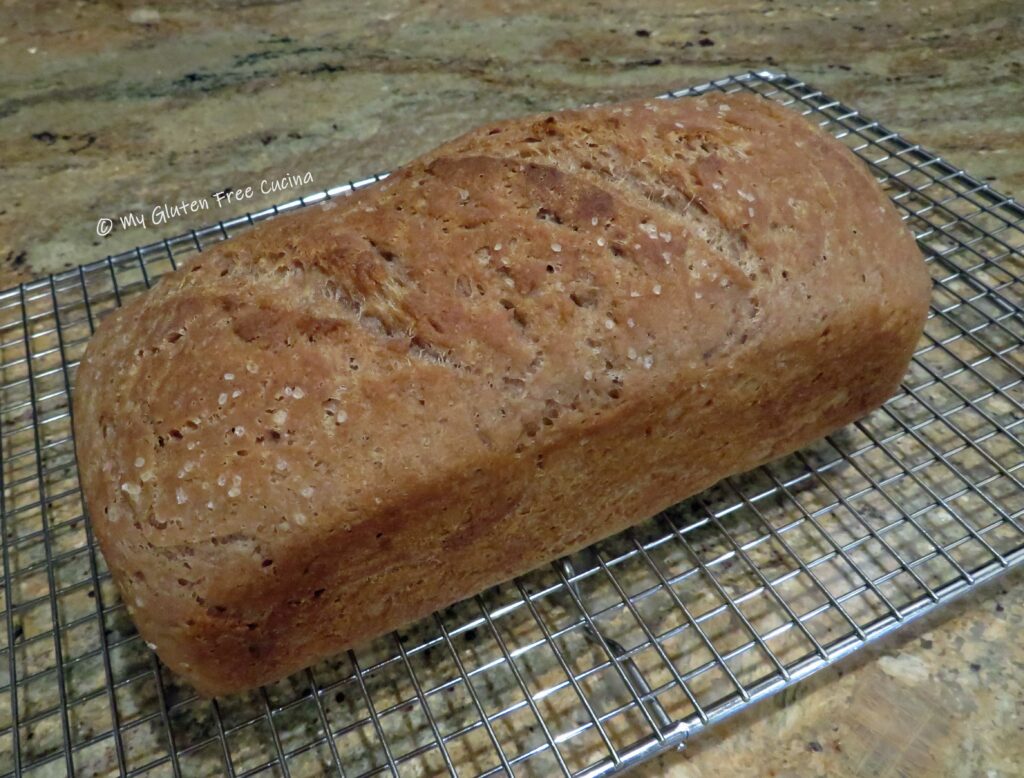
 Reduce the oven temperature to 450º and bake for 30 minutes. Then remove the cover and continue baking another 20 minutes. Loaf is done when the internal temperature reaches 210º (check with a
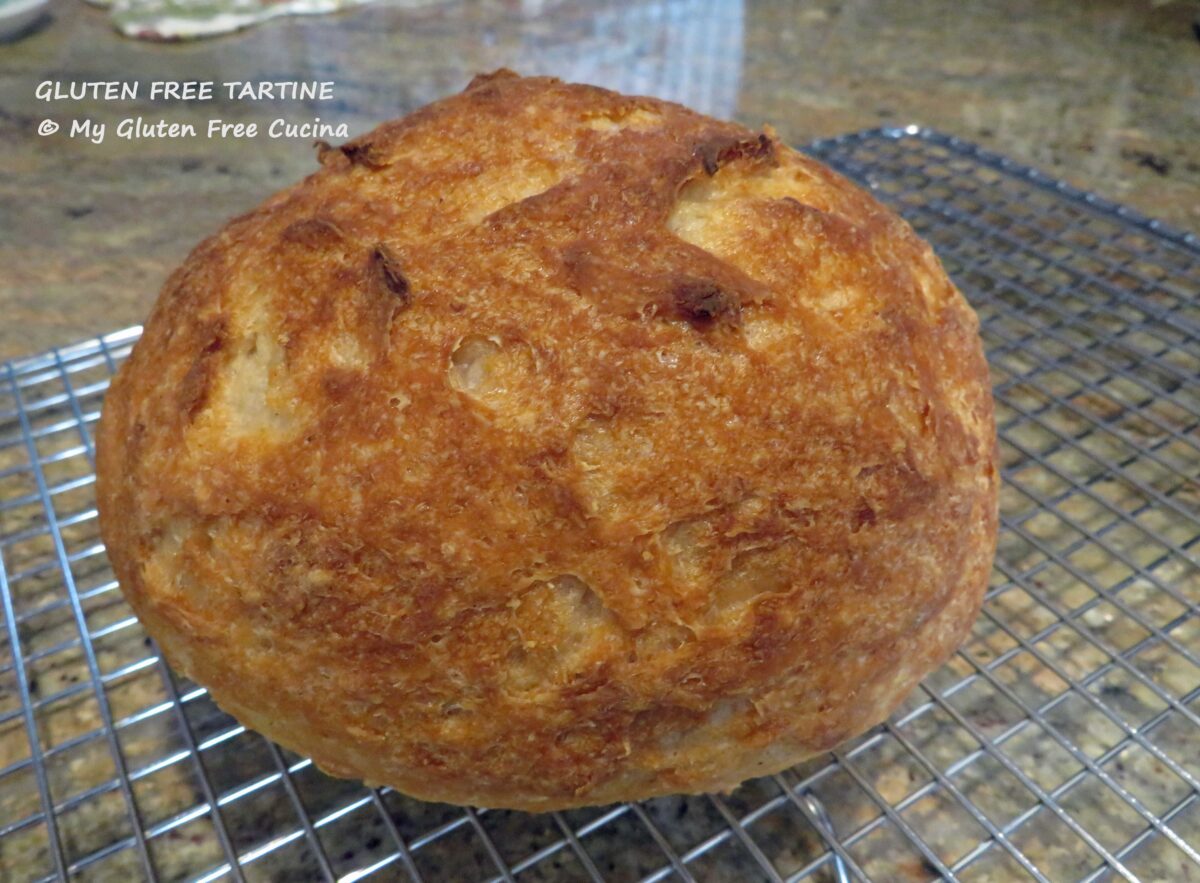
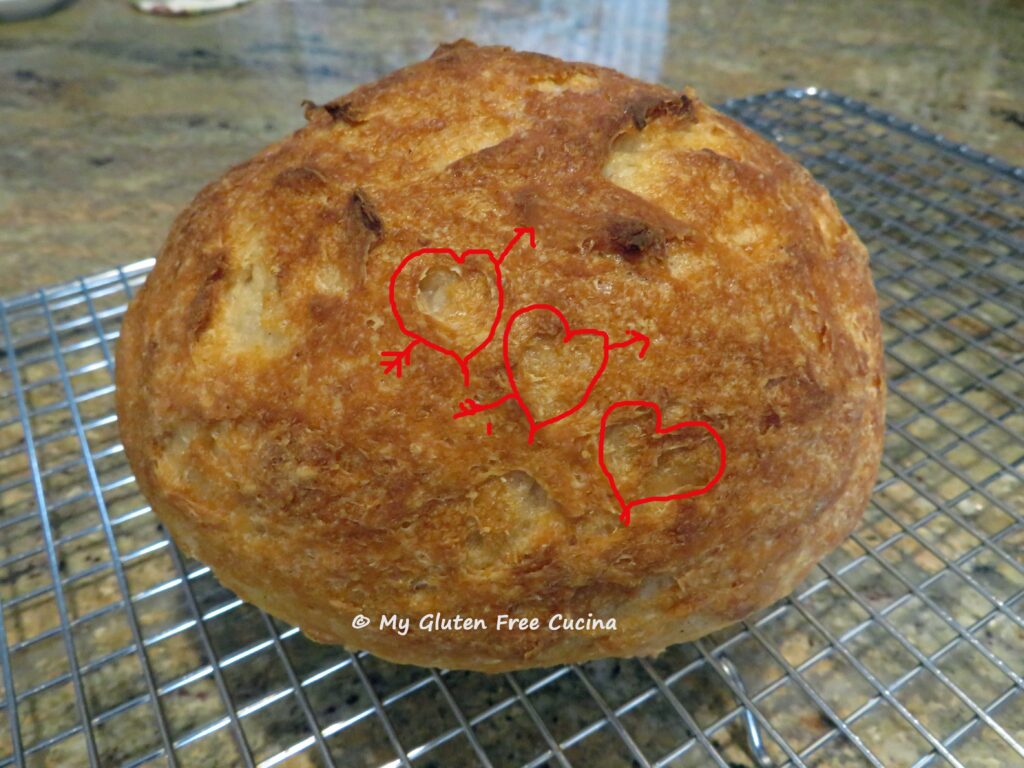
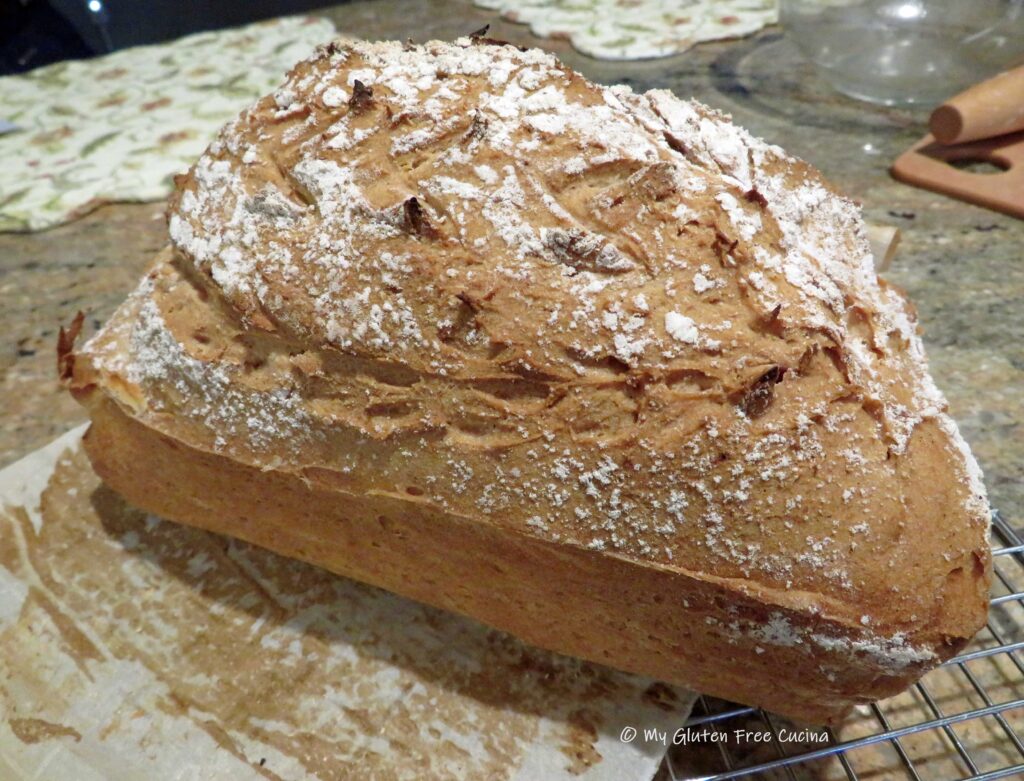
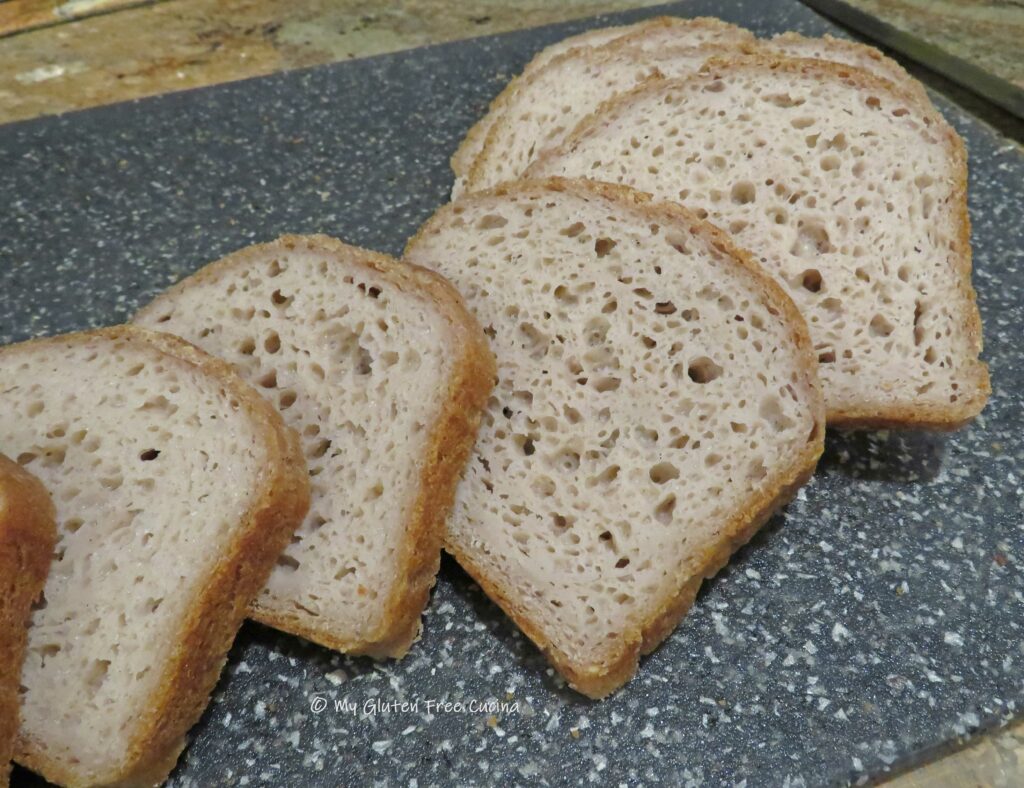
 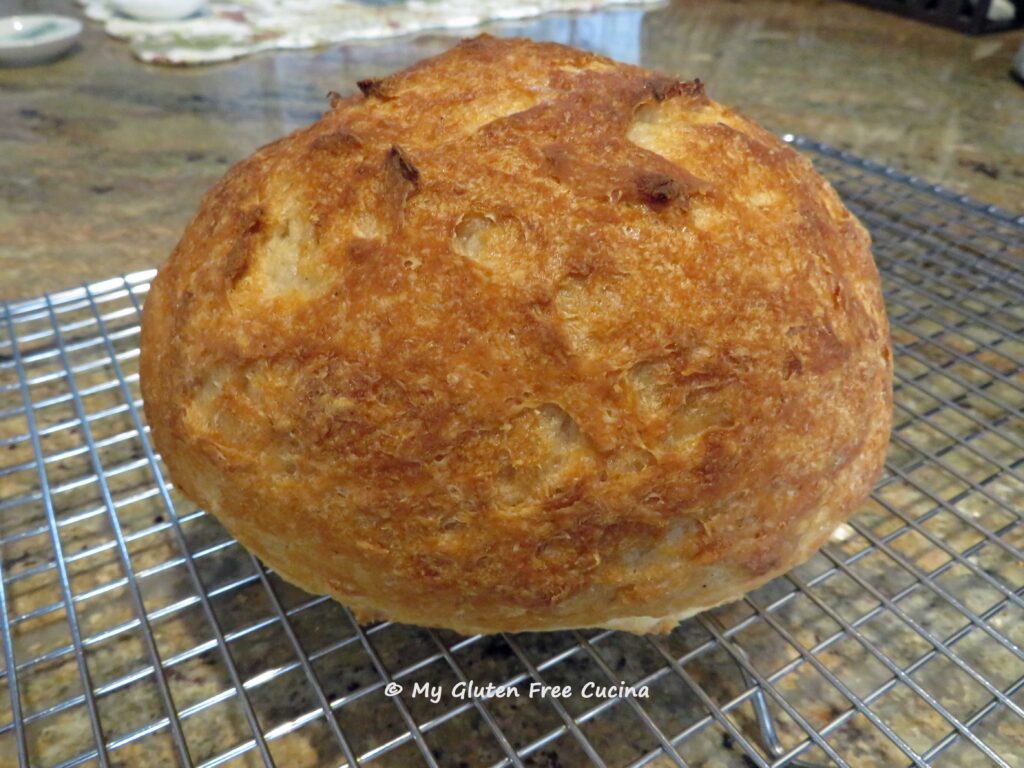 After all that, you will probably want to tear right into your loaf of bread. But- please be patient! This beautiful, artisanal loaf needs a full 24 hours to release its moisture. Rushing it can mean a wet sticky loaf instead of a gorgeous crumb like this!
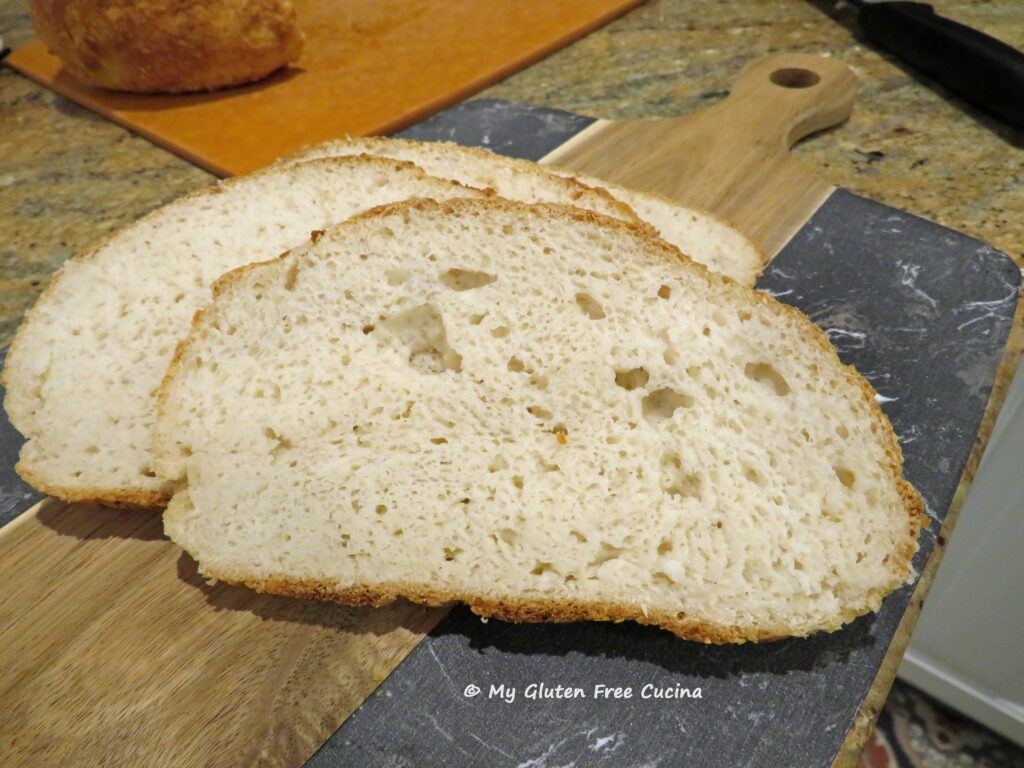 Day 4-
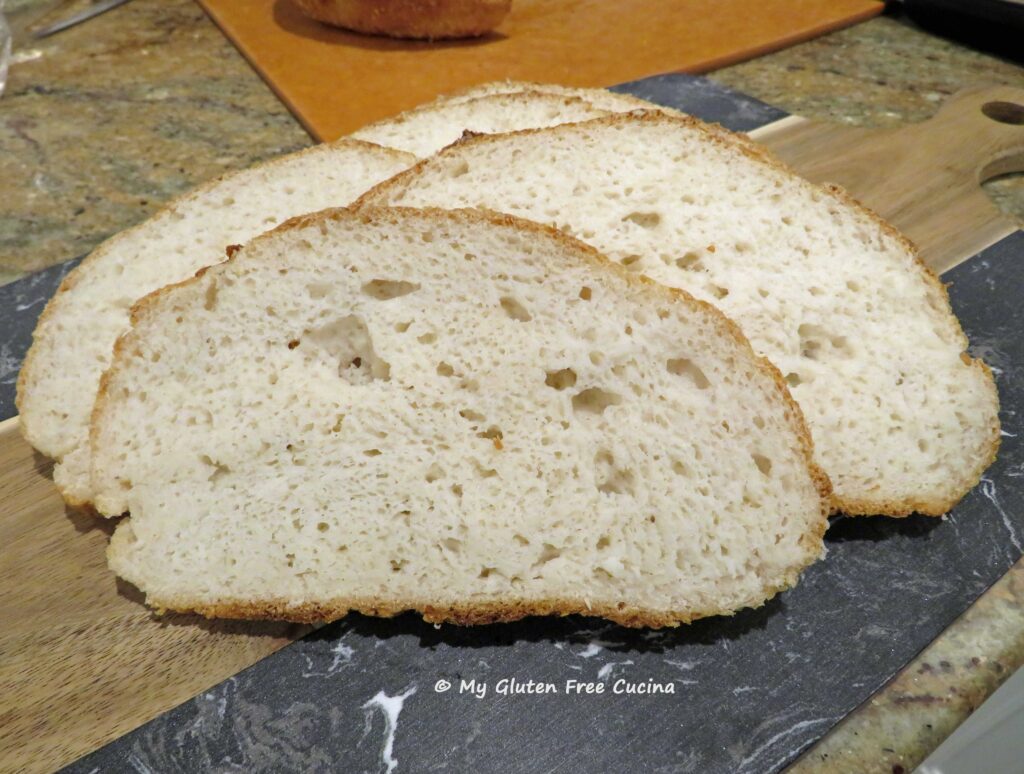 Notes:


 Preparation:
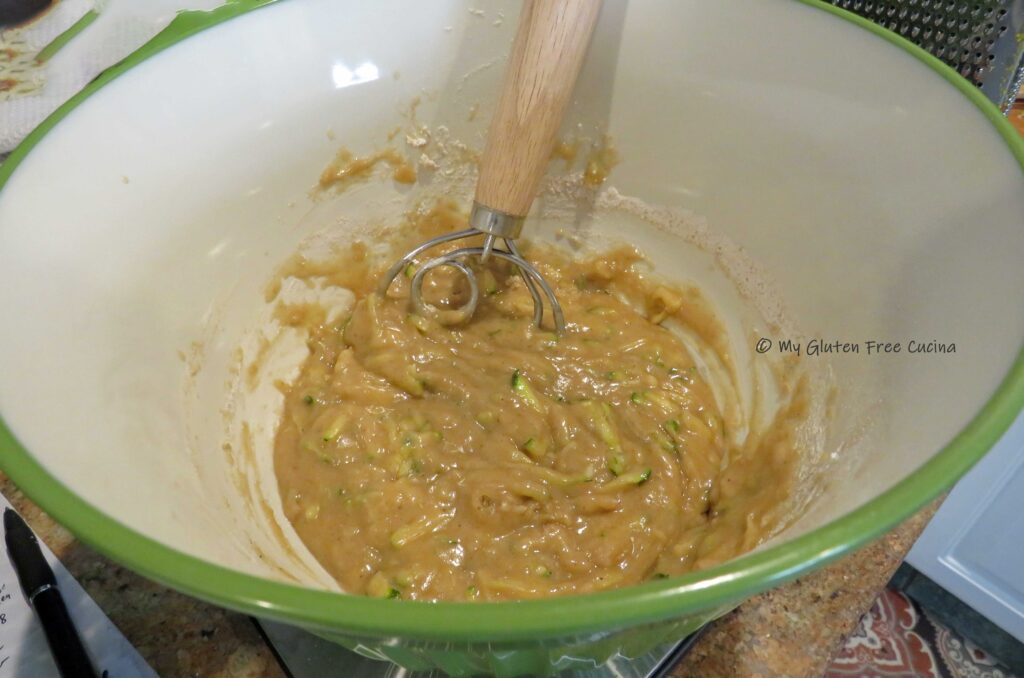
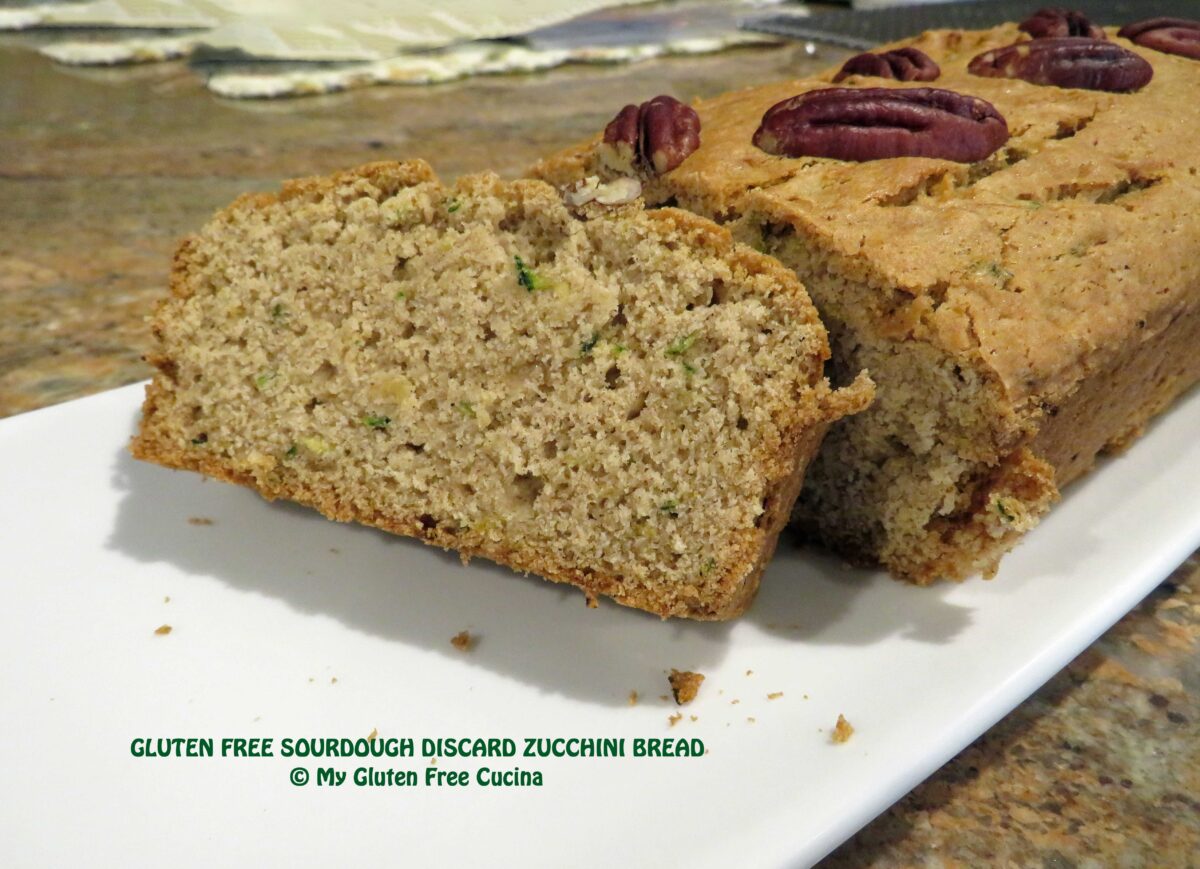
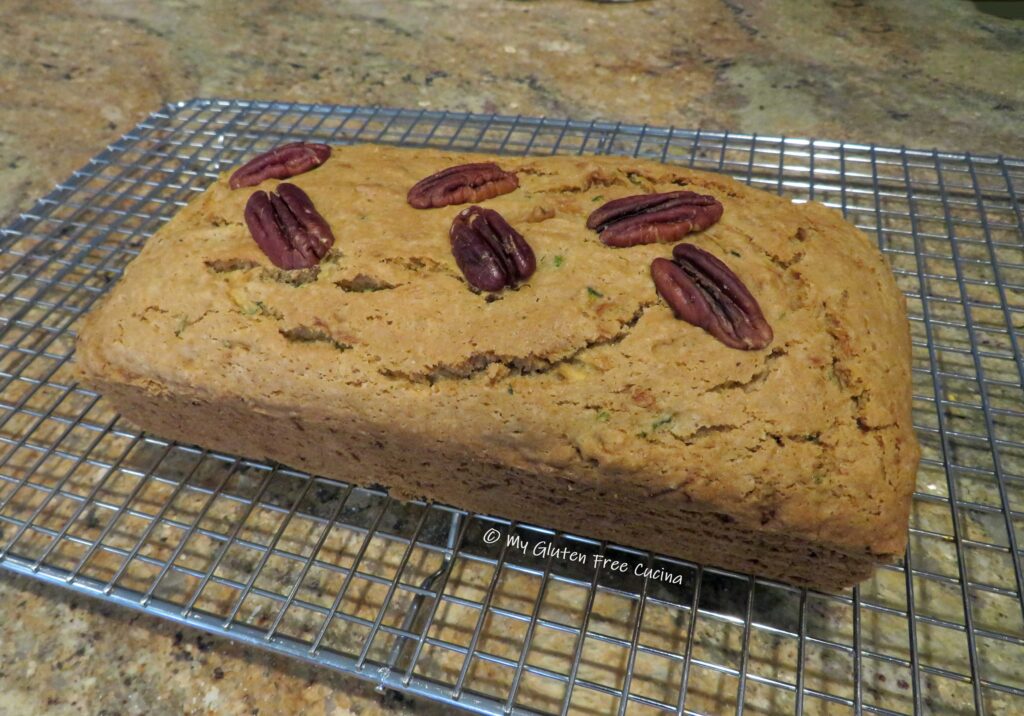
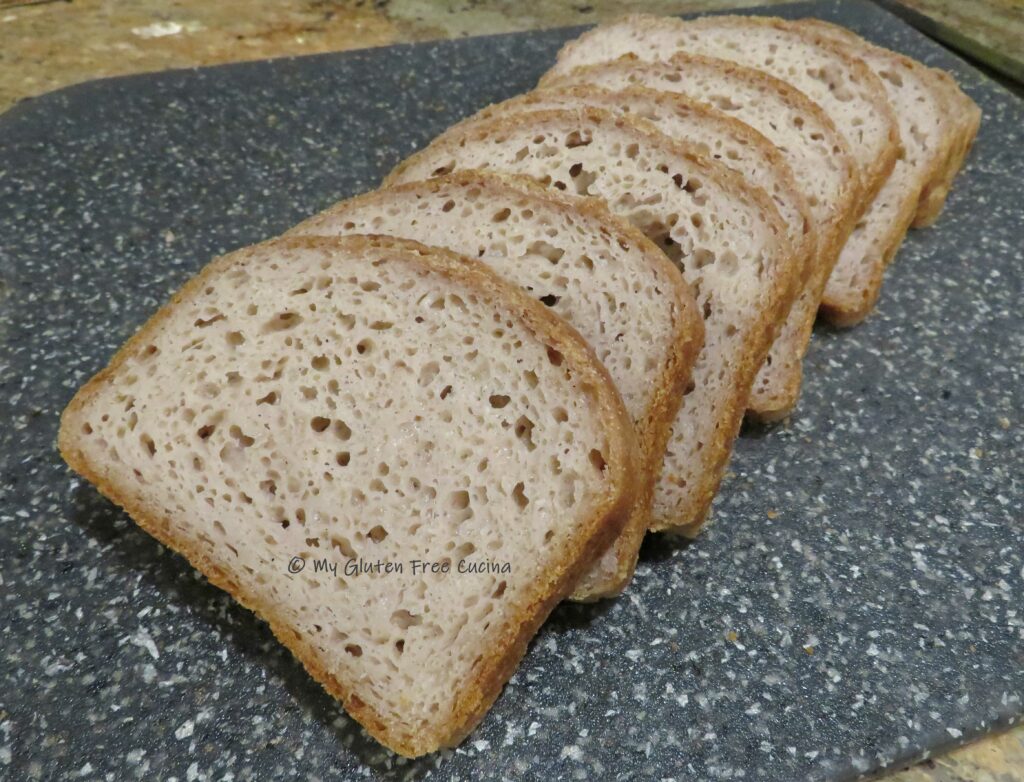
 Check out the crumb, it came out so delicious and moist. Every bit the traditional zucchini bread, and you don’t really taste the sourdough.
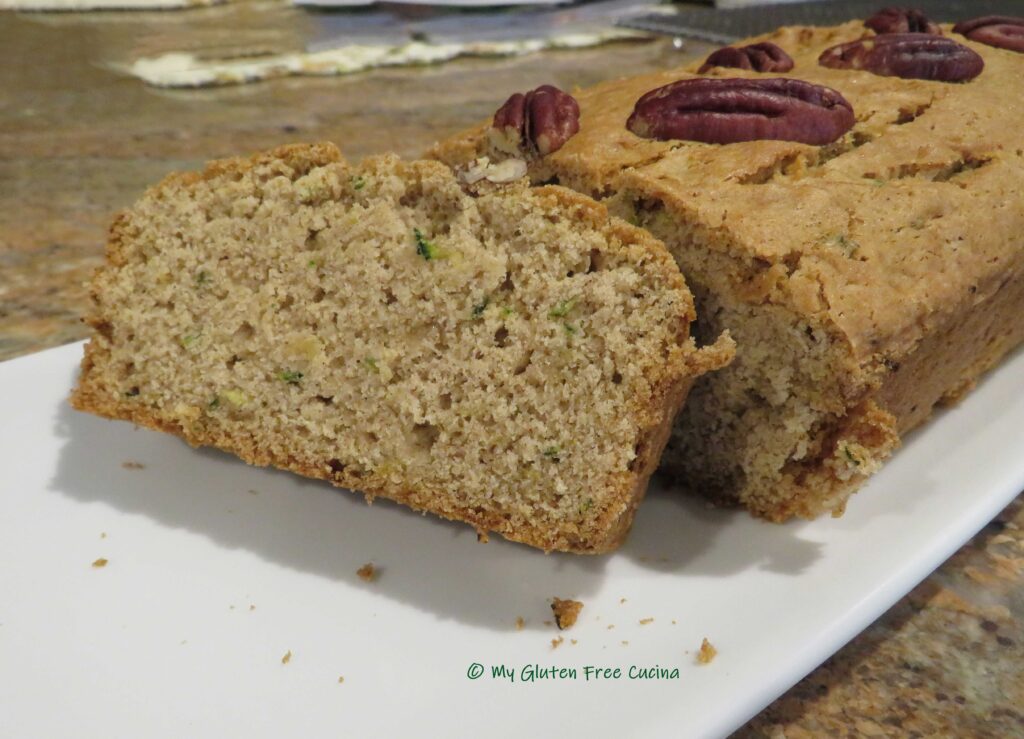 Leftovers can be stored at room temperature for a day. Beyond that, I recommend you wrap slices tightly in plastic wrap and freeze (store in a freezer safe bag).
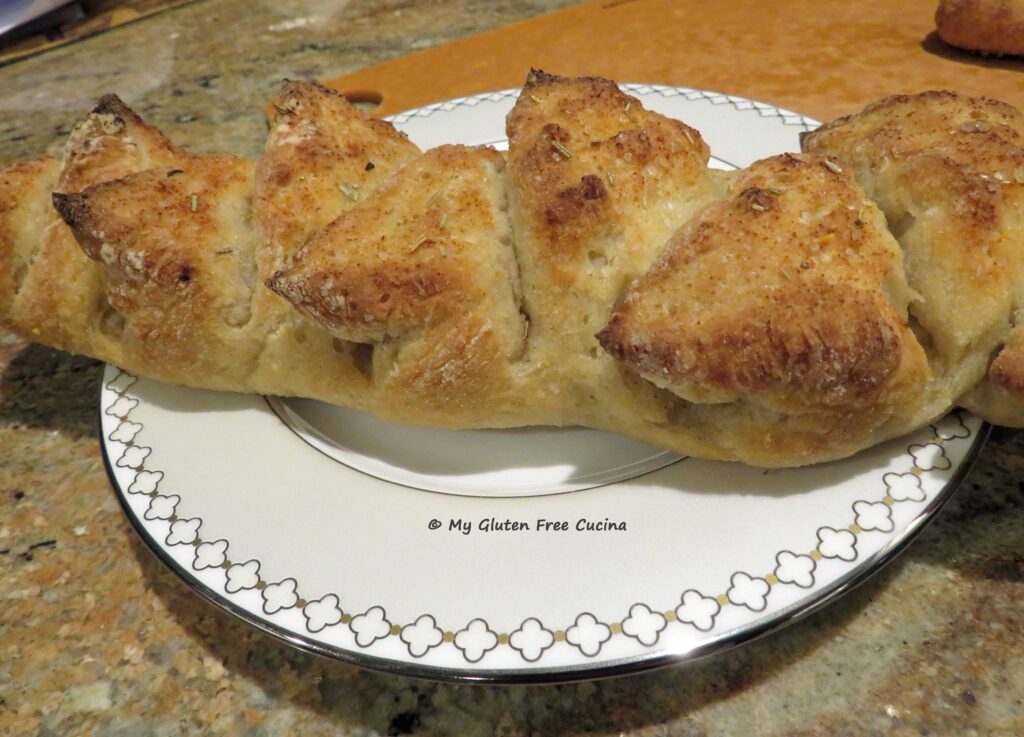
 Have you ordered the new Bread Flour from Better Batter yet?
 Preparation:
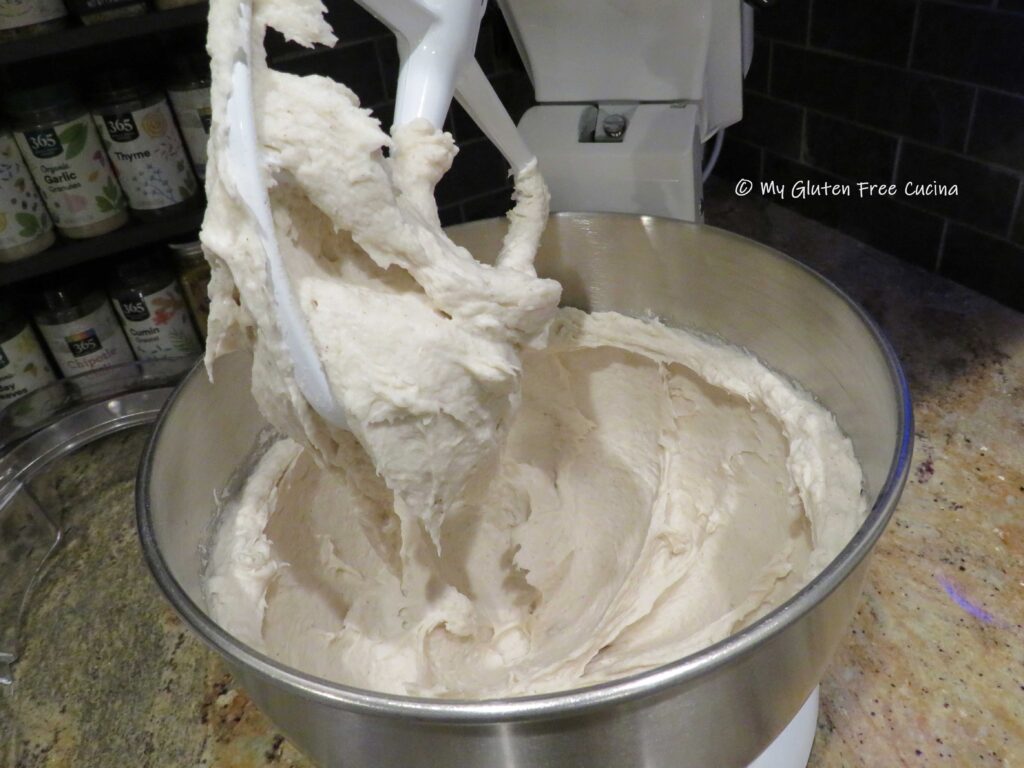


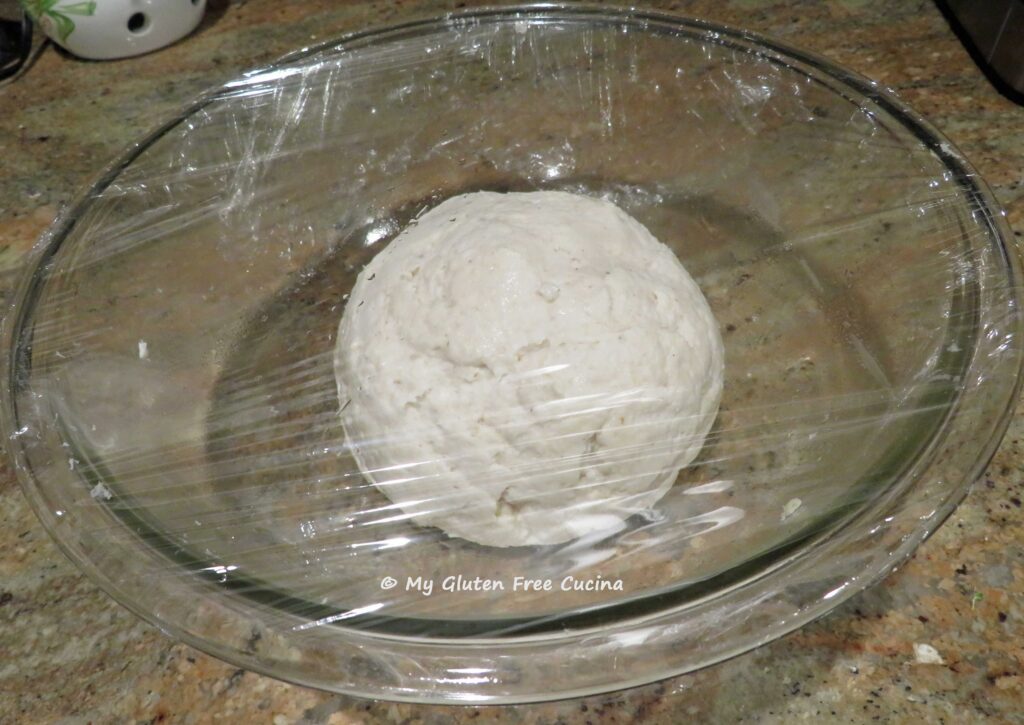
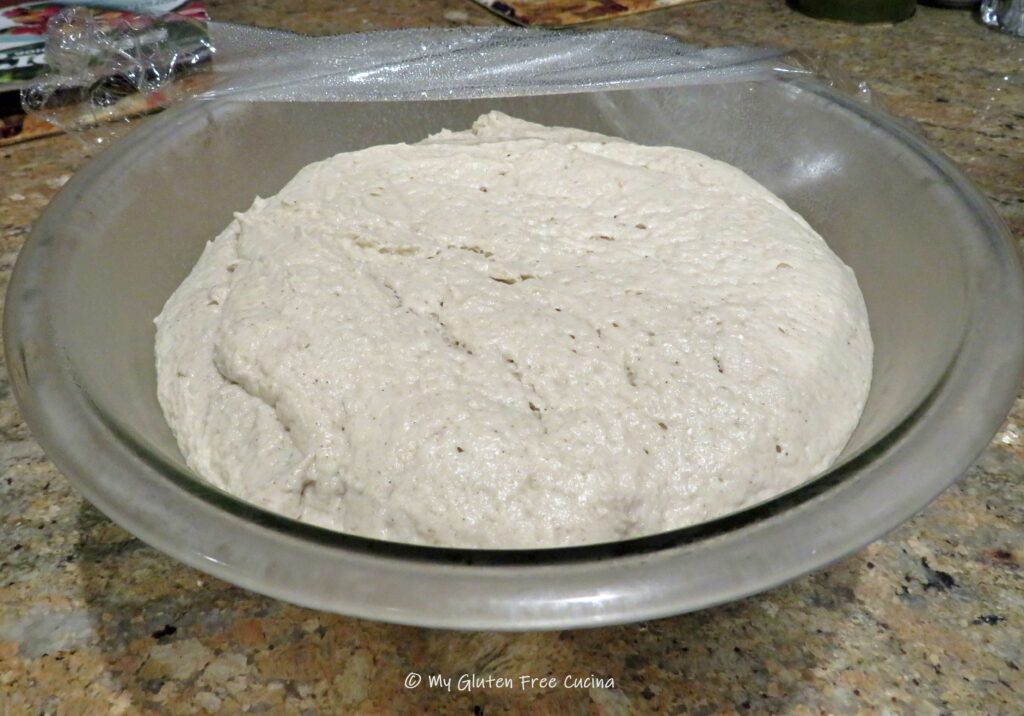
 Place the dough ball in an oiled bowl, cover with plastic wrap and refrigerate overnight for 12 hours.
 In the morning, preheat the oven to 475º with
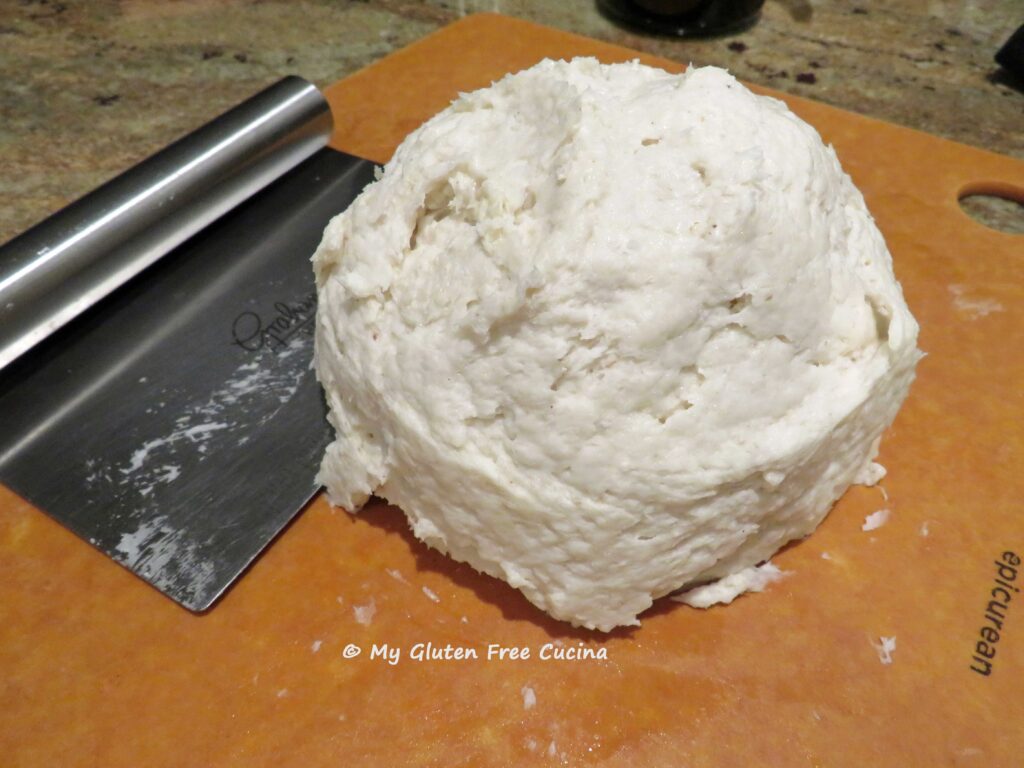
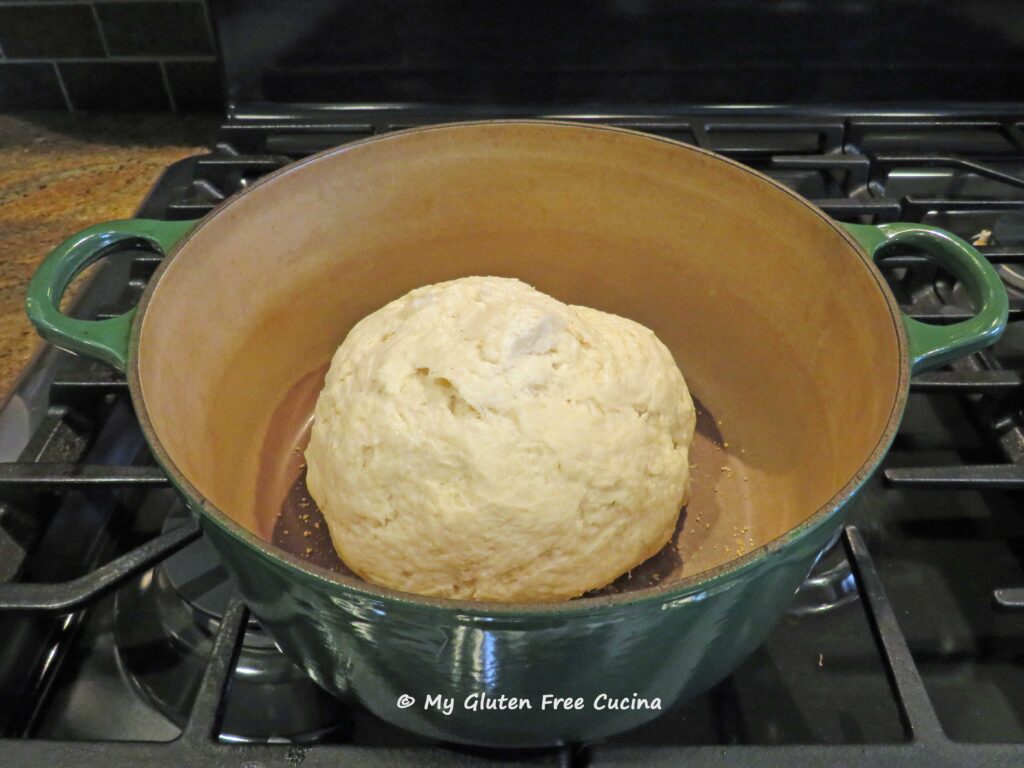
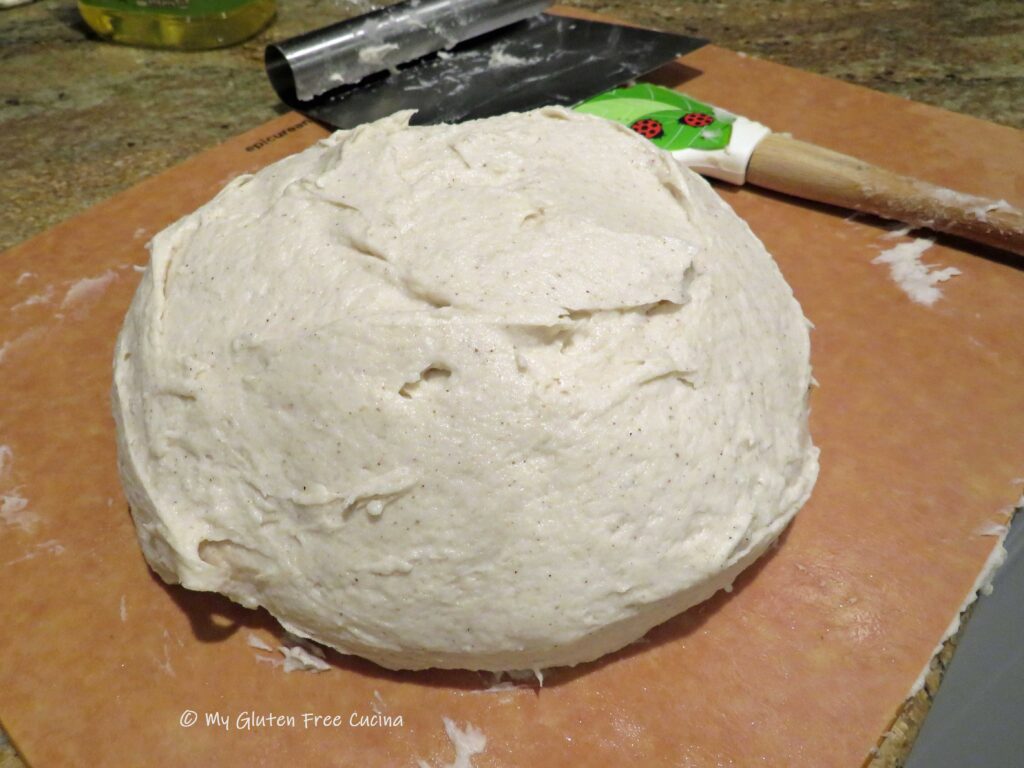
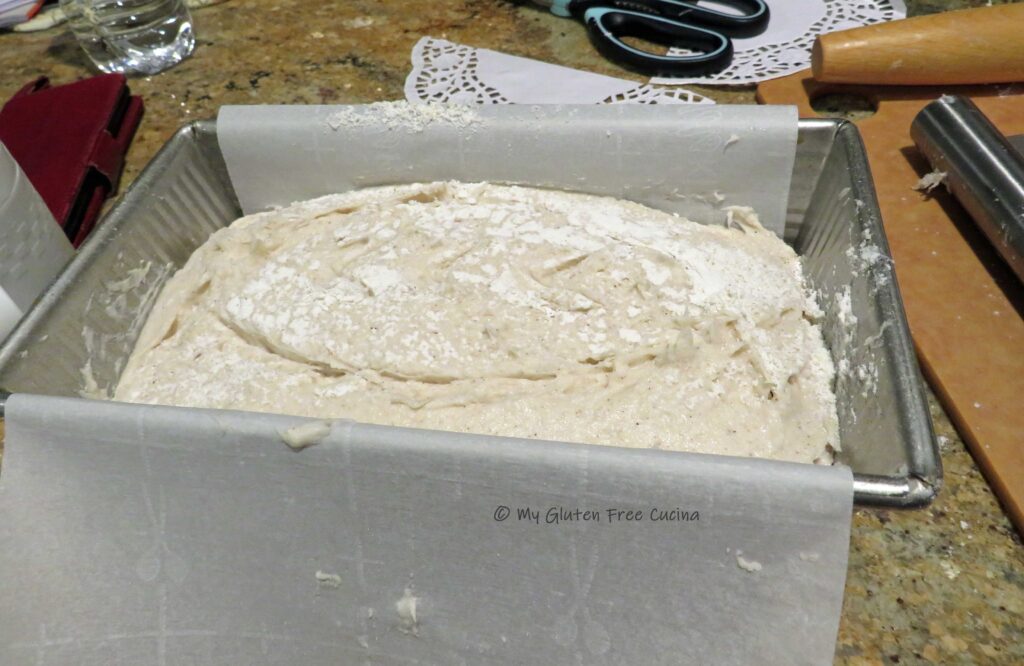
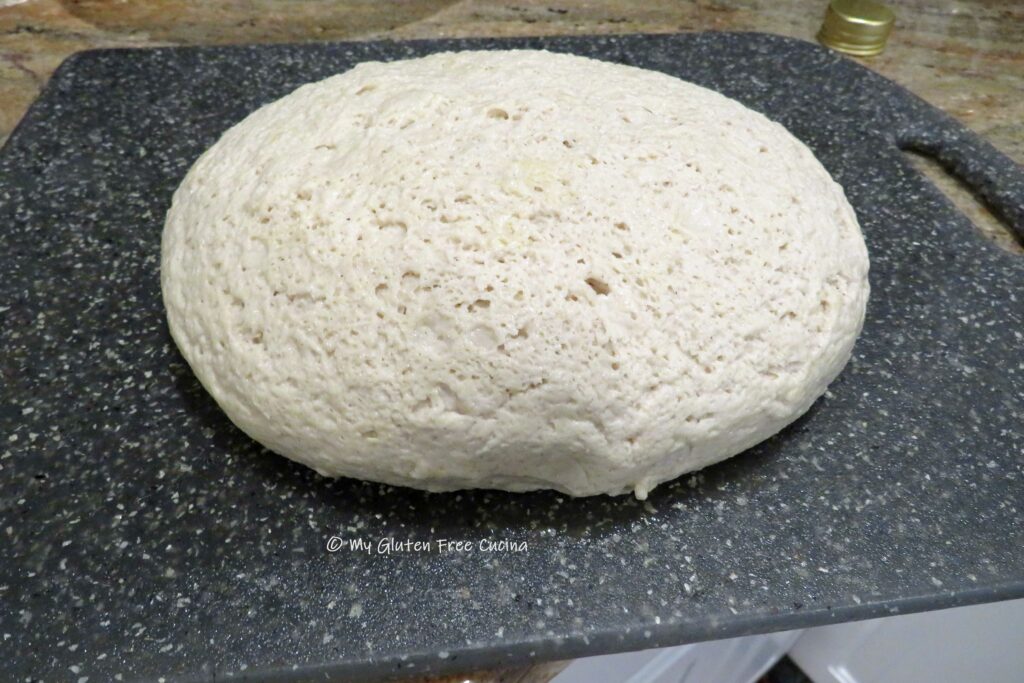
  Use a spatula to smooth it into a round shape.
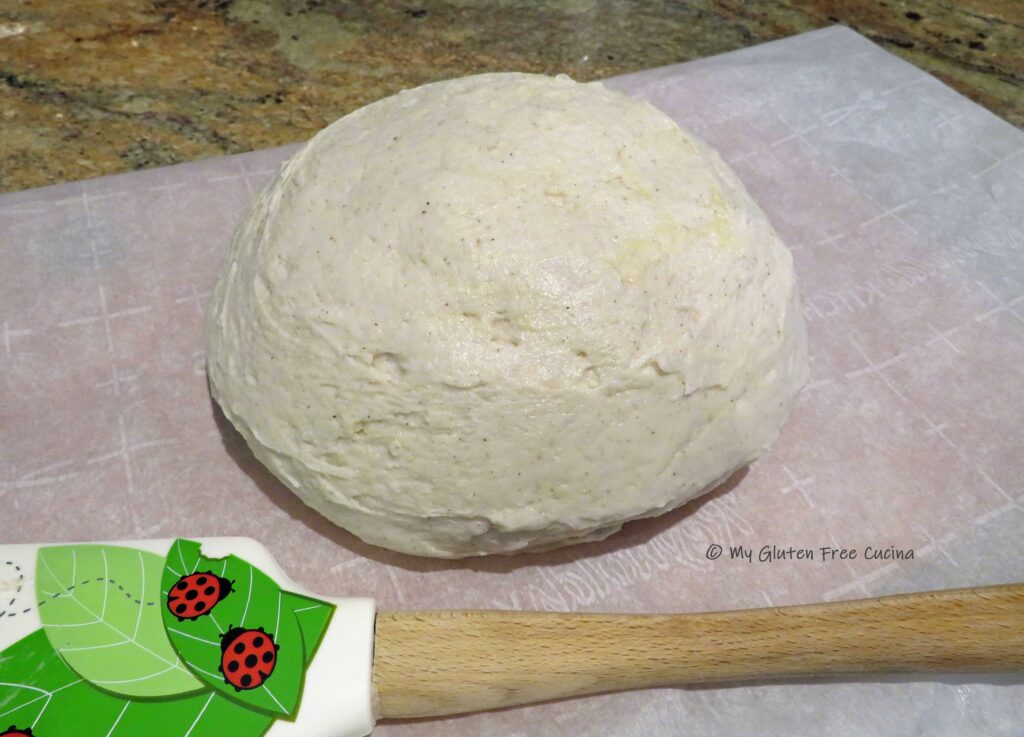 Use a
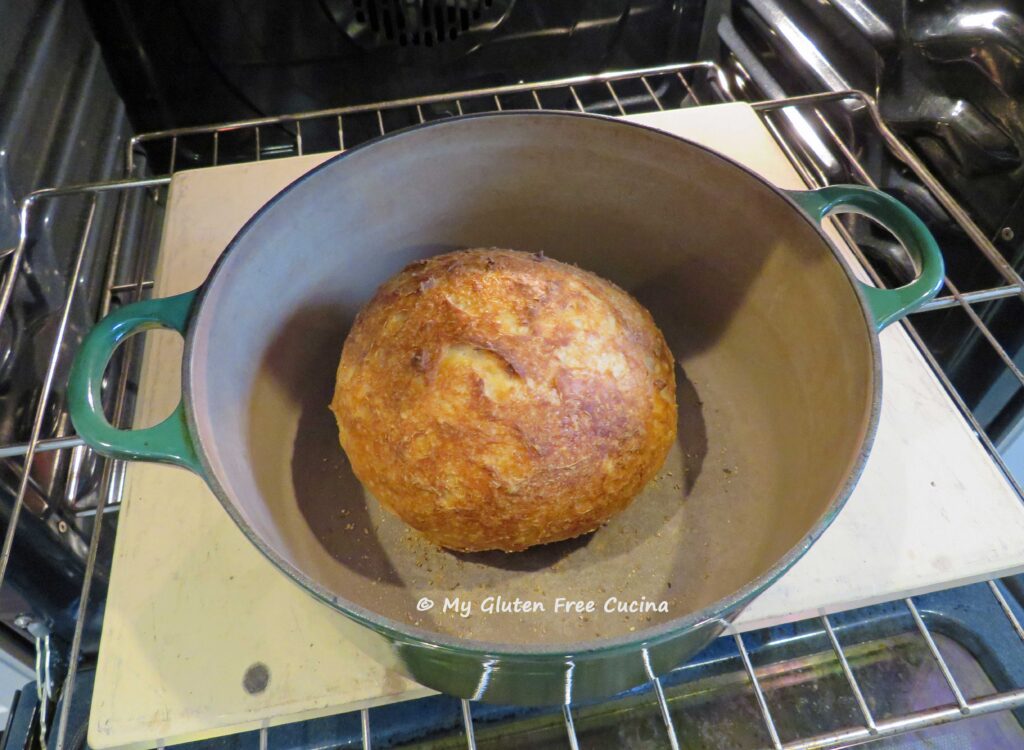
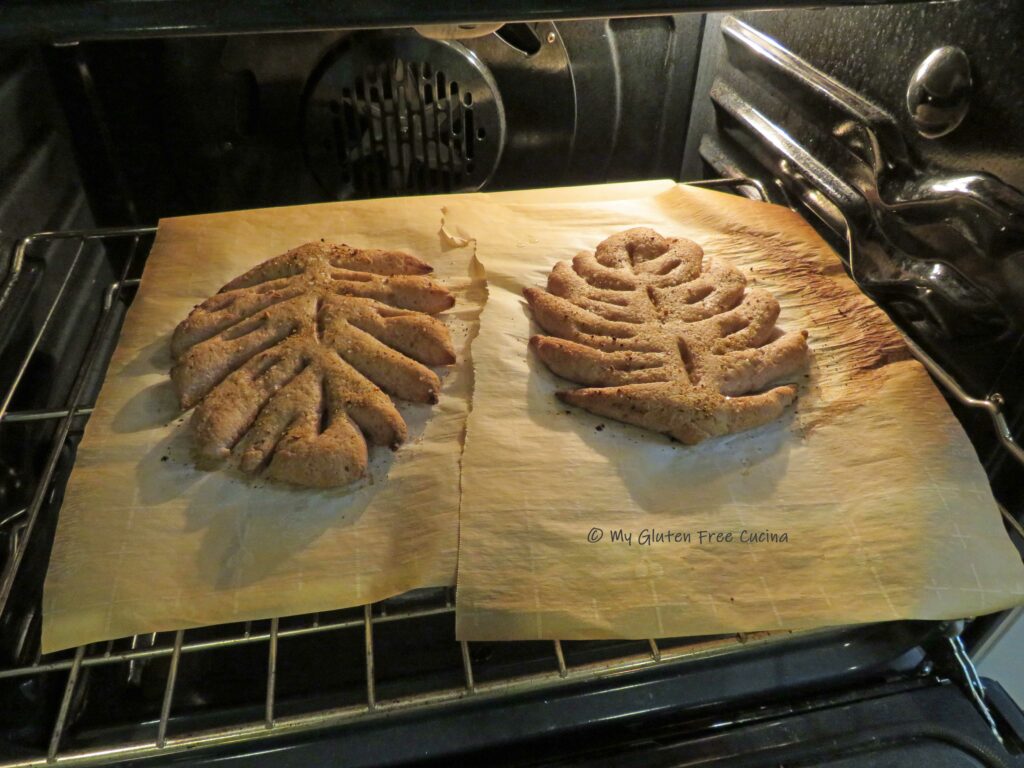
Use a 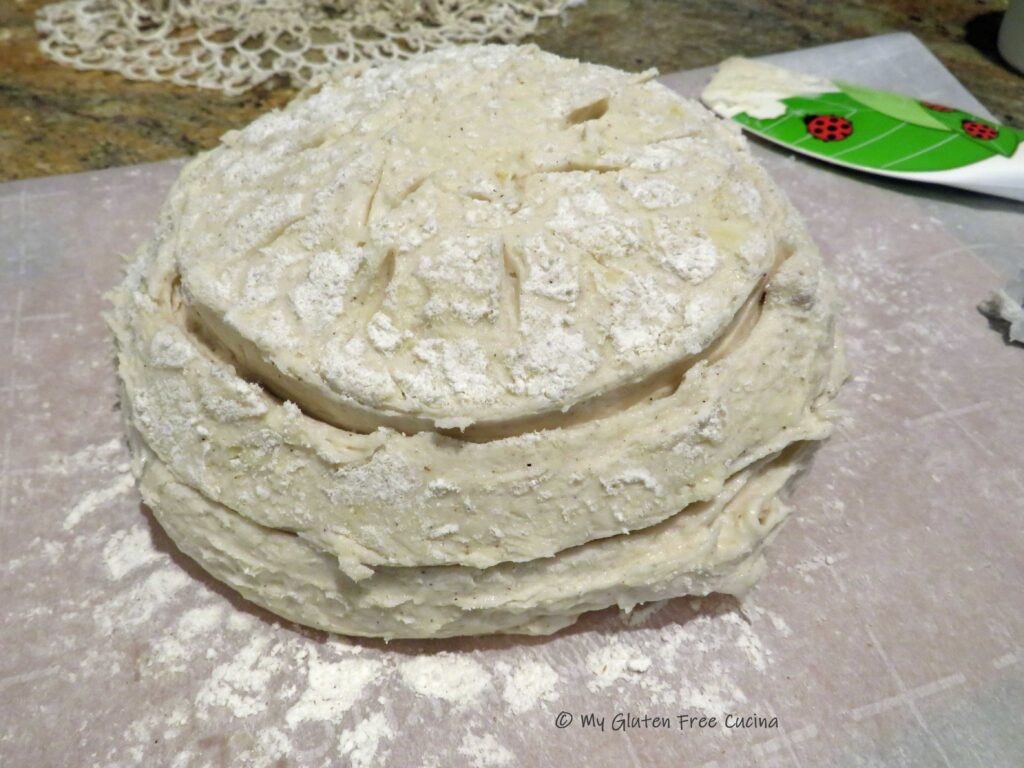 Transfer the dough, with parchment to the oven. Throw a few ice cubes onto the bottom of the oven and quickly shut the door. After the first 5 minutes throw in a few more ice cubes.
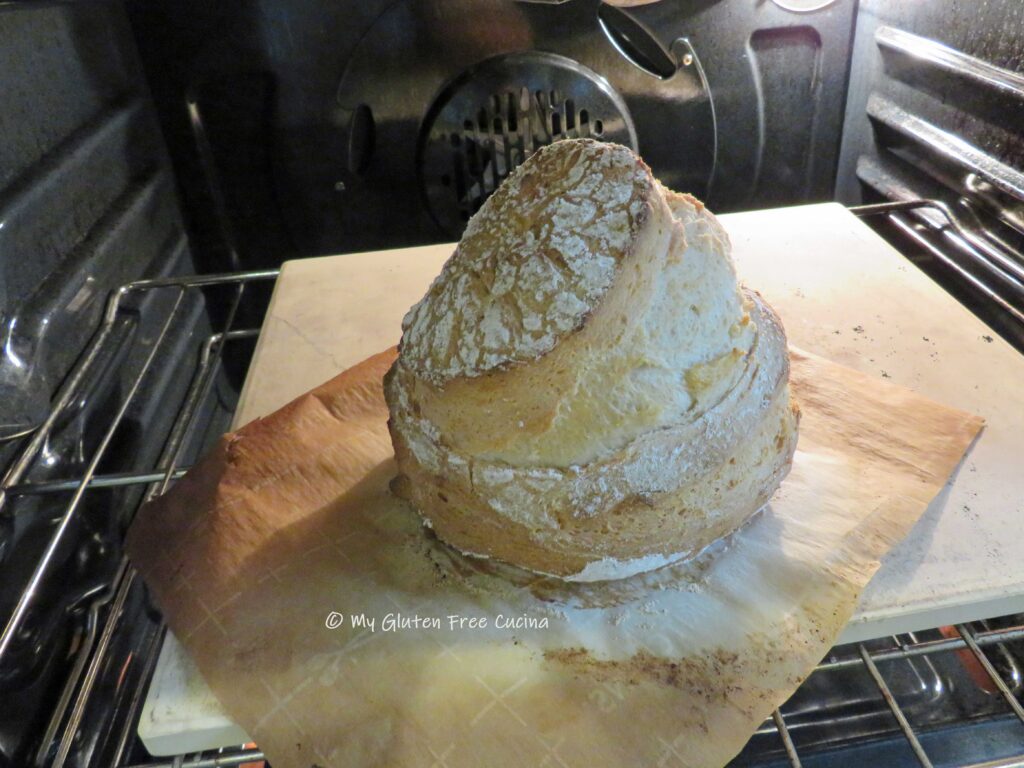 Cool completely on a rack then store in a plastic bag at room temperature. Wait 24 hours to slice.
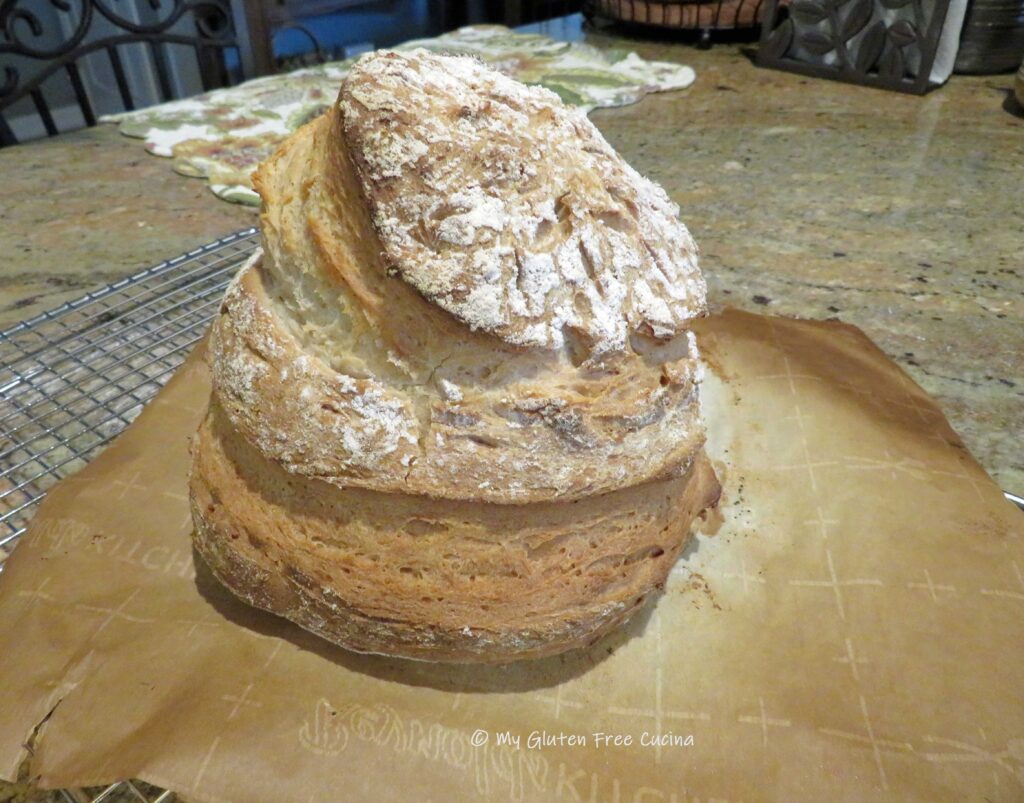
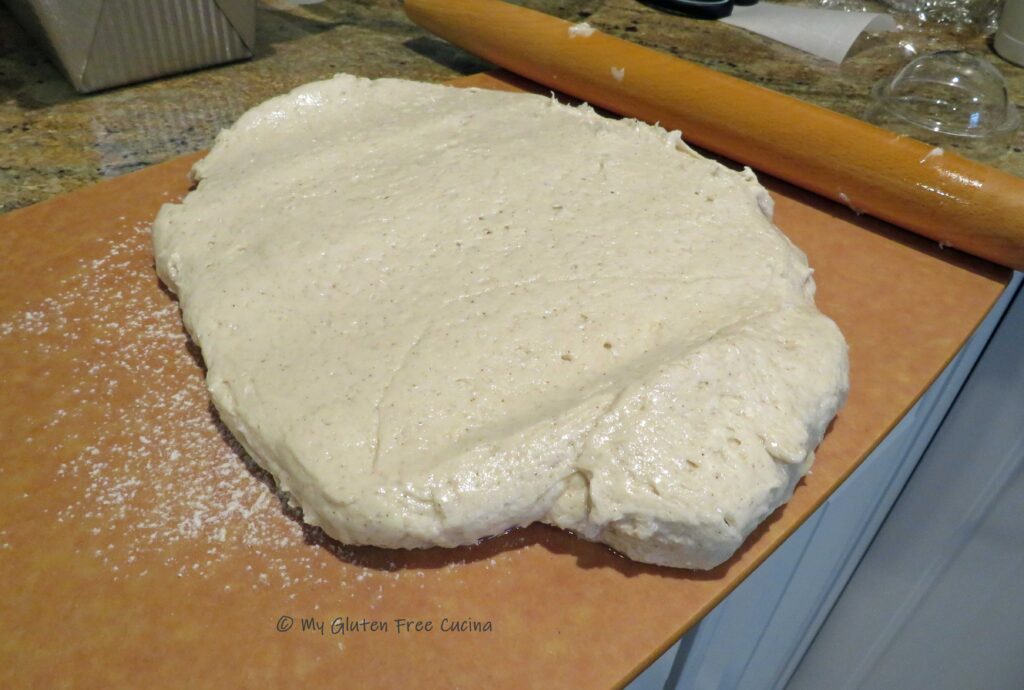


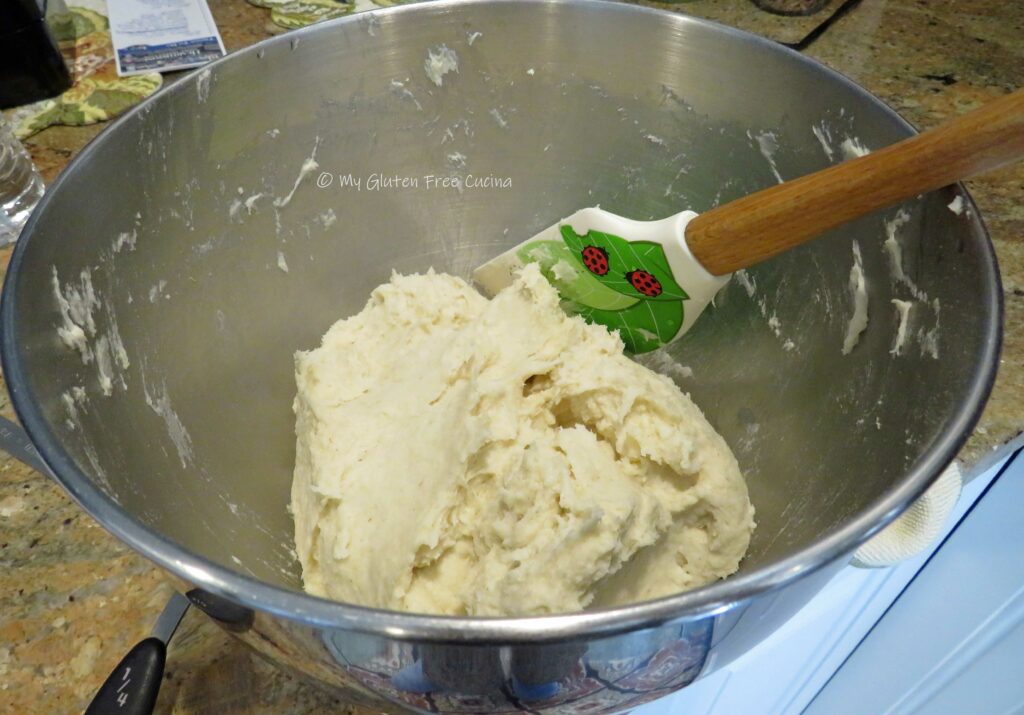

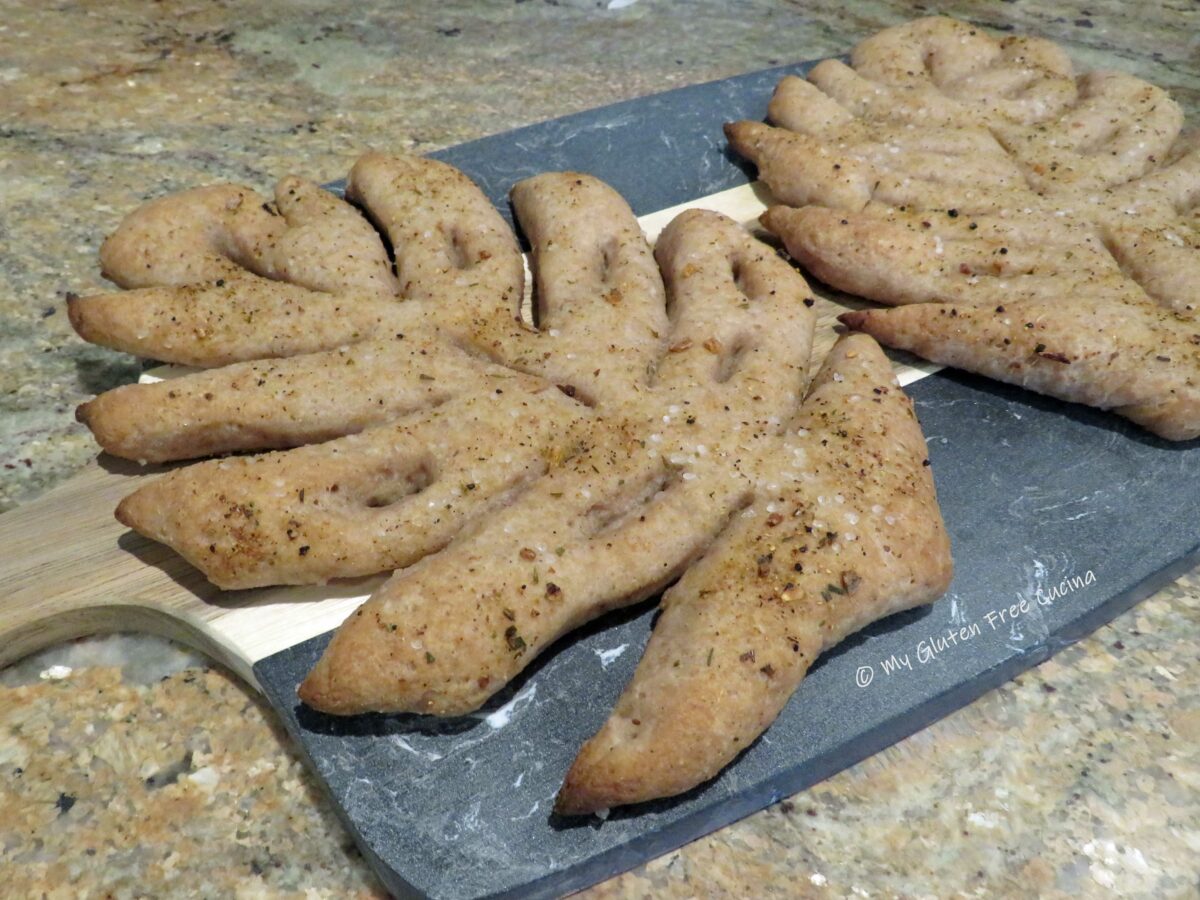


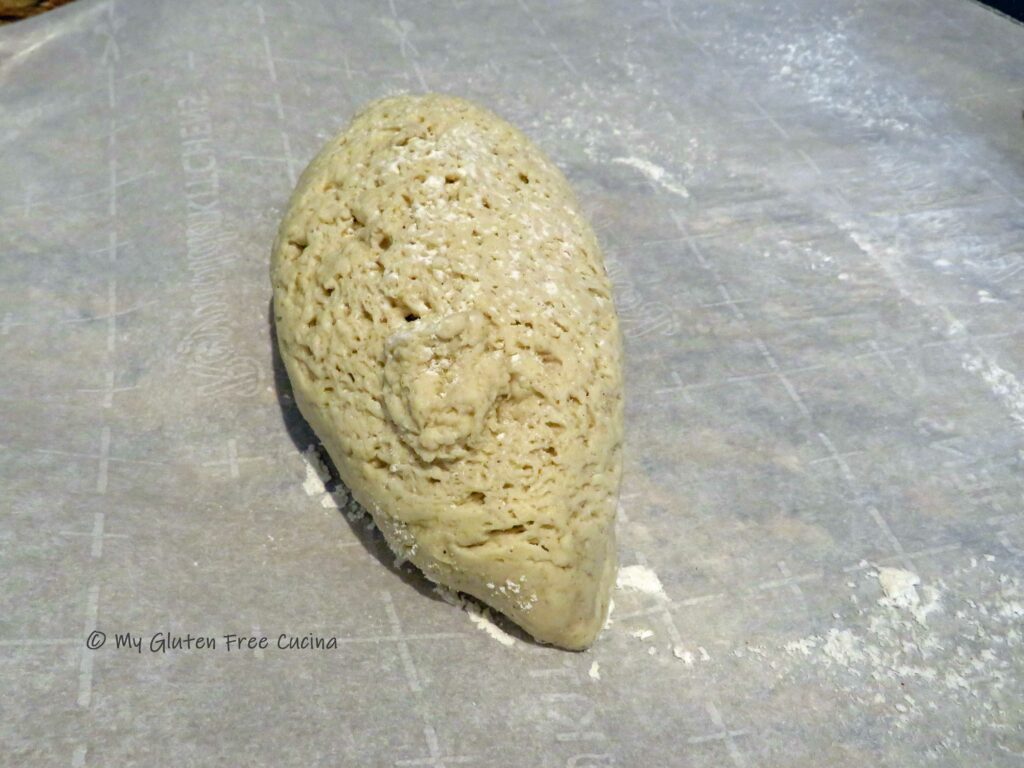
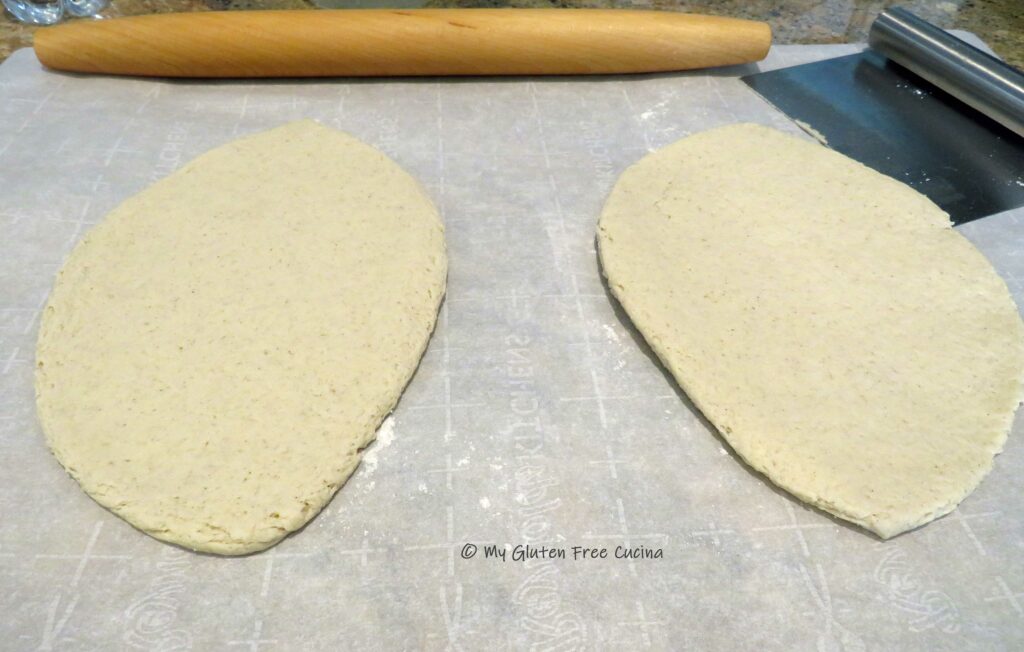
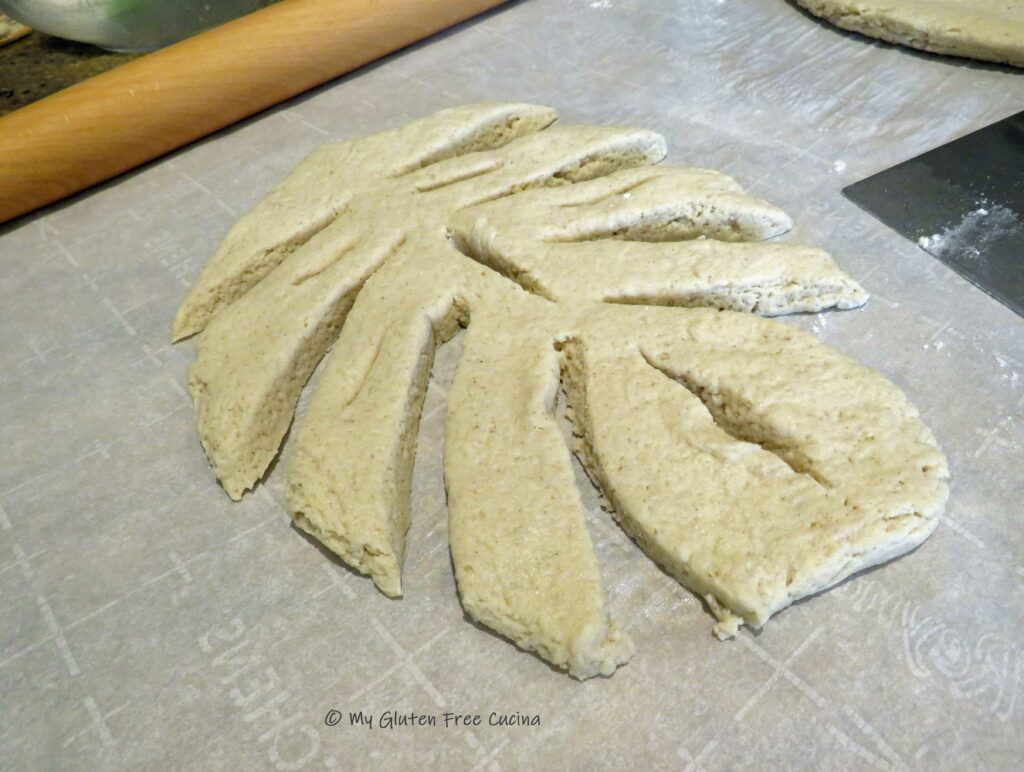
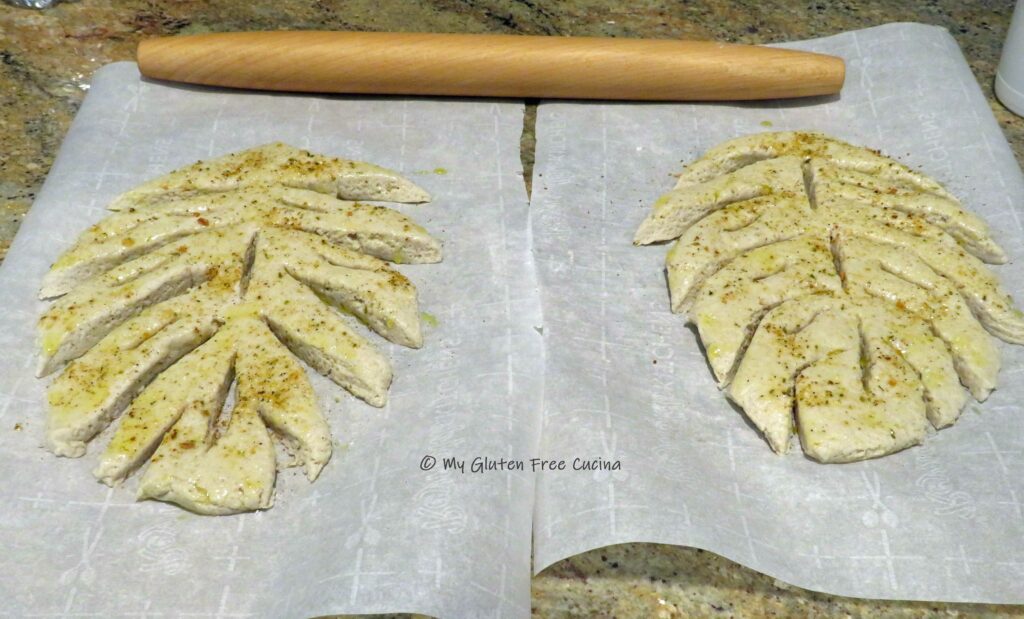

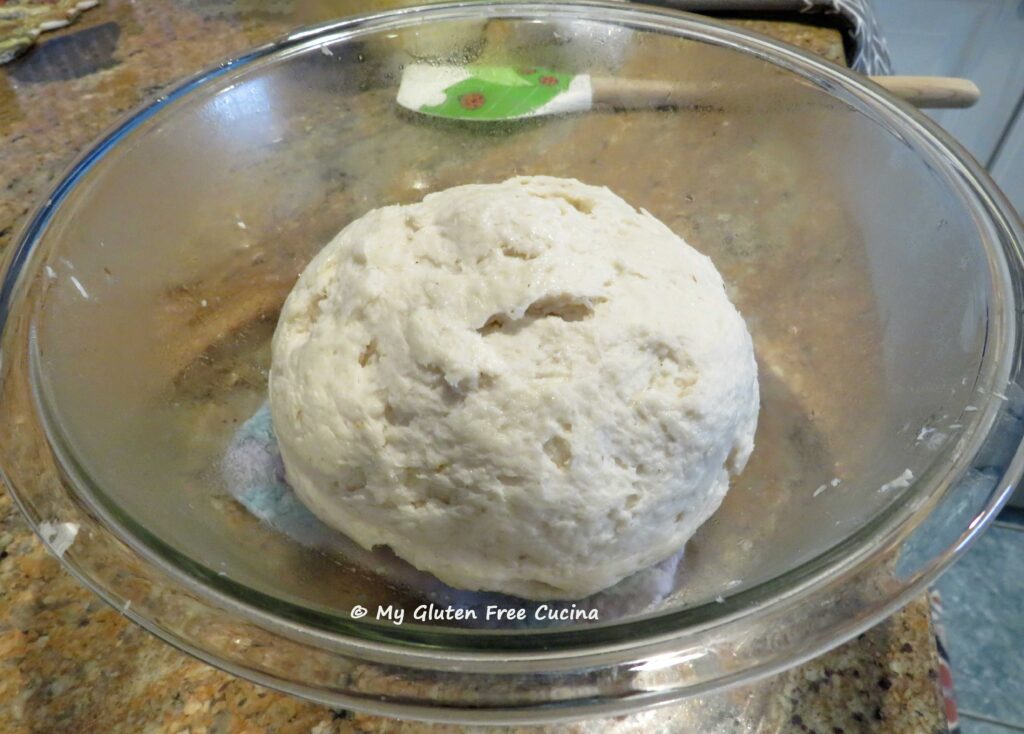
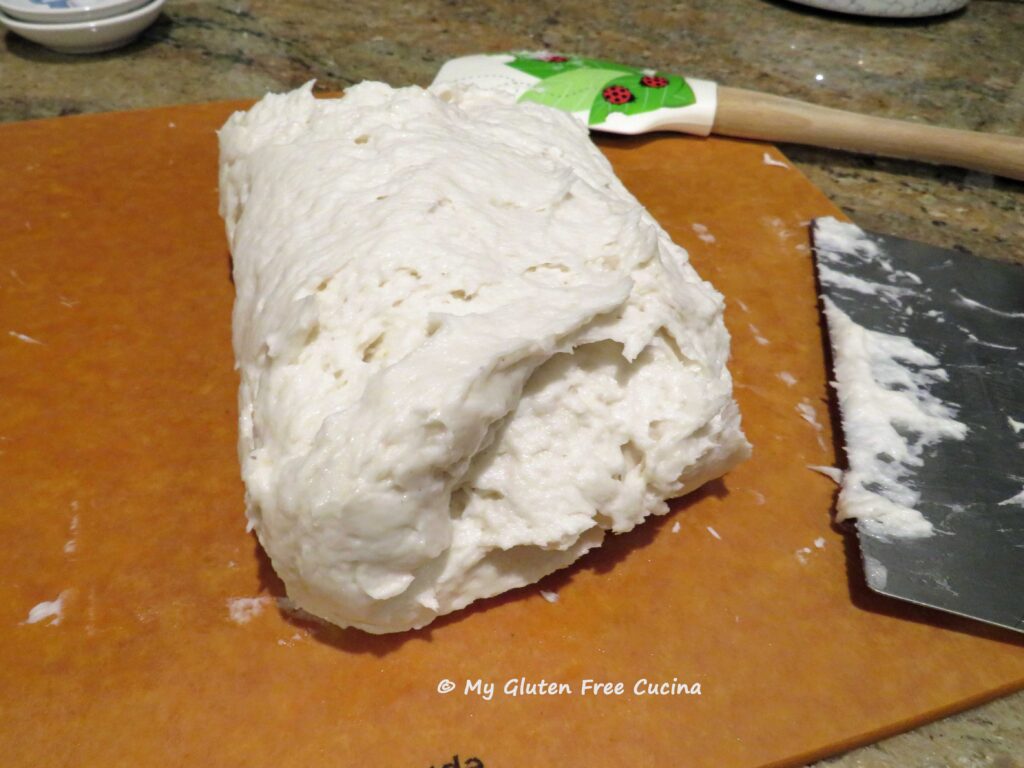
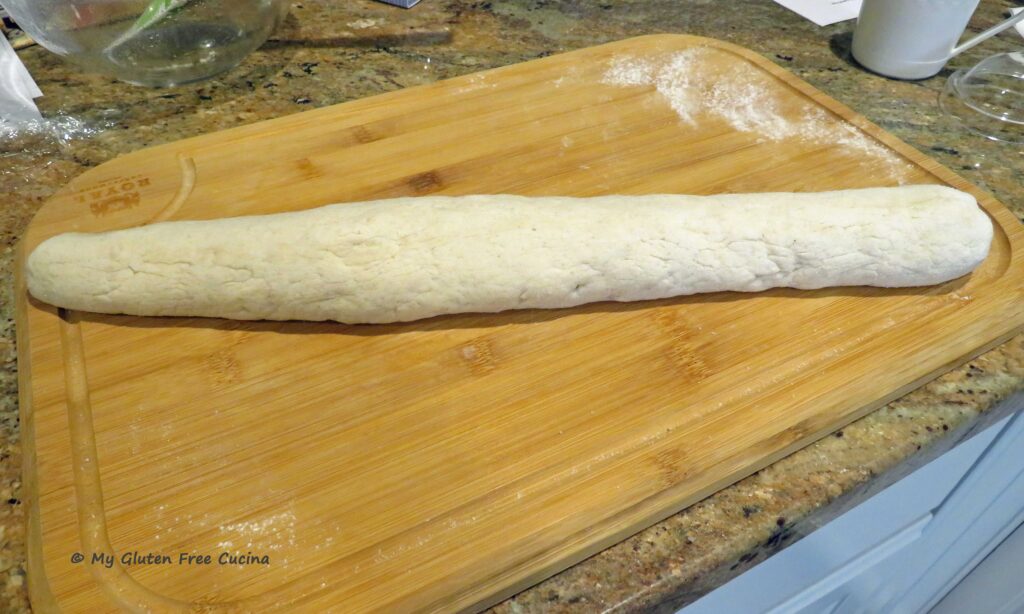
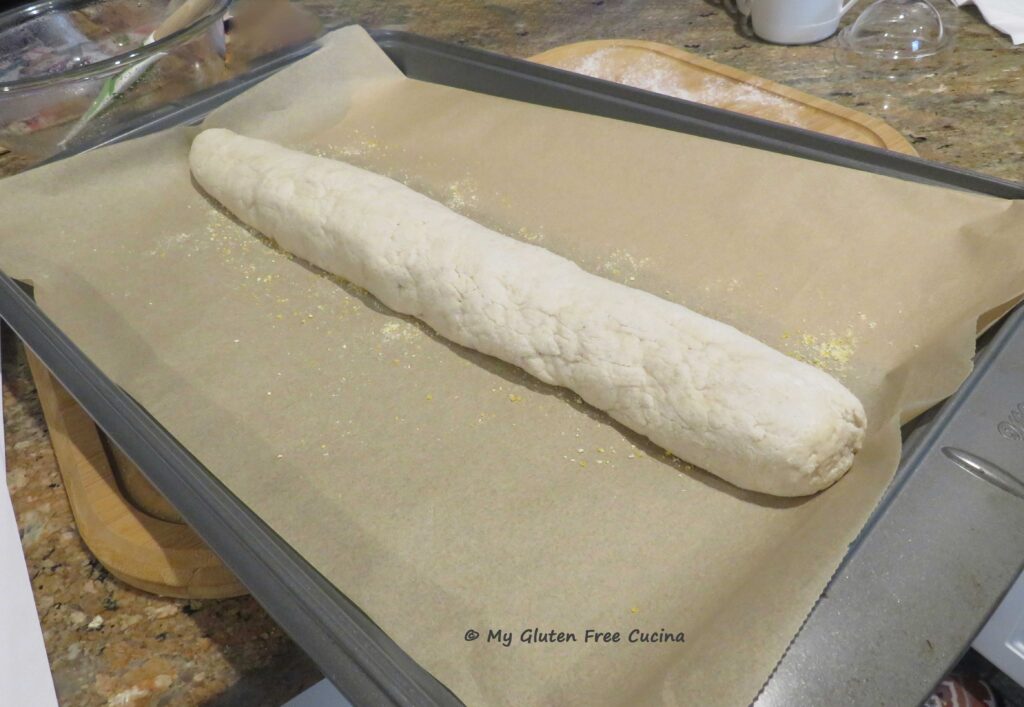
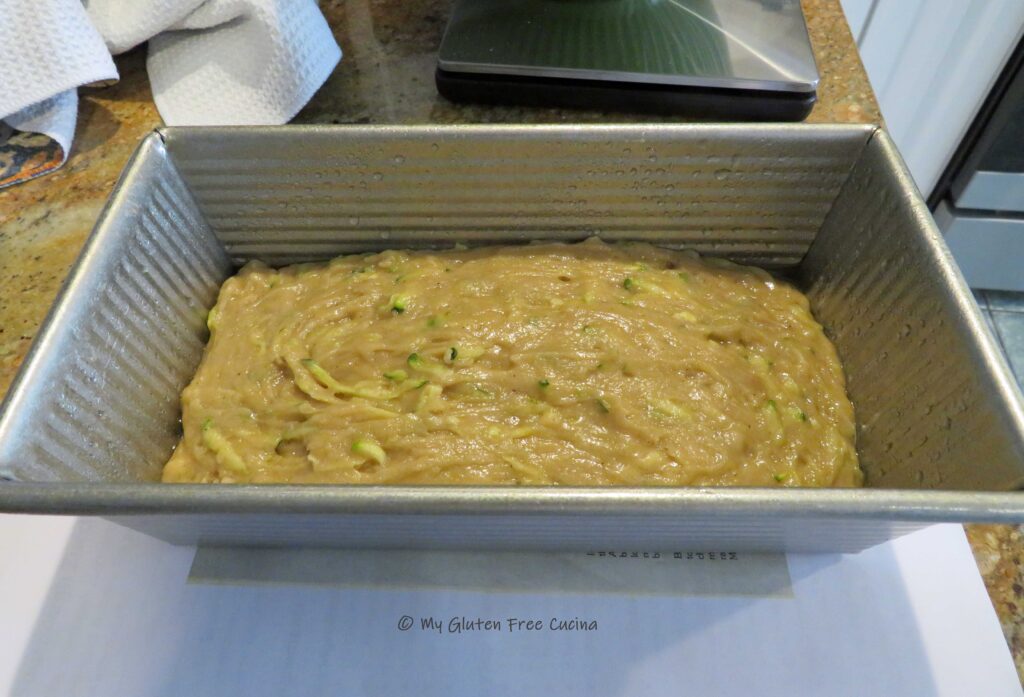
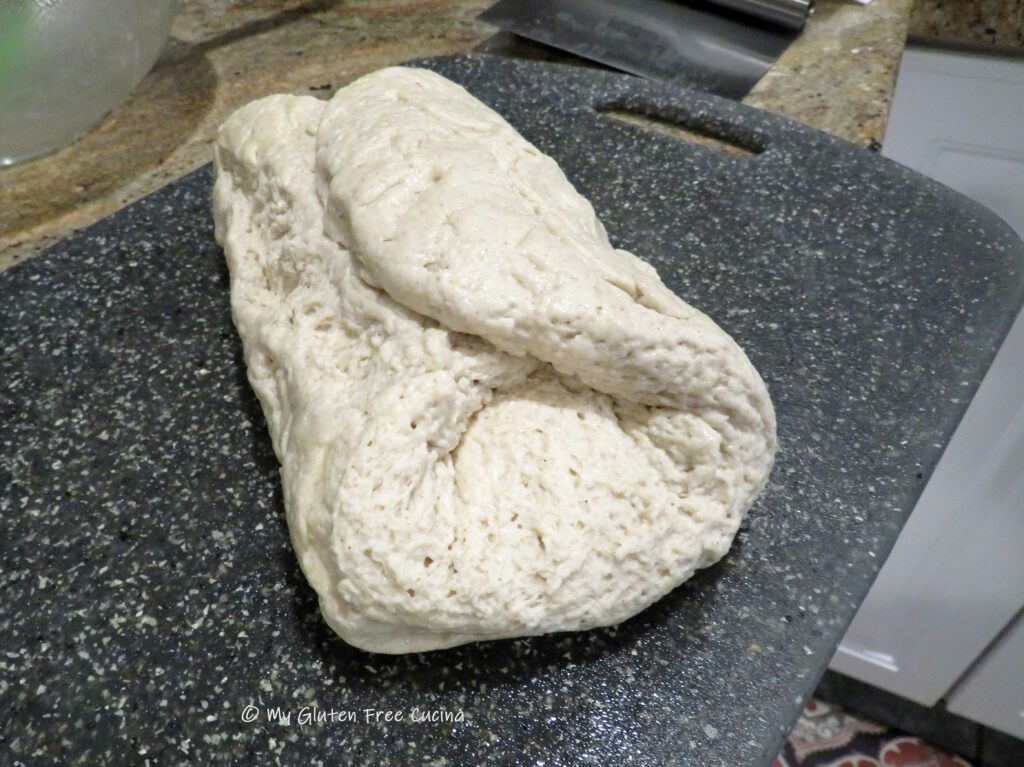
 Gently pat the dough into a rectangle, don’t press hard and do not use a rolling pin – you want to keep the air bubbles intact as much as possible.


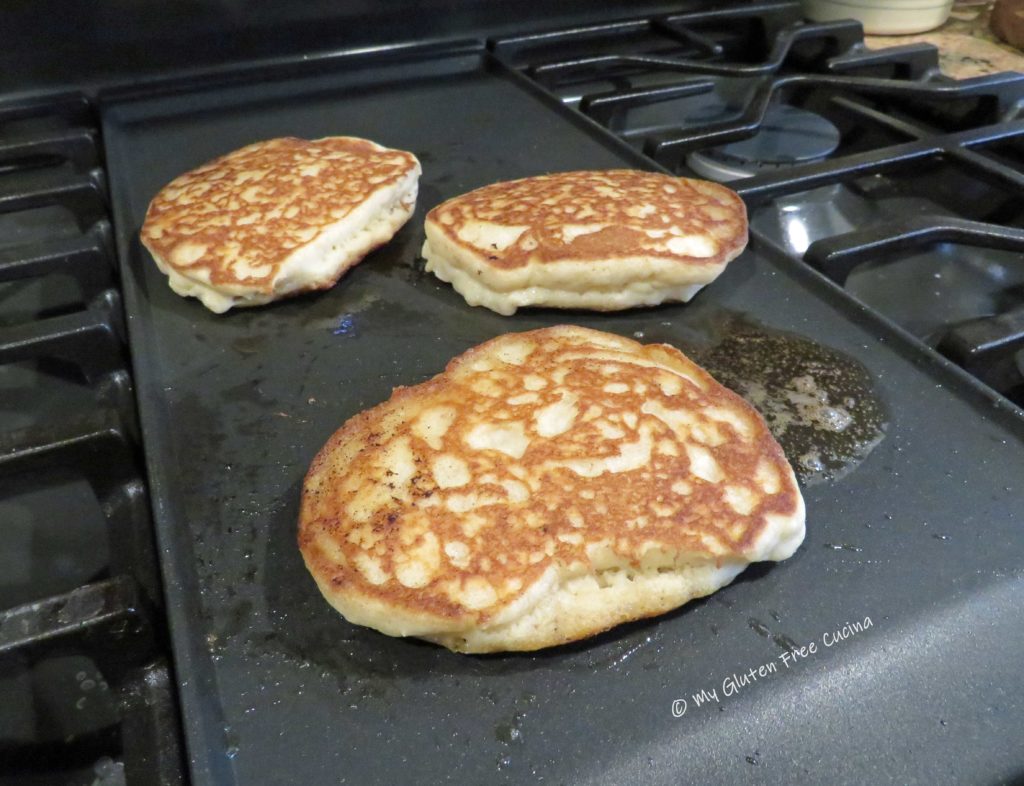
 When the second side is set check the center for doneness with a toothpick. I had to flip mine another time or two.