Rocky Point Red Clam Chowder

I was born and raised in RI and have lived here for most of my life.  This post celebrates a Rhode Island icon of my youth, Rocky Point Park.  The amusement park, which operated from the late 1840s until it closed in 1994 was a favorite childhood destination for its incredible thrill rides.  Shore Dinner Hall at Rocky Point was the place to go for clam cakes and chowder that were famously served to thousands at a time.

Copycat recipes abound for Rocky Point Red Clam Chowder.  Here is my gluten free rendition, and I think it is a fitting tribute to the original!

This post contains affiliate links.

Fresh clams are always available in RI, but if you don’t want to do all that prep, frozen raw clams are a great alternative.  They are so much better than canned, and worth seeking out.  Remember, clams cook quickly and should only be added to the chowder during the last 5 minutes of cooking.

Ingredients: 

  • 4 oz. salt pork
  • 3 tbsp. unsalted butter
  • 1 large, sweet onion, diced
  • 2 bottles (16 oz. total) clam juice
  • 2 large russet potatoes, peeled and diced
  • 1 tsp. Old Bay seasoning
  • 16 oz. container frozen raw chopped clams, thawed
  • 1 can gluten free tomato soup
  • 1-1/2 tsp. paprika
  • black pepper to taste 

Preparation:

Peel and dice the onions and potatoes, dice the salt pork into 1/2″ pieces.

Melt the butter in a Dutch oven or heavy stockpot over medium low heat.  Add the diced salt pork and cook for about 15 minutes, stirring constantly.  Take your time here, you want nicely browned pork bits and all the rendered fat that is going to flavor the chowder.

Remove the browned bits with a slotted spoon, drain on paper towels and set aside for garnish.  Reserve the fat in the pan.

Add the onions and cook 5 minutes, stirring frequently.

Add the potatoes, clam juice, and Old Bay seasoning.  Bring to a boil and simmer 15 minutes.

Finally, add the clams, tomato soup and the paprika.  Cook 5 minutes longer (just a simmer, not a rolling boil), season with black pepper and remove from the heat.  Let stand for 1 hour before serving.

Serve the chowder with a few of the reserved bacon bits for garnish, they really make the flavor pop!  And how about those Oyster Crackers?  Yes, they are from scratch, and they are gluten free!  You’re welcome.

I hope my fellow Rhode Islanders have enjoyed this bit of local nostalgia.  Try the recipe and let me know what you think!  You don’t have to be gluten free, or a local to love this chowder, it is fabulous!

Notes ♪♫ Many red clam chowder recipes call for a can of condensed tomato soup, but don’t reach for the Campbells!  It is not gluten free.  I used Health Valley tomato soup, certified gluten free and no salt added.  It is very good in this recipe, and I used the unsalted because there are so many other salty ingredients.  Always check labels for hidden gluten, and if the salt pork is too much sodium, you can sub a few slices of low sodium bacon.

Originally published 8/31/2018, Updated 5/30/21, Rephotographed 7/16/2024

Print This Post Print This Post

Gluten Free Cinnamon Swirl Bread

Today I made a gluten free version of another old favorite.  This yeasted sweet bread with swirls of brown sugar and cinnamon was adapted from a recipe originally appearing in Better Homes and Gardens.  Before my Celiac diagnosis I used to make it all the time.

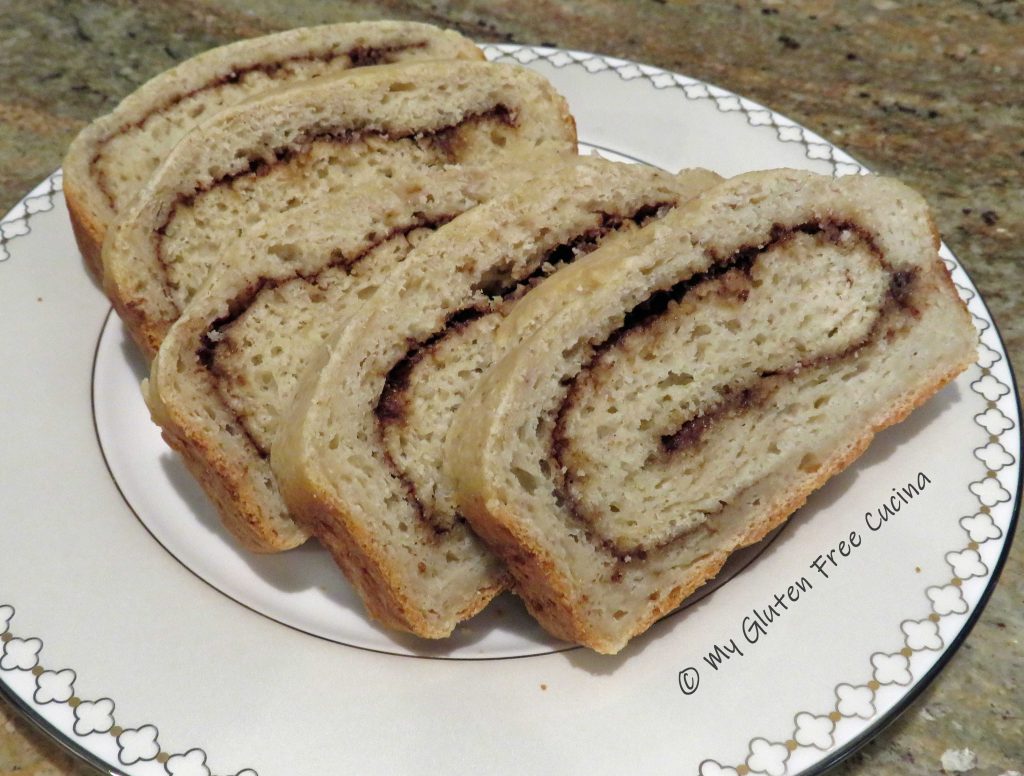
Both adults and kids loved it, even the picky eaters!  I can’t tell you how pleased I was to be making this bread again, it turned out great!

This post contains affiliate links.

When you work with the right gluten free flour, this Cinnamon Swirl Bread is so easy to make!  If you are a fan of Better Batter like me, you probably have all of the ingredients in your pantry!

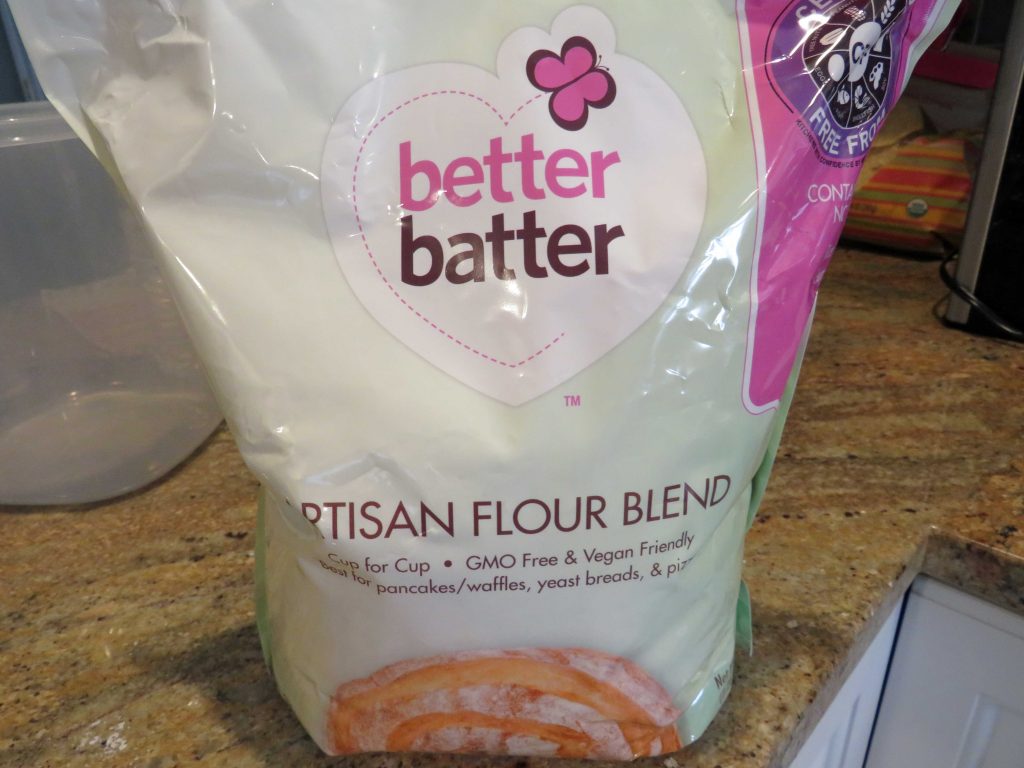
If you haven’t tried Better Batter yet, I cannot recommend their flour blends enough.  Use my code below for 30% off!  You will not be disappointed!

(When you shop Better Batter, be sure to use my code MGFC30 at checkout for 30% off your non-sale purchase)

Ingredients:

  • Dough:
  • 405g. Better Batter Artisan Blend flour *see notes
  • 1-1/4 tsp. instant yeast
  • 3/4 tsp. salt
  • 3 tbsp. unsalted butter, softened
  • 1-1/2 cups warm milk (I used 2%)
  • 1 egg room temperature
  • 3 tbsp. granulated sugar
  • Filling:
  • 1/3 cup packed brown sugar
  • 1-1/2 tsp. cinnamon
  • 1 tbsp. melted butter
  • Egg Wash:
  • 2 tbsp. egg whites
  • 1 tbsp. water
  • Finishing:
  • 1 tbsp. melted butter, for brushing

Preparation:

I used a 13 x 4″ pullman loaf pan for a long skinny loaf with smaller, diet friendly slices.  You can get the pan here.

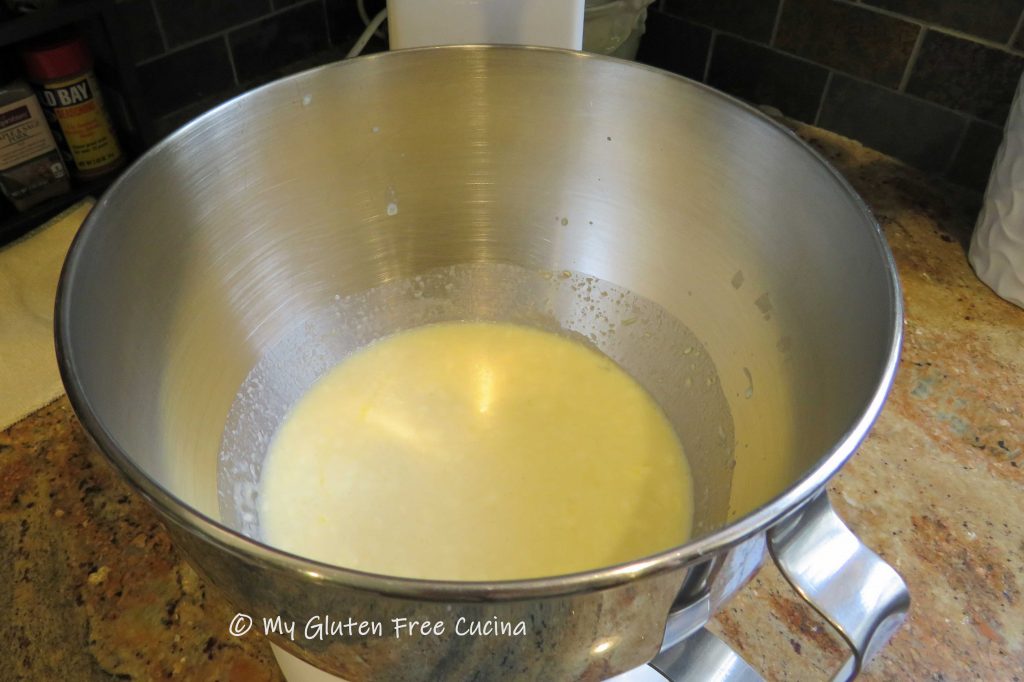
Whisk together the flour and salt.  Combine the warmed milk, sugar and yeast in a separate bowl or measuring cup and let it stand 15 minutes.

Add the egg and softened butter to the bowl of a stand mixer and whisk to combine.  Add the milk mixture and whisk until well blended.

Switch to the paddle attachment and add the flour and salt to the bowl, mixing on low to combine.  Increase speed and beat for 5 minutes to form a dough, occasionally scraping down the sides with a spatula.  Dough will be sticky at this point.

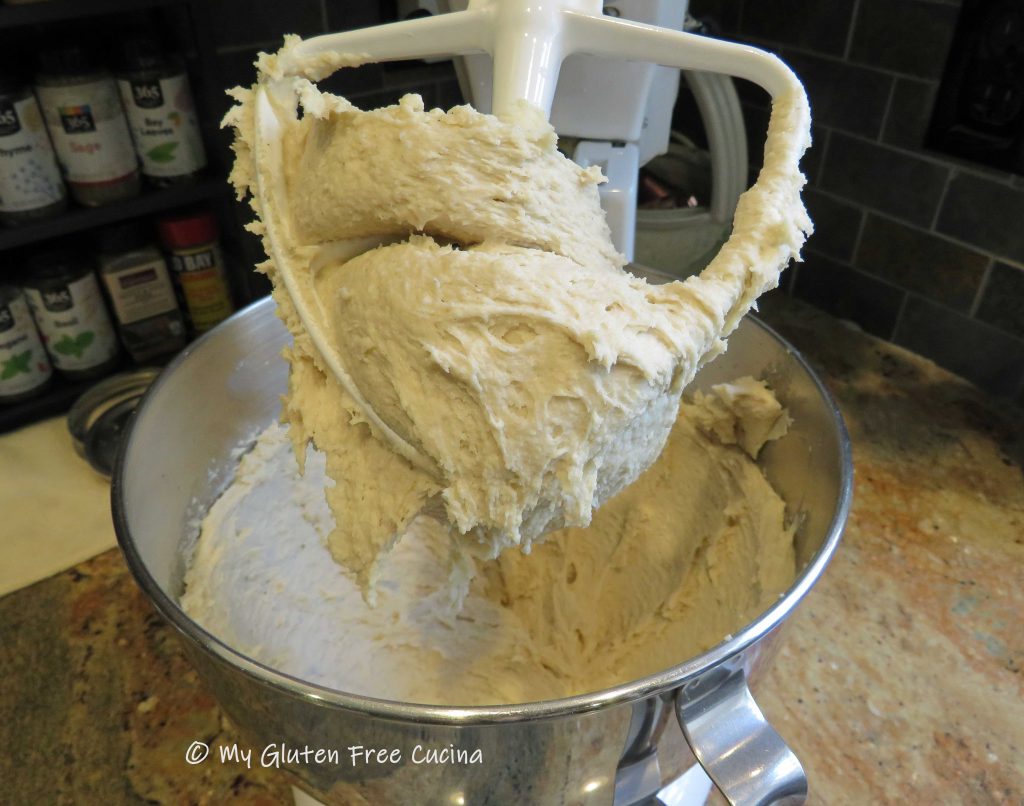
Bring the dough together, cover with plastic wrap and let it rest for 20 minutes.

Cut a sheet of parchment to fit the length of the loaf pan (this will help with rolling and transferring the dough).  Mist the parchment lightly with cooking spray and transfer the dough.  Roll and pat the dough into a rectangle, about 14 x 10” and 1/2″ thick.  (Note- after a 20-minute rest, this dough rolls like a dream, but if you have any sticking just mist your rolling pin with cooking spray.)

Brush the dough with 1 tbsp. melted butter.

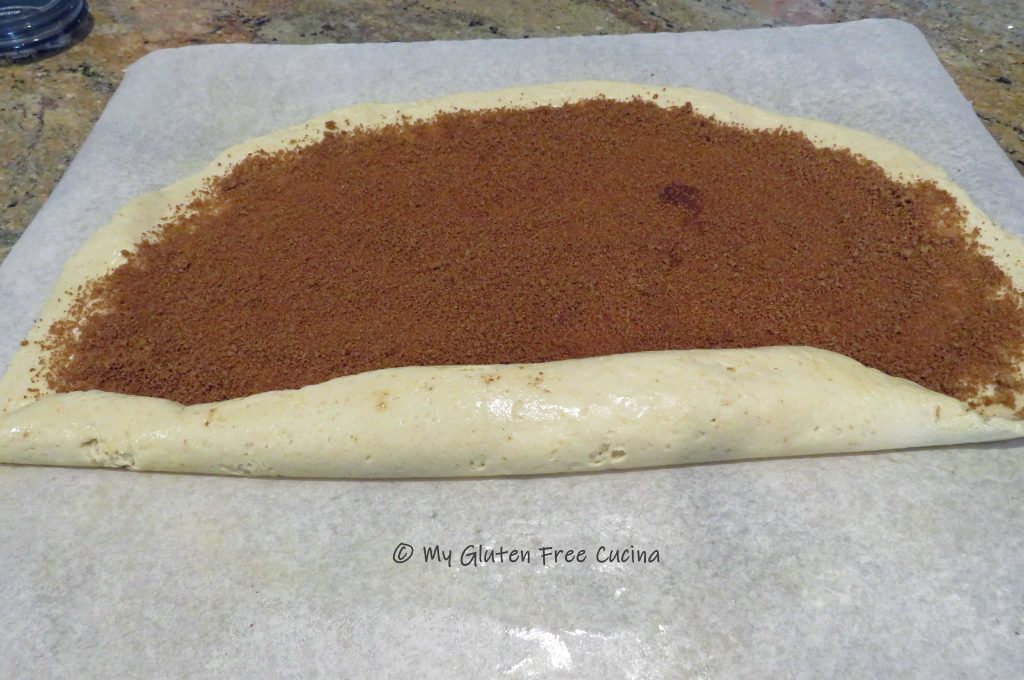
Spread the brown sugar and cinnamon mixture evenly over the dough, leaving a 1″ border all around.

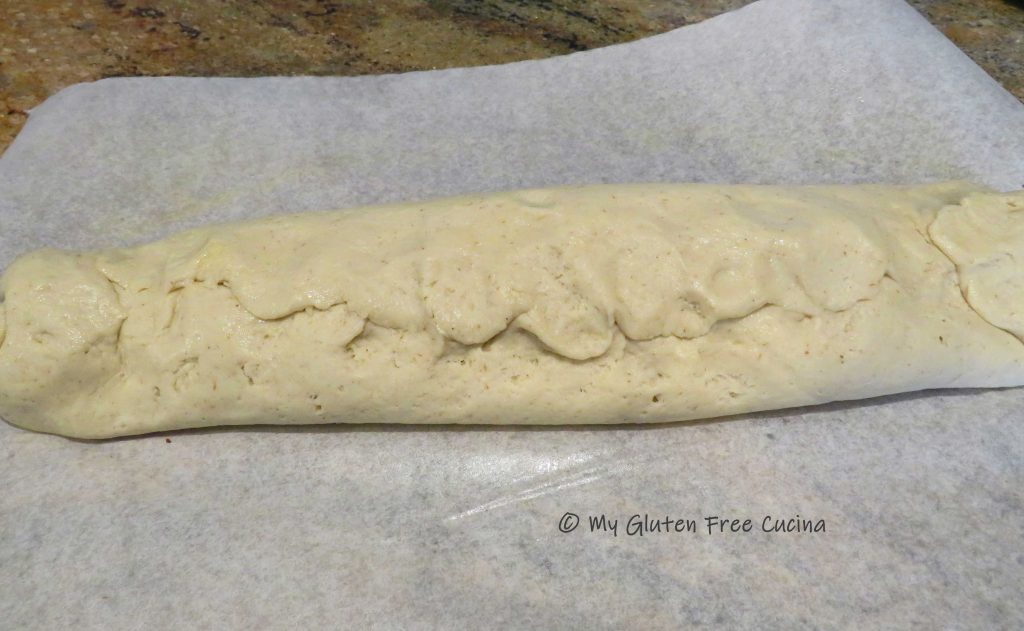
Starting with the long side, use the parchment to lift the dough and begin rolling it up.

Continue rolling and pinch the seam to seal.

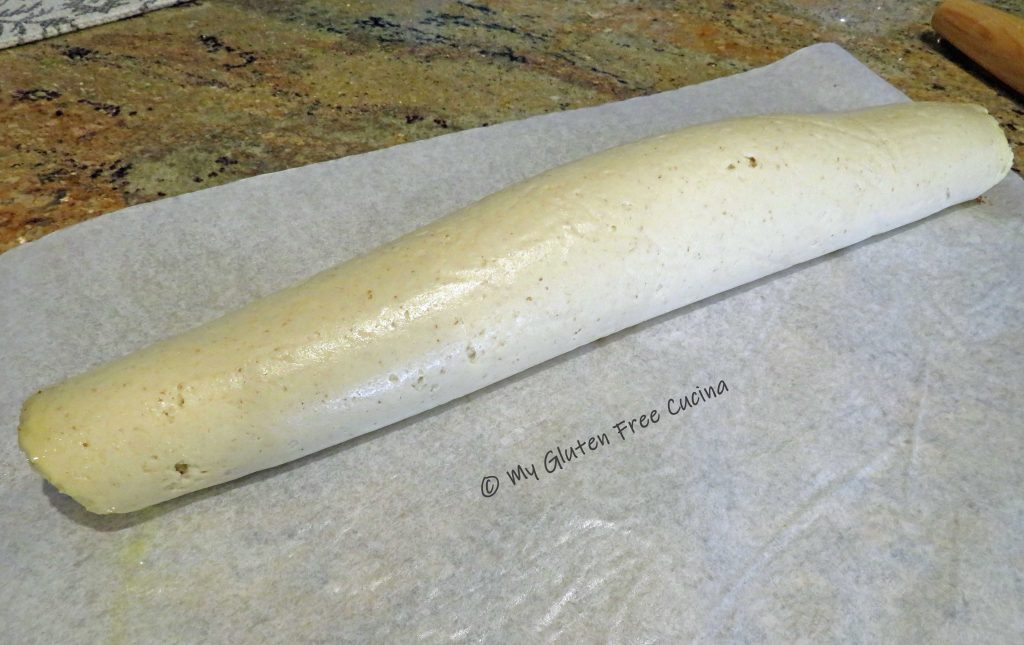
Tuck in the ends like this and turn the dough seam side down.

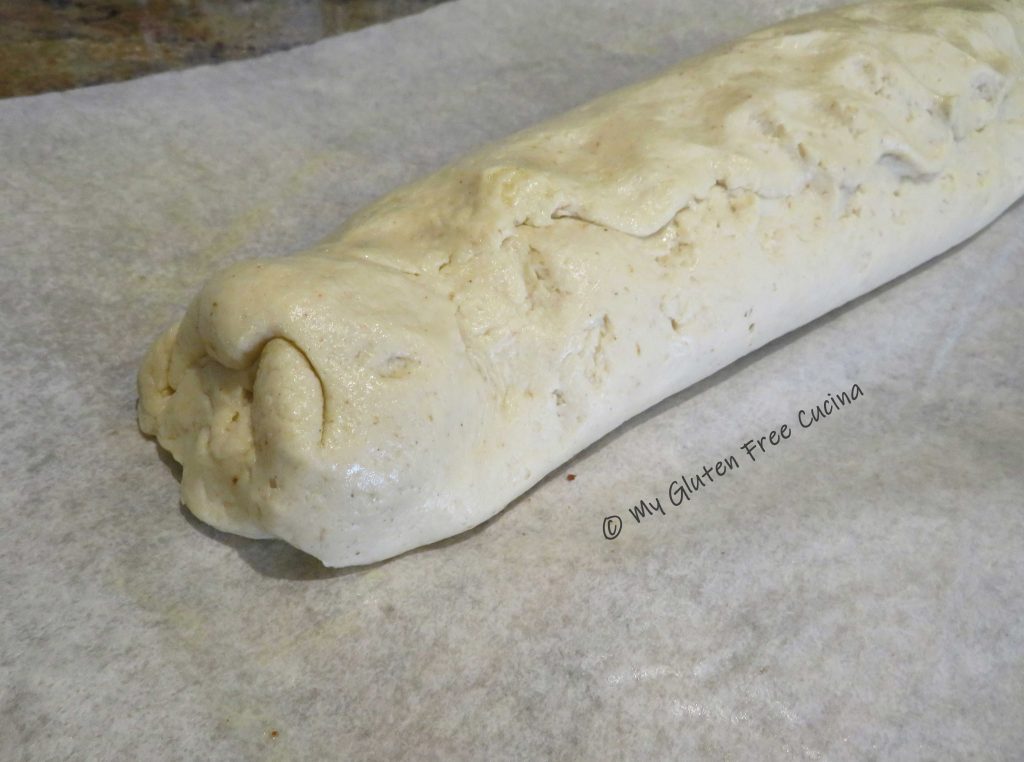
Lift the dough (with parchment) into the pan, cover with plastic wrap and let it rise in a warm place for 30 minutes.  Dough will be puffy but not doubled in size.

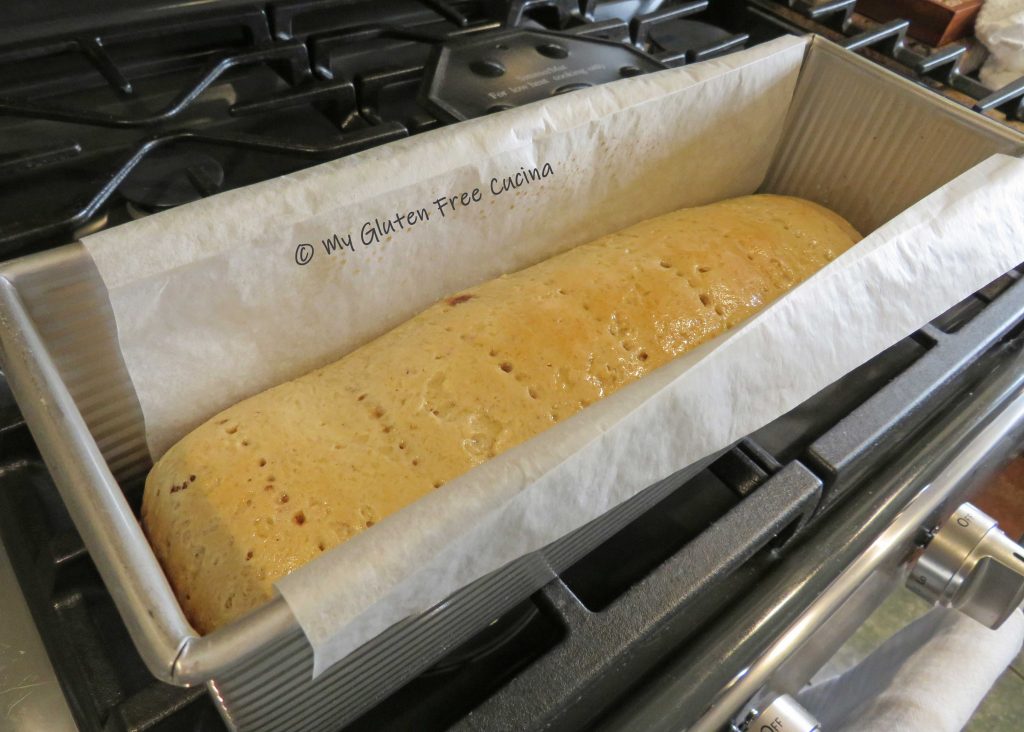
Preheat the oven to 350º and whisk together the egg whites and water.  Brush the loaf well with the egg wash.  Pierce the top of the loaf with a fork or docking tool to allow steam to escape.

Bake for 40 minutes or until the internal temperature reaches 200º.  Remove from the oven and brush the top with 1 tbsp. melted butter.

Grasp both sides of the parchment to lift the loaf out of the pan to a cooling rack.

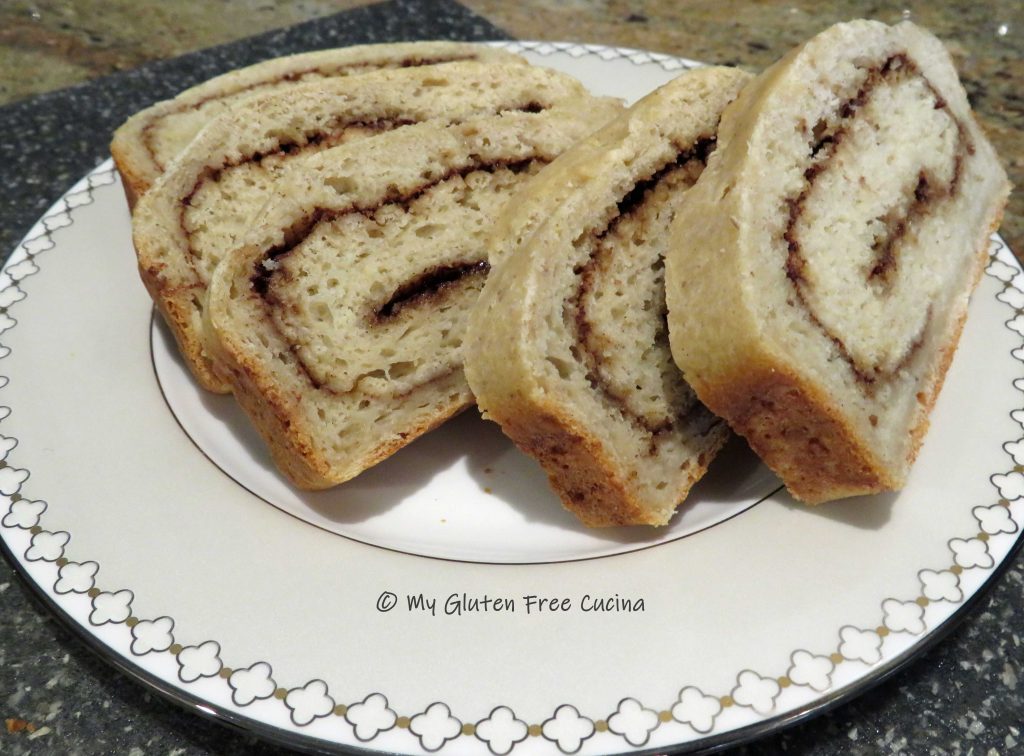
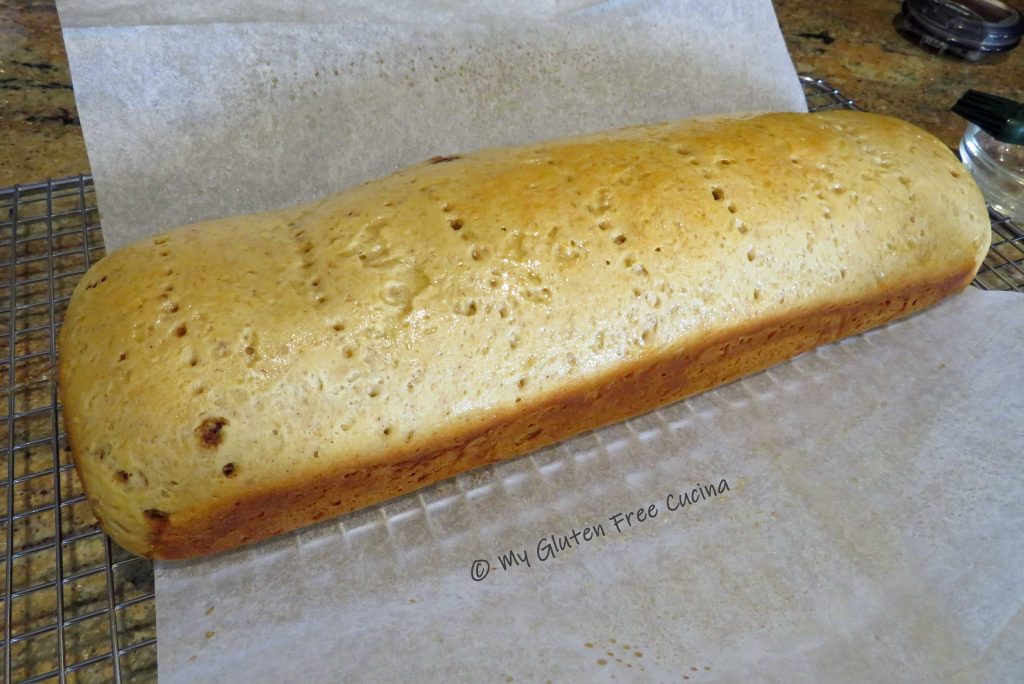
Slide the parchment out and let the loaf cool completely before slicing.

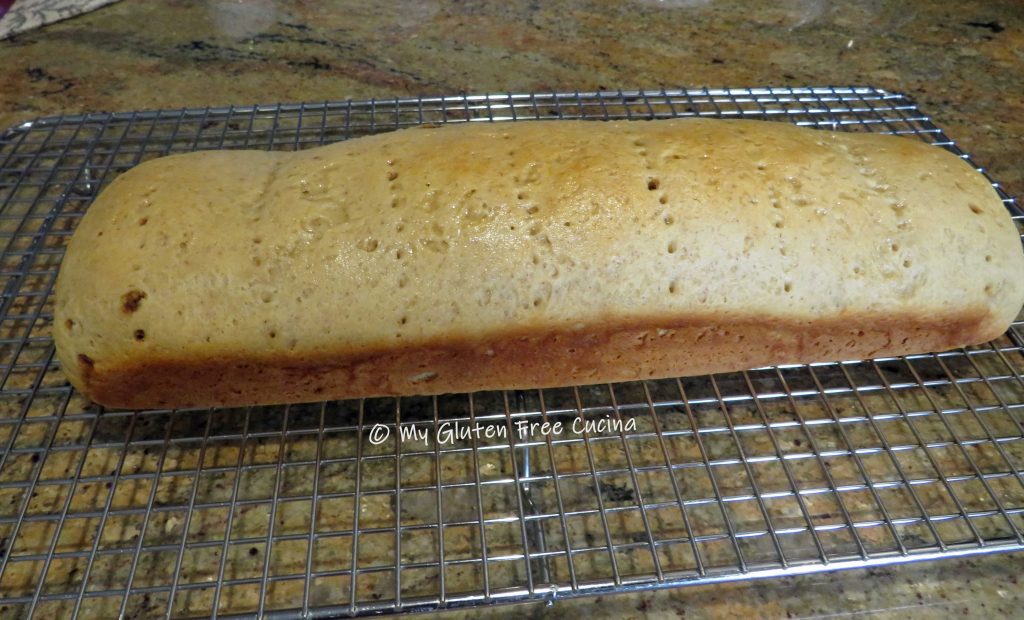
If you like, you can drizzle the top with icing made of 3 tbsp. powdered sugar and 1 tbsp. milk.  I made this loaf for company, and we served it with coffee, just like this.  It was a hit!

Slice and toast, or just add to your breadbasket!  It freezes beautifully, so you can wrap up the extra slices in plastic wrap, store in a freezer safe bag and it will be good for several months.

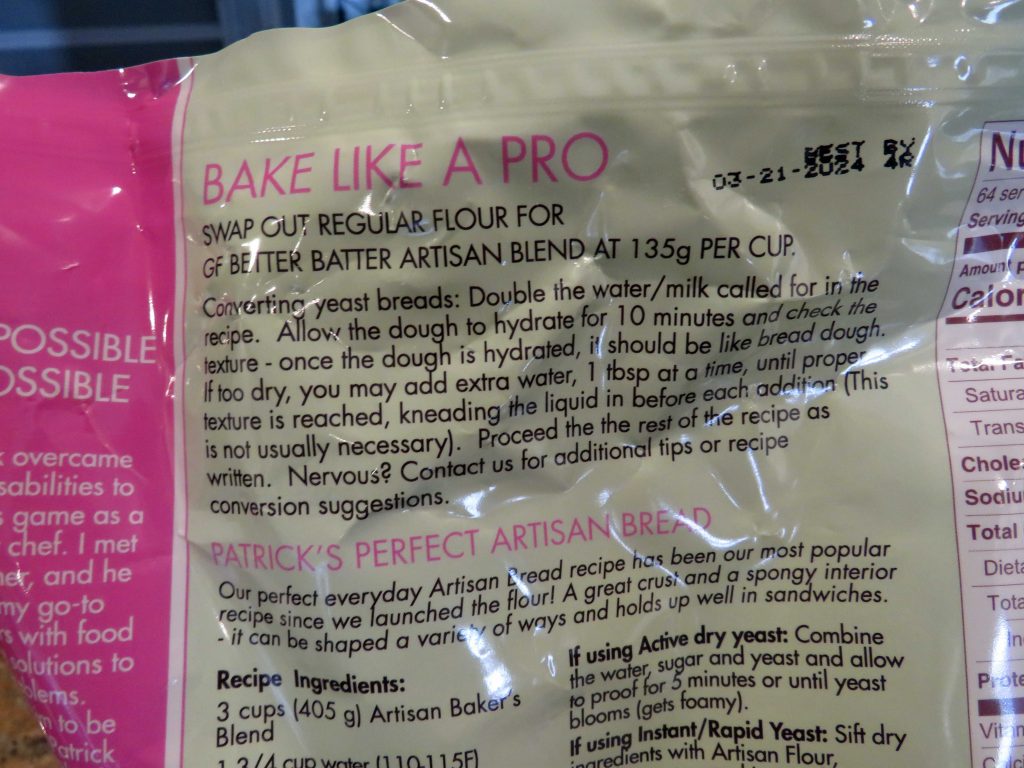
Notes ♪♫ I used and recommend Better Batter Artisan Flour Blend for this recipe.  This flour requires twice the liquid of typical recipes, so if you use another flour, you will need to adjust the liquid to flour ratio.  Start with half the milk (3/4 cup) and only add more if needed, 1 tbsp. at a time.

Print This Post Print This Post


Gluten Free Mummy Bread

Return of the Mummy 2022

Mummy Bread has been a Halloween tradition in our family for years.  It’s sure to be a hit at a Halloween party!  This Stromboli style bread is fun to make with kids, and grownups will love it too.

This post contains affiliate links.

Recipe makes 2 mummies, 6-8 servings each.

Ingredients:

For the Dough:

For the Mummies:

Preparation:

Mix together all of the dough ingredients in the bowl of a stand mixer.  Cover the dough and refrigerate for 1 hour.

Add the onions to a heavy skillet with 2 tbsp. butter and 2 tbsp. oil.  Cook covered, 20 minutes then uncover and cook for an additional 20 minutes, stirring frequently.

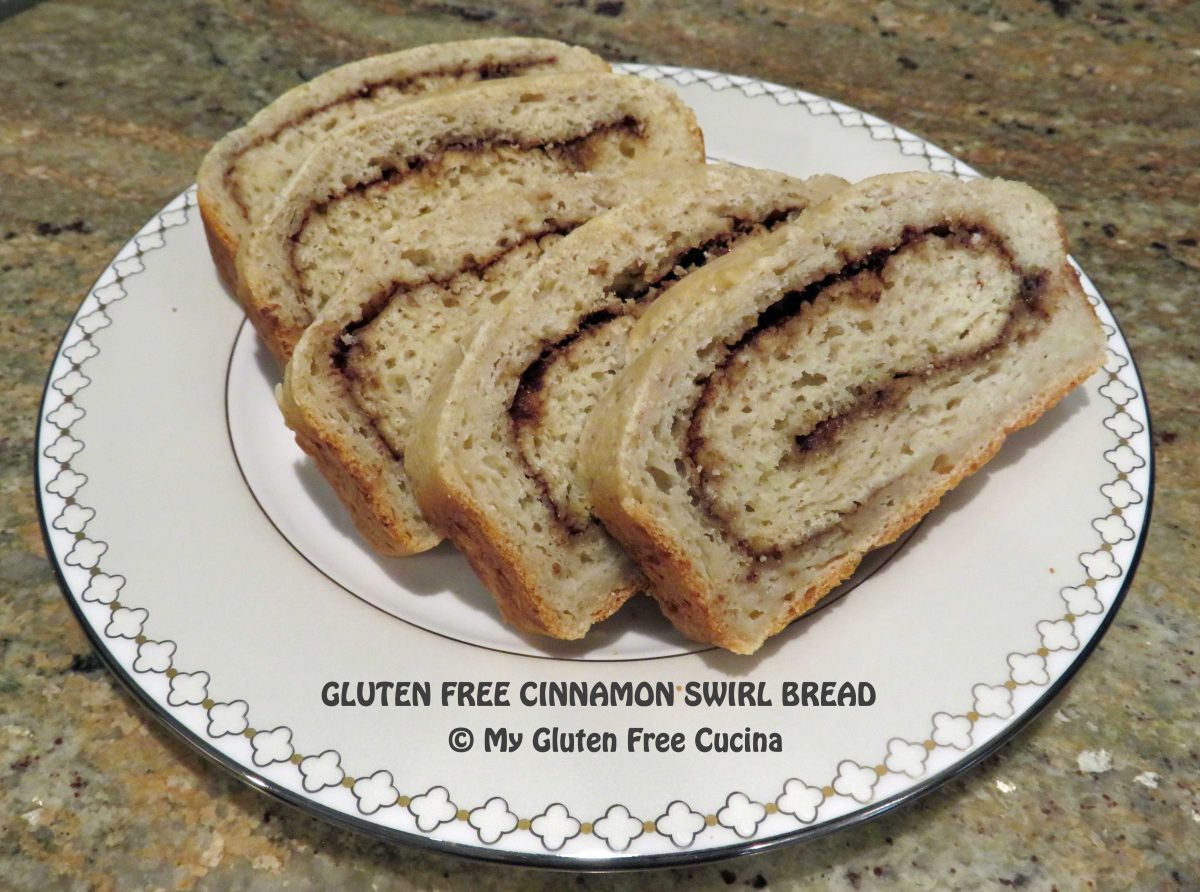
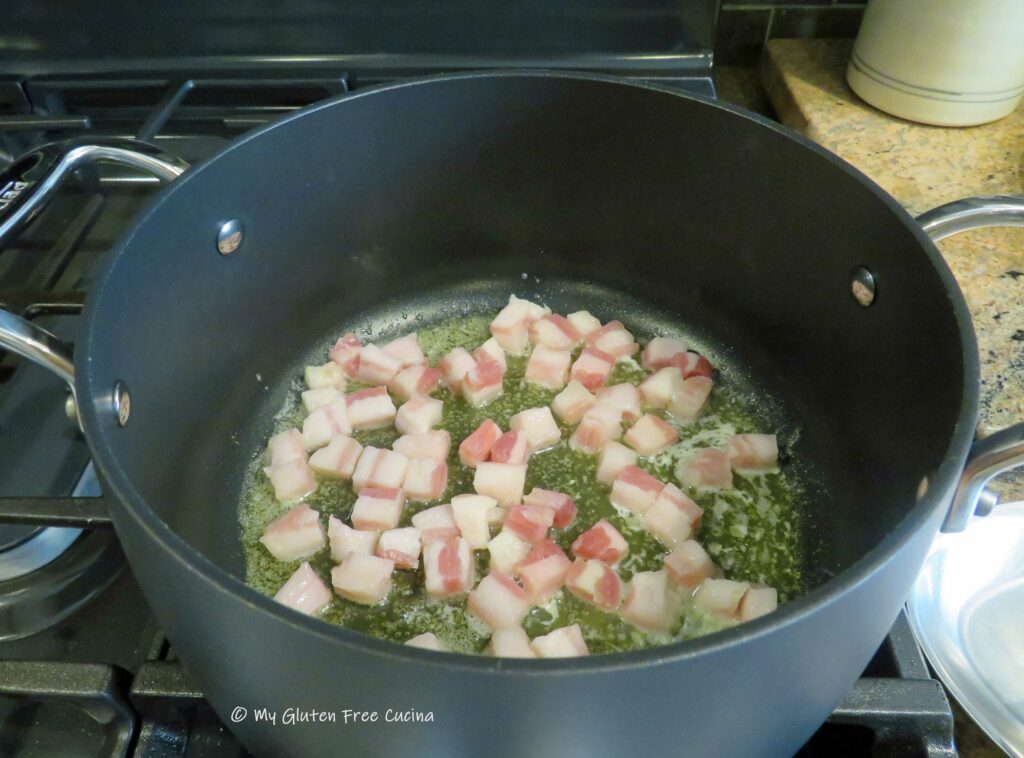
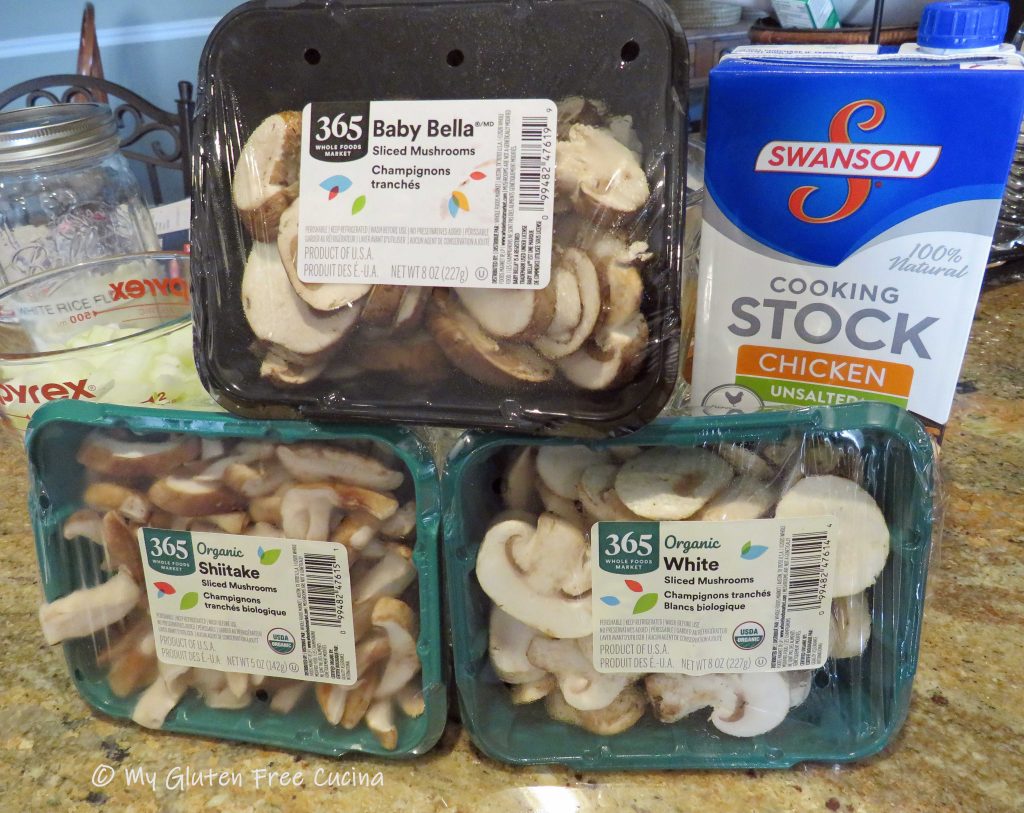
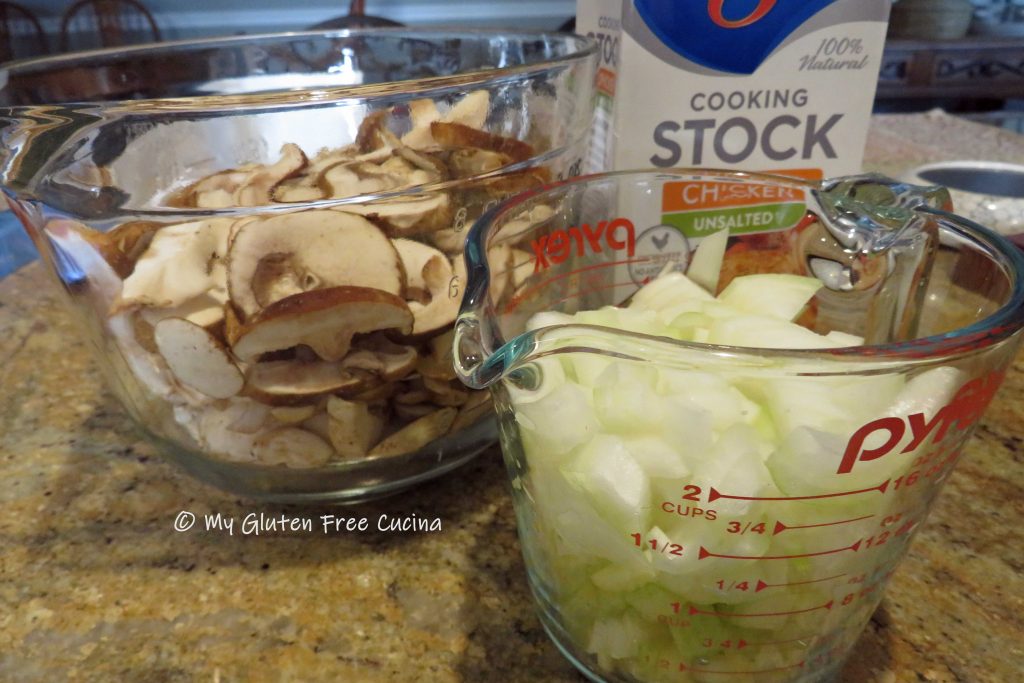
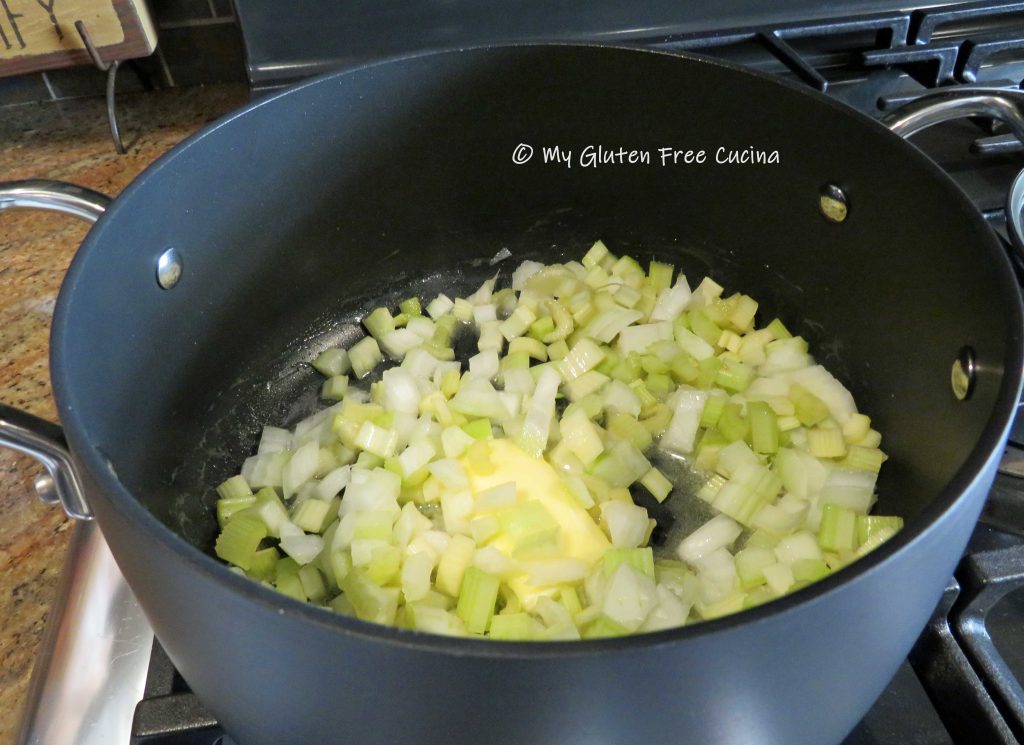
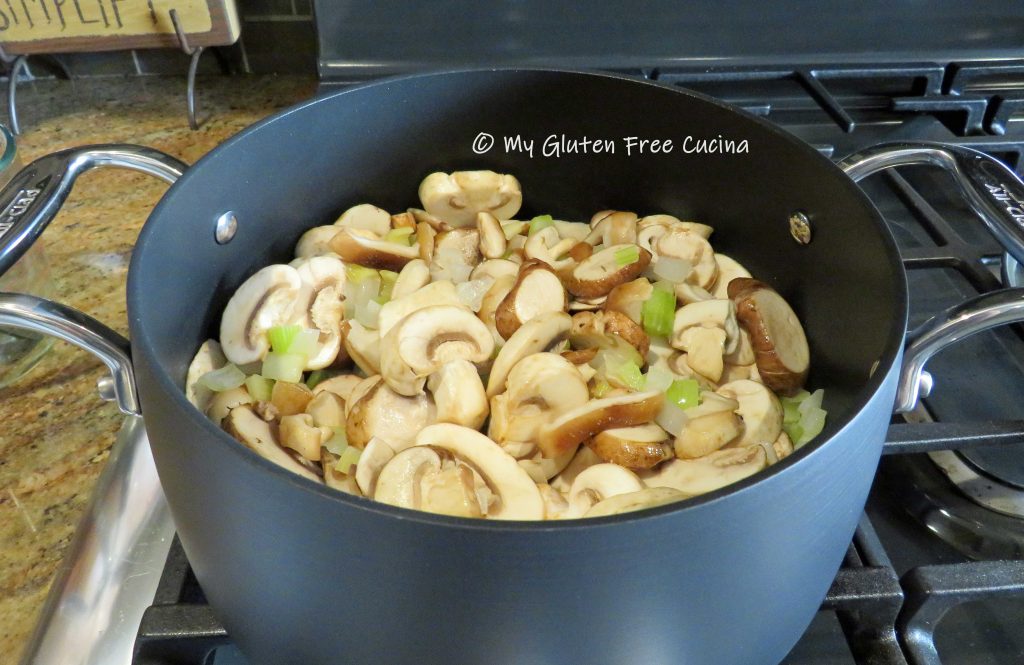
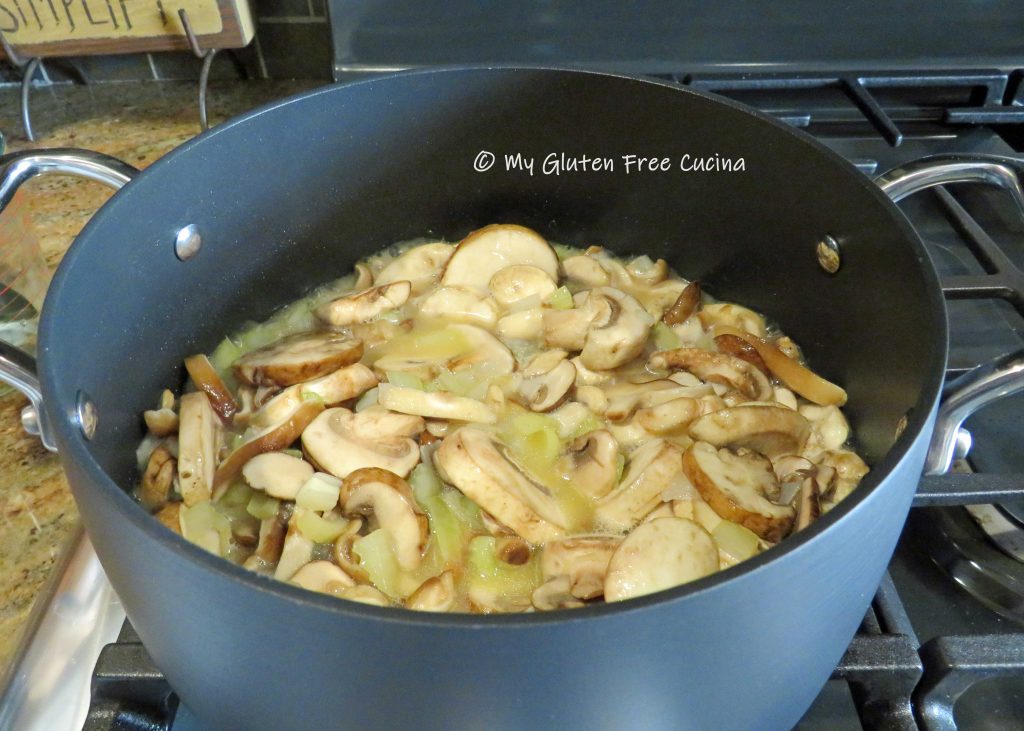
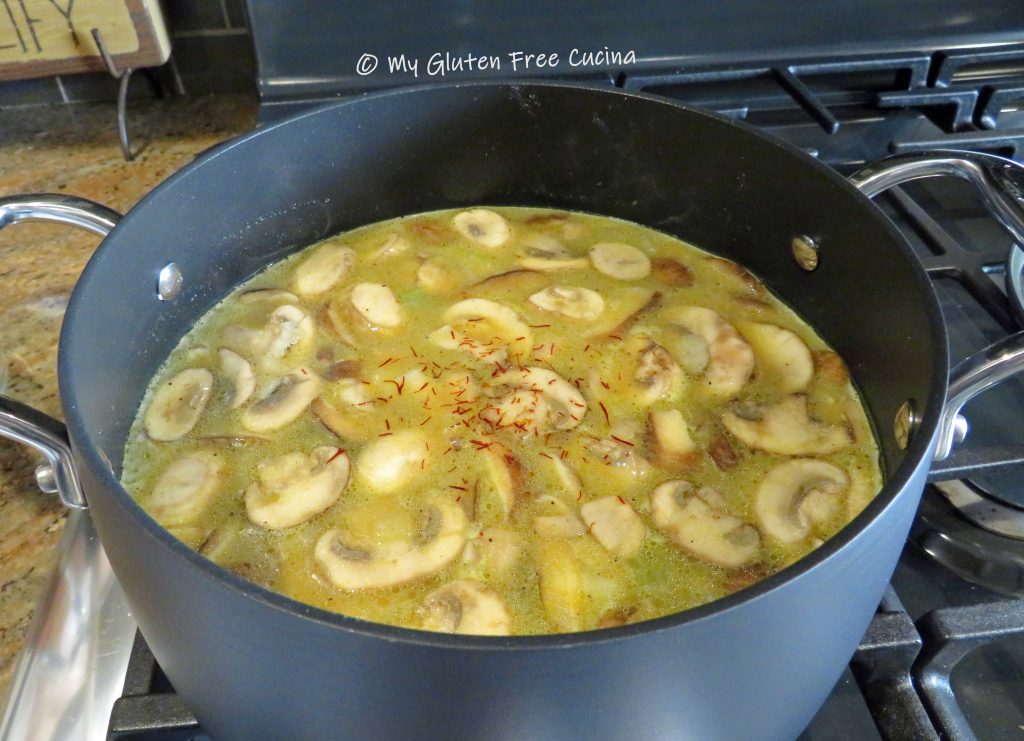
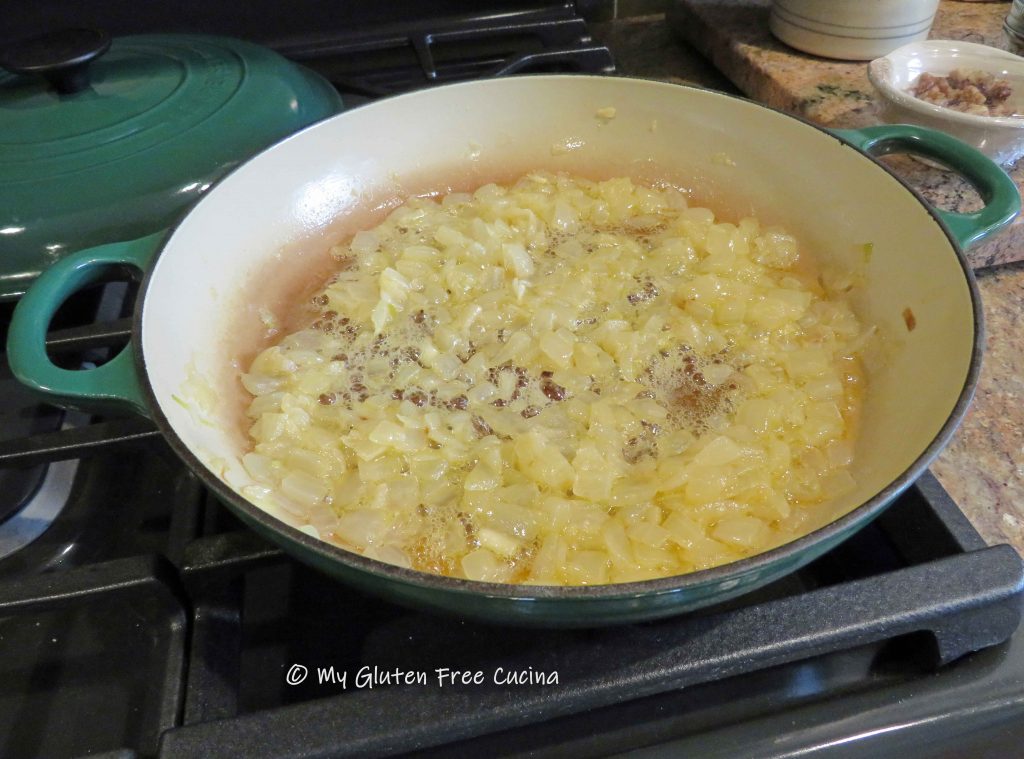
Cook the mushroom slices in 1 tbsp. butter and 1 tbsp. olive oil.

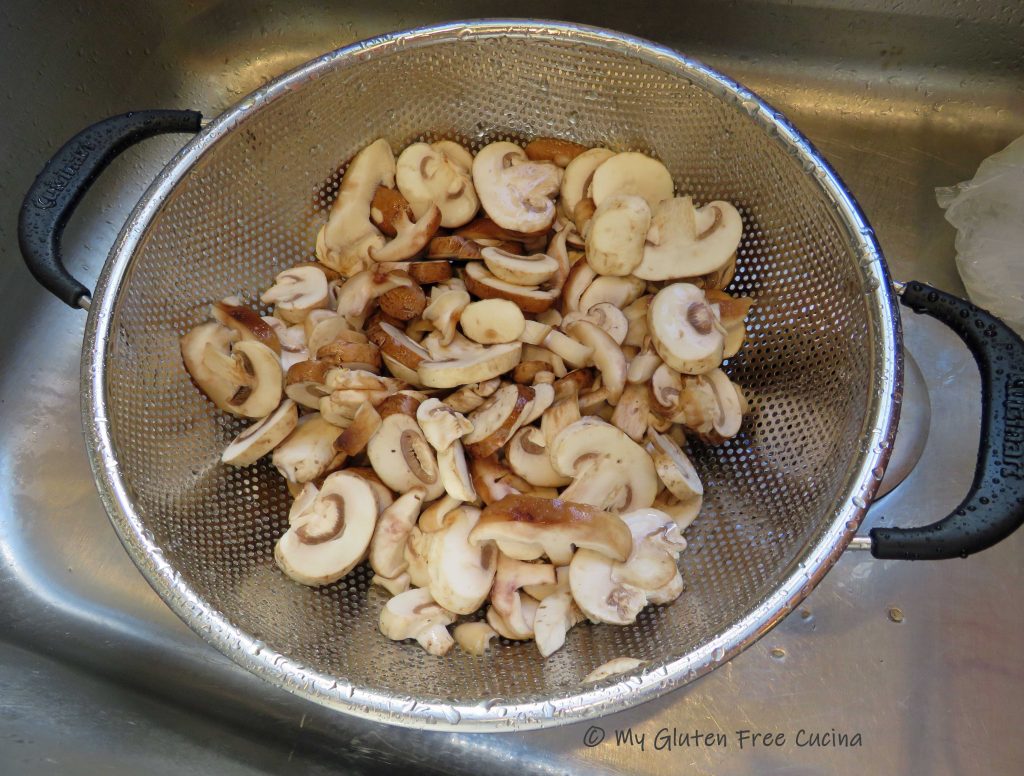
Drain the mushrooms and onions to remove as much liquid as possible.

While the dough is rising, plan your decorative toppings.  I made these pepperoni and olive bats!

After 1 hour in the fridge, turn the dough out onto floured parchment and use a bench knife to divide it in 2.

Roll out each piece into a thin rectangle, about 11 x 16″.  Brush lightly with olive oil and sprinkle with seasoning.  Use a bench knife to cut 1″ strips on either side of the dough.

Brush the center of each mummy with 3-4 tbsp. of pizza sauce, then layer with strips of provolone cheese.

Top with torn pieces of cold cuts and divide the mushrooms and onions between the 2 mummies.  Sprinkle with grated parmesan.

Hint:  Don’t over fill the dough and make sure veggies are well drained so it won’t be soggy! 

Starting at the bottom, fold the dough over the filling, then begin overlapping the strips from side to side.  Continue folding to create the mummy.  I transferred my mummies to a perforated loaf pan and trimmed the parchment to fit.

Preheat the oven to 500º.  Decorate the mummies with olive and pepperoni slices.  Be creative, you can use all sorts of veggies and herbs to dress up your mummy.  Brush everything with olive oil and sprinkle with more Italian seasoning.

Place the loaf pan on a baking sheet for more stability and to prevent the bottom from burning.  Bake for 20 minutes, and tent with foil if the mummies seem to be browning too quickly.  Cool in the pan for 10 minutes before moving to a rack.

Mummy bread can be eaten warm or at room temperature.  They will stay warm for several hours.

Leftovers (if you have any) can be reheated on a pizza stone.

Notes ♪♫ If you follow me, you know that I am a huge fan of Better Batter.  I made my mummies with their Gluten Free Artisan Flour Blend.  This flour is a game changer for making bread and pizza and I cannot recommend it enough!  Be sure to use my code MGFC30 for 30% off your non-sale purchase.

Happy Halloween from My Gluten Free Cucina!

Print This Post Print This Post

Gluten Free Herb Focaccia

Focaccia Bread Art is something I have always wanted to try.  Encouraged by my recent success making a Caramelized Onion Focaccia, I decided to give it a go while I still have fresh herbs from my garden.  Here is my little masterpiece, a very simple first effort that I will definitely do more of!

I used chives for the stems, rosemary and oregano for the leaves, parsley and shallots for the flowers.  There is a bit of fresh thyme sprinkled throughout.  I wondered how the fresh herbs would taste in the finished product and they were delicious!

This post contains affiliate links.

INGREDIENTS:

PREPARATION:

Combine water and yeast in the bowl of your stand mixer and give it about 10 minutes to activate.  Whisk together the flour and salt and add to the yeast mixture along with 2 tbsp. olive oil.  Mix with the paddle attachment for 8 minutes.  Transfer the dough to a greased bowl and refrigerate for one hour.

Cut parchment paper to fit a quarter sheet pan and mist with cooking spray.  Place chilled dough in the center of the parchment.

Roll the dough into a rectangle, slide it onto the sheet pan and cover with oiled plastic wrap.  Let it rest at room temperature for 30 minutes.

Place a pizza stone in the oven and preheat to 425º.

Create dimples in the dough by pushing down with your fingertips.  Brush the top with olive oil and sprinkle with Italian Seasoning.  Here’s what I used.

Arrange the fresh herbs on your dough and brush them lightly with olive oil so they don’t burn.

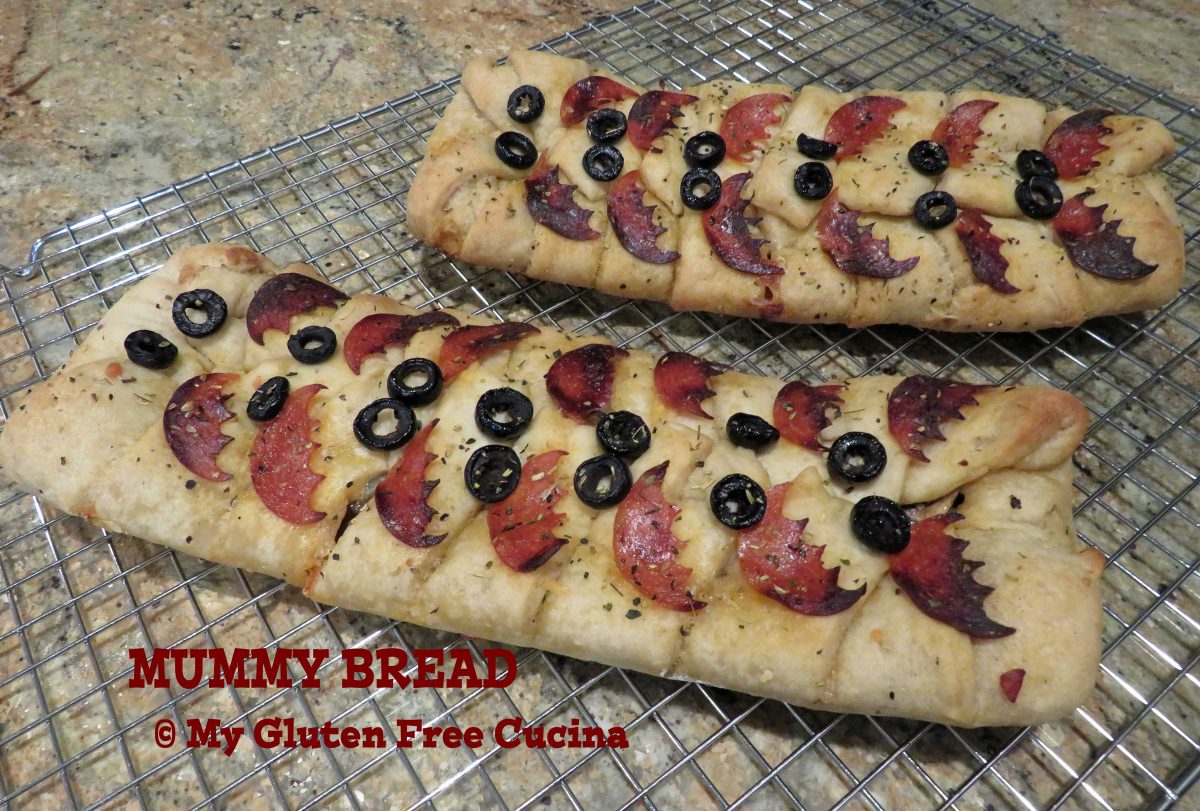
Place the sheet pan in the oven on top of the baking stone.  Bake for 25 minutes total.  During the last 10 minutes carefully slide the pizza out of the pan, remove the parchment and finish baking directly on the pizza stone.

So pretty, I hated to cut it (at least not until I took pictures ????).  Use a pizza wheel to cut into squares.

Here’s the crumb shot!

Notes ♪♫ If you follow me, you know that I am a HUGE fan of Better Batter gluten free flour.  I used their Artisan Flour Blend in this recipe, it is a little miracle in a bag that I recommend for pizza and yeasted bread recipes.  Try it, you will not be disappointed (be sure to use my code MGFC30 at checkout for 30% off your non-sale purchase)!

Print This Post Print This Post

Gluten Free Mushroom Soup

Homemade Mushroom Soup is always my first soup of the season.  An annual tradition signaling the end of summer, I make a pot right after Labor Day as our thoughts turn to cooler weather and comfort food.

This soup is the foundation for so many of my favorite winter stews and casseroles.  I keep some on hand in my freezer pantry, for those recipes that call for “a can of”.

Turmeric and saffron give this soup its beautiful golden color!  The recipe is so fast and easy, you can make a batch in under an hour.  I use a combination of mushrooms, such as white button, cremini and shitake. 

You can finish with cream for a Cream of Mushroom soup that is better than any canned.  Puree the soup or leave it chunky, your choice.  It freezes beautifully so make some now to have ready for the holidays!

This post contains affiliate links.

Ingredients: 

 Preparation: 

Whether you slice the mushrooms yourself or buy them pre-sliced, you will need to give them a good rinse.

Melt butter in a Dutch oven or 4-Quart soup pot.  Sauté the onions and celery in the butter until translucent.

Add all the mushrooms to the pot. 

Continue cooking over medium heat until the mushrooms release their liquid.

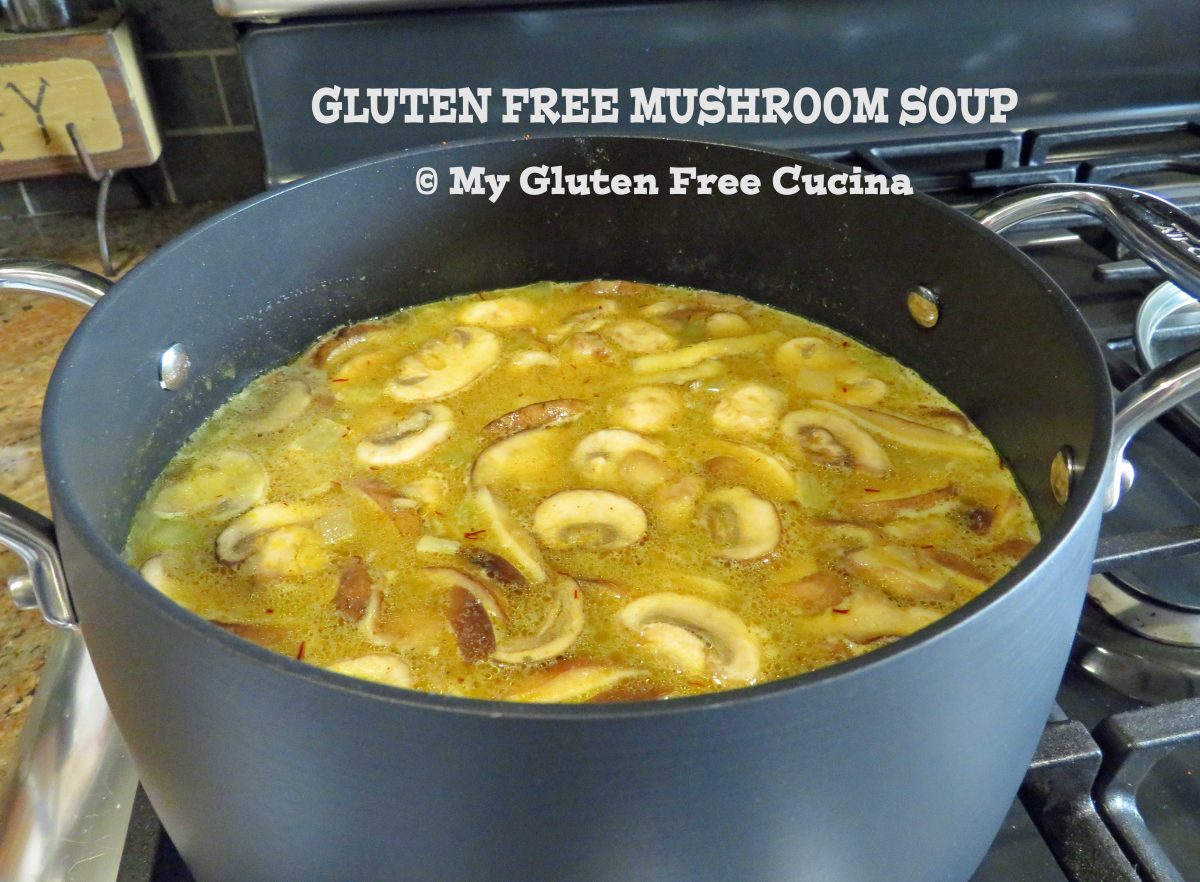
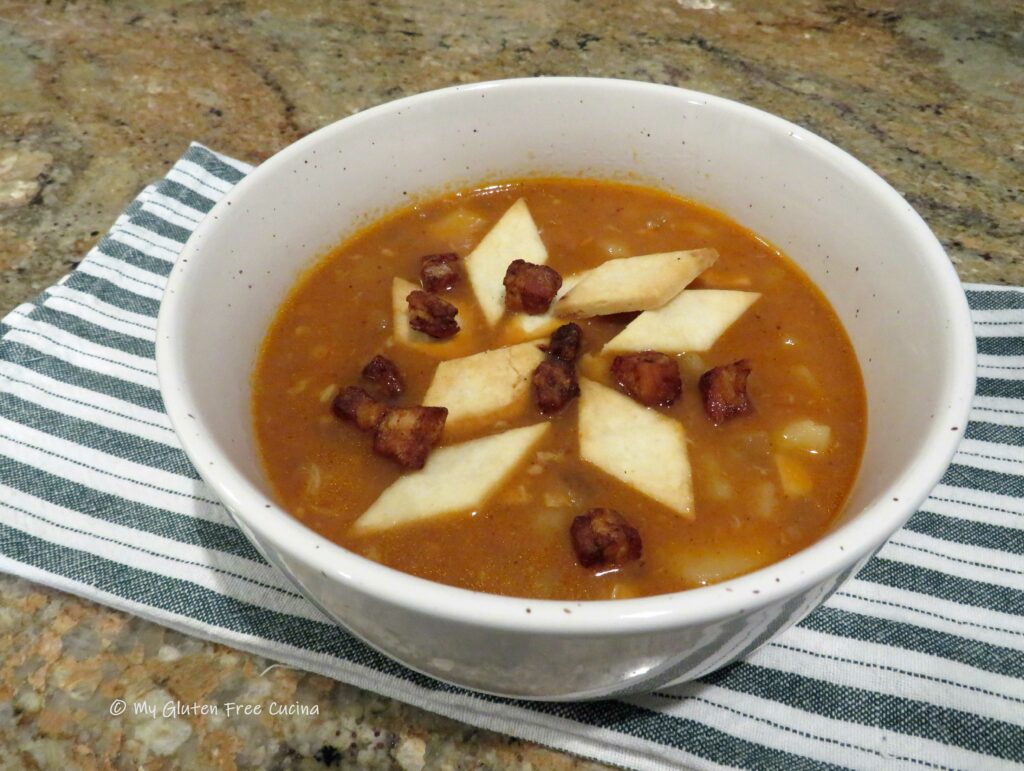
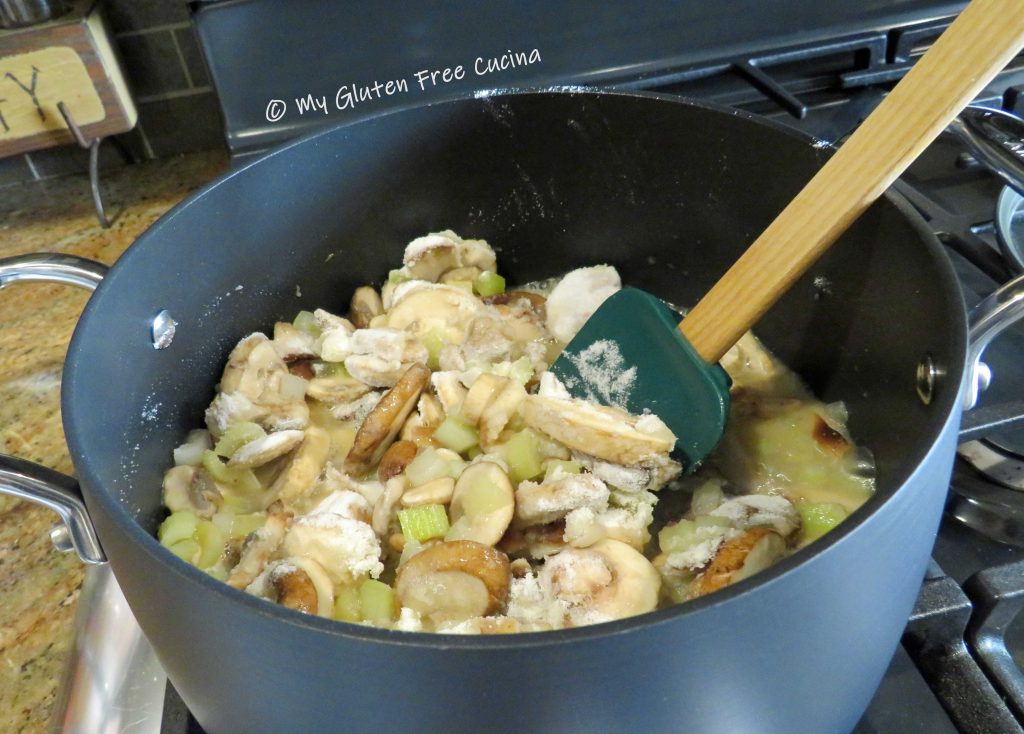
Have the chicken broth ready and stir in the flour.  It will immediately begin to thicken. 

Slowly stream in the chicken broth, stirring constantly so the flour doesn’t clump.  Add the salt, pepper, turmeric and saffron. 

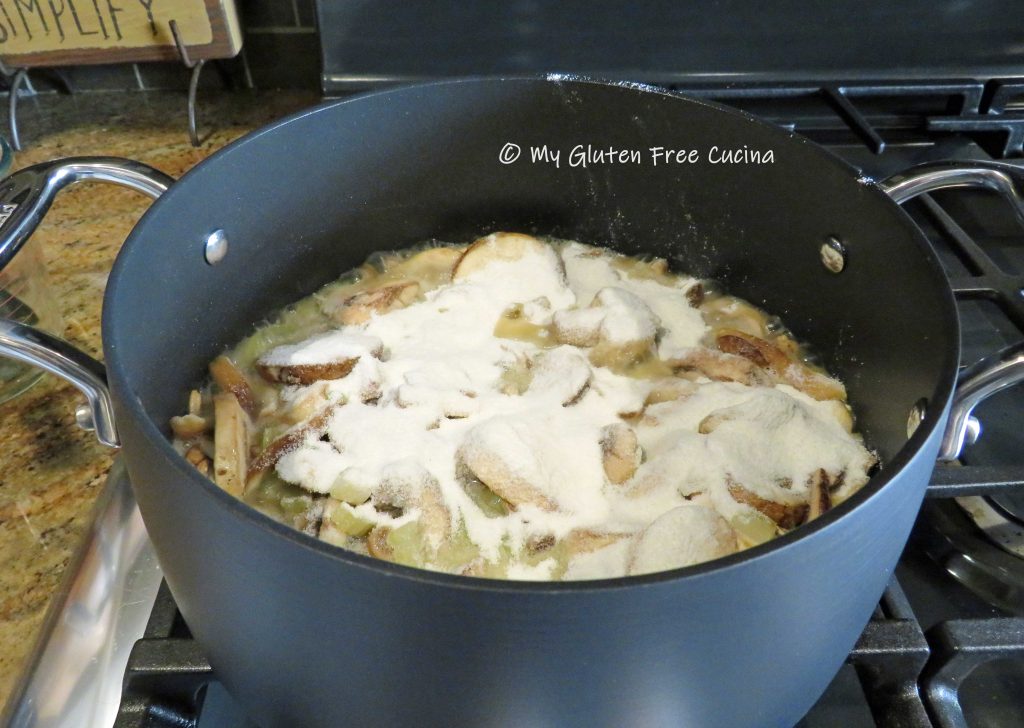
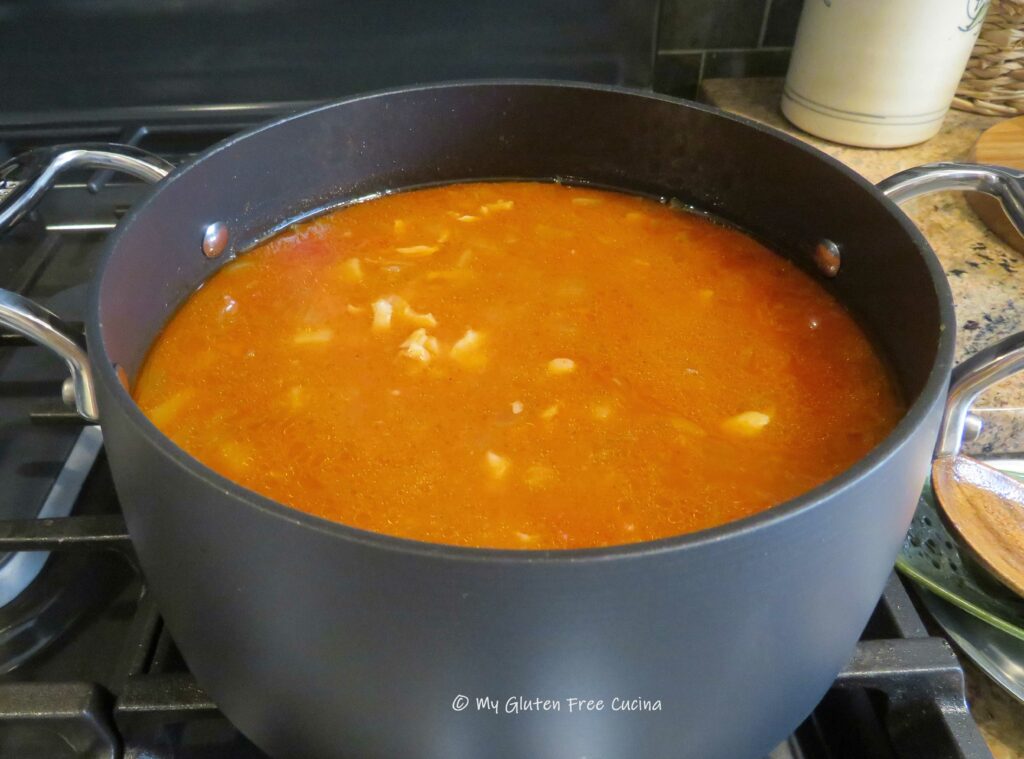
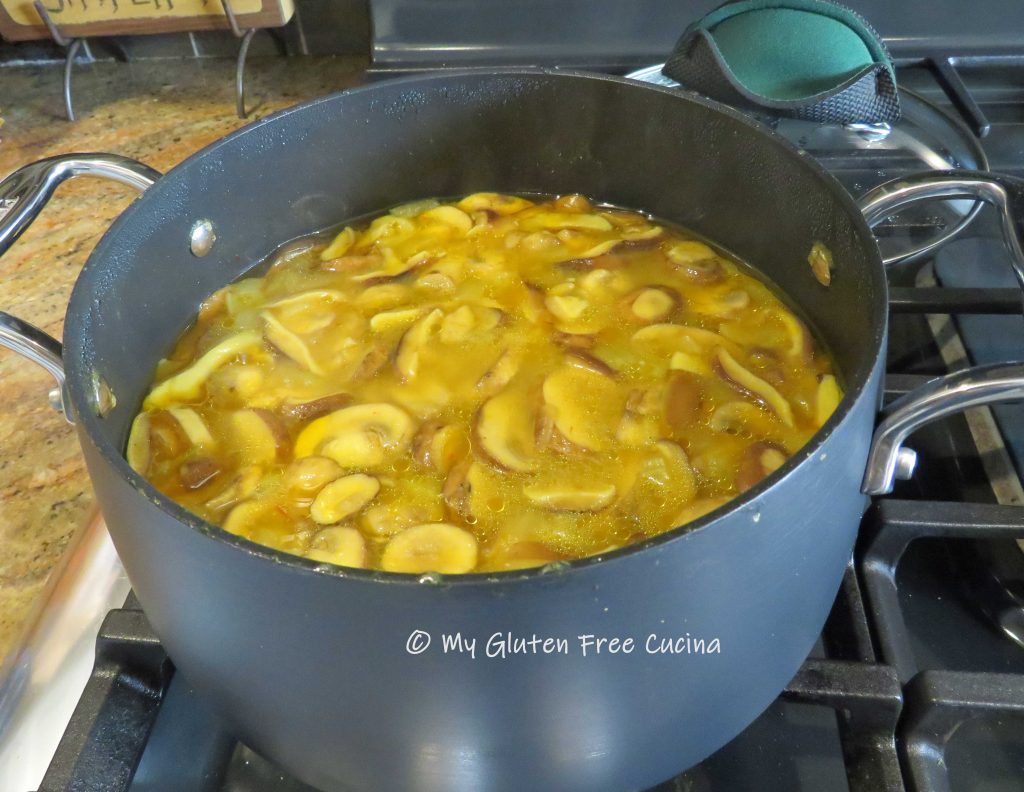
Simmer 15 minutes then remove from heat.  Soup can be prepared ahead and frozen up to this point.

Here it is after cooling down for an hour or so.

I ladle the soup into freezer containers, about 1-1/2 cups each.
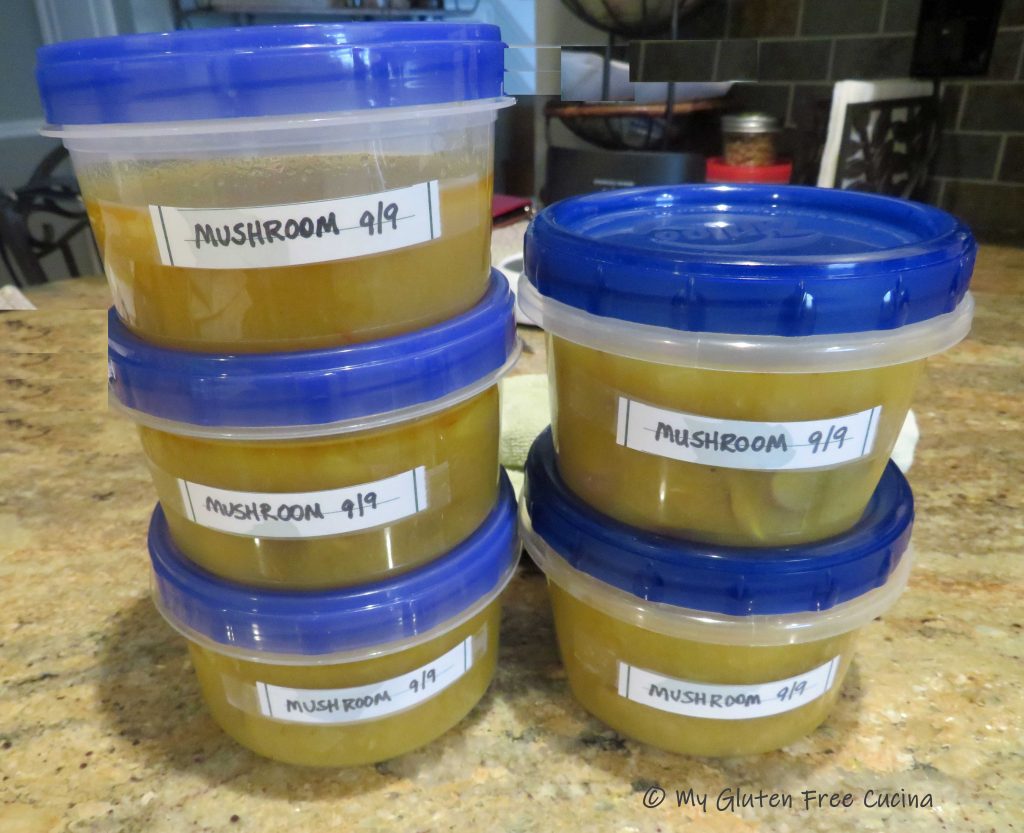
Notes ♪♫ If you plan to freeze the soup, I recommend not adding cream at this point.  For Cream of Mushroom Soup, drizzle in cream or half and half just before serving.

Print This Post Print This Post

Gluten Free Salmon Burgers

Since I began my gluten free journey, one of the things I miss most is being able to just go out for a sandwich.  A few restaurants do offer gluten free buns, but even then, gluten is lurking everywhere!  Toppings, breadcrumbs, binders, fillers, sauces and even seasonings may contain hidden gluten.  One of my favorite local chains has the best salmon burgers, but of course they are now off limits for me.  I’m feeling deprived!  So, this week I decided to create a copycat version of this awesome sandwich at home.  Here’s how!

4 Servings

This post contains affiliate links.

Ingredients:

Preparation:

I used fresh salmon, so that I could freeze 2 burgers for another meal.  If you are not going to freeze them, you can use frozen salmon.  Line a baking sheet with parchment paper and preheat the oven to 350º.   Bake the salmon for 15 minutes.  Cool slightly then remove the skin.  It should peel off easily.  Use a fork to flake the fish and let it cool to room temperature.

Heat 1 tsp. olive oil in a small stainless-steel skillet over medium low.  Add the minced onions and cook until they begin to brown and caramelize.  They will cook down to about 1/4 cup.  Remove, set aside and cool to room temperature.

Whisk together the egg, mayo, onion, chives, Worcestershire, lemon juice and seasoning.

Add the flaked salmon.  Be sure it has cooled to room temperature, so the egg doesn’t cook.

Next add the potato flakes and gluten free Panko.  Stir and use a fork to blend everything together thoroughly.  Don’t overwork it.

You should have enough to form 4 generous sized patties.

I used a hamburger press to make them nice and even.  Mist the press with cooking spray first to help the patties release.

I placed the patties on a baking sheet lined with parchment to make them easier to handle.  Keep them refrigerated until ready to cook.  You can also freeze them at this point.  Let them freeze on the sheet so they keep their shape, then wrap them individually and store in a freezer bag.

To cook, brush a grill pan with a little olive oil and cook the patties 5 minutes per side over medium heat.  The patties are delicate, so handle them gently with a wide spatula.

Add your favorite gluten free bun and there you are.  This is one of my favorite restaurant meals that was just waiting for a gluten free makeover.  Now I can enjoy a salmon burger at home any time.

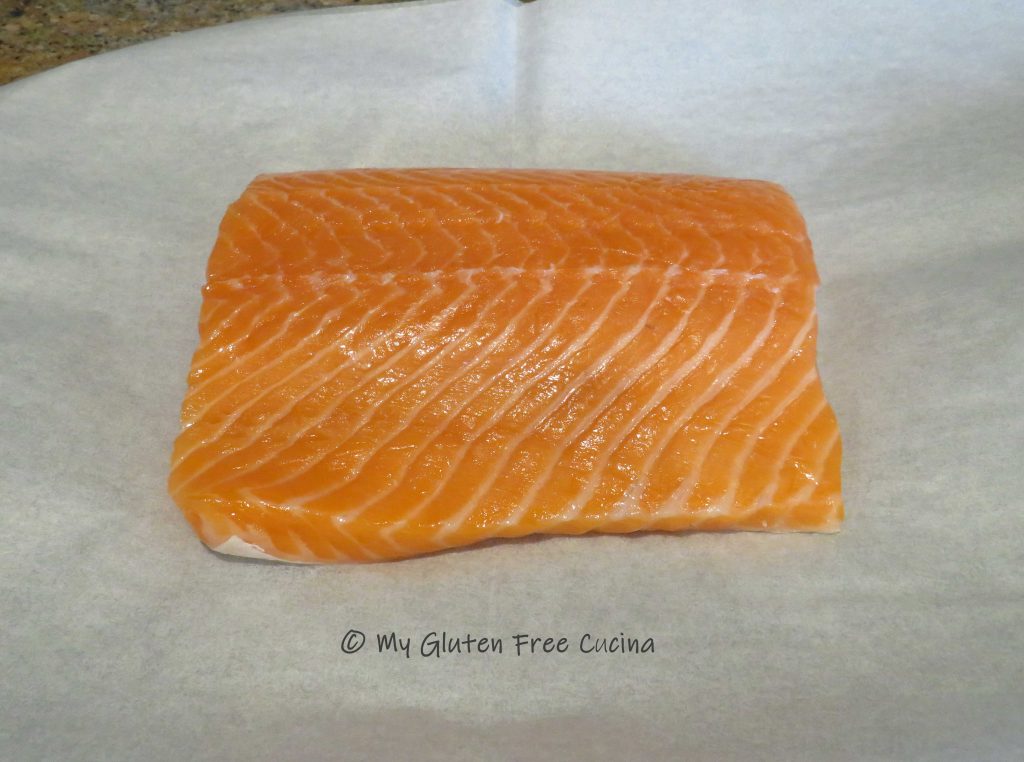
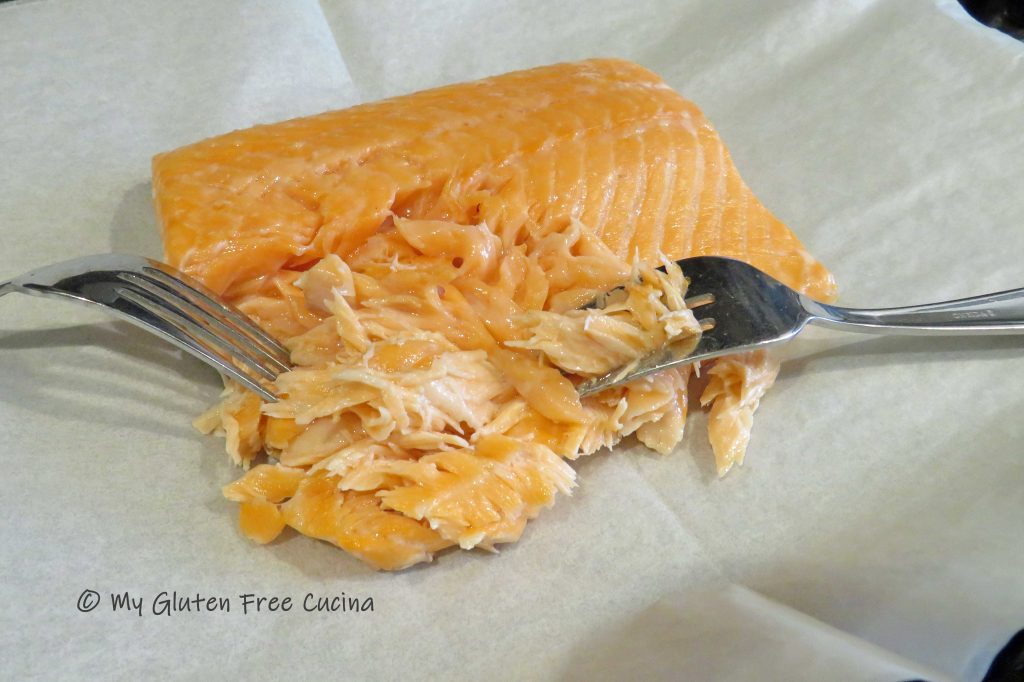
I hope that you enjoyed this recipe.  My gluten eating husband also thought these Salmon Burgers were great, just like the restaurant version!  So don’t feel deprived!  Try the recipe at your house and let me know what you think!

Notes ♪♫ I see you ogling that gluten free bun!  My own flour blend, it’s a nice big bun that you will love for all your burgers and sandwiches!  Get the recipe here!

This post was originally published on 07/06/2018.  While the photos have been updated over the years (as I become a better photographer!), the recipe itself has not changed.  

Print This Post Print This Post

Split Chicken Breasts over Rice Stuffing

Split Chicken Breasts come out moist and delicious baked over a bed of colorful rice stuffing.  This deconstructed recipe is the easy way to serve Split Chicken Breast without the hassle of stuffing each piece!  Apple and bacon give the stuffing a sweet and savory flavor profile.

This post contains affiliate links.

Here are some tips for making this dinner a success.  Use a baking dish large enough to hold the chicken breasts in a single layer.  Partially cook the chicken before adding the stuffing to the dish.  Drain the baking dish halfway through to remove some of the fat before adding the stuffing.  Choose a firm, short grain rice that will stand up to a longer cook time.

Some of my favorite seasoning blends for chicken are McCormick Montreal Chicken Seasoning, Shallot and Herb Seasoning and Tuscan Seasoning.  Use one or a combination as I have.  These blends are versatile and can be used in so many other dishes like pasta, potatoes and eggs.

This is a great family meal, perfect for casual entertaining!

3 Servings

Ingredients:

For the rice:

For the stuffing:

  • 1/2 cup onion, small dice
  • 1/2 cup apple, small dice
  • 1/2 cup celery, small dice
  • 2 strips bacon, cut into 1/2″ pieces
  • olive oil
  • sage
  • thyme
  • salt and pepper to taste

For the chicken:

Preparation:

Rinse the chicken and pat dry.  Brush with olive oil and season.  Coat a 9×13″ baking dish with cooking spray and arrange the chicken in a single layer.  Bake at 350º for 45 minutes.

While the chicken bakes cook the rice.  I cooked 1 cup rice in 2 cups water and 3/4 tsp. seasoned salt.

To make the stuffing, begin cooking the diced bacon in a stainless-steel skillet until crisp.  Use a slotted spoon to remove the bacon bits and drain on paper towel, leaving any remaining bacon fat in the skillet.  Add a small amount of olive oil and sauté the onion, celery and apple until crisp tender. Season with sage and thyme then add back the bacon bits.

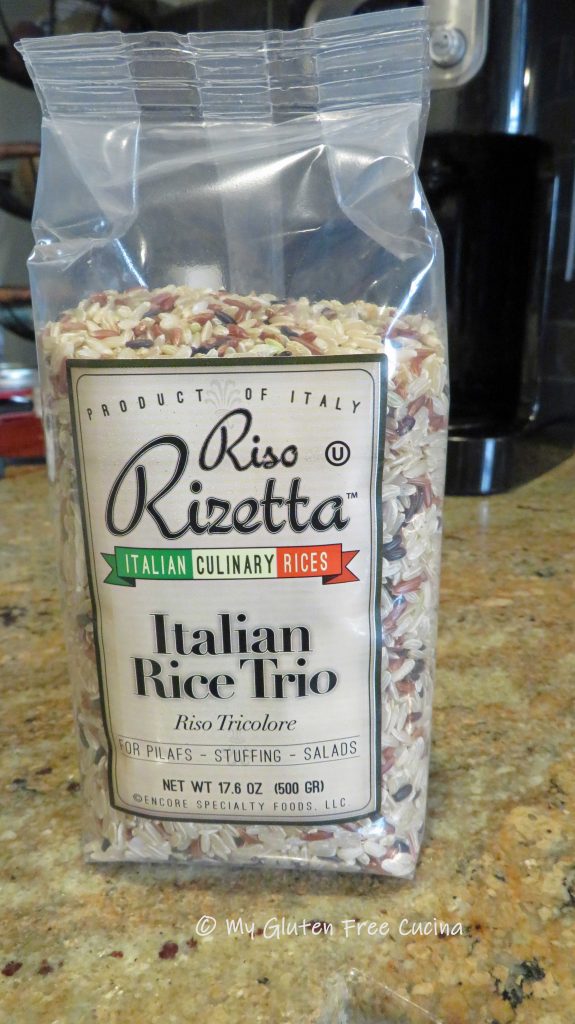
Add the cooked rice to the skillet with the stuffing and stir well to combine.

When the chicken has baked for 45 minutes, remove from the baking dish and drain any liquid.  Spread the rice and stuffing mixture evenly in the bottom of the baking dish and add 1/2 cup chicken broth.  Return the chicken to the baking dish and finish baking 45 minutes longer.

If you like a crispy skin, you can broil the chicken for a few minutes at the end of the cook time.

Notes ♪♫ I got this wonderful Italian tri-color rice at a local shop and have also purchased it on Amazon.  If Amazon is out of stock, try Rice Select Royal Blend for something similar.

Print This Post Print This Post

Air Fryer Ribeye Steak

Can you really cook a steak in the air fryer?  This is a question I had never even considered, until the day my stove malfunctioned.

Saturday night is steak night at our house, and my cooking method of choice has always been the reverse sear, which produces a perfectly cooked steak every time.  Read about it here.

Now without a stove, I turned to my other appliances.  Microwave, crock-pot, air fryer?  Hmmm.  Both Mr. Cucina and I were worried about ruining a perfectly good (and expensive) steak.  I did some research and decided to try the air fryer.

The verdict, excellent!  It turns out that yes, you can cook a steak in the air fryer, and it was delicious!

This post contains affiliate links.

Ingredients:

  • 1 lb. ribeye steak, about 1-1/2″ thick
  • gluten free steak marinade (recipe here)
  • cooking spray

Preparation:

Marinate the steak for 2 hours before cooking.  Whisk together the marinade ingredients in a non-reactive dish and add the steak, turning every 30 minutes.

Preheat the air fryer for 5 minutes at 400º.  Remove the steak from the marinade and place on a rack for a few minutes to drain off the excess liquid (if you have a basket style air fryer just pat your steak with paper towel before cooking).

Add 1 tbsp. of water to the bottom tray of the air fryer.  Add the steak and cook 8 minutes per side.

Continue cooking until your steak reaches the desired temperature.  We like ours cooked medium, and it took a total of 21 minutes for mine to reach 145º.

Time will vary from one air fryer to another, so be sure to check the temperature with a meat thermometer.

Also keep in mind that if you are cooking other things in the air fryer at the same time, it will most likely extend the cook time.  I had carrots and potatoes in the air fryer, and it took 30 minutes for the potatoes (started 10 minutes before the steak), and 20 minutes for the carrots.

Important!  Always let the steak rest 5 minutes before slicing.  Place it on a warm plate and cover with foil.  This allows the juices to redistribute and keeps the steak moist and flavorful.

Doesn’t that look good?  It looks like we won’t go hungry while we wait for our new range to arrive.  I can’t wait!

Notes: ♪♫ This dinner for two fit just right in my 3-shelf air fryer.  Potatoes on top, carrots in the middle and steak on the bottom.  You can rotate the shelves during cooking for even results.  Remember that items on the top shelf (closest to the fan) will cook faster, so watch that they don’t burn!

Print This Post Print This Post

Gluten Free Cavatelli with Sausage, Mushrooms and Peas

Cavatelli are a small, indented pasta popular throughout Southern Italy.  Similar to gnocchi, they are among the easiest types of hand formed pasta to make from scratch.  Cavatelli were a favorite of my Dad, who was definitely not a pasta lover but I remember he liked the “cavati” from the Italian market.  Perhaps they brought back a long ago memory of pasta being made in the home.

Traditional cavatelli are made with semolina flour.  They are shaped on a smooth surface, with the cavity formed by pressing fingers into the dough, or by using a knife.  To make them gluten free, the semolina was replaced with a gluten free flour blend and the addition of eggs (again not traditional) helped form a smooth stretchy dough.

I served the cavatelli with an easy pan preparation of Italian Chicken Sausage, mushrooms and peas.  It was so good!  A simple, satisfying meal that was just the right amount for the two of us.  If you have bigger appetites or want leftovers just double the recipe!

Dinner for two.

This post contains affiliate links.

Ingredients:

For the pasta

Finish the dish

  • 6 oz. (2 links) gluten free Italian Chicken Sausage
  • 1 cup frozen peas
  • 2 garlic cloves, minced
  • 2 cups sliced mushrooms
  • 2 tbsp. olive oil + more for finishing
  • pinch red pepper flakes (optional)
  • splash (~ 1/4 cup) of white wine
  • 1 tbsp. of butter
  • grated cheese
  • Italian parsley

Preparation:

Combine the pasta ingredients in the bowl of a stand mixer and beat 3-4 minutes with the paddle attachment.

Gather the dough into a ball and dust with flour.  Cover with plastic wrap and rest 15 minutes.

Generously flour a cutting board.  Use a bench knife to divide the dough into 4 sections.  Working with one section at a time, roll the dough into a 1/2″ rope.

Cut the rope into 1/2″ pieces, then use a small paring knife to gently press and drag the pieces toward you to form the center indentation and curled edges.

Place the formed pasta on a floured tray and refrigerate until ready to cook.

To finish the dish cut the sausage links in half lengthwise and then slice into half moons.

Heat a braising pan or heavy skillet on the lowest setting and add 2 tbsp. olive oil.  Add the garlic and red pepper flakes and gently warm them to infuse the oil.  Heat a large pan of salted water for the pasta.

Add the sausage to the pan, cook for 1 minute then add the peas and the mushrooms.

Turn up the heat and cook, stirring frequently until most of the liquid evaporates.

Cook the pasta for 3 minutes.  It’s done when it floats to the top.

Add a little more olive oil, splash of white wine and a pat of butter to the skillet.  Drain the pasta and toss with the sausage mixture.  Cook for 1-2 more minutes to incorporate the flavors.

Drizzle with olive oil, then top with grated cheese and a sprinkle of parsley.

Notes ♪♫  As you probably know, I am a huge fan of Better Batter brand gluten free flours (not sponsored).  Both their Original Blend and Artisan Flour Blend are wonderful for making fresh pasta, either by hand or machine.  Check out some of my other made from scratch pasta dishes, like this Gluten Free Trofie and Gluten Free Pappardelle.

Print This Post Print This Post

Gluten Free Italian Wedding Soup

This soup takes me back more than 60 years, to my Italian grandmother’s kitchen.  As a child, she would make this for me all the time.  So many little meatballs!  I was only nine years old when she passed away, but the flavors of this soup are etched in my mind.

This post contains affiliate links.

Of course, those tiny meatballs are the star of the recipe.  My younger self most definitely did not appreciate the love that went into making them!  Those tender little bites are what I remember best, so for my gluten free recreation I used ground veal.  Just one taste and I knew I had made the right choice!

Note ♪ If ground veal is not available, substitute ground beef, pork, turkey, etc.

Believe it or not, there were only 2 ingredient swaps needed to make Italian Wedding Soup gluten free.  First, the breadcrumbs.  I am a big fan of Aleia’s gluten free seasoned breadcrumbs, and they were perfect in the meatballs.  Second, the soup pasta.  I was thrilled to find Gluten Free Acini de Pepe at Bella Italia Food Store this year.  It is close to the pastina shape that my grandmother would have used, and you really can’t tell that it’s gluten free!

Ingredients:

For the Meatballs
For the Soup
  • 3 medium carrots, peeled and diced
  • 4 celery stalks, trimmed and diced
  • 1 medium sweet onion, diced
  • 3 garlic cloves, minced
  • olive oil
  • 32 oz. carton gluten free chicken broth
  • 2 cups chicken or turkey stock
  • 6 oz. gluten free soup pasta
  • 6 oz. bag baby spinach
  • 1/2 tsp. sage
  • 1/2 tsp. thyme
  • salt and pepper to taste
  • grated parmesan for serving

Preparation:

Combine the first 5 meatball ingredients (everything but the olive oil) in a bowl and mix well with your hands.

Use a half teaspoon to form tiny little meatballs, about 3/4″ diameter.  Roll them between your palms and set them on a plate or sheet of waxed paper.

Heat a nonstick skillet with a little olive oil and brown the meatballs for just a few minutes over medium low heat.  Don’t crowd the pan, cook the meatballs in batches if needed.

Use a slotted spoon to scoop out the meatballs and drain them on a plate lined with paper towels.

Note ♪ You can prepare the soup up to this point the night before, just refrigerate the meatballs and continue with the recipe when ready.

For the soup, add the onions, celery and carrots to a soup pot with a little olive oil.  Stir until the veggies begin to release their liquid, then add the garlic and cook one minute longer.

Add the broth, stock and seasonings.  Cover and simmer on low for 45 minutes.  Cook the pasta separately, according to package directions.

Turn off the heat.  Add the baby spinach and stir to wilt.

Return the meatballs to the pot to warm through.

Drain and rinse the pasta under warm water and add it to the soup.

I find that gluten free soup pasta can be gummy, so it is best cooked separately, drained and rinsed to remove some of that starch.

Serve with finely grated cheese, use the good stuff!

This soup was just the thing for a cold winter evening!  It would be a wonderful first course for a holiday dinner.

Friends, I hope you enjoyed this post!  I know that my grandmother would be so pleased that I made this soup in her memory.

My Grandmother Caterina and I, 1960

Be sure and check out some of my other Gluten Free Soups as well as some helpful links on where to find Gluten Free Soup Pasta.

Notes ♪♫ In some recipes for Italian Wedding Soup, the raw meatballs are dropped right into the soup.  I like the extra flavor you get from browning, and it removes some of the fat at the same time.

Print This Post Print This Post