Easy Sheet Pan Chicken and Vegetables

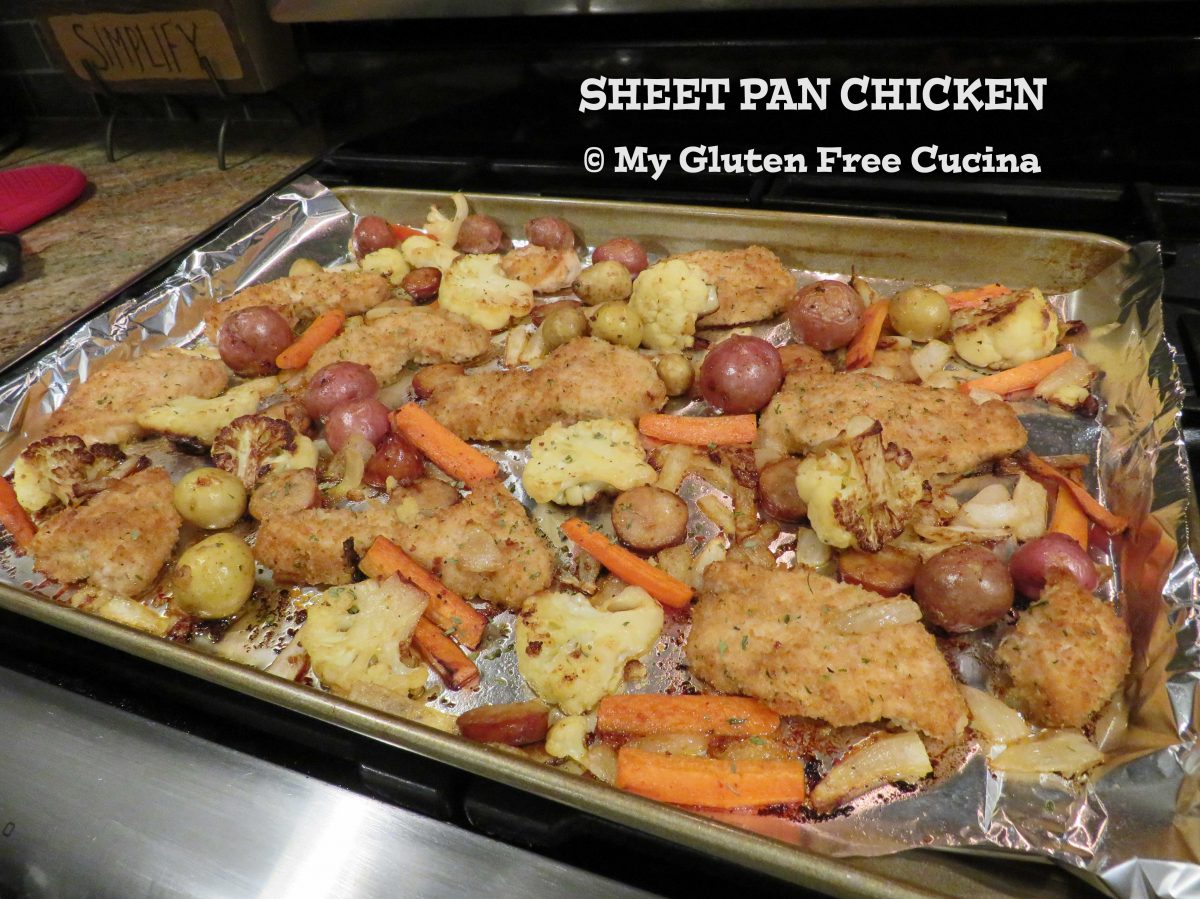
Boneless chicken medallions, breaded and baked with sausage, carrots, onions, potatoes and cauliflower.  This easy sheet pan dinner proves that gluten free does not have to be complicated!  From oven to table, you don’t even need a serving dish.

I didn’t take step by step pictures of the preparation as I normally do, because honestly I never thought this meal would make it to the blog.  But it came out really delicious, so here we are.

The simple, fresh ingredients speak for themselves in this perfectly seasoned, one dish meal.

I was featured at the senior salon pit stop

4 Servings

This post contains affiliate links.

Ingredients:

Preparation:

  1. Heat a large nonstick skillet with 2 tbsp. olive oil.  Line a half sheet pan with foil and mist with cooking spray.  Preheat the oven to 400º.
  2. Cook the sausage coins in the skillet until lightly browned, then use a slotted spoon to transfer them to the baking sheet.  Leave the oil behind in the skillet.
  3. Place the breadcrumbs in a food safe plastic bag, add the chicken medallions and shake to coat.
  4. Brown the chicken on both sides in the same skillet, about 1 minute per side.  Do not cook through, it will finish cooking in the oven.  Arrange the browned chicken on the baking sheet.
  5. Add several more tbsp. of olive oil to the skillet, with all of the vegetables.  Sprinkle liberally with Creole seasoning.  Par cook the vegetables in the skillet for about 10 minutes to give them a good head start, then arrange them on the baking sheet with the chicken and sausage in a single layer.
  6. Bake for 15-20 minutes at 400º and bring right to the table for a fun and casual meal.  If you like, serve with BBQ Sauce for dipping!

Notes ♪♫ While the chicken and sausage cooked very quickly, the veggies took quite a bit longer, especially the potatoes and carrots.  Giving the veggies a 10-minute head start in the skillet is the secret to having everything finish in the oven at the same time.

Print This Post Print This Post

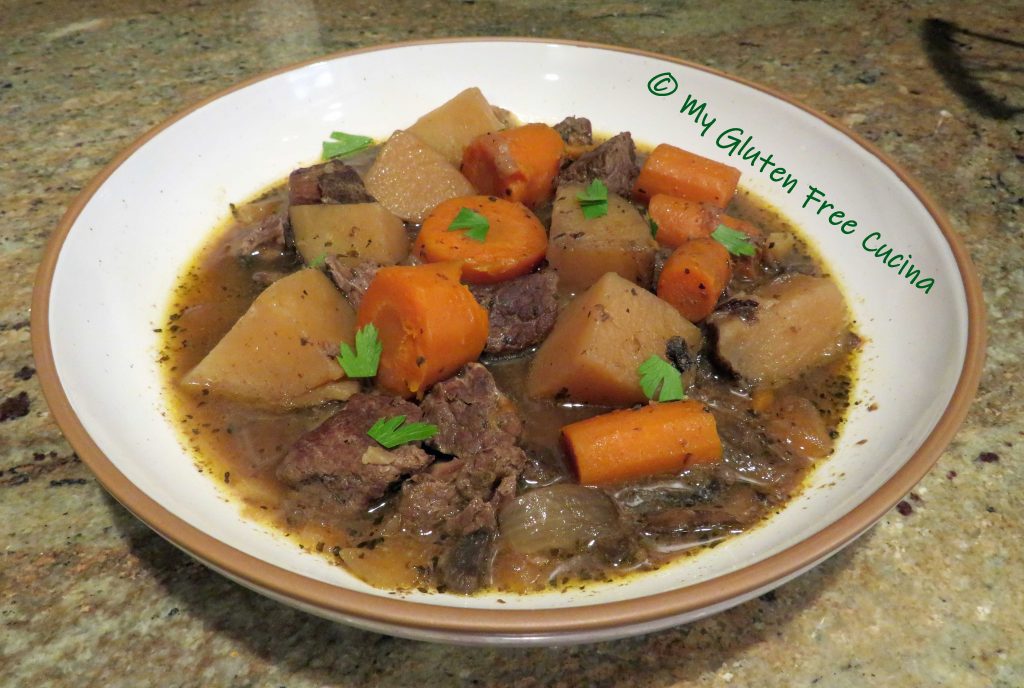
Gluten Free Beef Stew

I have been making this beef stew for many years, decades in fact.  It’s a hearty meal simmered all day in the crock-pot, a real family favorite!  Most of the ingredients are naturally gluten free, so after my diagnosis it was easy to adapt my tried and true recipe to a gluten free version.

This post contains affiliate links.

Ingredients:

  • 1 lb. choice stew beef, cubed
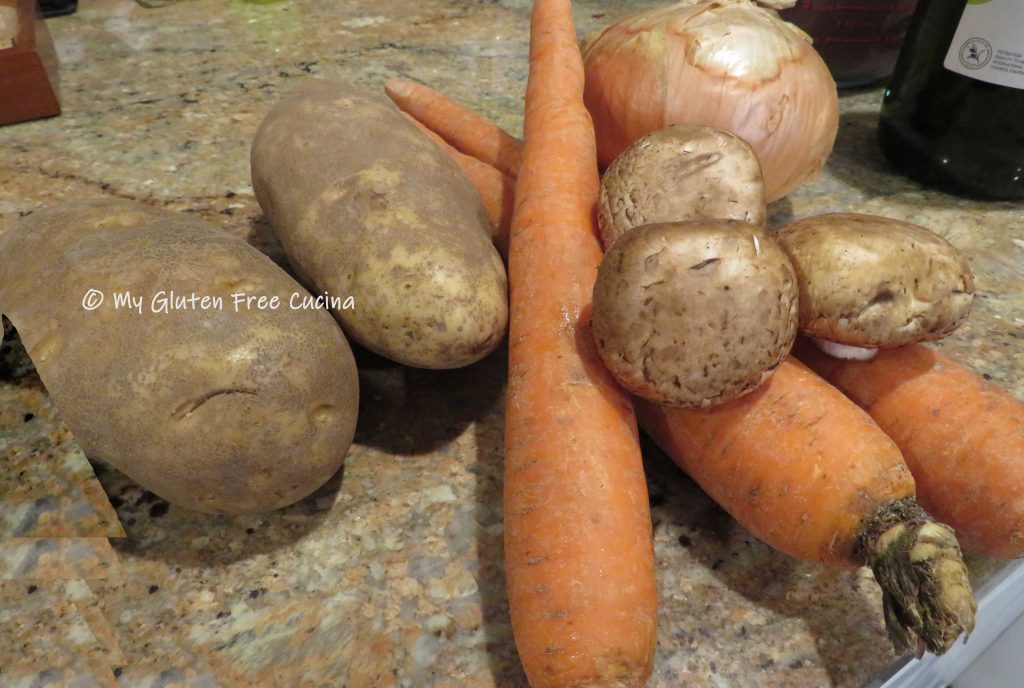
  • 2-3 extra large carrots, peeled and cut into thick coins
  • 2 russet potatoes, skin on and cut into chunks
  • 1 large sweet onion, cut into wedges
  • 1/2 package crimini mushrooms, cut into quarters
  • 3 garlic cloves, minced
  • salt and pepper
  • olive oil
  • 1 can gluten free cream of mushroom soup
  • 1 cup red wine
  • 1 tsp. dry basil
  • 2 bay leaves
  • fresh Italian parsley

Preparation:

Before preparing any recipe I always go over the ingredient list to check for gluten.  Beyond the obvious things like flour, all seasonings and processed ingredients should be verified gluten free.  In this recipe, I have always used a can of cream of mushroom soup.  Since many canned soups contain gluten, I shopped around before making my stew and found this one.  It’s certified gluten free!


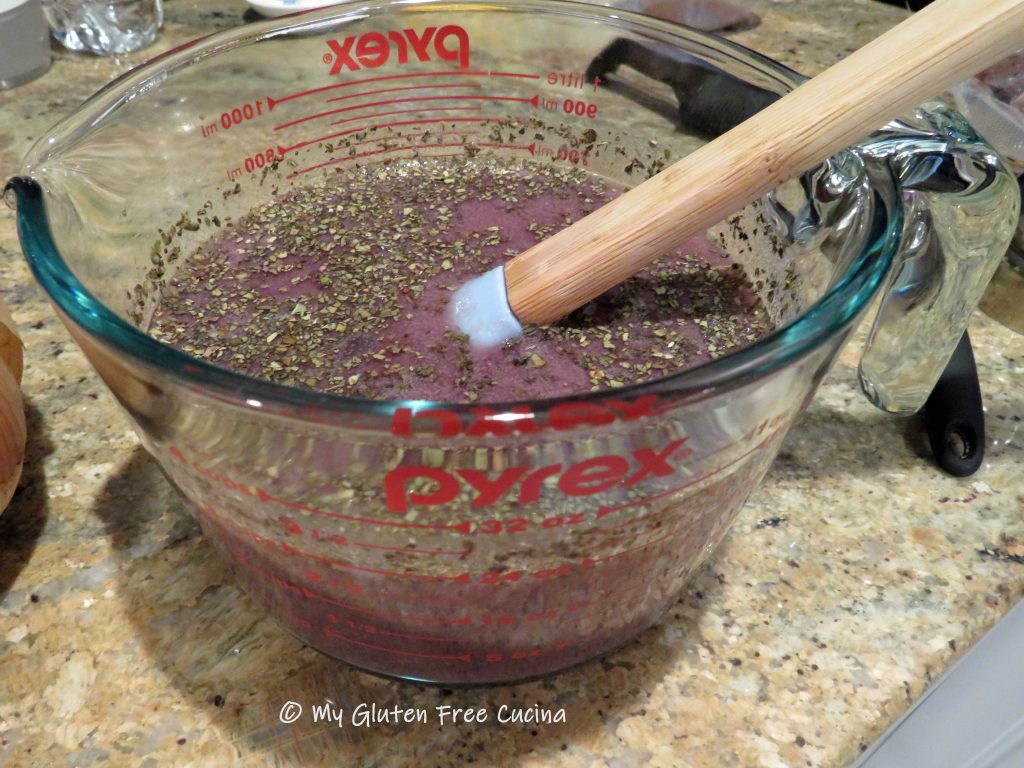
Now, let’s get started on the recipe.  Set up your crock-pot, and a large stainless steel skillet (not non-stick).  Yes, you can just throw all of the ingredients into the crock-pot, but I like to build layers of flavor by browning.  This can be the difference between a mediocre stew and a great one.  Whisk together the wine, cream of mushroom soup and dried basil.

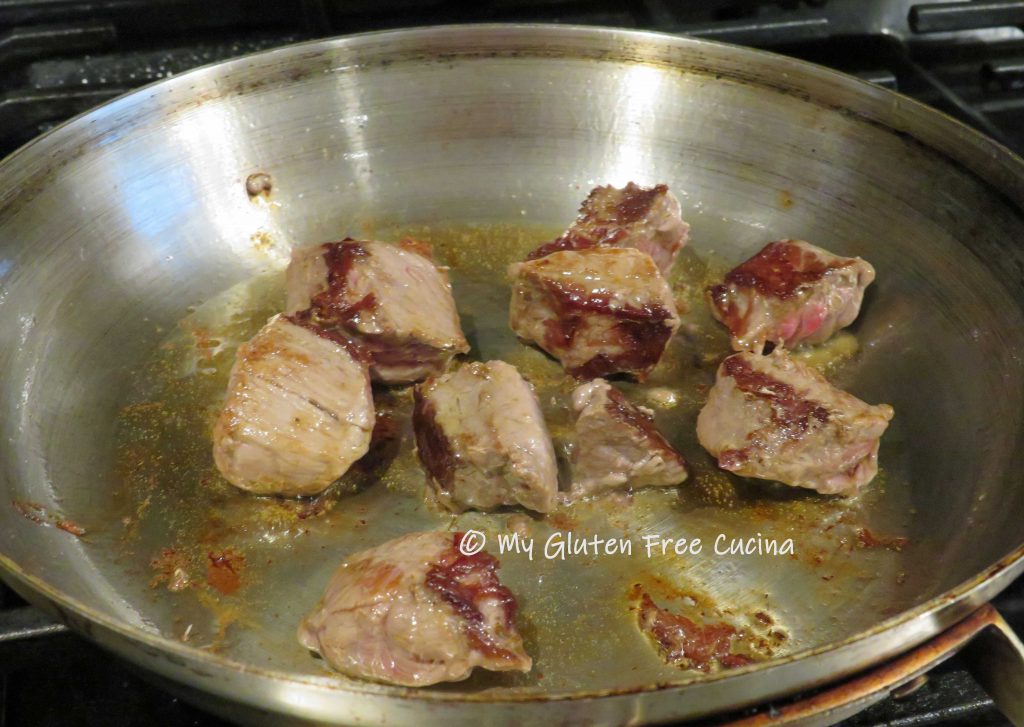
Next, begin browning the ingredients in a small amount of olive oil.  Start with the beef.

Don’t crowd the pan, you want to get some good color on the outside (if the pieces are too close together the meat will steam in its own liquid).  I did my beef in 2 batches.
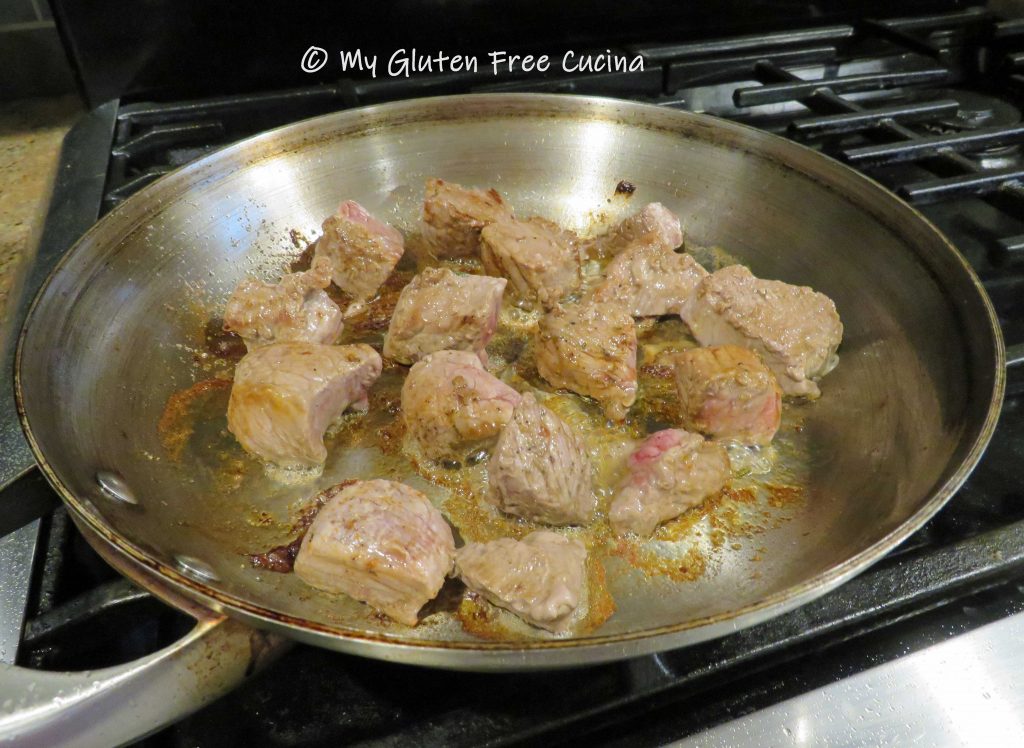
Once the beef goes into the crock-pot, you will see some nice browned bits on the bottom of your skillet.

Pour 1/3 cup of the wine mixture into the hot pan to deglaze, using a spatula to scrape up all of the browned bits, they are full of flavor!

Pour the liquid into the crock-pot and add more olive oil to the skillet.  Begin browning the veggies, a few minutes each starting with the onions.
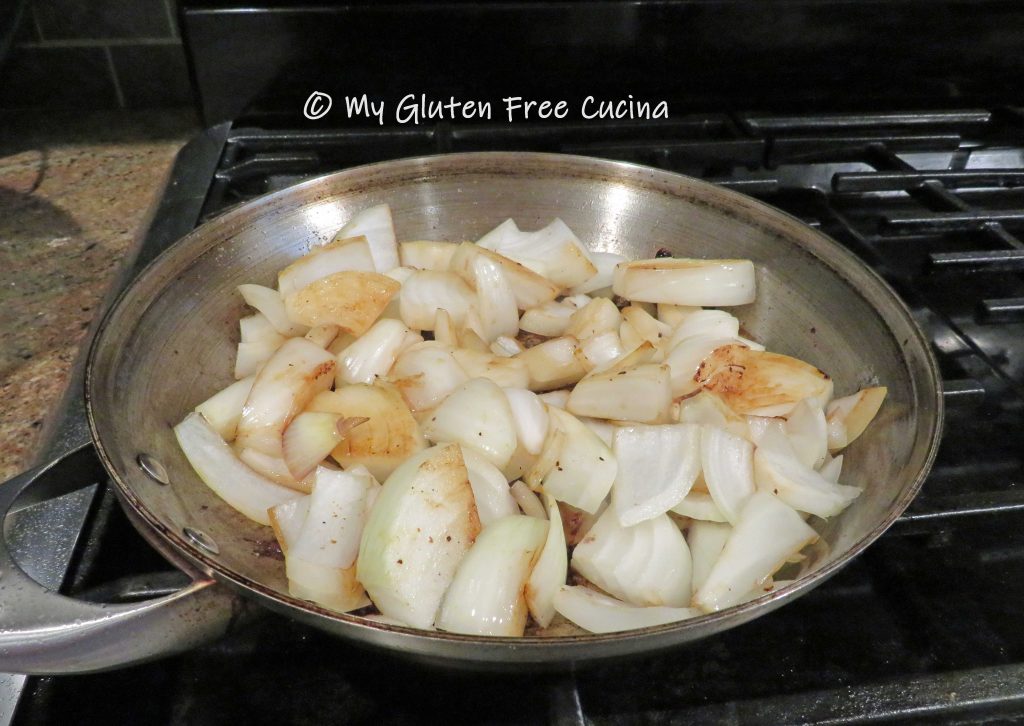
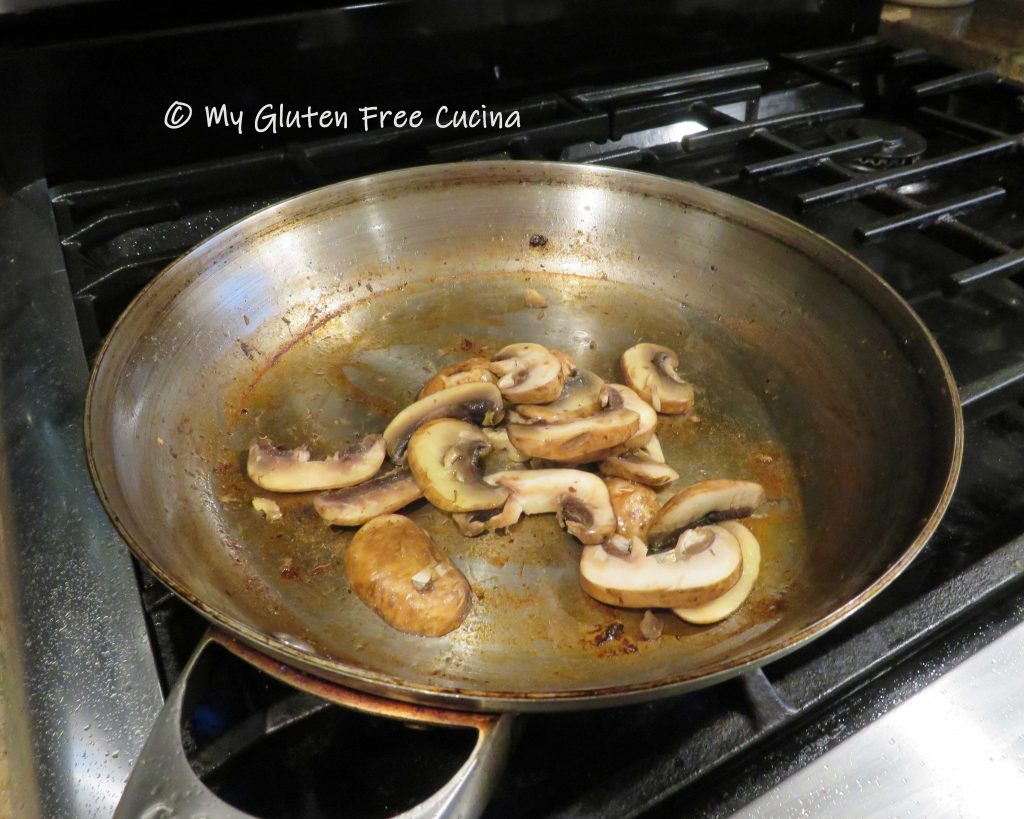
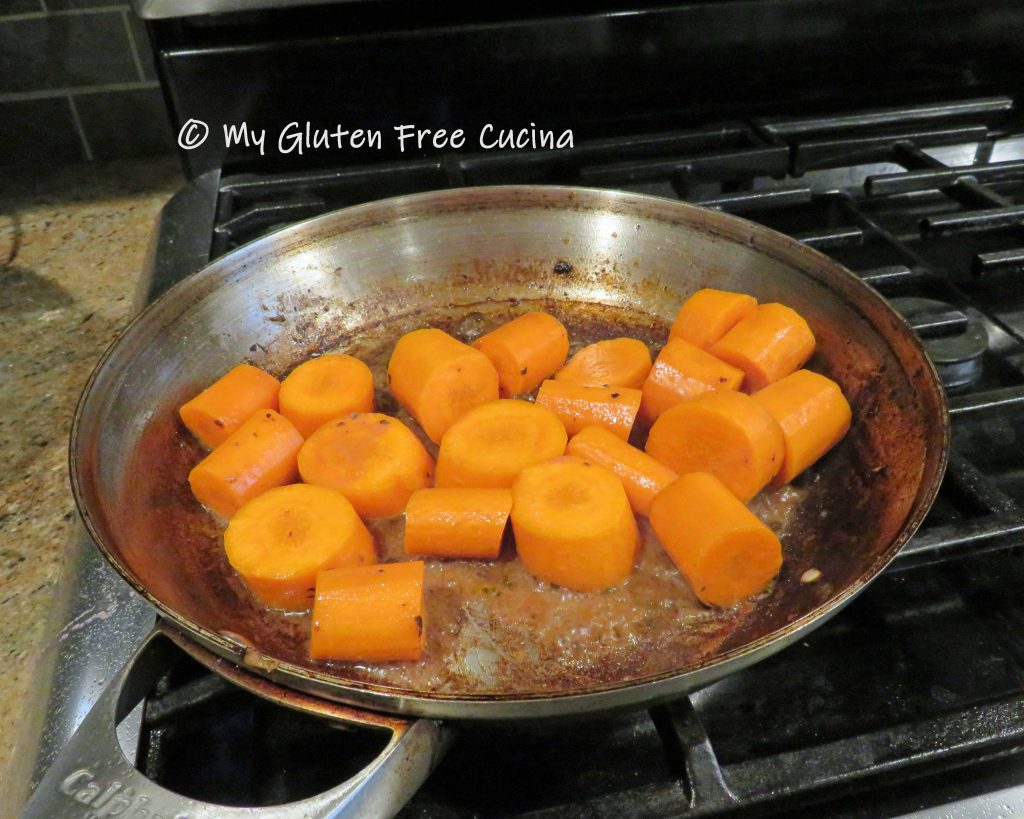
Continue with the mushrooms, followed by the potatoes and carrots.

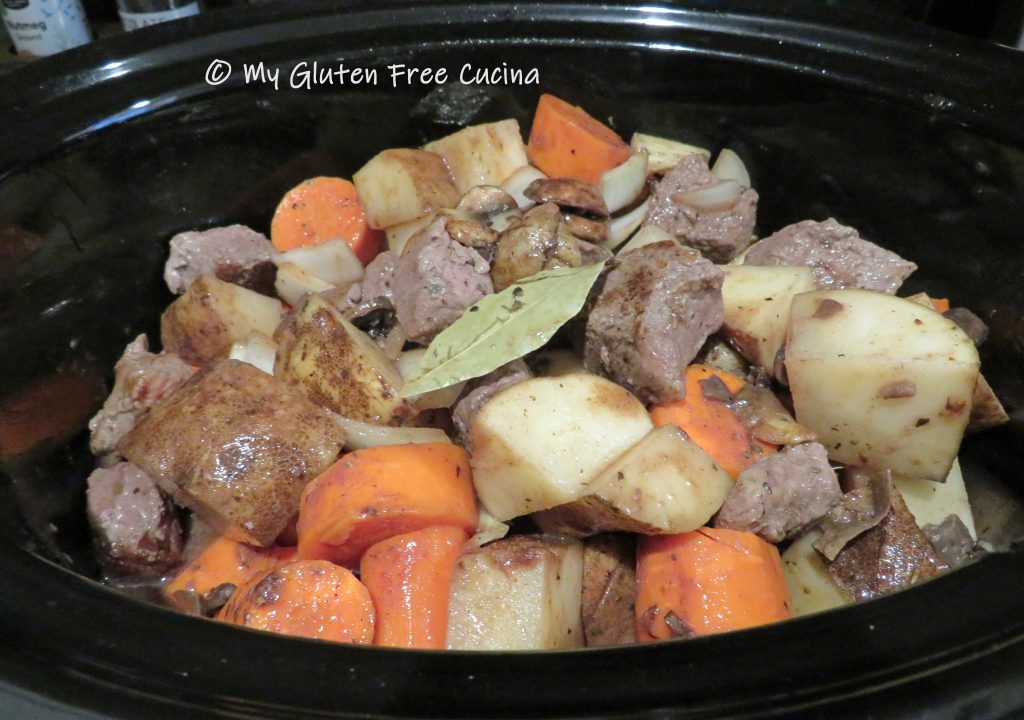
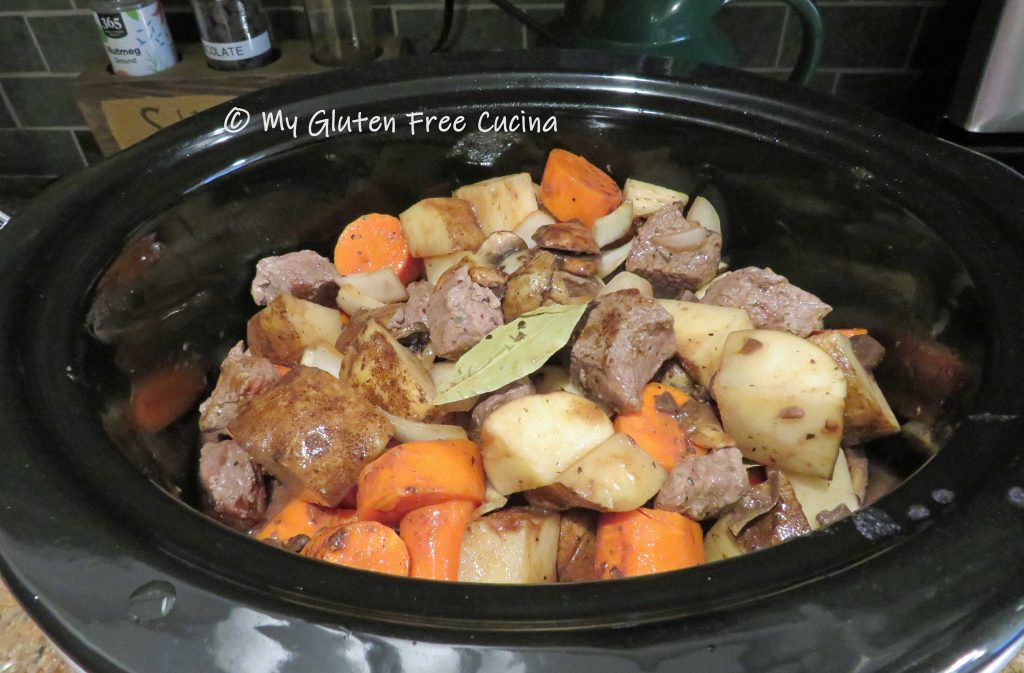
As you brown the veggies, season with salt and pepper, and layer them in the crock-pot.  Pour the rest of the wine mixture into the crock-pot, along with the garlic and bay leaves.

Stir well, then cover and cook on low for 8 hours.  Tick-tock.


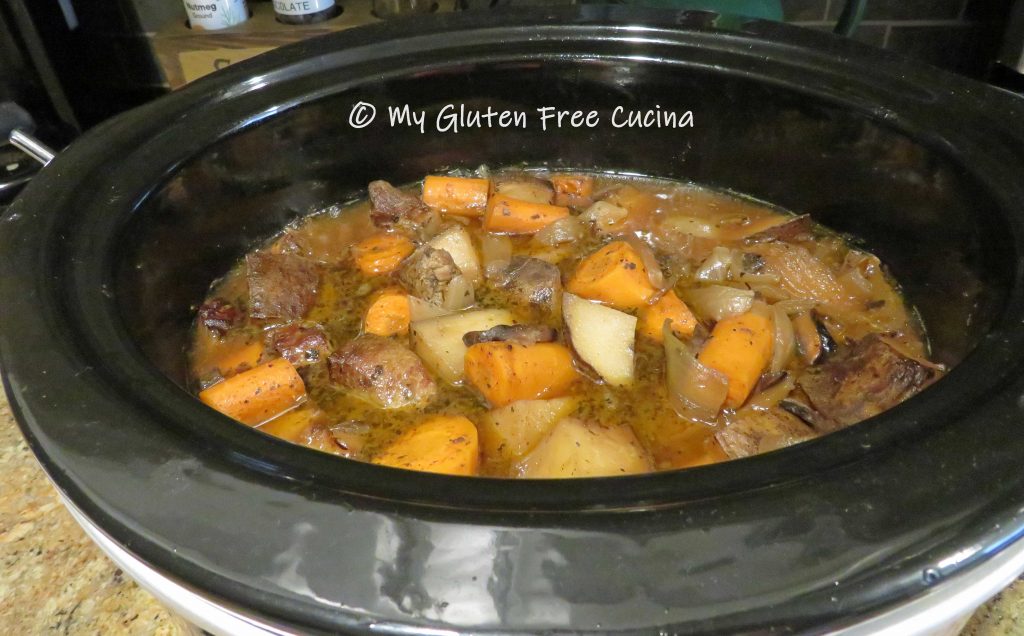
Halfway through, stir the ingredients again.  Looking good.

After 8 hours, the beef will be very tender, and a fork should slide easily through the veggies.  Serve in dinner bowls, with a sprinkle of fresh Italian parsley.

Notes ♪♫  I used Health Valley Cream of Mushroom Soup in this recipe.  I love that it is both gluten free and organic, but when I have time I also make my own Mushroom Soup from scratch.  You can find this surprisingly easy recipe here and see how I use it in my winter stews and casseroles.

Print This Post Print This Post

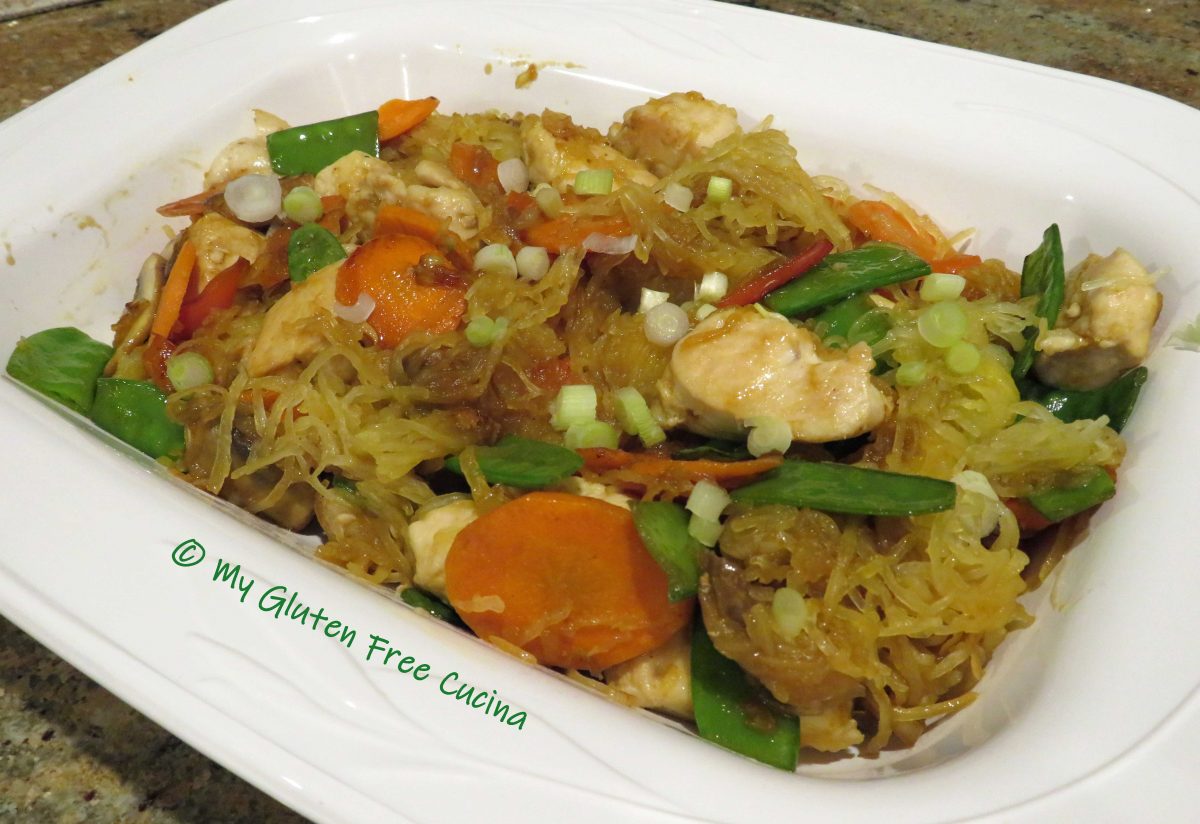
Spaghetti Squash Chicken Lo Mein

This Asian inspired meal checks so many of my boxes!  Healthy fresh ingredients, color, flavor, texture and of course it’s gluten free!  A nice change of pace from my usual stir fries that are made with noodles or rice, this grain free dish won’t leave you feeling stuffed!

We have spaghetti squash quite often, but usually I make an Italian dish like this Twice Baked Spaghetti Squash.  Who knew this humble veggie could also stand in for Chinese noodles!

This post contains affiliate links.

ingredients:

“Lo Mein” Squash Noodles:

  • 1 small spaghetti squash
  • 2 tbsp. olive oil
  • cooking spray

For the stir fry:

  • 12 oz. chicken breast, cubed
  • olive oil spray
  • toasted sesame oil
  • olive oil
  • 1/2 cup snow peas
  • 1/2 cup red bell pepper, cut into strips
  • 1/2 cup carrots, sliced
  • 1 garlic clove, sliced thin
  • 1/2 cup mushrooms (white button or baby bella), thin sliced
  • 1/4 cup scallions, divided use

For the Sauce:

Preparation:

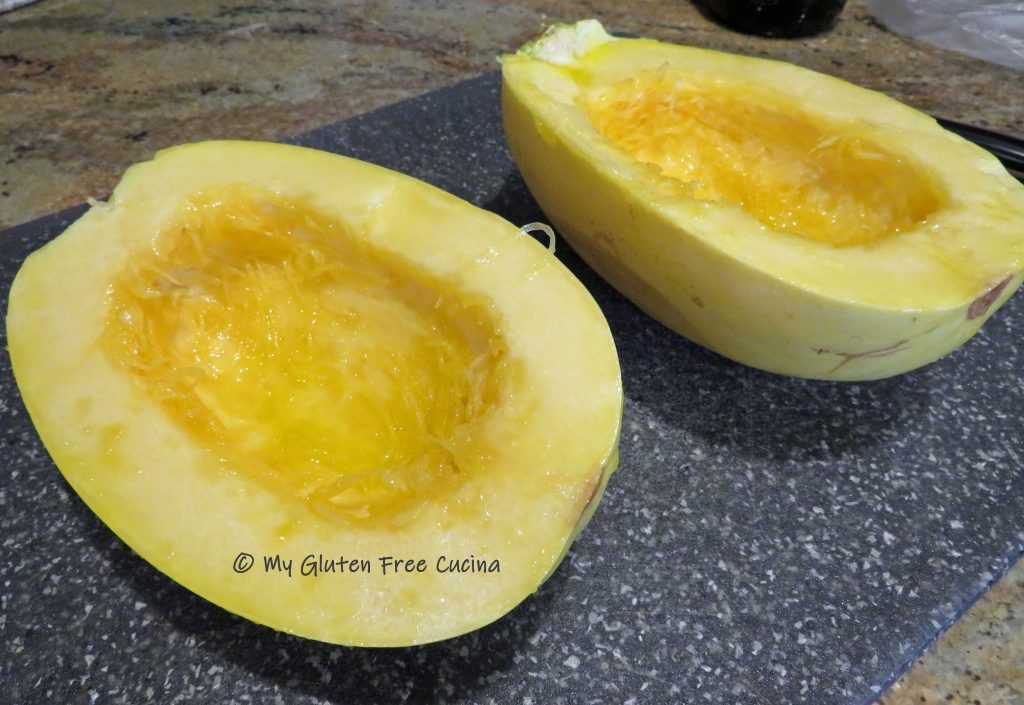
This is a basic preparation for spaghetti squash that you can use as a starting point for so many recipes.  First, cut the squash in half and use a spoon to scrape out the seeds.  Brush each side with 1 tbsp. of olive oil.  I am not salting the squash at this point, because this recipe is already heavy on sodium.  You can certainly season it if you like!

Line a baking sheet with foil and mist with cooking spray.  Place the squash cut side down and roast for 1 hour at 400º.

Use tongs to carefully turn the squash over, and let it cool for a few minutes.

Use 2 forks to shred the spaghetti squash.  Transfer to a bowl and set aside.

Now that we have our lo mein “noodles” we can move on with the rest of the recipe.

Mise En Place

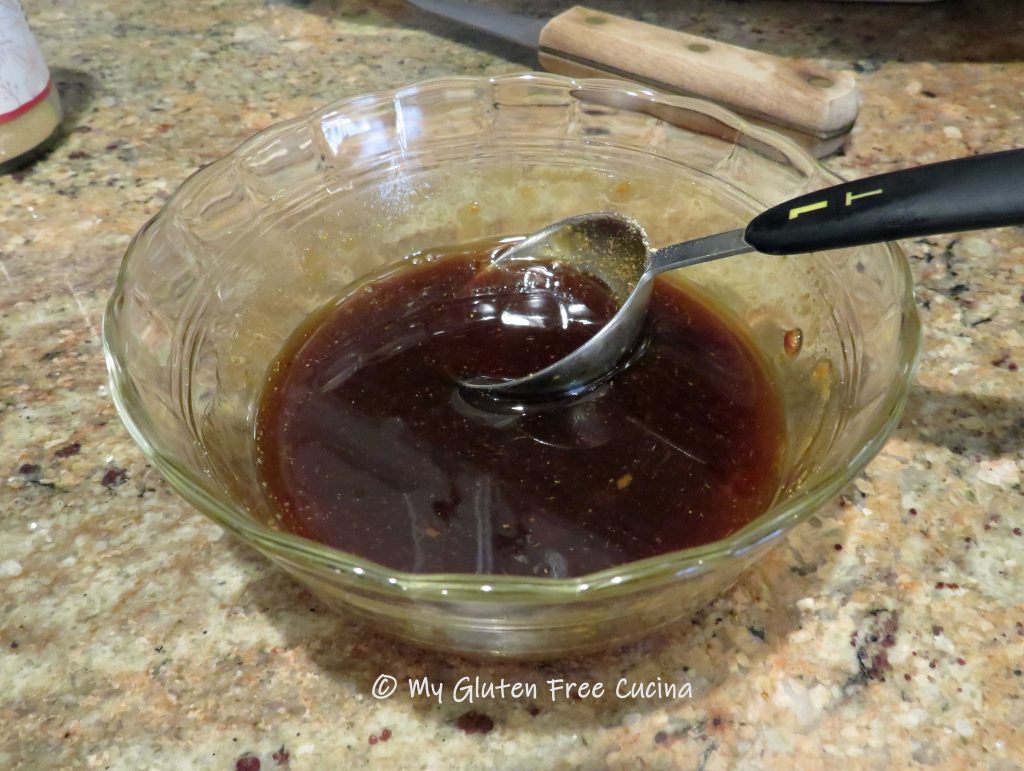
Organization is the key to stir fry recipes!  Before you cook, be sure to have all the ingredients prepped and ready to go – “everything in its place”.  That means chopping the veggies, dicing the chicken and stirring the sauce ingredients together.

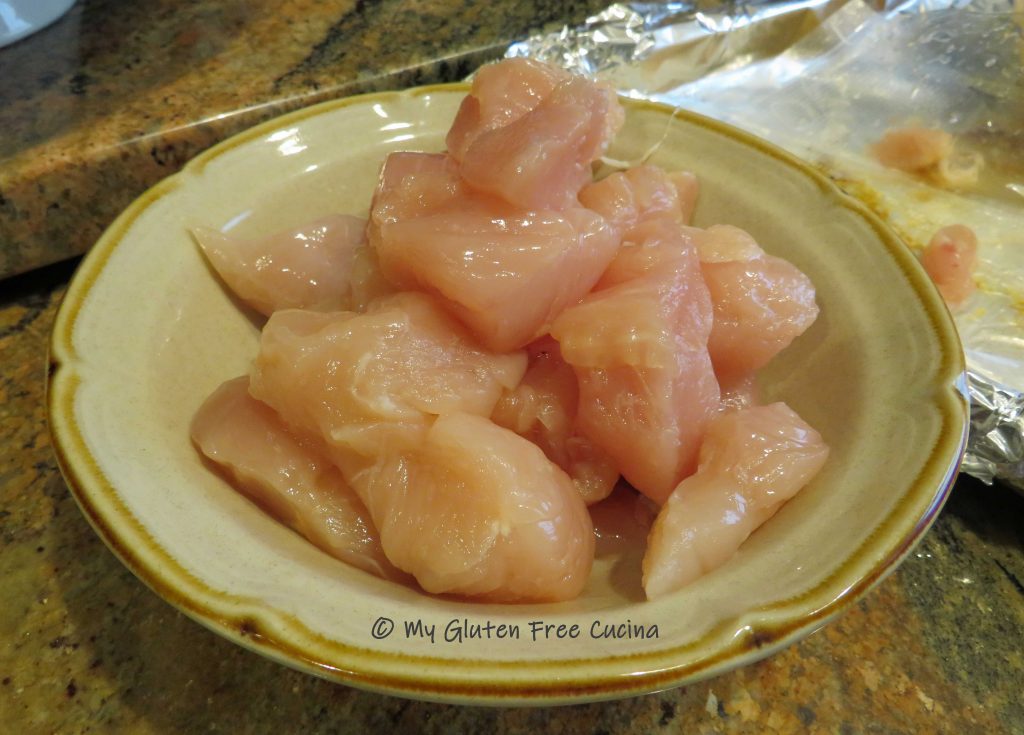
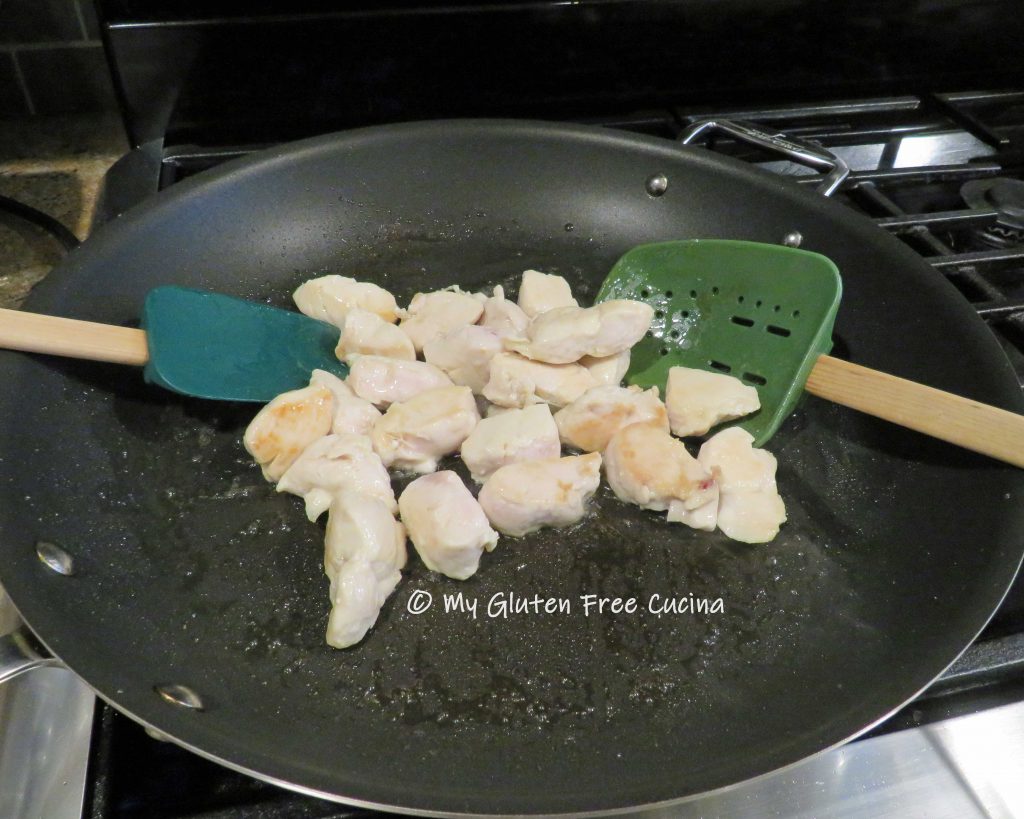
Coat a large nonstick skillet with olive oil spray and add 1 tbsp. olive oil and 1 tsp. sesame oil.  Begin browning the chicken, do it in batches if needed so you don’t crowd the pan.  You want to get a little color on the outside of the chicken at this point, but it does not have to be cooked through.  We’ll finish it at the end of the recipe.

When all sides have been browned set the chicken aside in a bowl.  Add the carrots, peppers and snow peas to the skillet with 1 tsp. sesame oil.  Stir fry for several minutes until crisp tender.  Next add the mushrooms, garlic and 1/2 of the scallions along with another tsp. of sesame oil.  Cook 1 minute longer.

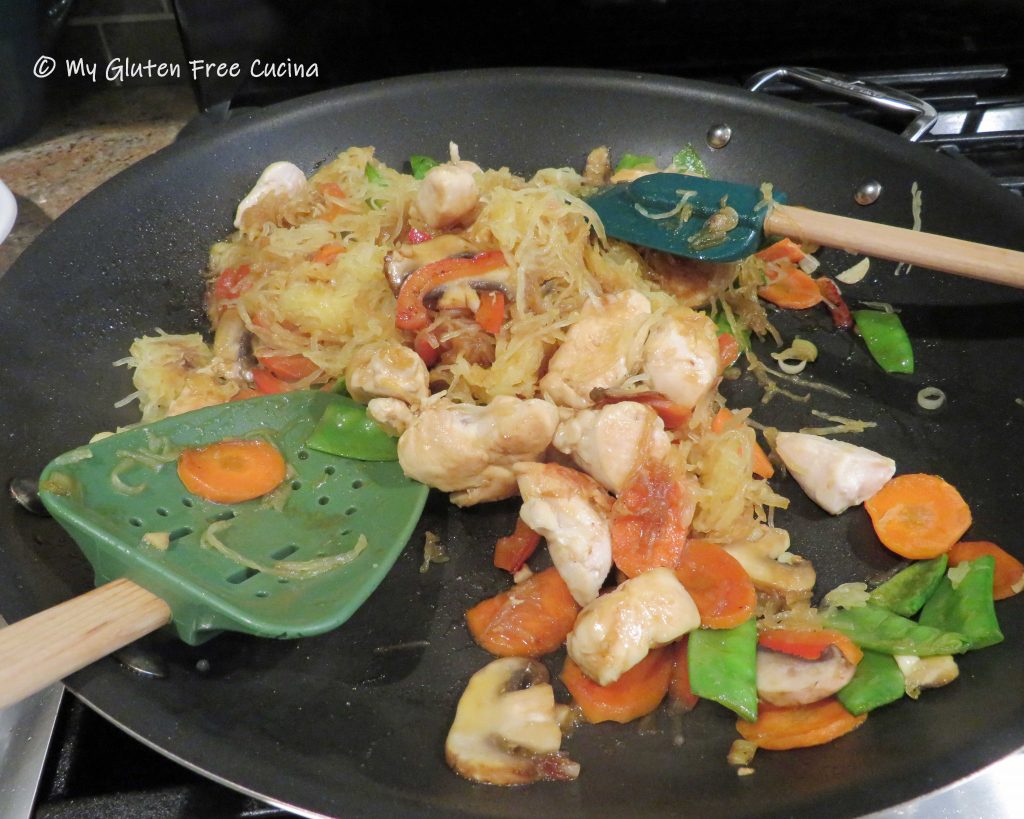
Now add back the chicken and toss well with the veggies.  Using tongs, add the spaghetti squash to the skillet in 1/4 cup portions so that it is well distributed.  Whisk the sauce and pour it over everything, and stir-fry one minute longer to thicken and blend the flavors.

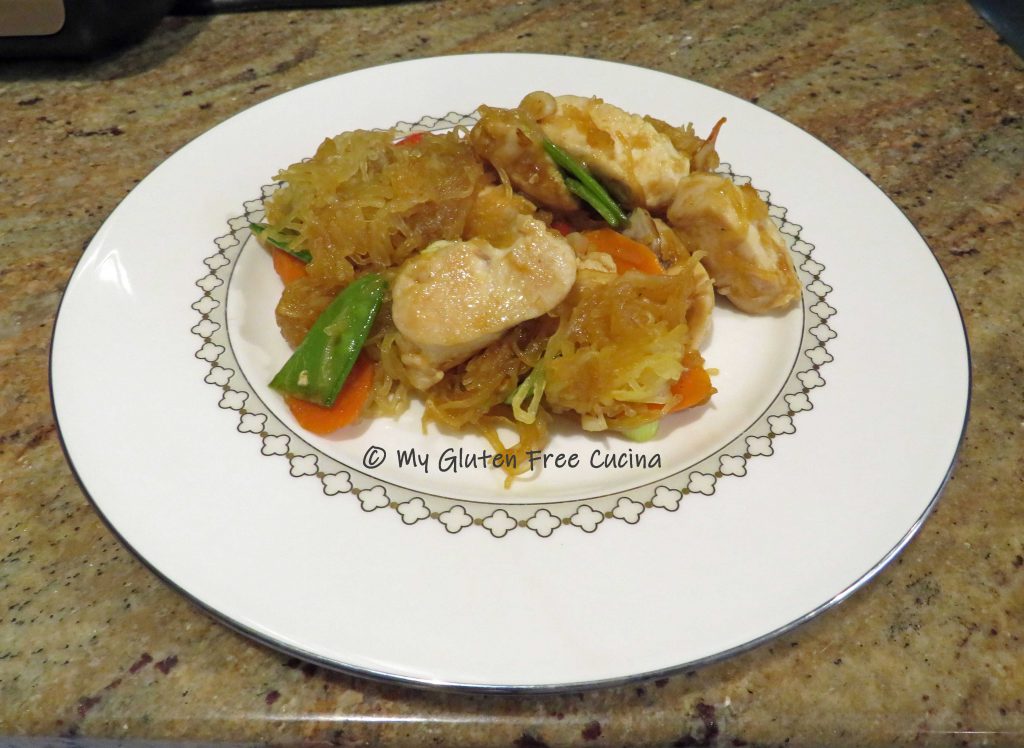
Transfer to a serving bowl and top with the remaining scallions.

Can you guess how it tasted?  It was delicious!  And I will definitely be experimenting with spaghetti squash in more of my Asian inspired recipes!

Notes ♪♫ I am a big fan of using Coconut Aminos in place of gluten free Soy Sauce.  That’s because it has significantly less sodium, which is important in our household.  If you are not limiting salt in your diet, try using Tamari for a rich, umami flavor.

Print This Post Print This Post

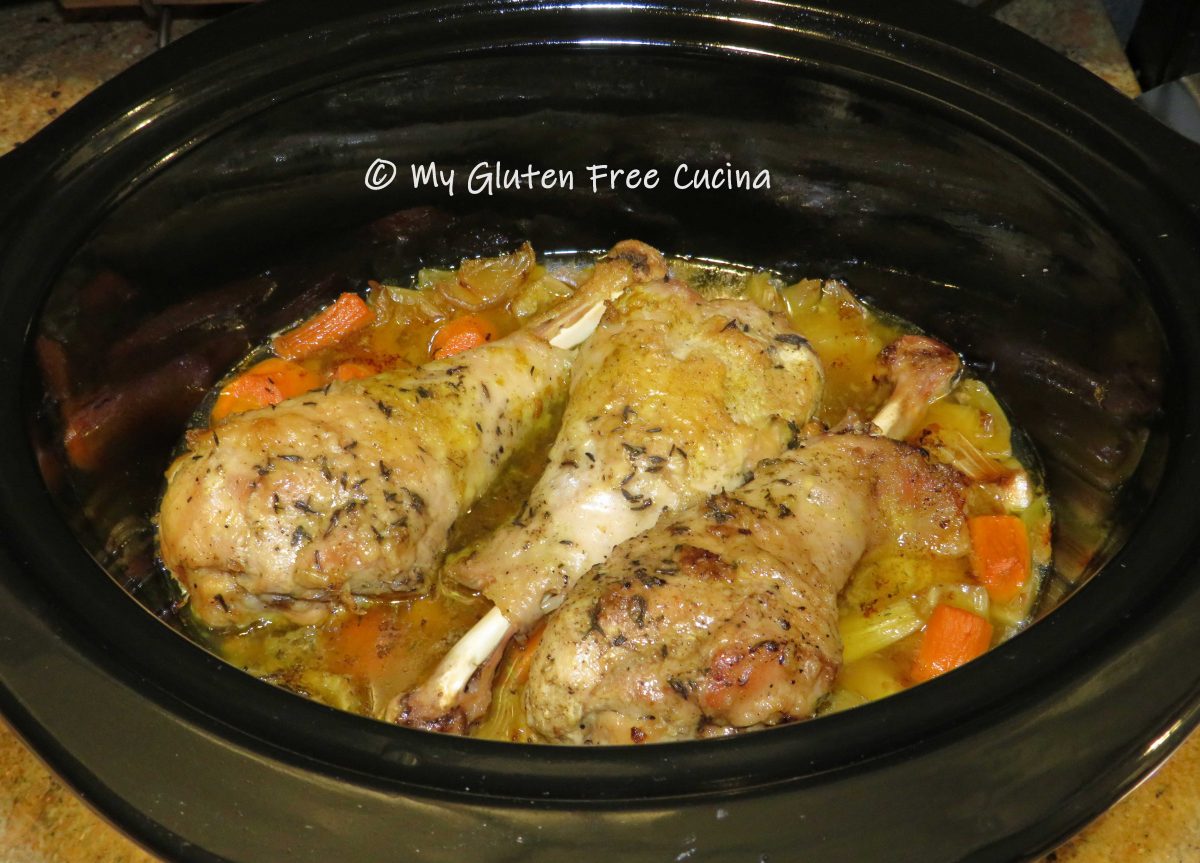
Gluten Free Crock-Pot Turkey Drumsticks

Turkey Drumsticks can be dry and tough when roasted, but they come out moist and falling off the bone tender when cooked in the Crock-Pot.  This time of year, it is easy to find turkey drumsticks at the market for a very good price.  Crock-Pot recipes like this one are so easy and can really free up my schedule.  I started this dish around 11:00am and it was ready in time for dinner at 6:30.

This post contains affiliate links.

Ingredients:

  • Turkey Legs (plan on one per person)
  • 1 medium sweet onion
  • 5 celery stalks
  • 2 carrots
  • 1/4 cup sweet white rice flour
  • salt and pepper to taste
  • olive oil
  • 1/2 cup white wine
  • 1/2 cup gluten free chicken broth
  • 1/2 tsp. sage
  • 1/2 tsp. thyme
  • 1/2 tsp. garlic powder
  • 1/4 tsp. turmeric
  • cooking spray
  • fresh rosemary for garnish

Preparation:

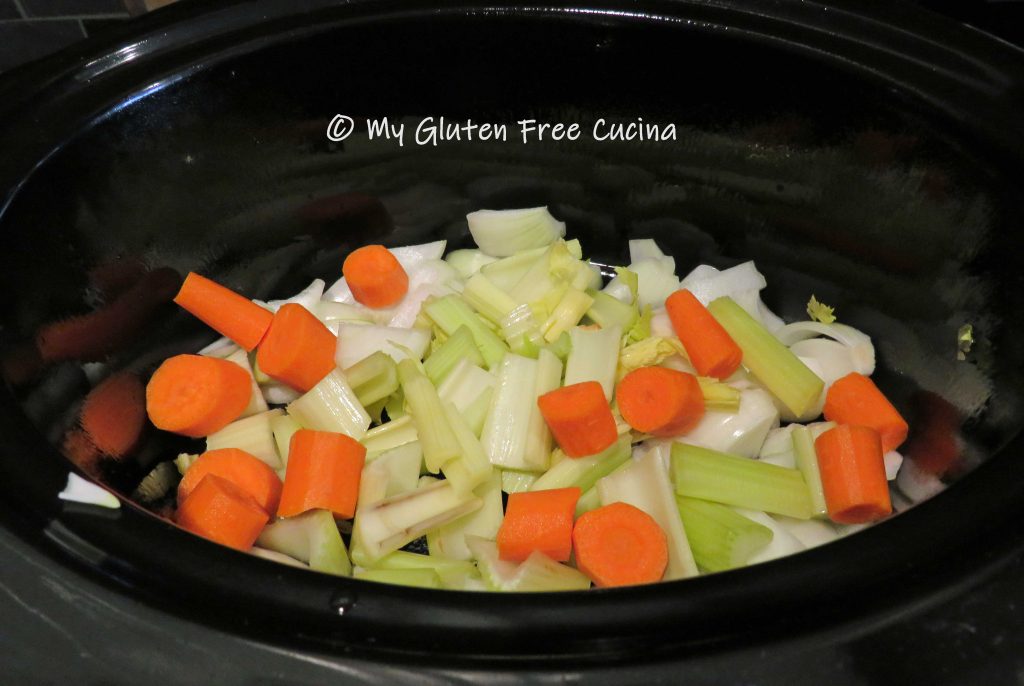
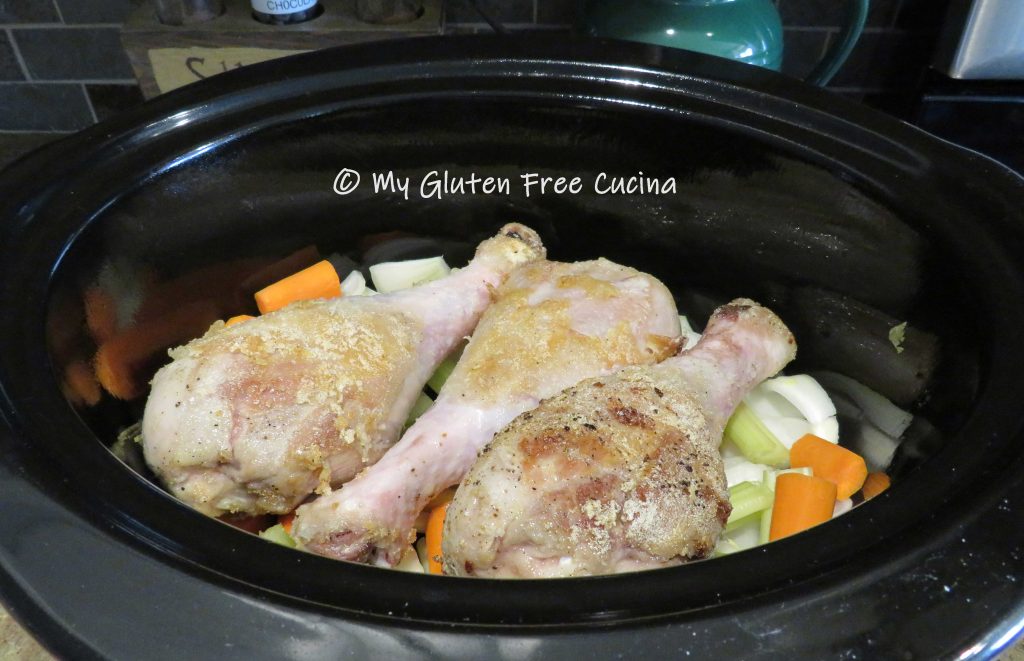
Chop the onions, celery and carrots into large chunks.  Mist the crock-pot with cooking spray and add the veggies in an even layer.

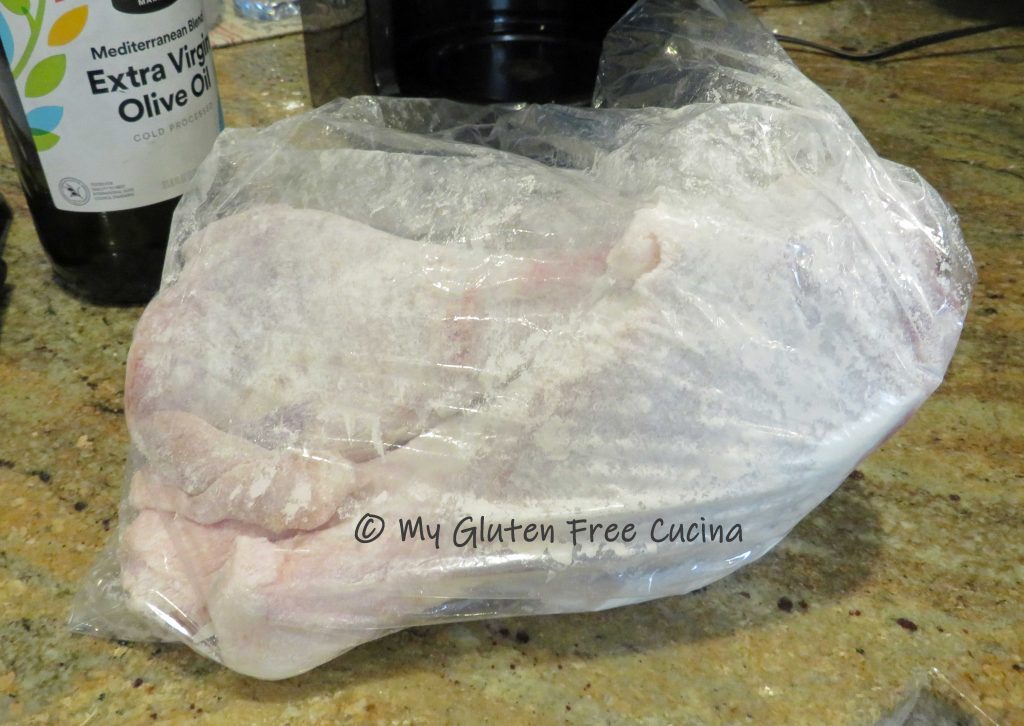
Rinse the turkey legs and pat dry.  Add the flour to a food safe plastic bag, they place the turkey legs in the bag.  Twist to close and shake to coat the legs evenly with flour.

Use a stainless-steel skillet (not non-stick) to brown the legs in olive oil, about 5 minutes per side.  Don’t crowd the pan, brown the meat in batches if necessary.  Season with salt and pepper to taste.

Place the drumsticks in the crock-pot on top of the vegetables.

Next deglaze the pan.  Remove the skillet from the heat and slowly pour in the wine.  Return to the heat and use a spatula to scrape up all the little brown bits, then let it simmer for a minute.  Strain the solids and reserve the wine.

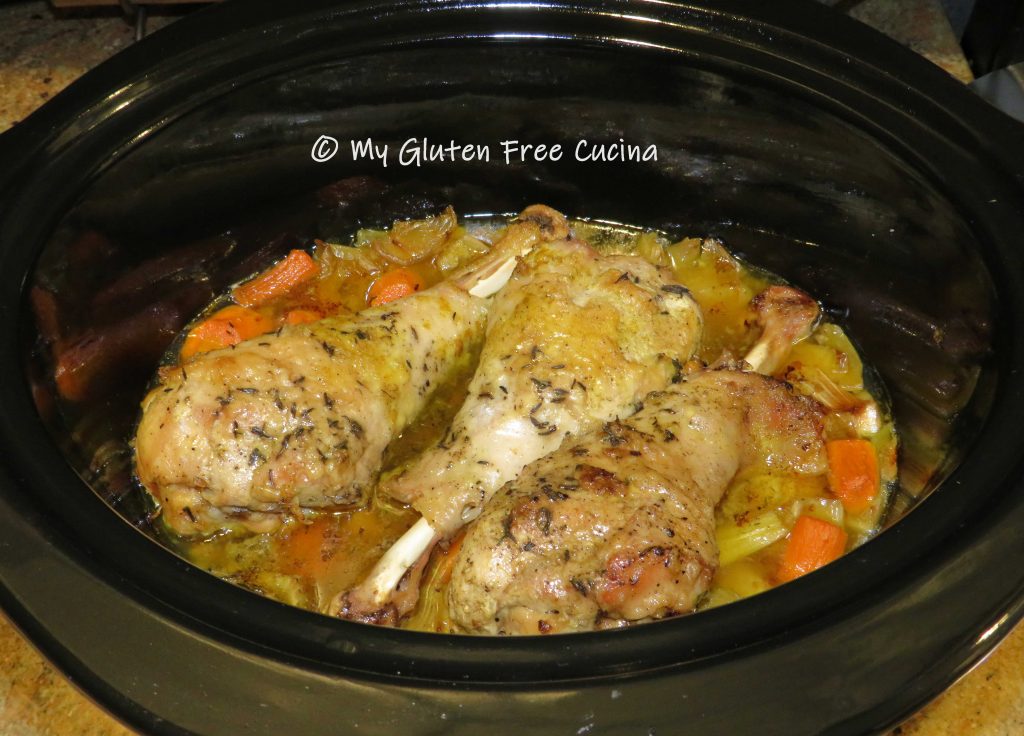
Whisk together the reserved wine, chicken broth, sage, thyme, garlic powder and turmeric.  Drizzle over the turkey legs.  The vegetables and meat will release their own liquid as they cook, so don’t add more.

Now set your crock-pot to low and cook for 7 – 8 hours.

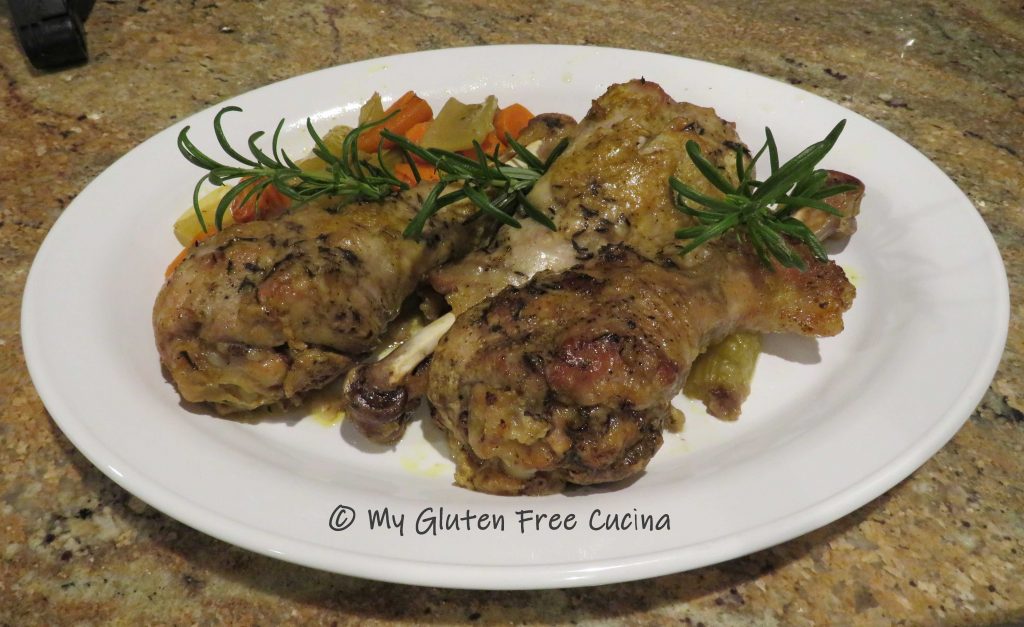
That’s all there is to it!  Arrange the drumsticks on a serving platter and drizzle a bit of the pan juices over the meat.  For a nice presentation you can garnish with fresh rosemary sprigs or other herbs.

Notes ♪♫ Don’t discard those veggies and juices in the bottom of the crockpot.  They will make an incredible soup stock or base for sauces and gravies.  I like to puree it then store in the refrigerator or freezer, ready for my next creation!

Print This Post Print This Post 


Gluten Free Peasant Loaf

Years ago I loved making peasant style country loaves like this one.  I made them so often, I didn’t even use a recipe!  We would have bread with dinner and leftovers were saved for toasting in the morning.  This Gluten Free Peasant Loaf is a throwback to those days and to my ongoing attempts to recreate my old breads.

I have tweaked this recipe again and again, always changing a little something to improve the taste and texture.  Ingredients are key, but sometimes using the right tools will make a difference.

The baking dish you see in this post is from King Arthur (not a paid link), it works well with gluten free bread as the round bowl helps the dough keep its shape as it rises and bakes.  I seasoned it with olive oil and then lined it with parchment paper.  About half way through baking I removed the parchment to crisp up the bottom of the loaf.

Unlike most of my gluten free breads, this one is also dairy free.  The flour blend of brown rice and sorghum is reminiscent of a country wheat loaf with a crisp crust and soft center.  In the world of gluten, this would be called a no knead bread.  But really, all gluten free bread is no knead bread so I’m just calling it a peasant loaf!

Yield: 1 small loaf – about 8 slices

This post contains affiliate links.

Ingredients:

Preparation:

In the bowl of a stand mixer, combine the water, yeast and sugar.  Proof 15 minutes while you gather the other ingredients.  Measure the dry ingredients (rice flour through salt) and whisk well.

Oil the baking dish, line with parchment and sprinkle with corn meal.

When the yeast has bloomed, whisk in 1/4 cup egg whites.  With the beater attachment, slowly add the dry ingredients and mix for 5 minutes to form a smooth dough.  The consistency will be like that of mashed potatoes, and the dough will cling to the beater, like this.

Scrape the dough into the prepared baking dish, then use a wet spatula to smooth the surface into a ball shape.

Invert the mixing bowl over the top and let the dough rise for one hour at room temperature.

Preheat the oven to 400º.  Place the racks at top and center.  Place a pizza stone on the middle rack.  Dust the top of the loaf lightly with rice flour and slash the top in a cross or a # pattern.

When the oven reaches full temperature, place 2 cups of ice cubes in a pan on the top shelf to create steam, and place the pan with the bread on top of the pizza stone.

Bake for 45 minutes.  About half way through baking carefully remove the parchment (use tongs and gloved hands) to get a good crust on the bottom.

Transfer to a rack and cool the loaf completely before slicing, at least 2 hours to allow the bread to set.  If you slice it too soon, the center will be gummy.

Serve with dipping oil, or use it to soak up whatever sauce you may be having for dinner!  Leftovers, if you have any are great for toasting!

Notes ♪♫  If you don’t own a baking bowl, you can use any stoneware pan, pizza stone, glass baking dish or baking sheet.  The loaf will likely spread out a bit more on a flat surface.  I recommend using parchment paper with any of these options.

Print This Post Print This Post

Gluten Free Breaded Pork Chops

Pork chops are one of my go to meals during the week.  In this easy, schnitzel style recipe I slice the chops through the middle and pound them thin, for a very quick cook time plus more surface area for the crispy breading.  Only 1 tbsp. of olive oil needed, no deep frying!  It’s one of my tried and true recipes that I have modified just by using gluten free breadcrumbs.  Simple ingredients are kid friendly and adults will love it too!

Dinner for 2

Ingredients:

  • 2-3 boneless pork chops 3/4″ thick
  • 1/2 cup seasoned gluten free bread crumbs
  • 1/2 cup buttermilk (or use 1/2 cup milk + 1 tsp. lemon juice)
  • 1/2 tsp. gluten free Worcestershire sauce
  • 1/4 tsp. garlic powder
  • 1 tbsp. olive oil


Preparation:

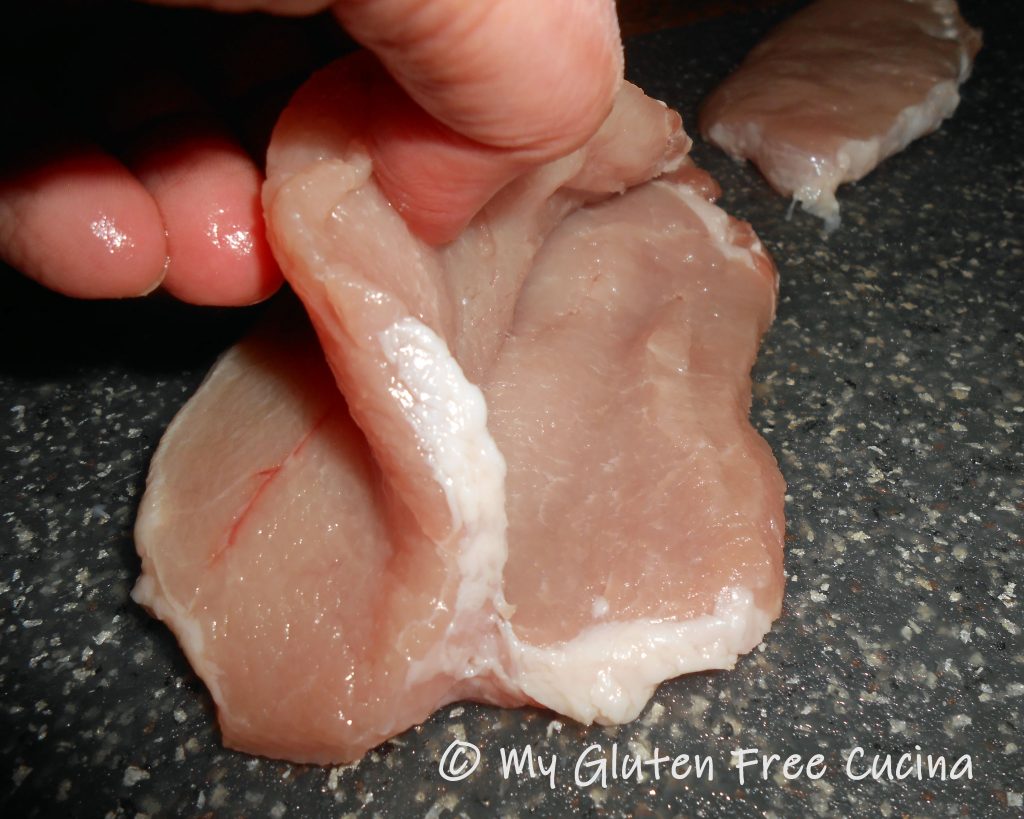
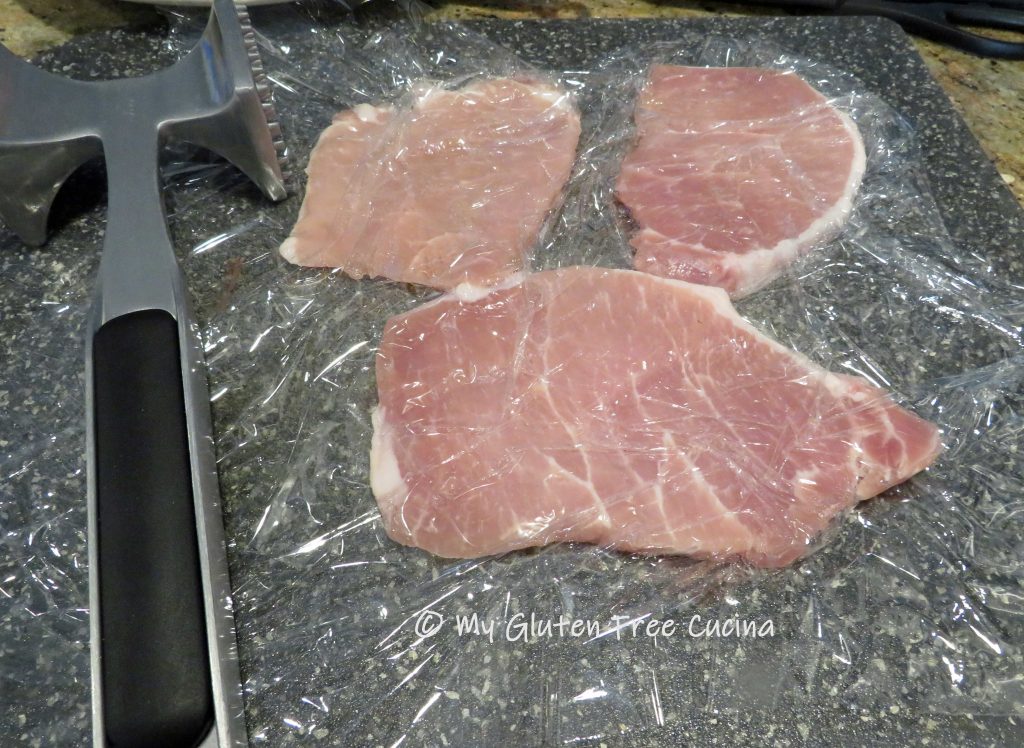
Combine the buttermilk, Worcestershire and garlic powder in a measuring cup.  Lay the pork chops on a cutting board and carefully slice each chop through the middle.

Place each slice between 2 sheets of plastic wrap and pound to an even 1/4″ thickness.

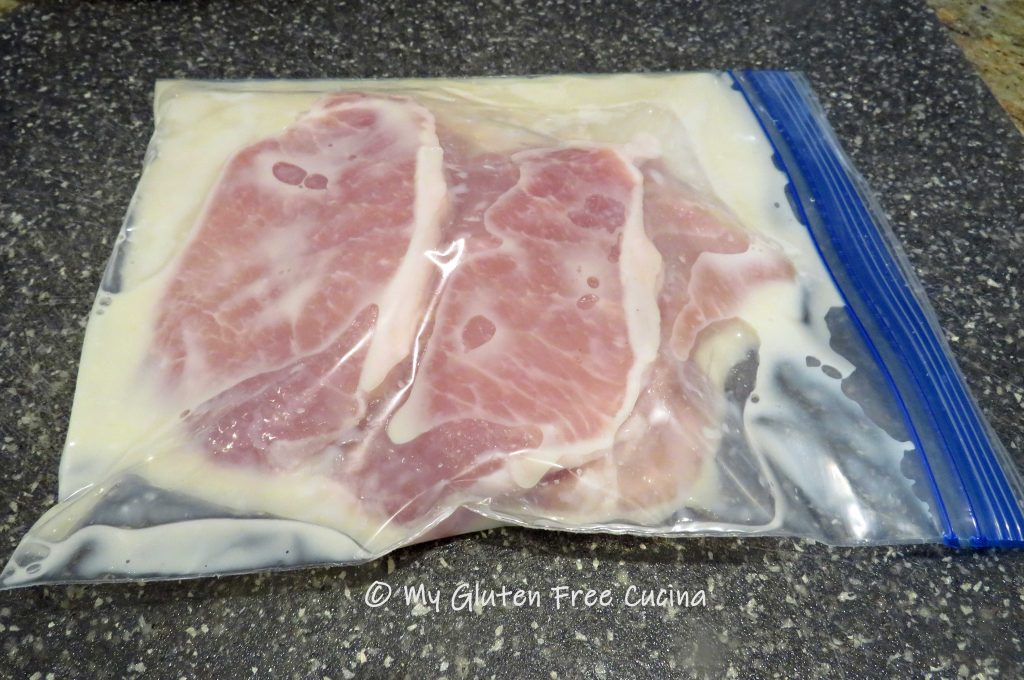
Lay the pork chops in a zip top bag with the buttermilk mixture.  Be sure to seal the bag completely and lay it on a plate in case there are any spills.  Let the chops marinate for 1 hour in the refrigerator.

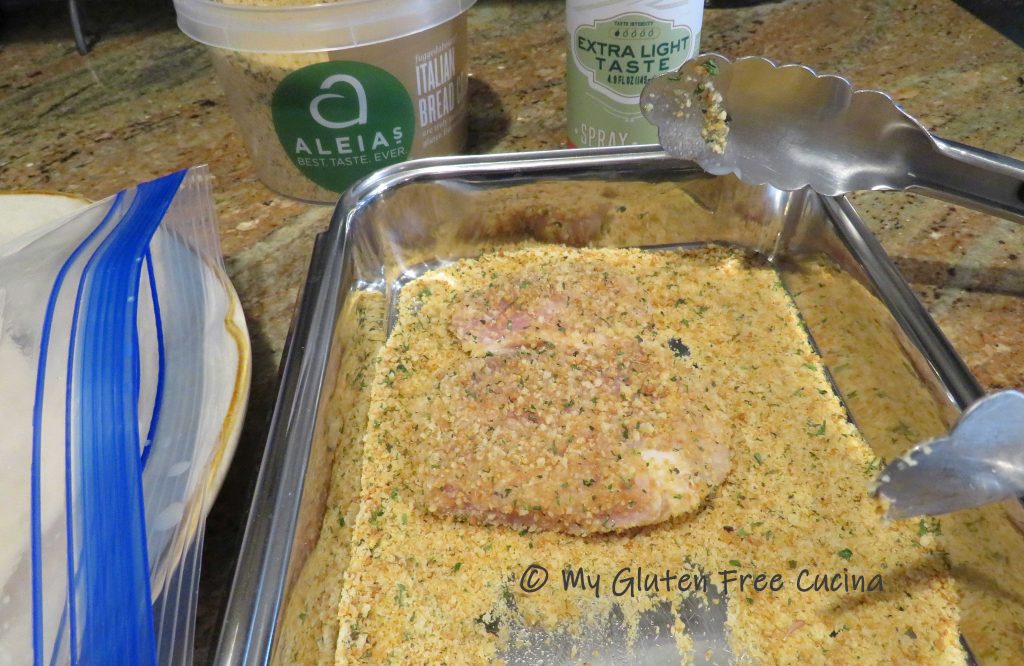
Heat a large non-stick skillet over medium low heat with 1 tbsp. olive oil.  Remove the chops from the marinade and dredge in the breadcrumbs.

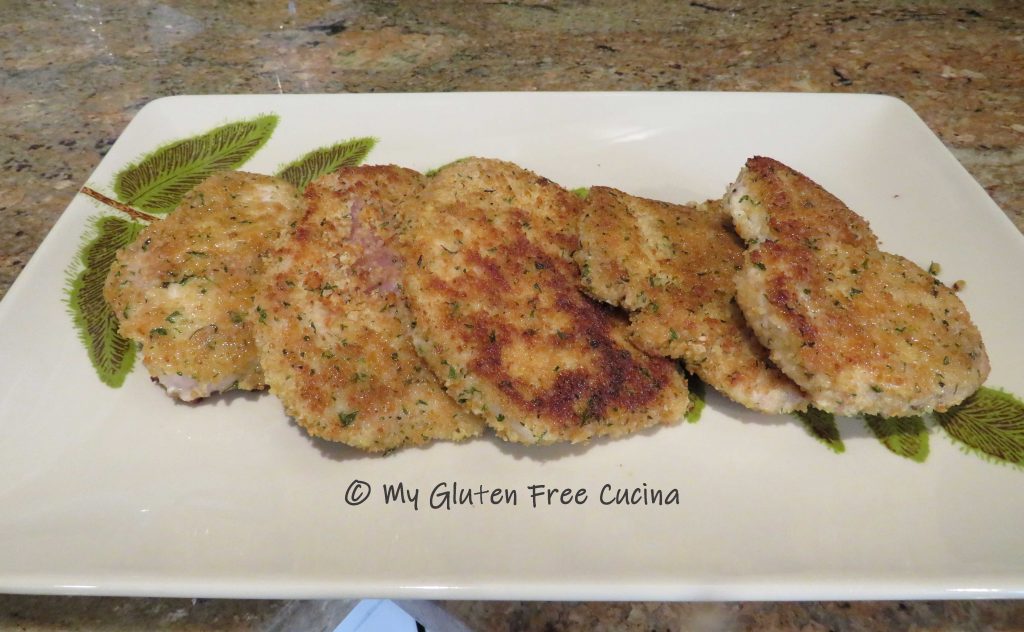
Place the chops in a single layer and cook 2 minutes per side, turning once.
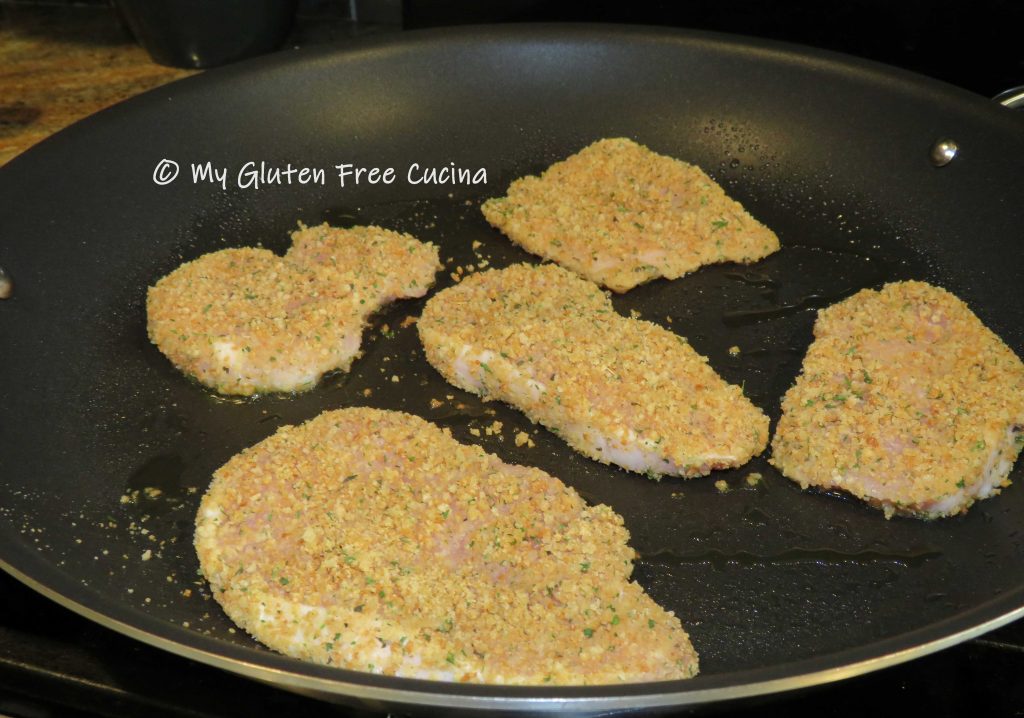
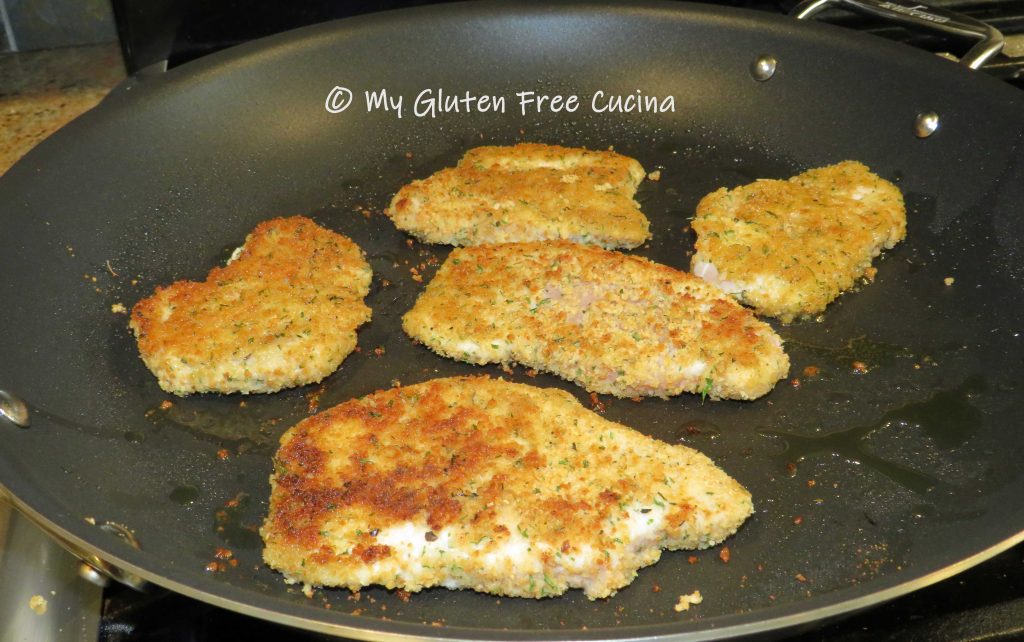
That’s it!  The chops are thin, so 2 minutes per side is all it takes!

Moist and juicy, on the table in minutes!

The whole family will love this dinner, even picky eaters!  Go ahead and double or triple the recipe, it’s a fast and easy to cook up several batches.  So the next time you’re wondering what to make for dinner, give this a try!

Notes: ♪♫ Aleia’s Gluten Free Italian Breadcrumbs are the best tasting gluten free breadcrumb!  After trying so many, I can honestly say that they are the closest in taste to real Italian breadcrumbs.  You will not believe they are gluten free!

Print This Post Print This Post


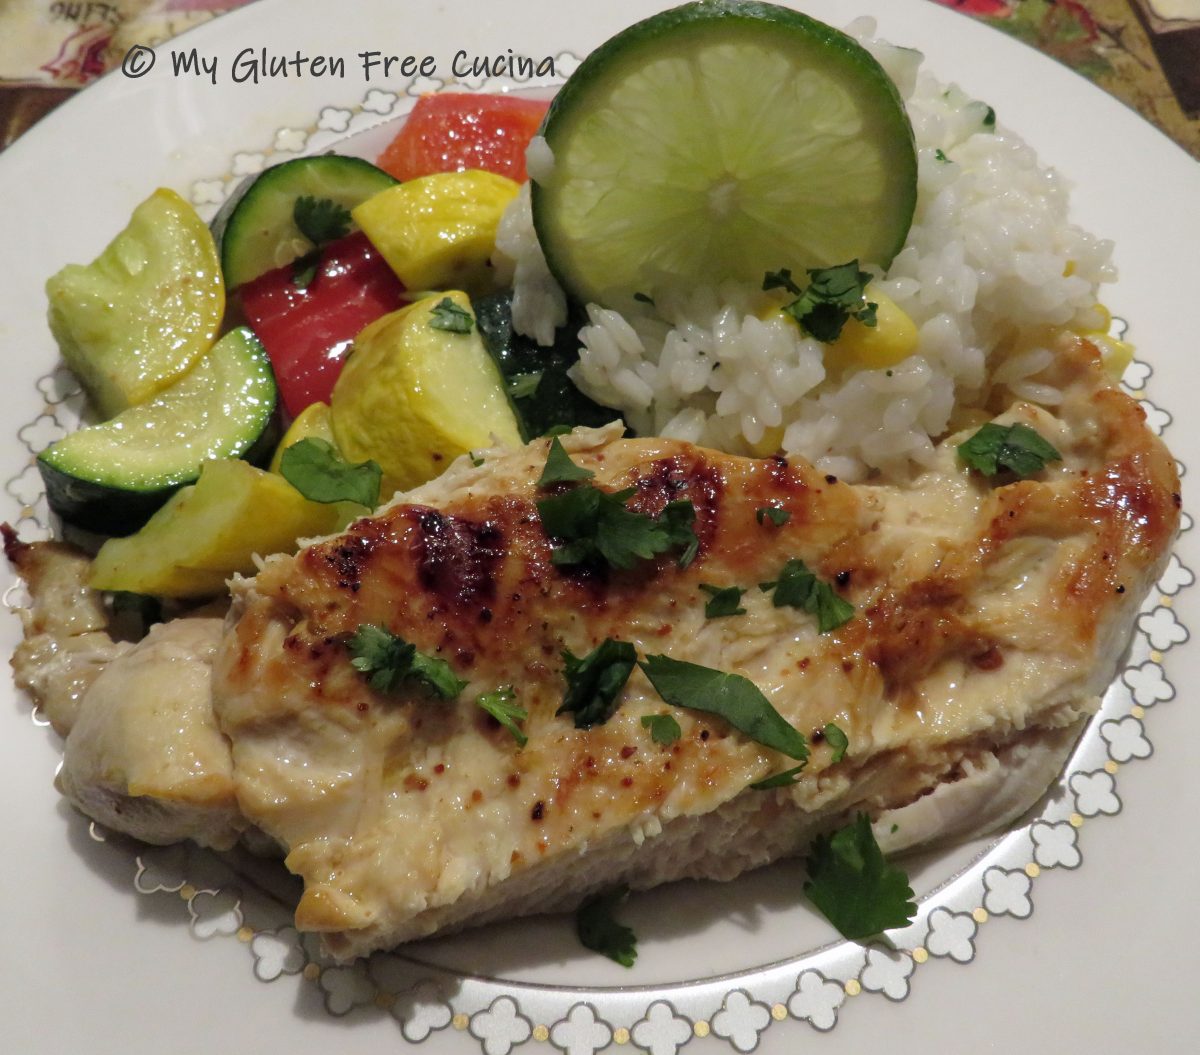
Favorite Mexican Grilled Chicken

Favorite Mexican Grilled Chicken

I haven’t been out to dinner much lately.  Sometimes it’s just easier to stay home, but there is a local Mexican restaurant that I’m especially missing.  Not dedicated gluten free but they always make sure that I have a safe basic meal of grilled chicken, rice and veggies.  It was a cinch to recreate this favorite dinner at home, especially during the summer months when squash is abundant, and cilantro is growing fresh in my herb garden.

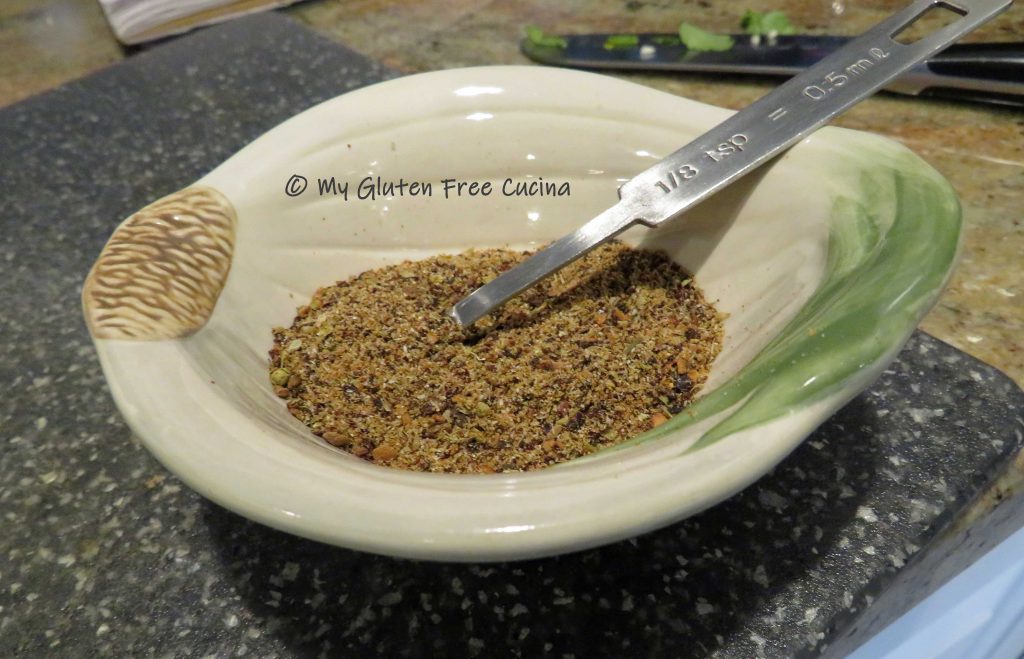
Grilled chicken is a no brainer.  So, how do we give it that Mexican flavor profile?  To me the must-haves are Chipotle Chile, cumin, onion, oregano, cilantro and lime…  The entire meal echos these flavors.  Get my Mexican Spice Blend here.

2 Servings

This post contains affiliate links.

Ingredients:

  • 14 oz. boneless chicken breast
  • Zucchini and summer squash, diced
  • 1/4 cup sweet corn
  • 2 tbsp. shallots, minced
  • Olive oil
  • Mexican seasoning
  • Juice of 2 limes
  • Fresh cilantro, for garnish

Preparation:

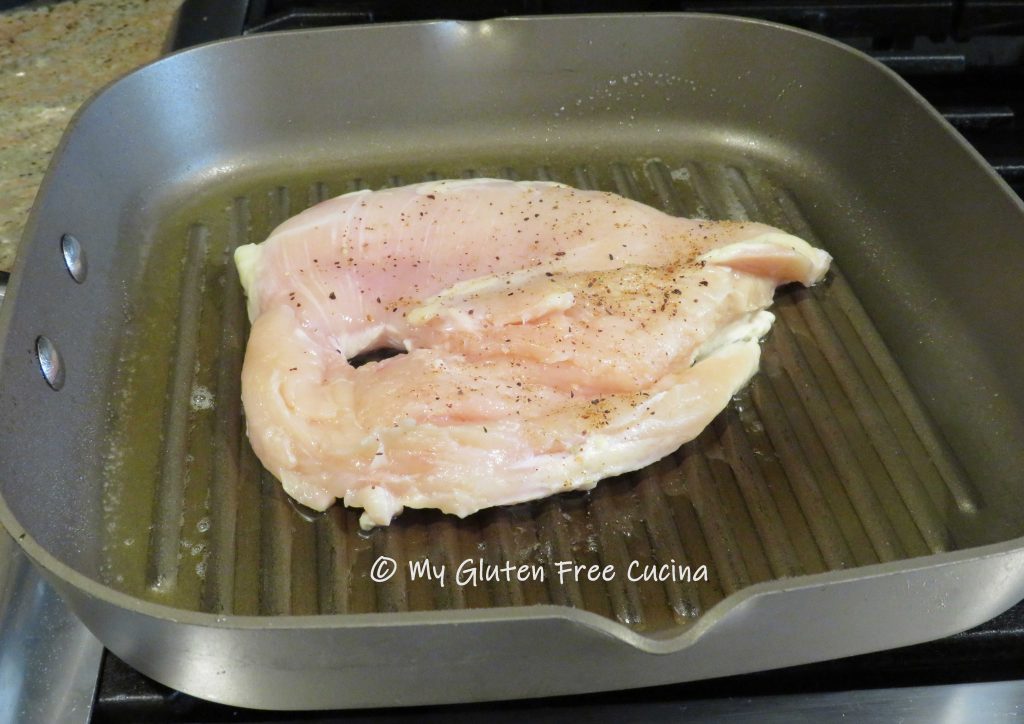
Butterfly the chicken breast by slicing through the center horizontally, cutting almost to the other side and opening it up like a heart.  Place between 2 sheets of plastic wrap and pound to an even ½” thickness.

Brush the chicken with olive oil and season with Chipotle seasoning.  Let it stand at room temperature for 15 minutes, then heat a grill pan with olive oil on medium low and add the chicken.

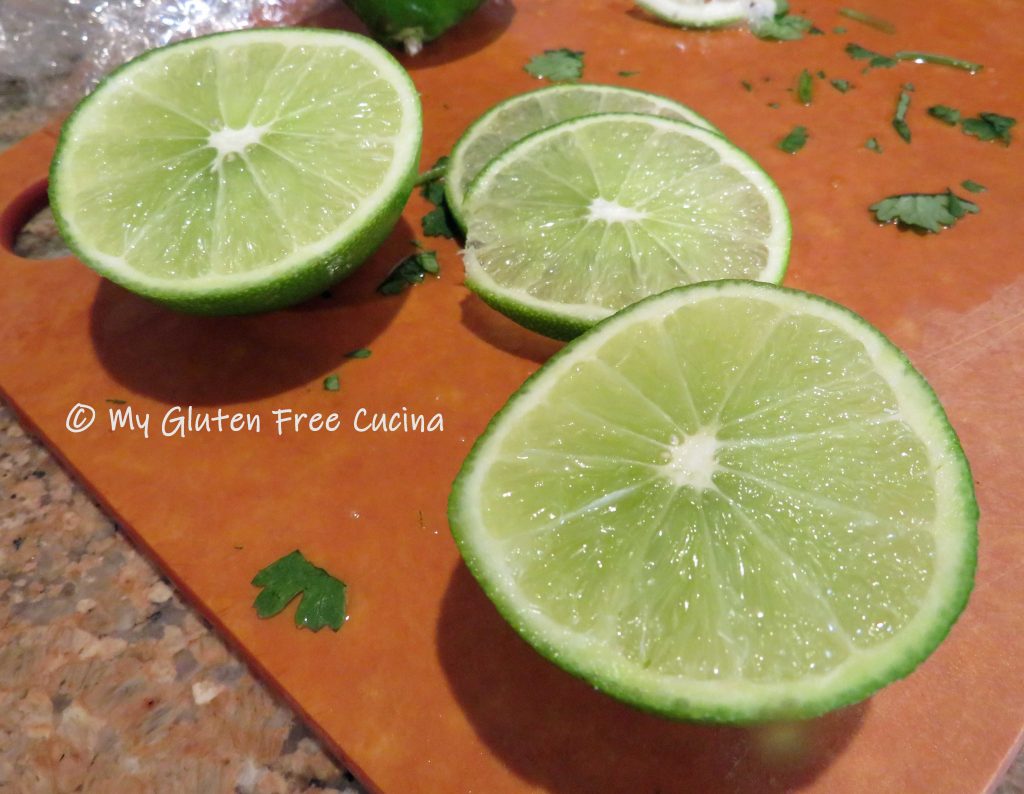
Cook 5 minutes per side, or until the internal temperature reaches 165º.  Squeeze lime juice over the chicken and transfer to a serving dish.  Garnish with fresh cilantro and keep warm.

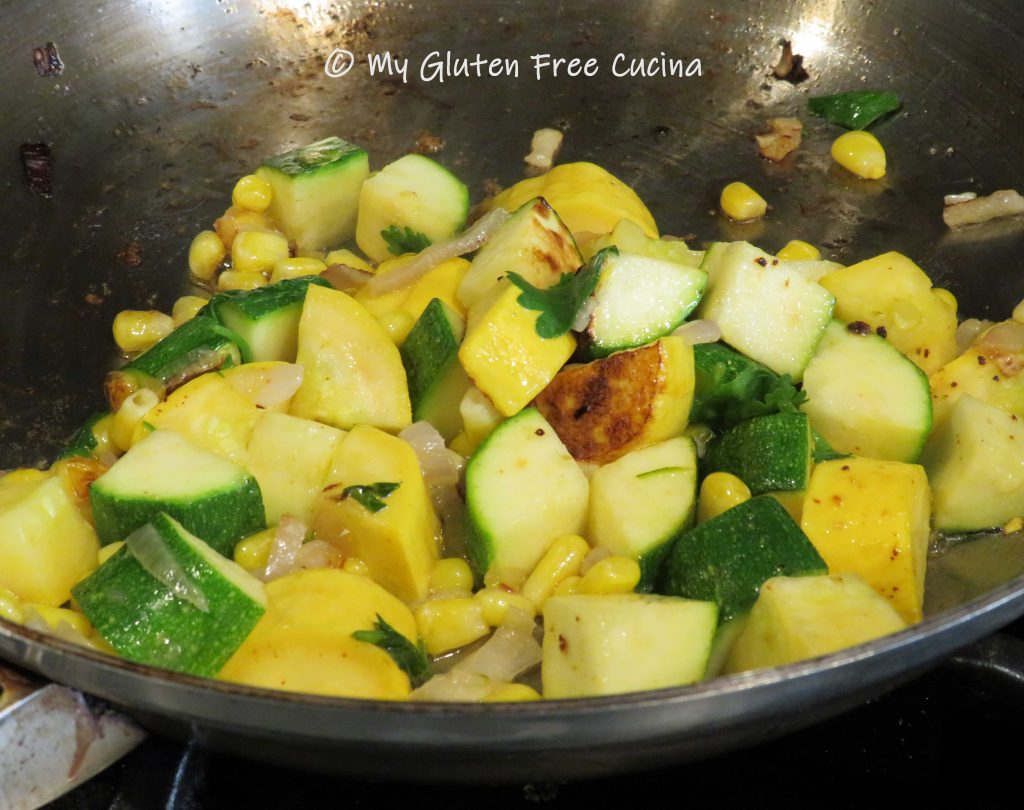
Add the zucchini, summer squash, corn and shallots to a hot skillet coated with olive oil, sprinkle with seasoning and a squeeze of lime juice.  Cook just a few minutes until crisp tender.

Serve with Cilantro Lime Rice, and Tomatillo Sauce (salsa verde) for dipping.

Thanks for visiting today and be sure and check all my Cinco de Mayo recipes!

Print This Post Print This Post


Rutabaga Oven Fries

Look at those fries!  Notice anything different about them?  Yes, they are baked in the oven and no, they are not potatoes!

These fries are made from Rutabaga, a delicious lower carb alternative to the potato.  Easy to prepare, this root vegetable is inexpensive and available year round.  With just a bit of sweetness it can stand in for potato in many recipes.  The fries are not quite as crispy as deep fried, but they are darned good!  Of course they are naturally gluten free!

My favorite way to use Rutabaga is as a topping for Shepherd’s Pie.  This is one of my most popular recipes, both online and at home!

The dilemma, I use only half of the rutabaga in my Shepherd’s Pie recipe, so what to do with the rest?  That is where I decided to experiment with another favorite potato side, the oven fry.

Prepare them just as you would oven fried potatoes.  Toss with olive oil, just a little cornmeal with seasoned salt them roast them at high heat.

This post contains affiliate links.

Ingredients:

  • ½ medium rutabaga
  • Olive oil
  • Seasoned salt (I used Lawry’s)
  • 1 tsp. cornmeal
  • Cooking spray

Preparation:

You will need to put a little muscle into this preparation!  Slice off the top and bottom of the rutabaga to create a flat surface that will sit securely on your cutting board.  Now peel off the skin by running your knife  down the sides.  Cut into 1/2″ thick strips.  This is a great upper body workout!

Toss the fries with the olive oil, cornmeal and seasoned salt in a large bowl, be sure that all are evenly coated.  Preheat your oven to 450° and prepare a baking sheet by covering with foil and misting with cooking spray.  Spread the slices out on the baking sheet in a single layer.

Bake for 30 minutes, tossing half way through.  For a crisper, browned exterior, finish them under the broiler for 3-5 minutes on low.  Watch that they don’t burn!

That’s it!  What a great side dish, shown here with steak and veggies.

Notes: ♪♫ Rutabaga will keep for several weeks in the refrigerator.  It can also be steamed and frozen.

The Lazy Gastronome

Print This Post Print This Post