
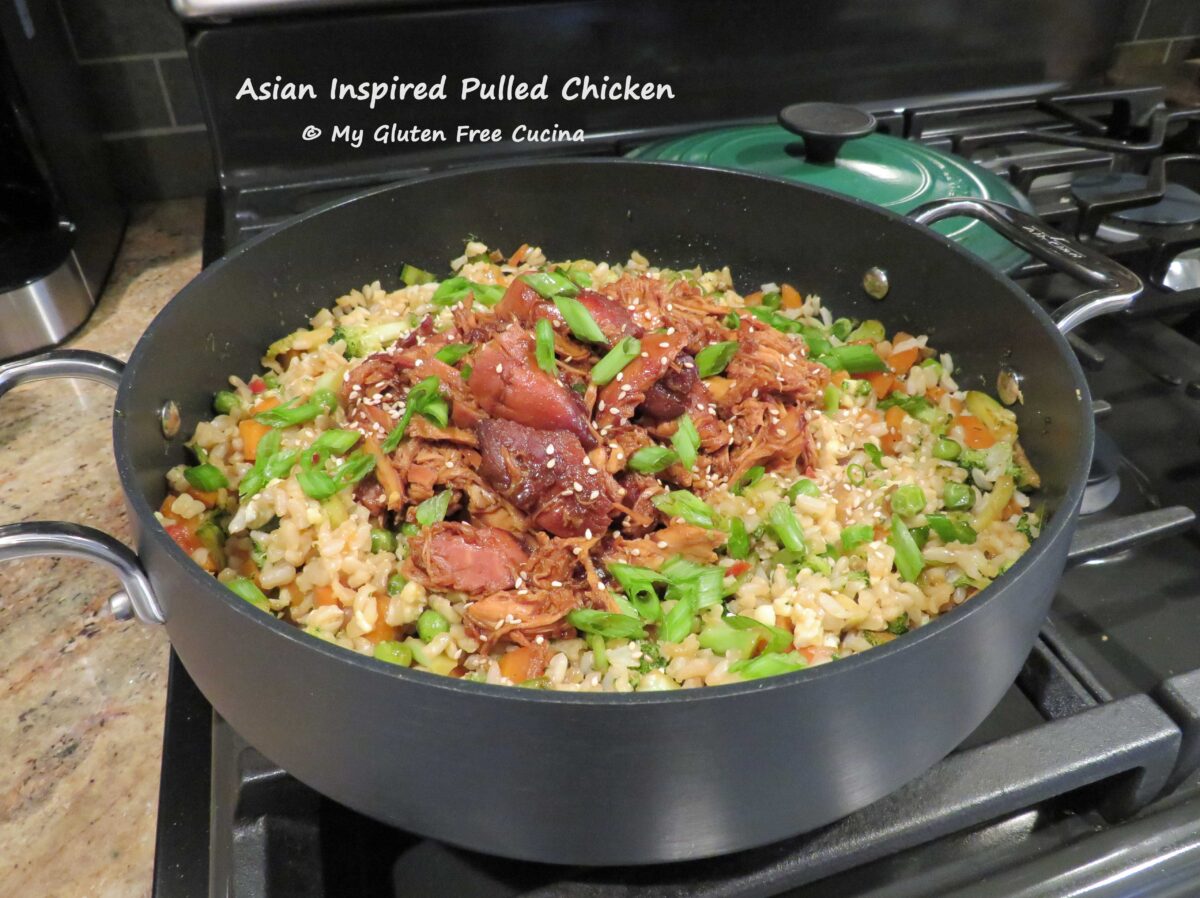
Asian Inspired Pulled Chicken

Meal delivery services have become so commonplace these days, that you can order takeout from just about anywhere.  Except when you have dietary restrictions- that is.  There are no dedicated gluten free restaurants where I live, and I am not comfortable ordering over the phone where I cannot speak to staff face to face about their allergen protocols.

This post contains affiliate links.

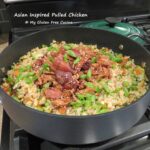
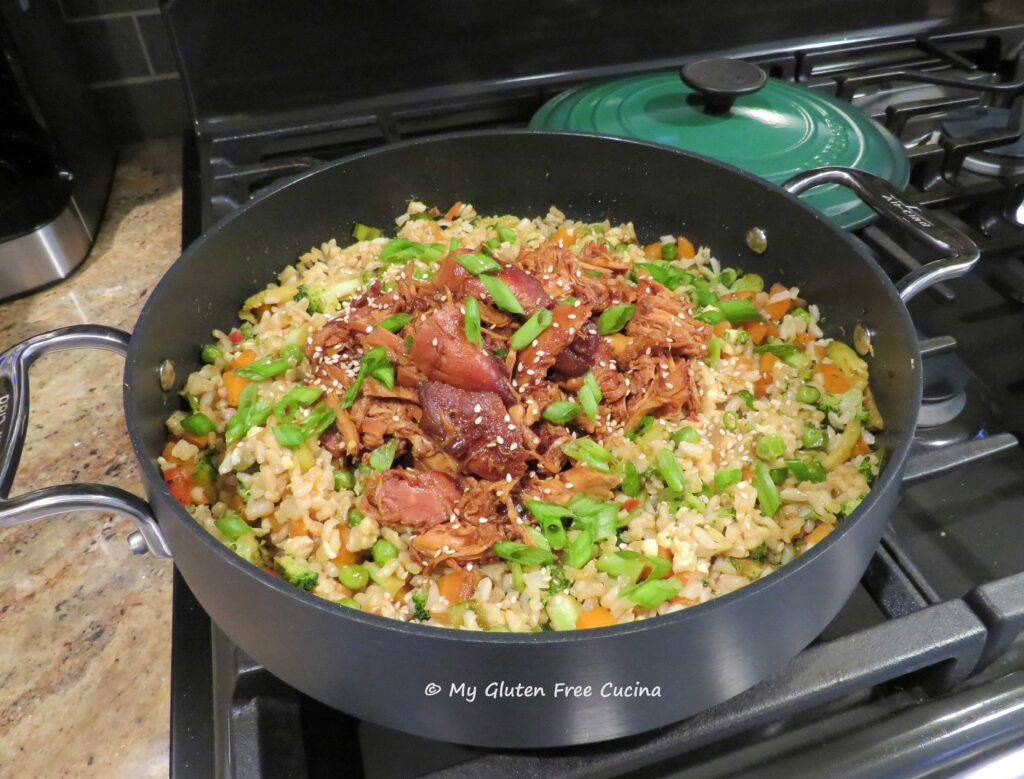
So, to satisfy my craving for takeout, you will likely find me right here in the kitchen.  Today I’m using my Dutch Oven to create this Asian Inspired Pulled Chicken, an absolutely amazing dish that rivals any restaurant!  Served over fried rice, 100% gluten free.
ingredients:

  • 2 boneless chicken breasts (about 1-¼ lbs.)
  • 1/4 cup honey
  • 1/4 cup tamari (gluten free soy sauce)
  • 2 tbsp. gluten free Hoisin sauce
  • ½ tbsp. mirin (rice wine)
  • ½ tsp. sesame oil
  • 2 garlic cloves, minced
  • 1 bunch of scallions
  • 1/4 tsp. powdered ginger
  • 1 bunch of scallions
  • cooking spray
  • 1 tsp. toasted sesame seeds
  • 1 batch of Fried Rice (RECIPE) for serving

Preparation:

Mince the garlic and slice the scallions, reserving the green tops for garnish.  Preheat the oven to 275º (no, that’s not a typo – 275º – we are cooking low and slow).

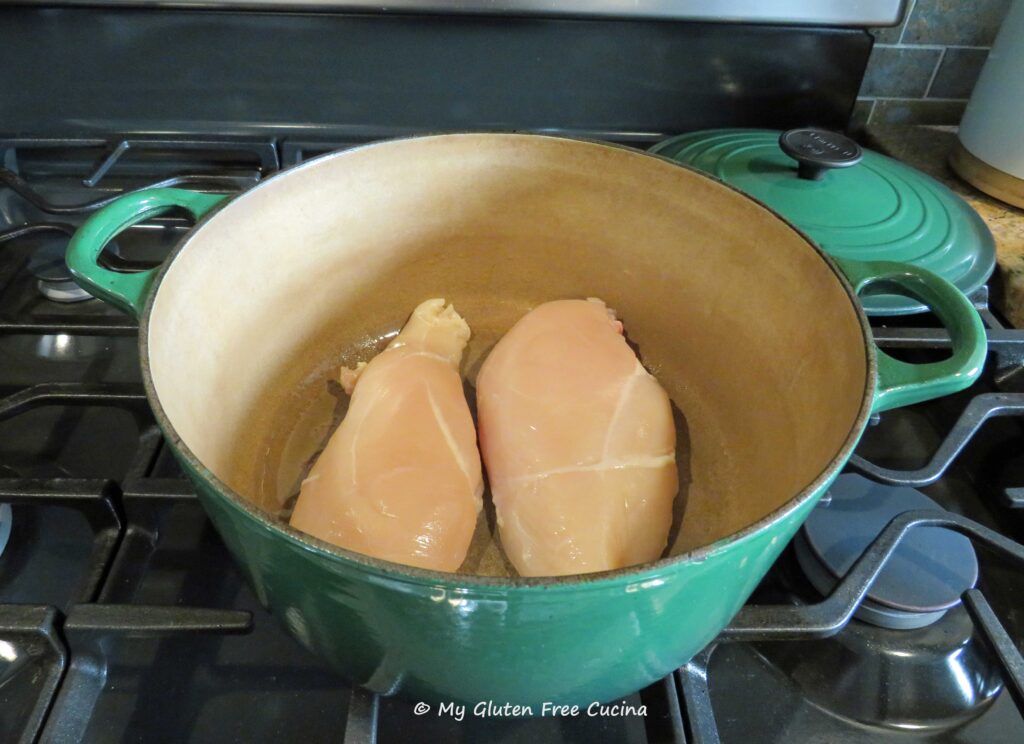
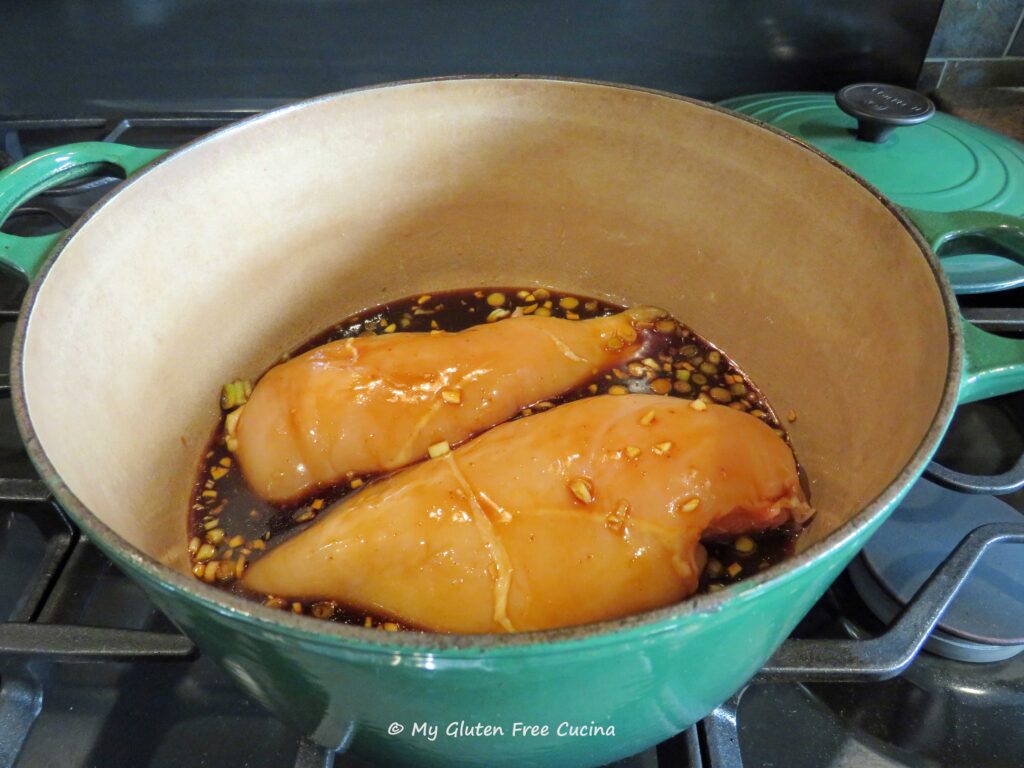
Coat a Dutch Oven with cooking spray and add the chicken breasts.
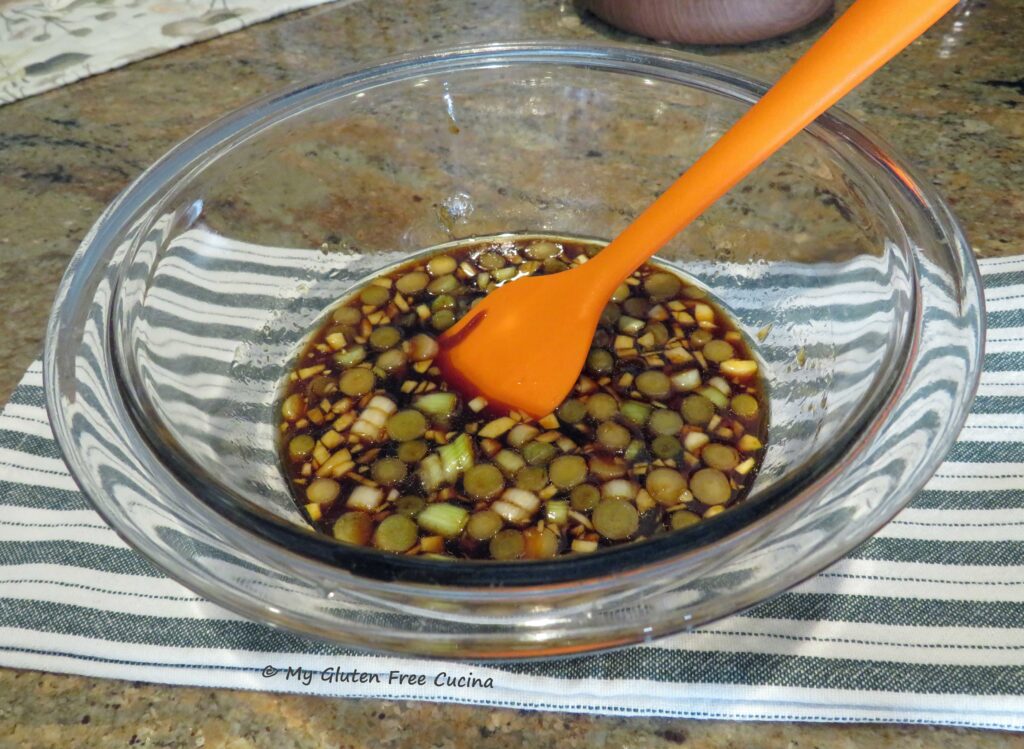
Whisk together the sauce ingredients, honey through powdered ginger.
Pour it over the chicken, cover and bake for 2-½ hours, turning halfway through.
While the chicken cooks, make the fried rice.  I have a Basic Fried Rice recipe here that you can use with all your Asian inspired meals.

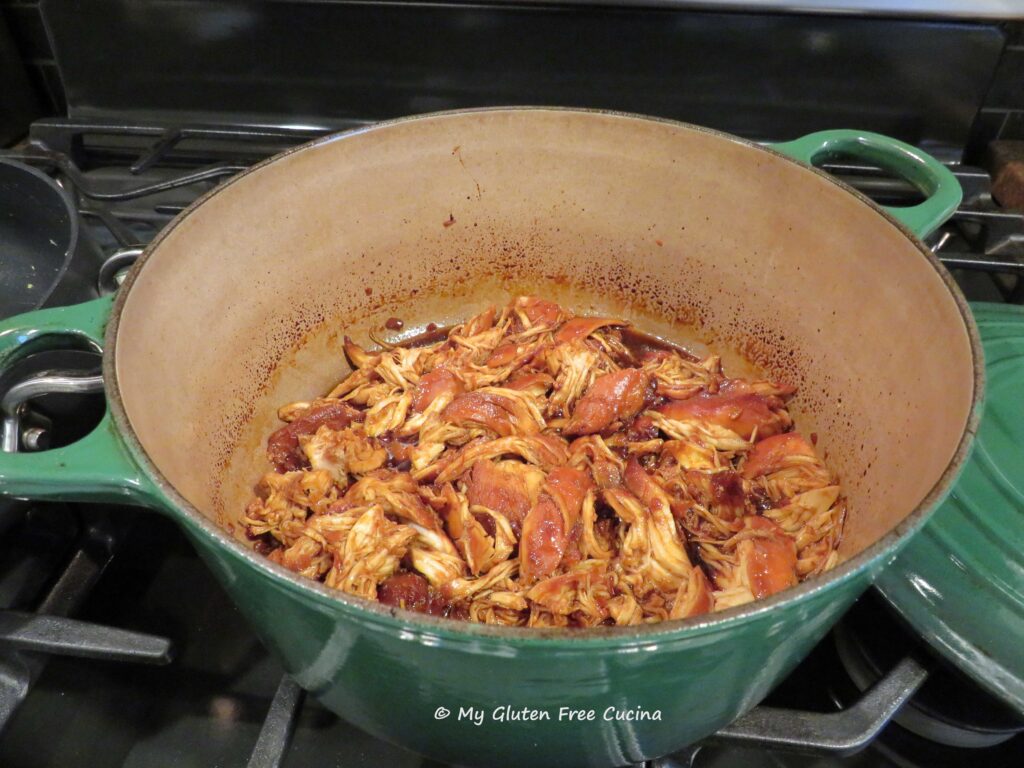
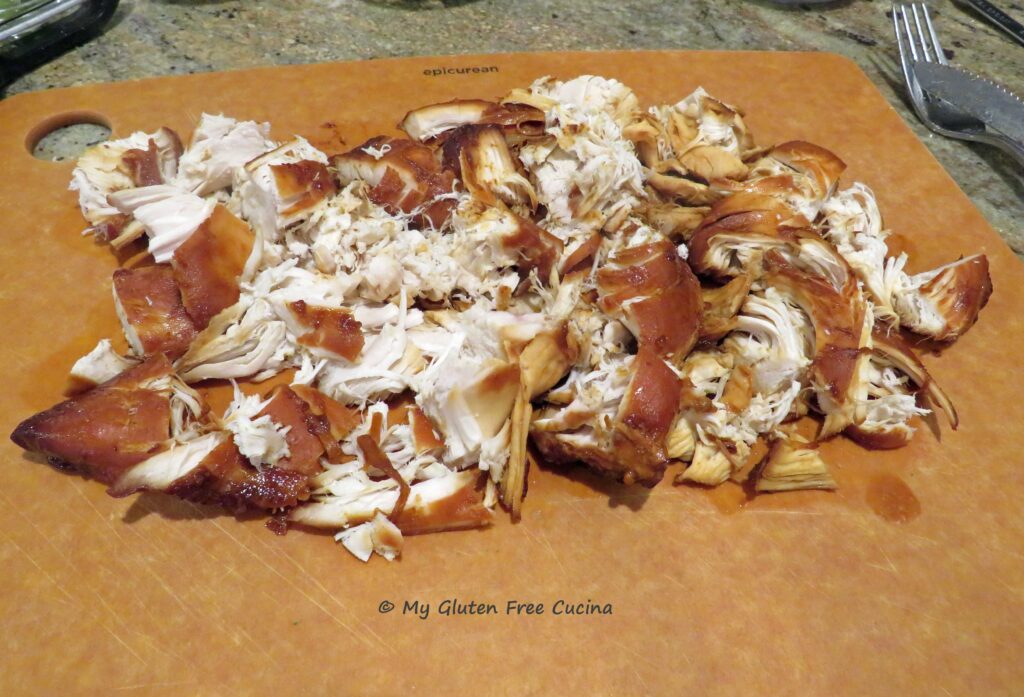
After 2-½ hours the chicken should be cooked through and very tender.  Remove to a cutting board and shred it with 2 forks.

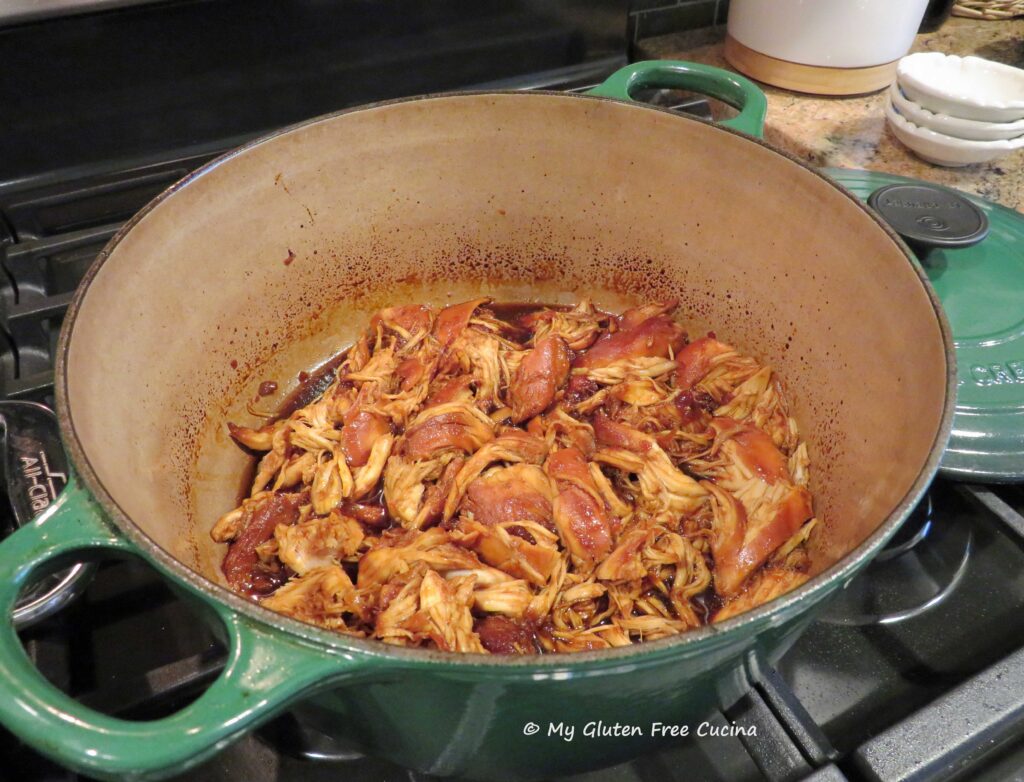
Return the chicken to the pot and stir well to coat with the remaining sauce.  Keep warm while you finish the rice.

Spoon the chicken over the rice and garnish with the scallion greens and toasted sesame seeds.

Notes: ♪♫ No time to make fried rice?  You can serve this over plain rice or with any sides you like!

Were you surprised to learn that soy sauce is not gluten free? I was!  The soy is fermented in wheat, making it unsafe for those of us with Celiac disease.  In this recipe I used San J brand gluten free Tamari in place of soy sauce.  It is a great addition to any Asian inspired recipe and also great for marinades.

Print
clock clock iconcutlery cutlery iconflag flag iconfolder folder iconinstagram instagram iconpinterest pinterest iconfacebook facebook iconprint print iconsquares squares iconheart heart iconheart solid heart solid icon

Asian Inspired Pulled Chicken

5 Stars 4 Stars 3 Stars 2 Stars 1 Star No reviews
  • Author: © My Gluten Free Cucina
  • Yield: 4 Servings 1x
  • Category: Dinner
  • Cuisine: Asian Inspired
  • Diet: Gluten-Free

Description

I used my Dutch Oven to create this Asian Inspired Pulled Chicken, an absolutely amazing dish that rivals any restaurant!  Served over fried rice, 100% gluten free.


Ingredients

Units Scale
  • · 2 boneless chicken breasts (about 1-1/4 lbs.)
  • · 1/4 cup honey
  • · 1/4 cup tamari (gluten free soy sauce)
  • · 2 tbsp. gluten free Hoisin sauce
  • · 1/2 tbsp. mirin (rice wine)
  • · 1/2 tsp. sesame oil
  • · 2 garlic cloves, minced
  • · 1 bunch of scallions
  • · 1/4 tsp. powdered ginger
  • · 1 bunch of scallions
  • · cooking spray
  • · 1 tsp. toasted sesame seeds
  • · 1 batch of Fried Rice (RECIPE) for serving

Instructions

  1. Mince the garlic and slice the scallions, reserving the green tops for garnish. Preheat the oven to 275º (no, that’s not a typo – 275º – we are cooking low and slow).
  2. Coat a Dutch Oven with cooking spray and add the chicken breasts.
  3. Whisk together the sauce ingredients, honey through powdered ginger.
  4. Pour it over the chicken, cover and bake for 2-½ hours, turning halfway through.
  5. While the chicken cooks, make the fried rice. I have a Basic Fried Rice recipe here that you can use with all your Asian inspired meals.
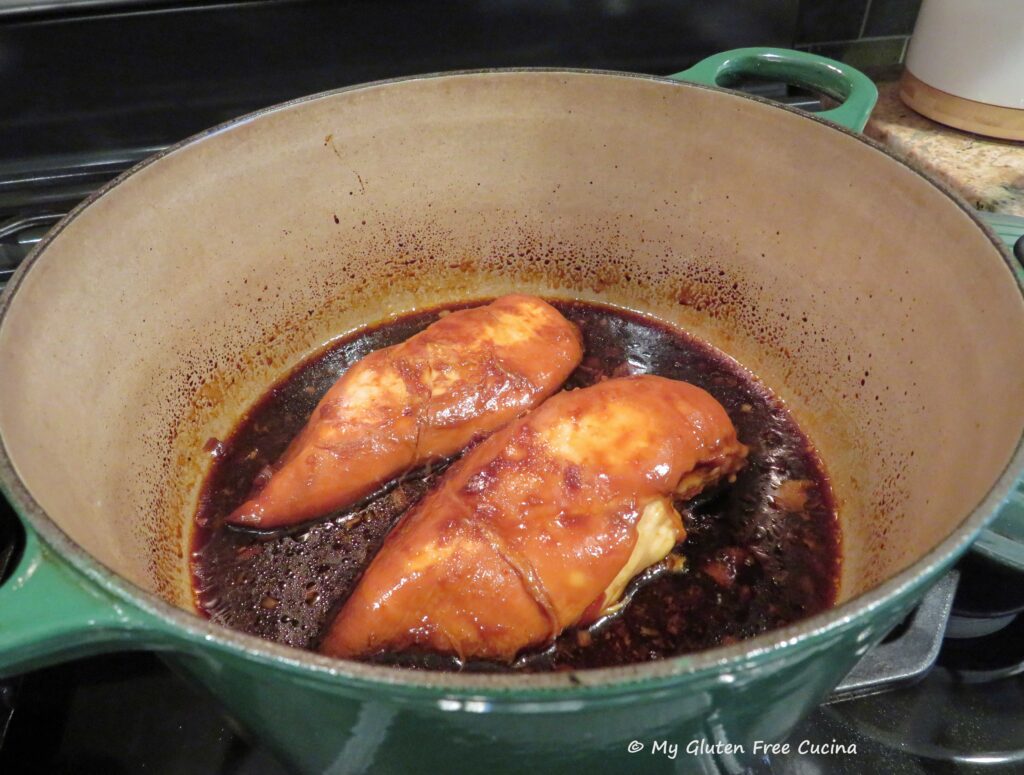
  6. After 2-½ hours the chicken should be cooked through and very tender. Remove to a cutting board and shred it with 2 forks.
  7. Return the chicken to the pot and stir well to coat with the remaining sauce. Keep warm while you finish the rice.
  8. Spoon the chicken over the rice and garnish with the scallion greens and toasted sesame seeds.
Notes

No time to make fried rice?  You can serve this over plain rice or with any sides you like!

Were you surprised to learn that soy sauce is not gluten free? I was!  The soy is fermented in wheat, making it unsafe for those of us with Celiac disease.  In this recipe I used San J brand gluten free Tamari in place of soy sauce.  It is a great addition to any Asian inspired recipe and also great for marinades.

© My Gluten Free Cucina * All Rights Reserved

Unauthorized use and/or duplication of this material without express and written permission from this blog’s author and/or owner is strictly prohibited.


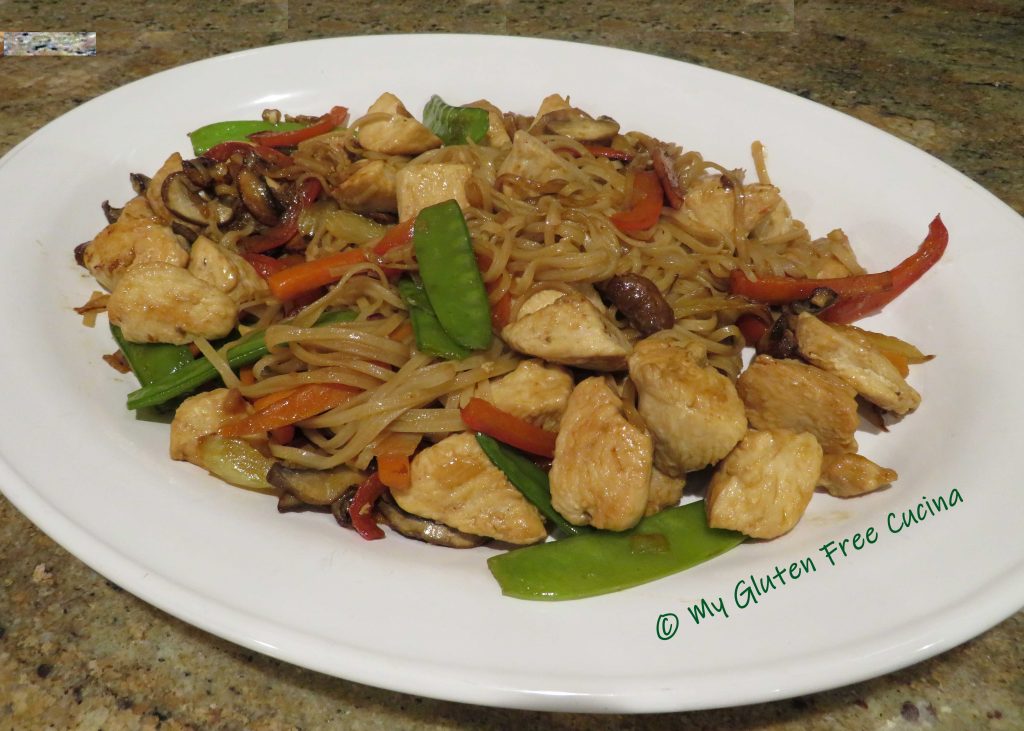
Gluten Free Chicken Lo Mein

Back in the day ordering Chinese takeout was such a treat.  I really miss being able to do that since being gluten free.  There are few places in our area that offer gluten free Chinese food, but cross contact is always a concern.

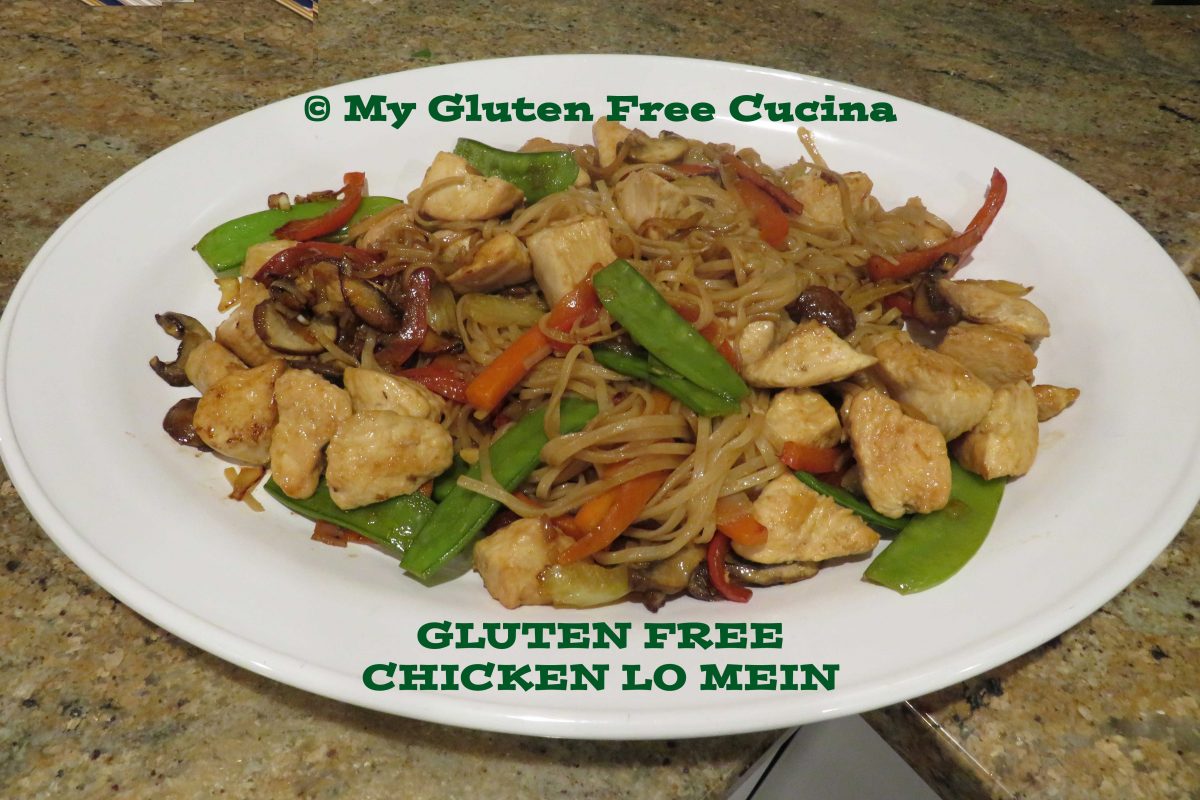
That’s why I learned to make gluten free alternatives at home, like this Lo Mein.  The recipe is gluten free and lower in sodium than takeout, so I would call that a success!

This post contains affiliate links.

Although a true Lo Mein would be made with egg noodles, I used rice noodles in this recipe, and they were a great stand in.  I always have them on hand for Asian stir fry meals.

Ingredients:

For the Sauce:

For the Lo Mein:

  • 1 lb. boneless chicken breast, cut into 1″ cubes
  • 1/2 cup celery
  • 3/4 cup carrots
  • 3/4 cup onion
  • 3/4 cup mushrooms
  • 1/2 cup bell pepper
  • 3/4 cup snow peas
  • sesame oil
  • olive oil
  • coconut aminos
  • 1/2 tsp. garlic powder
  • 1/2 tsp. ginger powder
  • 4 oz. gluten free rice noodles

Preparation:

This is one of those recipes where you need to get organized before you begin cooking.  Prep the veggies, cut the chicken into cubes and have all other ingredients lined up and ready.

Begin by whisking the sauce ingredients together and set aside.

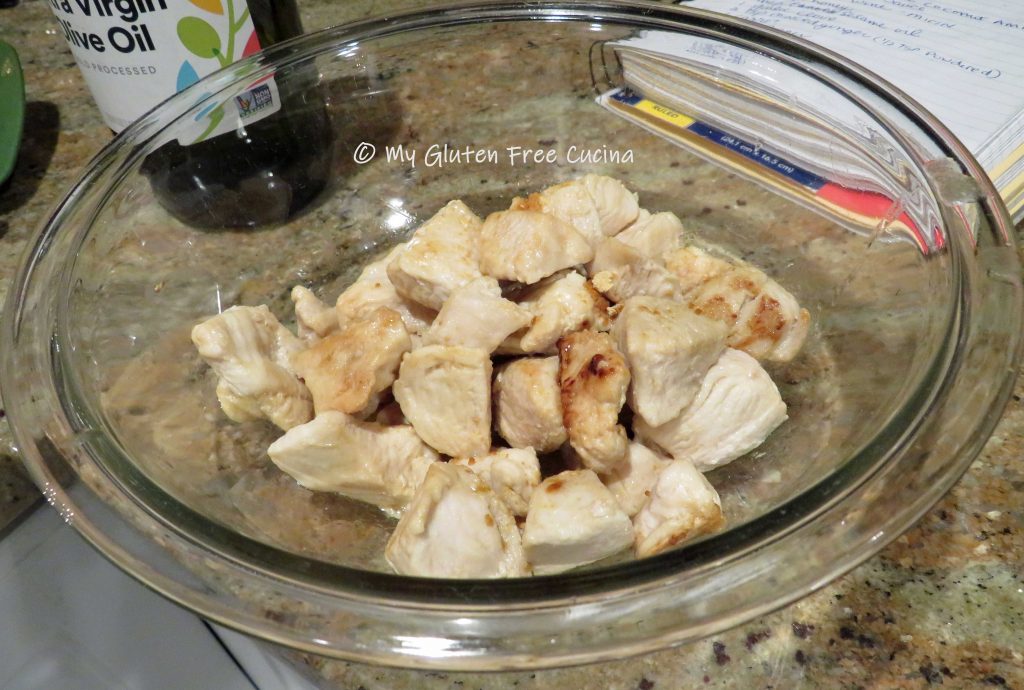
Set up a pot of salted water for the rice noodles and bring to a boil.  Heat a large nonstick skillet with 1 tbsp. olive oil and 1 tsp. sesame oil.  Cook the chicken, turning to brown on all sides.  When the chicken is almost cooked through, remove it from the pan and set aside.

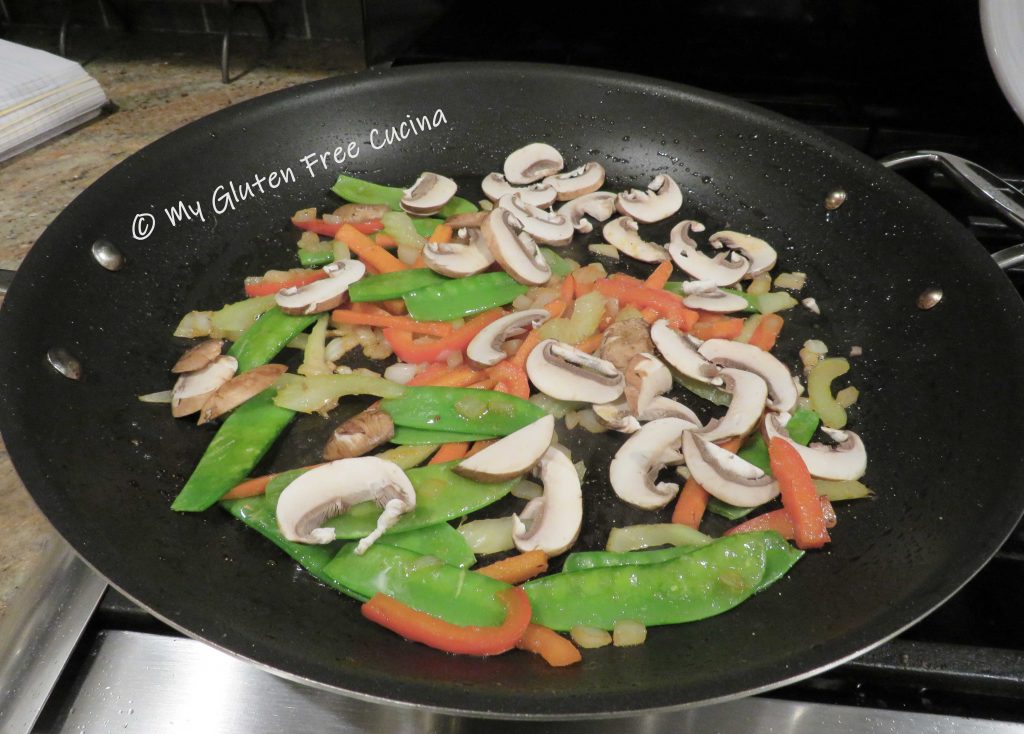
Wipe the pan clean and add 1 tsp. sesame oil.  Begin cooking the carrots, peppers and snow peas for several minutes until crisp tender.  Next add the mushrooms and garlic with an additional tsp. of sesame oil.  Cook for 1 minute.

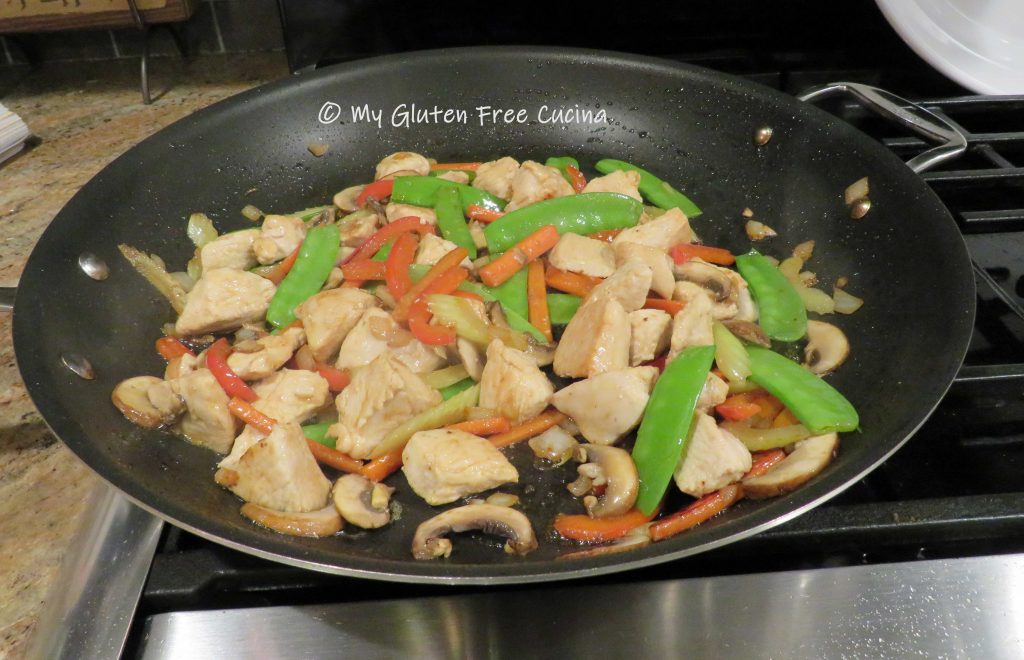
Add the rice noodles to the boiling water, and at the same time return the chicken to the skillet.  Pour half the sauce over the chicken and vegetables.

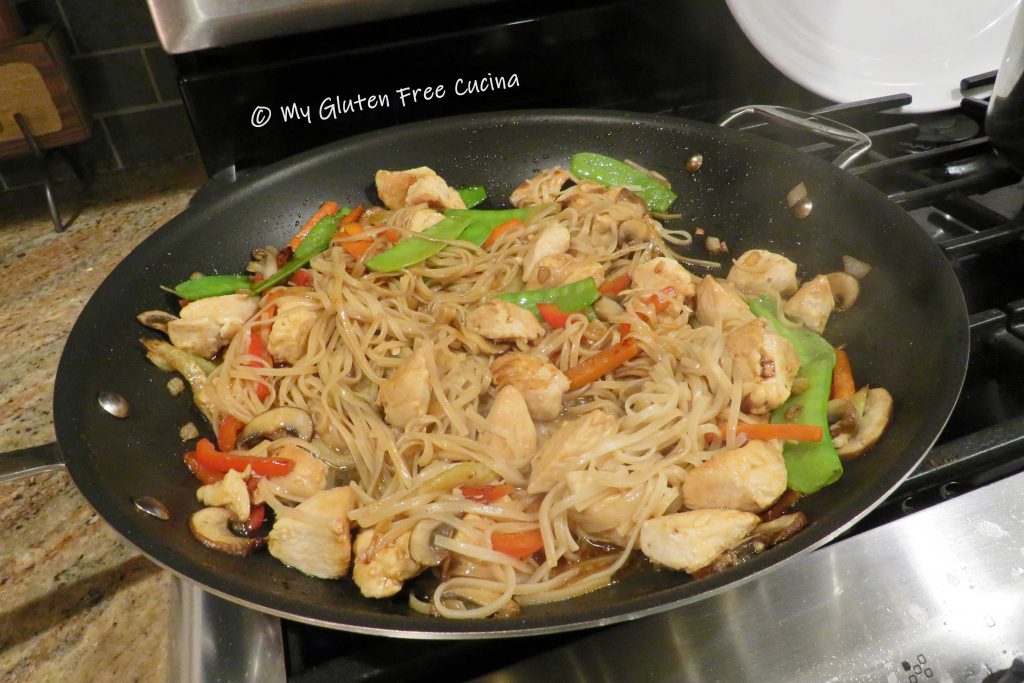
Drain the pasta after 3 minutes, add it to the skillet and top with the remaining sauce.  Toss well and stir to combine it all, cook for another minute.

Transfer to a platter and serve.

Notes ♪♫ Have you ever purchased a large piece of gingerroot for a recipe, only to use a small amount and have the rest go bad in the refrigerator?  Here’s a trick I learned this past winter, you can cut fresh ginger into smaller pieces and freeze them for later use.  It is so easy to grate gingerroot right out of the freezer.  Perfect for recipes like this one, where fresh ginger is a key flavor in the sauce.

[print_link]


Basic Fried Rice, Gluten Free and Lower Sodium

I have shared so many of my Asian inspired meals here on the blog and I know you love them as much as I do!  Today though, I thought I would focus on a basic recipe for fried rice that you can make at home with common pantry staples.  This is an easy preparation that is gluten free with lower sodium options.  I did not add meat, but you can choose (just like in your takeout menu), to add chicken, shrimp, pork, beef, etc… whatever you like to make it a complete meal.

Why make it at home?  You control the salt, you control the fat, and you will be absolutely certain that it’s gluten free!

Cheat some of the prep work by using frozen veggies, like mixed peas and carrots.  Or use up bits of leftover veggies from other meals, just chop them into small pieces and throw them in.  Get fancy and add canned water chestnuts or bean sprouts!

Ingredients:

Preparation:

A large, nonstick skillet is my first choice for stir fry dishes.  Having a large surface area is great when you want to spread out your ingredients in the pan.

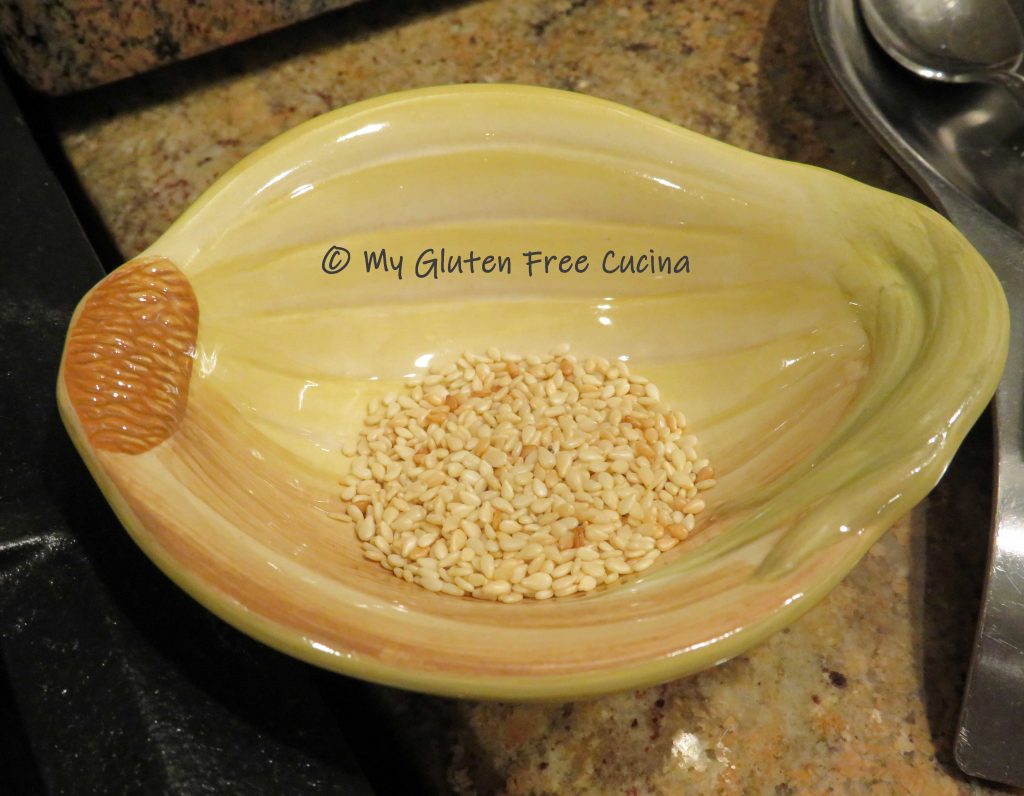
Make ahead steps: Cook the rice ahead of time, cool and refrigerate.  If using frozen vegetables, take them out to defrost.  Toast the sesame seeds in a small, nonstick saucepan and set them aside for garnish.

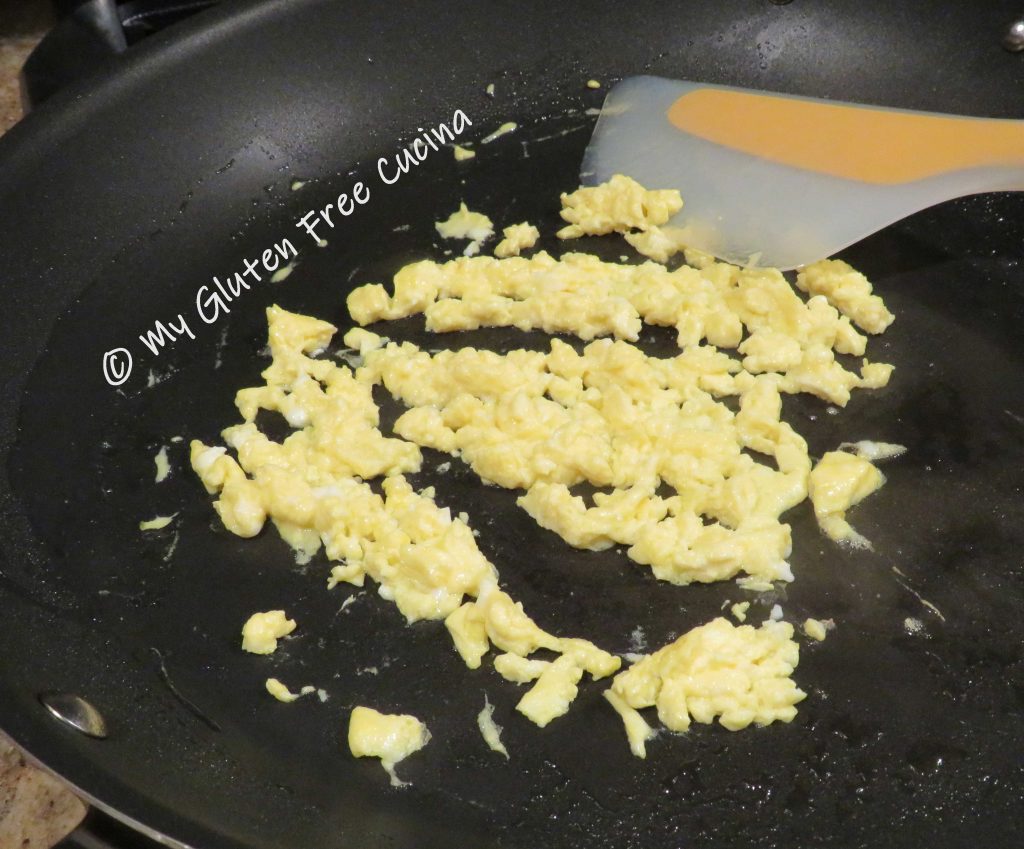
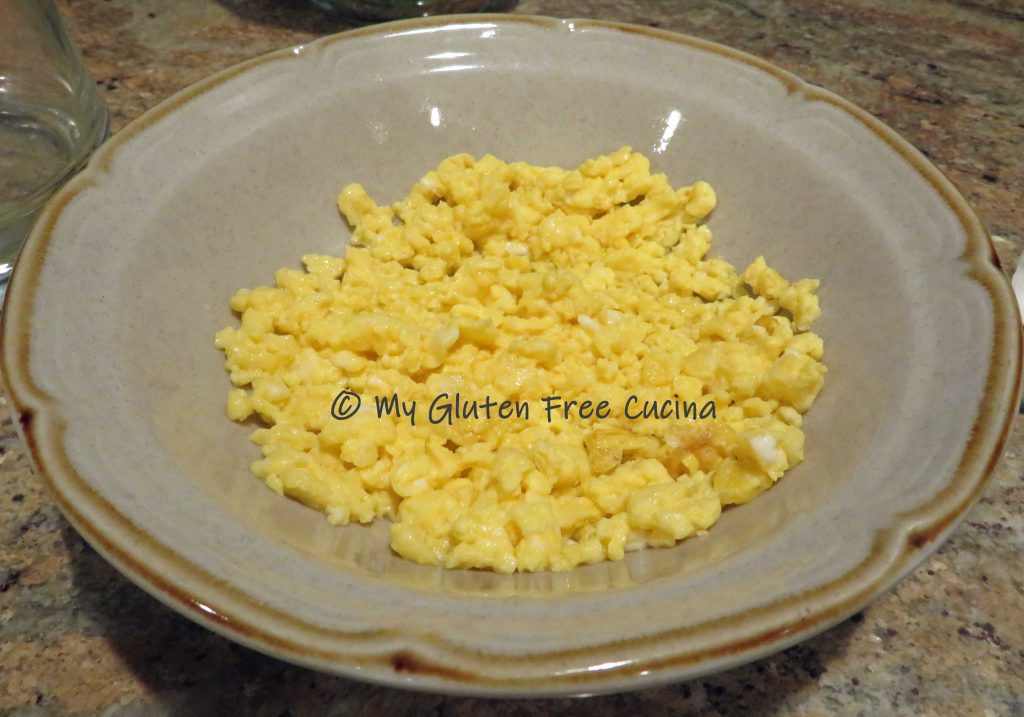
Heat a large, nonstick skillet with cooking spray.  Scramble the egg and break it up with a spatula.

Set the egg aside and wipe the pan clean.

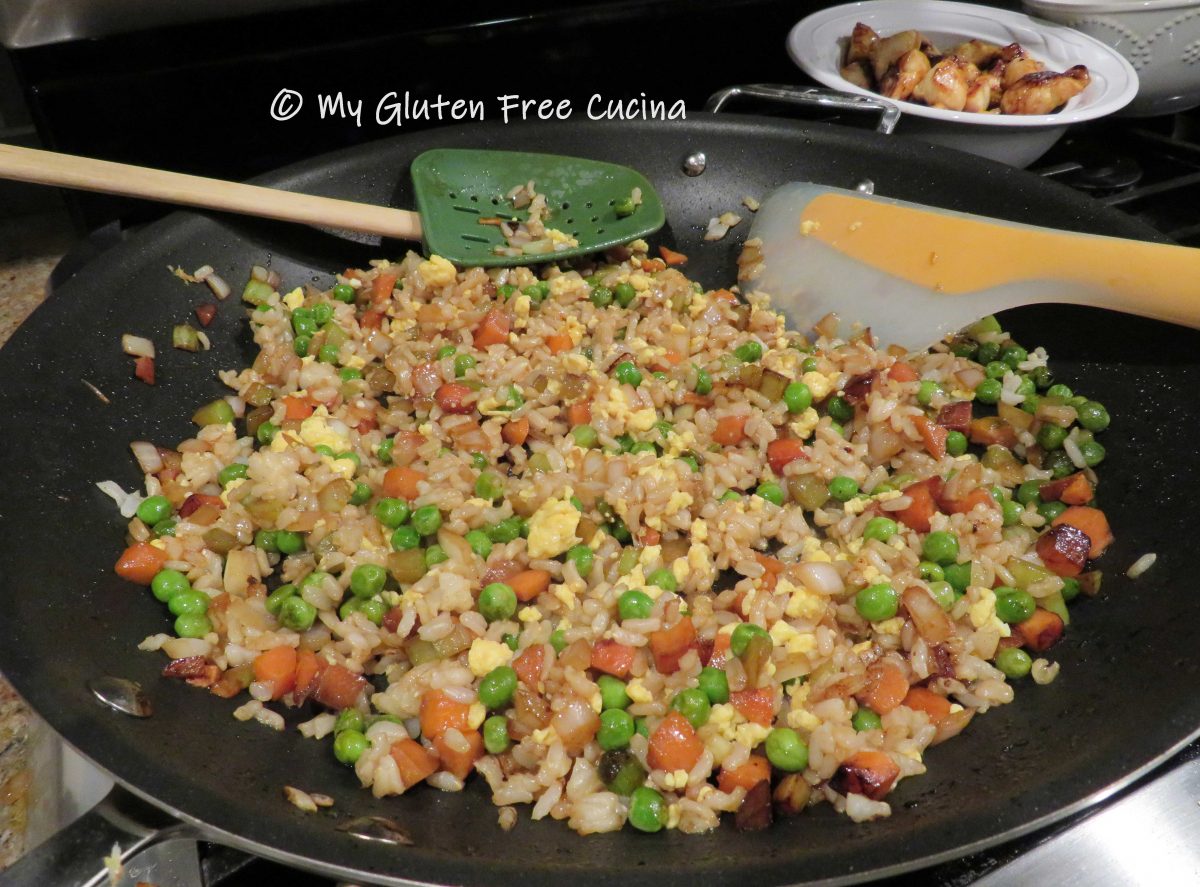
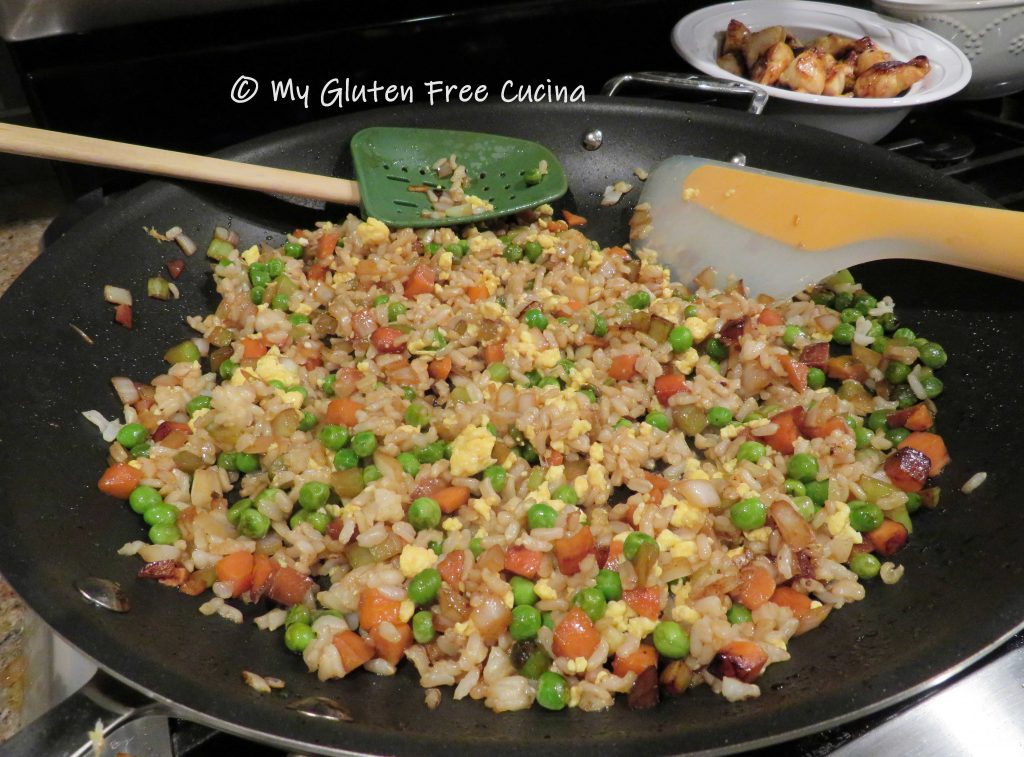
Mist the skillet with cooking spray and add 1 tbsp. olive oil, 1 tsp. sesame oil and 1 tbsp. tamari or coconut aminos.  Add the veggies and sprinkle with the garlic and ginger.  Cook for 5 minutes over medium low heat, stirring frequently.

Add a little more sesame oil with tamari or coconut aminos, then stir in the cooked rice.  Cook 1 minute to heat through, then add back the scrambled egg.

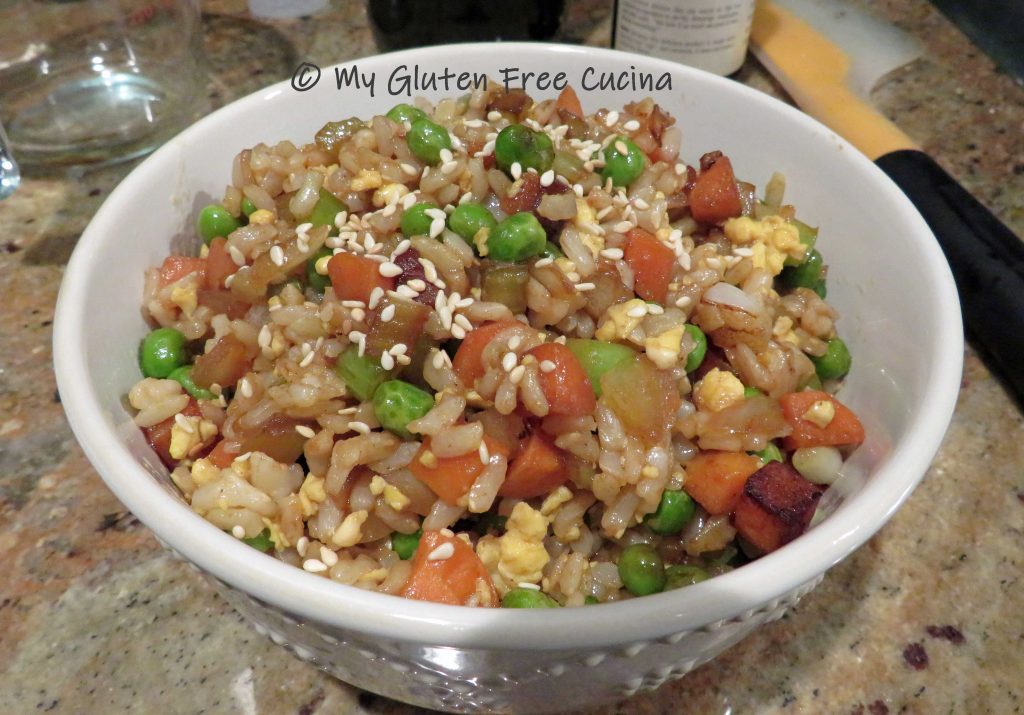
Toss well to incorporate and transfer to a serving bowl.  Garnish with toasted sesame seeds.

Notes ♪ If you’re making this after a long day at work, it’s nice to be a step ahead in your prep, so cook your rice the day before!  In fact, this recipe works best when the rice is cooked ahead of time and refrigerated.

♫ If you are on a low salt diet, use coconut aminos in this recipe instead of soy sauce.  It is gluten free and much lower in sodium than tamari or gluten free soy sauce.  You can use any of these, or a combination to suit your taste and dietary needs.

Print
clock clock iconcutlery cutlery iconflag flag iconfolder folder iconinstagram instagram iconpinterest pinterest iconfacebook facebook iconprint print iconsquares squares iconheart heart iconheart solid heart solid icon

Basic Fried Rice, Gluten Free and Lower Sodium

5 Stars 4 Stars 3 Stars 2 Stars 1 Star No reviews
  • Author: © My Gluten Free Cucina
  • Category: Side Dish
  • Method: Skillet
  • Cuisine: Asian Inspired
  • Diet: Gluten-Free

Description

This is a basic recipe for fried rice that you can make at home with common pantry staples. 


Ingredients

Units Scale
  • · 1-1/2 cups cooked rice, chilled (I used long grain brown rice)
  • · 1-1/2 cups diced veggies (I used peas, carrots, onion and celery)
  • · 1/4 tsp. garlic granules
  • · 1/4 tsp. powdered ginger
  • · 1 egg, scrambled
  • · cooking spray
  • · olive oil
  • · toasted sesame oil
  • · Gluten free Tamari, or coconut aminos
  • · 1 tsp. toasted sesame seeds, for garnish

Instructions

  1. Make ahead steps: Cook the rice ahead of time, cool and refrigerate. If using frozen vegetables, take them out to defrost. Toast the sesame seeds in a small, nonstick sauce pan and set them aside for garnish.
  2. Heat a large, nonstick skillet with cooking spray. Scramble the egg and break it up with a spatula.
  3. Set the egg aside and wipe the pan clean.
  4. Mist the skillet with cooking spray and add 1 tbsp. olive oil, 1 tsp. sesame oil and 1 tbsp. tamari or coconut aminos. Add the veggies and sprinkle with the garlic and ginger. Cook for 5 minutes over medium low heat, stirring frequently.
  5. Add a little more sesame oil with tamari or coconut aminos, then stir in the cooked rice. Cook 1 minute to heat through, then add back the scrambled egg.
  6. Toss well to incorporate and transfer to a serving bowl. Garnish with toasted sesame seeds.

Notes

If you are on a low salt diet, use coconut aminos in this recipe instead of gluten free soy sauce.  It is much lower in sodium than tamari or gluten free soy sauce.  You can use any of these, or a combination to suit your taste and dietary needs.

© My Gluten Free Cucina * All Rights Reserved

Unauthorized use and/or duplication of this material without express and written permission from this blog’s author and/or owner is strictly prohibited.