Soup’s On! – Updated for 2025
The first few years of my gluten free life, I searched high and low for soup pasta. There are so many more options available today, but if you are struggling to find gluten free pasta for your holiday soups and winter comfort food, here are some ideas that I hope you find helpful.
This post contains affiliate links.
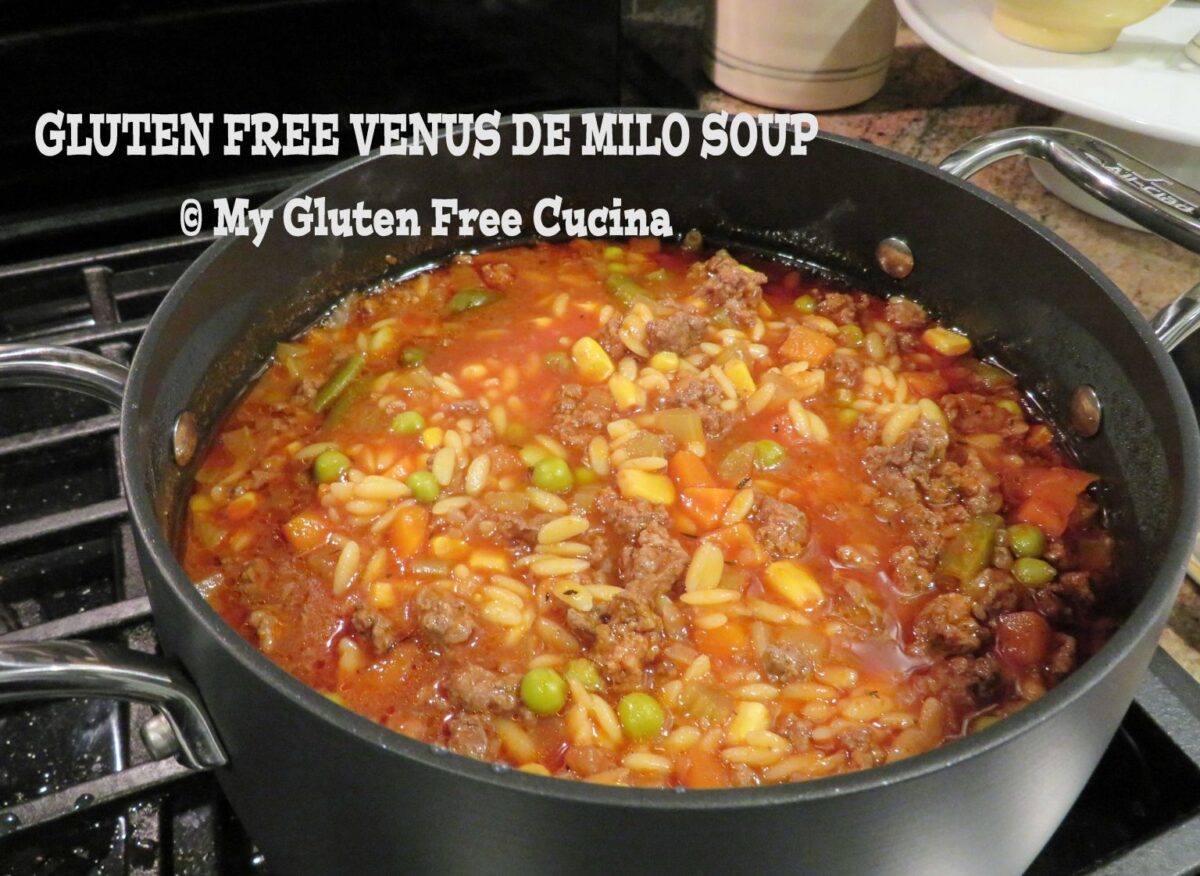
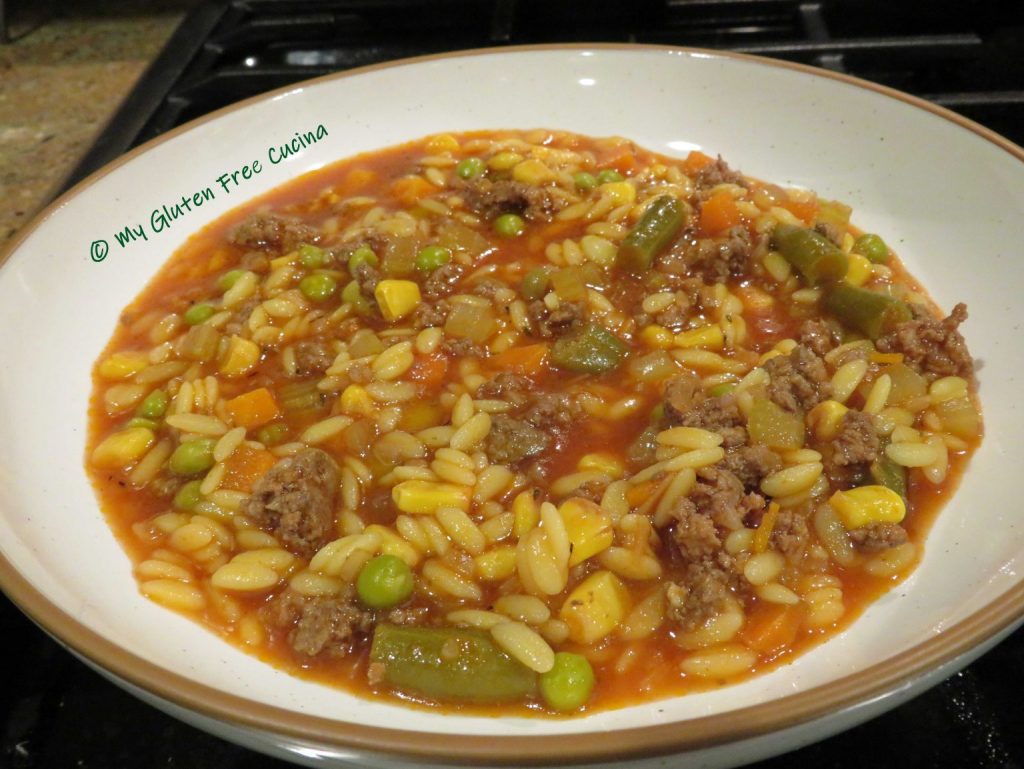
Gluten Free Orzo
Probably the most familiar of all soup pastas, now you can have Gluten Free Orzo pasta from Delallo. Try it in my Venus de Milo Soup.
Gluten Free Anellini
This one makes me nostalgic for my grandmother’s kitchen. 👵🏻 When I was little, she would make it for me, with just a pat of butter.

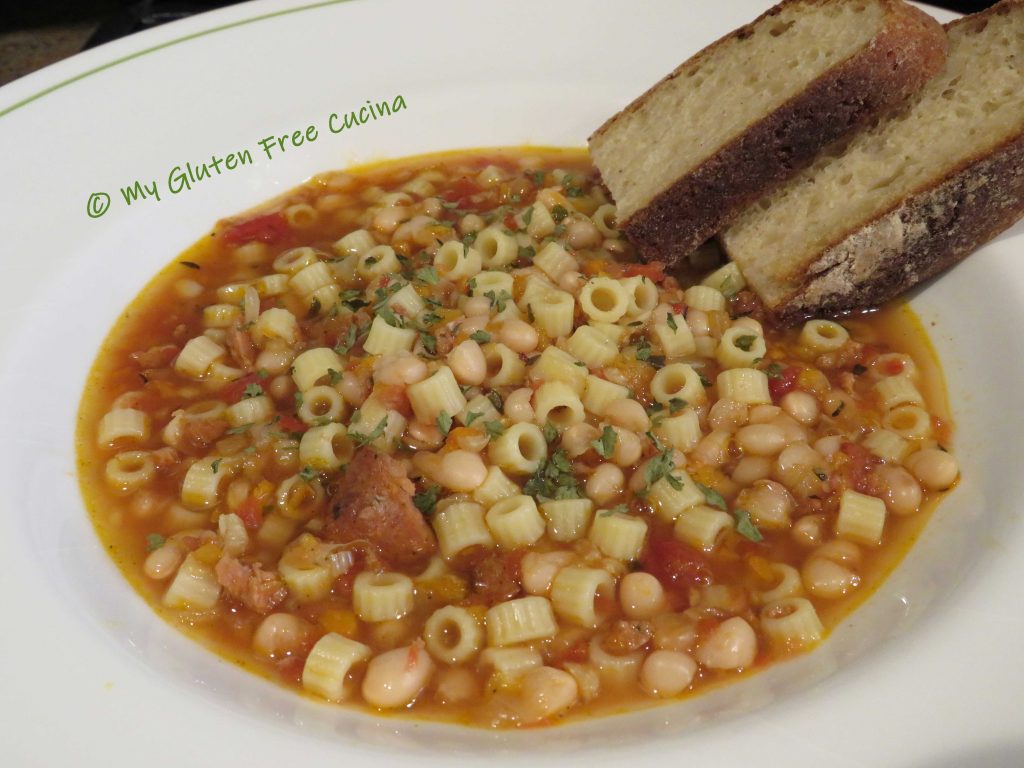
Gluten Free Ditalini
Another classic shape from Le Veneziane, this gluten free ditalini is perfect for making Pasta e Fagioli.
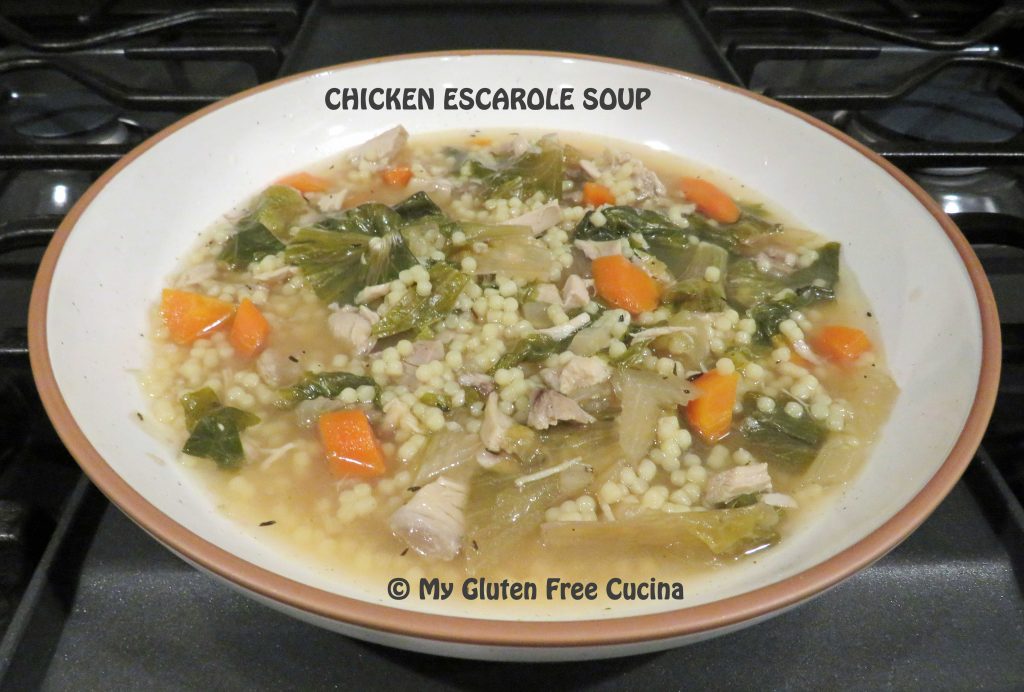
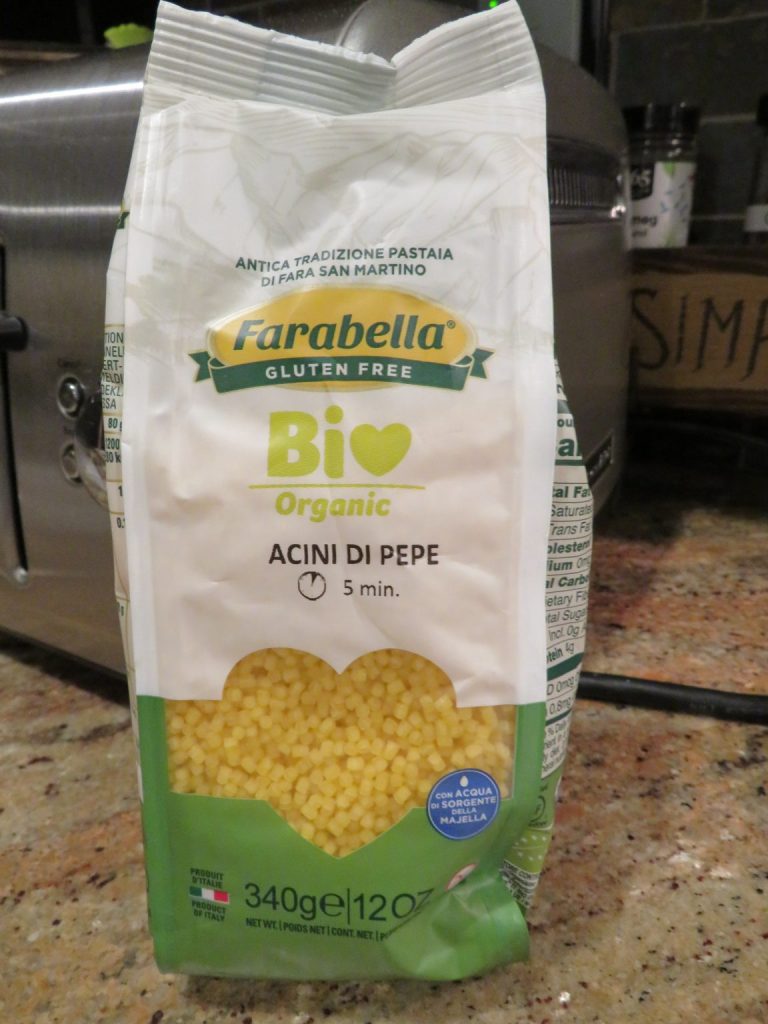
Gluten Free Acini di Pepe
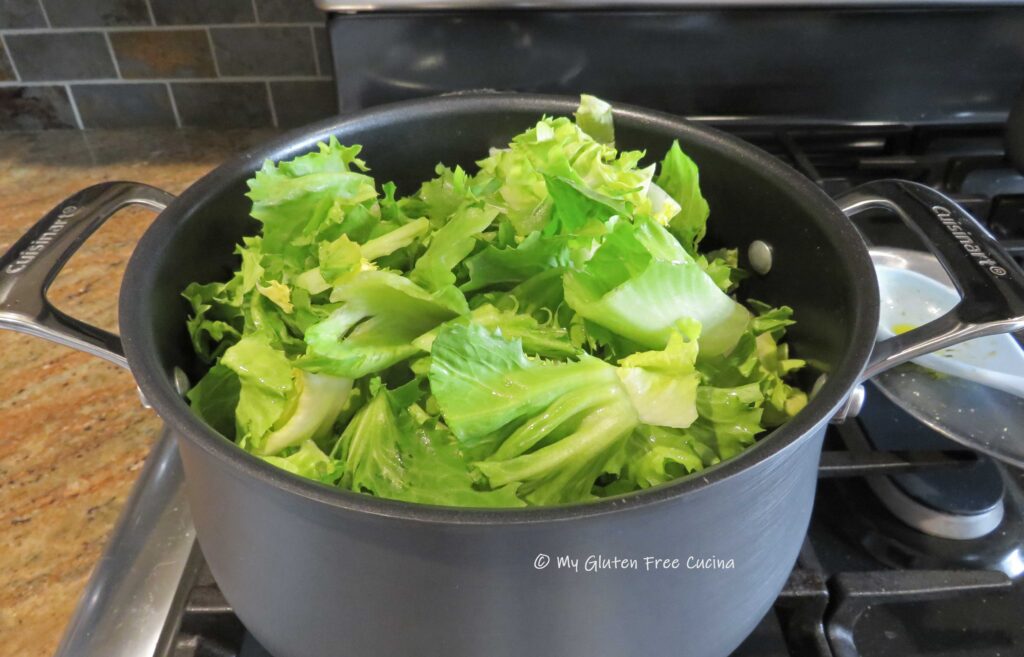
I was especially thrilled to find this one, as it was the pasta my mother used in her Chicken Escarole Soup, a holiday tradition!
Gluten Free Stelline (Little Stars)
Who remembers Chicken and Stars? Recreate this childhood favorite with gluten free stars from Jovial, one of my favorite pasta brands!

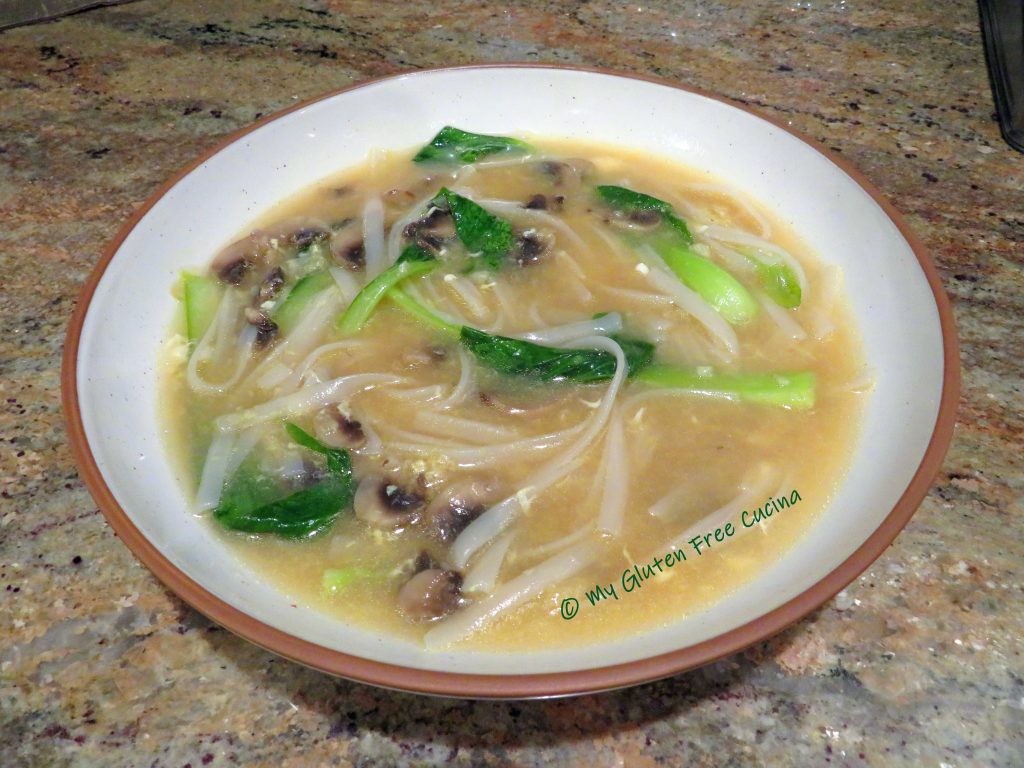
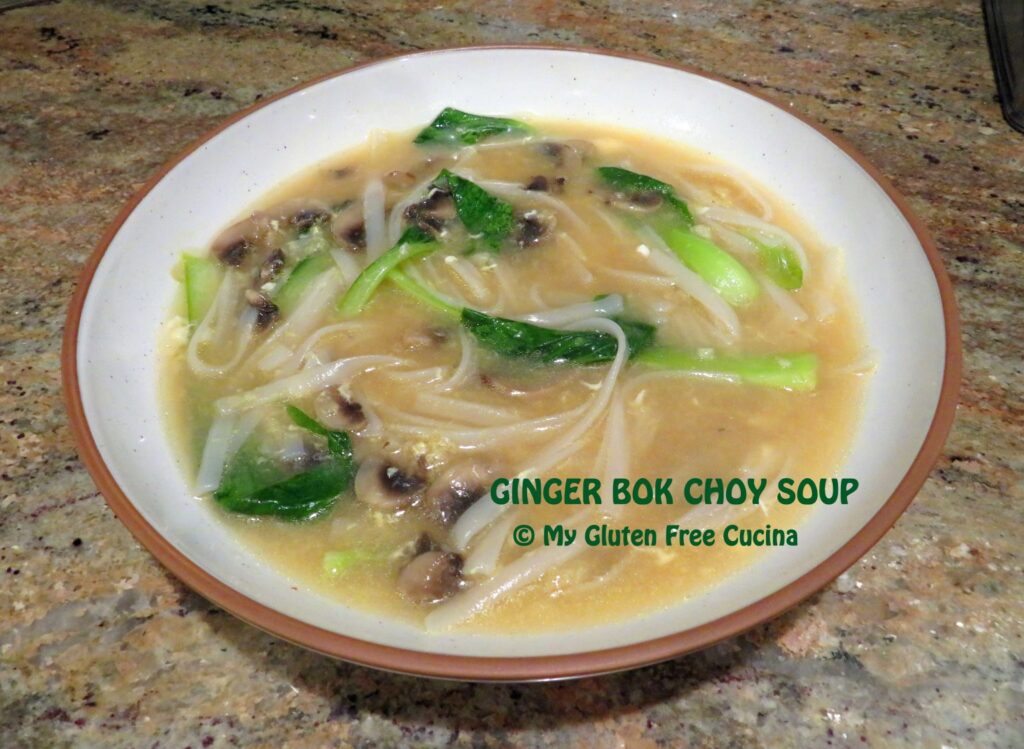
Wide rice noodles
These Wide Rice Noodles from Taste of Thai are perfect in my Ginger Bok Choy Egg Drop Soup!
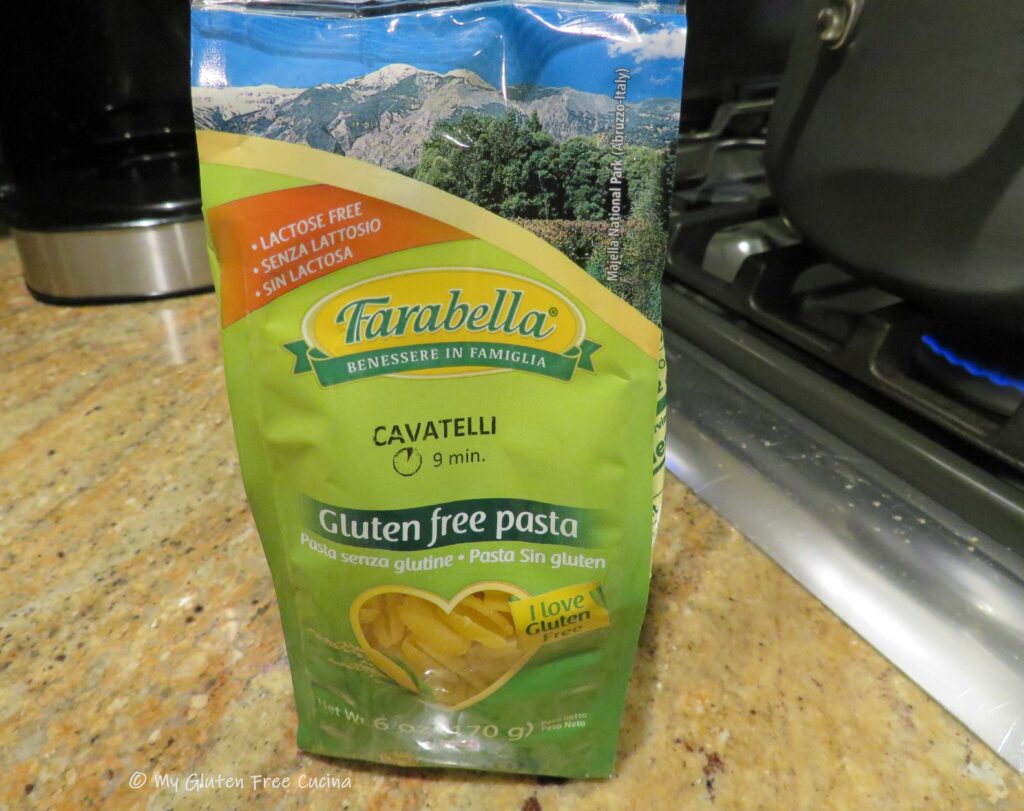
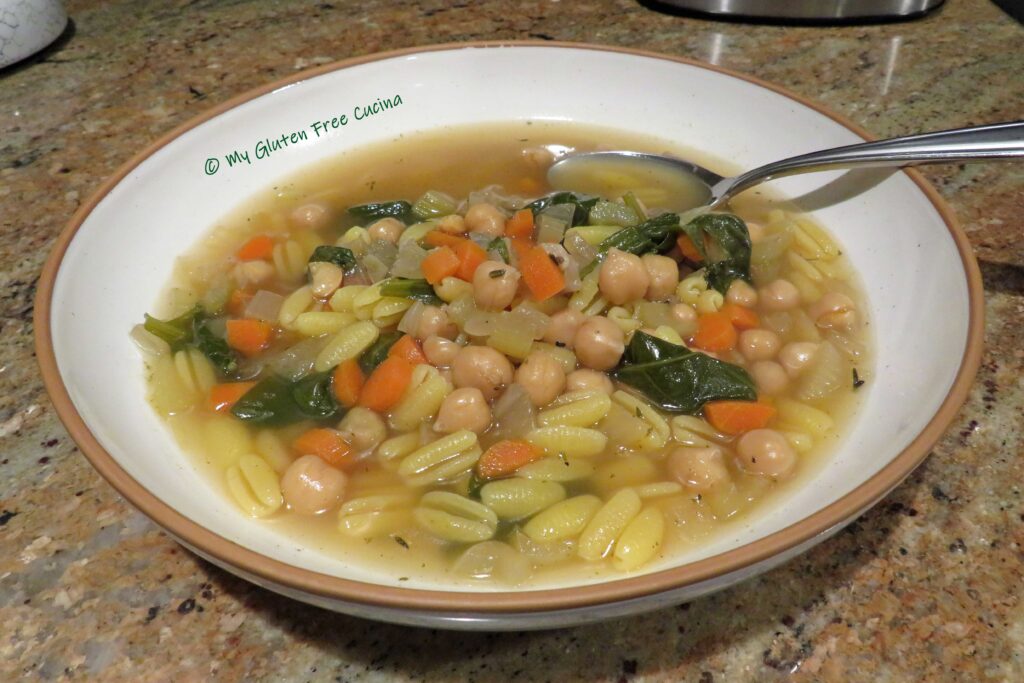
GLUTEN FREE CAVATELLI
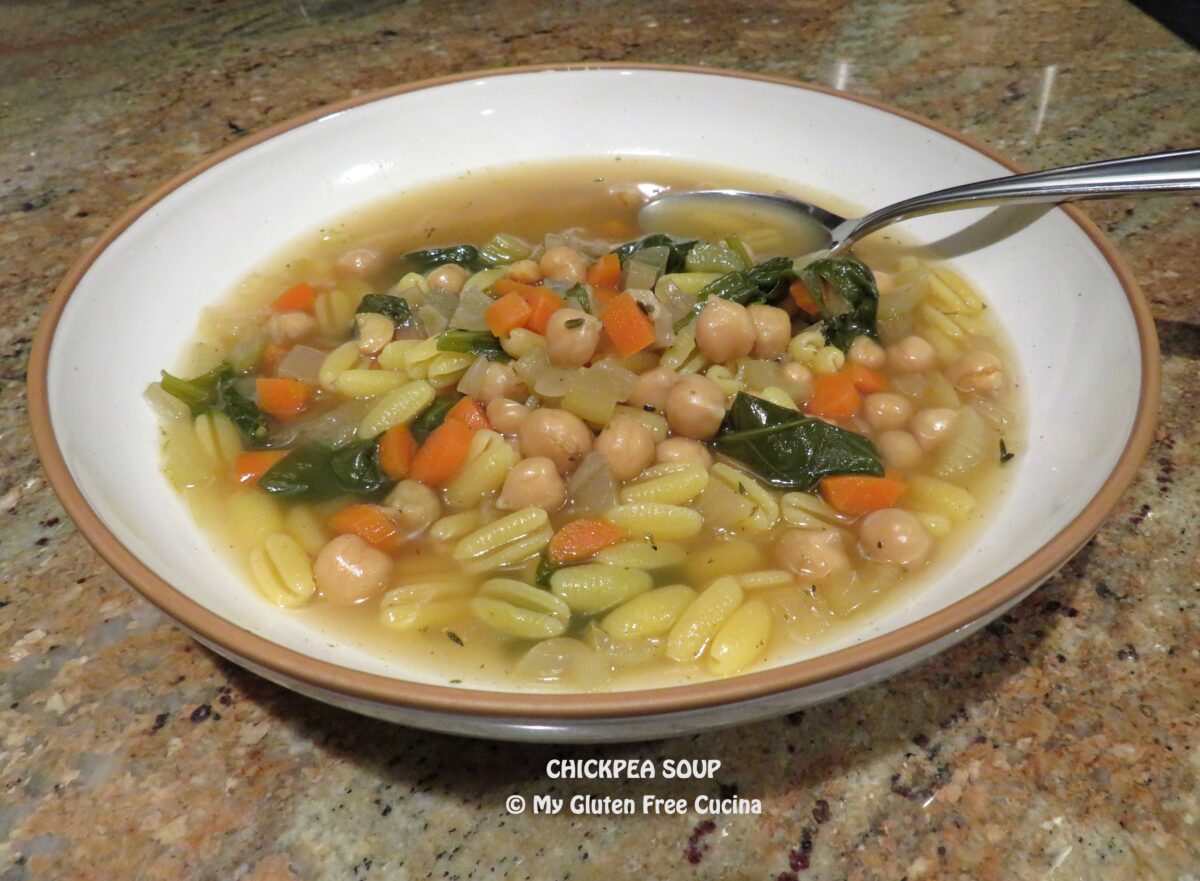
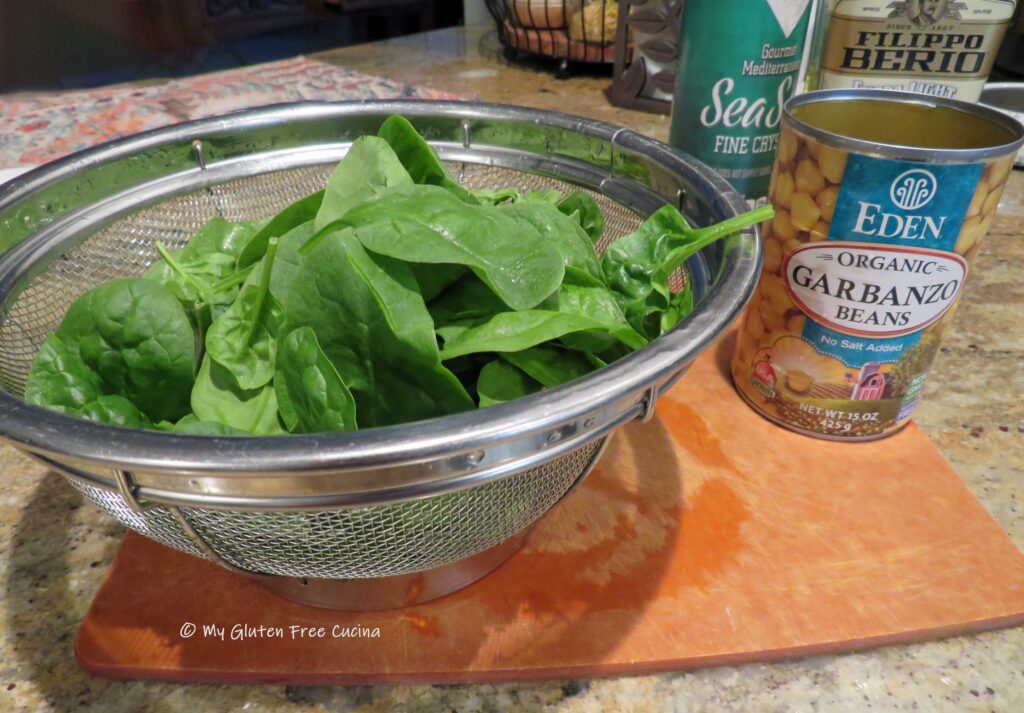
Like something a little larger in your soup? Try this Gluten Free Cavatelli from Farabella. I used it in this “made from the pantry” Chickpea Soup.

BABY MAFALDA
I used this Gluten Free Baby Mafalda in my Beef Stroganoff recipe. I’ll bet it would be great in a soup as well.

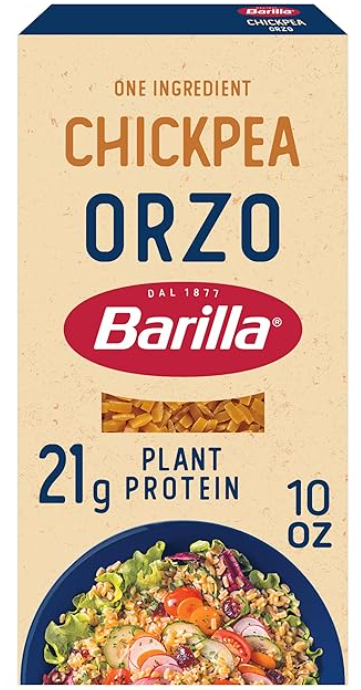
CHICKPEA Rice
If you like chickpea pasta, try the chickpea rice from Barilla. It’s high in protein, vegan and gluten free. Stir gently as it tends to break apart in soup.
 I hope you found this post helpful. What other gluten free soup pasta have you found? Have you made your own? Tell me in the comments!
Notes ♪♫ Some gluten free pastas, especially those made with corn flour will release a huge amount of starch into the water when cooked, and it can be a gummy mess. For that reason, I recommend that these pastas be cooked separately and rinsed before adding to your soup.


 Preparation:
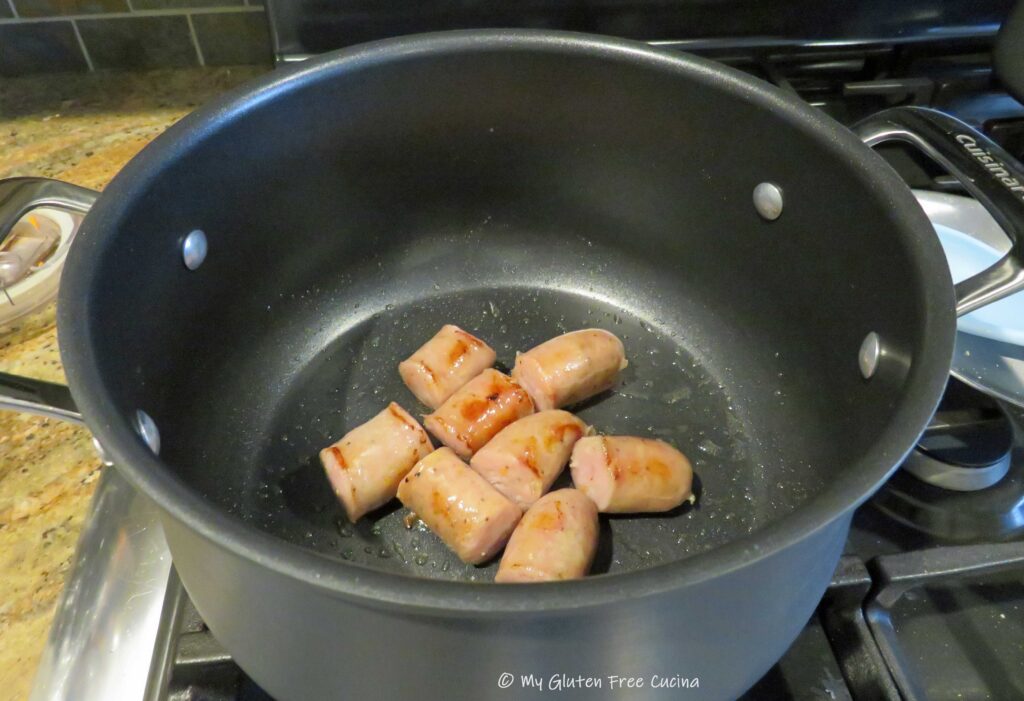
 Cover and simmer on low for another 20 minutes. Taste for seasoning and add salt if needed. Garnish with fresh parsley and serve with
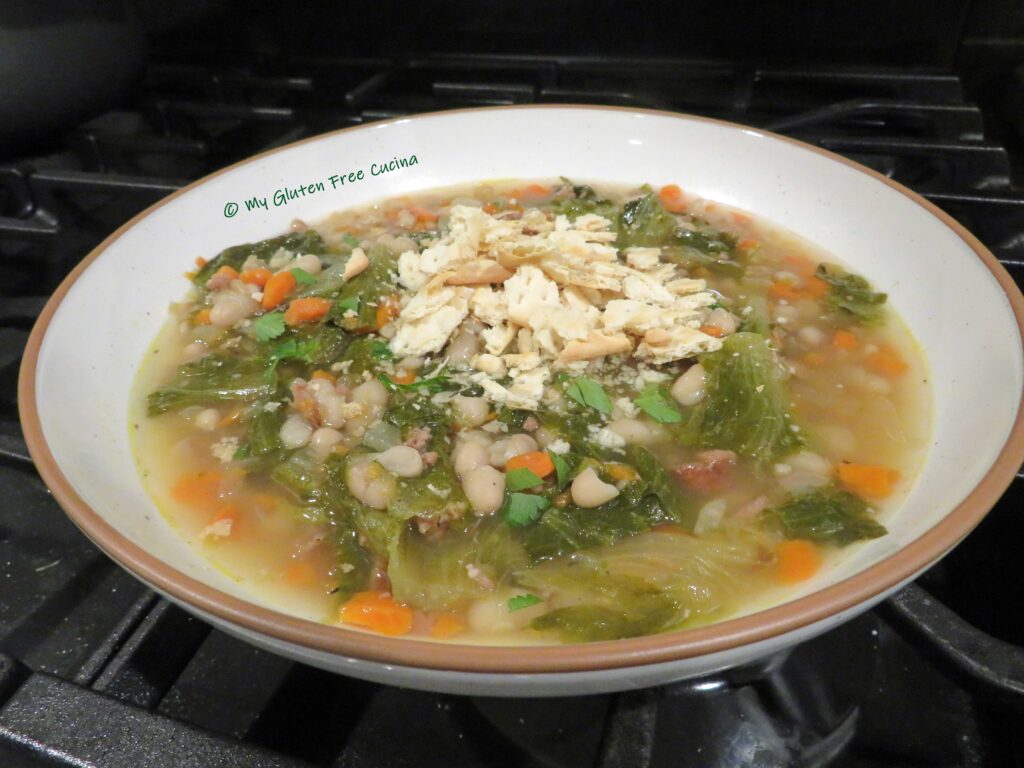

 This post contains affiliate links.
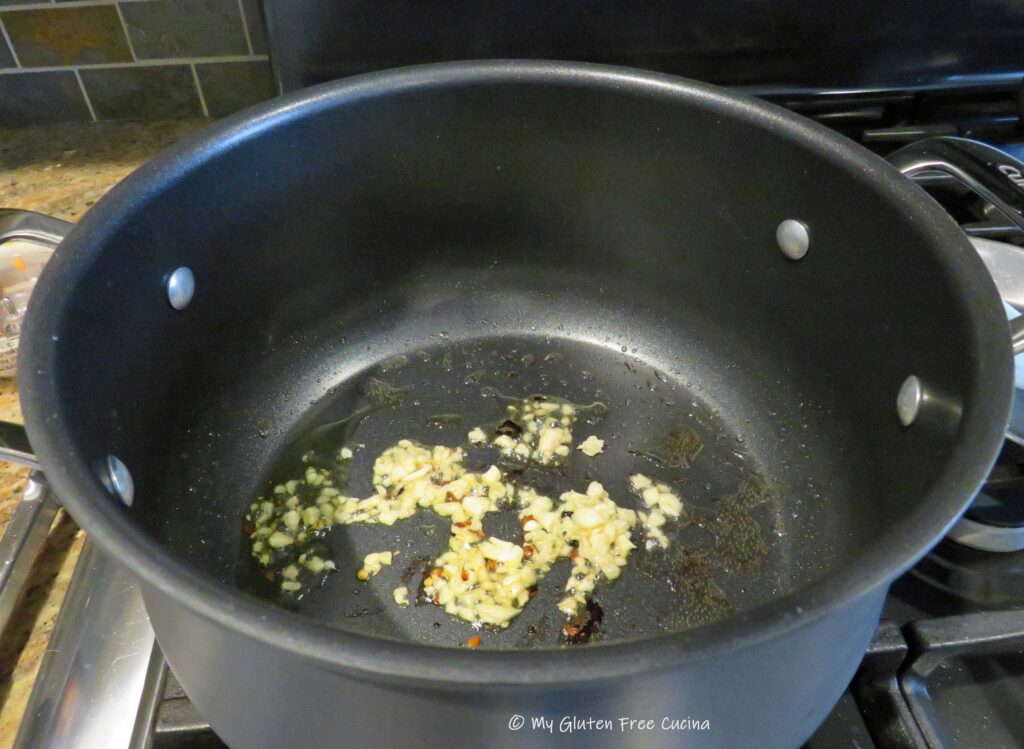
 Note ♪
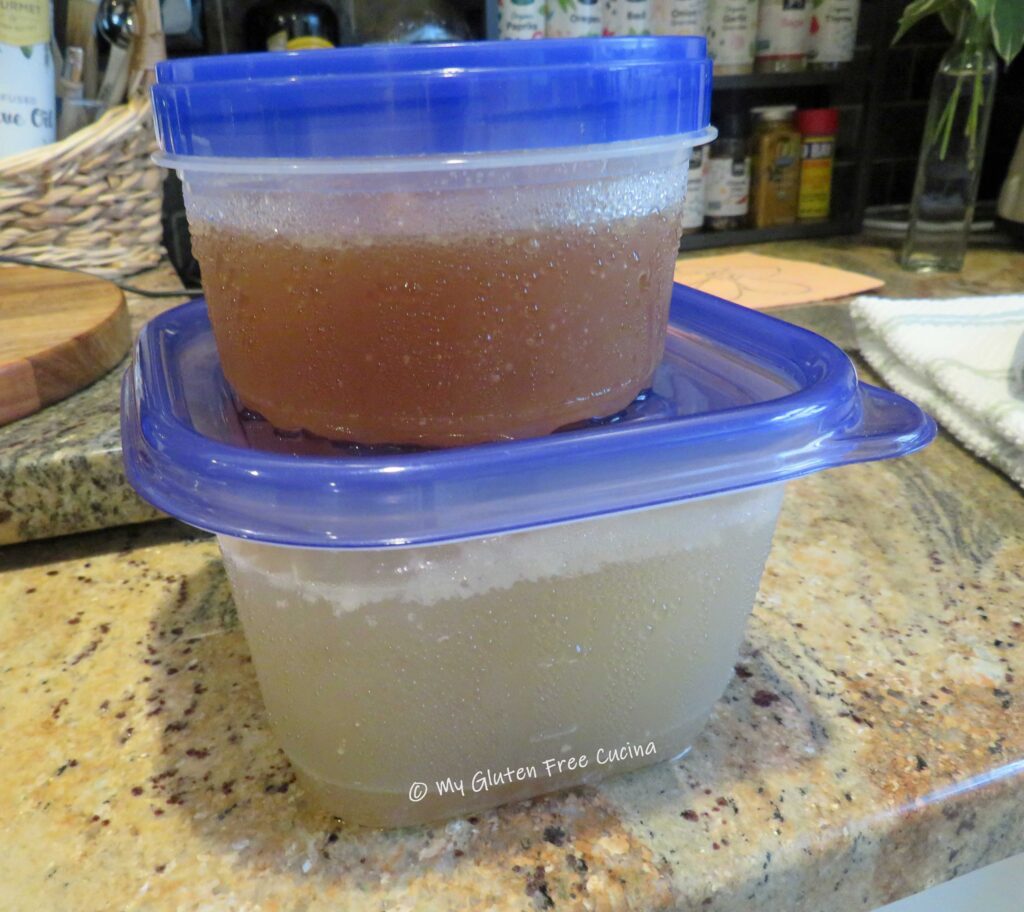
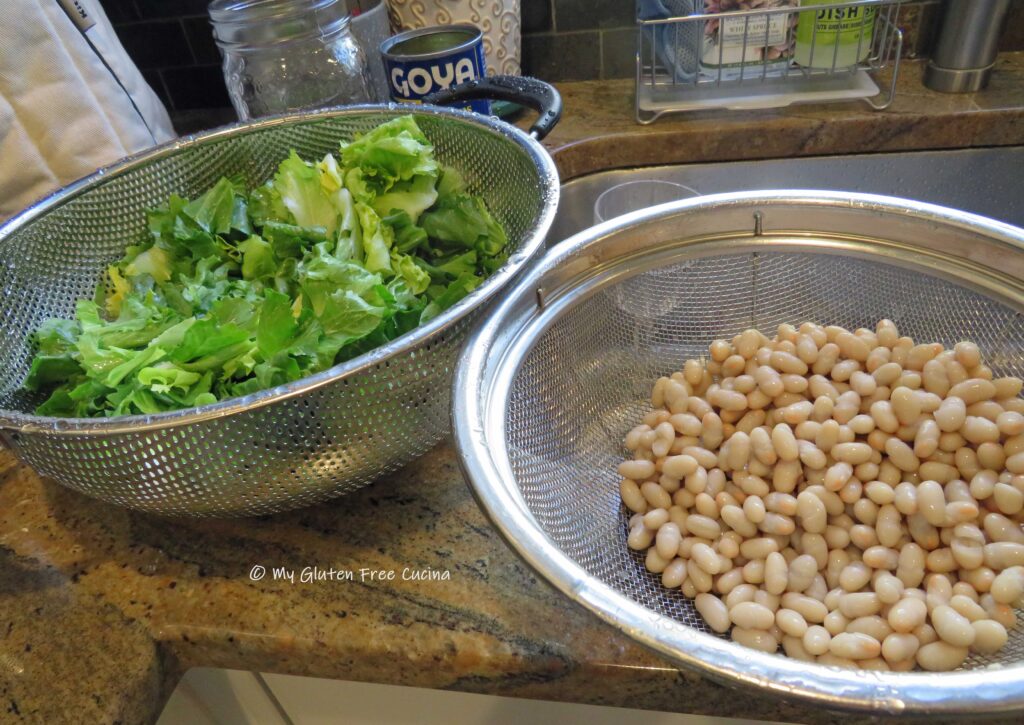
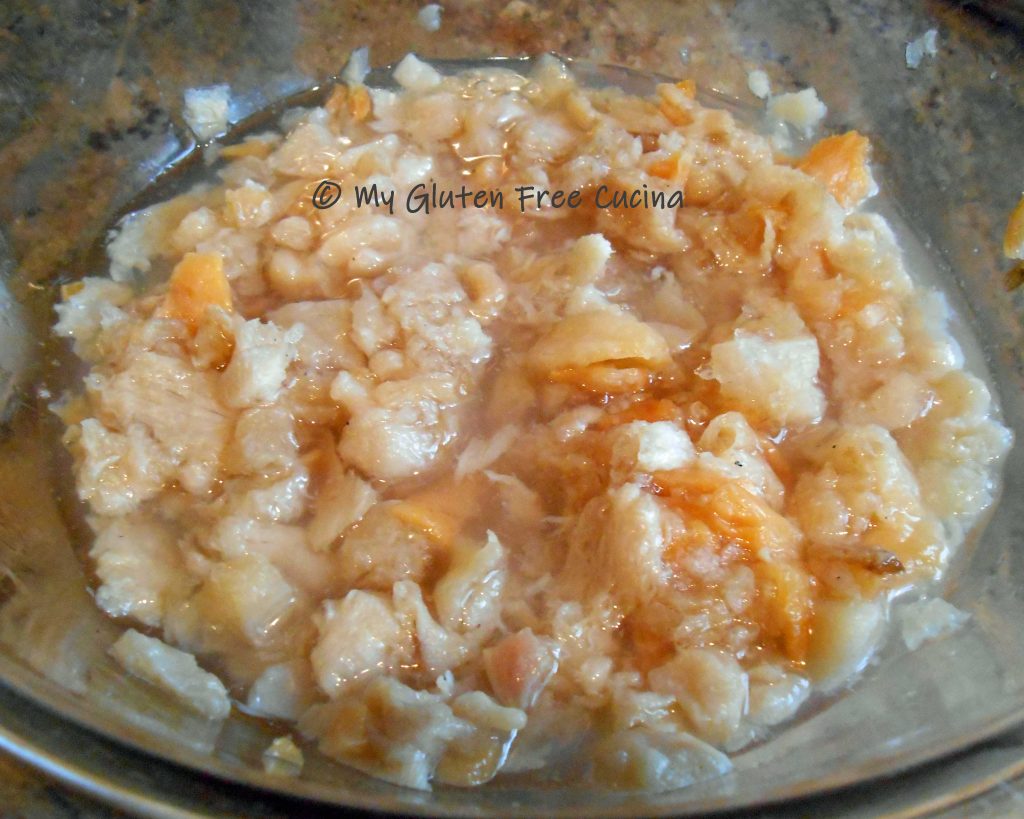
 The next morning, drain and rinse again. Add back to the saucepot with COLD water, cover and turn the heat on low. Simmer gently for 2 hours.
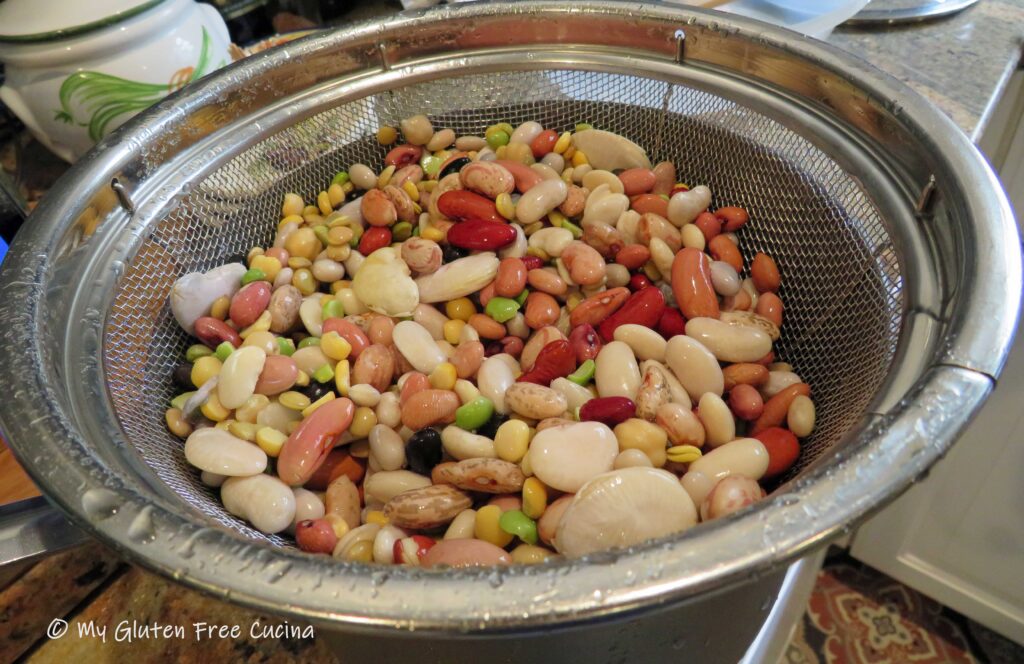 Drain and rinse again and set the beans aside.
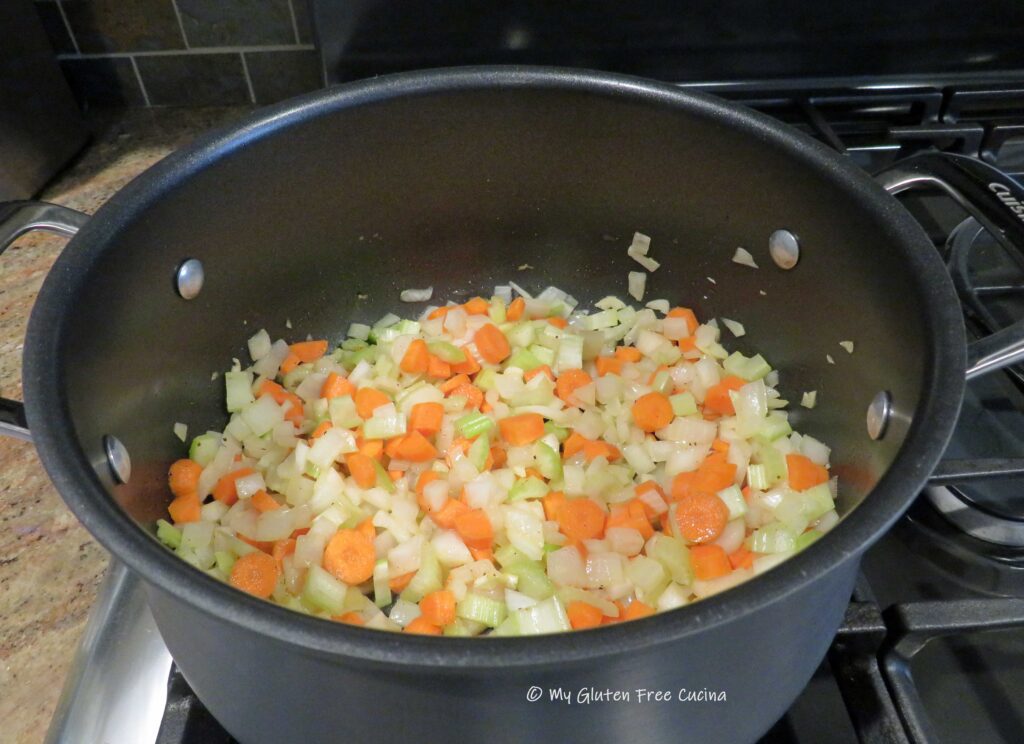
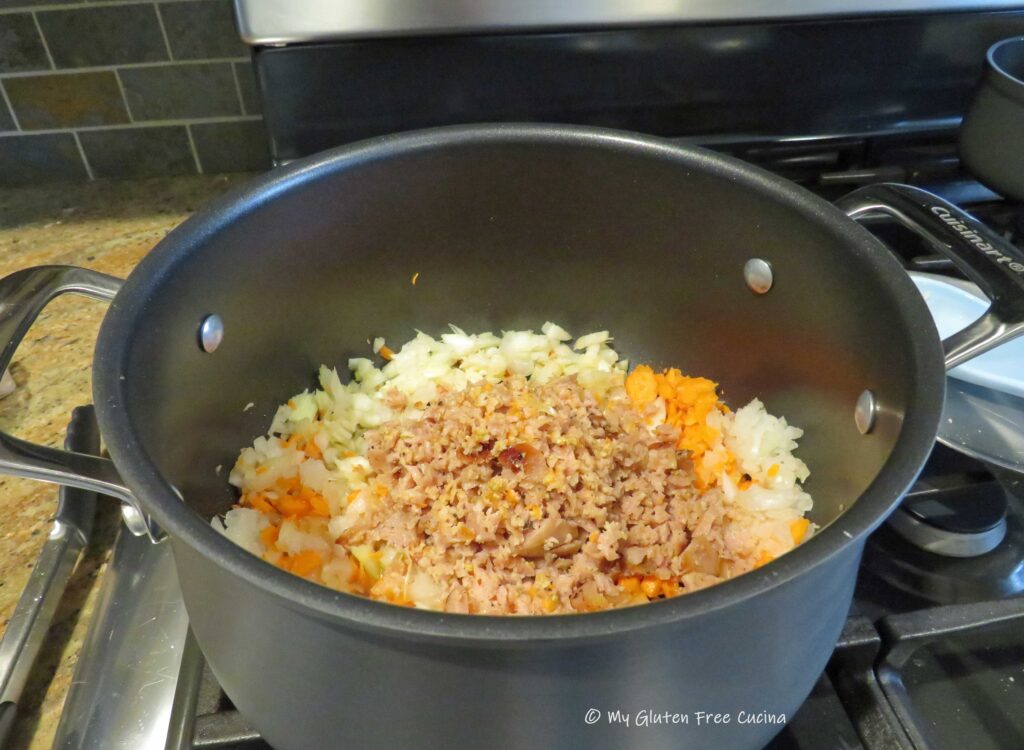
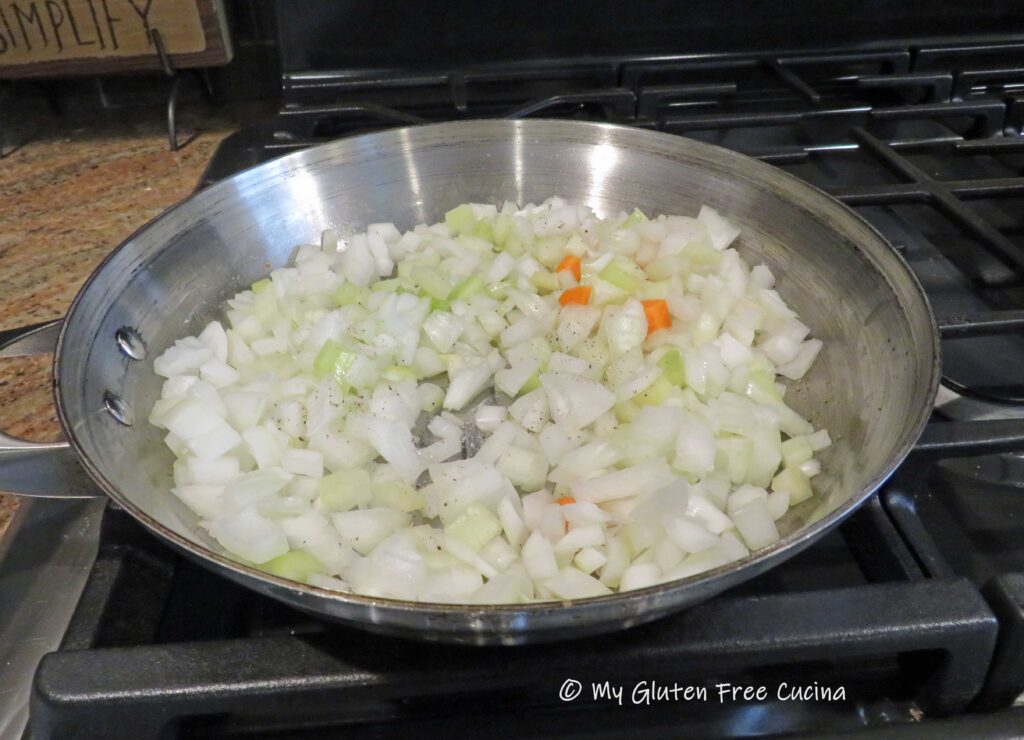
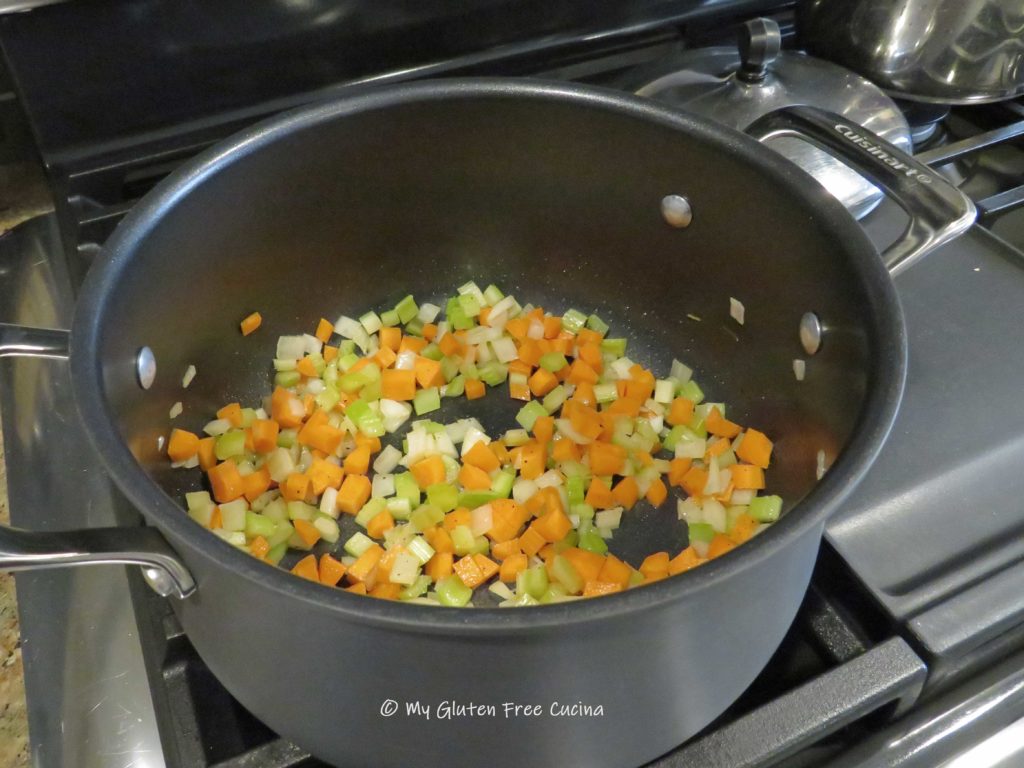
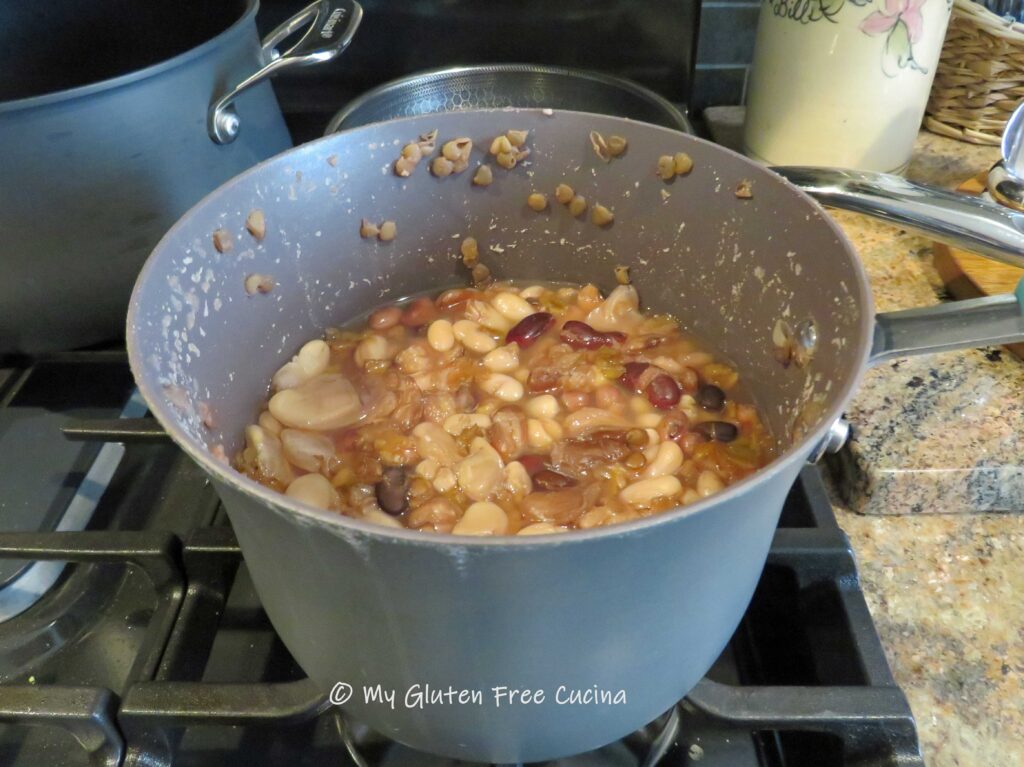 Heat olive oil in a stainless-steel skillet. Begin sautéing the veggies, beginning with the carrots as they take the longest to cook. Season with sea salt and fresh ground pepper and stir frequently for 3-4 minutes. Transfer the carrots to a
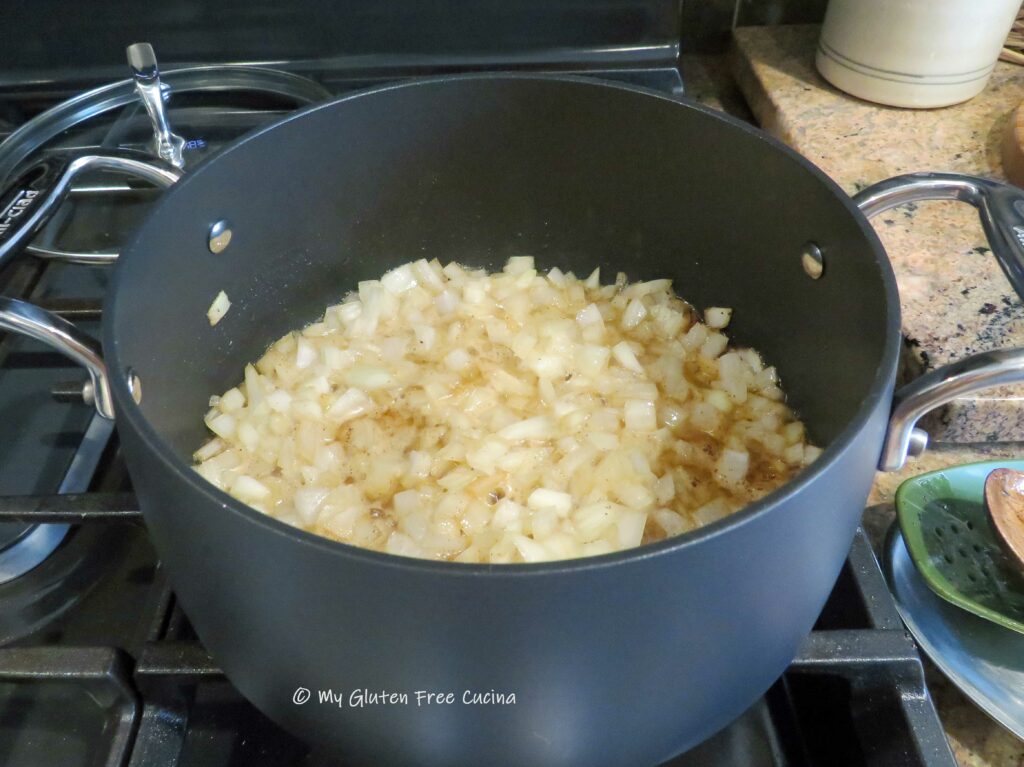
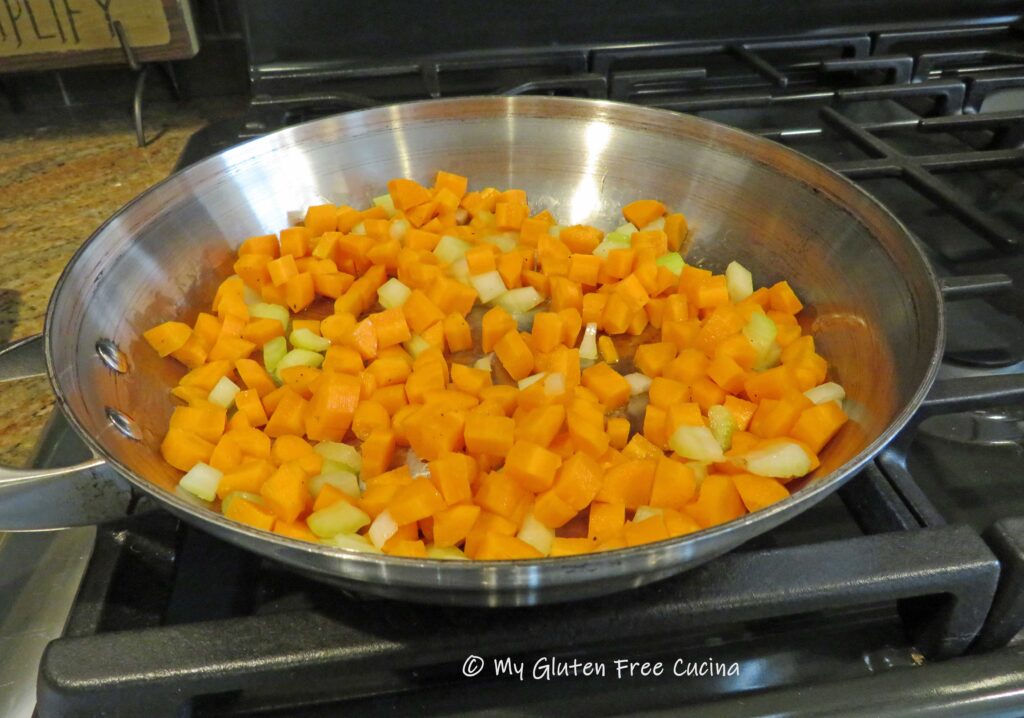
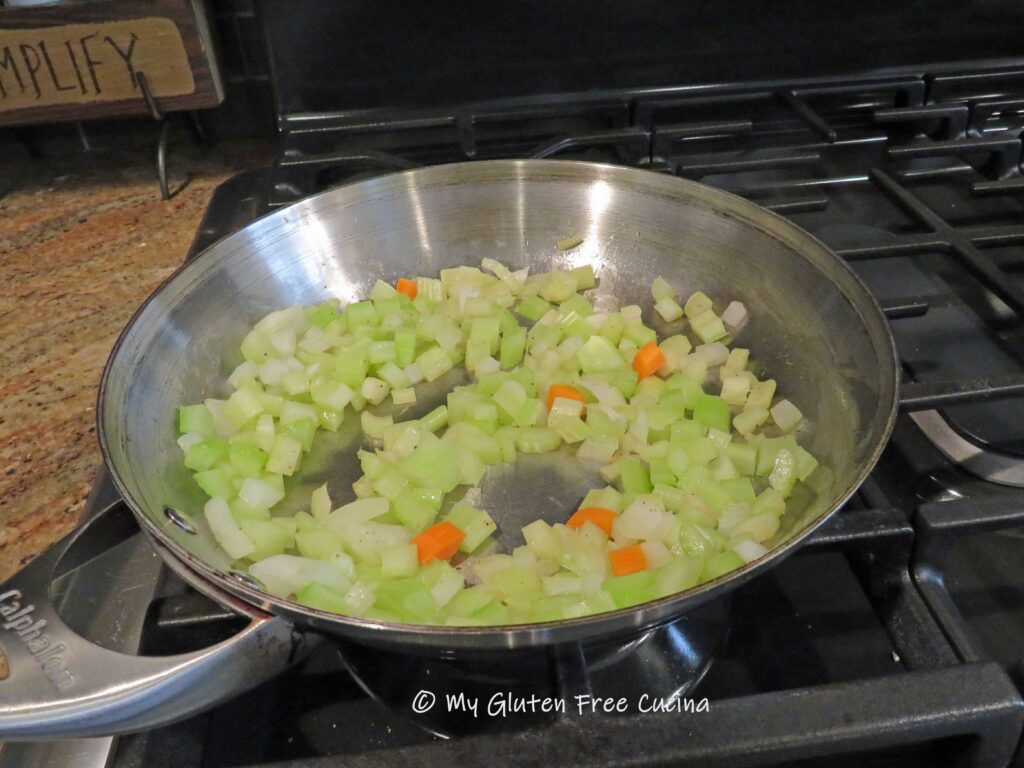
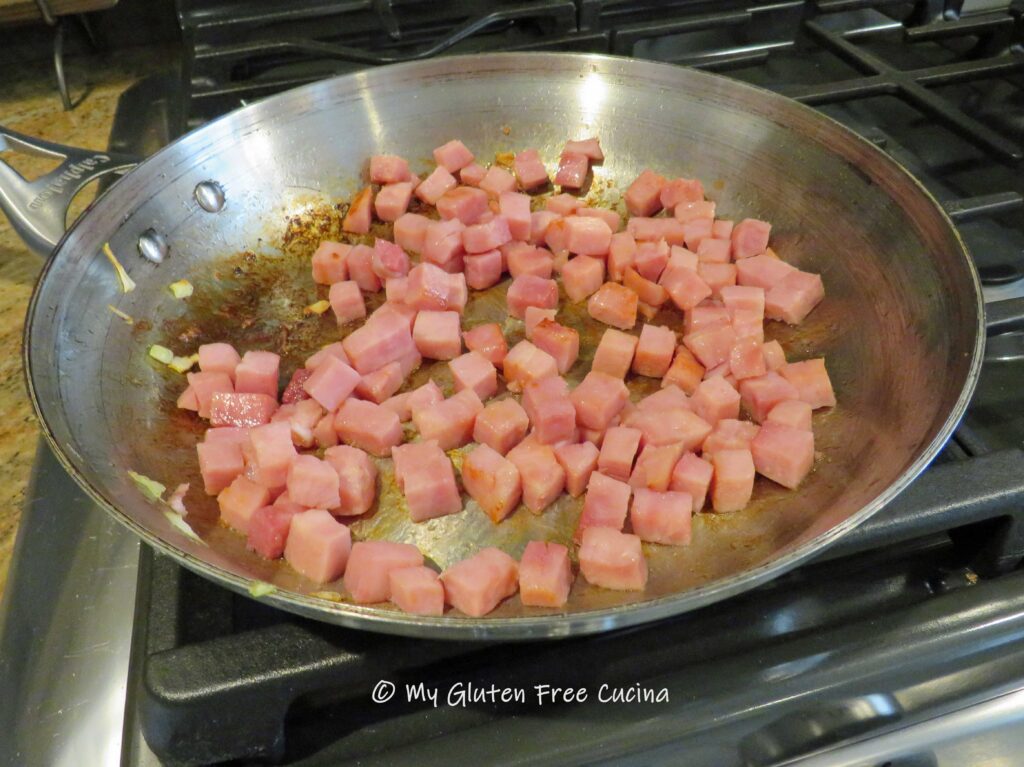
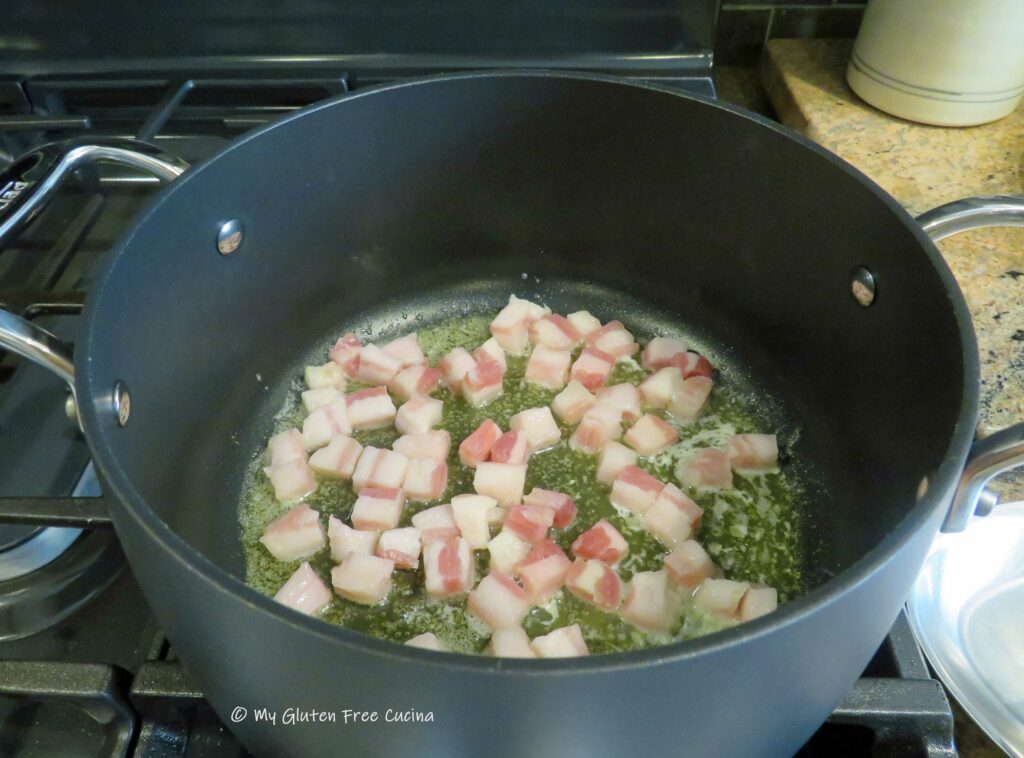
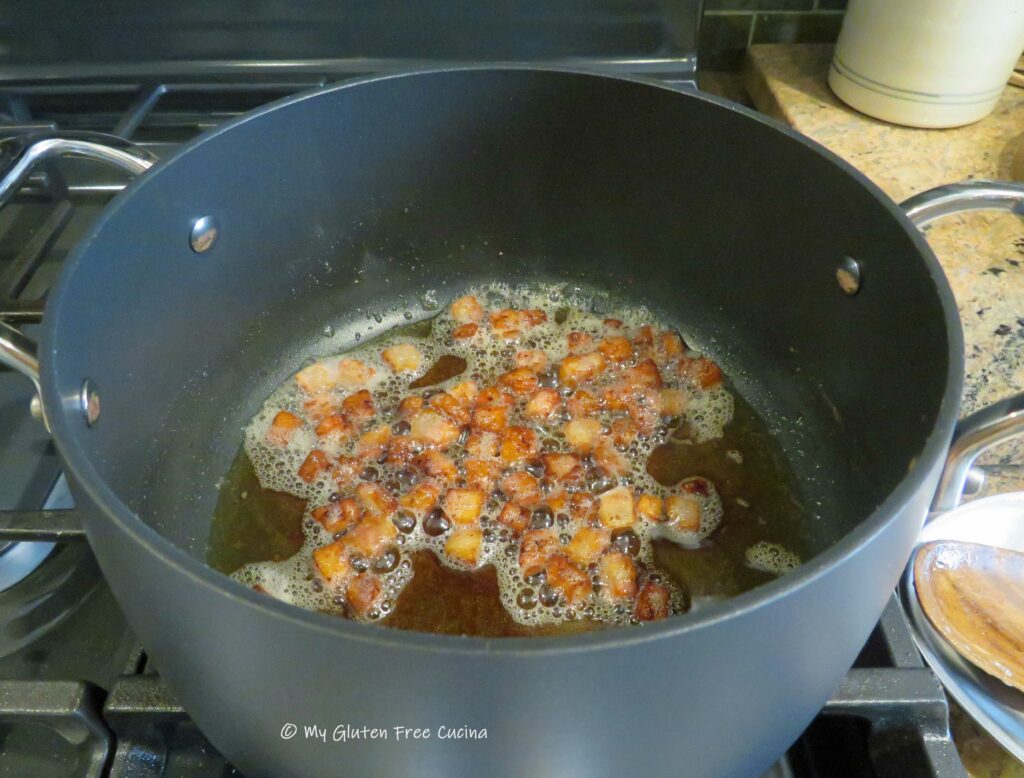
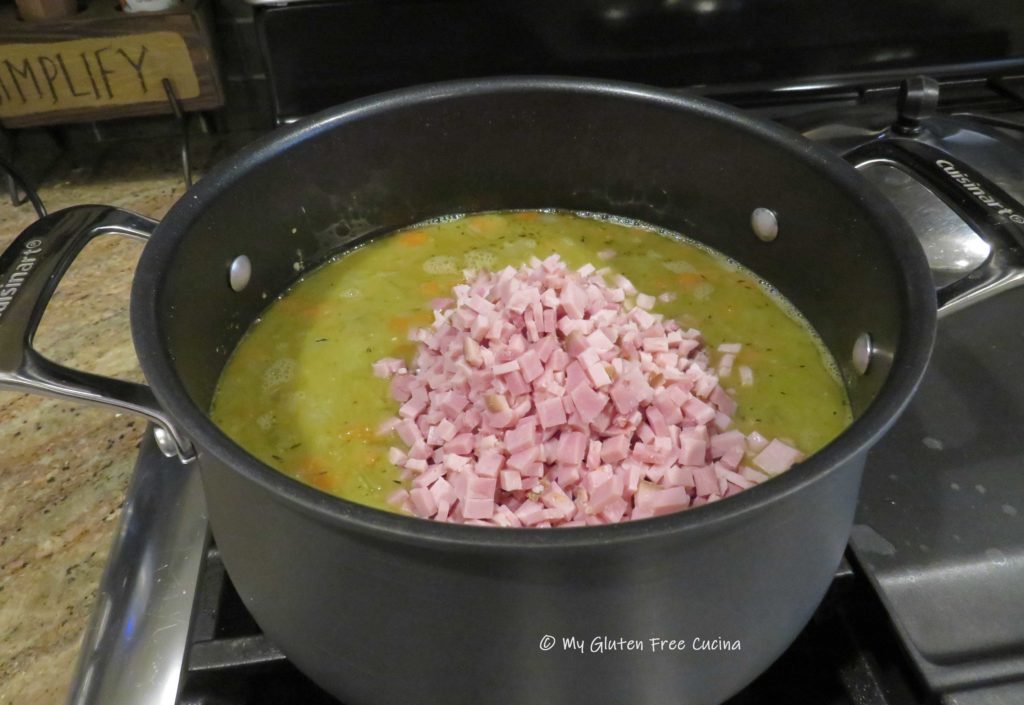
 When the veggies are done, wipe the skillet clean and add the diced ham with a bit more olive oil.
 Note ♫
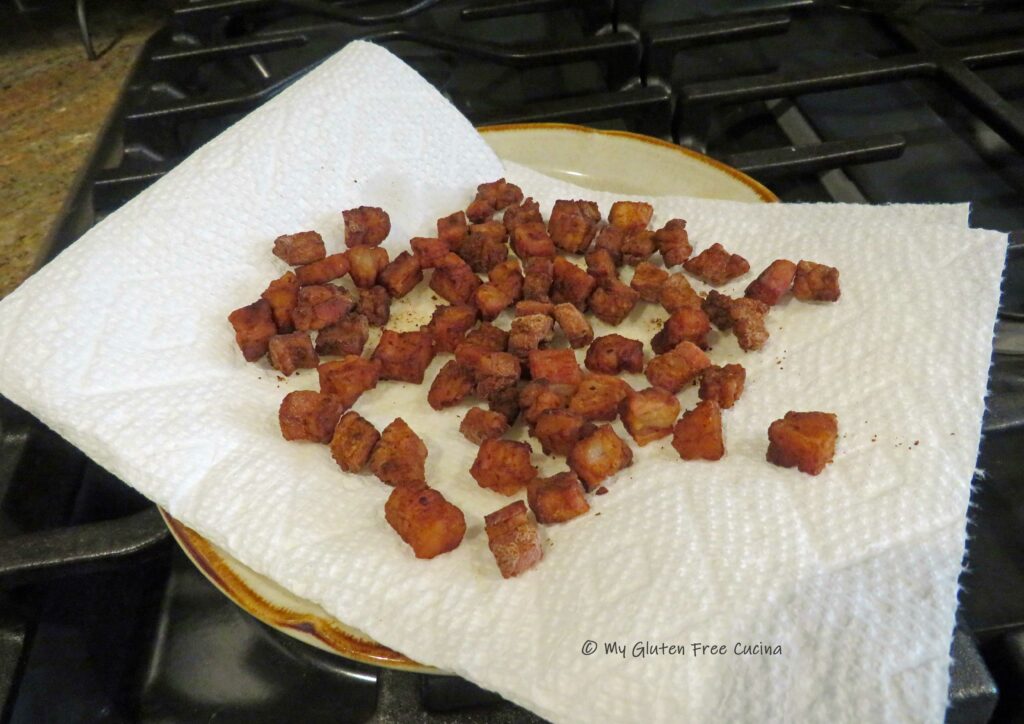
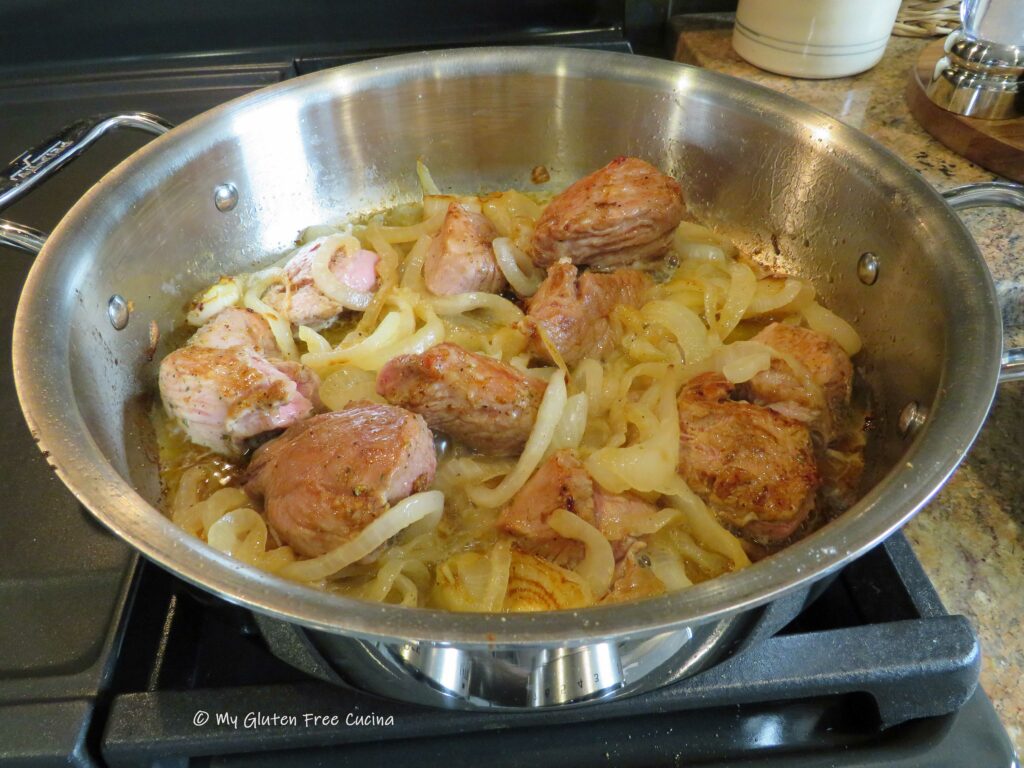
 Add the ham to the stock pot, and deglaze the skillet with a little beef broth, scraping up the caramelized bits at the bottom. Pour the liquid into the stock pot.
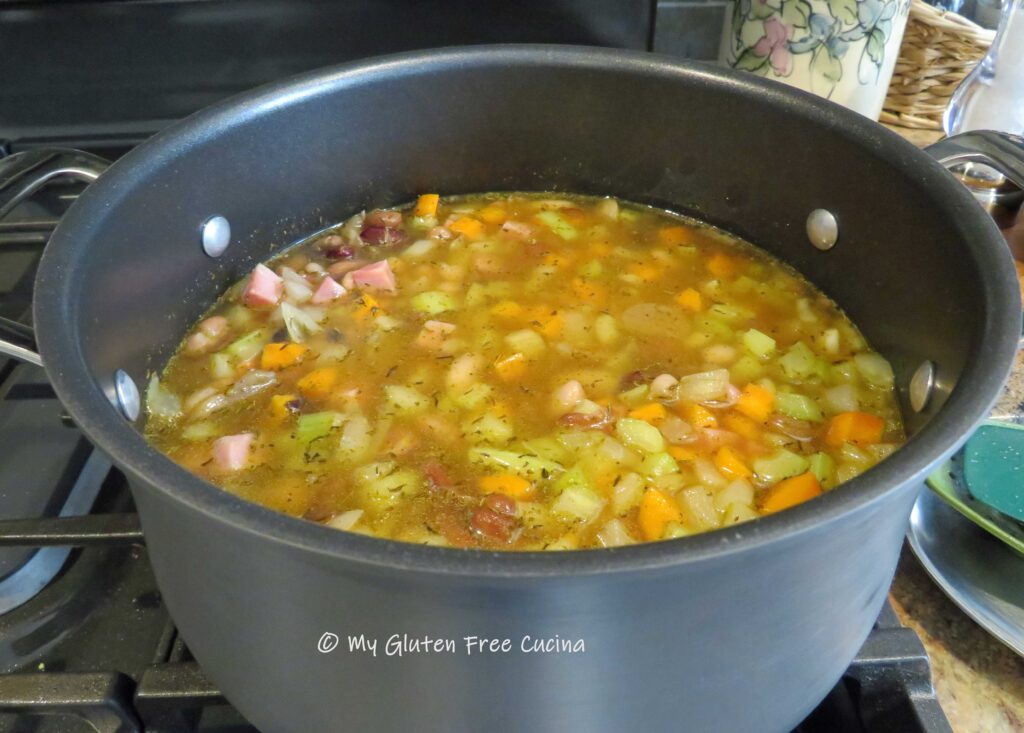
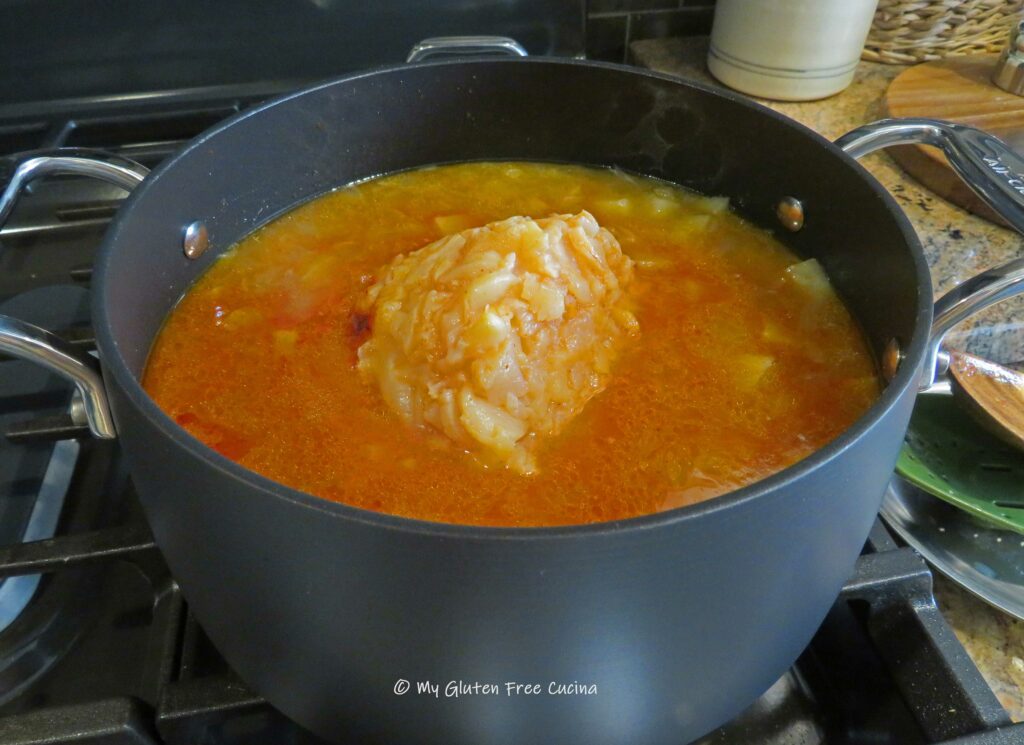
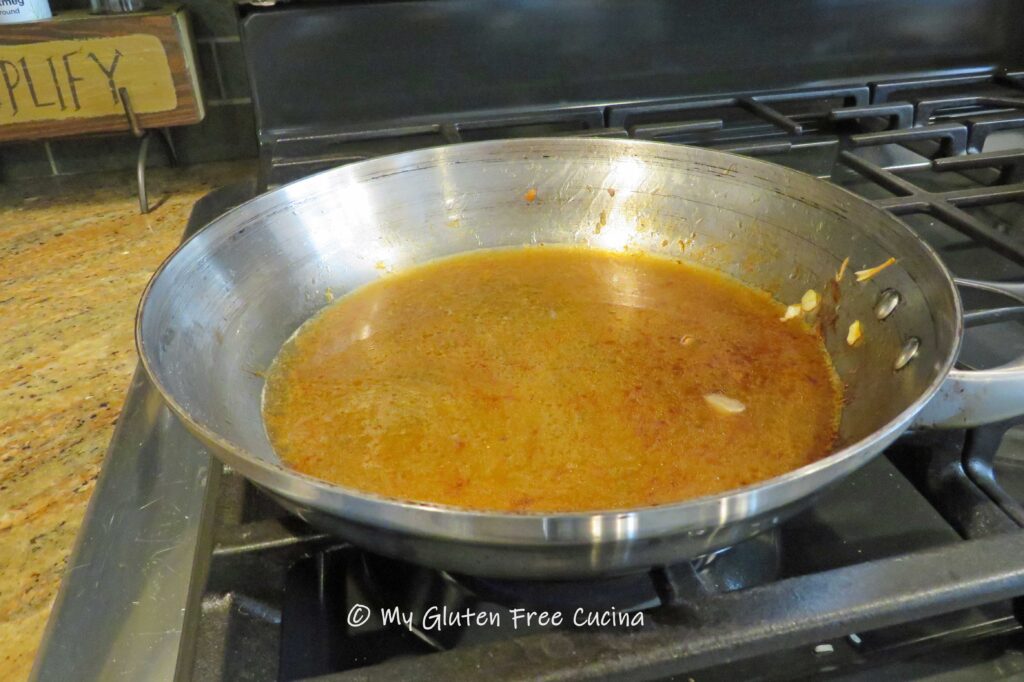 Next, add equal parts of chicken and beef broth, enough to cover the ham and veggies. Return the cooked beans to the pot, along with the bouillon, sage and thyme.
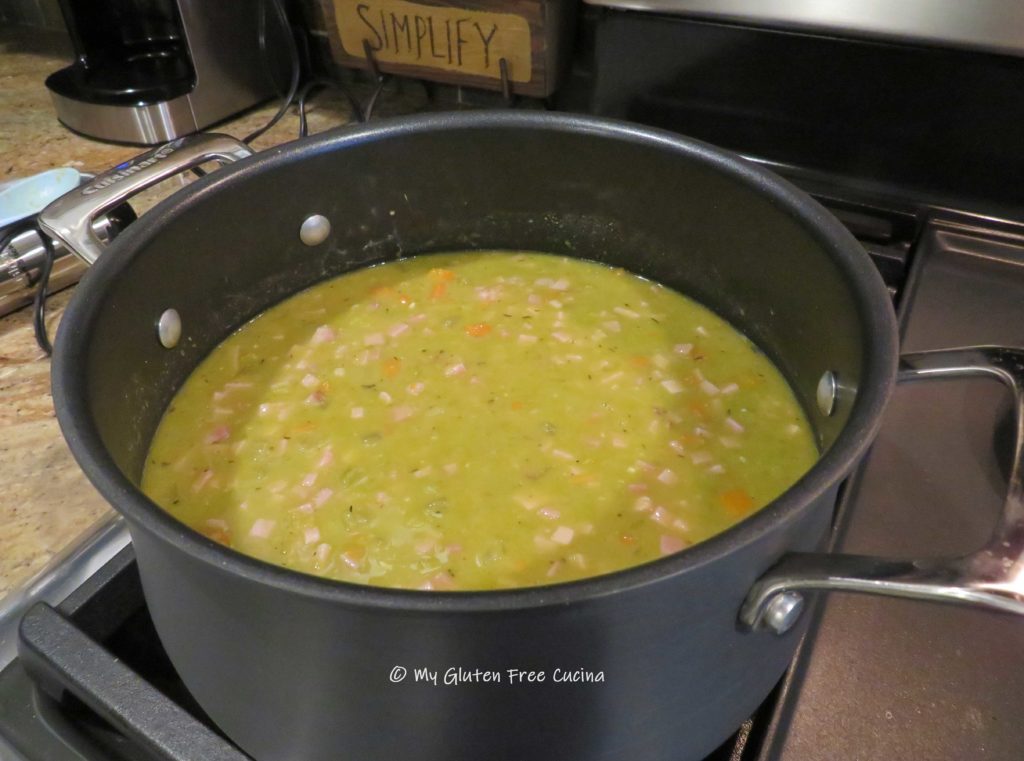
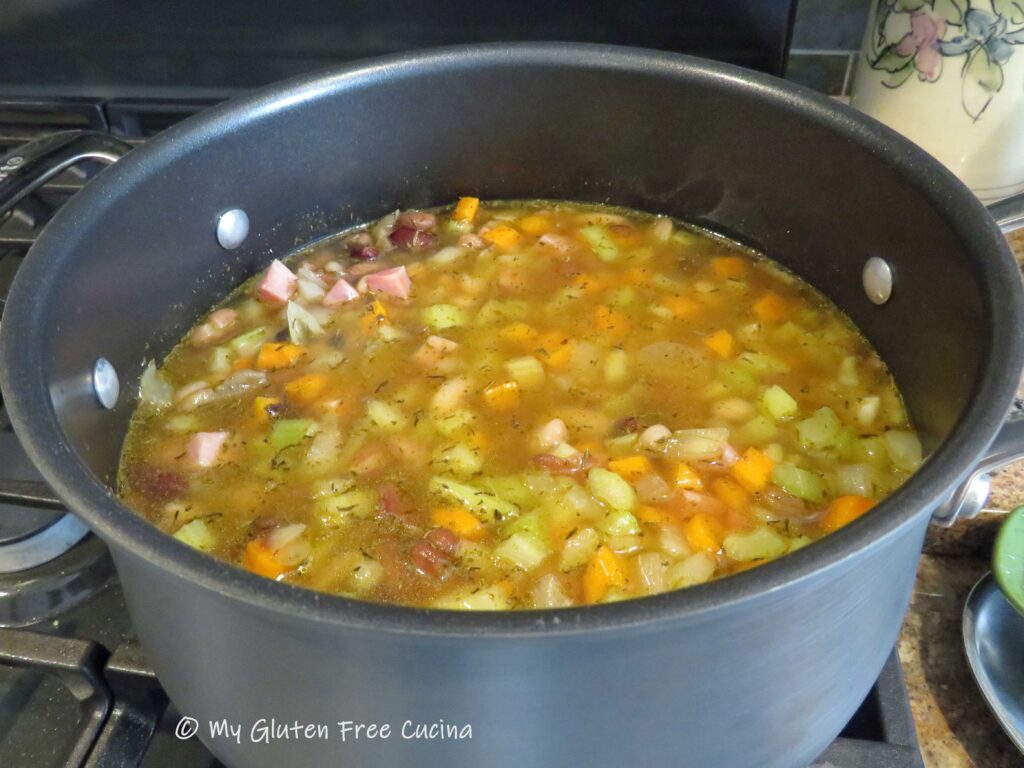 Simmer until the veggies are soft, then add the corn kernels in to heat through (adding the corn at the end of cooking gives the soup a little textural contrast to the soft beans and veggies).
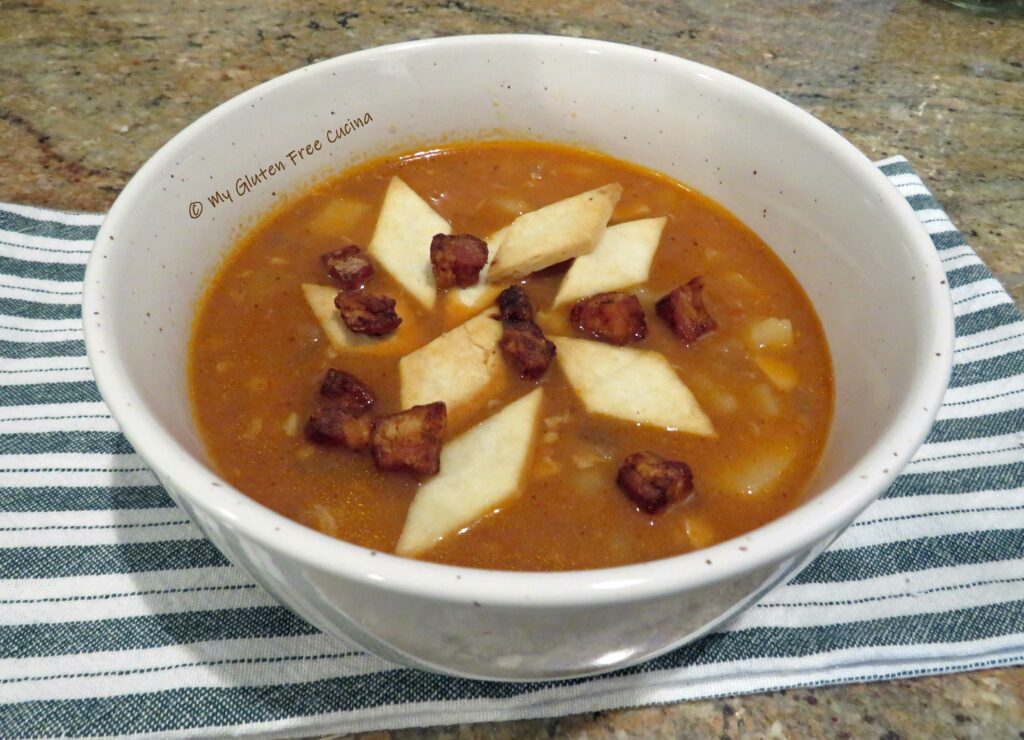
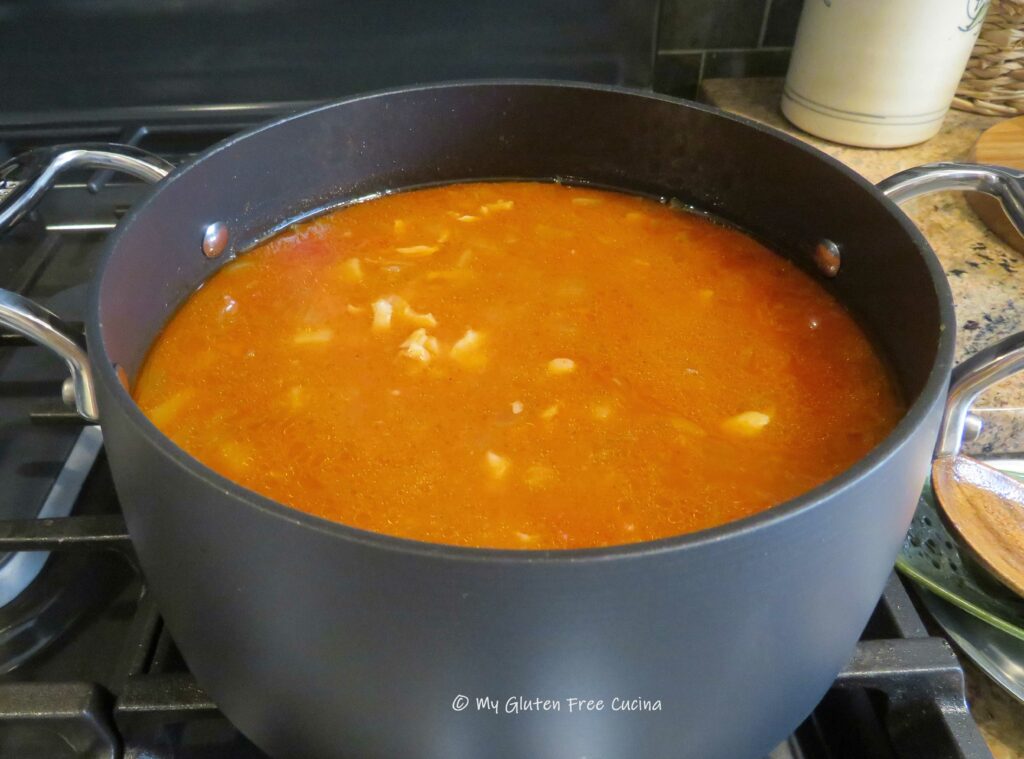
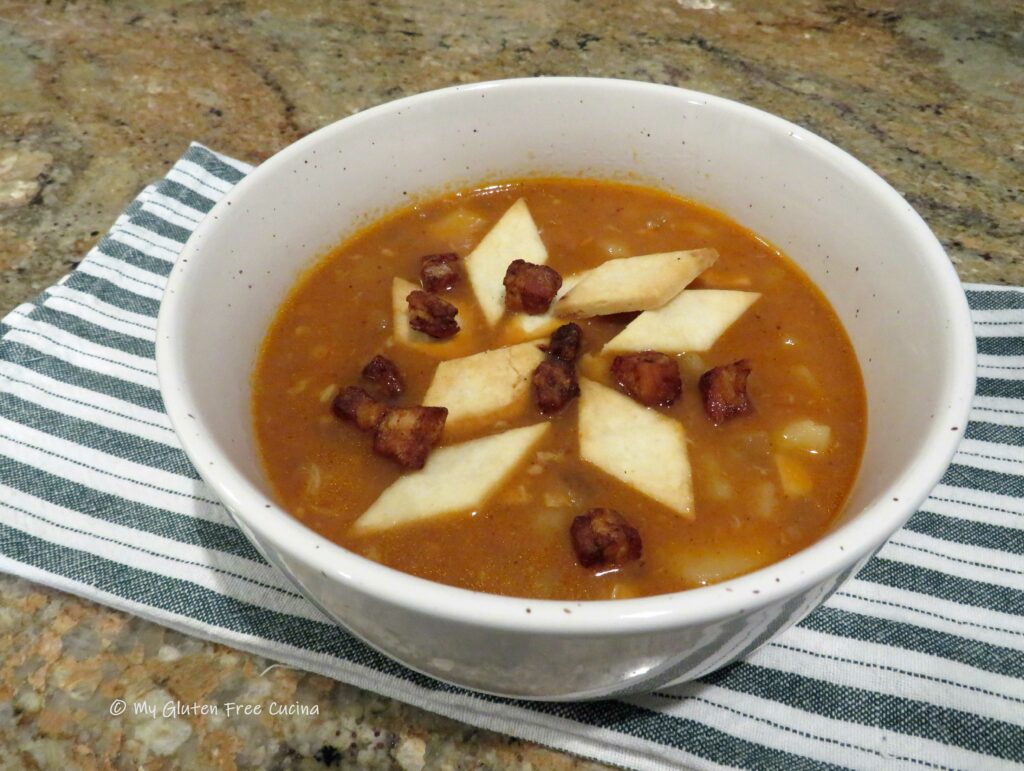
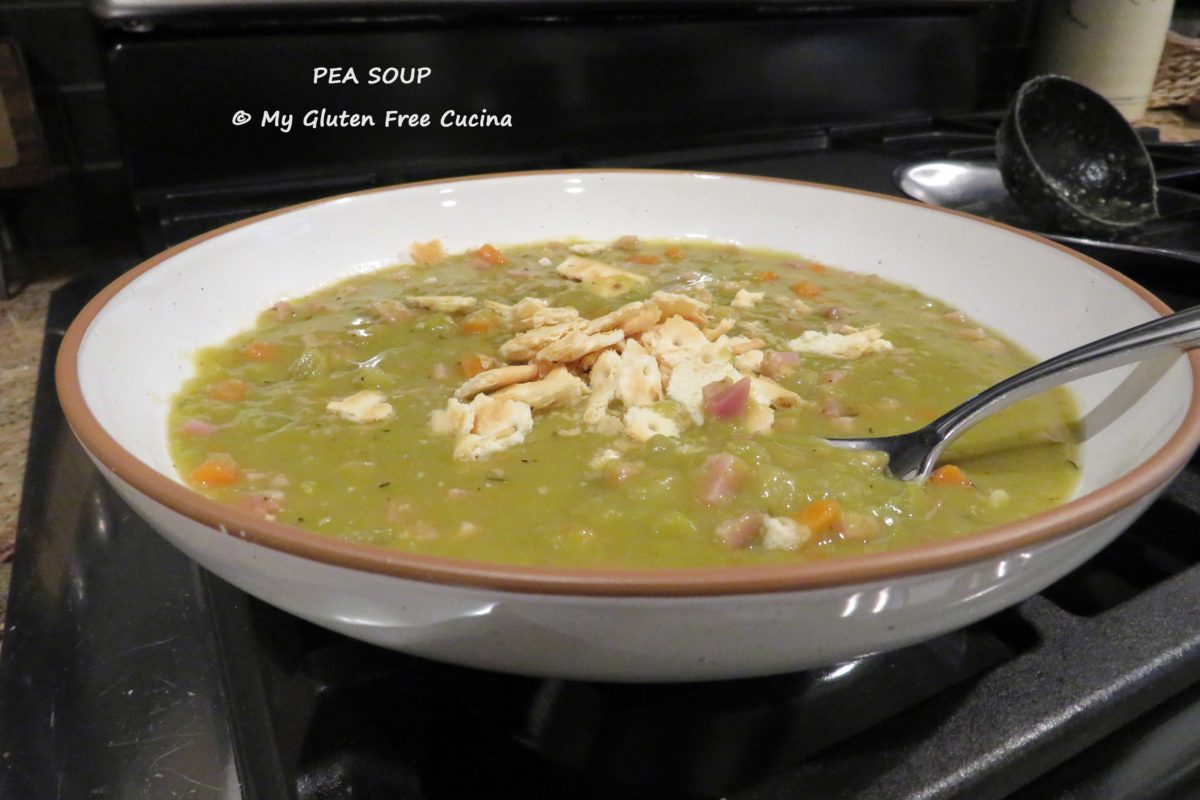
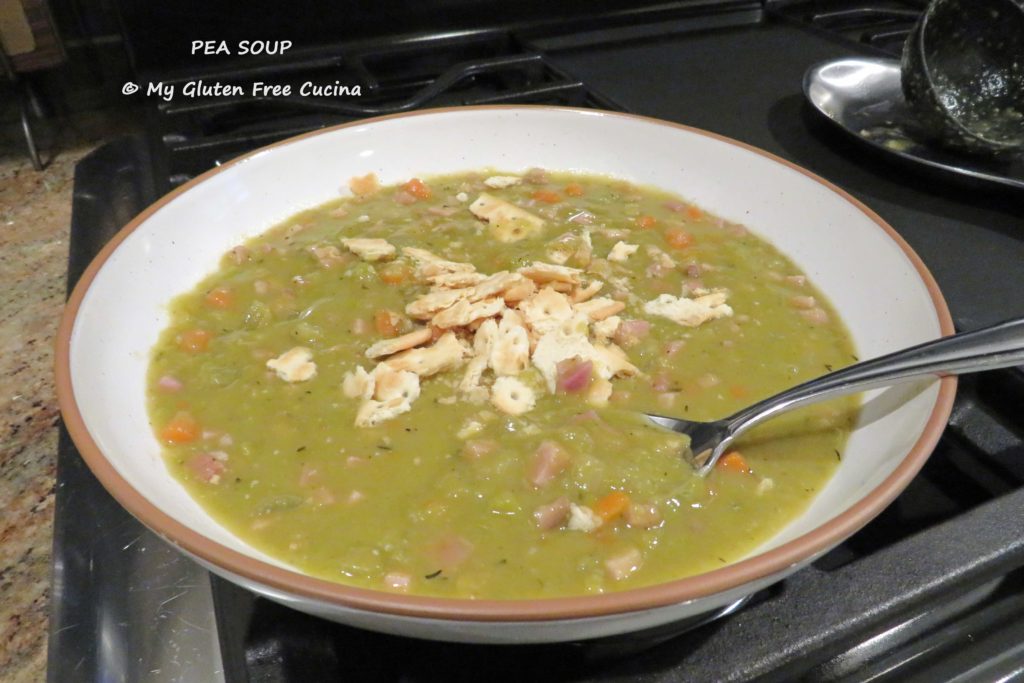
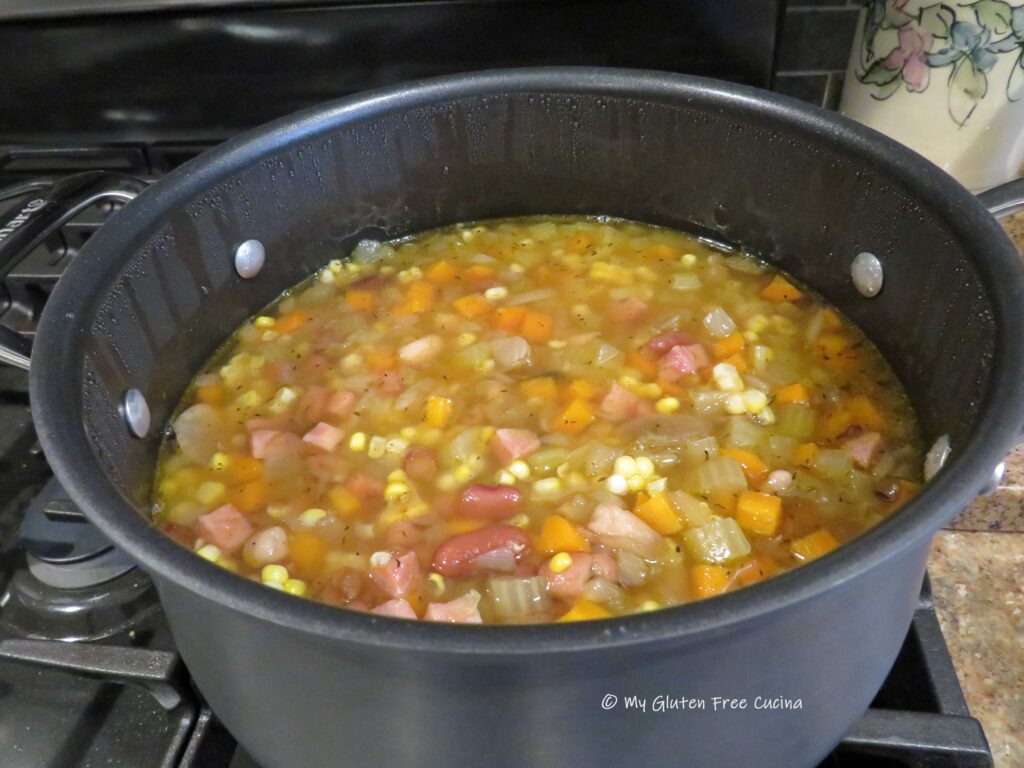 Soup is ready to enjoy with gluten free crackers or bread. Leftovers (if you have any!) can be refrigerated for up to a week. Don’t worry though, it won’t last that long!
 Notes ♪♫
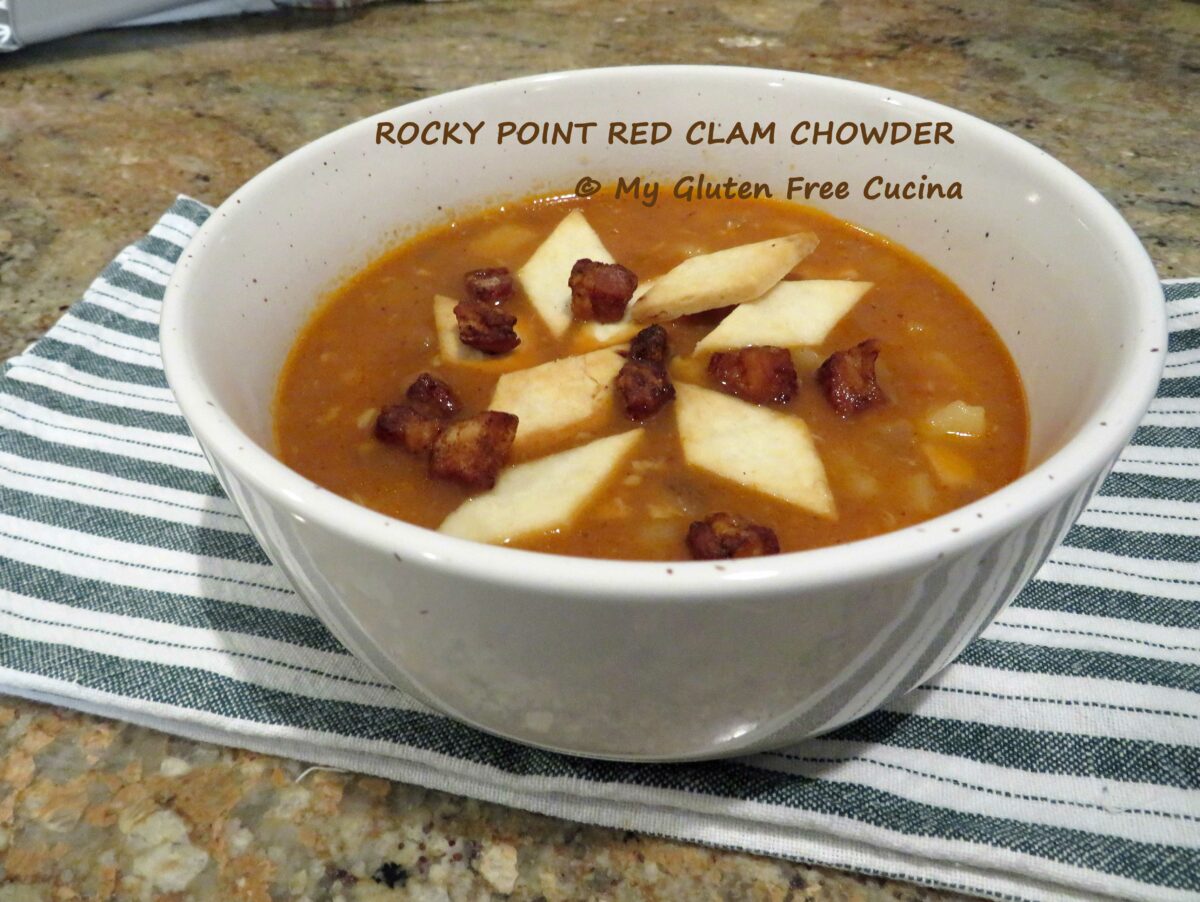


 Notes ♪♫

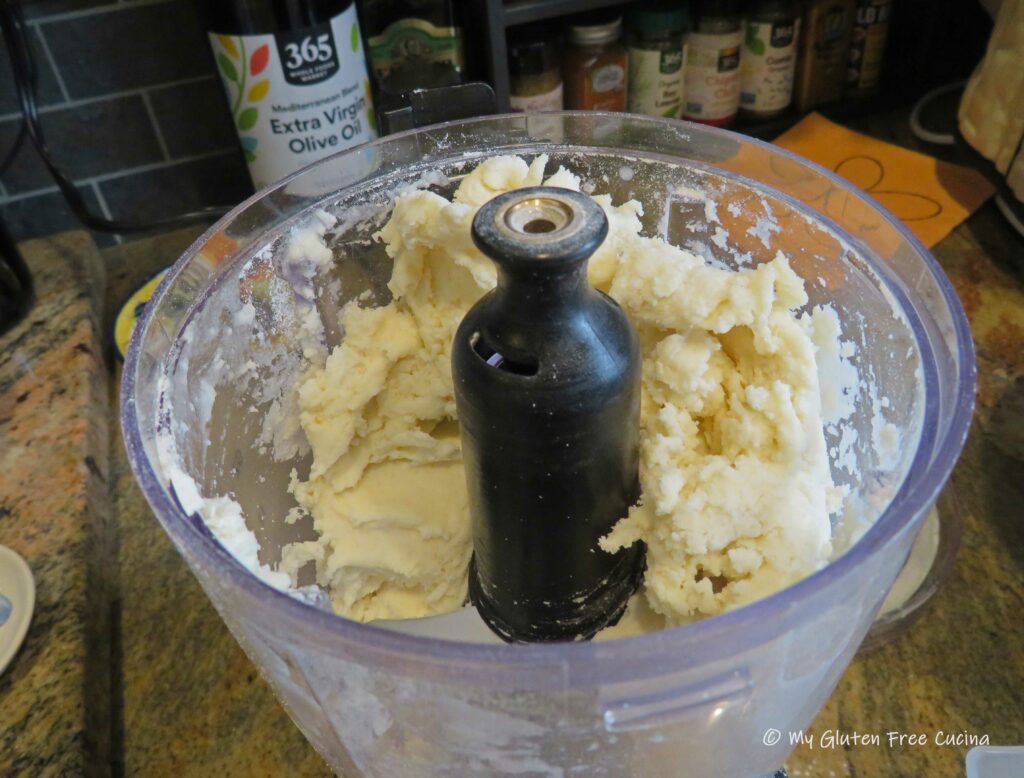
 Whisk together the dry ingredients and place in small food processor or


 Cool in the pan, then lift the edges of the parchment paper and slide them into a bowl for serving.
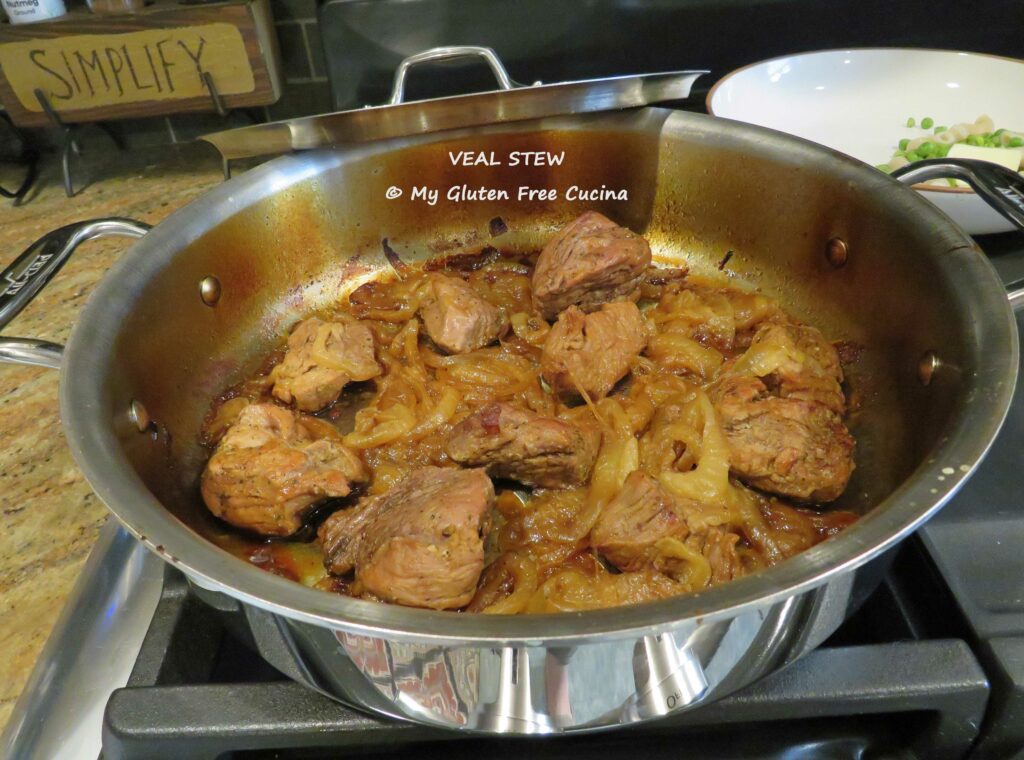

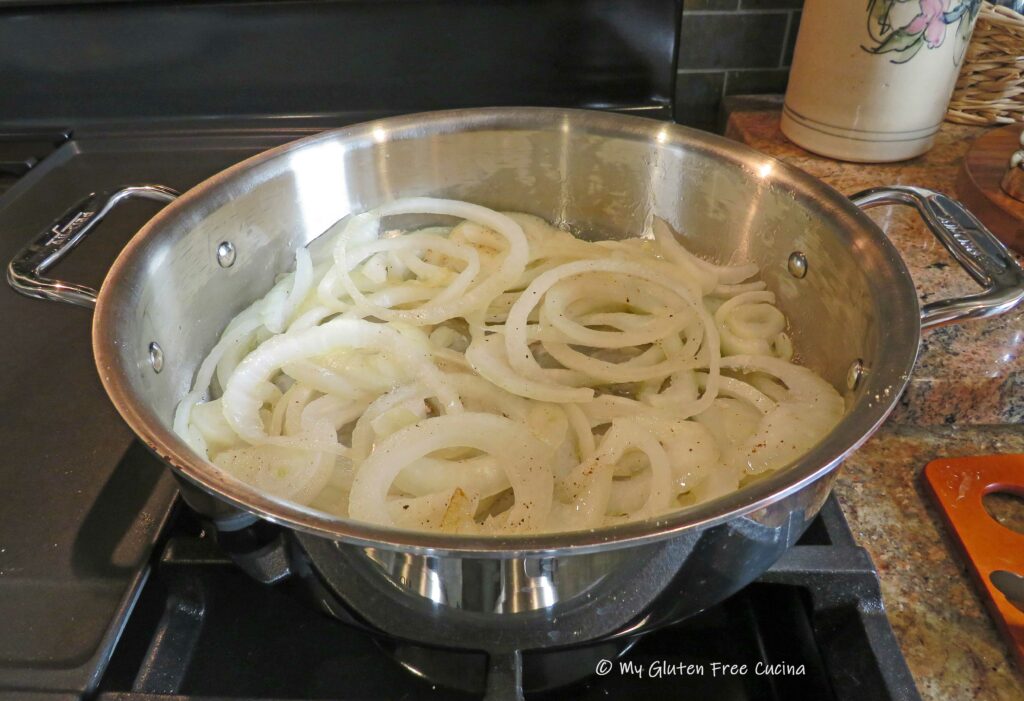
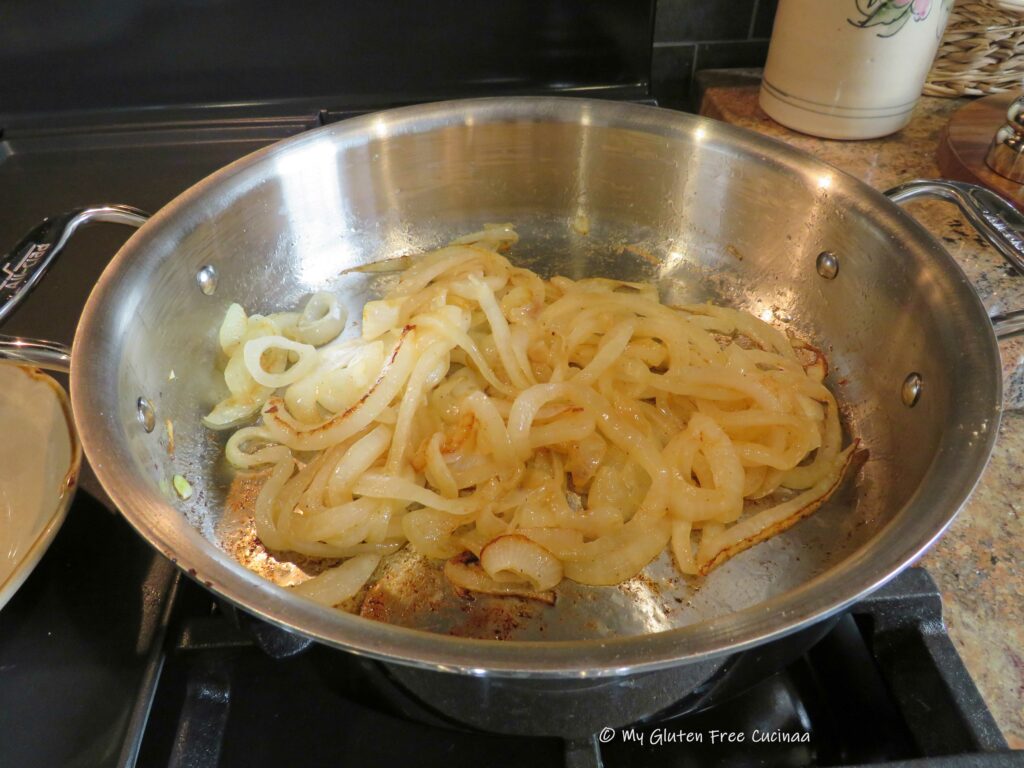 In the same pan, heat the remaining olive oil and butter and begin browning the meat on all sides. Season with salt, pepper and Italian seasoning.
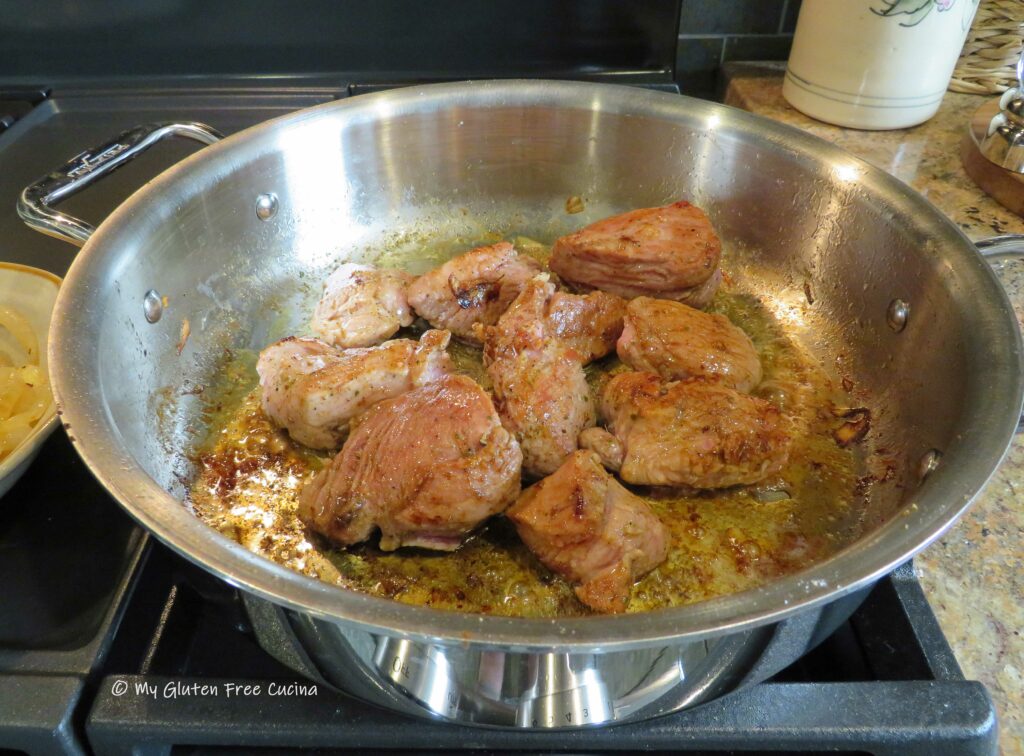

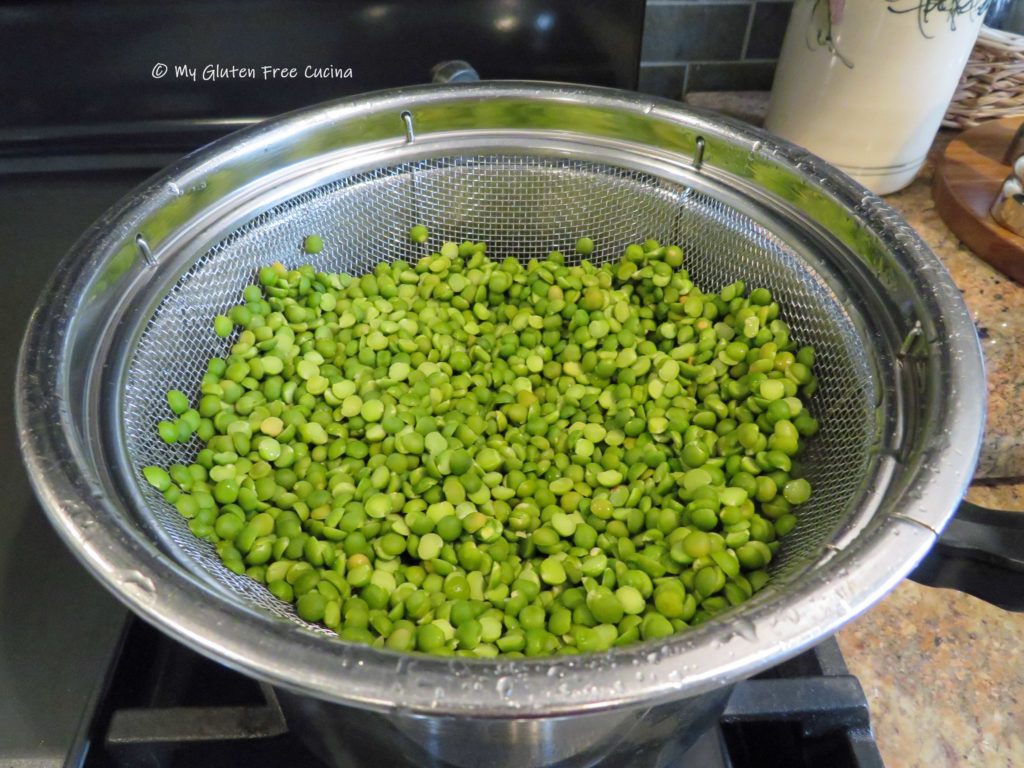
 Season with sage, thyme, salt and pepper. Add 32 oz. of the chicken stock, bay leaves, and bouillon. Simmer 30 minutes.
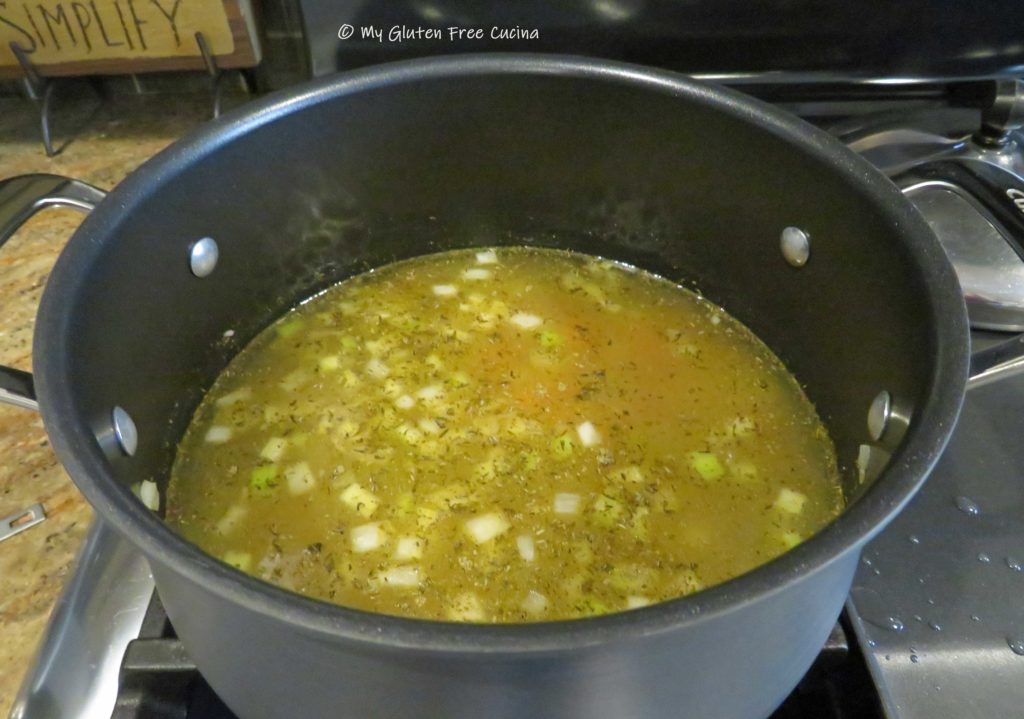 Drain and rinse the peas again. Add them to the pot, stir well and continue cooking for another 45 minutes to an hour, or until the peas are tender.
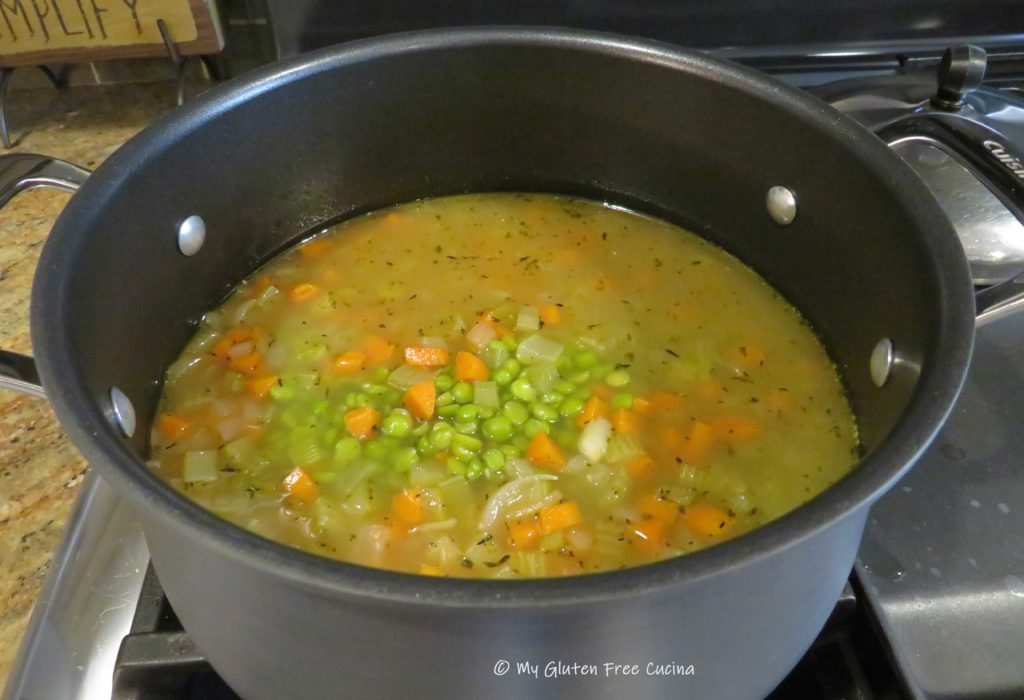 As they simmer, the peas will absorb quite a bit of liquid, so add more chicken broth as needed.
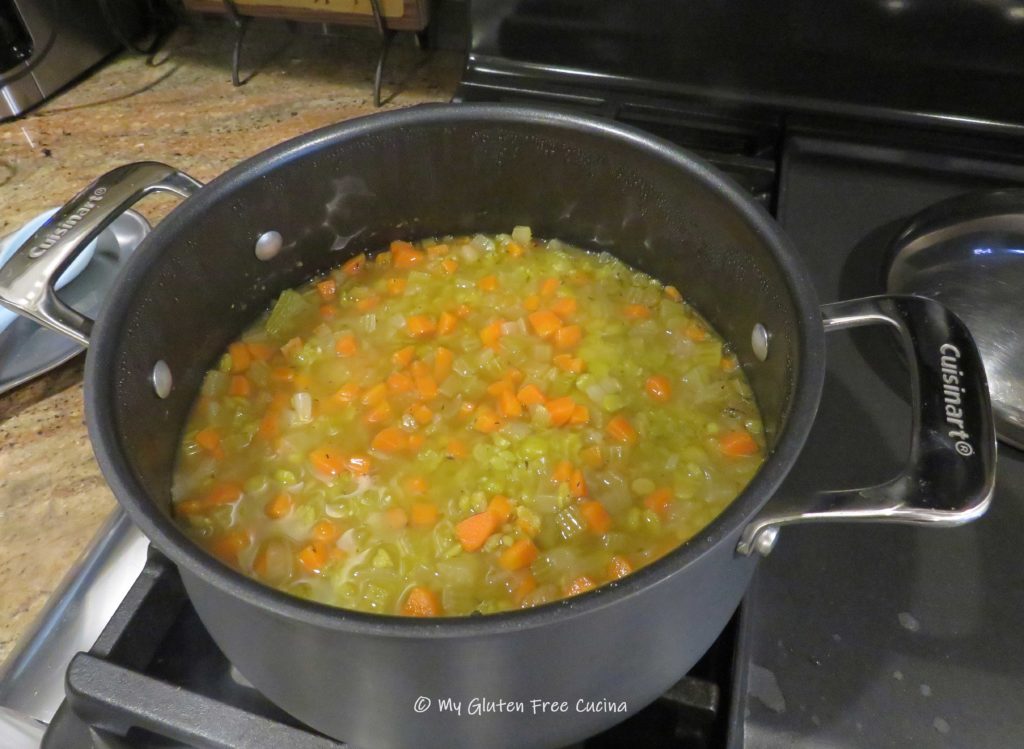
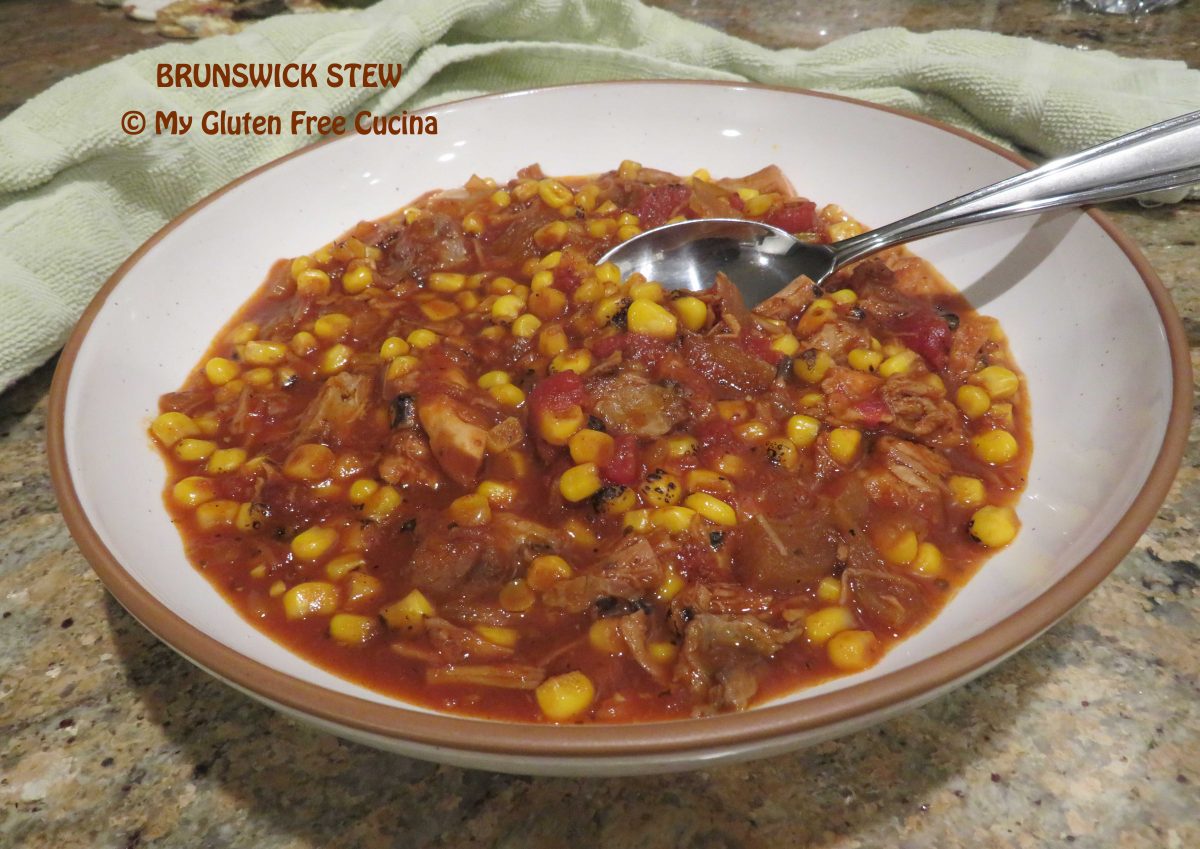

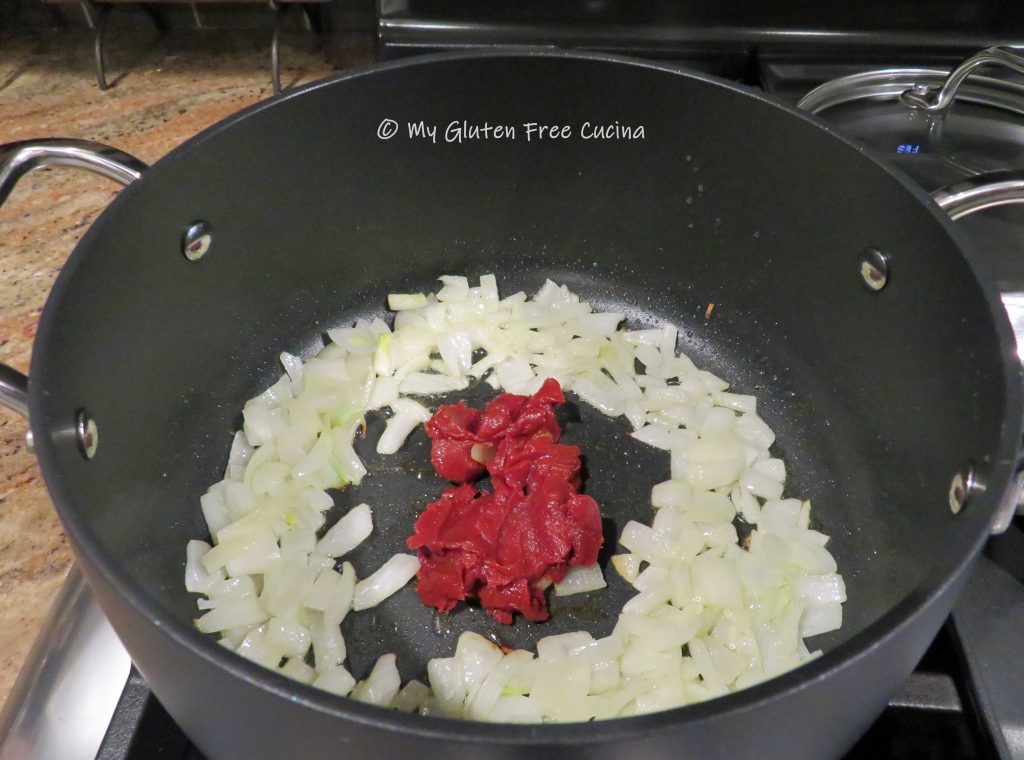 Let it toast for a minute then add the stock, tomatoes, BBQ Sauce, brown sugar, Worcestershire sauce and seasonings.
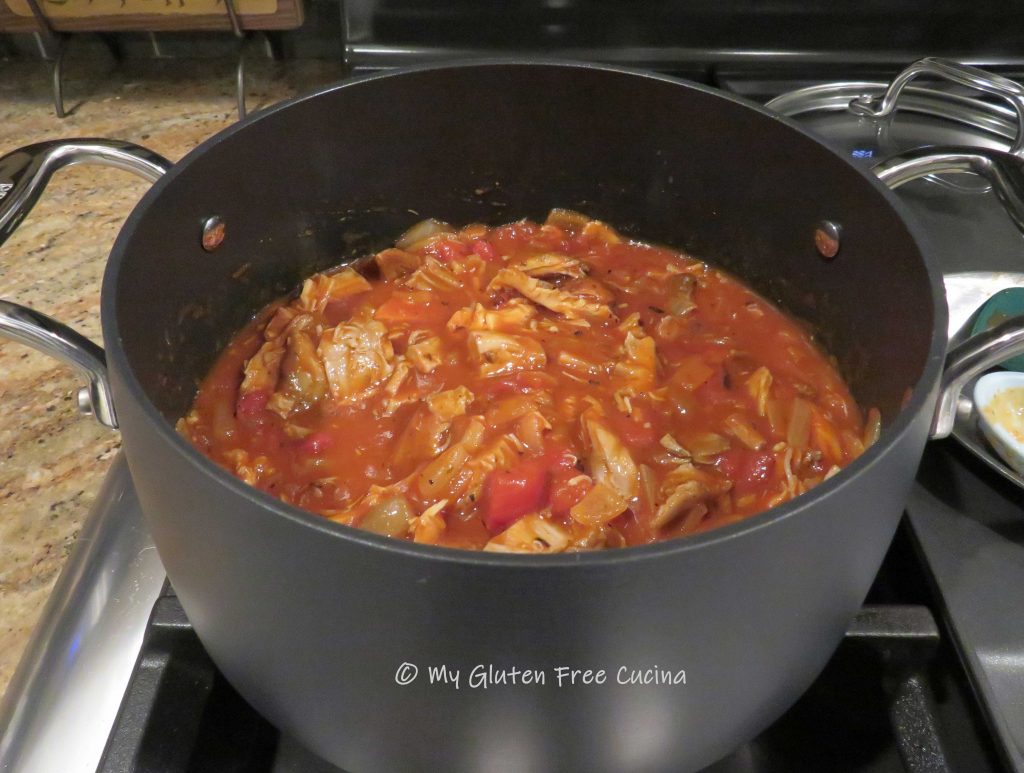 Finally add the fire roasted corn and stir everything together.


 This post contains affiliate links.
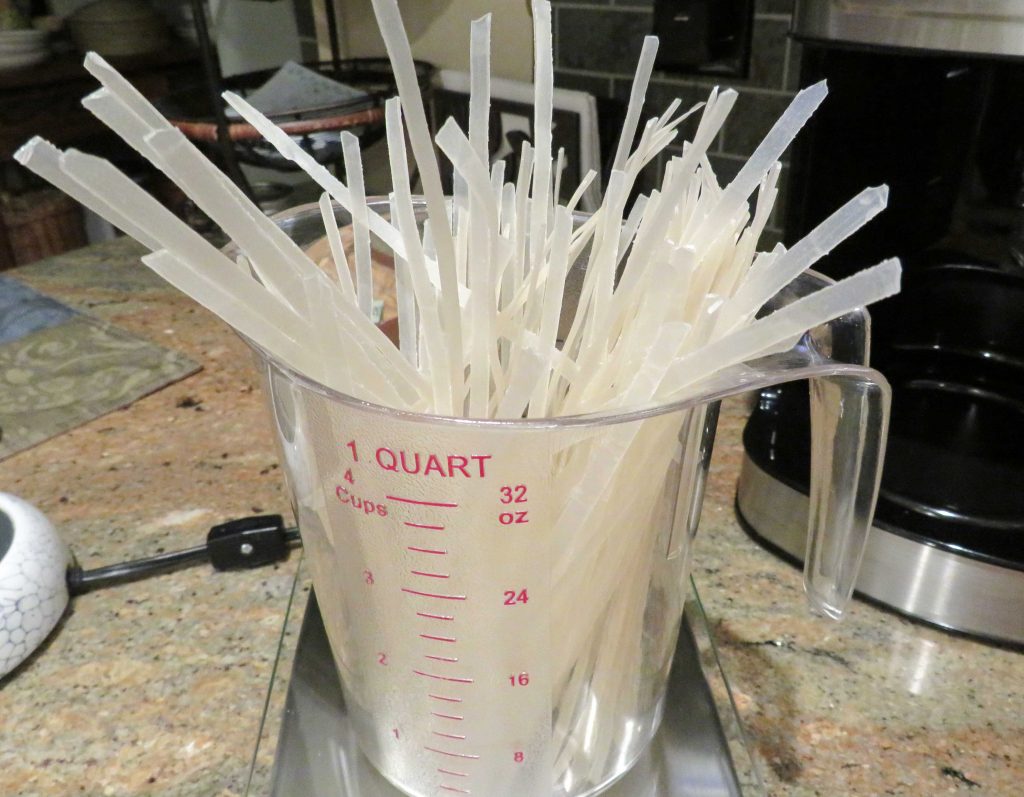 Preparation:
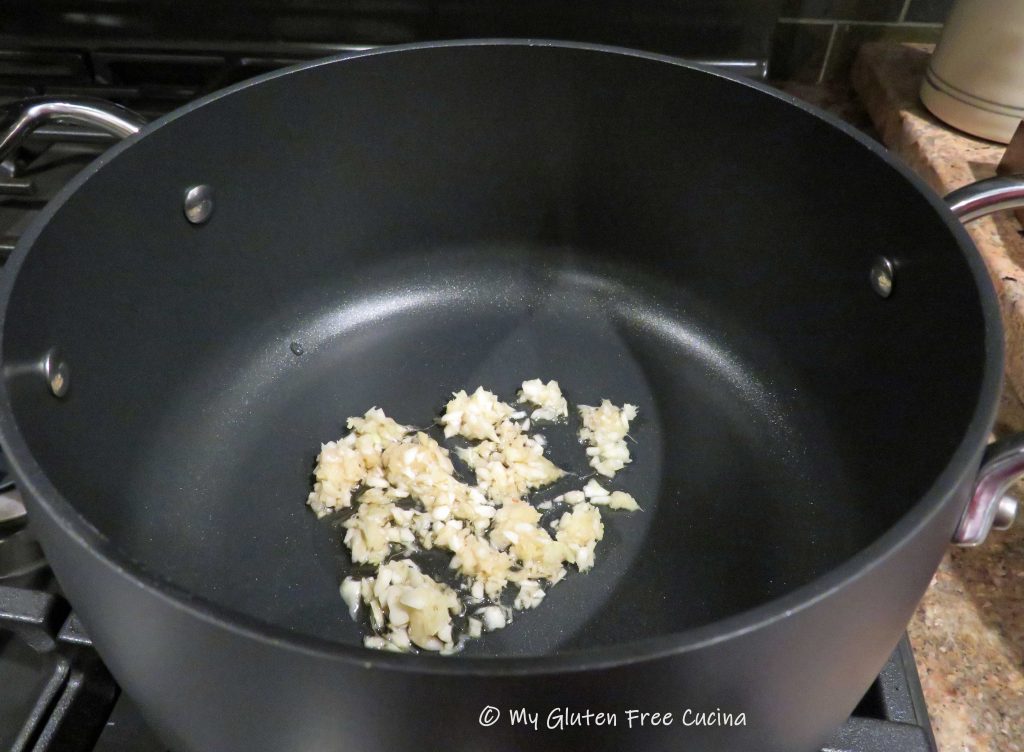
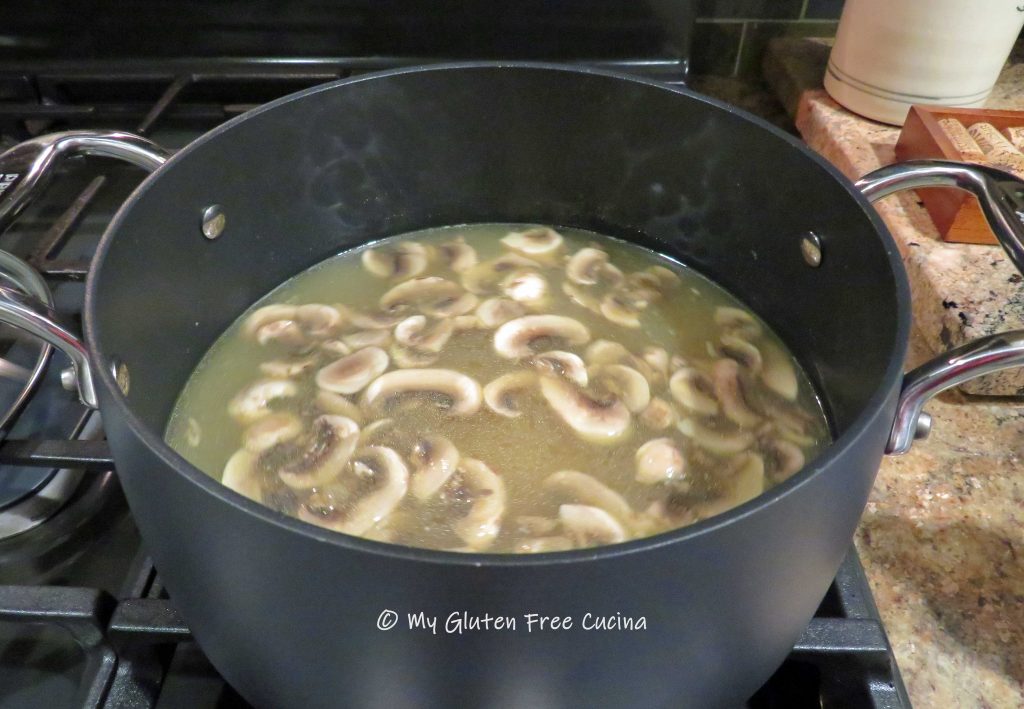
 Stir until the mushrooms release their liquid, then add the bone broth, 2 tsp. of tamari and 1 tsp. sesame oil (or more, to taste). Season with salt and pepper and bring to a simmer for 15 minutes.
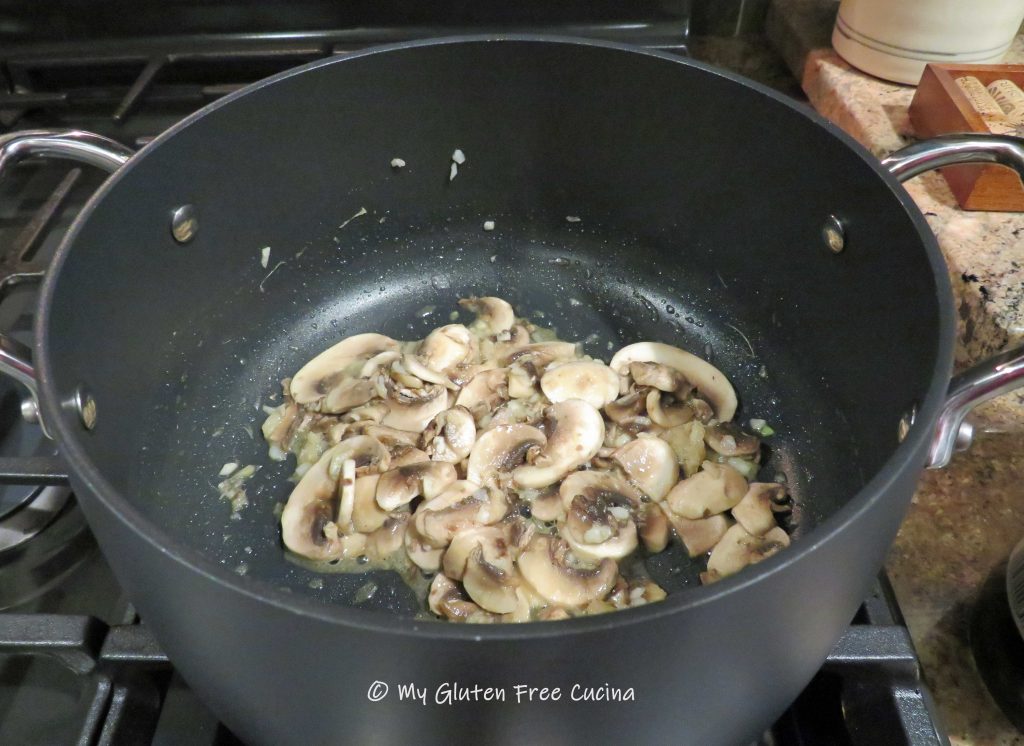
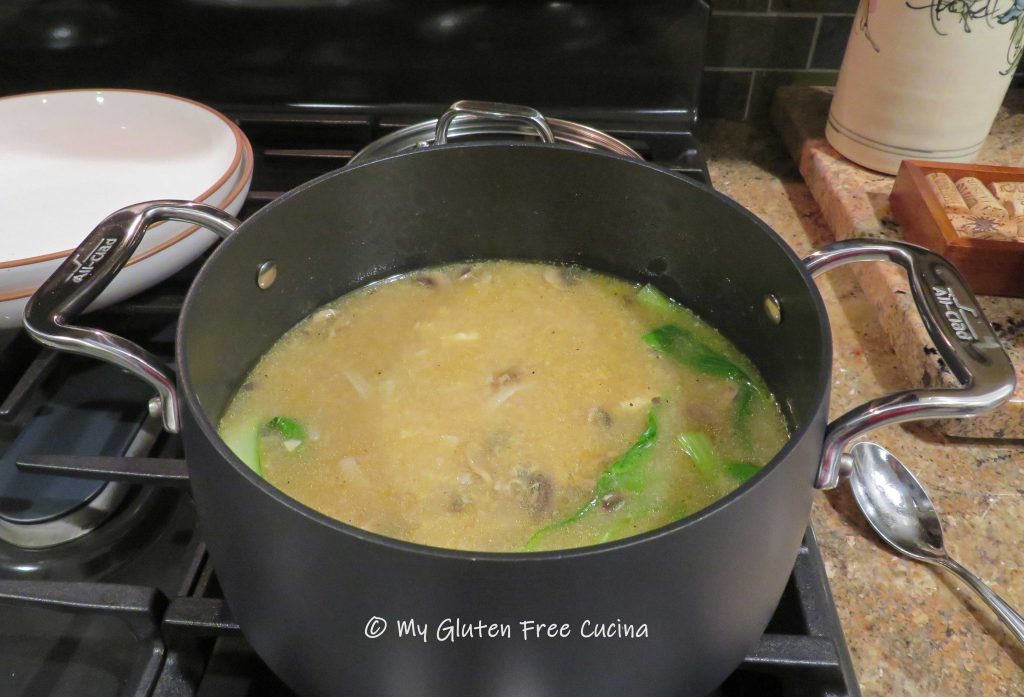
 Trim away the tough, lower part of the Bok choy, then rinse and halve the leaves. Stir them into the soup to wilt and lower the heat to keep warm.
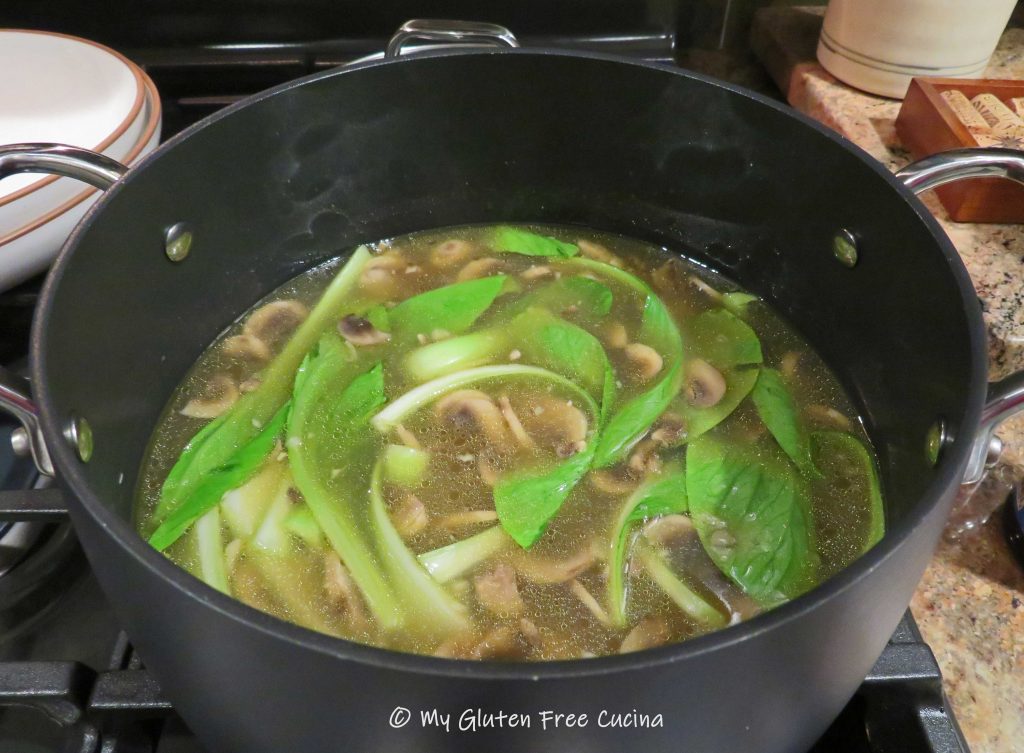 Cook the rice noodles in a separate pan according to package directions. Just prior to serving, drizzle the beaten egg into the soup and swirl it around with a whisk. Add the cooked rice noodles.
 Ladle into