Gluten Free Quiche Lorraine

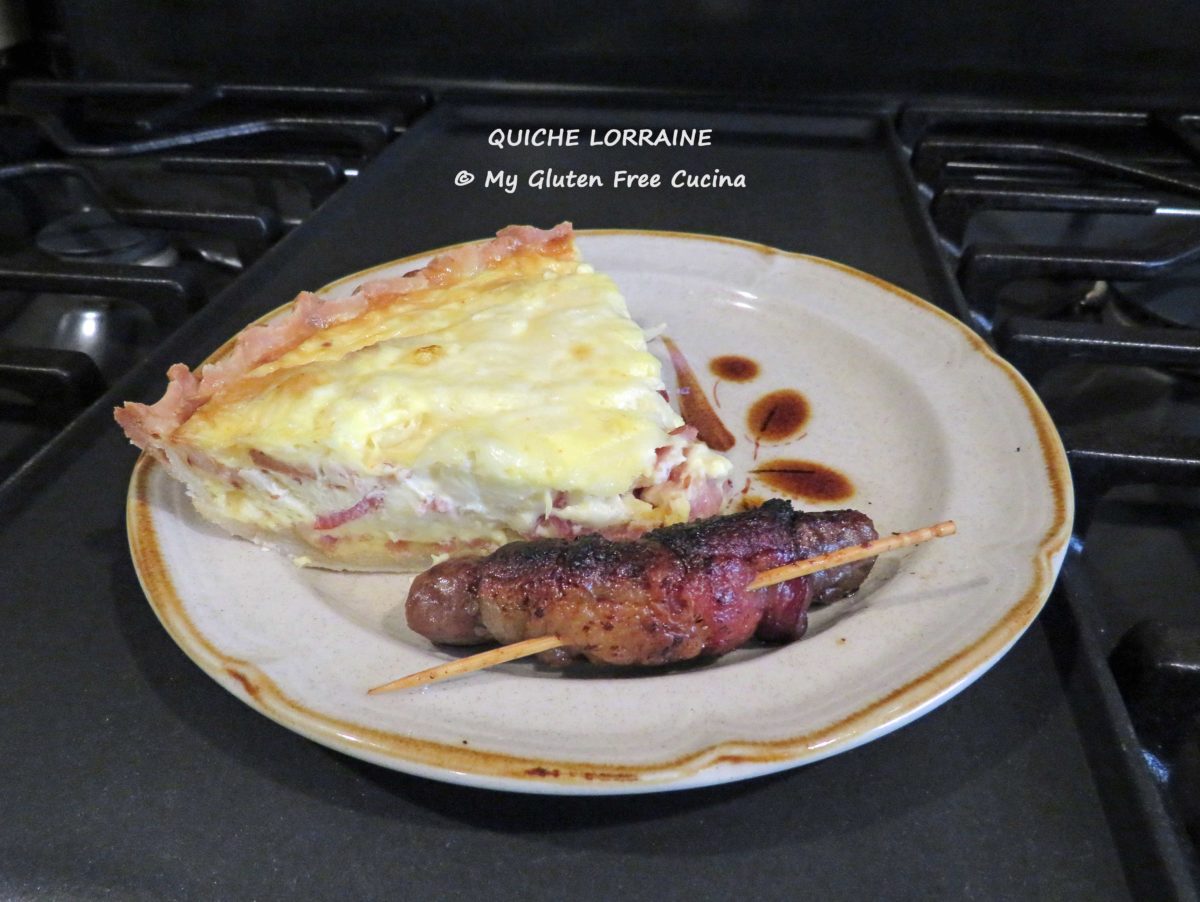
Quiche Lorraine, the French classic.  What’s not to love about a yummy quiche filled with bacon, cheese and onion?  I think that a quiche is one of the easiest things to make for brunch, because you can prepare most of it a day ahead then just assemble and bake in the morning.

Is quiche gluten free?

The filling of a quiche, usually consisting of eggs, cream, meat and/or vegetables is usually gluten free.  Only the pie crust contains gluten.  Fortunately, this Gluten Free Cream Cheese Pie Crust is easy to make, and it is perfect to use with both sweet and savory pie recipes.  And of course, I just happened to have one in my freezer, waiting for a special occasion!

This post contains affiliate links.

Ingredients:

Preparation:

If your pie crust is frozen, take it out one day ahead to defrost in the refrigerator.  Then let it sit on the counter for about 15 minutes before rolling it out between two sheets of parchment.

If it breaks, you can put it back into the refrigerator for 15 minutes then try rolling it out again.  With a gluten free crust, you do not need to worry about overworking the dough, so you can roll it out as many times as you need to.

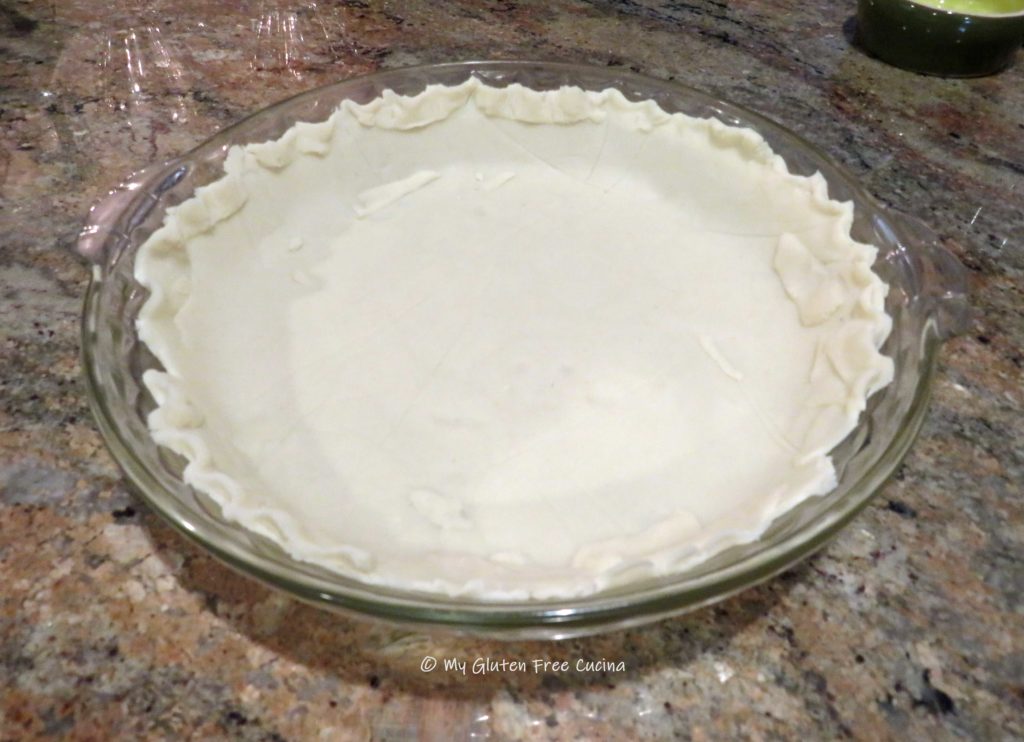
Gently place the rolled-out dough into a glass pie dish, trim the edges and crimp.  Use the scraps to patch any holes or cracks (you can see I had quite a few!).  Yes, pie crust does not always cooperate, but I got it to work.  Remember, even if it’s not the prettiest it will taste great!

Place the pie dish in the refrigerator while you prepare the rest of the ingredients.

Hint: you can prepare the pie crust to this point and refrigerate it overnight for baking in the morning.  Just cover it with plastic wrap so it doesn’t dry out.

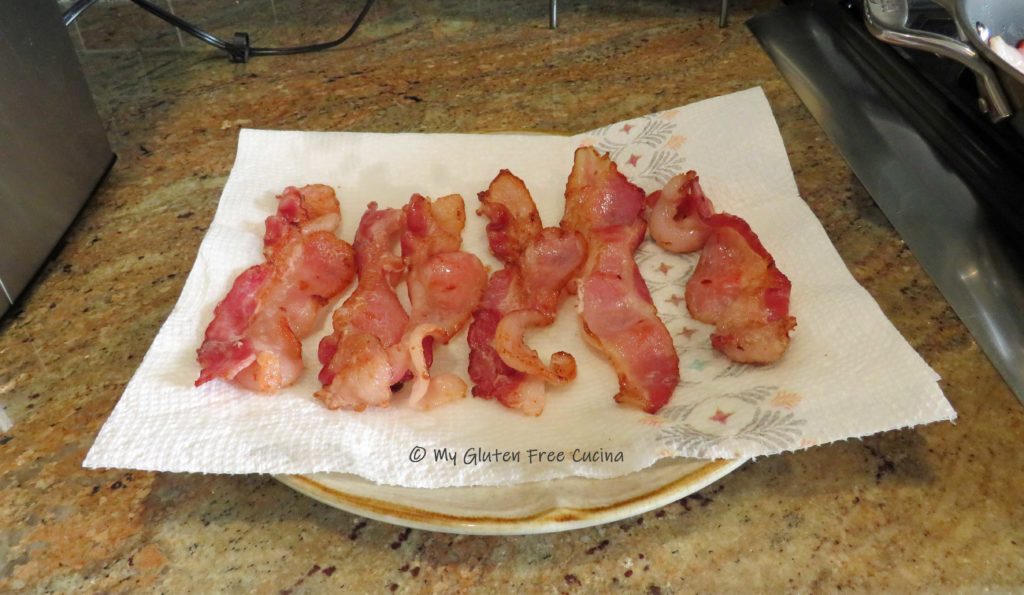
You can also prep the bacon, cheese and onion the night before.  Cook the bacon (in batches if needed) and drain on paper towels.  Chop it into 1/2″ pieces.  Grate the cheese and mince the onion.

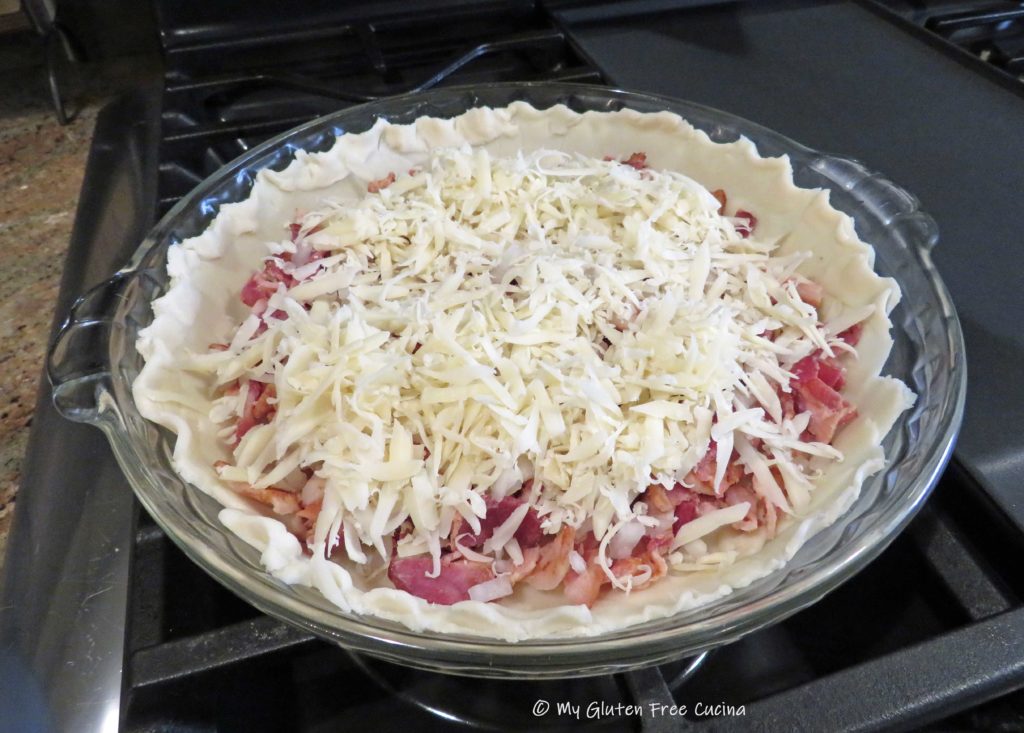
In the morning, when you are ready to assemble the quiche, preheat the oven to 425º.  Take the pie crust out of the refrigerator while the oven preheats, so you are not placing a cold plate directly into the hot oven.  Spread the bacon, onion and cheese into the pie shell.

In a bowl, beat the eggs together with the light cream, salt, sugar and cayenne pepper.  Don’t skip the cayenne, it’s just enough to brighten the flavor without adding heat.  Pour the egg mixture evenly into the pie shell.

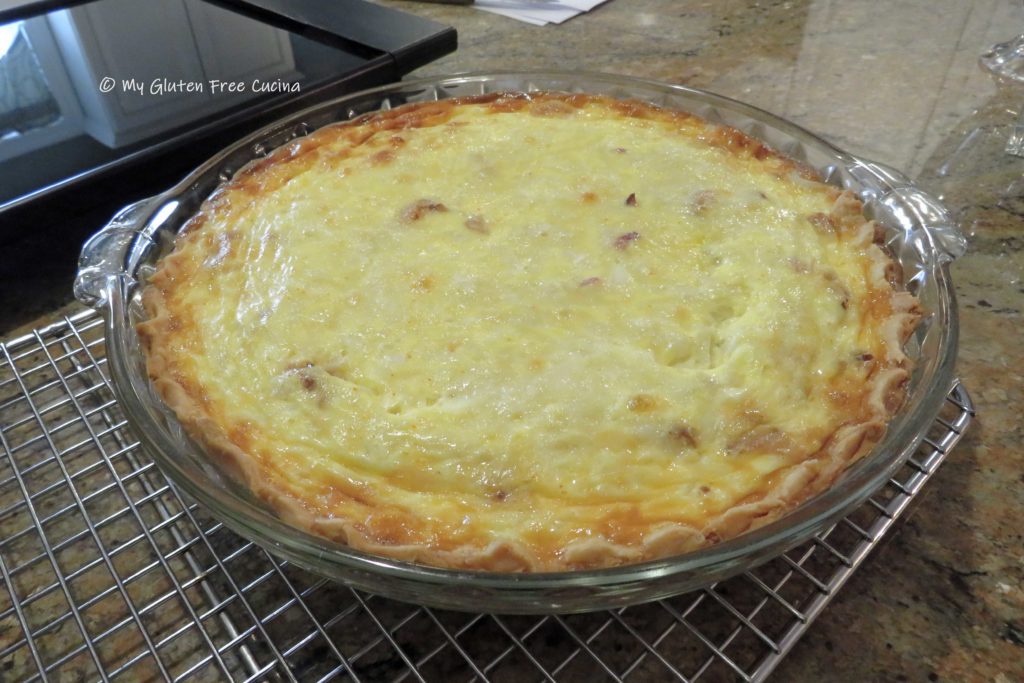
Place on the middle rack of the oven and bake for 15 minutes.  Then, lower the heat to 300º and continue baking for 30 minutes longer.

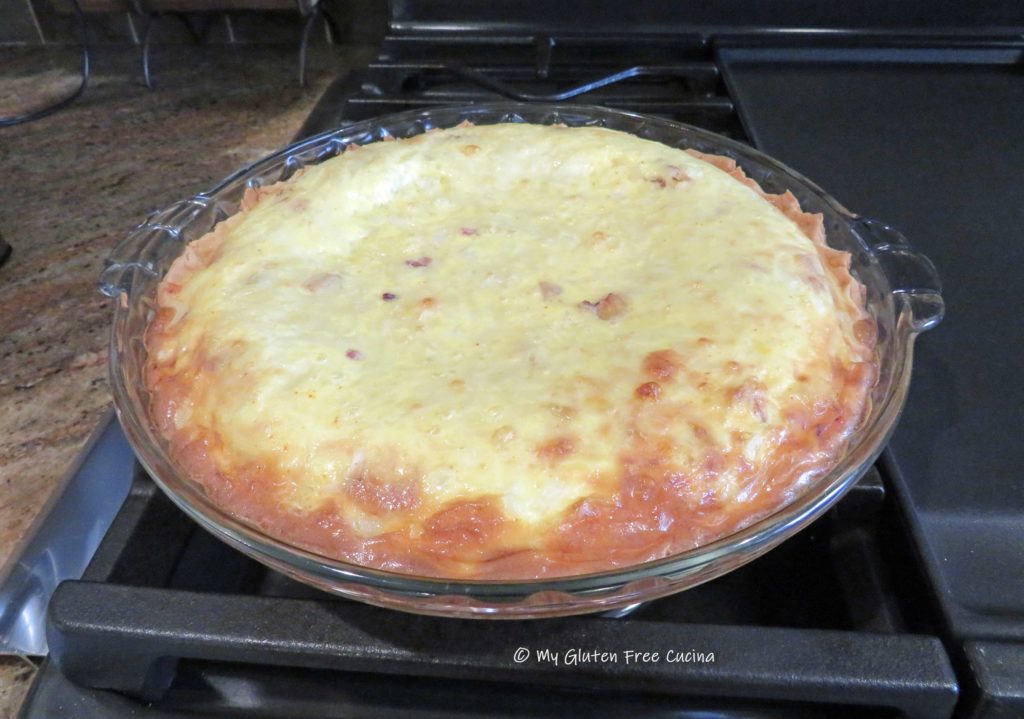
The edges should be nicely browned, and the center golden.  To test, you can insert a knife or a toothpick into the quiche, it should come out clean.

The quiche can be served warm or at room temperature.  Leftovers can be refrigerated for several days (do not freeze) and reheated in the oven or microwave.  And if you’re ogling that bacon wrapped sausage, get the recipe here!

Notes ♪♫ I always have gluten free pie crust in the freezer for when I want to make sweet or savory pies and quiche.  It’s a real time saver, especially when we can’t always grab a ready-made gluten free pie crust at the grocery store.  Get the recipe for easy, Gluten Free Cream Cheese pie crust here.

Print This Post Print This Post


Gluten Free Chicken Mushroom Ragu with Fusilli

Gluten Free Chicken Mushroom Ragu with Fusilli

Like many Italian recipes handed down from one generation to the next, this one has the magical ability to transform simple ingredients from the pantry into the perfect comfort food meal.  I used boneless, skinless chicken thighs and pre-sliced mushrooms to simplify the prep.  In fact, if you buy some diced onions in the produce section, you can put away the cutting board.  How’s that for simple?

This post contains affiliate links.

I was featured at the senior salon pit stop

4 Servings:

Ingredients:

  • 1 carton gluten free chicken broth (you won’t need the whole thing)
  • 3 boneless skinless chicken thighs
  • salt and pepper to taste
  • olive oil
  • 1/2 medium sweet onion, diced
  • 2 tbsp. tomato paste
  • 1/2 tsp. Tuscan seasoning
  • 1 bay leaf
  • 1 sprig of rosemary
  • 1/8 tsp. ground cloves
  • 1/2 cup white wine (not cooking wine)
  • 8 oz. package white button mushrooms, sliced
  • 6 oz. gluten free fusilli pasta
  • Italian parsley for garnish
  • grated Parmigiano Reggiano for serving

Preparation:

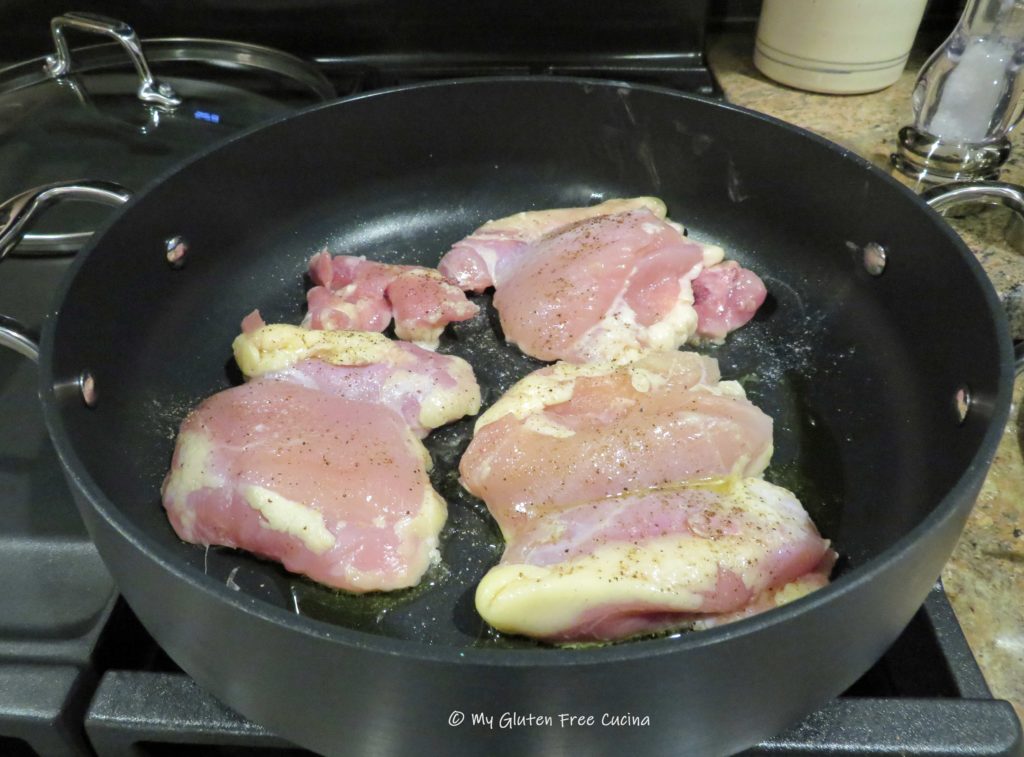
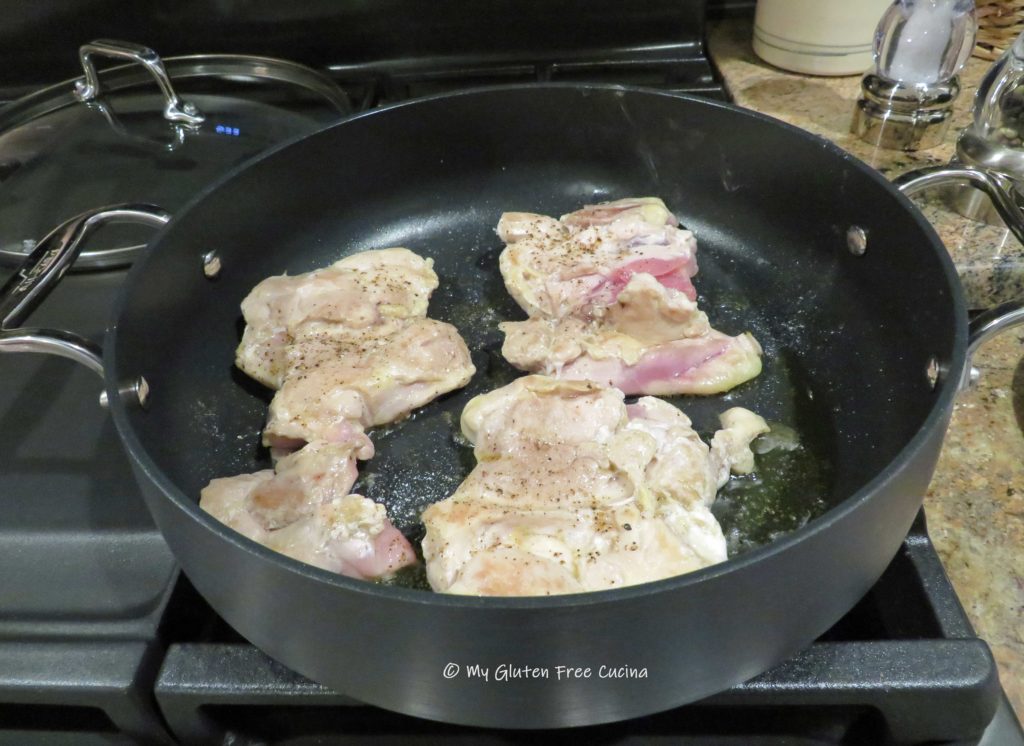
Add 1 tbsp. olive oil to a deep nonstick skillet over medium low heat.  Add the chicken, season with salt and pepper and cook several minutes per side.  It does not have to be cooked through at this point.

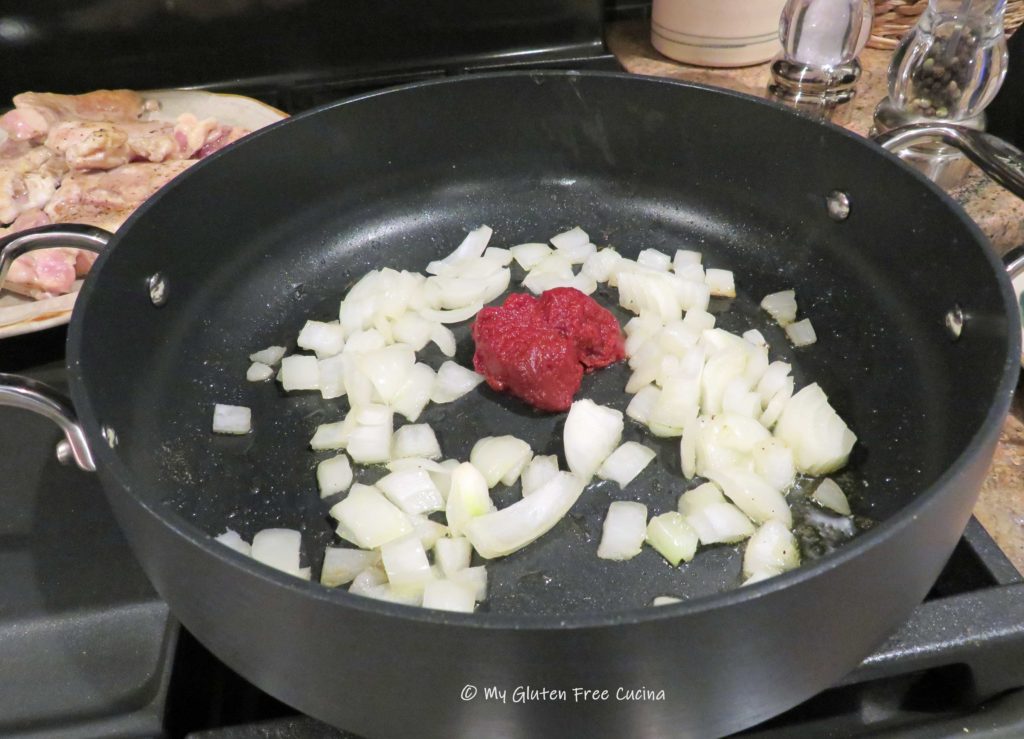
Remove the chicken to a plate and sprinkle with Tuscan seasoning.  Add the onions to the pan.  Cook for several minutes then add the tomato paste in the center.  Let it toast for a minute then stir into the onions.

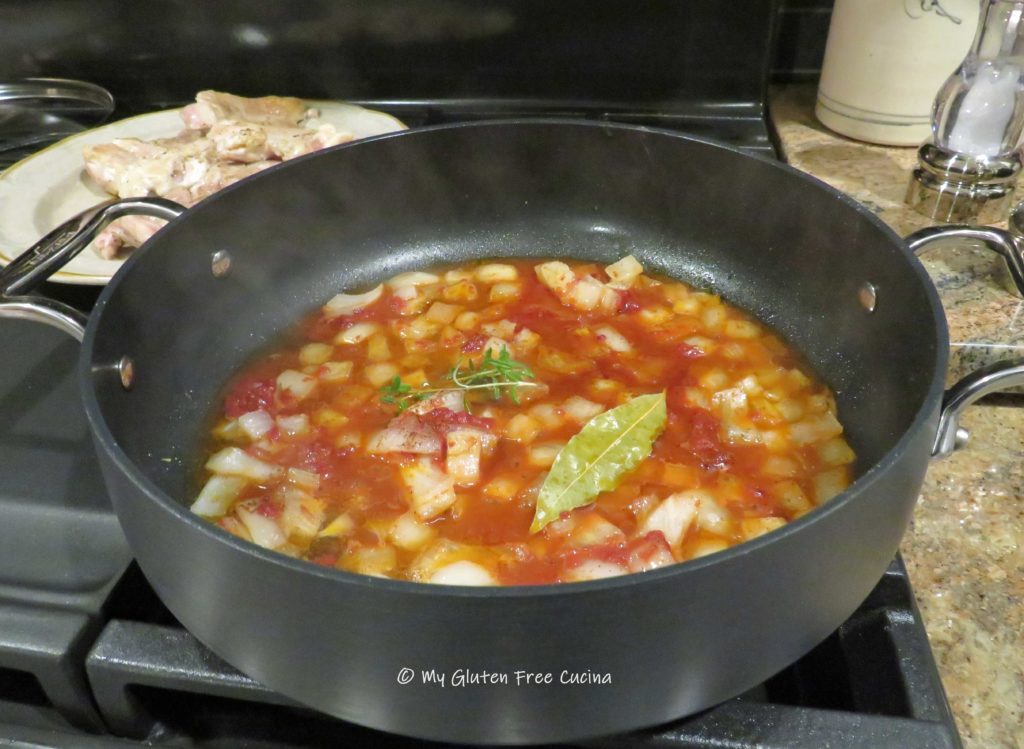
Stir in the white wine, bay leaf, rosemary and cloves.  Simmer 5 minutes to reduce by half.

Add the chicken back to the pan with about 1 cup of chicken broth.  Cover and cook for 25 minutes.
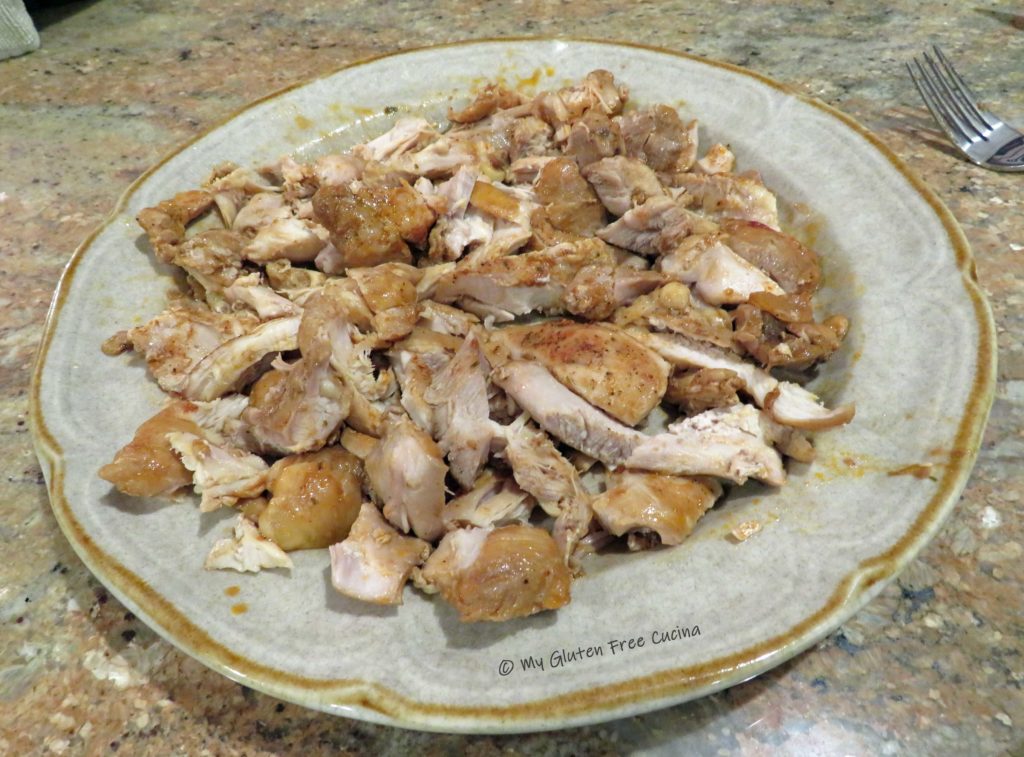
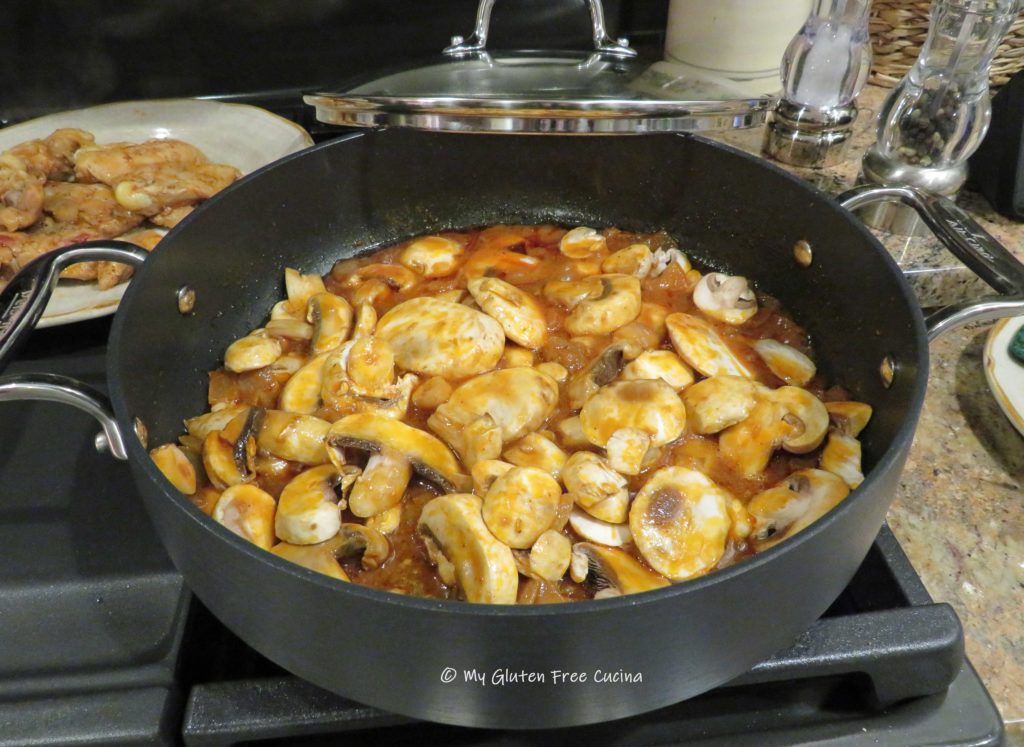
Remove the chicken from the pan and shred or cut into pieces.  Add all of the mushrooms to the pan with about 3/4 cup more chicken broth.

Bring to a simmer and add back the chicken.  Cook for an additional 15 minutes.  While the ragu finishes, boil water for pasta.
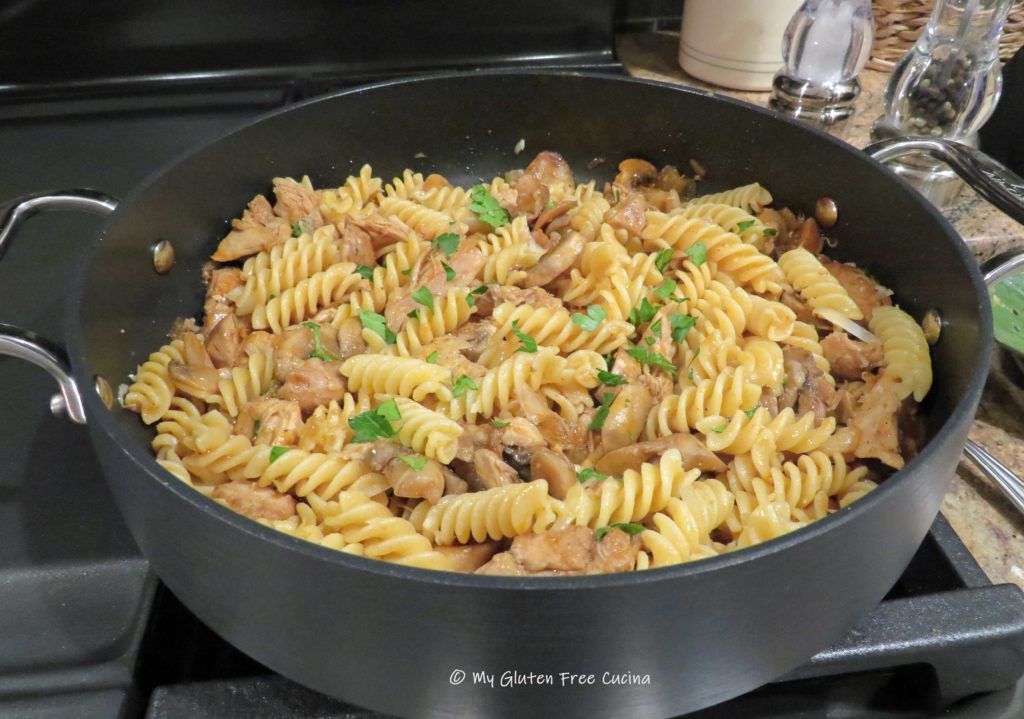
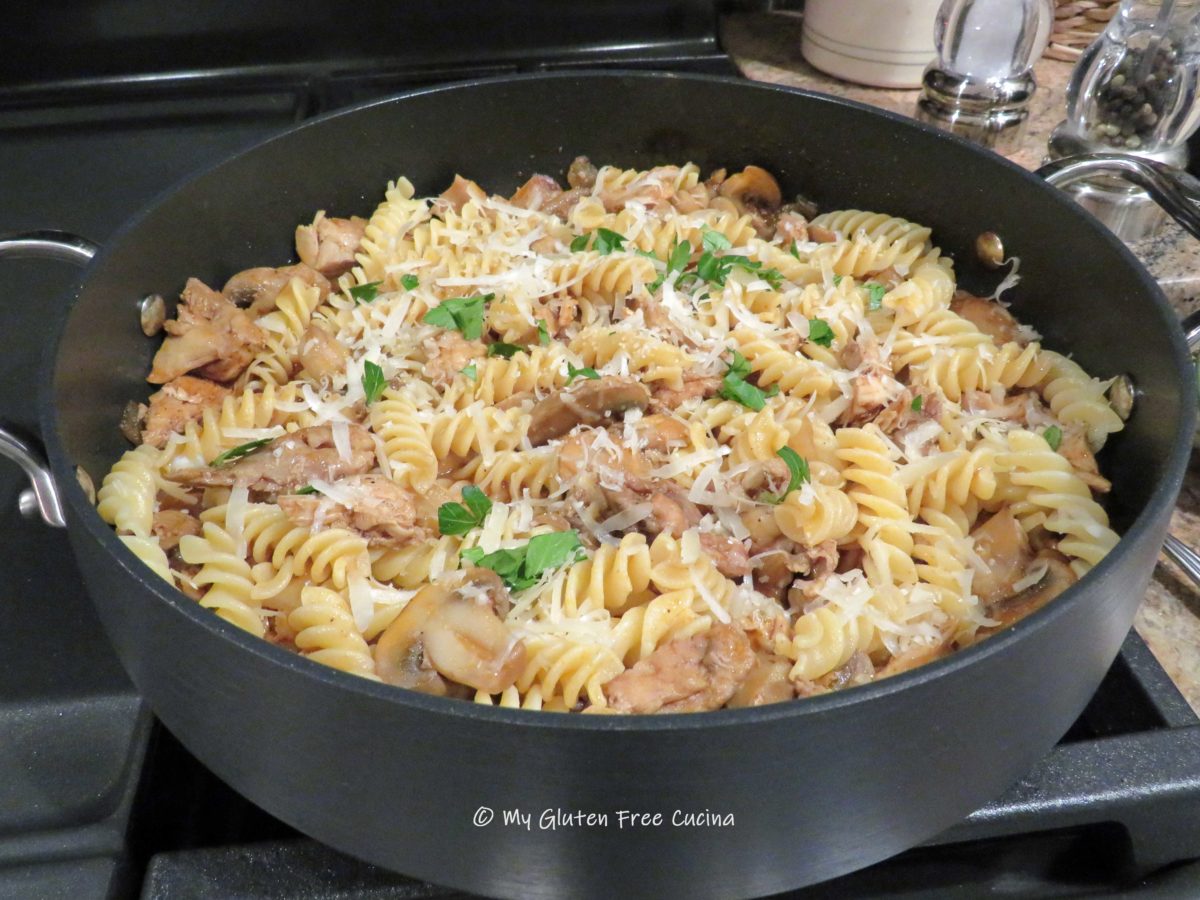
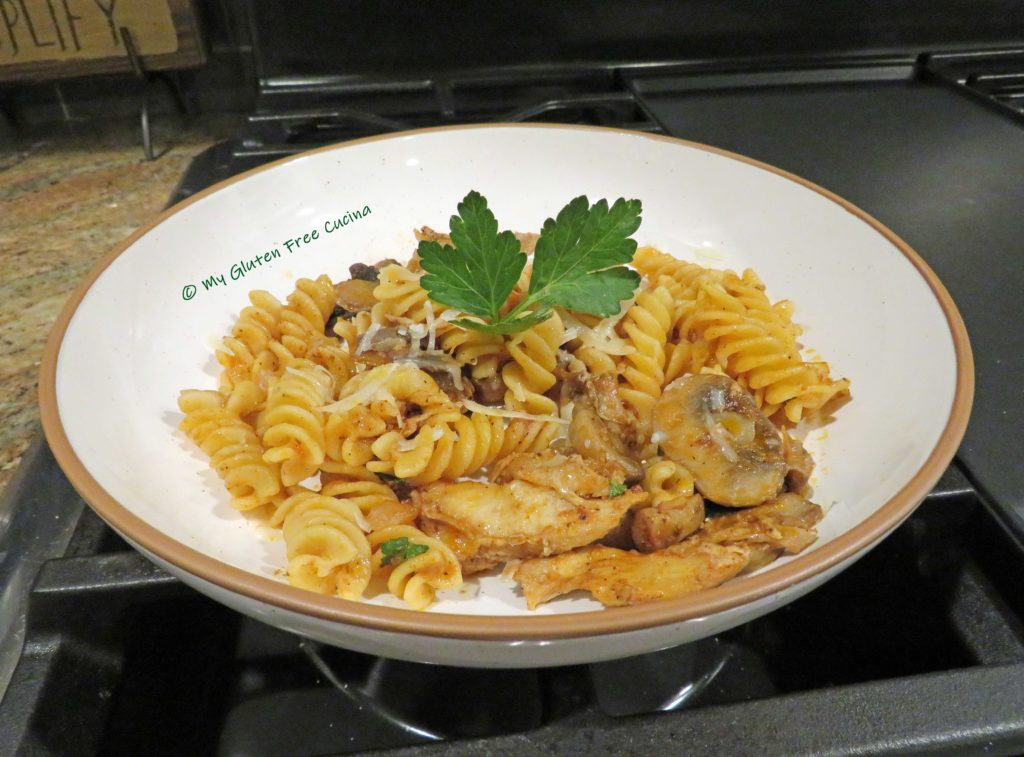
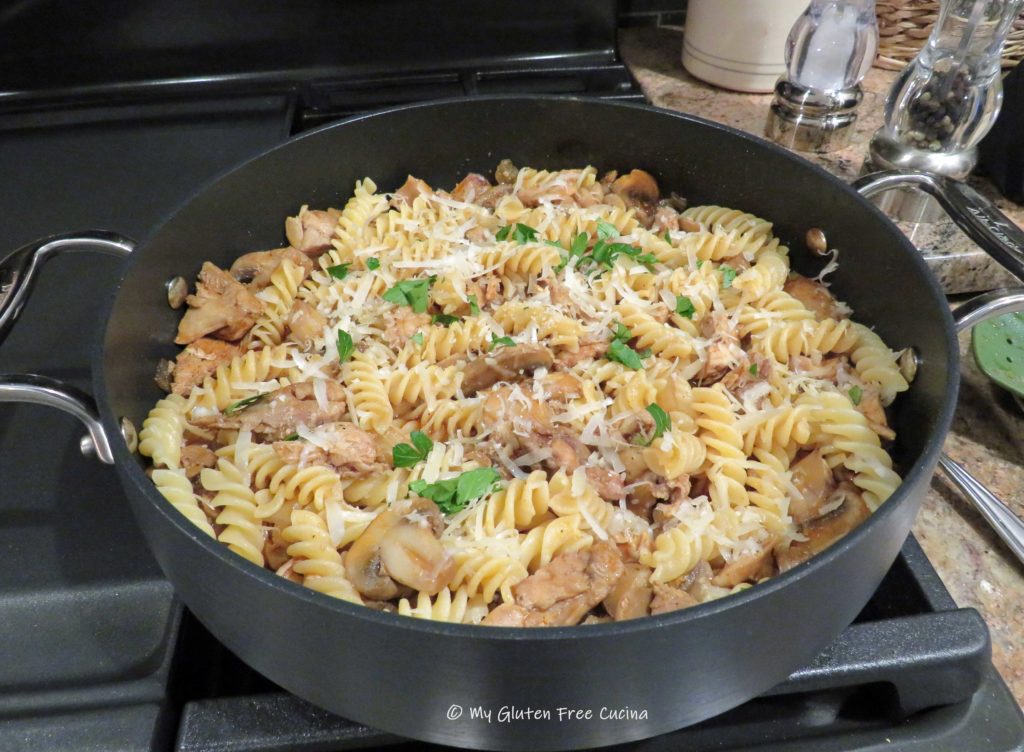
To serve, drain the cooked pasta and toss with the ragu.  Sprinkle with cheese and Italian parsley.  Serve it right in the pan, with extra cheese for the table.

Notes ♪♫ I used Rummo Gluten Free Fusilli in this dish.  I noticed it at Whole Foods and picked it up there but it’s available on Amazon as well.  The corkscrew shape is perfect for this dish, and it cooked up perfectly to al dente.

Print This Post Print This Post

Gluten Free Chicken Piccata Quick Toss

Do you love Chicken Piccata?  Get all the big restaurant flavor of this classic dish with a few shortcuts that will have dinner on the table in 20 minutes, minus the gluten!

Diced chicken tenders replace cutlets in this express recipe.  Perfect for those busy weeknights when you just want to get dinner on the table, tastes like you’ve been cooking for hours! ❤️

Dinner for two

This post contains affiliate links.

Ingredients:

  • 1/2 lb. chicken tenders, cut into chunks
  • 6 oz. gluten free pasta
  • 4 tsp. olive oil, divided plus more for finishing
  • 4 tsp. butter, divided
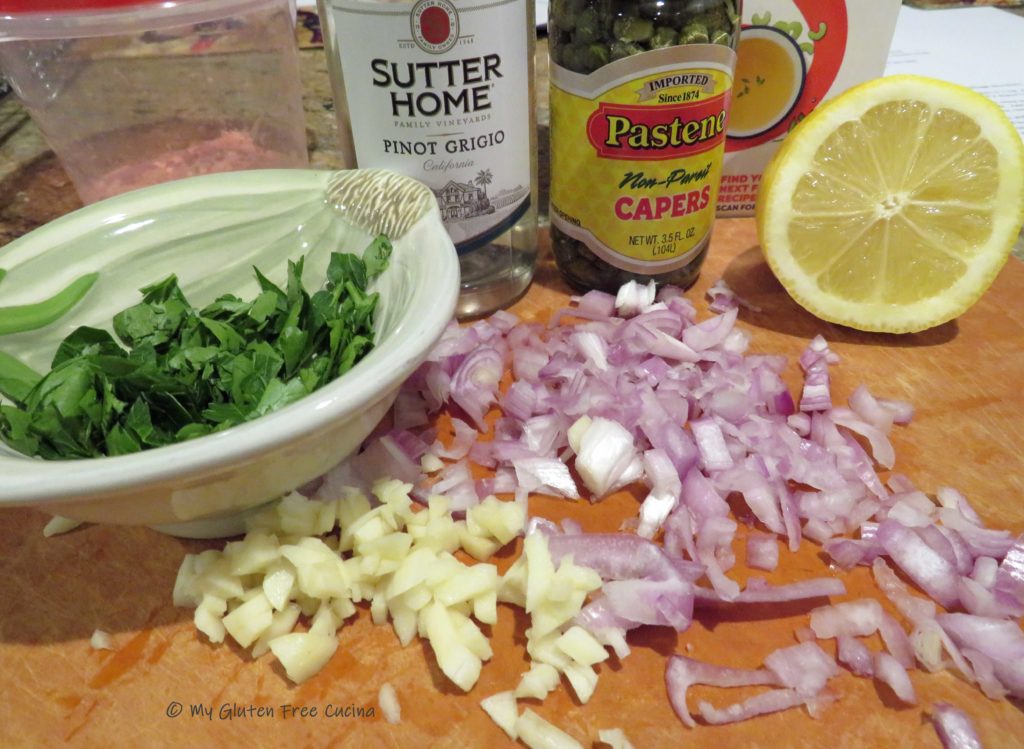
  • 1 shallot, minced
  • 2 garlic cloves, minced
  • zest and juice of 1/2 lemon
  • 1 tbsp. arrowroot flour
  • 1/4 cup white wine (not cooking wine)
  • 1/2 cup gluten free, low sodium chicken broth
  • salt and pepper
  • 1 tbsp. small capers (more if you like)
  • Italian parsley for garnish
  • grated cheese

Preparation:

Cook the pasta for 2 minutes less than the package directions, drain and set aside.

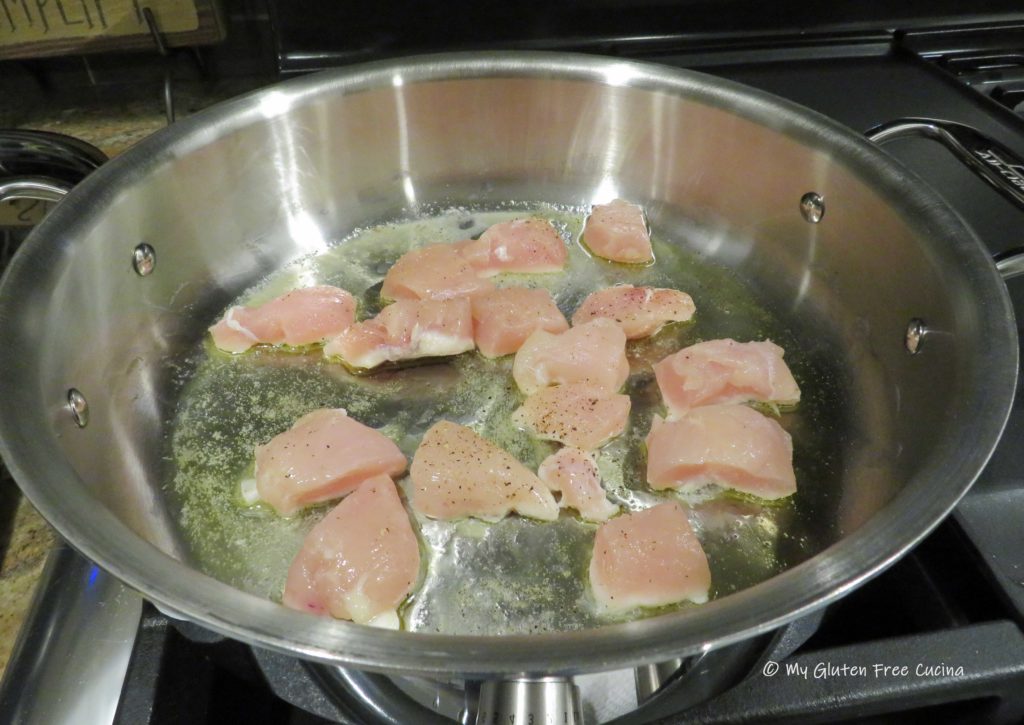
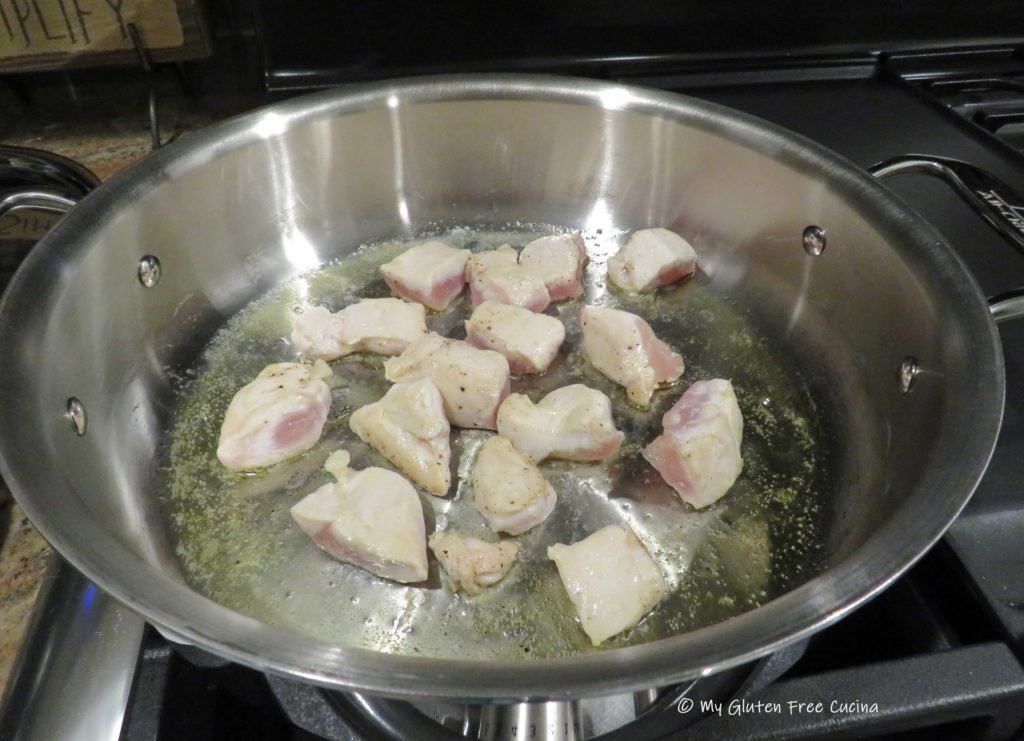
Use a large stainless-steel skillet to brown the chicken in 2 tsp. each of butter and olive oil.  Season with salt and pepper.  Don’t crowd the pan, if it doesn’t fit then make 2 batches.

Notice the chicken isn’t quite cooked through at this point, it will finish in the sauce at the end.

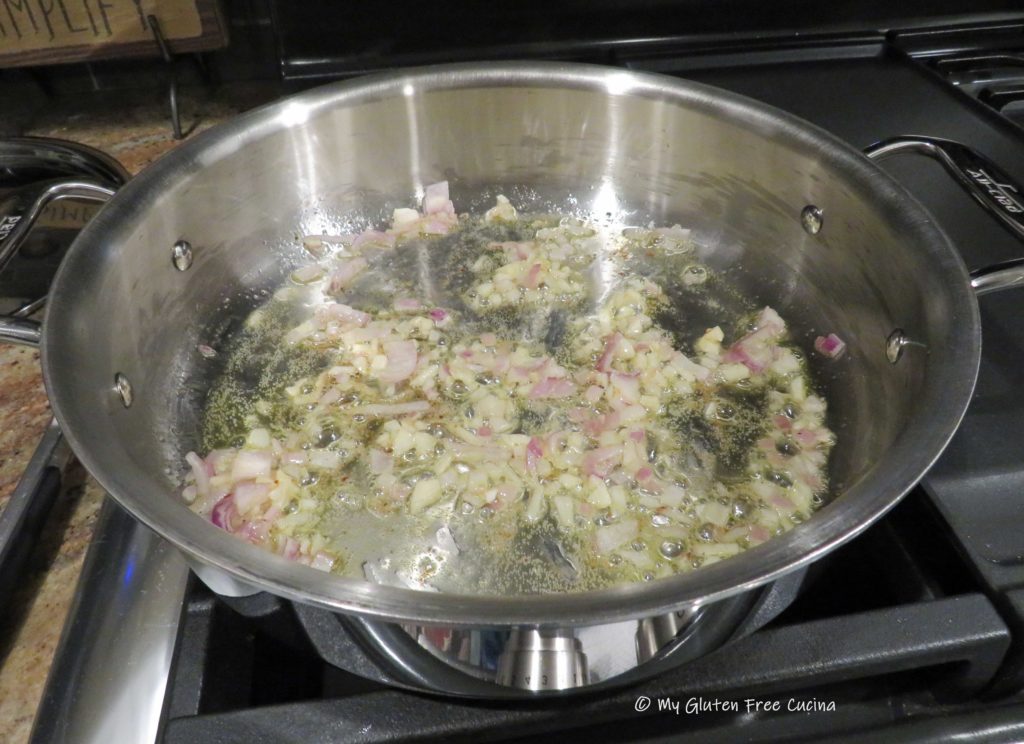
Transfer the chicken to a bowl and set aside, keep warm.  Add the remaining 2 tsp. each of butter and olive oil.  Add the shallots and garlic and cook for 1-2 minutes stirring constantly.

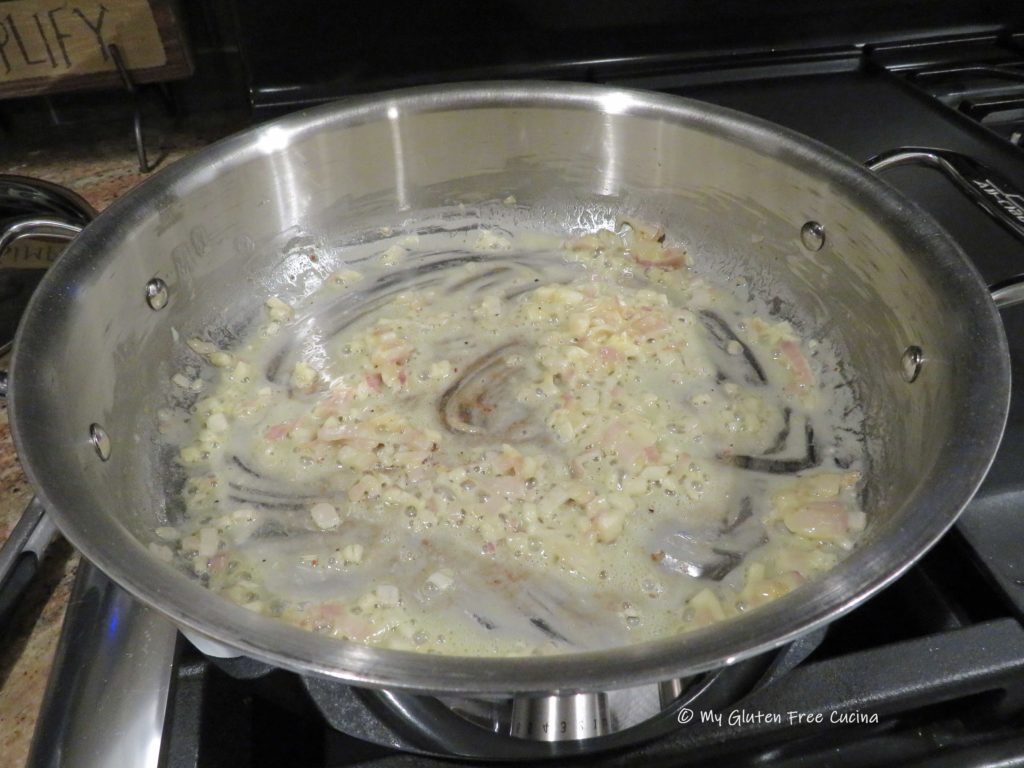
Be ready with the wine, lemon juice and chicken broth.  Sprinkle the flour over the shallots and garlic and whisk continuously.

Drizzle the liquid into the pan as you continue whisking.
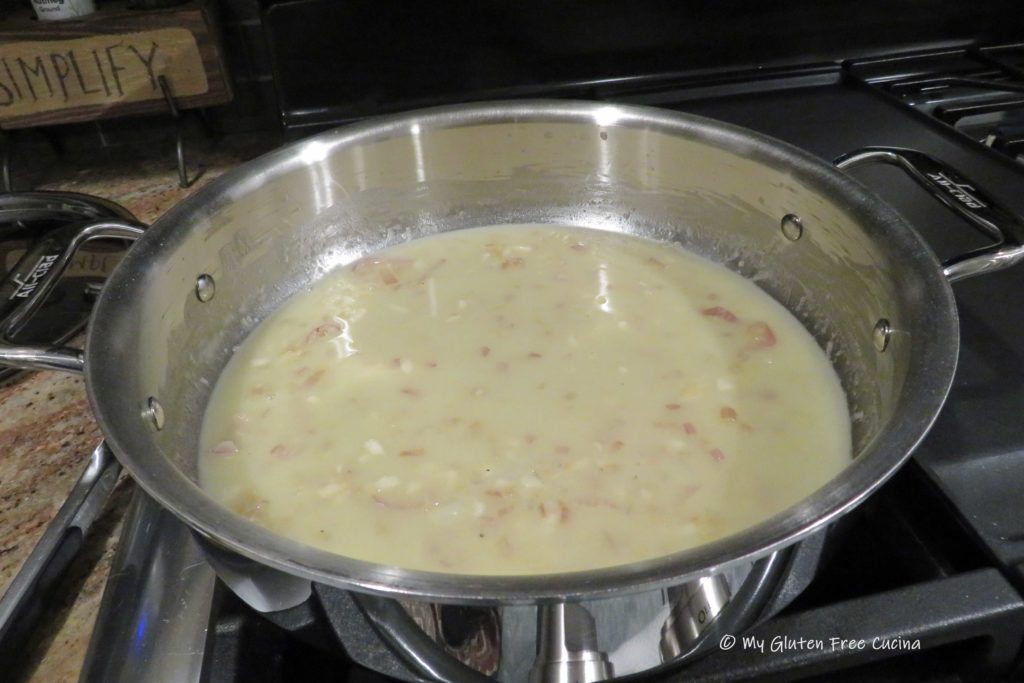
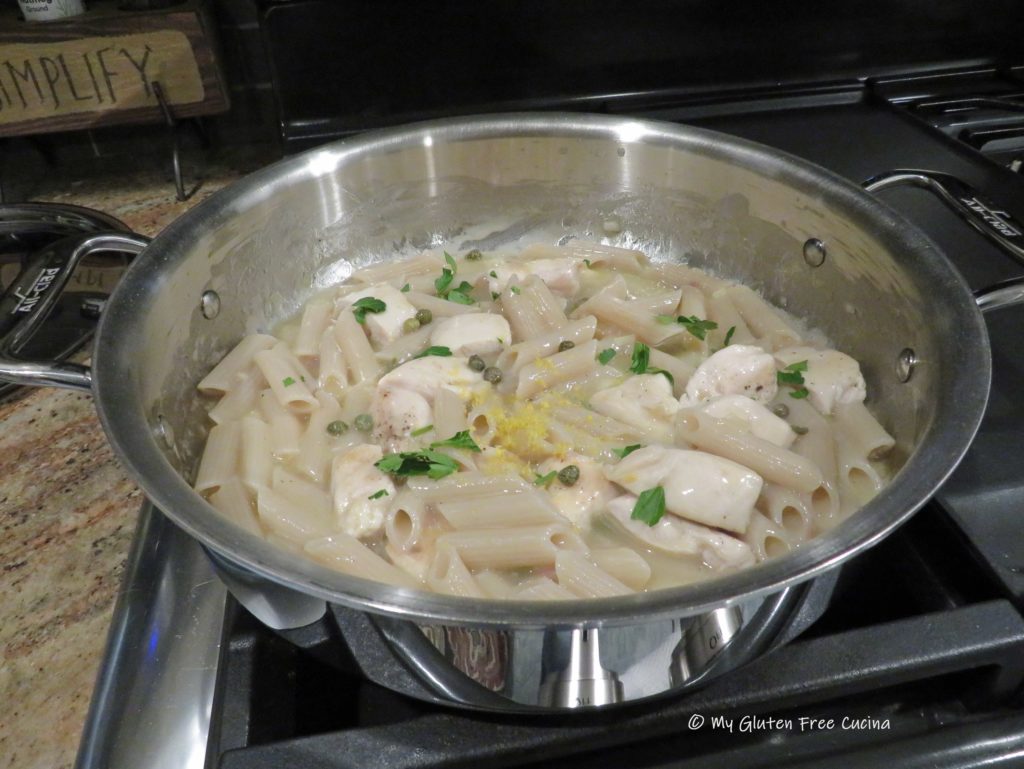
Return the chicken and pasta to the pan and toss to heat through. Cook for several minutes, the liquid will thicken as it comes to a simmer.  Stir in the capers and lemon zest at the very end.

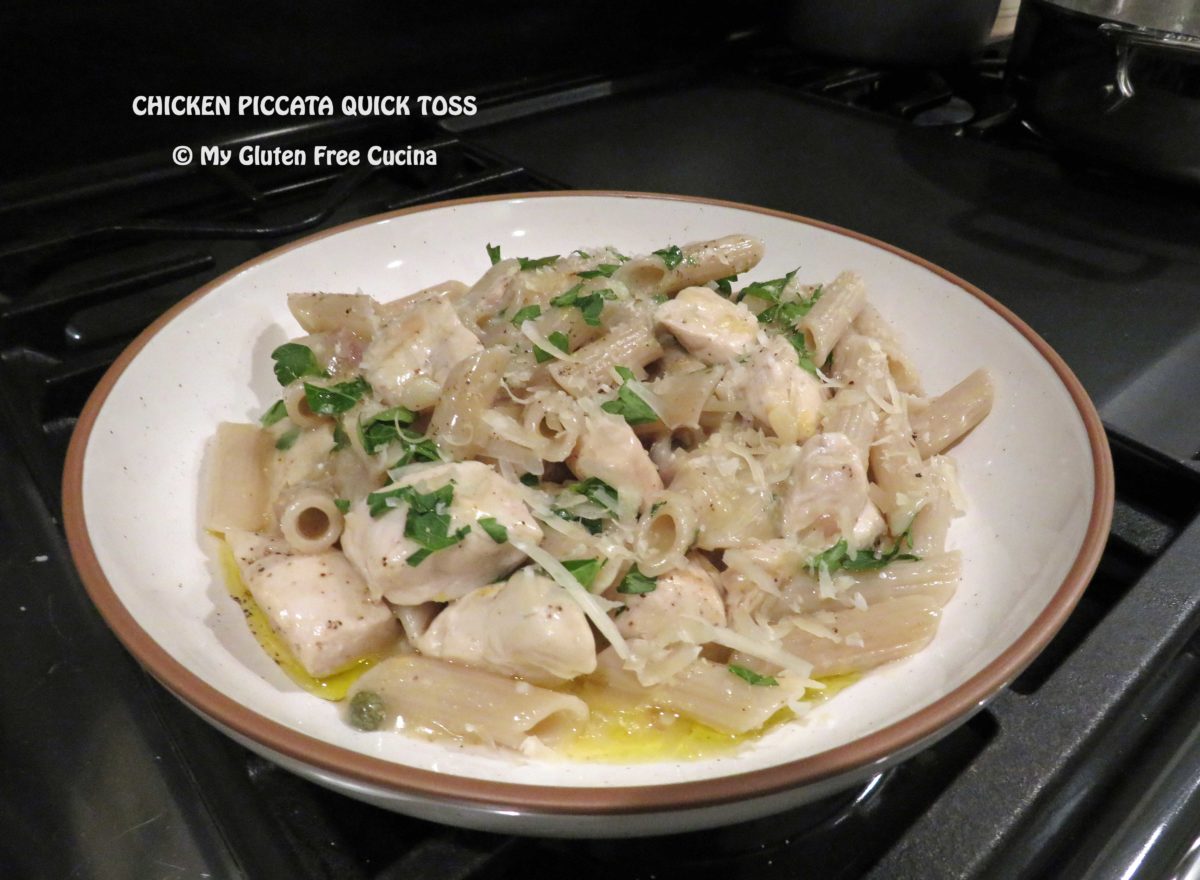
To finish, transfer to a serving bowl and drizzle with more olive oil, then garnish with Italian parsley and a little grated cheese.

Yum, how good does that look?  I love this kind of meal for busy weeknights.  Open a bottle of your favorite white wine for this recipe, and then pour a glass for the cook!

Notes ♪♫ I love arrowroot flour for thickening.  It makes a lump free roux every time and I use it in some of my flour blends for bread baking as well.  It’s something I always have on hand in my gluten free pantry!

Print This Post Print This Post

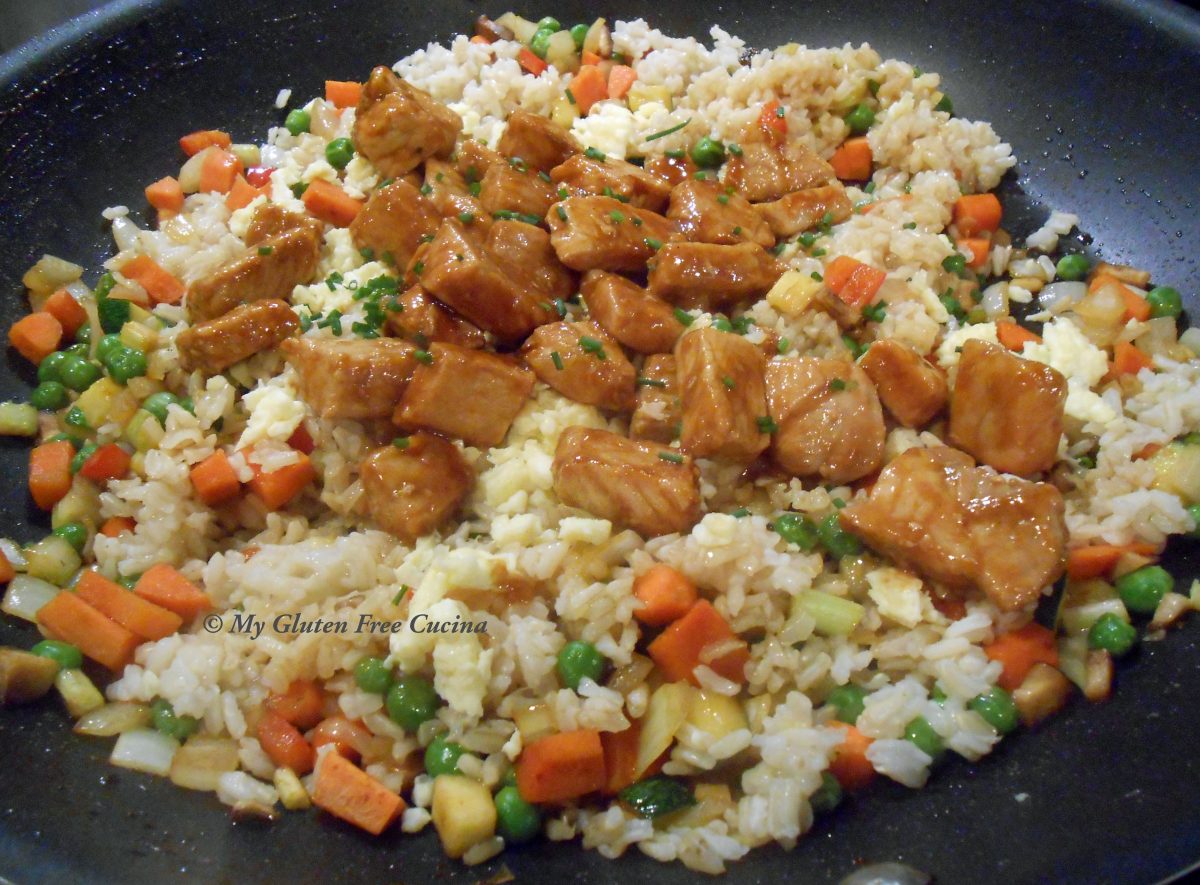
Hoisin Pork Fried Rice

One of the things I miss most since my Celiac diagnosis is Chinese takeout.  Oh, how I loved those noodles, veggies and fried rice!

At first glance you might think that many of these dishes are gluten free, but did you know that soy sauce contains gluten?  It’s true, traditional soy sauce is fermented with wheat so it is off limits on the gluten free diet.

Fortunately for us, there is a gluten free alternative called Tamari.  Since I started using it in my Asian inspired dishes, I have come to like Tamari even more than soy sauce.  Use it like regular soy sauce, as much or as little as you prefer.

Another favorite condiment, Hoisin Sauce can also be found in the Asian aisle in most markets.  It’s sweeter and much thicker than soy sauce and can be used for glazing and dipping.  In this recipe I use both Hoisin sauce and Tamari for a sweet and savory flavor profile.

This post contains affiliate links.

Ingredients:

  • 3/4 cup uncooked brown rice
  • 1 cup water
  • 1 cup gluten free chicken broth
  • 1/2 tsp. chive seasoning
  • 1/3 cup frozen peas, thawed
  • 1/2 cup sweet onion, diced
  • 1/4 cup celery, diced
  • 1/2 cup carrot, diced
  • 1/4 cup zucchini, diced
  • 1/4 cup mushroom, diced
  • 2 tbsp. red bell pepper, small dice
  • 1 large garlic clove, minced
  • 1/2 lb. boneless pork
  • gluten free Hoisin sauce
  • 1 egg
  • 1 tbsp. water
  • sesame oil
  • cooking spray
  • gluten free soy sauce or Tamari
  • garlic powder
  • ginger powder
  • fresh scallions or chives for garnish

Preparation:

Cook the rice according to package directions.  I did mine in a rice cooker with 1 cup gluten free chicken broth, 1 cup water and 1/2 tsp. chive seasoning.  This step can be done ahead, in fact the rice works better in this recipe if it has been cooked in advance and refrigerated.

While the rice cooks, prep all the vegetables.  You should have about 2 cups of diced veggies, total.  Dice the pork and toss it with 1 tbsp. Hoisin sauce.  Sprinkle with garlic and ginger.

With the prep work done, the rest of the dish comes together quickly.  Heat a large nonstick skillet over medium low and mist with cooking spray (I like Bertolli because it doesn’t damage my nonstick pans).  Whisk the egg with 1 tbsp. water and scramble.  Crumble the egg and set aside.

Next, add 2 tsp. sesame oil to the skillet and cook the pork.

Transfer the pork to a clean bowl and drizzle with more Hoisin sauce.  Wipe the skillet clean and cook the veggies in 2 tsp. sesame oil, about 5 minutes.  Sprinkle with garlic and ginger and drizzle with Tamari.

Add the cooked rice and egg back to the skillet with more Tamari.

Top with the pork, more Tamari and toss to heat through.

Garnish with fresh scallions or chives and plate.

I just loved this dish, all the flavors that I have been missing!

Notes ♪♫ I love San J brand Tamari and Hoisin sauce.  Both are clearly labeled gluten free and can be found in markets and online.

Originally posted 10/21/2019           Updated 12/13/2023

[print_link]

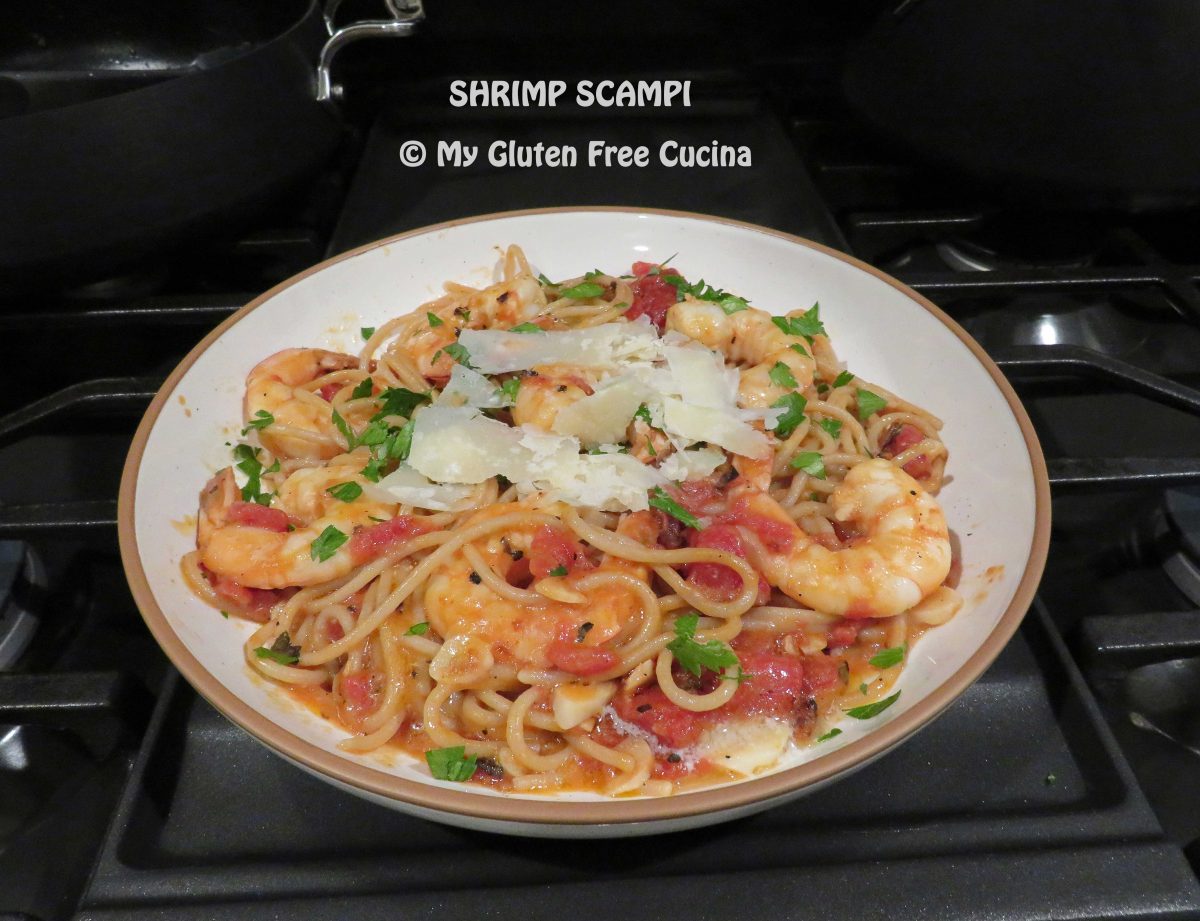
Gluten Free Shrimp Scampi

Sometimes you have a meal in a restaurant, and it just sticks in your mind until you finally take the time to recreate it at home.  This is one of those meals.  I love seafood pasta and Shrimp Scampi has to be at the top of my list for all-time favorites.

Did you know this dish is super-fast and easy to prepare?  Yes, a five-star dinner that is quick enough to make on a weeknight!

Dinner for two

This post contains affiliate links.

Ingredients:

  • 2 garlic cloves, sliced thin
  • 1/8 tsp. red pepper flakes
  • 2 tbsp. olive oil
  • 1 cup (about half of a 14.5 oz. can) fire roasted diced tomatoes
  • 1/2 lb. large shrimp, peeled and deveined
  • 1/2 tsp. sea salt
  • 2 tbsp. white wine
  • 2 tsp. lemon juice
  • 2 tbsp. unsalted butter
  • 4 oz. gluten free spaghetti
  • 2 tbsp. shaved Parmigiano Reggiano
  • 1 tbsp. chopped Italian parsley

Preparation:

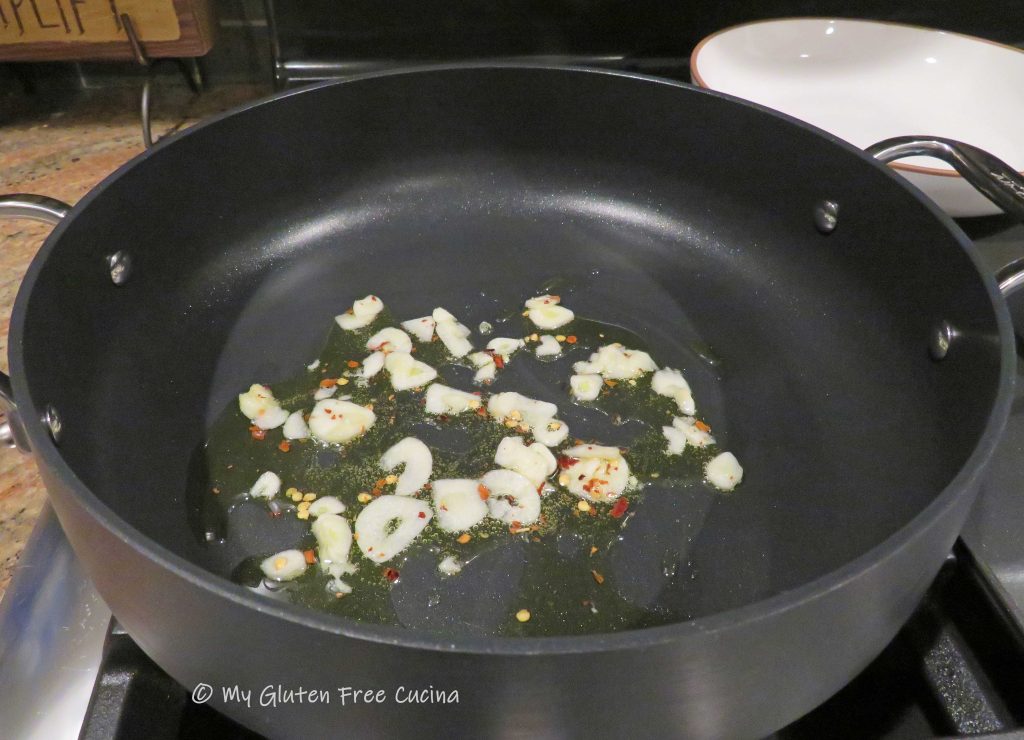
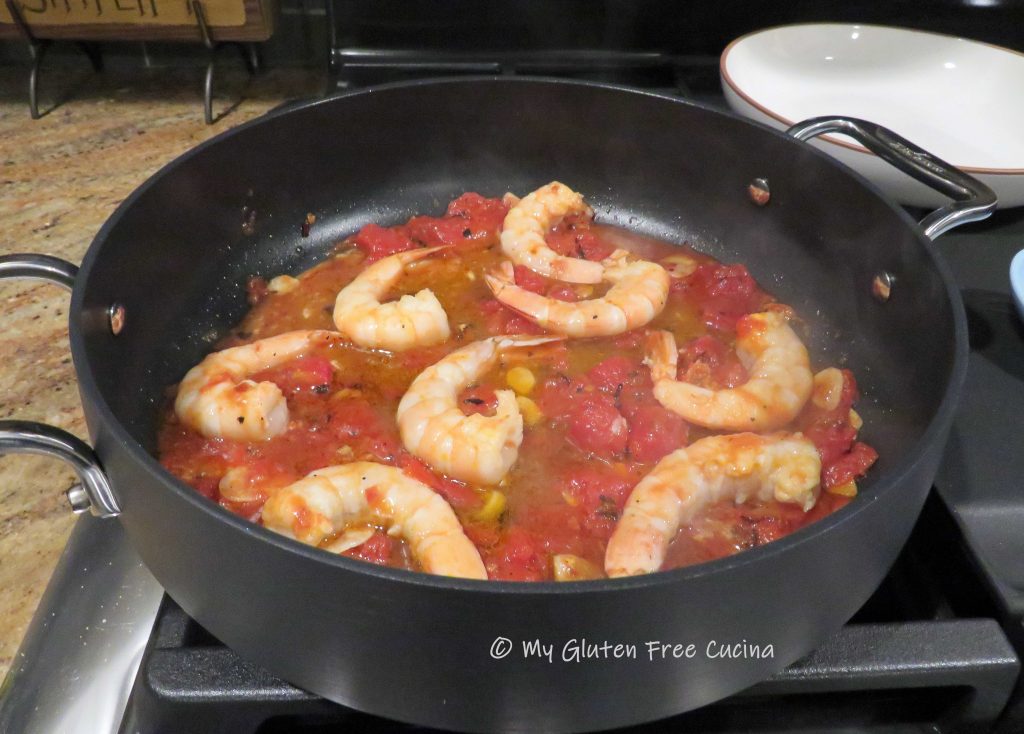
Heat the olive oil in a nonstick deep skillet or Sauteuse Pan.  Add the sliced garlic and red pepper flakes.  Cook for 30 seconds.

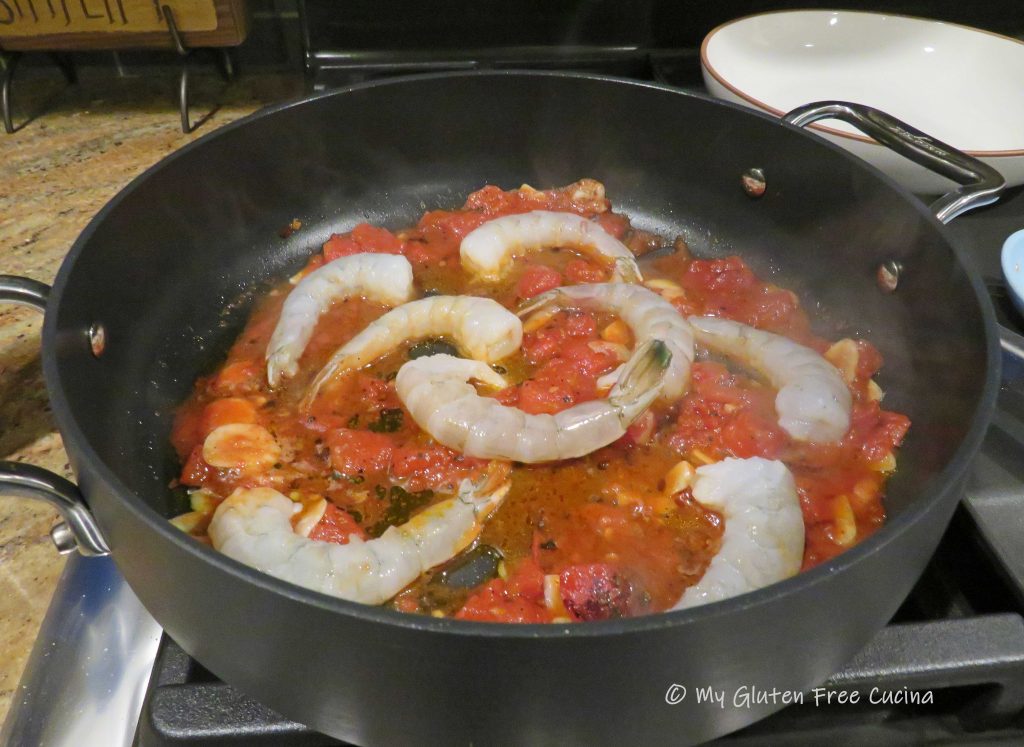
Add the tomatoes, salt, and wine.  Simmer 10 minutes.  Heat a large pot of salted water for the spaghetti and bring to a boil.  Add the spaghetti and set your timer for 1 minute less than the package directions.

When you have 8 minutes to go on the spaghetti, add the shrimp to the sauce with the lemon juice.  Cook for 3 minutes then turn to finish.

Drain the spaghetti and add it to the pan with 2 tbsp. unsalted butter.  Cook for 1 minute longer to marry the flavors.

Transfer to a serving bowl and garnish with fresh Italian parsley and shaved Parmigiano.

Notes ♪♫ I know the food police will say that combining cheese with seafood flies in the face of Italian culinary tradition.  But when I had this dish at a restaurant, it came topped with Parmesan shavings and let me tell you it was out of this world!  Use the good stuff, real Parmigiano Reggiano, shaved fresh right before serving.  I am 100% Italian and trust me, it’s wonderful.

Print This Post Print This Post

Gluten Free Multigrain Sandwich Loaf

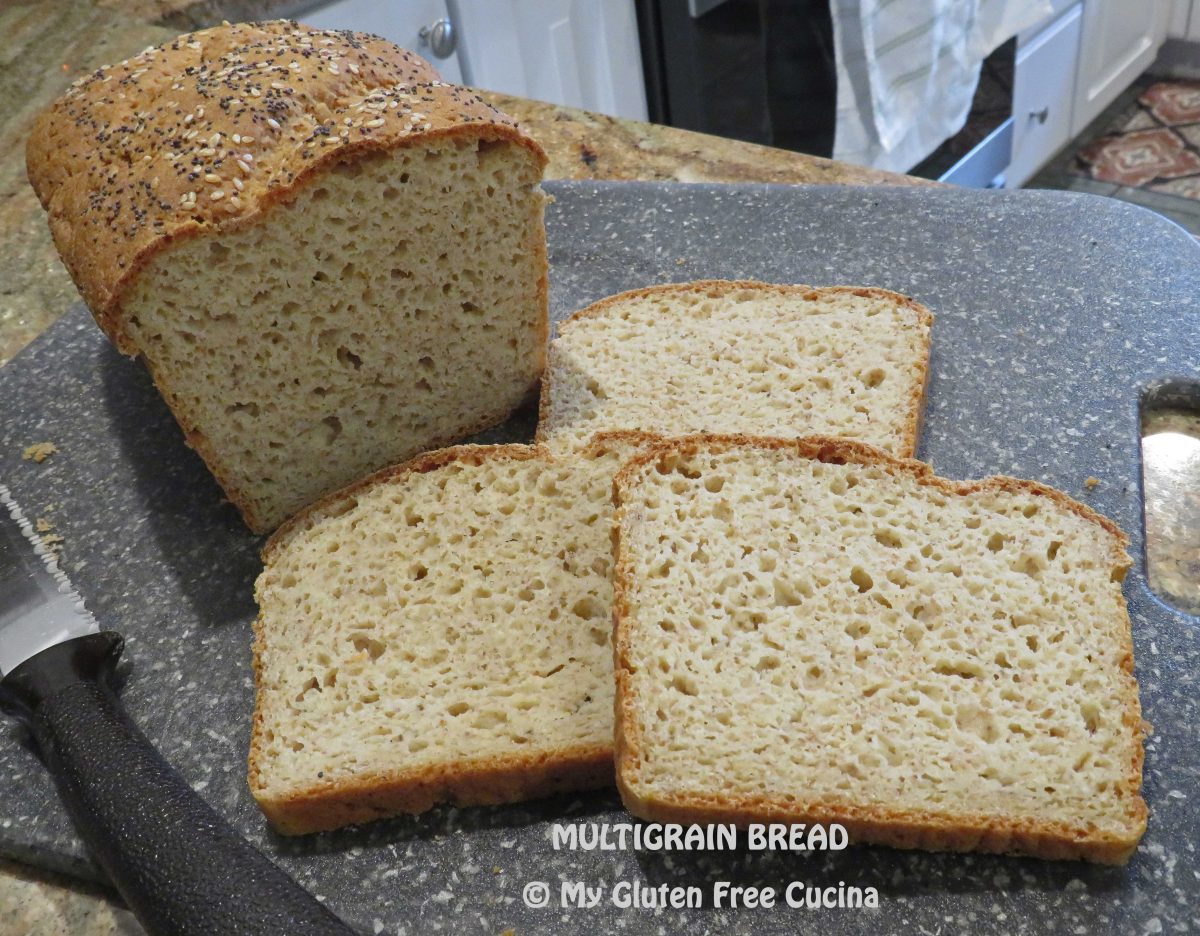
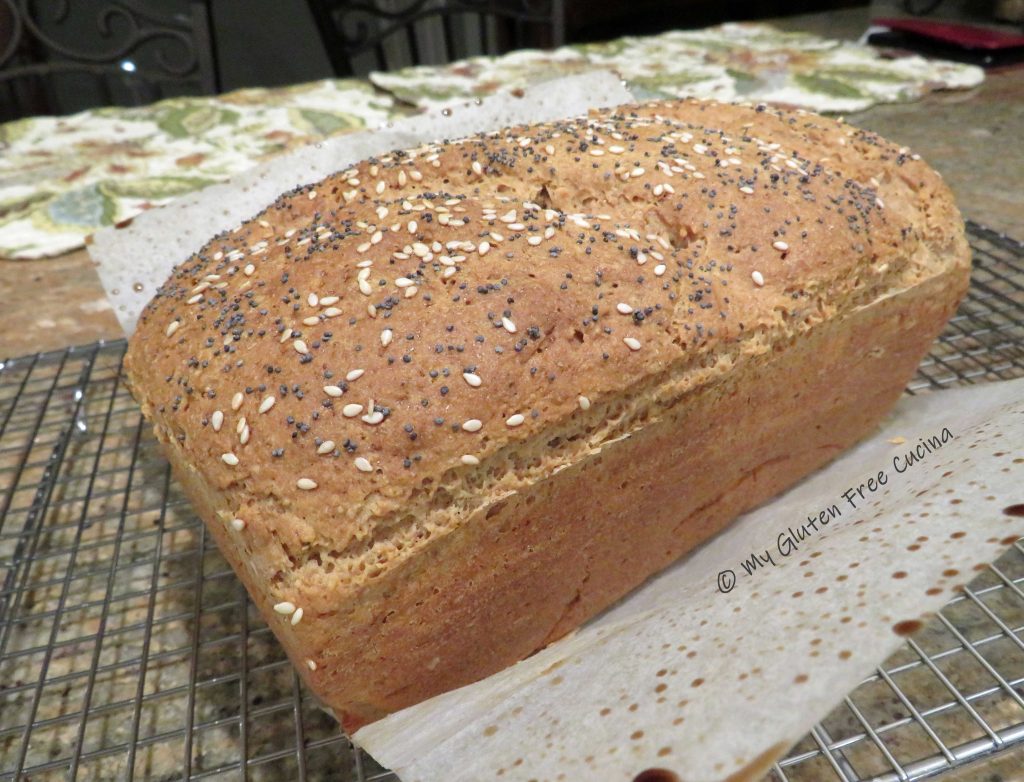
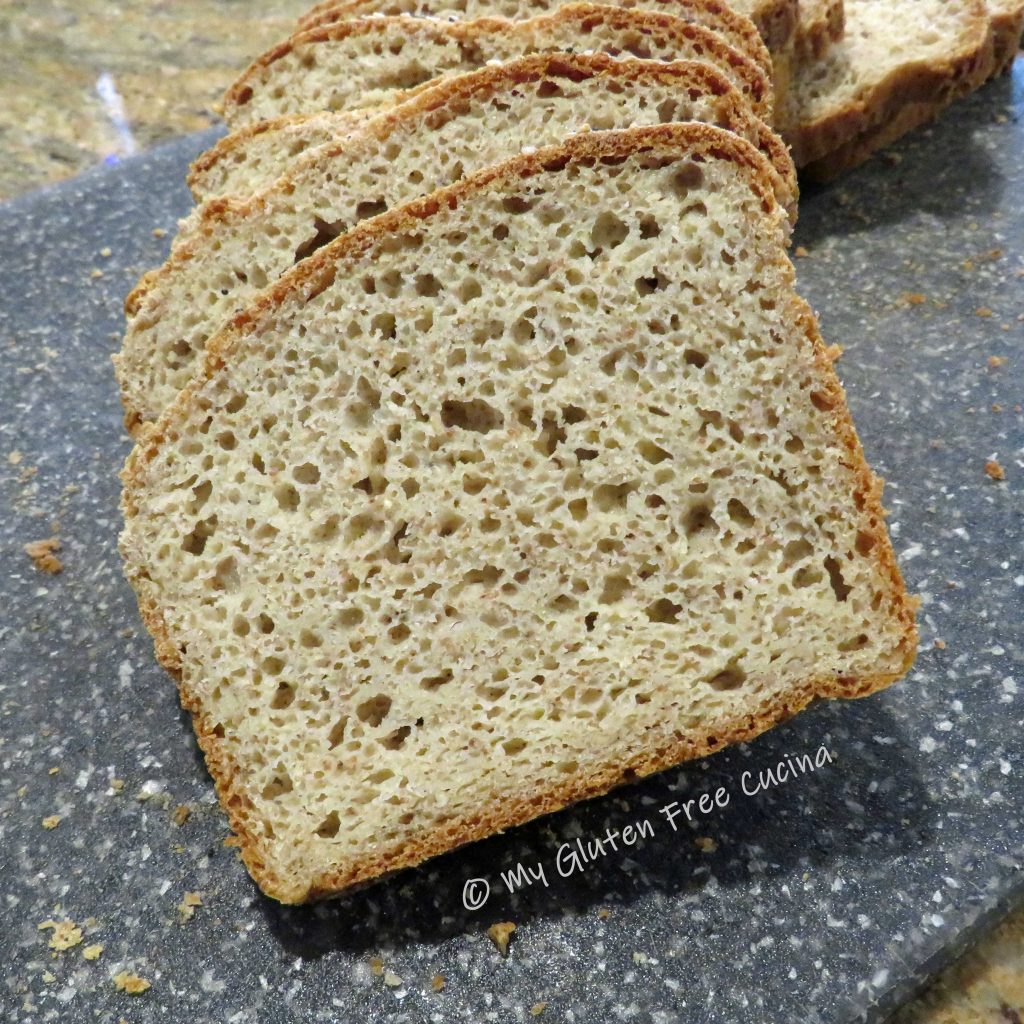
Just look at that beautiful loaf of bread!  In the gluten free universe, this is what dreams are made of!  Not only does it taste great, but it is also nutritious and wholesome, made with a combination of grains that delivers real bread flavor without the gluten.

If you like to mix up your own flour blends, then this recipe is for you!

I adapted this recipe from one of my own, Gluten Free Sandwich Thins.  I always made them for lunch when I worked in an office, but now that I’m home most of the time I find that I like to have sliced bread in the house.  When you make a loaf, you can slice it as thin or as thick as you want for sandwiches, toast or just to go with dinner.

This bread is wonderful for sandwiches.  It doesn’t need toasting, doesn’t fall apart in your hands and the middle is not wet or tacky at all.  It’s a gluten free dream come true!

This post contains affiliate links.

Ingredients:

  • 1 tbsp. yeast
  • 1 tbsp. ground chia seeds
  • 1 tbsp. sugar
  • 1/2 cup warm water
  • 127 g. whole grain sorghum flour
  • 183 g. brown rice flour
  • 56 g. tapioca starch
  • 56 g. arrowroot starch
  • 56 g. potato starch
  • 21 g. teff grain, ground
  • 1 tsp. gelatin
  • 1.5 tsp. xanthan gum
  • 1 tsp. salt
  • 1 large egg
  • 3 tbsp. olive oil
  • 3/4 cup warm milk (I used 2%)
  • 1/2 cup warm water
  • 2 tbsp. milk, for brushing
  • sesame seeds
  • poppy seeds

Preparation:

Line a 1 lb. loaf pan with parchment paper and mist with cooking spray.

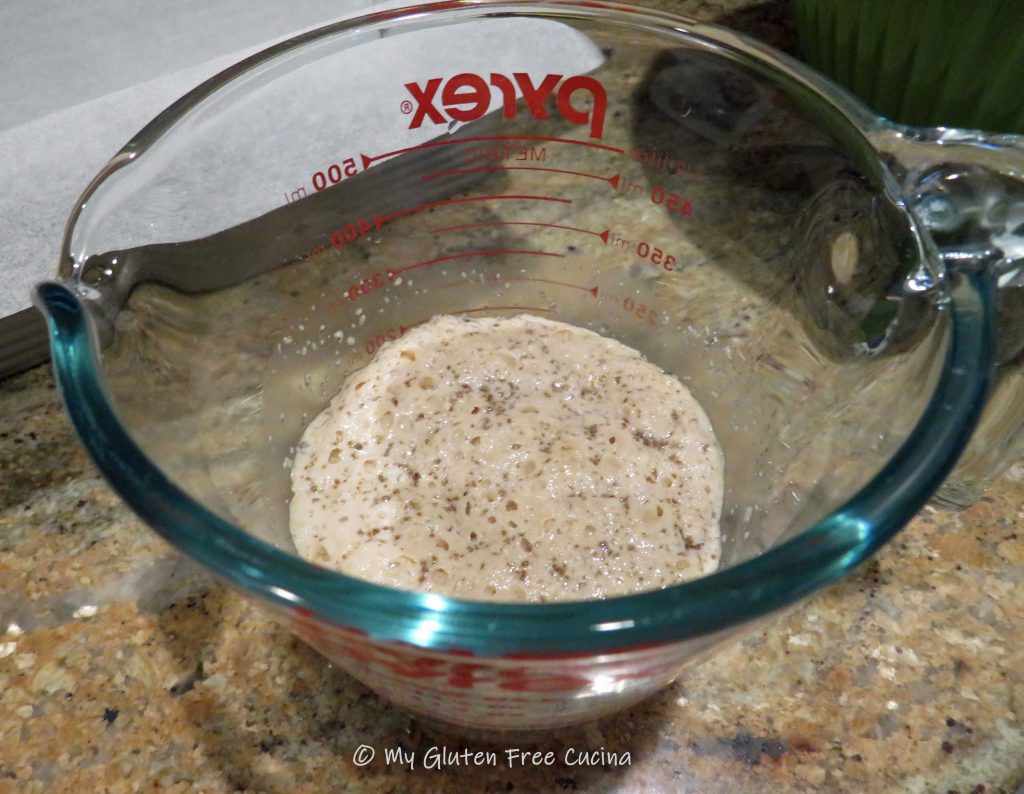
Combine the yeast, ground chia seeds, sugar and 1/2 cup water in a small bowl or measuring cup.  Let the mixture rest for 10 minutes.
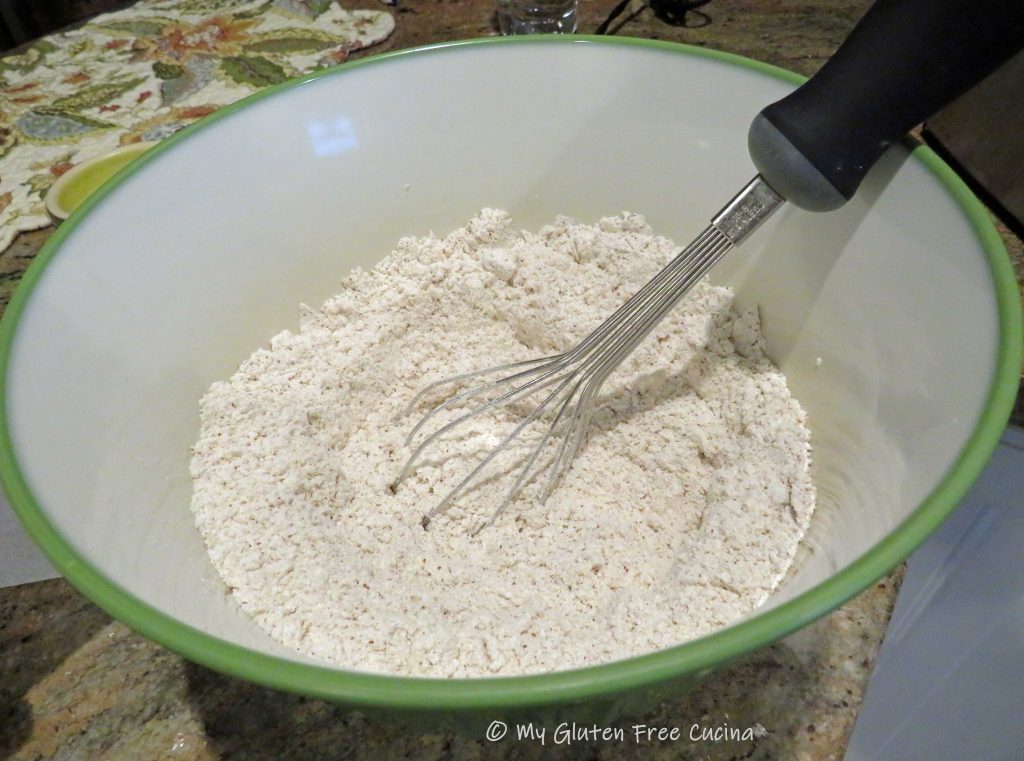
In a separate bowl, whisk together all of the dry ingredients, sorghum flour through salt.

When the yeast has bloomed, add the mixture to the bowl of a stand mixer along with the egg, olive oil, milk and water.

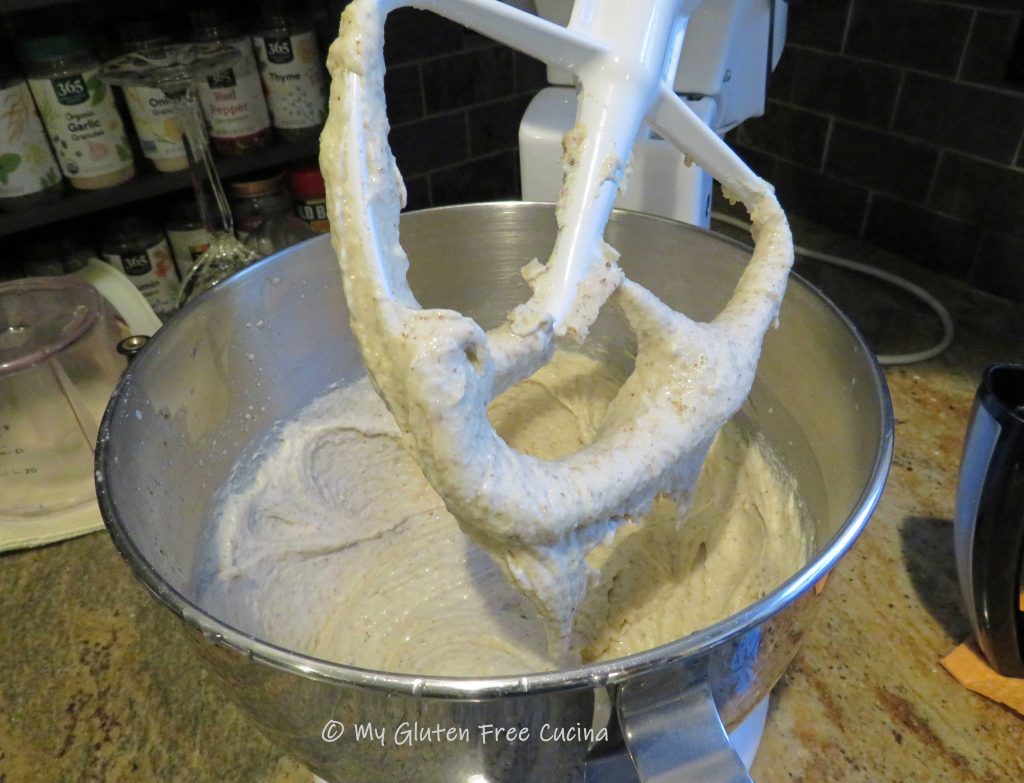
Whisk it all together, and then add the dry ingredients into the wet.  Mix for 5 minutes with the paddle attachment.  The dough will be heavy and wet.
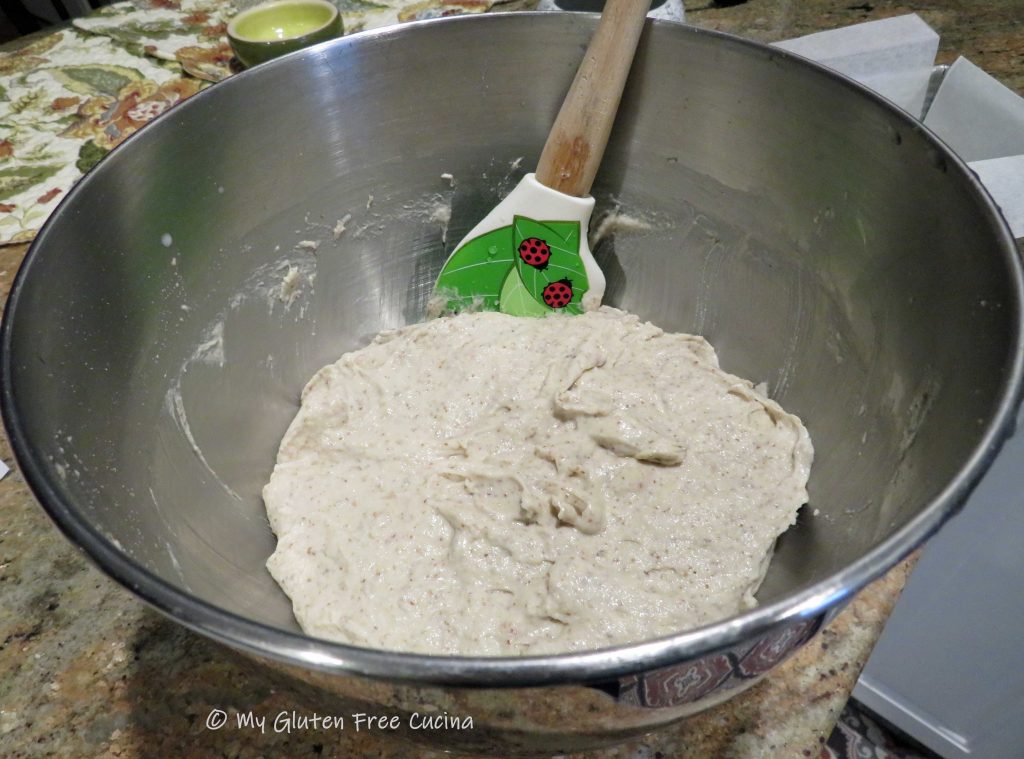
Scrape the dough into the prepared pan, smoothing out the top with a spatula dipped in water.
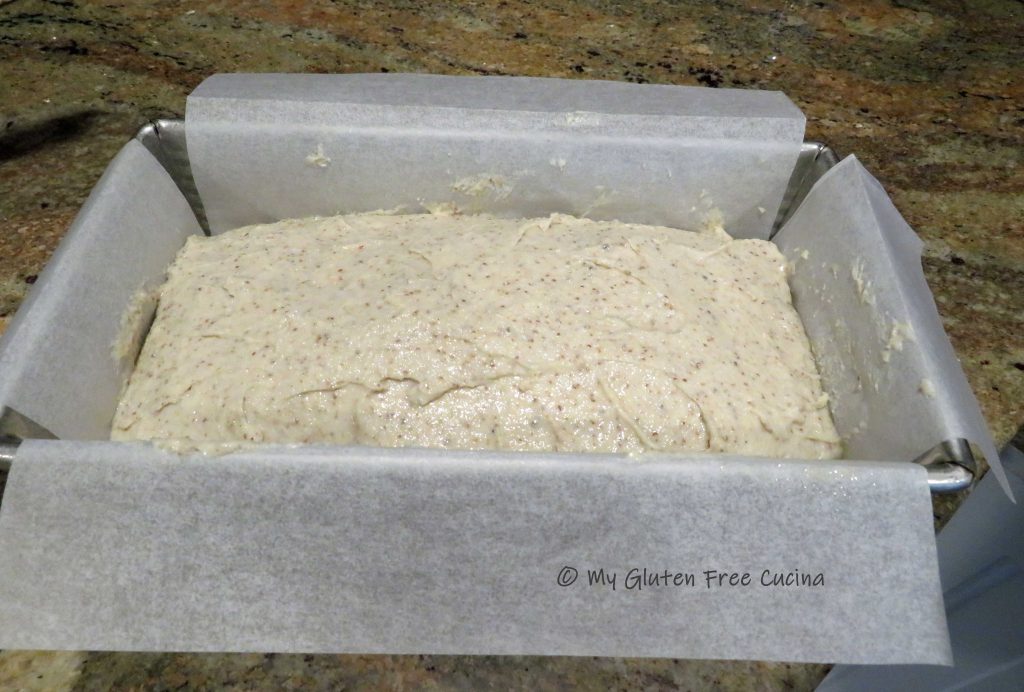
Covered with oiled plastic wrap and let it rise for 30 minutes while you preheat the oven to 400 degrees.

Brush the top of the loaf with milk, and sprinkle with sesame and poppy seeds.

Quickly make 2 diagonal slashes across the top of the loaf with a sharp knife.

Place the loaf on the middle rack of the oven, close the door and drop the temperature to 375º.  Bake 50-55 minutes, or until the internal temperature reaches 205º (use a thermometer).

Cool in the pan 15 minutes, then transfer to a rack.

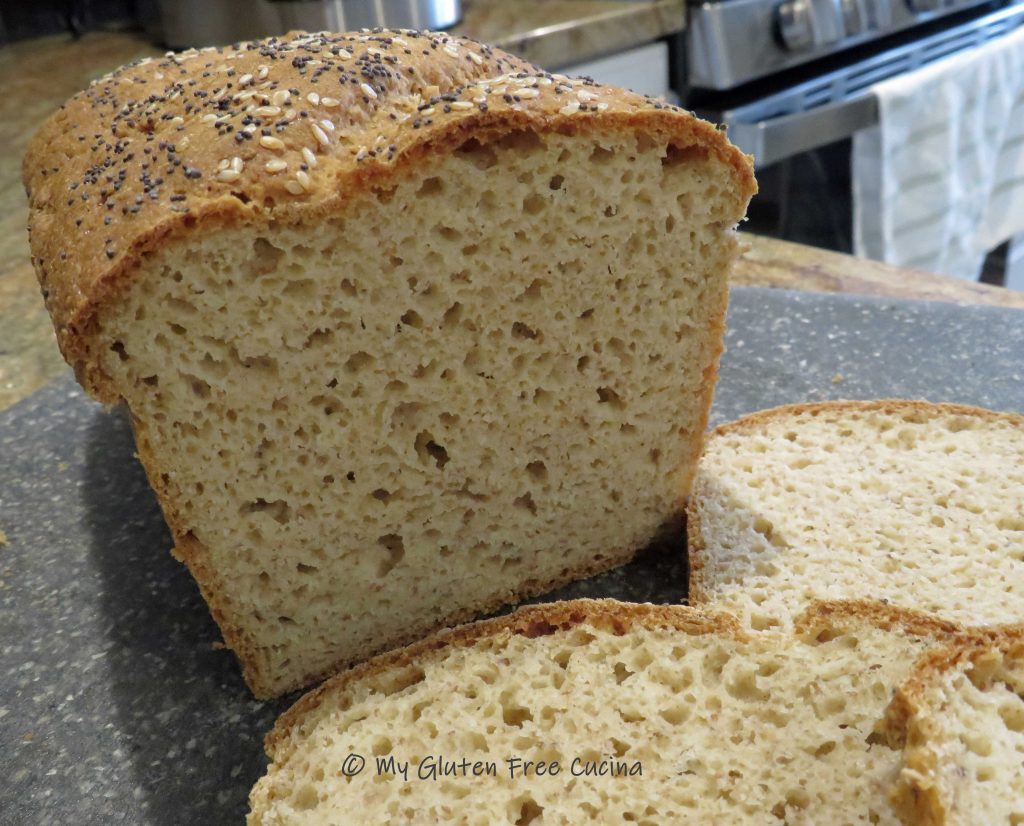
Cool to room temperature, then bag it and let the loaf stand at room temperature overnight.  Resist the urge to cut into that loaf right away, and your patience will be rewarded with this amazing crumb!  It is truly worth the wait!

Notes ♪♫ You might be interested to know that I mill some of my flour from the whole grain.  In this recipe, I used my KitchenAid grain mill attachment to mill whole sorghum berries into flour.  For the teff flour, I ground whole teff grain in a coffee grinder.  Storing grain in its whole form will keep it fresh longer, great for those infrequently used ingredients.  If you would like to learn more about using a grain mill, check out this post.

Print This Post Print This Post

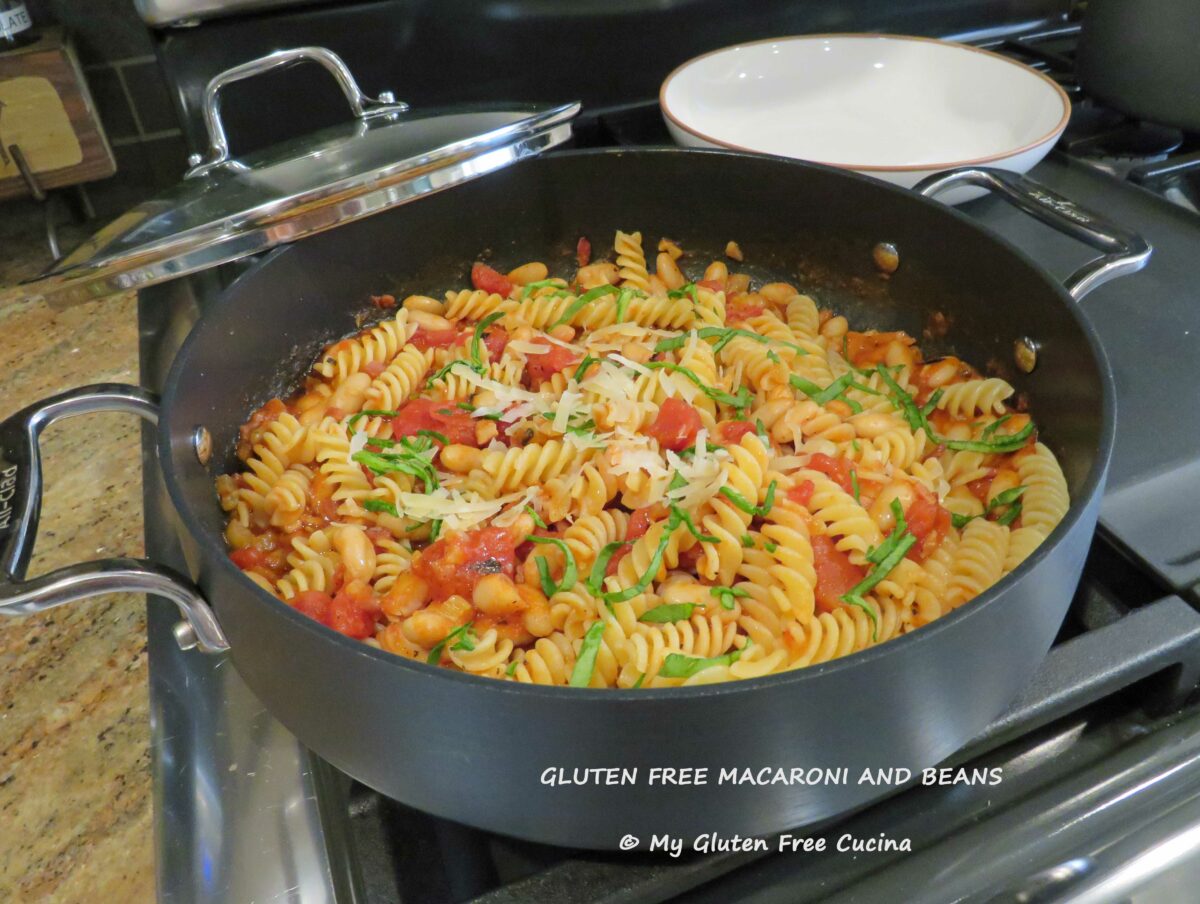
Gluten Free Macaroni and Beans

I’ve been making this fast and easy peasant dish for over 30 years.  Long before I knew I had Celiac!  It satisfies my craving for comfort food with a minimal amount of fuss.  I serve it right in the pan for easy cleanup.

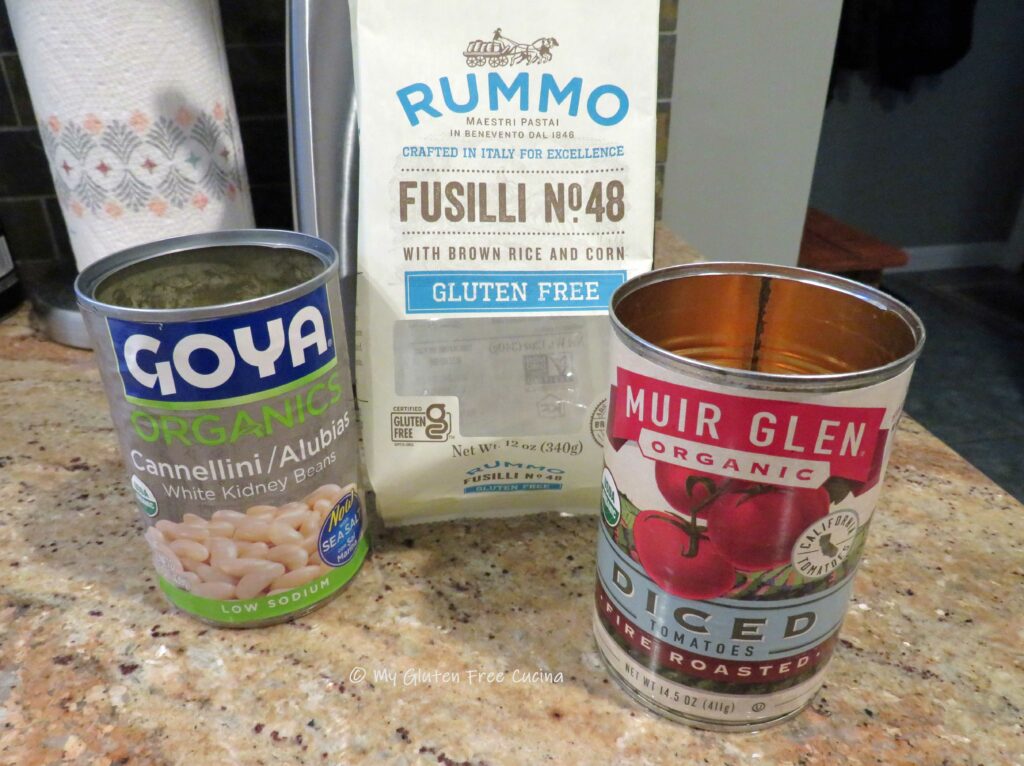
After I was diagnosed, I quickly realized that the pasta was the only ingredient that had to be changed to make this meal gluten free!  I used one of my favorites, Jovial Brown Rice Fusilli cooked to al dente.

The recipe is not difficult, and you probably have most of the ingredients in your pantry!  Here’s what you will need…

This post contains affiliate links.

Ingredients:

  • 1 can diced tomatoes
  • 1 can cannellini beans, drained and rinsed
  • 4 cloves garlic, minced
  • 1 stalk celery, small dice
  • 2 oz. pancetta or bacon, diced
  • 2 tbsp. tomato paste
  • olive oil
  • 3/4 tsp. Italian seasoning
  • fresh ground pepper
  • 8 oz. gluten free pasta
  • fresh basil
  • fresh Italian parsley
  • parmesan cheese

Preparation:

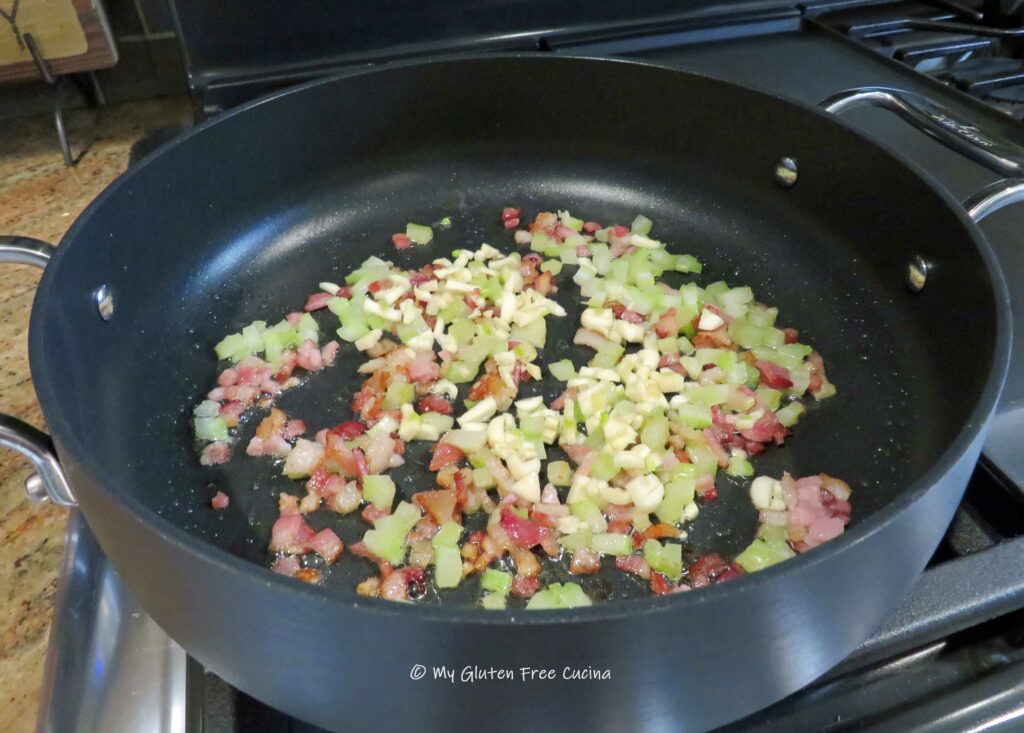
Render the pancetta or bacon in a deep skillet.  Add a little olive oil, along with the celery.  Cook for 3 minutes then add the garlic.  Cook for 1 minute more, stirring frequently.

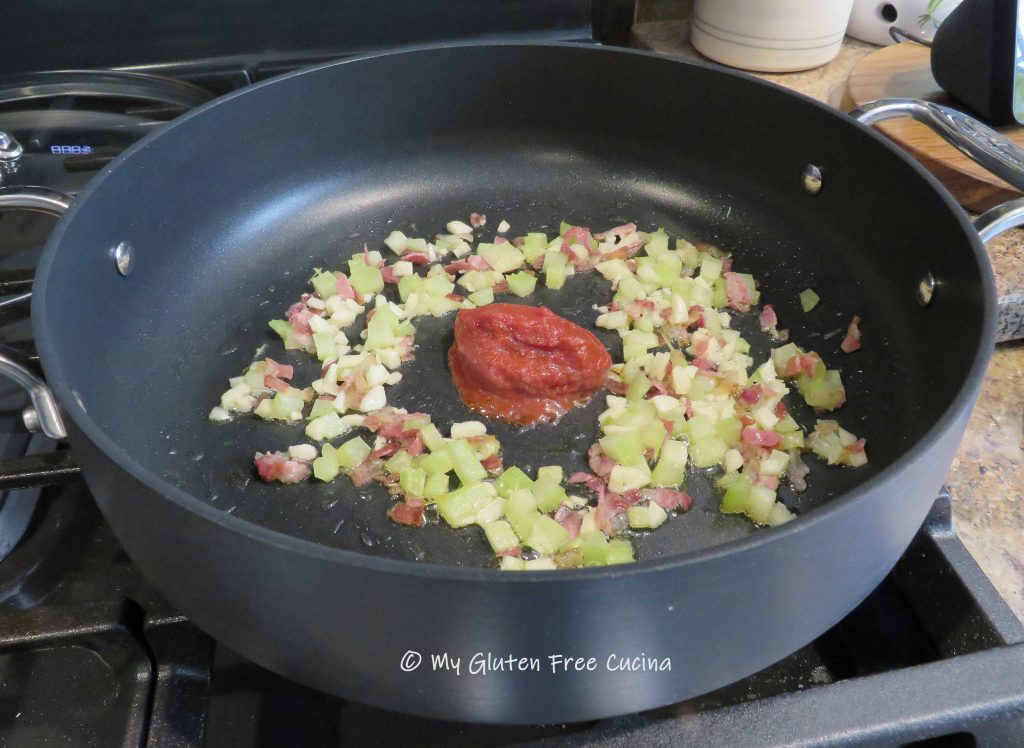
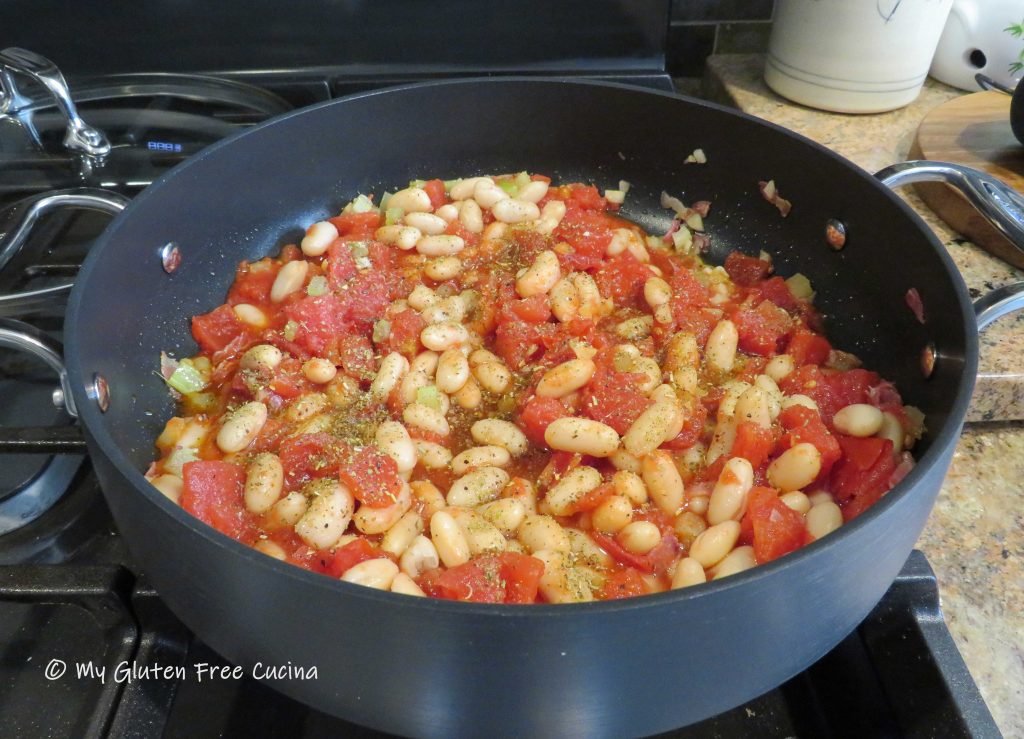
Make a space in the center of the skillet and drop in the tomato paste.  Toast it for just a minute, then stir in the drained beans and diced tomatoes, with all of their juices.

Sprinkle with Italian seasoning and fresh ground pepper to taste, then simmer on low for 15 minutes.

Cook pasta according to package directions.

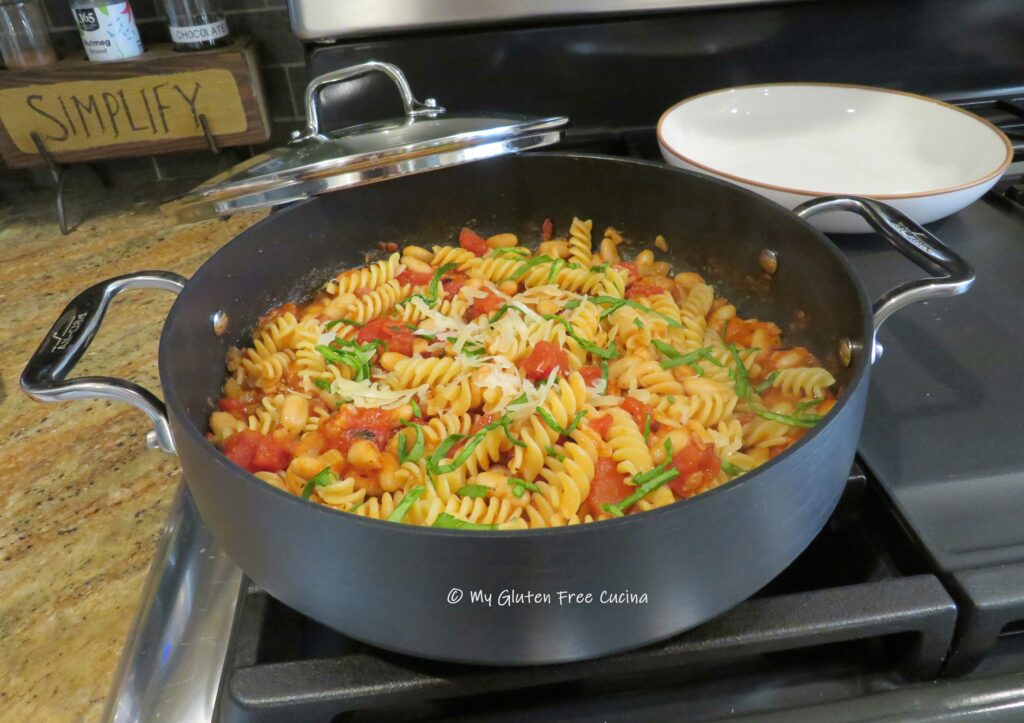
Drain the pasta and add it right into the skillet.  It’s peasant food, you don’t need a serving dish!  Toss well and garnish with a drizzle of olive oil and some chopped fresh herbs.  I used Italian parsley and basil from my garden.

Serve with grated cheese if you like.

Notes ♪♫ Is pancetta a part of your gluten free pantry?  I buy the 4 oz. packages of diced uncured pancetta and store them in the freezer.  It adds just the right amount of salt and flavor to dishes like this one!

Originally published July 19, 2022                      Updated August 8, 2023

Print This Post Print This Post

Lemon Herb Chicken Breast

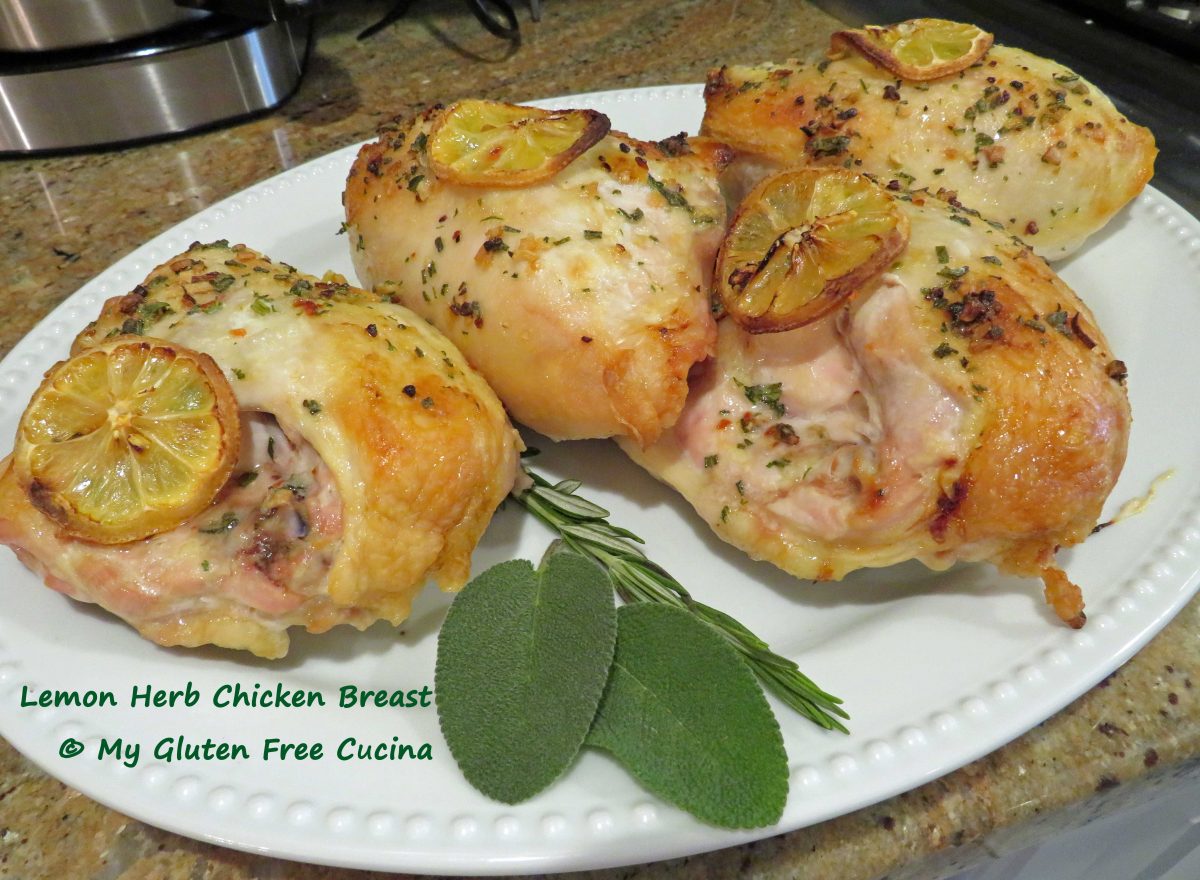
Look at this beautiful platter of roasted chicken!  I definitely had big eyes when I was shopping for chicken breasts, they were much bigger than I imagined, so huge and meaty!  Enough for dinner with leftovers for sandwiches the next day.

It can be a challenge to cook chicken breast without drying it out.  That’s why bone in, skin on chicken breasts are a great choice for roasting.  The butter and herb rub gives the chicken a nice, crispy skin and helps retain moisture.  Size matters for cook time, so be sure to use a thermometer to check the internal temperature.

I used fresh herbs from my garden to make the herb butter.  The minced sage, thyme and rosemary pair so well with poultry.  If using dried herbs, reduce the quantity to 1 tbsp.

This post contains affiliate links.

The roasting pan you see in the pictures was my mother’s.  Never used, still in the package when I inherited it over 35 years ago, it’s still going strong.  No doubt it came from one of her beloved catalogs that were popular back in the day.  If you are looking for something similar, here’s one that you can order from Amazon.

Ingredients:

  • 1/2 sweet onion
  • 2 celery stalks
  • 2 carrots
  • 4 whole chicken breasts
  • 5 oz. butter, softened
  • 3 tbsp. olive oil
  • 2 tbsp. fresh herbs, minced (I used sage, rosemary and thyme)
  • 2 tsp. Italian seasoning (I like this one)
  • 1 lemon, sliced
  • 1 cup water
  • cooking spray

Preparation:

Preheat the oven to 350º and mist the roasting pan and rack with cooking spray.  Arrange the aromatics (onion, celery and carrots) in the bottom of the pan.  Place the rack in the pan.

Combine the softened butter, olive oil, minced herbs and Italian seasoning and mash together with a fork.  Rub the mixture over the chicken breasts and top each with a slice of lemon.  Place the chicken breasts on the rack.

Add one cup of water to the bottom of the pan and roast uncovered for 1 hour and 20 minutes or until the internal temperature reaches 170º (again, use a thermometer).

Transfer to a serving dish and serve.

Notes ♪♫ Don’t discard all those goodies in the bottom of the pan.  I like to toss it all into a pot with the chicken bones to make soup stock.  Nothing goes to waste, and you get a second meal!

Print This Post Print This Post

Gluten Free Cannelloni with Béchamel

Did you ever spend the better part of a day working on a recipe, and think you may never make it again?  Because it’s too much work?  That’s how I was feeling as I worked on this dish – until I took that first bite.  Oh, my goodness, this was absolutely divine!

Cannelloni con Besciamella – Cannelloni with Béchamel is a labor-intensive dish that is well worth the time and effort, it is swoon worthy!  Recipes like this one are a wonderful way to pass a Sunday afternoon.  For those who can’t spend all that time, I have broken down the recipe into four steps, some of which can be made ahead.  So, whether you go for the entire recipe or spread it over 2 days, I’ve got you covered.  Also, see notes at the end for shortcuts!

8 Servings

This post contains affiliate links.

The pasta dough was made with Better Batter Original Blend, and I used my KitchenAid pasta roller attachment to roll out the sheets of fresh pasta.

Shop Better Batter and use my code MGFC30 at checkout to receive 30% off any non-sale item! 


– – – – – – – – – – – – – – – – – – – – – – – – – – – – – – – –  –

THE STEPS

1. the Marinara        2. the Filling        3. the Pasta        4. the Béchamel

– – – – – – – – – – – – – – – – – – – – – – – – – – – – – – – –  –

Step 1 – Make the marinara sauce (can be made ahead)

Heat the olive oil in a medium saucepan.  Add the onion and garlic and cook 2 minutes on low heat.  Add the tomato paste in the center of the pan.  Let it toast for a minute then stir it all together.

Add the tomatoes, seasoning, sugar and red pepper flakes.

Cover and simmer on low for 2 hours, stirring occasionally.  I like to use a simmer mat, so the bottom doesn’t burn.  Toward the end of cooking, use a stick blender to process into a sauce.

Step 2 – Make the filling (can be made ahead)

  • 1 tbsp. olive oil
  • 1/2 lb. ground pork
  • 1/2 sweet onion, divided use
  • 1/3 cup white wine
  • 1 small carrot
  • 1 small celery stalk
  • salt, to taste
  • 2 tsp. tomato paste
  • 1 cup chicken stock
  • 1/3 cup beef stock
  • 1 tsp. arrowroot flour
  • 1 cup baby spinach, chopped
  • 2/3 cup grated parmesan
  • 1 tsp. fresh grated orange zest

Cut half of the sweet onion into small dice (about 1/3 cup).  Add the olive oil to a stainless-steel skillet on medium low heat.  Cook the diced onion and ground pork, breaking up the meat with a spatula.

Add the wine and continue cooking slowly, stirring frequently until most of the liquid evaporates.

Mince the carrot, celery and remaining onion in an electric chopper.

Add the minced veggies to the pork and stir well.

Make a spot in the center of the pan and add the tomato paste.  Let it toast for a minute before stirring it into the pork and veggies.

Add the broth with salt to taste.

Sprinkle the arrowroot evenly over the mixture and stir it in.  Simmer on low until the filling has thickened.  Stir in the baby spinach.  The filling should be moist, but not watery.

Transfer to a bowl and stir in the orange zest and parmesan.  Set it aside while you make the pasta and béchamel.

Step 3 – Make the pasta

Combine 140 g. flour and salt.  In the bowl of a stand mixer, whisk the eggs and olive oil together.  Add the flour mixture and beat with the paddle attachment for 5 minutes to form a soft dough.

Bring the dough together and sprinkle with more flour, then wrap in plastic wrap.  Let the dough rest for 15 minutes.

Divide the dough into 4 sections and work with one piece at a time.  Begin feeding it through the pasta roller, starting with the thickest setting.  Pass it through several times, adding more flour as needed, then begin increasing the roller setting each time until you have a sheet that is thin without tearing the dough.

For this recipe, setting 3 on a KitchenAid pasta roller attachment is the perfect thickness.  Repeat with each section and lay the sheets on floured parchment or wax paper.

Cut each section into 5-6″ pieces.

Step 4 – Make the Béchamel

  • 1-1/2 tbsp. butter
  • 1-1/2 tbsp. arrowroot flour
  • 1/4 cup heavy cream or half and half
  • 1/2 cup 2% milk
  • 1/4 cup stock (chicken, beef or vegetable)
  • salt and pepper to taste

Melt the butter in a small nonstick saucepan.  Whisk in the arrowroot flour and cook 2-3 minutes over low heat, whisking constantly.

Drizzle in the milk, cream and broth and whisk continuously until thickened.  Season with salt and pepper.  Keep warm.

Assemble!

Finally!  The hard work is done, and it’s time to assemble.  Preheat the oven to 400º.

Coat a casserole dish with cooking spray.  Ladle enough marinara to cover the bottom of the pan, and top with a few ladles of Béchamel.

Spoon the filling evenly onto each section of pasta.

Roll each section into a cylinder and arrange the bundles in a single layer, seam side down in the casserole dish.

Spread the remaining sauce over the cannelloni, then top with more Béchamel.  Be sure that all of the pasta is generously covered with the sauce, including the edges.  Sprinkle the top with grated parmesan cheese and cover the dish with foil.

Bake for 15 minutes, then carefully remove the foil and bake for another 15 minutes.

As the pasta bakes it will absorb liquid and thicken the sauce.  The filling is delicious and moist.  Garnish with fresh basil and dig in!

Notes:

I won’t tell if you use a gluten free jar sauce (wink!).

Use a wine that you can/would drink.  Do NOT use cooking wine!

♪♫ Don’t skip the fresh orange zest.  It adds a subtle burst of amazing flavor to the finished dish!

♫♫ Homemade pasta is fabulous, but if you’re not up to the task, try to find fresh gluten free lasagna sheets such as Taste Republic.  You will need about 8 lasagna sheets for this recipe.  Lay them out on floured parchment and cut each sheet in half.  I do not recommend using dry pasta in this recipe, as it needs to be cooked in advance in order to roll properly and will not absorb enough liquid, resulting in a soggy finished dish.

Print This Post Print This Post

Sausage Stuffed Turkey Rolls

Italian sausage, crumbled with celery and panko, all rolled up in thin sliced turkey cutlets.  This was one of my favorite meals of late.  A bit reminiscent of Thanksgiving dinner, minus the 20 side dishes but still nice enough to serve to guests!

For this recipe, you only need a handful of ingredients, and buying thin sliced turkey cutlets makes the prep easy.  I like the 4-pack from Shady Brook Farms, available at local grocers like Stop & Shop, and Perdue also has a similar product available at Walmart.

This post contains affiliate links.

Ingredients

  • 1 lb. thin sliced turkey breast cutlets (4 cutlets)
  • 6 oz. Italian Sausage (2 links)
  • 1 small celery stalk, minced
  • 1/4 cup gluten free panko breadcrumbs
  • 1 tbsp. olive oil
  • salt and pepper, to taste

Preparation:

Heat olive in a stainless-steel skillet and begin cooking the sausage and celery, breaking up the meat with a spatula.

Brown the meat (it does not have to be cooked through), then transfer to an electric chopper and pulse a few times to further break down the meat into small crumbles.

Return to the skillet to finish cooking.  Stir in the panko breadcrumbs and set aside to cool.

Lay the turkey cutlets on a baking sheet or flat work surface.

Spread the sausage mixture over the turkey cutlets and roll them up, securing with toothpicks.  Wipe the skillet clean.  Add a little more olive oil and begin browning the cutlets starting with the seam side down.

Continue turning to quickly brown on all sides.  Do not cook through, they will finish in the oven.

Mist a baking dish with cooking spray and preheat the oven to 375º.  If you had any extra sausage stuffing, spread it in the bottom of the dish.  Add the turkey rolls.

Cover with foil and bake 25 minutes or until the internal temperature reaches 160º (check with a thermometer).

Serve with a side of wild rice and Mushroom Sauce or Turkey Gravy.

Notes ♪♫ The mushroom sauce that I spooned over the turkey rolls came out so good that I thought it deserved its own post.  Especially when Mr. Cucina started putting on everything!  Who knew?  Get the recipe here!

Print This Post Print This Post