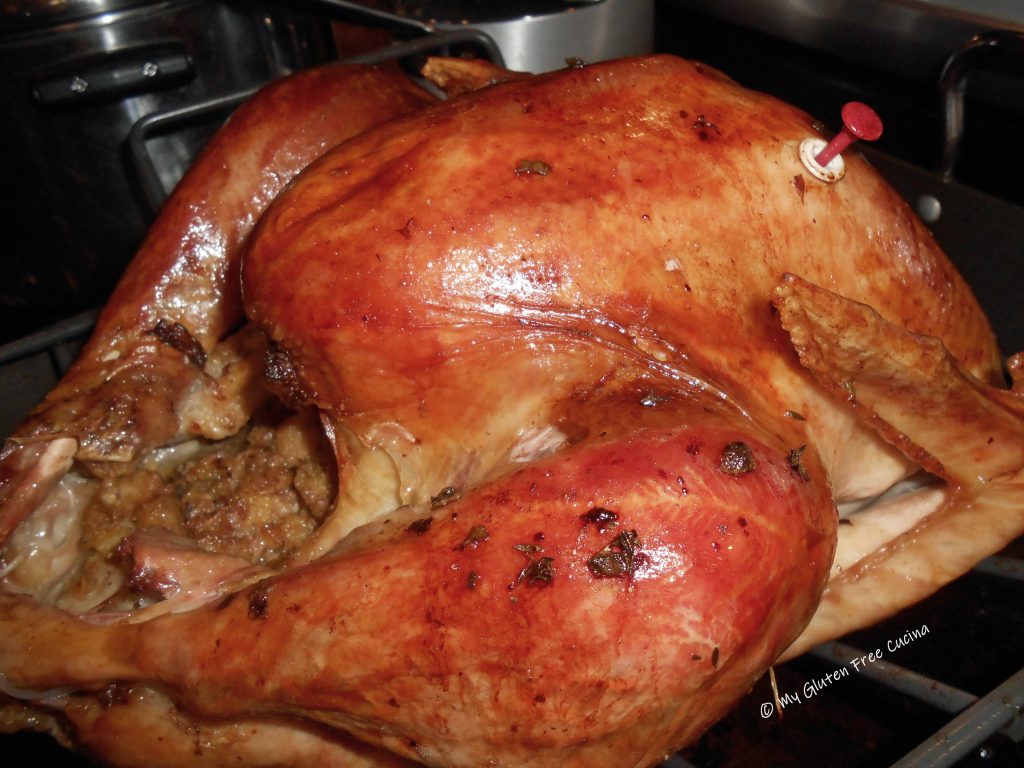
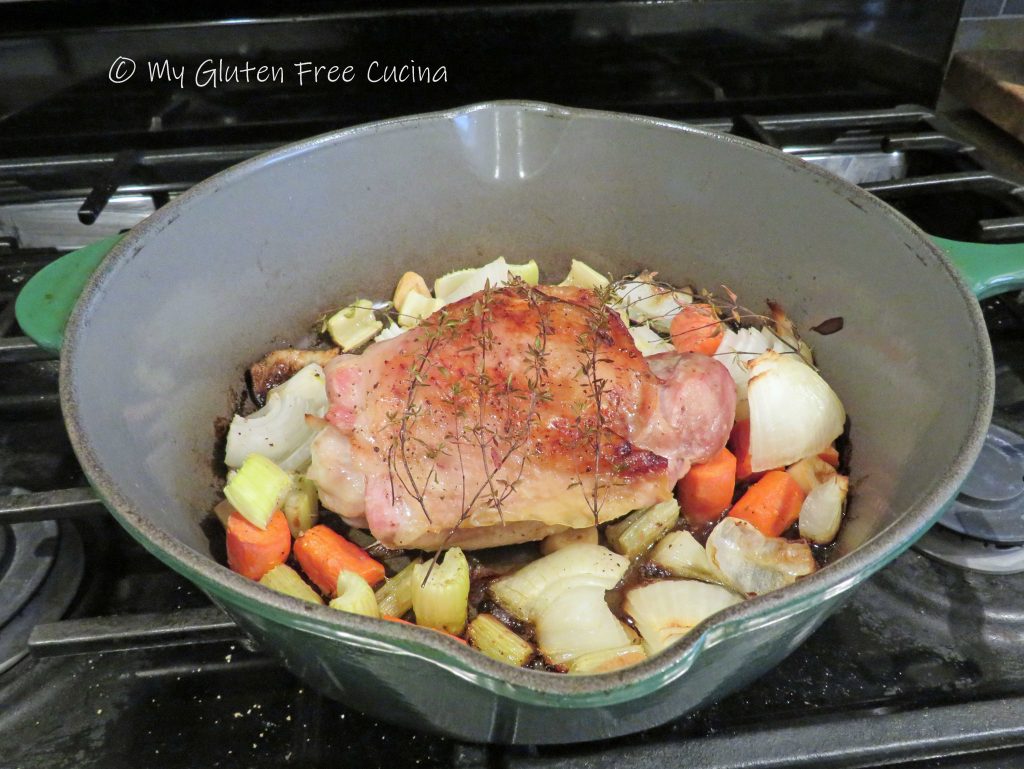
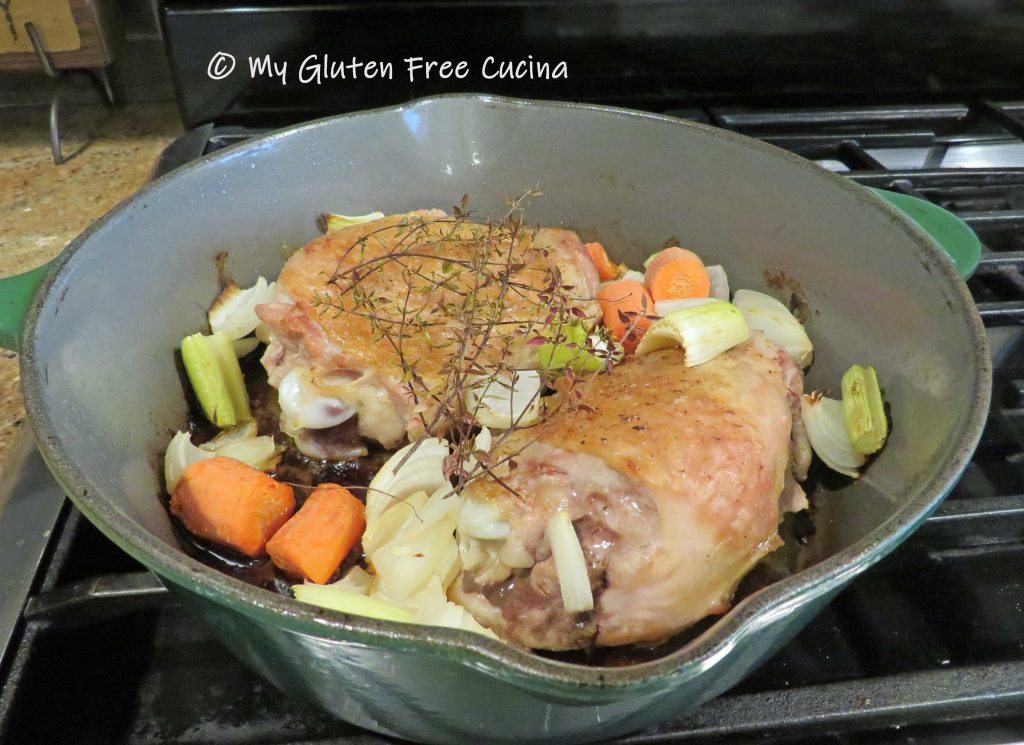
I have a wonderful recipe for Thanksgiving Turkey Gravy that I make every year. I start with fresh turkey legs or thighs, roast them and braise with aromatic veggies to make a rich, flavorful stock that makes the most amazing gravy. And while I love this make ahead recipe, I can appreciate that not everyone wants to go to all that trouble.
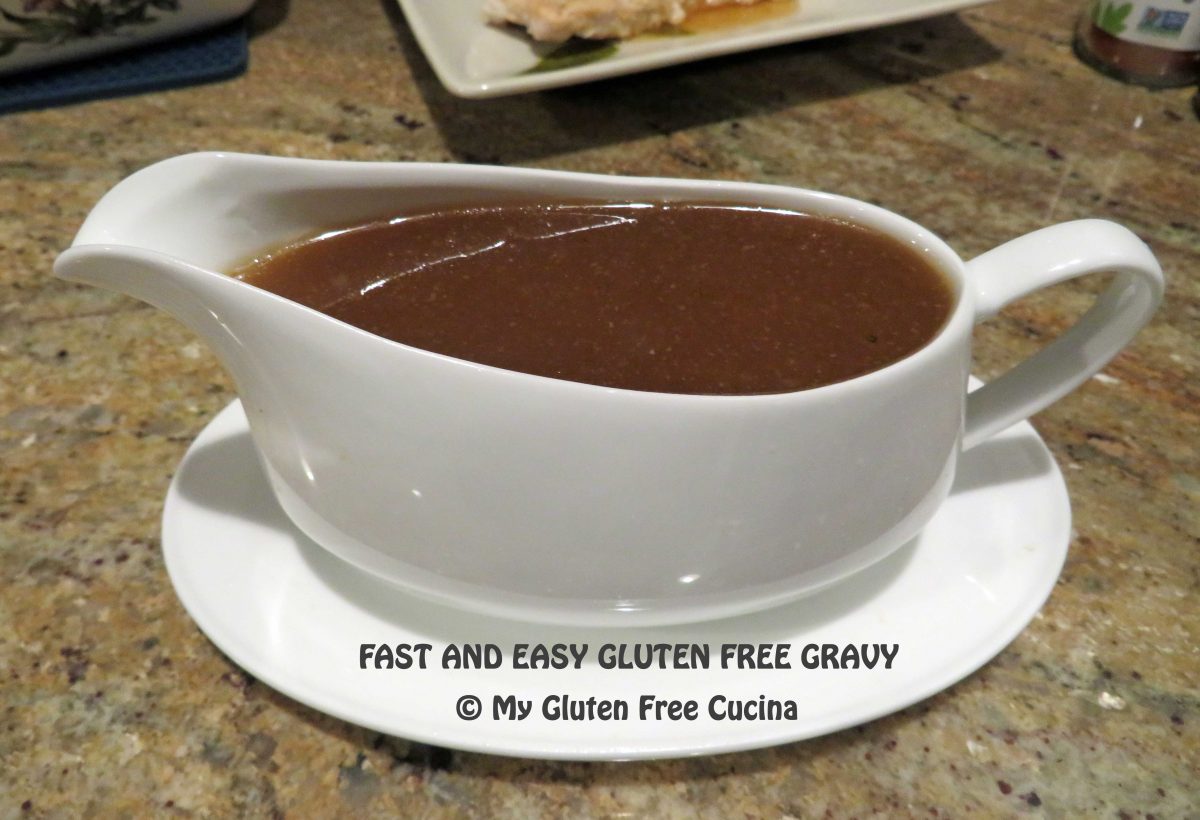
So, for all who are short on time and need a fast and easy recipe, this versatile gravy is for you! It can be made a day ahead or morning of the holiday, no pan drippings needed! It can be paired with pork, chicken, turkey, veal or even beef just by varying the base broth.
Arrowroot flour is gluten free and makes the smoothest roux, no lumps ever!
This post contains affiliate links.
4 Servings
Ingredients:
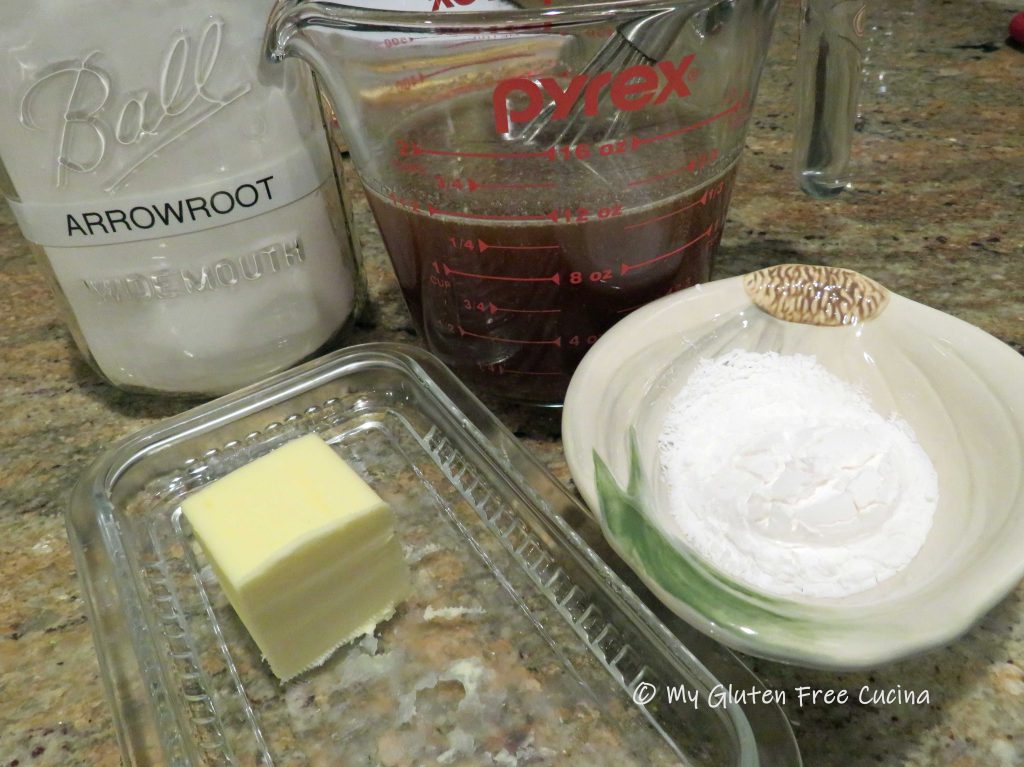
- 3/4 cup gluten free turkey stock OR gluten free chicken broth
- 3/4 cup gluten free beef broth
- 1 tbsp. unsalted butter
- 1 tbsp. arrowroot flour
- 1/4 tsp. onion powder
- 1/4 tsp. garlic powder
- salt and pepper, to taste
Preparation:
Whisk together the broth, onion powder and garlic powder in a microwave safe container. Microwave for 90 seconds.
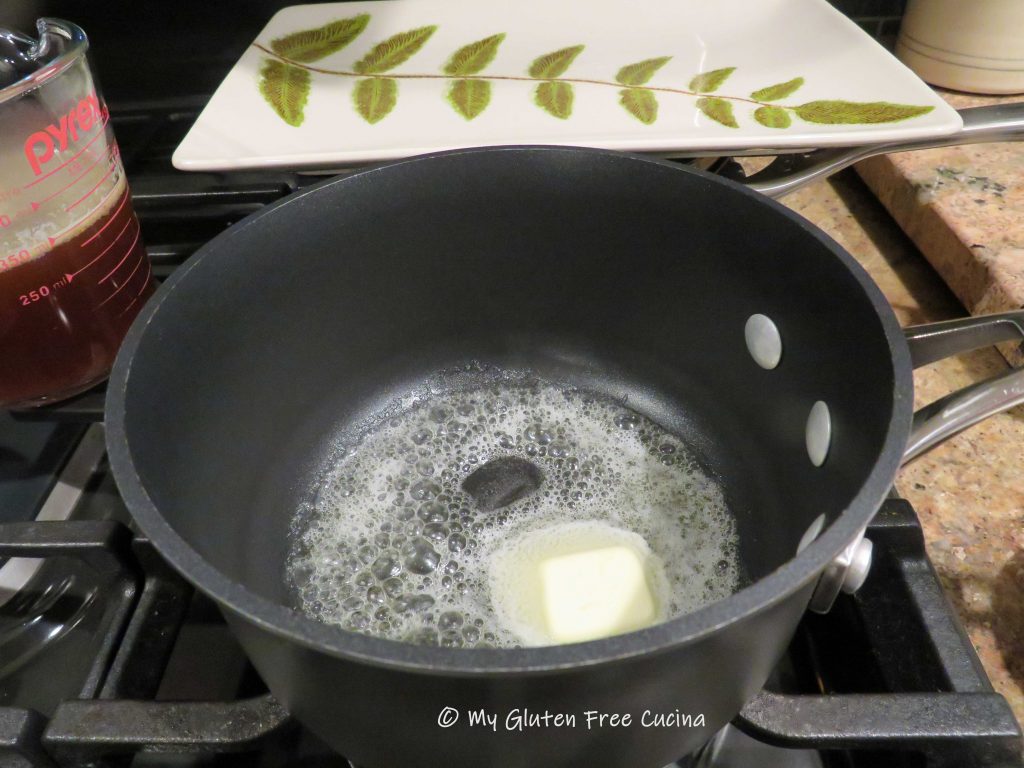
In a small nonstick saucepan, melt butter then whisk in the arrowroot flour to make a roux.
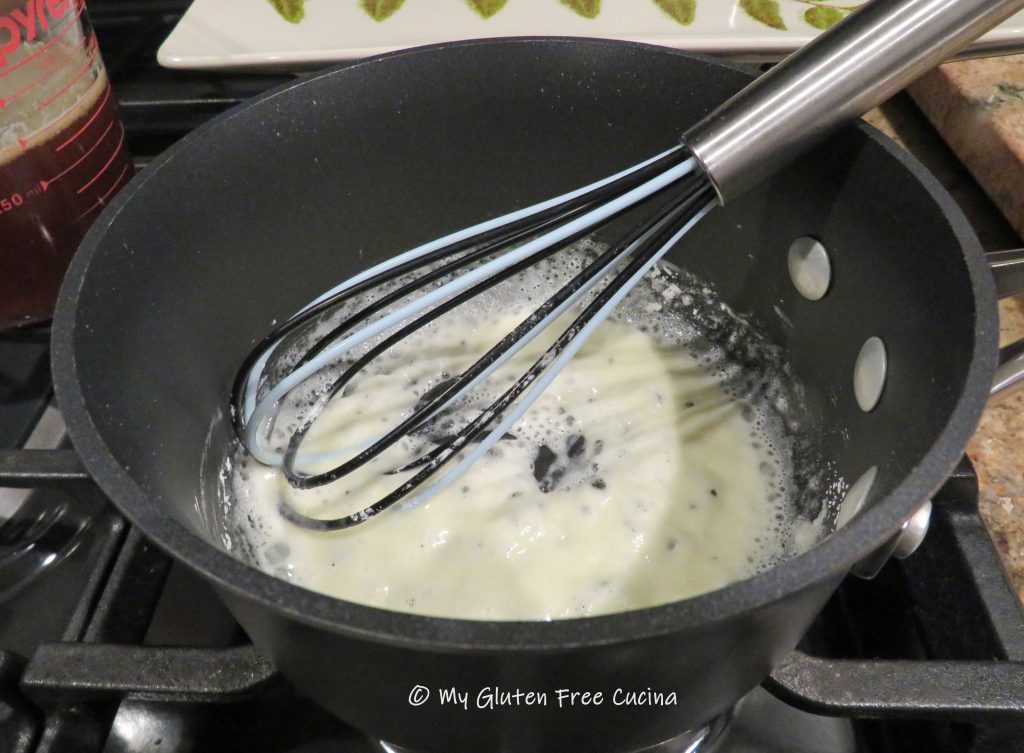
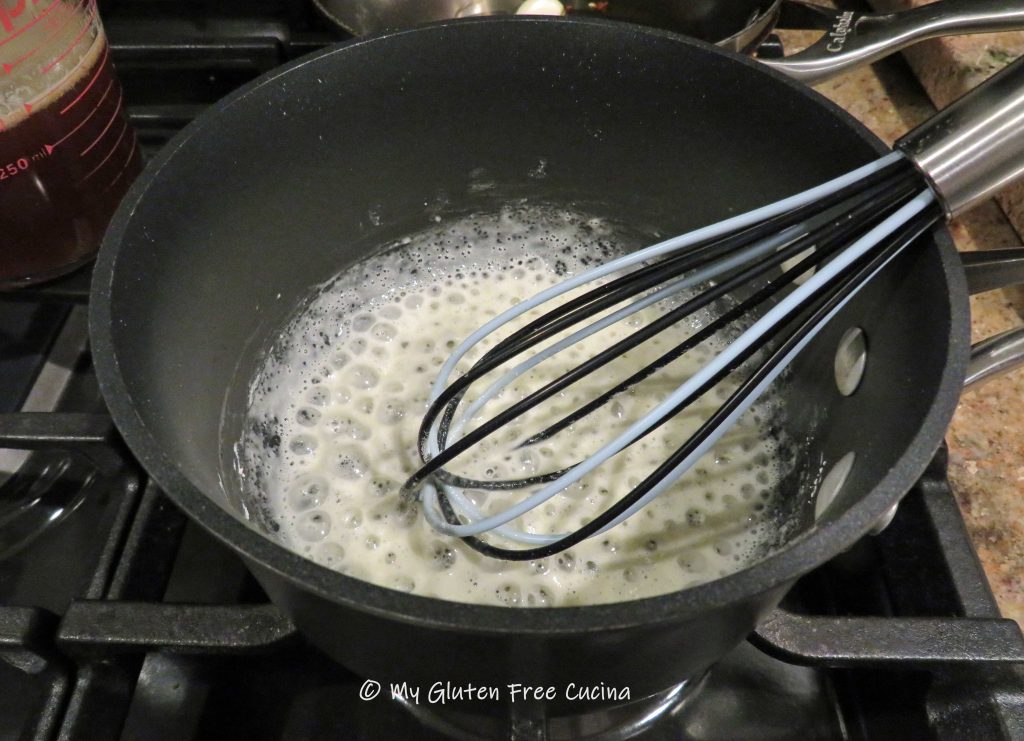
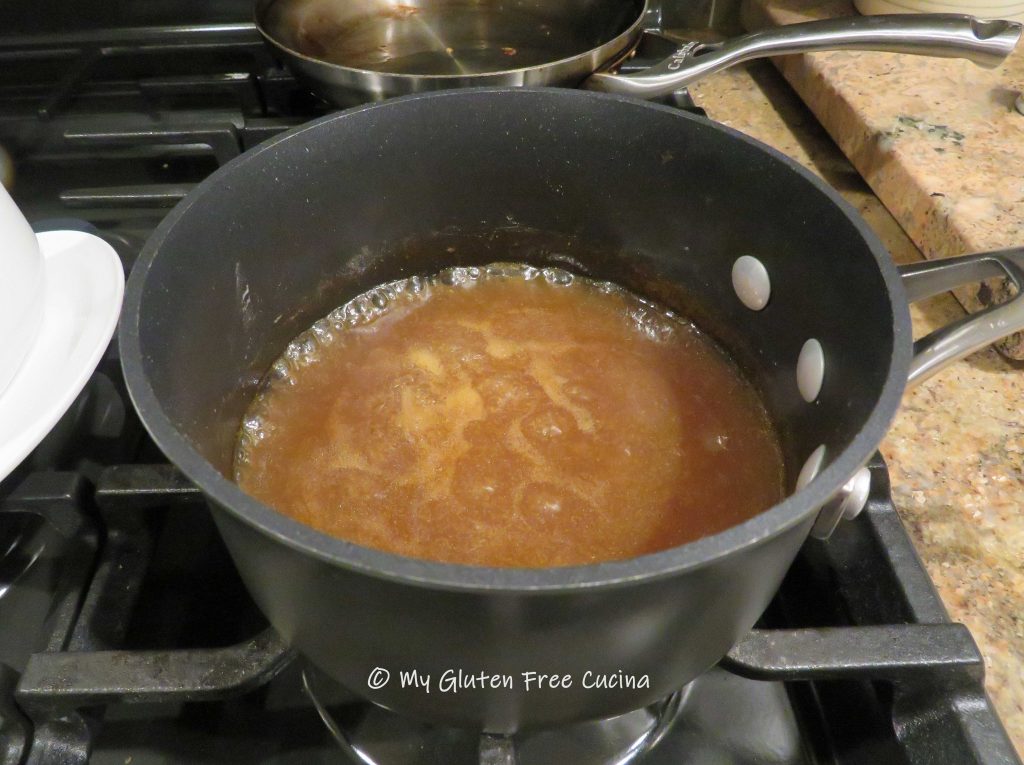
Continue whisking until the roux begins to take on a little color like this.
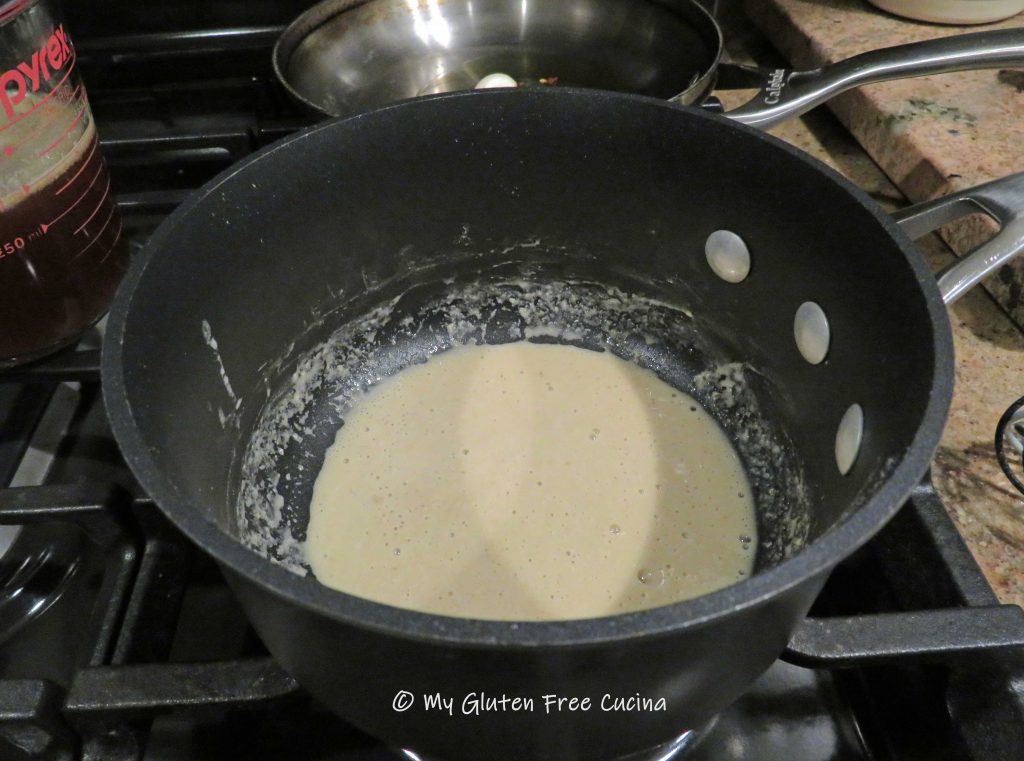
Then slowly stream in the warmed broth and whisk until smooth.

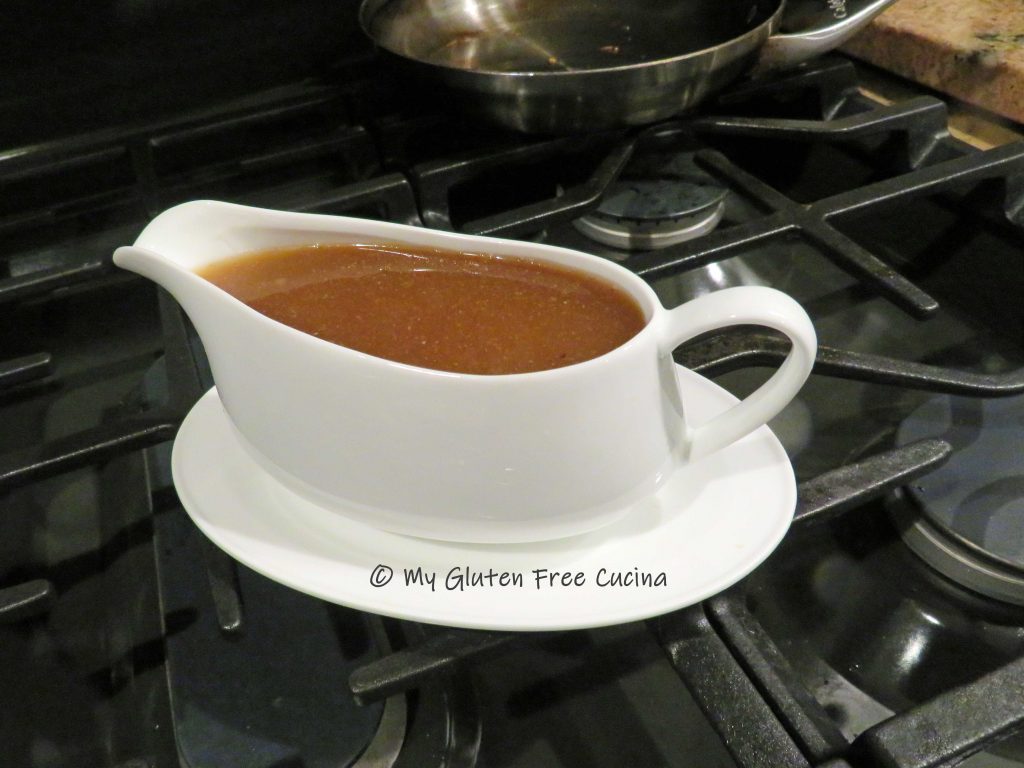
Continue simmering and when it reaches the color and thickness you prefer lower the heat and keep warm.
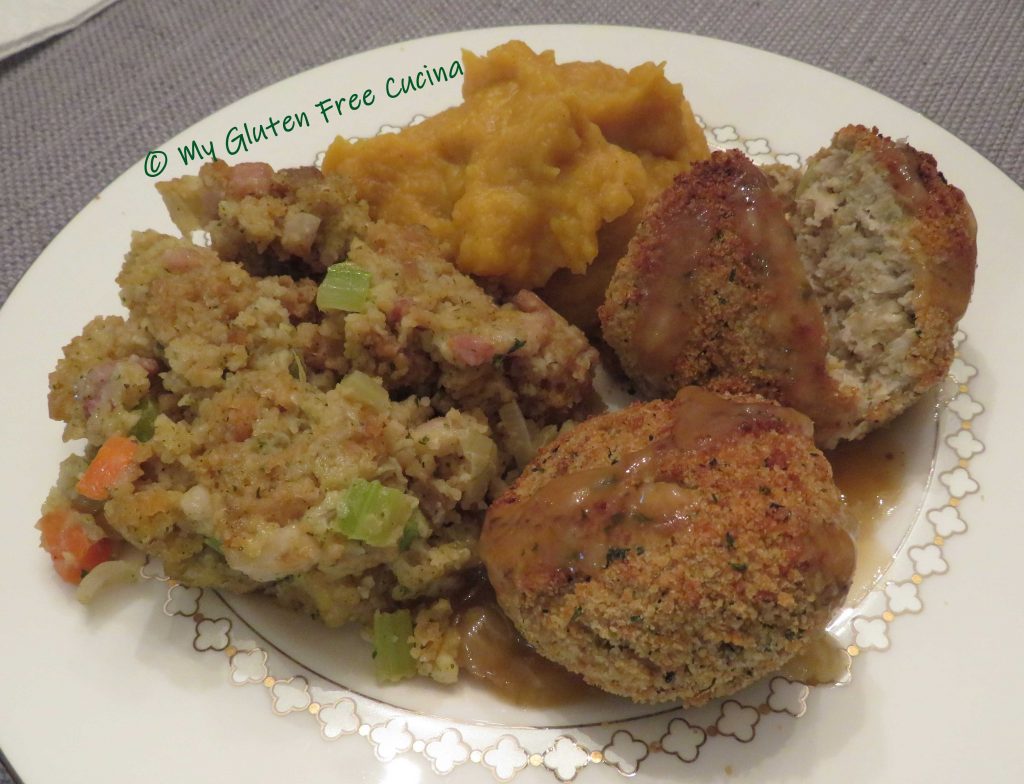
This is a gravy that you can whip up while you make dinner, even on a busy weeknight. I made it to go with grilled turkey cutlets and it was very good if I do say so!
Notes ♪♫ One of the things I love about this gravy, is that in addition to being gluten free, you can control the salt content. For those on a low sodium diet, start with salt free broth, unsalted butter and use garlic and onion powder (not salt). You can always adjust the taste by adding salt, but you are in control!


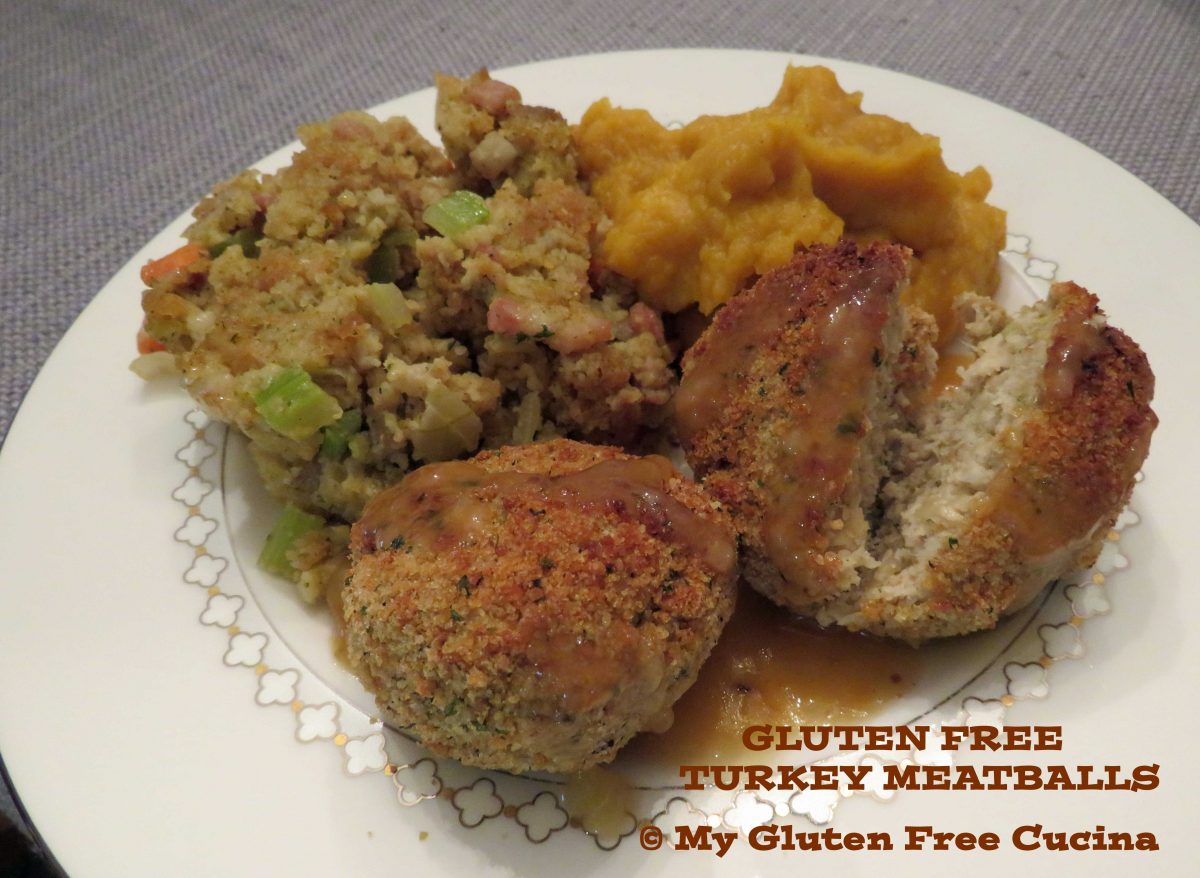
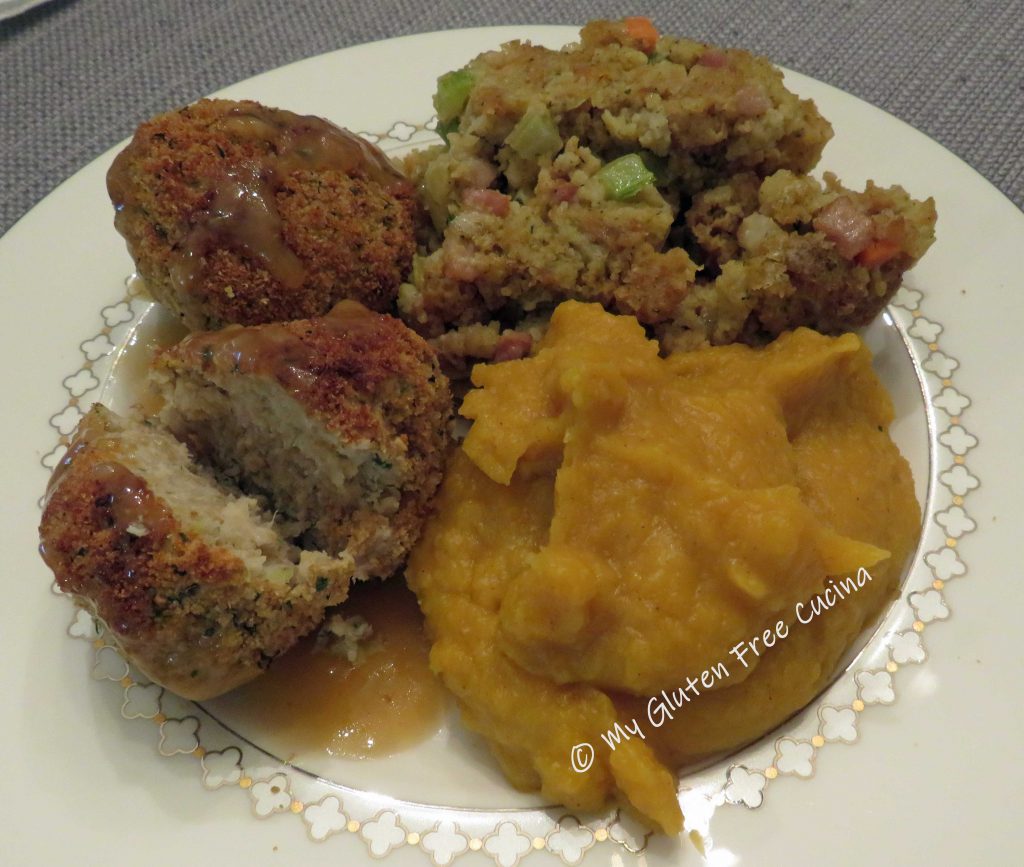


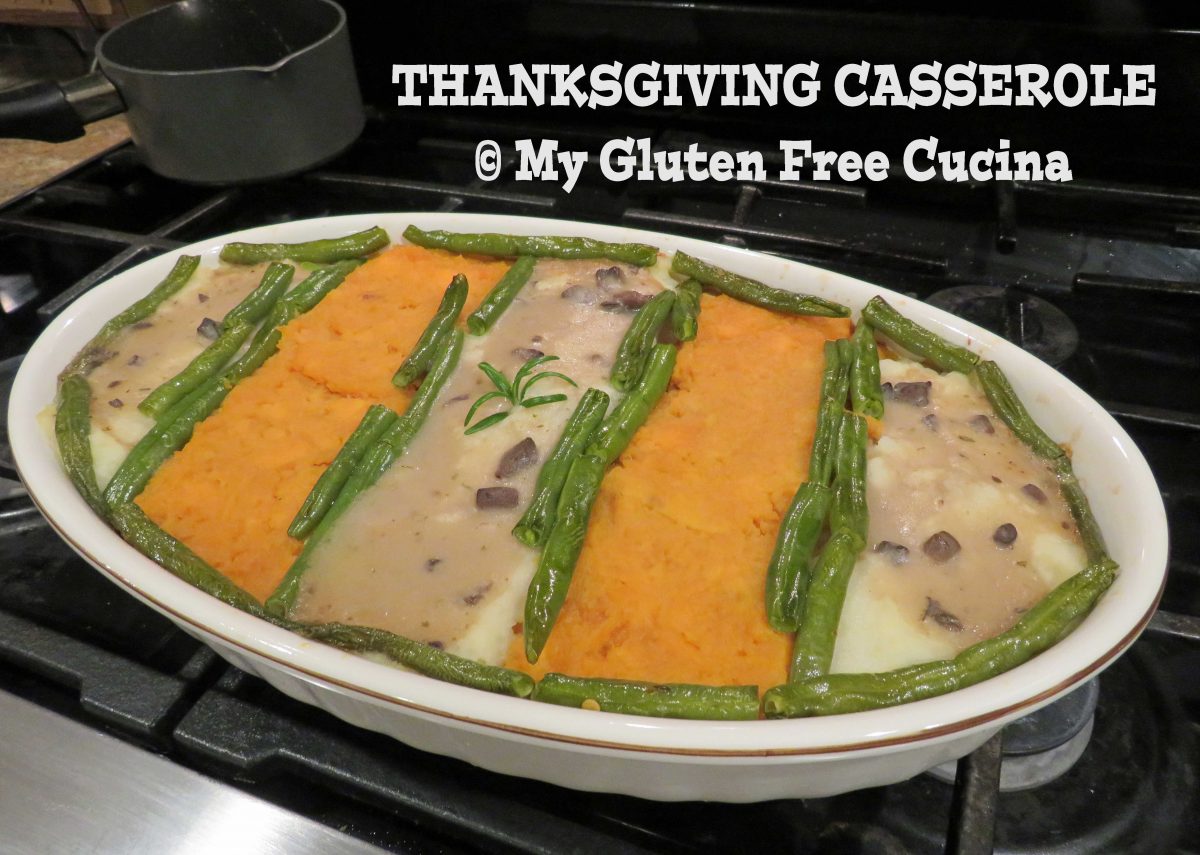
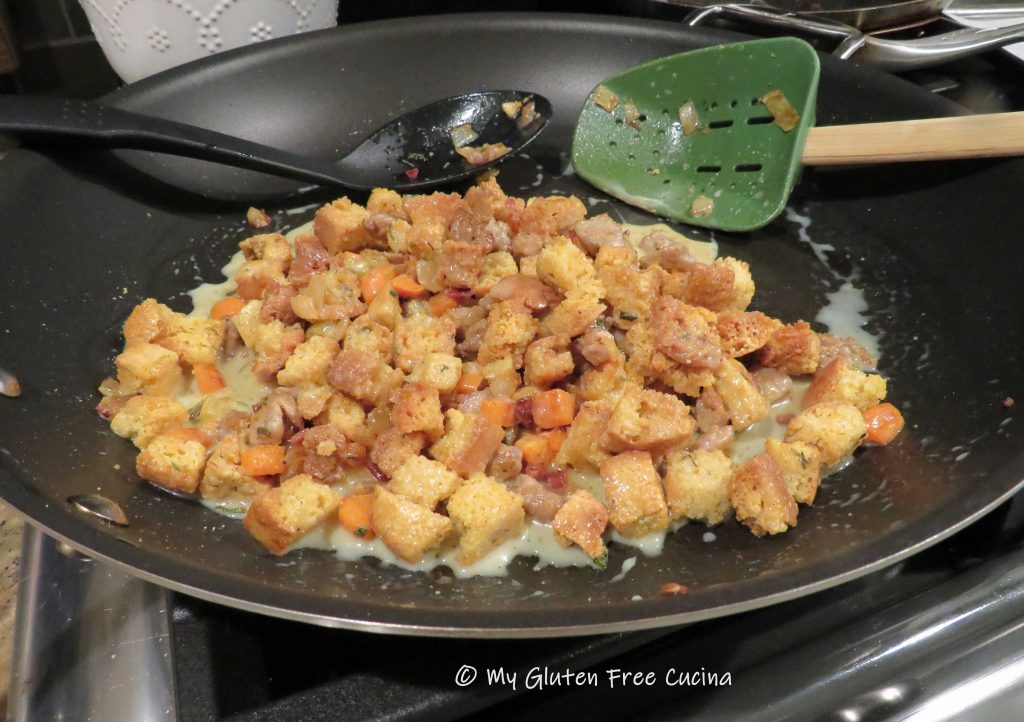
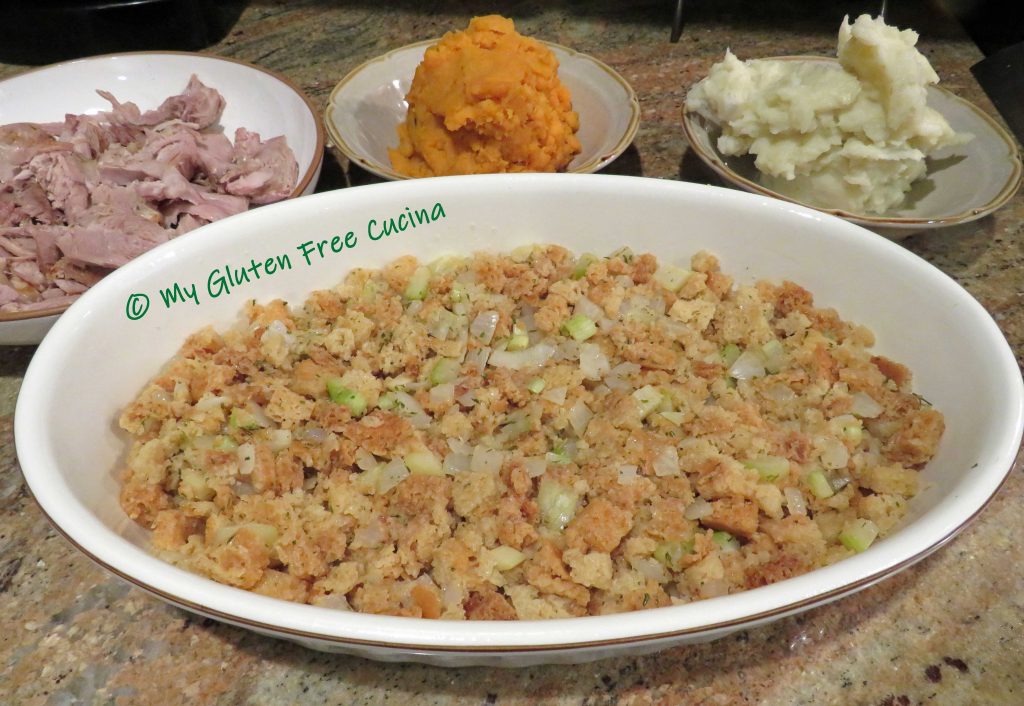
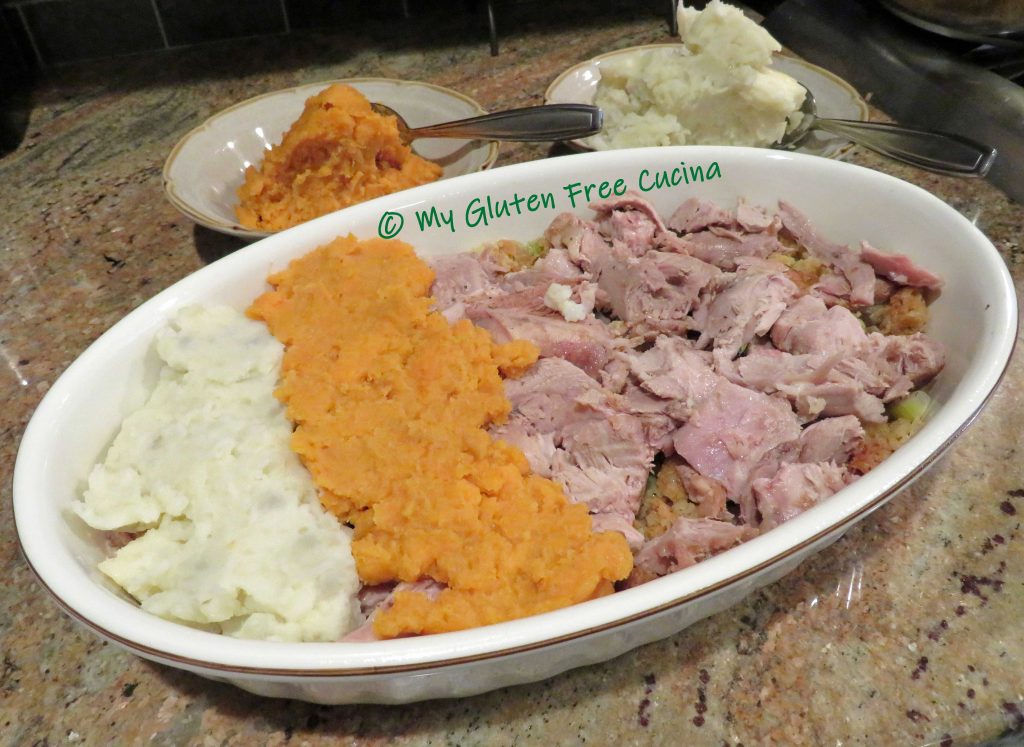
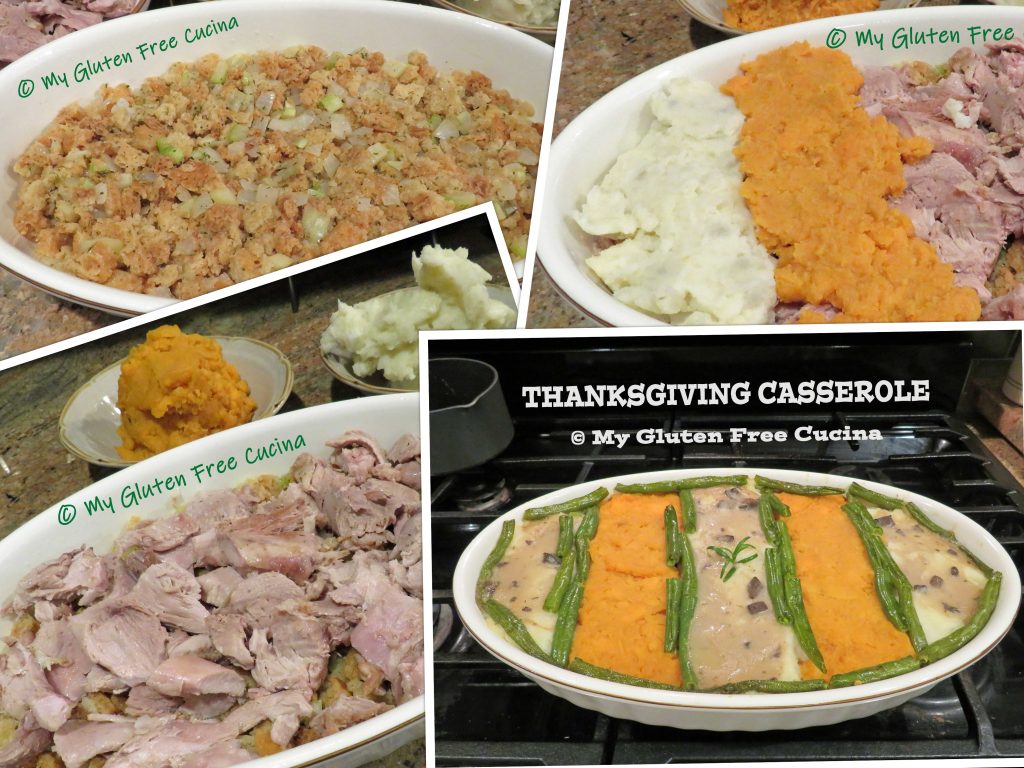 You can make each layer from scratch for a casual take on the traditional Thanksgiving meal or throw it together the next day with your Thanksgiving leftovers!
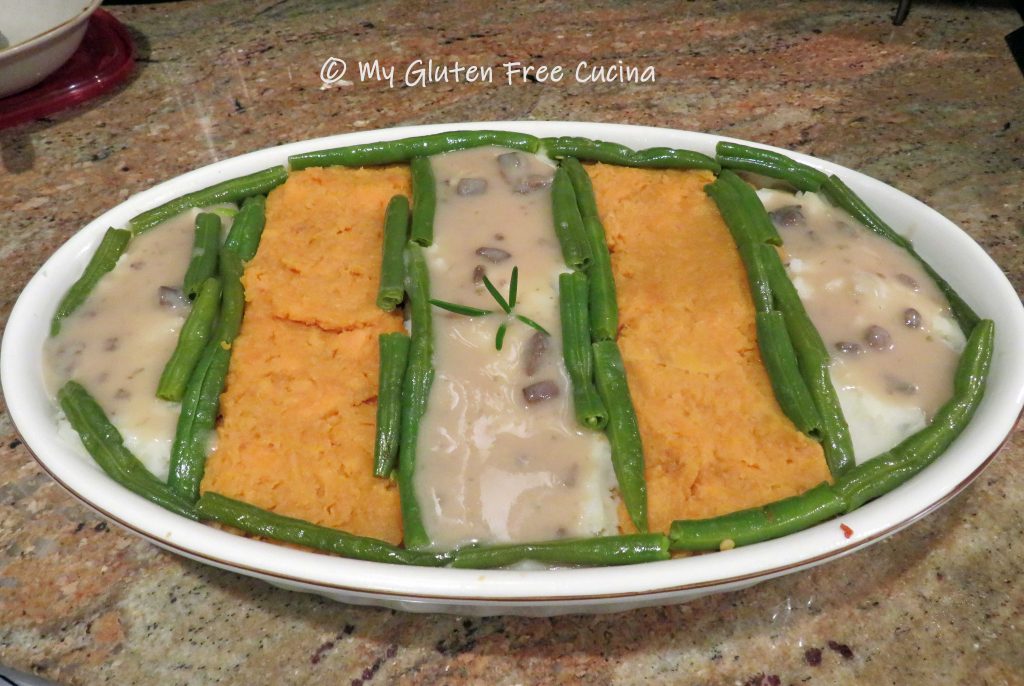


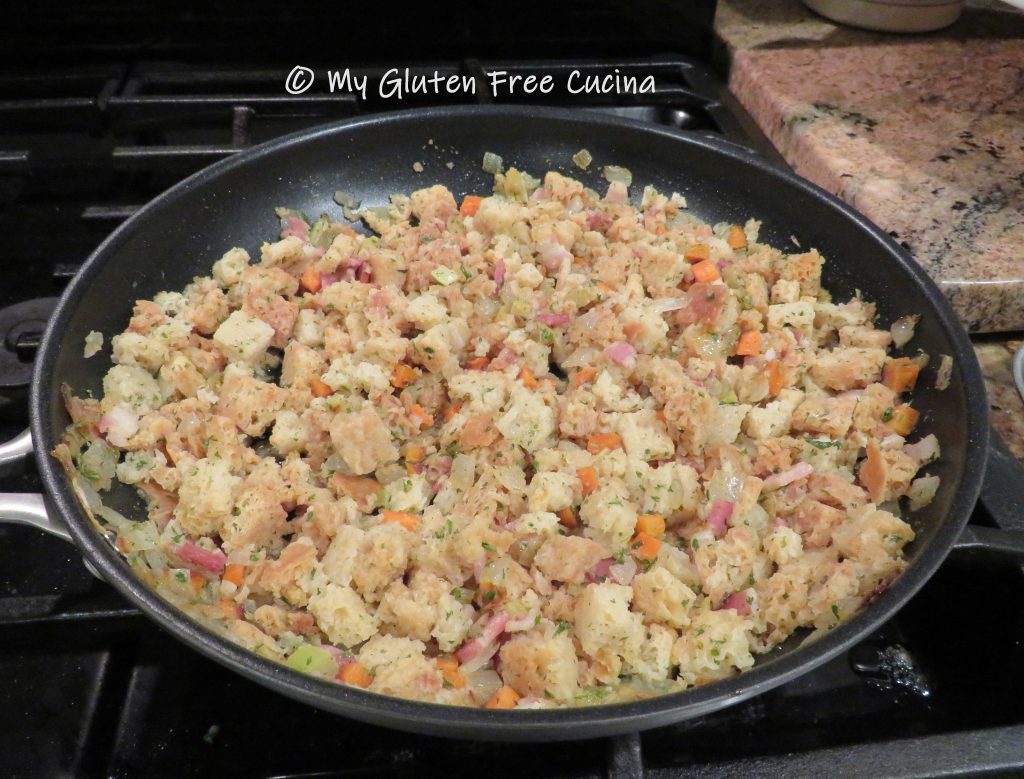


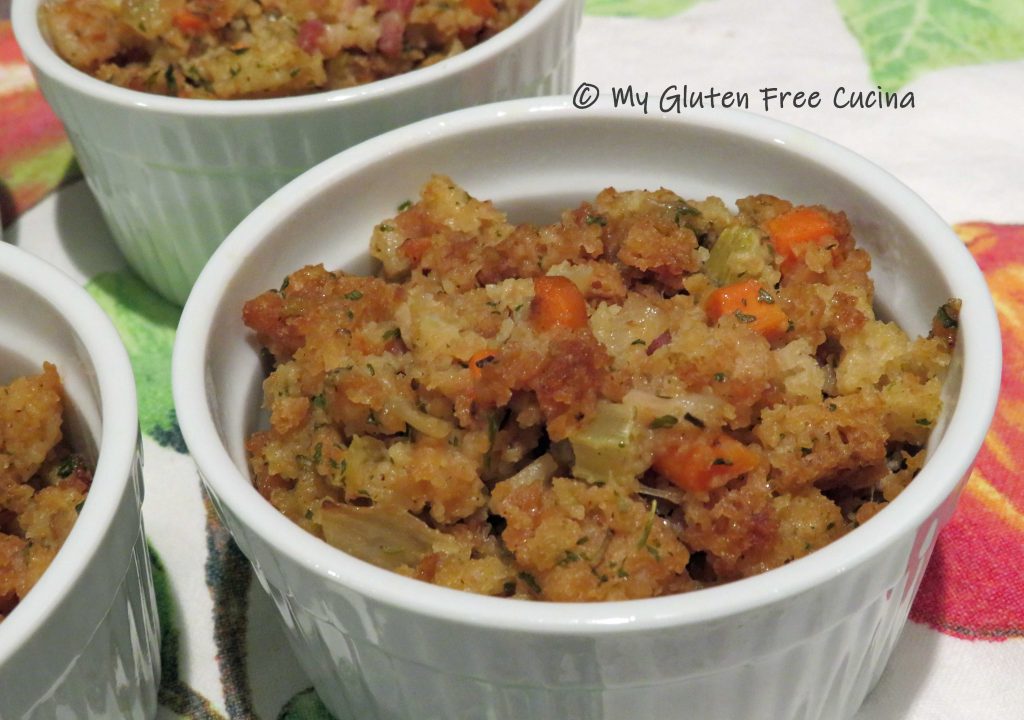


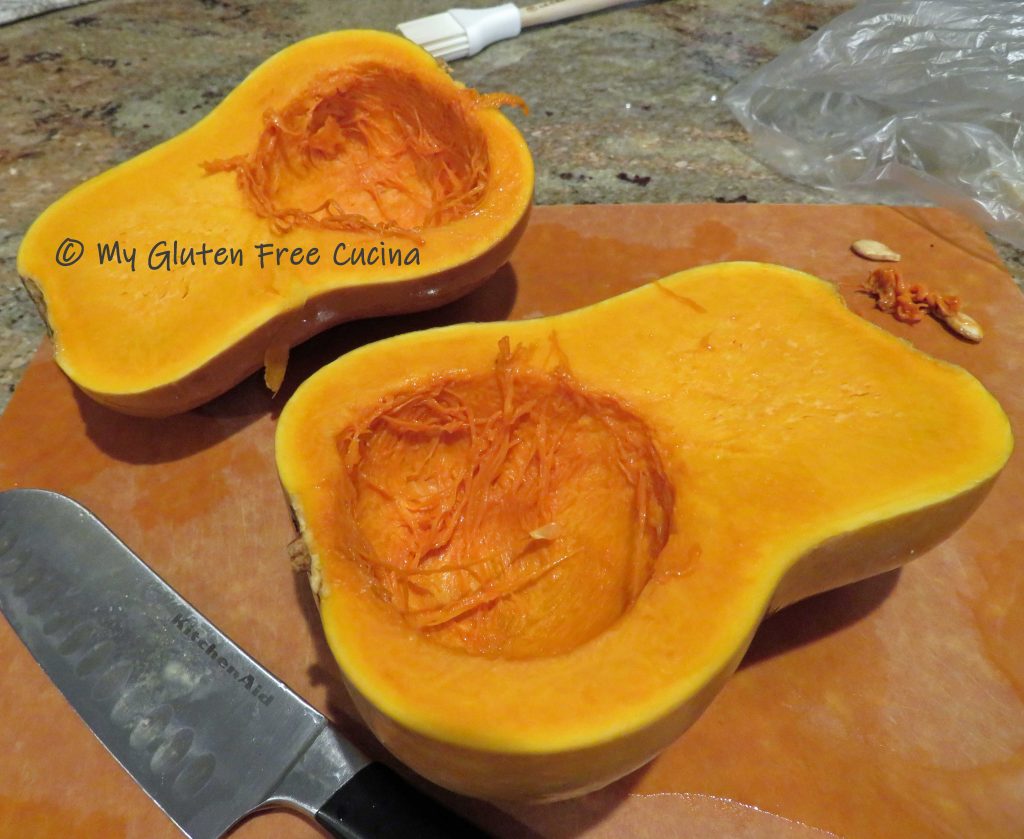
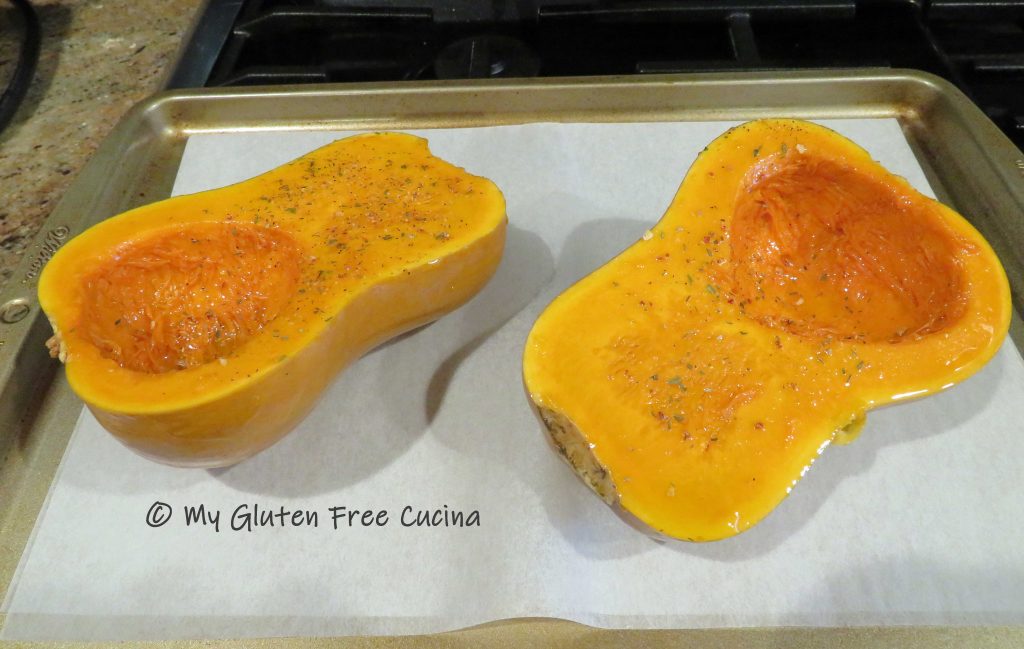 Arrange cut side down on a baking sheet lined with parchment or foil and bake for 35 minutes at 375º.
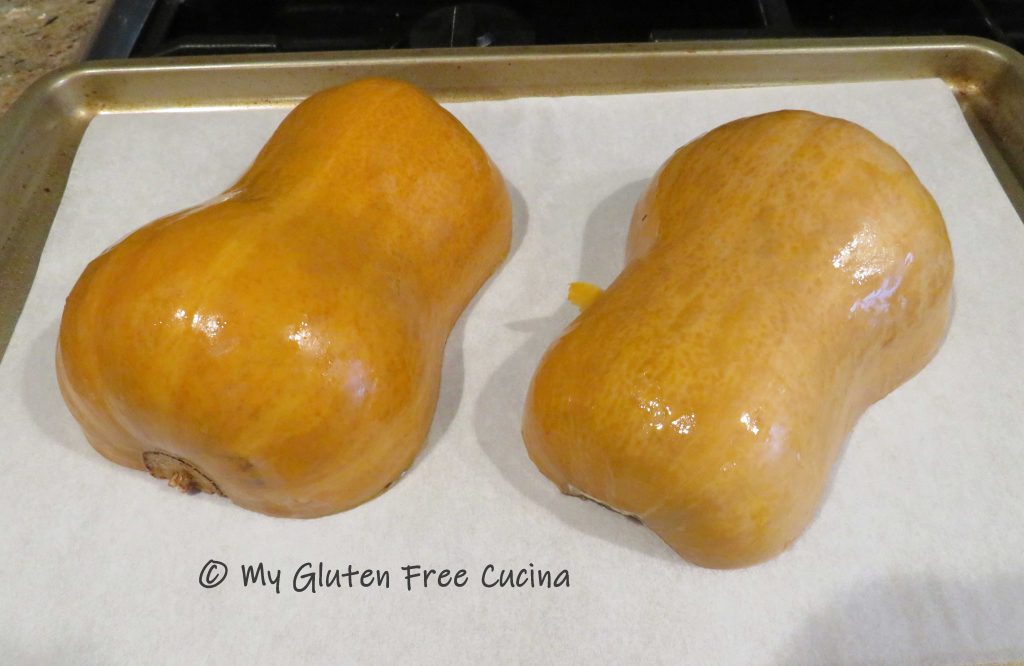
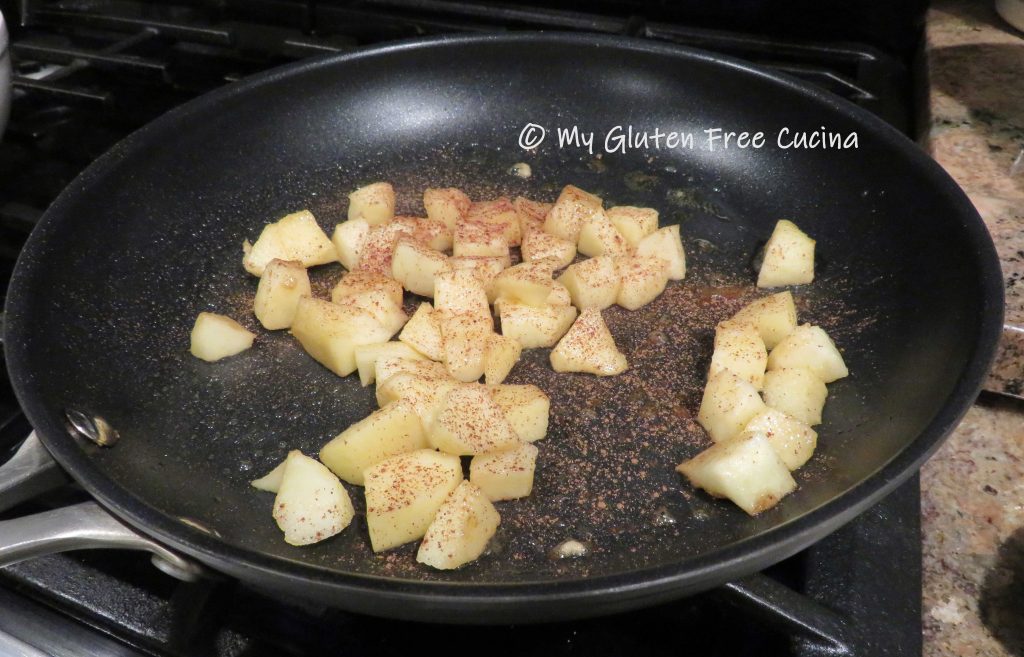
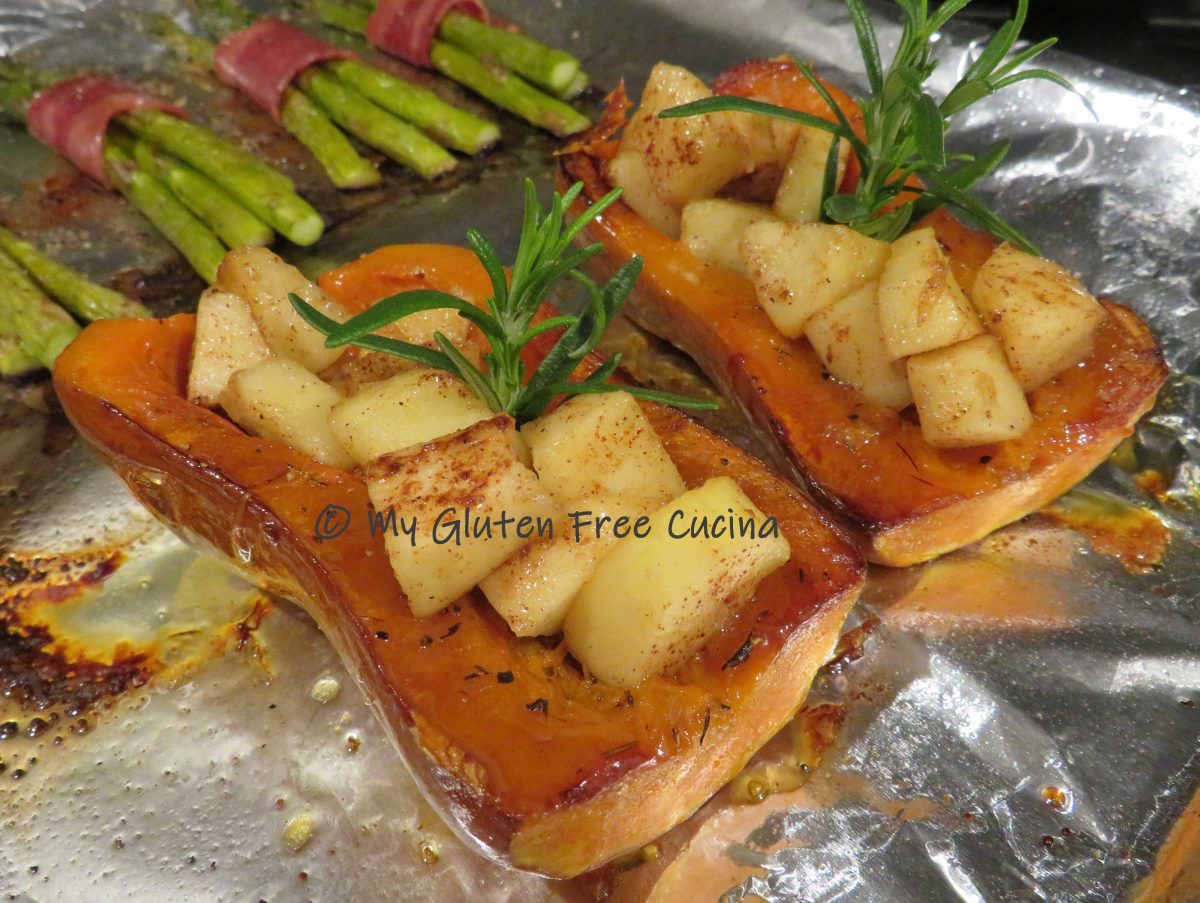
 While the squash is baking, peel and dice the apple. I used a Honeycrisp apple. Heat a small skillet on medium low. Add the apples with a pat of butter and toss to combine. Cook 3 minutes, stirring frequently. Sprinkle with cinnamon.