Soup’s On! – Updated for 2025
The first few years of my gluten free life, I searched high and low for soup pasta. There are so many more options available today, but if you are struggling to find gluten free pasta for your holiday soups and winter comfort food, here are some ideas that I hope you find helpful.
This post contains affiliate links.
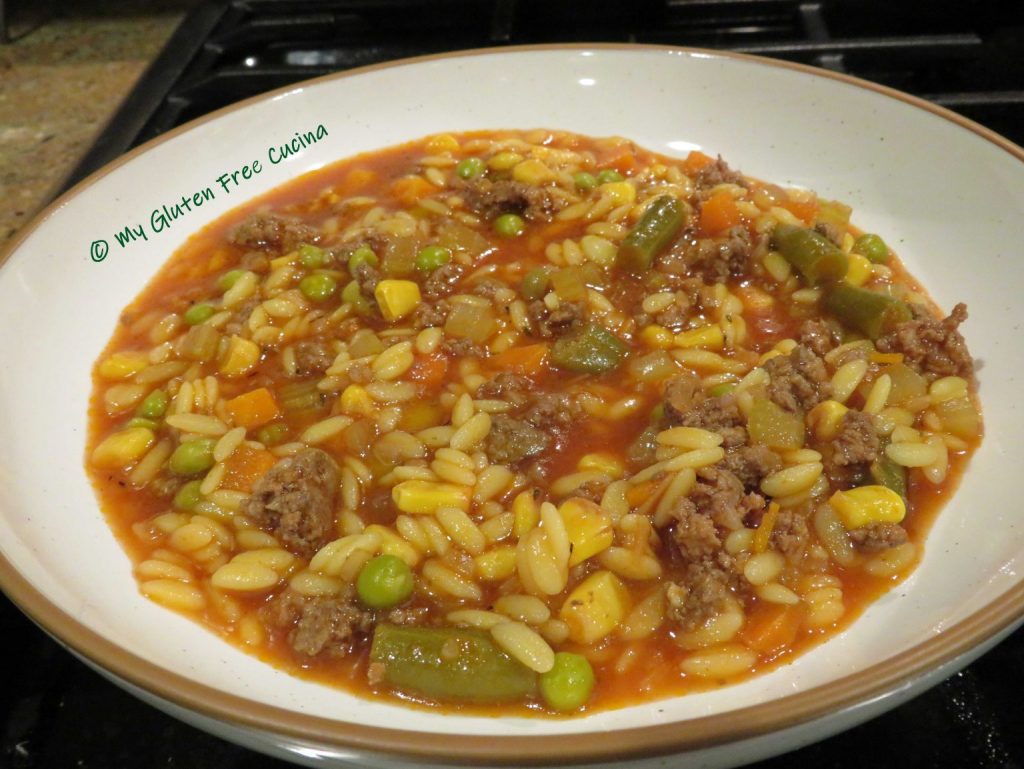
Gluten Free Orzo
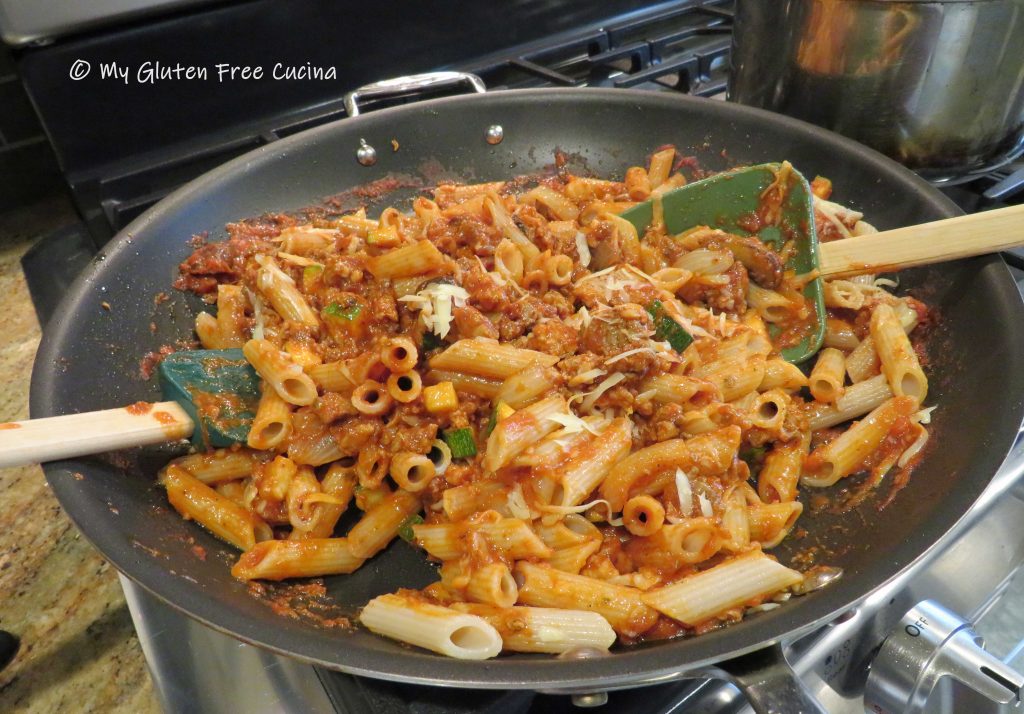
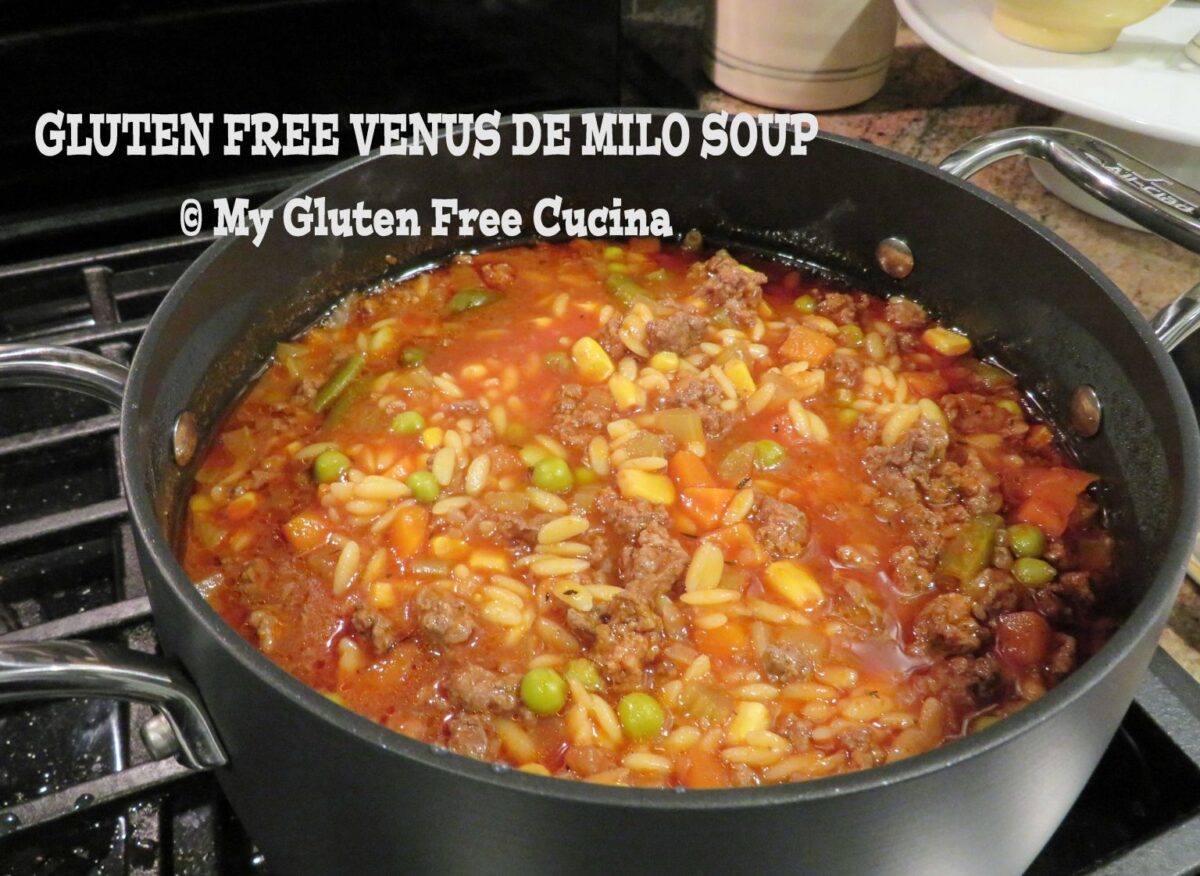
Probably the most familiar of all soup pastas, now you can have Gluten Free Orzo pasta from Delallo. Try it in my Venus de Milo Soup.
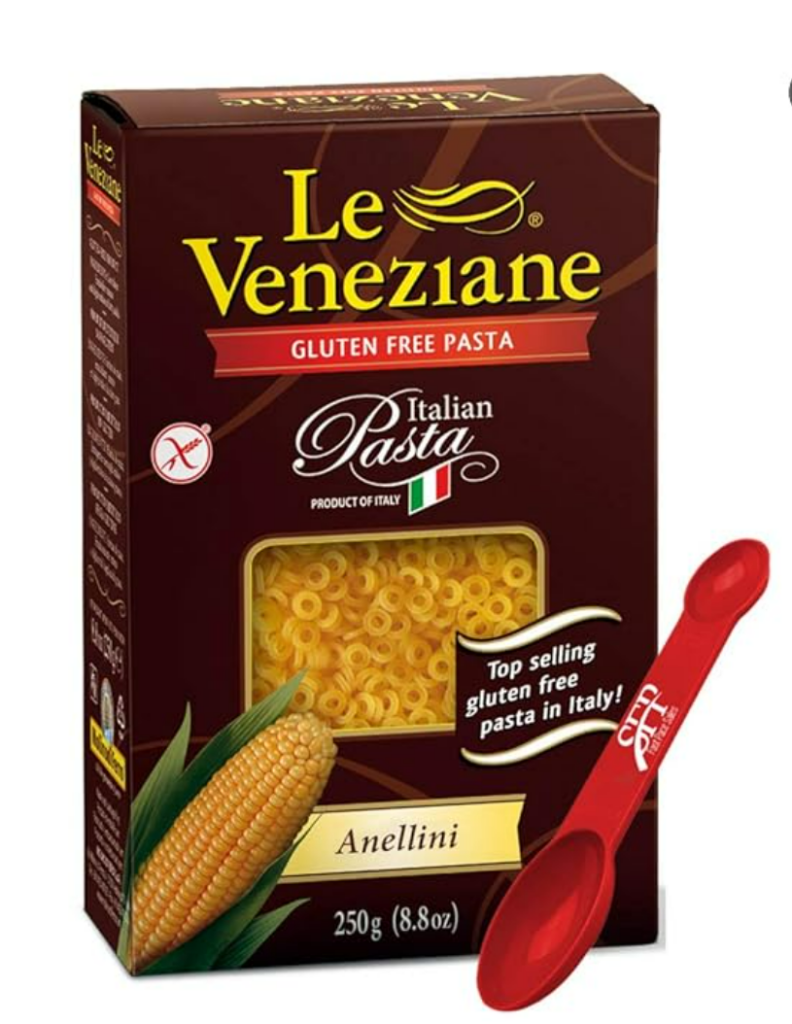
Gluten Free Anellini
This one makes me nostalgic for my grandmother’s kitchen. 👵🏻 When I was little, she would make it for me, with just a pat of butter.
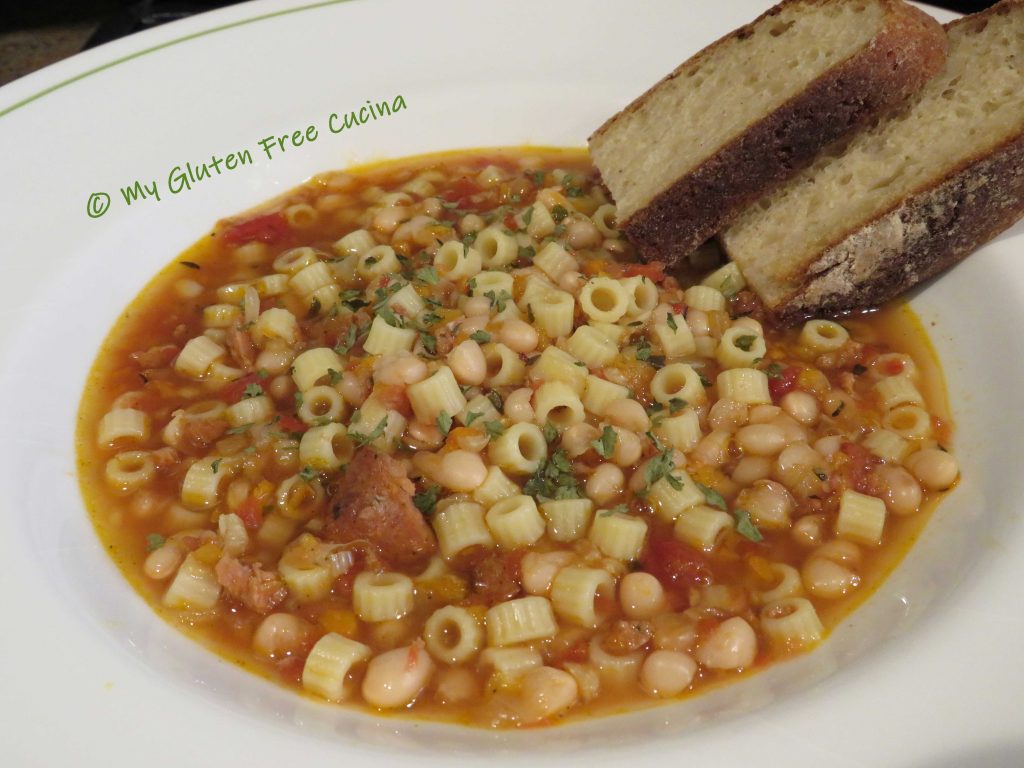
Gluten Free Ditalini
Another classic shape from Le Veneziane, this gluten free ditalini is perfect for making Pasta e Fagioli.
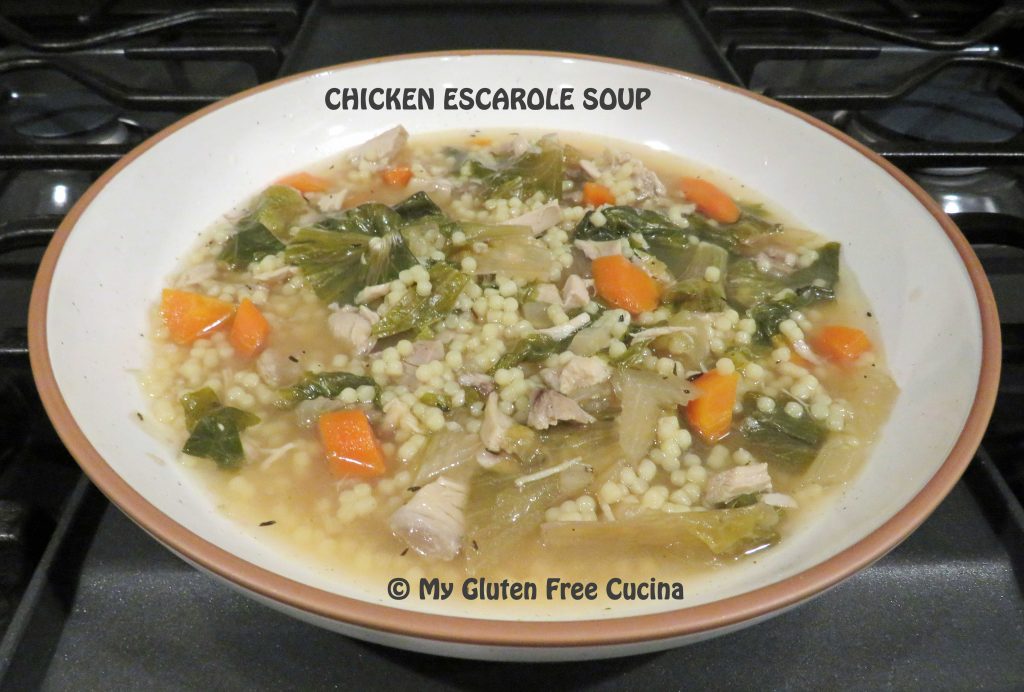
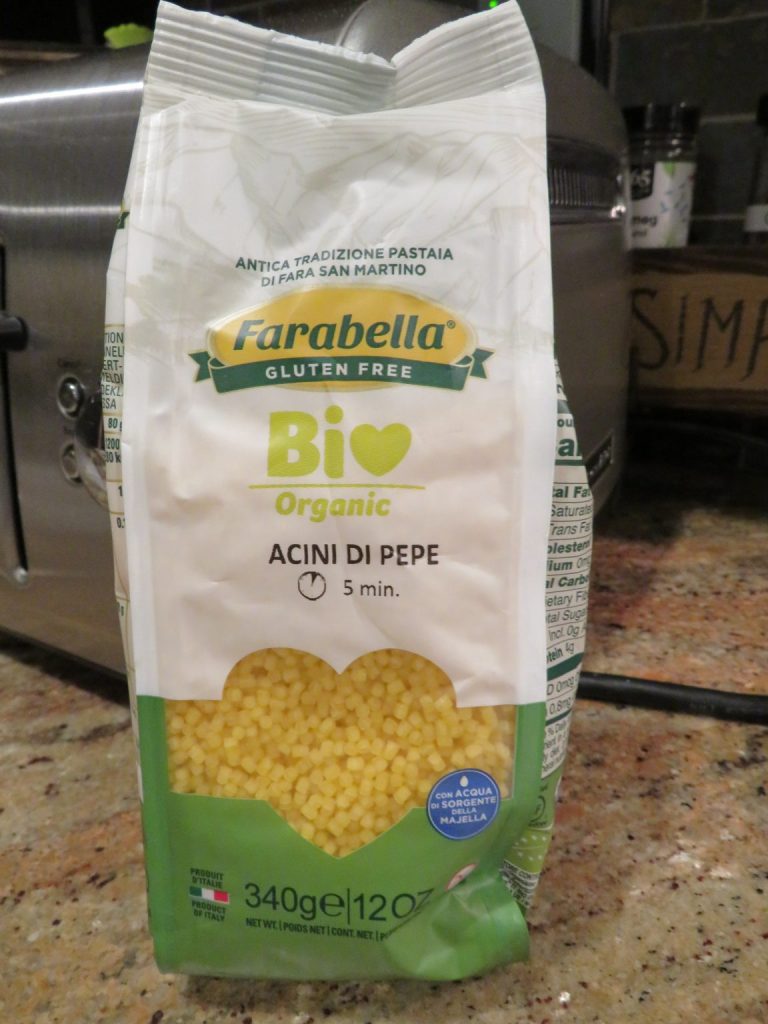
Gluten Free Acini di Pepe
I was especially thrilled to find this one, as it was the pasta my mother used in her Chicken Escarole Soup, a holiday tradition!
Gluten Free Stelline (Little Stars)
Who remembers Chicken and Stars? Recreate this childhood favorite with gluten free stars from Jovial, one of my favorite pasta brands!

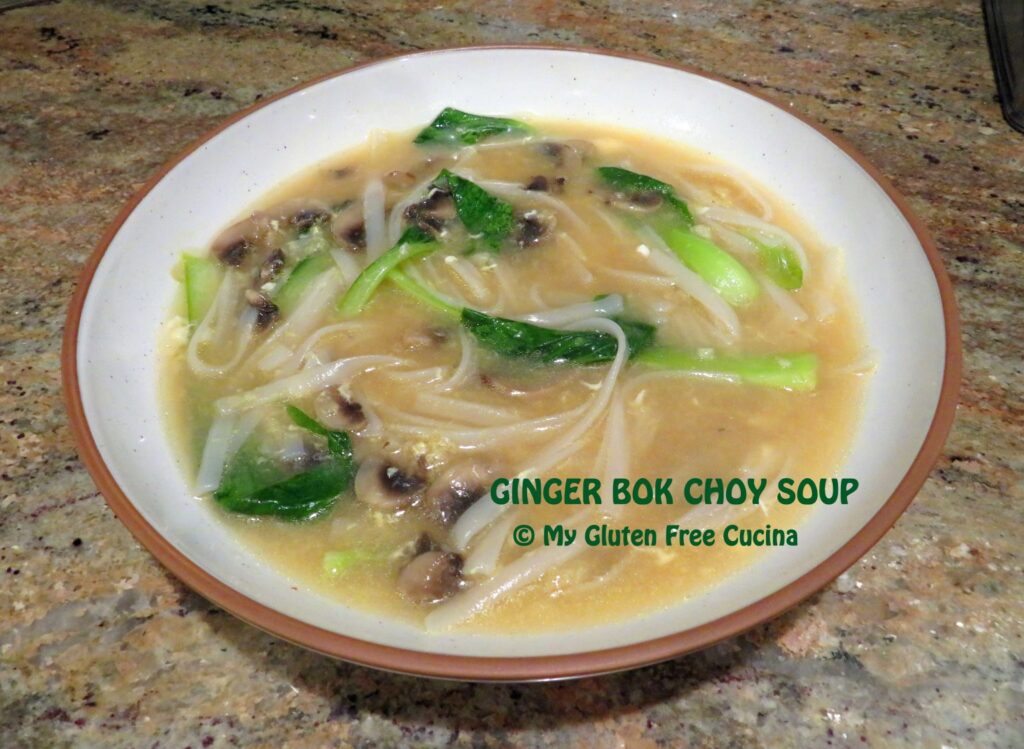
Wide rice noodles
These Wide Rice Noodles from Taste of Thai are perfect in my Ginger Bok Choy Egg Drop Soup!
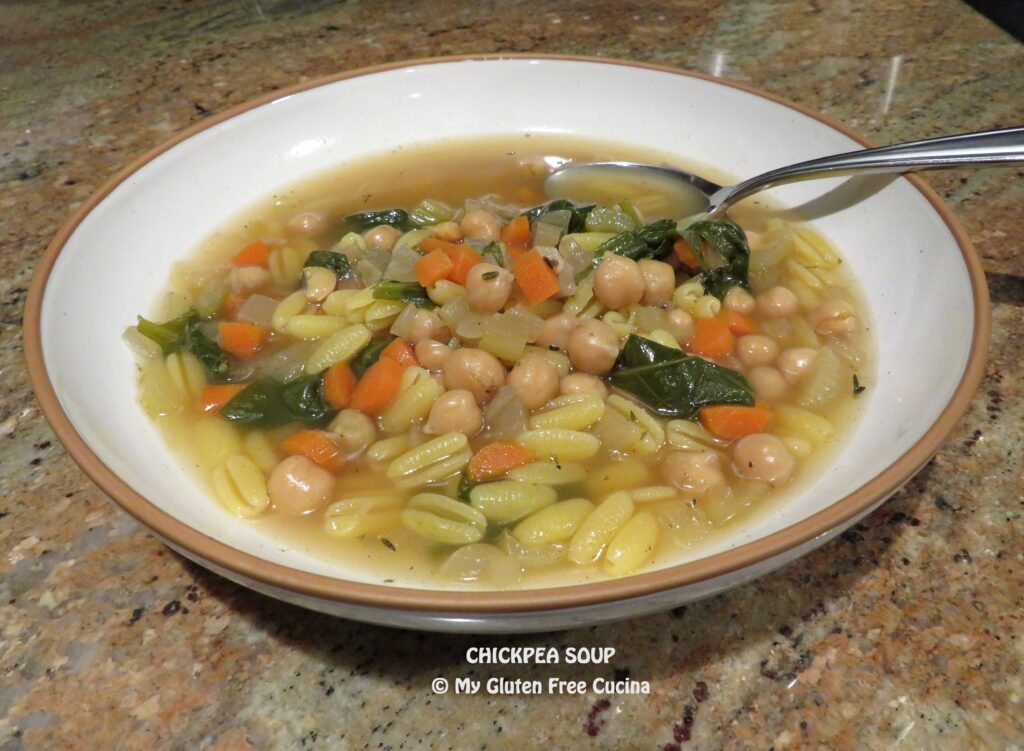
GLUTEN FREE CAVATELLI
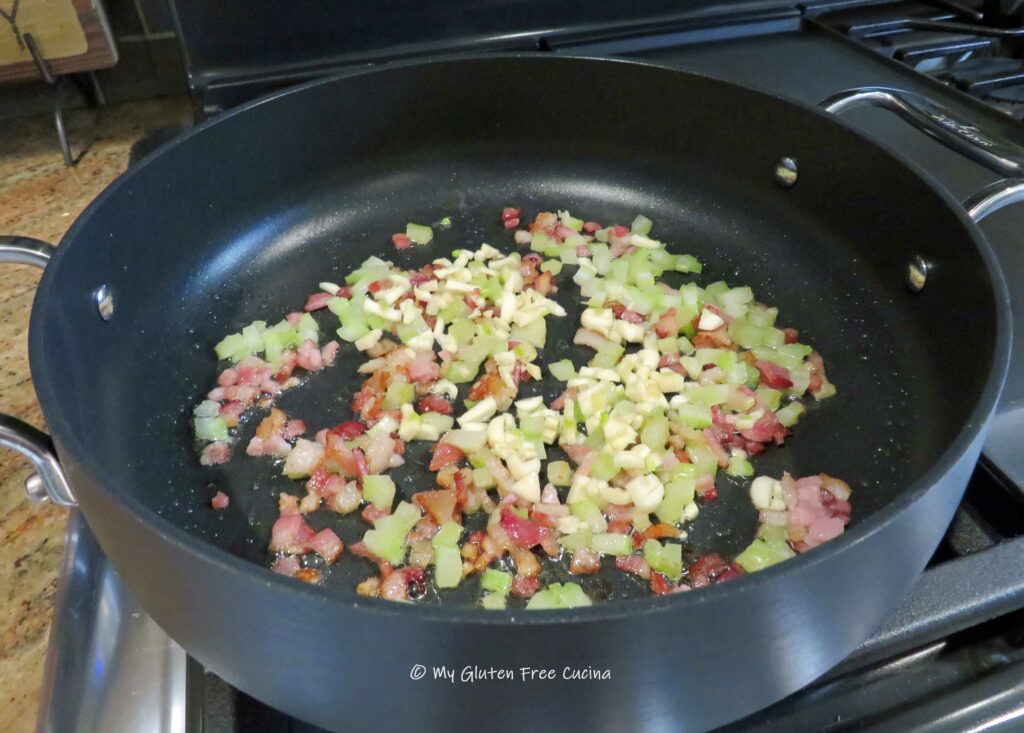
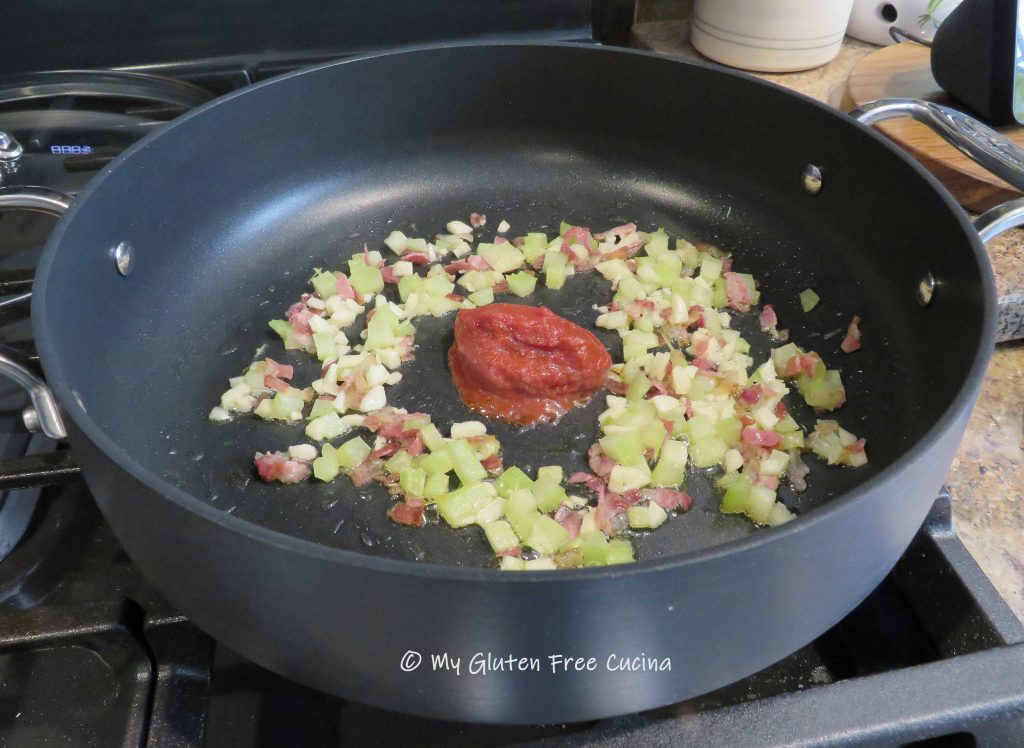
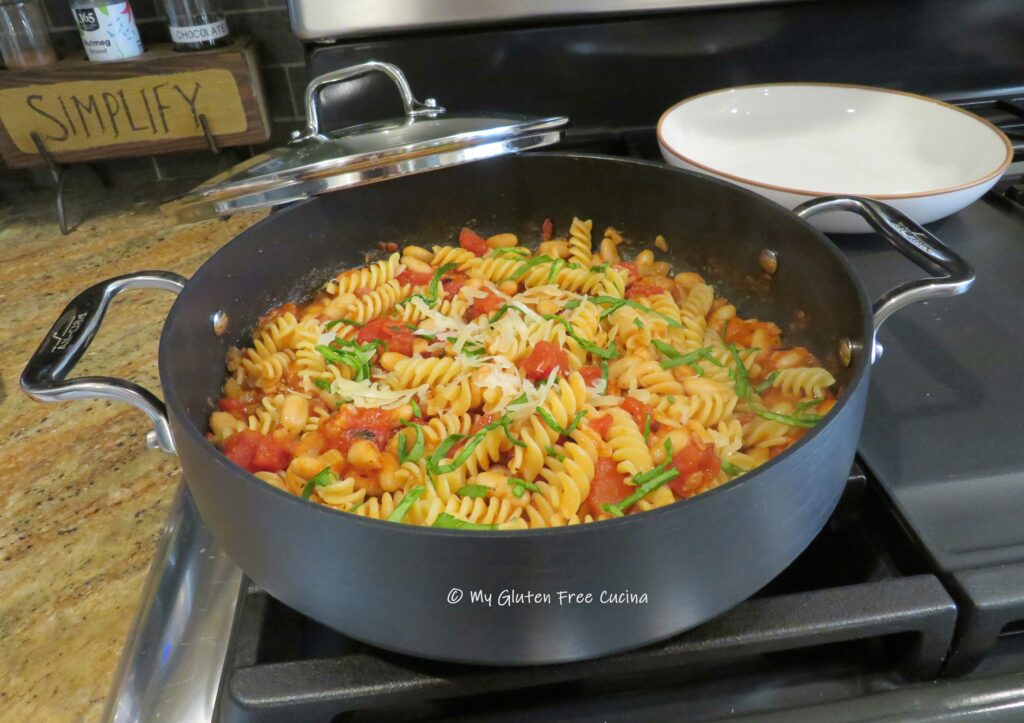
Like something a little larger in your soup? Try this Gluten Free Cavatelli from Farabella. I used it in this “made from the pantry” Chickpea Soup.
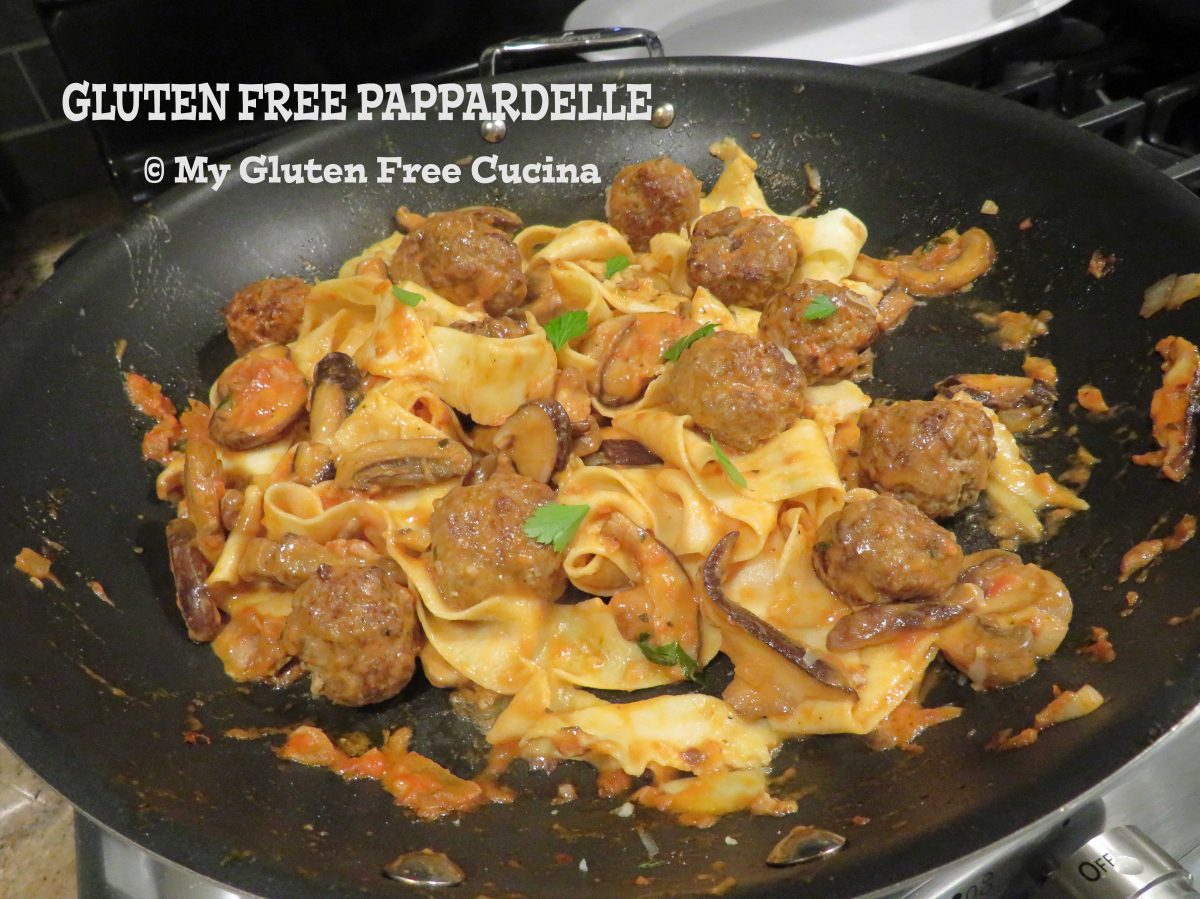
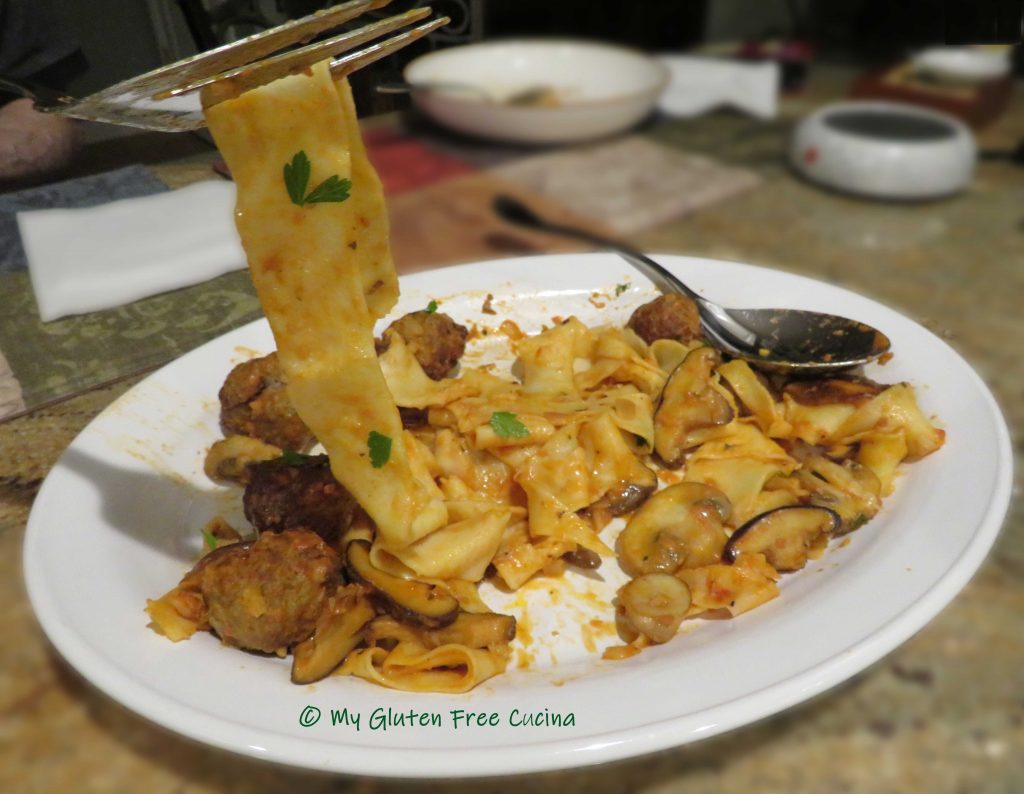
BABY MAFALDA
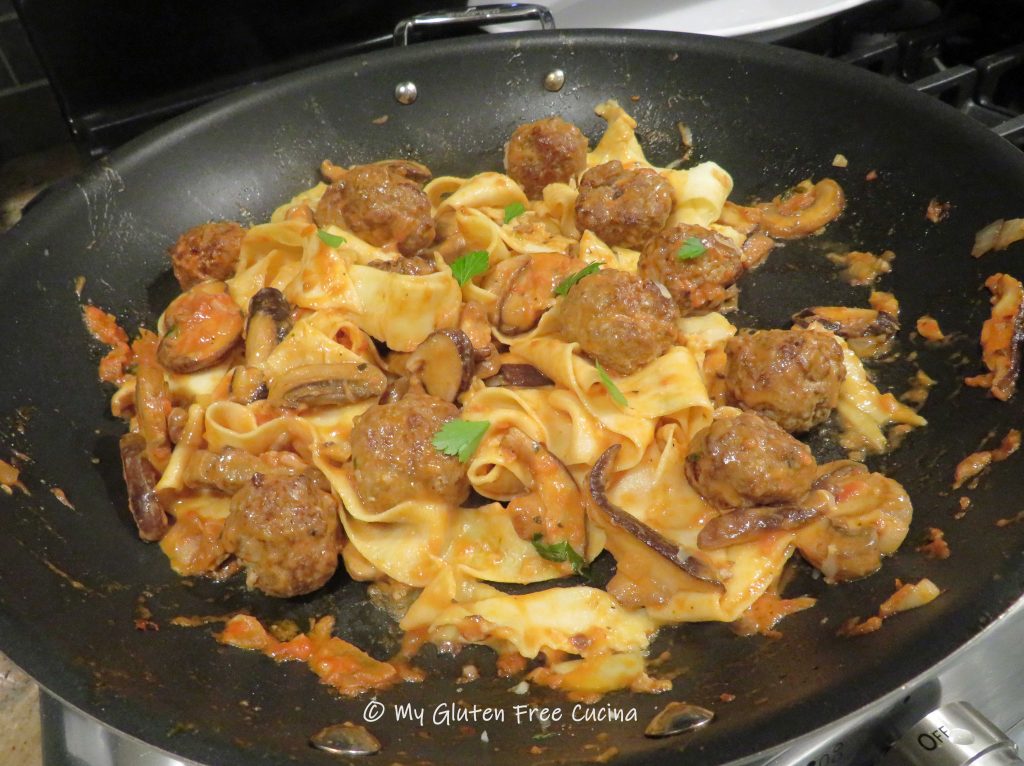
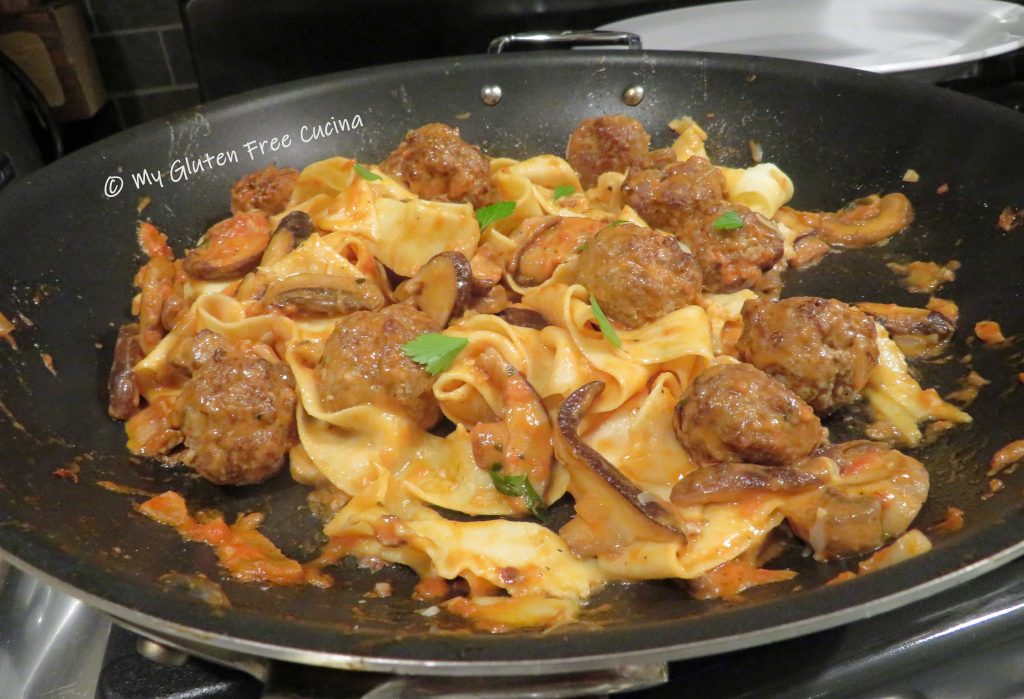
I used this Gluten Free Baby Mafalda in my Beef Stroganoff recipe. I’ll bet it would be great in a soup as well.

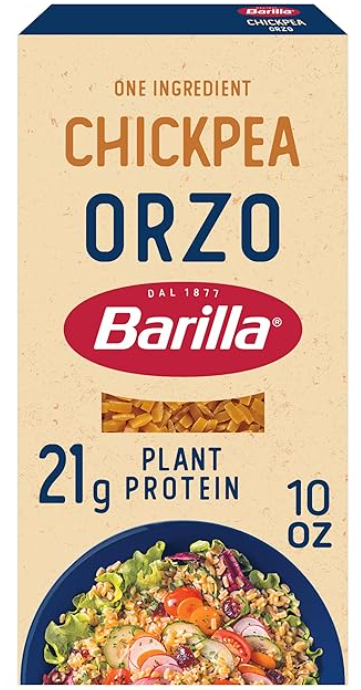
CHICKPEA Rice
If you like chickpea pasta, try the chickpea rice from Barilla. It’s high in protein, vegan and gluten free. Stir gently as it tends to break apart in soup.
 I hope you found this post helpful. What other gluten free soup pasta have you found? Have you made your own? Tell me in the comments!
Notes ♪♫ Some gluten free pastas, especially those made with corn flour will release a huge amount of starch into the water when cooked, and it can be a gummy mess. For that reason, I recommend that these pastas be cooked separately and rinsed before adding to your soup.

[print_link]
 What about gluten?
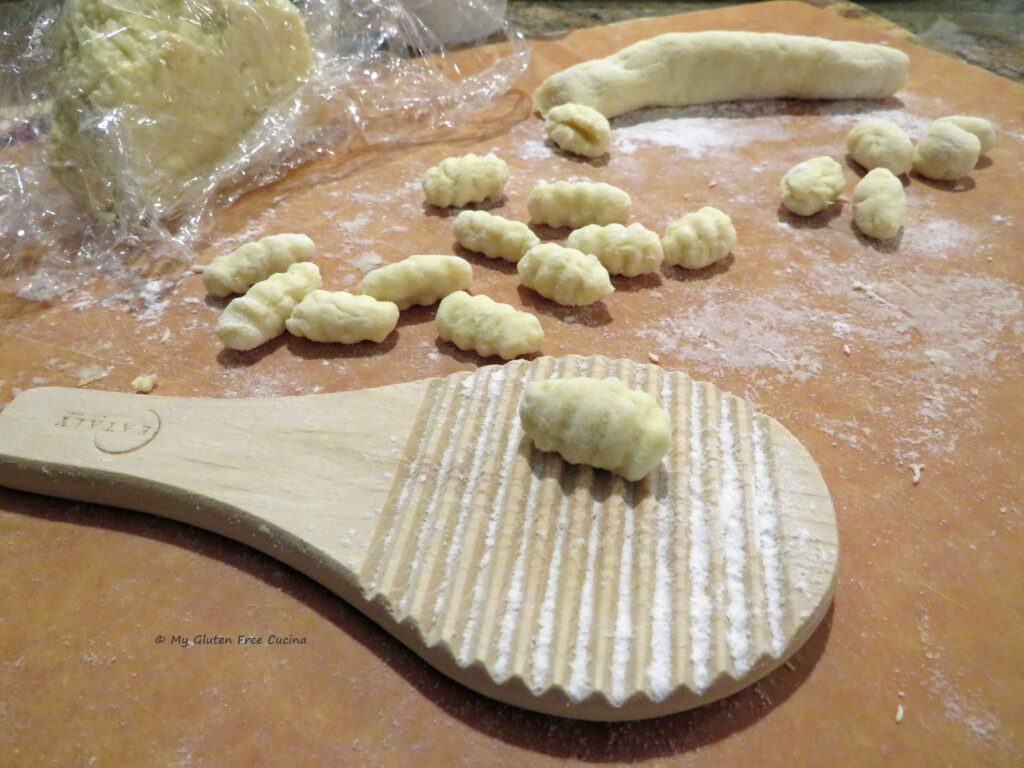 Wait, no eggs?
 Another unique feature.
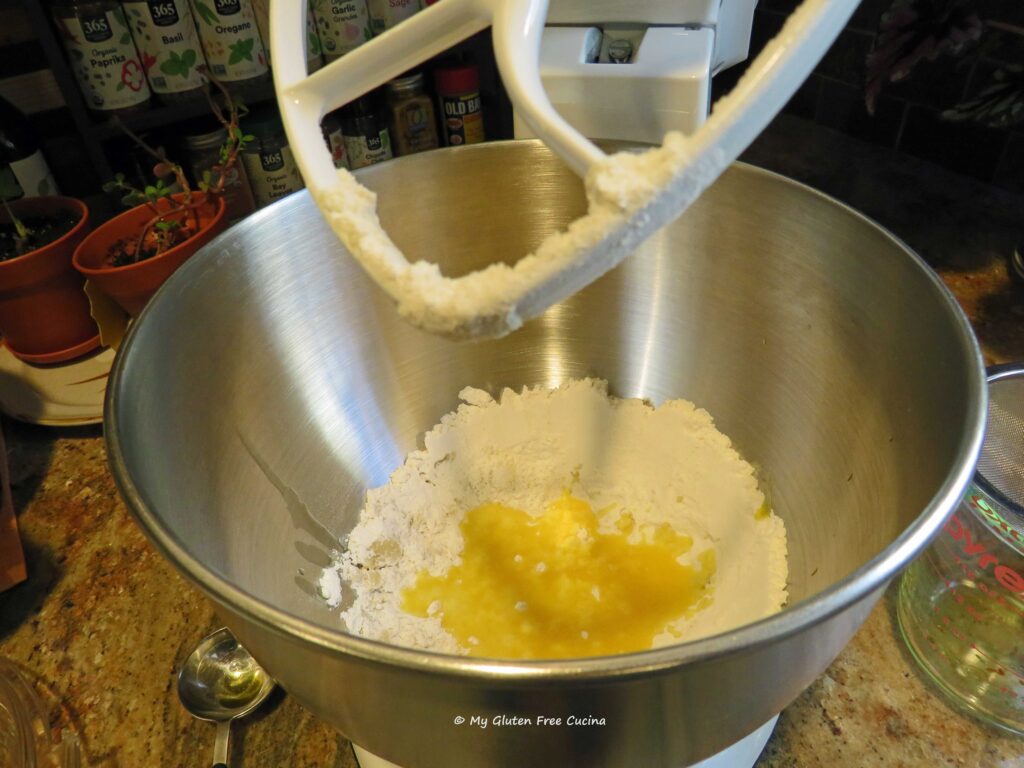 This post contains affiliate links.
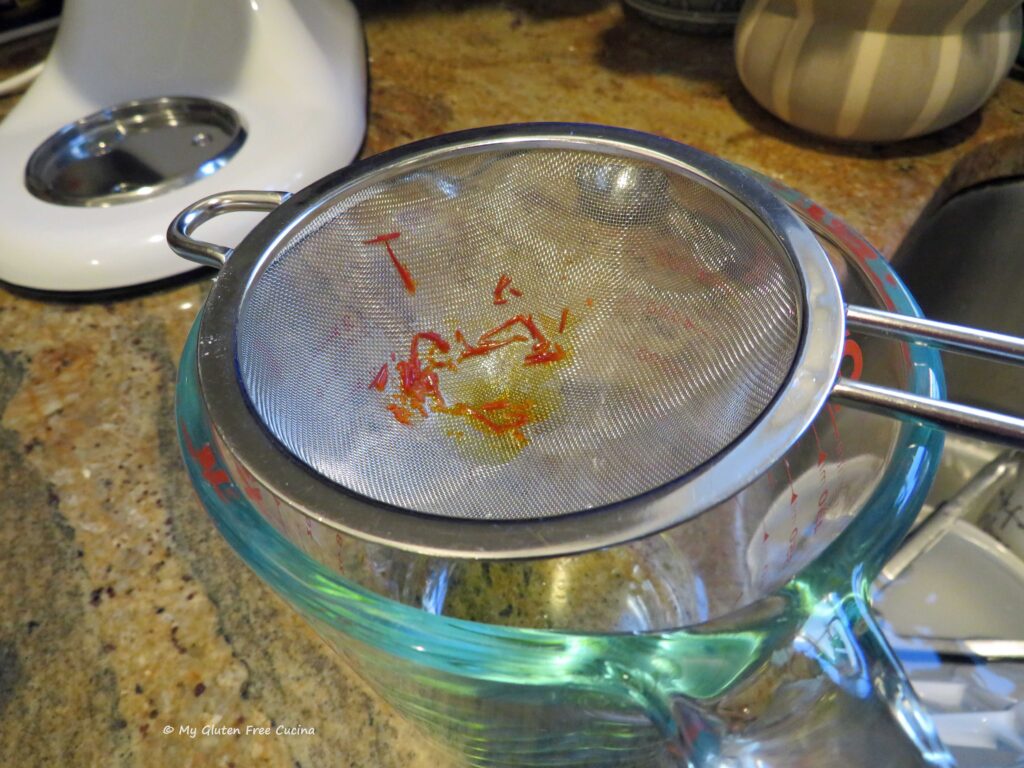
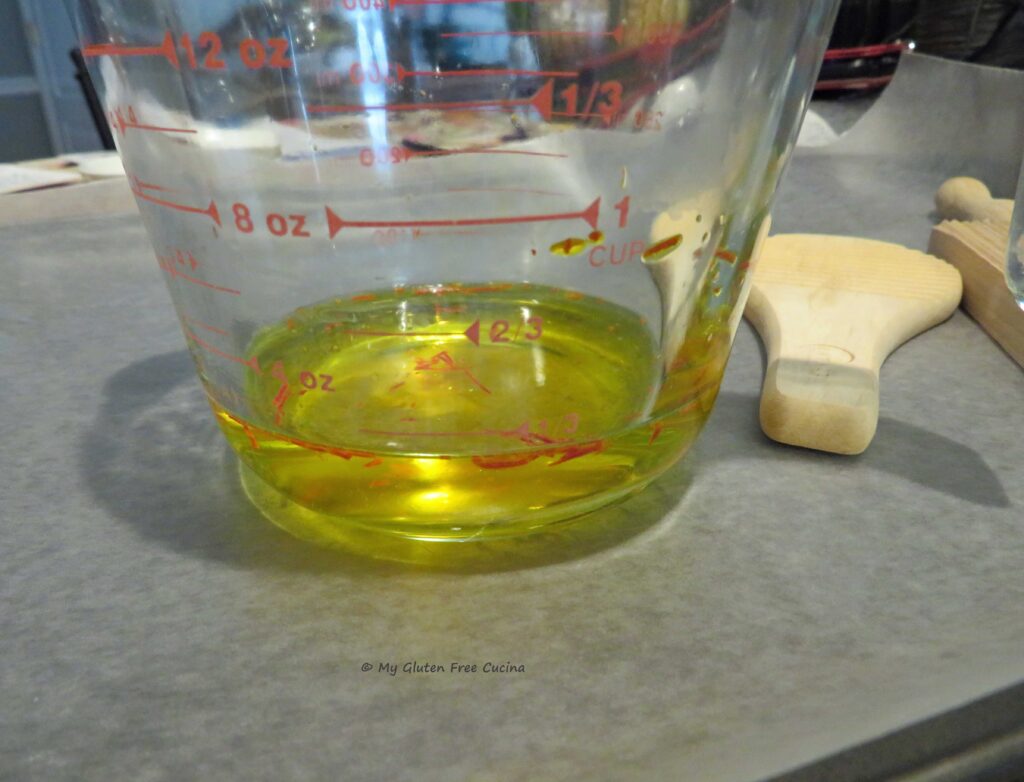 Whisk together the flour and salt in the bowl of a stand mixer. Pour in the infused liquid through a sieve, reserving the saffron threads.
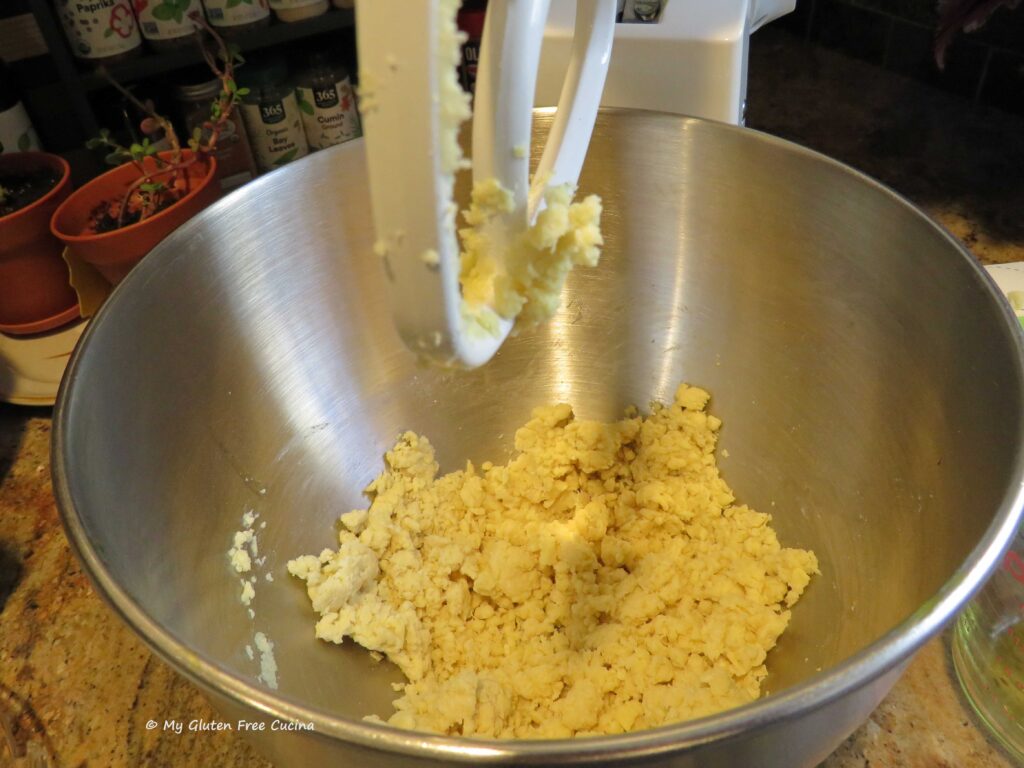 Add the remaining water 1 tbsp. at a time until you have a very soft, smooth dough, like this.
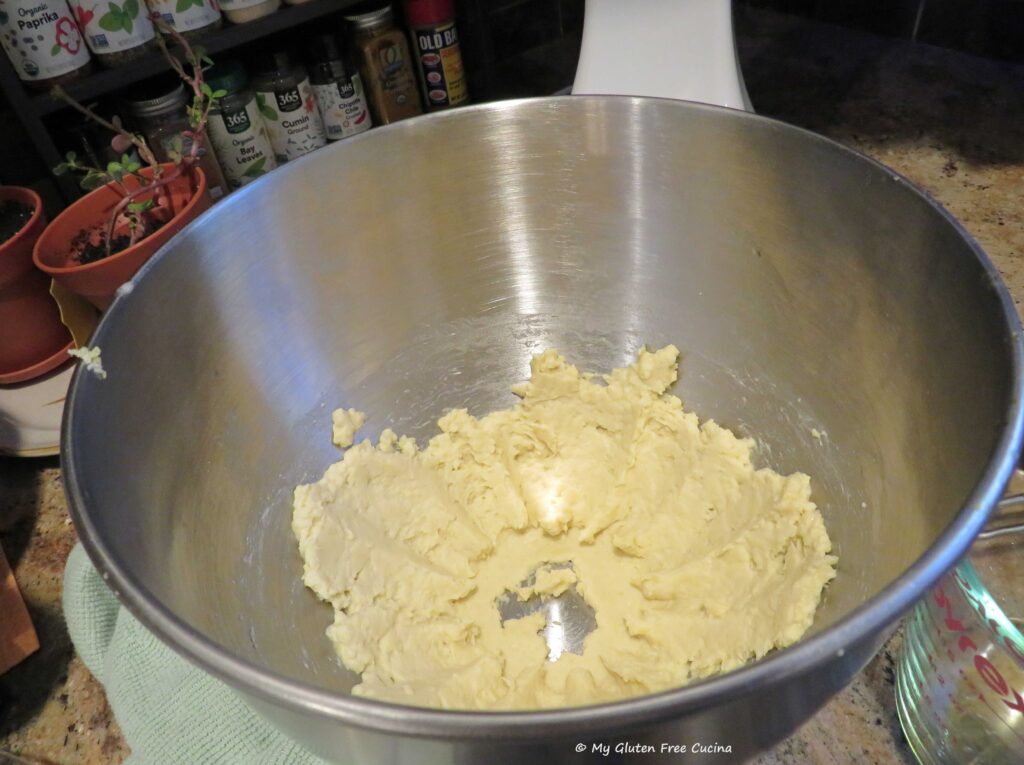
 Use a spatula to gather the dough into a ball, then cover and let it rest at room temperature for about 20 minutes.
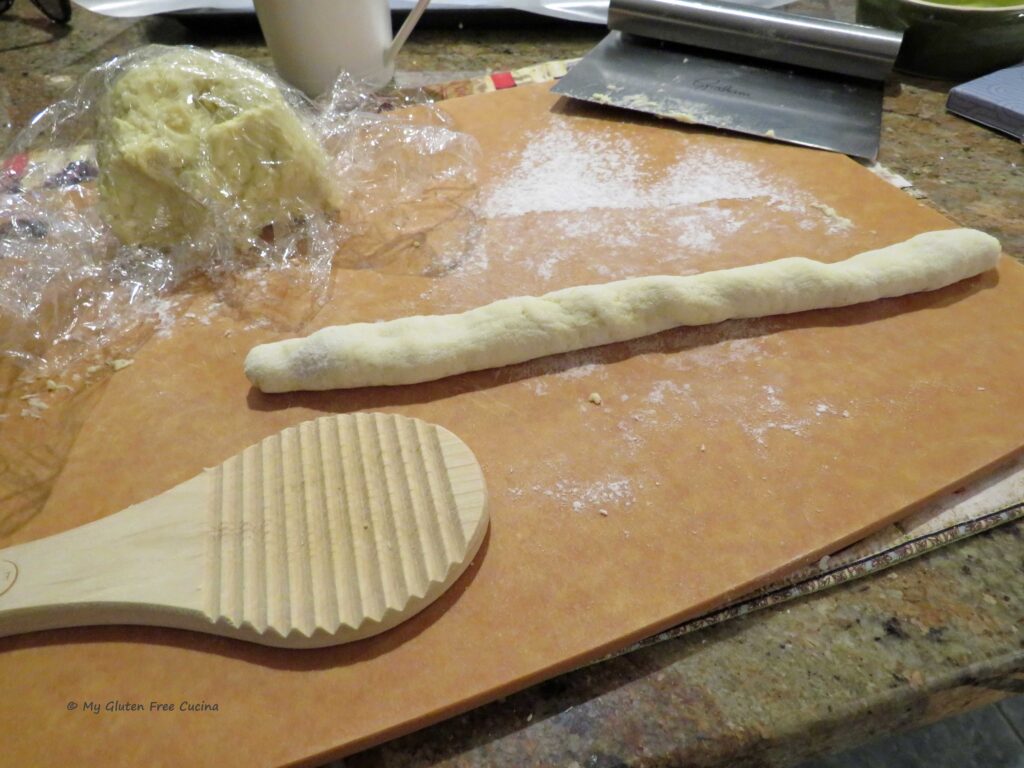
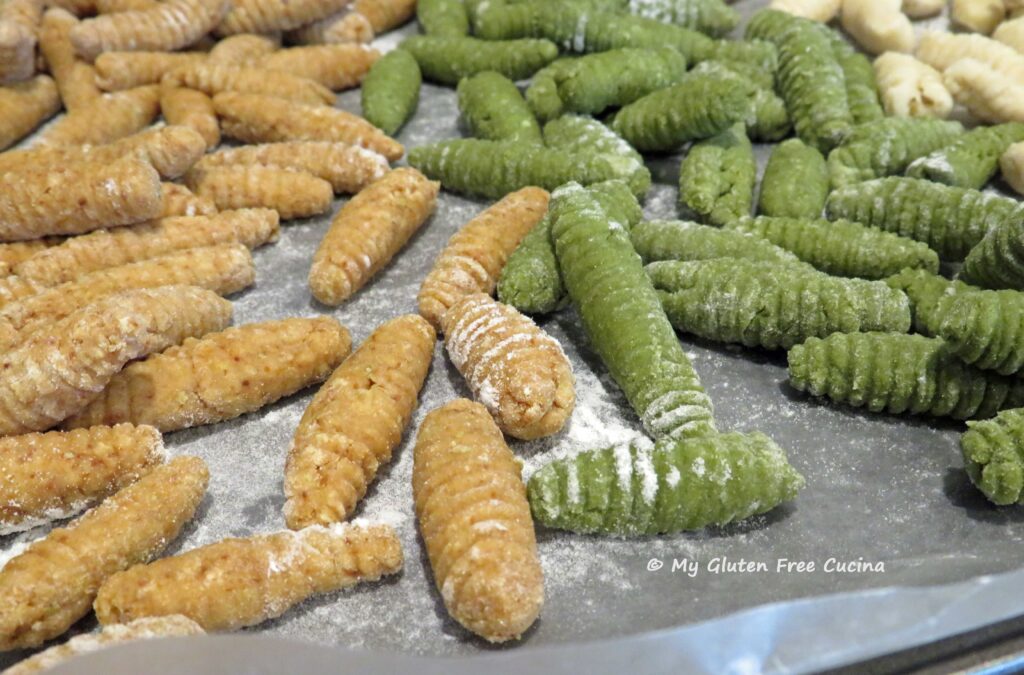
 Now roll each piece over the Malloreddus paddle, you can use your fingers or a bench knife. Be sure to keep the paddle generously floured as you work. A
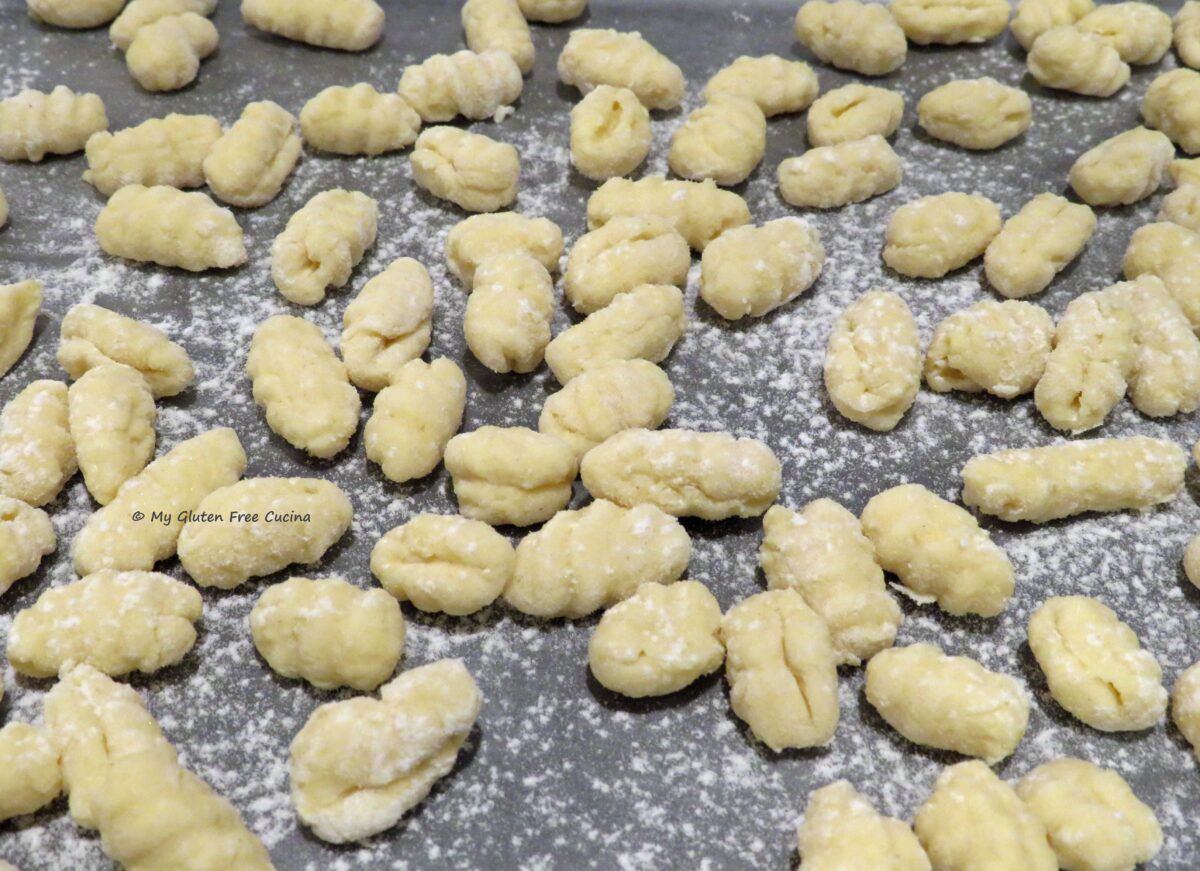
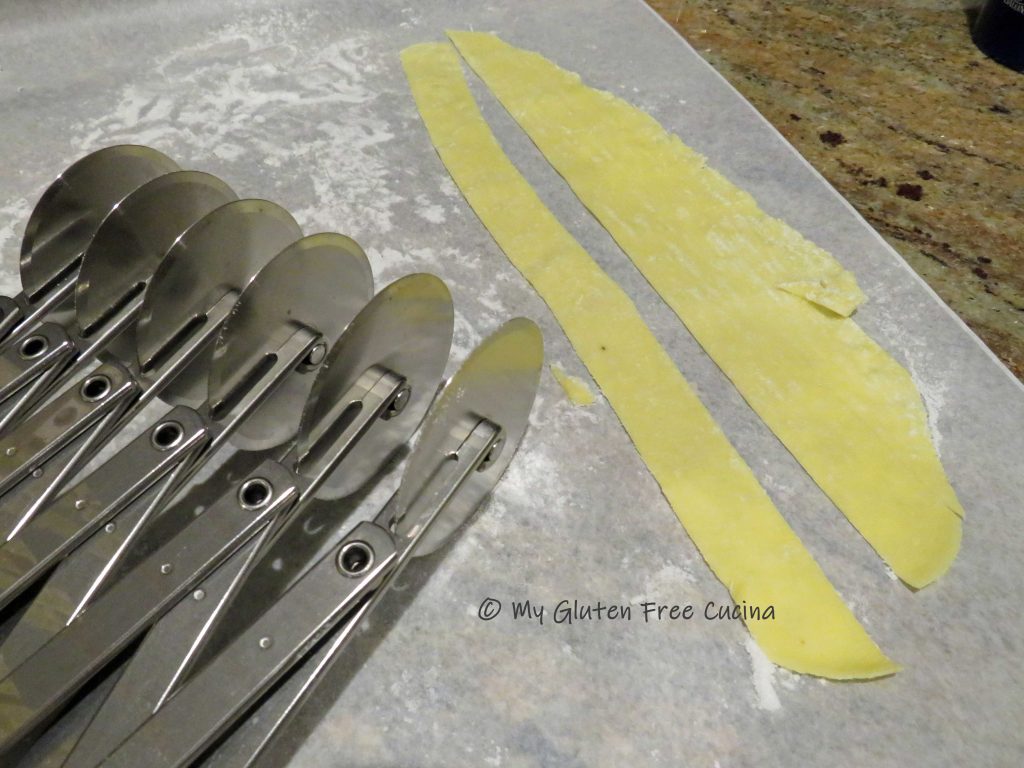
 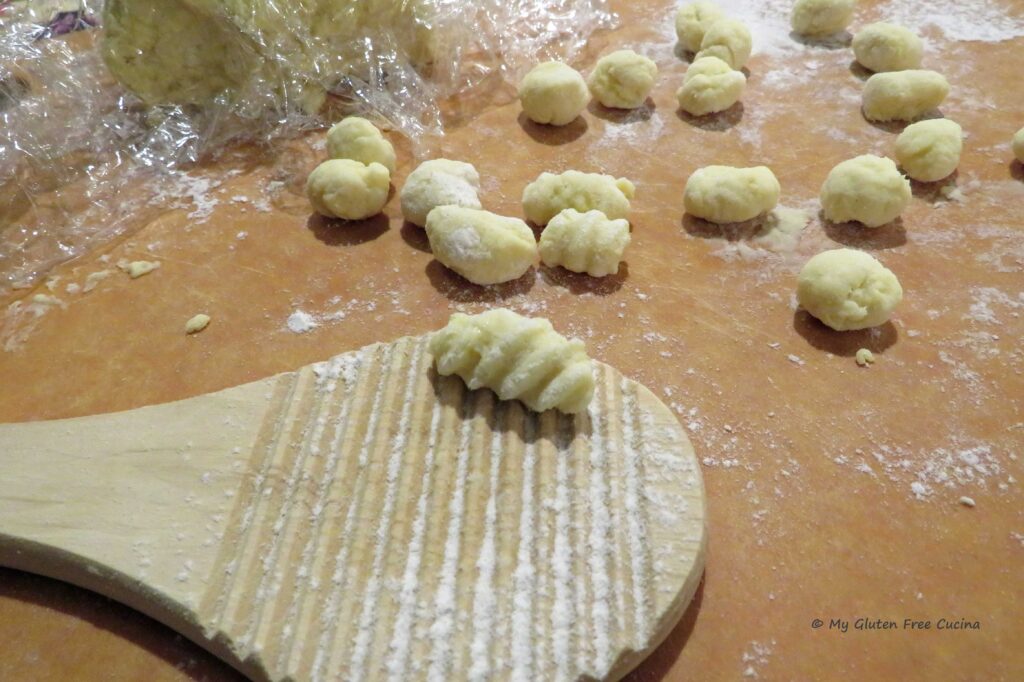 Arrange the pasta on a lightly floured baking pan in a single layer. I lined mine with wax paper. At this point, you can cover the pasta with plastic wrap and refrigerate it until you are ready to start cooking.
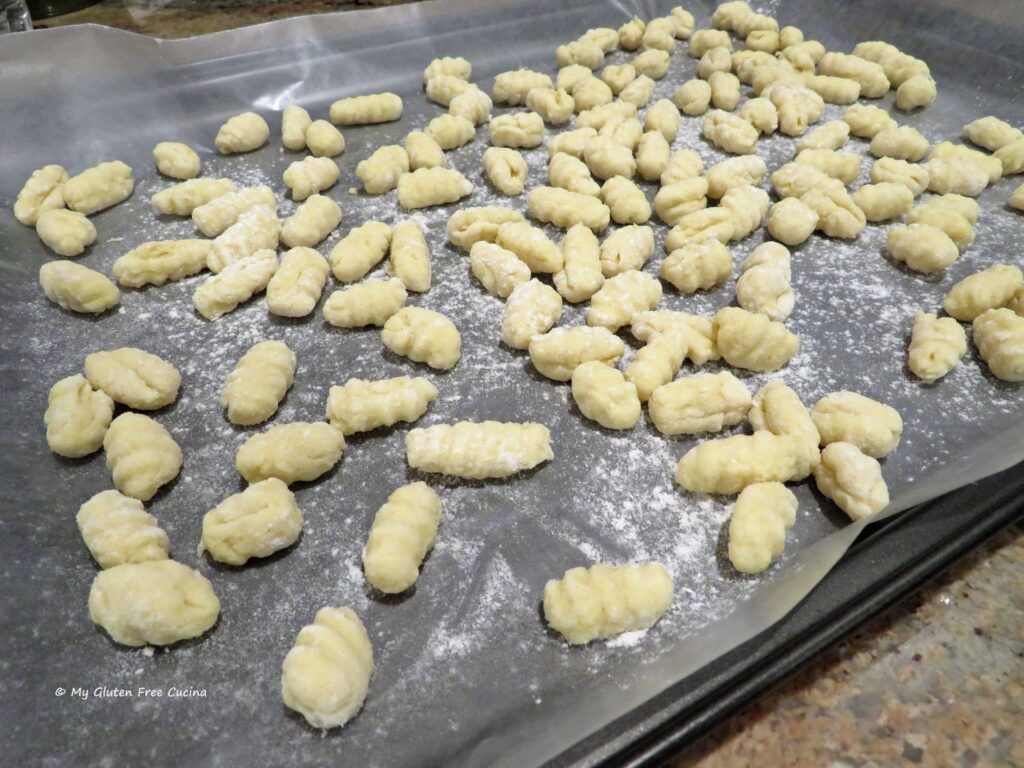 For longer term storage, place the pan in the freezer for a few hours, then transfer the pasta to a freezer safe bag.
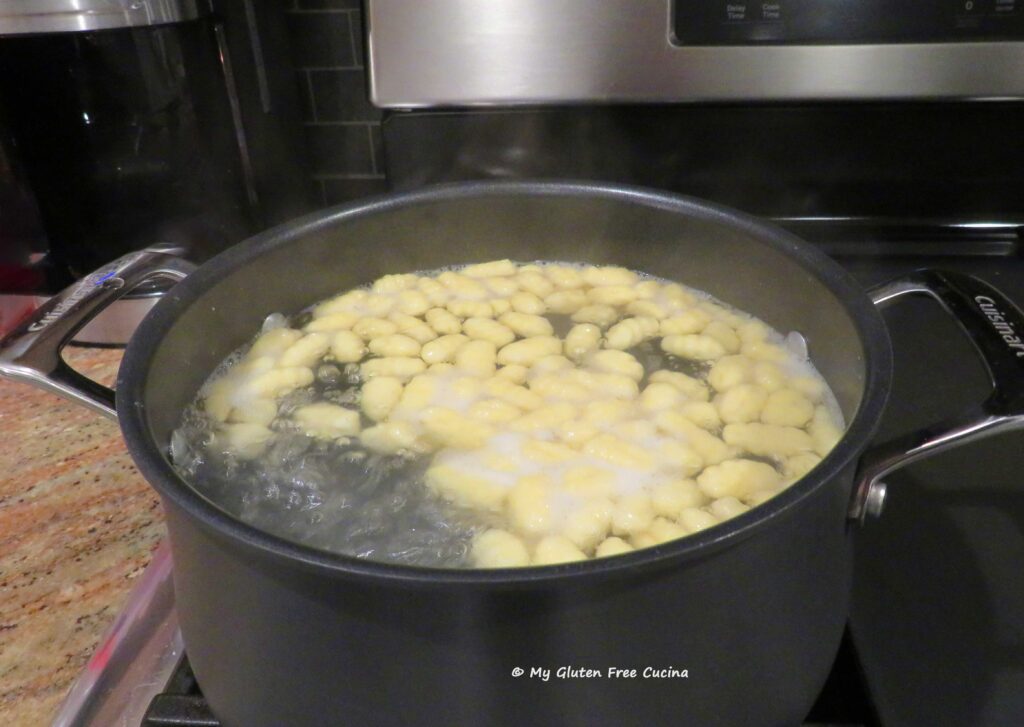

 Read on
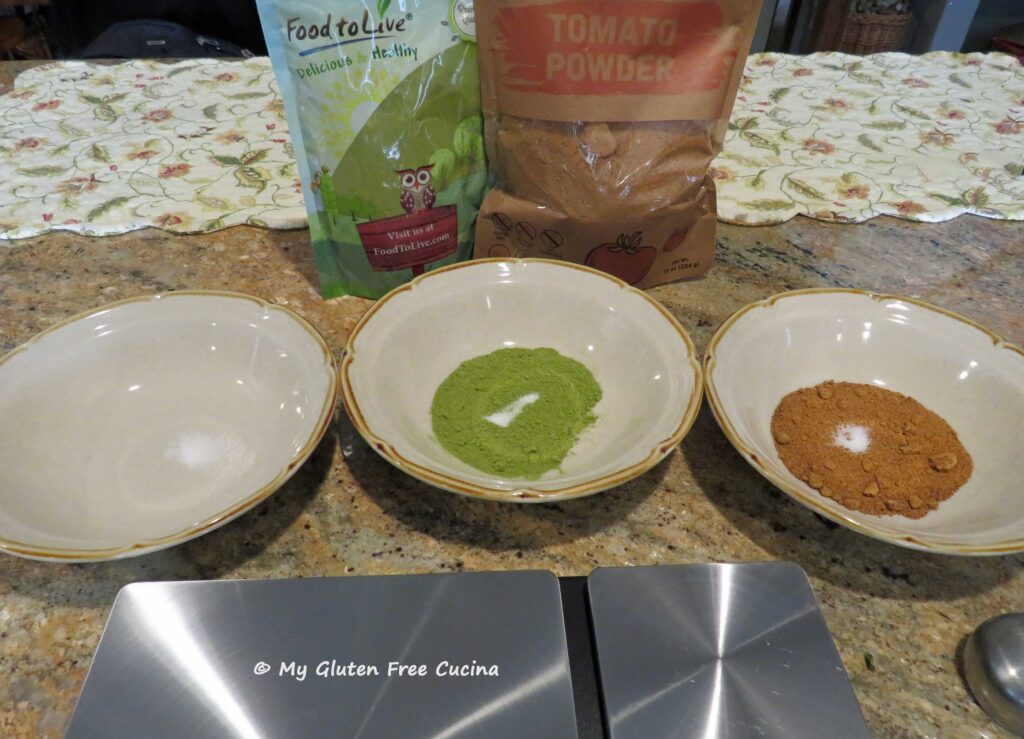
 Preparation:
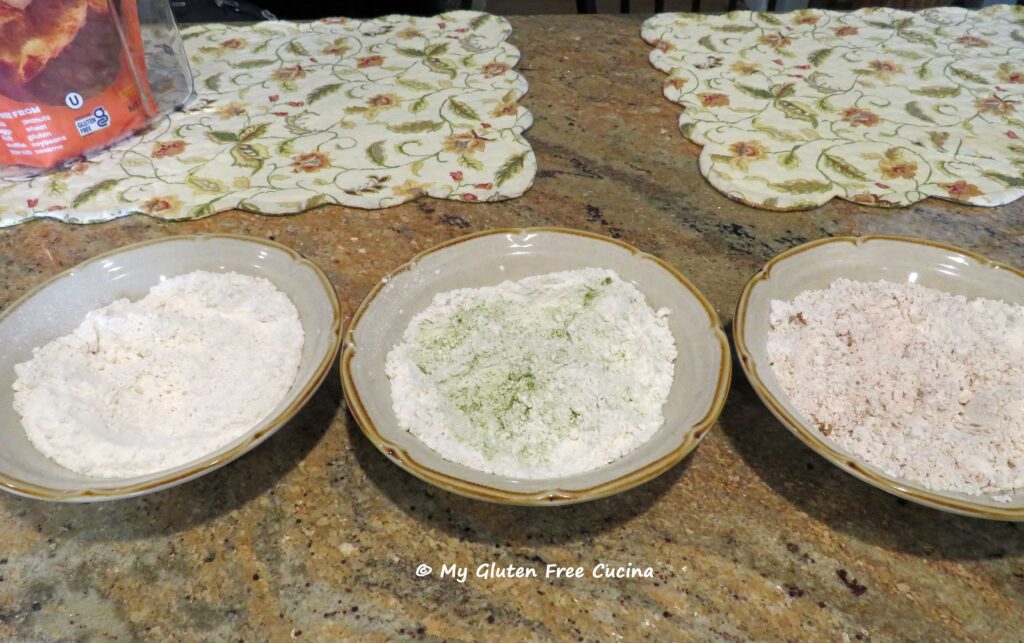 Next, working with one bowl at a time, add one egg to the bowl of a
 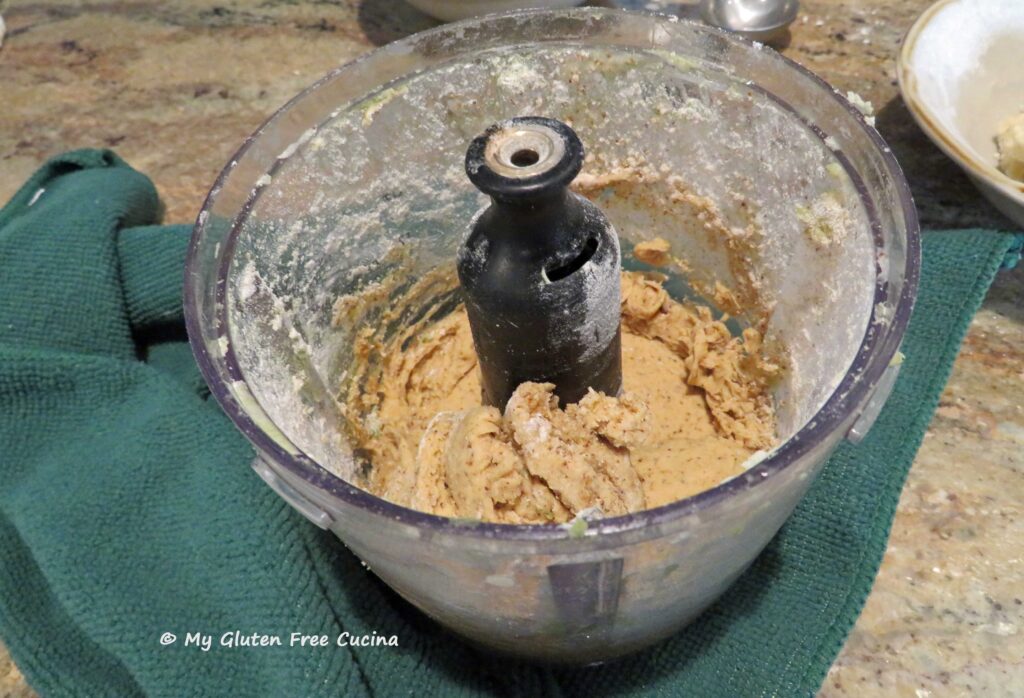 Hint: make the white dough first, so that you don’t have to wash the chopper in between batches.
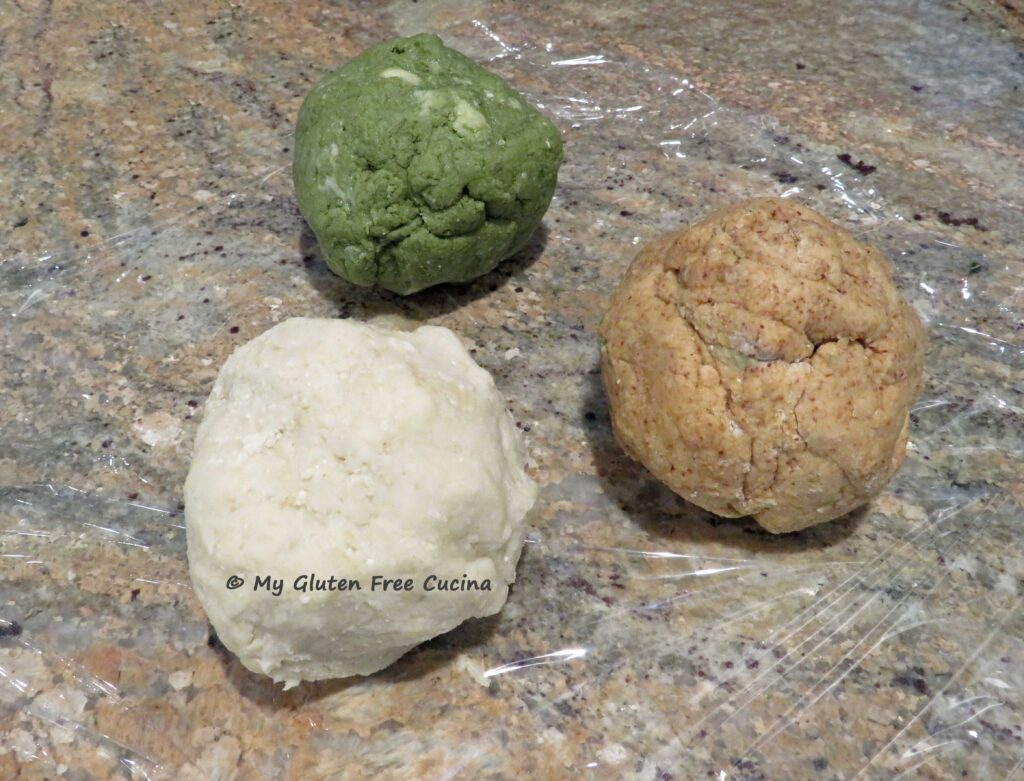 Lightly flour a large cutting board. Working with one color dough at a time, divide the ball in half and roll each section into a rope. Be patient, if it doesn’t roll easily dust with a little flour and gently press down with your palms as you roll the dough back and forth.
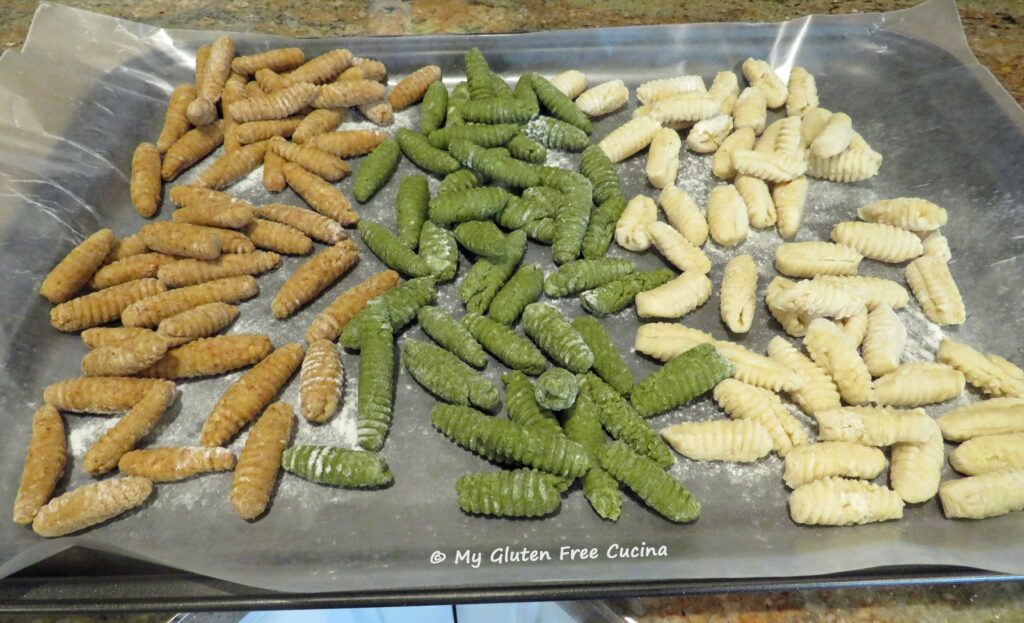
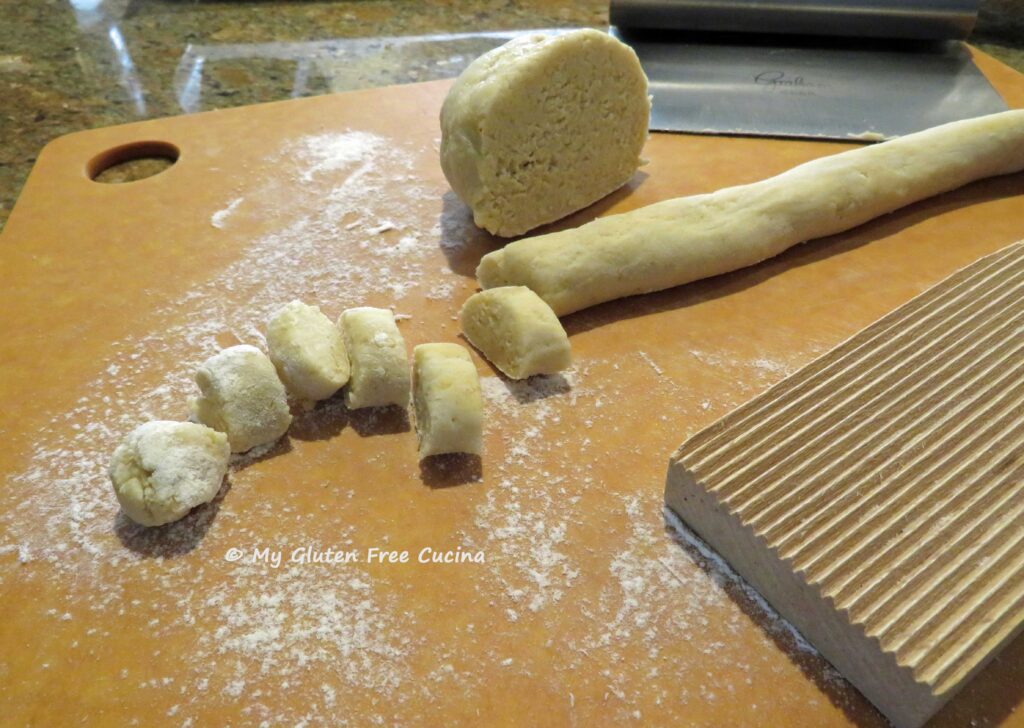 Roll each piece of dough between your palms then use your hand or a bench knife to roll it over a floured gnocchi board to create the ridges.
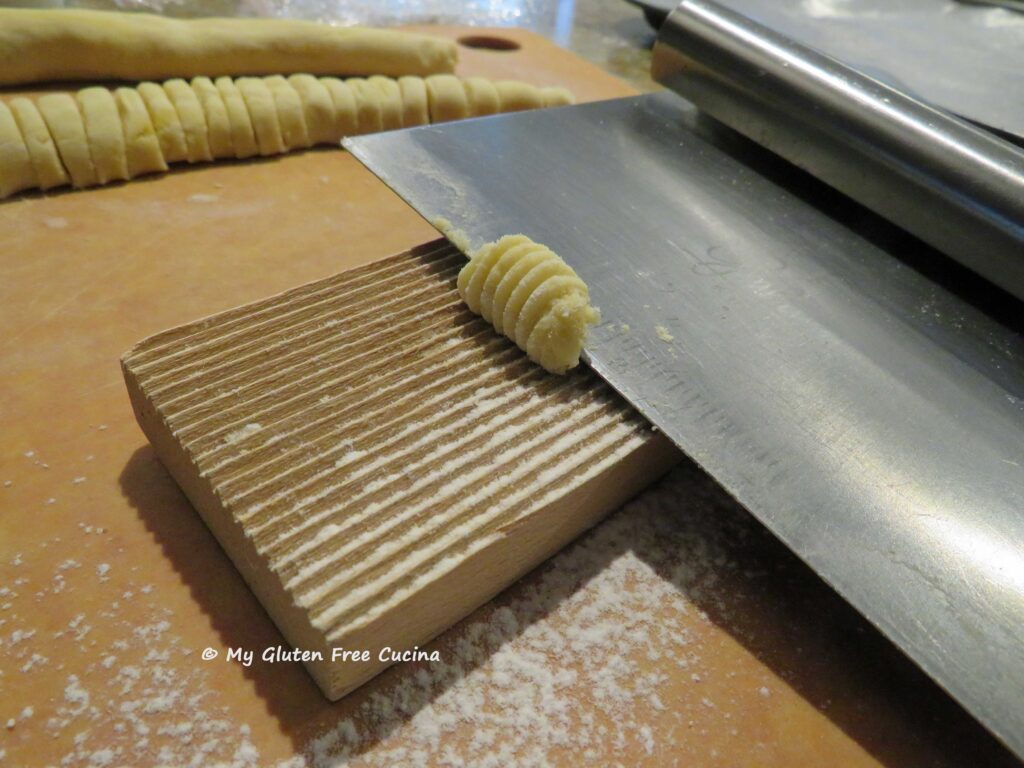 Place the finished pasta in a single layer on a floured baking sheet. I lined mine with wax paper.
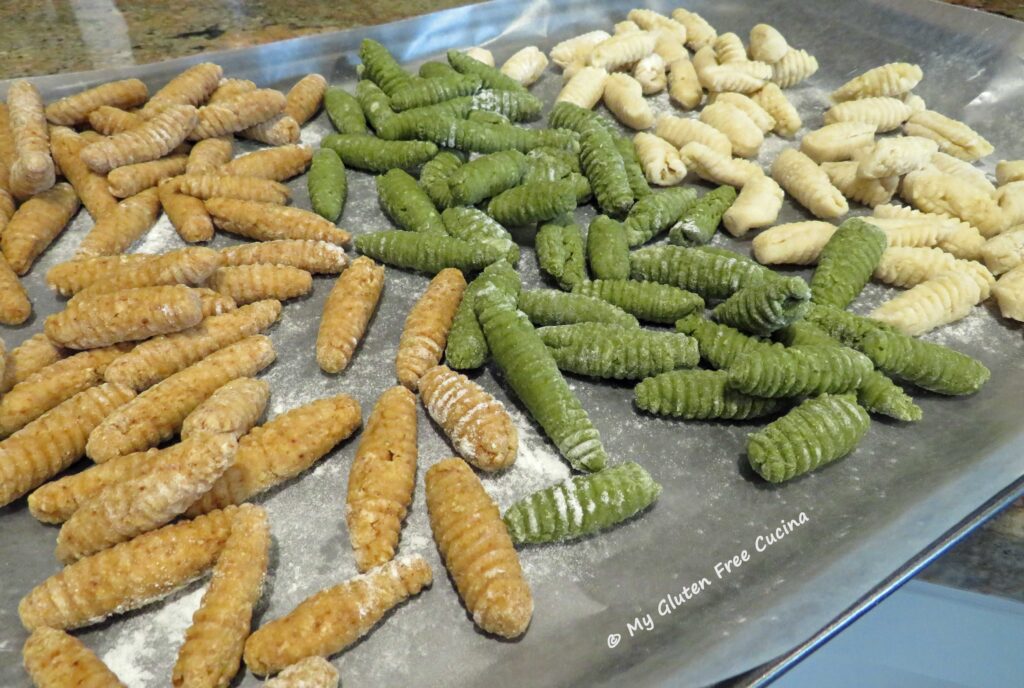 You can keep the pasta in the refrigerator if cooking the same day. Beyond that I recommend freezing it in an airtight container or freezer safe bag. I placed mine in the freezer right on the baking sheet and when they were firmed up, I transferred them to a
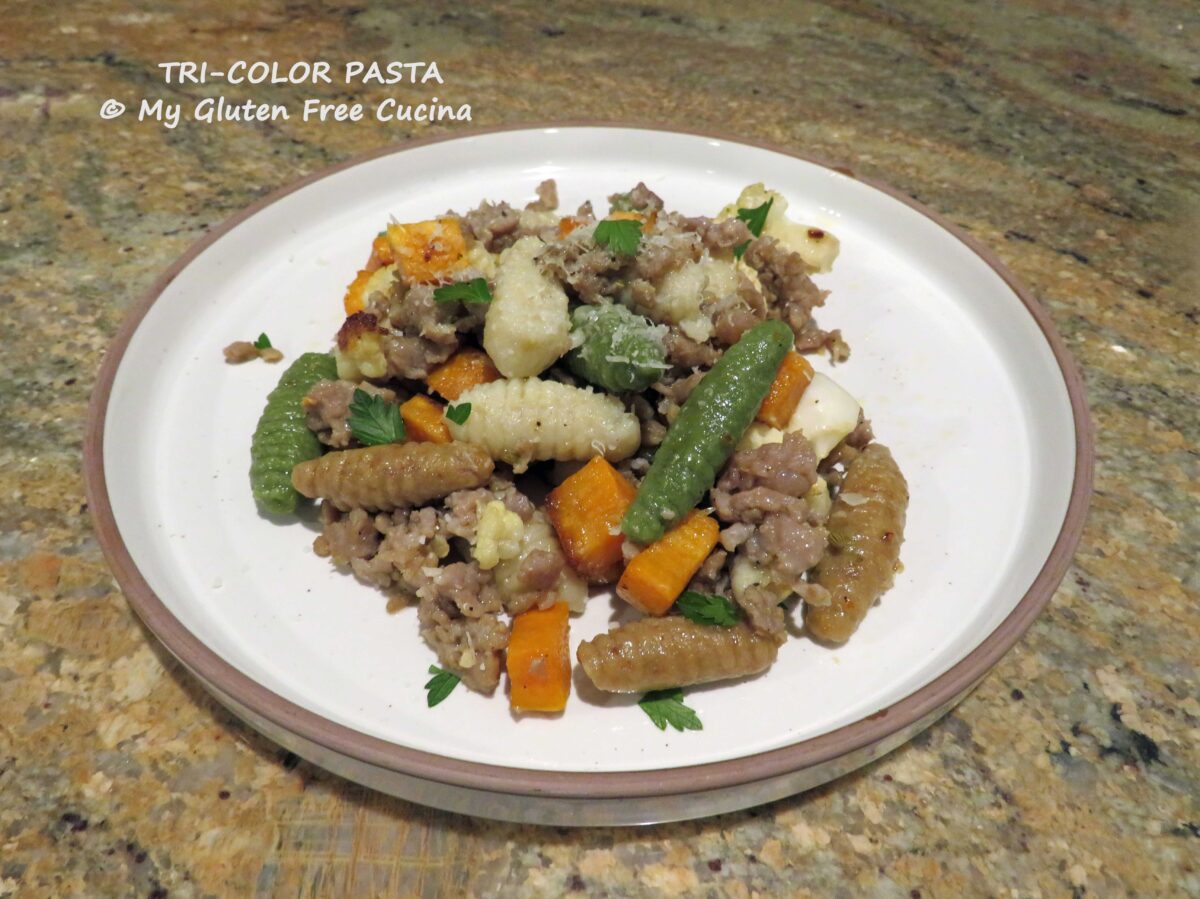
 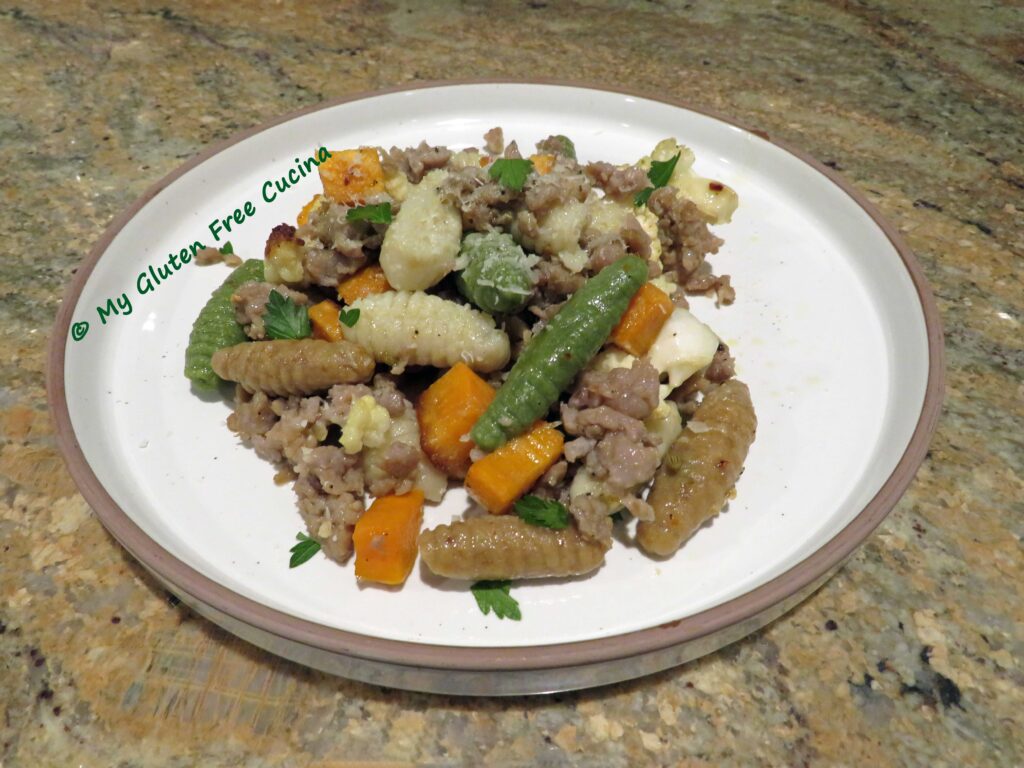 Making the pasta was a little time consuming, but I did it on a Sunday and froze it to have during the week. Freezing did not affect the texture at all, and the pasta cooked perfectly to al dente.


 Cover and simmer on low for 20 minutes, adding a bit more water if it seems dry.

 Preparation:
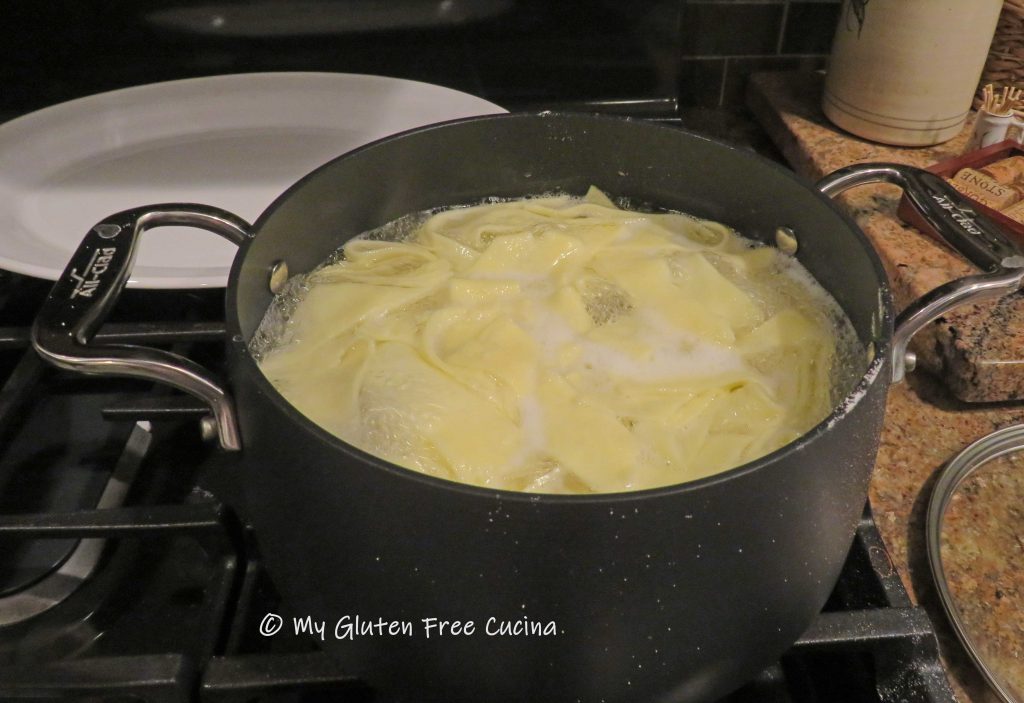
 By now the pasta water should be ready, cook the pasta to a few minutes less than the package directions, it will finish cooking in the sauce.
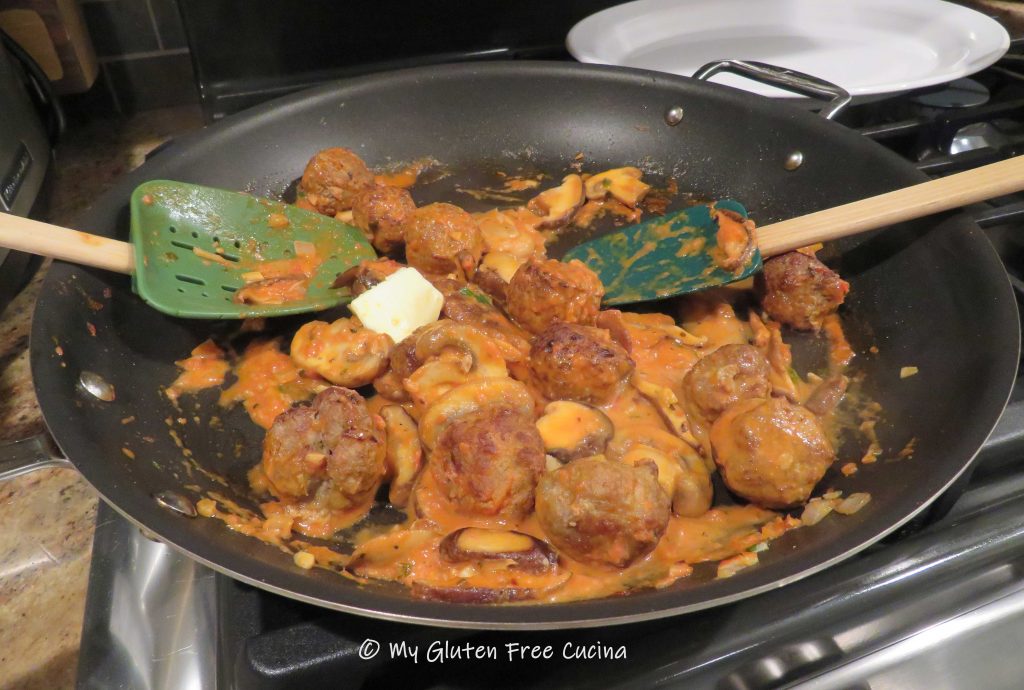
 Cook for 1 minute, stir it all together and return the chicken to the pan.
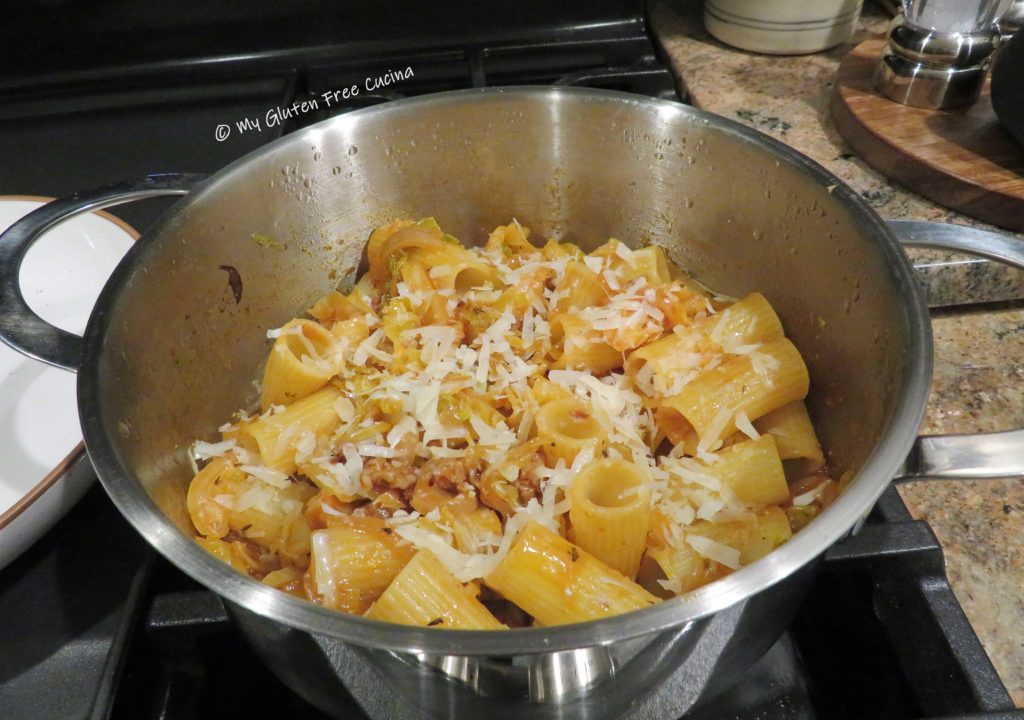
 Drain the pasta and add to the pan, toss well and cook for one more minute.

 Sprinkle with
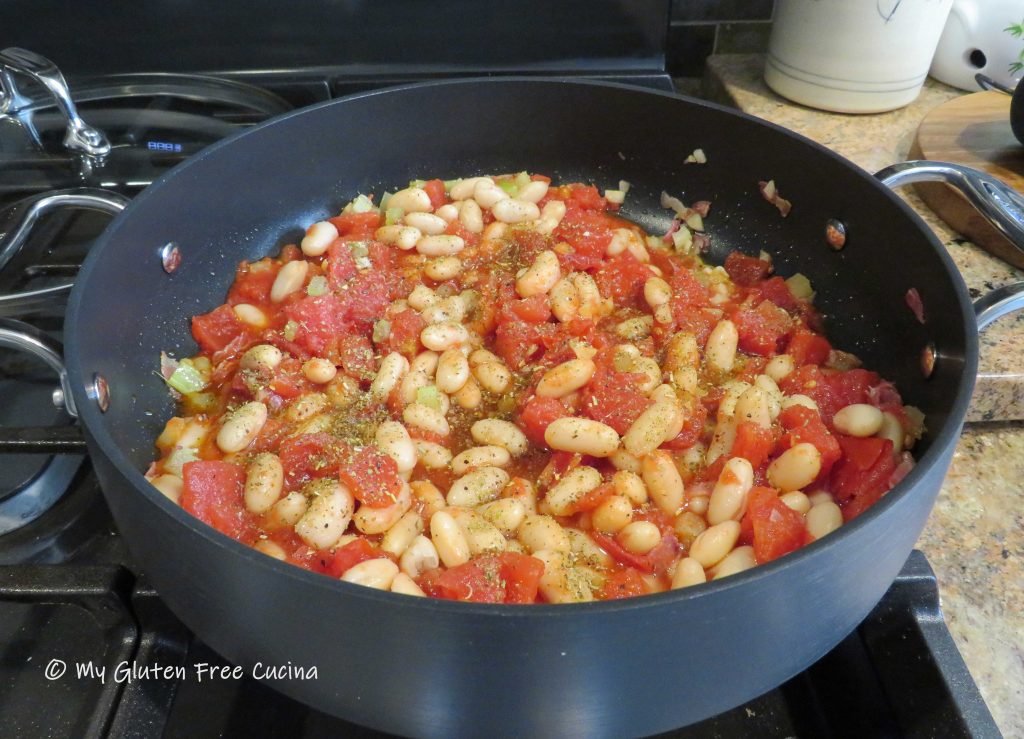


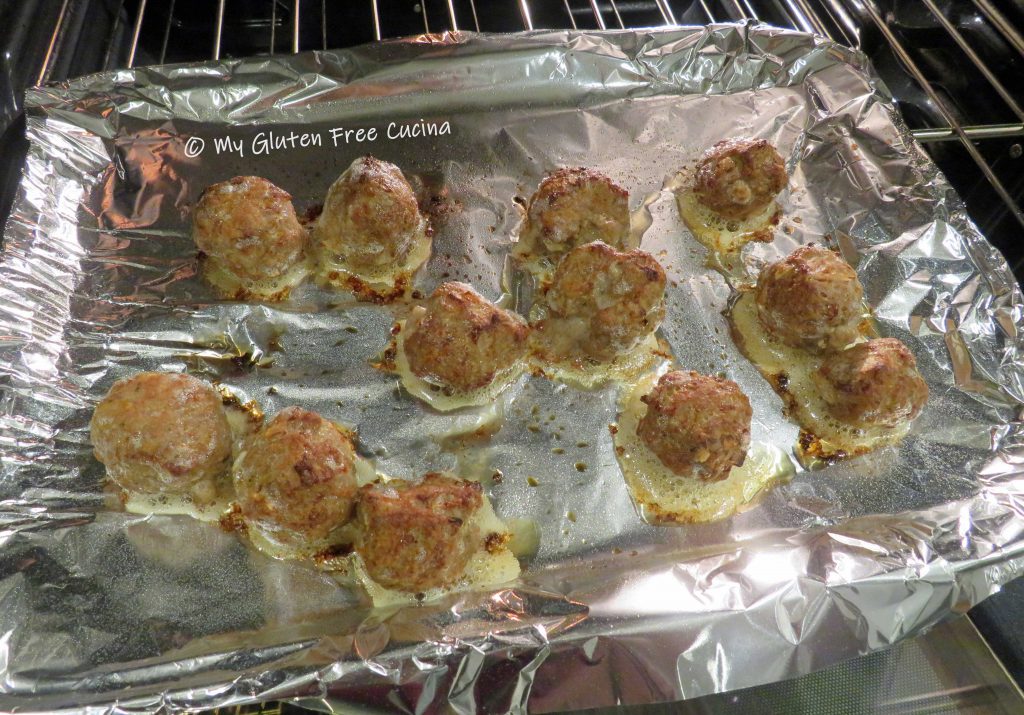


 Line a baking sheet with foil and mist with cooking spray. Form 12 small meatballs and arrange on the baking sheet, leaving space in between.
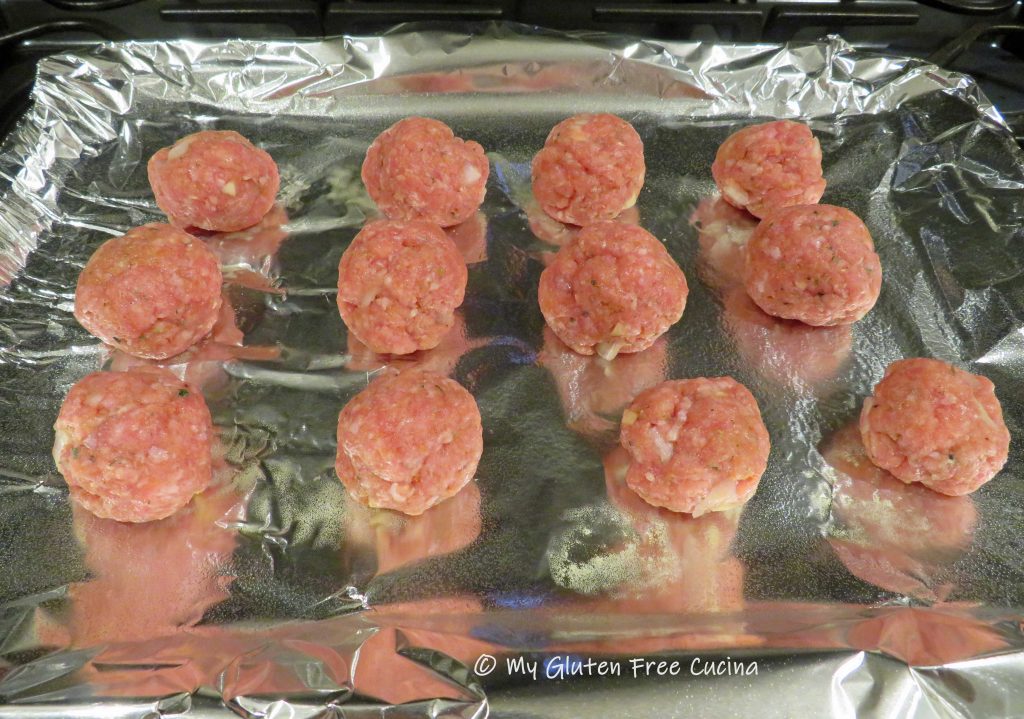


 Preparation:


 Drain the pasta and add to the pan with 1/2 cup gruyere cheese. Toss to combine.