I love making over my favorite comfort foods! Looking back through my old recipe files, I realized that I hadn’t made this dish since 2013! Why I don’t know, because this lightened up, Gluten Free Beef Stroganoff is delicious, not to mention easier and healthier than the traditional version. Try it, I promise you won’t miss the gluten or the extra calories!
4 Servings
This post contains affiliate links.
Ingredients:
- 12 oz. 90% lean ground beef
- olive oil
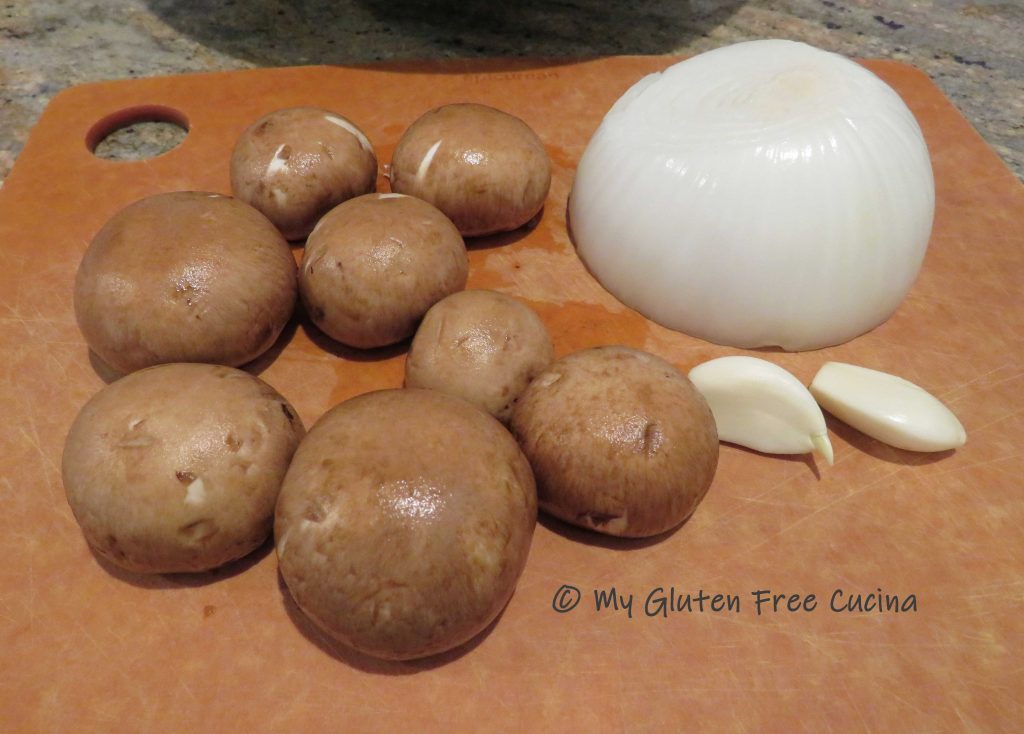
- 1/2 medium sweet onion, sliced thin
- 8 baby bella mushrooms, sliced thin
- 2 garlic cloves, minced
- dash of gluten free Worcestershire sauce
- 2 tbsp. tomato paste
- 1 cup gluten free beef or vegetable stock
- 1/4 cup light sour cream
- 2 tbsp. half and half
- 1/2 tsp. Montreal steak seasoning
- 3 oz. gluten free ribbon pasta
- 1/3 cup shredded Gruyere cheese
- 1/4 cup gluten free seasoned breadcrumbs
 Preparation:
Preheat the oven to 350º.
For best results use a heavy, oven safe pan or skillet. I used my Cast Iron Braiser, it goes from stovetop to oven to table. Don’t you love one dish cooking and cleanup?
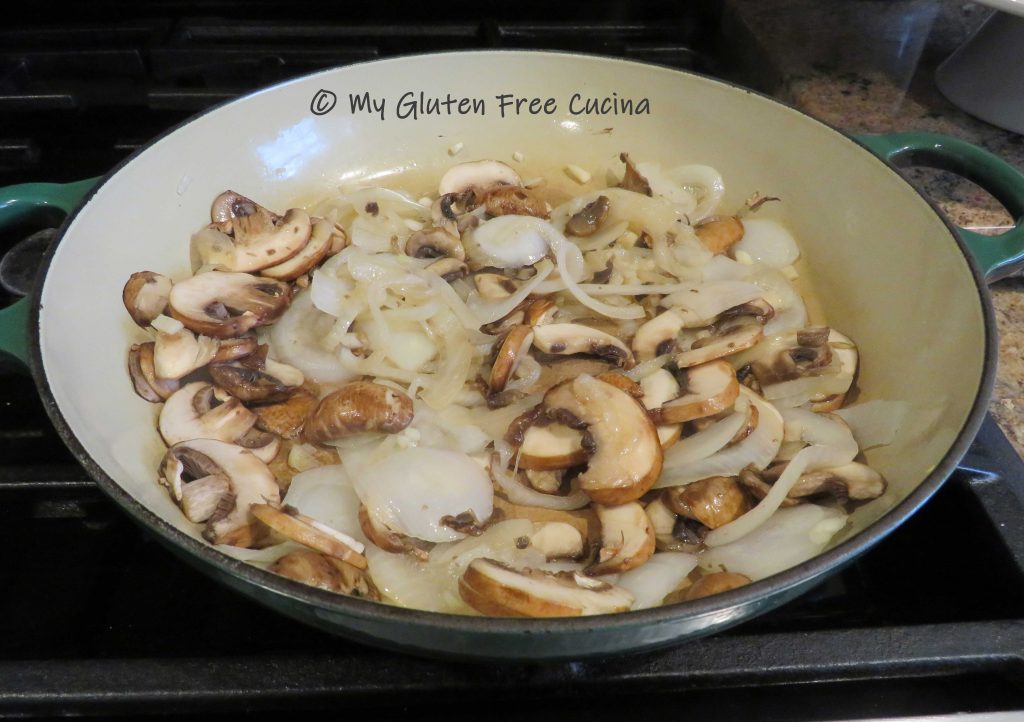
Heat the pan on medium low with a little olive oil. Add the onions and stir to coat, cook for 2 minutes.

Add the mushrooms and continue cooking until they release their liquid. Transfer to a bowl and set aside.
Add a bit more olive oil and begin browning the meat, breaking it up with a spatula.

Clear a space in the center of the pan and add the tomato paste. Let it toast for a minute, then stir it into the beef.

 Add back the mushrooms and onions, with a sprinkle of seasoning.

Cook the pasta to 3 minutes less than package directions, drain and add to the beef mixture. 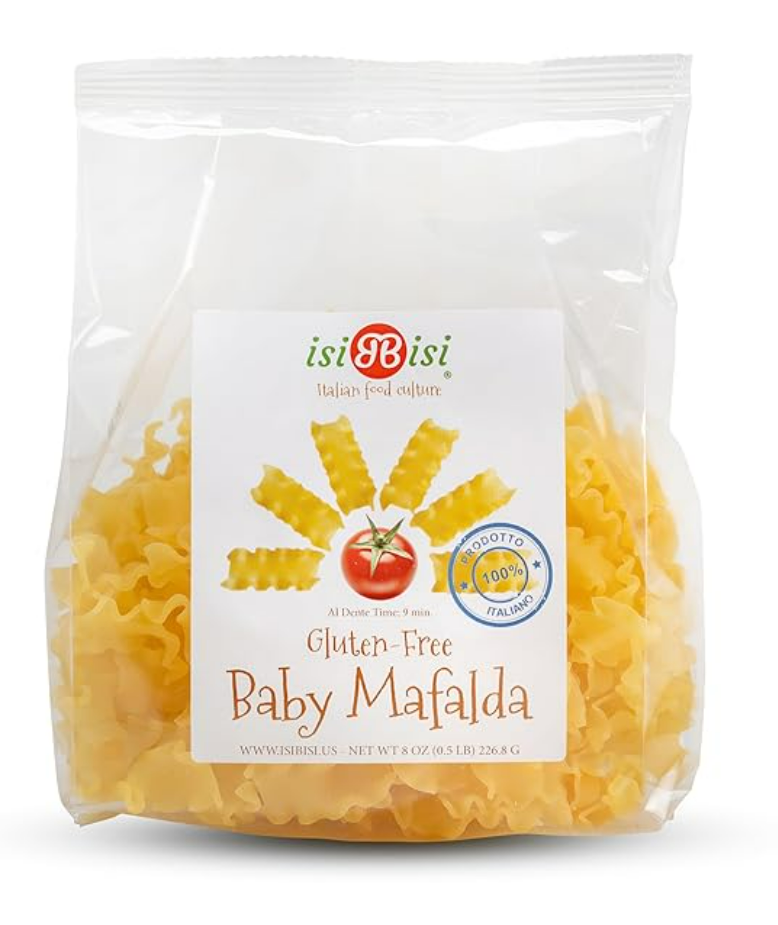

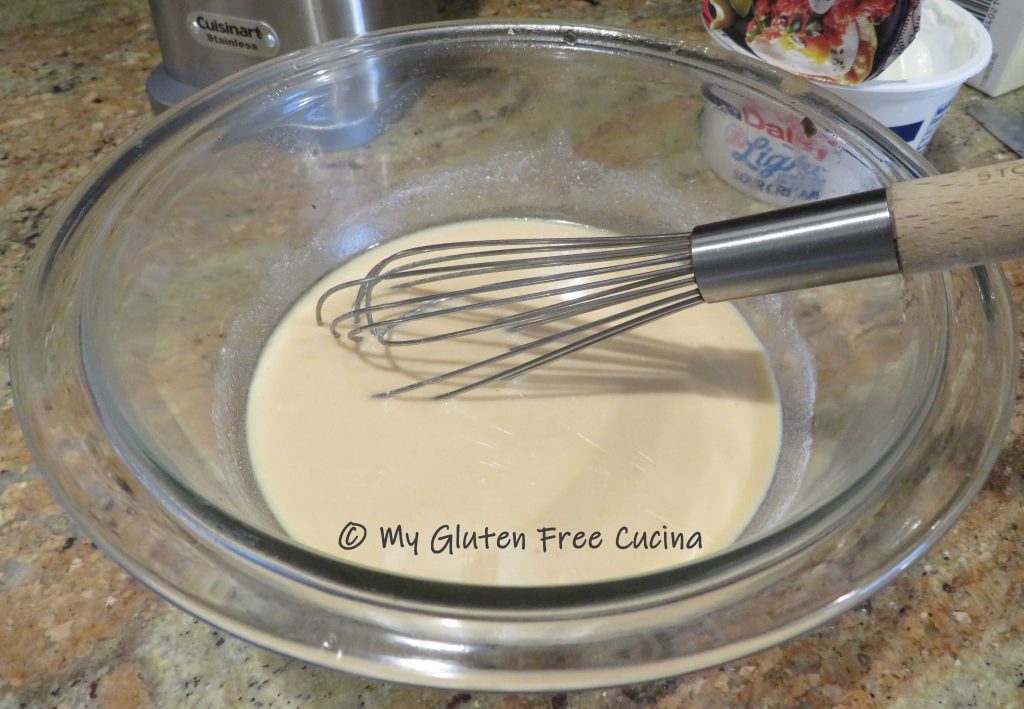
Whisk together the broth, sour cream and half and half. Pour the mixture over everything and stir to thoroughly to combine.

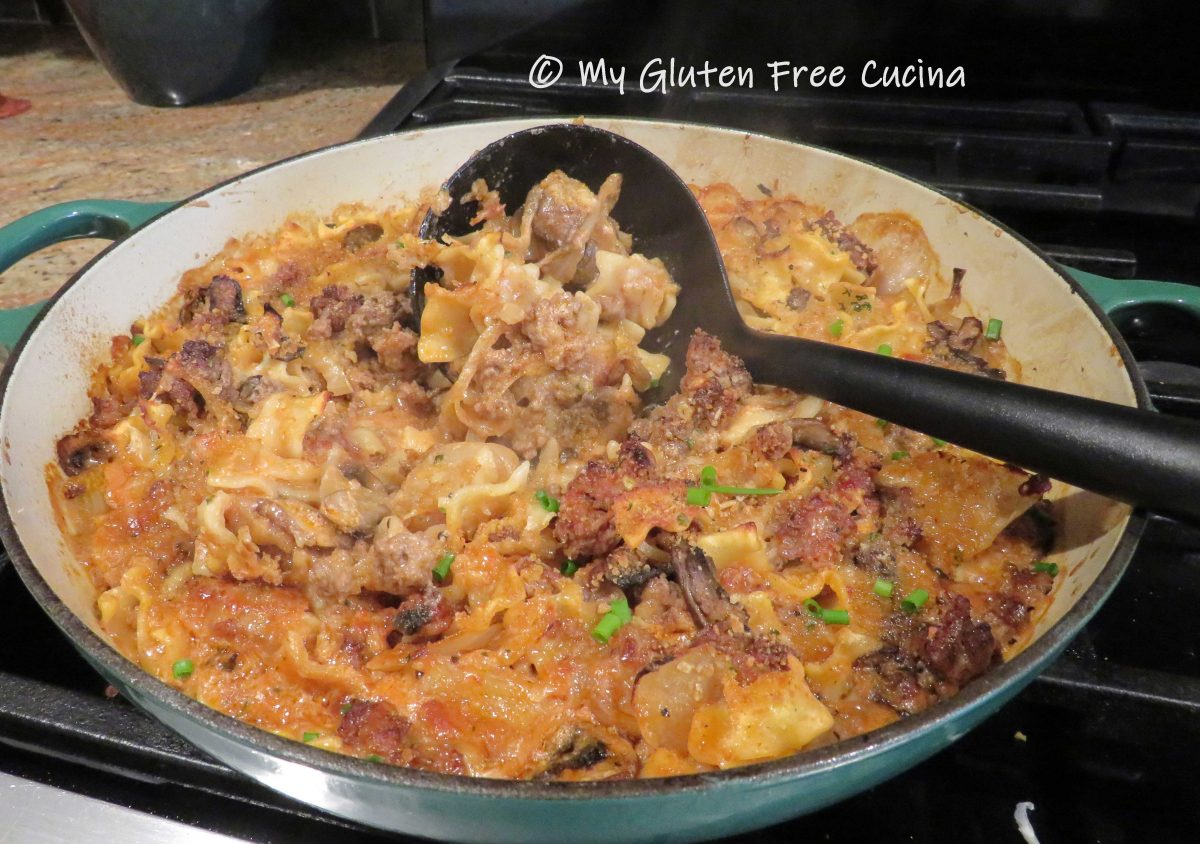
Sprinkle the top with breadcrumbs and cheese. Bake for 25 minutes at 350º.
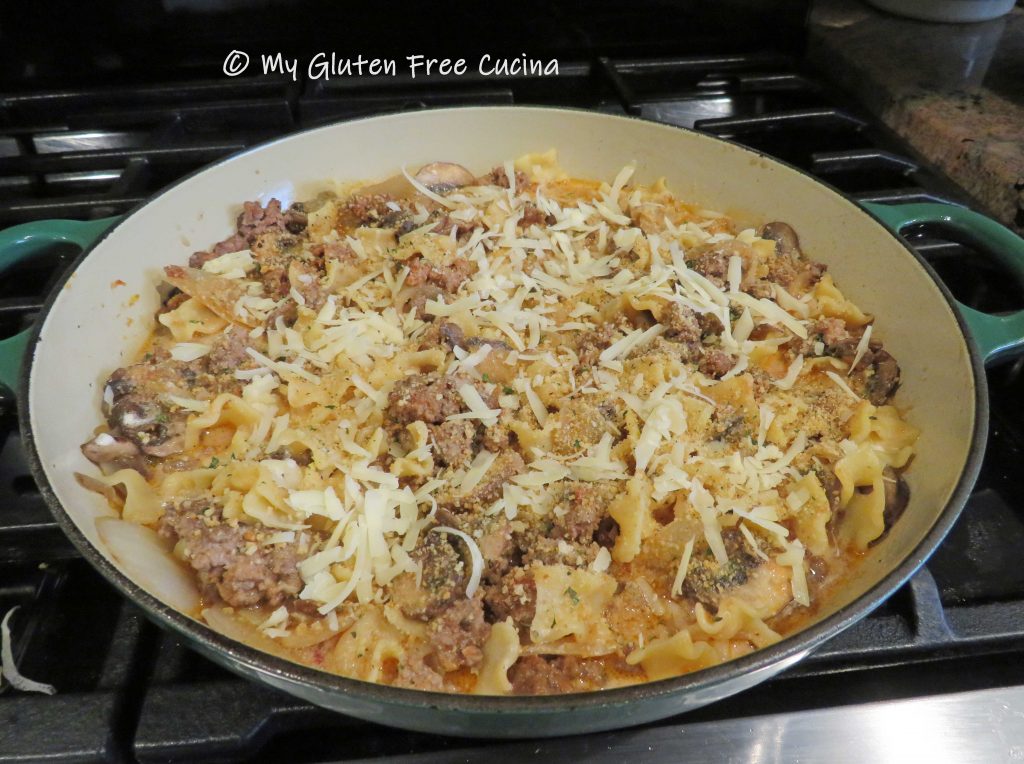
I like to finish it under the broiler for 3-4 minutes, to give it that great color. Just watch that it doesn’t burn!

Garnish with fresh chives and bring this delicious meal to the table. Serve it right from the pan!

Leftovers (if you have any 😉) will be great the next day, just pop them in the microwave!

Notes ♪♫ I was lucky enough to spot these gluten free noodles on sale locally, and they were absolutely perfect in this dish. If you can’t find them near you, check online or substitute your favorite gluten free pasta.


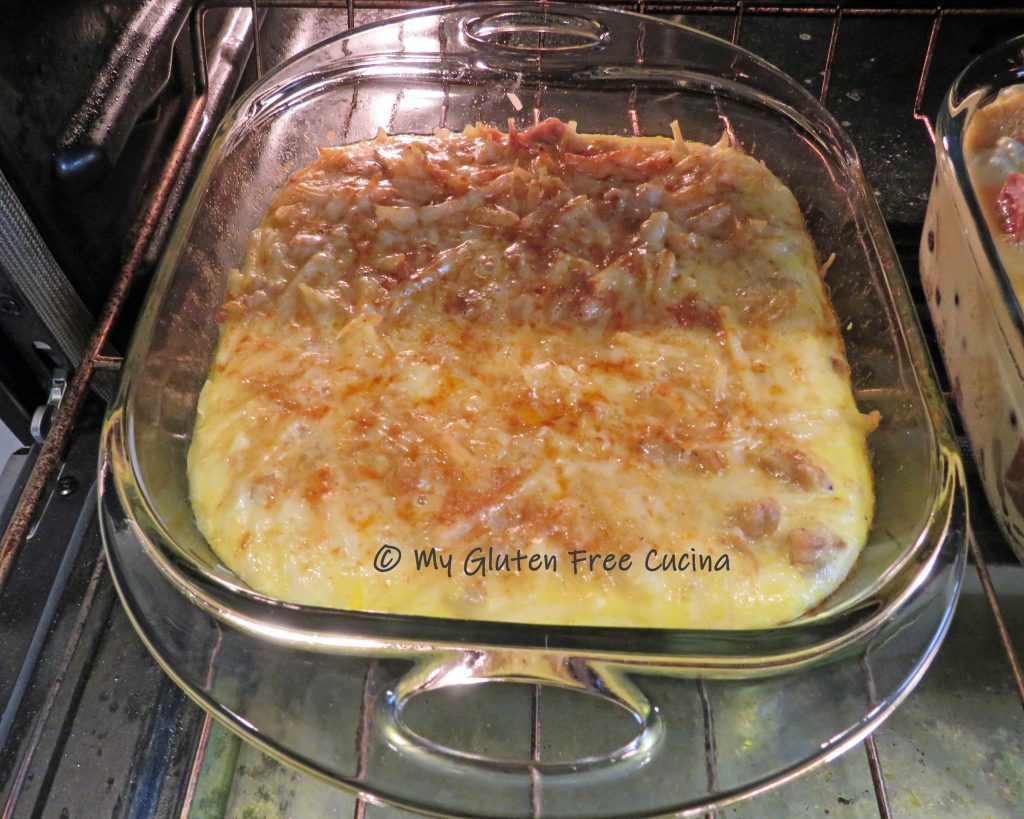
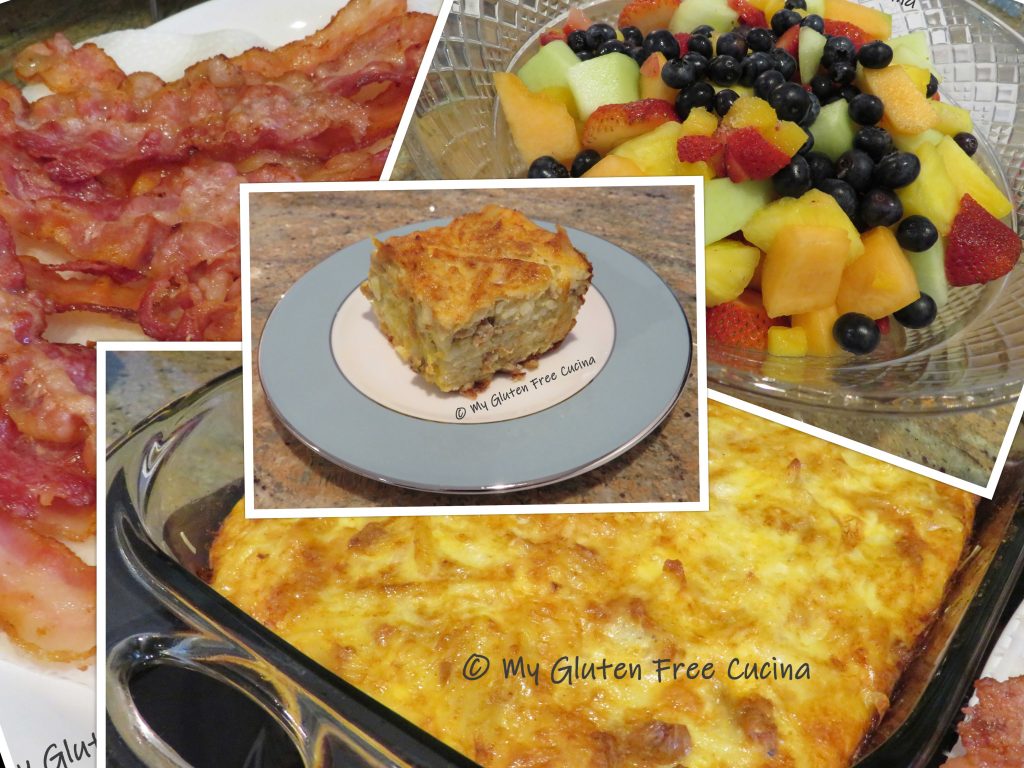
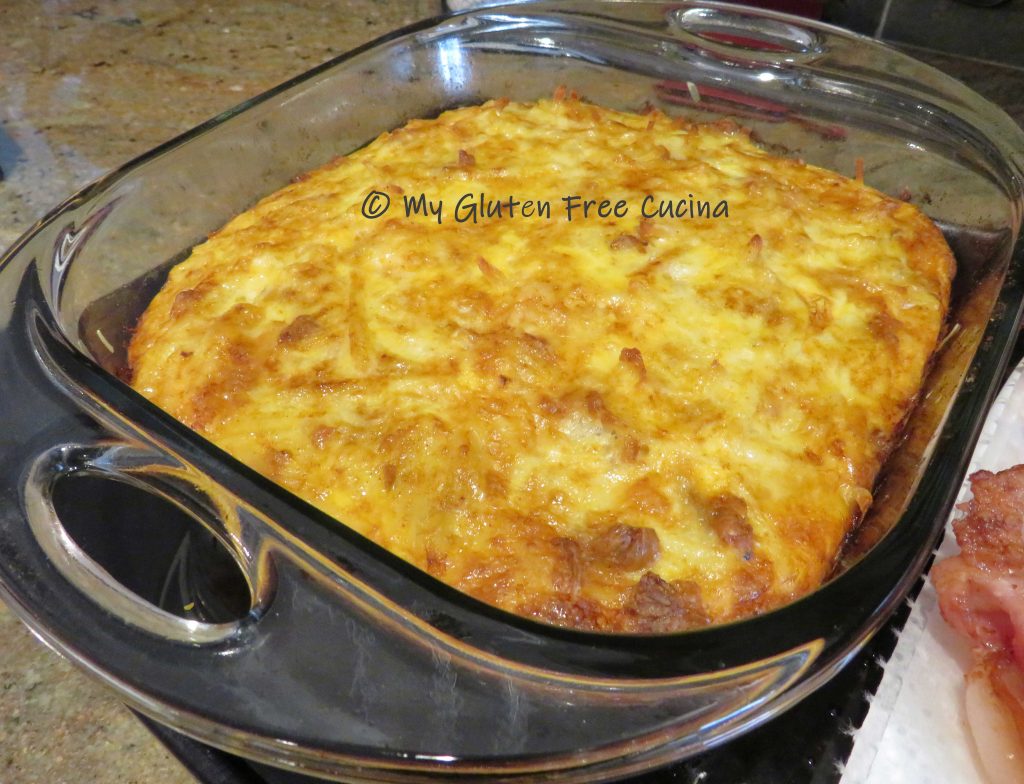 This casserole is a complete meal, but you can serve it with a nice fruit salad, bacon or ham. Don’t fight over the corners!


 Finish in the oven for 15-20 minutes or until the cheese is melted.
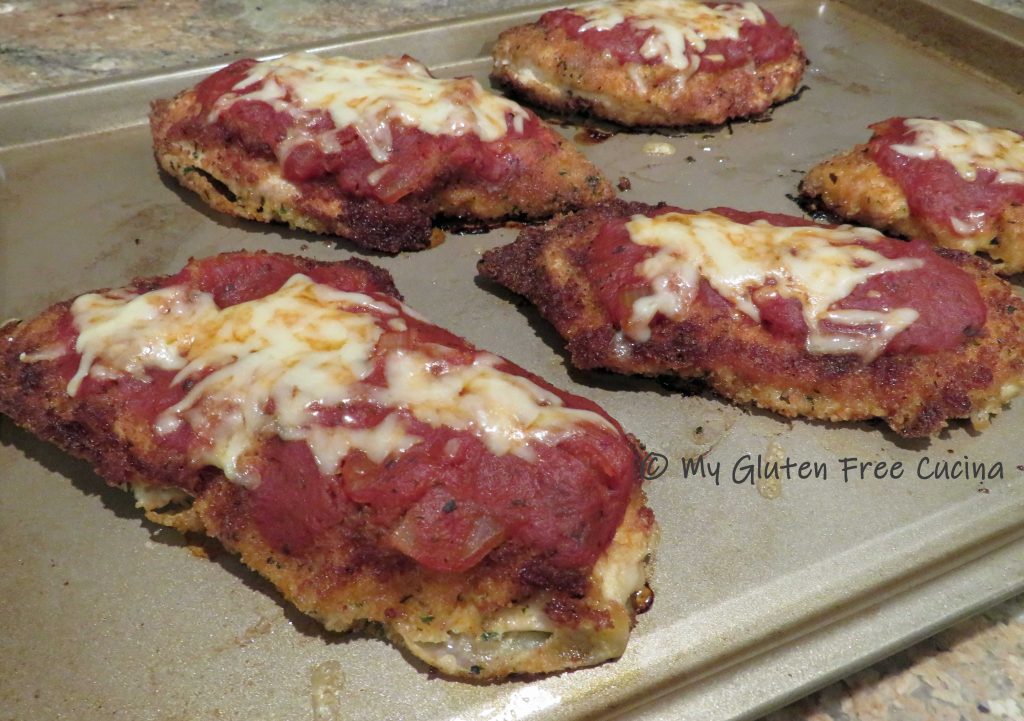
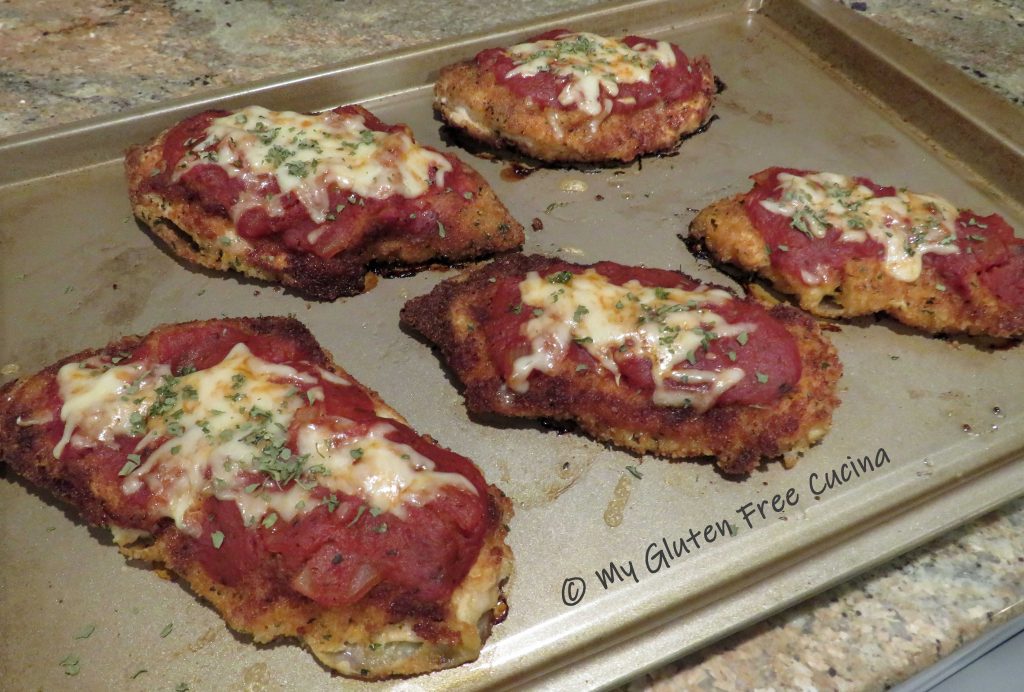
 When I made this for company, no one knew it was gluten free. Mum’s the word!


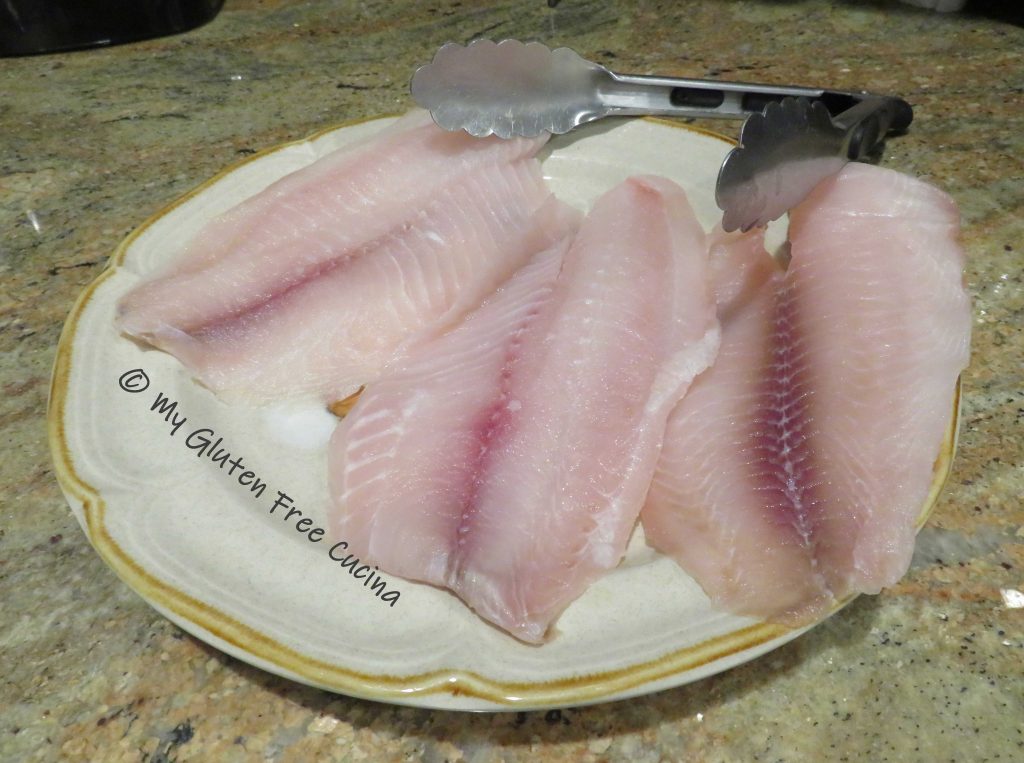
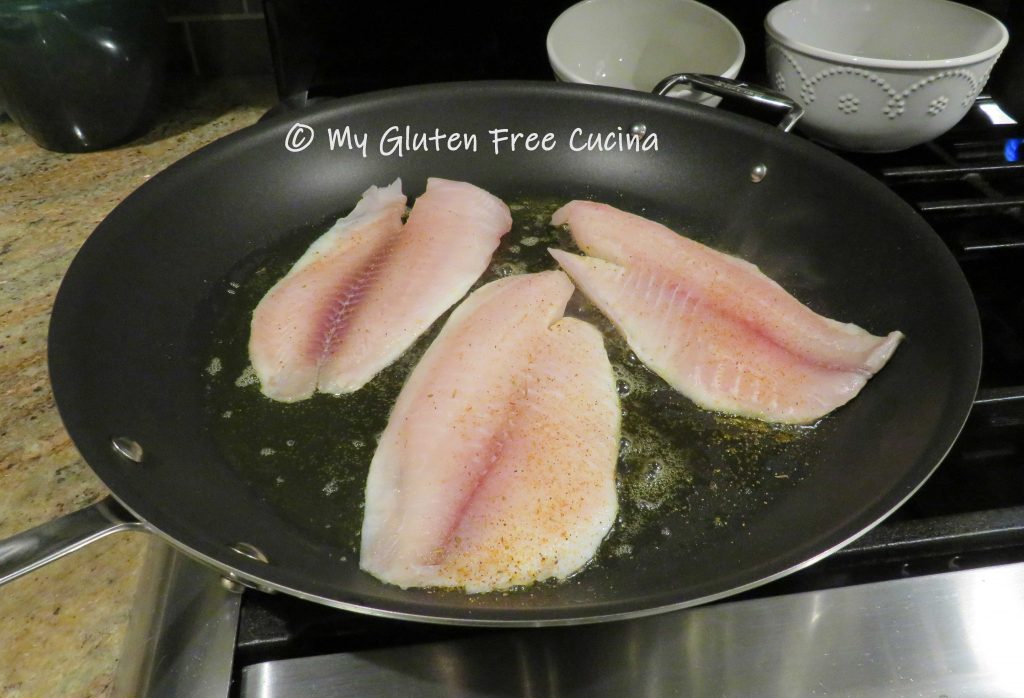
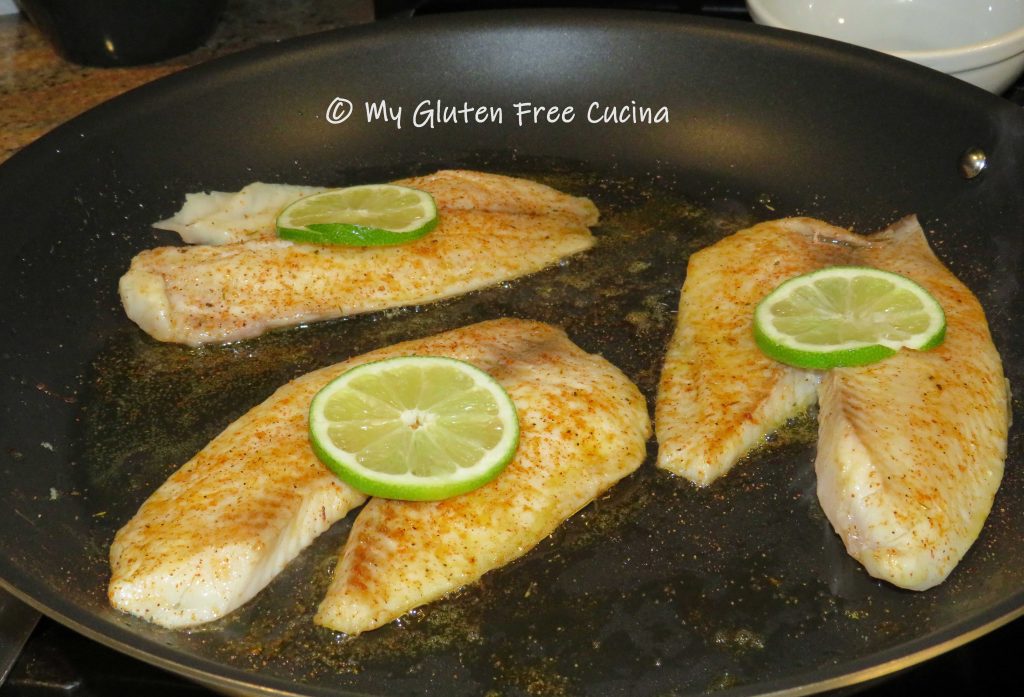
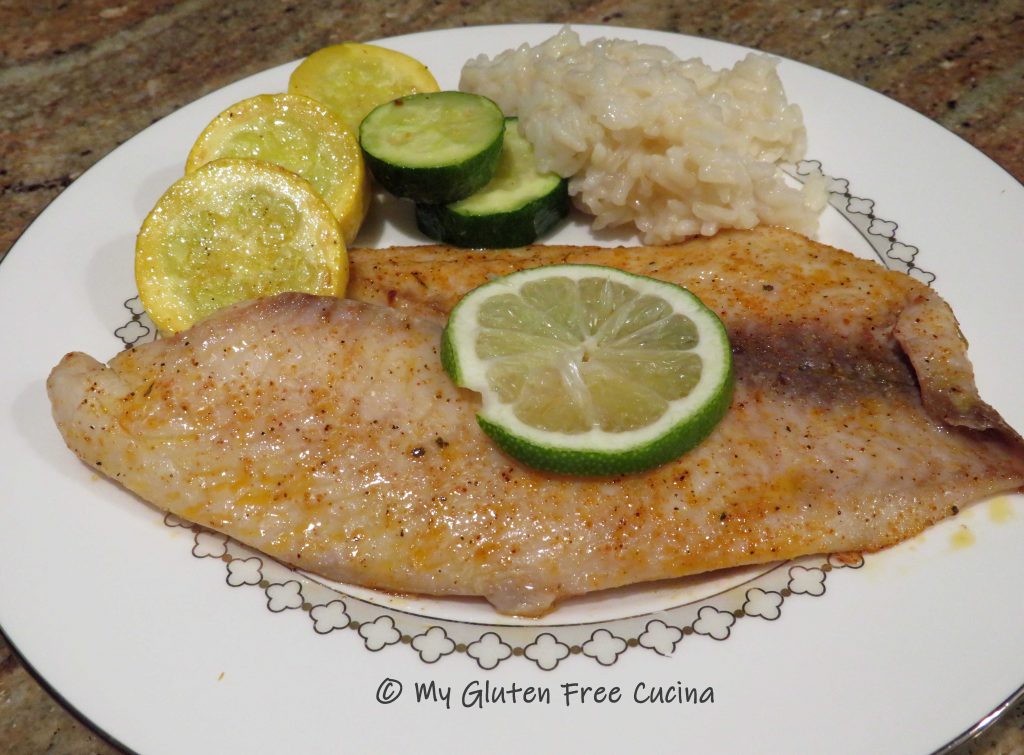
 While the chips are getting started prepare the fish. You want a thick, firm white fish for this recipe. Cod or haddock are the usual choices but today I got this beautiful Sablefish on sale.


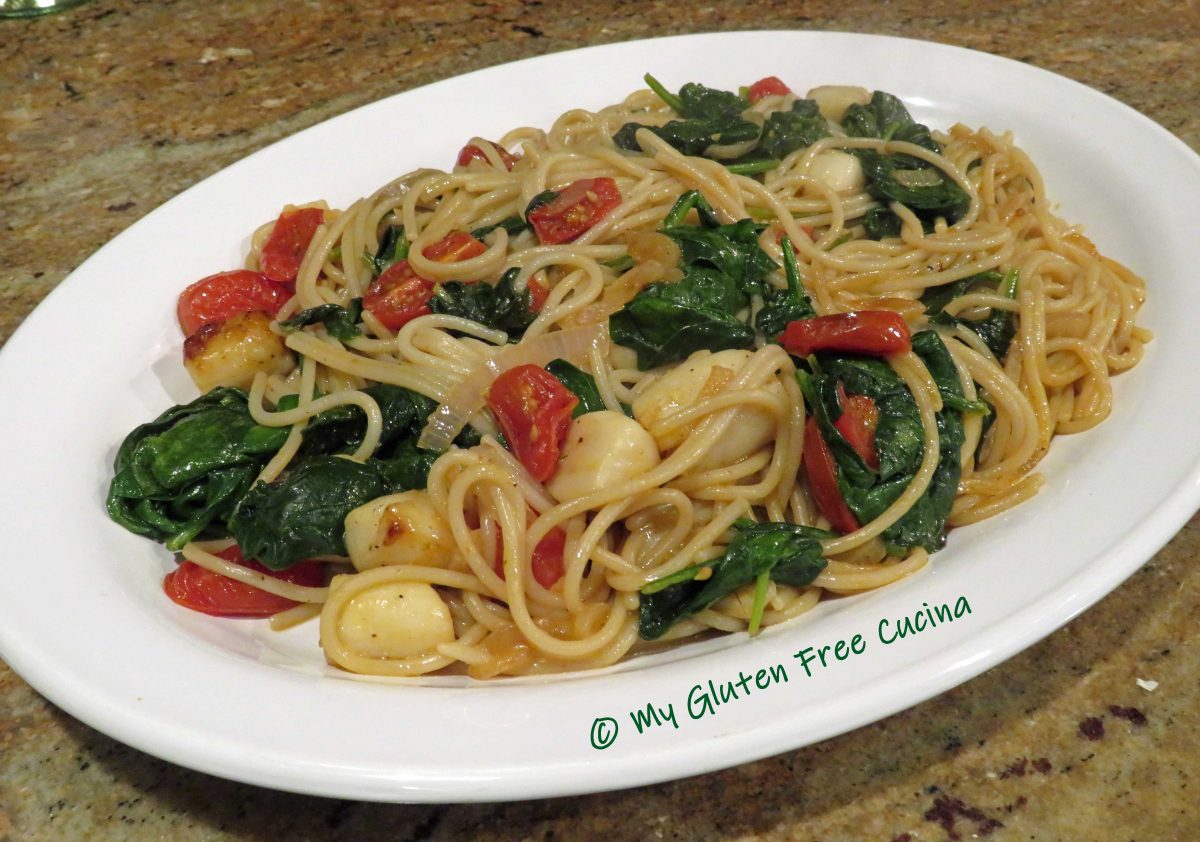


 Cook the spaghetti to 1 minute less than package directions. While the pasta cooks, add 1 tbsp. each of butter and olive oil to a
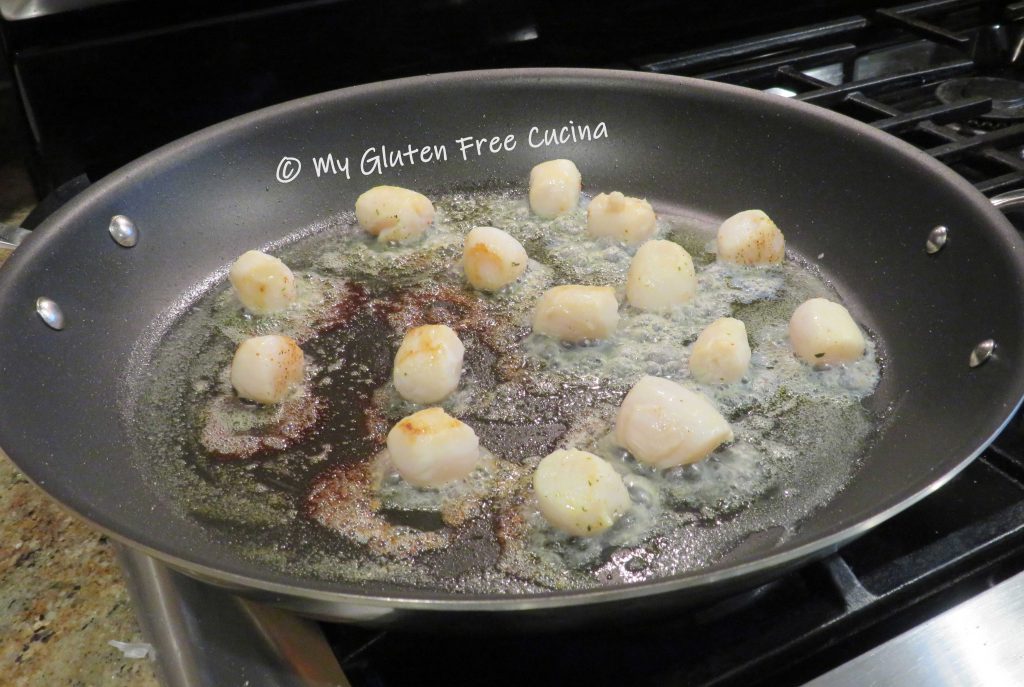
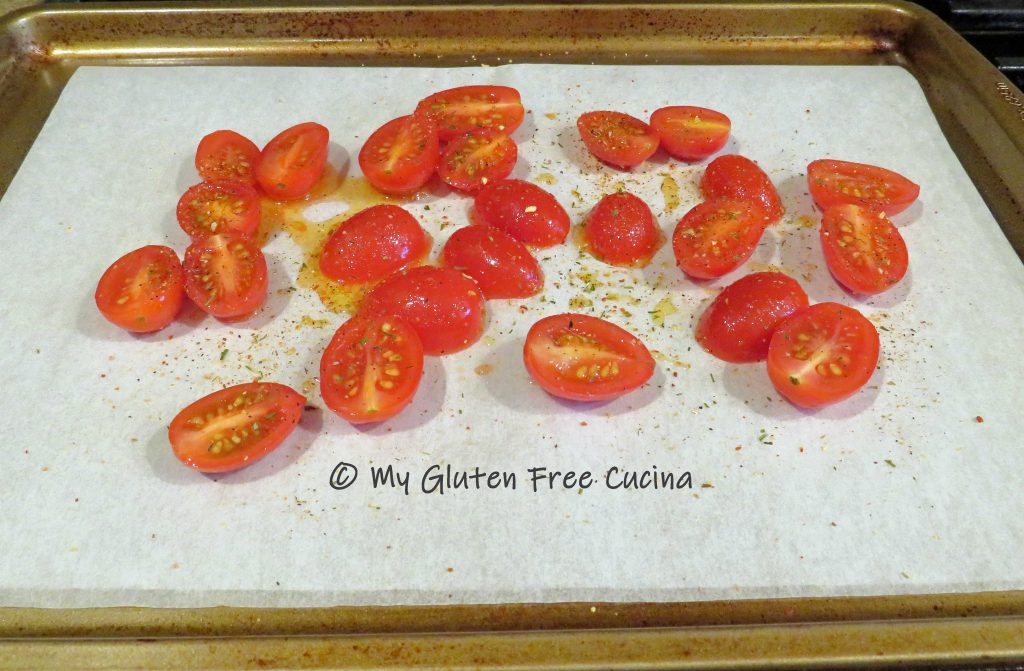
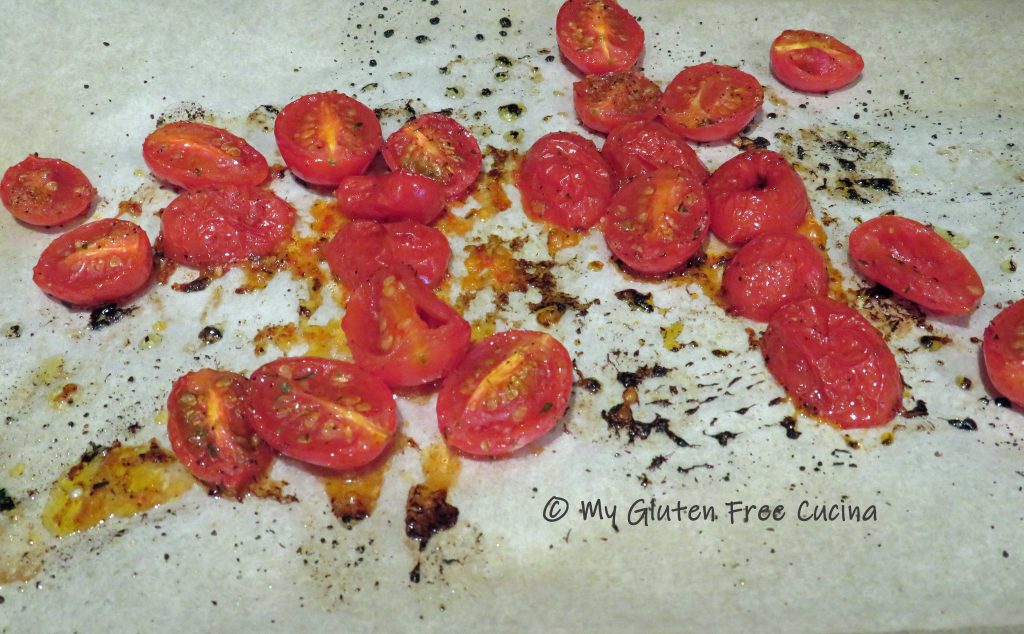
 Stir and cook 1 minute, then add back the roasted tomatoes.
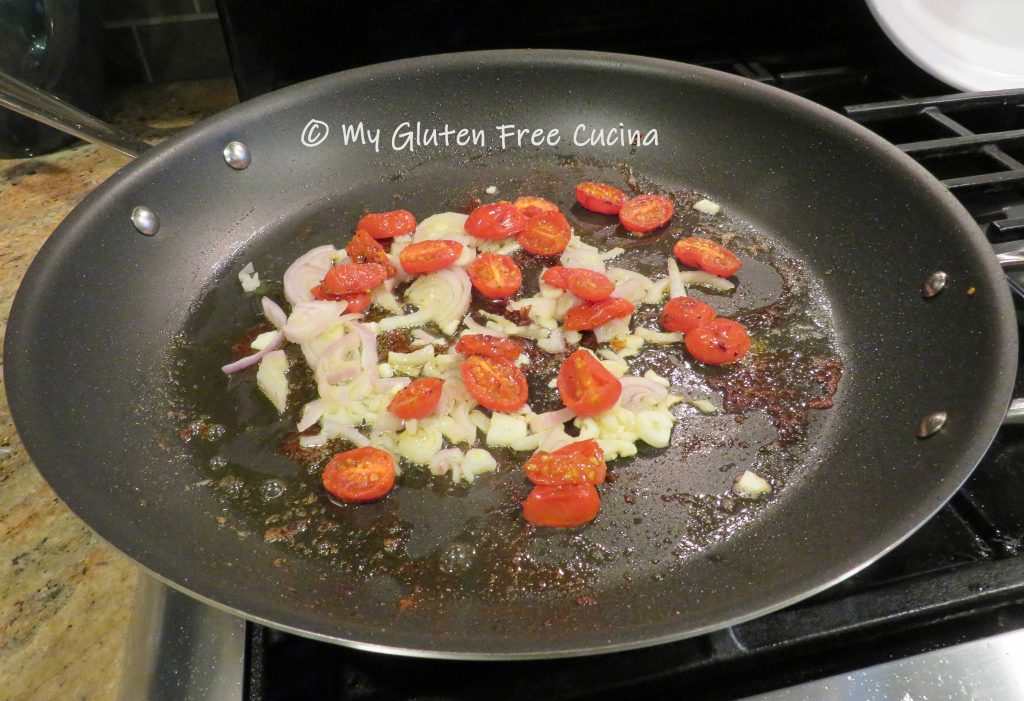 Cook for 1 minute more, then add all of the baby spinach with 1/2 cup of white wine. Don’t worry, it will cook down! Cover the pan and cook for several minutes, until the spinach wilts.
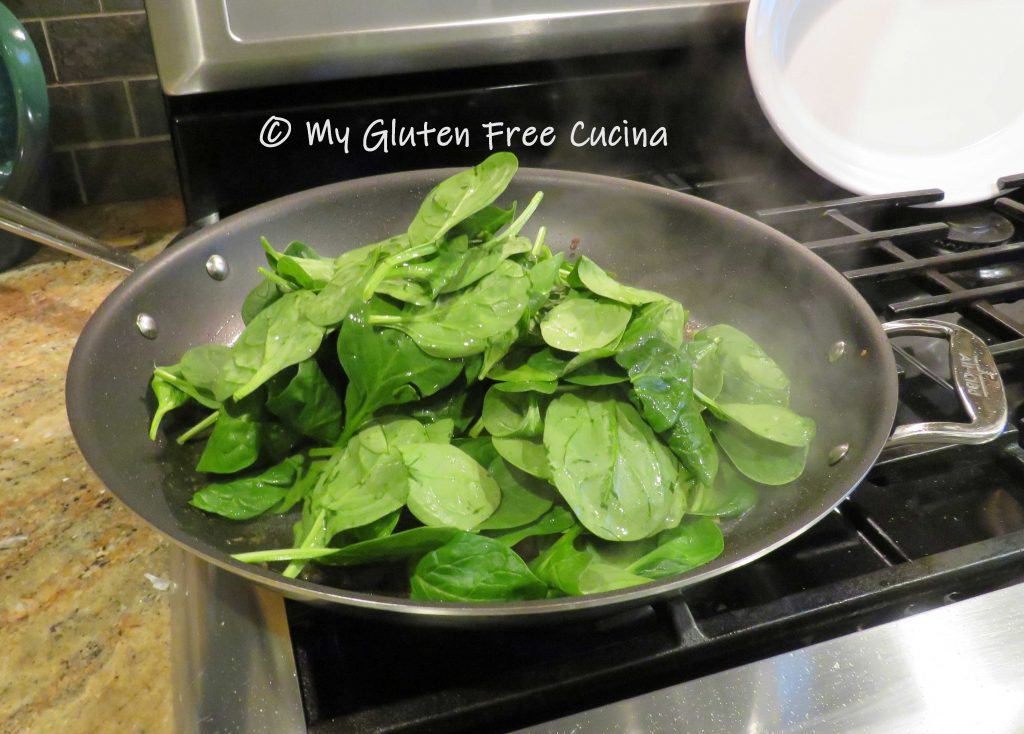 What did I tell you?
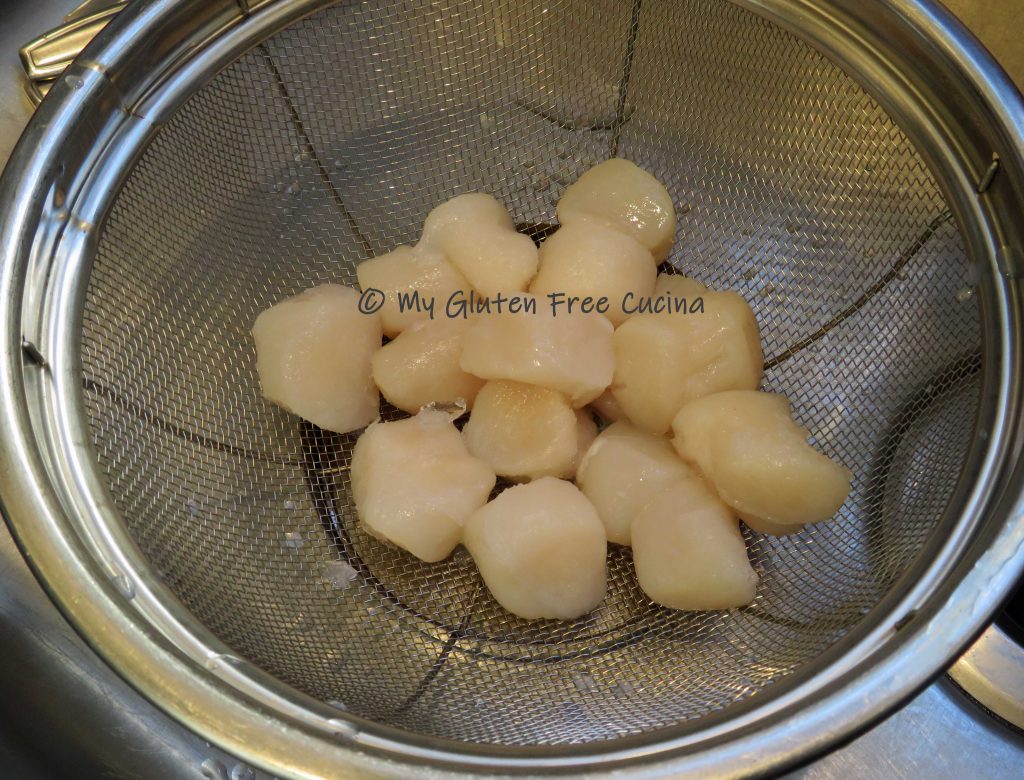
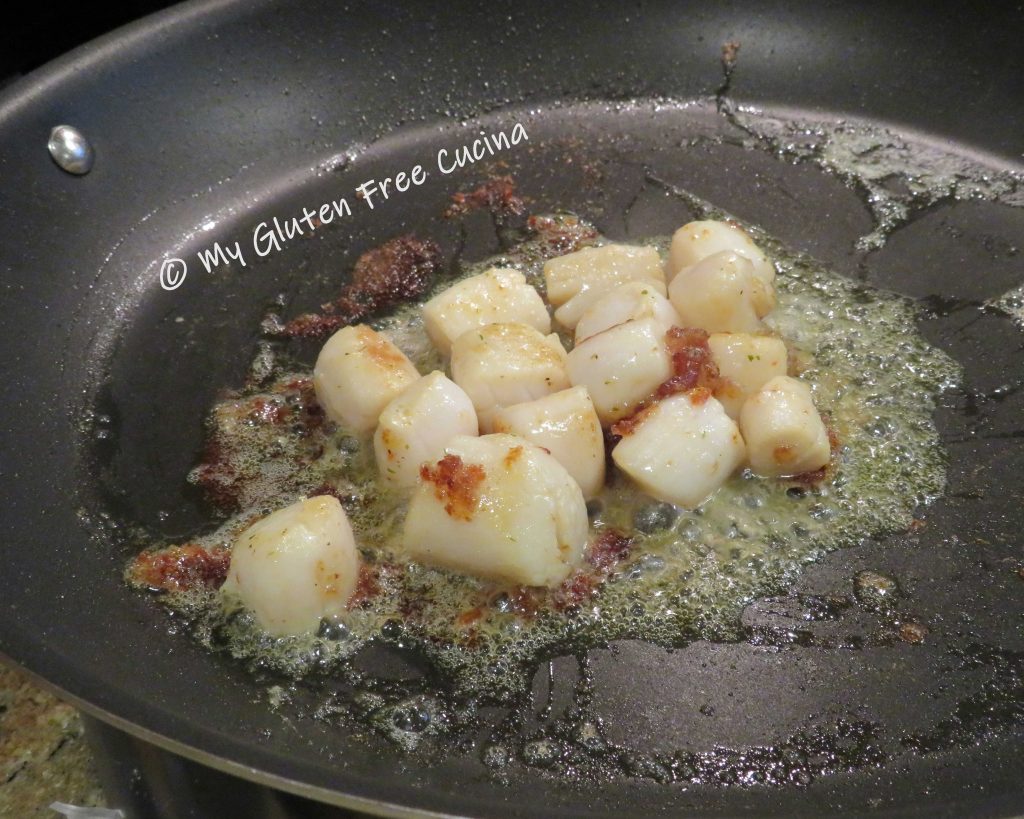
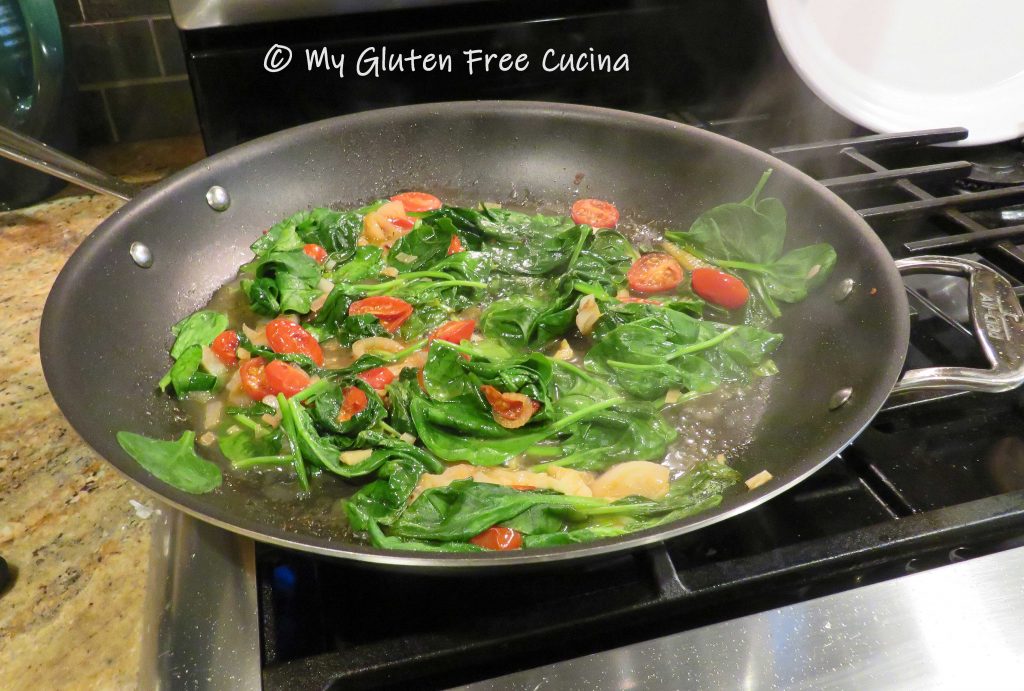 Use tongs to add the cooked spaghetti to the spinach mixture, along with the scallops. Season to taste, and finish with another 1 tbsp. each of butter and olive oil.
 Toss gently to combine and heat the scallops through, then transfer to a serving platter.