Gluten Free Carrot Cake Pancakes

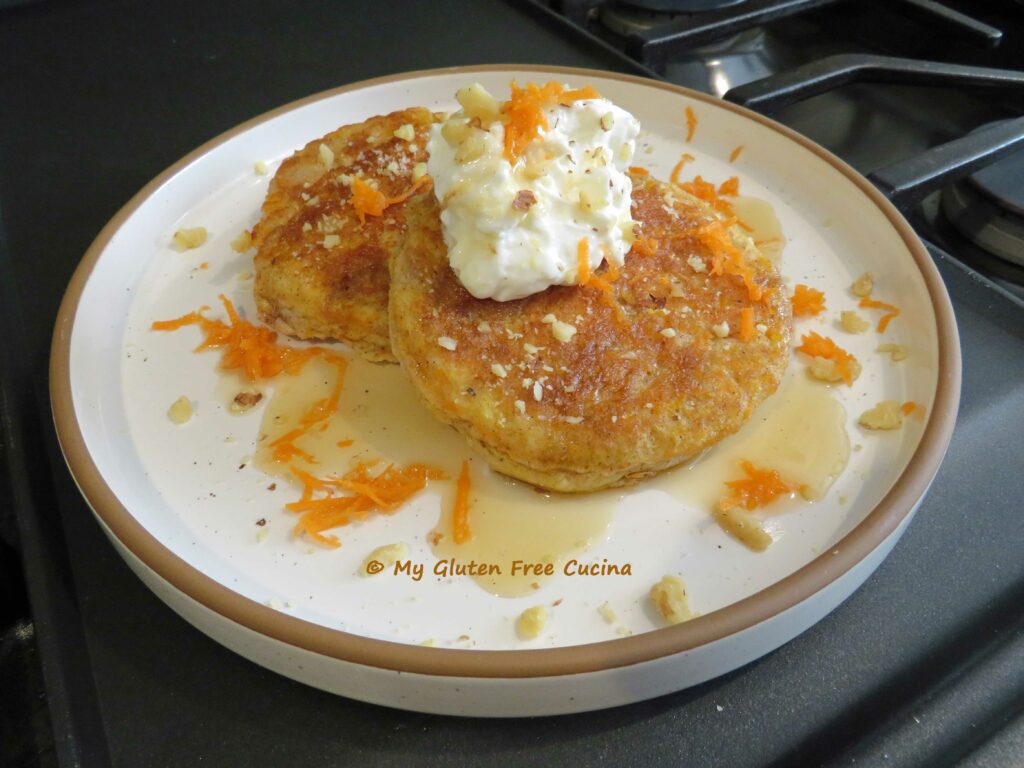
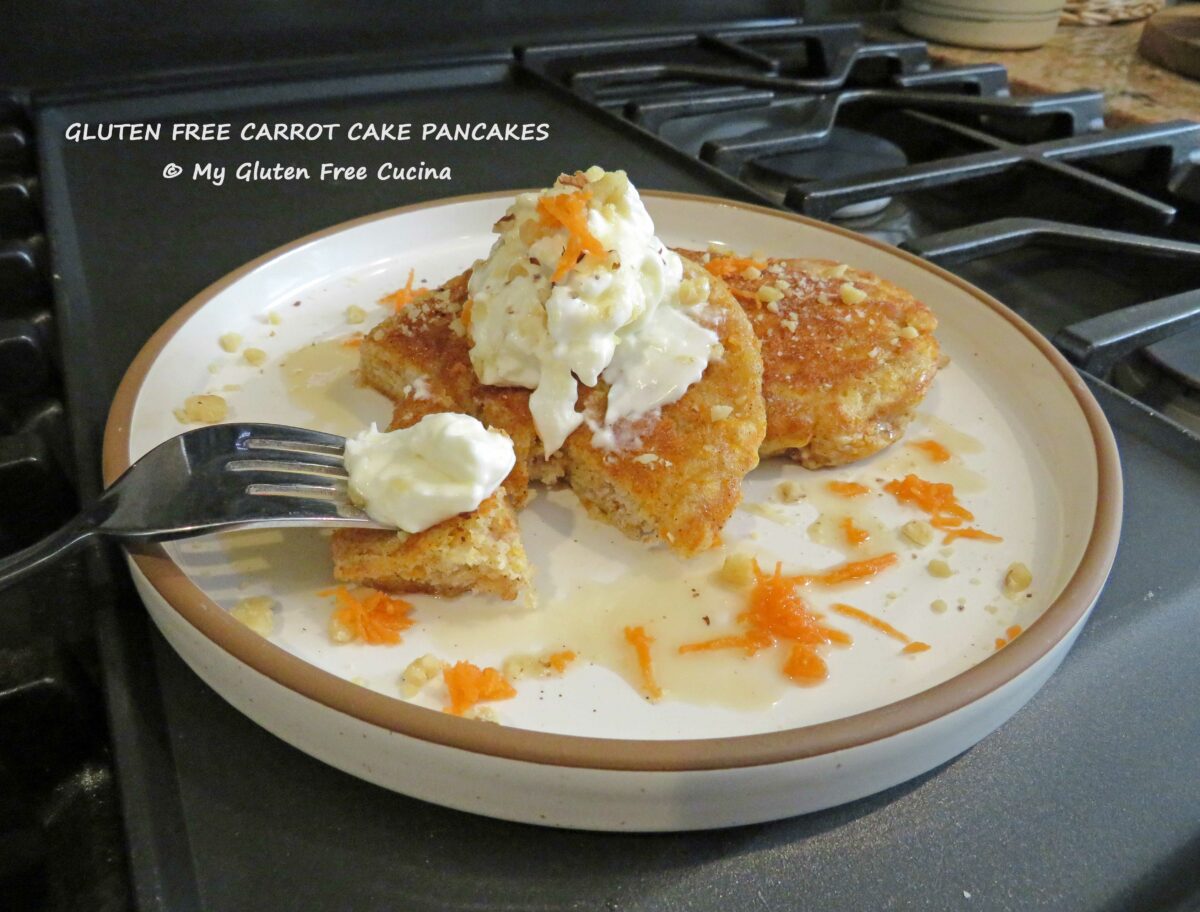
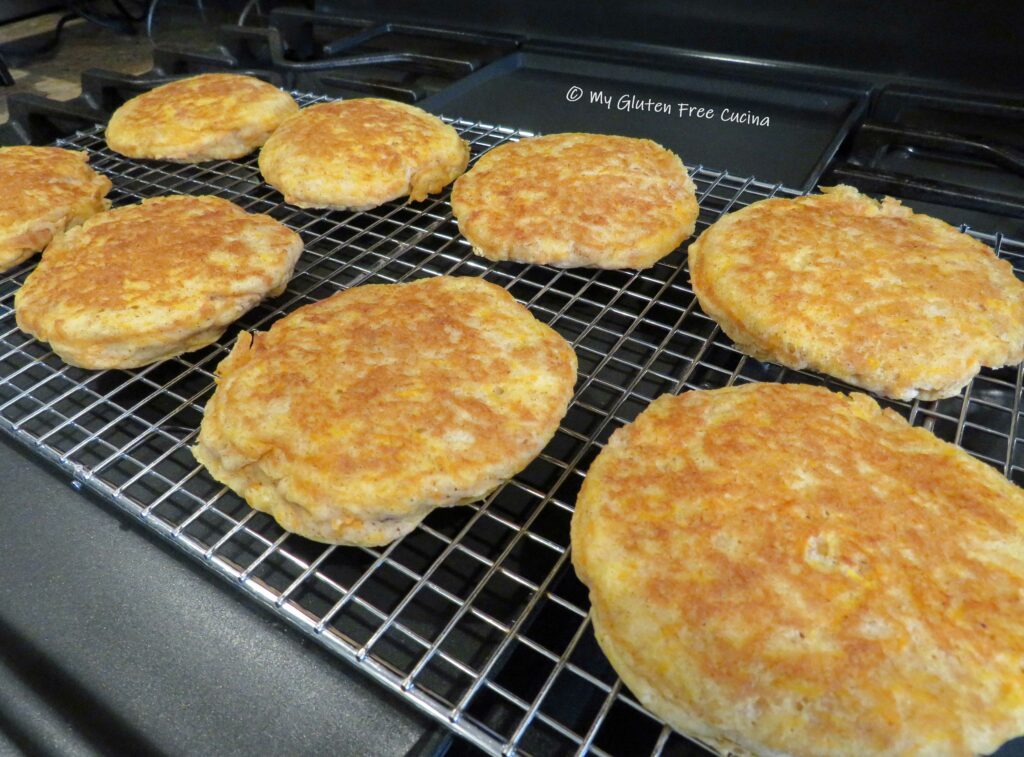
Take your pancake breakfast to the next level with Gluten Free Carrot Cake Pancakes!  These pancakes have all the flavors of a carrot cake cleverly disguised as breakfast.  The recipe is not difficult and would be a wonderful treat for a special occasion or brunch.  Wouldn’t this be fun for Easter morning?

Yield: 9 pancakes
This post contains affiliate links.

Ingredients:

  • 240 g. gluten free pancake mix (2 cups)
  • 1 tsp. cinnamon
  • 1/4 tsp. nutmeg
  • 1/8 tsp. cloves
  • 2 eggs
  • 1 cup milk (I used 2%)
  • 1 cup shredded carrots
  • butter, for the griddle

Topping:

  • maple syrup
  • Cream cheese
  • Vanilla Greek yogurt
  • ground walnuts
  • grated carrots

Preparation:

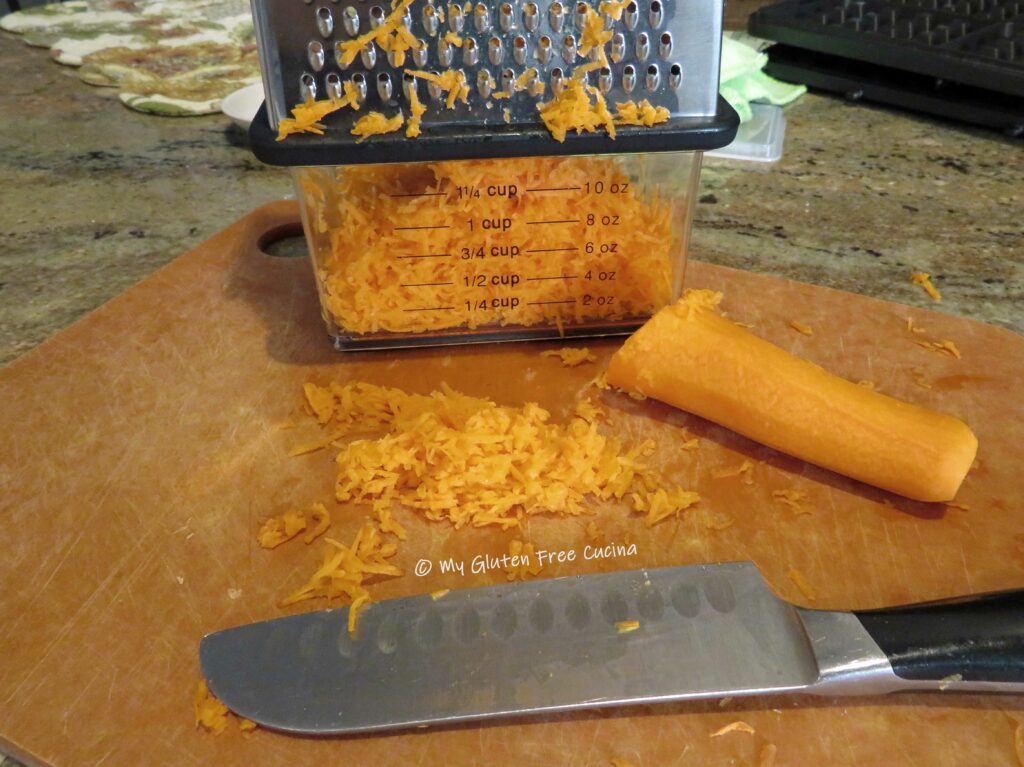
I used a box grater to shred my carrots on the medium setting.  My grater has a little measuring cup that fits into the bottom, so you can measure as you go.  Be sure to reserve a tablespoon of the carrots for the topping.
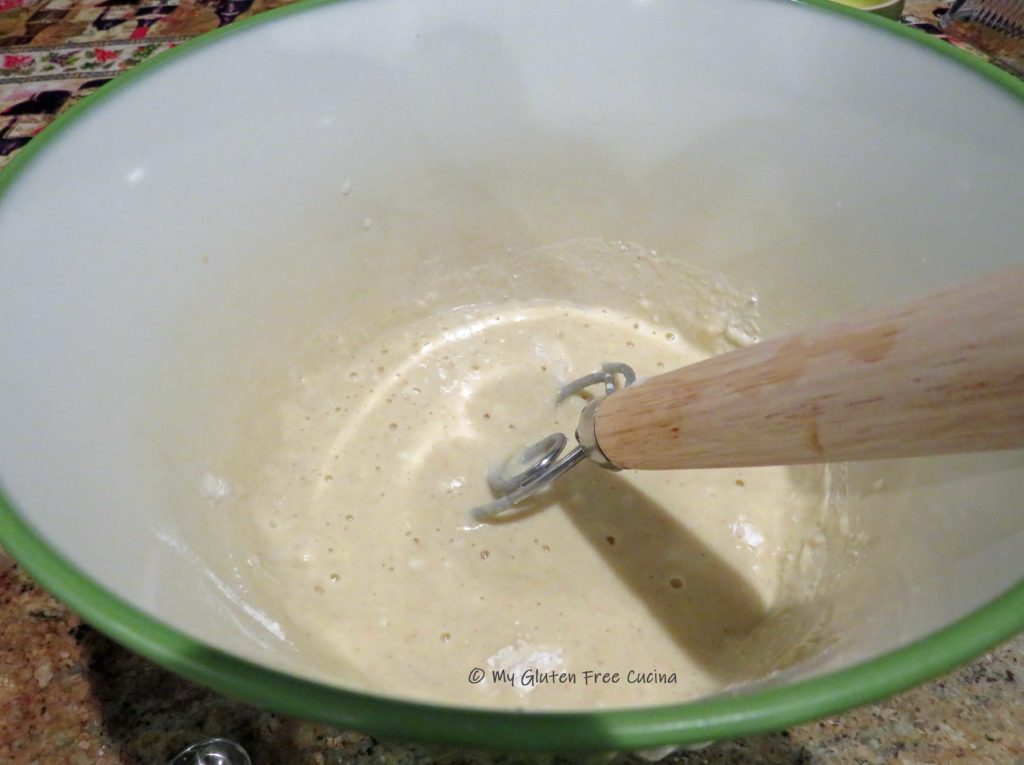
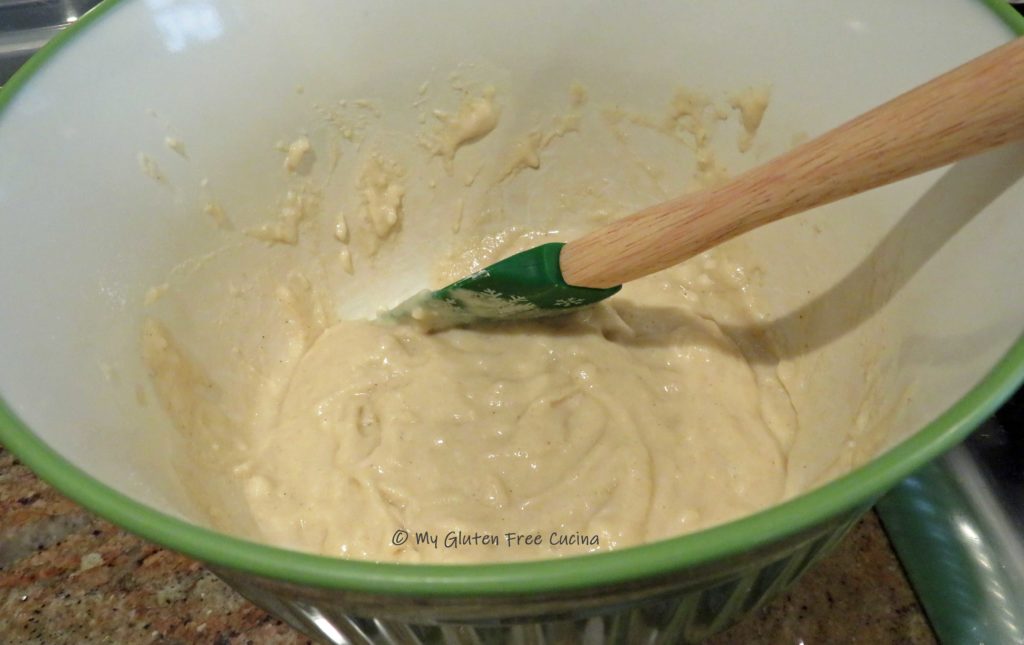
To get started, combine the flour, cinnamon, nutmeg and cloves and whisk well.  Then, in a large bowl, whisk together the eggs and milk.  Stir the wet and dry ingredients together and fold in the carrots.

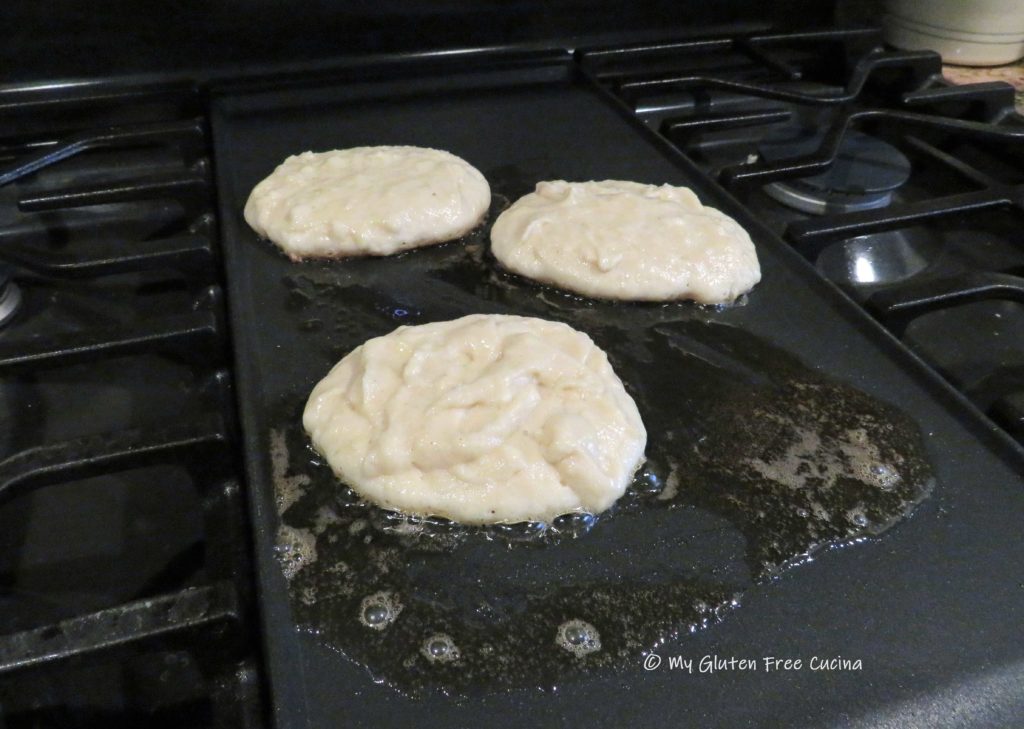
Let the batter rest for 10 minutes while you heat your griddle or skillet.  Spoon the batter by heaping tablespoons, about 2 tablespoons per pancake.
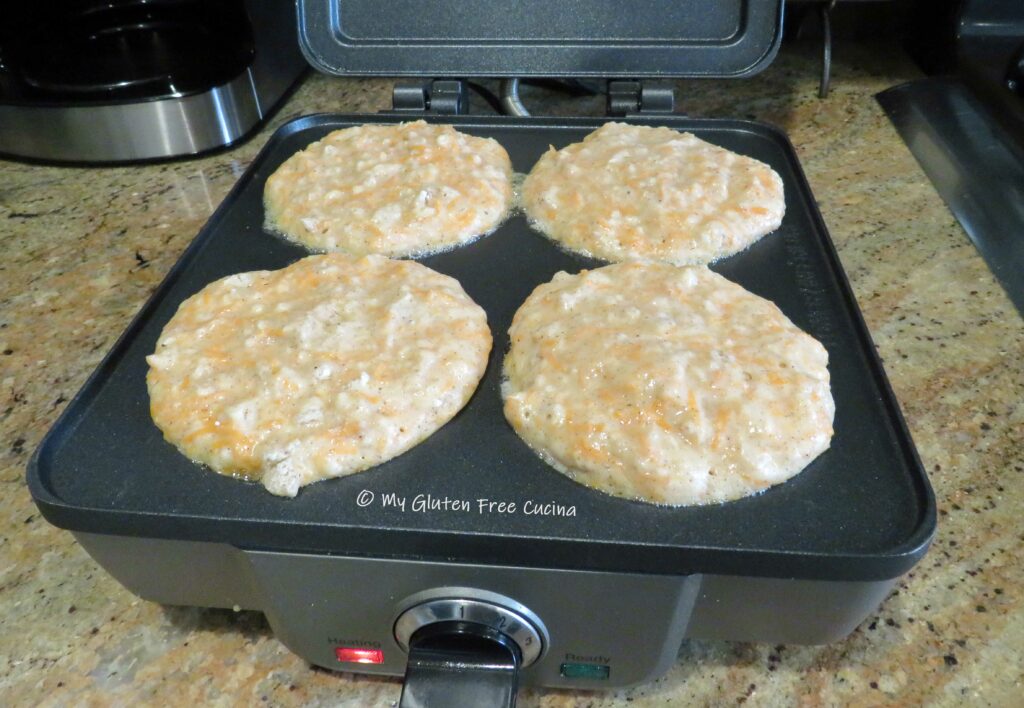
I used my waffle maker to cook the pancakes.  It has a pancake plate with 4 wells.  I heated it to 350º and brushed the wells with butter.

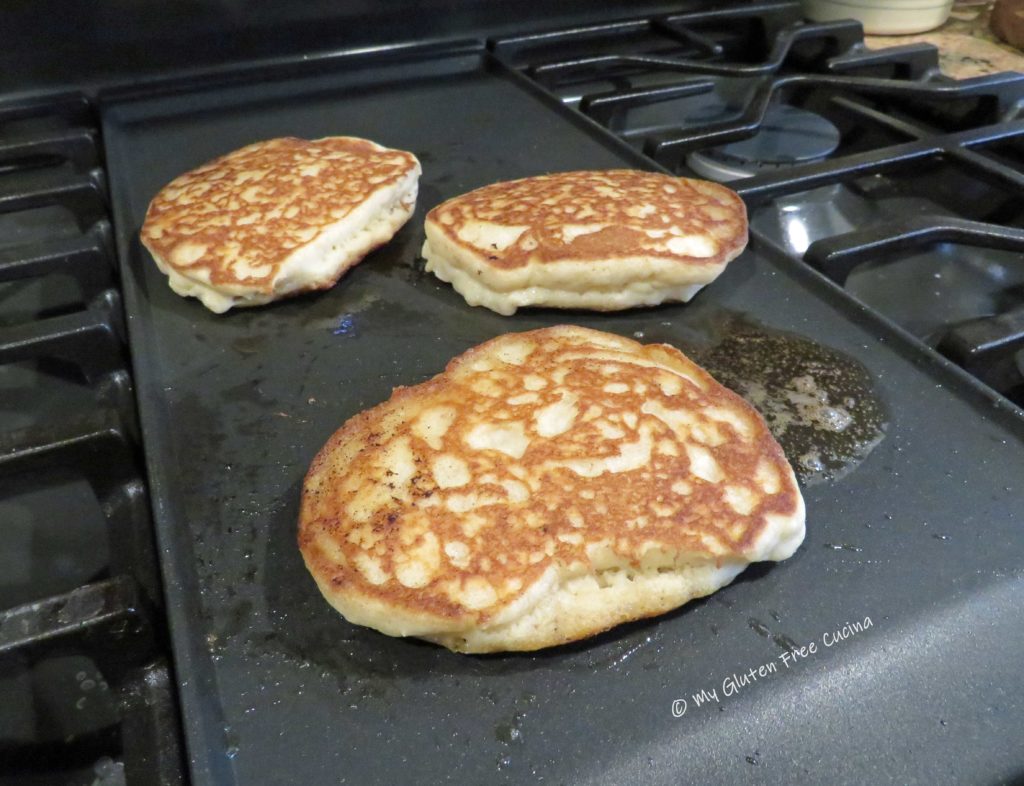
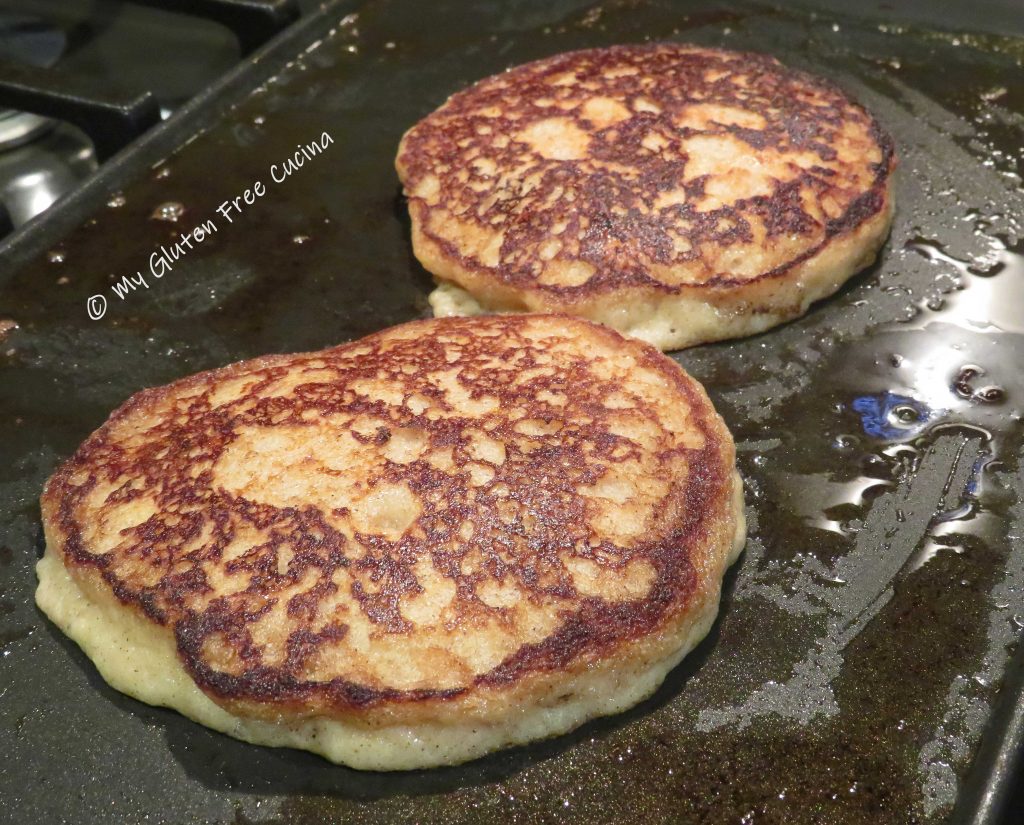
The pancakes are ready to turn when you can easily slide a spatula underneath.  Mine took some time, almost 10 minutes on the first side, and less than 5 minutes for the second side.  Remember, gluten free pancakes and waffles always take longer to cook than regular.
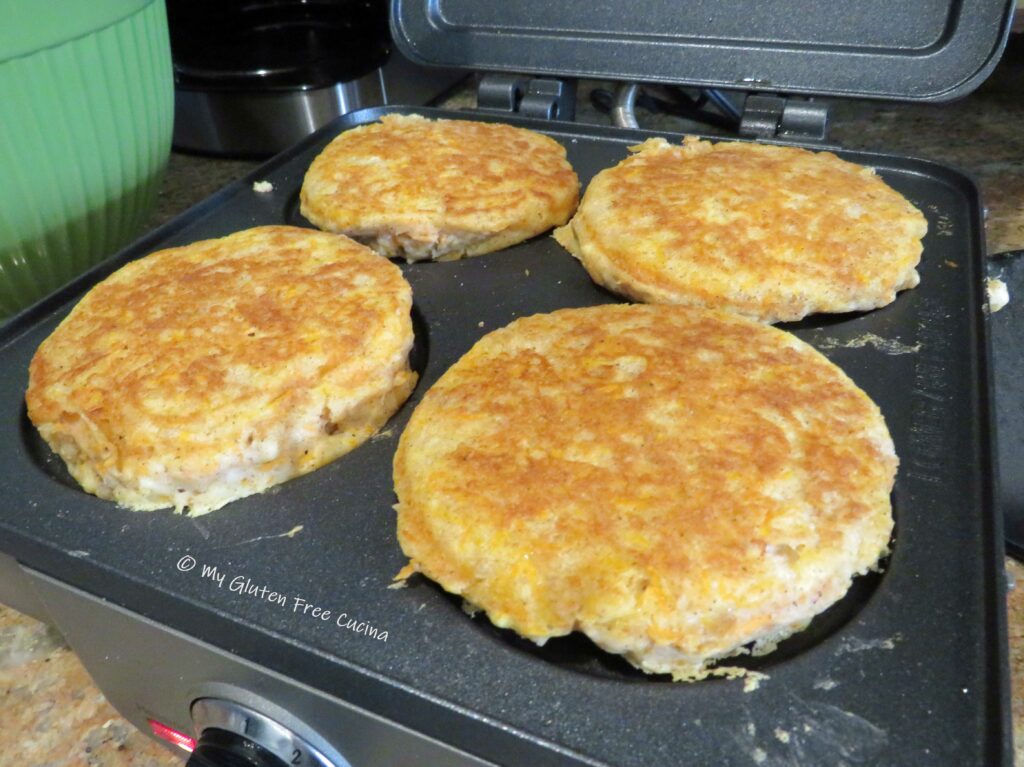
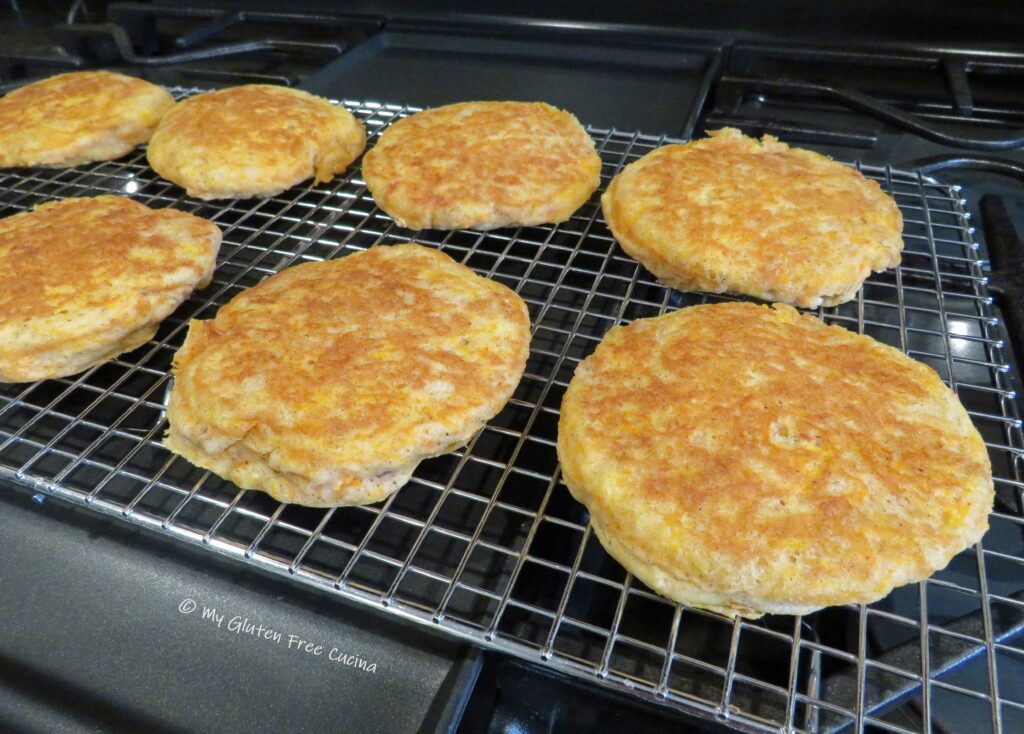
You can poke the pancakes with a toothpick to be sure they’re done, then serve or place them on a rack to cool.
Toppings are optional, but I wanted to echo the carrot cake theme.  So, I mashed together a little cream cheese with vanilla Greek yogurt, then finished with a drizzle of maple syrup and a sprinkle of walnuts and carrots.
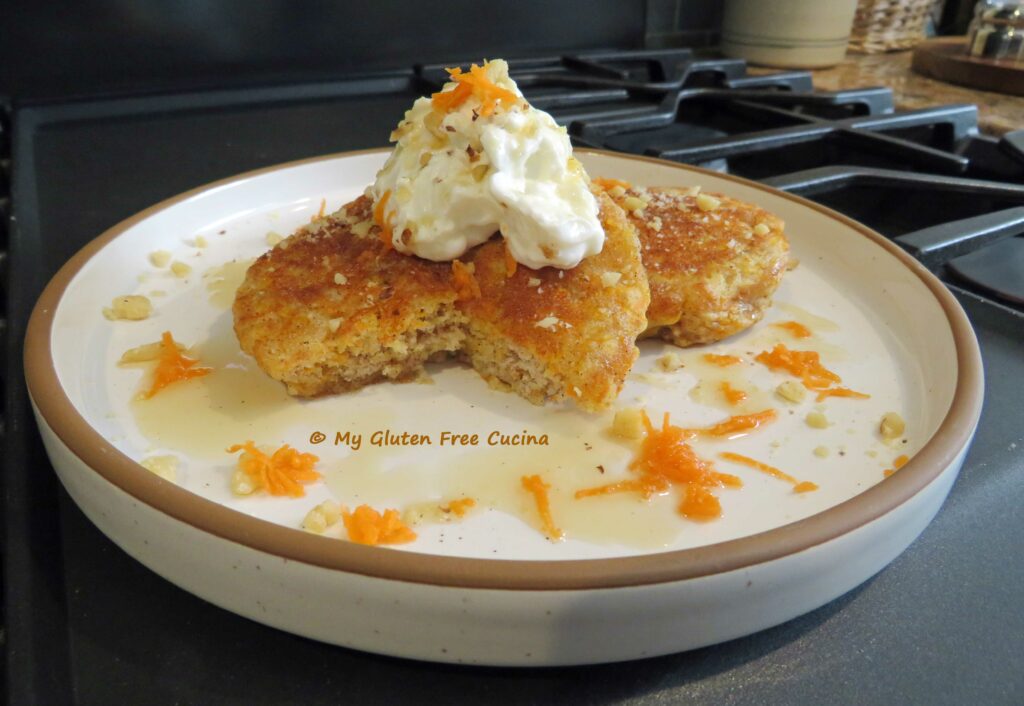
Wow that was good!  You probably won’t have any leftover, but if you do, remember they can be frozen and reheated in the toaster or microwave.  I wrapped my leftovers individually in plastic wrap and placed them in a freezer safe bag labelled with the date.  They will keep for a couple of months, but I’m sure they will disappear long before then!

Notes ♪♫ You know I love Better Batter and always tell you how wonderful their flour is.  But did you know they also have mixes?  I used their Gluten Free Pancake and Biscuit Mix in this recipe, and it did not disappoint.  The pancakes are delicious and sure to be enjoyed by your family or your special someone.

Adapted from Taste of Home

Print This Post Print This Post


Gluten Free Quiche Lorraine

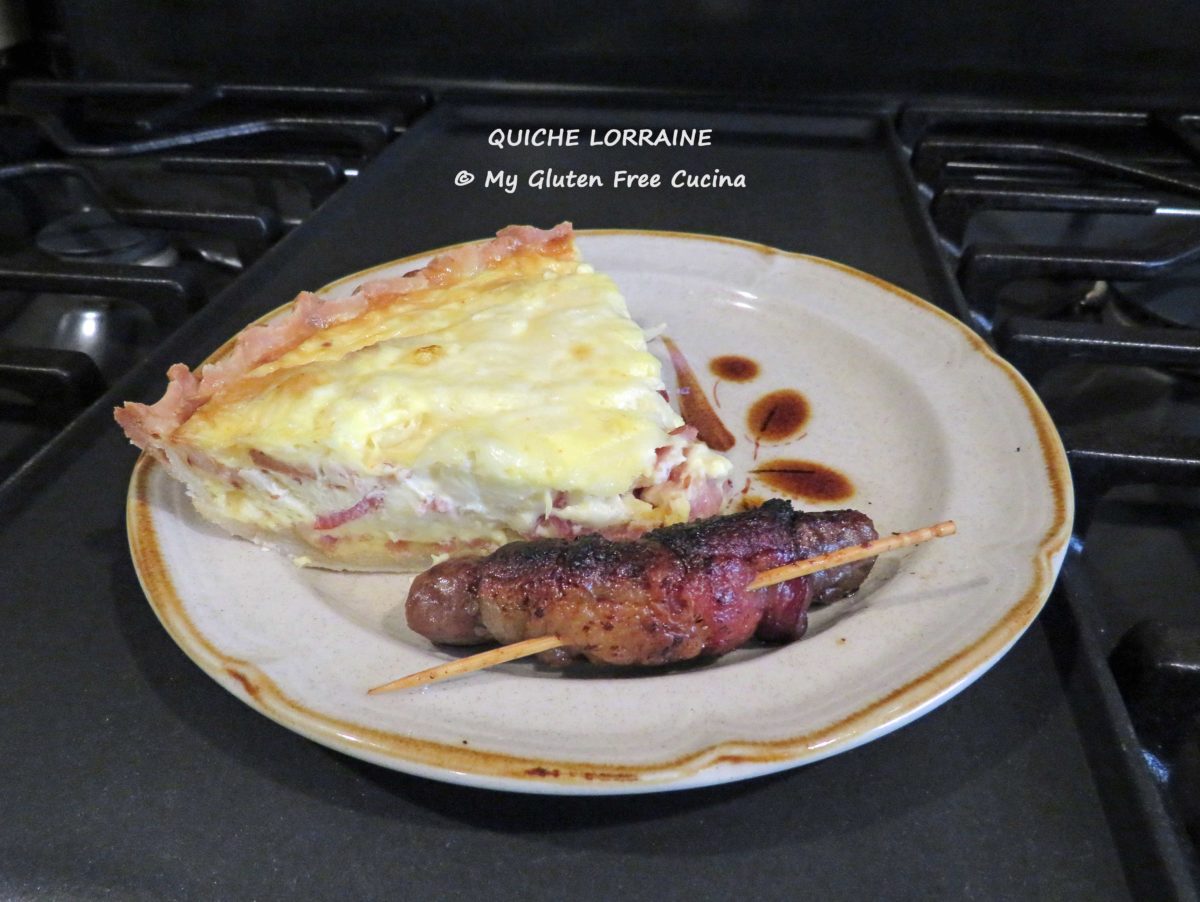
Quiche Lorraine, the French classic.  What’s not to love about a yummy quiche filled with bacon, cheese and onion?  I think that a quiche is one of the easiest things to make for brunch, because you can prepare most of it a day ahead then just assemble and bake in the morning.

Is quiche gluten free?

The filling of a quiche, usually consisting of eggs, cream, meat and/or vegetables is usually gluten free.  Only the pie crust contains gluten.  Fortunately, this Gluten Free Cream Cheese Pie Crust is easy to make, and it is perfect to use with both sweet and savory pie recipes.  And of course, I just happened to have one in my freezer, waiting for a special occasion!

This post contains affiliate links.

Ingredients:

Preparation:

If your pie crust is frozen, take it out one day ahead to defrost in the refrigerator.  Then let it sit on the counter for about 15 minutes before rolling it out between two sheets of parchment.

If it breaks, you can put it back into the refrigerator for 15 minutes then try rolling it out again.  With a gluten free crust, you do not need to worry about overworking the dough, so you can roll it out as many times as you need to.

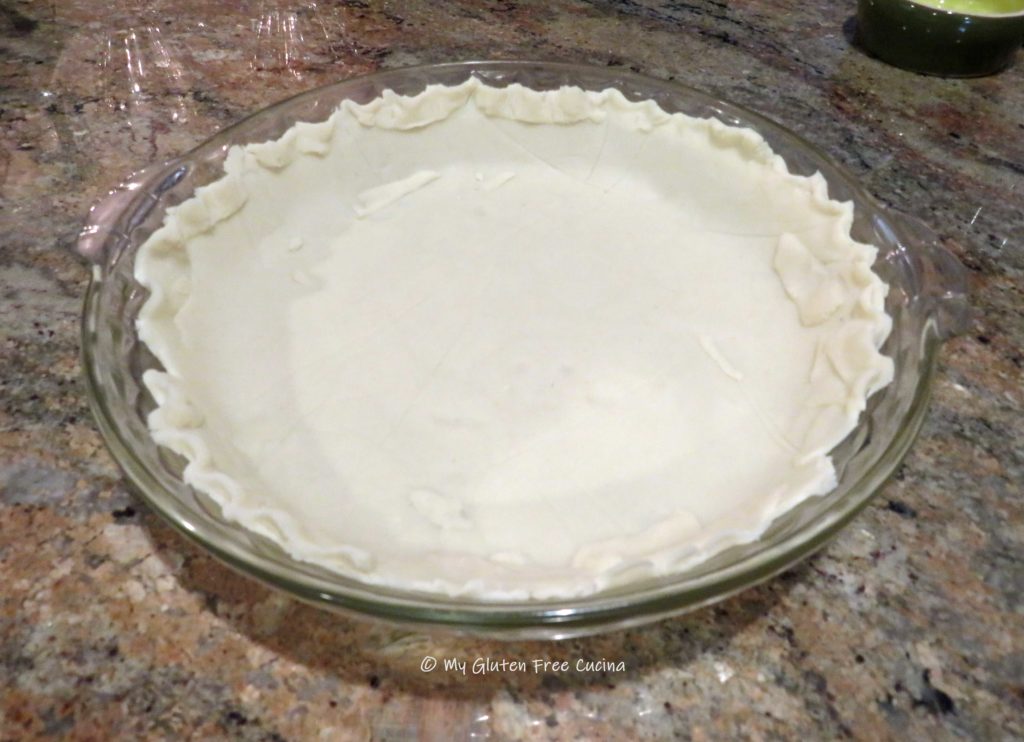
Gently place the rolled-out dough into a glass pie dish, trim the edges and crimp.  Use the scraps to patch any holes or cracks (you can see I had quite a few!).  Yes, pie crust does not always cooperate, but I got it to work.  Remember, even if it’s not the prettiest it will taste great!

Place the pie dish in the refrigerator while you prepare the rest of the ingredients.

Hint: you can prepare the pie crust to this point and refrigerate it overnight for baking in the morning.  Just cover it with plastic wrap so it doesn’t dry out.

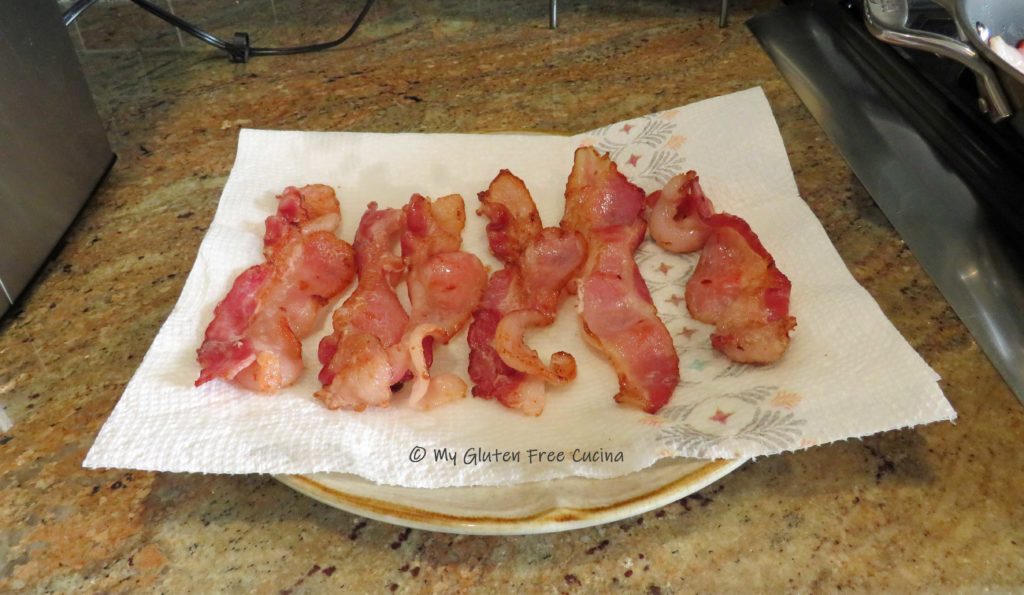
You can also prep the bacon, cheese and onion the night before.  Cook the bacon (in batches if needed) and drain on paper towels.  Chop it into 1/2″ pieces.  Grate the cheese and mince the onion.

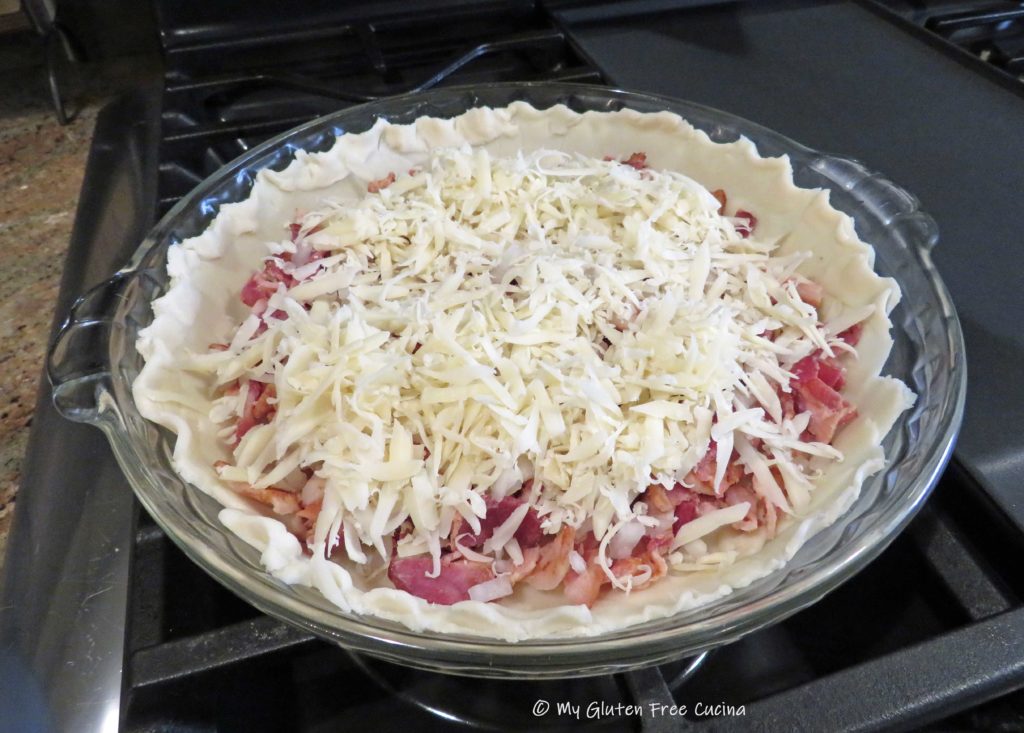
In the morning, when you are ready to assemble the quiche, preheat the oven to 425º.  Take the pie crust out of the refrigerator while the oven preheats, so you are not placing a cold plate directly into the hot oven.  Spread the bacon, onion and cheese into the pie shell.

In a bowl, beat the eggs together with the light cream, salt, sugar and cayenne pepper.  Don’t skip the cayenne, it’s just enough to brighten the flavor without adding heat.  Pour the egg mixture evenly into the pie shell.

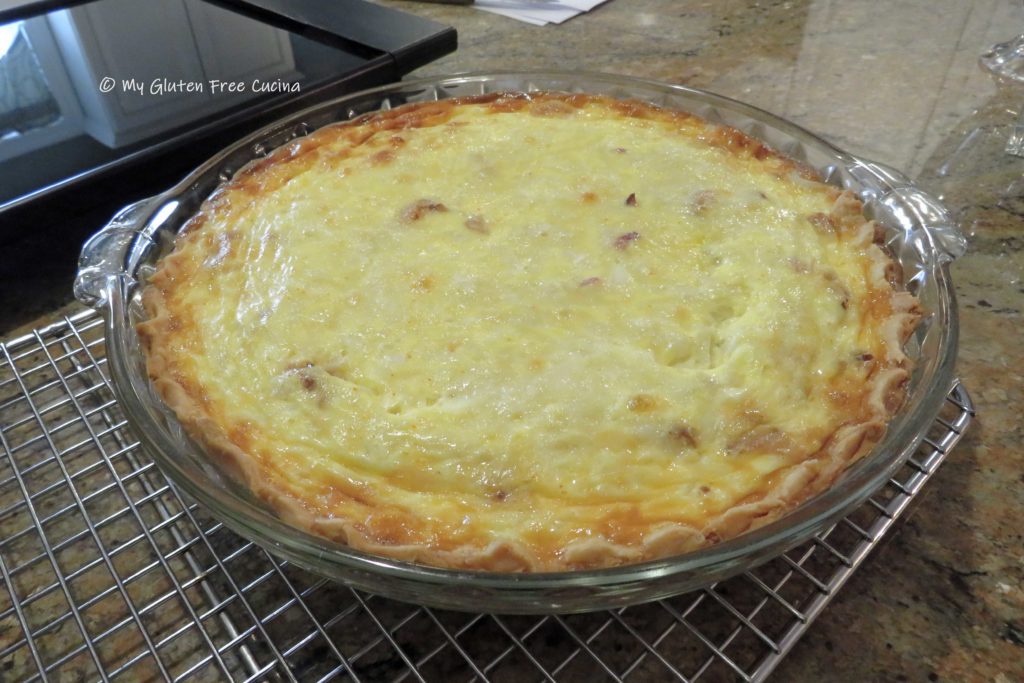
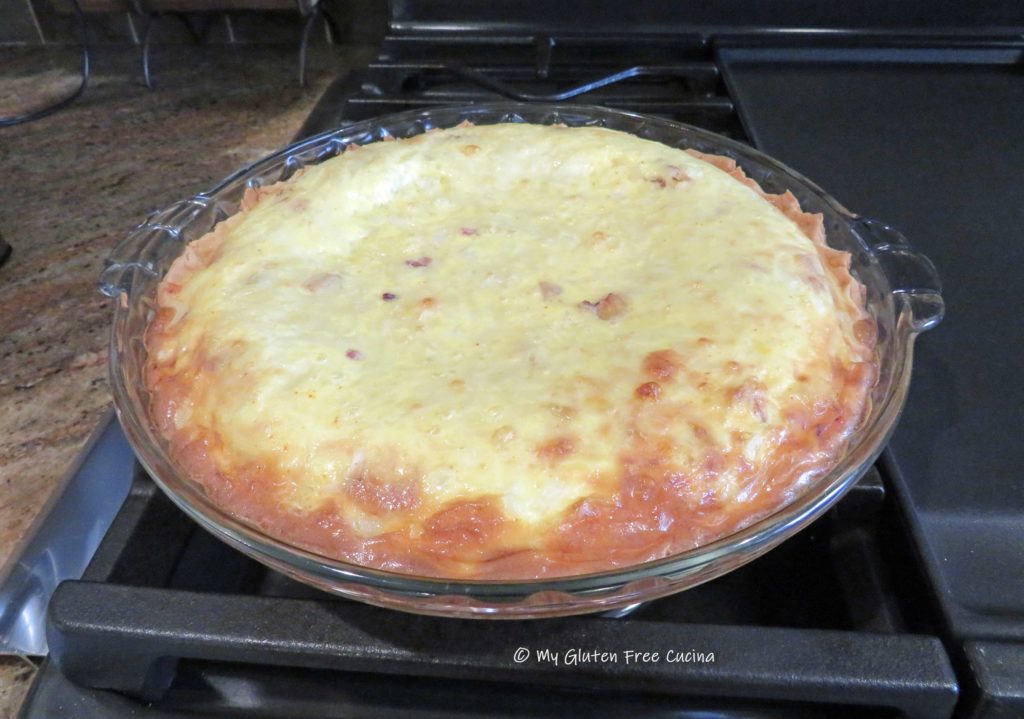
Place on the middle rack of the oven and bake for 15 minutes.  Then, lower the heat to 300º and continue baking for 30 minutes longer.

The edges should be nicely browned, and the center golden.  To test, you can insert a knife or a toothpick into the quiche, it should come out clean.

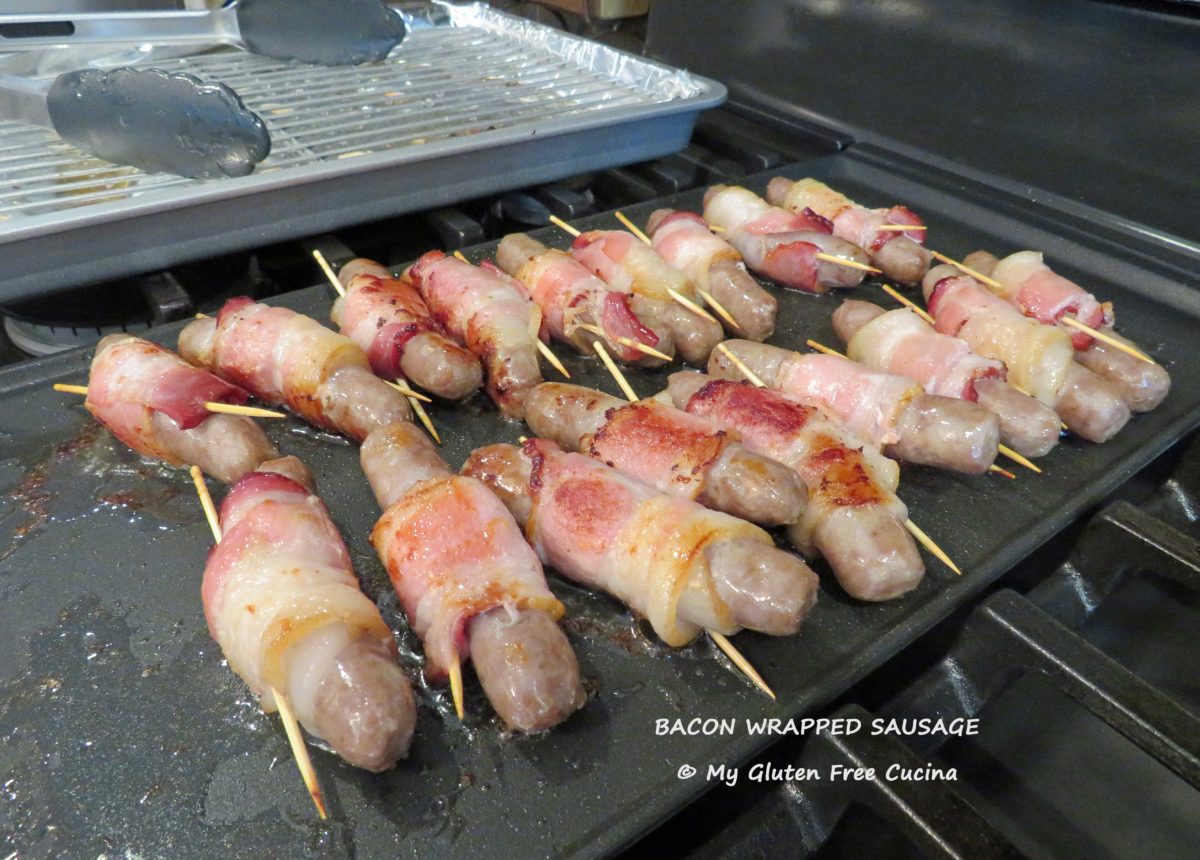
The quiche can be served warm or at room temperature.  Leftovers can be refrigerated for several days (do not freeze) and reheated in the oven or microwave.  And if you’re ogling that bacon wrapped sausage, get the recipe here!

Notes ♪♫ I always have gluten free pie crust in the freezer for when I want to make sweet or savory pies and quiche.  It’s a real time saver, especially when we can’t always grab a ready-made gluten free pie crust at the grocery store.  Get the recipe for easy, Gluten Free Cream Cheese pie crust here.

Print This Post Print This Post


Bacon Wrapped Sausage

The name says it all, you don’t need a recipe for this do you?  Just put these little bites of happiness on the table for your next brunch or family breakfast and watch them disappear! (and they are great leftover too 😉)

This post contains affiliate links.

Ingredients:

Preparation:

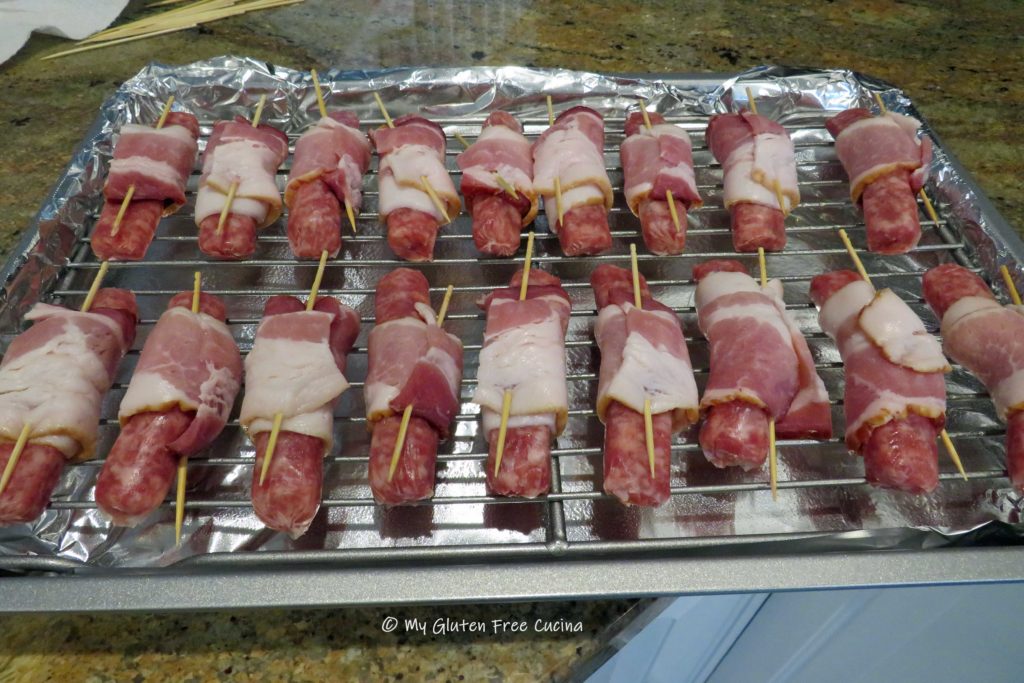
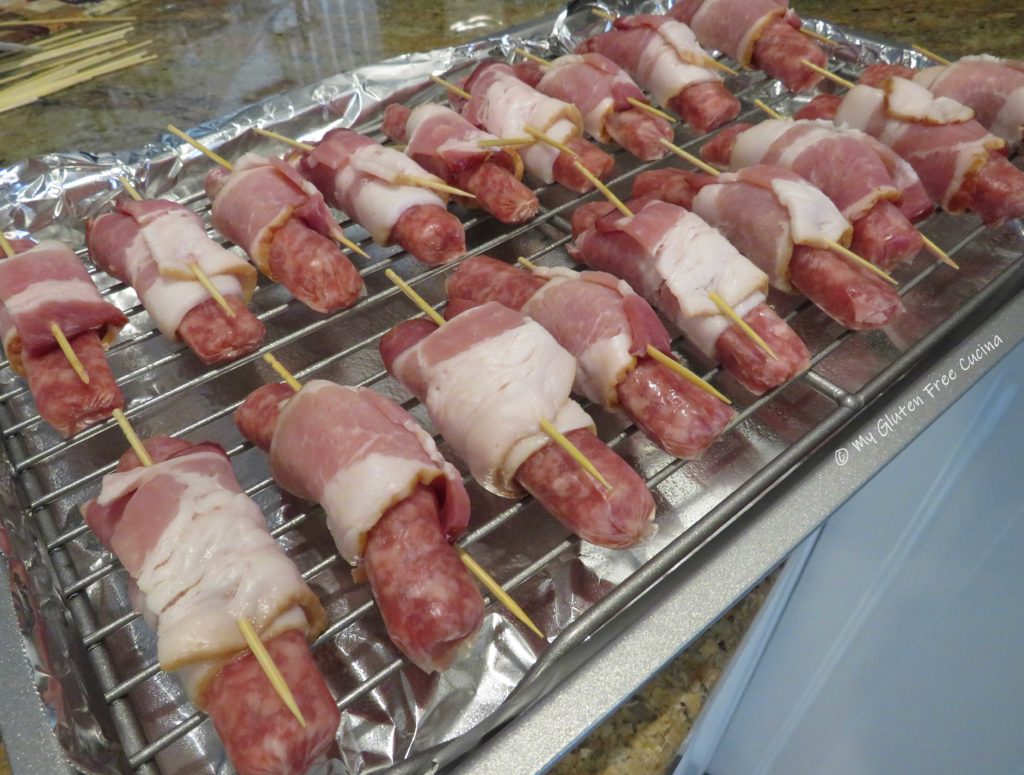
The best part of this recipe is that you can get it ready the night before to cook in the morning.  Just wrap each sausage with a half slice of bacon and secure them with 4″ skewers.  Use the amount needed for your family.

Line a sheet pan with foil (keeps the mess down) and arrange the sausages on a rack, cover and refrigerate overnight.

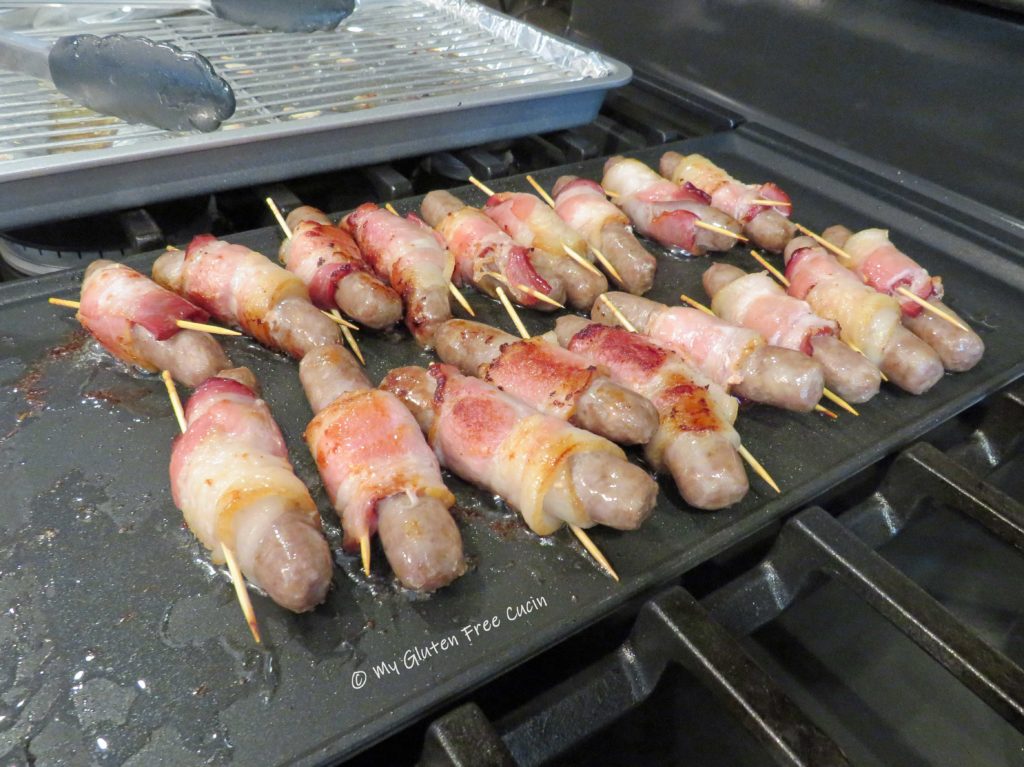
The next morning, preheat the oven to 350º.  Bake the sausage for 15 minutes, then finish them on a hot griddle, turning frequently until the bacon is nice and crispy, and the sausage is cooked to your liking, 15-20 minutes.  Place them back on the rack for a few minutes to drain before serving.

That’s it friends, what could be easier?  So, the next time you are pondering whether to make sausage or bacon for brunch, why not make both!

Notes ♪♫ Most bacon and sausage are gluten free, but I still like to see the gluten free label for extra peace of mind.  I used Johnsonville Vermont Maple Syrup Pork Breakfast Sausage Links and Oscar Mayer Naturally Hardwood Smoked Bacon.

Print This Post Print This Post

Gluten Free Sourdough Discard Pancakes

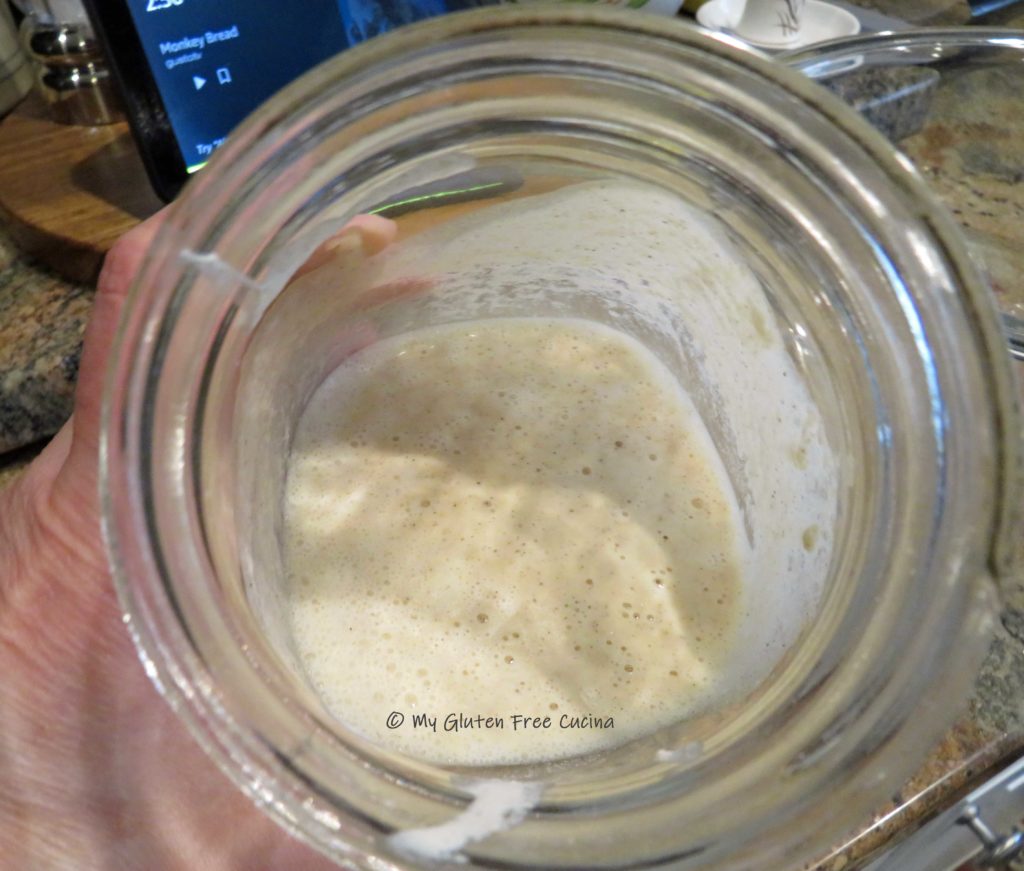
My gluten free sourdough starter Sophie is getting more bubbly each week.  She turned one month old recently, and I was getting ready to bake another loaf of bread in the morning.  But first she had to be fed a couple of times, and there was the inevitable discard.  You know I don’t want a bit of this magical culture go to waste, so I thought I would test a small batch of Sourdough Discard Pancakes.

It was my first-time making pancakes with sourdough and I was pleasantly surprised.  The familiar sweetness of pancakes with just the right amount of savory sourdough flavor, who knew?  Using the sourdough discard seemed to give my pancakes an extra high rise too.  These pancakes were hearty and filling, guaranteed to satisfy big appetites.

I made 5 pancakes with my test batch, about 1/3 cup batter each.  Double the recipe for a family breakfast.

Ingredients:

  • 2 tbsp. melted butter plus more for the griddle
  • 2 tbsp. sugar
  • 1/4 cup sourdough discard
  • 1 large egg
  • 1/2 tsp. vanilla
  • 2/3 cups milk (I used 2%)
  • 120g. gluten free all-purpose flour (about 3/4 cup)
  • 1 tsp. baking powder
  • 1/2 tsp. baking soda
  • 1/2 tsp. salt

This post contains affiliate links.

Preparation:

Melt the butter in the microwave and set it aside to cool while you gather the other ingredients.

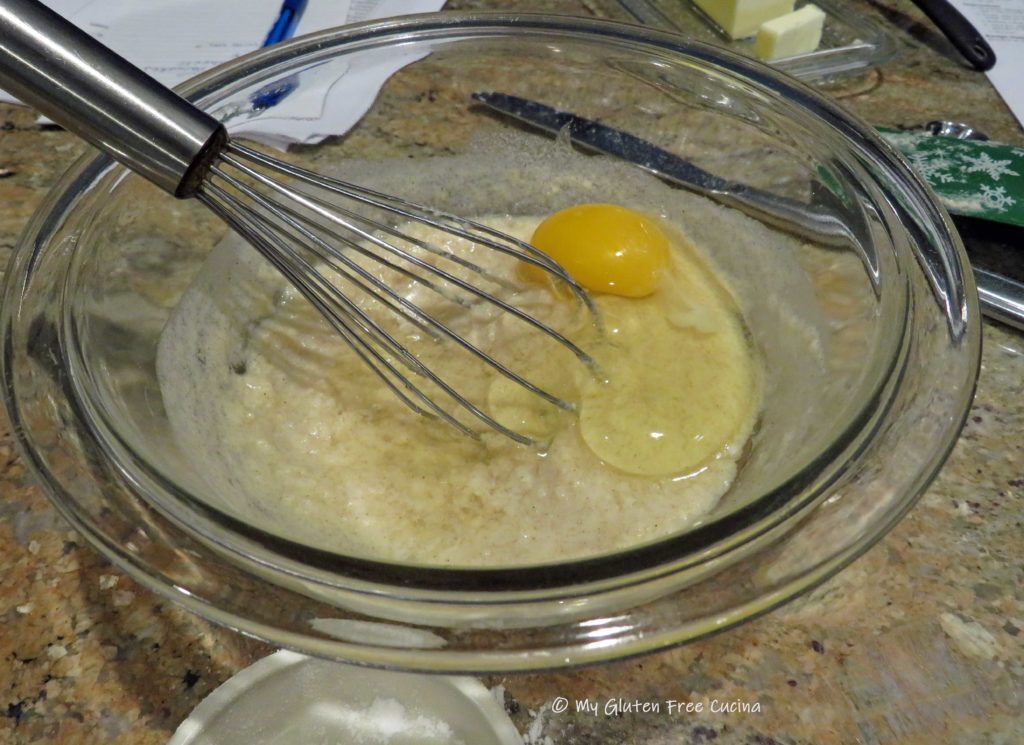
Combine the first 5 ingredients, butter through vanilla in a small bowl.  In another bowl, whisk together the flour, baking powder, baking soda and salt.

Use a batter whisk to stir the wet and dry ingredients together with 2/3 cup milk.  If the batter is too thick, you can add a little more milk, 1 tbsp. at a time to reach the right consistency.

Preheat your griddle or nonstick skillet for 10 minutes and let the batter rest.

Hint: Do you know why they say the first pancake always comes out a little weird?  It’s probably because the griddle wasn’t hot enough. 

When you are ready to begin, butter the griddle or skillet generously and begin spooning out your pancakes.  I like a nice big pancake, so I scooped the batter out with a 1/3 cup measuring cup.  You can make your pancakes as large or small as you like.

Keep a close eye and be ready to flip the pancakes over as soon as the bottom is set, time will vary depending on how large you make the pancakes.

You should get a nice rise as soon as you flip them over.

When the second side is set check the center for doneness with a toothpick.  I had to flip mine another time or two.
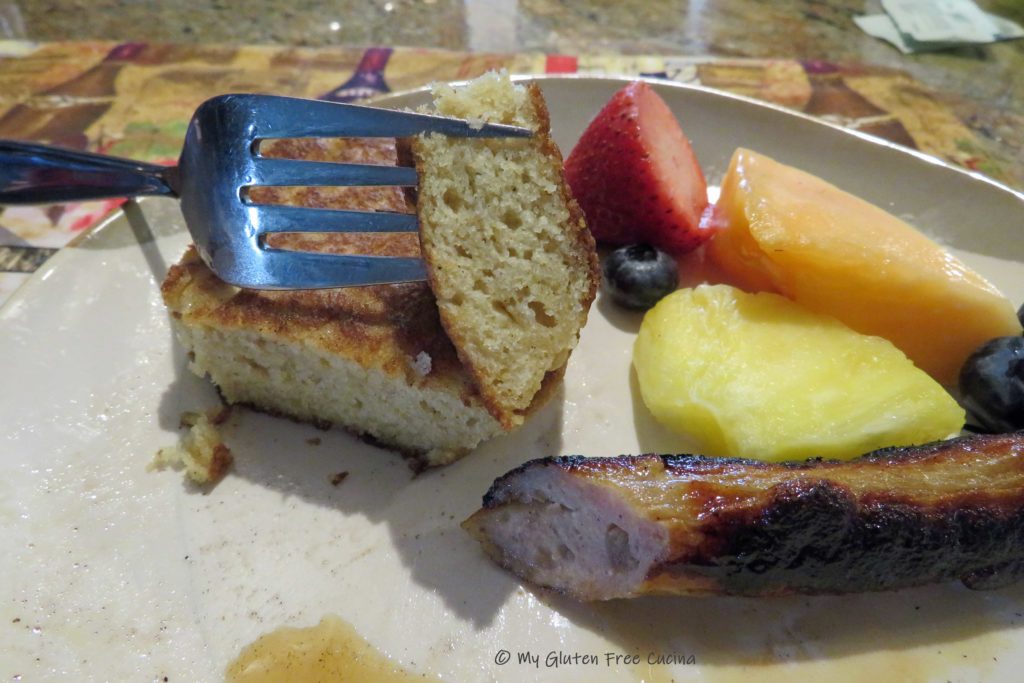
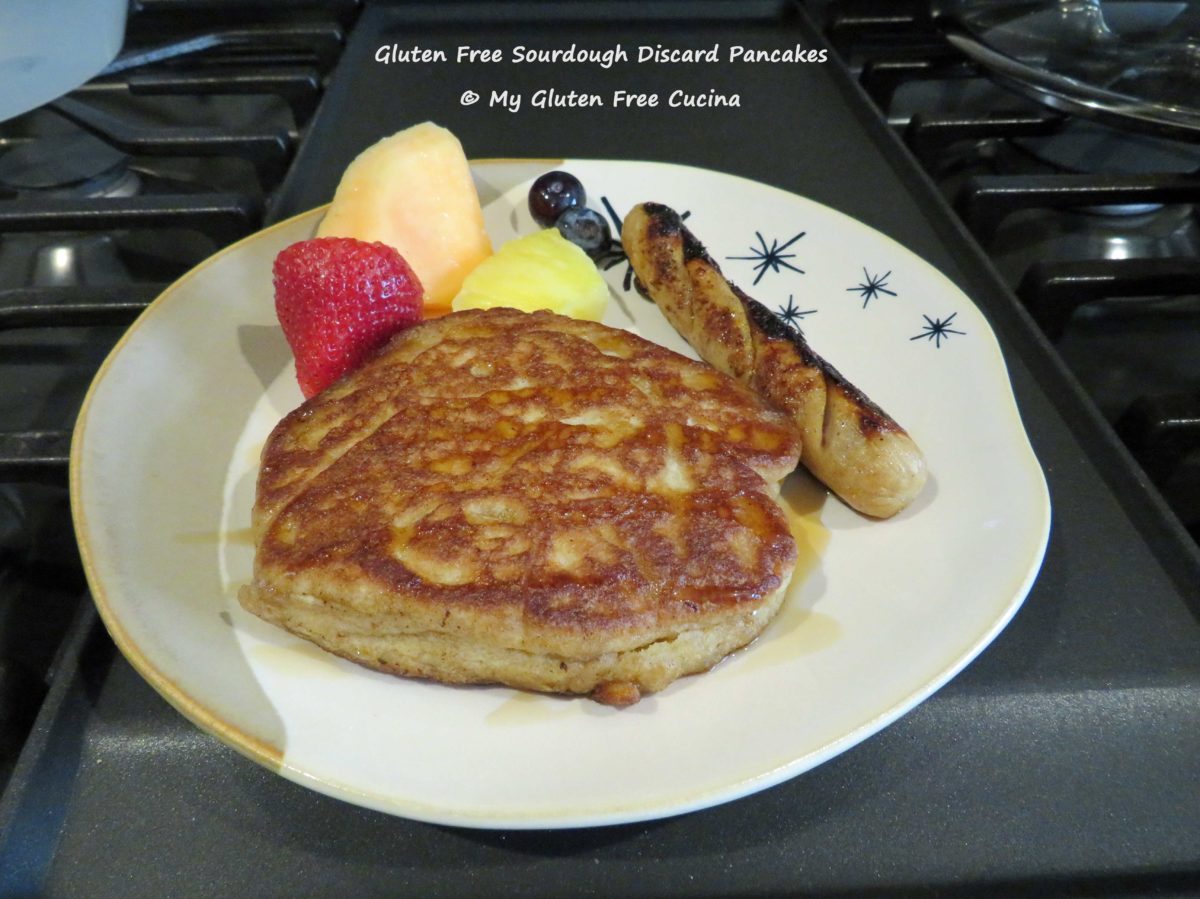
Here’s breakfast!  This was a delicious and filling pancake; one was more than enough for me.  Look how thick it is!

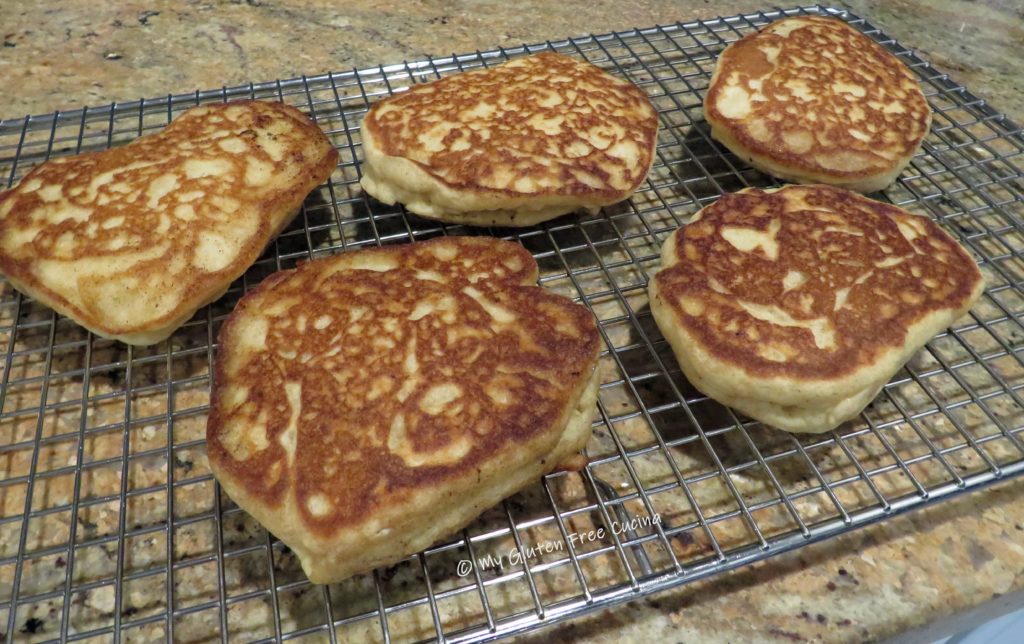
Once they were cooled to room temperature, I wrapped the rest of the pancakes individually in plastic wrap and placed in a freezer safe bag.  They will keep for a couple of months in the freezer (at least) and can be defrosted and reheated in the toaster or the microwave.

Notes ♪♫ I used and recommend Better Batter Original Gluten Free Flour in this recipe.  It is a high-quality flour that will change the way you bake!

Use this link to shop Better Batter and remember to use my code MGFC30 at check out for 30% off your full price purchase.   

Print This Post Print This Post


Gluten Free Jordan Marsh Blueberry Muffins

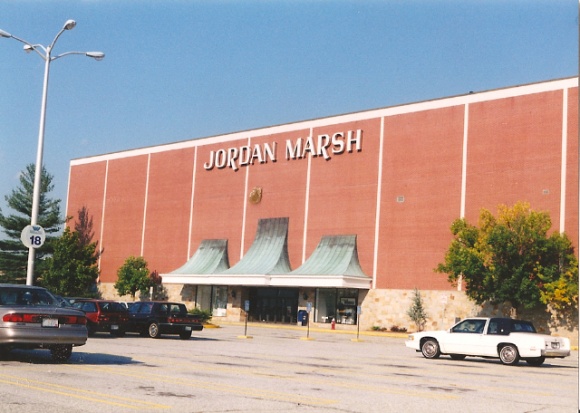
If you are from the Northeast and of a certain age, you will no doubt remember Jordan Marsh, the iconic department store.  It was my mother’s favorite store back in the day, and I vividly recall buying one of my prom dresses there, 50 years ago (eek!).

Before food courts and fast food, the Jordan Marsh Bakery was a popular destination for shoppers to refuel and continue on with their day, i.e., you didn’t have to go home if you got hungry- smart!

Although the store chain closed in the 1990’s, their Blueberry Muffins remain legendary to this day.  I recently read an interesting article about the origins of this recipe in the New York Times, which claimed it was adapted from an 1847 cookbook called The New England Economical Houskeeper and Family Receipt Book.

Wherever its origin may have been, the muffins are not only delicious, but only require a substitution of one ingredient to be gluten free.  How about that?

This post contains affiliate links.

Ingredients:

  • 300 g. (about 2 cups) Better Batter Original Gluten Free Flour
  • 1/2 tsp. salt
  • 2 tsp. baking powder
  • 1/2 cup milk (I used 2%)
  • 1 stick of unsalted butter, softened (not melted)
  • 1 cup of sugar
  • 2 large eggs
  • 1 tsp. vanilla extract
  • 6 oz. package (1 cup) fresh blueberries

*** Get 30% off your full price purchase at Better Batter when you use my code MGFC30 at checkout! ***

Preparation:

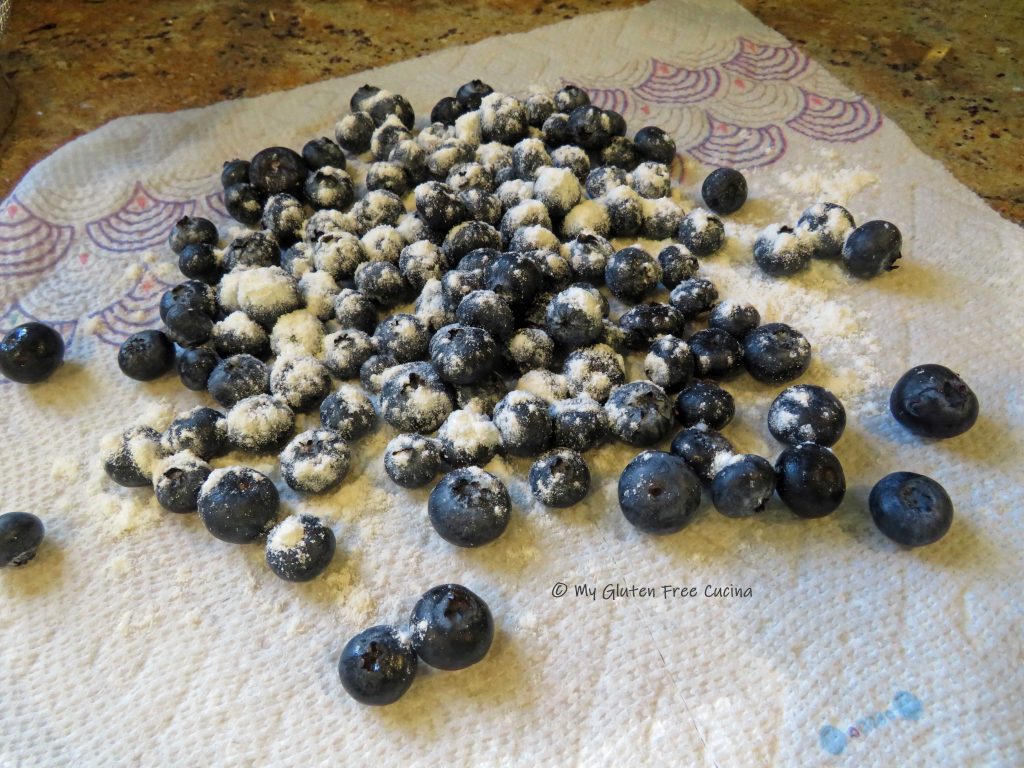
Take the butter out of the refrigerator and let it soften at room temperature.  Mist a 12-cup muffin pan with cooking spray and preheat the oven to 375 degrees.  Rinse and dry the blueberries on a clean dishtowel.

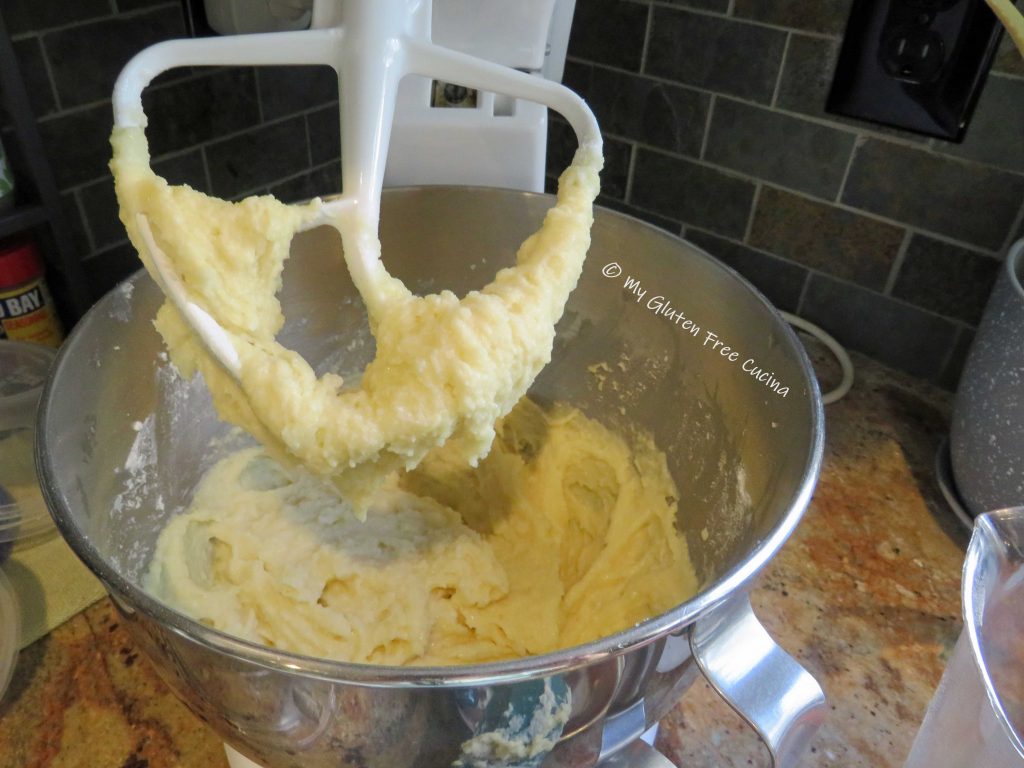
In the bowl of a stand mixer, cream together the softened butter and sugar with the whisk attachment.  Add the eggs and vanilla extract and beat until well combined.

In a separate bowl, whisk together the flour, salt and baking powder.  Reserve 1 tbsp. to sprinkle over the blueberries.

Add the dry ingredients to the mixer bowl along with the milk and combine with the paddle attachment until moistened.

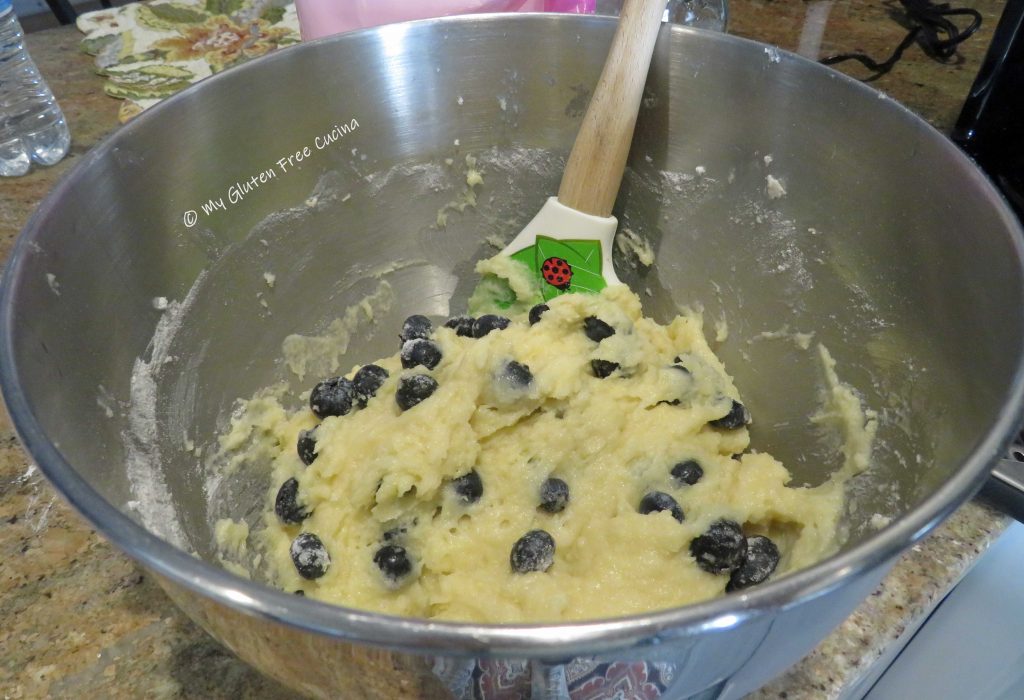
Crush half of the blueberries with a fork and fold into the batter with the remaining whole blueberries.

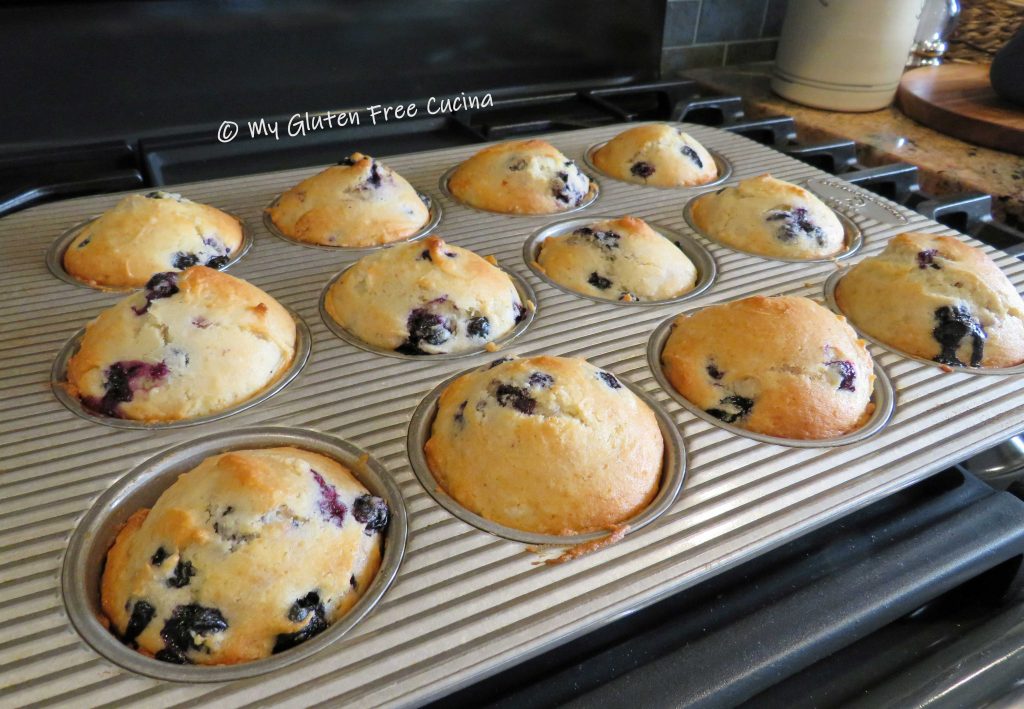
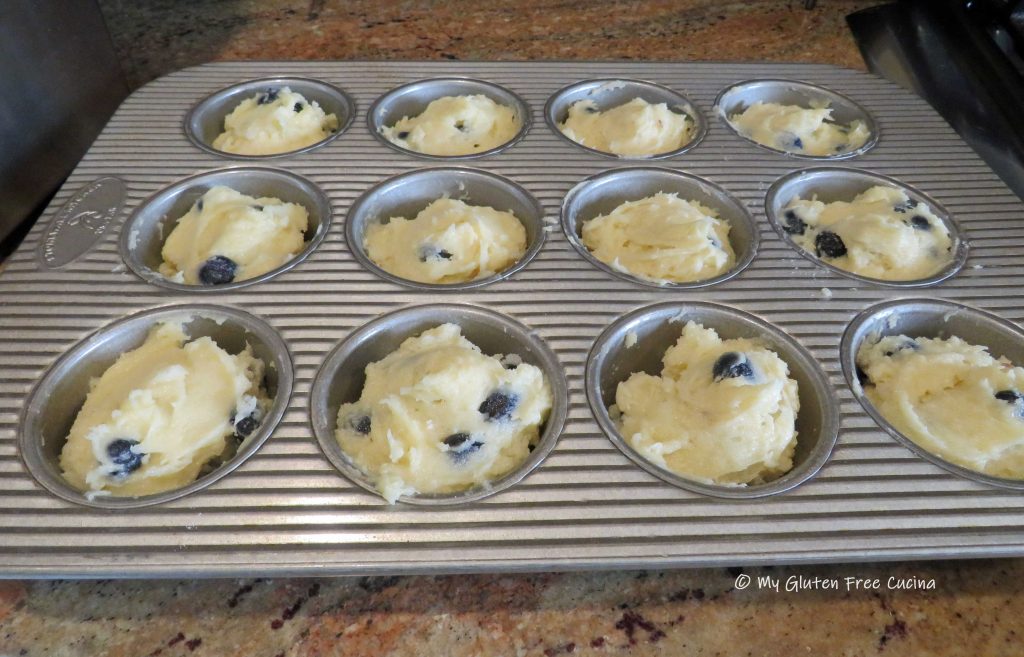
Spoon the batter evenly into the prepared muffin pan.  Dip a small spatula in warm water and use it to smooth out the tops.  If you wish, you can sprinkle the tops of the muffins with more sugar.

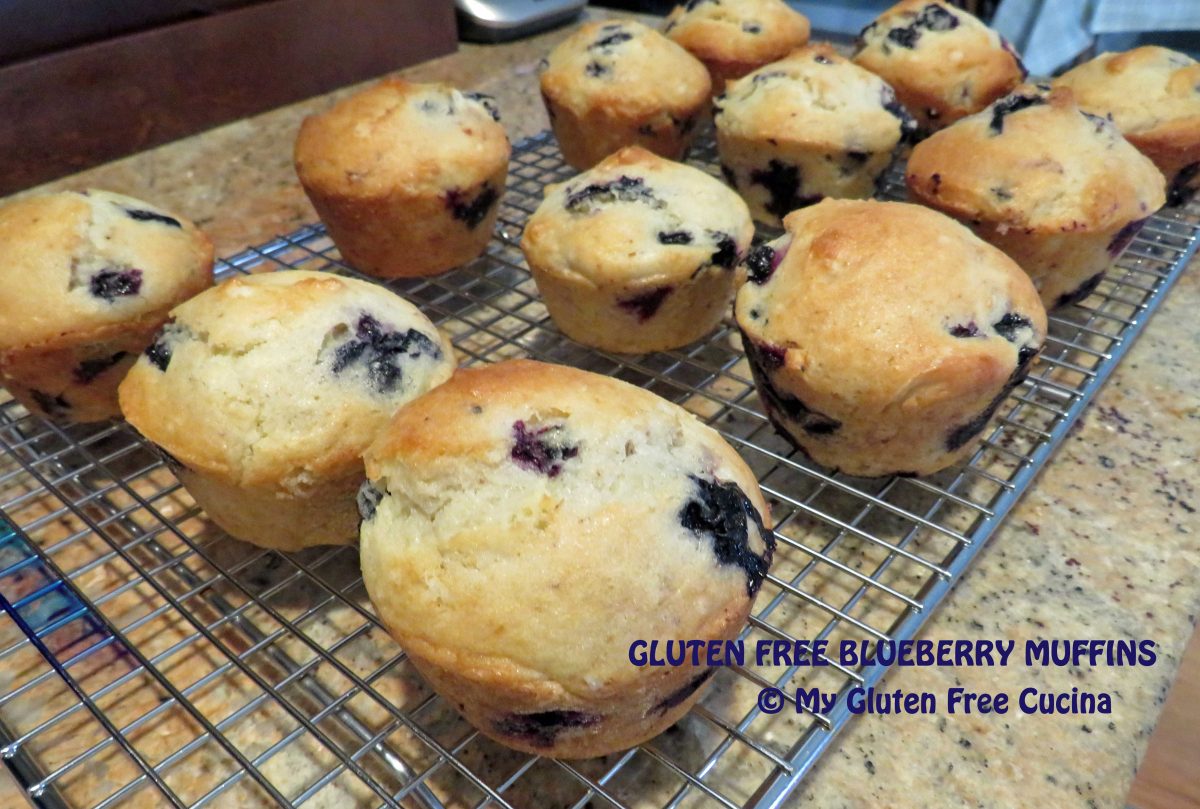
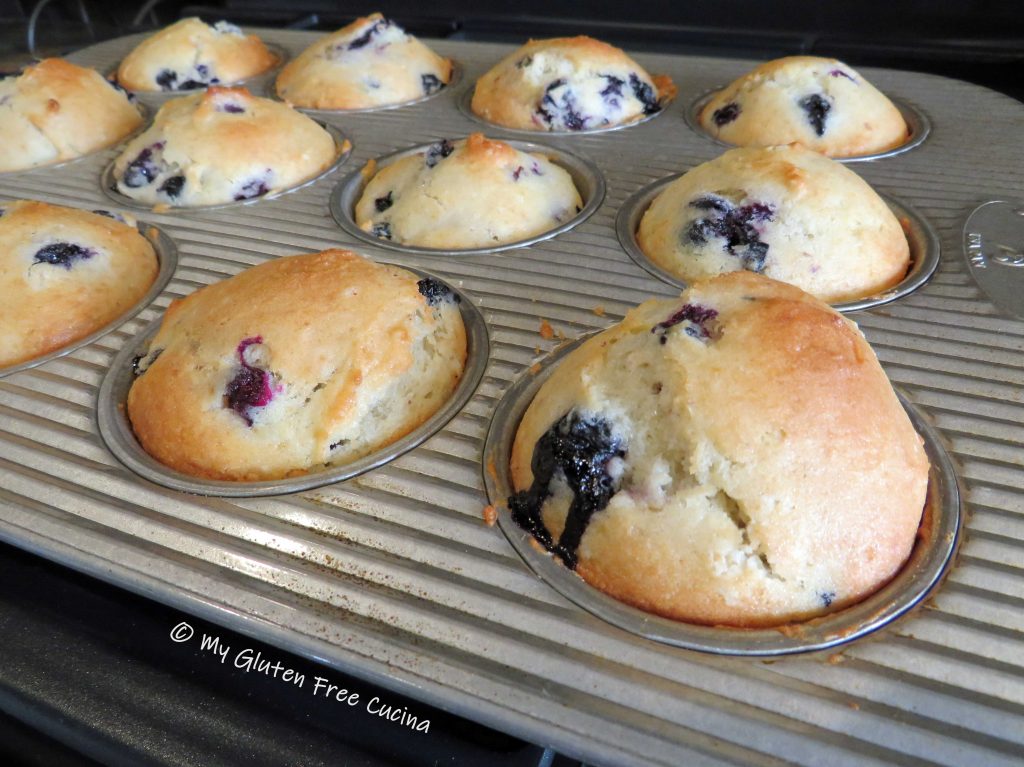
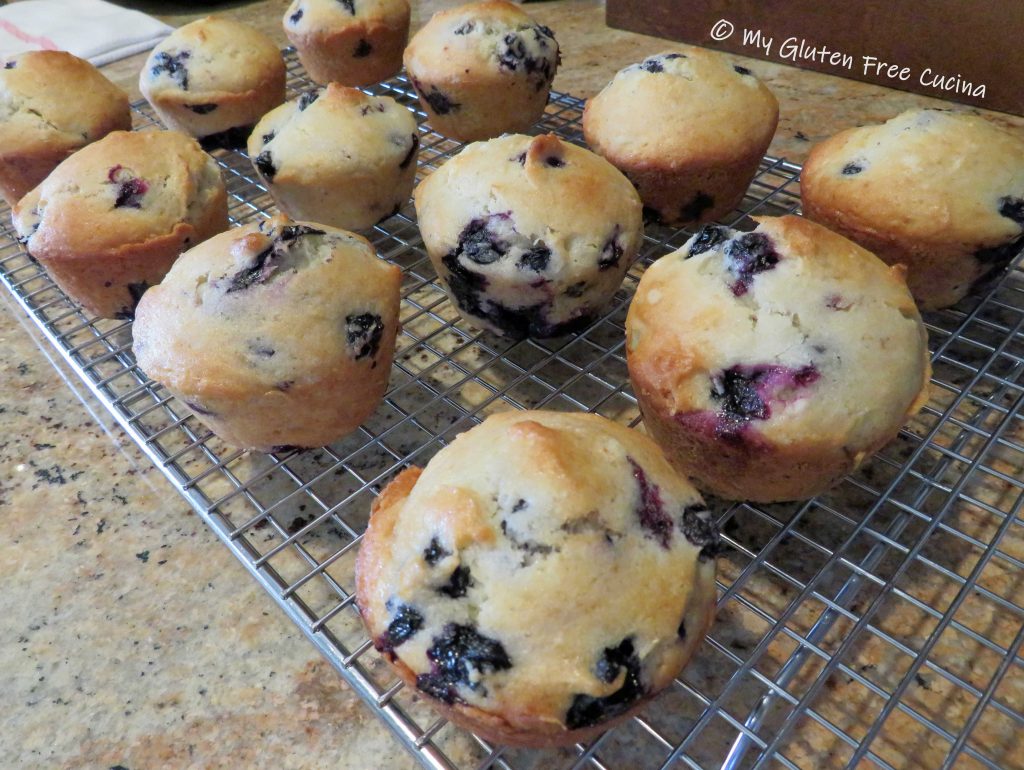
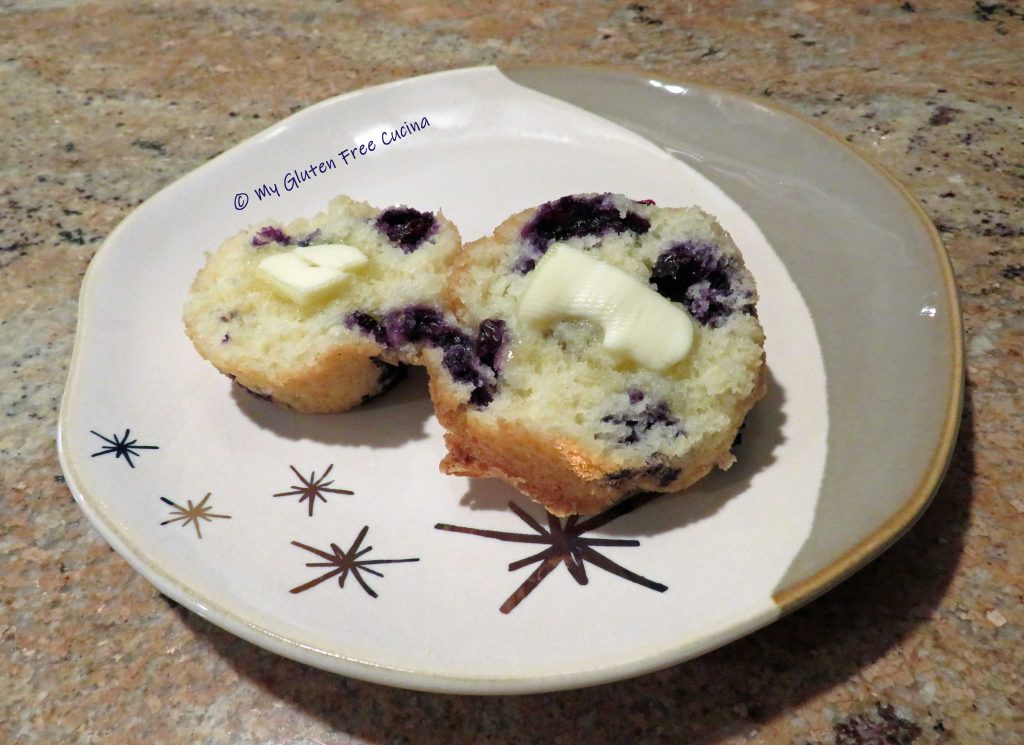
Bake for 25 minutes at 375 degrees.  Test with a toothpick.  Cool in the pan for 10 minutes then transfer to a rack.  Let them stand at room temperature for at least 4 hours.  I’ve got my eye on that big one in front!

Leftovers, if you have any can be frozen for an easy breakfast.

Notes ♪♫ For muffins and quick breads, I use and recommend Better Batter Original Gluten Free Flour.  Most recipes can be converted at 120-150g. per cup.  If you use a different brand, be sure that your flour contains xanthan gum.  Even if you do not weigh any of your other ingredients, I encourage you to invest in a kitchen scale to weigh the flour.

Print This Post Print This Post

Gluten Free Pumpkin Vanilla Waffles

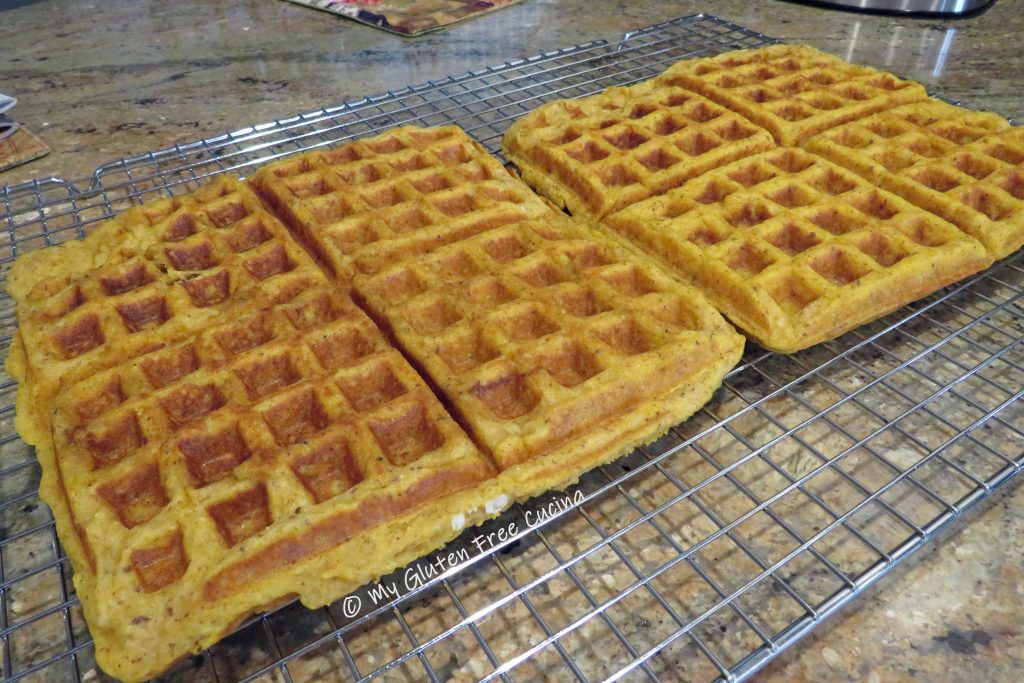
Today there are so many gluten-free pancake mixes out there, and it’s a treat to make a quick batch of pancakes or waffles, without the gluten!  I’m always trying to be creative and will often use a pancake mix as a base to which I can add layers of flavor and texture!  This fall inspired waffle has almond flour and flax for protein and fiber, coconut flour for sweetness, as well as pumpkin, banana and yogurt for moisture.  The waffles are dense and hearty, a filling breakfast.  One is enough for me, so I make a batch of 8 and freeze the leftovers.  So easy to pop into the toaster for a quick breakfast!

This post contains affiliate links.

While we all have our favorite brands, I love the Pancake and Biscuit Mix from Better BatterTry it and use my code MGFC30 for 30% off your non-sale purchase!

Ingredients:

Dry ingredients:

Wet ingredients:

  • 1/2 ripe banana, mashed
  • 2 tbsp. canola oil
  • 1 egg
  • 5 oz. vanilla Greek yogurt
  • 3/4 cup pumpkin puree
  • 1 tsp. vanilla extract
  • 1-3/4 cups 1% milk
  • cooking spray

Preparation:

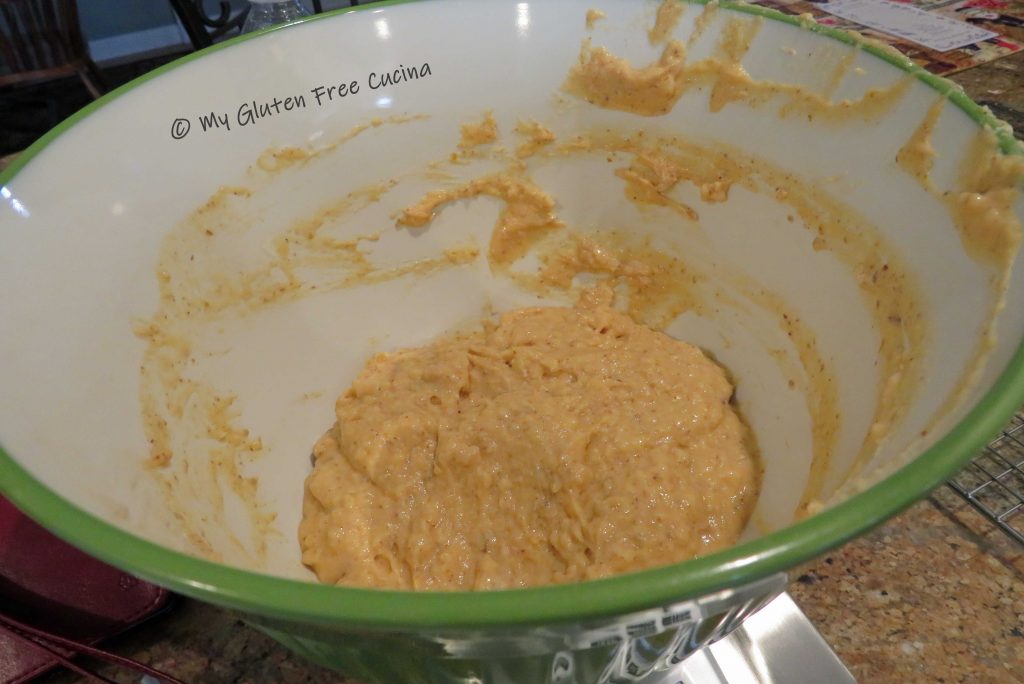
Whisk together the dry ingredients in one bowl, and the wet ingredients in another.  Combine the wet and dry ingredients and stir together with a batter whisk until completely moistened.  At first it may appear that the batter is too thin, but it will thicken as the flax absorbs the liquid.  Let the batter rest 10 minutes while you preheat the waffle iron to 350º.

The recipe makes 8 waffles.  If you want to be very particular, you can weigh the batter and divide it in half so your waffles will all be uniform in size.  Coat the waffle iron with cooking spray and spread the batter evenly, using a spatula to get into the corners.  Close lid and cook for 6 minutes.

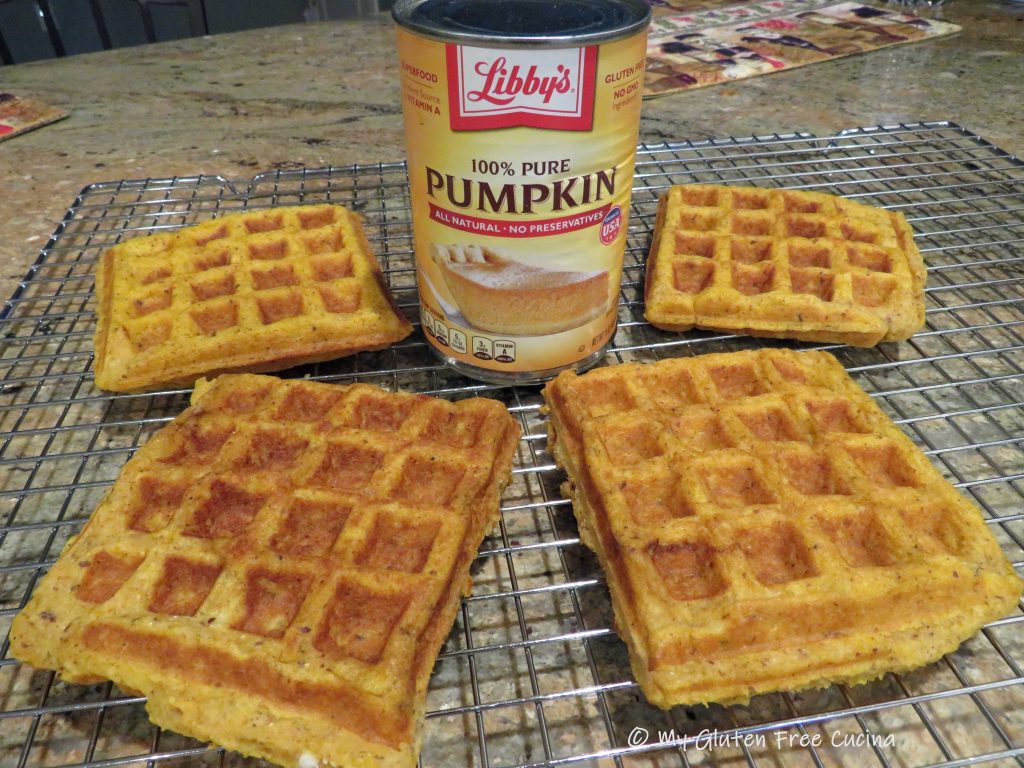
Remove the waffles and repeat with the remaining batter.  You can enjoy them immediately or cool on a rack to refrigerate or freeze for later.

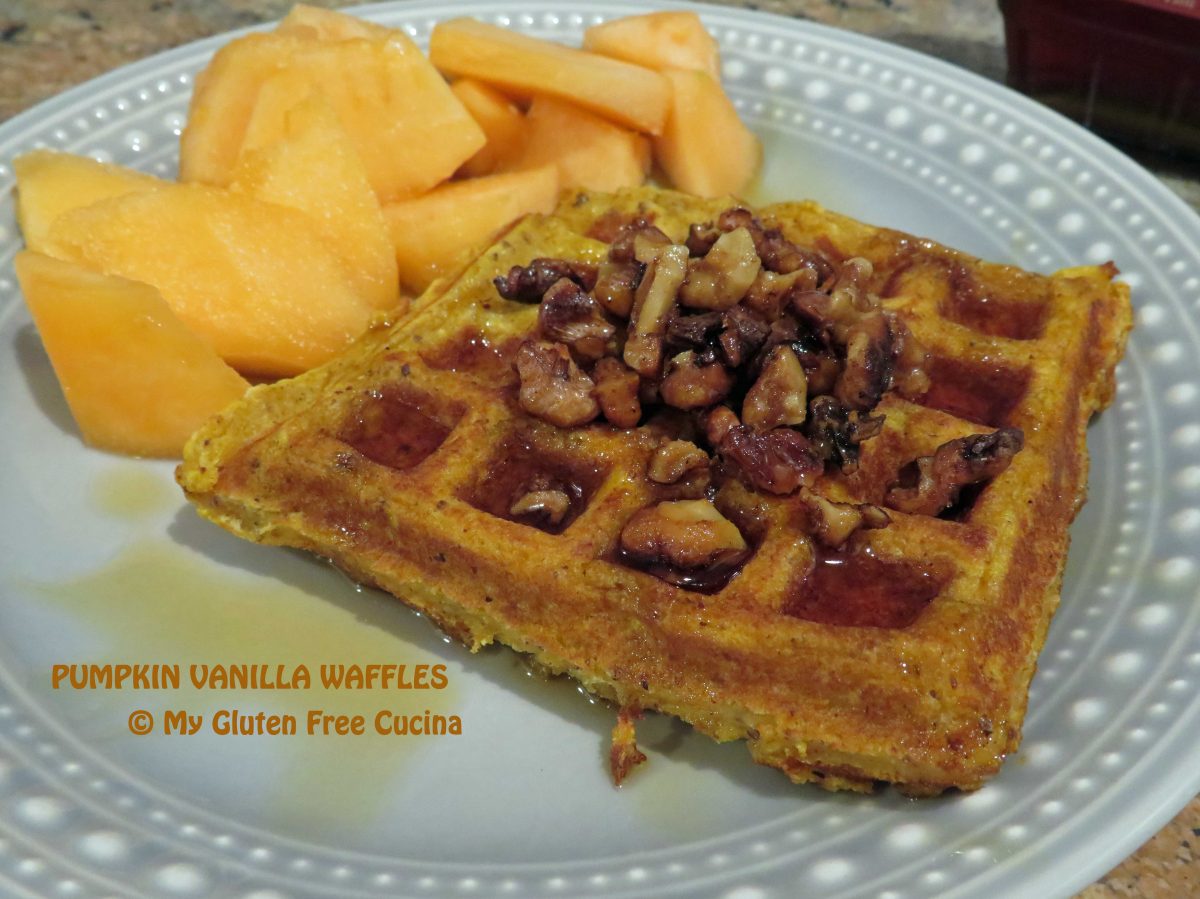
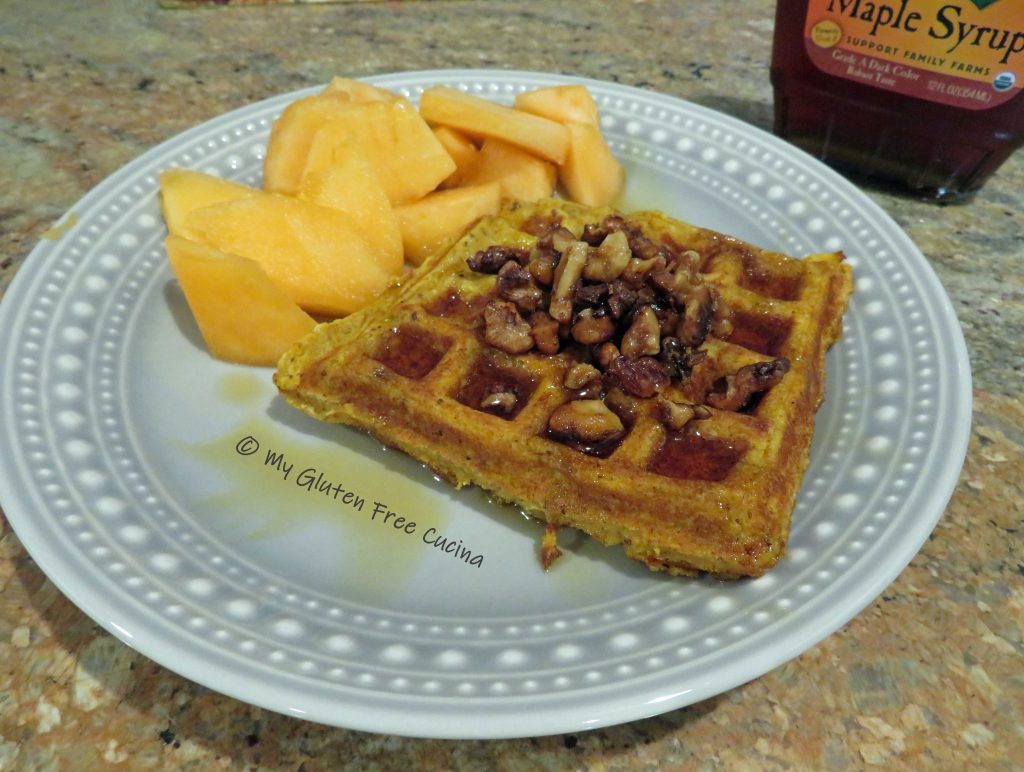
My favorite way to serve waffles is topped with candied walnuts, just a drizzle of maple syrup and a side of fresh fruit!

Notes ♪♫ Whether you are making pancakes or waffles, remember that gluten free batter takes longer to cook!  For this recipe, the batter is extra dense, so I recommend a full 6 minutes per batch at 350º for a soft waffle, longer for crispy.  You can reheat them in the microwave if you like them soft or use the toaster to crisp them up.  I like to reheat mine in my air fryer, for 4 minutes at 400º.

Print This Post Print This Post

Gluten Free Applesauce Pancakes

Like many of my “use it up” recipes, this one came about when I had a jar of applesauce in the fridge that I didn’t want to go to waste.  So, this is what I made one morning, and I enjoyed the pancakes so much they are going to have a permanent place my breakfast rotation.

This post contains affiliate links.

Using a gluten free pancake mix makes this recipe a snap and no oddball ingredients to purchase!  I love Better Batter Pancake and Biscuit Mix, and you will too.  Even the gluten eaters will gobble these up.  Did you know you can save by ordering two or three packs?  It’s a great value and a mix you will use all the time.
Remember, when you shop on the Better Batter website, use my code MGFC30 to get 30% off any non-sale item!

Ingredients:

  • 150 g. Better Batter Pancake and Biscuit Mix
  • 1 tsp. cinnamon
  • 1 large egg
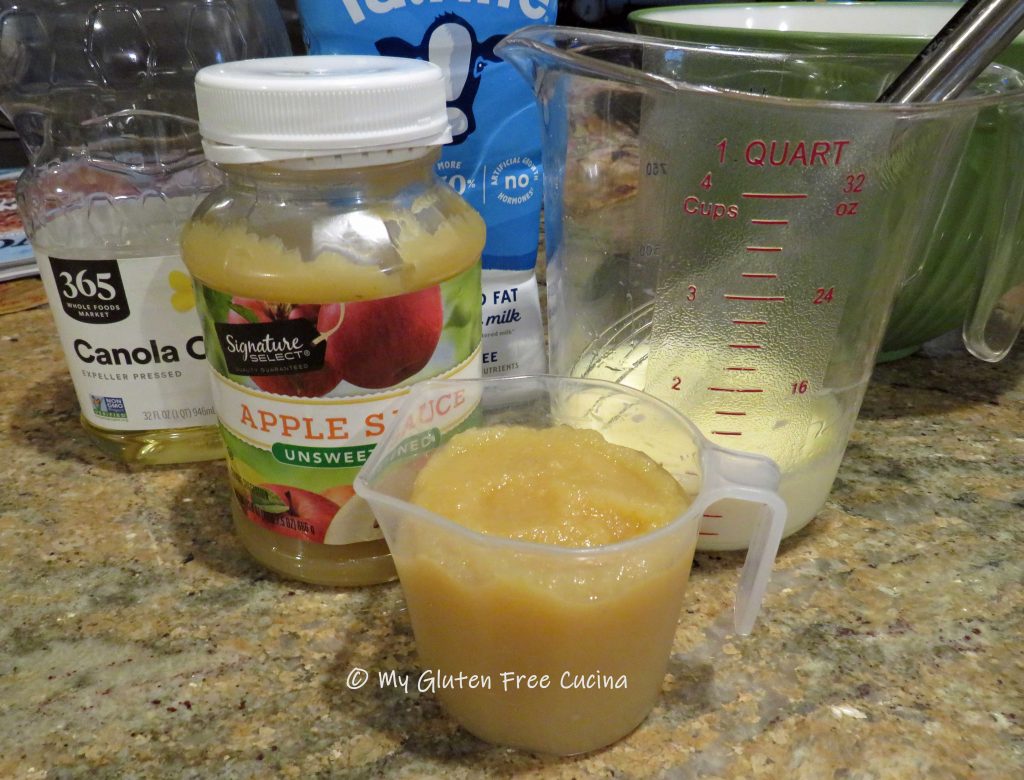
  • 1 tbsp. canola oil
  • 3/4 cup unsweetened applesauce
  • 1 tbsp. brown sugar (or sugar substitute)
  • 2/3 cup milk (I used 2%)
  • butter for the griddle

Preparation:

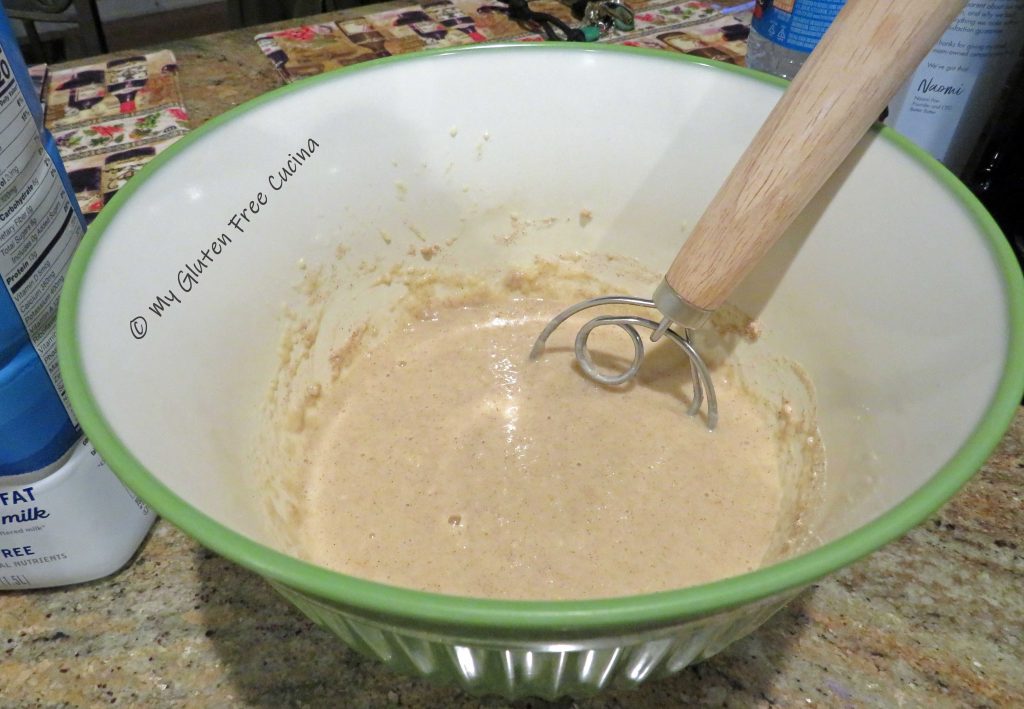
Whisk together the pancake mix and cinnamon.  In another bowl, beat the egg, oil, applesauce, sugar and milk.  Combine the wet and dry ingredients with a batter whisk.  Let batter rest for 5 minutes while you preheat the griddle on medium low.

Coat the griddle with butter and spoon the batter in circles, about 1/3 cup each.  Cook for 4-5 minutes per side.  They are ready to turn when the tops begin to bubble.  Continue with the rest of the batter, adding more butter to the griddle each time.
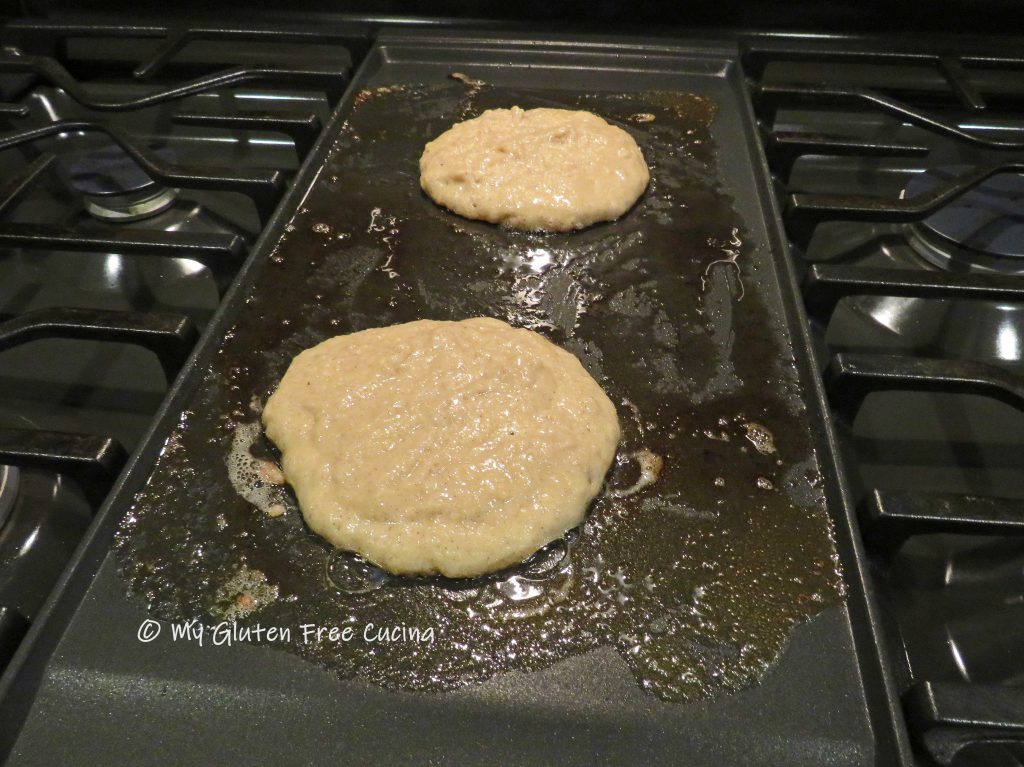
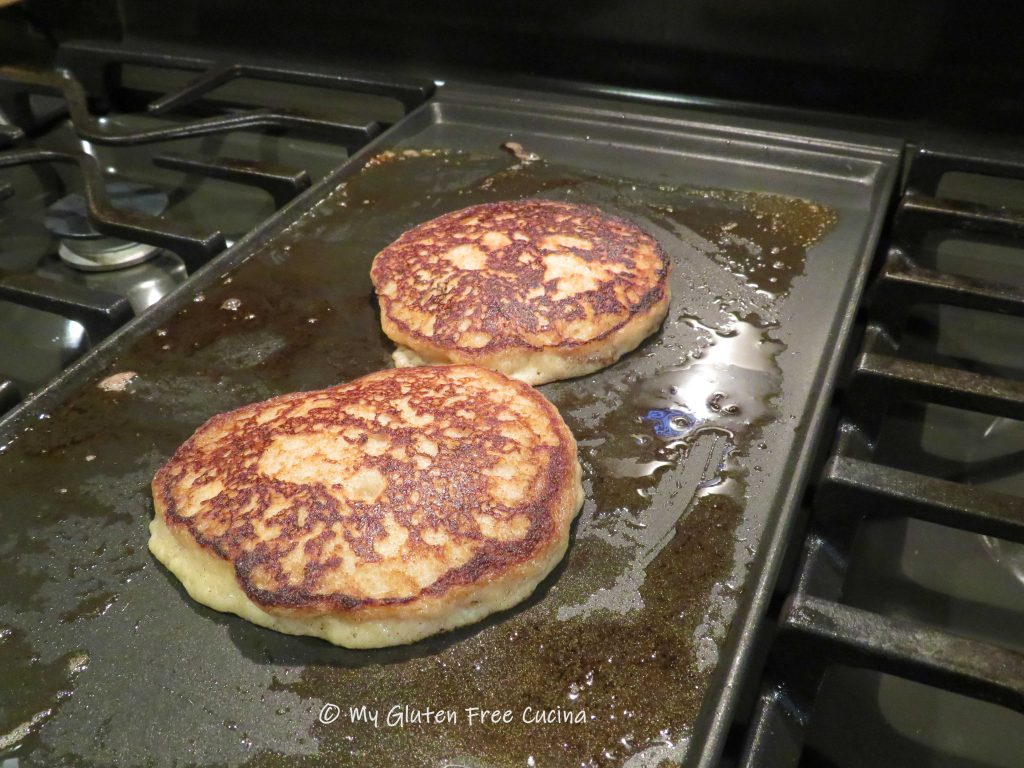
Remember, gluten free pancakes take longer to cook!  You can poke the center with a toothpick to be sure they are cooked through.

Transfer the cooked pancakes to a cooling rack (or right onto your plate!).  I usually make enough to freeze so they will get individually wrapped in plastic wrap and stored in freezer safe bags.
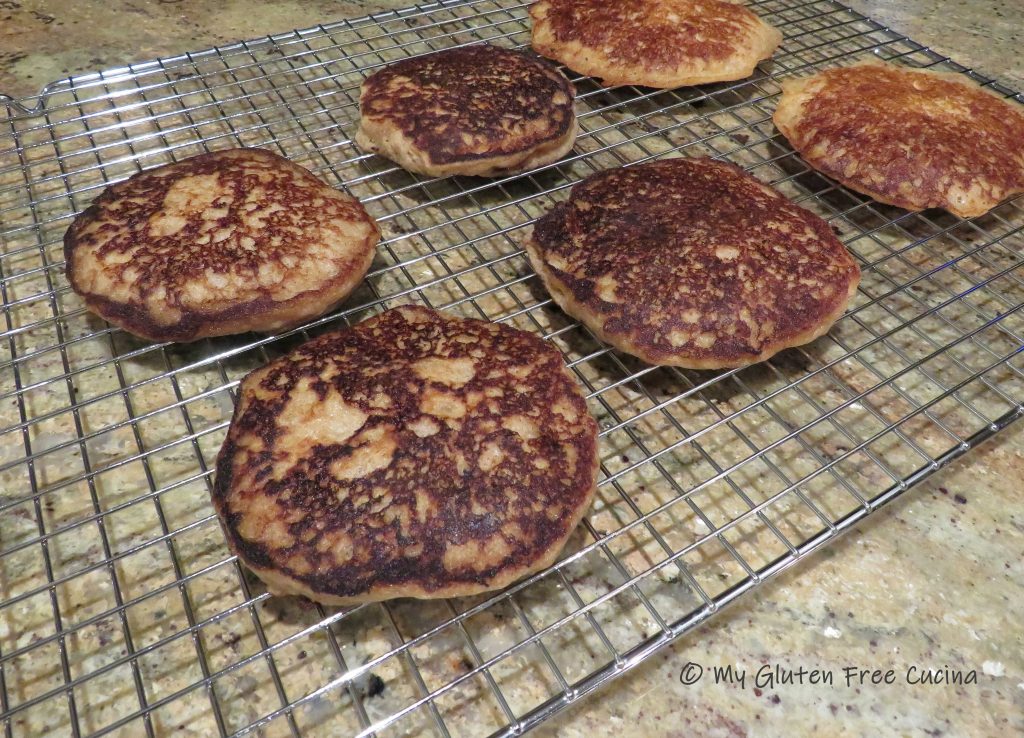
You can reheat them on the griddle, microwave or toaster.
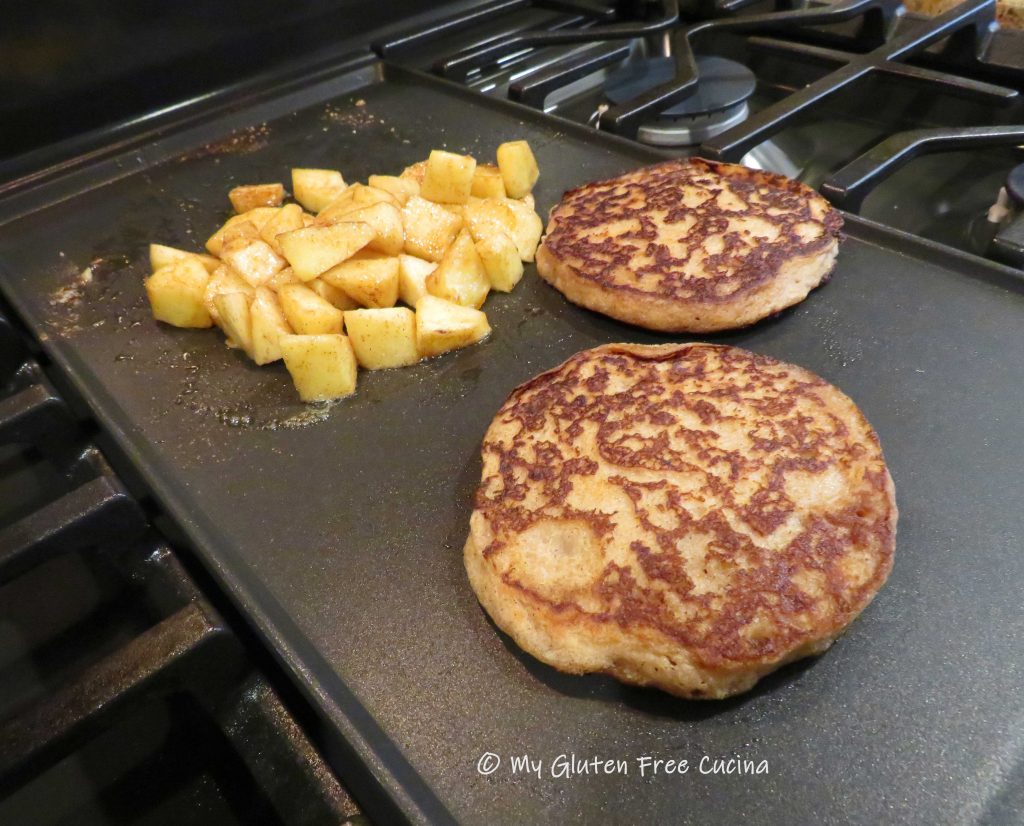
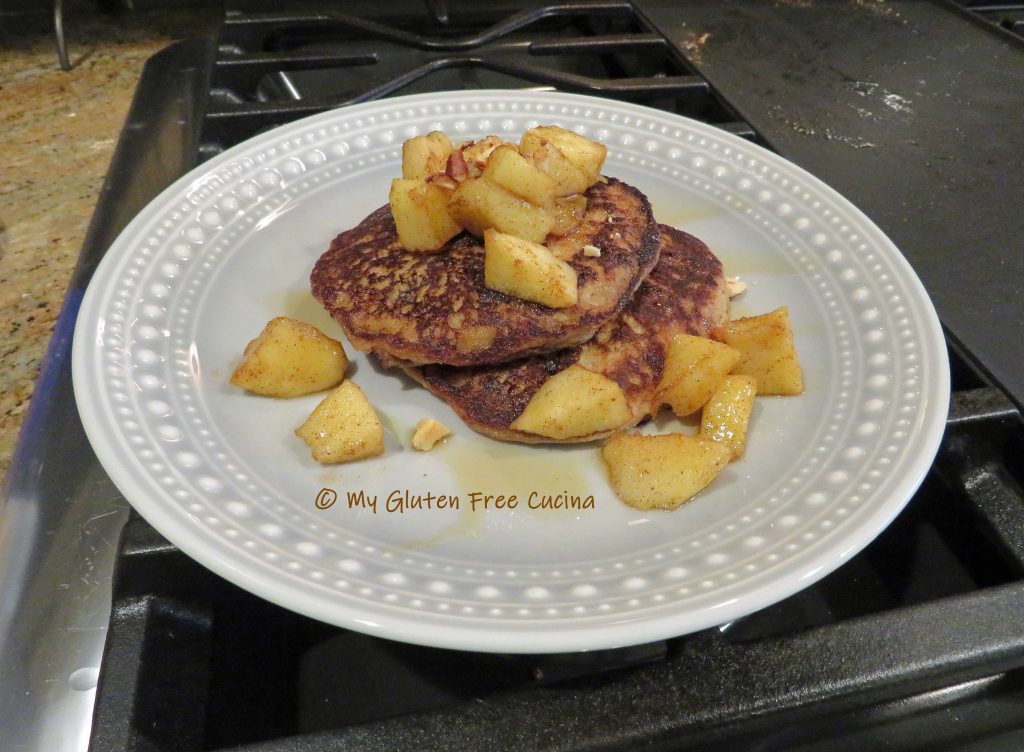
I served them with a side of sautéed apples, a sprinkle of nuts and real maple syrup.

Notes ♪♫ It’s apple season and this recipe is a great way to start things off!  Check out all my apple recipes here —-> Best Gluten Free Apple Recipes!

Print This Post Print This Post


Hash Brown Muffin Cups

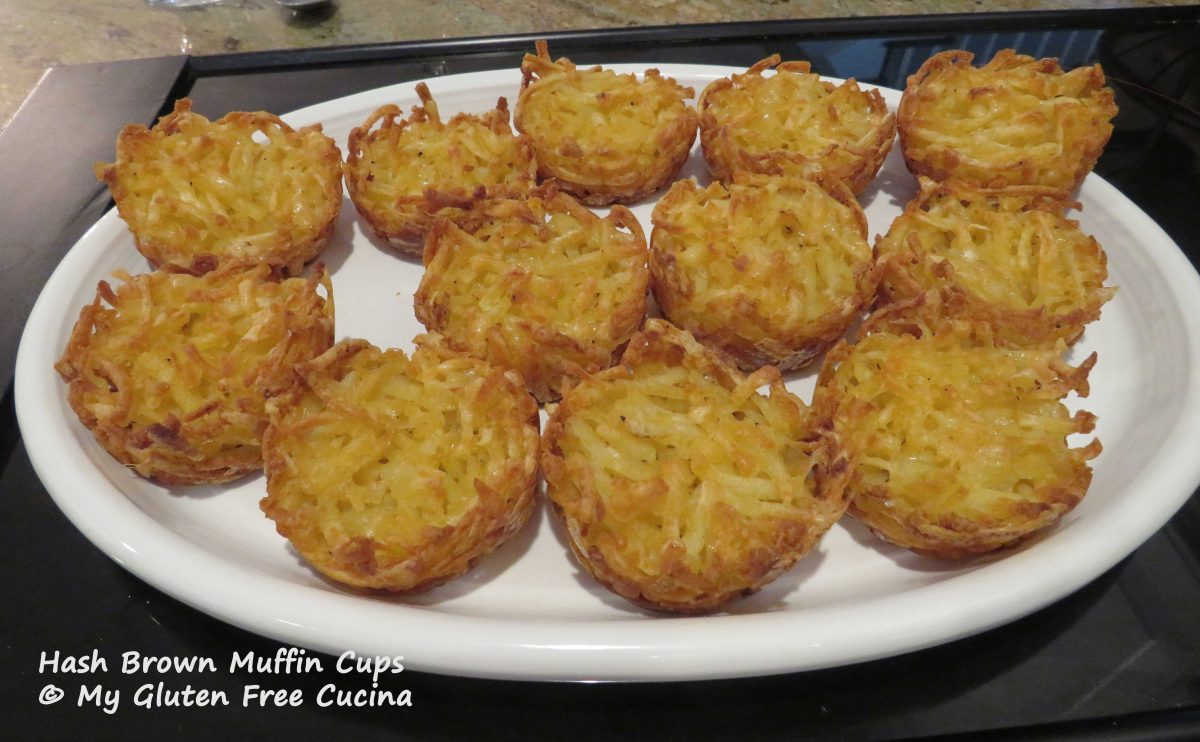
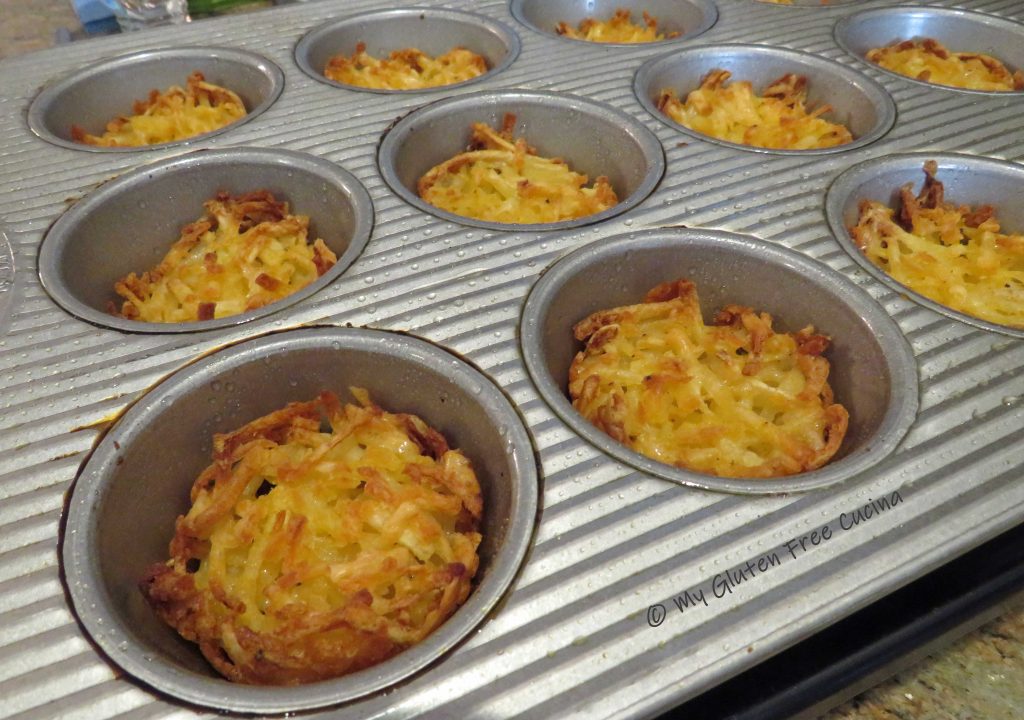
Aren’t these the cutest?  Hash Brown Muffin Cups are fun to make and eat, kid friendly and adult approved!  Using frozen hash browns really cuts down on the prep work.  This is a great brunch recipe because you can prepare it the night before and bake in the morning.

The Lazy Gastronome
Are hash browns gluten free?

As long as you are buying plain hash brown potatoes, they should be fine.  I always look for the gluten free label as an extra measure of security, but as long as the only ingredient is “Potatoes” you are good to go.  If the potatoes are seasoned or include other ingredients, then investigate further before buying.  I used Ore-Ida frozen shredded Hash Browns in this recipe.

This post contains affiliate links.

Ingredients:

  • 20 oz. frozen shredded hash browns (for a standard 12-cup muffin tin)
  • 1/2 cup shredded parmesan cheese
  • 1/2 tsp. salt
  • fresh ground pepper, to taste
  • 1/2 tsp. garlic granules
  • 1/8 tsp. paprika
  • 2 tbsp. olive oil
  • cooking spray

Preparation:

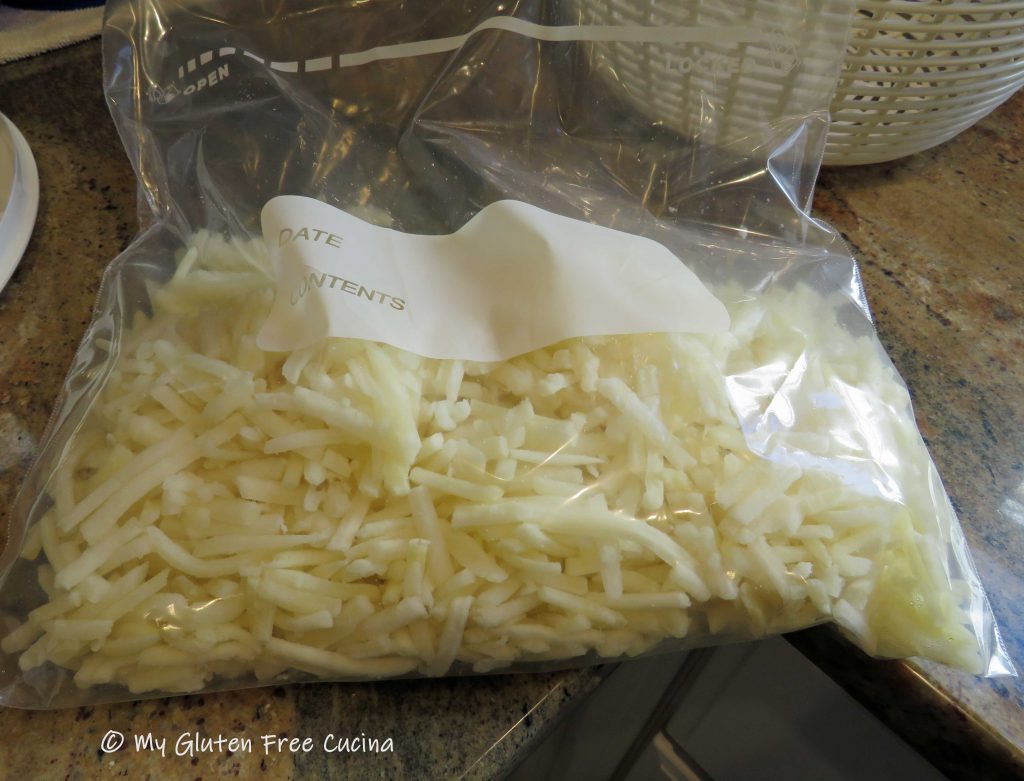
Weigh 20 oz. hash browns and place in a zip top bag.  Defrost in the refrigerator.

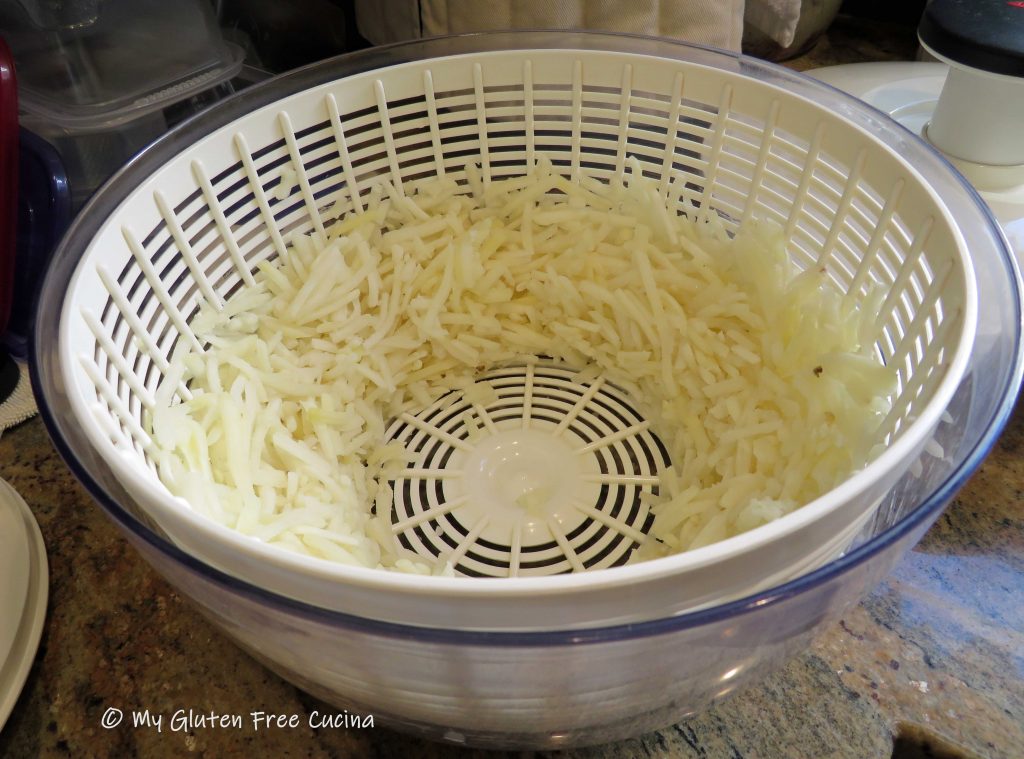
I used a salad spinner to be sure the potatoes were as dry as possible (see notes).   After spinning the potatoes (or pressing them dry with paper towels) transfer to a clean bowl.

Toss the hash browns with the cheese and seasonings.  Drizzle with 2 tbsp. olive oil and toss again to coat thoroughly.

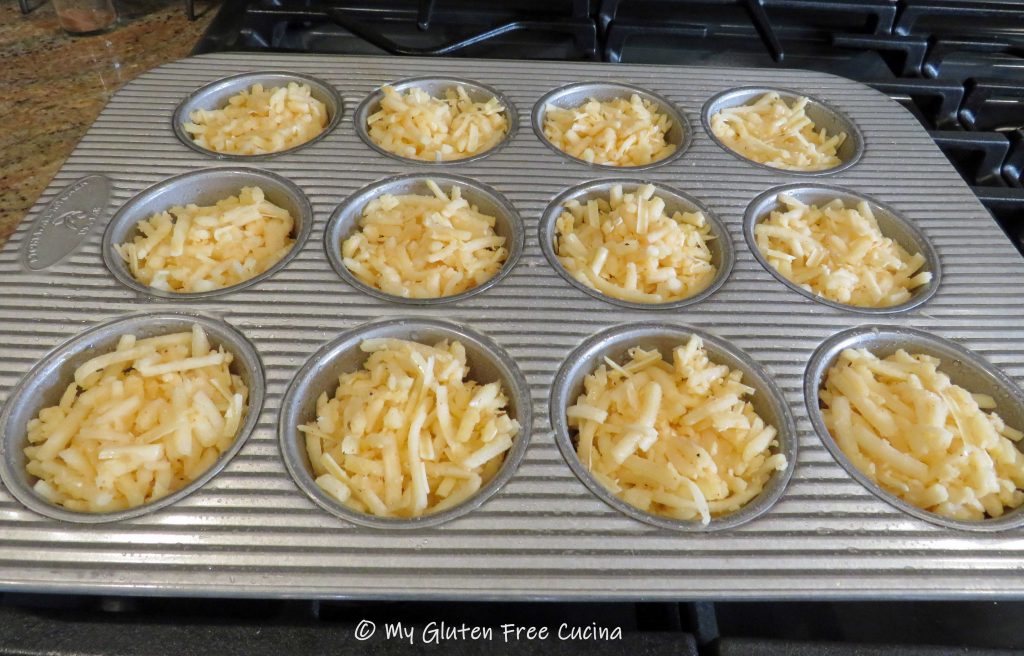
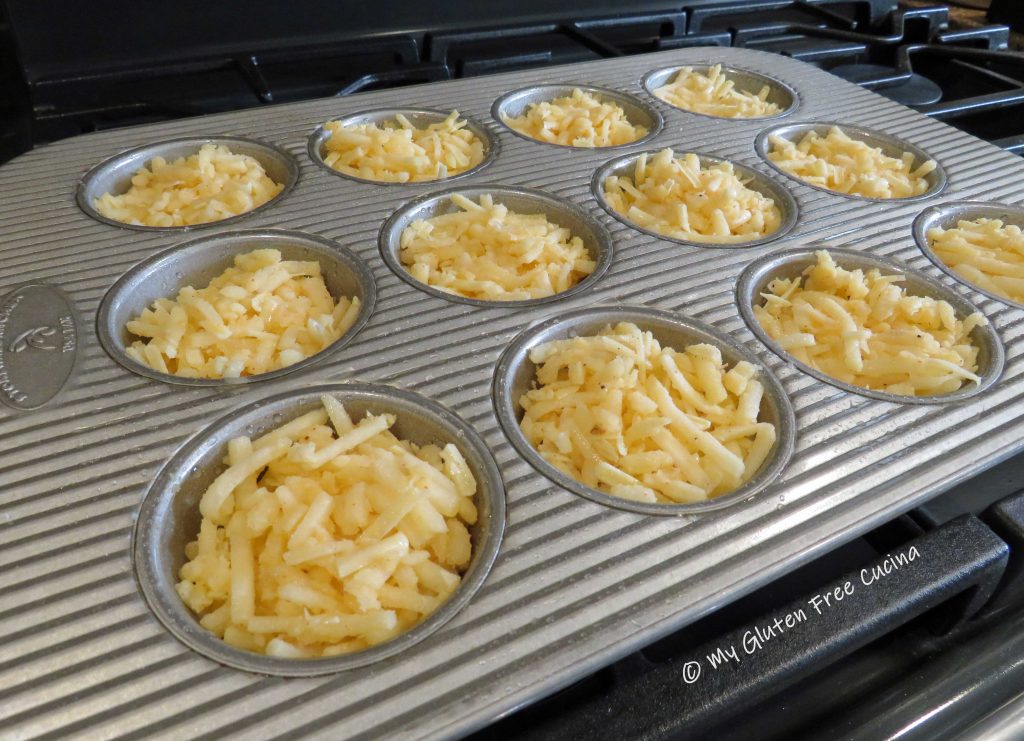
Mist the muffin tin with cooking spray and spoon the potatoes evenly into the 12 cups.

Cover with plastic wrap and refrigerate overnight.

The next morning, preheat the oven to 400º and spritz the tops of the muffin cups with olive oil spray.  Bake for 45 minutes.

The edges should be browned and crispy.  Use a spoon to slide them right out of the pan onto a serving dish!

Hash Brown Muffin Cups will be a great addition to your brunch menu, or a fun dinner side.  They reheat well, and ours stayed crispy even after microwaving.  You will want to keep a bag of hash browns in your freezer pantry, so you can make a batch any time you like!
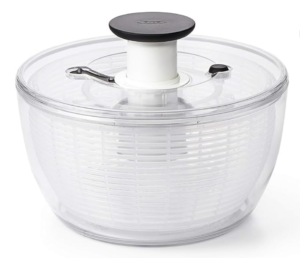
Notes ♪♫ My salad spinner is over 20 years old.  We originally purchased ours when my husband used to plant a large garden and I needed an easy way to wash the veggies.  Today I still eat lots of salads and this is just a handy thing to have in your kitchen!  Here’s the current model.

Print This Post Print This Post

Gluten Free Apple French Toast Casserole

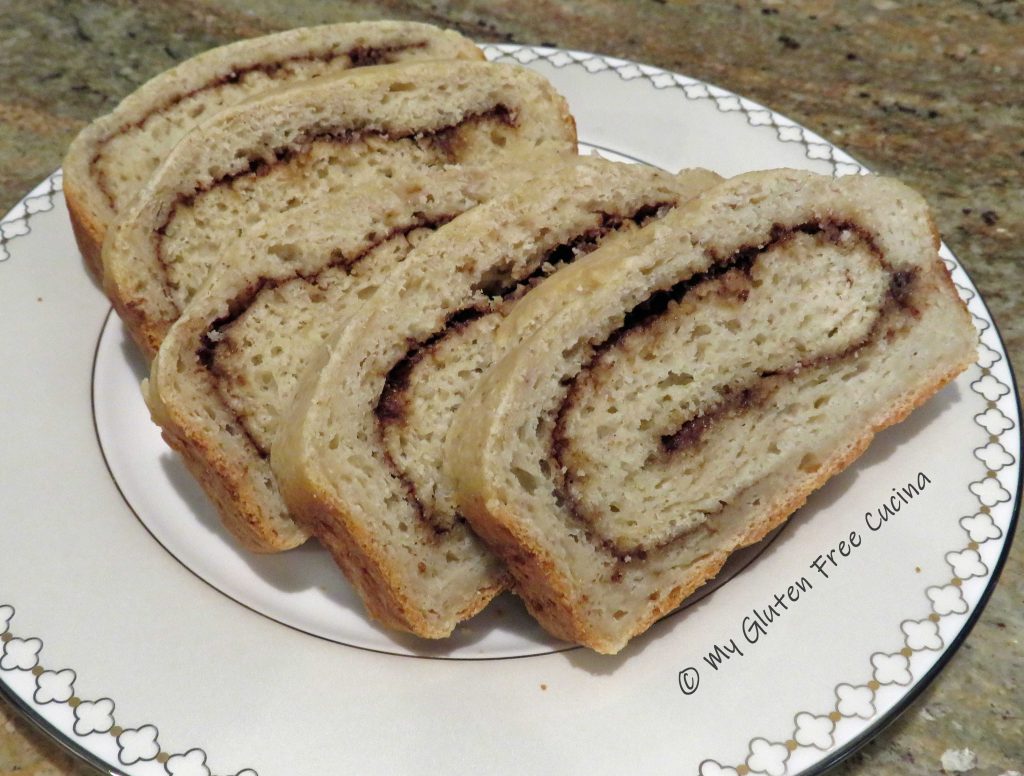
Did you see the Gluten Free Cinnamon Swirl Bread I posted a few weeks ago?  If not, check it out here!   I used that same recipe to make this overnight Apple French Toast for Easter.  The cinnamon swirl bread goes so well with apples!  This is a wonderful make ahead recipe for a brunch, get it ready the night before and bake in the morning!

Ingredients:

  • 1 loaf Gluten Free Cinnamon Swirl Bread
  • 1/2 cup dark brown sugar
  • 1/2 cup butter (1 stick)
  • 2 tbsp. maple syrup
  • 3 apples (I used Honey crisp)
  • 7 eggs
  • 1-3/4 cups milk (I used 2%)
  • 1 tsp. vanilla extract
  • 1/2 tsp. cinnamon
  • cooking spray

This post contains affiliate links.

Preparation:

Make the Cinnamon Swirl Bread 2 days before and store at room temperature.

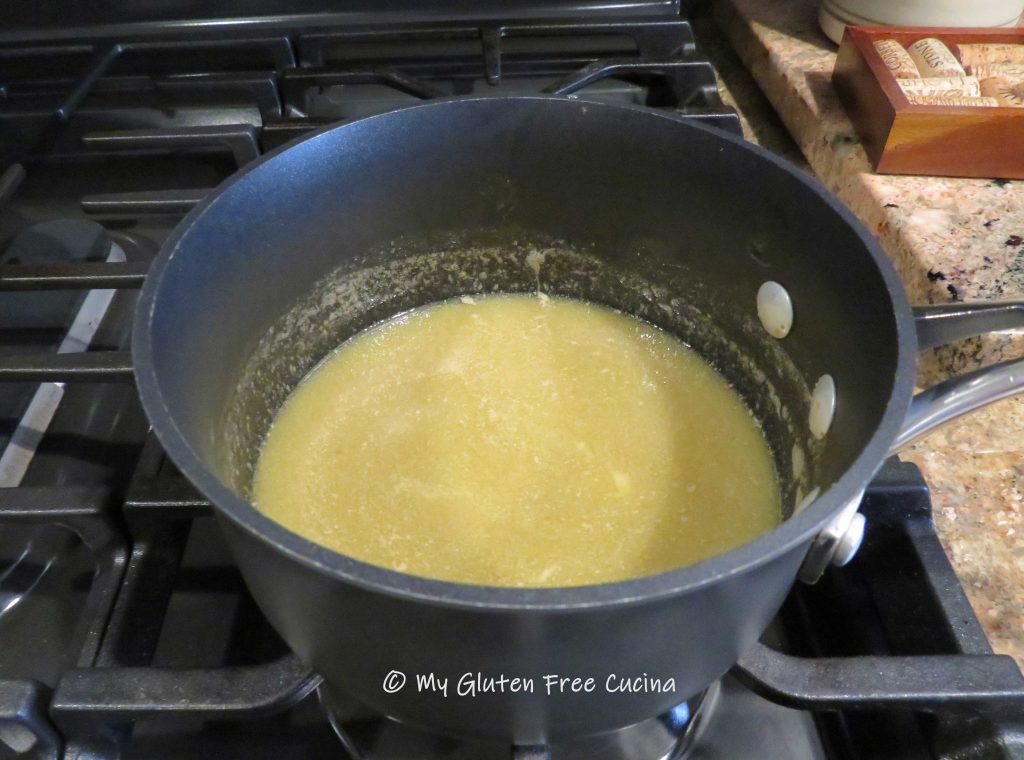
The night before your brunch, melt the butter, brown sugar and maple sugar in a small saucepan.  Stir occasionally to dissolve the sugar.

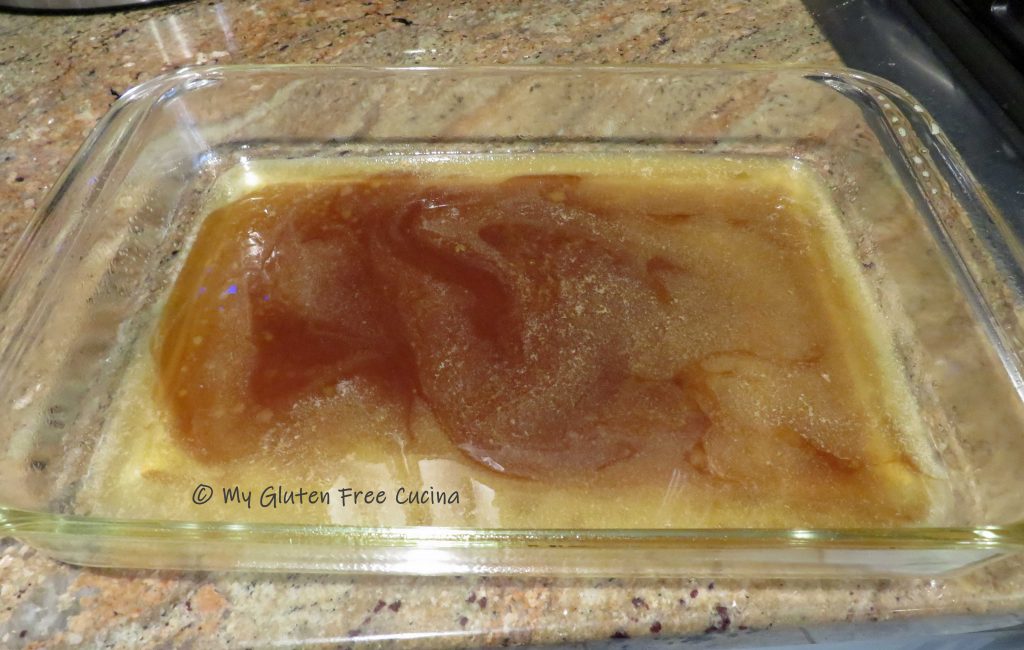
Mist a 9 x 13″ glass baking dish with cooking spray and pour the butter mixture into the dish.

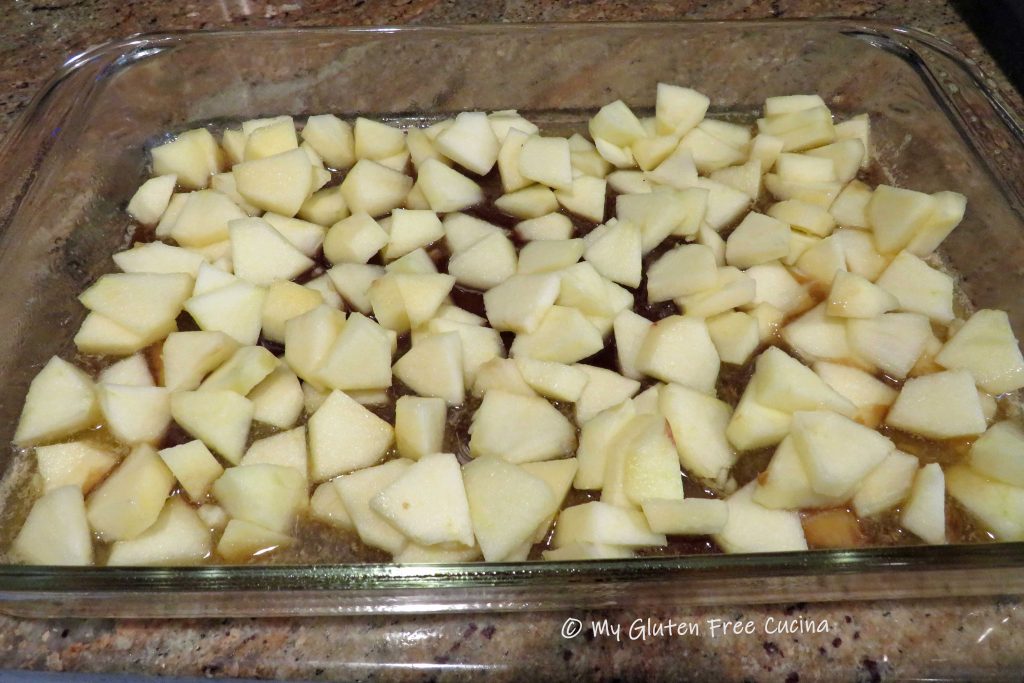
Peel and slice the apples and spread them over the butter mixture in a single layer.

Cut the bread into 3/4″ slices and arrange over the apples.

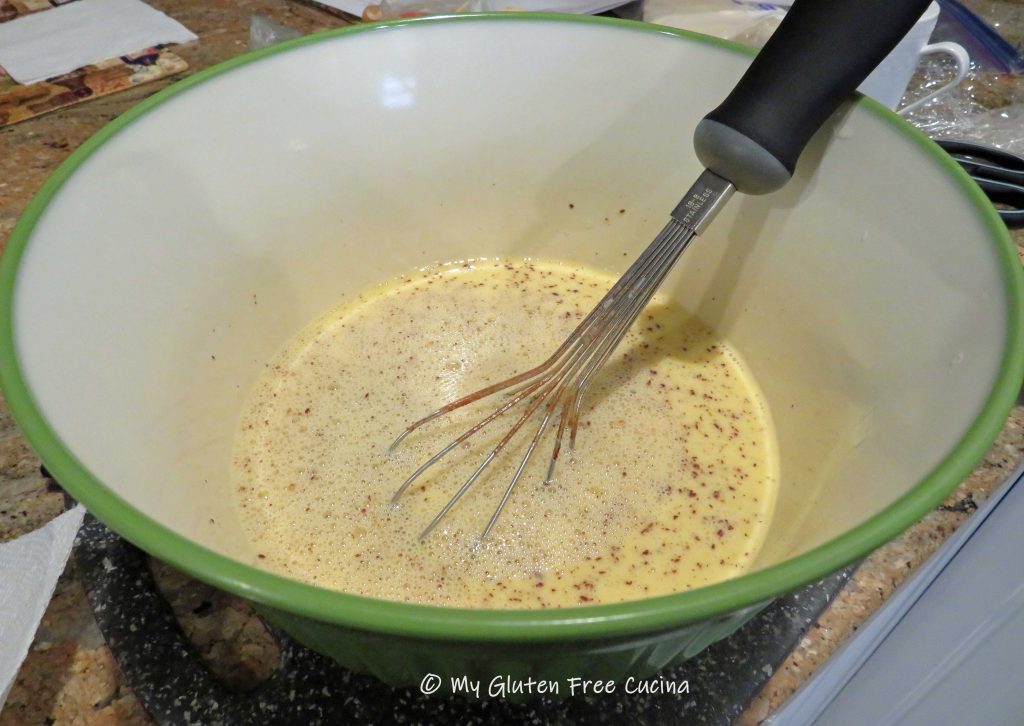
Whisk together the eggs, milk, vanilla and cinnamon.

Pour the egg mixture over the bread slices and press down with a spatula.
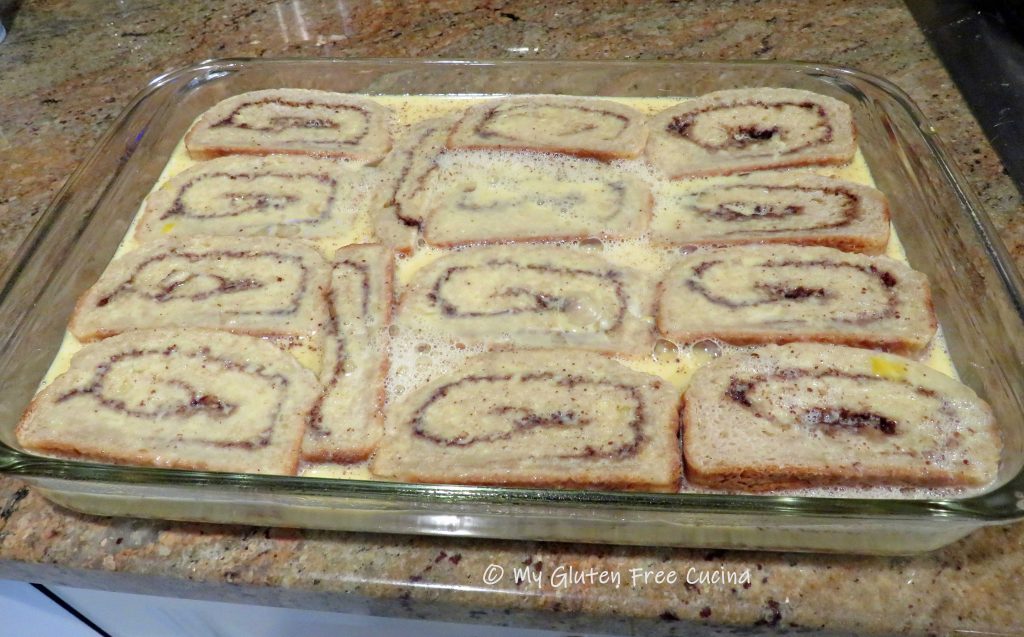
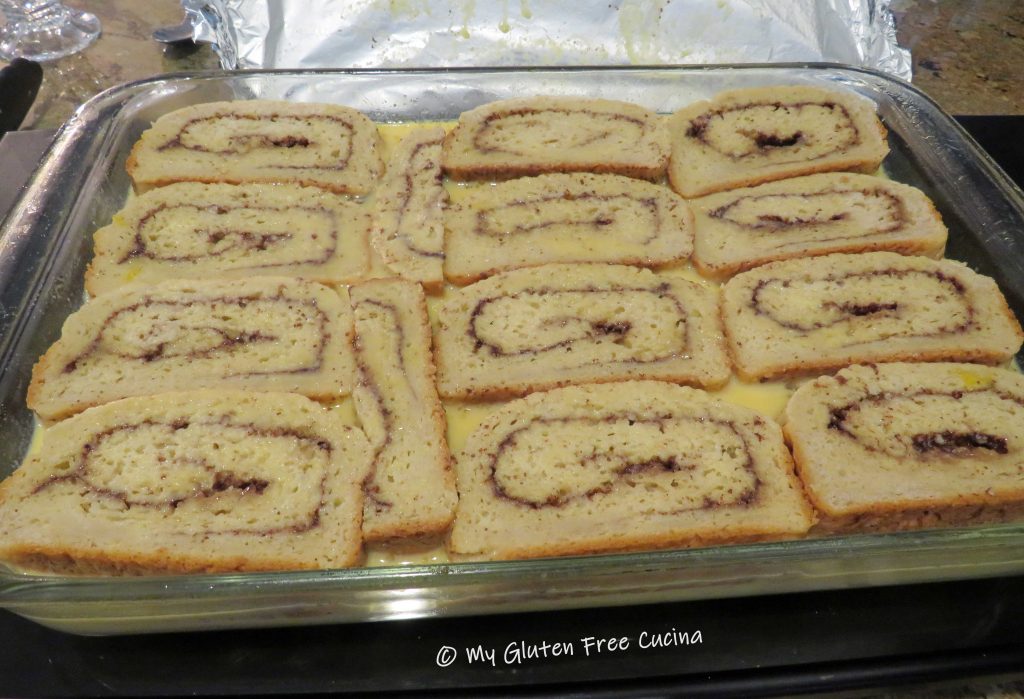
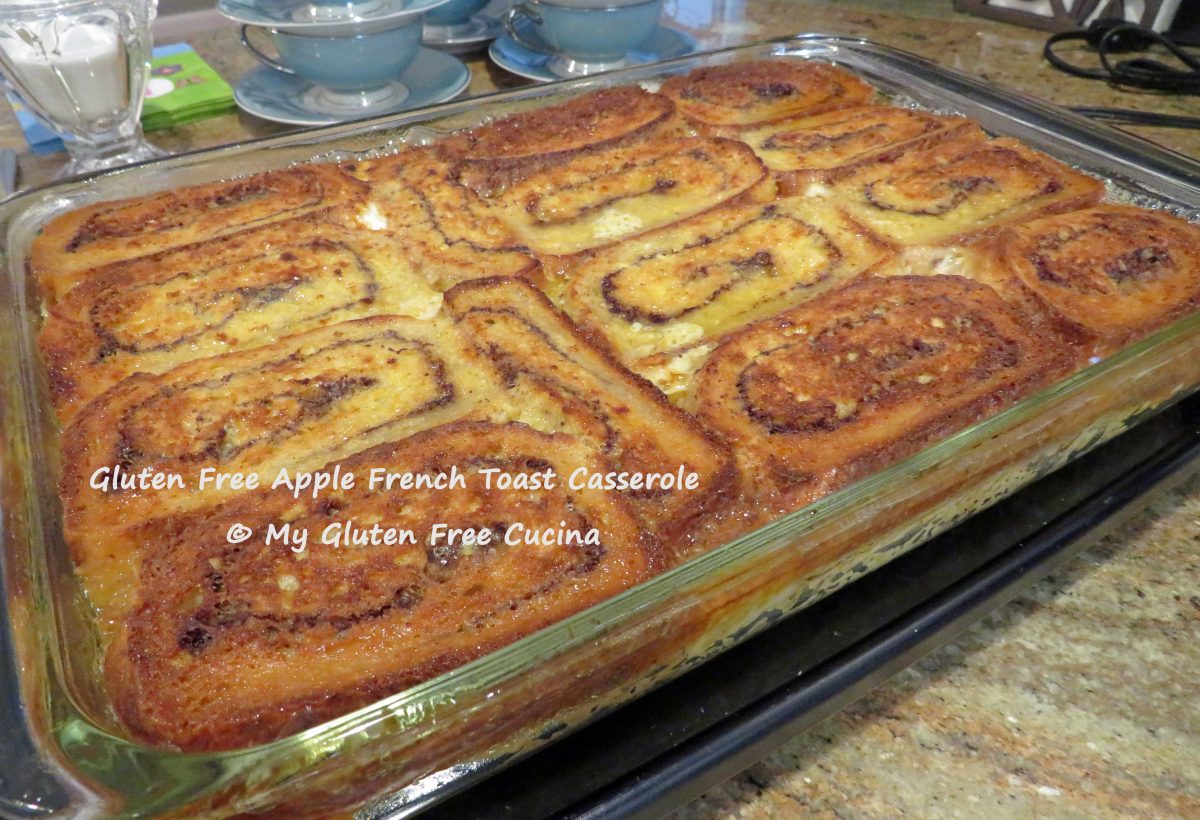
Mist a sheet of foil with cooking spray, cover the casserole and press down with your hands to be sure the bread slices are submerged in the egg mixture.  Refrigerate overnight.  Here’s what it should look like in the morning.

In the morning, take the baking dish out of the refrigerator and let it sit on the counter to warm up for at least 30 minutes before baking (going directly from refrigerator to oven may shatter a glass baking dish).  Bake uncovered for 40-50 minutes at 350º then broil for 2-3 minutes to finish.

You can dust with powdered sugar (optional) and serve with real maple syrup!

Notes ♪♫ There are many breads that will work well in this recipe.  Check out my Gluten Free Millet Bread that I often use for French Toast recipes.  Be sure to make the bread two days before assembling the casserole, a drier loaf will better absorb the eggs.

Print This Post Print This Post


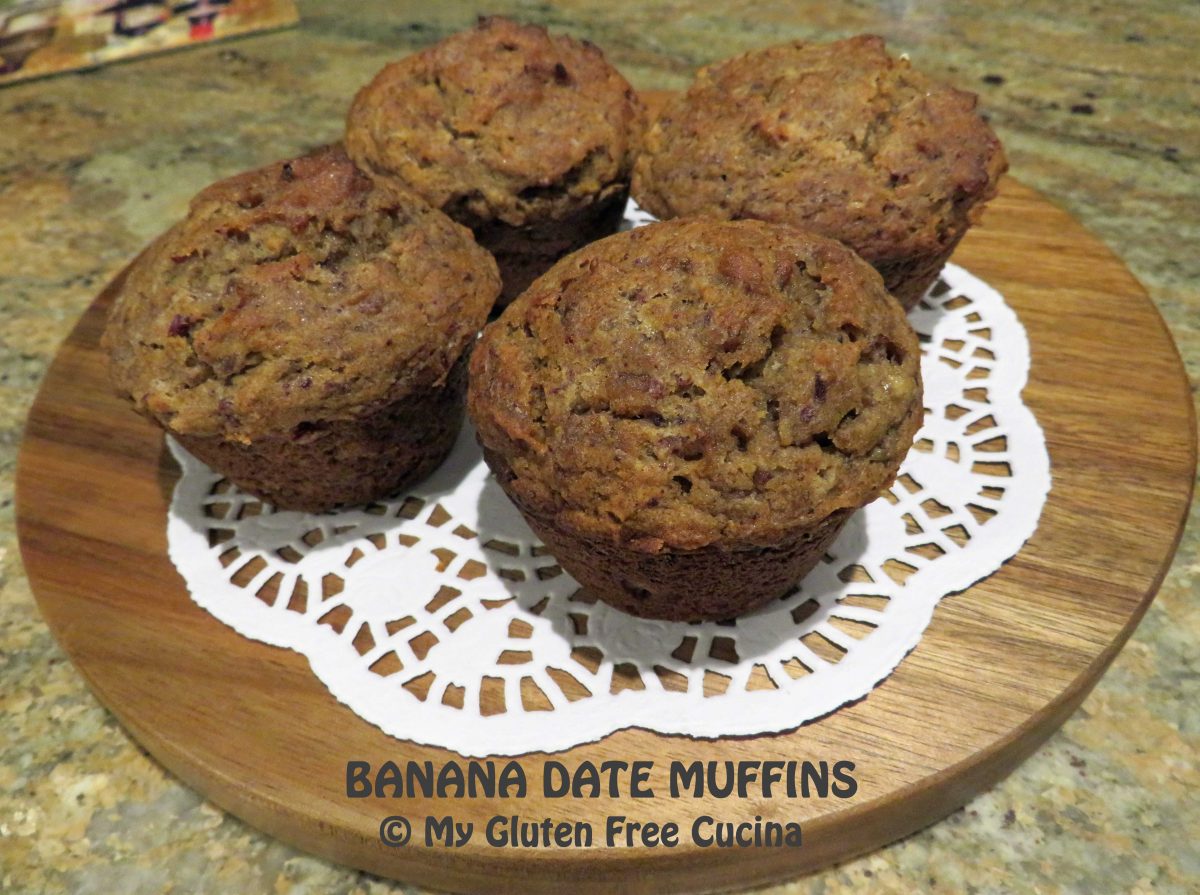
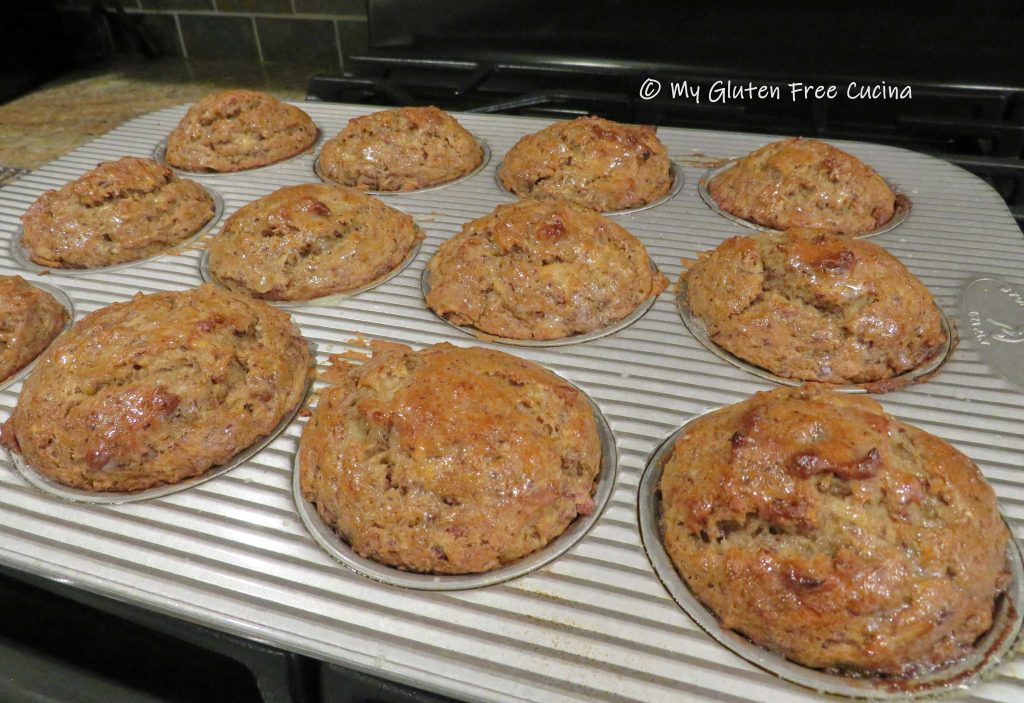
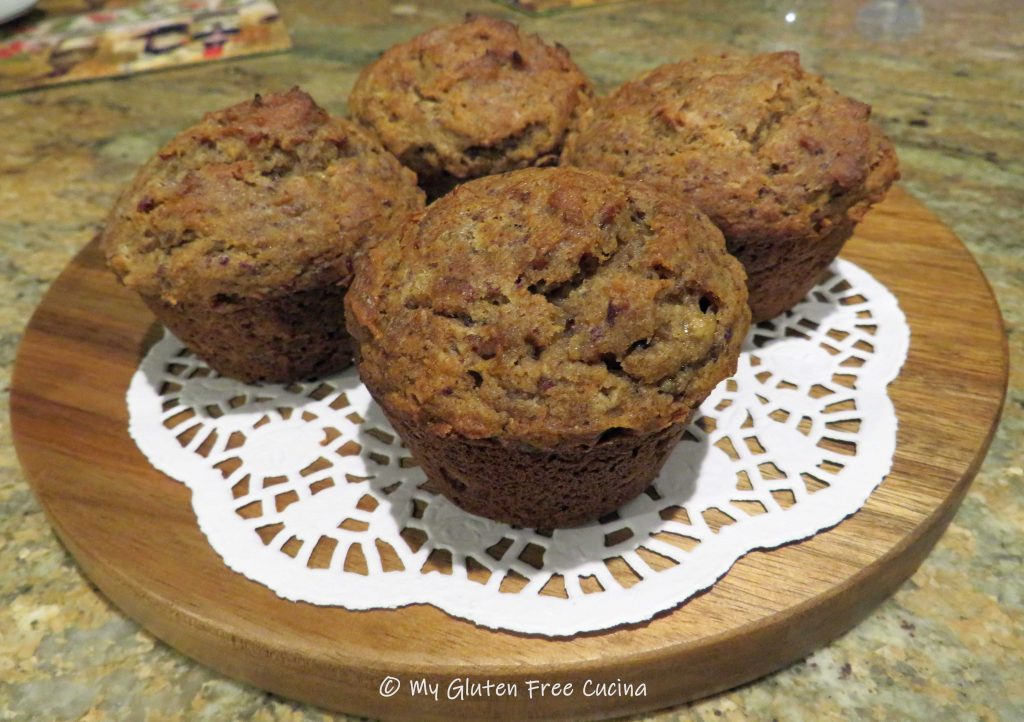
Gluten Free Banana Date Muffins

Say goodbye to those dry, bland tasting gluten free muffins at the grocery store.  These Banana Date Muffins are incredibly moist and hearty, a real stick to your ribs breakfast!

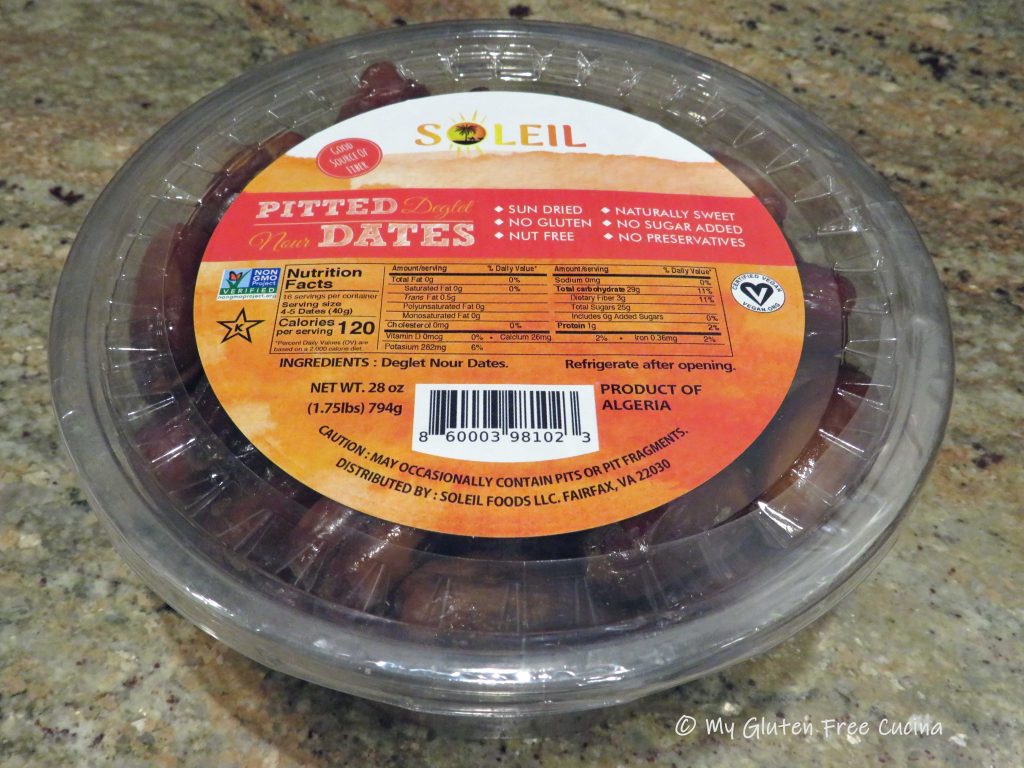
Dates are wonderful for baking, and they give a natural sweetness to these muffins, not to mention a fiber boost.  I also added a little brown sugar substitute to the mix, but you can omit this or use real brown sugar.

This post contains affiliate links.

Ingredients:

Wet Ingredients

Dry Ingredients

280g. Better Batter all-purpose gluten free flour blend (use my Code MGFC30 at checkout for 30% off!)

  • 1 tsp. baking soda
  • 1 tsp. baking powder
  • 1/2 tsp. salt
  • 1 tsp. cinnamon

Other

  • cooking spray
  • 1 tbsp. butter for brushing

Preparation:

Preheat the oven to 400º.  Mist a 12-cup nonstick muffin pan with cooking spray or use paper liners.

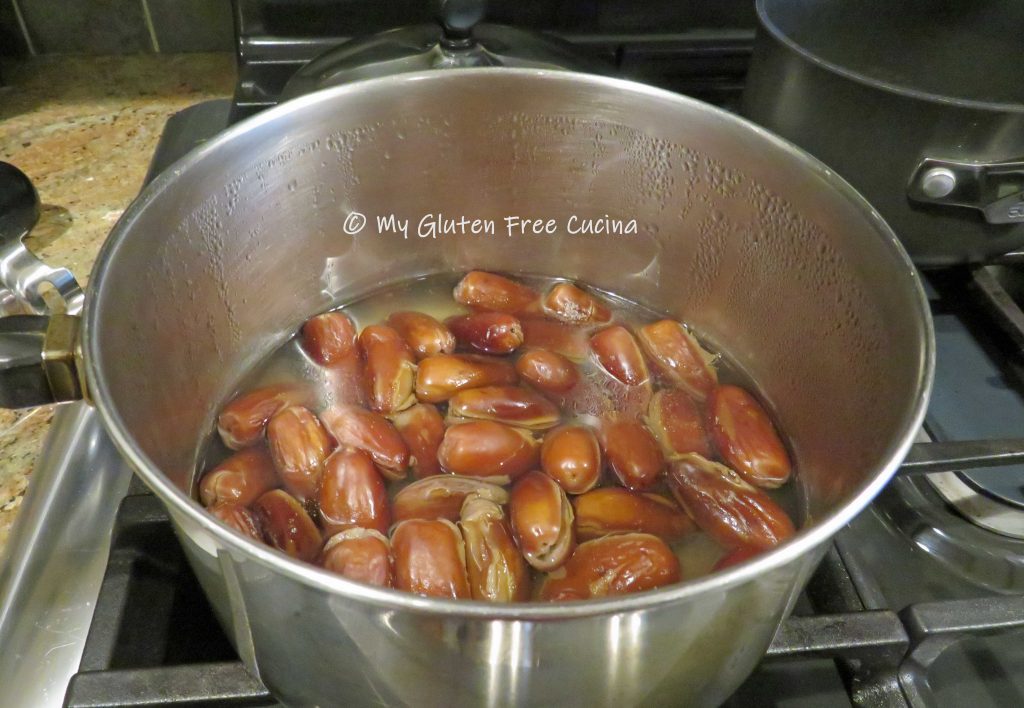
Boil water and add the dates.  Cover and remove from heat, then let them soak for 15 minutes.

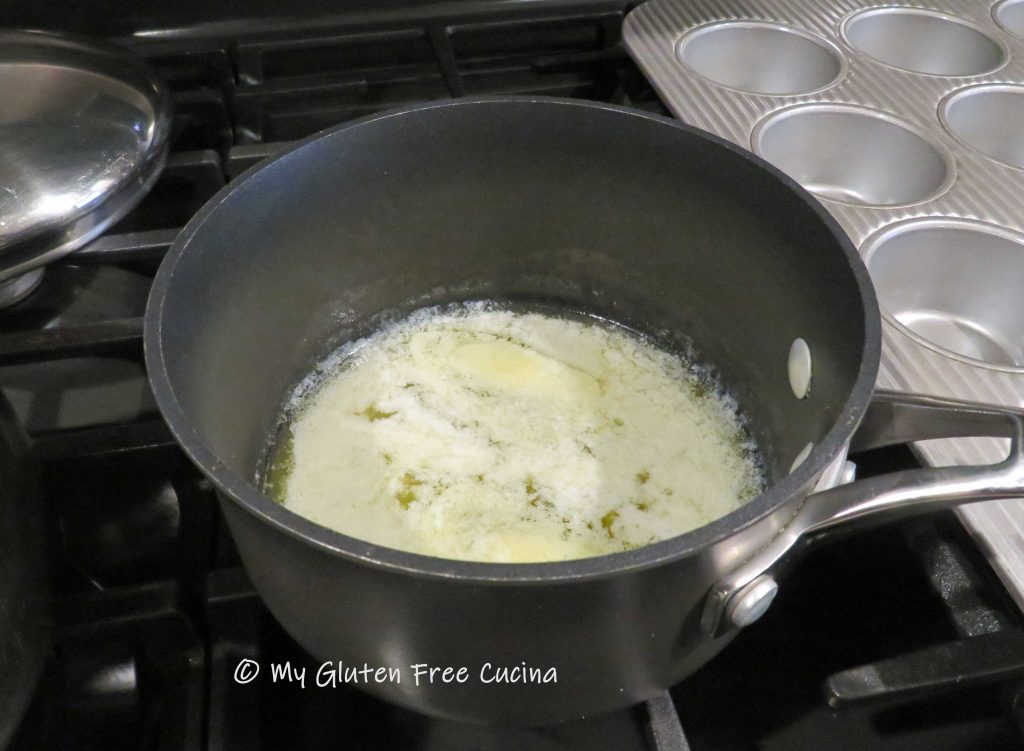
Melt the butter in a small saucepan.

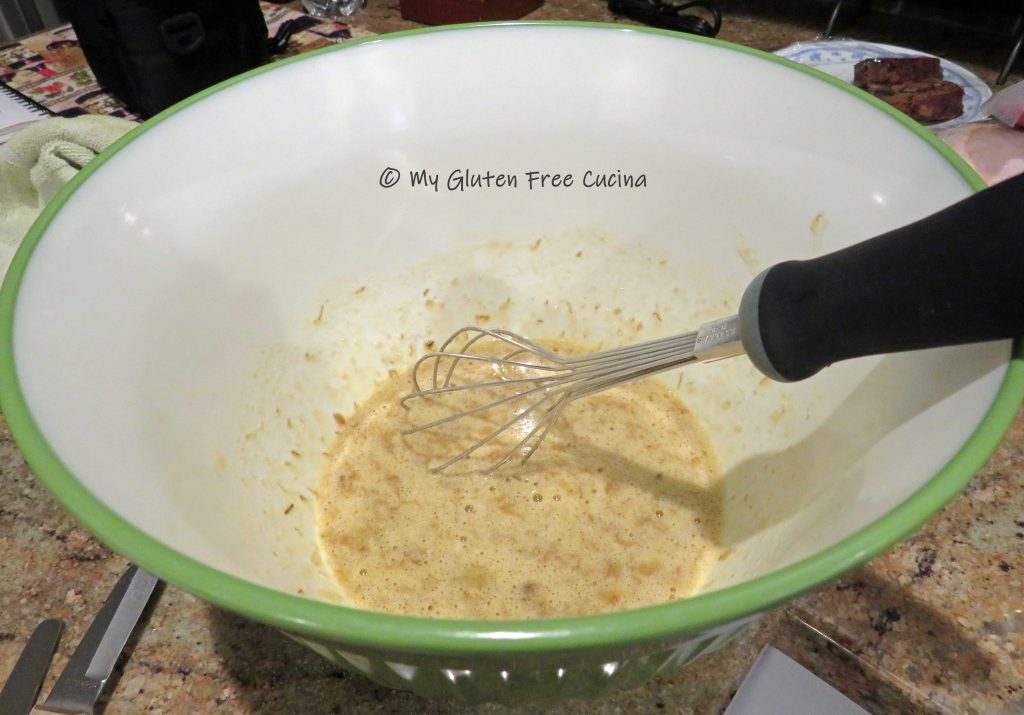
Whisk together the dry ingredients.  In a separate bowl, whisk together the remaining wet ingredients (eggs, mashed banana, honey, vanilla and brown sugar).

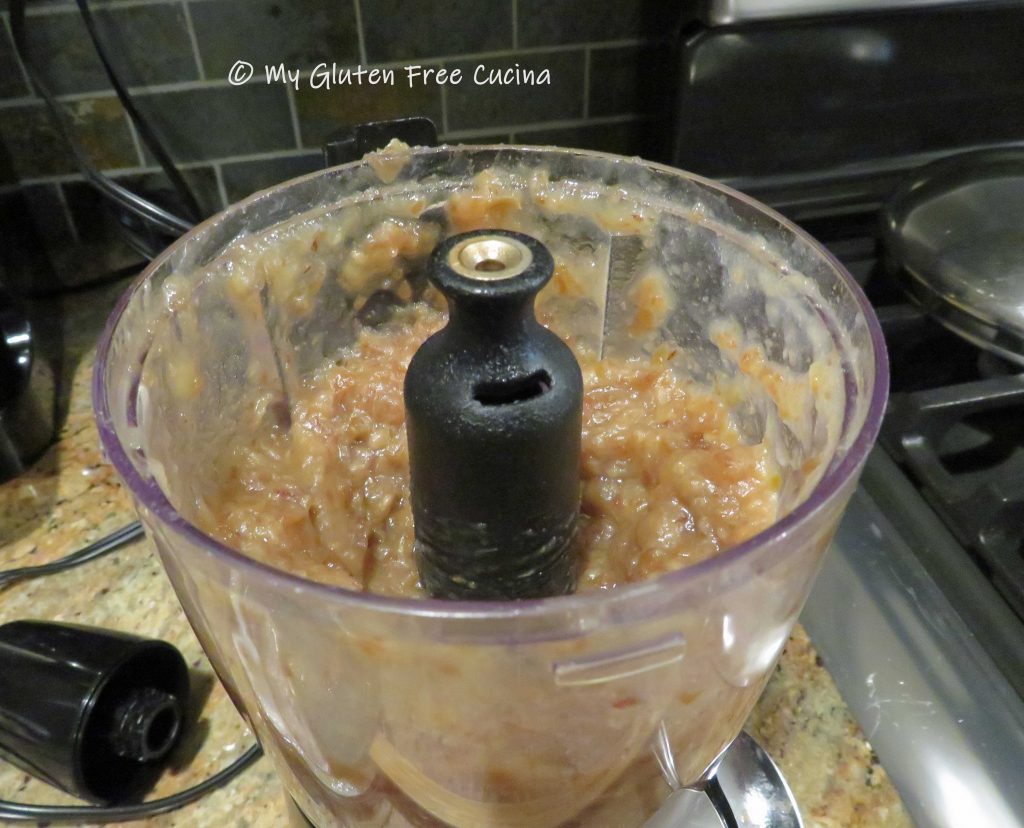
Pour the soaked dates and their water into a blender, food processor or electric chopper.  Puree into a paste, do it in 2 batches if needed.

Combine the pureed dates with the melted butter and cool 10 minutes.

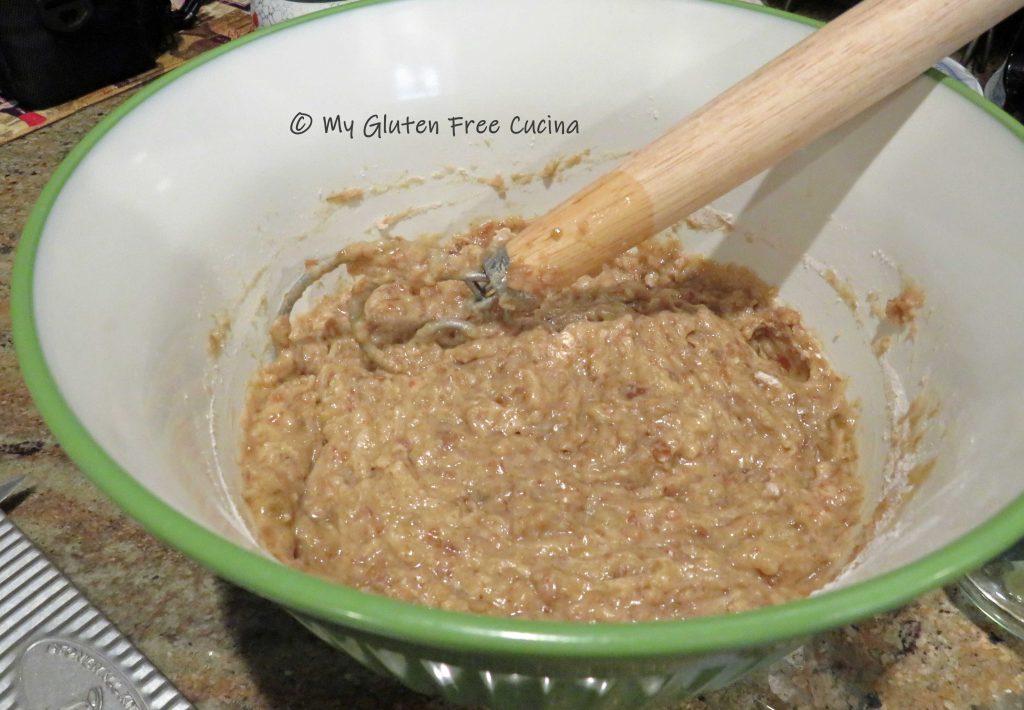
Next combine the date mixture with the other wet ingredients.  Add the dry ingredients to the wet and stir together with a dough whisk just until moistened.

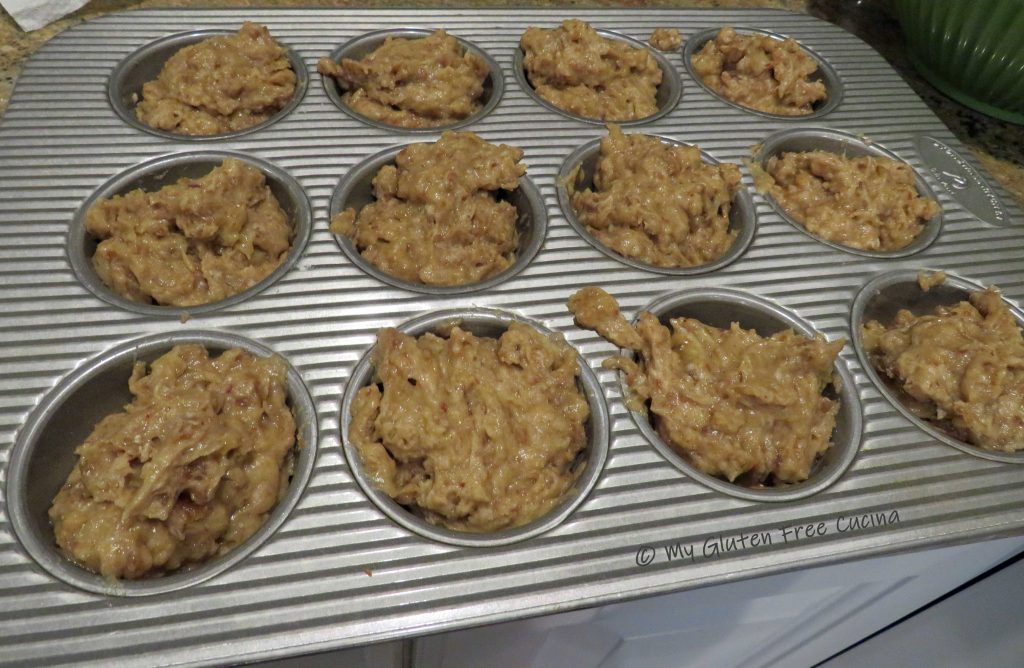
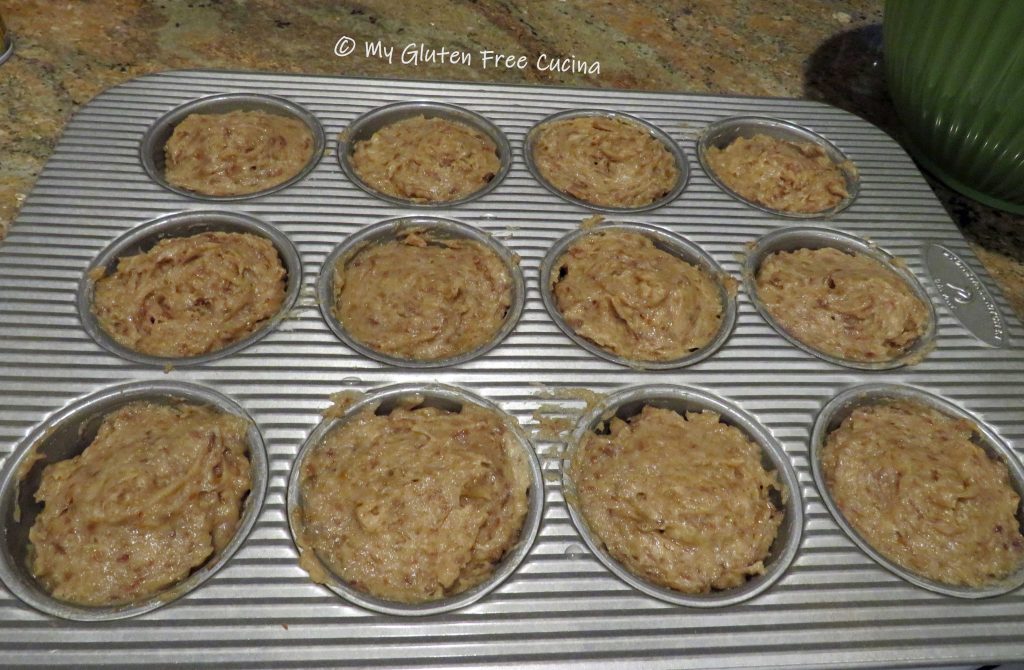
Fill the 12 muffin cups, level to the rim.

For nice, rounded domes, smooth the tops of the muffins with a small spatula.

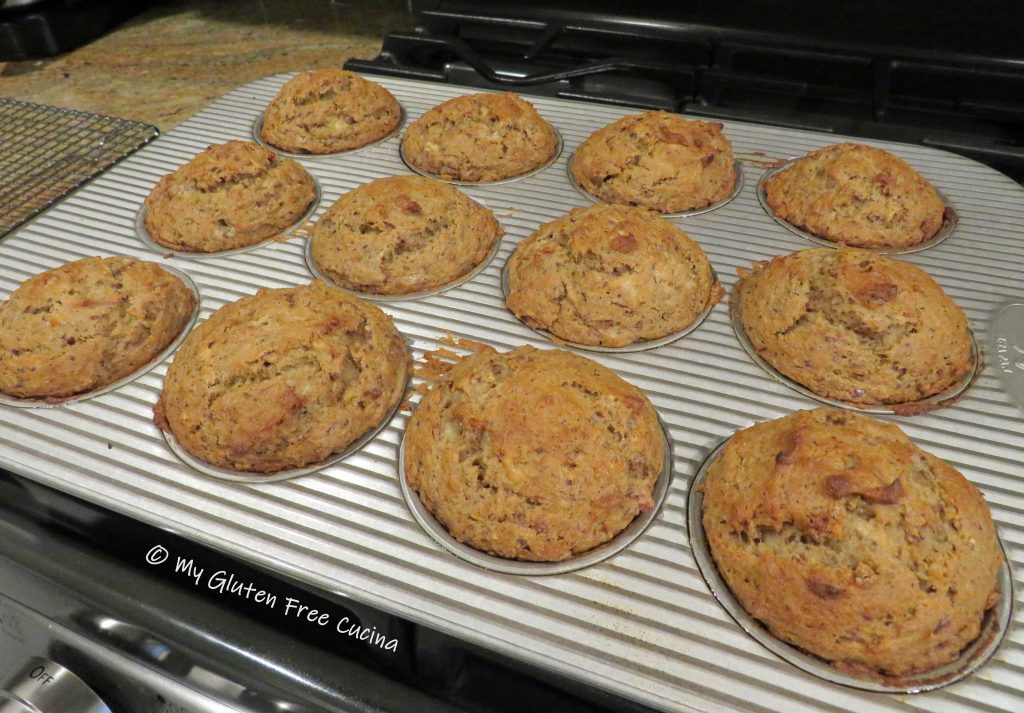
Bake for 20-22 minutes.  Check that a toothpick inserted in the center comes out clean.

Melt the remaining tbsp. of butter, and brush over the tops of the muffins.  Cool in the pan for 15 minutes.

Remove the muffins and serve warm, or cool on a rack to freeze.

Thaw frozen muffins in the refrigerator.  To reheat microwave for 1 minute.

Notes ♪♫ I used Better Batter Original All Purpose Flour Blend in this recipe (be sure to use my code MGFC30 at checkout for 30% off your non-sale purchase).  If you are using a different flour blend that does not contain xanthan gum, I recommend adding 1/2 tsp. to the dry ingredients.

Print This Post Print This Post