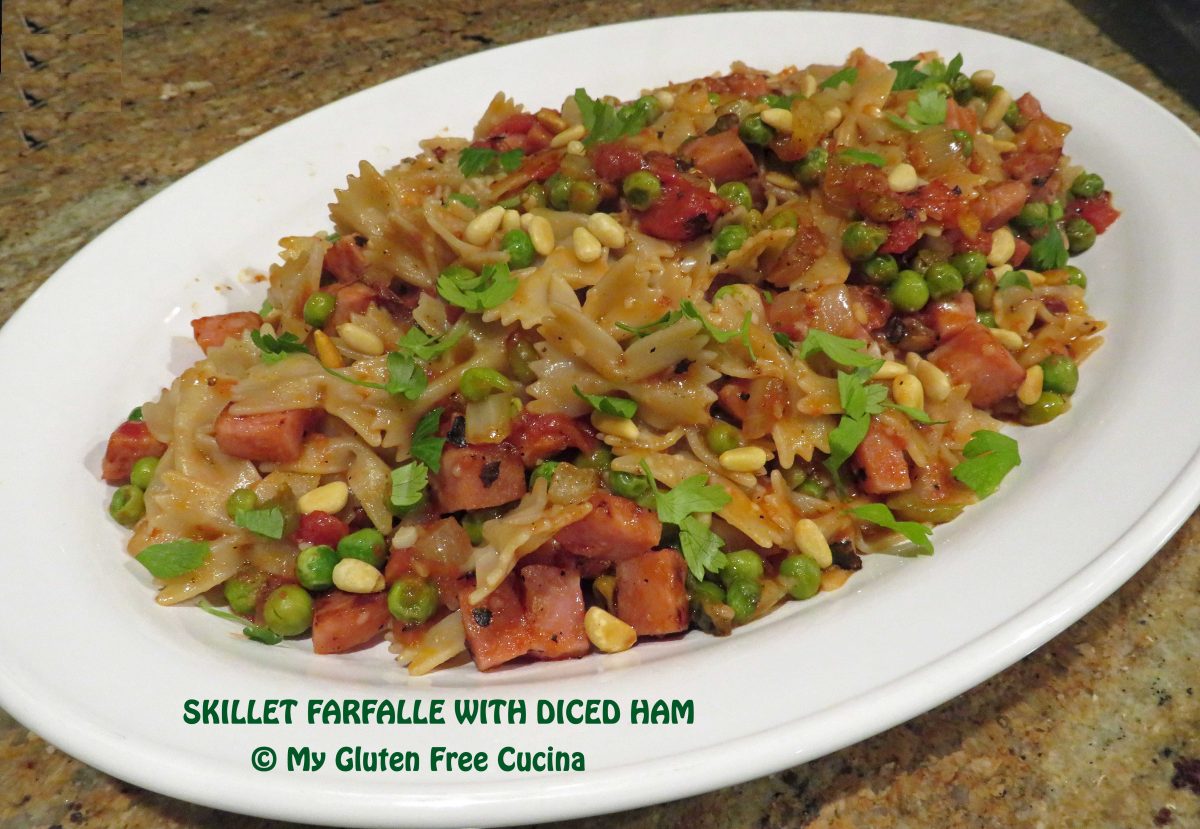
Skillet Farfalle with Diced Ham

I love easy skillet dinners like this one for busy weeknights!  You can make the whole meal beginning to end in about 30 minutes.  Honestly, if you prep the veggies the night before it can be ready in less time than that.  It’s a great way to use leftover ham, or you can purchase a ham steak which is what I did here.  Don’t forget those little finishing touches that can make a meal special, in this case it’s a sprinkle of toasted Pignoli (pine nuts), a favorite at our house!

3-4 Servings

This post contains affiliate links.

Ingredients:

  • 8 oz. boneless ham steak, cut into small cubes
  • 4 oz. gluten free pasta
  • 1 cup sweet onion, diced
  • 1 tbsp. garlic, minced
  • 1 cup frozen peas, thawed
  • 1 can (14.5 oz.) diced tomatoes
  • 1/2 tsp. gluten free Italian seasoning
  • salt and pepper to taste
  • Olive oil
  • 1 tbsp. pignoli (pine nuts), toasted
  • 1/2 tsp. Italian seasoning
  • fresh Italian parsley, for garnish
  • grated Parmesan, for serving

Preparation:

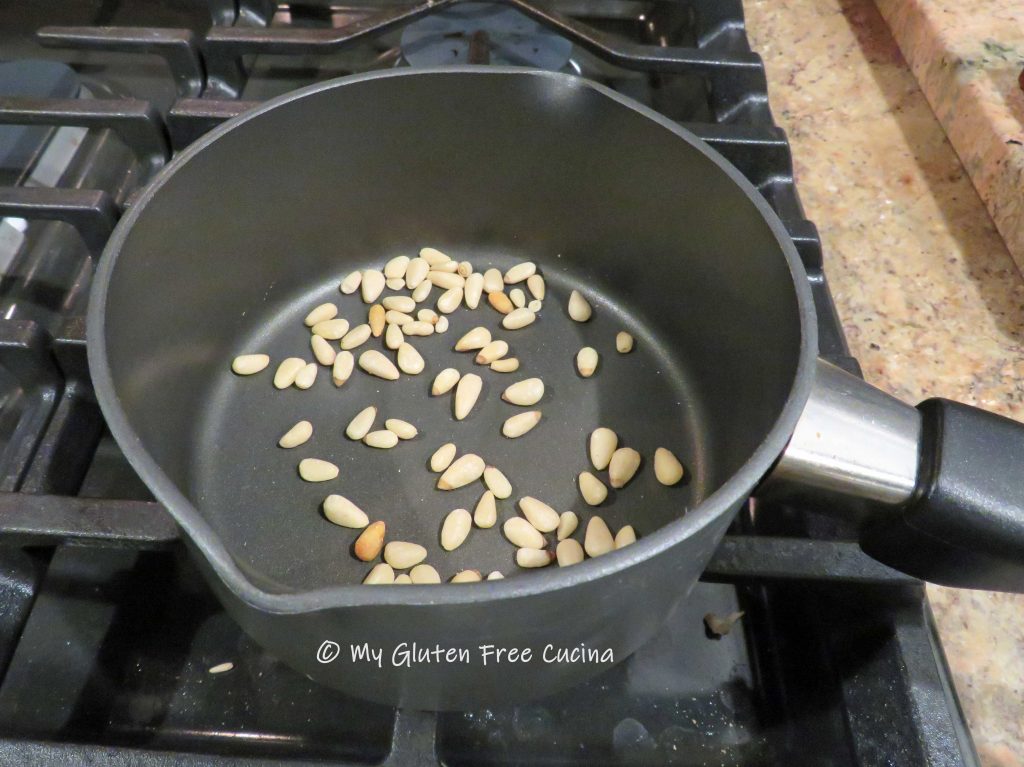
Toast the pignoli until lightly browned and fragrant.  I like to use a small saucepan, so they don’t jump all over the place.  Set aside for garnish.
Cook the pasta to 1 minute less than package directions, drain and set aside.  While the pasta cooks, heat a large, nonstick skillet with 1 tbsp. olive oil and cook the ham 3 minutes.  Remove and set aside.

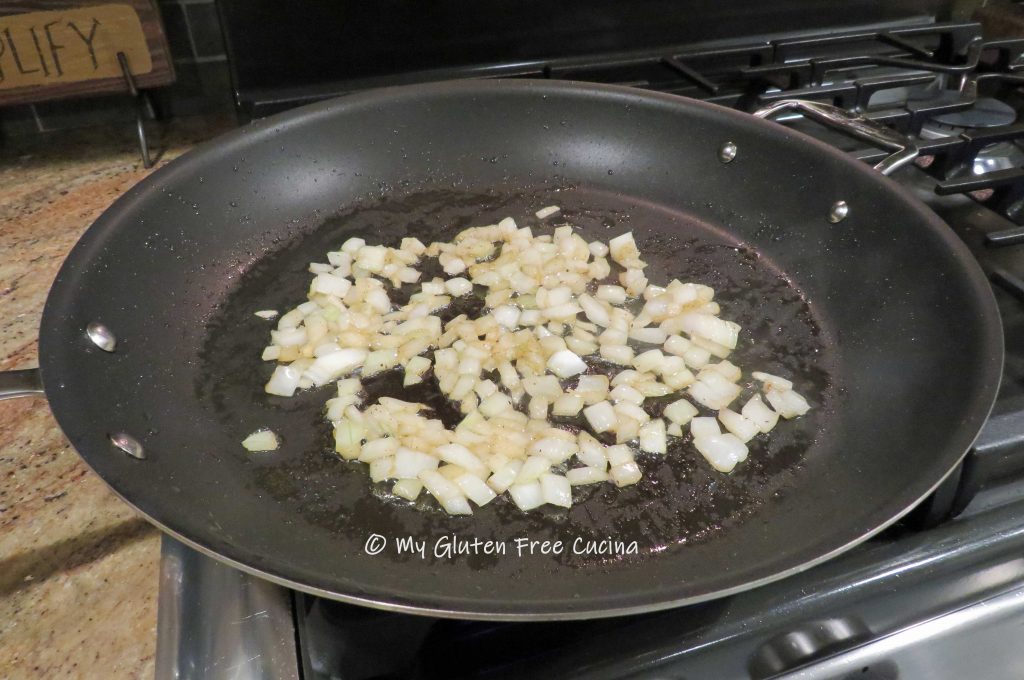
Add a little more olive oil and cook the onions until just beginning to brown, about 3 minutes.  Add the garlic and peas, cook 2 minutes more stirring frequently.  Season with salt and pepper.
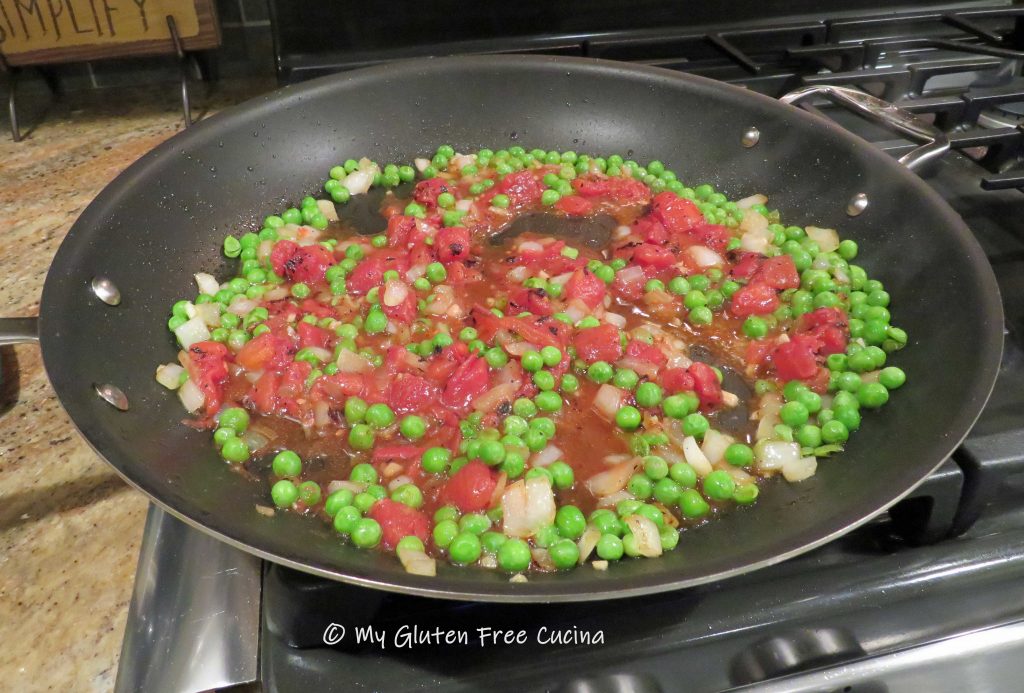
Add the tomatoes with their liquid, toss well to combine and cook until liquid almost evaporates.  If the pan is too dry add a ladle of pasta water.  Sprinkle with Italian seasoning.
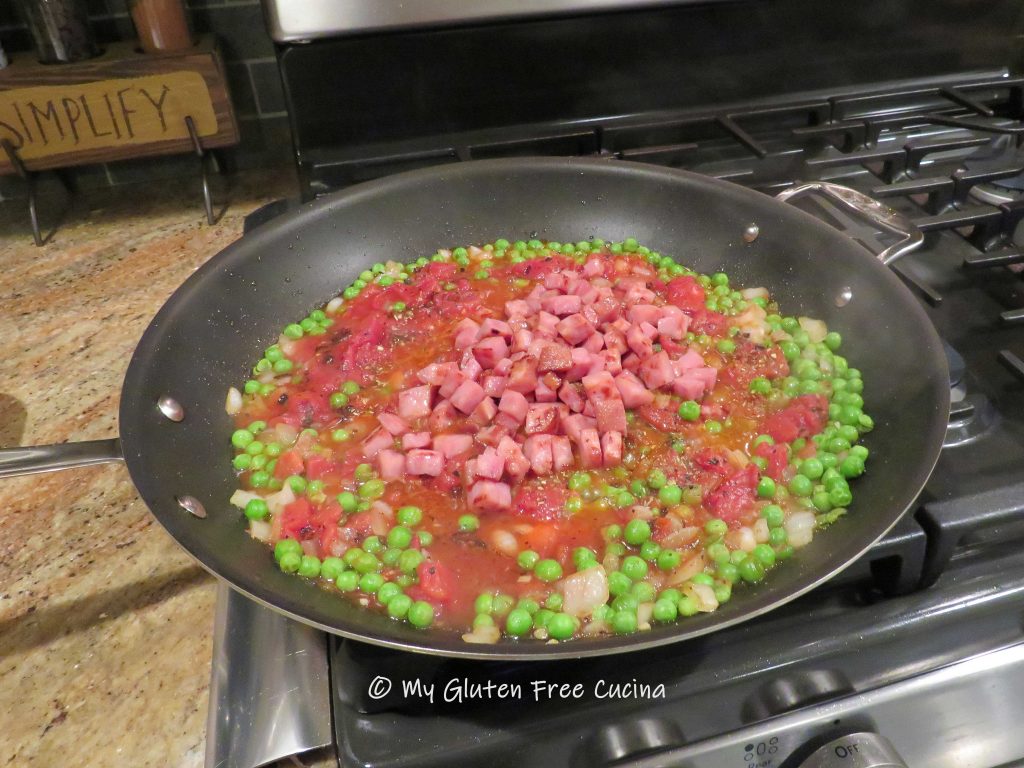
Add back the ham.
Next add back the drained pasta and toss well.  Drizzle with olive oil, stir and toss to finish cooking the pasta, 1 minute more.  Sprinkle grated cheese.

Transfer to a serving dish, garnish with parsley and toasted pignoli, and serve with grated cheese.

Notes ♪♫ I used Jovial gluten free farfalle (bowtie pasta) in this recipe.  One of my favorites, it has great taste and chew.  The Smithfield ham steak was labeled gluten free.  Always check ingredient labels for hidden gluten, especially in processed foods and seasoning blends.

Originally published 5/16/2020        Updated 12/10/2022

Print This Post Print This Post

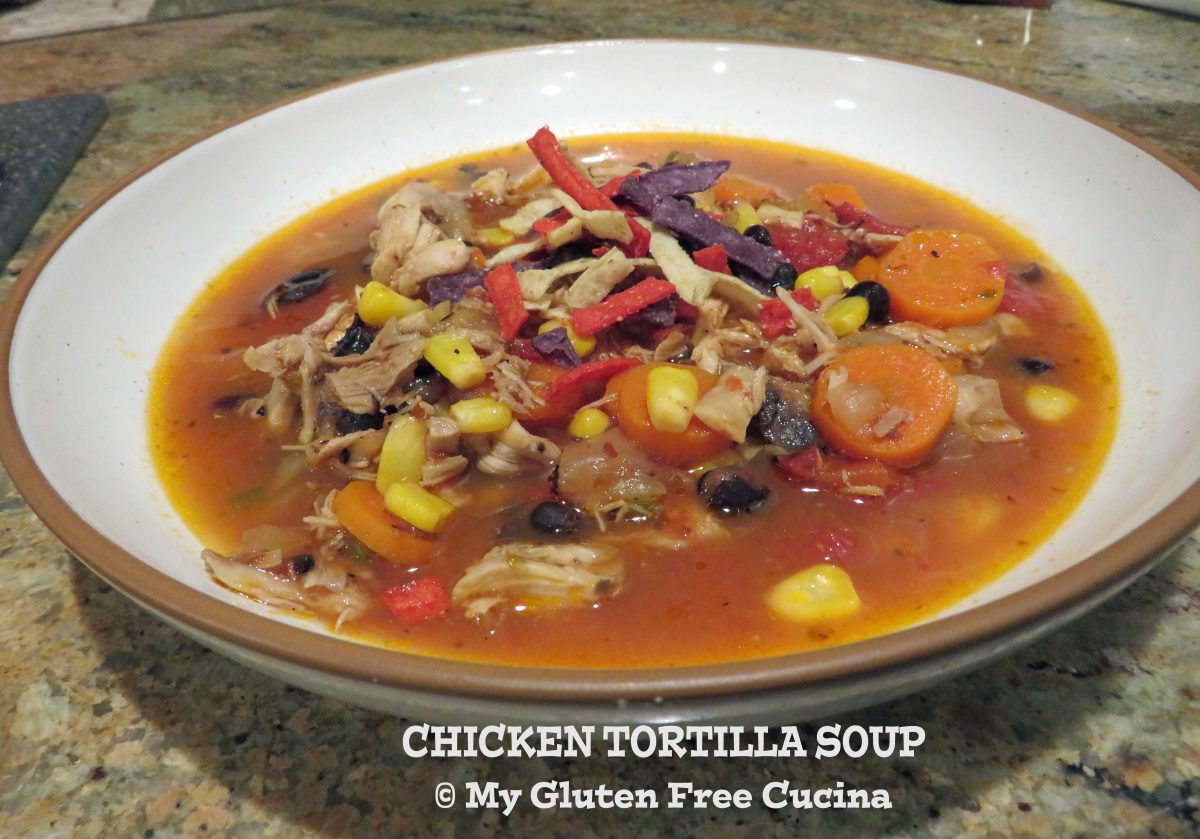
Chicken Tortilla Soup

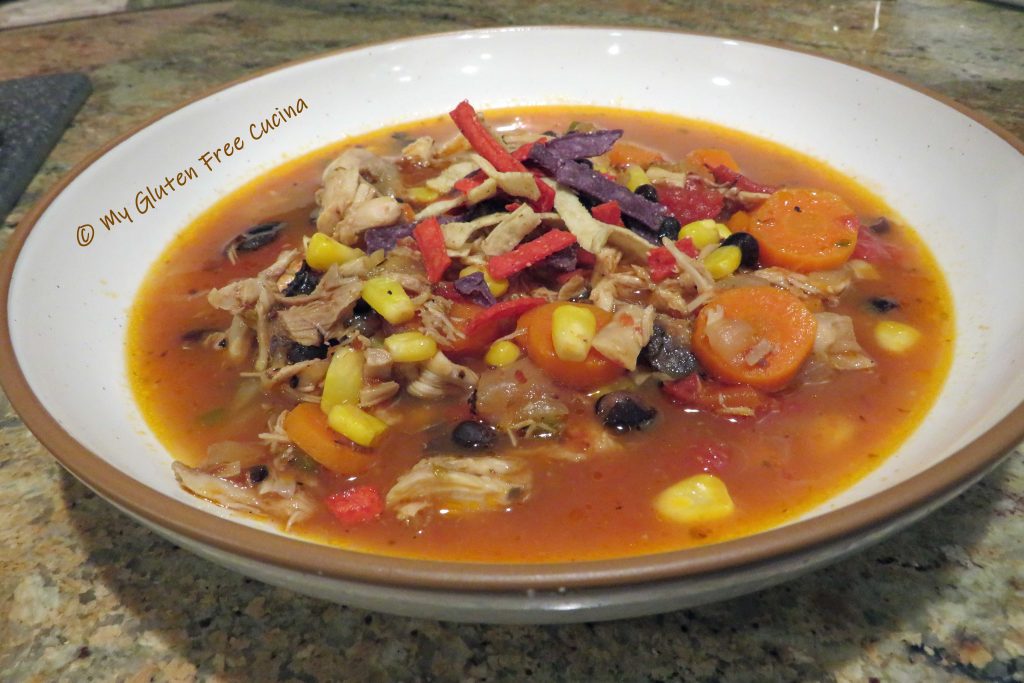
It’s time to spice up your life with a bowl of Chicken Tortilla Soup!  The inspiration for this recipe came from a local restaurant but unfortunately, I cannot order it anymore as all their soups contain gluten.  That makes me sad, because most of the ingredients in Chicken Tortilla Soup are naturally gluten free. 

I made mine with big chunks of chicken, beans and veggies.  I love the heat from garlic, jalapeno, chili flakes and cumin (could this soup cure the common cold?).  If you don’t already have Chipotle chili and cumin in your spice rack it’s time for a run to the grocery store! 

This post contains affiliate links.

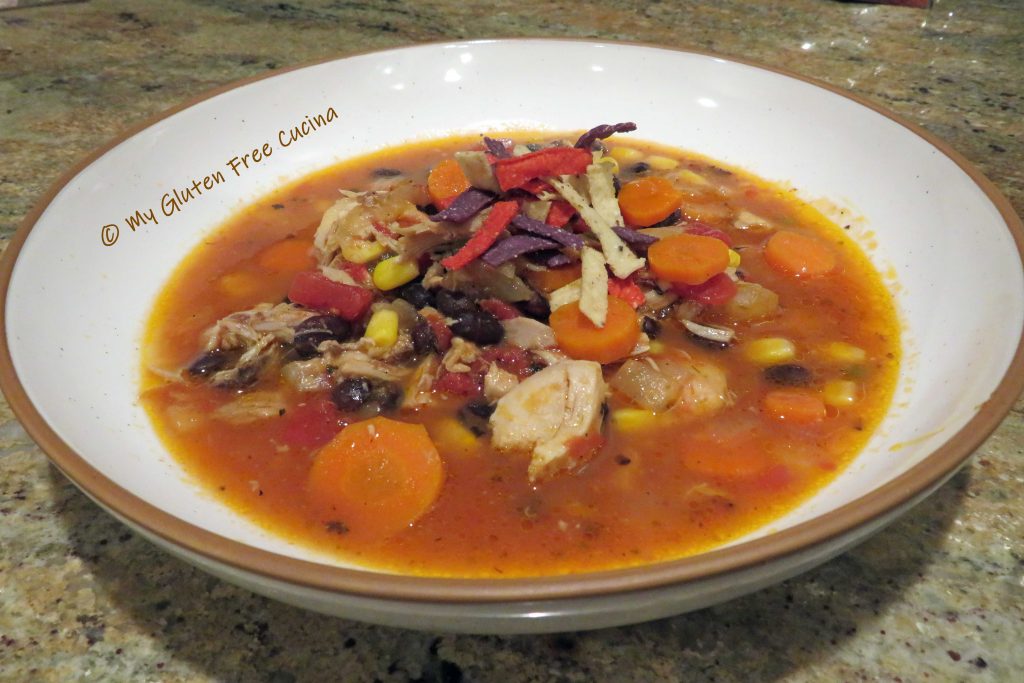
The soup is thick and hearty on its own, no flour is needed.  It needs no adornment other than a sprinkle of gluten free tortilla strips, if you can’t find them locally order here!    

Ingredients: 

  • 2 chicken leg quarters 
  • Salt and pepper, to taste 
  • Olive oil 
  • water to cover
  • 2 bay leaves 
  • 1 onion, diced 
  • 2 carrots, sliced 
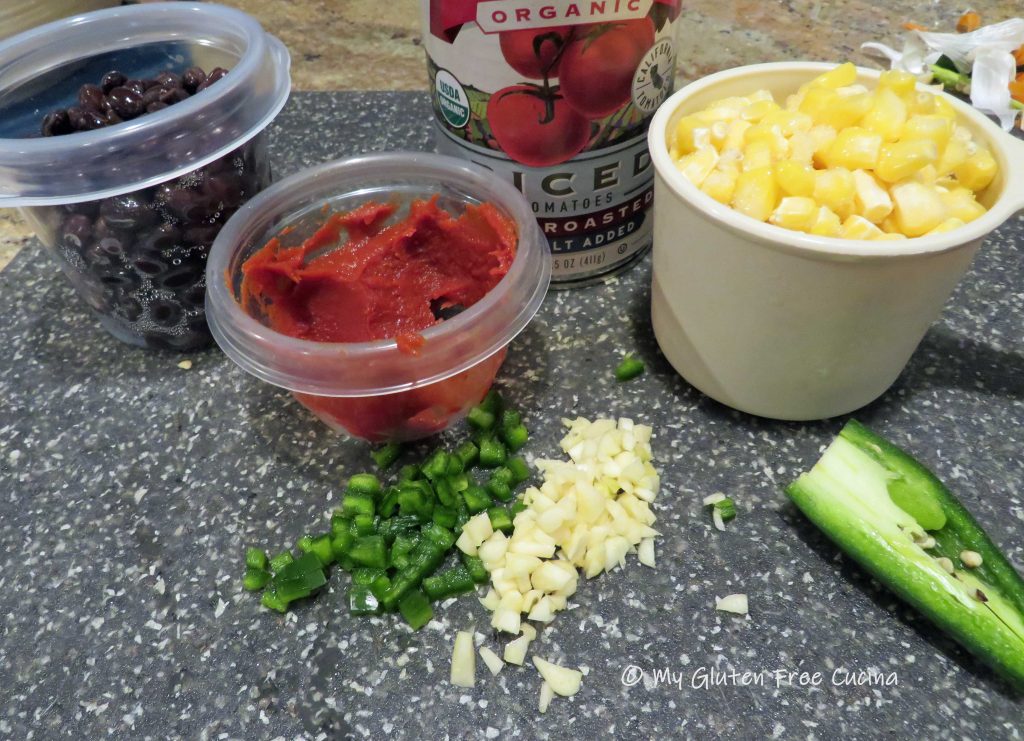
  • heaping tbsp. minced garlic
  • heaping tbsp. minced jalapeno
  • 2 tbsp. tomato paste 
  • 14 oz. can fire roasted tomatoes 
  • 1/2 tsp. Chipotle chili 
  • 1/2 tsp. Cumin 
  • 1/2 tsp. Oregano
  • 1/2 tsp. garlic granules
  • 1/2 tsp. onion granules 
  • salt, to taste 
  • 1 cup canned black beans 
  • 1 cup frozen or canned corn 
  • Gluten free tortilla strips 

Preparation: 

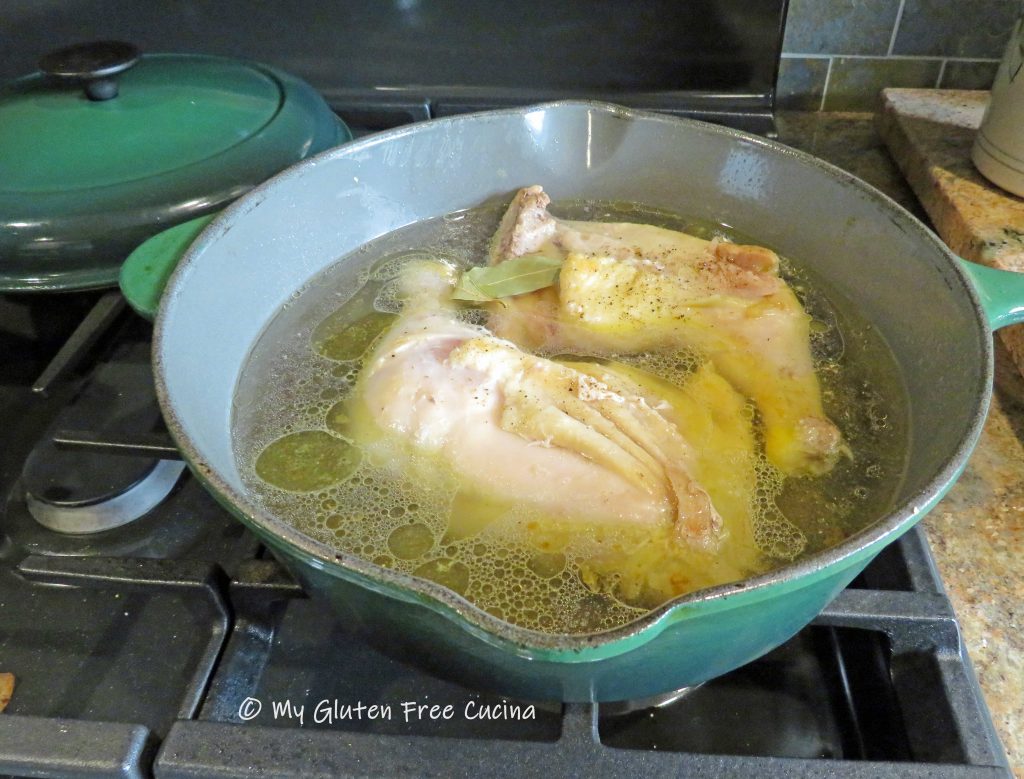
Heat a deep skillet over medium low, add a little olive oil and brown the chicken on both sides.  Season with salt and pepper.  Add bay leaves and water to cover.  Simmer for 90 minutes on low. 

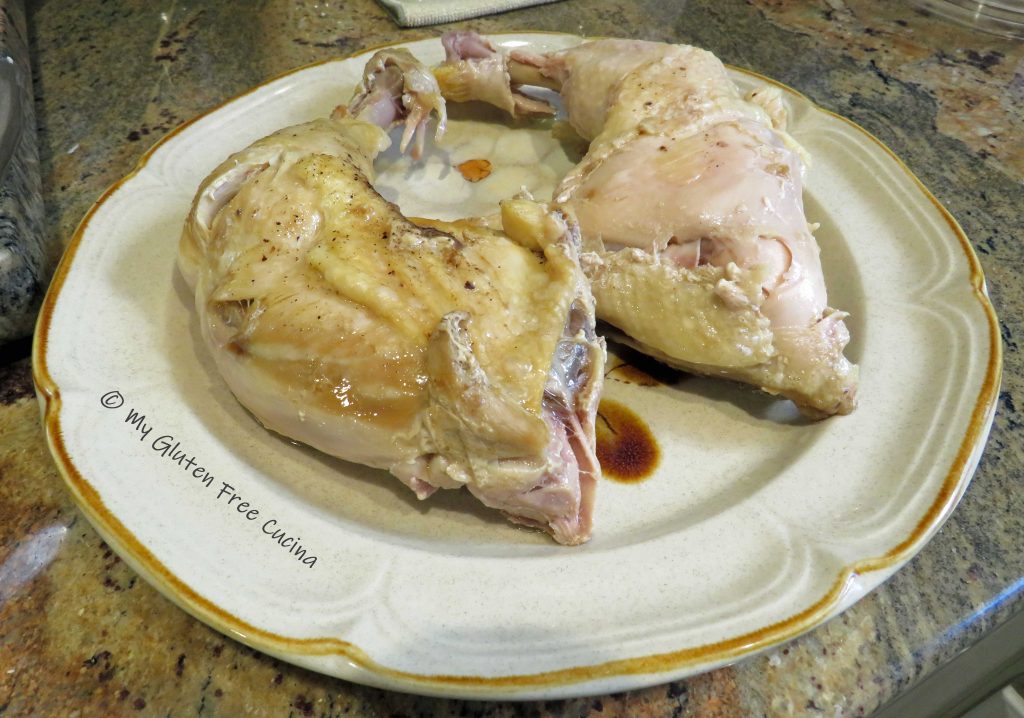
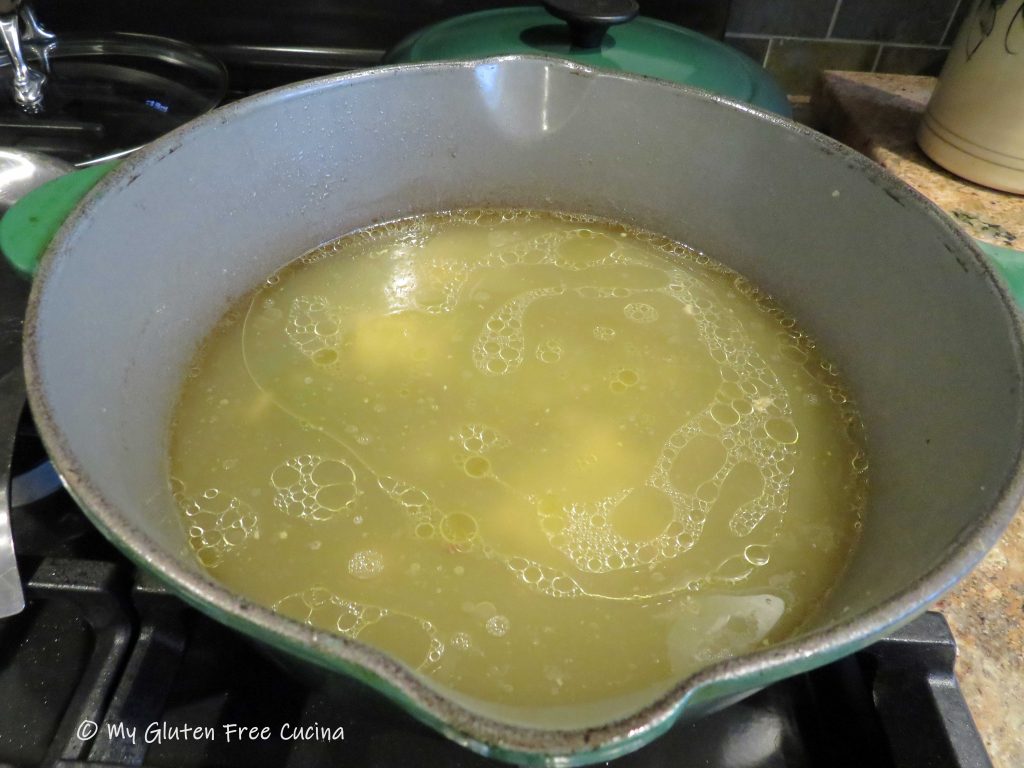
Transfer the chicken to a plate and remove meat from the bones.  Refrigerate meat until the soup is ready.  Reserve the liquid.

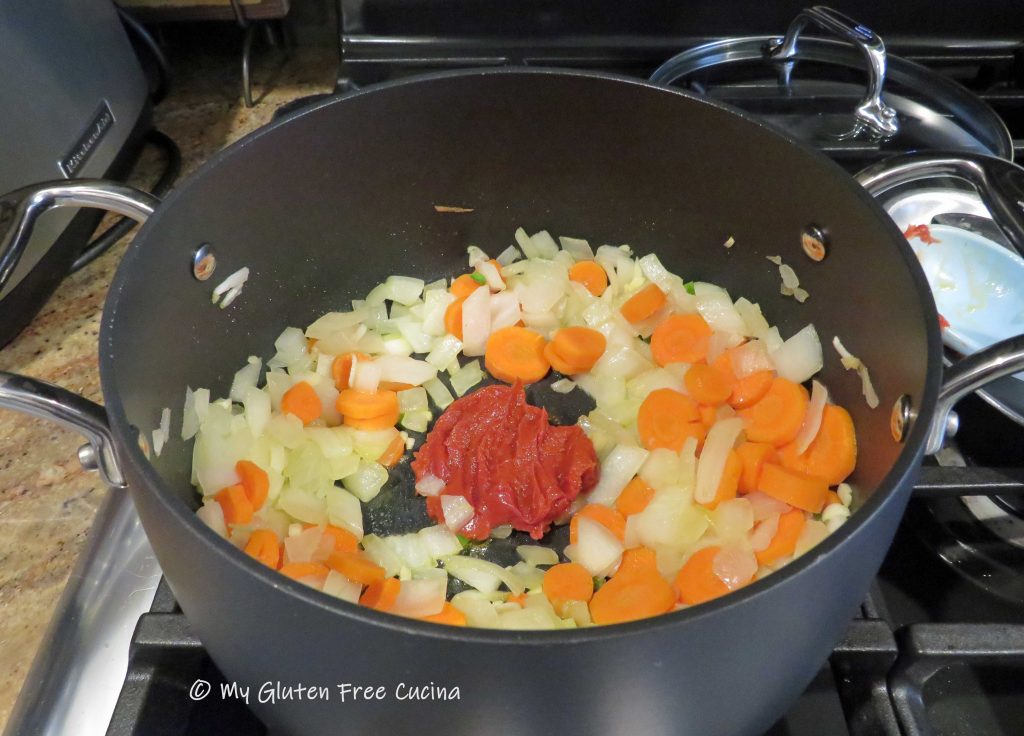
In a clean stock pot, add 1 tbsp. olive oil with the onions and carrots, and cook for 2-3 minutes over low heat.  Add the garlic and jalapeno and cook for 30 seconds.  Make a spot in the center of the pan and add the tomato paste.

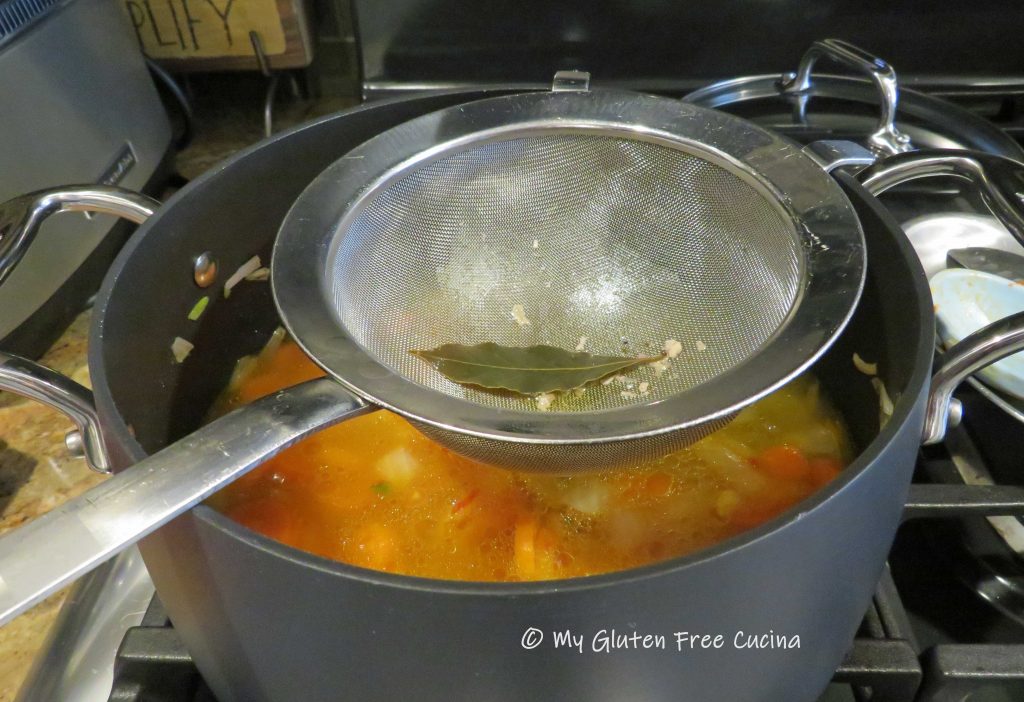
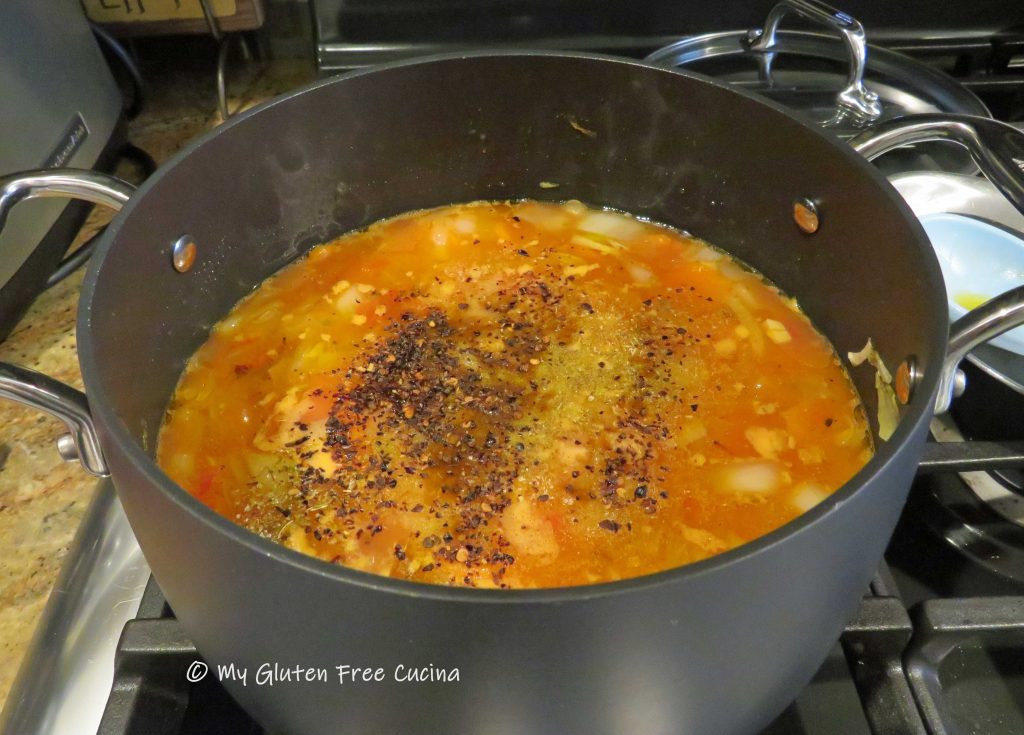
Toast for 2 minutes, then strain the reserved chicken broth into the pot.  Add the fire roasted tomatoes, and all of the seasoning. 

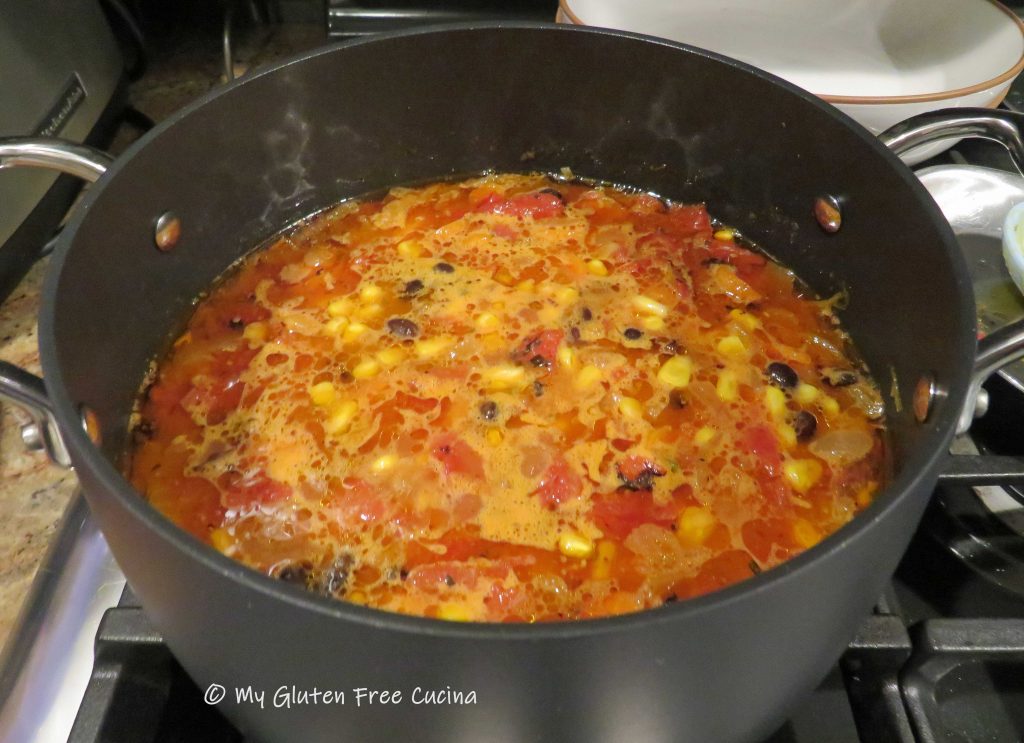
Cover and simmer 1 hour, then add the black beans and corn.  Simmer 30 minutes longer.  Taste and add salt if needed. 

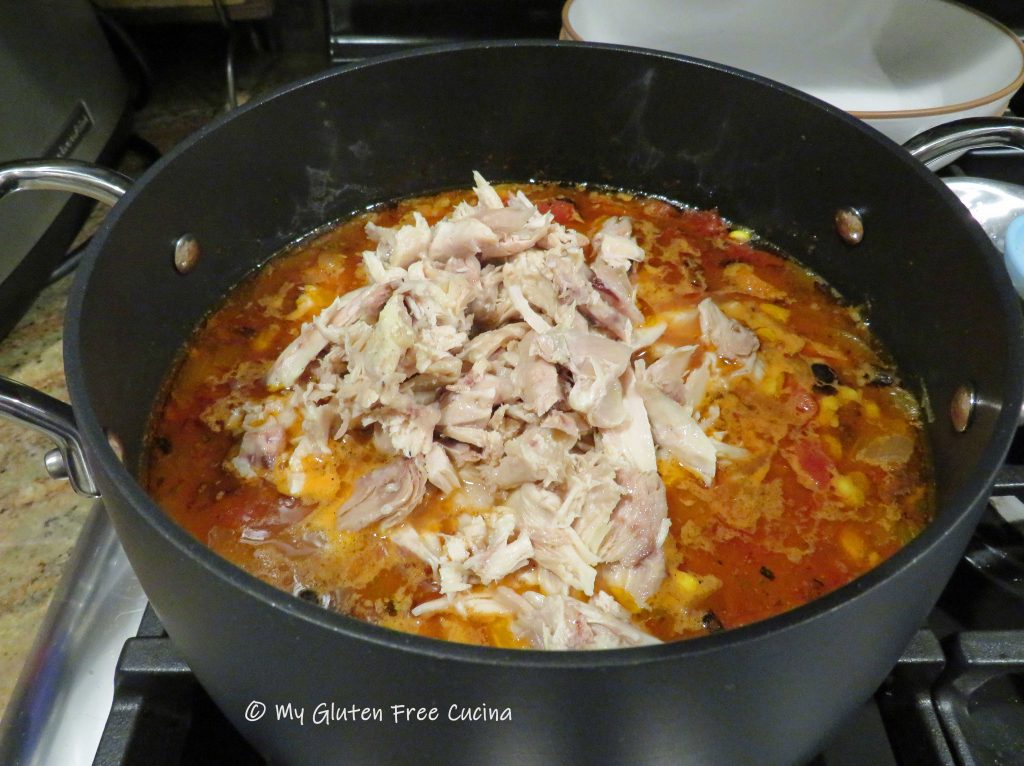
Stir in the reserved chicken, heat through and serve.

Garnish each bowl with tortilla strips.
Notes: ♪♫ I love soup season!  I could eat soup every day and I have a great selection of soups and stews on the blog that will keep you warm through the winter months.  All gluten free and delicious!  Check out all my Gluten Free Soups, Stews and Chowders here!

Print This Post Print This Post

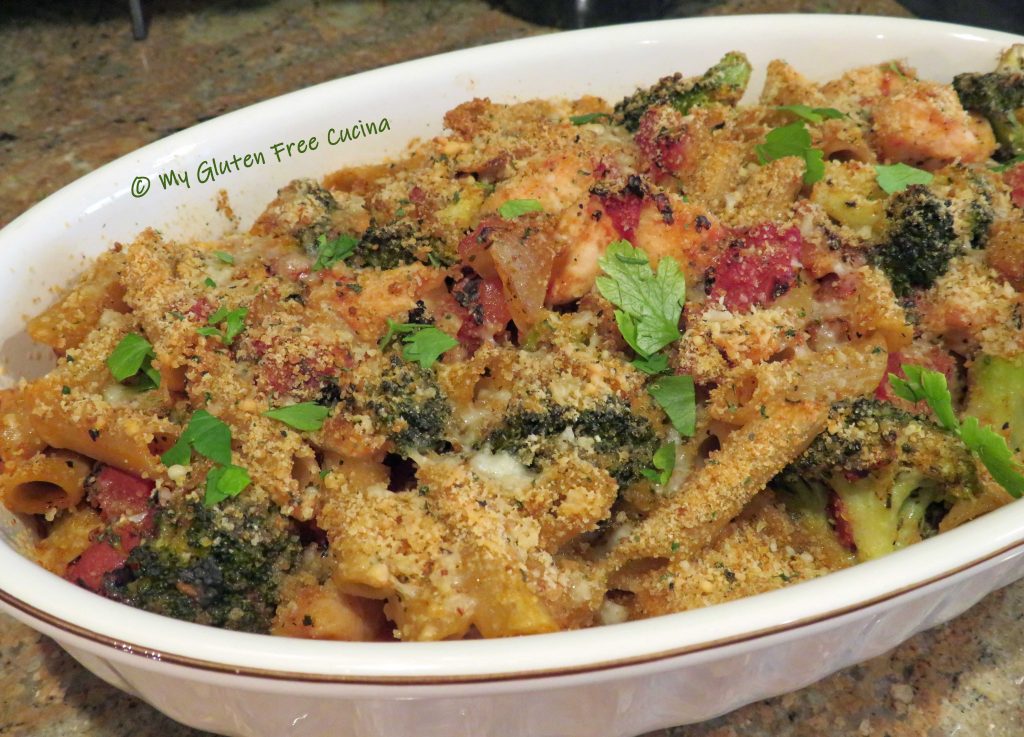
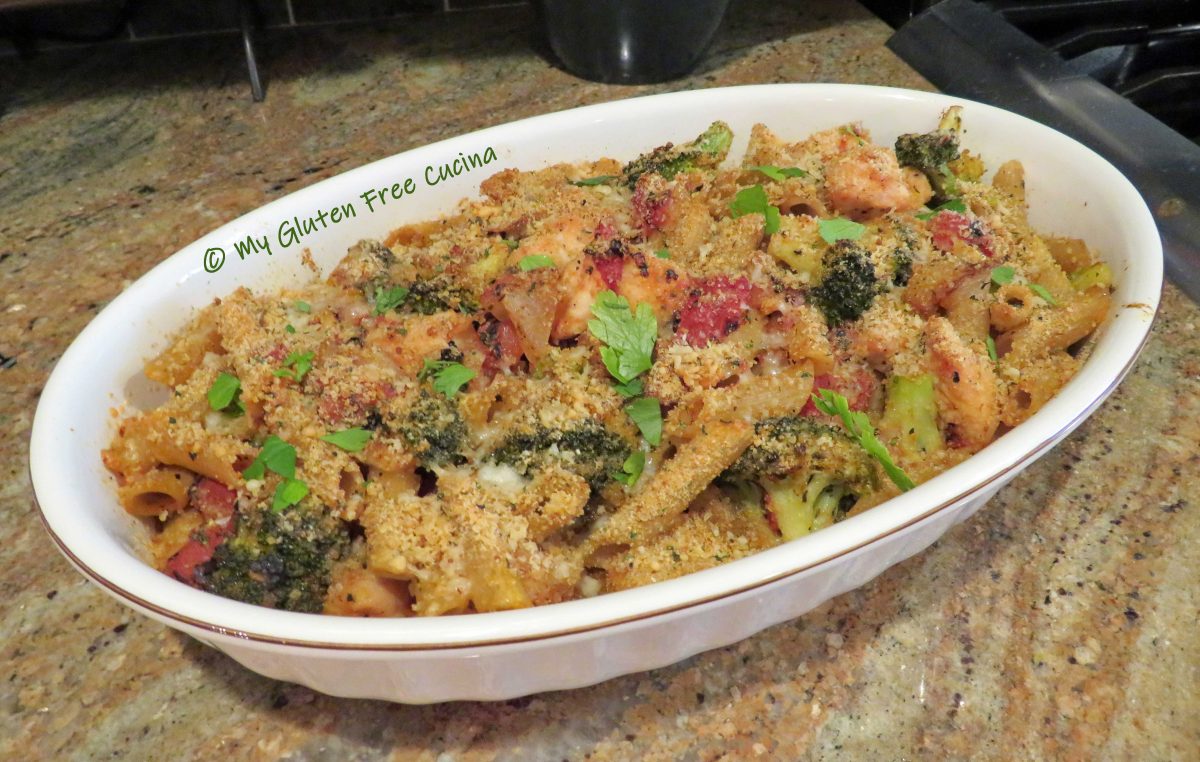
Gluten Free Chicken Broccoli Casserole

The thought of preparing gluten free meals from scratch can be overwhelming.  It took a while for me to realize that there were meals I had been making for years that were naturally gluten free.  From there, I started looking at other favorite recipes that only required a swap of one or two ingredients to be gluten free.  My repertoire began to grow and now I have added many of my old favorites back to the dinner rotation.

My Chicken Broccoli Casserole is a good example.  Here’s how to make it!

This post contains affiliate links.

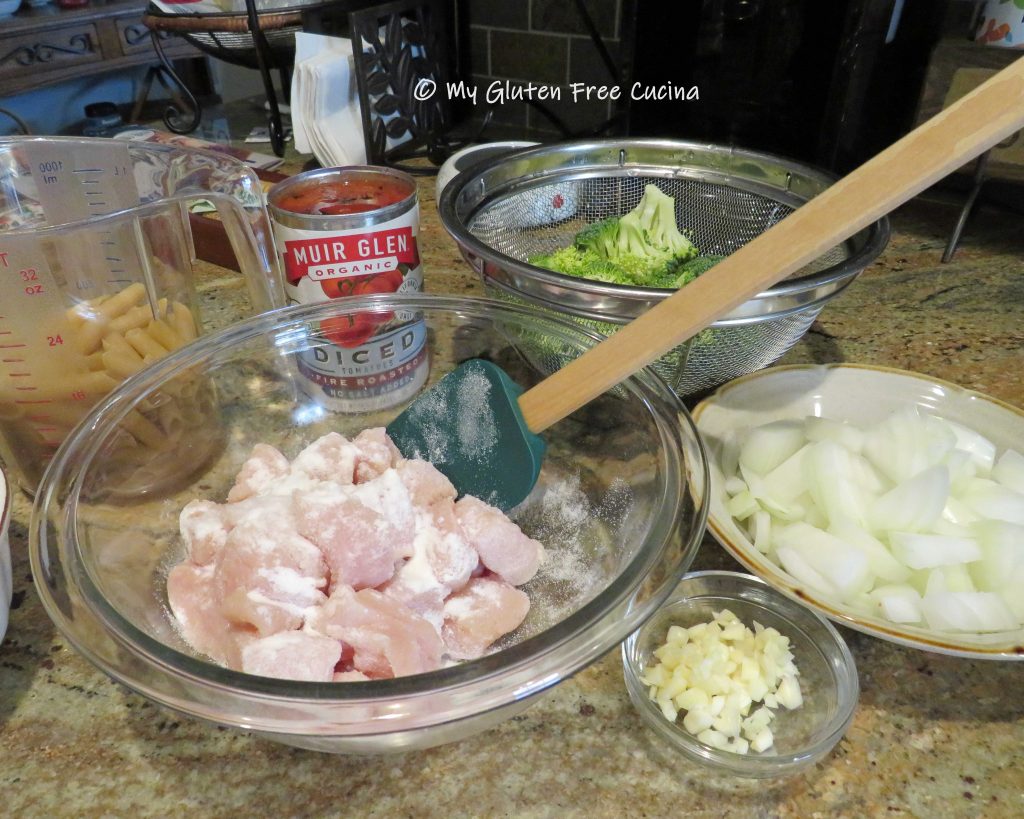
Ingredients:

  • 1 lb. boneless skinless chicken breast
  • Rice flour for dusting
  • Salt and pepper to taste
  • Olive oil
  • White wine, divided use
  • ½ large sweet onion, diced
  • 1 large garlic clove, minced
  • 1 large broccoli crown, chopped
  • 1 can (14.5 oz.) fire roasted diced tomatoes
  • ½ tsp. basil
  • ½ tsp. Italian seasoning
  • salt and pepper to taste
  • 8 oz. gluten free penne
  • Cooking spray
  • gluten free seasoned breadcrumbs
  • Grated Parmesan cheese
  • Fresh Italian parsley for garnish

Preparation:

Preheat the oven to 350º.  Set up a pan of salted water for the pasta, and bring to a boil.

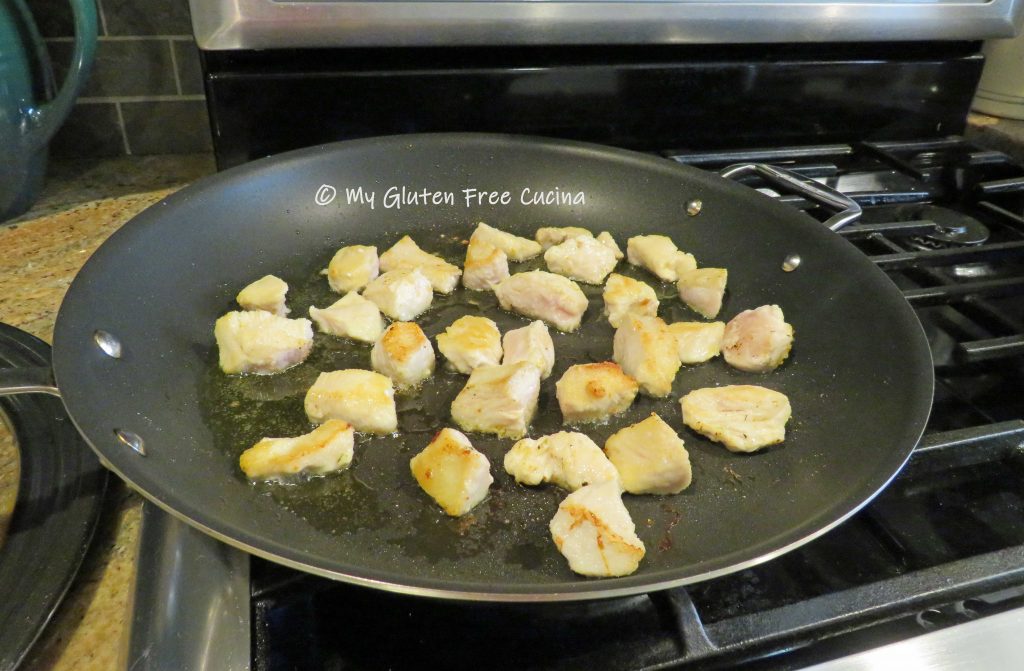
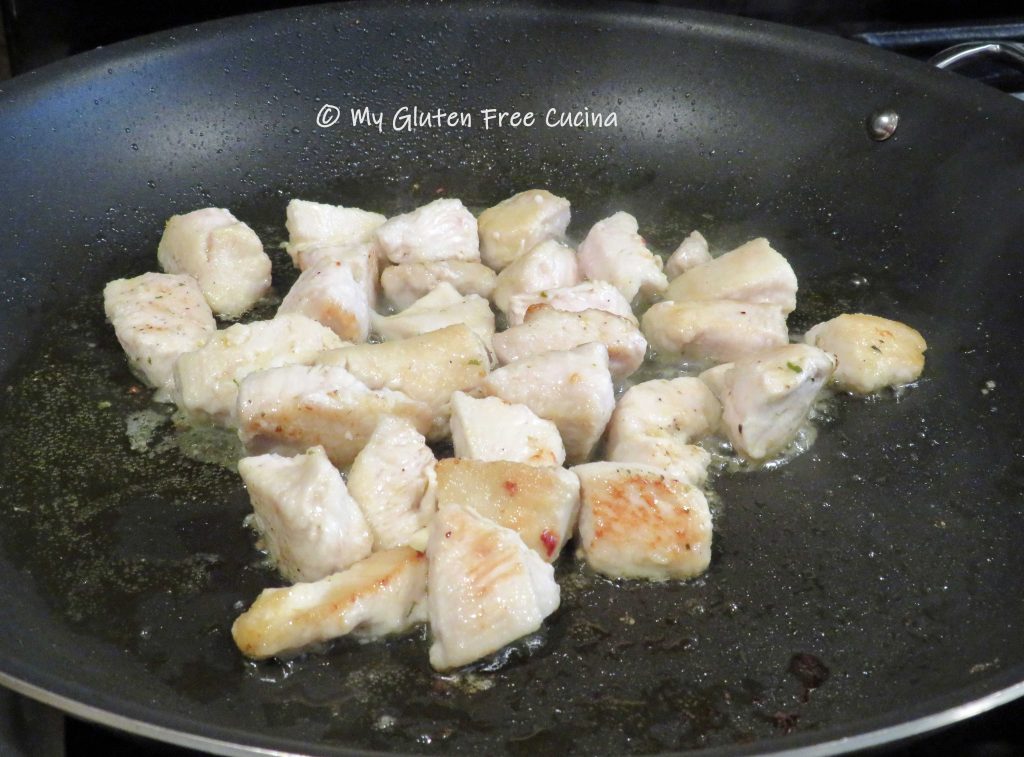
Cut the chicken breast into 1-1/2″ chunks.  Dust with rice flour and season with salt and pepper.  Begin browning the chicken in a little olive oil, about 3 minutes per side.  Don’t crowd the pan, use a large skillet or do it in 2 batches.

When the chicken has browned on all sides, add a splash (1/4 cup) of white wine to the pan and toss until the liquid evaporates.  Remove from the pan and set aside.
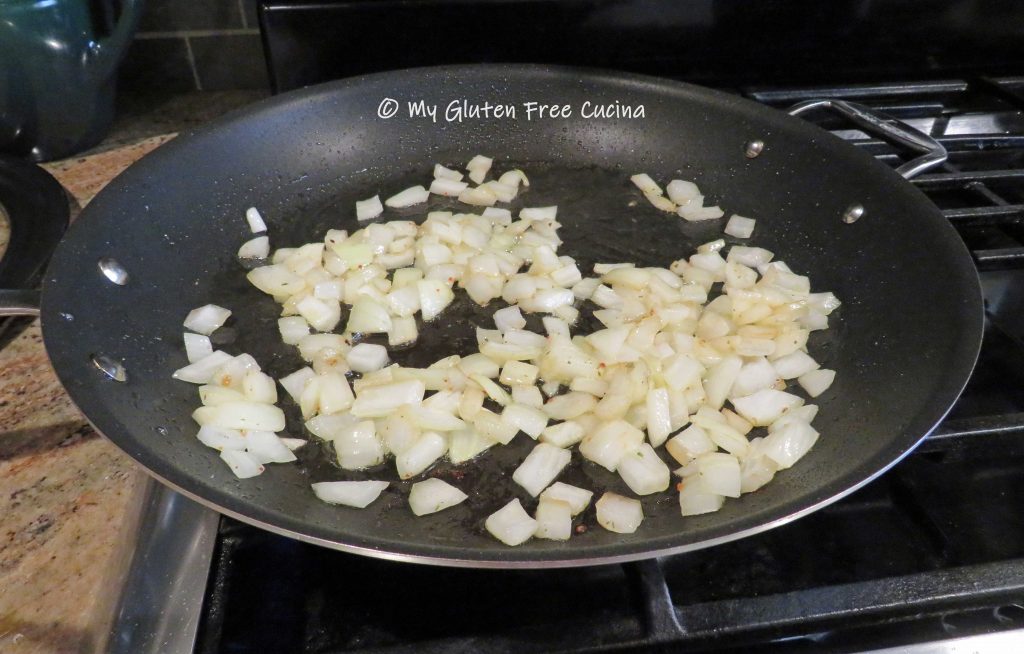
Wipe the skillet clean.  Add a little more olive oil and begin browning the onions.

When they have a little color, add the broccoli, garlic and diced tomatoes.  Add another splash of white wine, then season with salt and pepper, basil and Italian seasoning.  Cover and cook 10 minutes, until the broccoli is crisp tender.

While the vegetables are cooking, add the pasta to the boiling water.  Use your favorite (Jovial Brown Rice Penne is one of mine) and be sure to cook for 2 minutes less than the package instructions.  Drain and add to the skillet, along with the reserved chicken.  Toss well.
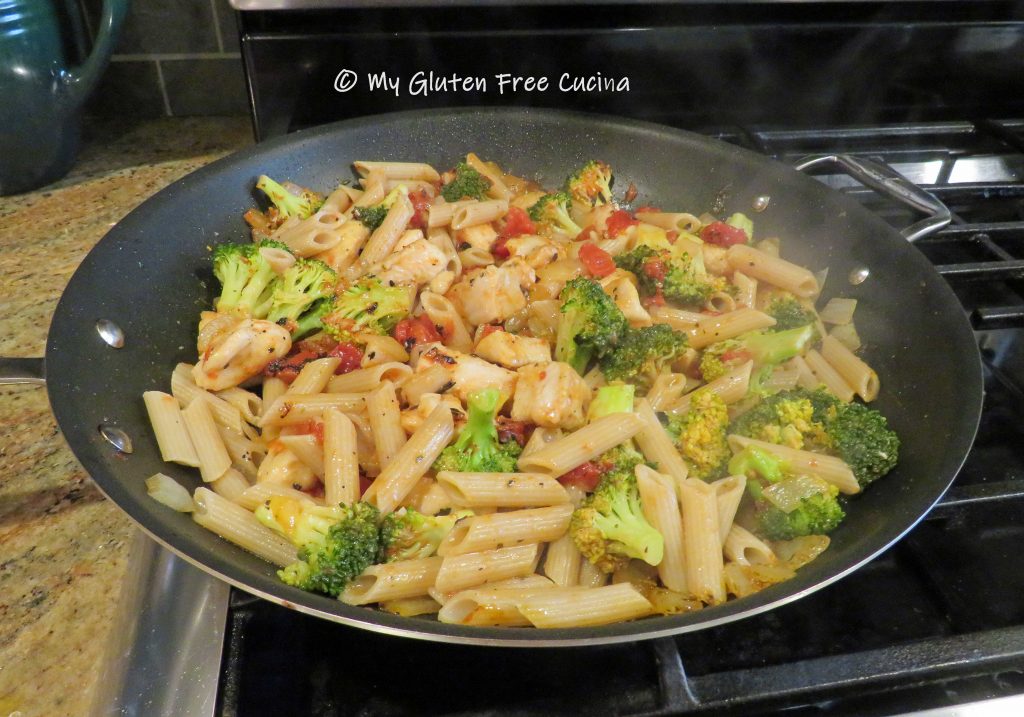
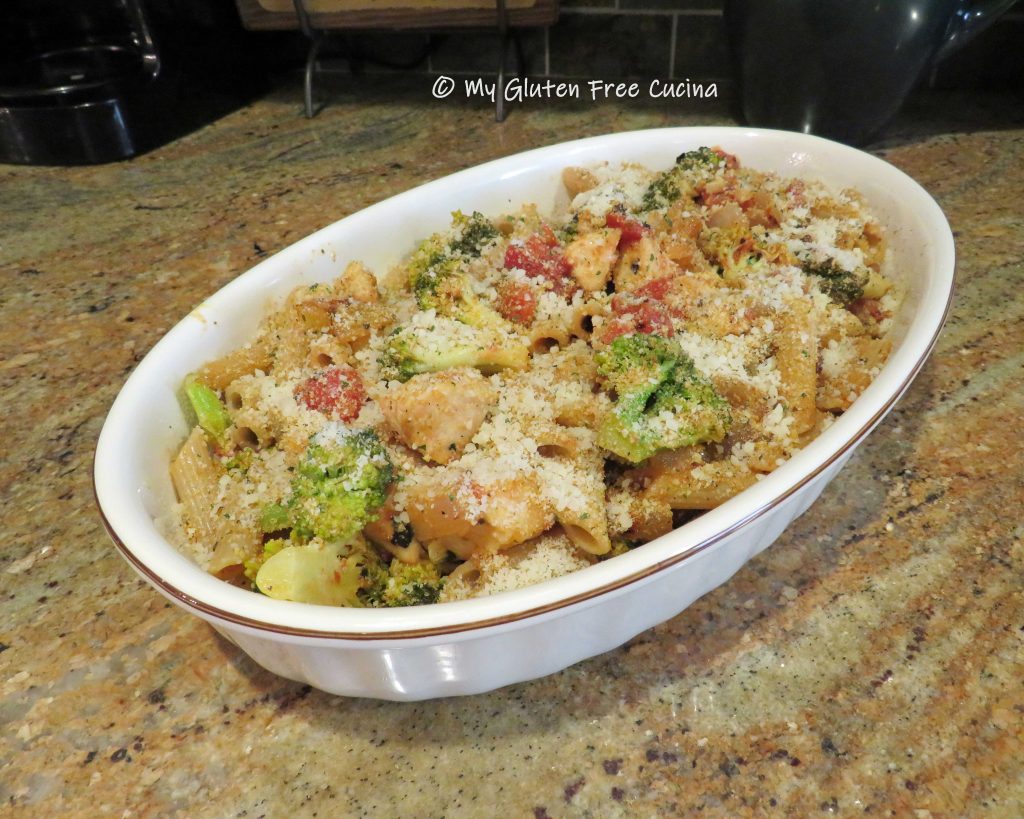
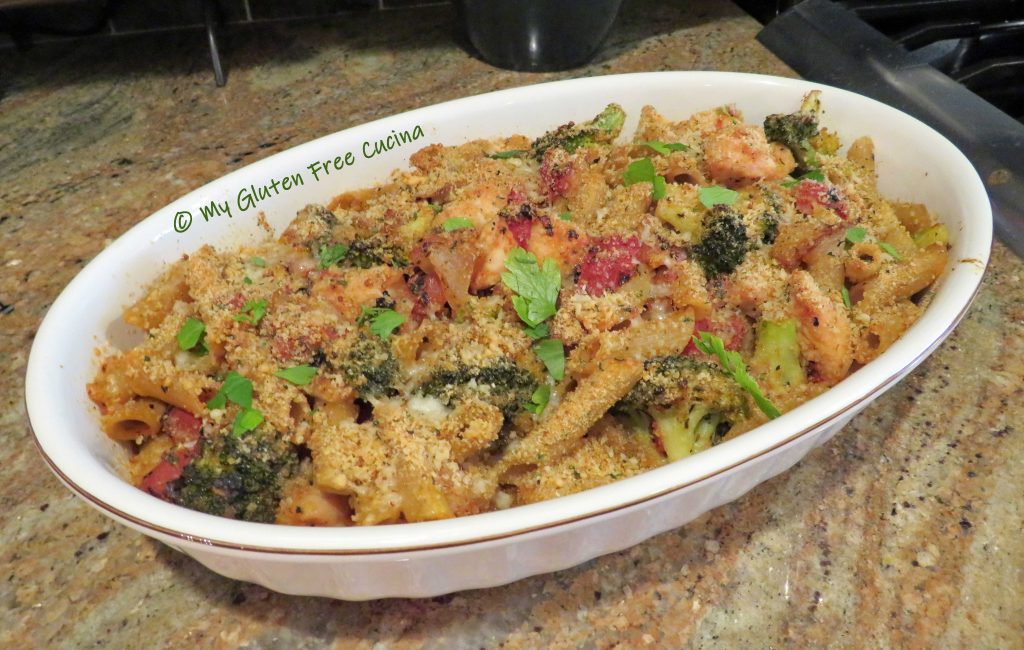
Mist a casserole dish with cooking spray and transfer contents from the skillet in an even layer.  Drizzle with olive oil, then top it off with breadcrumbs and grated cheese.  Bake for 30 minutes.

I like to finish it off under the broiler for a few minutes to crisp up the topping.  Remove from the oven, garnish with fresh parsley and serve.

This is a real family favorite.  I hadn’t made it in a very long time, but now with just a couple of adaptations we can all enjoy this comfort food meal again.

Notes ♪♫ Always check prepared ingredients for hidden gluten.  In this recipe, pasta and breadcrumbs must of course be gluten free.  Less obvious but important, use rice flour for coating and thickening, make sure canned tomatoes and seasoning mixes are gluten free.  I always grate my own cheese, but if you are using a pre-grated cheese always check for additives that may contain gluten.

Print This Post Print This Post

Gluten Free Italian Chicken Pasta

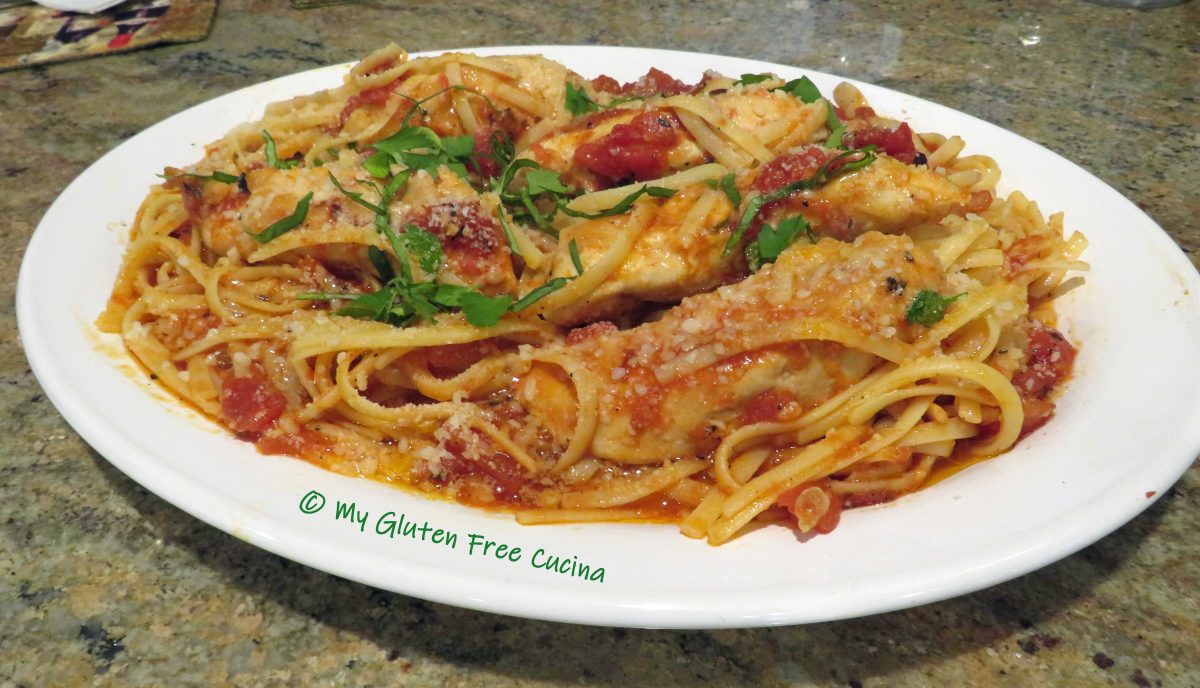
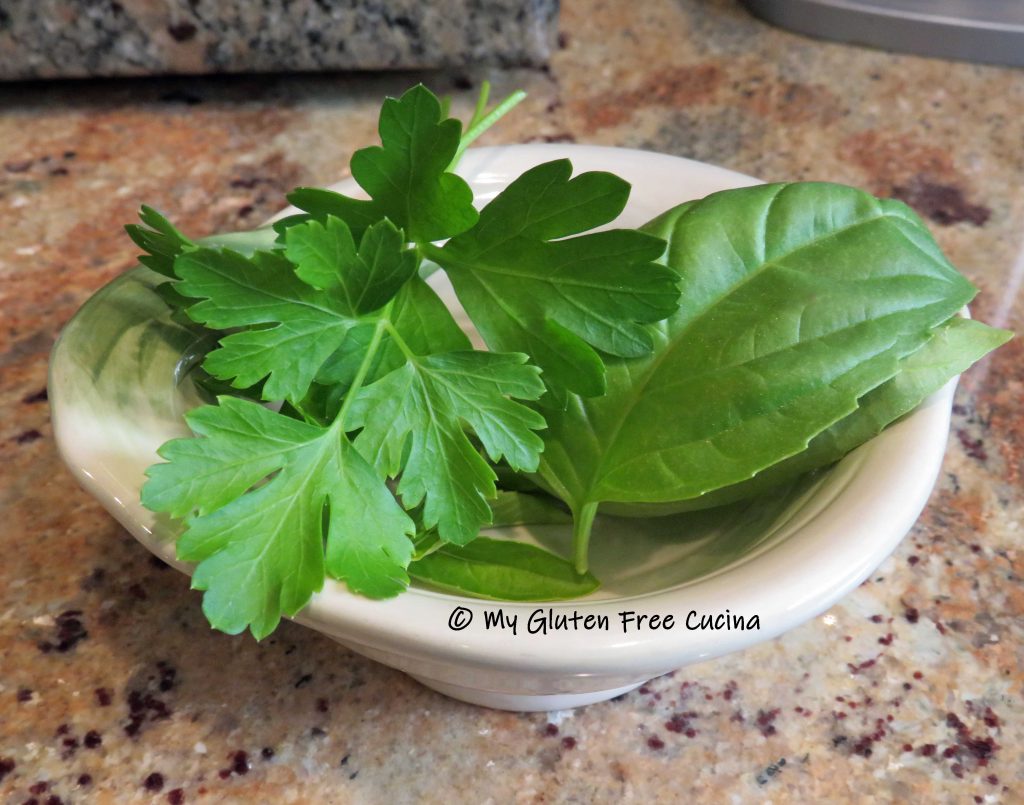
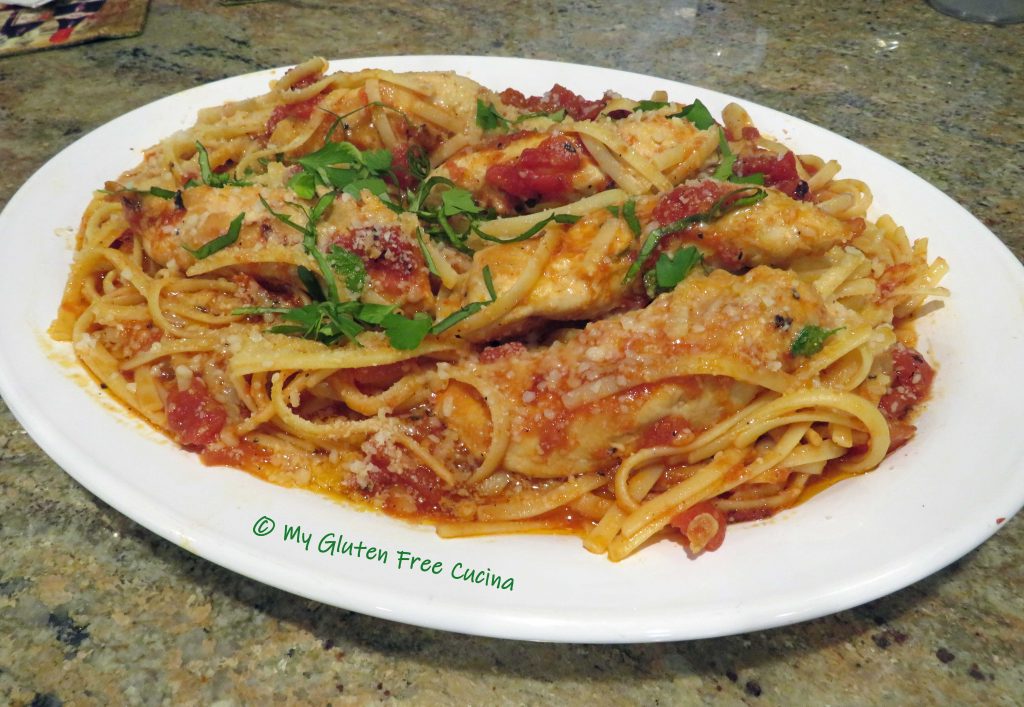
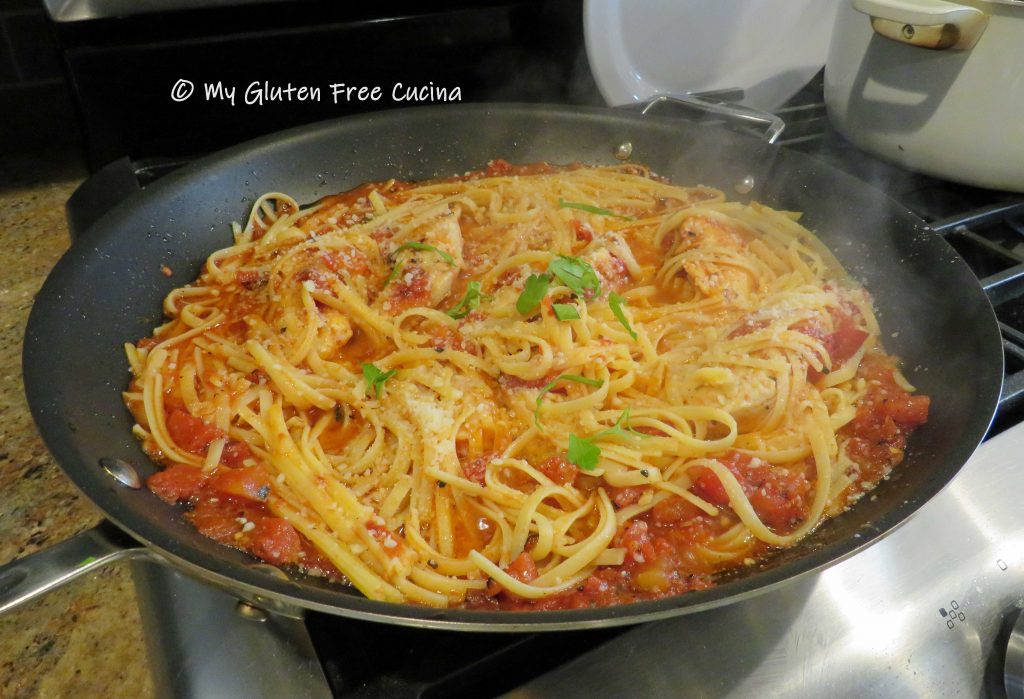
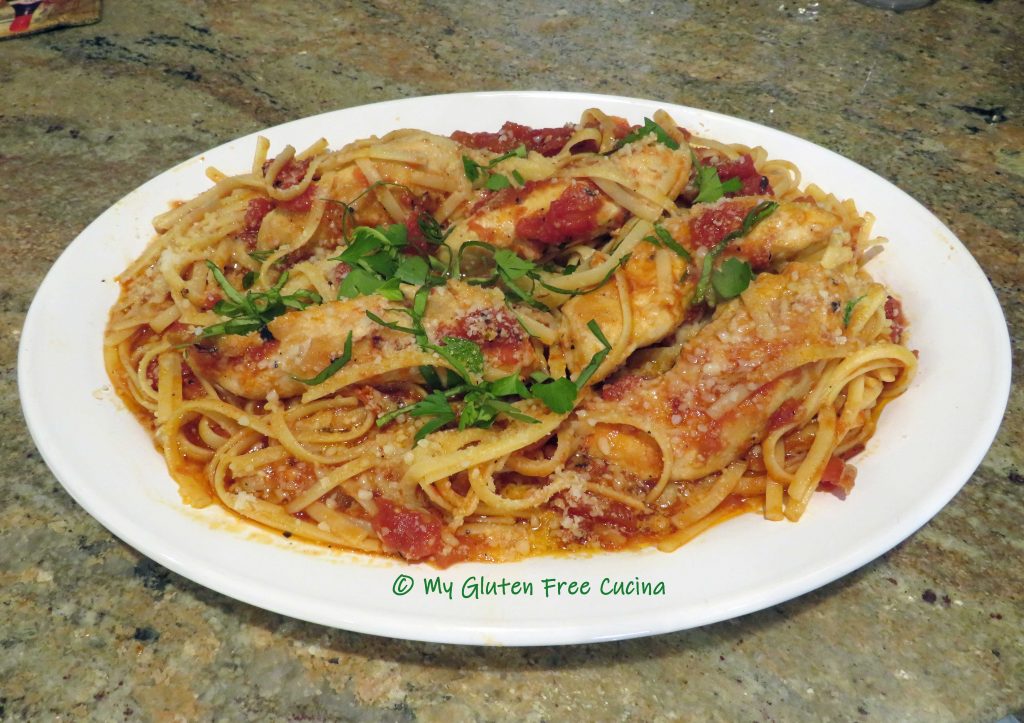
Can you make an Italian Sunday Dinner in under 30 minutes?  When you don’t have the time or the inclination to make an elaborate meal, this recipe comes together in a flash with common pantry ingredients.  I used chicken tenders to keep prep to a minimum.  A simple sauce made with fire roasted tomatoes and a red wine vinaigrette is rich with flavor.  I finished it off with grated cheese and a sprinkle of fresh herbs from my garden.

This post contains affiliate links.

4 Servings

Ingredients:

Preparation:

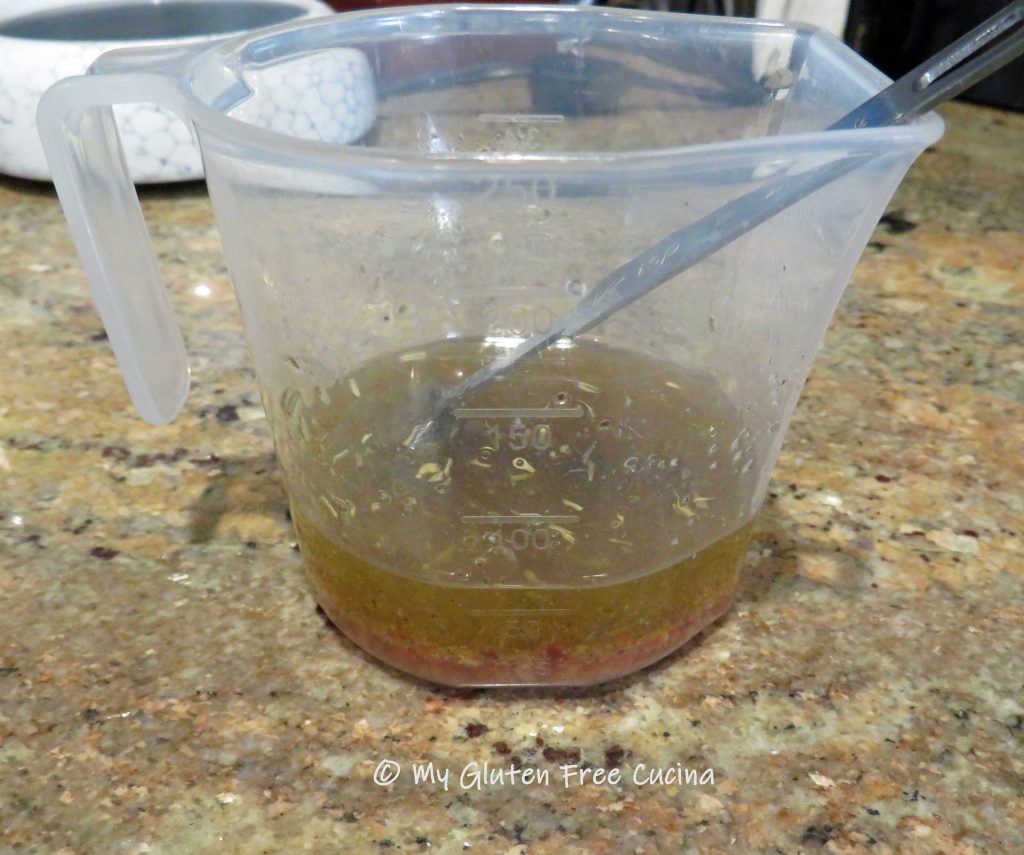
Boil water for the pasta, add 1/2 tsp. of salt and 1/2 tsp. olive oil.  Cook the fettuccine according to package directions.  Whisk together 2-1/2 tbsp. olive oil, the red wine vinegar and the seasonings.

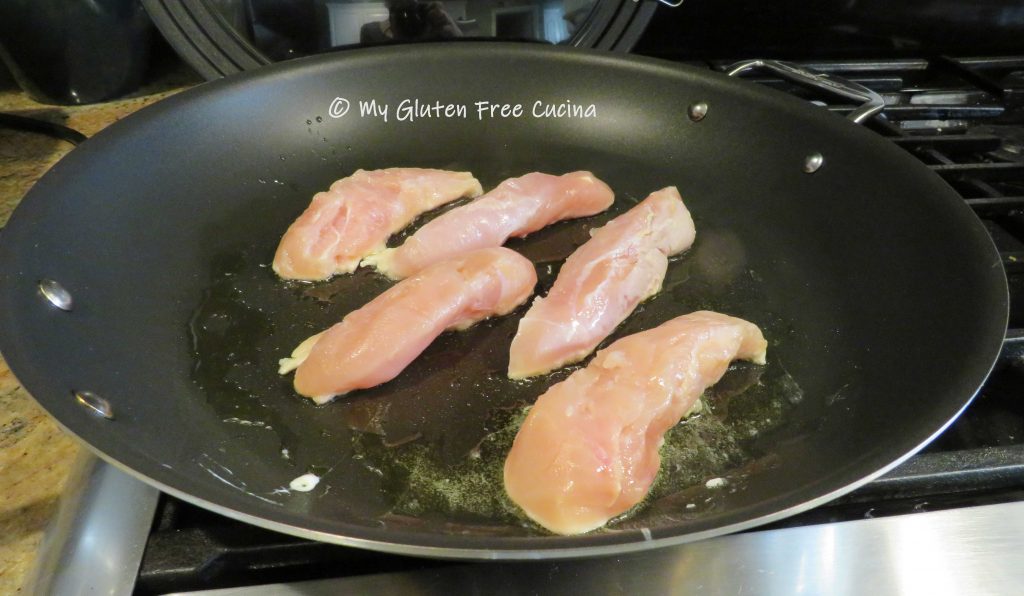
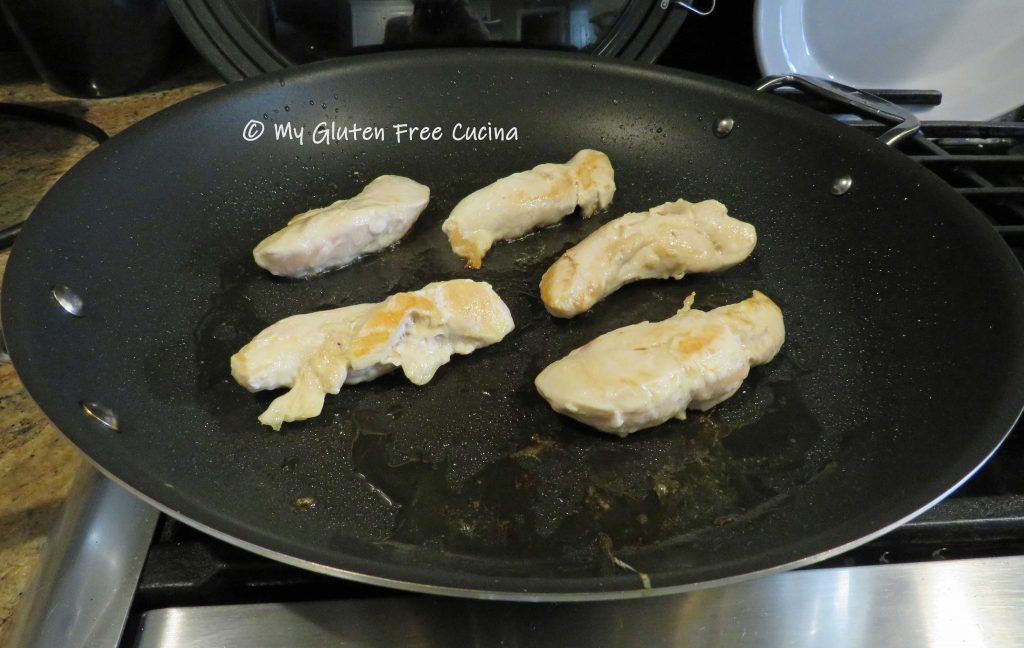
While the pasta is cooking, heat a large nonstick skillet with 1 tbsp. olive oil.  Add the chicken tenders, turning to brown all sides until cooked through, about 8 minutes.

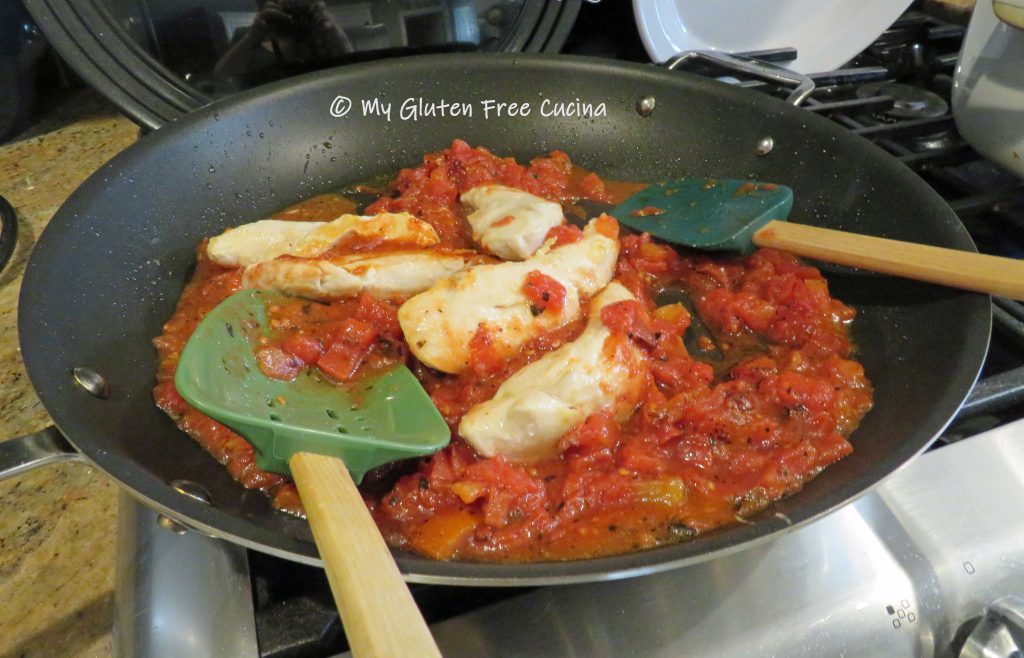
When the chicken is close to being done, push it to the side of the pan and add the tomato paste in center.

Let it toast for 1 minute then add the diced tomatoes and the vinaigrette.  Lower the heat and simmer for 2 minutes.

Before draining the pasta, reserve a ladle of the pasta water and add it to the skillet.  Add the fettuccine to the sauce and toss well.

Cook for another minute then sprinkle with half the cheese and fresh herbs.

Transfer to a serving platter, sprinkle with the remaining cheese, basil and parsley.

Notes ♪♫ Conventional kitchen wisdom tells us to never add oil to your pasta water, and for regular wheat pasta I would agree.  Gluten free pasta, on the other hand is notorious for sticking together, especially our much-loved spaghetti, linguine and fettucine.  I find that adding just a drop of oil to the cooking liquid helps keep the strands separate as they cook.

Print This Post Print This Post

Bay Scallops with Baby Spinach and Grape Tomatoes

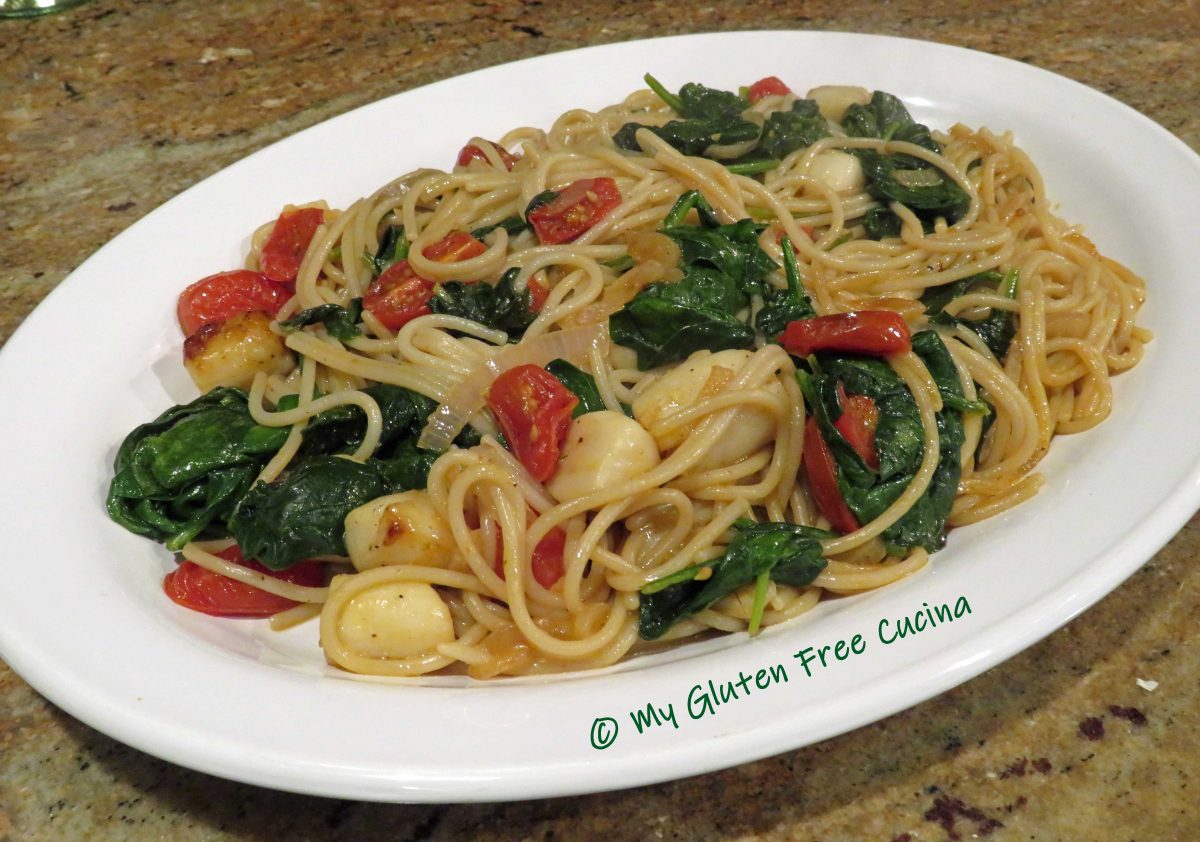
Would you believe this beautiful seafood pasta dish can be on the table in just a half hour?  Simple ingredients and minimal prep make this meal perfect for week nights, date night or any special occasion.  The ingredients are naturally gluten free, except for the pasta.  So just one swap makes this meal celiac safe!

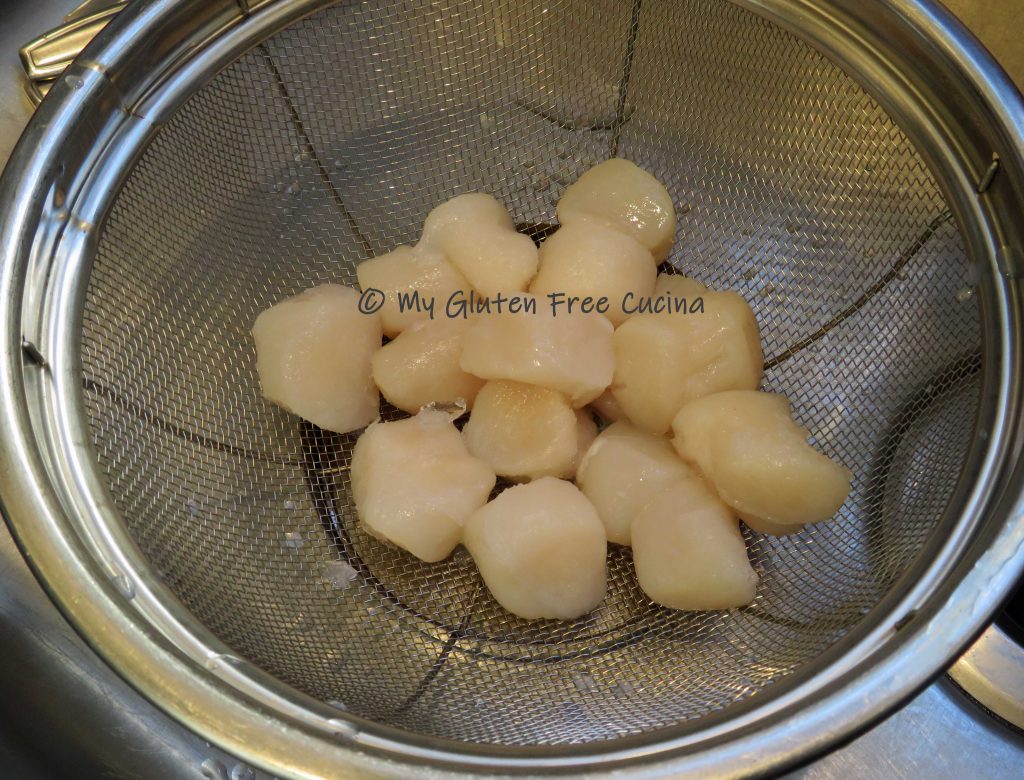
Bay scallops are delicate and sweet.  Smaller in size than sea scallops, they are harvested in the US from bays along the East Coast.  Available fresh when in season, you can also find them in the freezer section.

Dinner for two

This post contains affiliate links.

Ingredients:

  • 1/2 lb. bay scallops, fresh or frozen
  • 2 tbsp. butter, divided
  • 4 tbsp. olive oil, divided
  • 1 shallot, minced
  • 2 garlic cloves, minced
  • 6 oz. bag baby spinach
  • 12 grape tomatoes, halved
  • 1/2 cup white wine
  • 6 oz. gluten free spaghetti or pasta of choice
  • salt and pepper to taste
  • gluten free Italian seasoning to taste

Preparation:

If your scallops are frozen, take them out to defrost and lay them on paper towels to absorb excess liquid.  If fresh, just pat them dry before cooking.

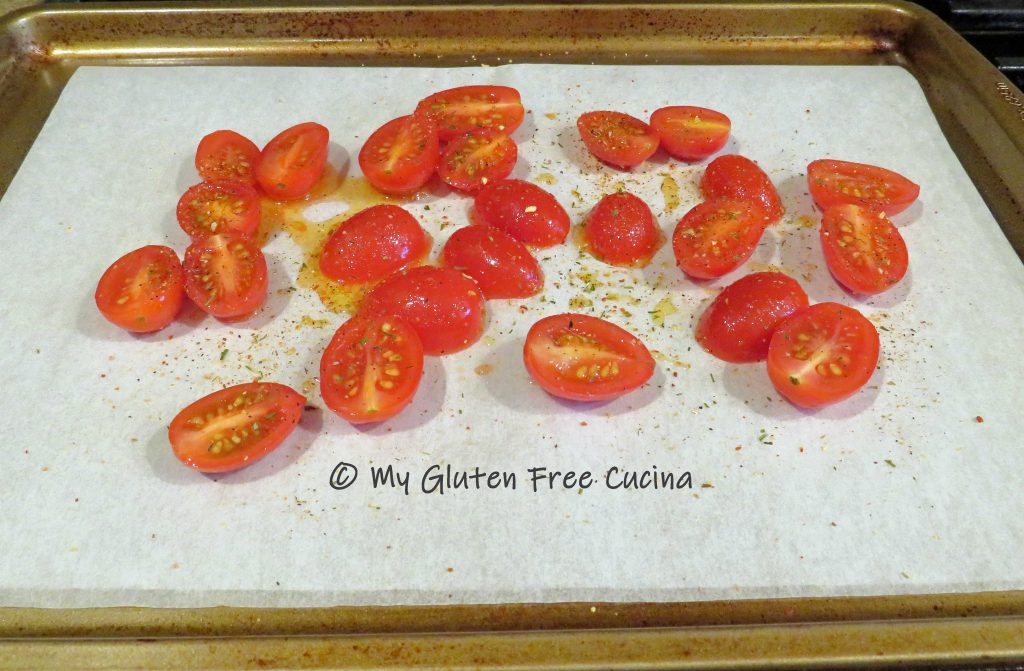
Cut the grape tomatoes in half lengthwise and toss with 1 tbsp. olive oil.  Spread them evenly on a parchment lined baking sheet and sprinkle with seasoning.

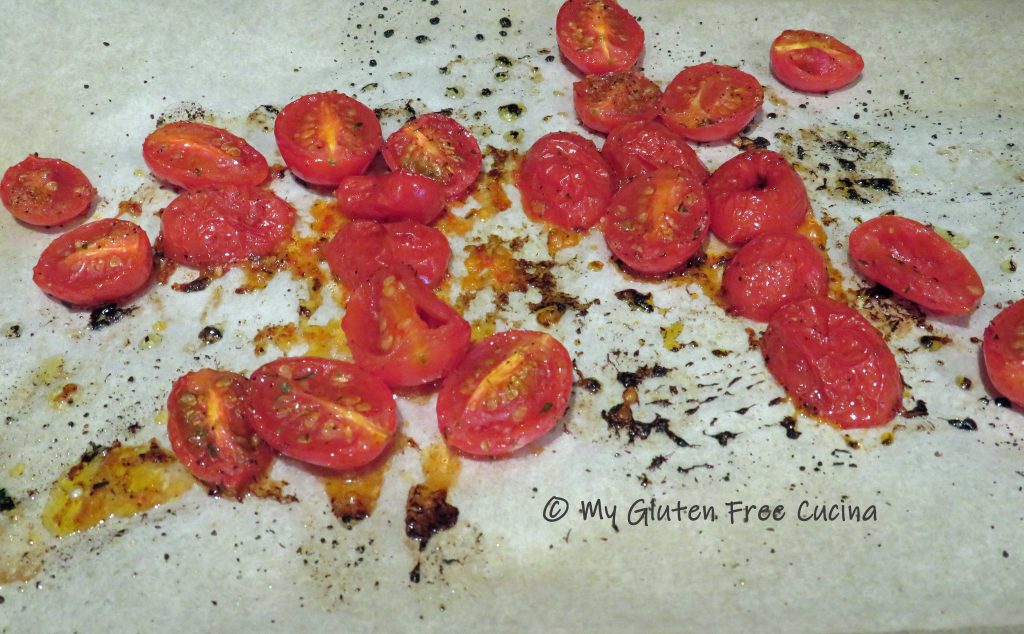
Roast for 15 minutes at 400º, stirring halfway through.  Set aside while you finish the dish.

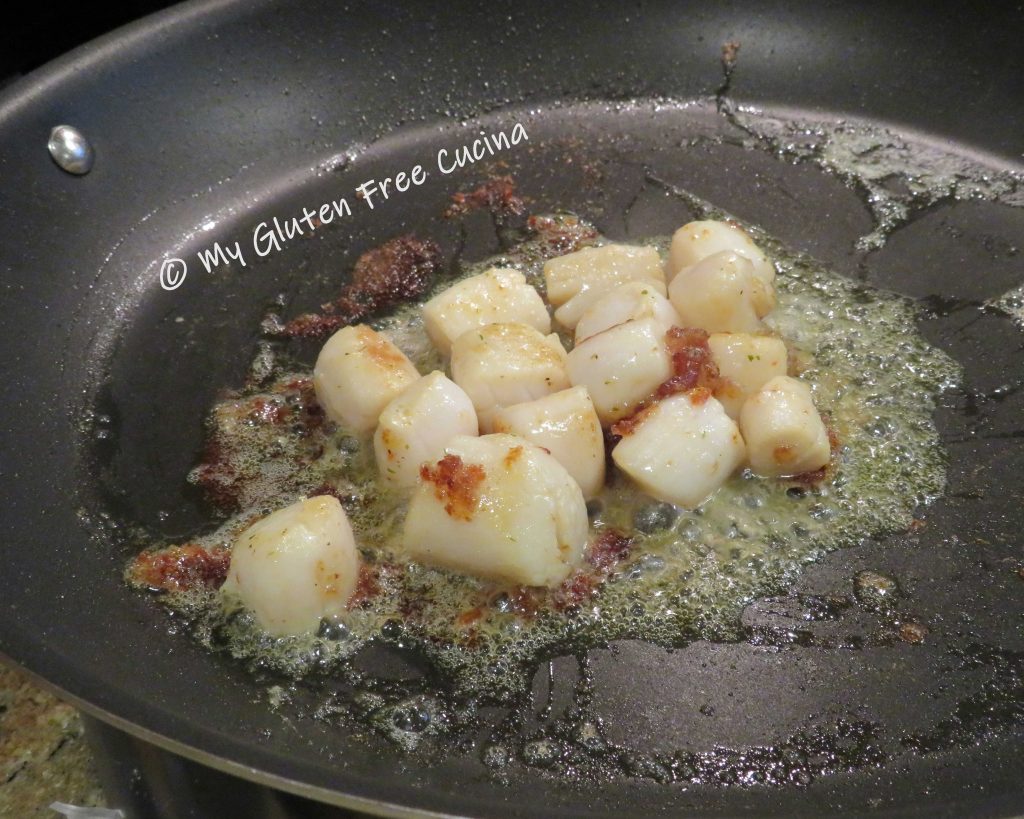
Cook the spaghetti to 1 minute less than package directions.  While the pasta cooks, add 1 tbsp. each of butter and olive oil to a large nonstick skillet over medium low heat.  Add the scallops, allowing plenty of space in between (cook in 2 batches if needed).
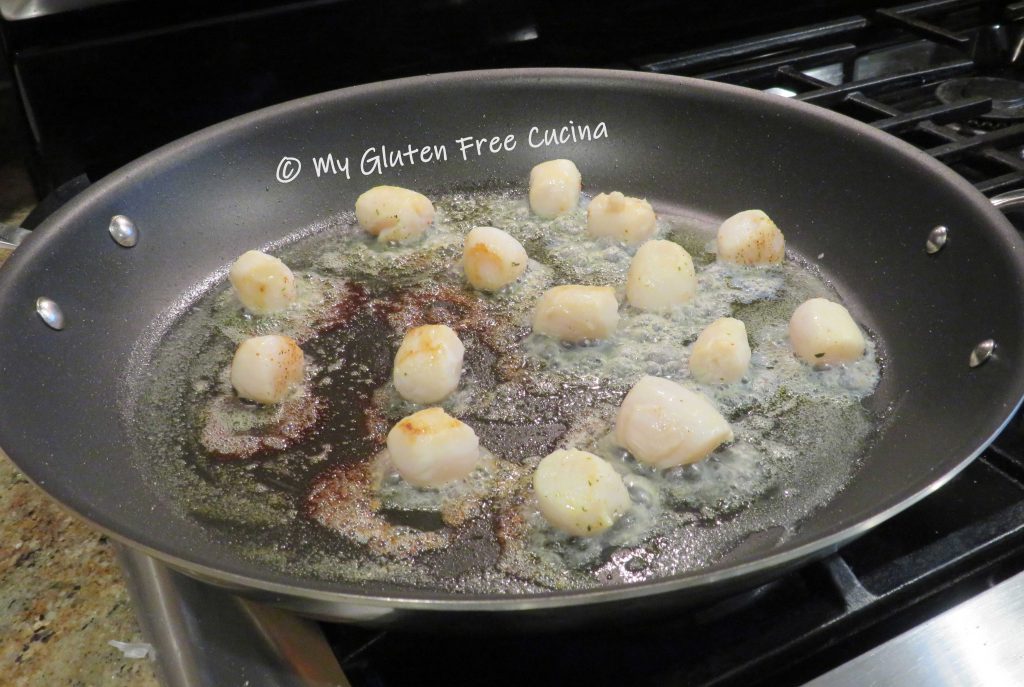
Cook 5 minutes per side, turning once.  Transfer to a bowl and keep warm.  Leave those browned bits in the pan, they will flavor the rest of the dish!

To the same skillet, add a bit more olive oil with the garlic and shallots.

Stir and cook 1 minute, then add back the roasted tomatoes.
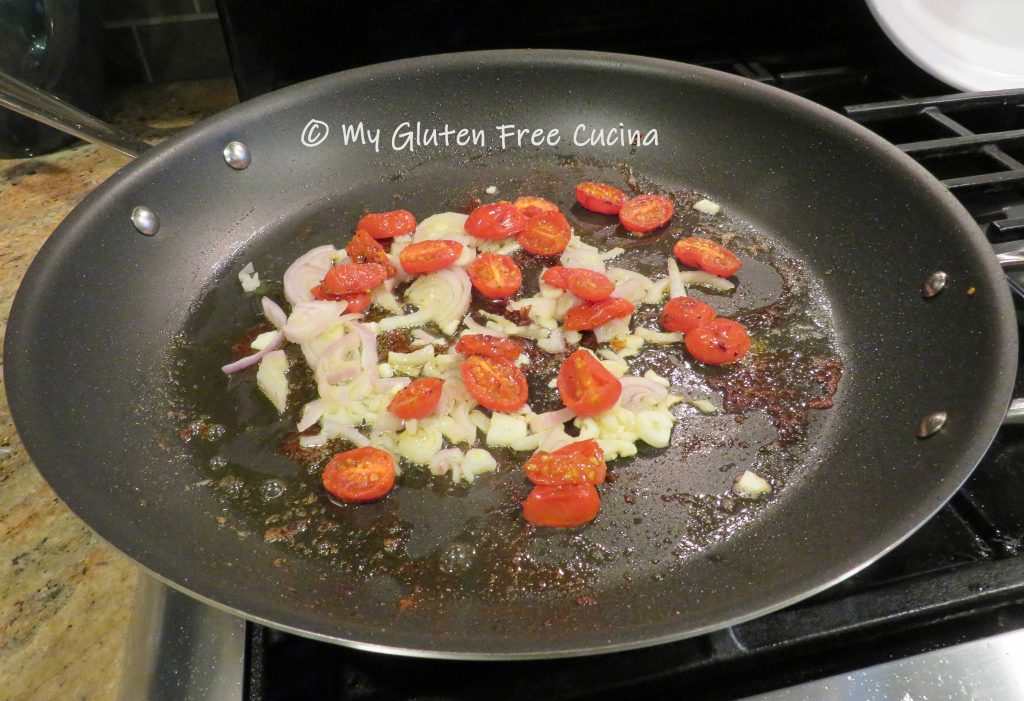
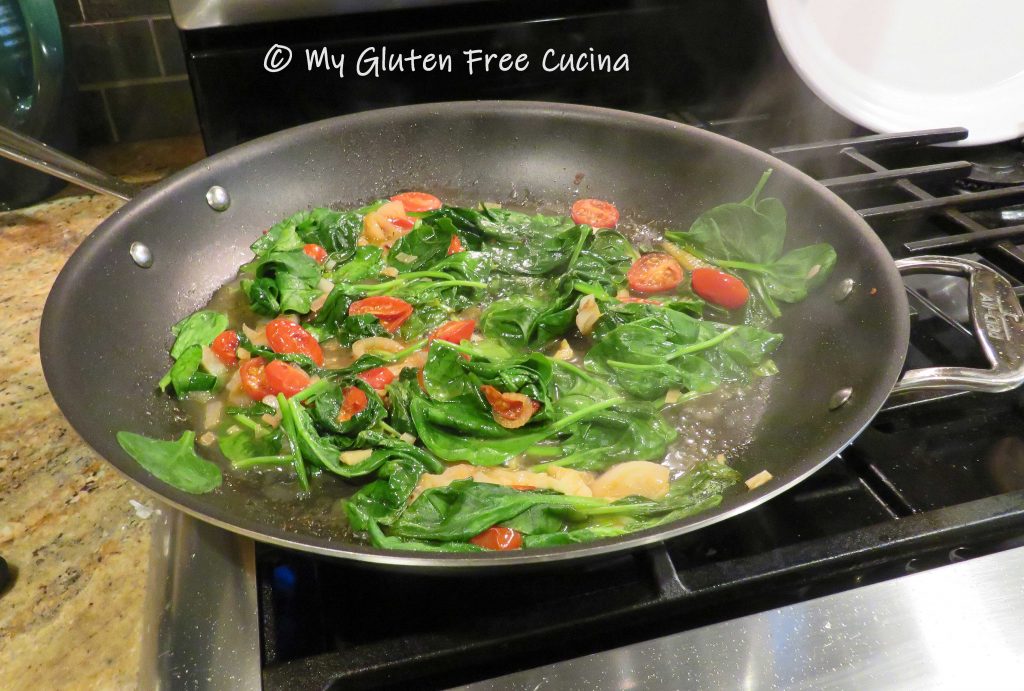
Cook for 1 minute more, then add all of the baby spinach with 1/2 cup of white wine.  Don’t worry, it will cook down!  Cover the pan and cook for several minutes, until the spinach wilts.
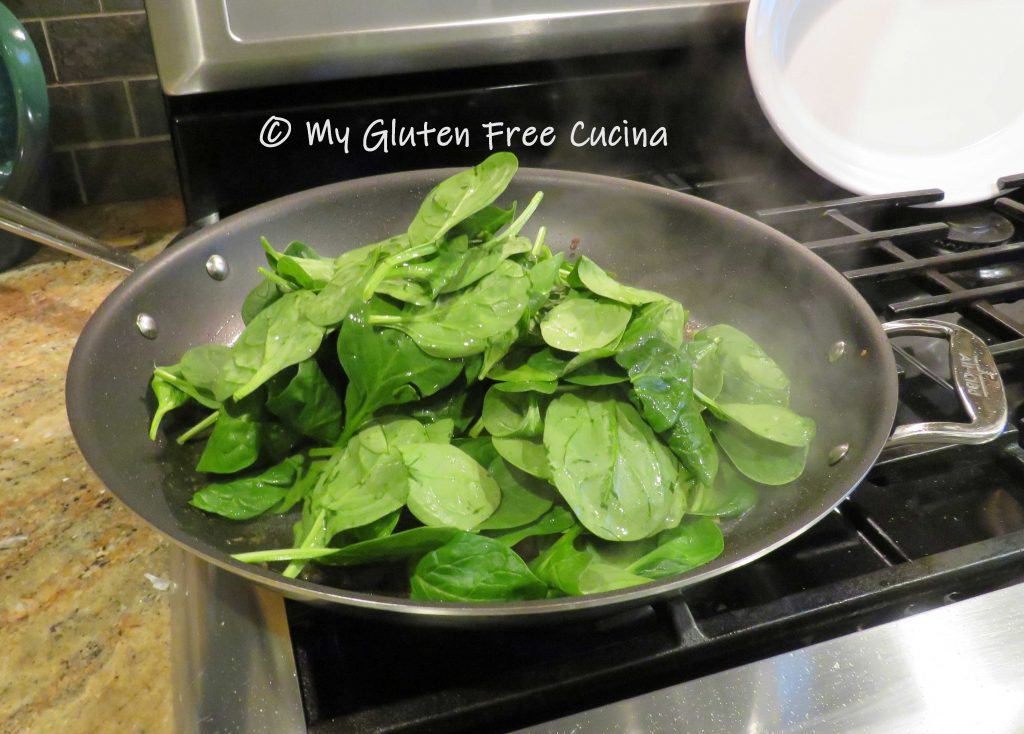
What did I tell you?

Use tongs to add the cooked spaghetti to the spinach mixture, along with the scallops.  Season to taste, and finish with another 1 tbsp. each of butter and olive oil.
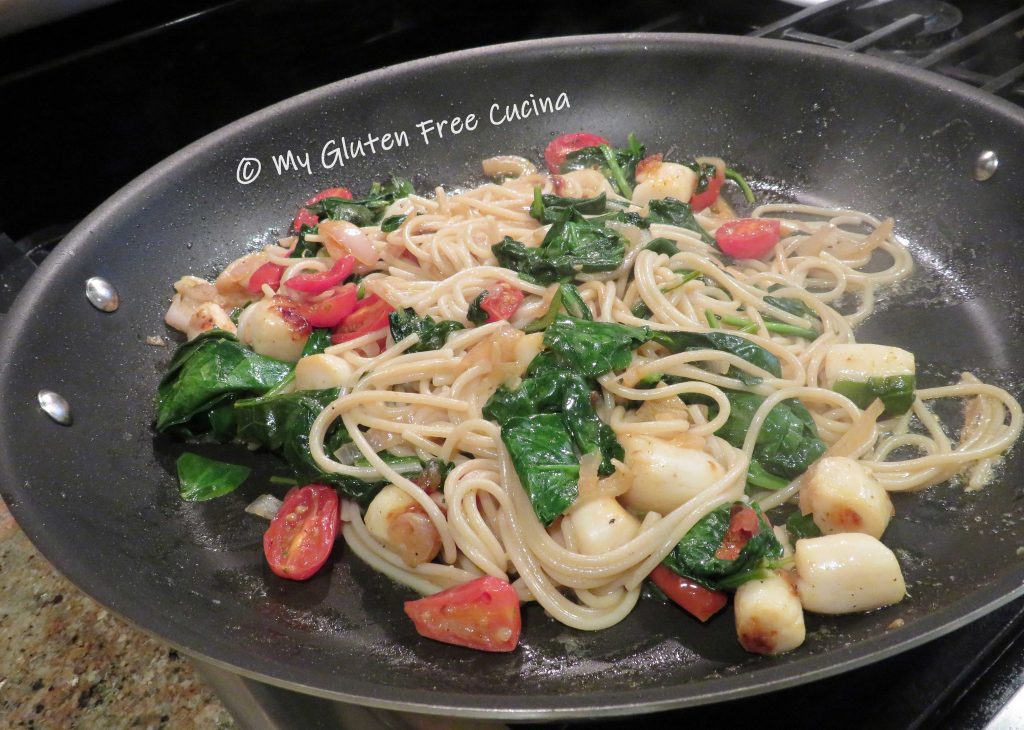
Toss gently to combine and heat the scallops through, then transfer to a serving platter.
Notes ♪♫ Serving the scallops with pasta makes this a very fast and easy dish to prepare.  But if you are not in a hurry, try serving it over risotto.  You can find my Basic Risotto recipe here.

Print This Post Print This Post


Italian Pot Roast

When I was growing up in the 1960’s, Sunday morning in our Italian neighborhood was all about making the sauce.  I can still see my Mom’s Farberware Stockpot simmering on the stove, filled to the rim.

She often cooked a pot roast right in the sauce, as it was so easy to do and the resulting meal was delicious.  The aromas filled our home and beyond, in fact it seemed every kitchen in the neighborhood was busy preparing their own Italian Sunday Dinner.

This post contains affiliate links.

I always think of my mom when I make this recipe, but instead of stovetop I prefer using my crock-pot, which makes it virtually hands off while you go about your busy day.  The roast can be cooked on the weekend and reheated during the week, for an easy meal when you get home from work.  Chuck roast is an economical cut of beef and after nine hours in the crock-pot the meat will be melt in your mouth tender!

Ingredients:

  • 2-4 lb. chuck roast, allow 1/2 lb. per serving
  • 4 garlic cloves cut into slivers
  • 1/2 sweet onion, diced
  • cooking spray
  • olive oil
  • 1/2 cup red wine
  • 1 large can (28 oz.) tomato sauce
  • 3 tbsp. tomato paste
  • 1-1/2 tsp. basil
  • 1 tsp. oregano
  • 1/2 tsp. marjoram
  • 1/2 tsp. parsley
  • 1 tbsp. brown sugar

Preparation:

I got a great deal on a 4 lb. chuck roast, so I cut it into 2 pieces and froze half.  A roast like this will shrink during cooking, so when planning portions I allow 1/2 lb. per person.  If you have leftovers, this pot roast is great in sandwiches the next day.

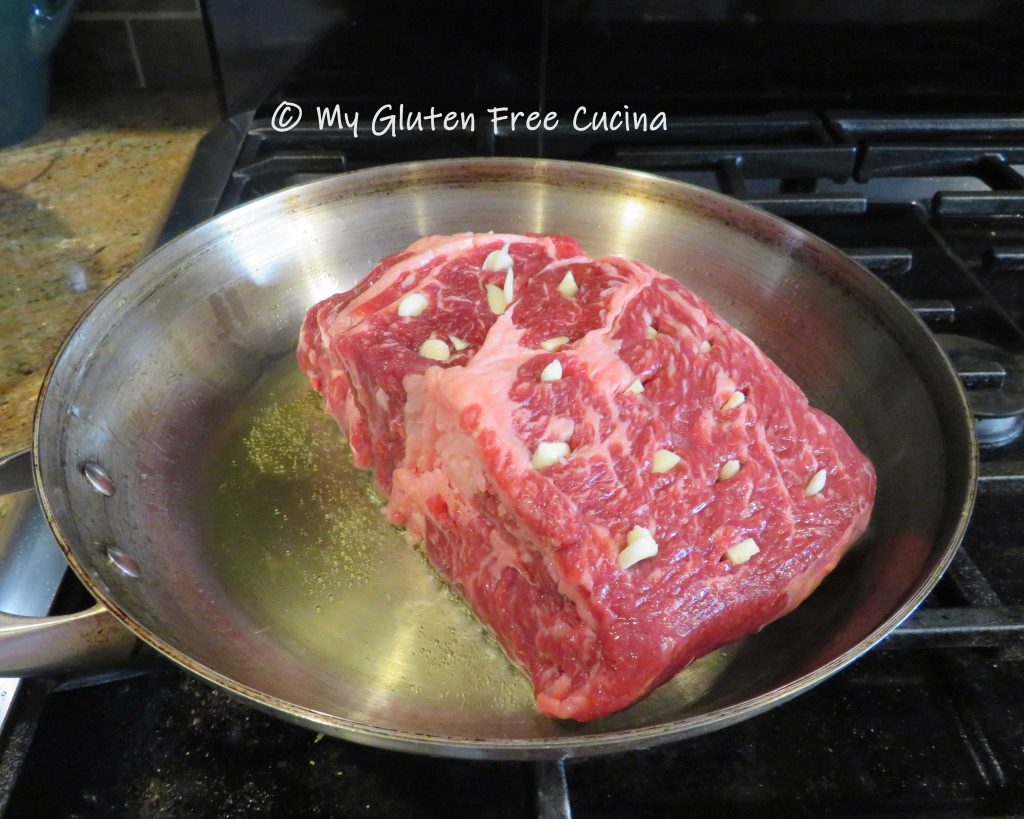
To get started, set up your crock-pot and mist with cooking spray.  Cut the garlic cloves into long slivers.  Use a paring knife to make slits in the top of the roast and insert the garlic slivers.

Sear the roast on all sides in a hot skillet with olive oil, then place it in the crock-pot.

Add onions to the same skillet and cook until translucent.  Add them to the roast then deglaze the skillet with the red wine and pour over everything.
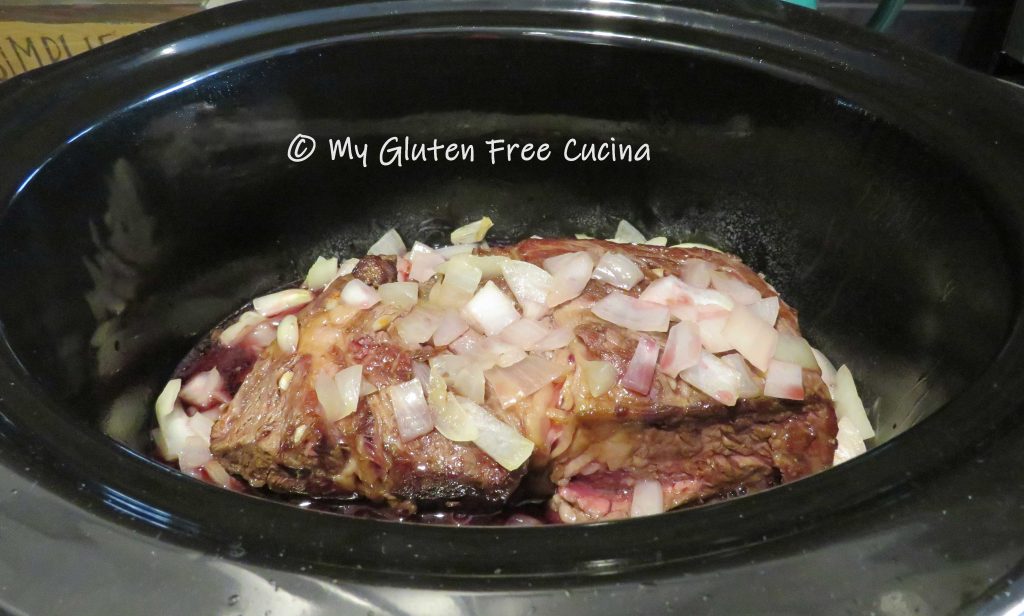
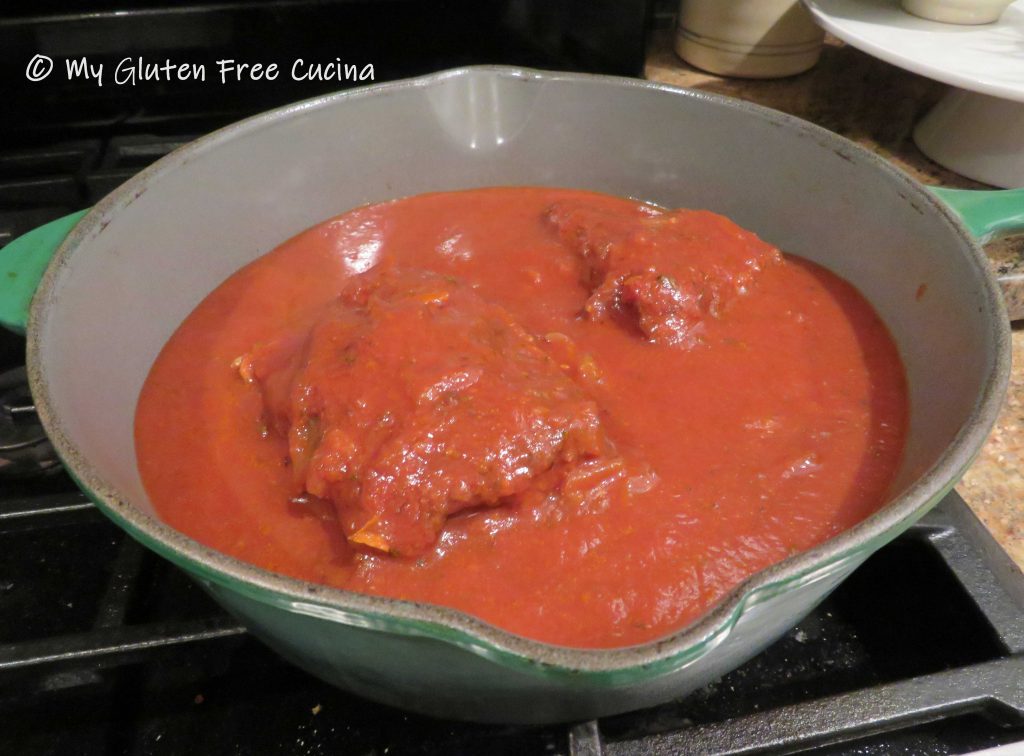
Whisk the tomato paste into the tomato sauce along with the remaining ingredients, through brown sugar.  Add to the crock-pot and cook on low for 9 hours.  Give it a stir about halfway through.  You can serve it immediately, but my personal preference is to refrigerate it overnight.  The flavors will continue to meld, and the sauce will thicken.

The next day, reheat the roast on the stovetop over low heat.  You can see that mine was so tender that it had broken into two pieces.

Most of the onions will have melted into the sauce at this point, but if you want an extra smooth sauce (or have picky eaters) you can puree it with a stick blender.
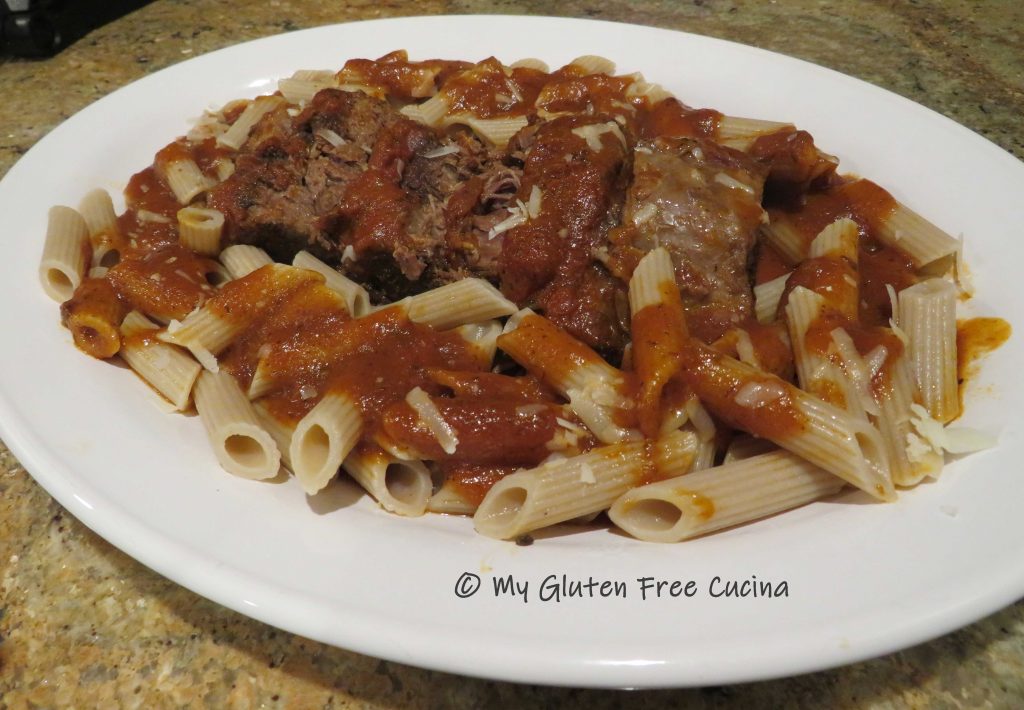
Slice the roast and arrange on a serving platter.

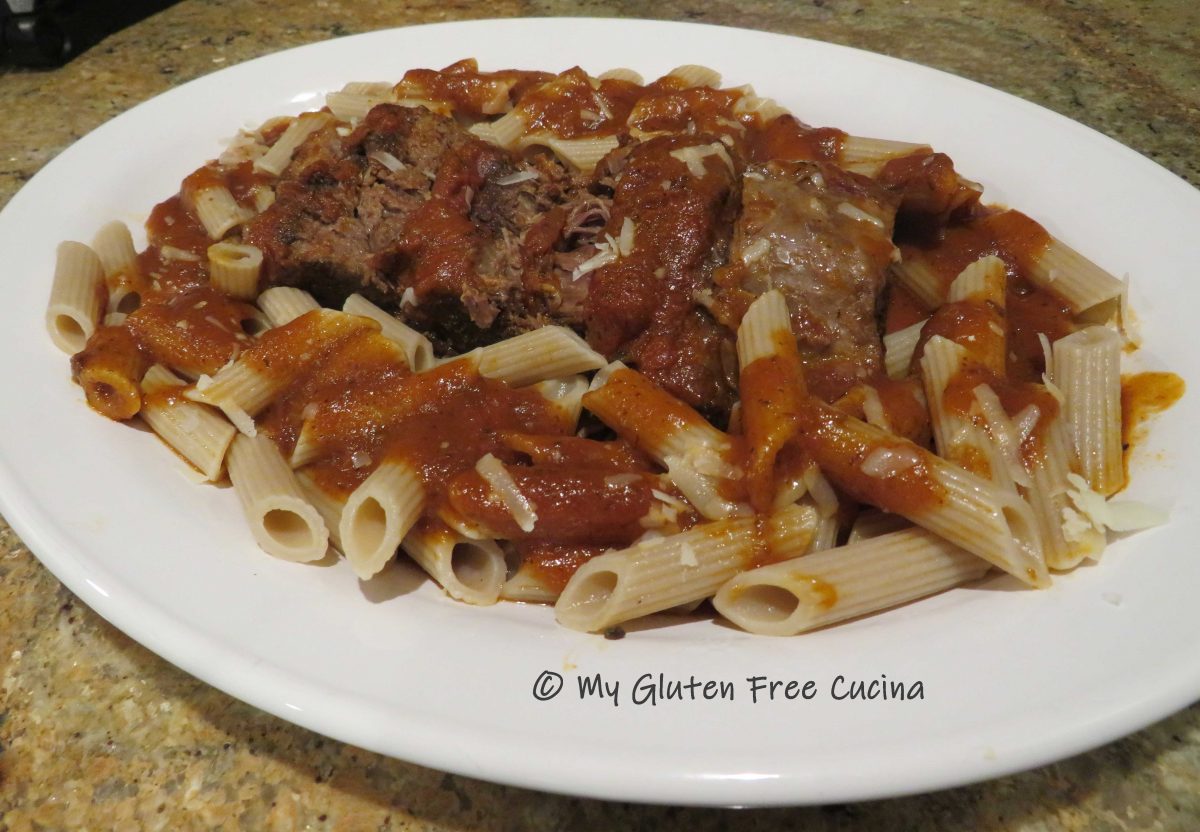
Serve with your favorite gluten free pasta.  Jovial gluten free penne is one of mine.

Bring to the table with extra sauce and grated cheese.  The only thing missing here is fresh parsley from my herb garden.  I guess I’ll have to wait for summer and make this again!
Notes ♪♫ When starting the gluten free diet, you may feel like you will never enjoy your old family recipes again.  The truth is, many recipes like this one are naturally gluten free.  The only thing I changed was the pasta.  With a little patience and experimentation, I have learned that many of my childhood favorites can be recreated in My Gluten Free Cucina.

Print This Post Print This Post

Gluten Free Tex-Mex Chicken Thighs

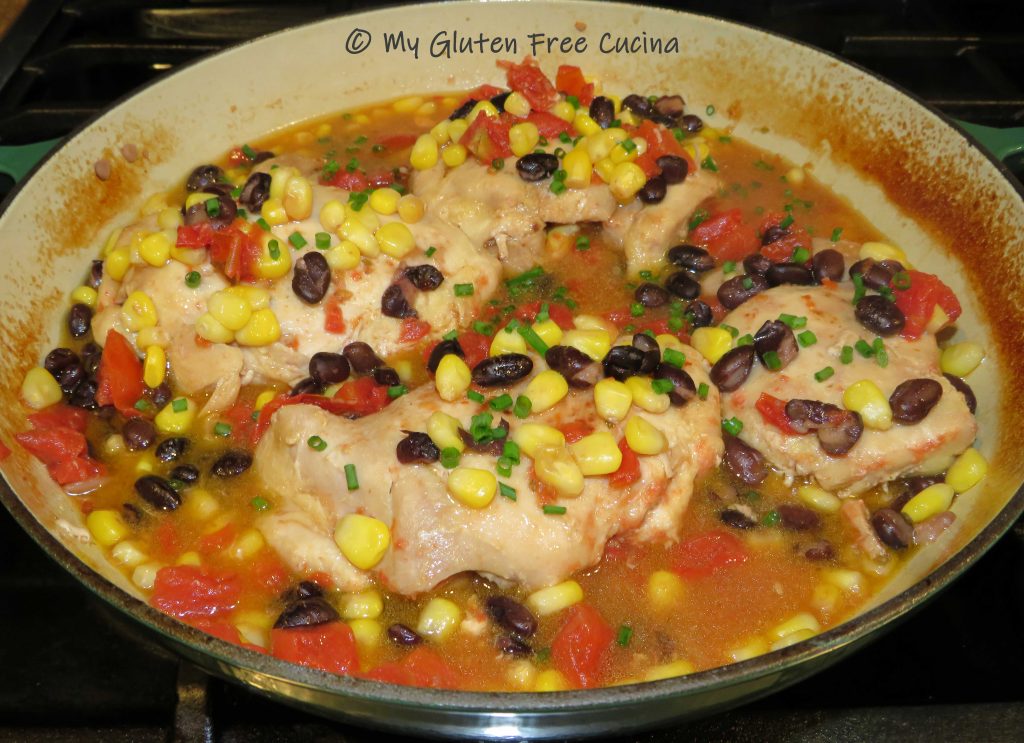
I’m really loving this Tex-Mex style chicken.  Made with just a few pantry staples, it’s so easy to put together!  Slow cooked on low heat, the chicken came out tender and juicy.  The homemade Mexican spice blend gives the dish it’s bold flavor, and you can as much or as little as you like.

4 Servings

This post contains affiliate links. 

Ingredients:

  • 4 boneless, skinless chicken thighs
  • 1/2 tsp. Mexican spice blend (use more or less to taste)
  • salt, to taste
  • 2 tbsp. olive oil
  • 3/4 cup frozen corn kernels
  • 3/4 cup canned black beans, drained and rinsed
  • 3/4 cup canned fire roasted diced tomatoes with their juice
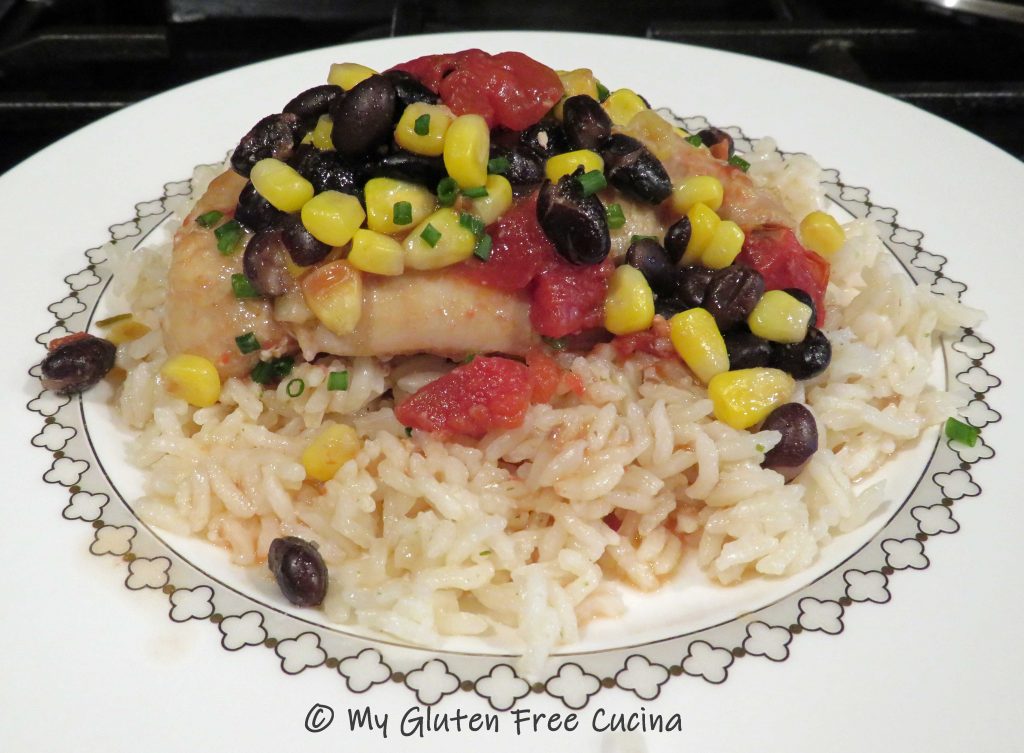
  • 1 cup cooked white rice, for serving
  • fresh chives or cilantro for garnish

Preparation:

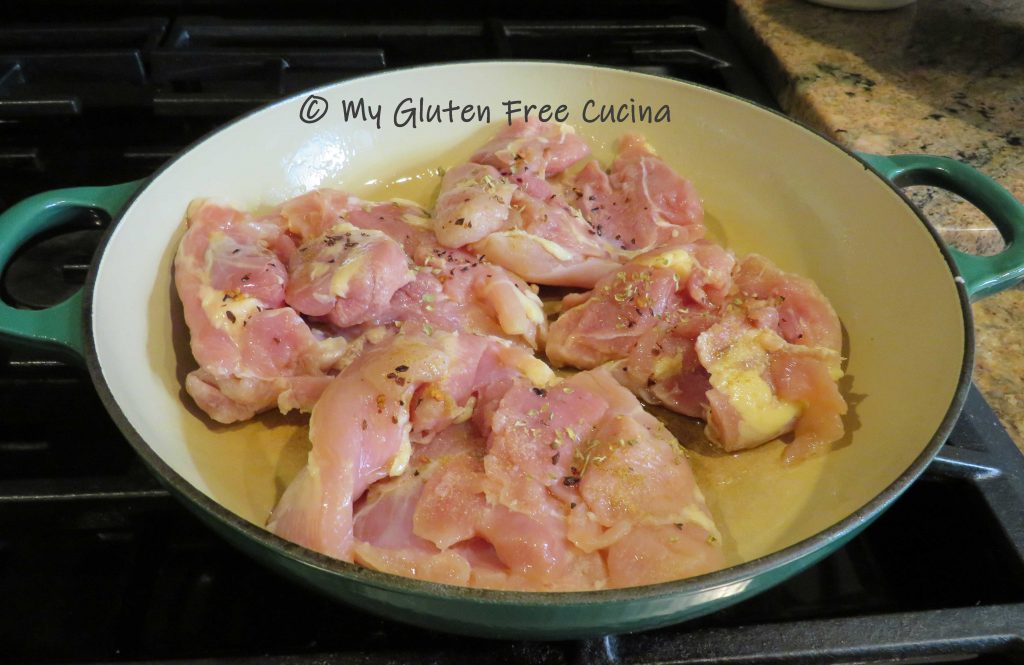
Brush the chicken thighs with olive oil and sprinkle seasoning on both sides.  Coat an oven safe skillet, braising pan or Dutch oven with cooking spray and arrange the thighs in a single layer.

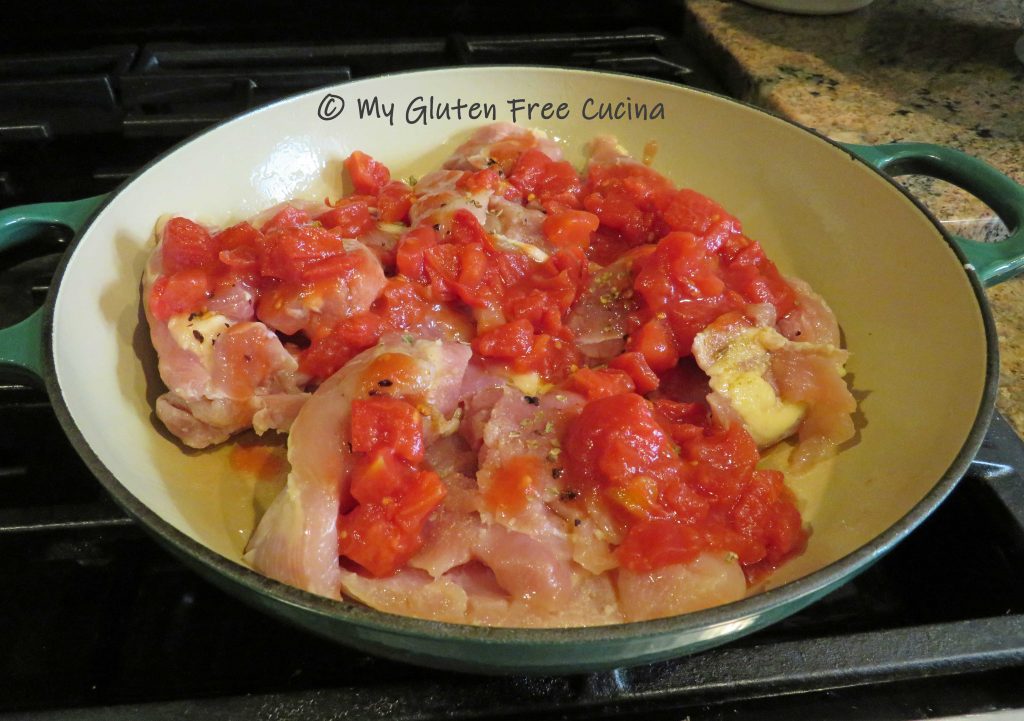
Pour the tomatoes over the chicken and sprinkle more seasoning.  Cover and bake for 45 minutes at 300º.

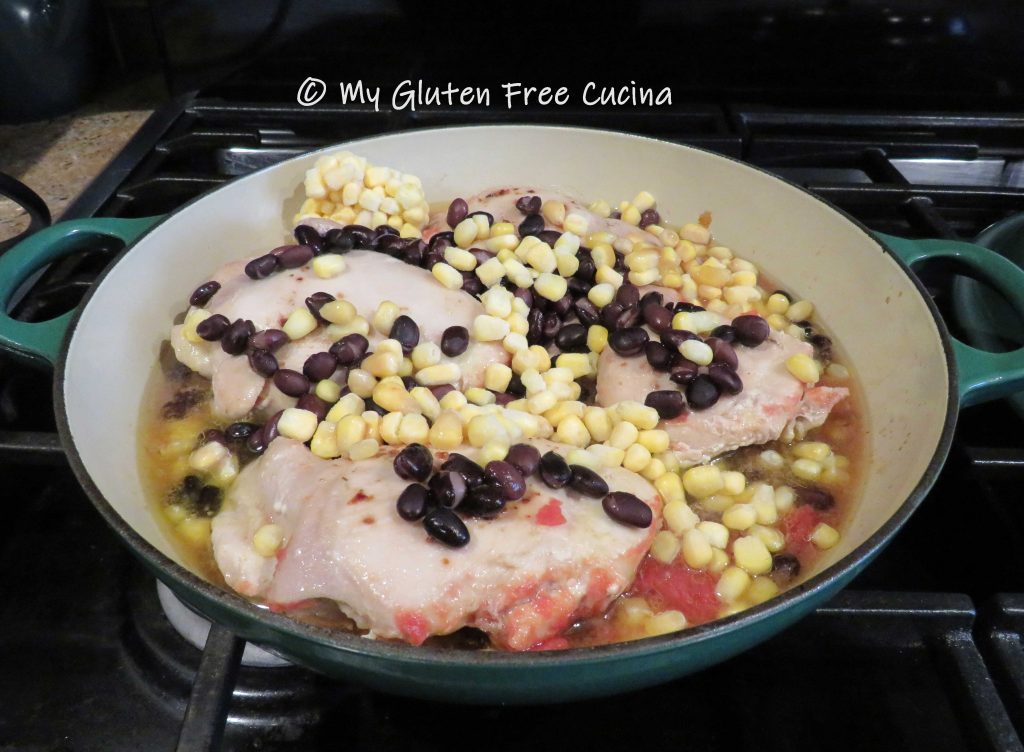
Turn the chicken over, add the beans and corn, cover and bake for an additional 45 minutes.

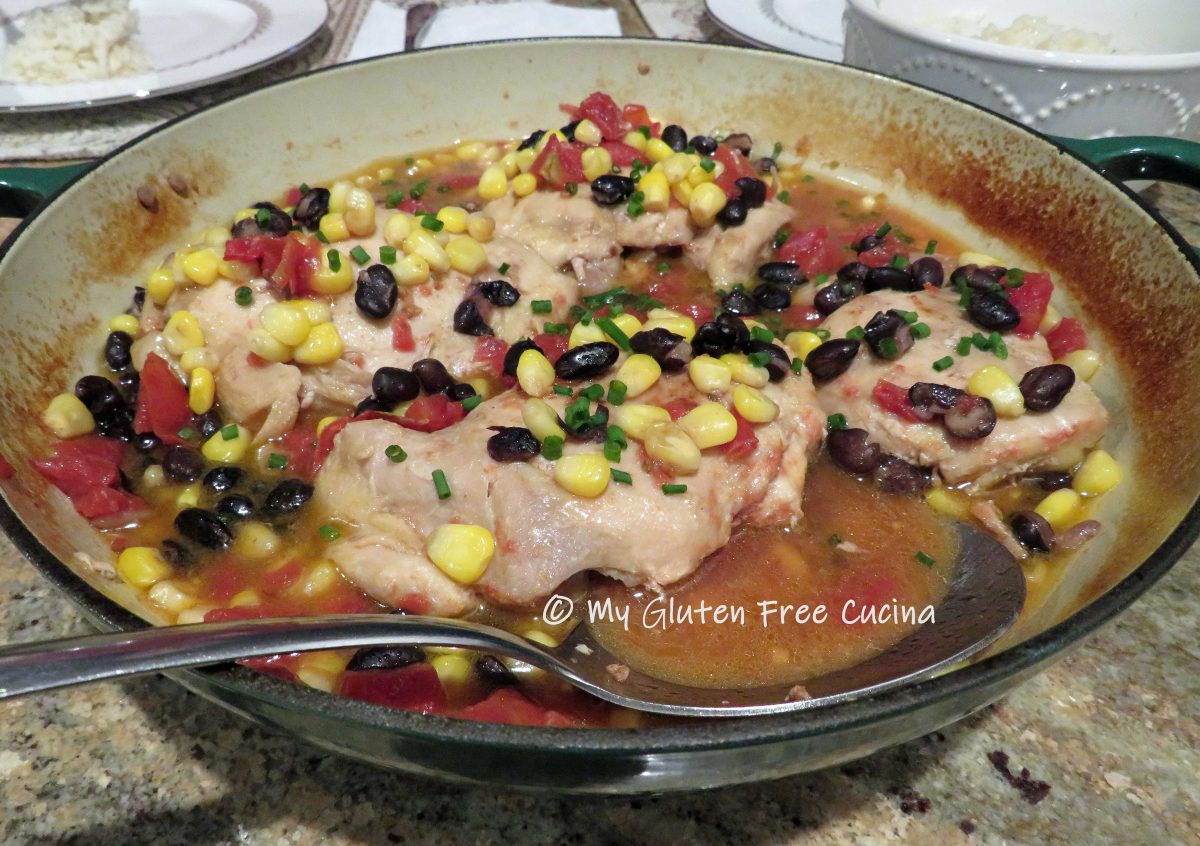
This casual dinner comes to the table right in the pan.  Garnish with chives or cilantro.

I made a side of white rice to go with the meal.  To serve, divide the rice into 4 plates.  Top each with one chicken thigh and spoon the corn and beans over the chicken along with extra pan juices.

Notes ♪♫ Always check canned and frozen vegetables for gluten containing ingredients or possible cross contamination.  Feel free to use a prepared Taco seasoning mix, as there are many great brands out there that are gluten free.  I opted make my own to control the sodium content.

Print This Post Print This Post

Roasted Tomato Sauce

Last weekend I was gifted a bag of garden tomatoes.  They were a mix of  different colors, shapes and sizes.  Some were perfect, others had blemishes.  They sat on the counter for a few days while I decided what to do with them.

I’ve read several articles about roasting tomatoes for sauce, but have never tried it myself.  I must admit that I prefer the convenience of canned tomatoes, but with this bowl of fresh garden tomatoes in front of me I was inspired to give it a try.

This post contains affiliate links.

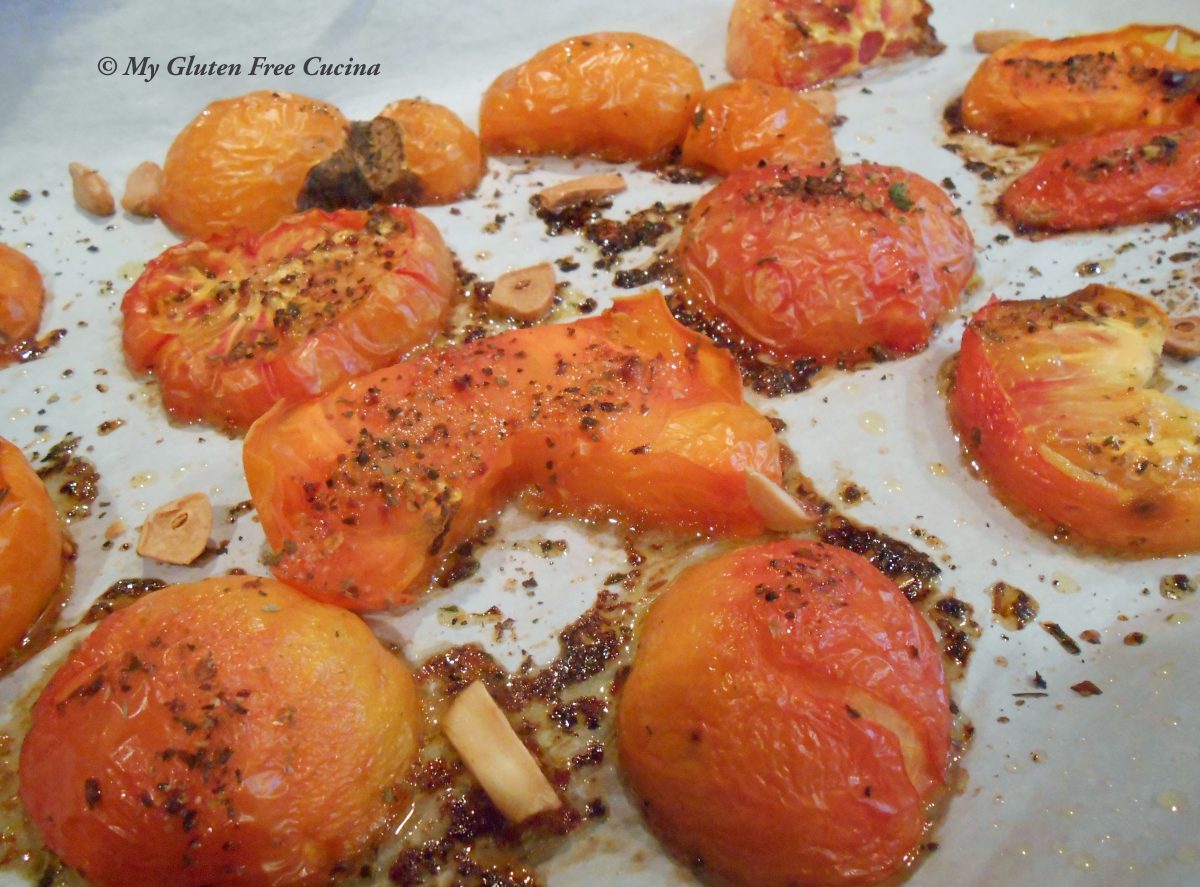
The preparation was simple.  I lined a baking sheet with parchment paper and rubbed it with olive oil.  I cut the tomatoes into 3/4″ slices and placed them skin side up on the oiled baking sheet.  I drizzled them with a little more olive oil, added a few garlic cloves and sprinkled with gluten free Italian seasoning.  I roasted the tomatoes for 2-1/2 hours at 250º.

When I removed the tomatoes from the oven, the skins were split and blistered.  I used tongs to gently lift off the skins and discarded them. I also removed the garlic.

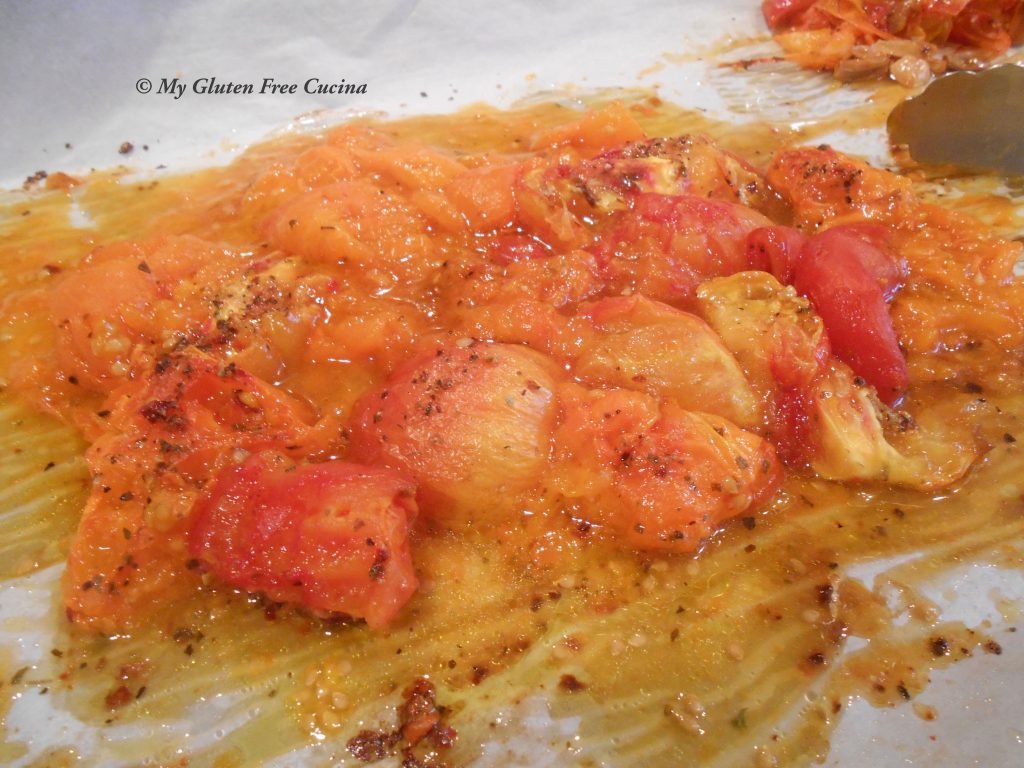
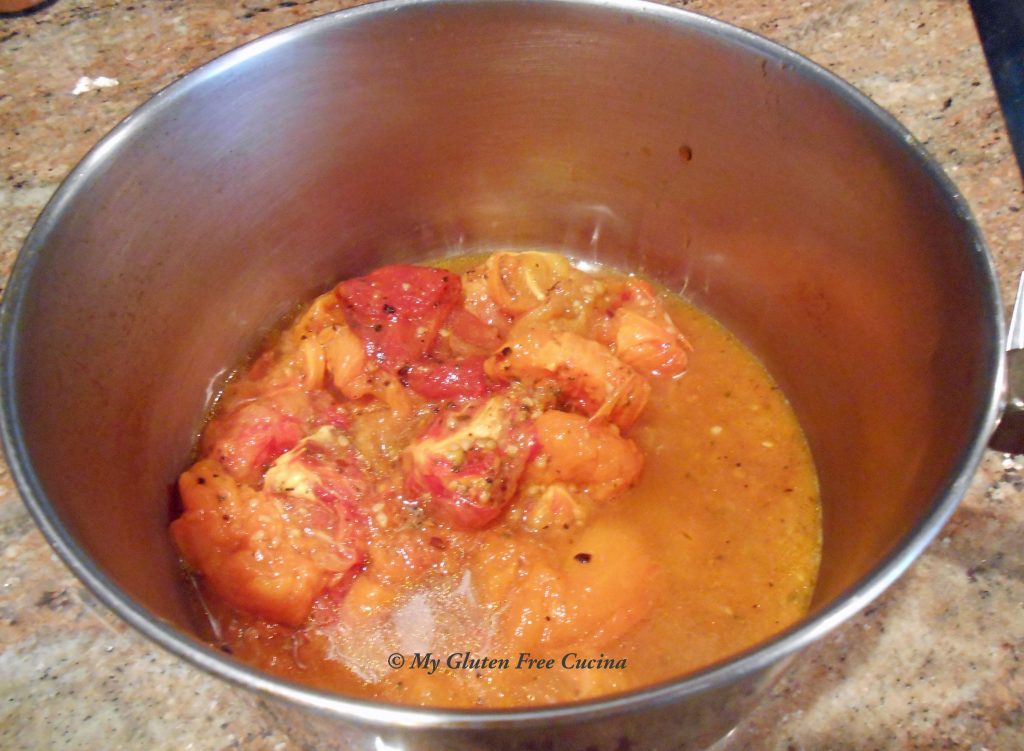
Then I picked up the corners of the parchment and poured the tomatoes and juice into a sauce pot.

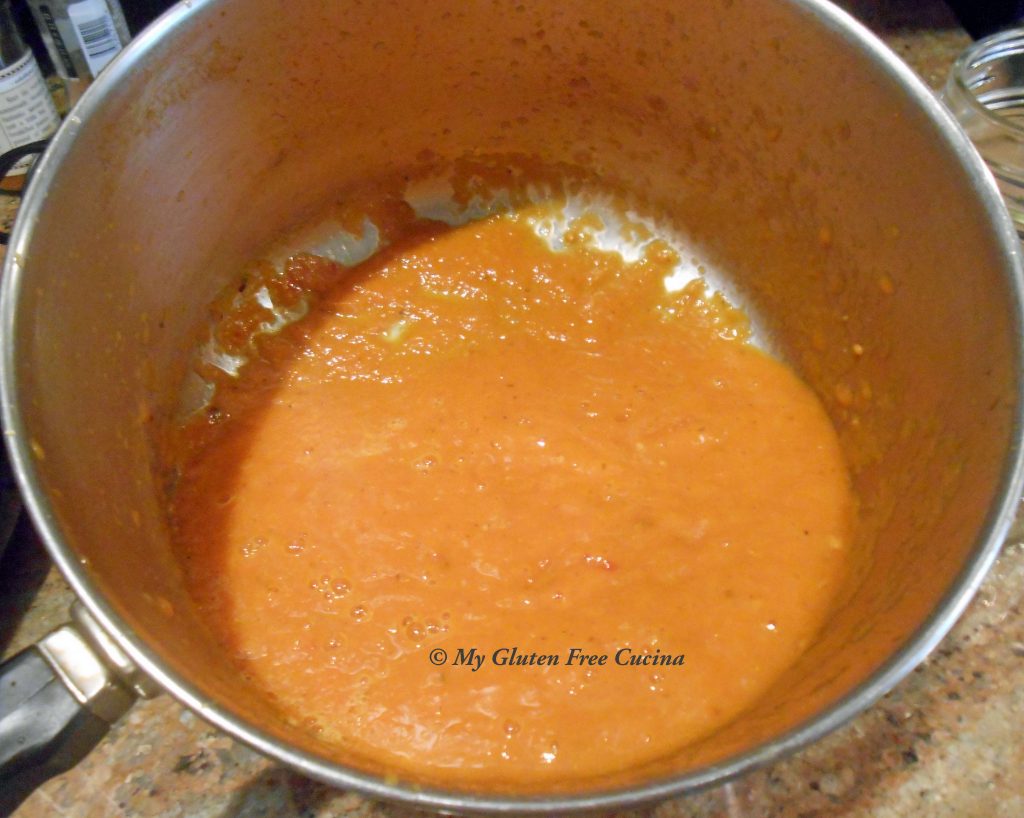
I used a stick blender to puree the tomatoes into a smooth sauce.

The kitchen was filled with the aroma of roasted tomatoes and garlic!  As you can see, the sauce is orange in color.  Quite different from the red canned sauce that we usually purchase.

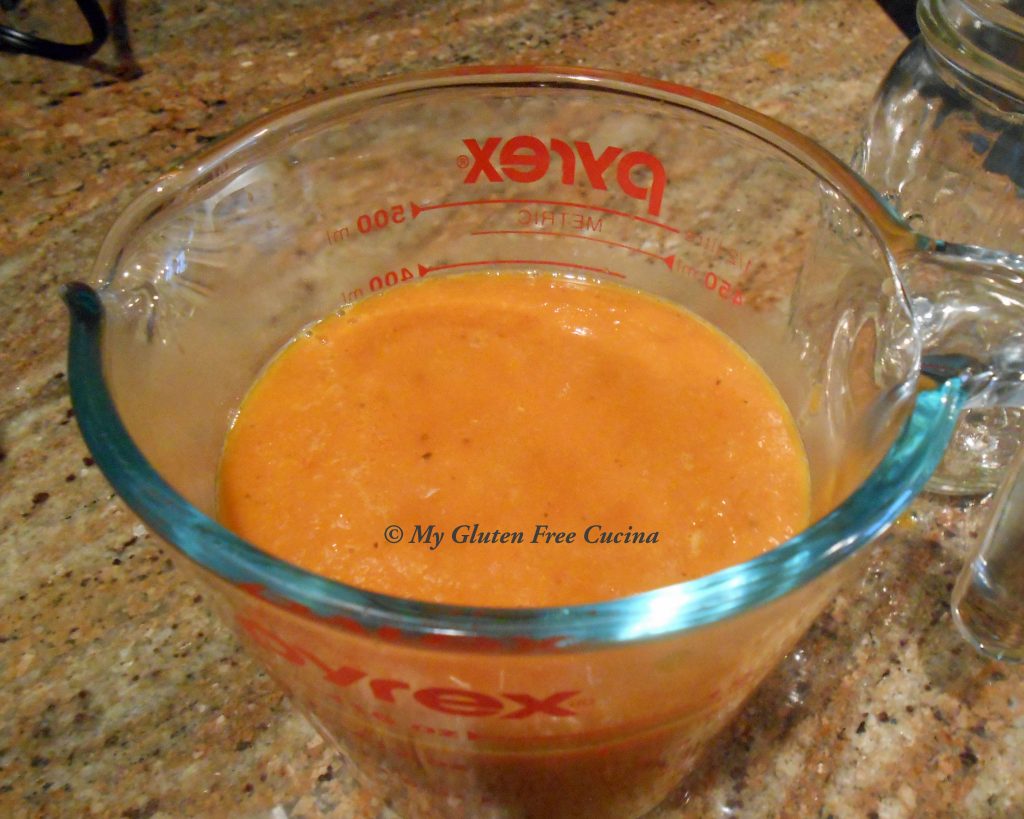
My tomatoes yielded just under 2 cups of sauce.  It really gives you an appreciation of how many tomatoes are needed to fill a large sauce can.

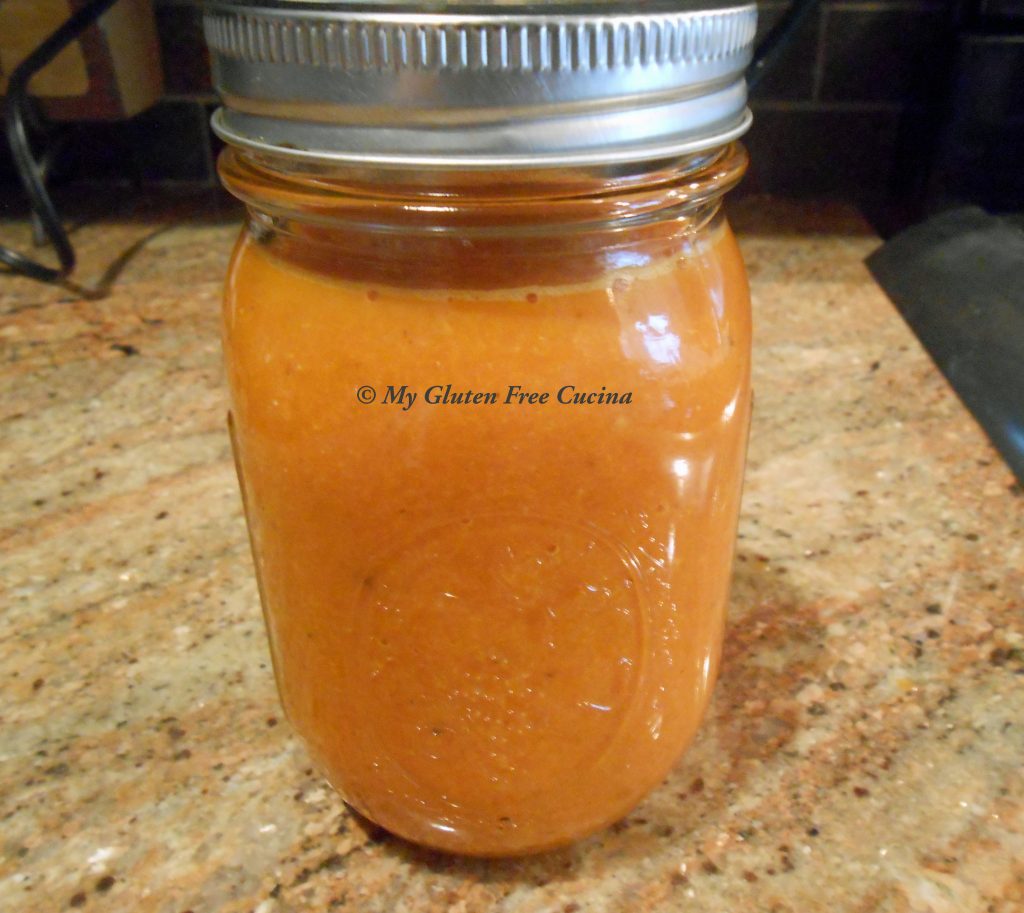
So now my roasted tomato sauce is in the refrigerator waiting to become part of another meal (check it out here)!

Notes ♪♫ Canned tomatoes are one of the few processed foods that I indulge in.  My mother always used Hunts Sauce and I prefer it to this day, maybe because of the memories it brings.  Muir Glen is another favorite brand, especially their Fire Roasted Tomatoes which by the way are a fine stand-in for this very recipe!

Print This Post Print This Post