
Gluten Free Chicken Tenders Saltimbocca

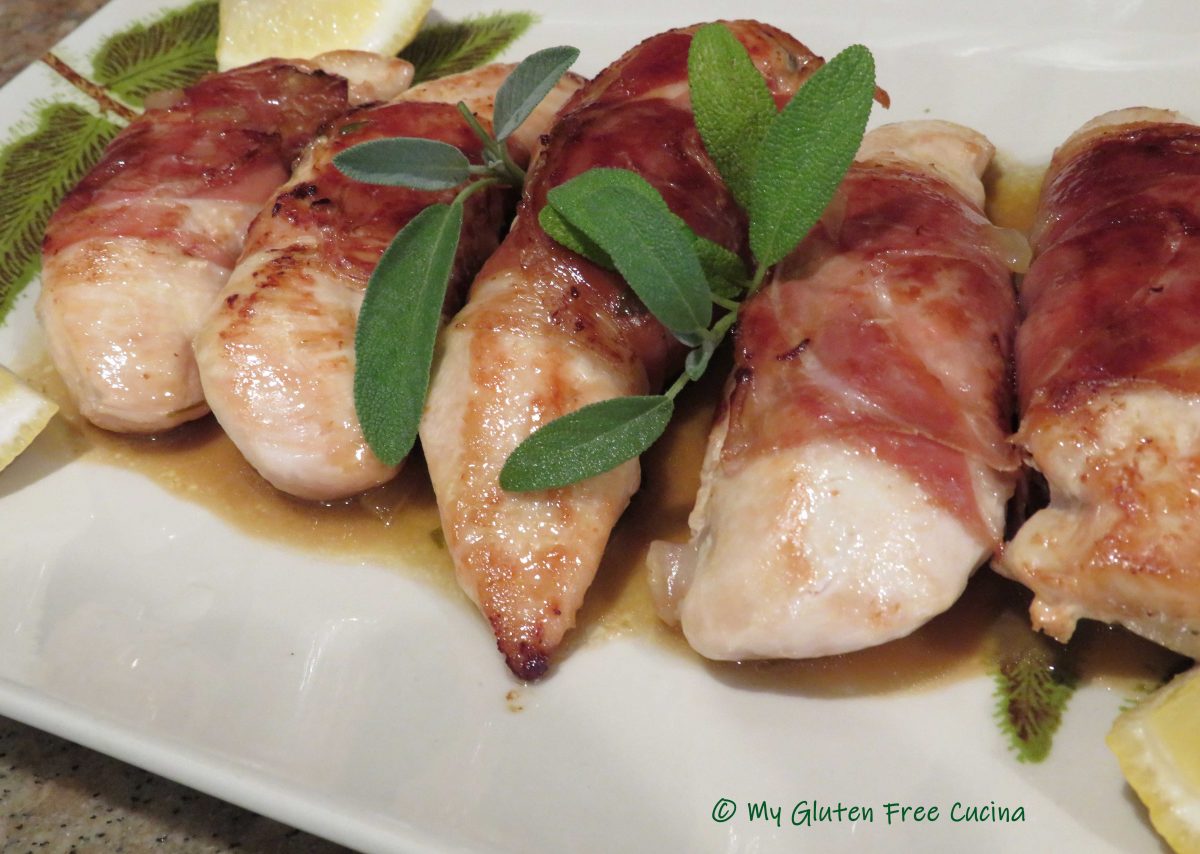
Saltimbocca is one of those restaurant classics that I have had on my recipe bucket list.  It can be made with chicken or veal; I’ve even had it as an appetizer with jumbo shrimp!  Today though, I’m keeping it simple.  I’m using chicken tenders, easy on the pocketbook and easy on the prep!  Each tender is wrapped in prosciutto with a beautiful fresh sage leaf tucked in.  The bundles are then simmered in a sauce made with shallots, chicken broth, lemon and wine.
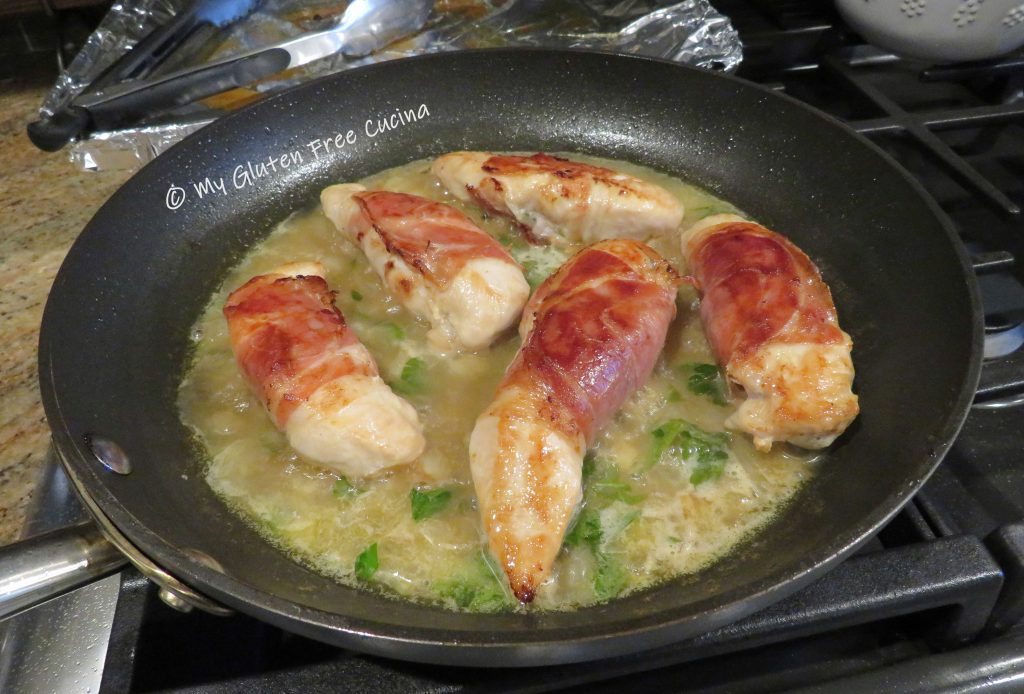
The inspiration for this post was a beautiful pot of sage from my herb garden.  I’m really proud that I grew it from seed!

Fresh sage is really the star of this dish, really different than dried!  If you don’t have an herb garden look for it at the market.

This post contains affiliate links.
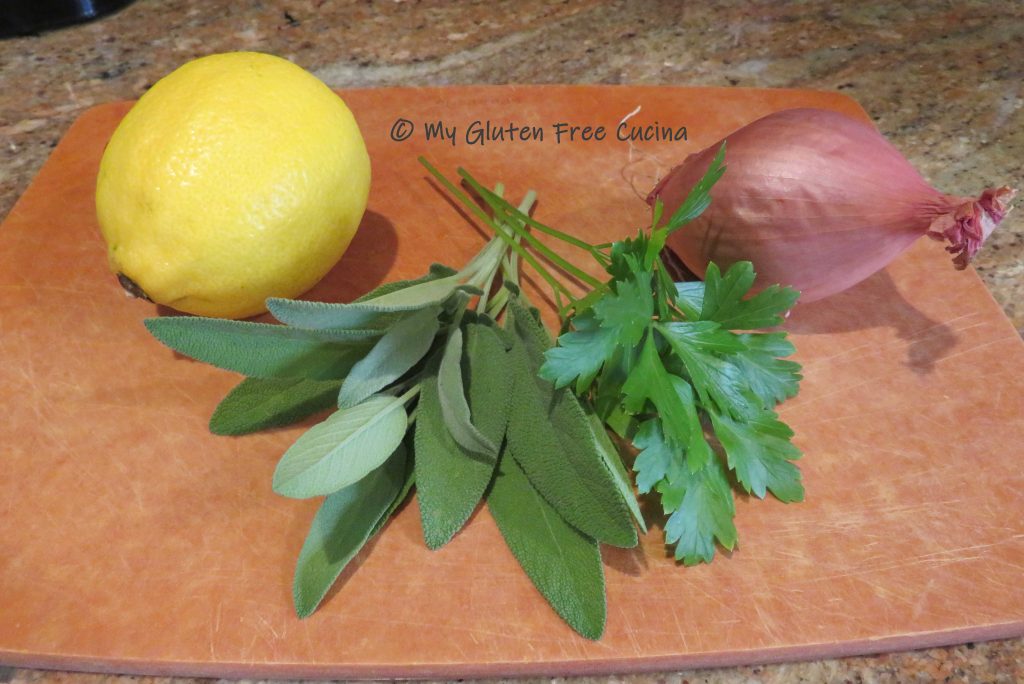
Ingredients:

  • 1 lb. chicken tenders, 5-6 pieces
  • fresh ground pepper
  • fresh sage leaves, whole plus 2 tbsp. minced
  • 6 slices of prosciutto, or 1 per tender
  • 2 tbsp. olive oil, divided
  • 1 shallot, chopped fine
  • 1 tsp. corn starch
  • 1/2 cup gluten free lower sodium chicken broth
  • 1/3 cup white wine (I used pinot grigio)
  • 2 tbsp. unsalted butter, divided
  • juice of 1/2 lemon
  • remaining half lemon, cut into wedges for serving

Preparation:

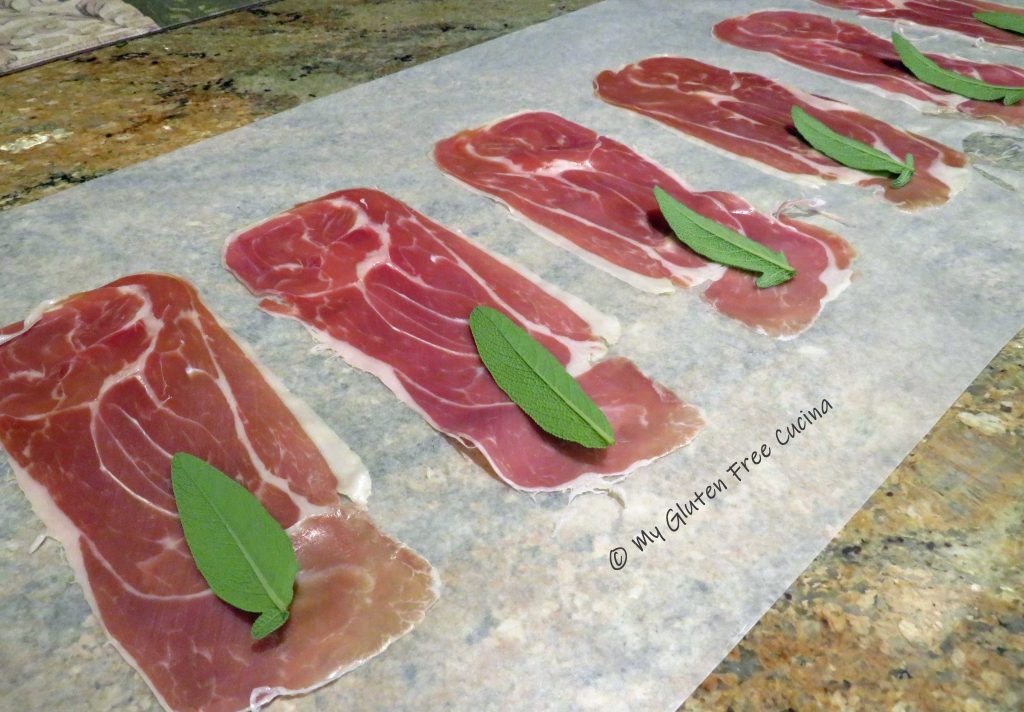
Line your counter with wax paper and lay out the prosciutto slices.  Place one whole sage leaf on the lower half of each slice.
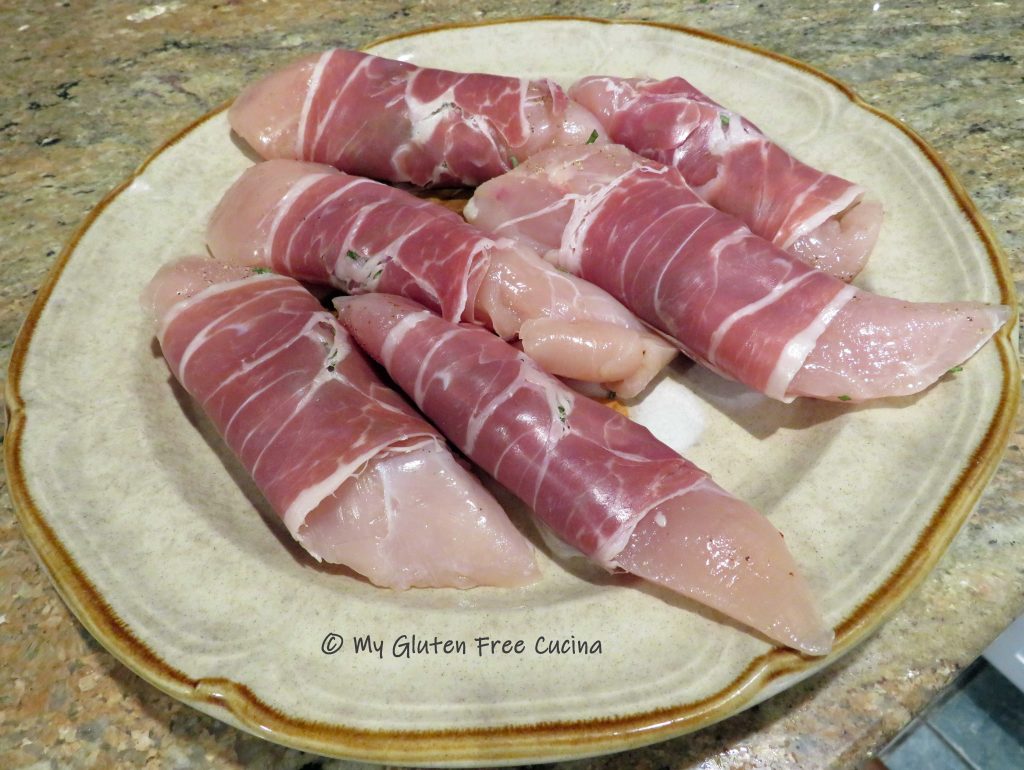
Place one chicken tender on each sage leaf.  Sprinkle with the minced sage and fresh ground pepper.

Roll each into a bundle.
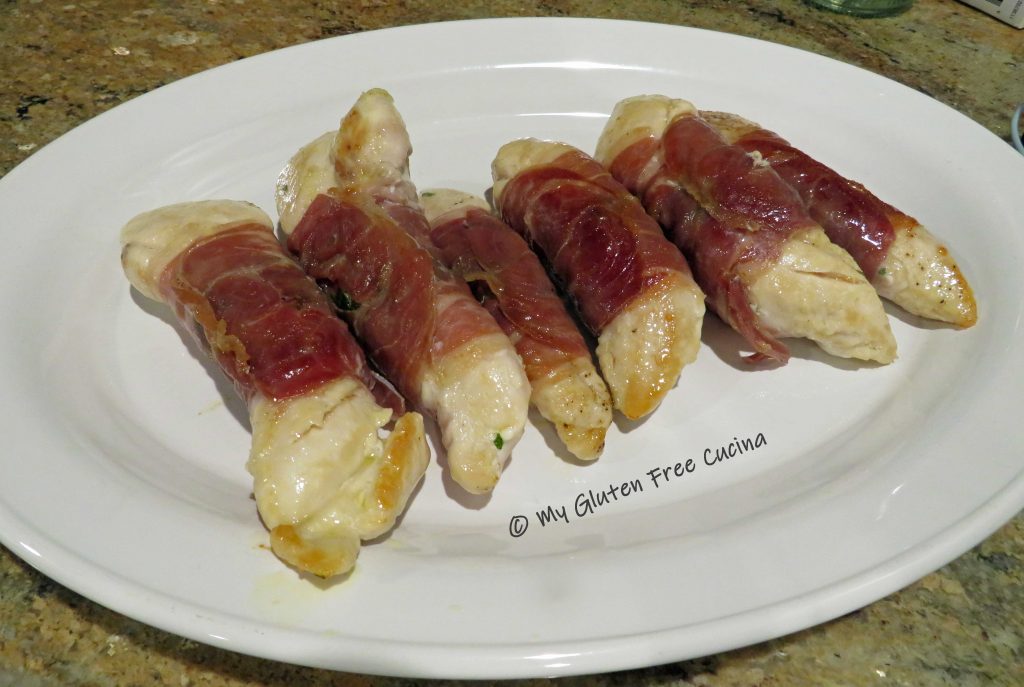
Heat a large nonstick skillet with 1 tbsp. each of butter and olive oil.  Place the bundles seam side down in the skillet and cook for about 8 minutes, turning halfway through.  See how searing the prosciutto has sealed the bundles, no toothpicks or twine needed!

Transfer the tenders to a platter while you make the sauce.
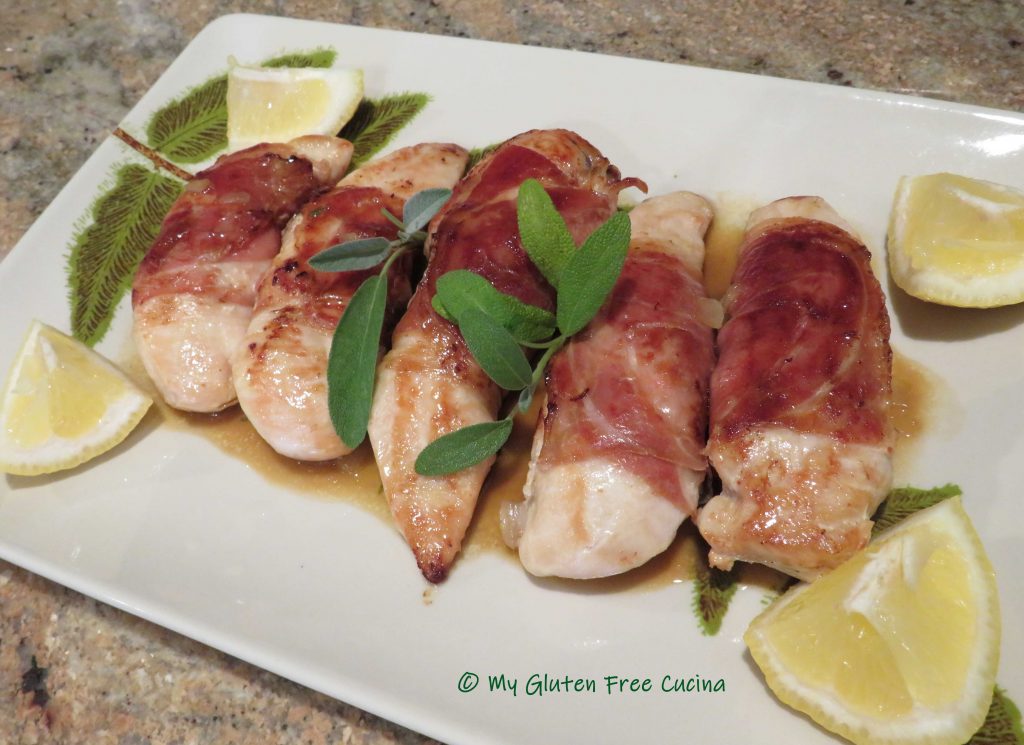
Add 1 tbsp. of olive oil to the skillet and stir in the shallots.  Cook for 1 minute.  Whisk in the corn starch for about 30 seconds.  Stream in the broth and the wine.  Bring to a simmer, then finish with the butter, lemon juice and parsley.  When the butter has melted, return the chicken to the skillet.  Toss with the sauce, then cover and cook several minutes longer to heat through.

Transfer to a serving dish and spoon sauce over the top.  Garnish with fresh sage and lemon wedges.
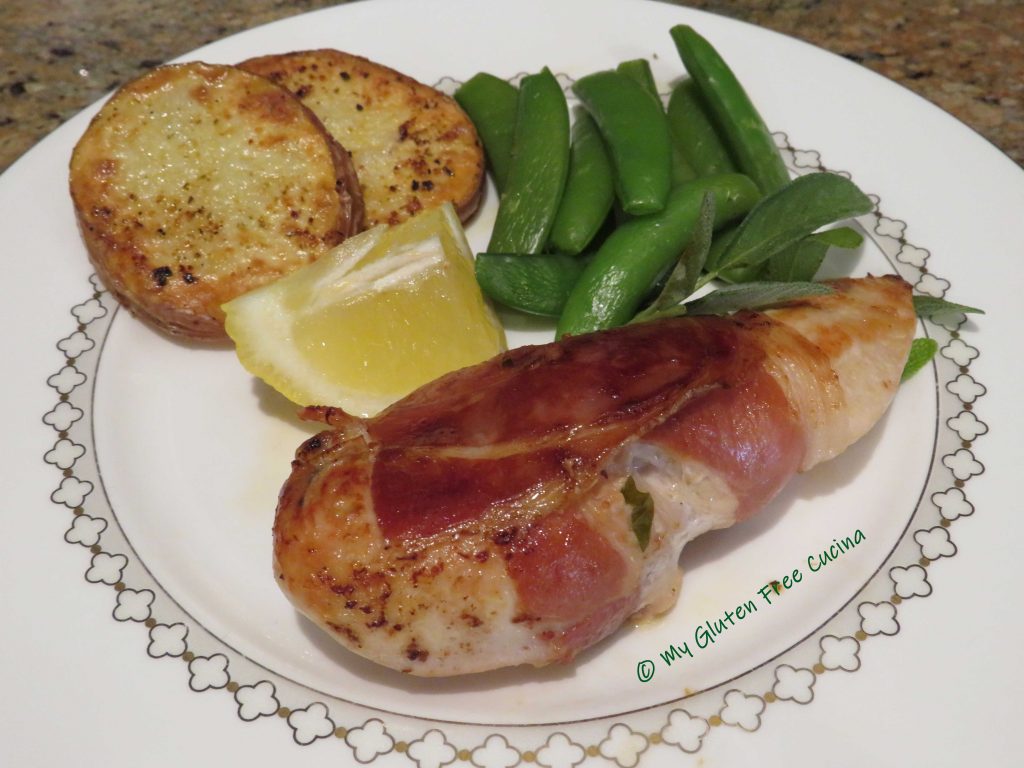
I served it with roasted potato slices and sugar snap peas.  So simple and delicious!  This recipe is proof you can still enjoy traditional Italian favorites on the gluten free diet!
Notes ♪♫ Since the prosciutto in this recipe has plenty of salt, I did not add more to the recipe.  If you aren’t limiting sodium, then sprinkle away! 

[print_link]
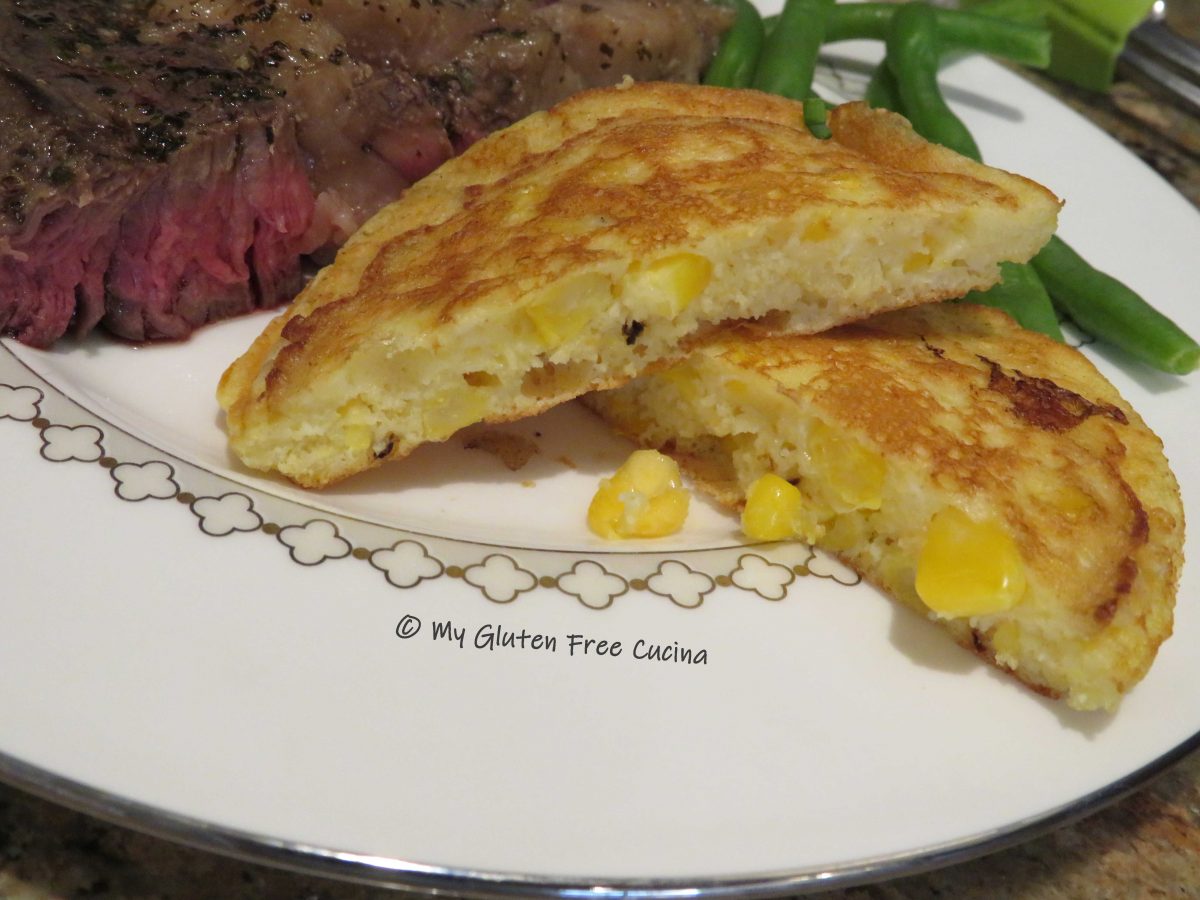
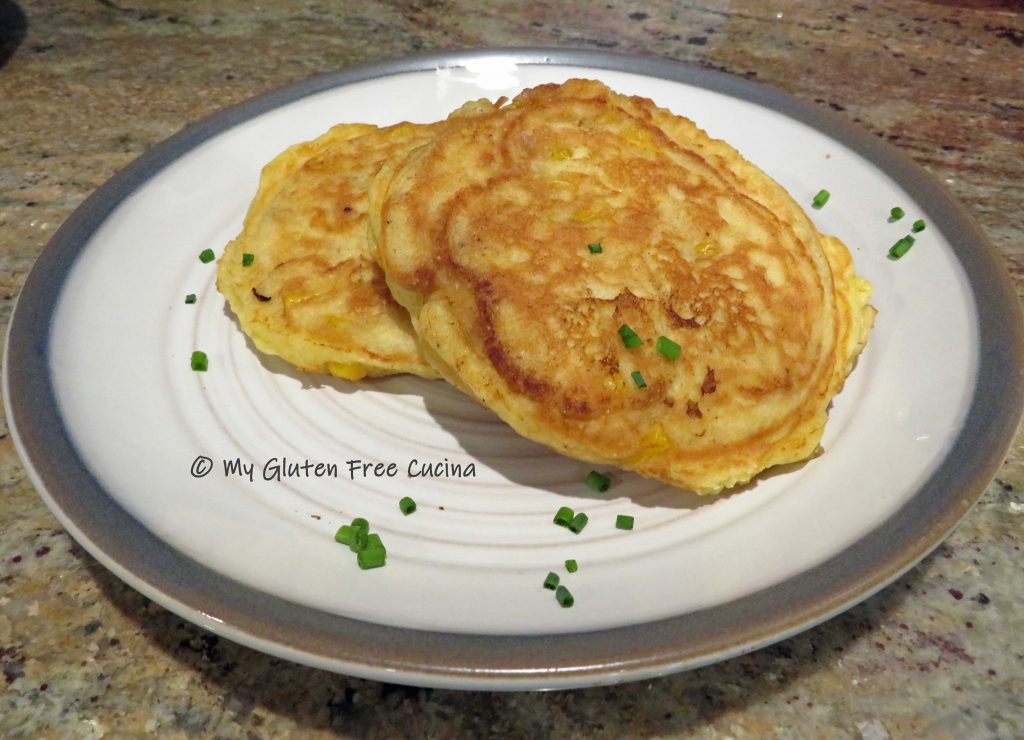
Gluten Free Corn Cakes

Are you tired of the usual rice and potato sides?  When you’re gluten free, it can really get monotonous.  So, one night I thought I’d try something different.  Popular in the South, I had (can you believe) never had corn cakes before.  I just made a small batch to taste, and wow, they were good!

Corn Cakes would be a fun and easy side for a BBQ dinner or potluck.  You can easily double or triple the recipe, and add more or less spice to suit your family’s taste.  Making them gluten free was easy, just by swapping out the flours.

This post contains affiliate links.

4 Servings

Ingredients:

Preparation:

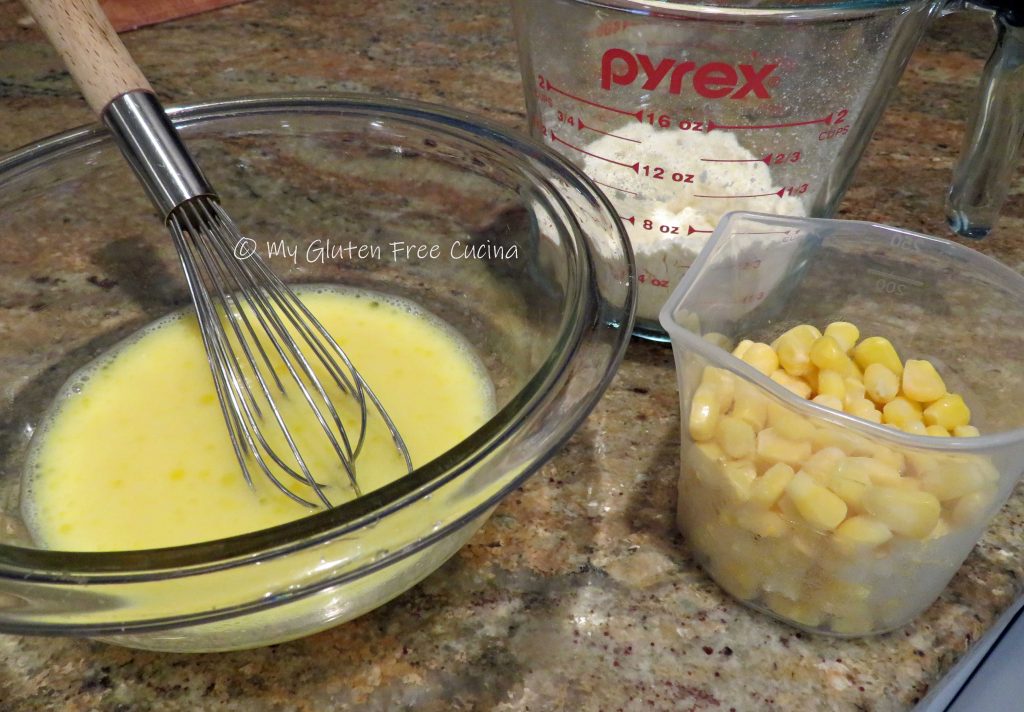
Whisk together the flour, corn meal, salt, baking powder and seasoning.  In another bowl, whisk the egg, milk and oil.

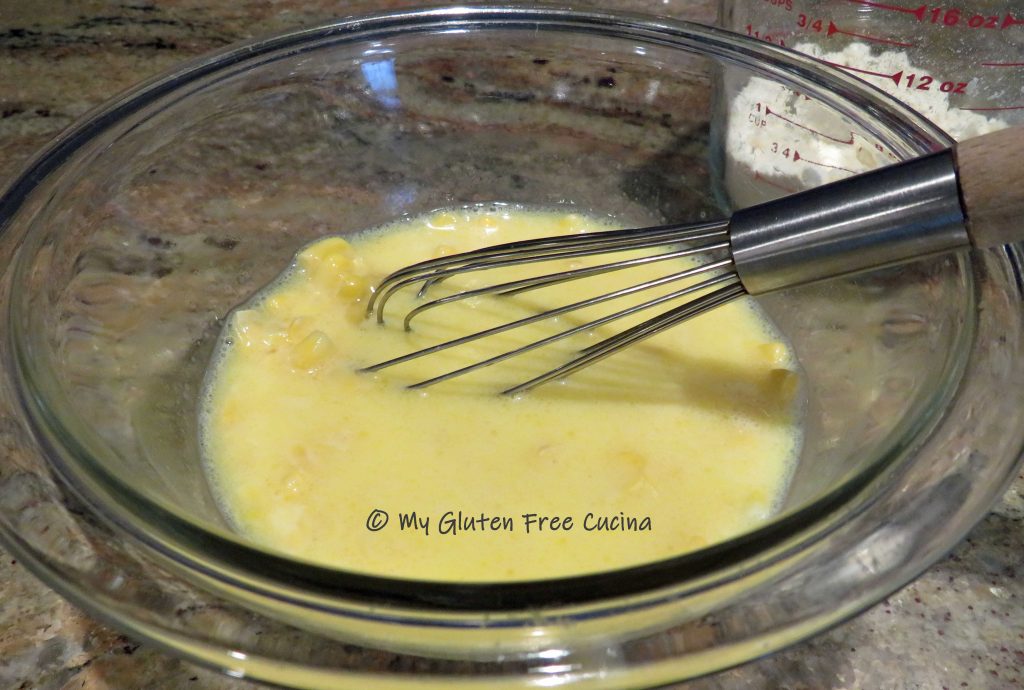
I took my corn kernels out to defrost about 30 minutes earlier.  Stir them into the egg mixture to finish thawing while you heat your griddle or skillet.

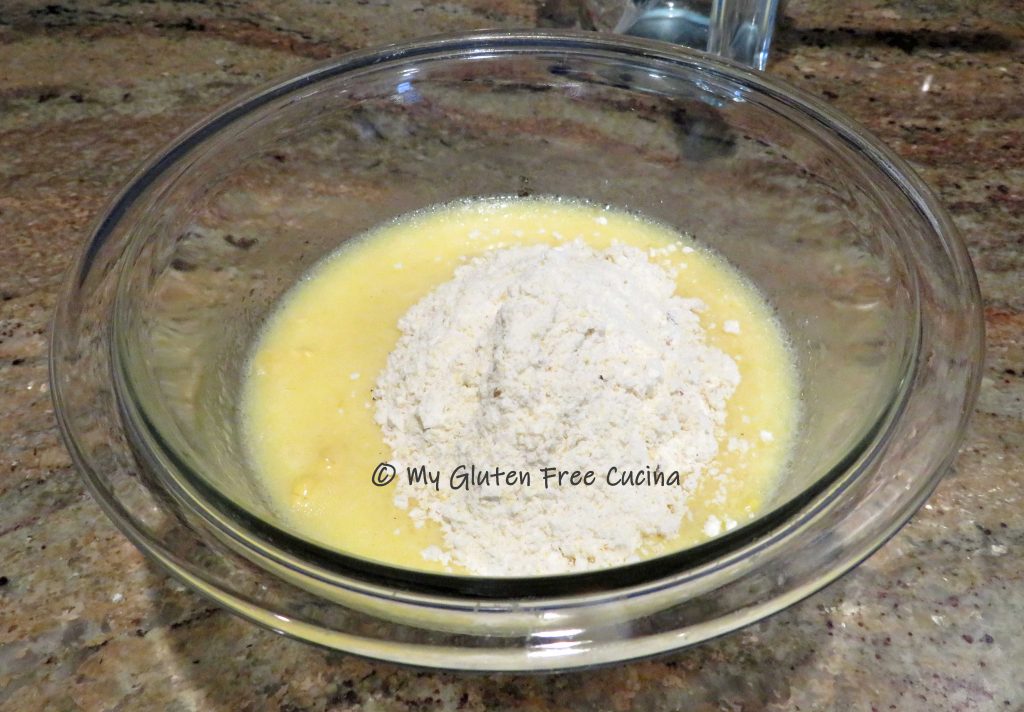
Stir the dry ingredients into the wet.  You will have about 1 of cup batter.

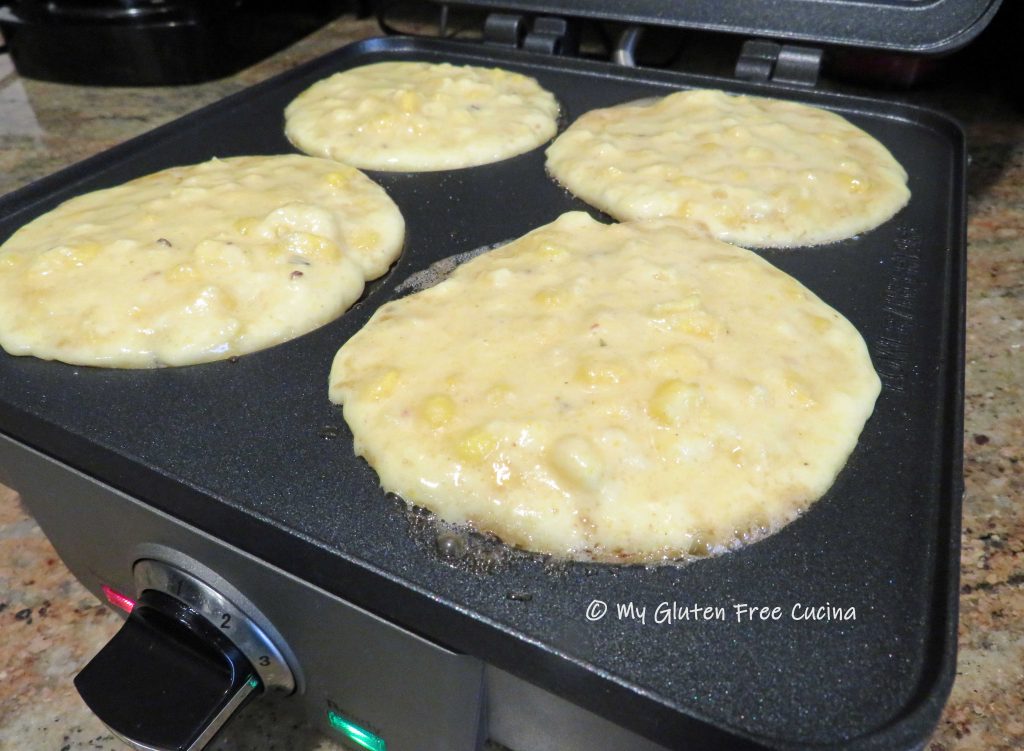
When I first tested this recipe, I used a large nonstick skillet.  Today I made them on my new waffle maker because I wanted to try out the pancake plates.  I preheated it to 350° and brushed with butter.  I ladled the batter into the 4 pancake cups, about 1/4 cup each.
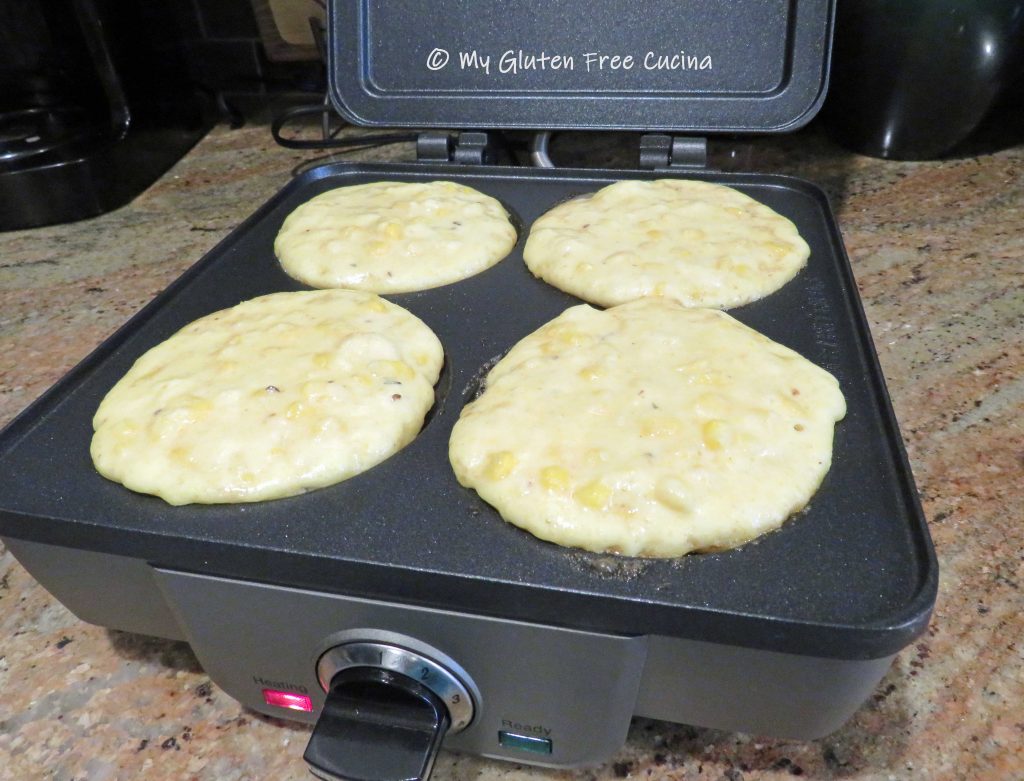
Cook them for about 4 minutes, until the bottoms are set and you can see a few bubbles in the batter.

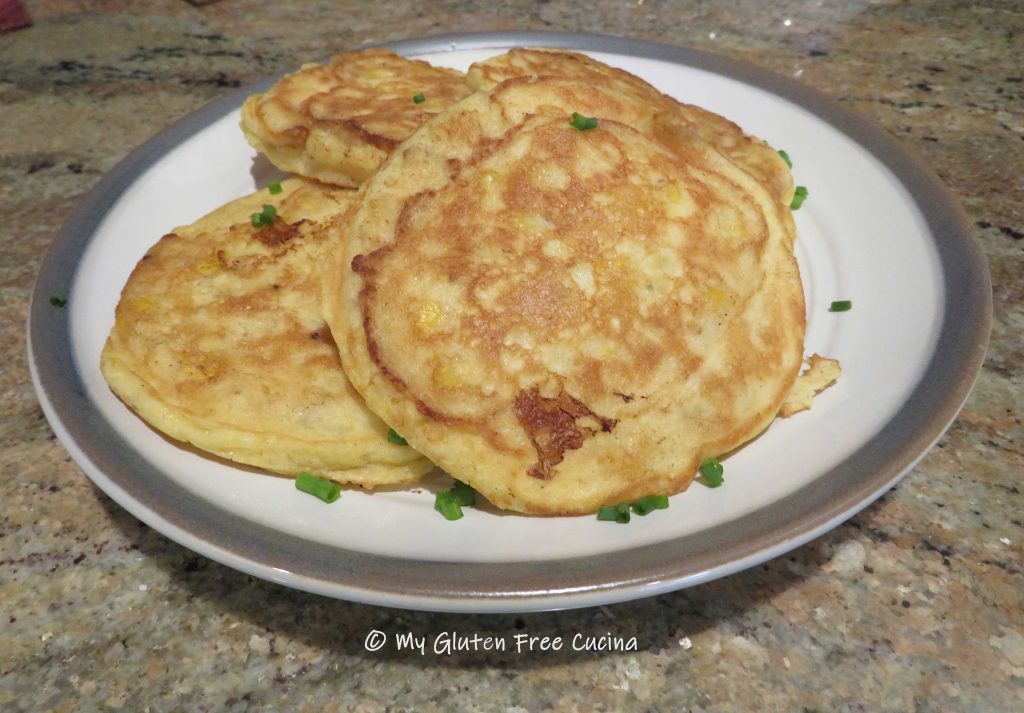
Carefully turn them over with a spatula and cook 3-4 minutes longer.

Check the center with a toothpick, if it comes out dry, they are done.  Serve hot or at room temperature.

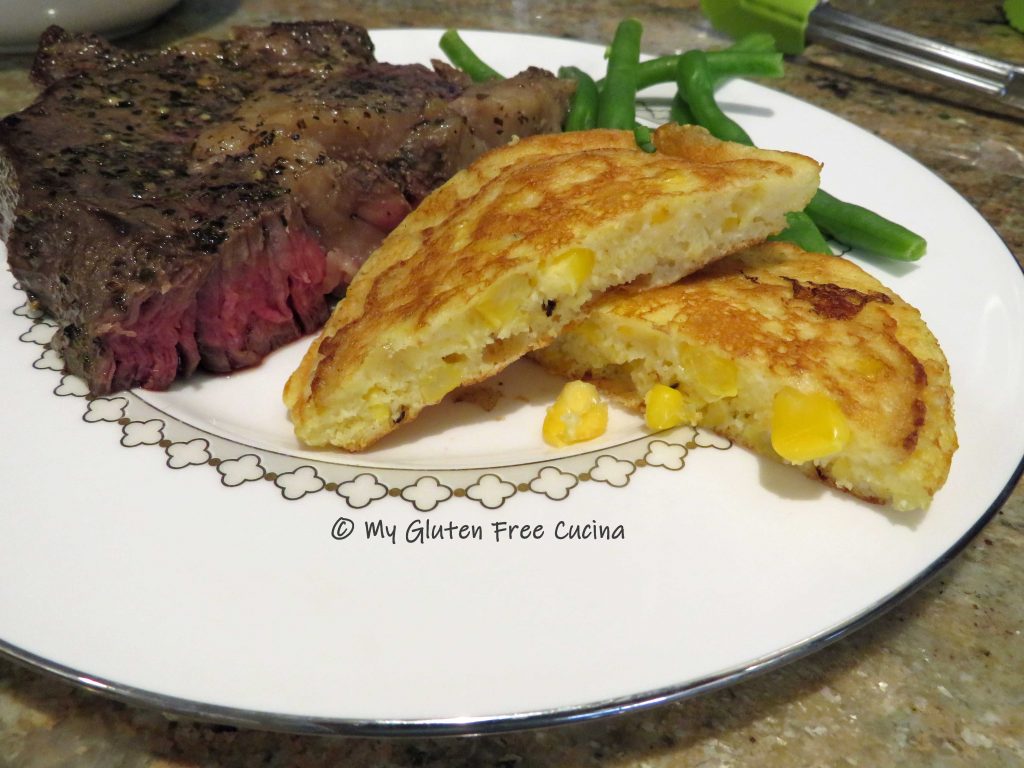
This is a fun side that goes with so many things, from your favorite BBQ fare to a casual steak dinner.

Notes: ♪♫ I used this Mexican Spice Blend to kick up the flavor of my corn cakes.  Made with Chipotle Chile, cumin, onion powder and oregano, it is a salt free blend with some heat!  Since the recipe already has salt and baking powder, I didn’t want to add more sodium.  If salt isn’t an issue for you, you can sub your favorite gluten free seasoned salt and make it as mild or spicy as you like!

[print_link]

Gluten Free Veal Piccata

I wrote this post a few years ago, it was inspired by a meal that I had at a local restaurant.  I don’t eat out very often, so this was a real treat.  Of course, the restaurant had gluten free options, and in fact most of the menu could be made gluten free upon request.  I ordered the Veal Piccata that night, and it was SO good!  I enjoyed every single bite, and from that moment I was determined to recreate the meal at home.  Here is my version and I dare say it was just as good as the restaurant!

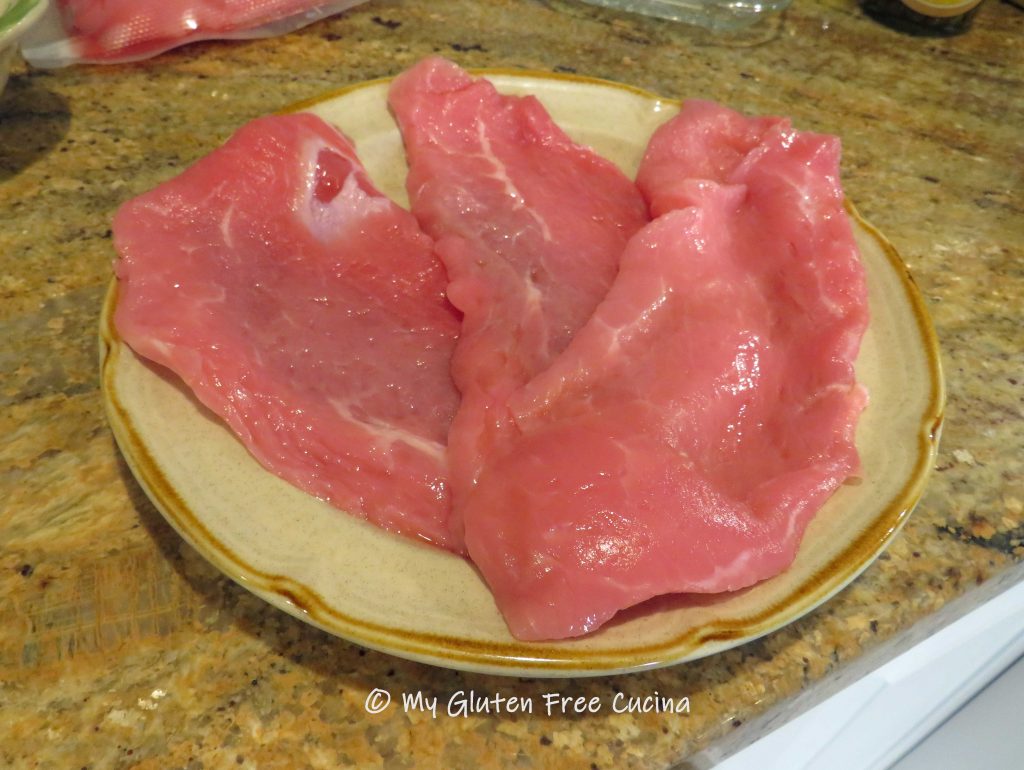
I am fortunate to live in an Italian neighborhood, where thin sliced veal cutlets are readily available at local markets.  This is a huge time saver, since I did not have to pound the cutlets to the right thickness.  Look for veal cutlets that are 1/4″ thick, or you can place them between 2 sheets of plastic wrap and pound them with a meat mallet.  If veal is not available where you live or just not in your budget, you can make this recipe with chicken.

4 Servings

This post contains affiliate links.

Ingredients:

  • 16 oz. thin sliced veal cutlets
  • 1/4 cup white rice flour
  • fresh ground pepper
  • 2 tbsp. olive oil + more as needed
  • 1/2 cup gluten free chicken stock
  • 1/4 cup white wine (I used pinot grigio)
  • 1 lemon, divided use
  • 4 tsp. capers
  • 1 tbsp. butter
  • 1 tbsp. fresh Italian parsley

Preparation:

Divide the lemon in half, cut one half into slices for serving and reserve the other half for its juice.

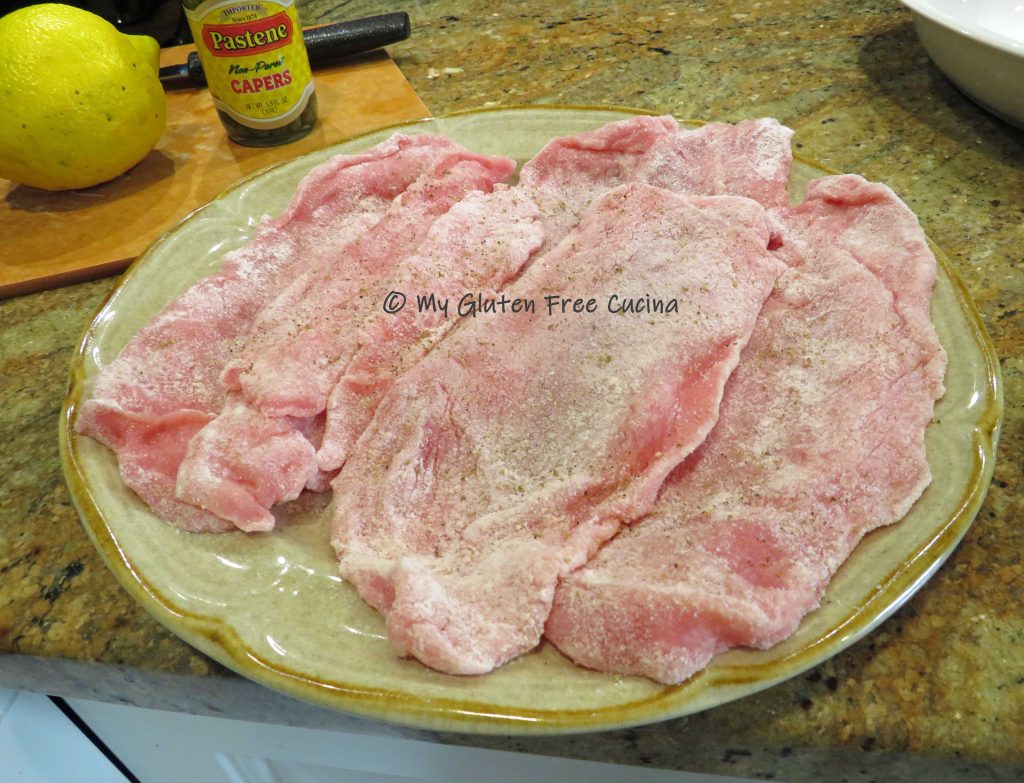
Pat the cutlets dry.  Dredge them in rice flour, shaking off the excess.  Season with fresh ground pepper.

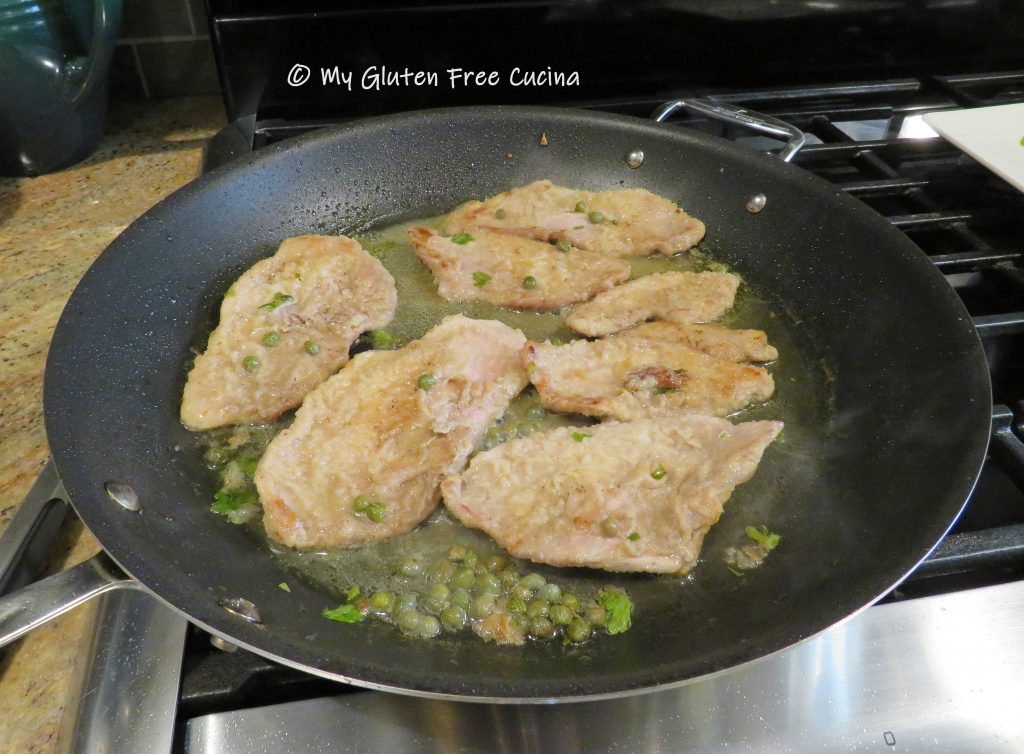
Heat olive oil in a large nonstick skillet.  Cook the cutlets 2 minutes per side in a single layer.  Cook in 2 batches if needed.

Set the cutlets aside on a serving platter while you make the sauce.  Add the stock, wine and lemon juice to the skillet and bring to a boil.  Simmer 1 minute, then add the capers, parsley and butter.

Stir to cook 1 minute longer, then return the veal to the pan and heat through, turning once.

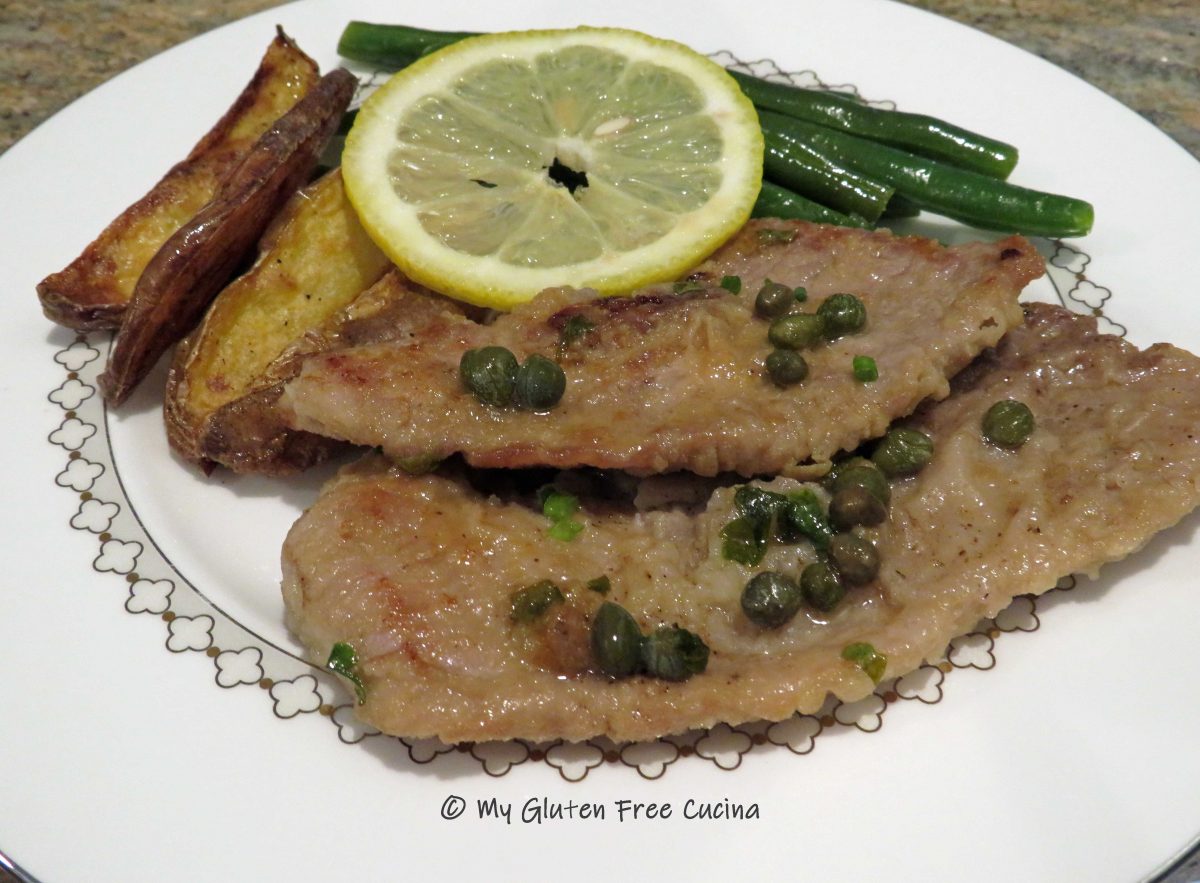
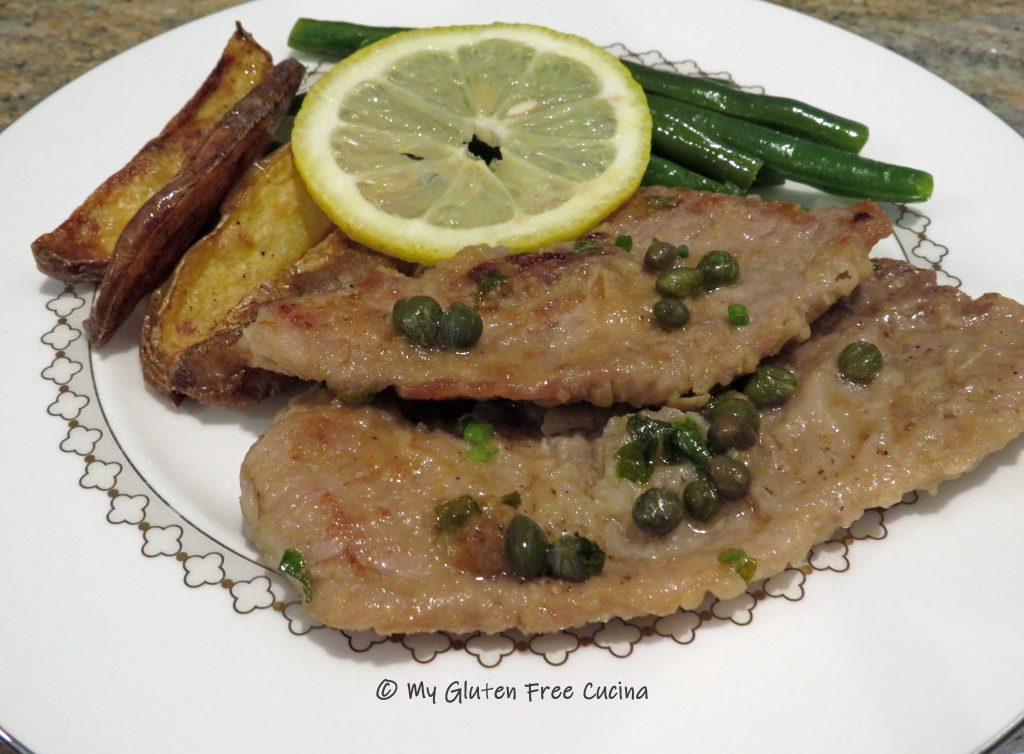
Plate the cutlets and spoon some of the pan juices over the top.

Serve with lemon slices.

Notes ♪♫ I copied my restaurant meal right down to the sides- roasted potato wedges and garlic green beans.  I’m so glad I did!  This recipe is perfect for date night or when you want to treat yourself to something special.

[print_link]

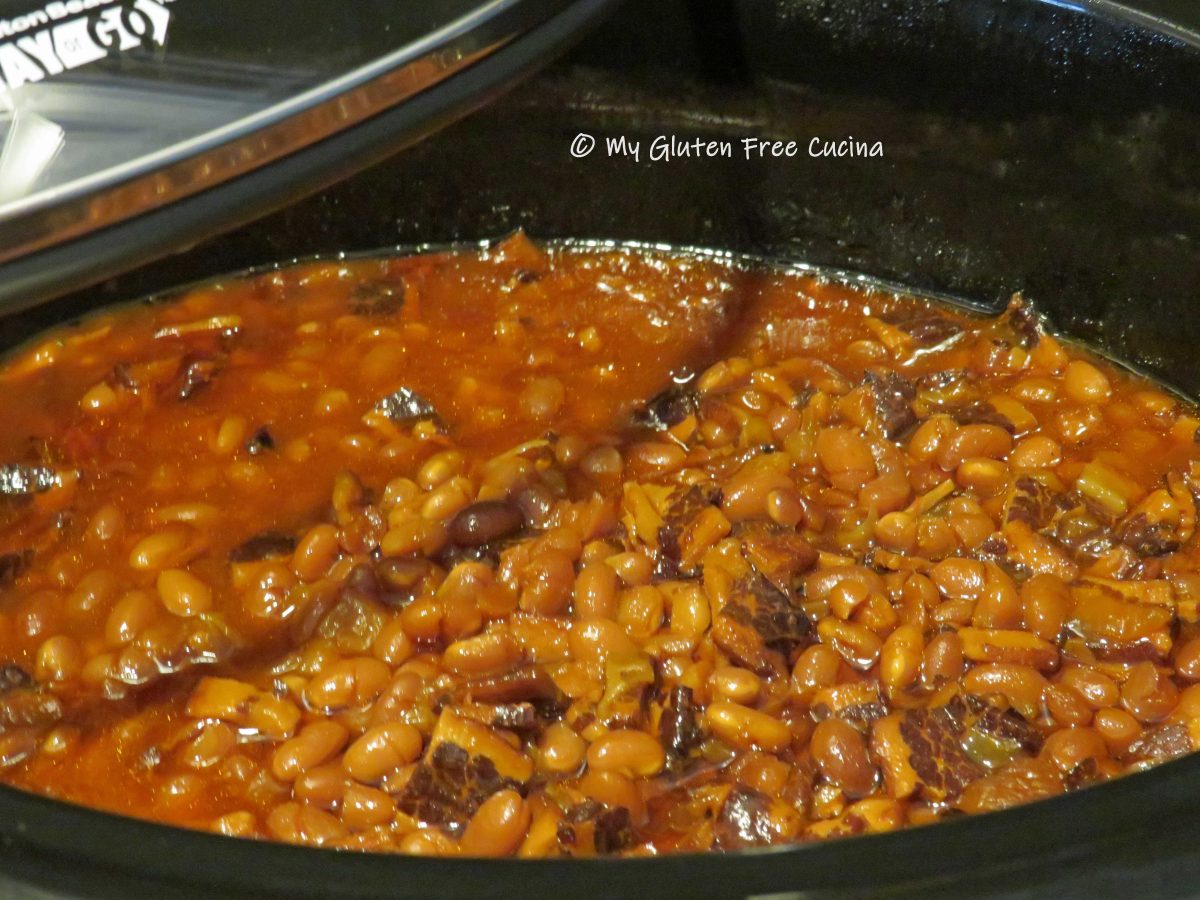
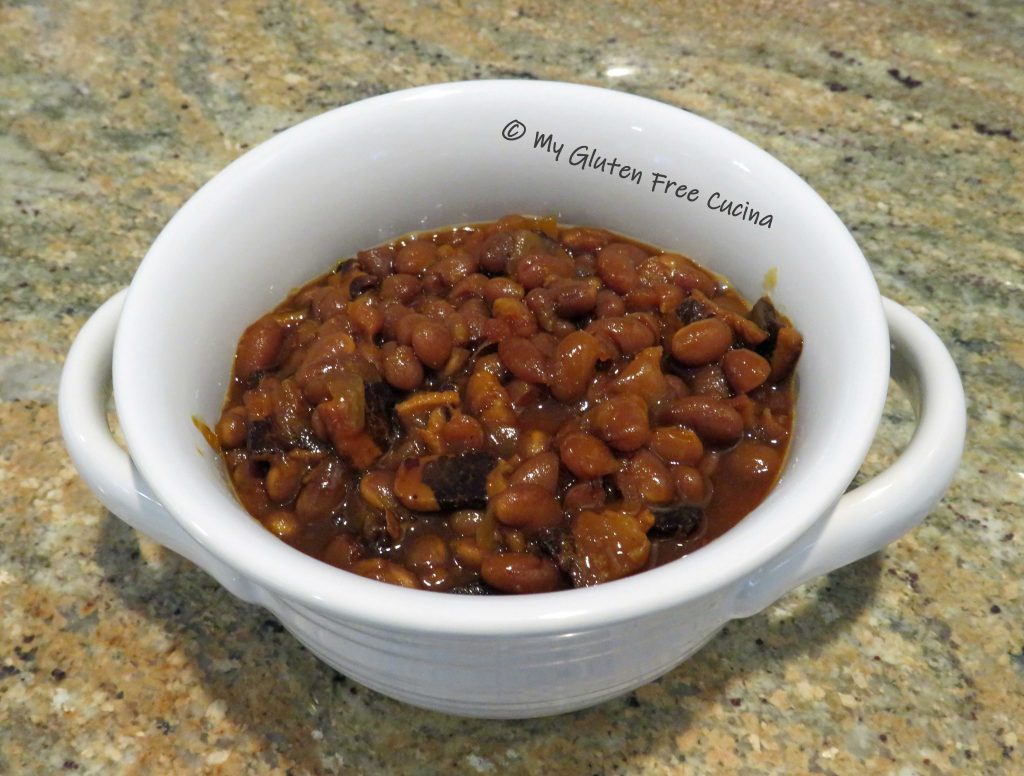
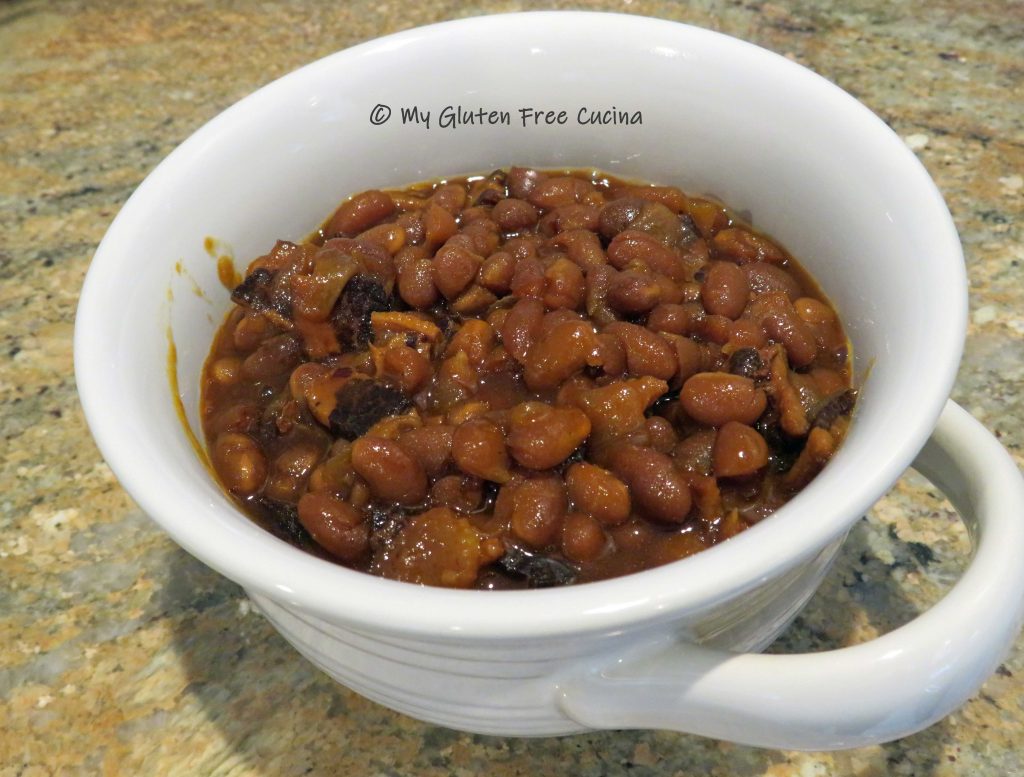
Slow Cooked BBQ Baked Beans

Be the star of your next cookout or potluck with these delicious, slow cooked beans.  The best part of the recipe, it cooks overnight!  This leaves you free to do other things the day of your event.  Be sure to have all of the ingredients on hand, to allow enough time for soaking and cooking, 24 hours total!  For best flavor and texture, don’t try to speed up the recipe.  Start soaking the beans in the morning, and prepare them for the crockpot in the evening.  You may find it hard to sleep, with all the amazing aromas coming from your kitchen!

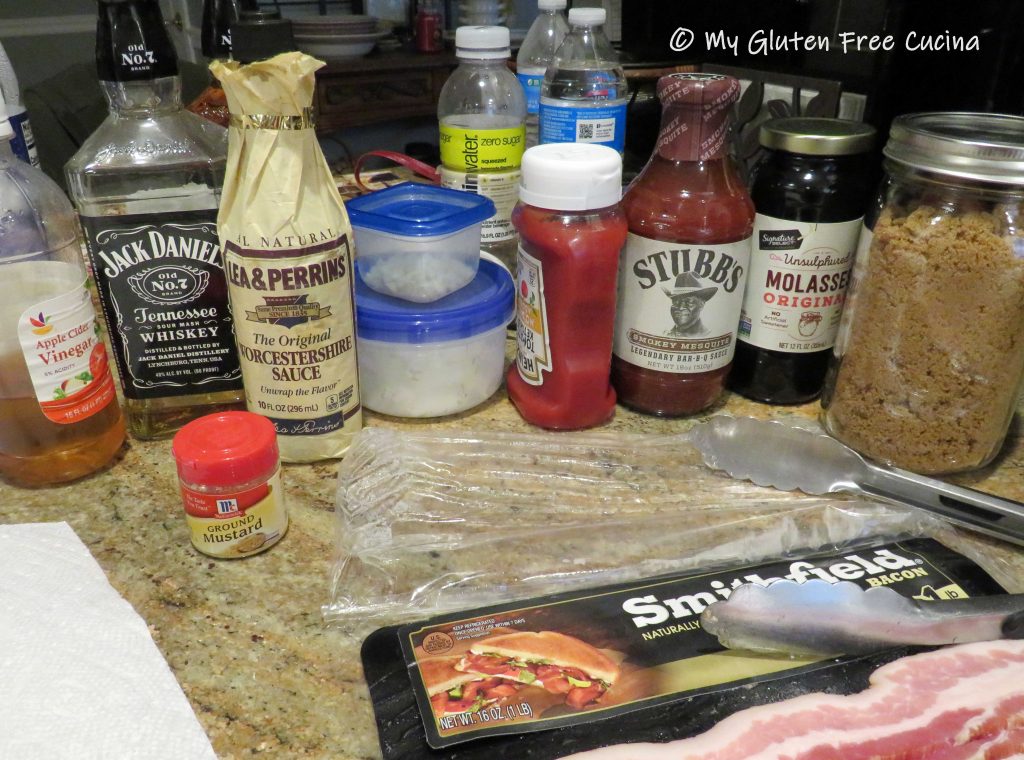
This is an old family recipe that I have adapted to be gluten free.  The biggest change was that I left out beer, and substituted an equal amount of club soda.  Other than that, I just had to check the ingredient labels on my bacon, BBQ sauce, ketchup and Worcestershire.  Are beans gluten free?  Yes, they are a naturally gluten free food!  I always give them a thorough rinse before cooking to be on the safe side, in case of cross contact during processing.

This post contains affiliate links.

Ingredients:

  • 1 pound bag of navy beans
  • 12 oz. package of gluten free, lower sodium bacon (I used Smithfield)
  • 1/2 Vidalia or sweet onion, cut into small dice
  • 3 garlic cloves, minced
  • 1 cup of club soda
  • 3/4 cup gluten free BBQ sauce (I used Stubbs Smoky Mesquite)
  • 1 cup dark brown sugar
  • 1/4 cup gluten free, unsalted ketchup
  • 2 tbsp. molasses
  • 1 cup of Jack Daniels Tennessee whiskey
  • 2 tsp. dry mustard powder
  • 1/4 cup apple cider vinegar
  • 2 tbsp. gluten free Worcestershire sauce
  • up to 1 cup of water, only if needed, to adjust thickness
  • cooking spray

Preparation:

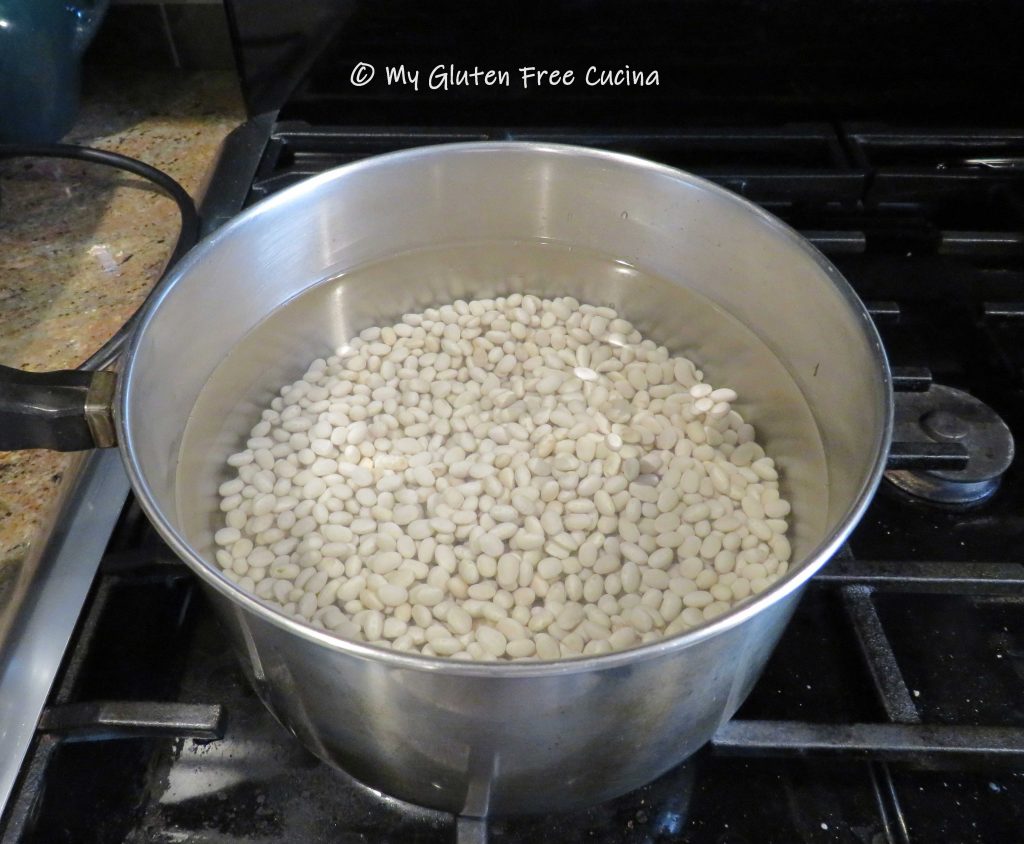
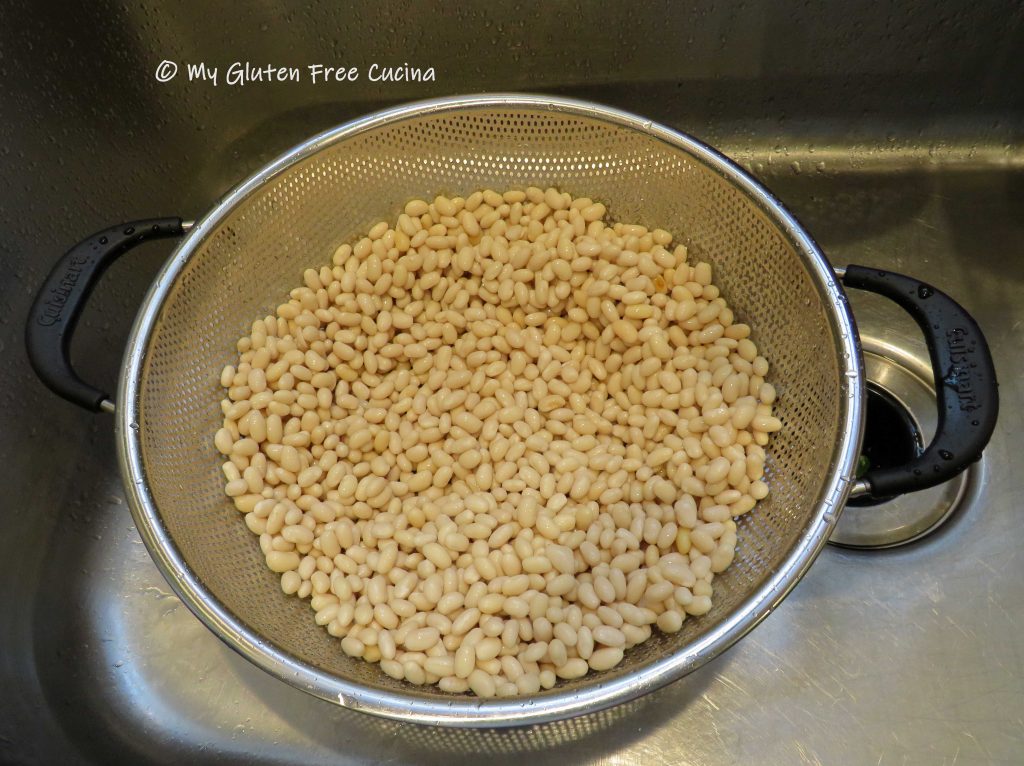
In the morning, place the beans in a saucepan and add at least 6 cups of cold water.  Cover and soak (no heat) for 10 hours.  For guaranteed tender beans, never salt the soaking water!

The beans will double or more in size.

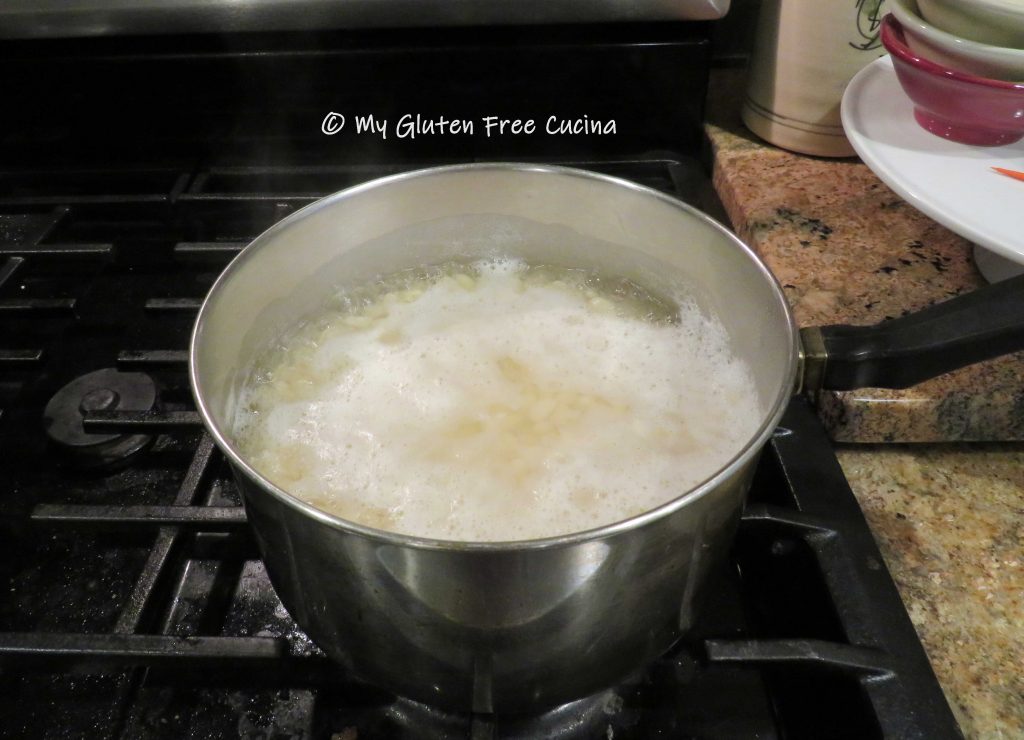
After 10 hours, drain the beans and rinse them thoroughly.  Return them to the pot, cover with water and bring to a simmer.  Cook for 30 minutes then drain and rinse again.

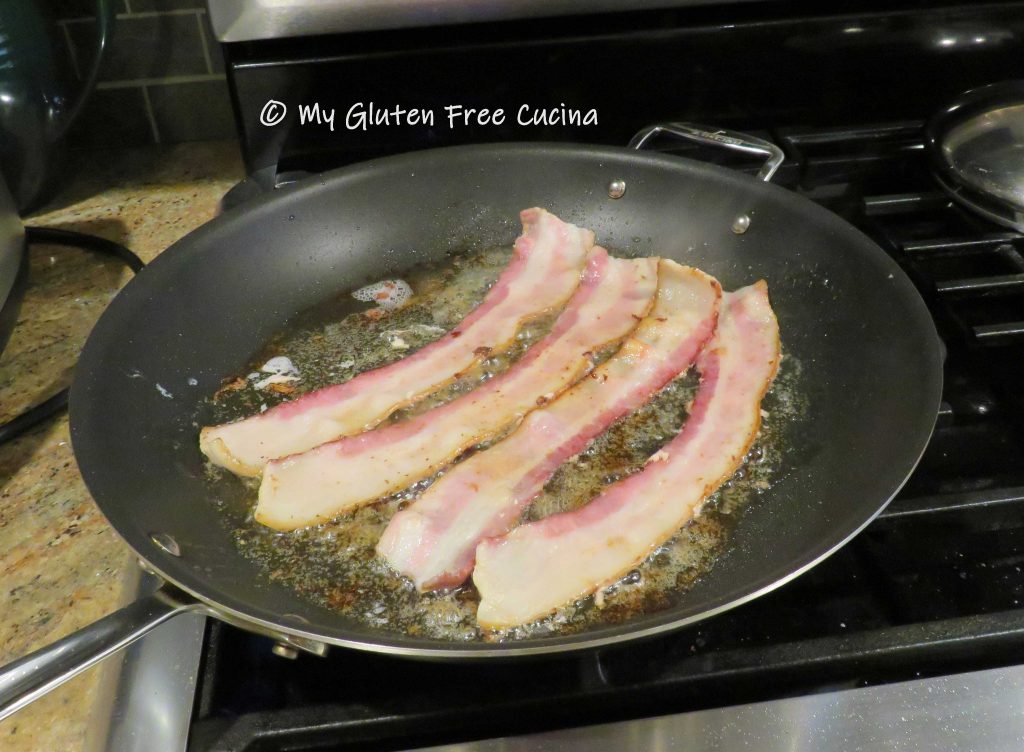
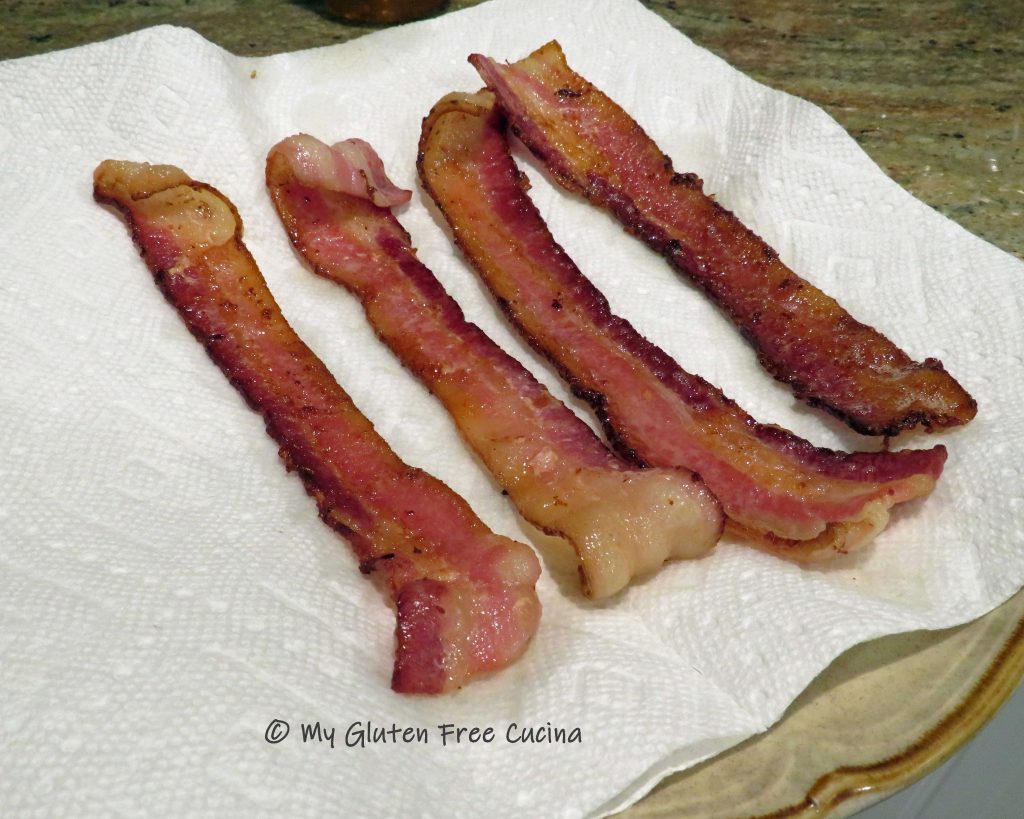
Set up your crockpot and mist it with cooking spray.  While the beans simmer, heat a large nonstick skillet and cook the bacon until crisp.  Drain on paper towels, then crumble or chop into 1/2″ pieces.

Skim the bacon fat and remove any burnt debris.  You should be left with a few tablespoons of clear fat in the pan.  Add the onions and cook just until lightly browned.  Add the garlic, stir for a few seconds then pour everything into the crockpot, fat included.

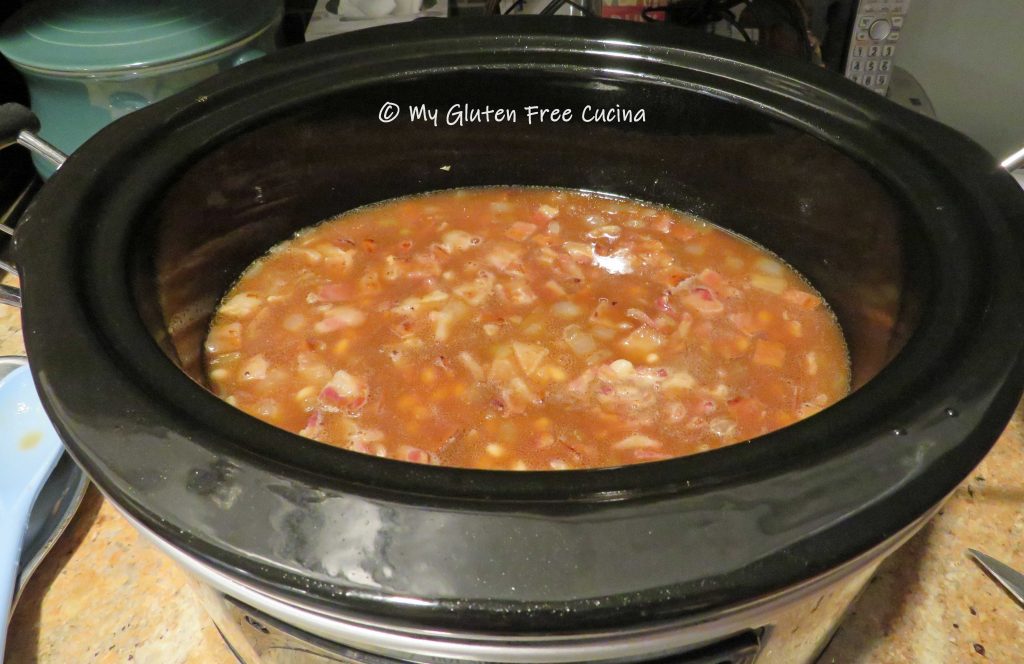
Add the club soda, sugar, ketchup, molasses, whiskey, mustard, cider vinegar and Worcestershire sauce to the crockpot and stir well to combine with the onion mixture.  Finally, stir in the drained beans and the chopped bacon.

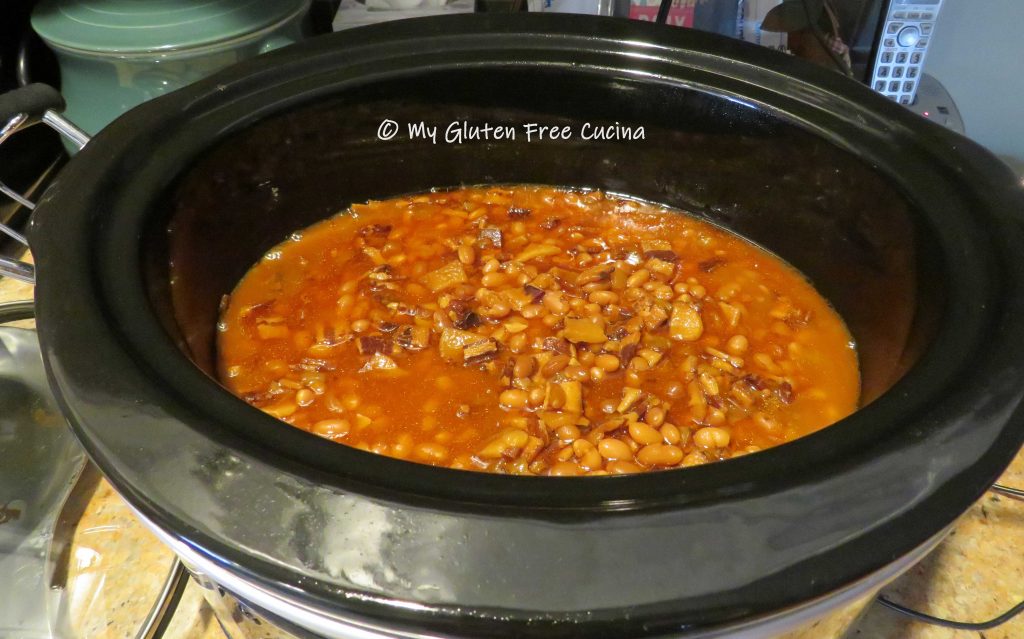
Cover and cook for 12 hours on low overnight.  Stir every 4 hours (or whenever you wake up) and check the consistency as the sauce thickens, if the mixture is too dry add a bit more water.

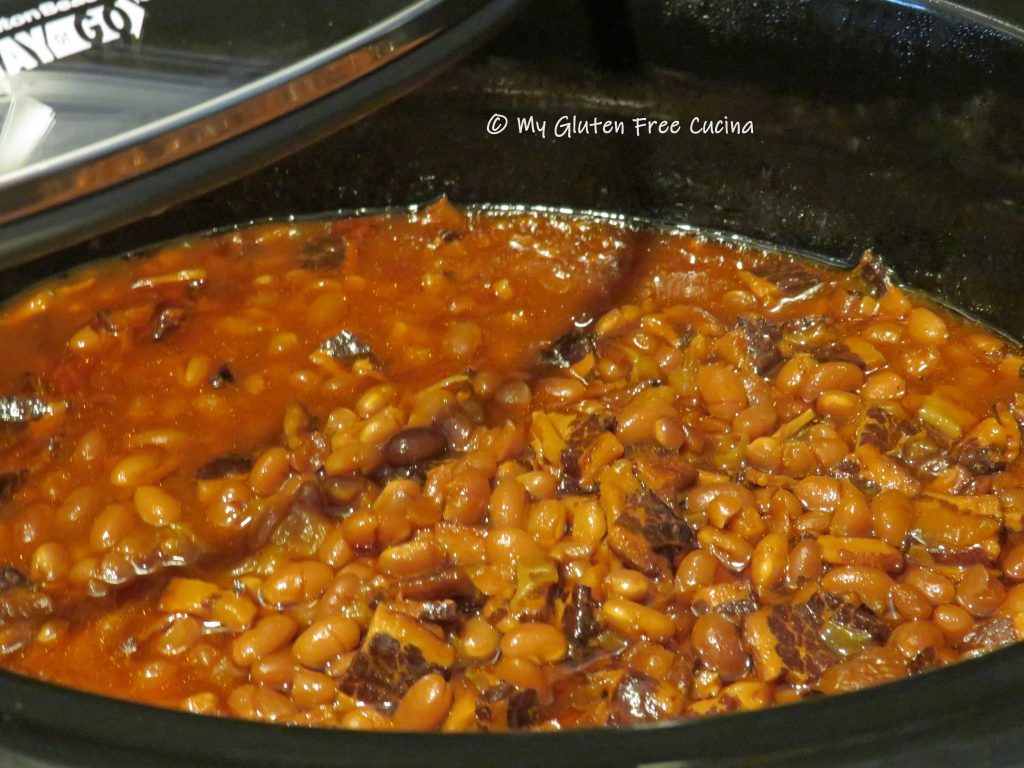
After 12 hours, set the crock-pot to keep warm.  Let the beans sit for 2 more hours on warm to finish absorbing the liquid.

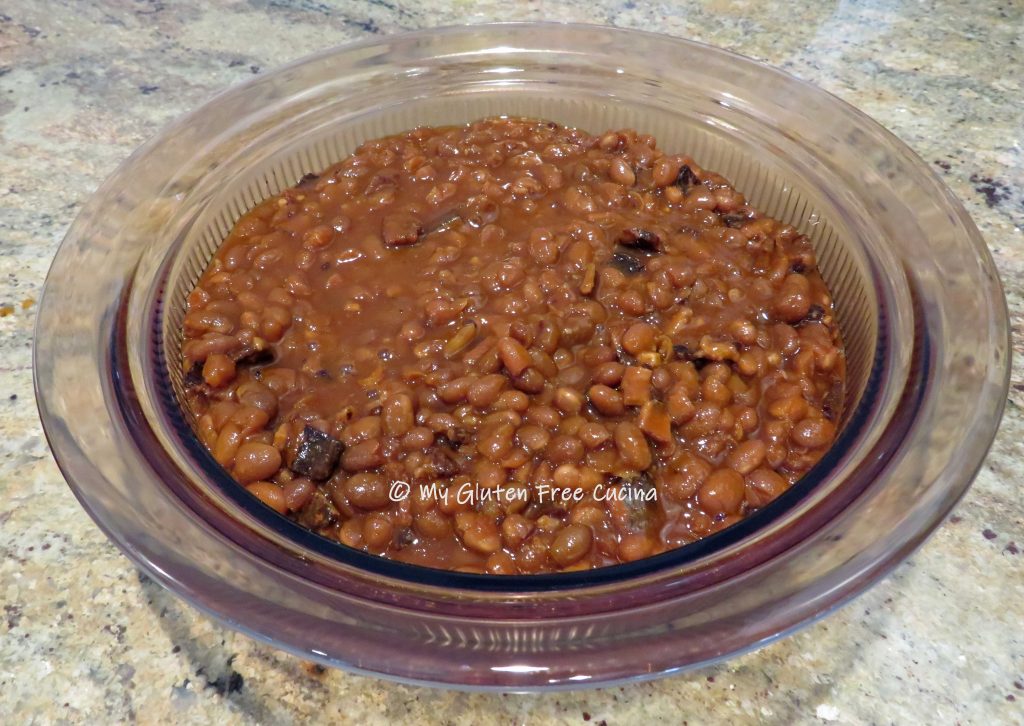
You can see why this recipe has become a family favorite!

You’ll get rave reviews when you make this dish!  I hope you will give it a try for your next family gathering!

Notes ♪♫ I opt for lower sodium ingredients wherever possible.  Given the amount of salt in the bacon, you will not notice if it is absent in some of the condiments.

[print_link]

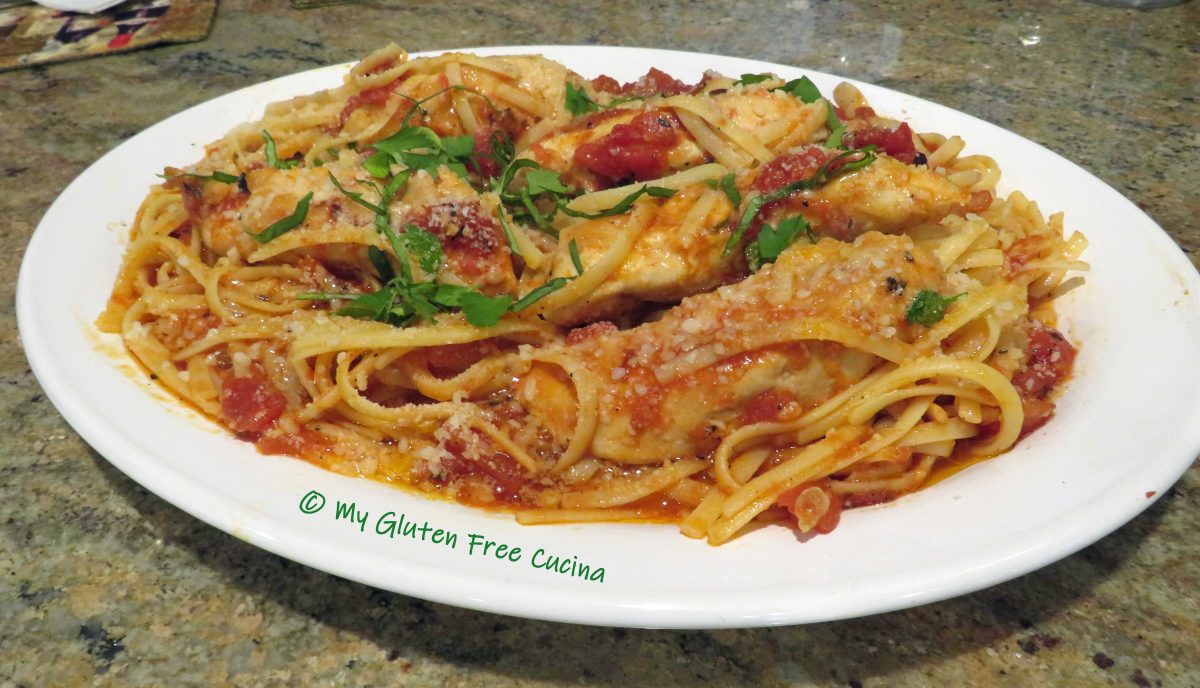
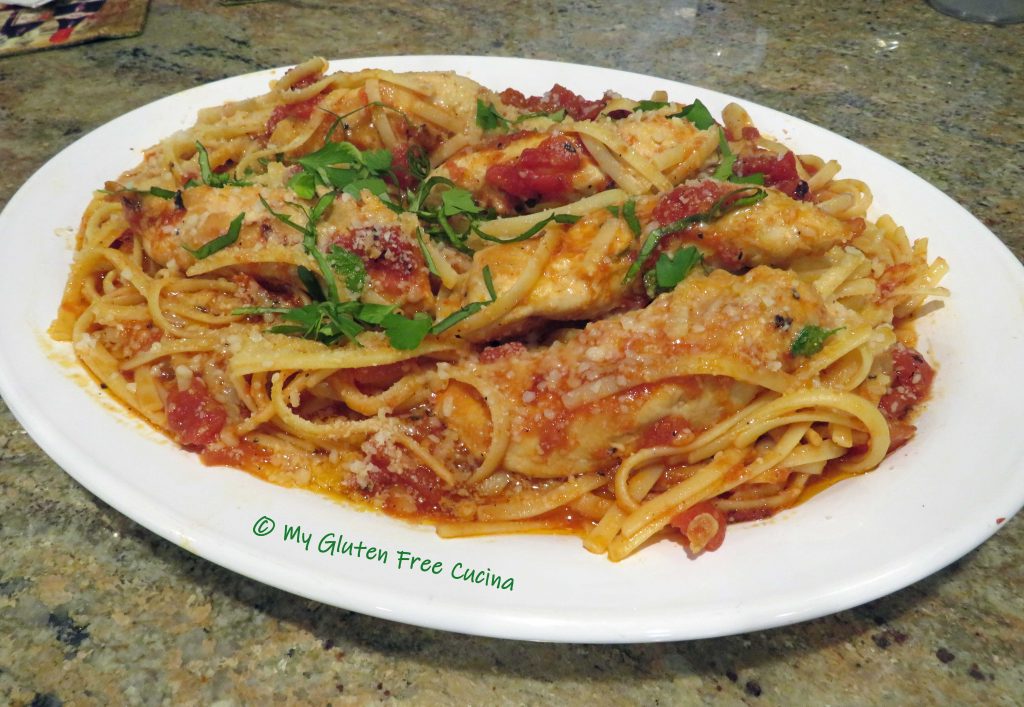
Gluten Free Italian Chicken Pasta

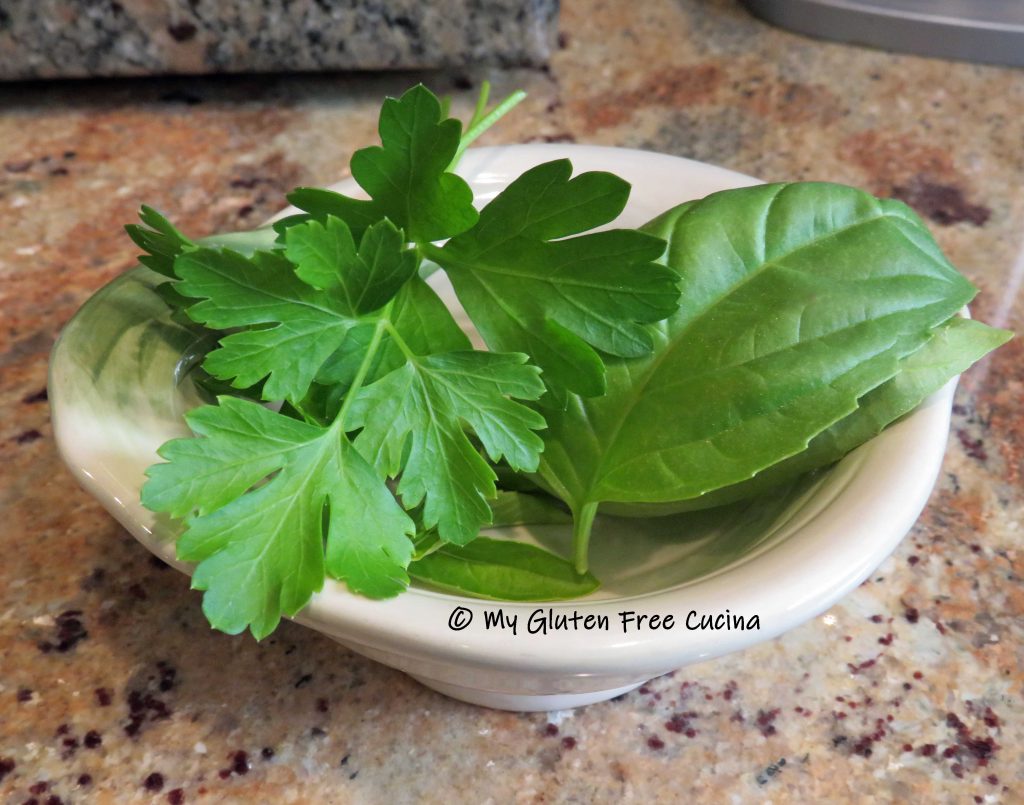
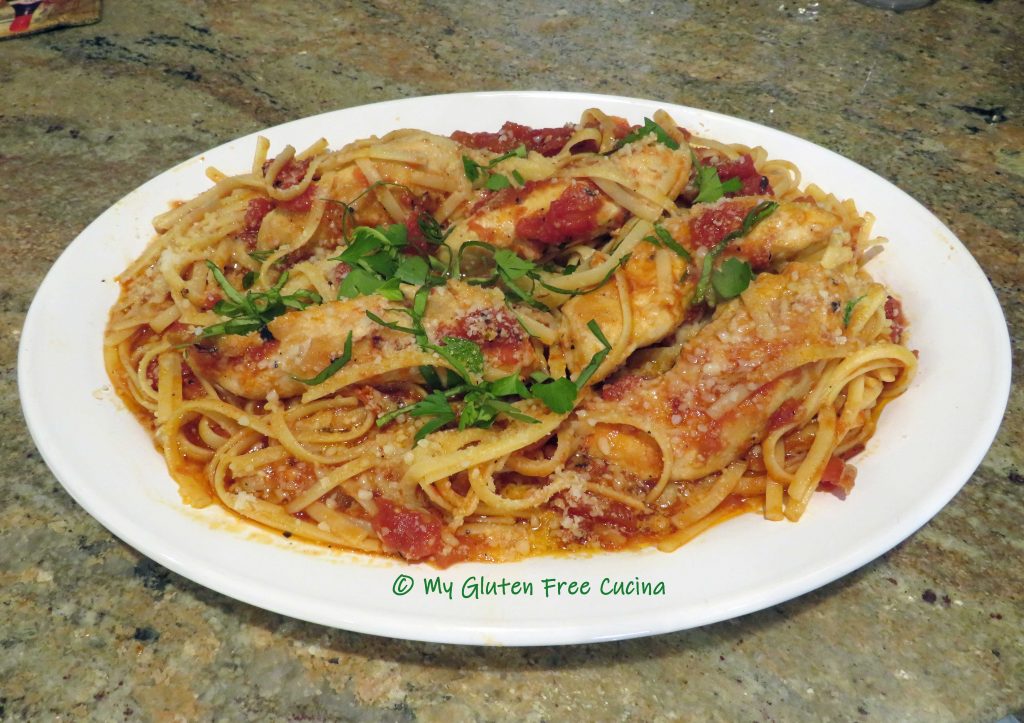
Can you make an Italian Sunday Dinner in under 30 minutes?  When you don’t have the time or the inclination to make an elaborate meal, this recipe comes together in a flash with common pantry ingredients.  I used chicken tenders to keep prep to a minimum.  A simple sauce made with fire roasted tomatoes and a red wine vinaigrette is rich with flavor.  I finished it off with grated cheese and a sprinkle of fresh herbs from my garden.

This post contains affiliate links.

4 Servings

Ingredients:

Preparation:

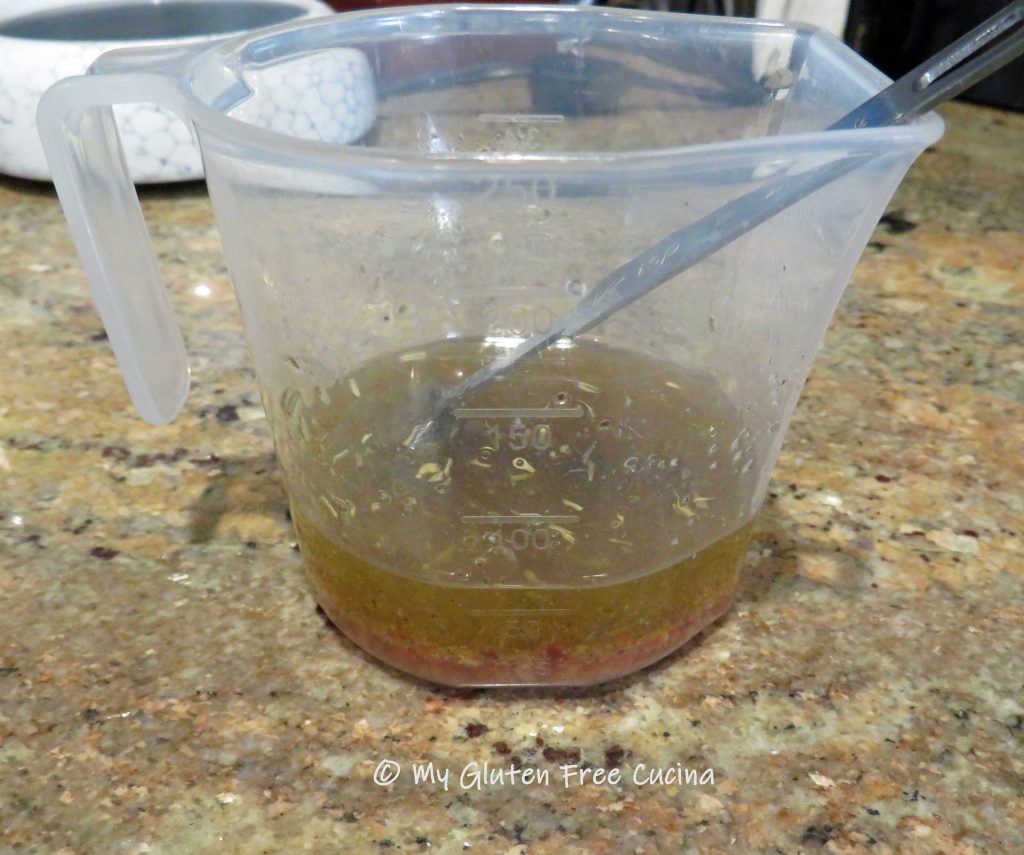
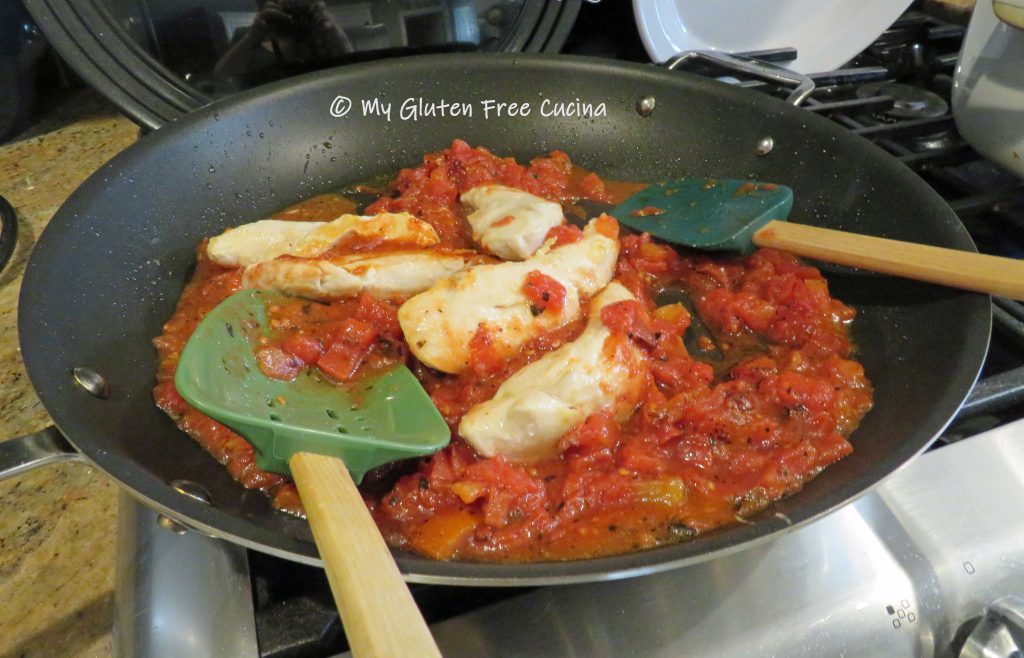
Boil water for the pasta, add 1/2 tsp. of salt and 1/2 tsp. olive oil.  Cook the fettuccine according to package directions.  Whisk together 2-1/2 tbsp. olive oil, the red wine vinegar and the seasonings.

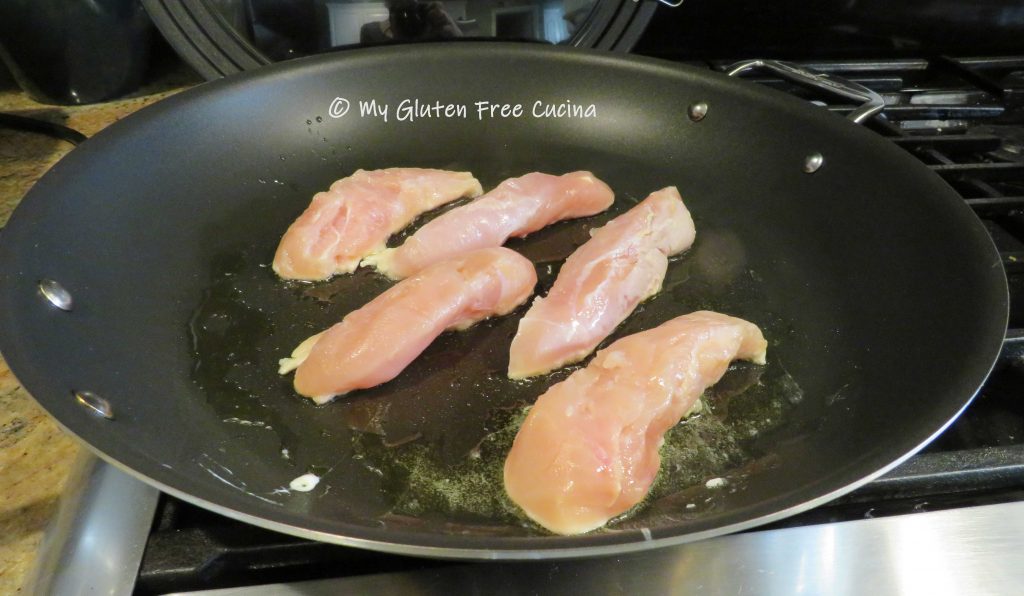
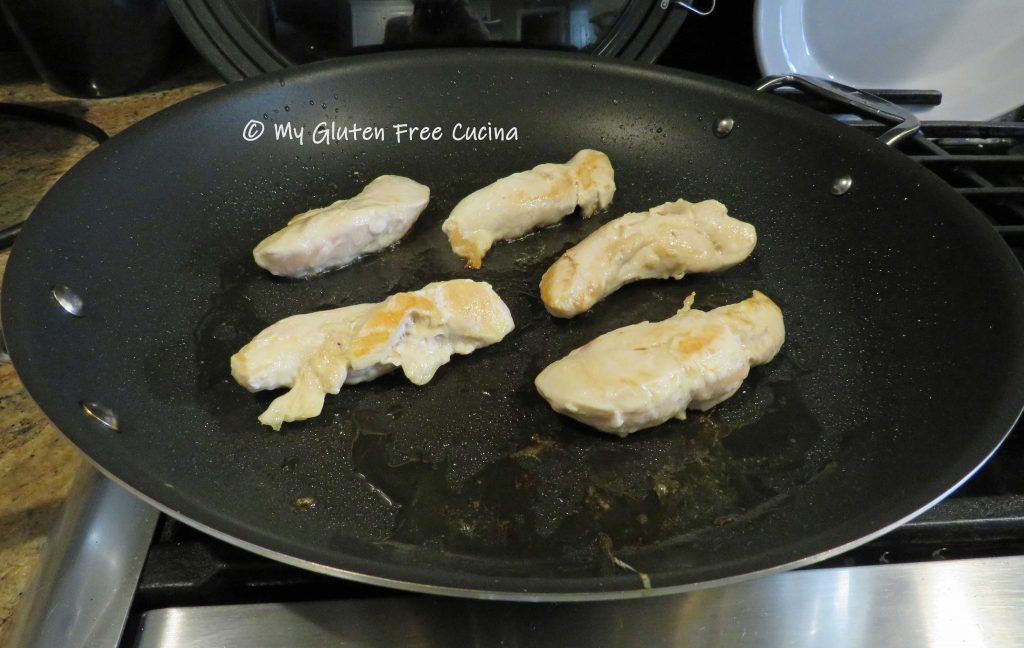
While the pasta is cooking, heat a large nonstick skillet with 1 tbsp. olive oil.  Add the chicken tenders, turning to brown all sides until cooked through, about 8 minutes.

When the chicken is close to being done, push it to the side of the pan and add the tomato paste in center.

Let it toast for 1 minute then add the diced tomatoes and the vinaigrette.  Lower the heat and simmer for 2 minutes.

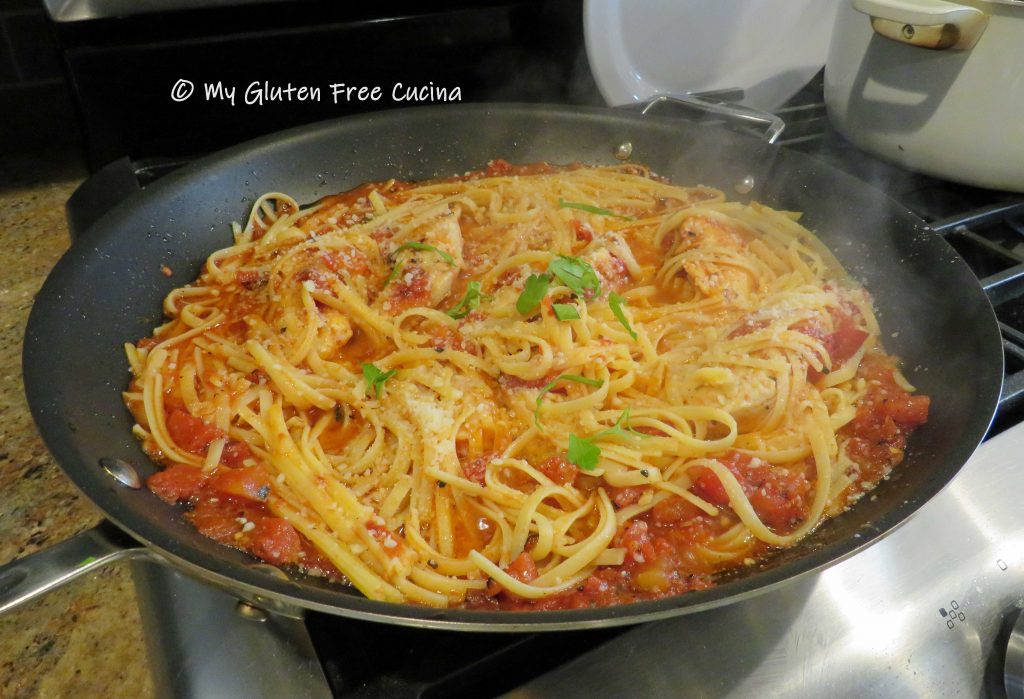
Before draining the pasta, reserve a ladle of the pasta water and add it to the skillet.  Add the fettuccine to the sauce and toss well.

Cook for another minute then sprinkle with half the cheese and fresh herbs.

Transfer to a serving platter, sprinkle with the remaining cheese, basil and parsley.

Notes ♪♫ Conventional kitchen wisdom tells us to never add oil to your pasta water, and for regular wheat pasta I would agree.  Gluten free pasta, on the other hand is notorious for sticking together, especially our much-loved spaghetti, linguine and fettucine.  I find that adding just a drop of oil to the cooking liquid helps keep the strands separate as they cook.

[print_link]

Gluten Free Crab Cake Waffles

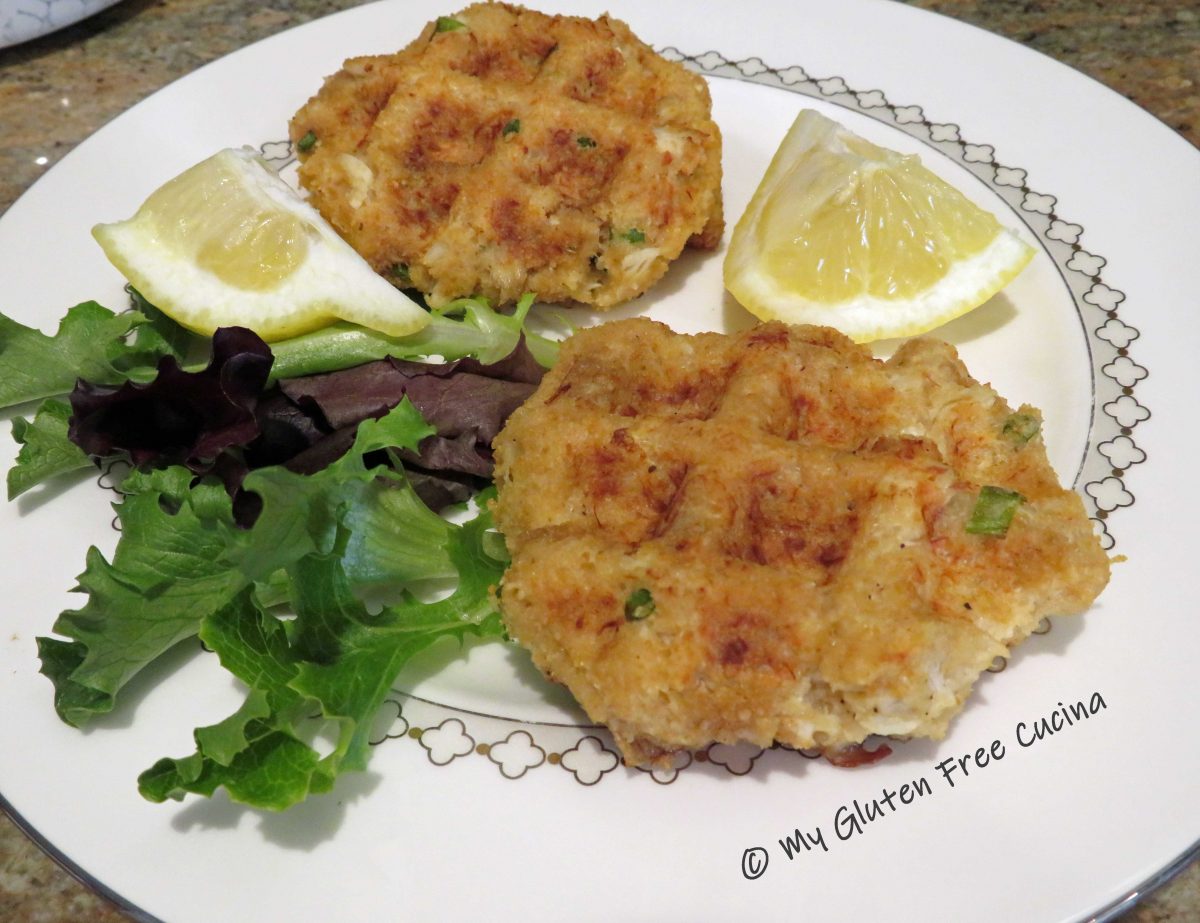
Check out these cute little Crab Cakes!  Gluten free and cooked on a waffle maker, they are the perfect light meal or appetizer.  Like regular crab cakes, but more fun. 😉

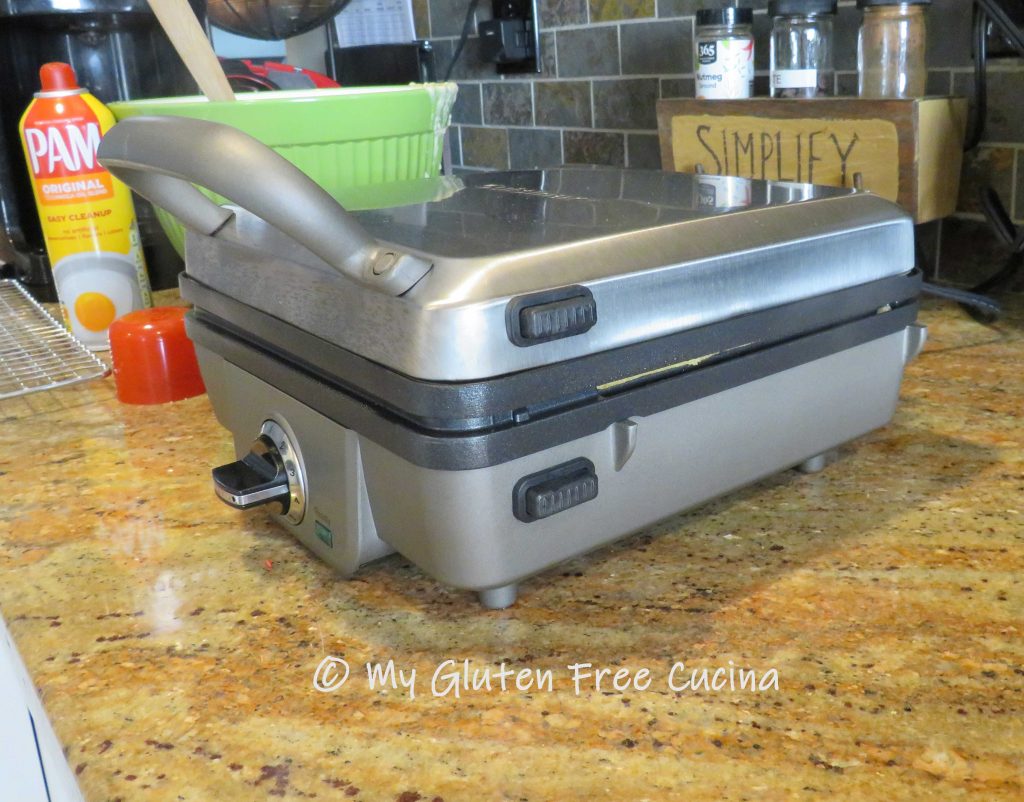
It’s so nice to have a new kitchen toy!  When my old waffle iron gave out after many years of service, I was excited to get this newer model.  It has detachable plates, a game changer when it comes to cleanup!

I couldn’t wait to try out my new waffle maker, but breakfast wasn’t the first thing on the menu!

This post contains affiliate links.

Inspired by Skinny Taste, these Gluten Free Crab Cake Waffles are surprisingly filling!  The recipe makes 2-4 servings, depending on your appetite.  A single waffle with a couple of sides was enough for me.

Ingredients:

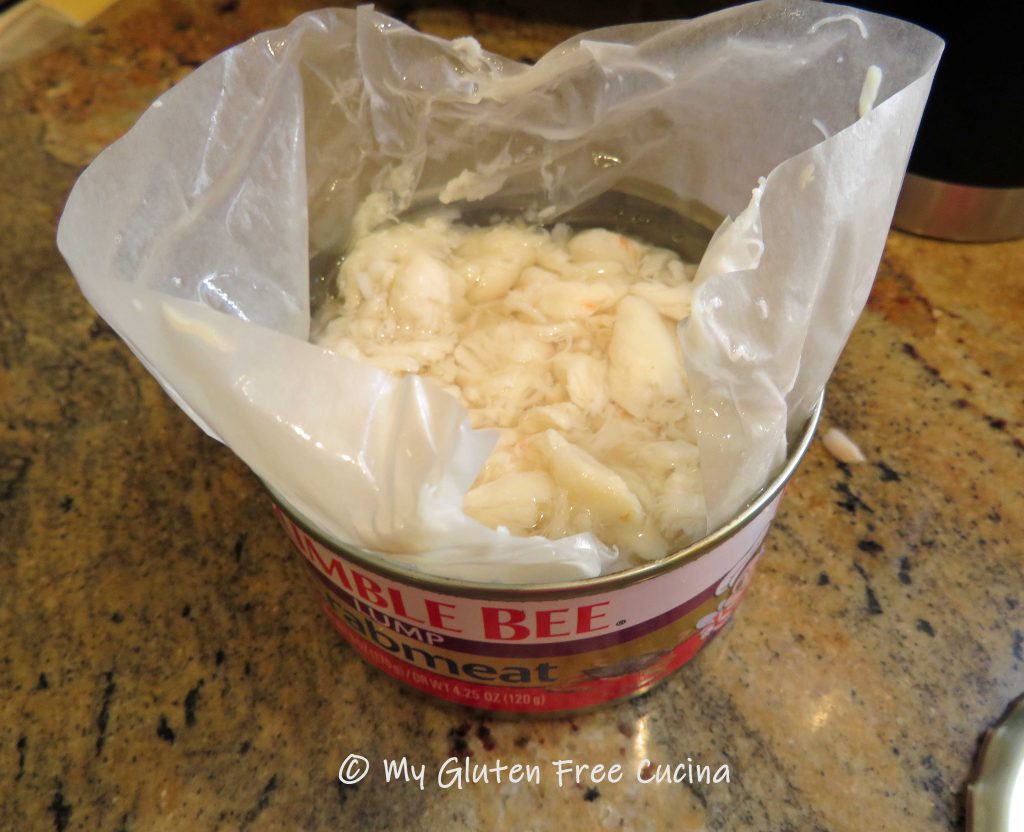
  • 6 oz. can fancy lump crab meat
  • 1/2 cup gluten free plain breadcrumbs (I used Gillian’s)
  • 1 egg
  • 2 tbsp. egg whites
  • 1 tbsp. gluten free mayo
  • 1 tsp. Dijon mustard
  • 2 tbsp. fresh chives
  • 1 tbsp. lemon juice
  • 1/2 tsp. Old Bay Seasoning
  • 1/8 tsp. paprika
  • 1/2 tsp. gluten free Worcestershire sauce
  • few grinds of black pepper
  • cooking spray
  • lemon wedges for serving

Preparation:

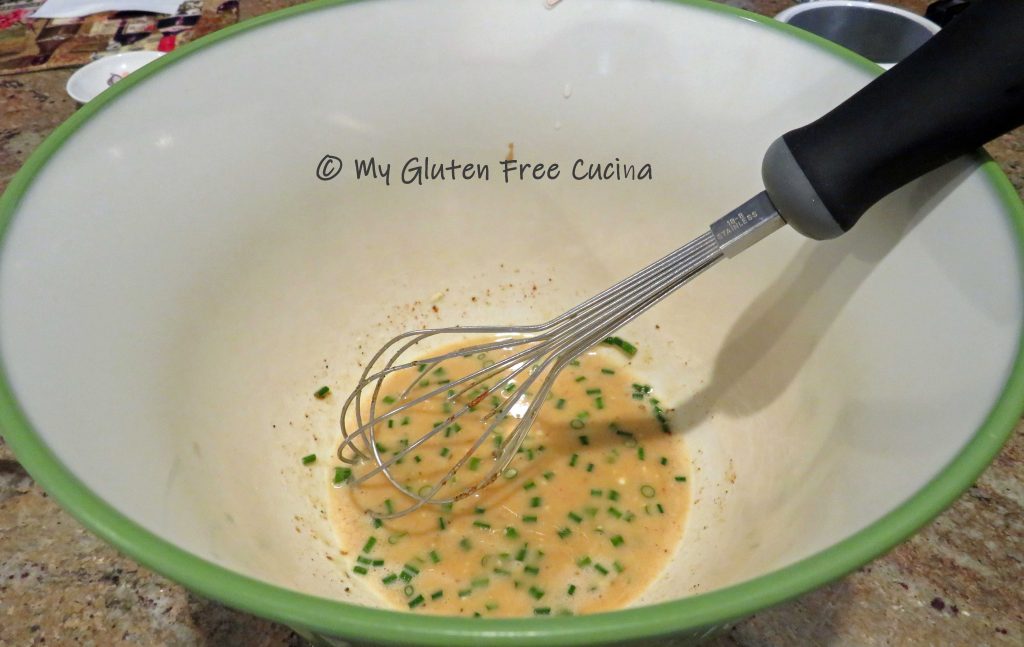
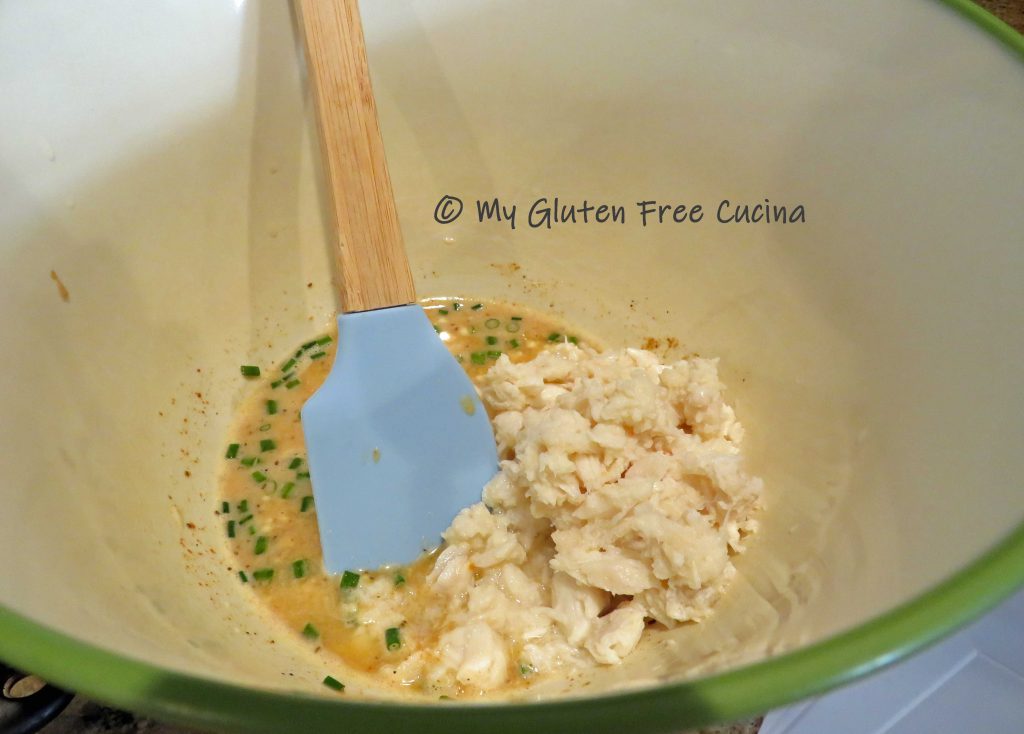
Whisk together the egg, egg whites, mayo, mustard, chives, lemon juice, Worcestershire, Old Bay and Paprika.  Add a few grinds of black pepper, to taste.

Drain the crab meat and gently stir it in.

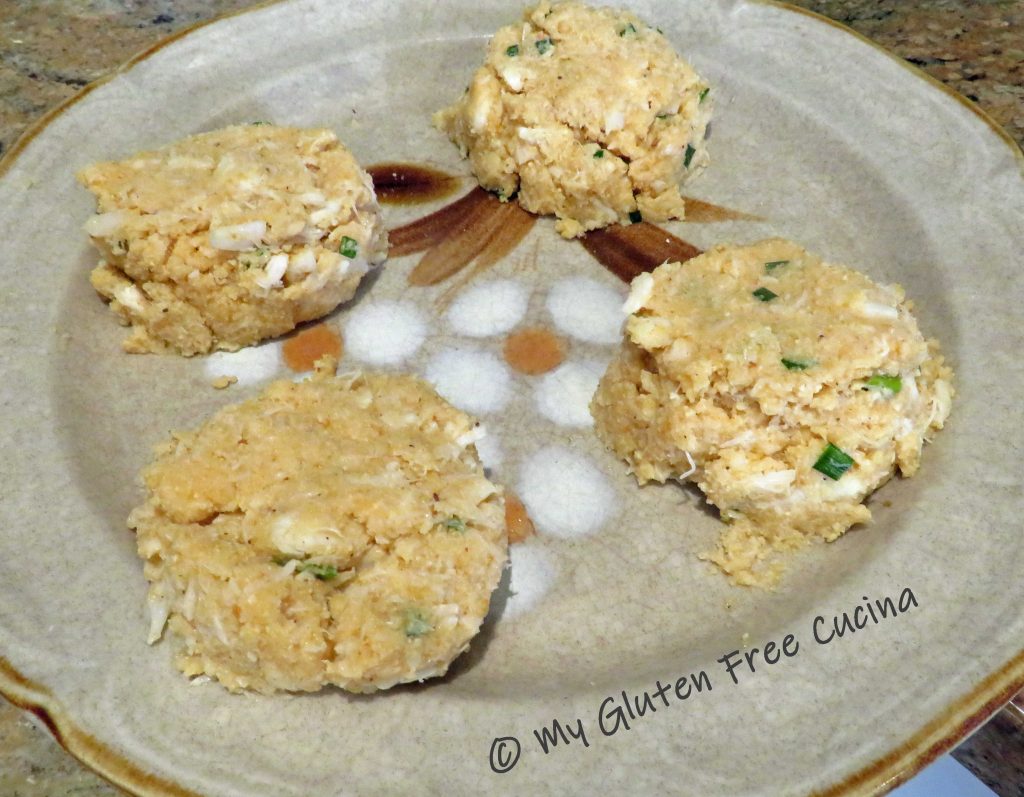
Sprinkle the breadcrumbs a little at a time and gently fold into the mixture.  Don’t overwork it, handle as little as possible.

Scoop the mixture into 4 portions, about 1/3 cup each.

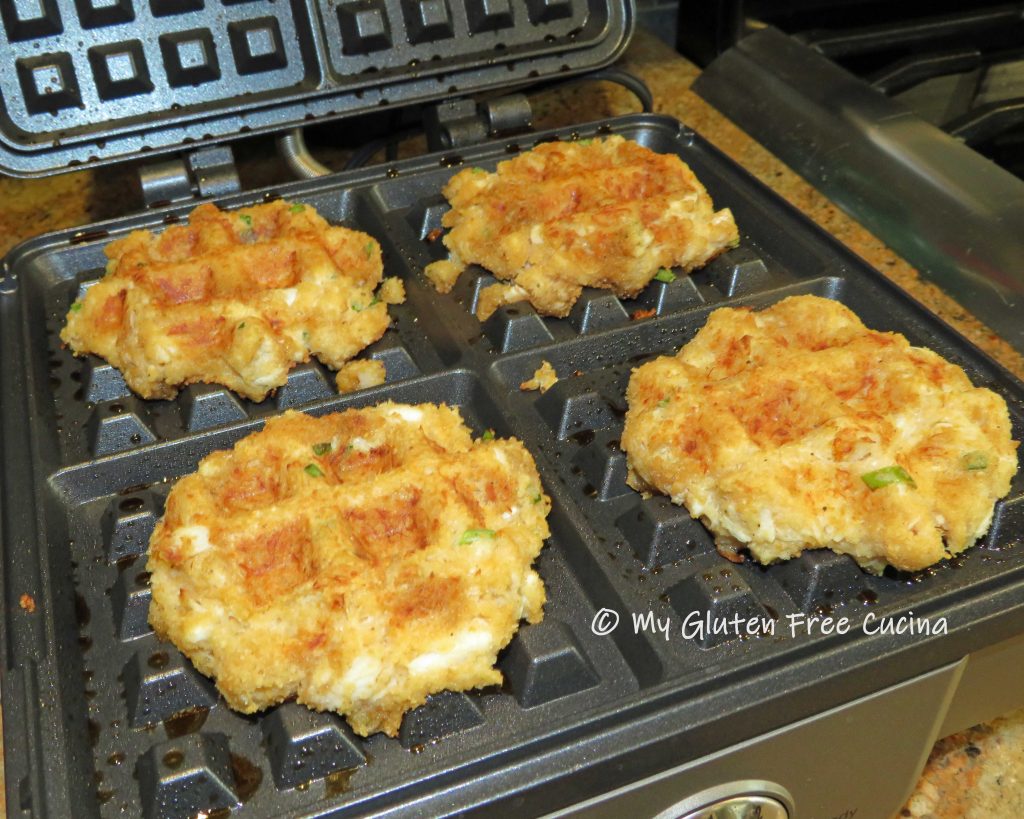
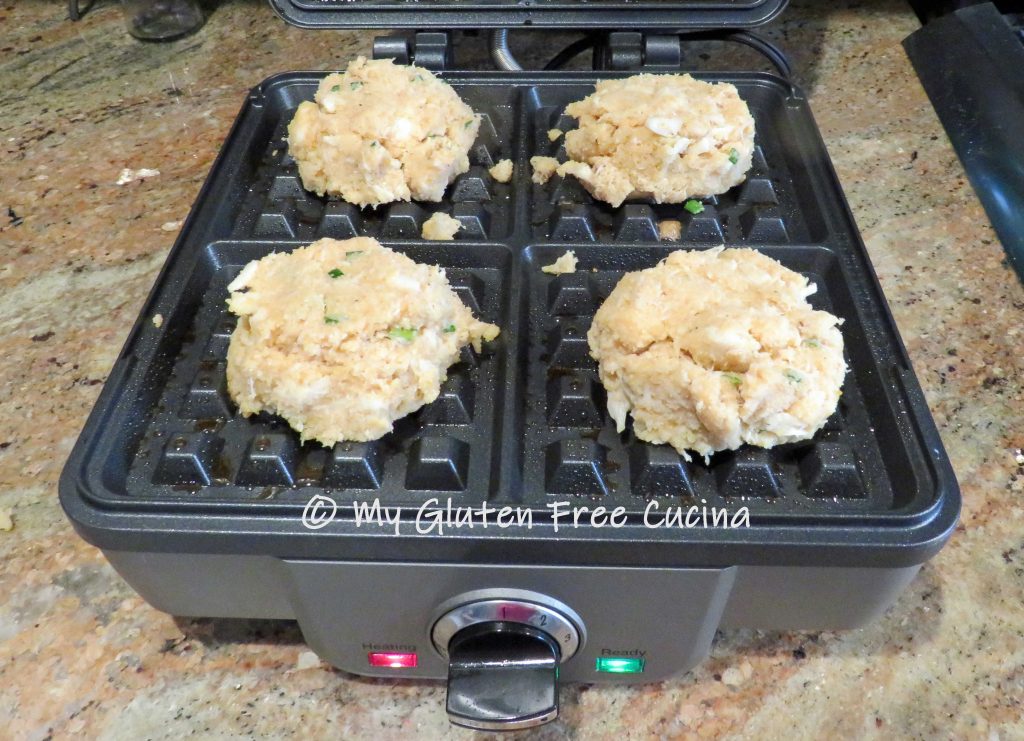
Heat the waffle iron to 350º and coat with cooking spray.  Place one crab cake on each section of the waffle iron and close the lid, pressing gently.

The crab cakes will be done to a golden brown in 3-5 minutes.  Start checking after 3 minutes.

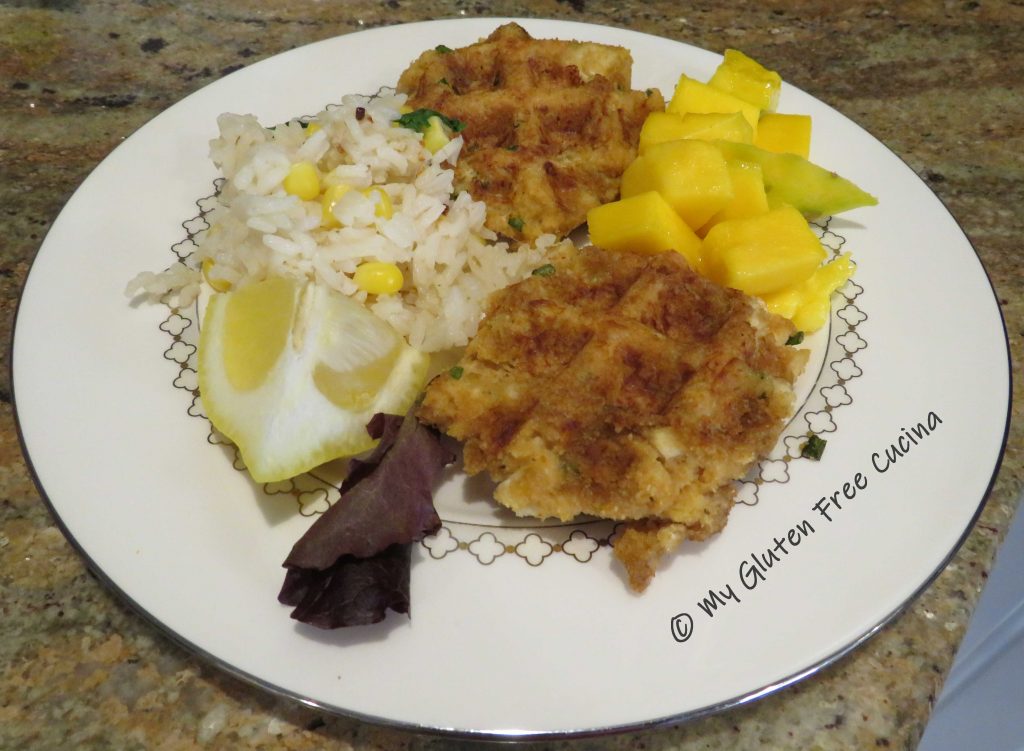
For an appetizer, serve with salad greens and lemon wedges.

As a main course, enjoy them with Cilantro Lime Rice and refreshing diced mango.

Notes ♪♫ I hope you enjoyed this fun recipe!  No waffle iron?  No problem.  Here is a traditional crab cake recipe that is every bit as good.

[print_link]

Gluten Free Steak Marinade

Summer is here and it’s time to fire up the grill!  This Gluten Free Steak Marinade has been one of my most popular posts, and no wonder!  It’s an easy and tasty blend that goes perfectly with steaks and kabobs!  And now, for those of us who want all of the flavor but with less salt, I’ve added a lower sodium option.
This post contains affiliate links.

Ingredients:

Lower Sodium Option:

Preparation:

Whisk all of the marinade ingredients together in a glass bowl or baking dish.

Add steaks or beef tips, turning to coat.  Cover and rest at room temperature for 1 hour, turning the meat halfway through.  Then cook or grill as usual.  For dinner ideas, check out my ribeye steak or beef kabobs!

Notes: ♪♫ Soy sauce contains gluten, so choose one that is specifically labeled gluten free.  I actually prefer the flavor of gluten free soy sauce, Kikkoman is one of my favorites, and I also love San-J brand gluten free tamariIf you are limiting sodium, try the lower salt alternative using Coconut Aminos, I have successfully substituted it for soy sauce in many of my recipes.  Lea & Perrins Worcestershire sauce is gluten free in the US, but thanks to my reader Denise for pointing out that in Canada the ingredients may be different and are not gluten free.  McCormick clearly lists gluten containing ingredients in their labeling.  I use their Montreal Steak Seasoning on steaks, burgers and kabobs.

[print_link]

Homemade Breakfast Sausage Patties

Homemade Breakfast Sausage Patties are the bomb!  I always say homemade is best, but why would you go to the trouble of making your own sausage patties?  For starters, you control the fat, you control the salt, no chemicals, no nitrites, no preservatives, NO GLUTEN!  And with no casings needed they are easy to make.  You can buy gluten free breakfast sausage seasoning or make your own.  Experiment with different spice combinations to find the one you like best.  Be sure to use real maple syrup.  For years I purchased breakfast sausage links at the supermarket, but not anymore!

This post contains affiliate links.

Ingredients:

  • 1 lb. ground pork
  • 1 lb. ground turkey
  • 2 tbsp. homemade gluten free sausage seasoning (see below)
  • 4 tbsp. maple syrup
  • fresh thyme sprigs, for garnish

Sausage Seasoning:

OR use a purchased Sausage Seasoning

Preparation:

Combine the pork and turkey in a large bowl and blend together lightly with 2 forks.  Don’t compress the meat.  Of course, you can use all pork or all turkey, but I found that blending equal amounts of each gives a good balance of flavor and fat.

Drizzle in the maple syrup and sprinkle the seasoning a little at a time.  With each addition, use the forks to thoroughly incorporate.

Line a baking sheet with wax paper.  Scoop the mixture into 2 oz. balls, then gently press into patties.  You will have about 15 total.

Prepare the patties and refrigerate one day ahead for a brunch.  The patties will keep for several months in the freezer.  You can freeze them on the baking sheet then transfer to a freezer safe bag.  They are great to have on hand to enjoy on the weekend.

Cook sausage patties 5 minutes per side in a nonstick skillet.  For a nice presentation, I like to garnish the patties with fresh thyme sprigs.

Add some homemade goodness to your family breakfast table with this easy recipe.  If you enjoyed this post, check out some of my favorite brunch ideas to feed a family or a crowd!
Notes ♪♫ Always check ingredient labels for hidden gluten.  Seasoning blends are convenient, but if you are limiting salt make your own!

[print_link]

Oven Braised Pot Roast in Wine Sauce

This Oven Braised Pot Roast is fall-apart tender!  I am a big fan of the crock-pot, but for this recipe I went with a long, slow braise in the oven.  After all, this classic New England dish has been around since long before today’s electronic cooking gadgets were even imagined!
That being said, there is no right way or a wrong way to cook pot roast, as long as you remember that this economical cut of meat requires a long, slow cook time with plenty of liquid.  Oven, stove top, crock-pot and Instant Pot are all great options for a tender and flavorful roast.

8 servings

This post contains affiliate links.

Ingredients:

Preparation:

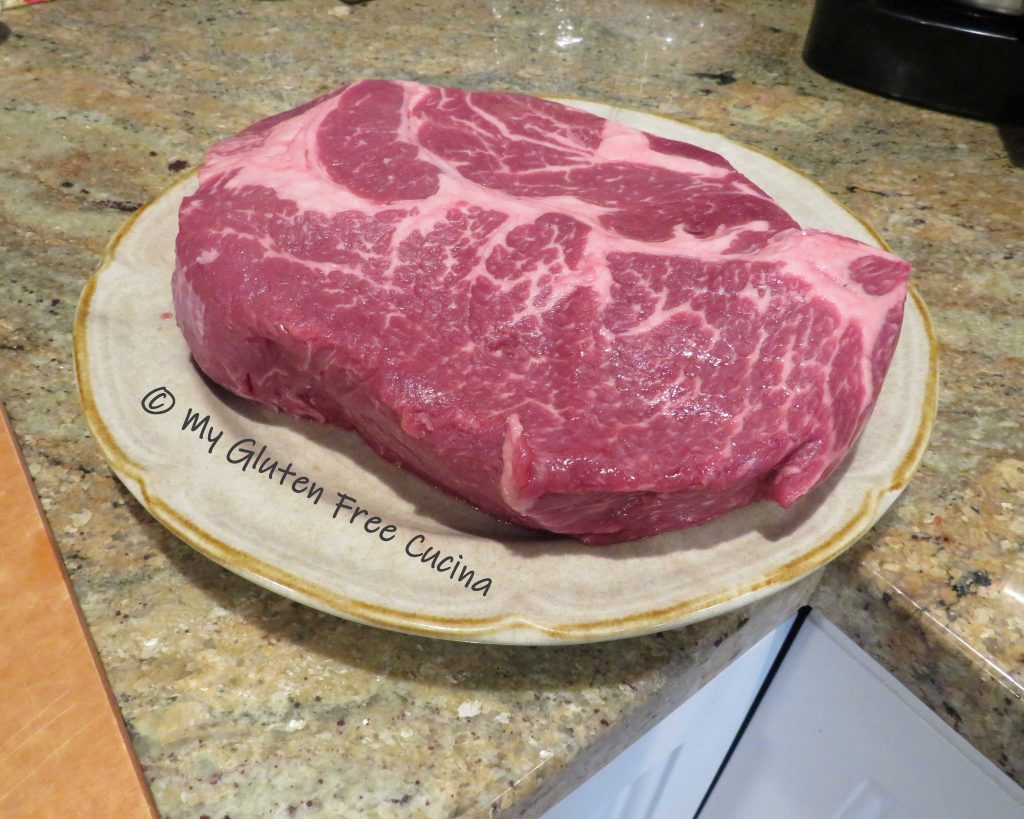
This roast will be studded with slivered garlic and cooked slowly in a rich wine sauce.

Hint: Choose a roast that is nicely marbled with an even shape and uniform thickness.

Pat the roast dry.  Make 1/2″ slits all over and insert the garlic slivers.  Sprinkle both sides with seasoning.

Add a little olive oil to a deep cast iron skillet or Dutch Oven and begin browning the roast.

When the meat has been browned on all sides, add the onions and cook 2 minutes.

Pour in the club soda and let it reduce by half.

Whisk together the beef stock, wine and tomato paste.  Pour the wine mixture over everything, you should have enough liquid to just cover the meat.

Now cover the pan with foil and place the lid over the foil to form a tight seal.  Place in a 300º oven for 6 hours.

Look at that beautiful color!  And you just know the meat is going to be very tender.

Remove the roast to a cutting board, slice and arrange on a platter.  You can actually shred the meat with 2 forks, it’s that tender.  Strain some of the pan juices to drizzle over the meat and garnish with fresh chives.

Rather than cook potatoes in the same pan with the roast, I made these smashed potatoes.  You can go with the traditional carrot and potato combination or serve with mashed potato and green beans.  All are classic restaurant combos that are sure to be a hit with your family.

Notes ♪♫ When cooking with wine, choose something that you can drink with dinner.  A nice cabernet or merlot will go well with this dish.  Never buy cooking wine, it is loaded with sodium and additives.  Cheers! 🍷

[print_link]

Pan Cooked Striped Bass

I love seafood and enjoy trying new types of fish.  Often, I stumble upon something really tasty because it happened to be on sale, like this Striped Bass.  It was on special one week, but now I buy it every chance I get.

This post contains affiliate links.

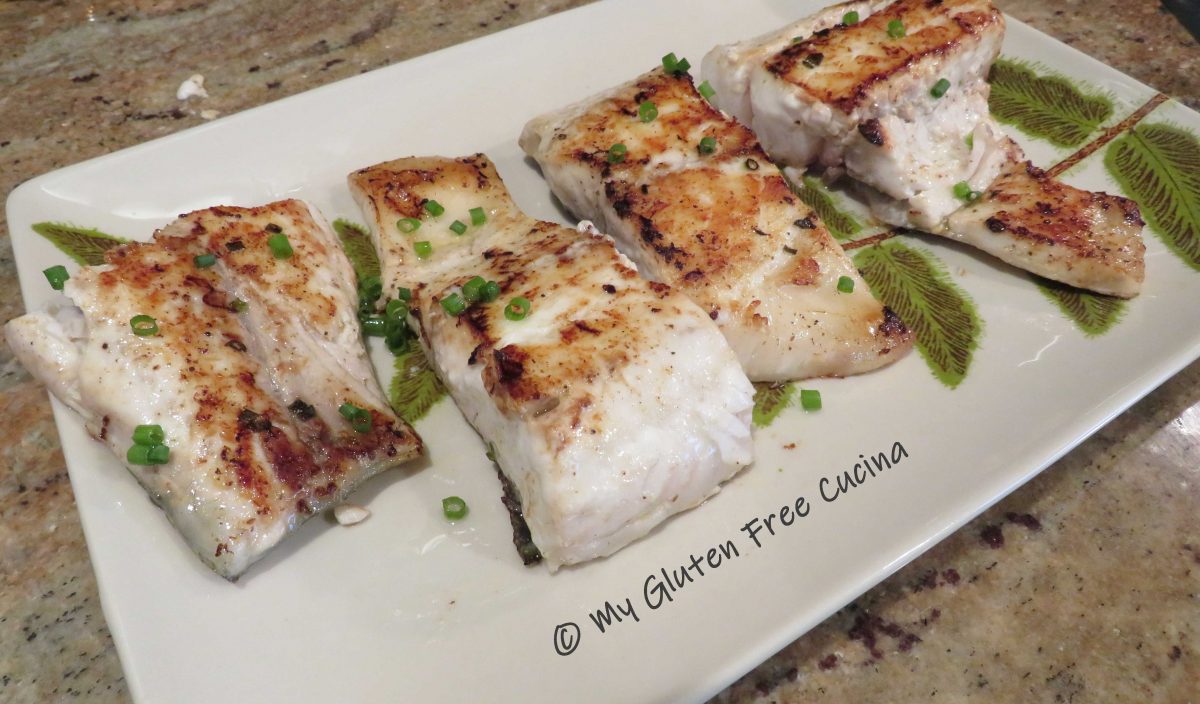
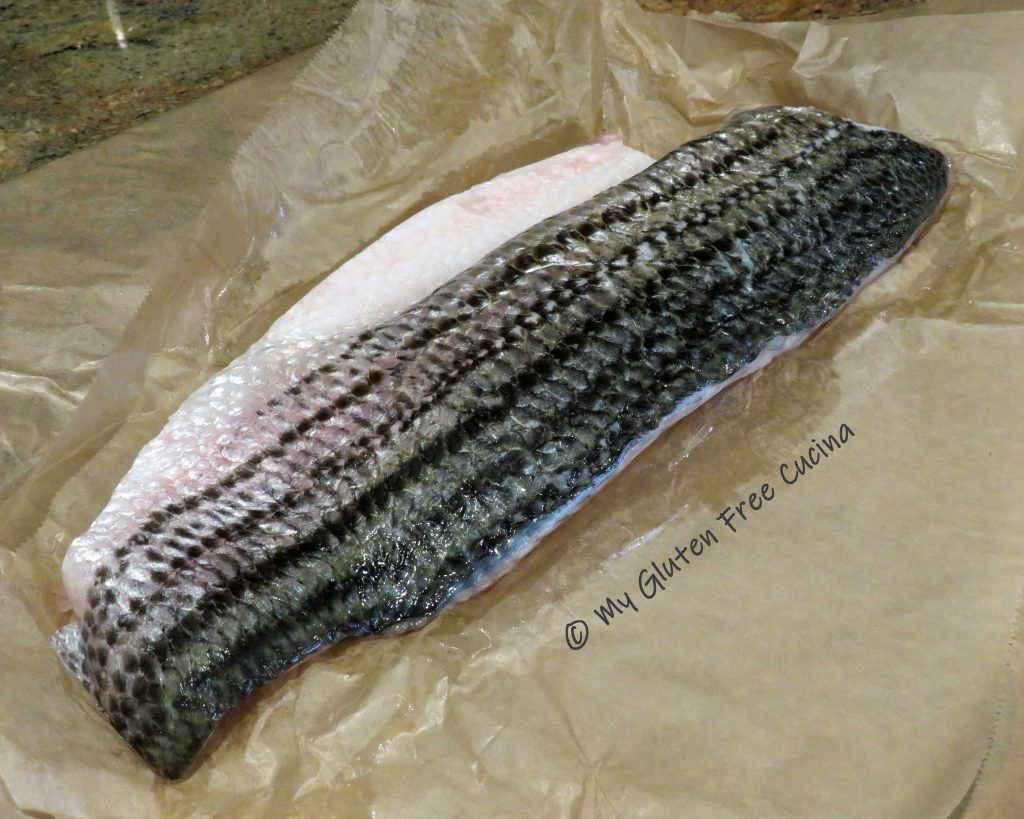
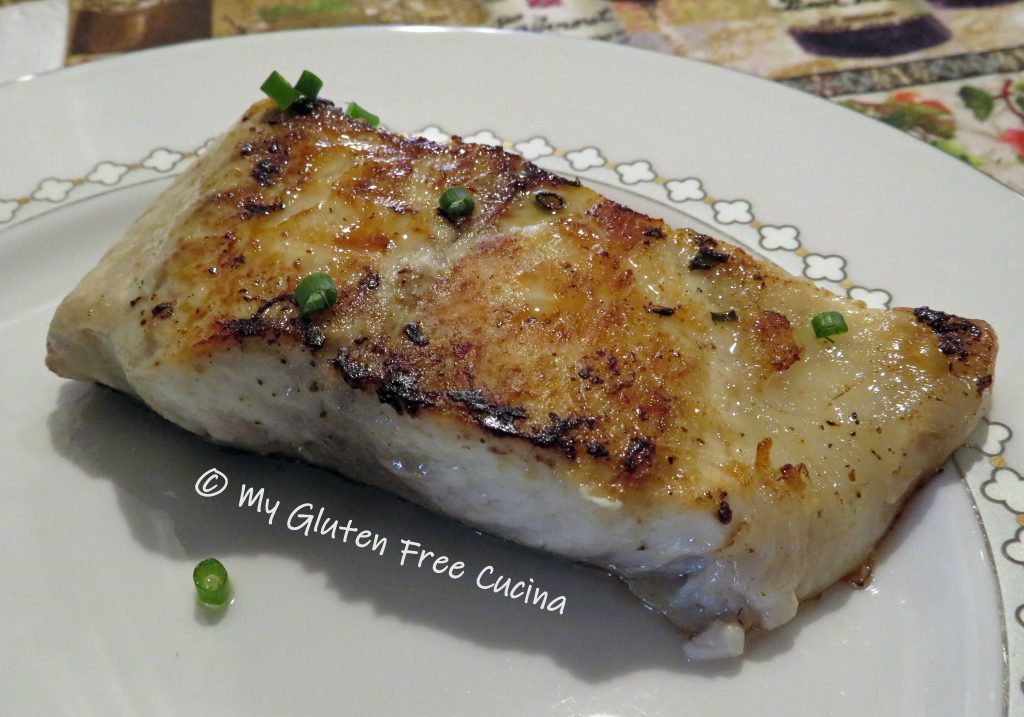
Named for it’s stripes, this fish has a semi-firm, pink flesh that turns white when cooked.  A simple marinade of olive oil, lemon juice and white wine is all you need to bring out its best flavor.  Like so many of my seafood recipes, I cooked it in a nonstick grill pan.  This quick preparation ensures great flavor without drying out the fish.

I was featured at the senior salon pit stop

Ingredients:

  • 1 lb. striped bass
  • 2 tbsp. olive oil
  • 2 tbsp. lemon juice
  • 2 tbsp. white wine
  • black pepper to taste
  • sprinkle of Old Bay®
  • 2 tsp. butter
  • 2 tbsp. fresh chives, divided use

Preparation:

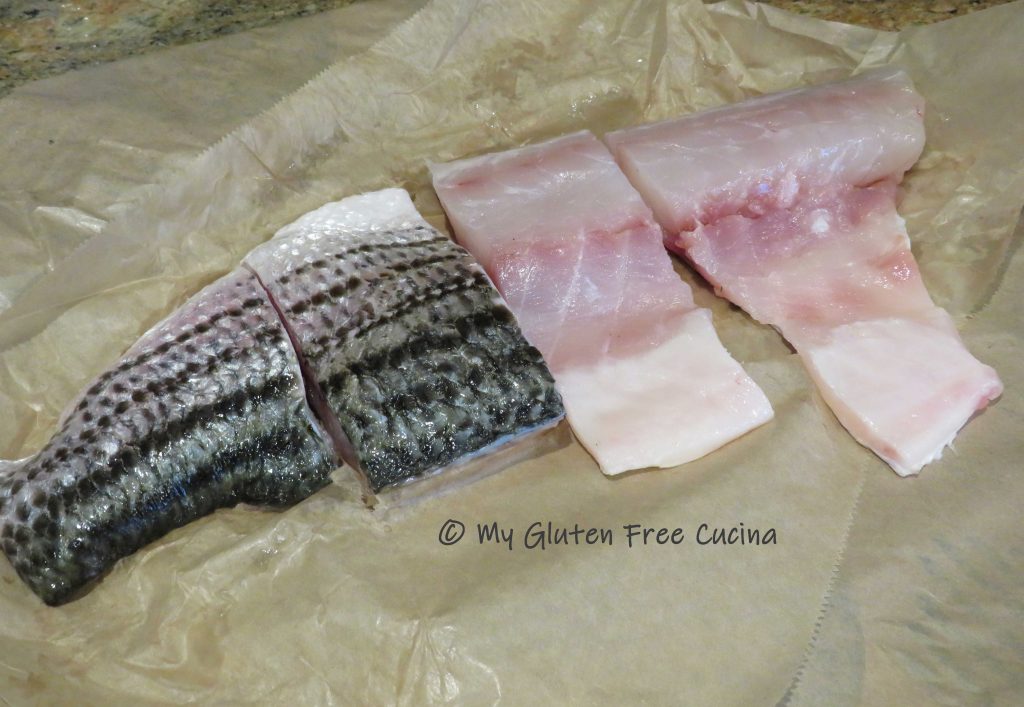
Cut the fish into 4 pieces.

Whisk together the marinade ingredients with a sprinkle of Old Bay®, a few grinds of fresh ground pepper and 1 tsp. of fresh chives.
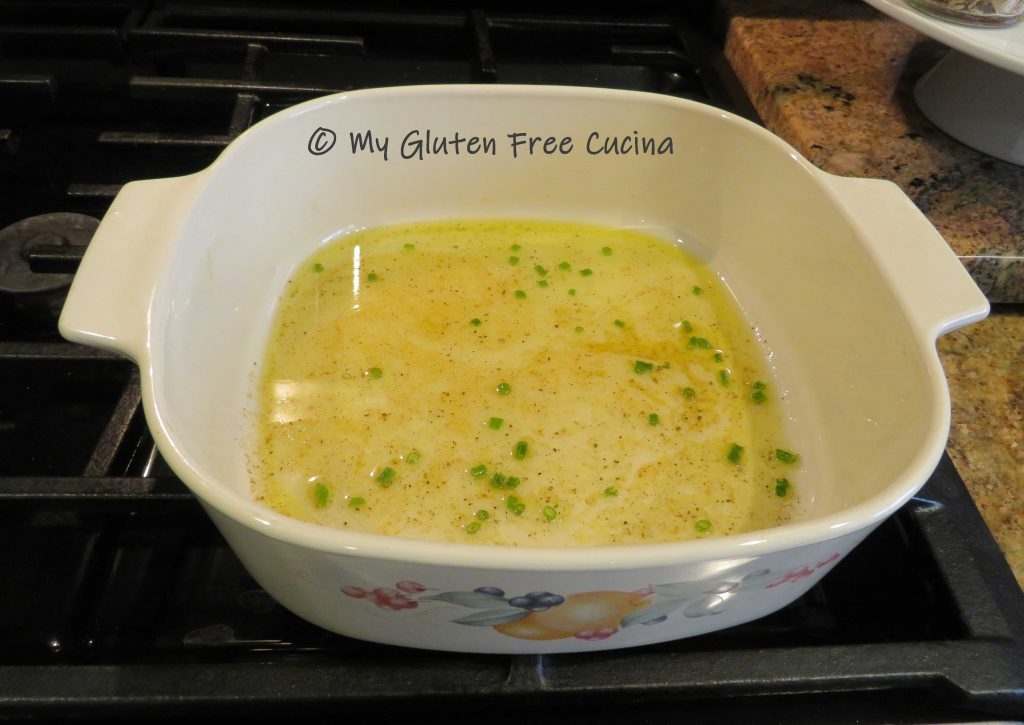
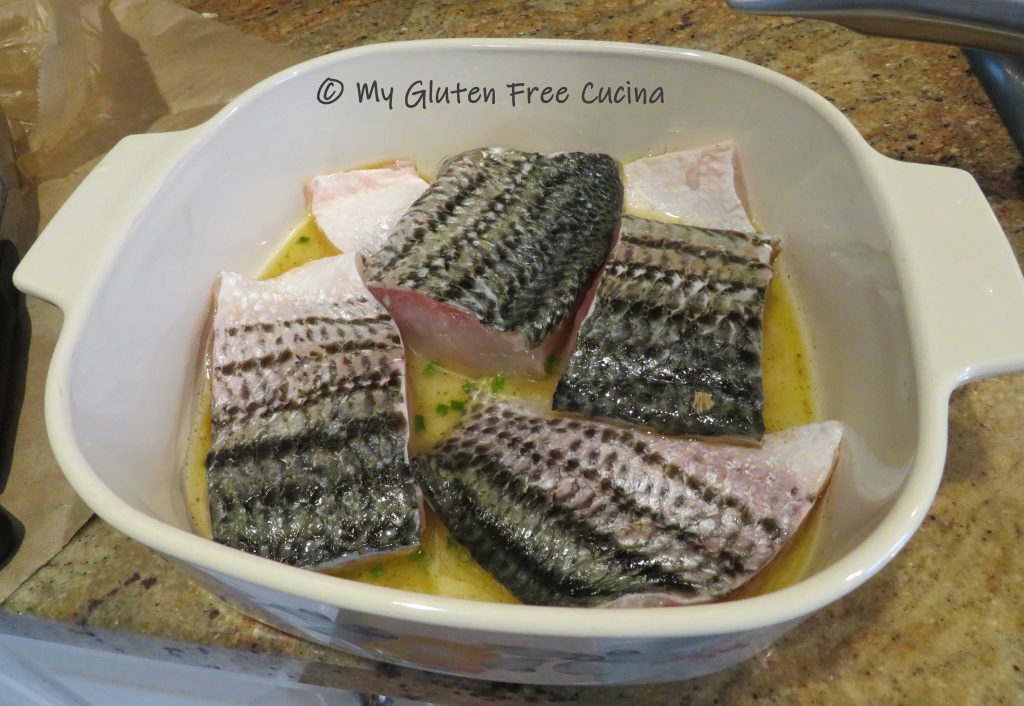
Place the fish, skin side up in the marinade.  Cover and let stand at room temperature for 30 minutes.

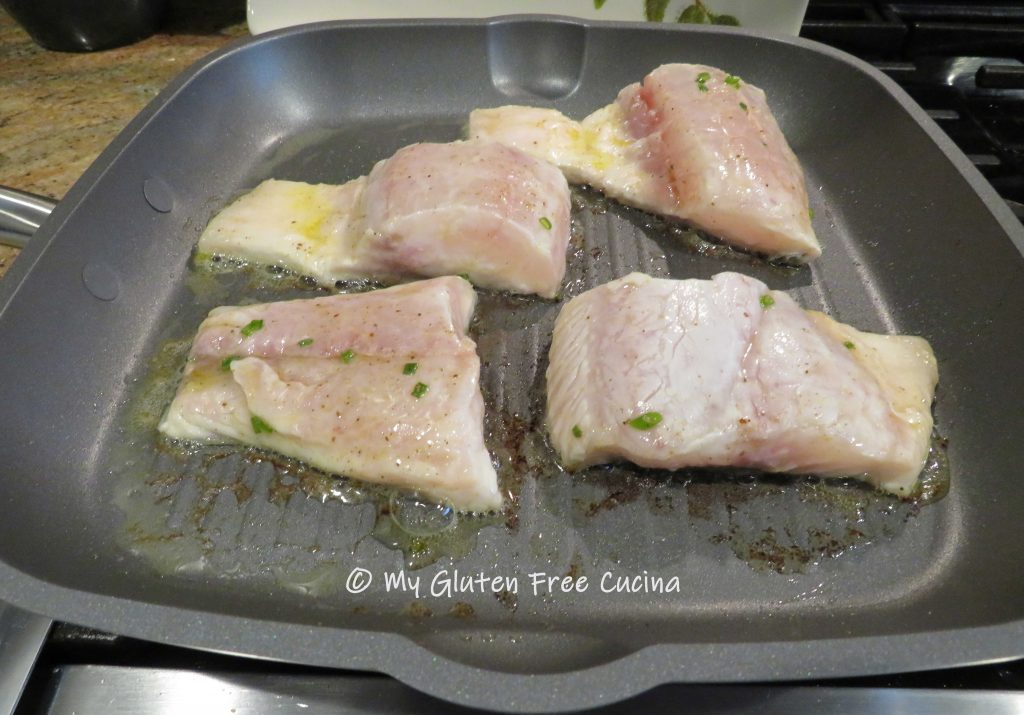
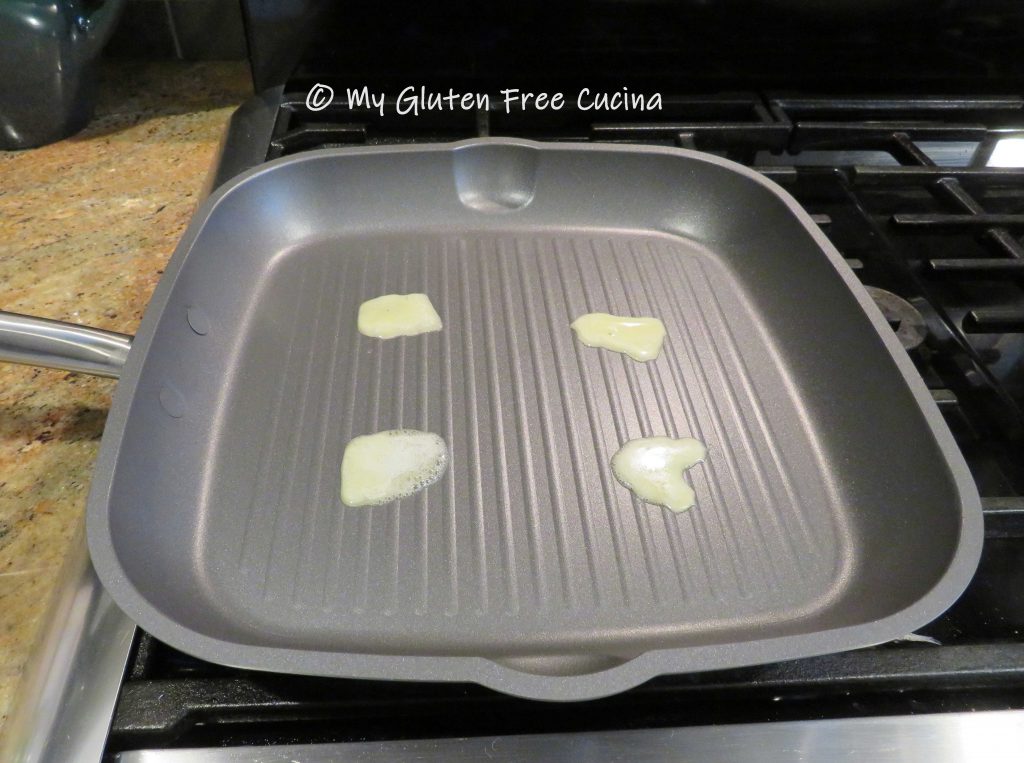
I’m heating my nonstick grill pan on medium low with 4 tiny pats of butter, just a little as the fish itself will release some oil as it cooks.  The butter will add to the flavor and golden brown color.

Place the fish skin side down and cook for 4 minutes.

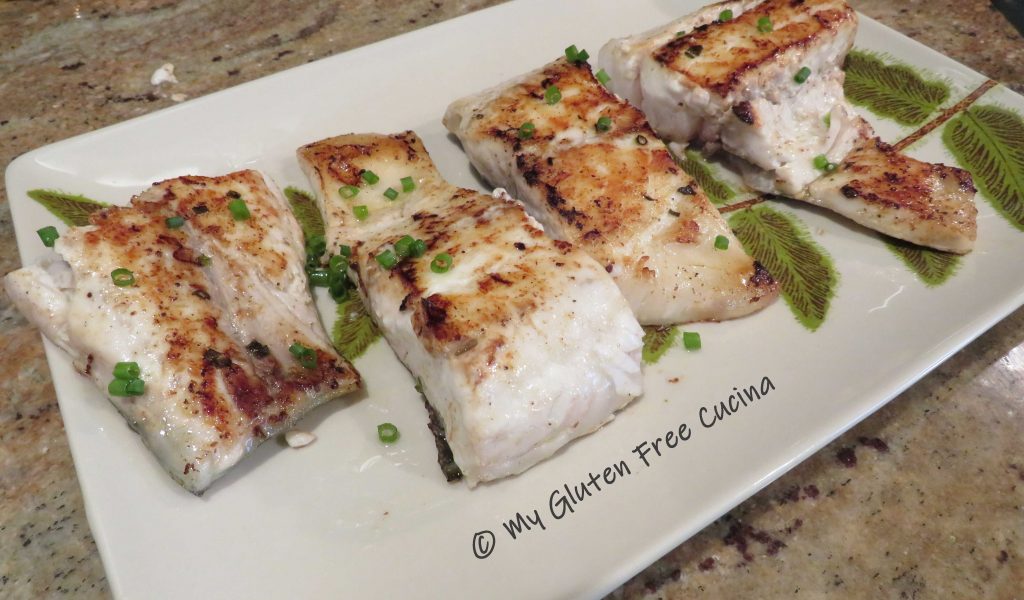
Turn the fish and cook for 6 minutes longer.

Transfer to a serving dish and garnish with the remaining chives.

Notes ♪♫ This simple pan grilled meal is on the table in no time.  I use this cooking method for many types of seafood, just changing up the marinade.  If you enjoyed this recipe, check out my Mahi Mahi, and Arctic Char.

[print_link]