Gluten Free Hoisin Chicken Thighs

Chicken thighs are an easy and economical main course.  They are a favorite for family dinners, as you can adjust the quantity to feed one, two or a crowd.  They make great leftovers too!  Chicken thighs are so versatile, and can be adapted to many cuisines, from this simple Chicken Thighs with Andouille Sausage, to my Tex-Mex Chicken Thighs.  In today’s recipe, I’m giving them a fun Asian twist with just a brush of Hoisin Sauce and a side of fried rice.

4 Servings

This post contains affiliate links.

Ingredients:

  • 4 chicken thighs
  • 1/2 tsp. garlic granules
  • 1/2 tsp. ginger powder
  • cooking spray
  • 4 tbsp. gluten free Hoisin sauce
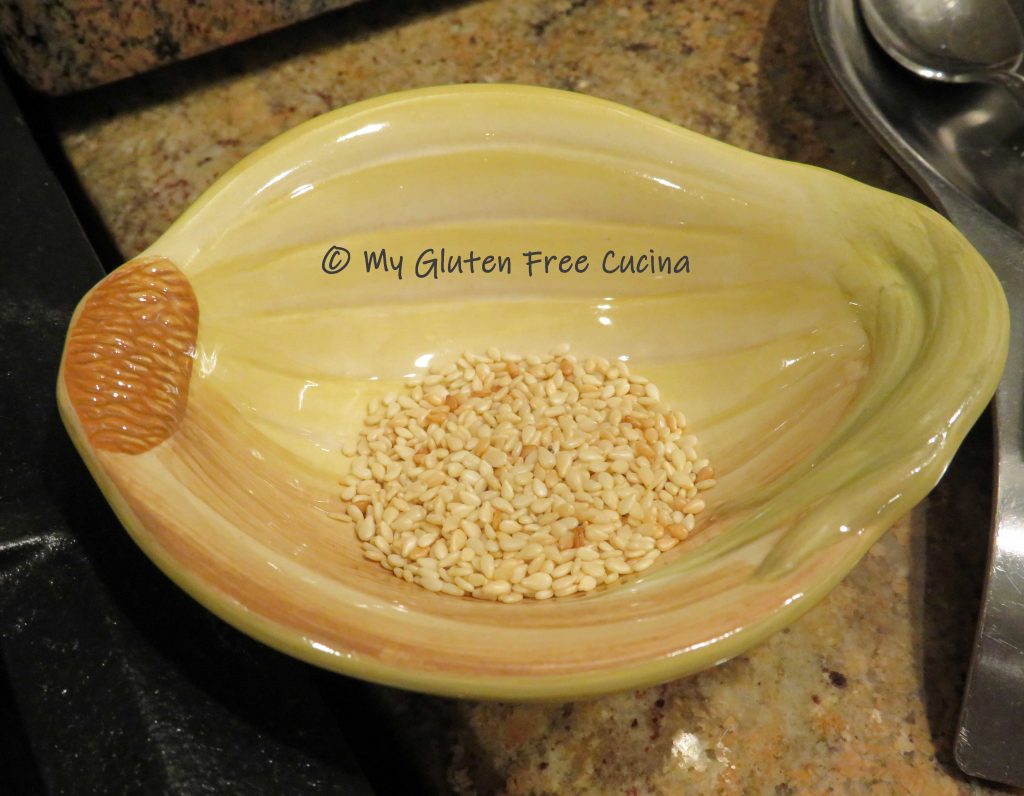
  • toasted sesame seeds for garnish, optional
  • chopped fresh chives for garnish, optional
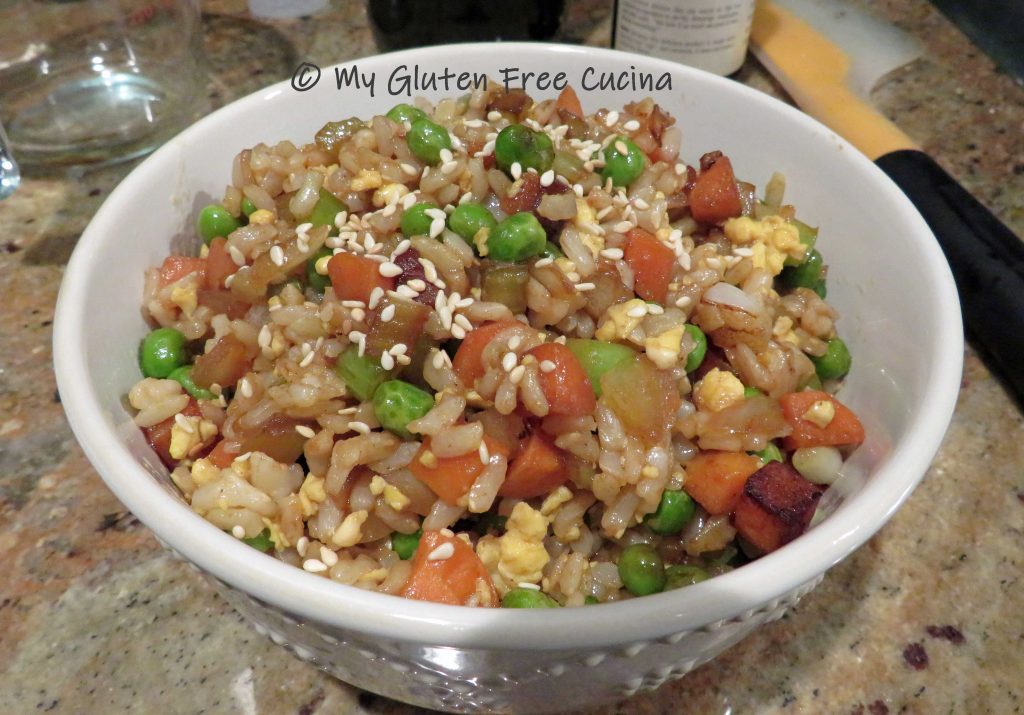
  • Fried Rice for serving (get the recipe here!)

Preparation:

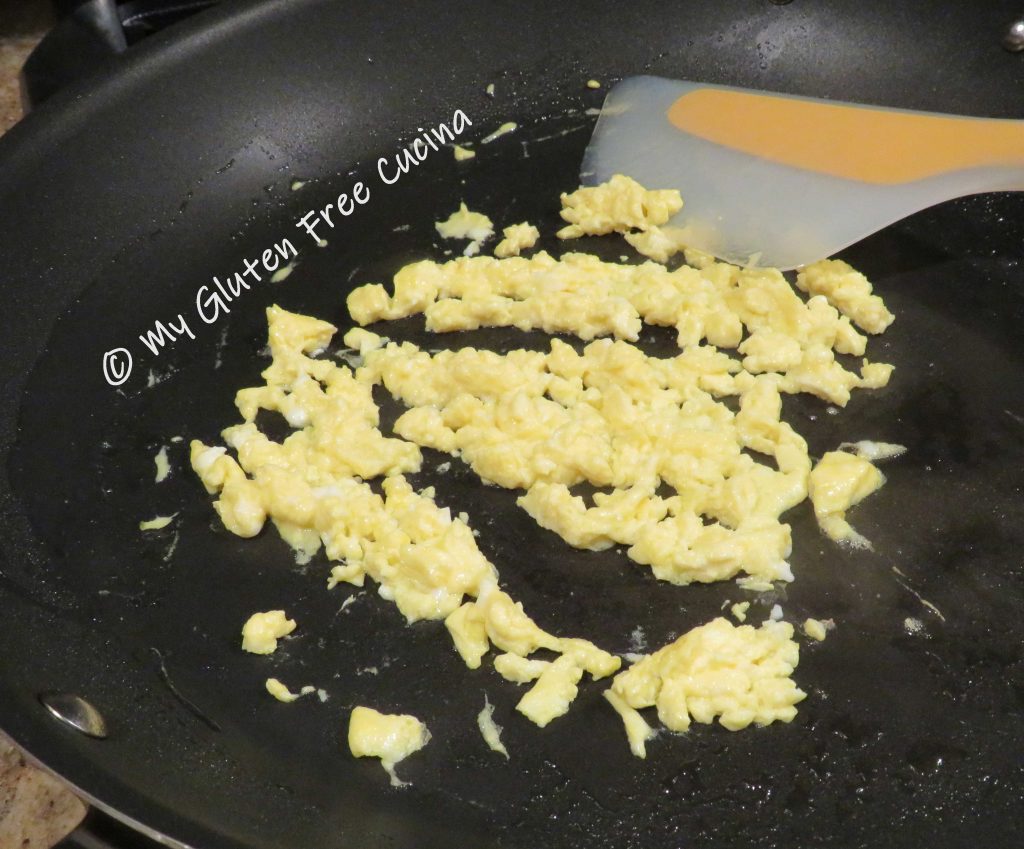
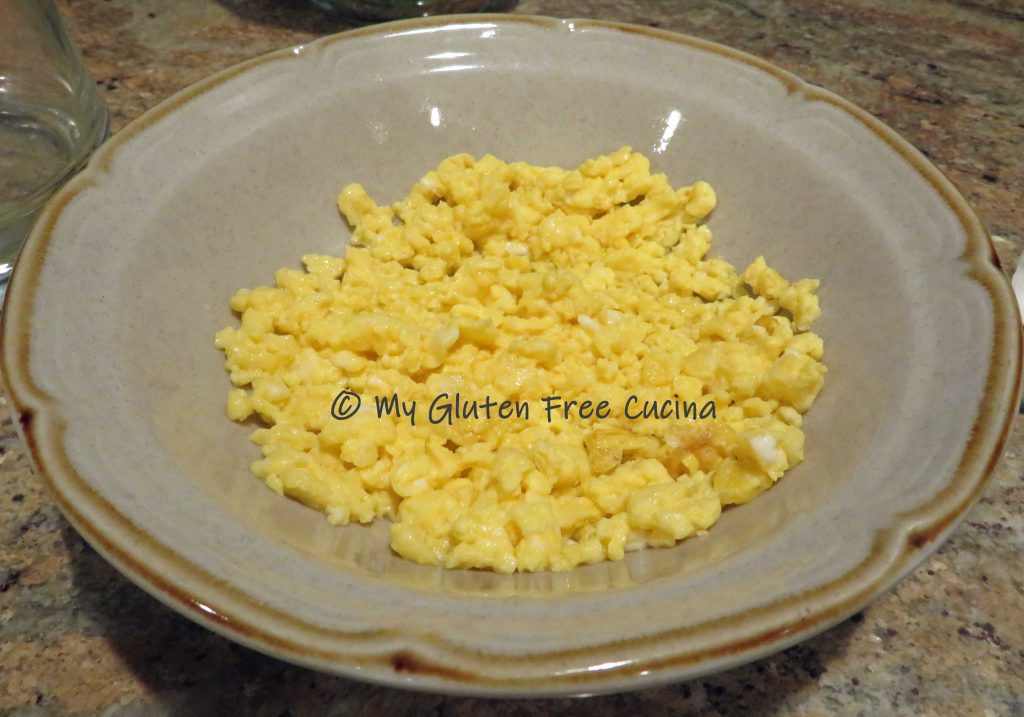
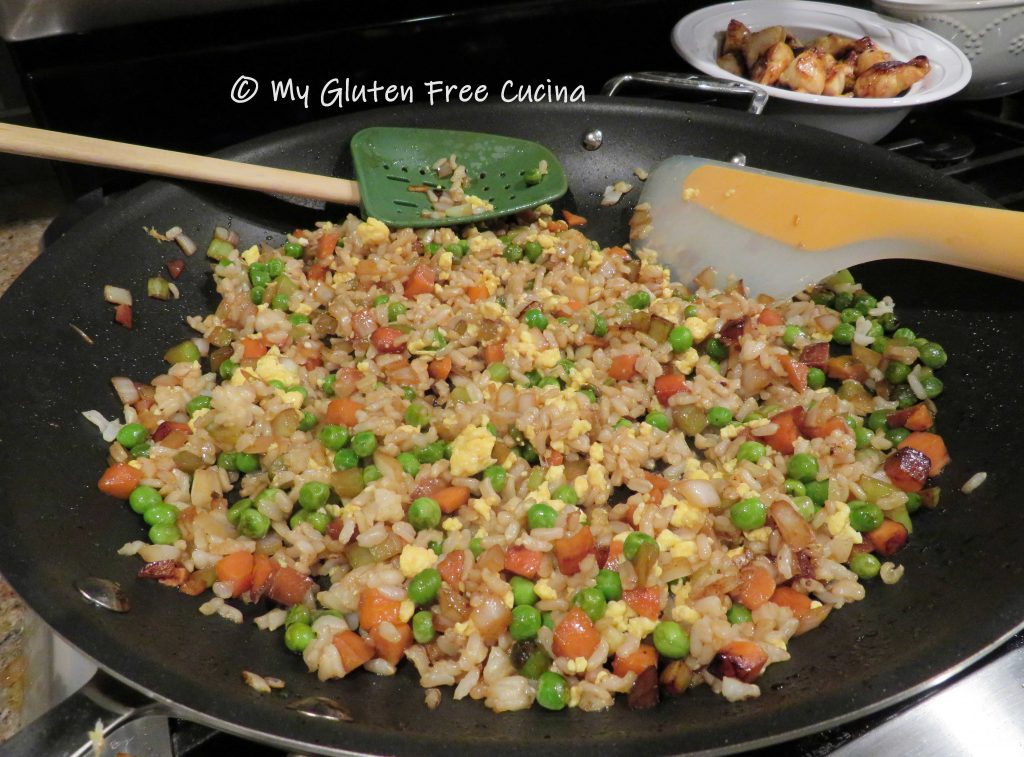
If you haven’t made fried rice before, check out my easy, basic recipe here.  You can pair it with seafood, pork, poultry or jazz it up with bean sprouts or more veggies.

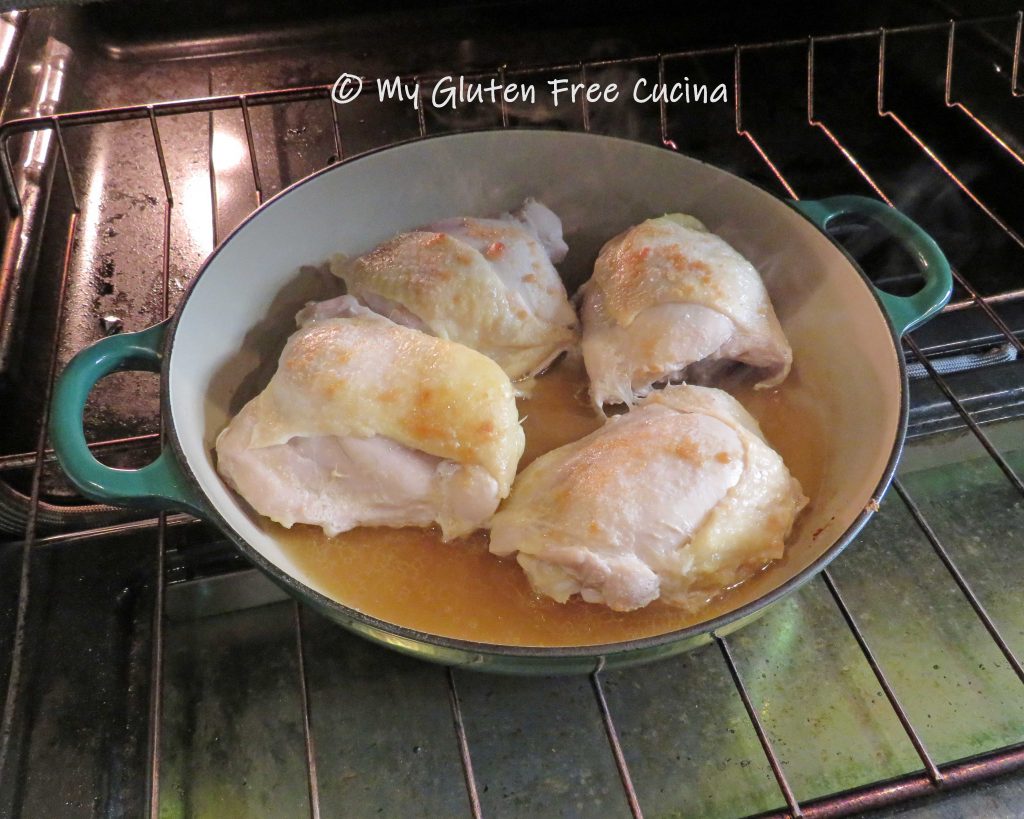
Rinse the chicken thighs and pat dry.  Trim excess fat and sprinkle the thighs with garlic and ginger powder.  Mist a cast iron braising pan or Dutch oven with cooking spray.  Arrange the thighs in the pan, cover and bake for 75 minutes at 350º.

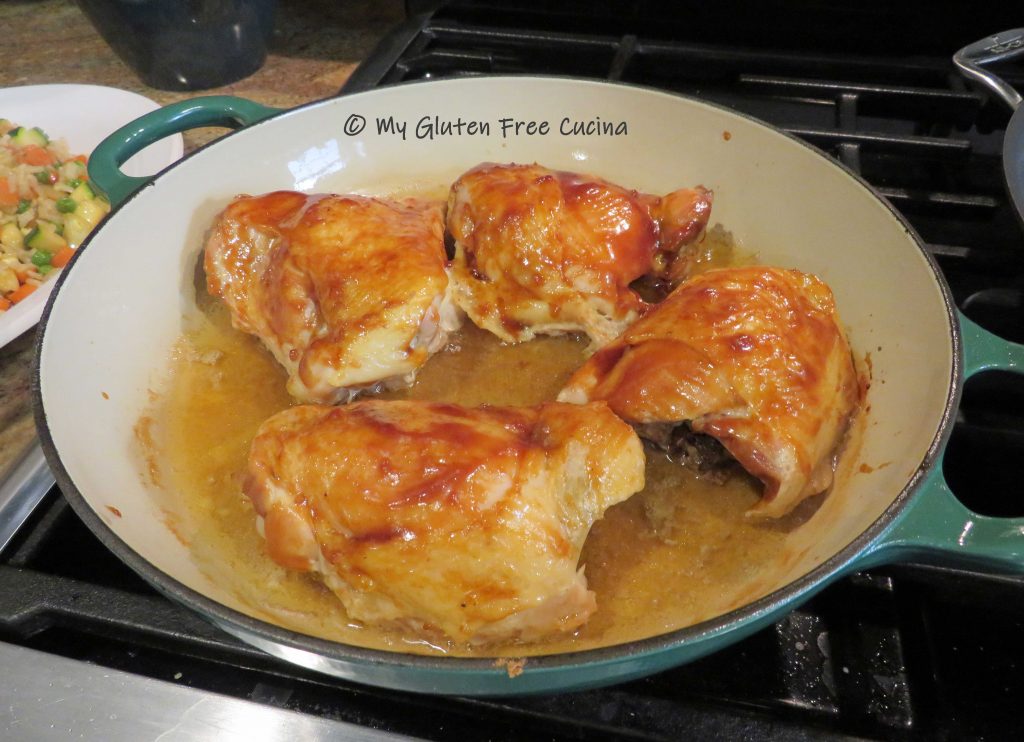
Liberally brush the thighs with hoisin sauce and cook uncovered for an additional 15 minutes.

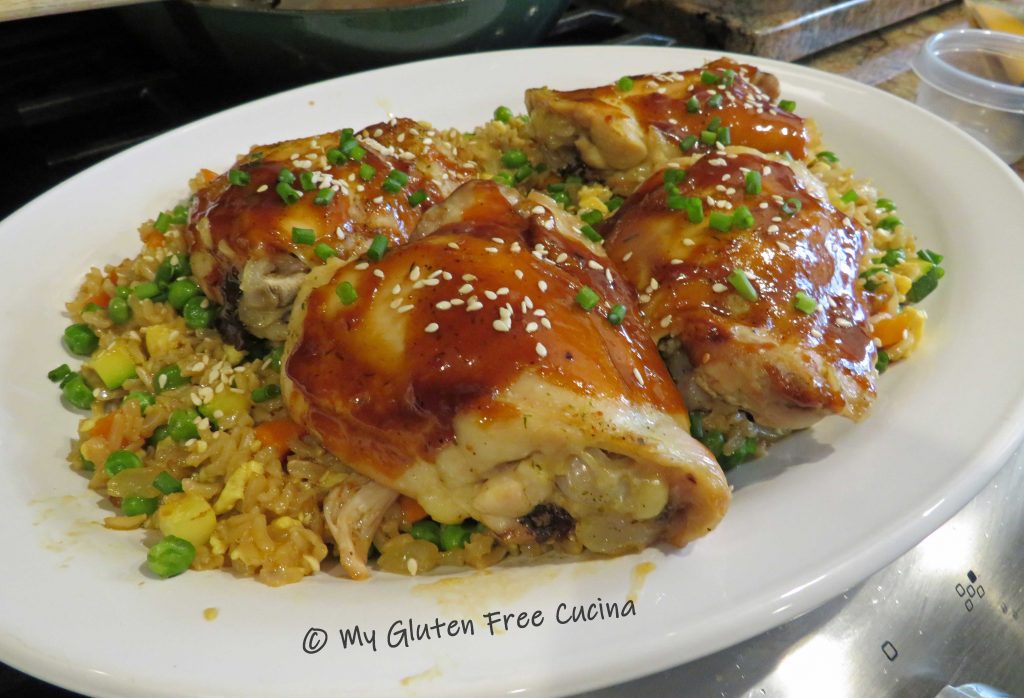
While the chicken was cooking, I made my fried rice.  You can get the basic recipe here.  I plated the chicken over the rice for a nice presentation.

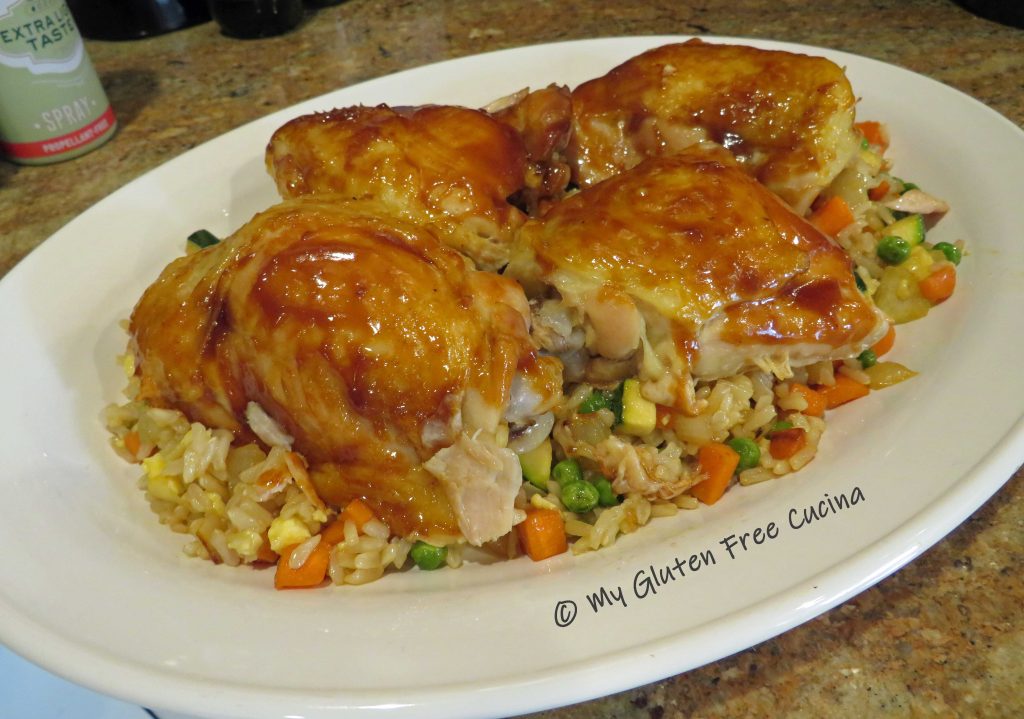
For an extra garnish, you can sprinkle with toasted sesame seeds and chopped fresh chives.

For more recipes with fried rice, check out my Shrimp Fried Rice, Hoisin Pork Fried Rice, or Hibachi Chicken with Fried Rice!

Notes ♪♫ Hoisin sauce is a staple in Asian cooking.  Not all brands are gluten free, so be sure to check the label.  I used Sunluck Hoisin Sauce in this recipe, available in the Asian aisle at your grocer or you can get it online.

Print This Post Print This Post

Basic Fried Rice, Gluten Free and Lower Sodium

I have shared so many of my Asian inspired meals here on the blog and I know you love them as much as I do!  Today though, I thought I would focus on a basic recipe for fried rice that you can make at home with common pantry staples.  This is an easy preparation that is both gluten free and lower in sodium.  I did not add meat, but you can choose (just like in your takeout menu), to add chicken, shrimp, pork, beef, etc… whatever you like to make it a complete meal.

Why make it at home?  You control the salt, you control the fat, and you will be absolutely sure that it’s gluten free!

Cheat some of the prep work by using frozen veggies, like mixed peas and carrots.  Or, use up bits of leftover veggies from other meals, just chop them into small pieces and throw them in.  Get fancy and add canned water chestnuts or bean sprouts!

If you’re making this after a long day at work, it’s nice to be a step ahead in your prep, so cook your rice the day before!  In fact, this recipe works best when the rice is cooked ahead of time and refrigerated.

Ingredients:

Preparation:

A large, nonstick skillet is my first choice for stir fry dishes.  You may think a 14″ skillet is too large for your needs, but having that extra surface area is great when you want to spread out your ingredients in the pan.

Make ahead steps: Cook the rice ahead of time, cool and refrigerate.  If using frozen vegetables, take them out to defrost.  Toast the sesame seeds in a small, nonstick sauce pan and set them aside for garnish.

Heat a large, nonstick skillet with cooking spray.  Scramble the egg and break it up with a spatula.

Set the egg aside and wipe the pan clean.

Mist the skillet with cooking spray and add 1 tbsp. olive oil, 1 tsp. sesame oil and 1 tbsp. coconut aminos.  Add the veggies, and sprinkle with the garlic and ginger.  Cook for 5 minutes over medium low heat, stirring frequently.

Add a little more sesame oil and coconut aminos, then stir in the cooked rice.  Cook 1 minute to heat through, then add back the scrambled egg.  Add a little more oil and coconut aminos.

Toss well to incorporate, and transfer to a serving bowl.  Garnish with toasted sesame seeds.

Notes ♪♫  I used coconut aminos in this recipe instead of soy sauce.  It is gluten free and much lower in sodium than tamari or gluten free soy sauce.  You can use any of these, or a combination to suit your taste and dietary needs.


Print This Post Print This Post

Hibachi Style Chicken with Fried Rice, Gluten Free and Low Sodium

Asian inspired meals are among my favorites, and while I have had no problem adapting my recipes to a gluten free version, they still have quite a bit of salt.  So, in this recipe, I used Coconut Aminos, a staple in my gluten free pantry.

What exactly are coconut aminos?

A soy free alternative to soy sauce, coconut aminos are made with coconut tree sap and salt.  A savory seasoning with a salty, umami flavor profile it contains far less sodium than traditional soy sauce or tamari.  In fact, I was shocked to find that a tablespoon of coconut aminos had 1/10th the sodium of tamari!  A huge difference.

This meal was a success, gluten free and lower in sodium, still delicious!

4 servings

This post contains affiliate links.

Ingredients:

  • 16 oz. boneless chicken breast
  • 1 cup mixed vegetables such as peas, carrots, onions, celery, mushrooms
  • 1 tbsp. olive oil
  • 3 tsp. toasted sesame oil, divided
  • 4 tbsp. Coconut Aminos, divided
  • 1 tsp. Tamari
  • 1/4 cup gluten free chicken broth
  • 1/4 tsp. powdered ginger
  • 1/4 tsp. garlic powder
  • 1 tsp. cornstarch

For the rice

  • 3/4 cup long grain brown rice
  • 1 cup gluten free broth (chicken or vegetable)
  • 1 cup water
  • 1/4 tsp. seasoned salt

For the egg

  • 1 egg + 1 tbsp. water
  • cooking spray

Preparation:

First make the rice.  You can do this ahead of time, in fact it will be better if you make the rice a day ahead and refrigerate.  Cook the rice according to package directions either stove top or in a rice cooker.

Next, whisk together the chicken broth, garlic powder, ginger and cornstarch.  Dice the chicken into 1″ cubes and toss with 1 tbsp. coconut aminos and 1 tsp. tamari.  Cut the vegetables into small dice (if using frozen vegetables, thaw them while you make the rest of the dish).

Coat a large, nonstick skillet with cooking spray over medium low heat.  Scramble the egg, chop into small pieces and set aside.

Add 1 tbsp. olive oil and 1 tsp. sesame oil to the skillet.  Add the diced chicken and begin browning.

Turn to finish cooking through.

Transfer the chicken to a bowl and keep warm.  Add the veggies to the skillet with 1 tsp. sesame oil and 1 tbsp. coconut aminos.

When the veggies are crisp tender add back the chicken.  Pour in the chicken broth mixture, stirring and tossing to combine until the liquid thickens.

Finish with 1 tbsp. coconut aminos and transfer to a serving dish.  Leave a few veggies in the pan to toss with the rice.

Finally, add the cooked rice to the skillet with 1 tbsp. coconut aminos and 1 tsp. sesame oil and stir to heat through.  Add back the cooked egg and this meal is ready!

Dinner is served, gluten free and low sodium!

Notes ♪♫ My late husband Mr. Cucina and I had a long-standing tradition of going out for Hibachi on Halloween night.  We did this every Halloween for over 20 years!  When I was diagnosed with Celiac disease, we even found a Hibachi restaurant that would prepare my meal gluten free, and the tradition continued.  When his health took a turn for the worse and we could no longer go out to eat, I made this meal for us at home one Halloween night.  Things change, but this old tradition of ours will always bring back happy memories.

Print This Post Print This Post