If you are a seafood lover like me, you’re going to want to try this light and easy dish. Great for Seafood Friday and fast enough to prepare when you get home from work.
For those who celebrate La Vigilia (The Feast of Seven Fishes) for Christmas Eve, this would be a great addition to your menu.
This post contains affiliate links.
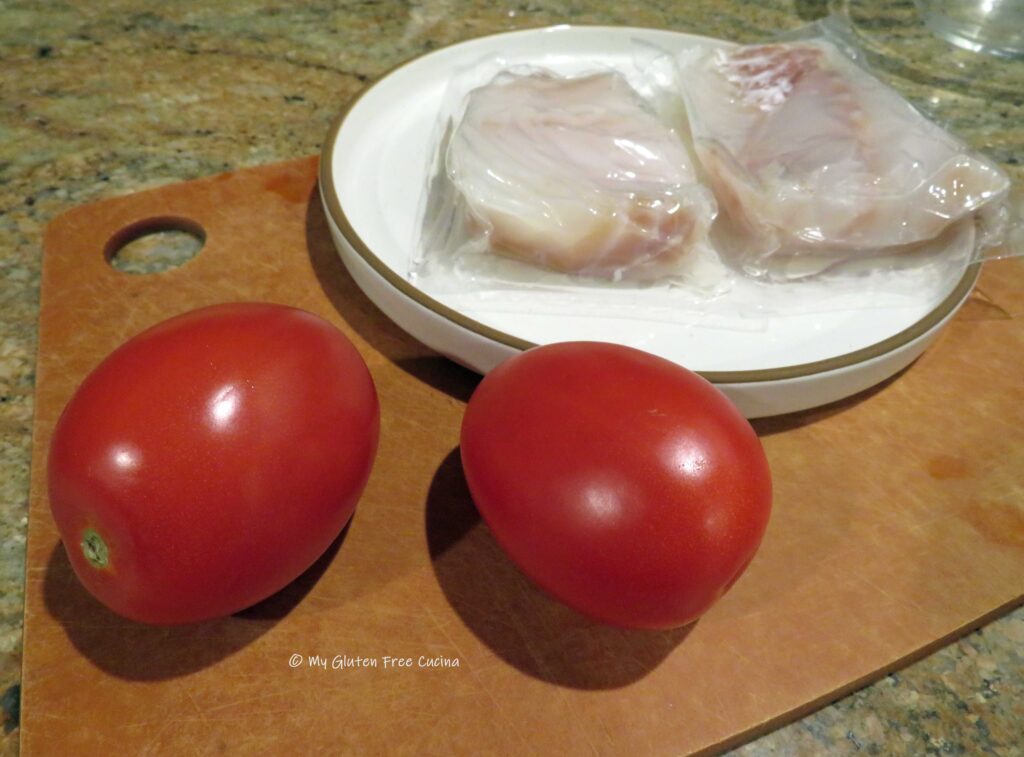
 The recipe is easy and straightforward; made with common ingredients. Fresh tomatoes and basil are a must here (don’t use canned!). If you grow your own or can get them from a farmer’s market that would be great. But for everyone else, plum tomatoes from the grocery store are the best choice.
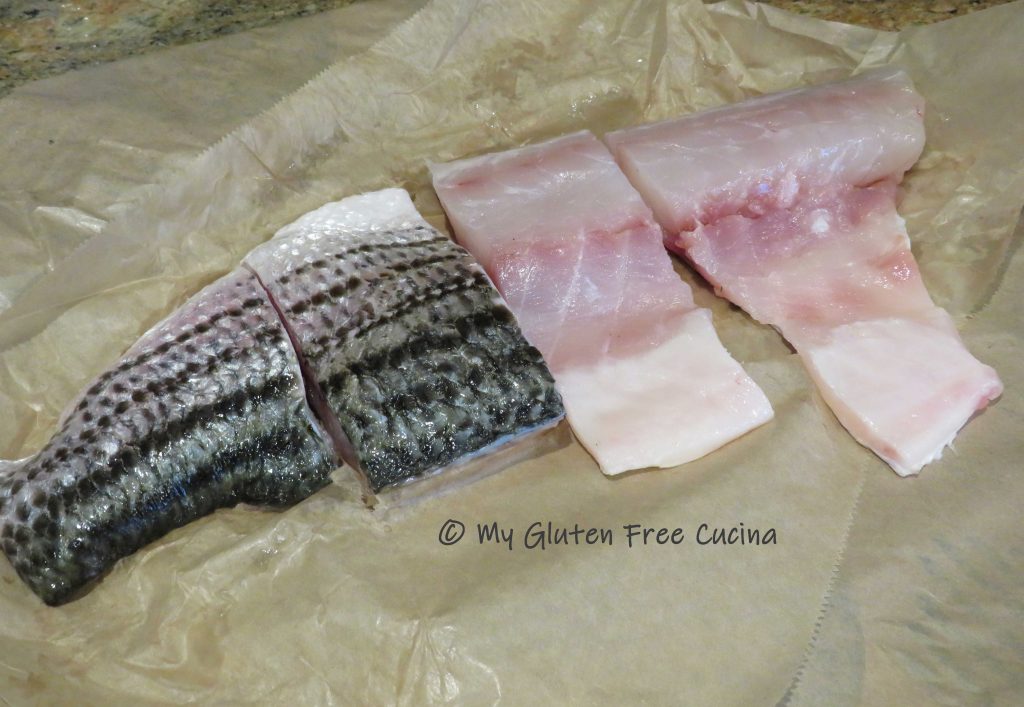
Try to choose portions of fish that are all the same size and thickness, so that they all finish cooking at the same. For end pieces, tuck the thin side underneath to keep it moist.
Dinner for two (recipe can be doubled or tripled)
Ingredients:
- 2 thick cut pieces of cod (about 6 oz. each)
- 2 plum tomatoes
- 2 tbsp. olive oil, divided
- 1/2 tbsp. balsamic vinegar
- fresh ground pepper
- pinch of sea salt
- 2 tbsp. gluten free Italian breadcrumbs
- fresh basil leaves 🍃
 Preparation:
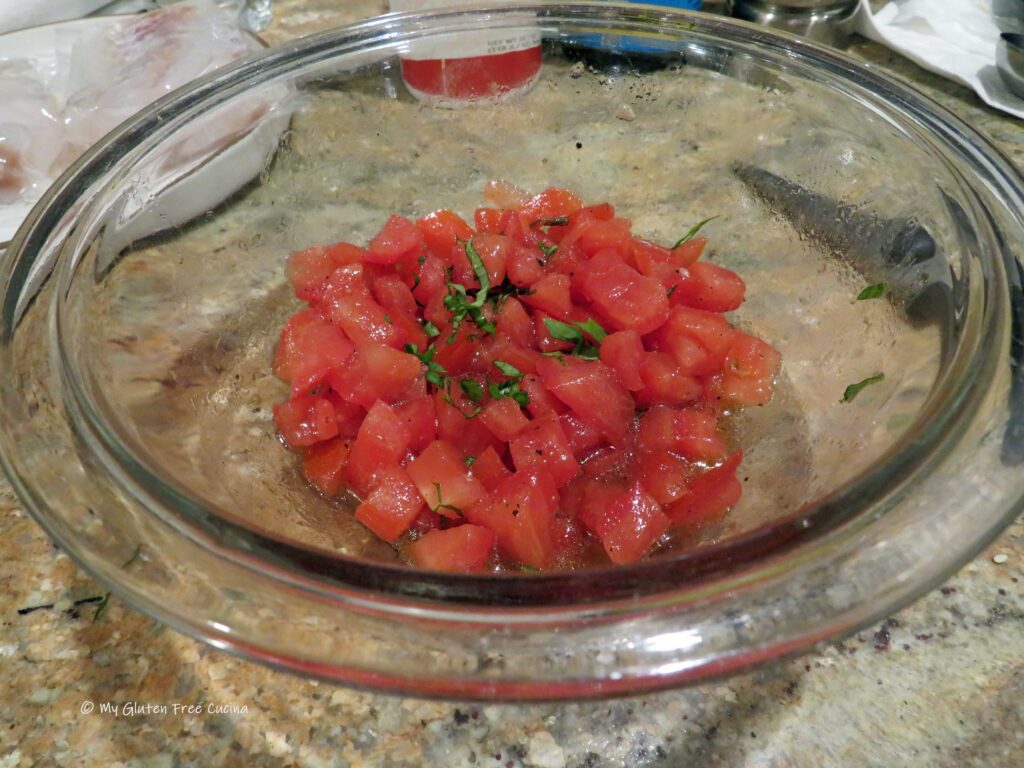
Cut the tomatoes into small dice, discarding the core and as many seeds as possible.
 Place the diced tomatoes in a small bowl, and toss with 1 tbsp. olive oil, the balsamic vinegar, sea salt and ground pepper. Cut one large basil leaf into thin strips (chiffonade) and stir into the tomatoes. Let the mixture stand for about 30 minutes at room temperature.
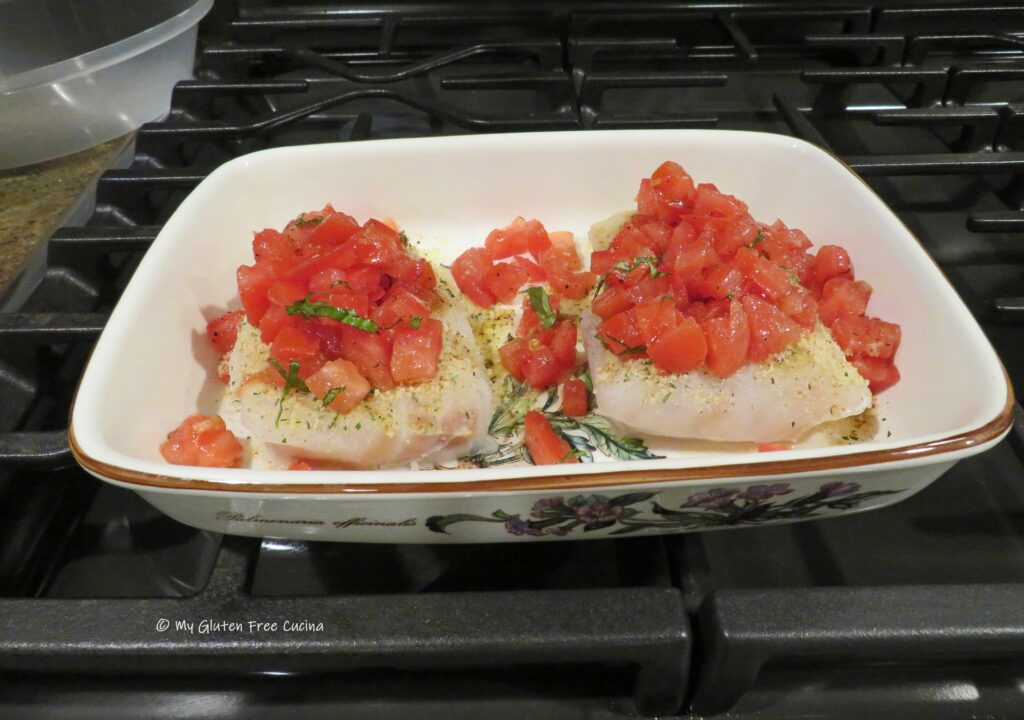
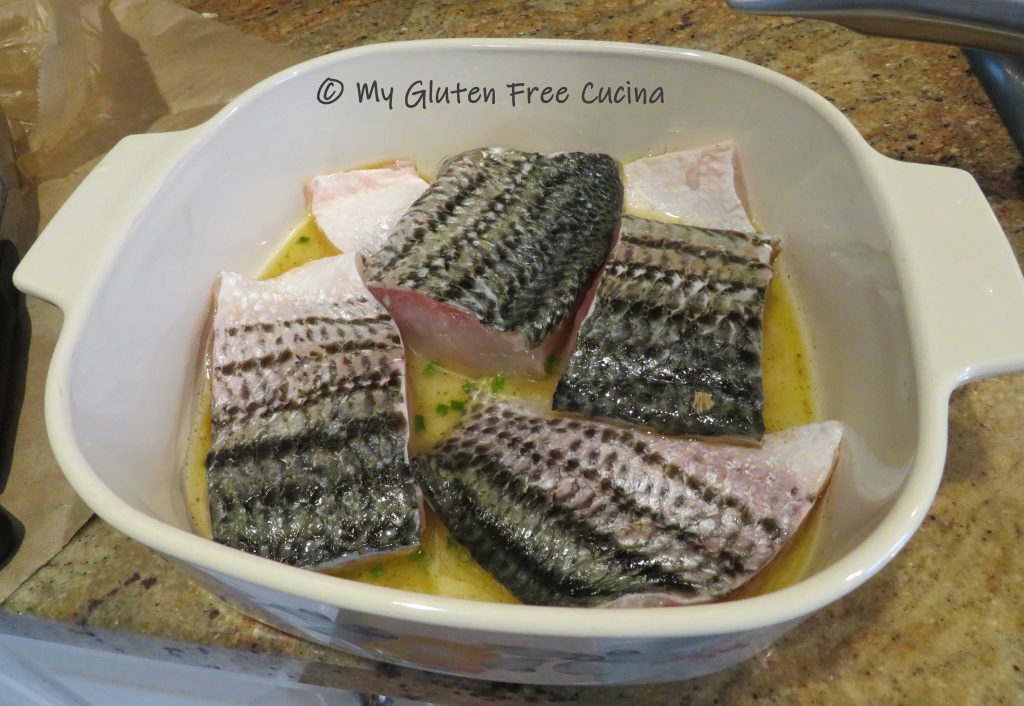
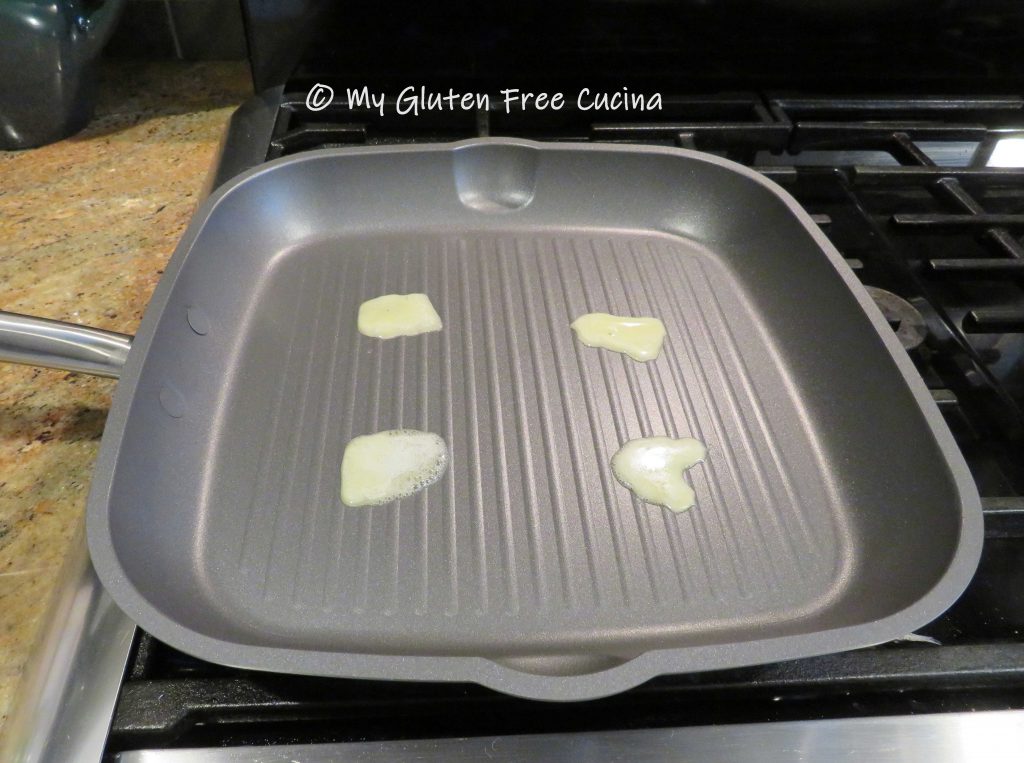
 Preheat the oven to 350º. Coat a baking dish with cooking spray and arrange the cod with space in between. Drizzle with the remaining olive oil and a pinch of sea salt.
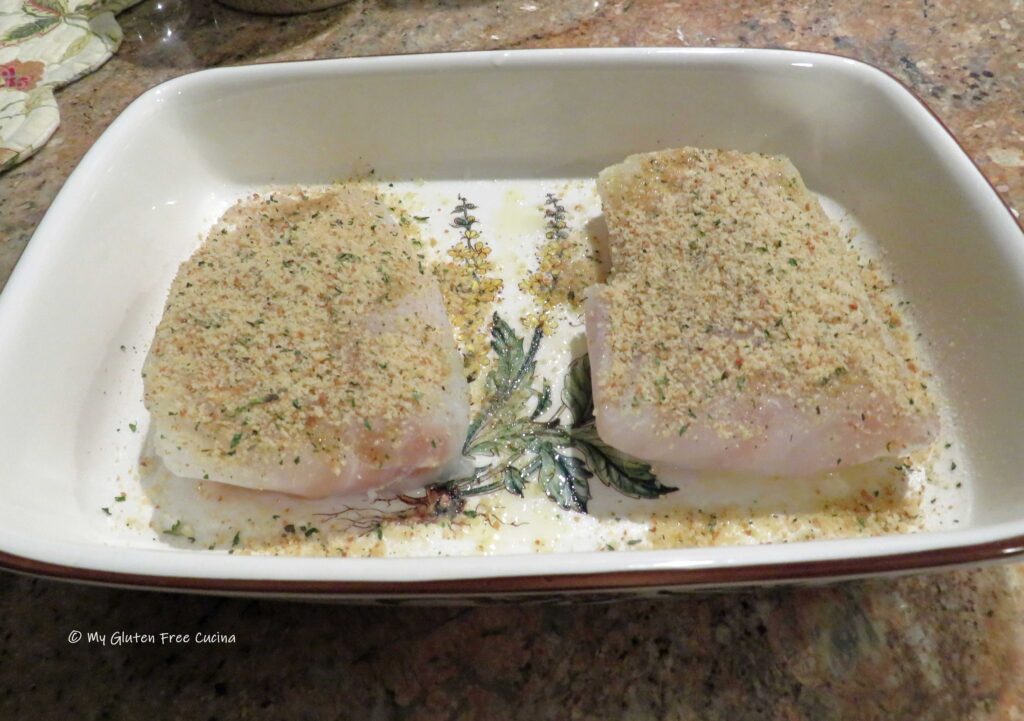 Top each piece of fish with 1 tbsp. of breadcrumbs, then divide the diced tomatoes evenly over each piece.
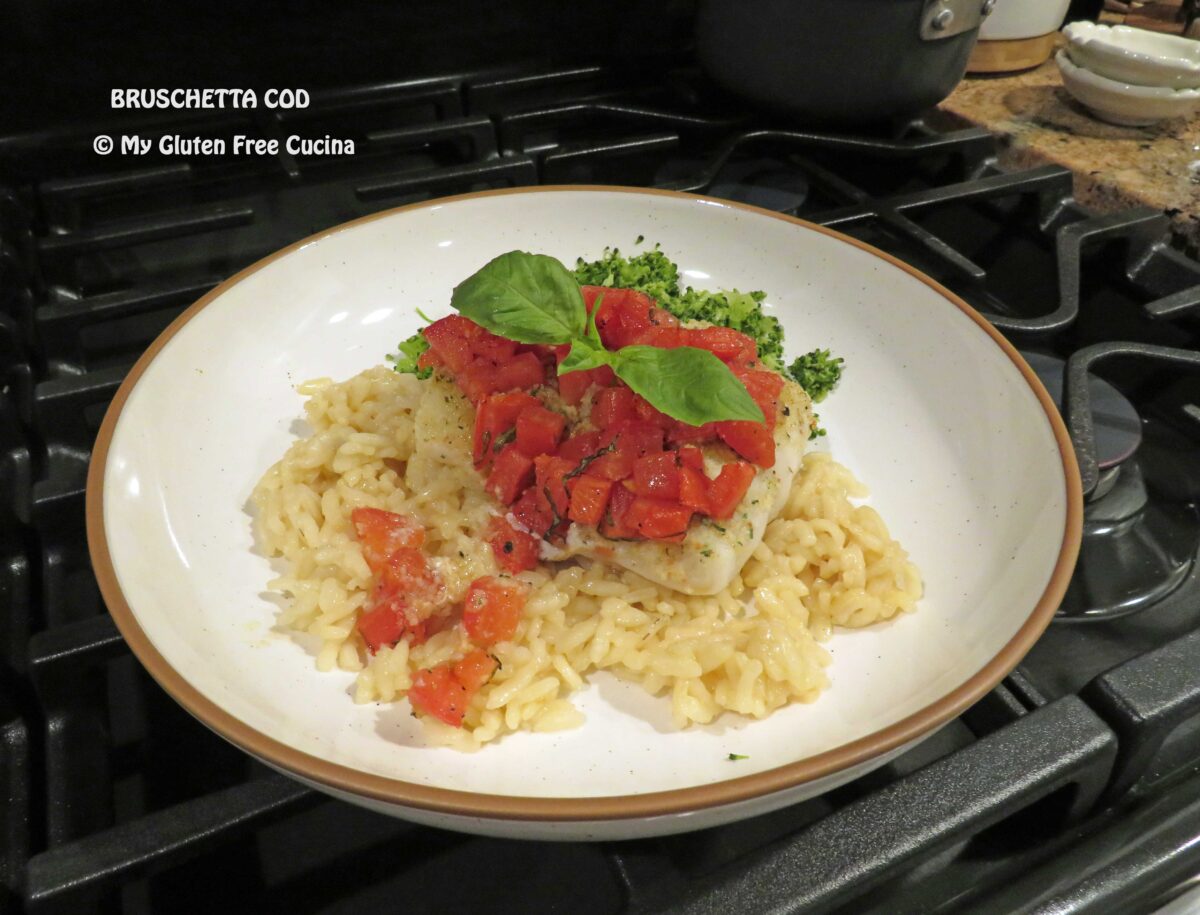
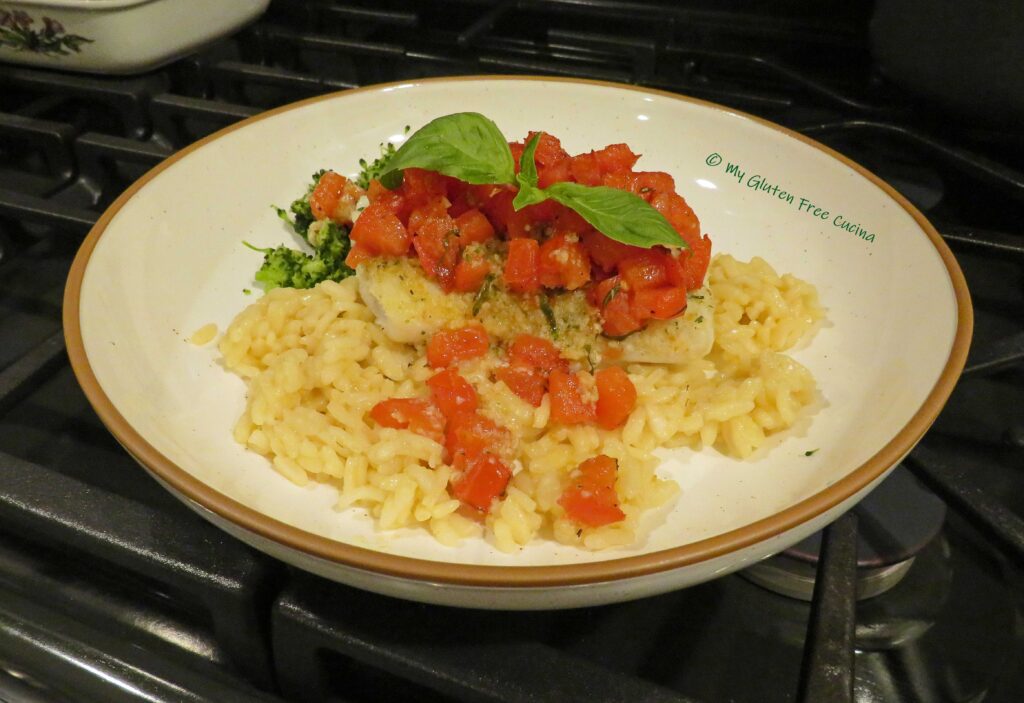
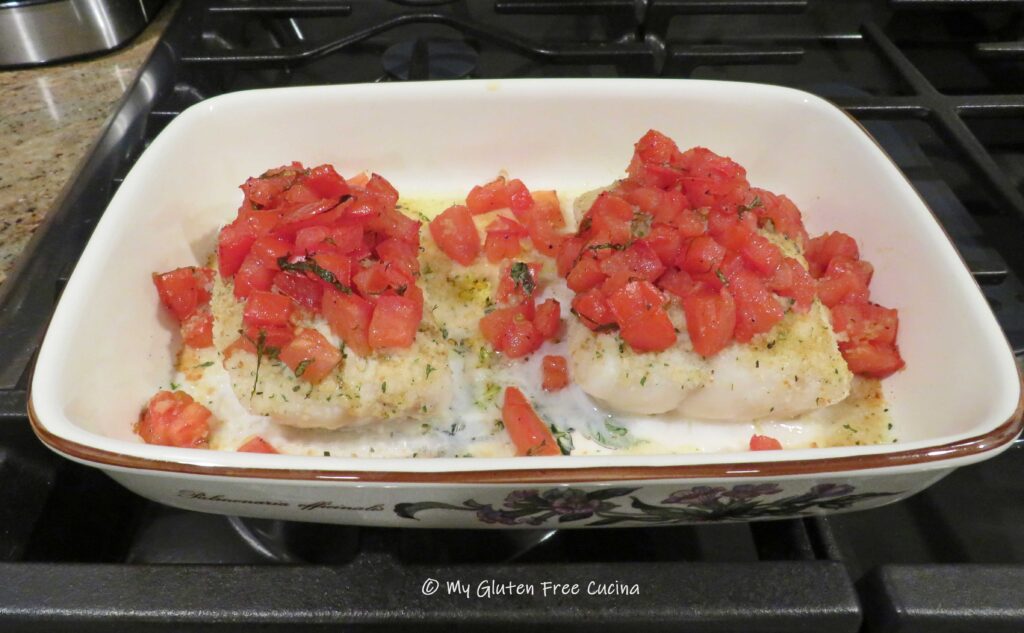
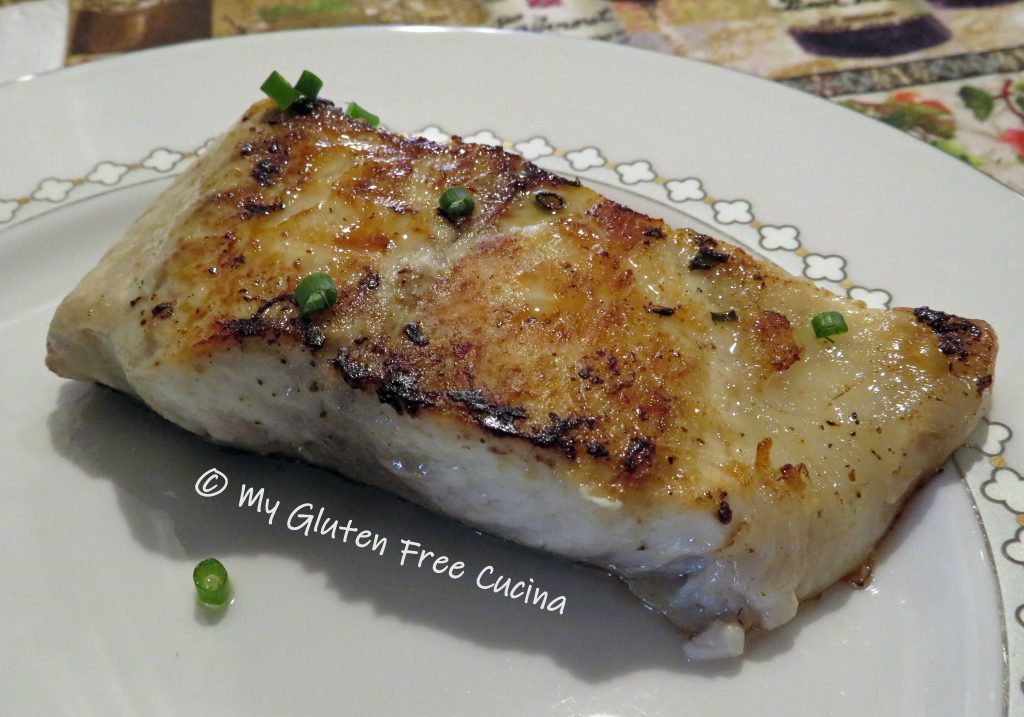
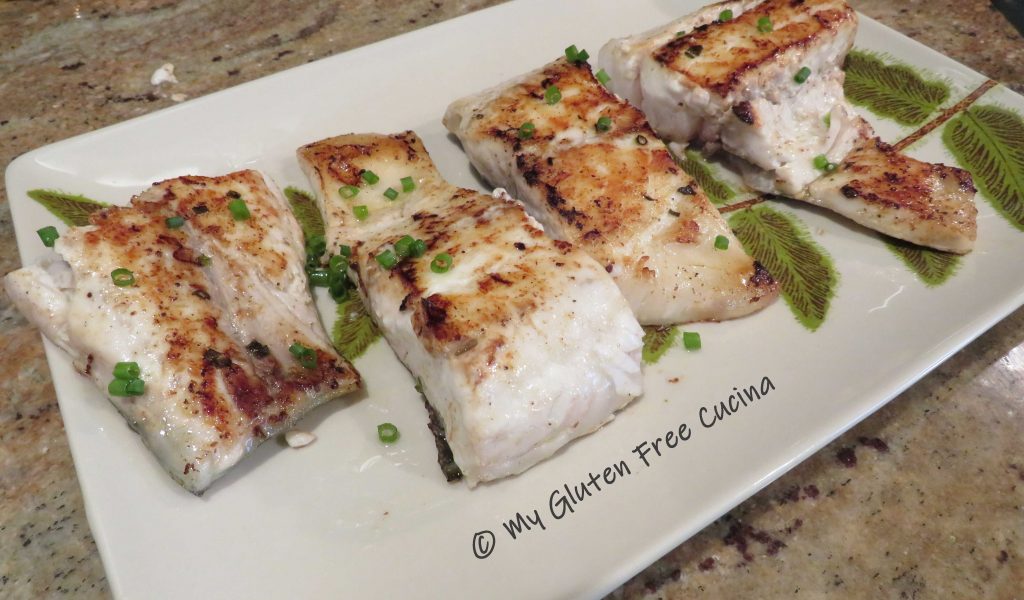
 Bake for 25 minutes. That’s it! Plate with a garnish of fresh basil leaves.
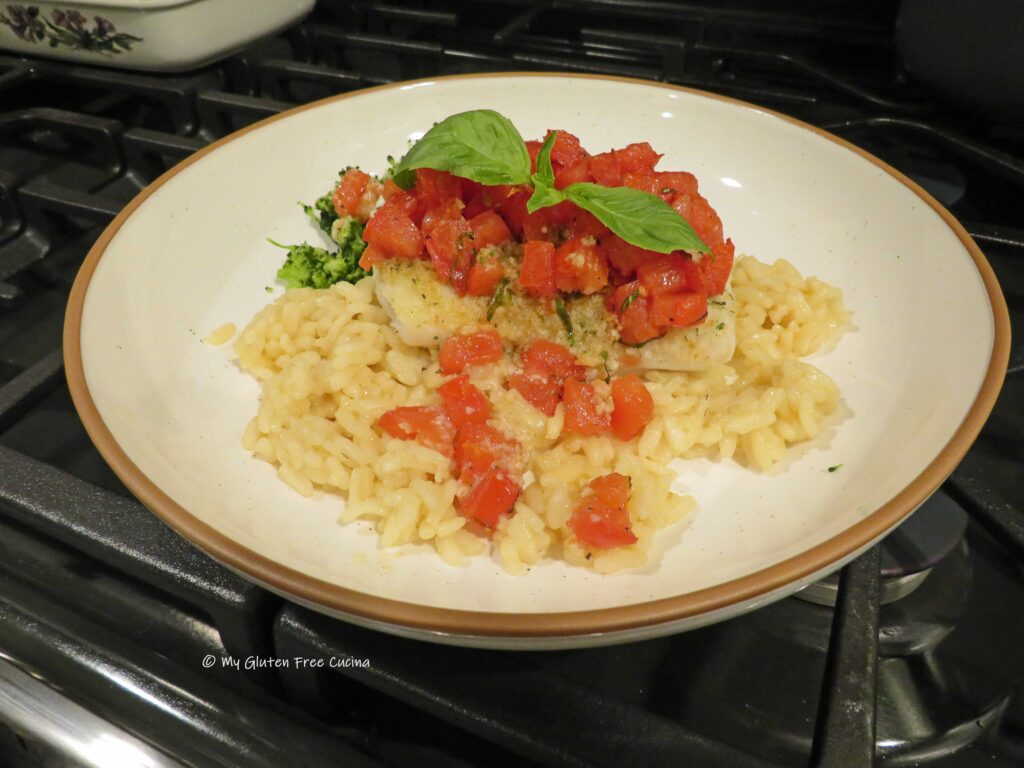
 I served my Bruschetta Cod over risotto, and it was SO delicious. If you don’t know how to make risotto, jump over to this post where I explain it step-by-step.
 Notes ♪♫ Bruschetta Cod is not only healthy, but you can be assured the fish will be moist and juicy when prepared this way. I hope you try this extra special dinner!

[print_link]
 Ingredients:
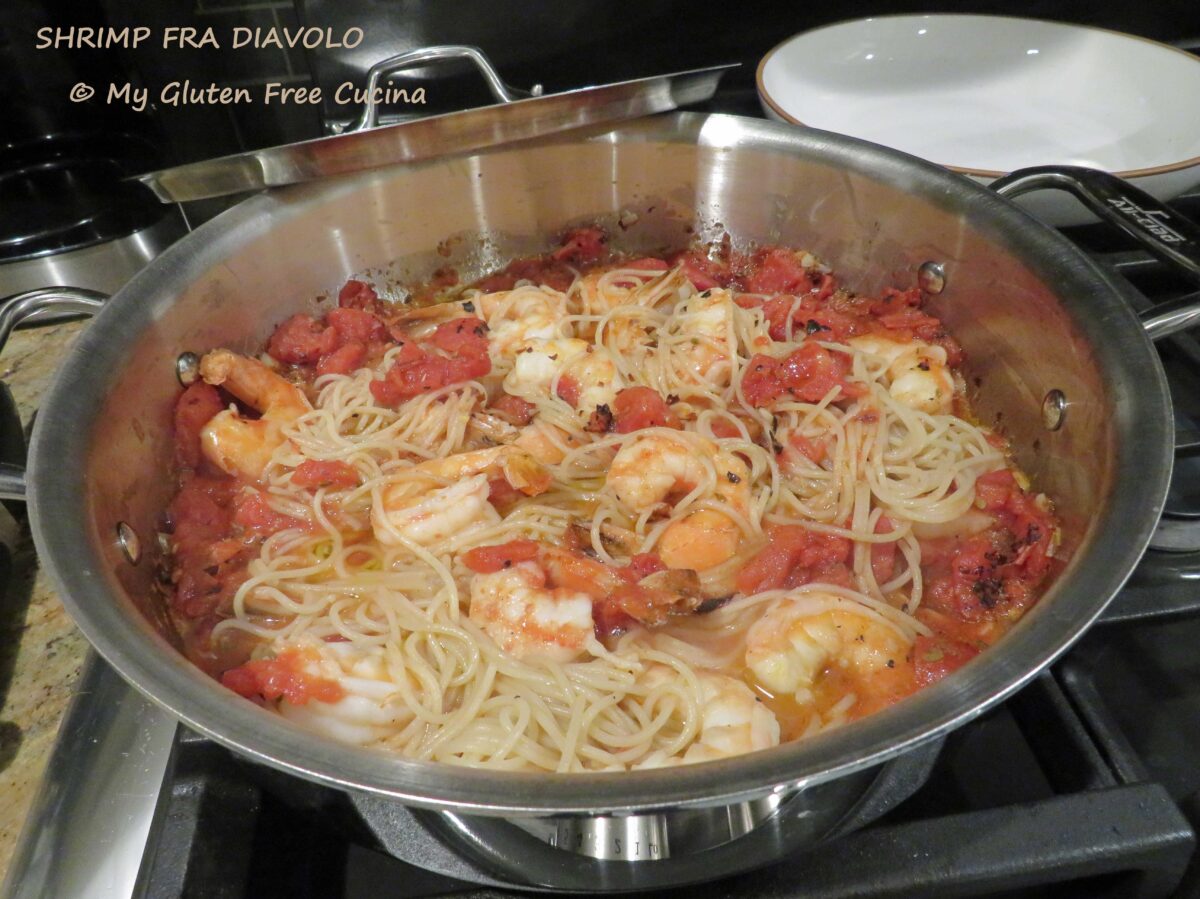
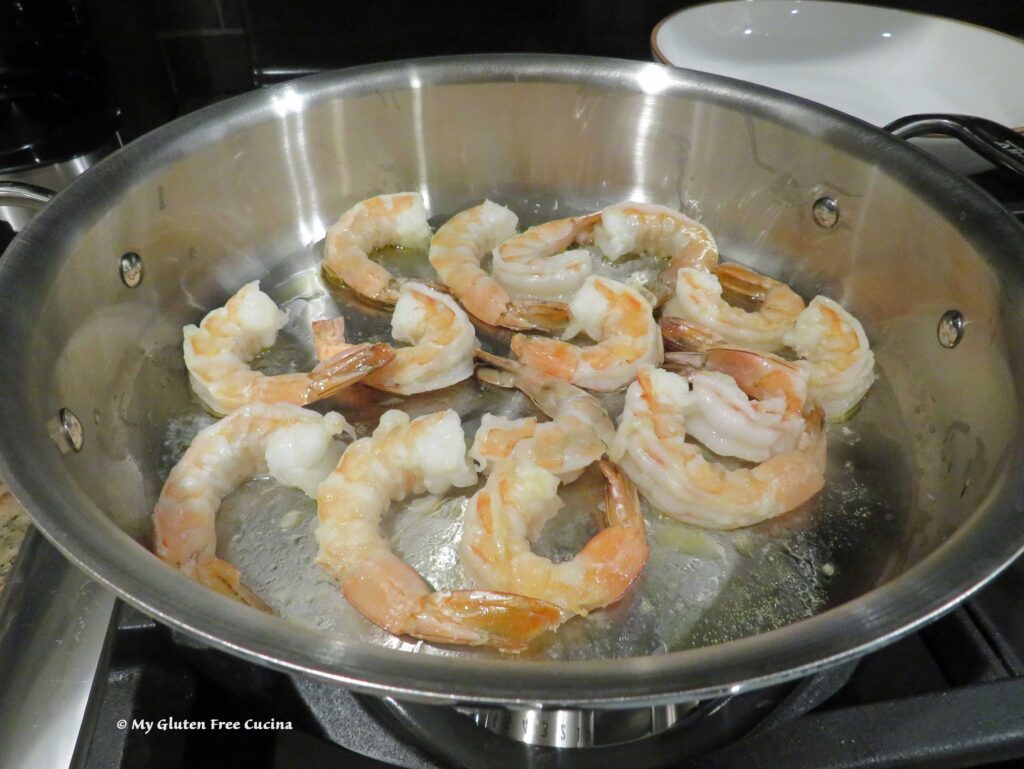 Remove the shrimp to a bowl and add another tbsp. olive oil to the skillet. Add the garlic and red pepper flakes, and cook for 30 seconds, stirring several times.
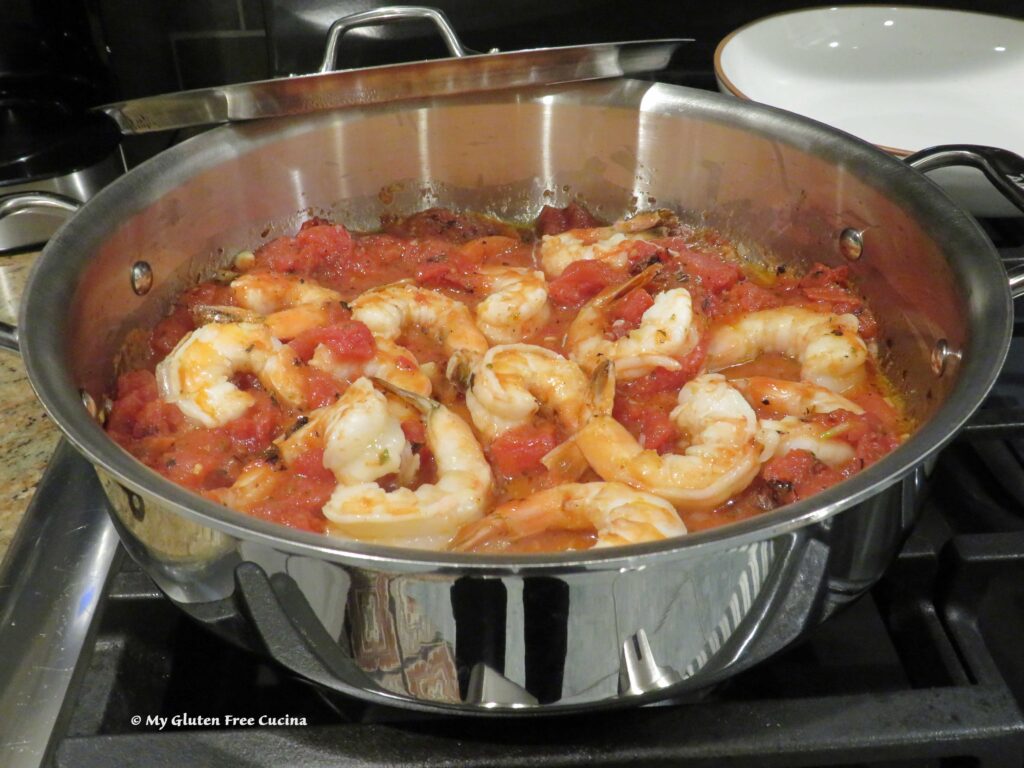
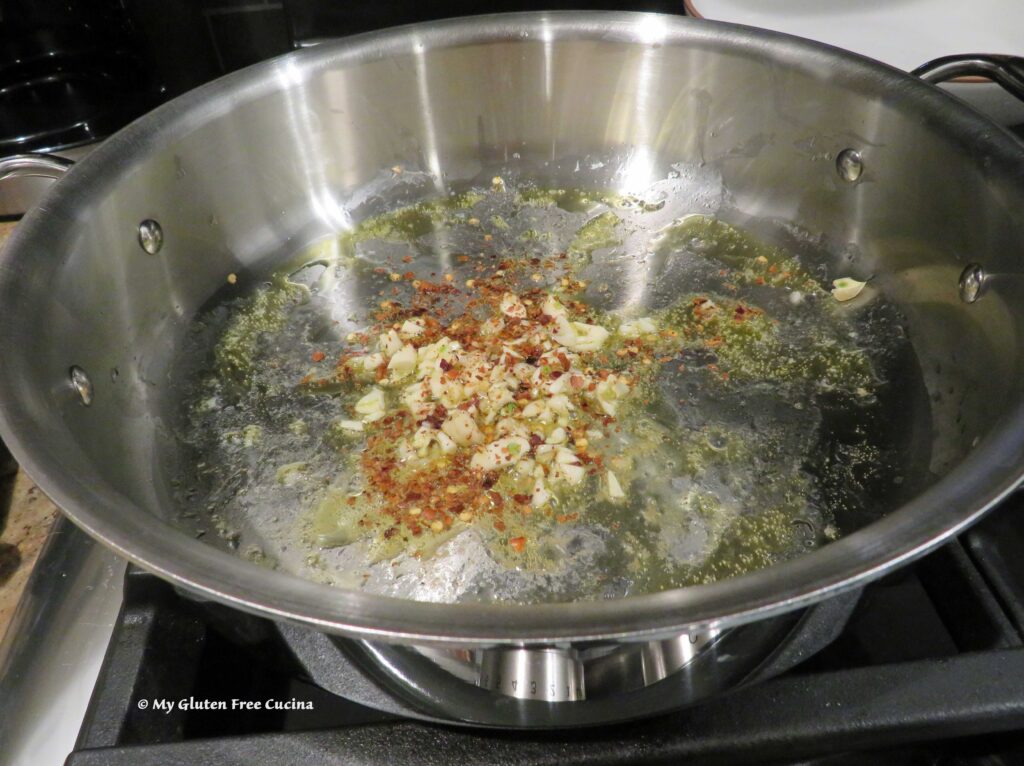 Add the fire roasted tomatoes with juice, 1/2 tsp. oregano and salt to taste.
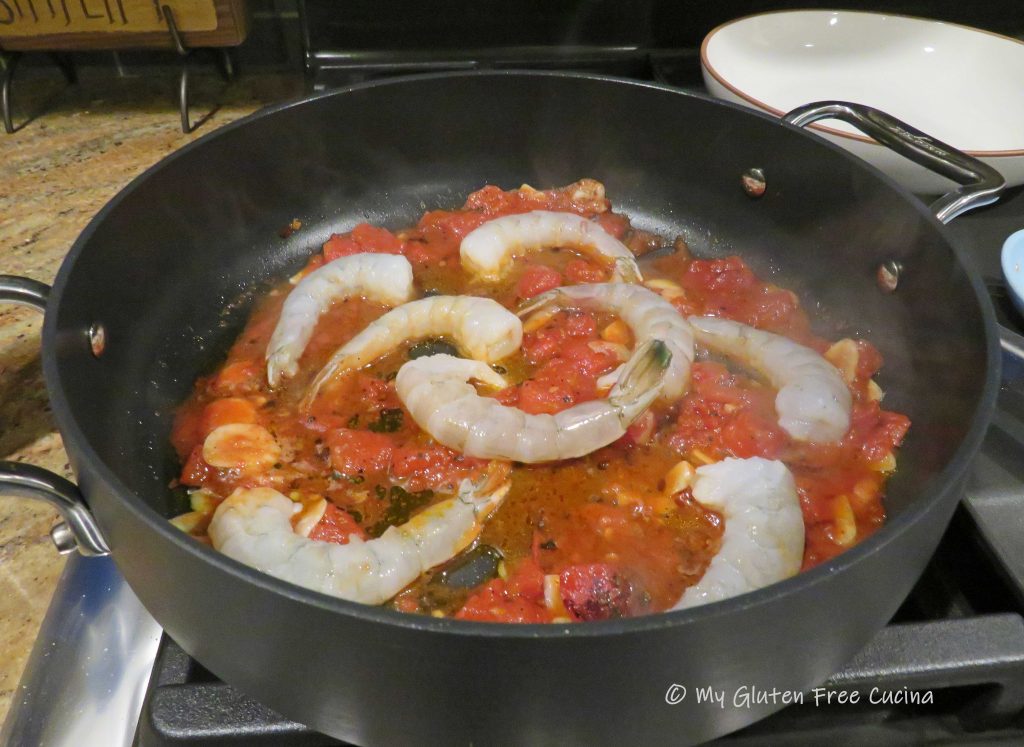
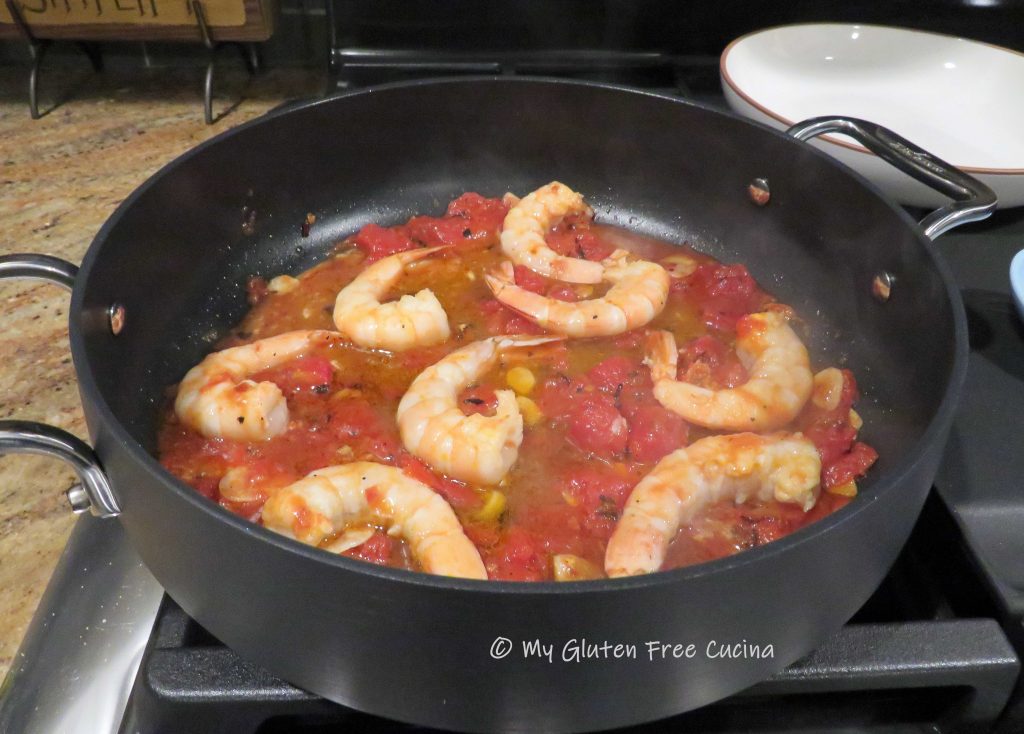
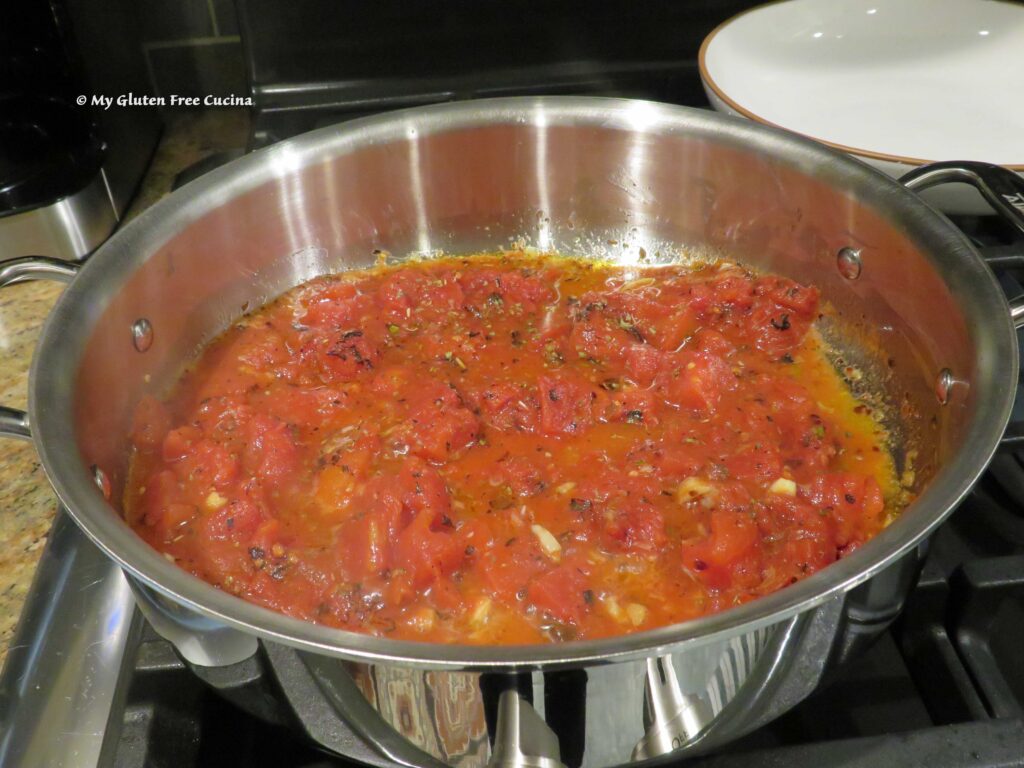 Cook the pasta to 2 minutes less than package directions. With 4 minutes to go on the pasta, add the shrimp to the sauce.
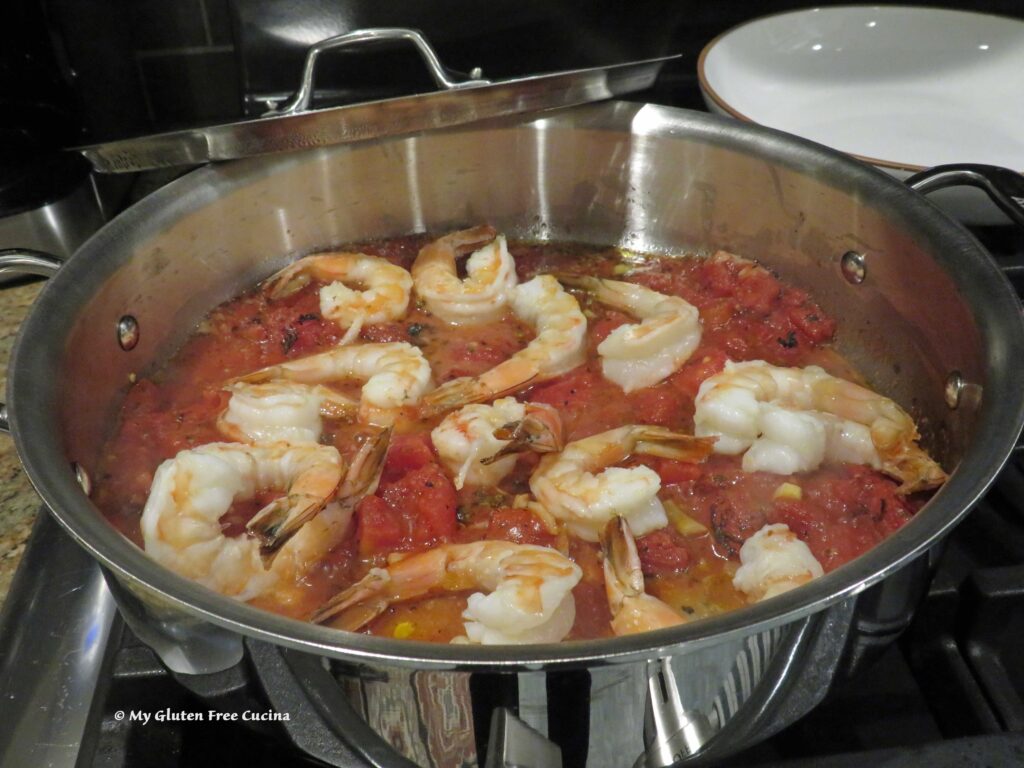 Drain the pasta, add it right into the sauce and toss with 1 more tbsp. olive oil and more red pepper flakes if you dare! ♨️
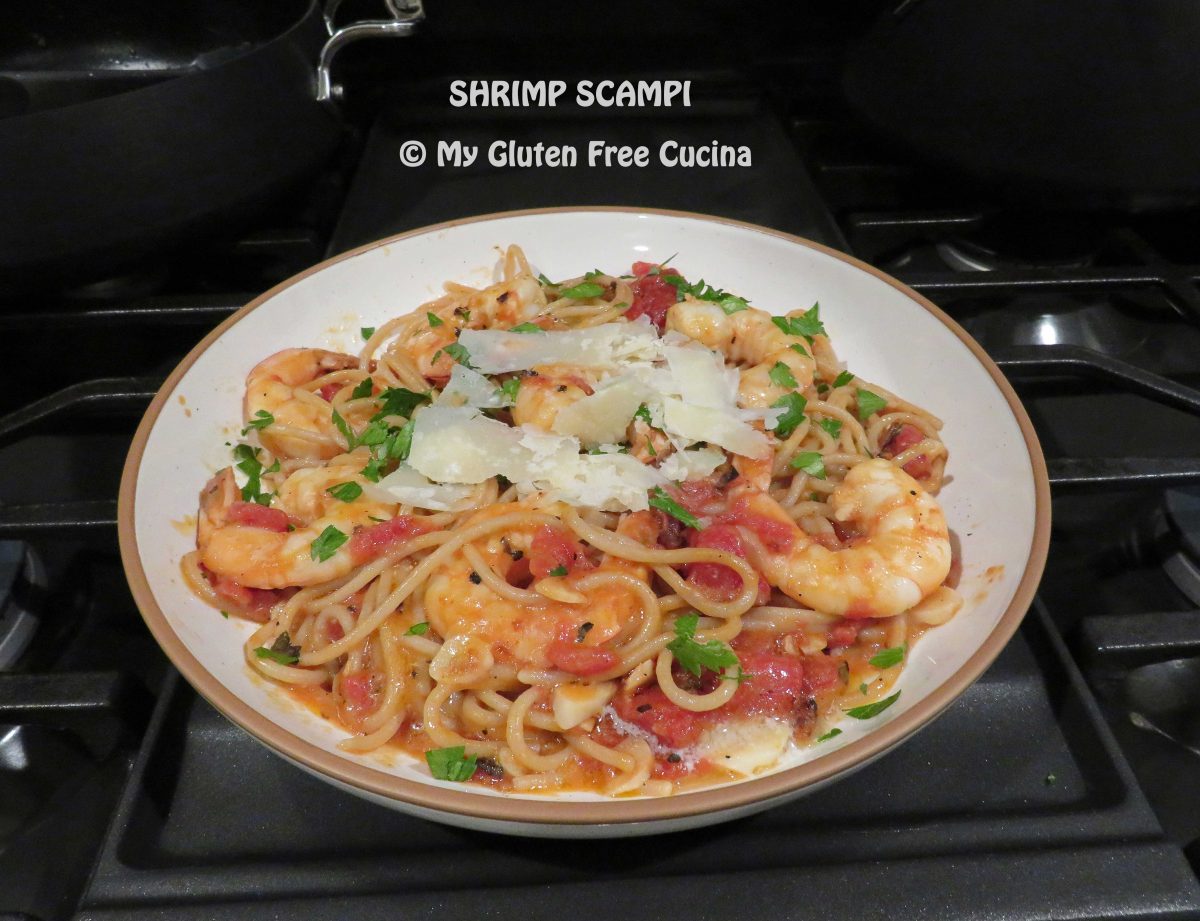
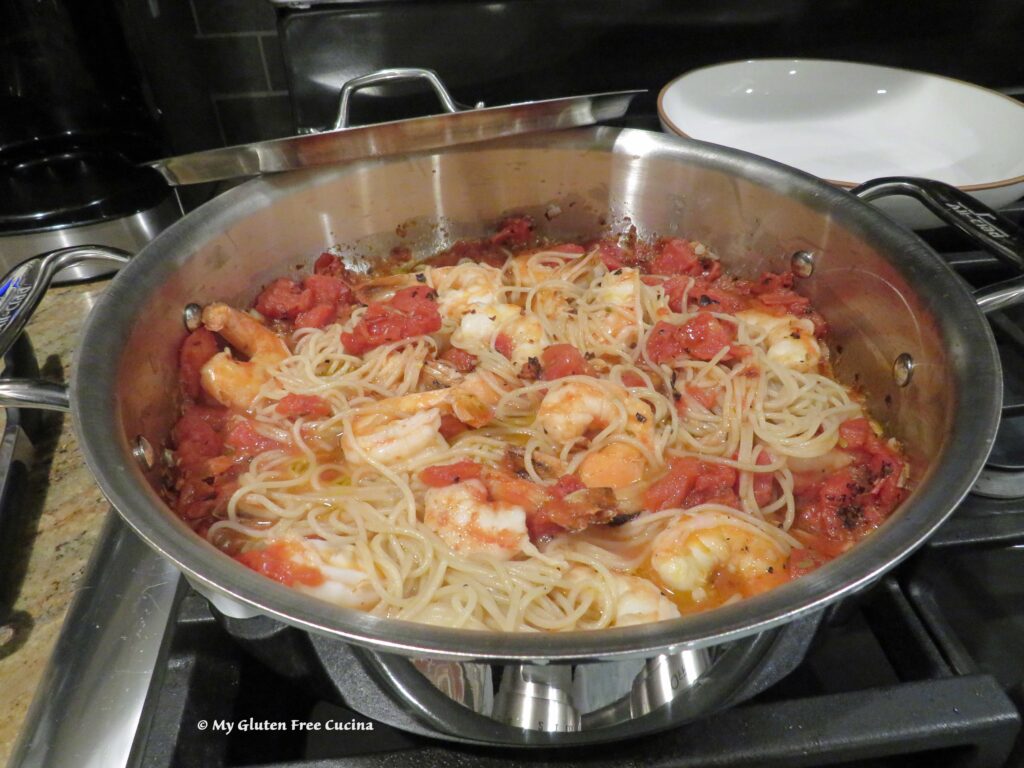 Transfer to serving bowls and garnish with fresh Italian parsley.
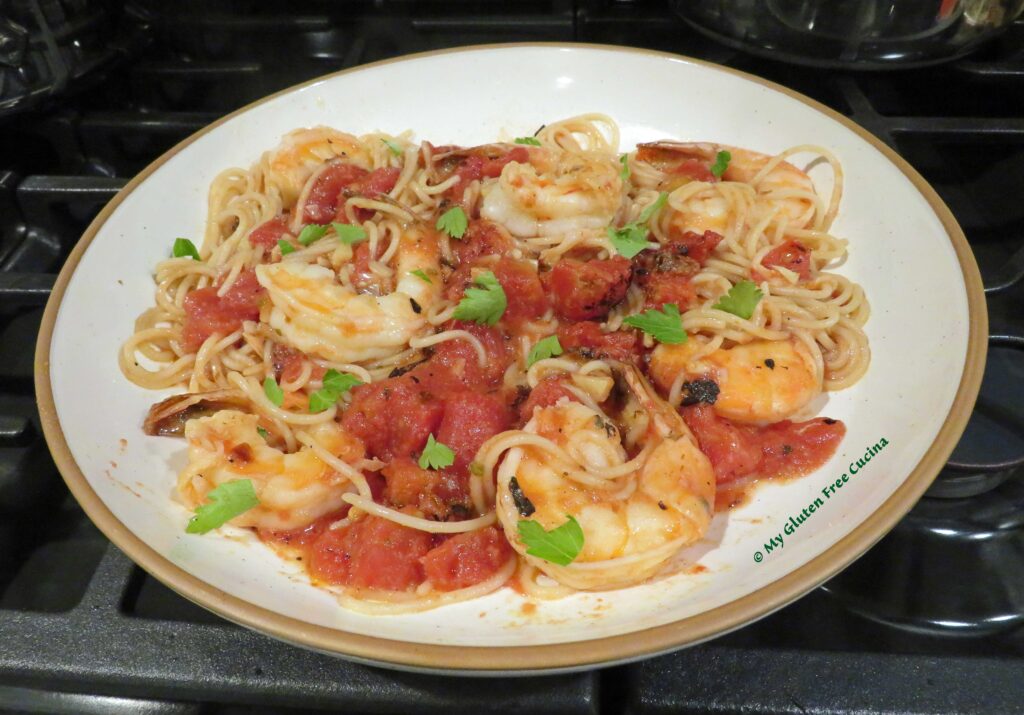


 Preparation:
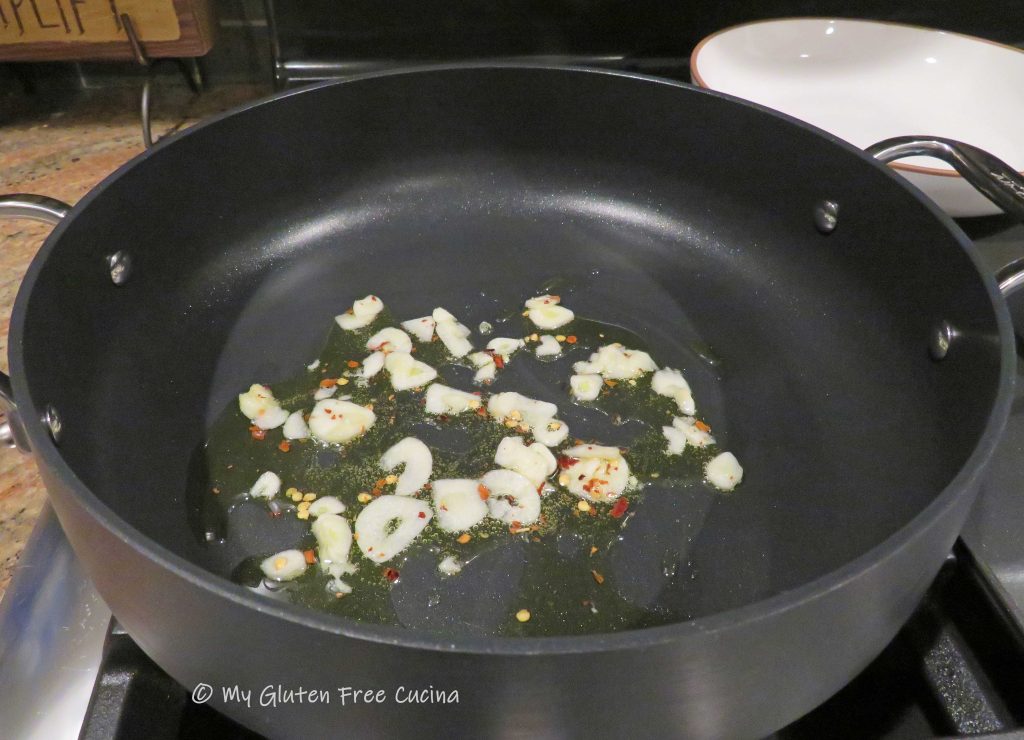


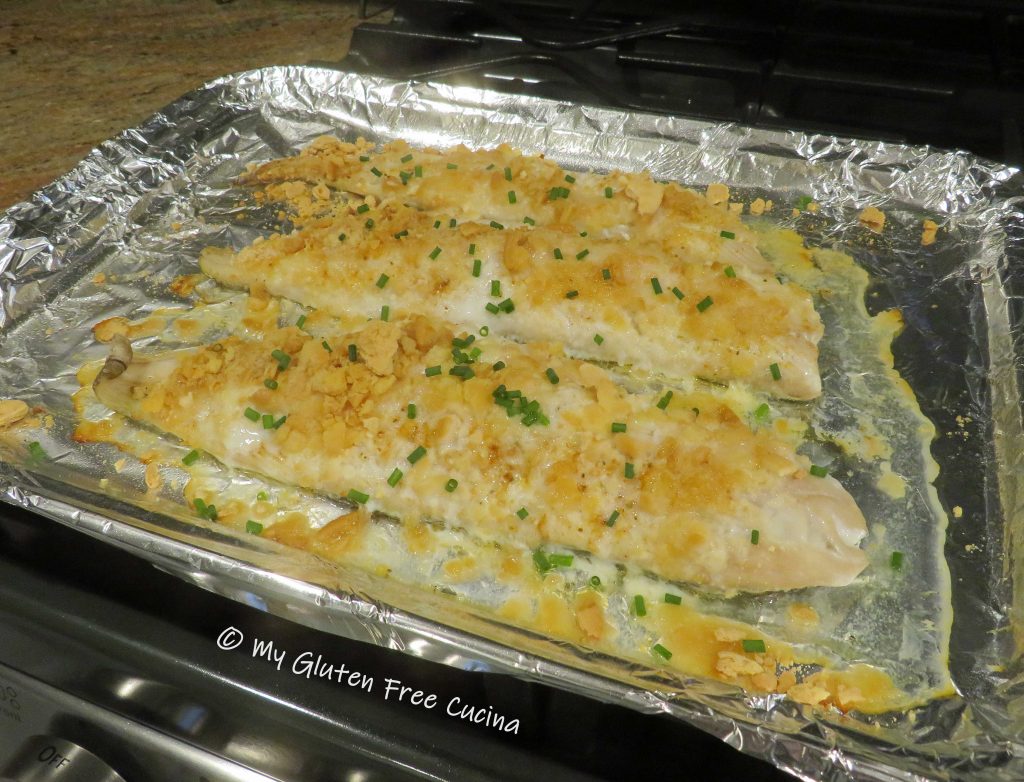
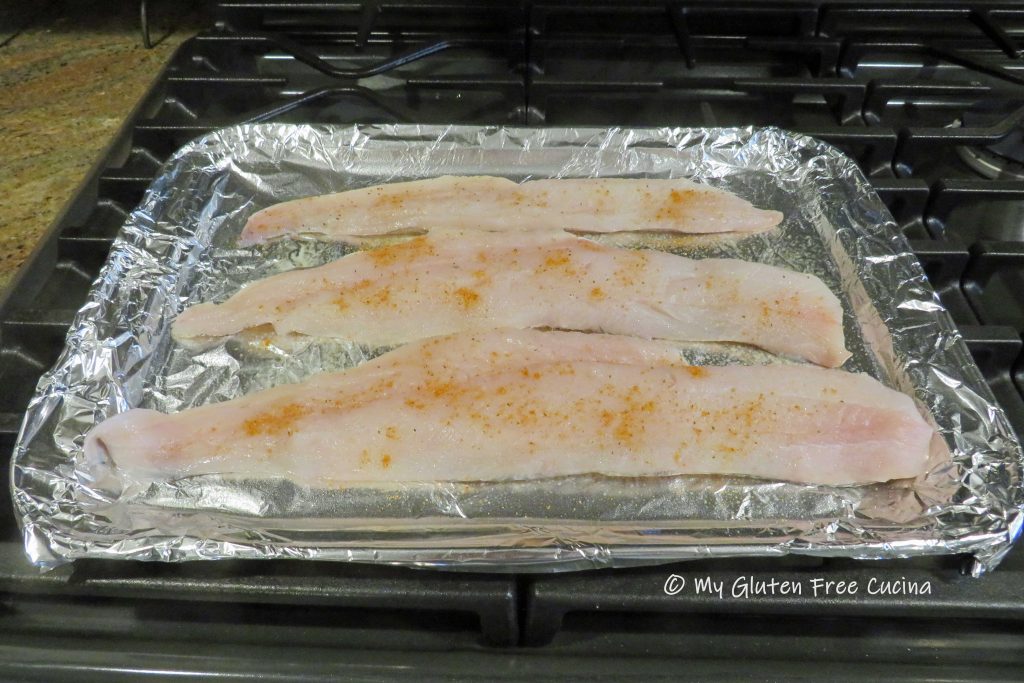
 Whisk together the marinade ingredients with a sprinkle of Old Bay®, a few grinds of fresh ground pepper and 1 tsp. of fresh chives.
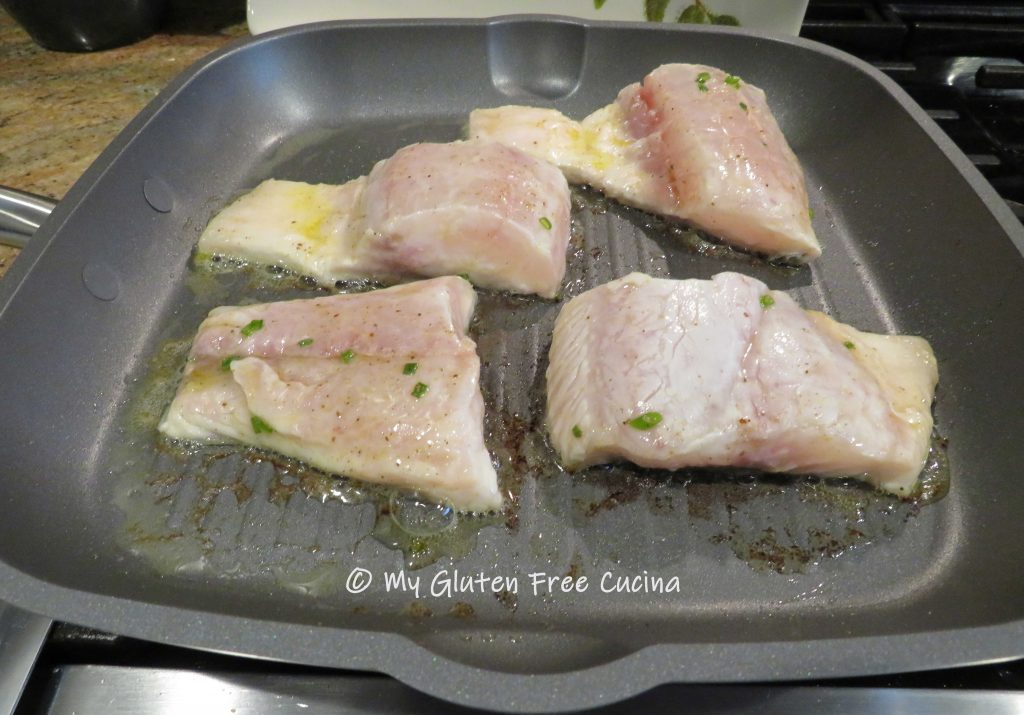


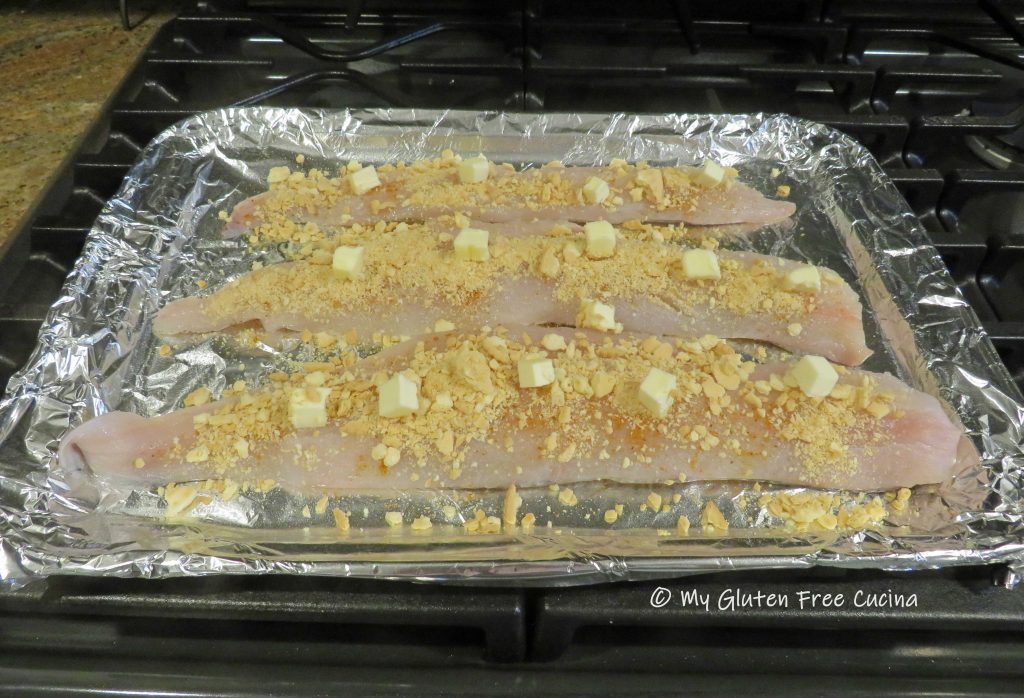
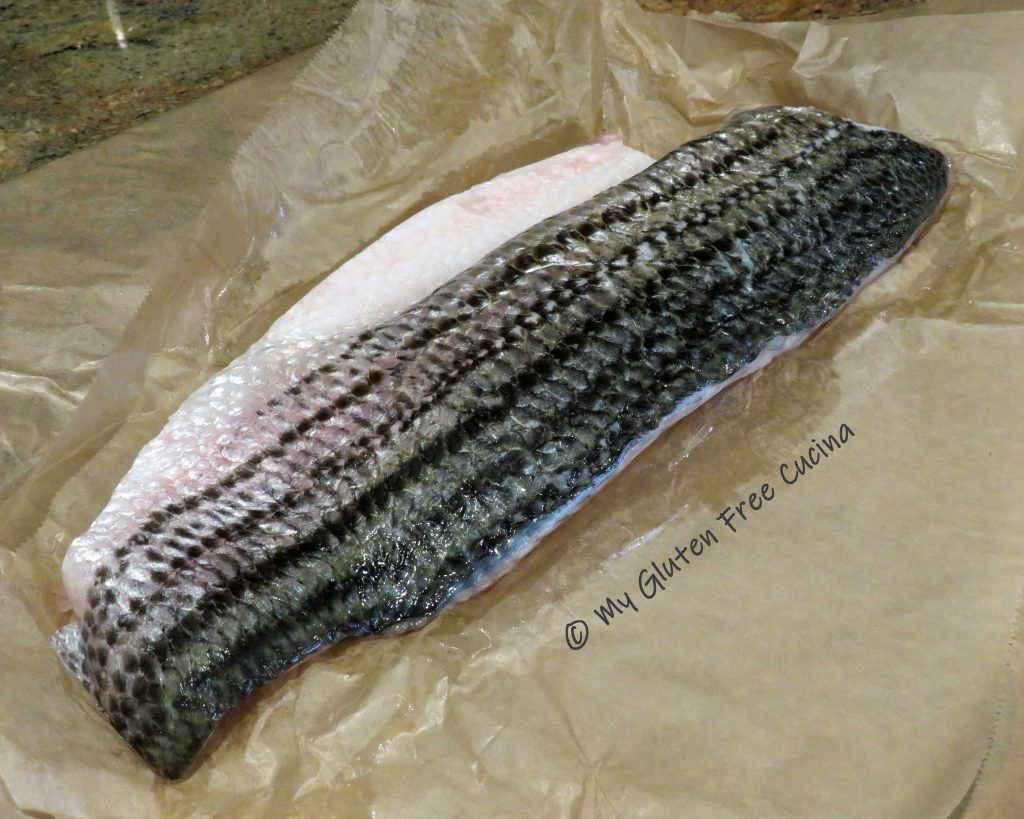
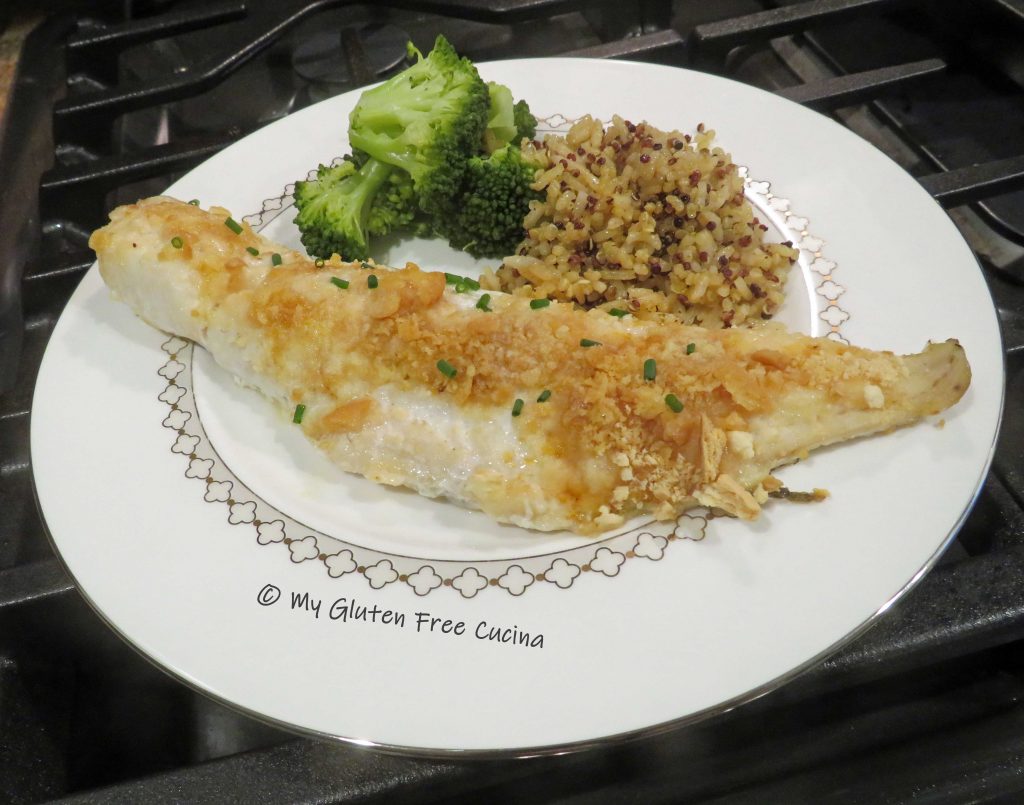
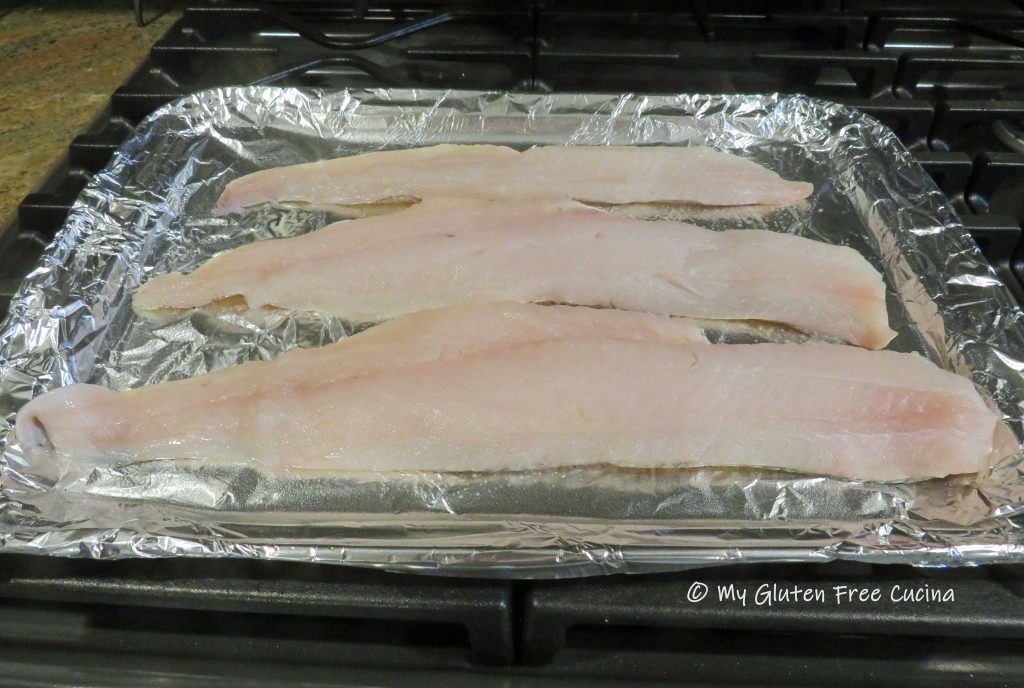
 While the chips are getting started prepare the fish. You want a thick, firm white fish for this recipe. Cod or haddock are the usual choices but today I got this beautiful Sablefish on sale.


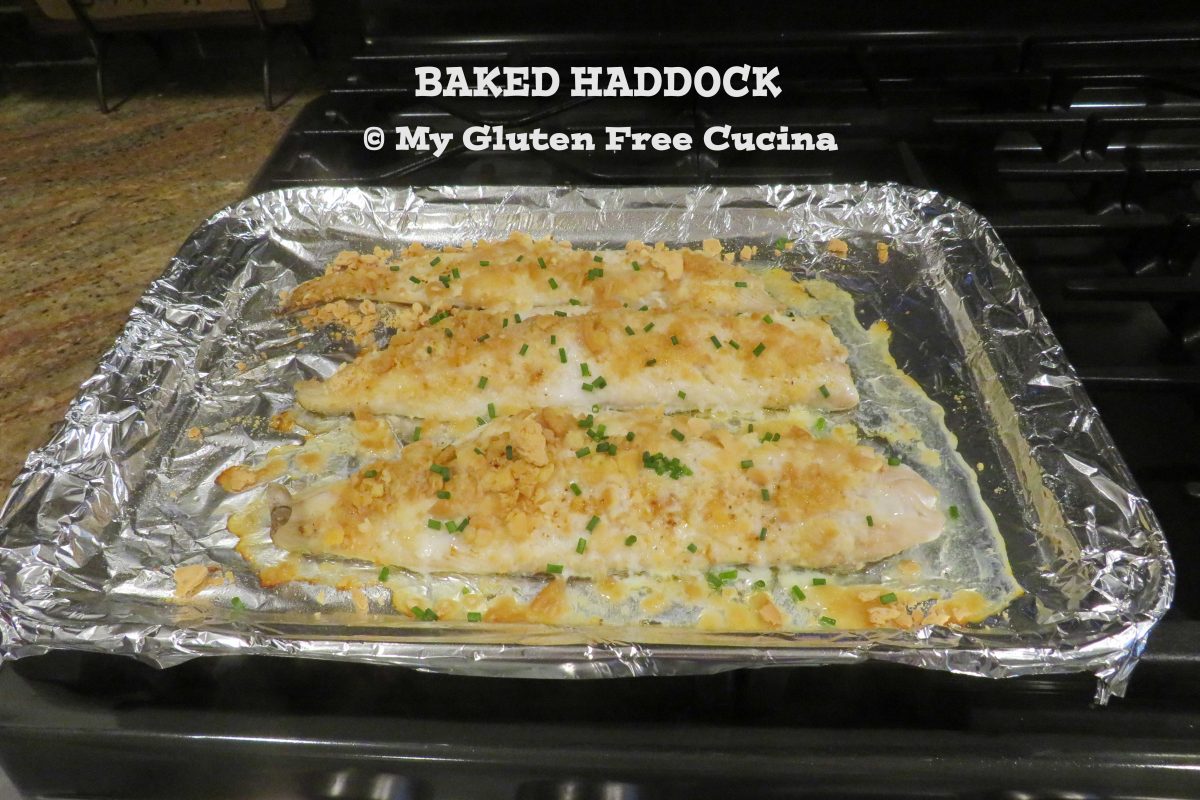
 Pulse the crackers in an electric chopper or place them in a bag and pound into crumbs. Spread the crumbs evenly over the fish. Cut the butter into small pieces and dot the top of the fish.