Gluten Free Apple Zucchini Muffins

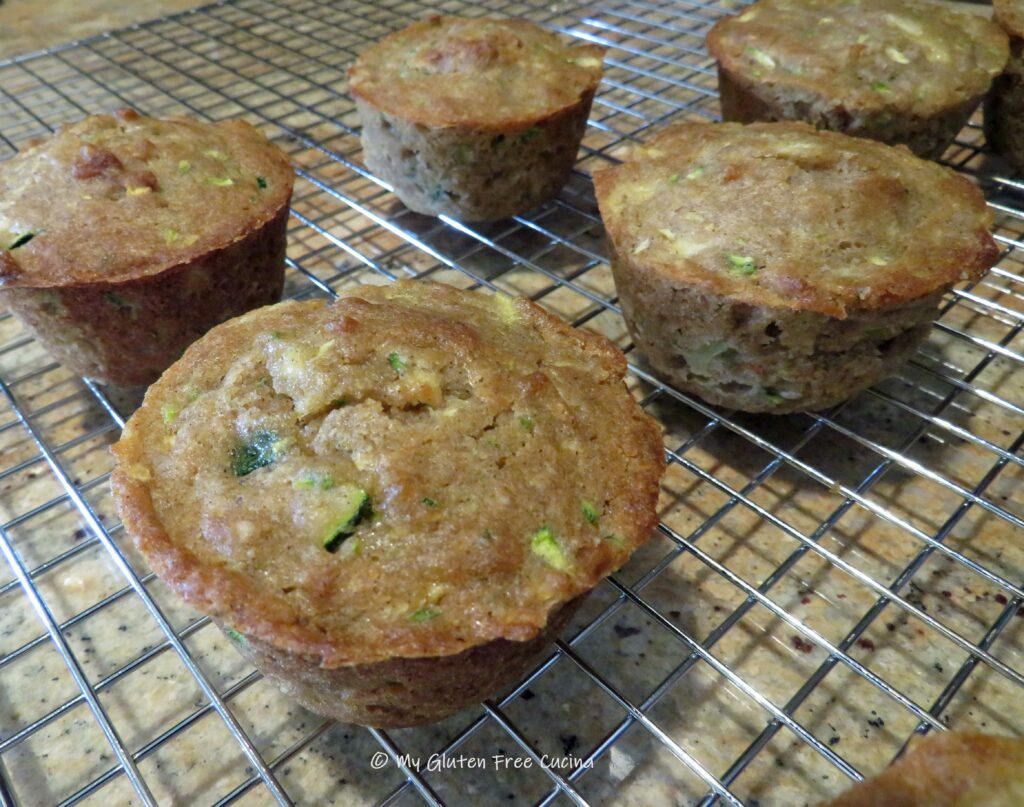
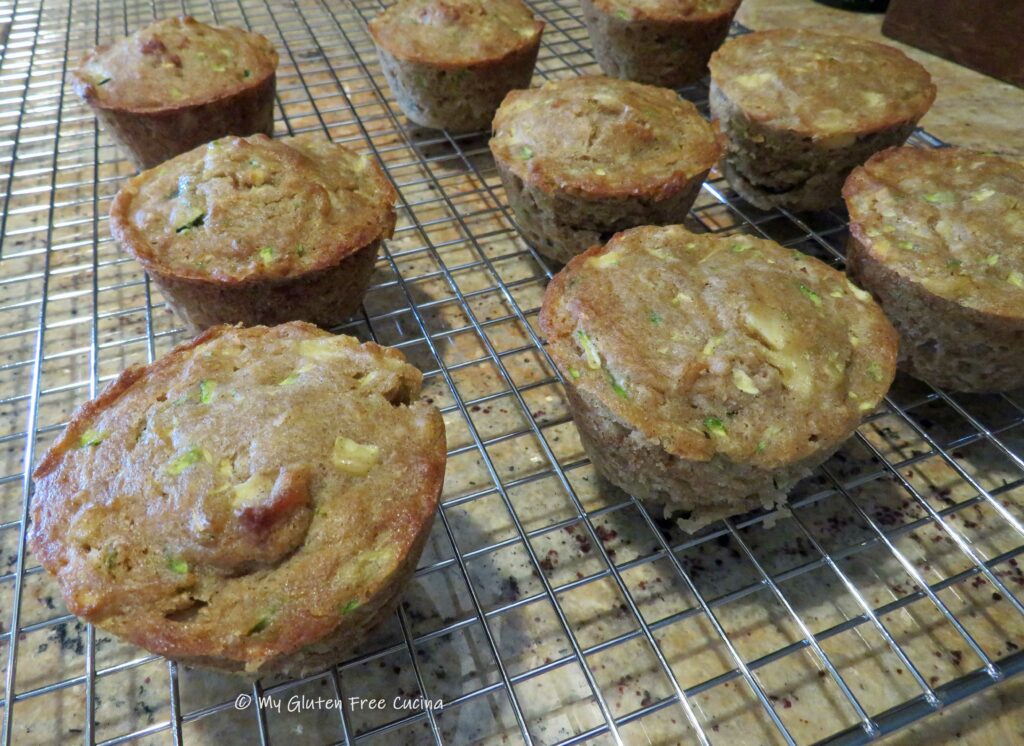
Sometimes gluten free muffins turn out dry and crumbly, but not these Apple Zucchini Muffins!  The name says it all, these muffins are loaded with little bites of apple and zucchini that you can see and taste.  They keep the crumb nice and moist too.  And what a great way to sneak fruits and veggies into your breakfast!

This post contains affiliate links.

Dry Ingredients:

  • 180 g. gluten free all-purpose flour (I used Better Batter Original blend)
  • 1/2 tsp. salt
  • 1 tsp. cinnamon
  • 1/4 tsp. nutmeg
  • 1/8 tsp. ginger
  • 1/8 tsp. cardamom
  • 1/2 tsp. baking soda
  • 1/8 tsp. baking powder

Wet Ingredients:

  • 2 large eggs
  • 1/4 cup softened butter
  • 1/4 cup canola oil
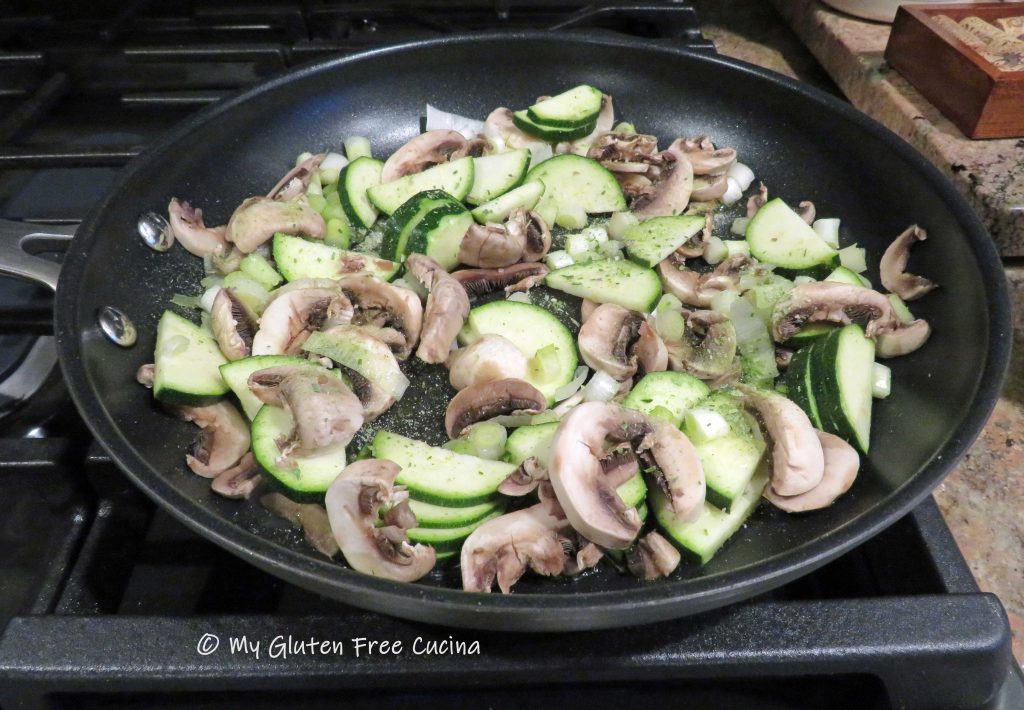
  • 2 cups apple and zucchini, chopped
  • 1/4 cup ricotta
  • 1/4 cup white sugar
  • 1/4 cup brown sugar
  • 1 tbsp. melted butter, for finishing

Preparation:

Mist a 12-cup muffin tin with cooking spray and preheat the oven to 400º.

Use an electric chopper or a knife to mince the apples and zucchini into 1/4″ pieces.

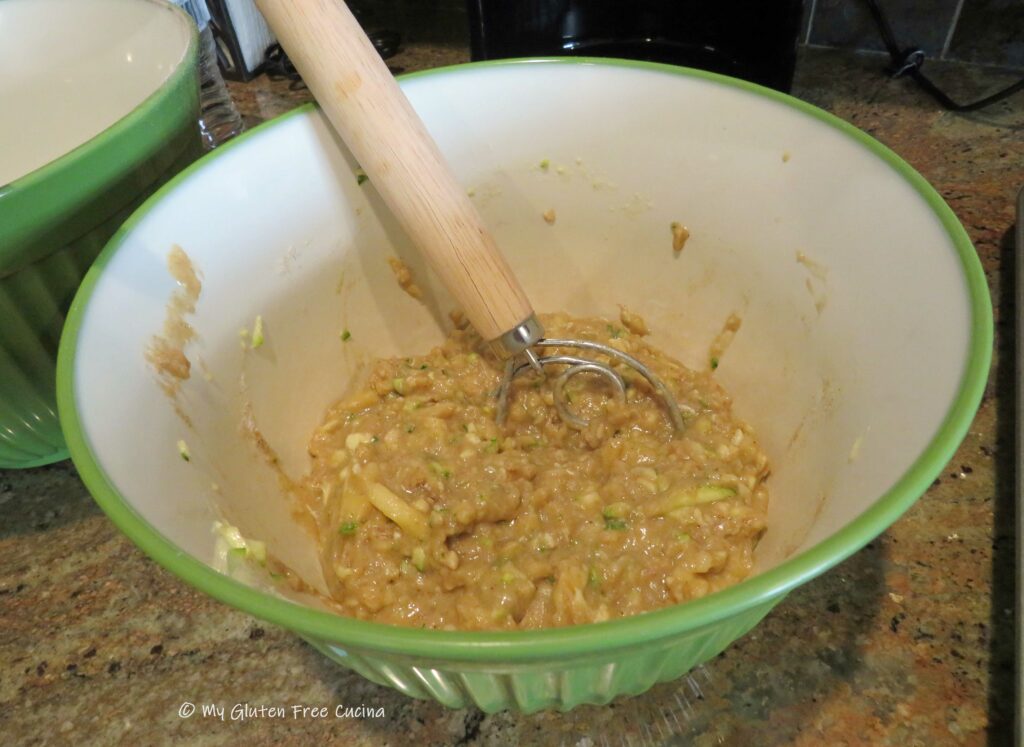
Whisk the dry ingredients together in one bowl.  In a second bowl whisk together the wet ingredients.

Stir the wet and dry ingredients together until thoroughly moistened, then let the batter rest for 15 minutes.

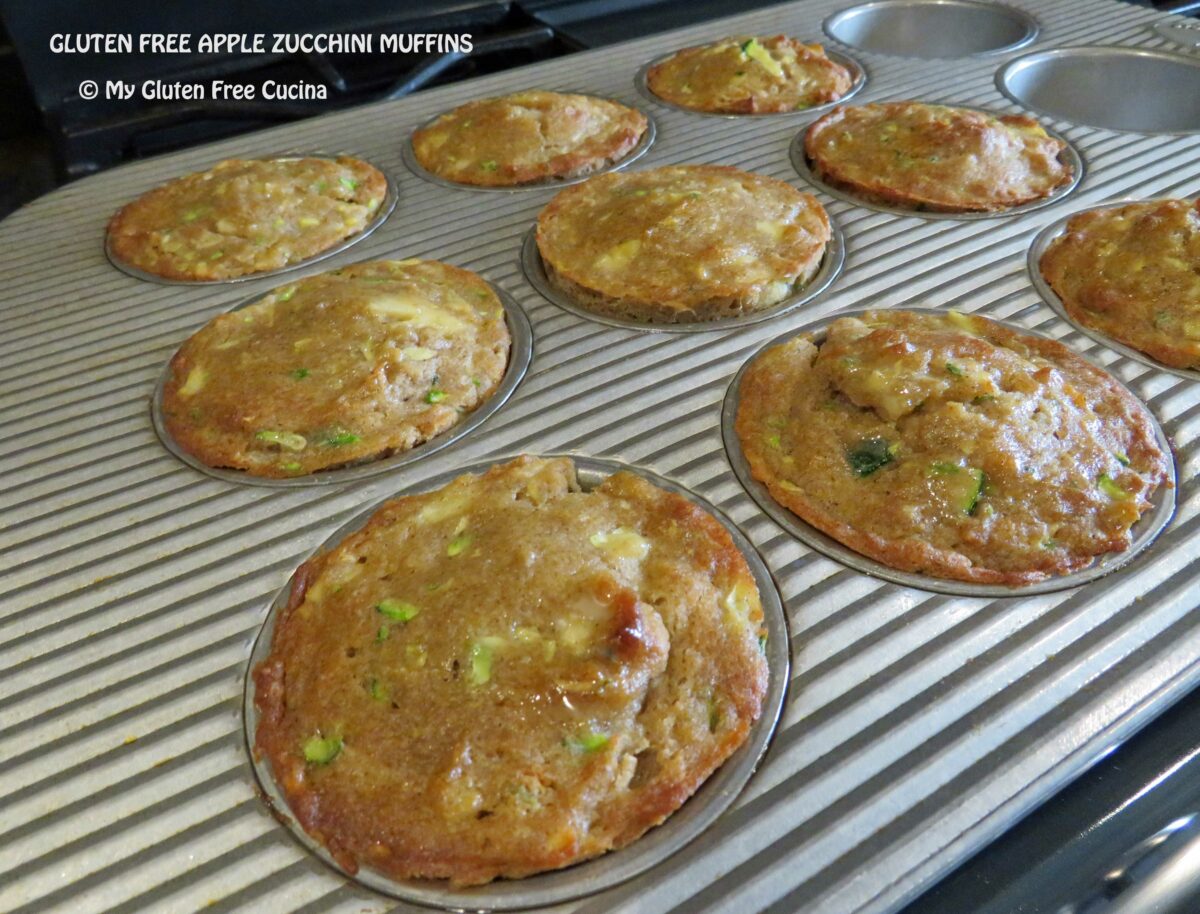
Fill the prepared muffin cups.  I wanted my muffins to be a little larger, so I made 9.  The recipe will make 12 if you portion the muffin cups 2/3 full.

Smooth out the tops with a spatula dipped in water and bake for 20-23 minutes depending on size.  Test the center with a toothpick.

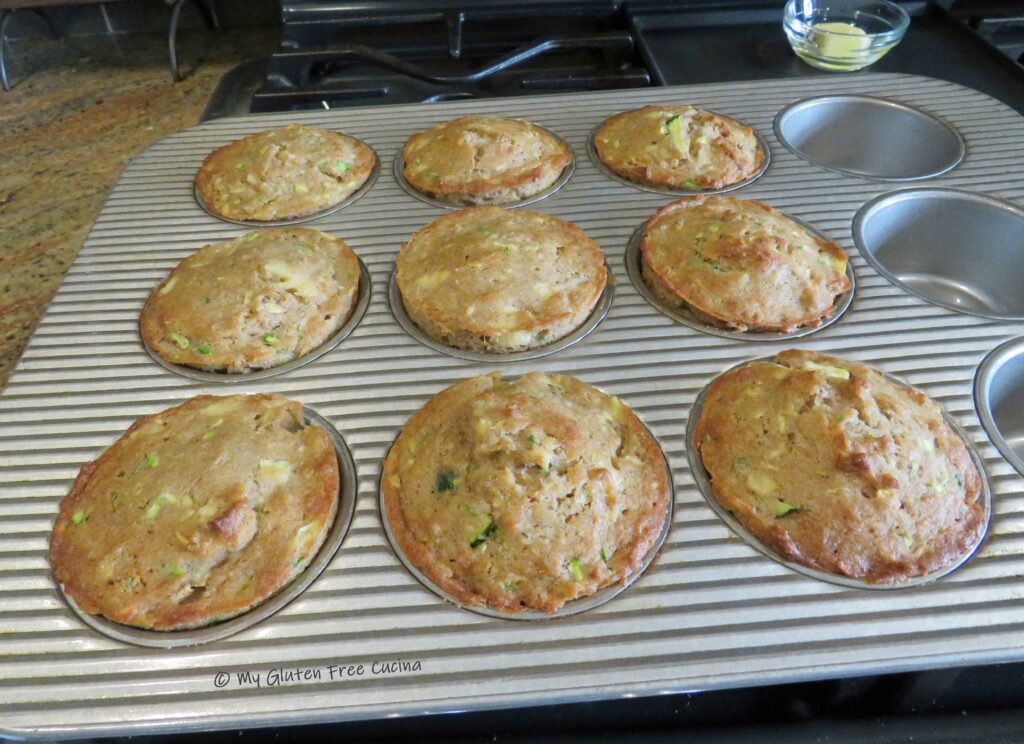
Brush the muffins with melted butter for a nice shine, then cool in the pan for 20 minutes.  Transfer to a rack.

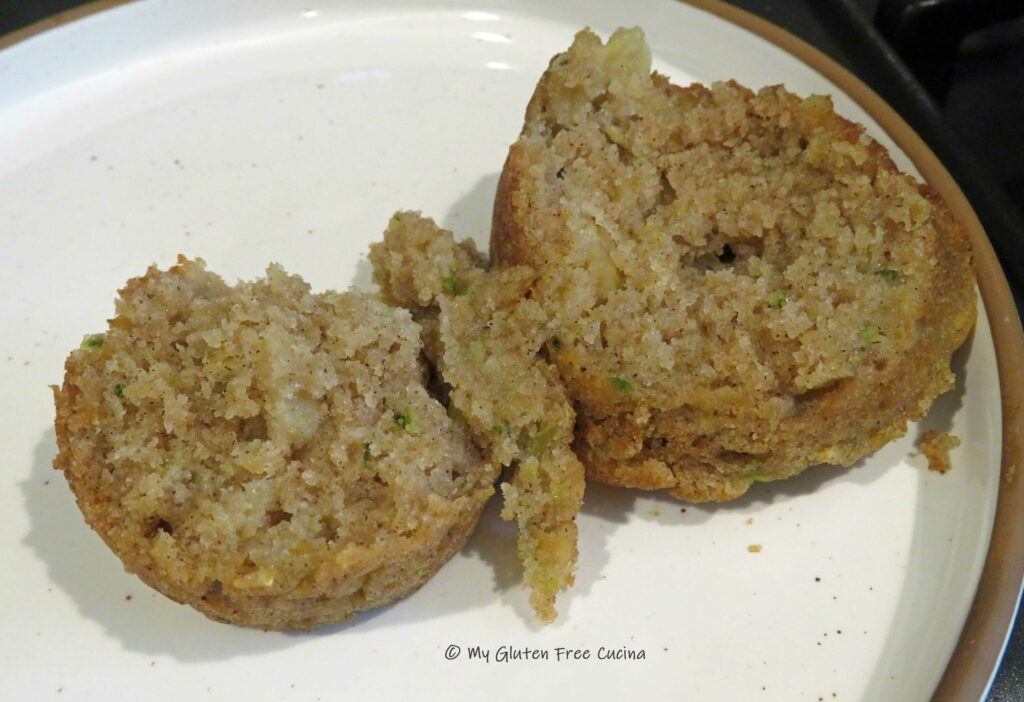
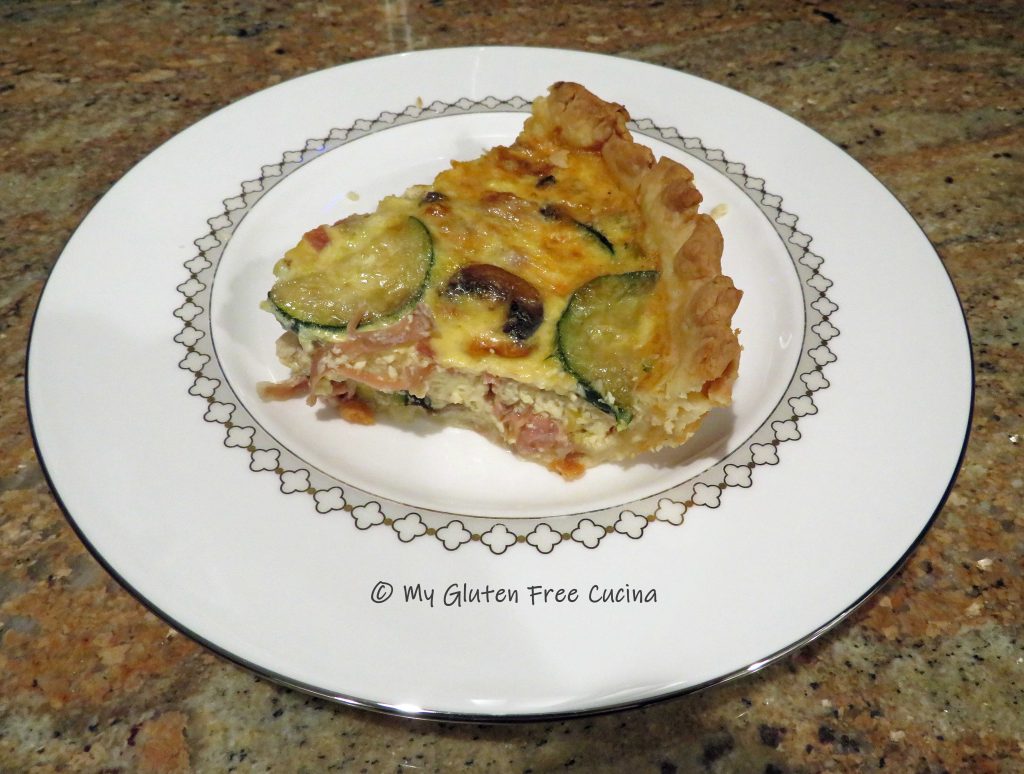
Look at that beautiful moist crumb!

Muffins can be stored at room temperature for up to one day or frozen.  My prediction is that they will disappear before you have to worry about it!

Notes ♪♫ I adapted this recipe from a quick bread that I used to make pre-Celiac.  It worked beautifully with gluten free flour, and as always, I recommend Better Batter.  I used their Original Blend, perfect for all your favorite muffins and quick breads.

Print This Post Print This Post


Gluten Free Zucchini and Prosciutto Quiche

Making a gluten free quiche has been on my recipe bucket list for a long time.  This week I finally did it!  The filling is a savory blend of zucchini, prosciutto, mushrooms and Gruyere cheese.  I still can’t believe how tasty it was.

Of course, the foundation of a good quiche is the pie crust.  If you missed my earlier post on how to make an easy, gluten free pie crust you can check it out here.

This post contains affiliate links.

Ingredients:

Preparation:

Preheat the oven to 350º.

Roll your pie dough into a circle, using your pie dish as a guide.  You want the dough to fit into the pie dish with a little extra to fold under and crimp.

Carefully lift the dough and place in your pie dish.

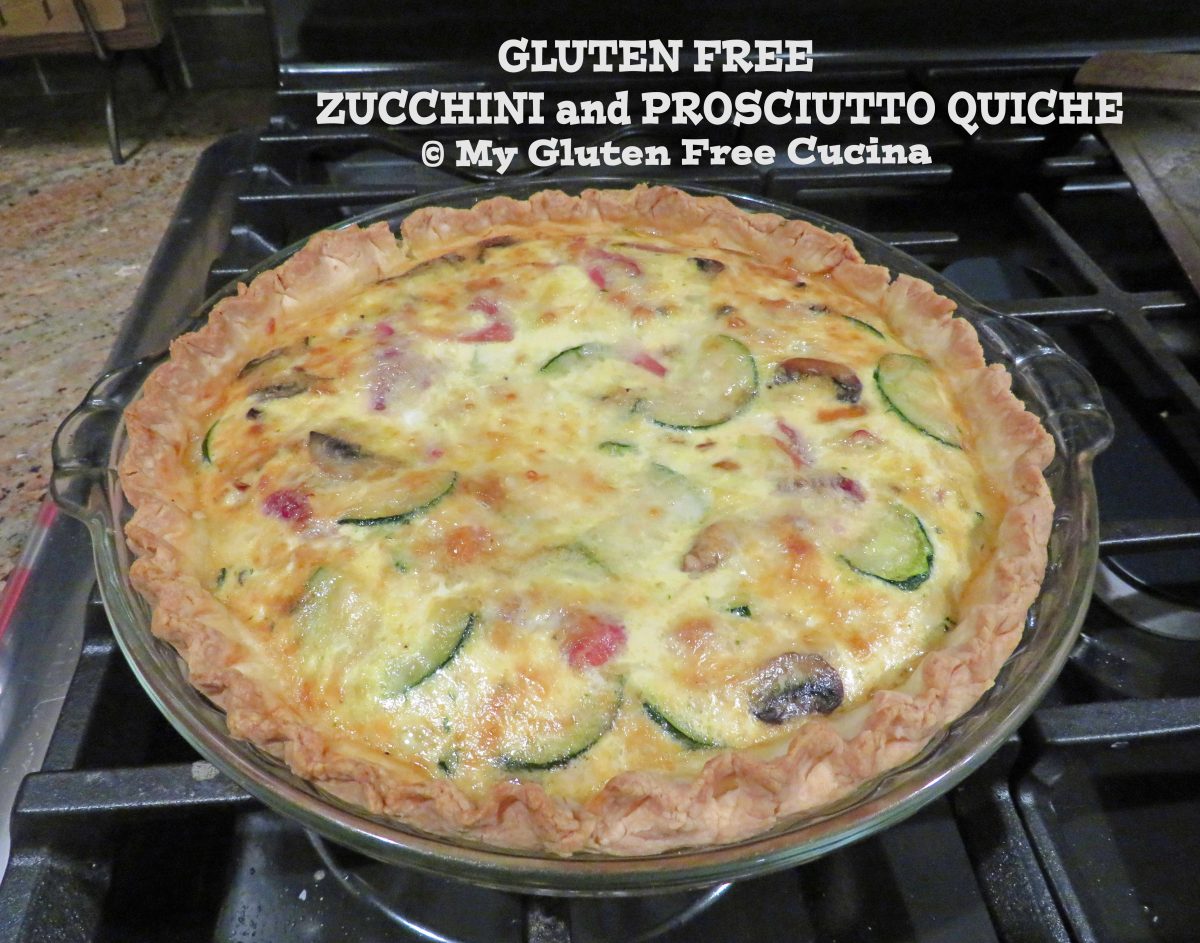
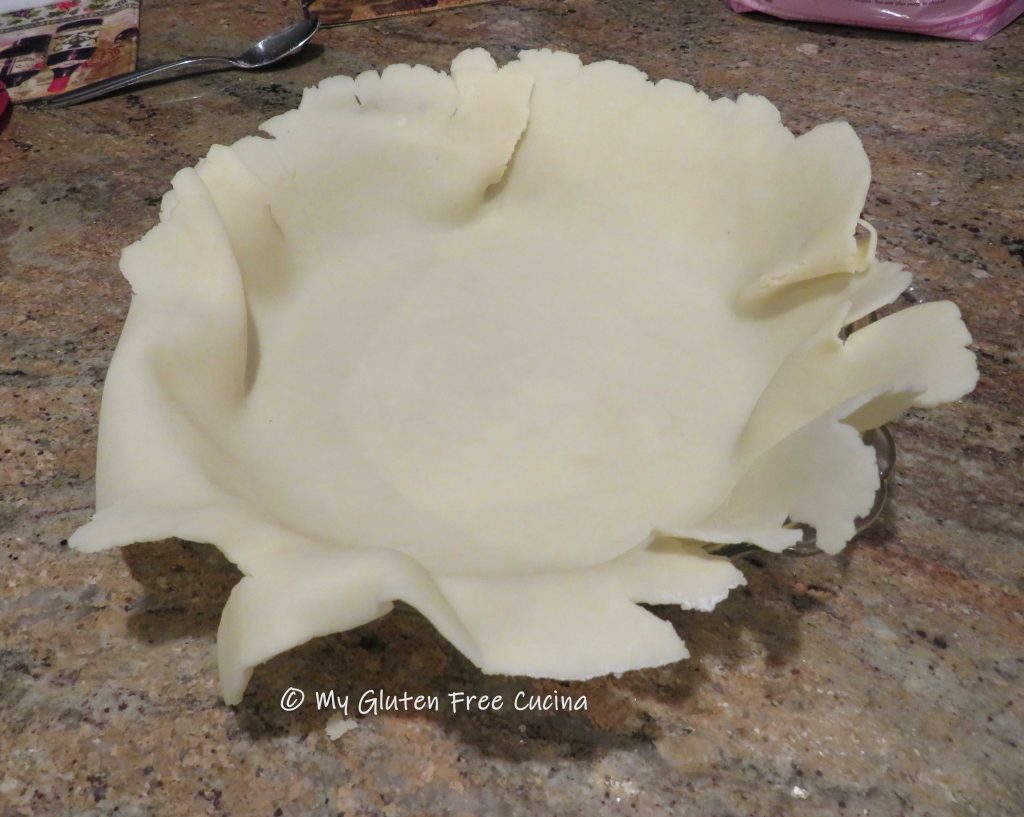
Trim the excess (can be used to patch any cracks or holes), fold the edges under and crimp.

Because the filling is made with heavy, wet ingredients, you will need to blind bake (pre-bake) the crust for 10 minutes to keep it from getting soggy.  Be sure to weigh down the crust down to keep the bottom from puffing up.  You can cover the crust with parchment and use beans or pie weights.  Or you can try this gadget, it works like a charm and it’s so easy to remove and clean!

While the crust is baking prepare the filling.  Cut the zucchini and mushrooms into thin slices and chop the whites of the scallions into 1/4″ pieces.  Grate the cheese and tear the prosciutto into small pieces.

Heat 1 tbsp. olive oil in a nonstick skillet, add all of the veggies and sprinkle with seasoning.

Cook the veggies until they have released their liquid and reduced to about 1 cup.  Transfer to a colander to cool and drain.

Take the partially cooked pie crust out of the oven after 10 minutes and remove the pie weight.

To finish the filling, beat the eggs and milk.  Stir in the drained veggies, 3/4 cup of cheese and the prosciutto.  Add about 8 grinds of fresh ground pepper.

Pour the filling into the prepared crust and top with the remaining 1/4 cup of cheese.

Place the quiche on the center rack of your oven.  I put a cookie sheet underneath, to keep the bottom from getting over cooked.  Bake for 45-50 minutes, until the top is set, and edges of the crust are well browned.

Let it rest for 15 minutes before slicing.

Notes ♪♫ We had this quiche for dinner, and reheated leftovers for lunch the next day.  Like any pie, the number of servings will depend on your appetite, somewhere between 4-8 wedges.  It was delicious and would be an amazing addition to your brunch menu!

Print This Post Print This Post 


Skillet Farfalle with Diced Ham

I love easy skillet dinners like this one for busy weeknights!  You can make the whole meal beginning to end in about 30 minutes.  Honestly, if you prep the veggies the night before it can be ready in less time than that.  It’s a great way to use leftover ham, or you can purchase a ham steak which is what I did here.  Don’t forget those little finishing touches that can make a meal special, in this case it’s a sprinkle of toasted Pignoli (pine nuts), a favorite at our house!

3-4 Servings

This post contains affiliate links.

Ingredients:

  • 8 oz. boneless ham steak, cut into small cubes
  • 4 oz. gluten free pasta
  • 1 cup sweet onion, diced
  • 1 tbsp. garlic, minced
  • 1 cup frozen peas, thawed
  • 1 can (14.5 oz.) diced tomatoes
  • 1/2 tsp. gluten free Italian seasoning
  • salt and pepper to taste
  • Olive oil
  • 1 tbsp. pignoli (pine nuts), toasted
  • 1/2 tsp. Italian seasoning
  • fresh Italian parsley, for garnish
  • grated Parmesan, for serving

Preparation:

Toast the pignoli until lightly browned and fragrant.  I like to use a small saucepan, so they don’t jump all over the place.  Set aside for garnish.

Cook the pasta to 1 minute less than package directions, drain and set aside.  While the pasta cooks, heat a large, nonstick skillet with 1 tbsp. olive oil and cook the ham 3 minutes.  Remove and set aside.

Add a little more olive oil and cook the onions until just beginning to brown, about 3 minutes.  Add the garlic and peas, cook 2 minutes more stirring frequently.  Season with salt and pepper.

Add the tomatoes with their liquid, toss well to combine and cook until liquid almost evaporates.  If the pan is too dry add a ladle of pasta water.  Sprinkle with Italian seasoning.

Add back the ham.

Next add back the drained pasta and toss well.  Drizzle with olive oil, stir and toss to finish cooking the pasta, 1 minute more.  Sprinkle grated cheese.

Transfer to a serving dish, garnish with parsley and toasted pignoli, and serve with grated cheese.

Notes ♪♫ I used Jovial gluten free farfalle (bowtie pasta) in this recipe.  One of my favorites, it has great taste and chew.  The Smithfield ham steak was labeled gluten free.  Always check ingredient labels for hidden gluten, especially in processed foods and seasoning blends.

Originally published 5/16/2020        Updated 12/10/2022

Print This Post Print This Post

Air Fryer Pork Chops and Zucchini Rounds

The air fryer is a godsend when you are running short on time but want to cook a healthy meal from scratch.  The beauty of a recipe like this is that it allows the flavors of fresh ingredients to shine through, plain and simple.  Look how easily I put this dinner together!

This post contains affiliate links.

For the pork chops:

Brush the pork chops lightly with olive oil and sprinkle with seasoning.  Place on a rack misted with cooking spray.  Air fry for 15 minutes at 400º, turning every 5 minutes.  The internal temperature should be 145º.

For the Zucchini:

  • 1 zucchini, sliced into rounds
  • Olive oil
  • Seasoning
  • Grated parmesan
  • cooking spray

Brush or spray the zucchini lightly with olive oil and sprinkle with seasoning.  Top each round with ½ tsp. grated cheese.  Place rounds 1″ apart on a tray misted with cooking spray.  Add the zucchini to the air fryer when the pork chops have 7 minutes remaining cook time.  They do not need to be turned.

I served the pork chops and zucchini with a side of brown rice cooked in gluten free chicken broth.  A basic, healthy meal for your family on the table in under 30 minutes.

Notes ♪♫  I find the trickiest part of using an air fryer is determining the right cook time and temperature.  There are so many variables, including the size, shape and weight of your meat, other items being cooked at the same time, etc.  You can use a chart like this one as a guide, but I find that using a meat thermometer is essential.

Print This Post Print This Post