Sea Scallops with Cauliflower Mash

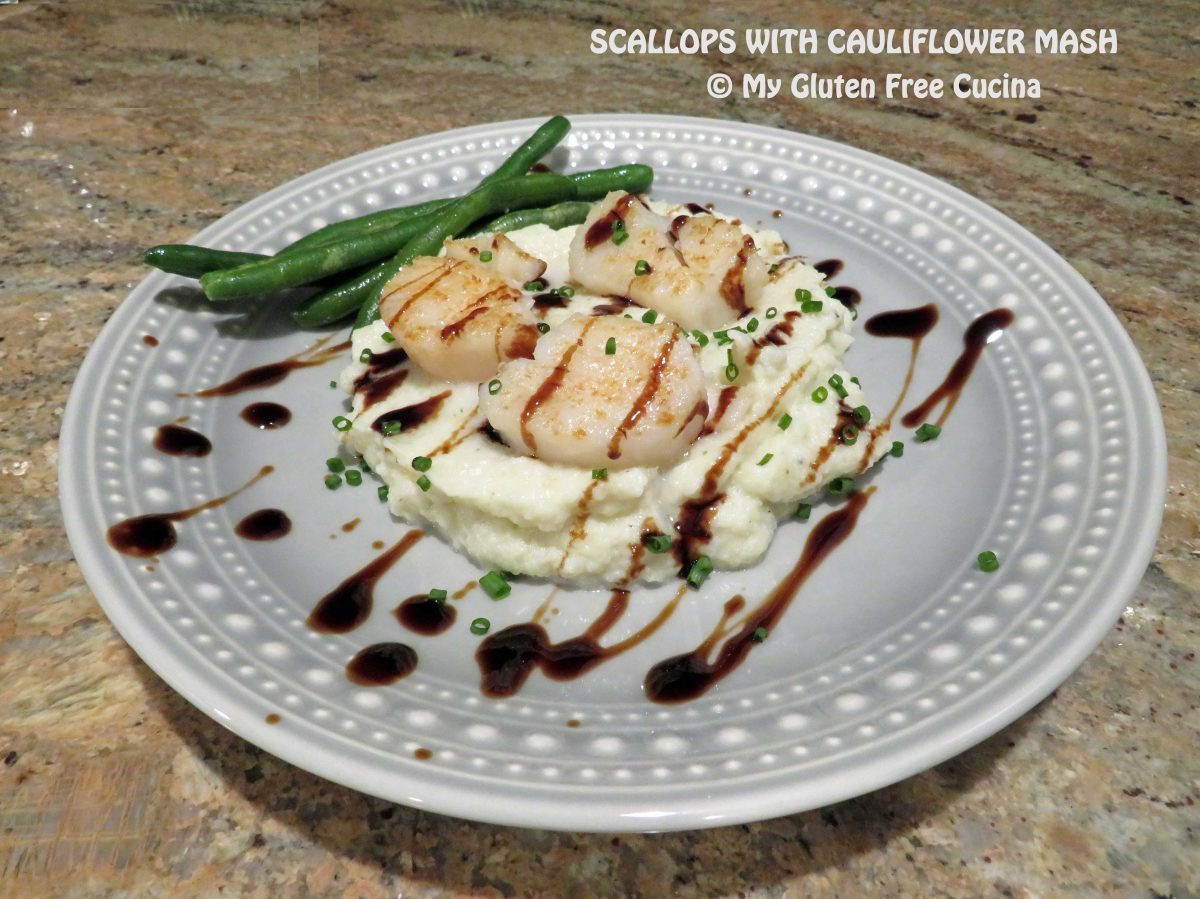
Sometimes you need a meal that’s easy on the carbs.  That’s what I’ve made tonight with this simply prepared dish of Sea Scallops served over Cauliflower Mash.  Truth be told, I had something like this at a restaurant years ago, and it has been on my recipe bucket list to make at home.  Gluten free and grain free, it’s a guiltless indulgence.

These days, cauliflower mash is easy to make, thanks to riced cauliflower being widely available in both the produce and freezer section of most grocery stores.  You can grate your own or take a shortcut like I did!  I make cauliflower mash just as I would make mashed potatoes- steam them, then puree with lots of butter, milk or cream, salt, pepper, and chives.  You can add cheese if you like, or sour cream.

So, what did I do to make this dish gluten free?  Nothing.  That’s right, 100% of the ingredients were already gluten free, including that balsamic glaze you see in the photo, which has a gluten free label.

2 Servings

This post contains affiliate links.

Ingredients:

  • 1/2 lb. sea scallops
  • 12 oz. riced cauliflower
  • 3 tbsp. butter, divided
  • 1/4 cup cream or milk
  • salt and pepper to taste
  • 1/2 tsp. garlic granules
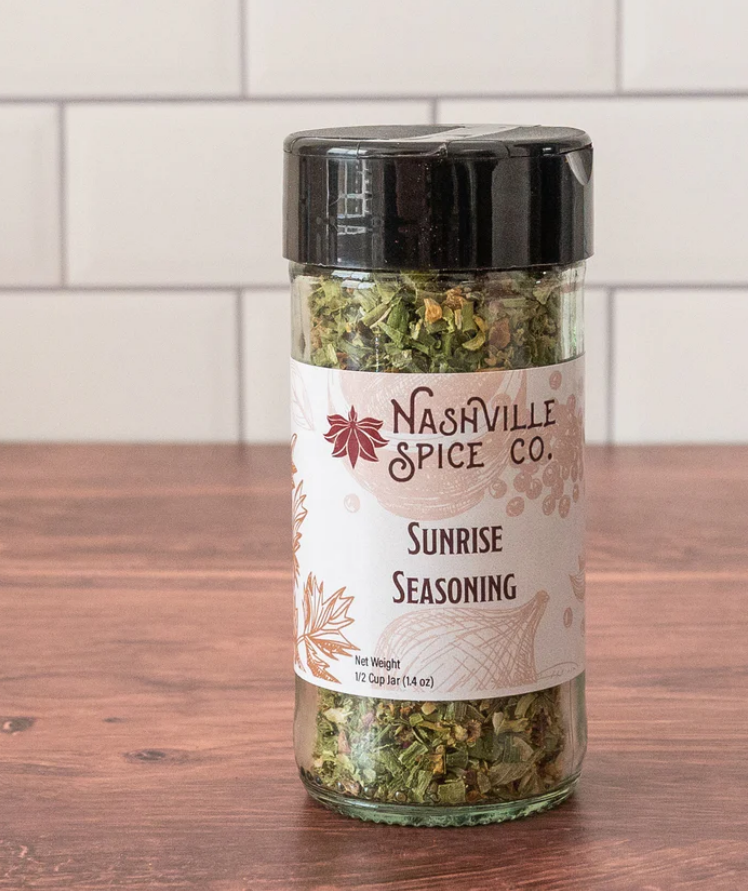
  • 1/2 tsp. shallot/chive seasoning
  • Balsamic glaze
  • fresh chives for garnish

Preparation:

Rinse the cauliflower and steam for 15-20 minutes, until softened.

Add 2 tbsp. butter, milk or cream, generous amount of salt and pepper, garlic granules and shallot/chive seasoning.

Puree with a stick blender and cover to keep warm.

Heat a small skillet with the remaining 1 tbsp. butter.  Pat the scallops dry and add them to the pan.  Cook 3 minutes per side, just enough to get a little color.

To serve, spread the cauliflower mash on the bottom of the plate and top with scallops.  Drizzle with balsamic glaze and garnish with fresh chives.  I added a side of green beans.

Notes ♪♫ If your scallops are frozen, be sure to defrost them completely before cooking to remove excess liquid.  For both fresh and frozen, be sure to pat dry with paper towel before cooking.  Start with a hot pan, add the butter and then place your scallops in the pan leaving space in between so that when they do release liquid it has room to evaporate.

Print This Post Print This Post


Barramundi with Lemon Butter Sauce

The price of seafood has increased so much this past year!  I still try to incorporate it into our meal plan at least once a week, so I am always on the lookout for a bargain, especially in the frozen section.

That’s where this caught my eye, a 12 oz. package of Barramundi Fillets for less than $10, perfect for seafood night!

This post contains affiliate links.

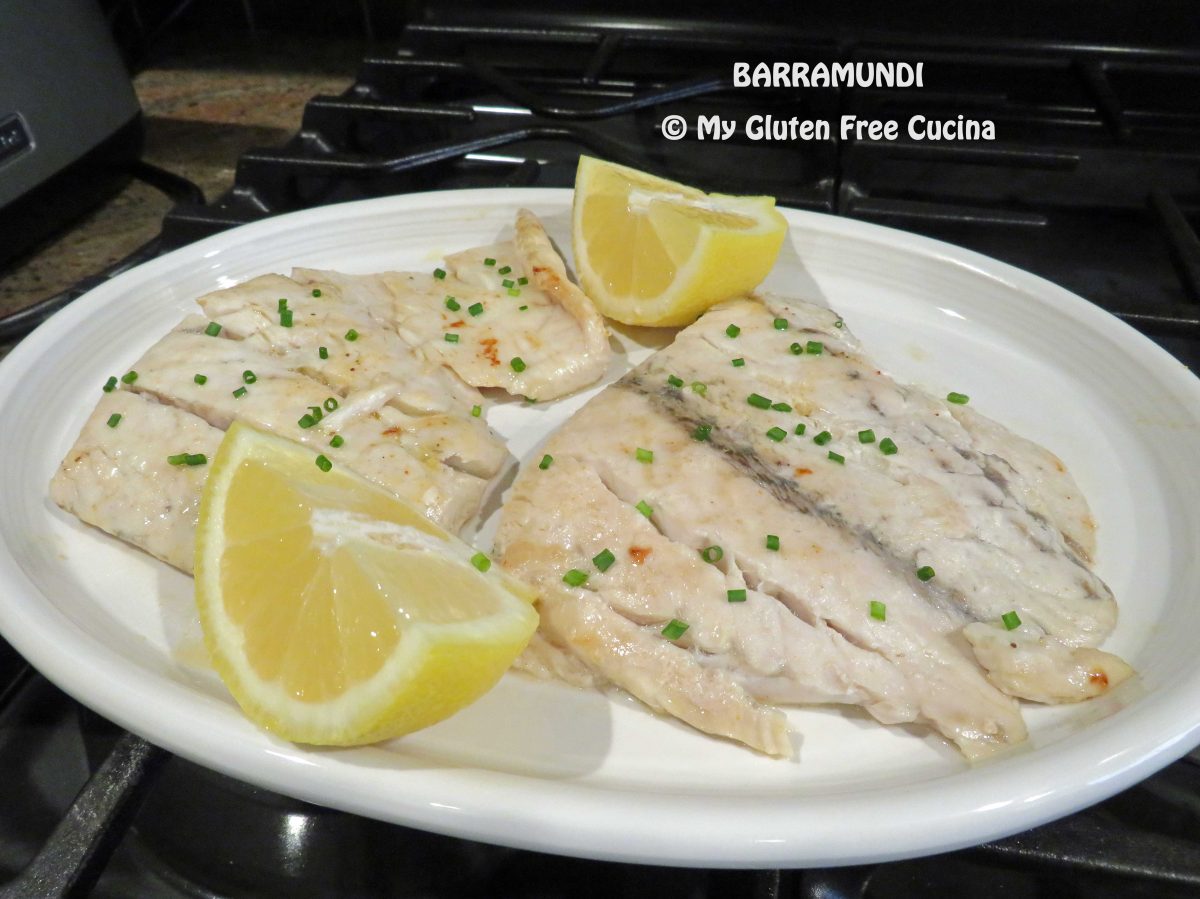
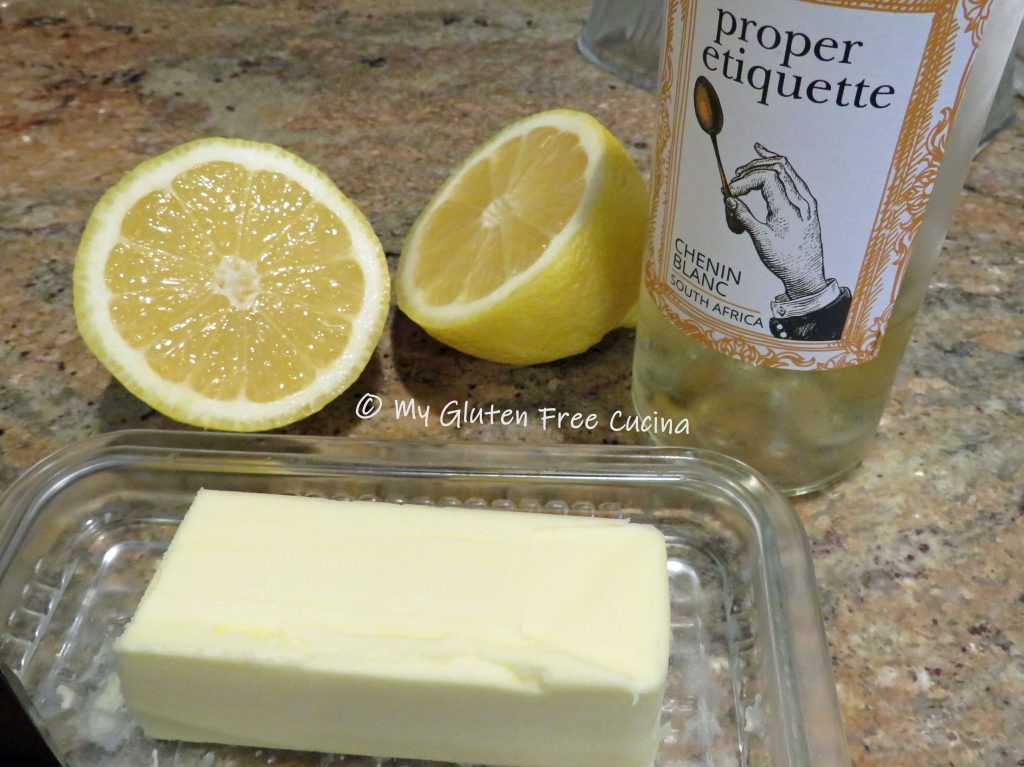
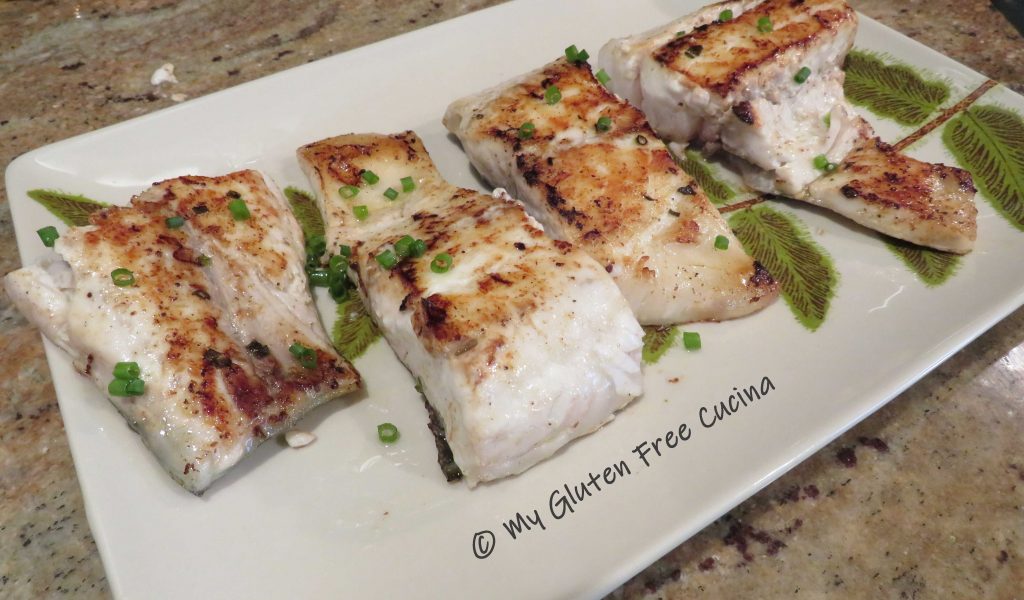
Also known as Asian Sea Bass, this white fish has a firm but delicate texture and a mild, sweet taste.  The wine-lemon-butter sauce really brings out the flavor of this fish without overpowering it.  It can be pan cooked or oven baked in under 30 minutes!

Dinner for two

Ingredients:

Preparation:

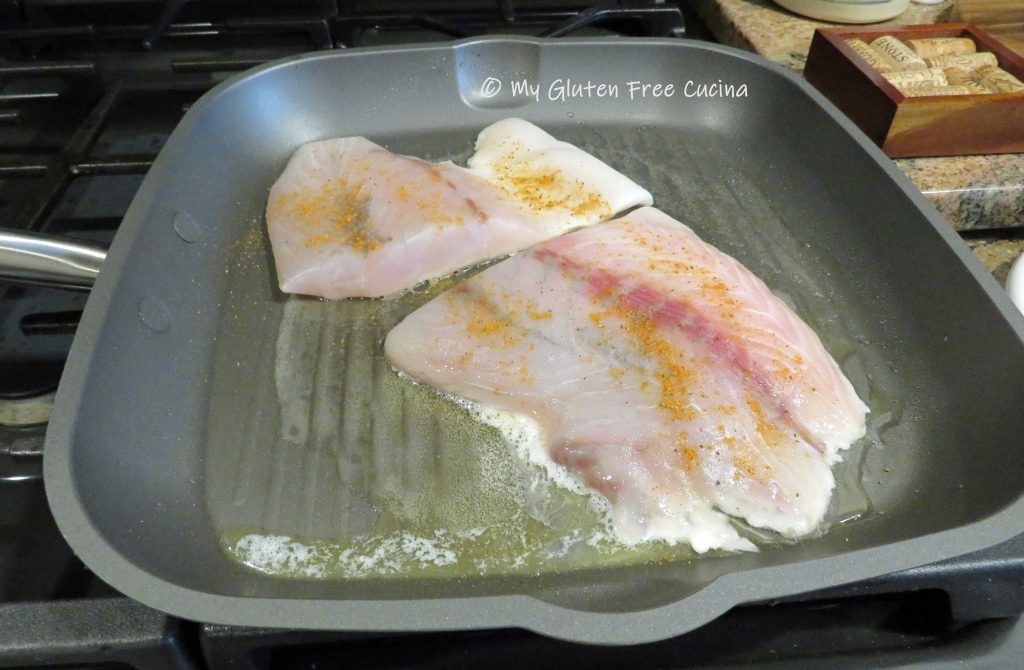
Melt 1 tbsp. butter in a nonstick grill pan or skillet.  Add the fillets, season with Old Bay and cook 5 minutes.

Turn the fish over.  Add the remaining 1 tbsp. butter, wine and juice of 1/2 lemon to the pan.  Cook 5 minutes longer.

Oven Preparation:

Alternately, you can add the fillets, seasoning, wine, lemon and butter to a baking dish and bake for 15 minutes at 400º.

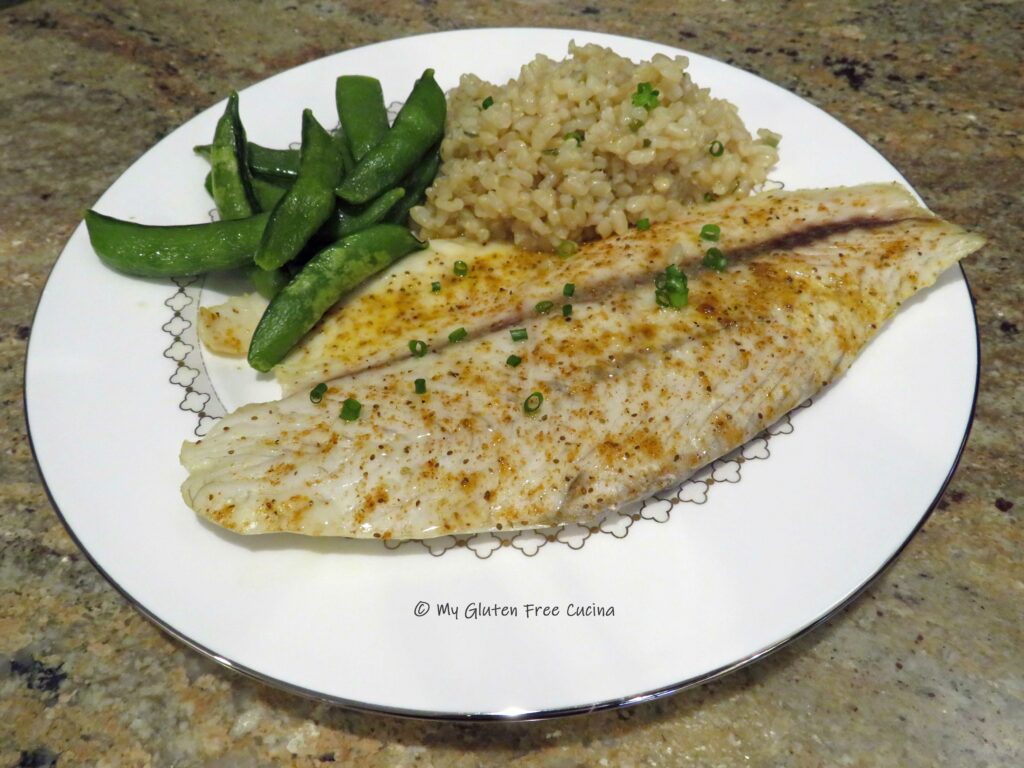
To plate, sprinkle with a little more Old Bay and garnish with fresh chives.  Here I served with short grain brown rice and sugar snap peas.

Notes ♪♫ You do not need an array of seasonings or sauces for most seafood dishes.  Keep it simple and let the flavor of the fish take the spotlight.  If you are making a seafood dish and don’t know what seasoning to use, just sprinkle with Old Bay, it is a natural for seafood and has been around (and gluten free) since 1939.

Print This Post Print This Post


Gluten Free Catfish with Cornmeal Breading

I love Catfish!  We don’t often see it at the market, just a short time each year when in season.  When it does become available, this is how I like to prepare it.

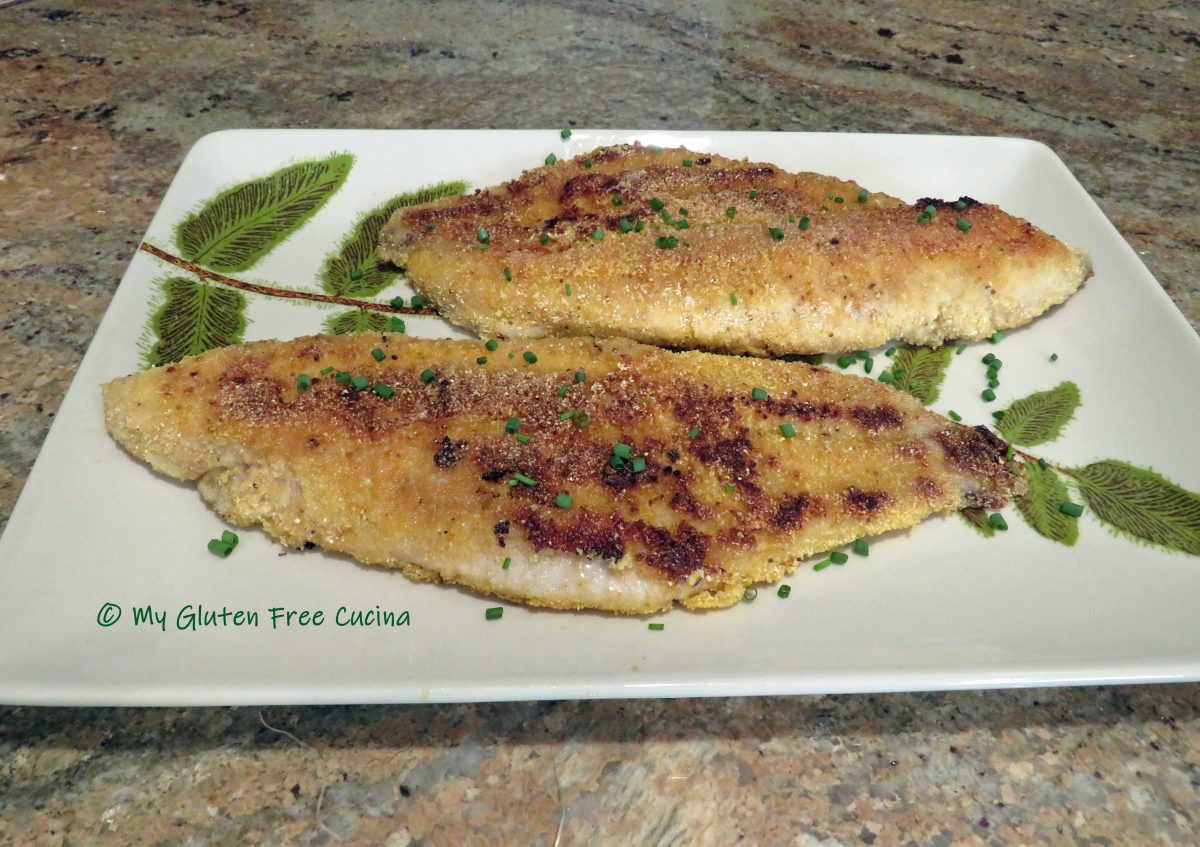
First, I soak the Catfish in milk for 30 minutes.  Milk tenderizes the fish and gives it a milder flavor.  Then, after dredging in a seasoned cornmeal breading, I pop it into the fridge for 15 minutes.  Finally, the fish is cooked quickly on a buttered griddle.  It is nice and crispy on the outside, moist and flaky on the inside.

Is Breaded Catfish gluten free?

To make this recipe gluten free, the only change needed was to substitute a gluten free flour for regular in the cornmeal breading.

This post contains affiliate links.

Ingredients:

Preparation:

Add 1/2 cup of milk to a 9 x 13″ glass baking dish and season with Old Bay.  Soak the catfish in milk for 30 minutes, turning once.

In a large plate, combine the rice flour and cornmeal.  Sprinkle with Old Bay.

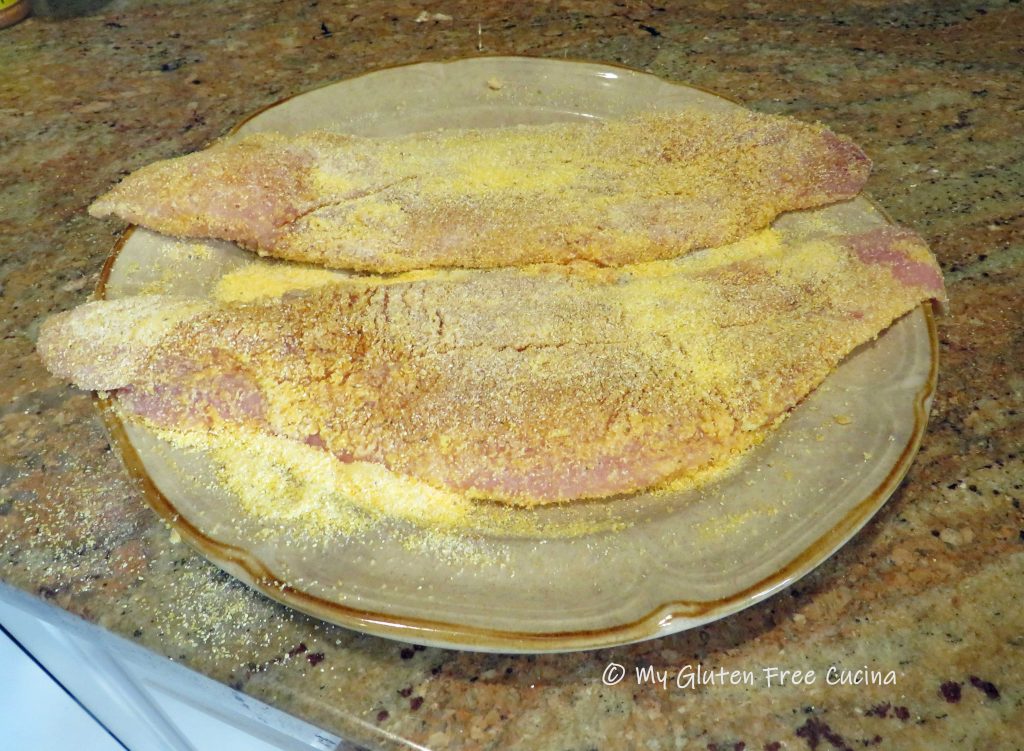
Dredge the catfish in the cornmeal mixture, pressing gently to coat both sides.  Transfer to a clean plate and refrigerate for at least 15 minutes (this helps the breading to adhere).

Melt 1 tbsp. of butter on a nonstick griddle pan, electric griddle or skillet.  Cook the catfish 5 minutes per side, adding another tbsp. of butter when you turn the fillets.

Transfer to a serving dish and sprinkle with fresh chives.

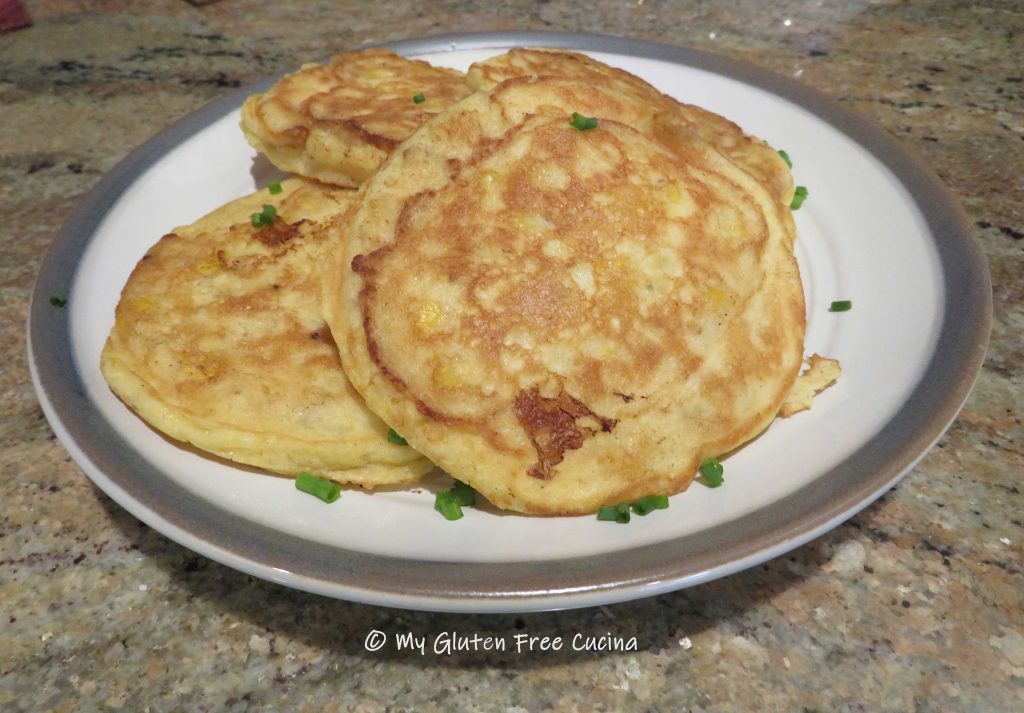
What goes well with Catfish?  In keeping with the Southern vibe of this meal, I made a side of Gluten Free Corn Cakes.  Check out the recipe here!

Notes: ♪♫ Be sure to choose cornmeal with the gluten free label (some are processed alongside wheat products and may not be safe for those with Celiac).  I like to use whole grain, medium grind cornmeal.  It’s great for breading and for baking.

Print This Post Print This Post

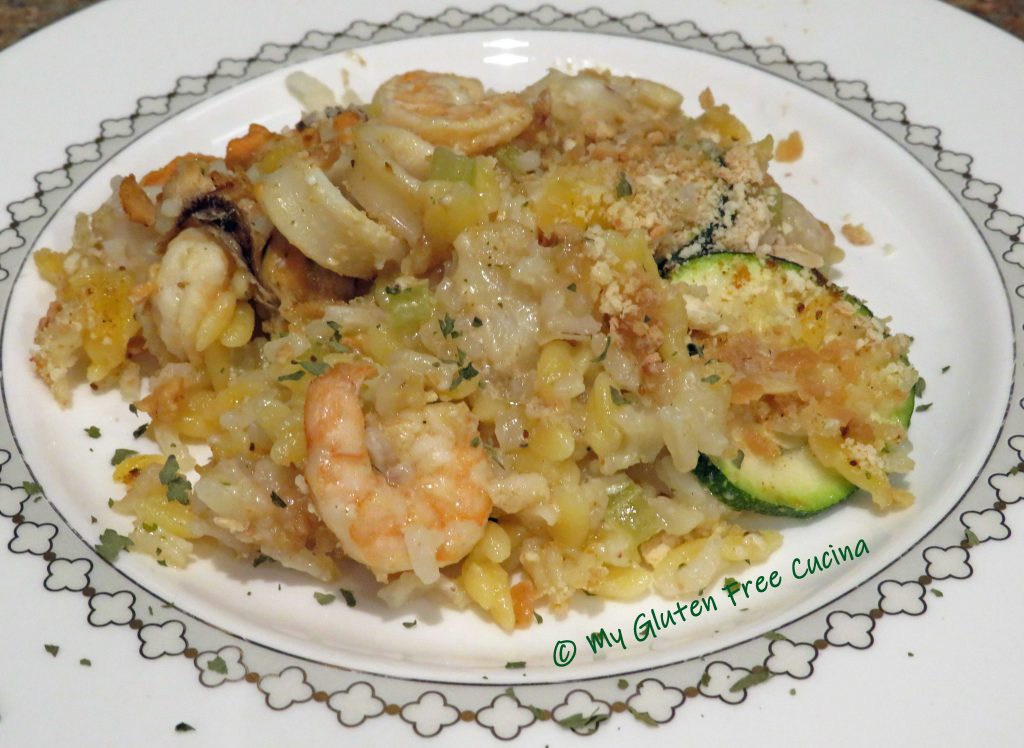
Gluten Free Seafood Casserole

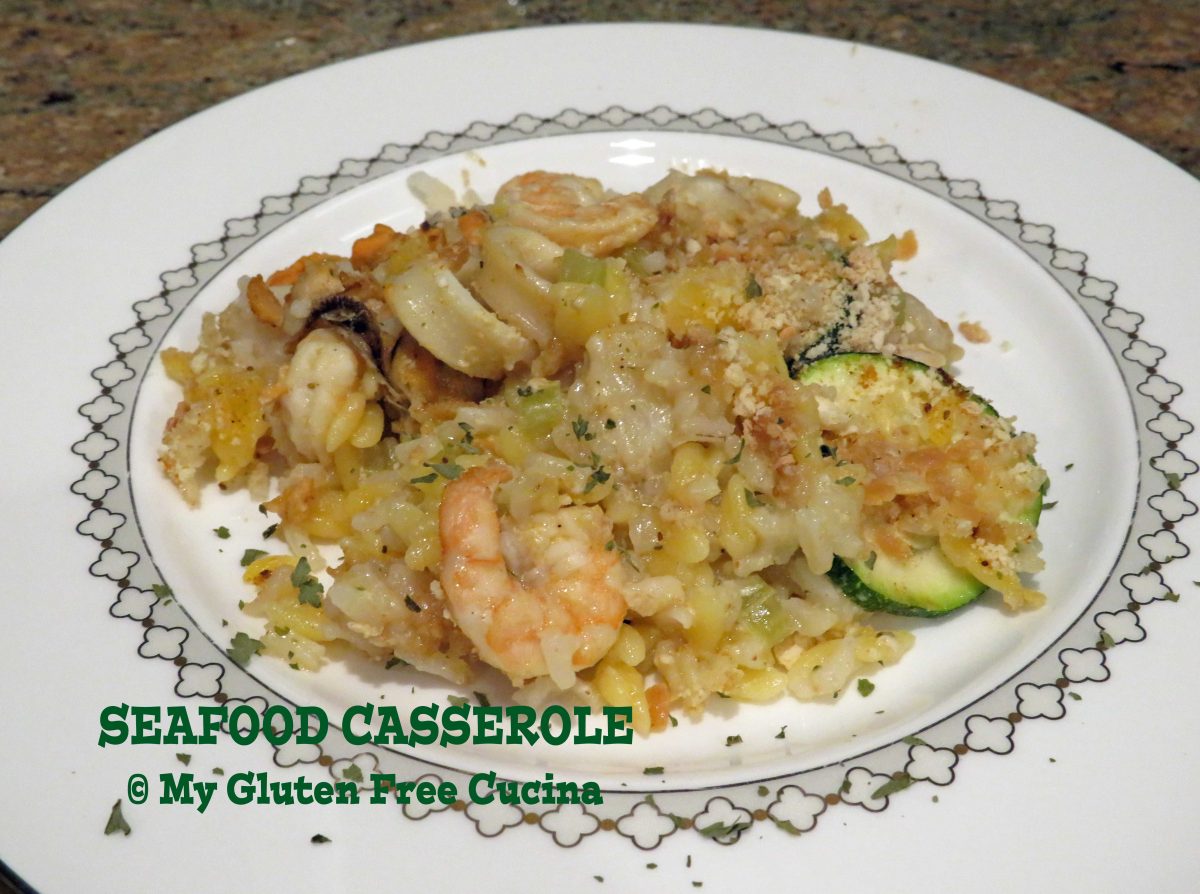
When you think of a casserole, do you imagine a heavy, calorie laden meal full of butter, cheese and cream of something-or-other?  Not this one!  Enjoy a lightened up, Gluten Free Seafood Casserole with all the flavor you crave and a fraction of the calories.  The rice and orzo combination is reminiscent of the packaged rice pilaf mix, but it’s completely gluten free.

This post contains affiliate links.

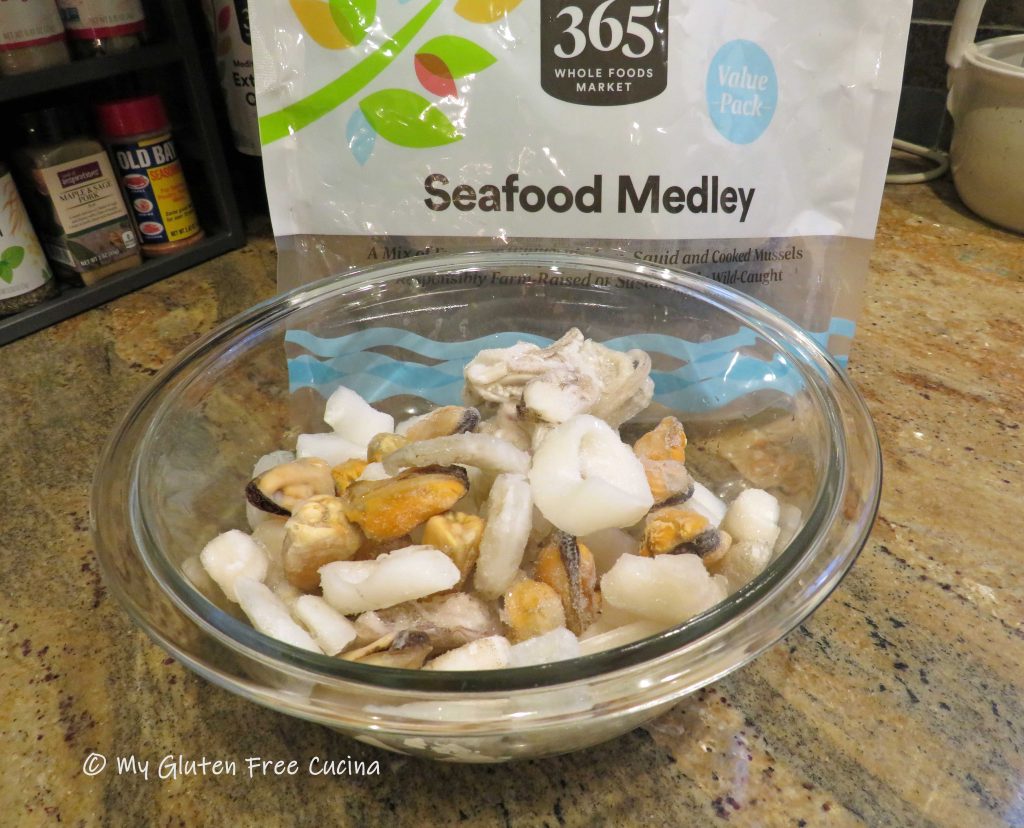
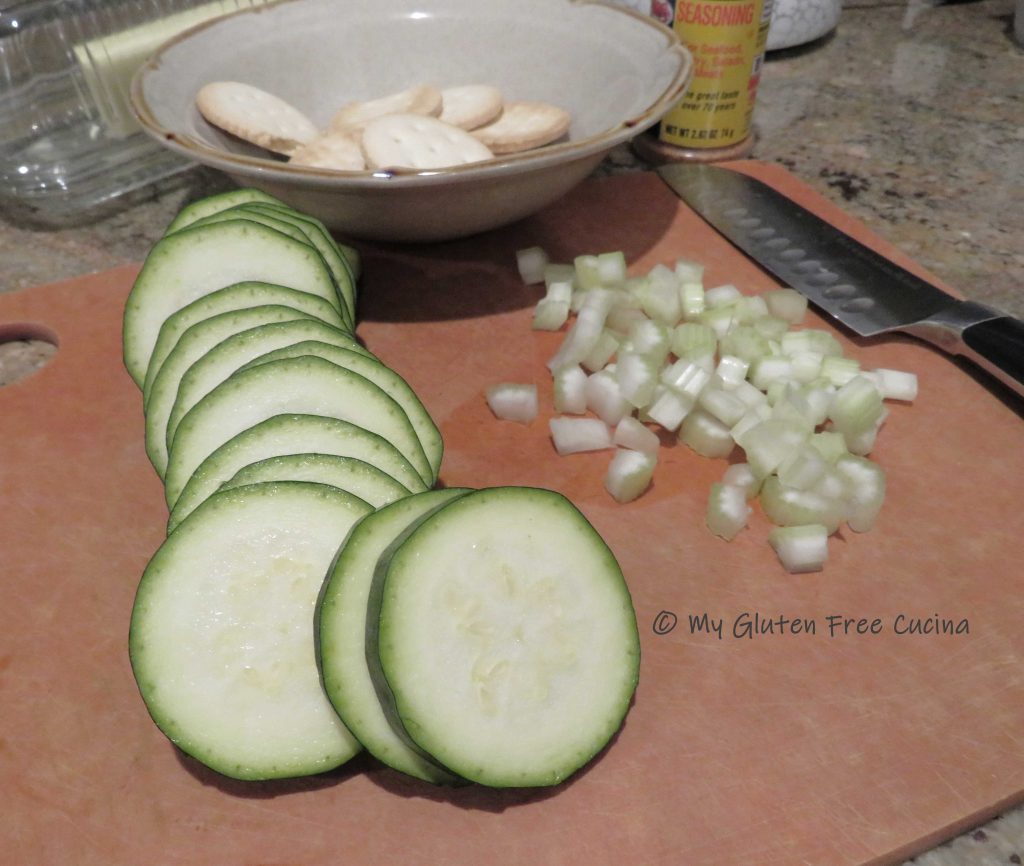
I made this dish with ingredients from my pantry, so no extra trips to the store.  For the fish, I used this Frozen Seafood Medley from Whole Foods (availability varies, see notes), which made the meal extra easy to prepare.  For the pilaf, I used Delallo Gluten Free Orzo, which I always have on hand for soup, and for the crumb topping I used Schar Gluten Free Entertainment CrackersOld Bay Seasoning is a natural for seafood dishes and it has always been a part of my spice collection.

Ingredients:

Preparation:

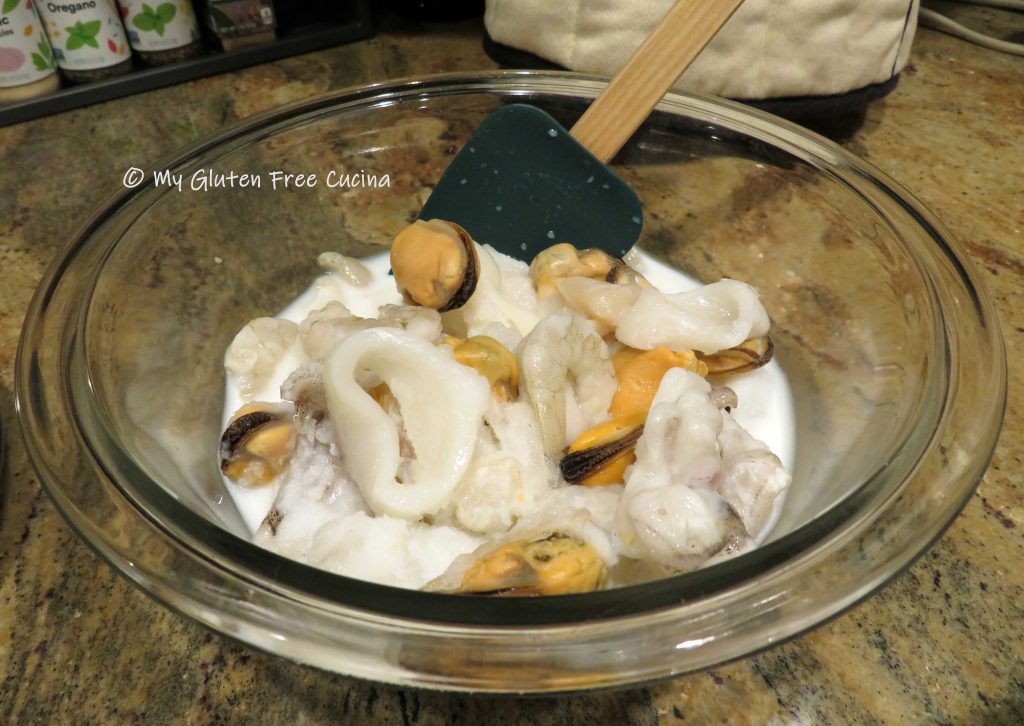
I defrosted the fish in a bowl of milk, about 3/4 cup of 1% milk for 1 lb. of fish.  The milk lends a milder taste and texture to many types of seafood, the squid rings especially will benefit from a short soak.  Cover and let the fish defrost at room temperature for 1 hour, stirring occasionally.

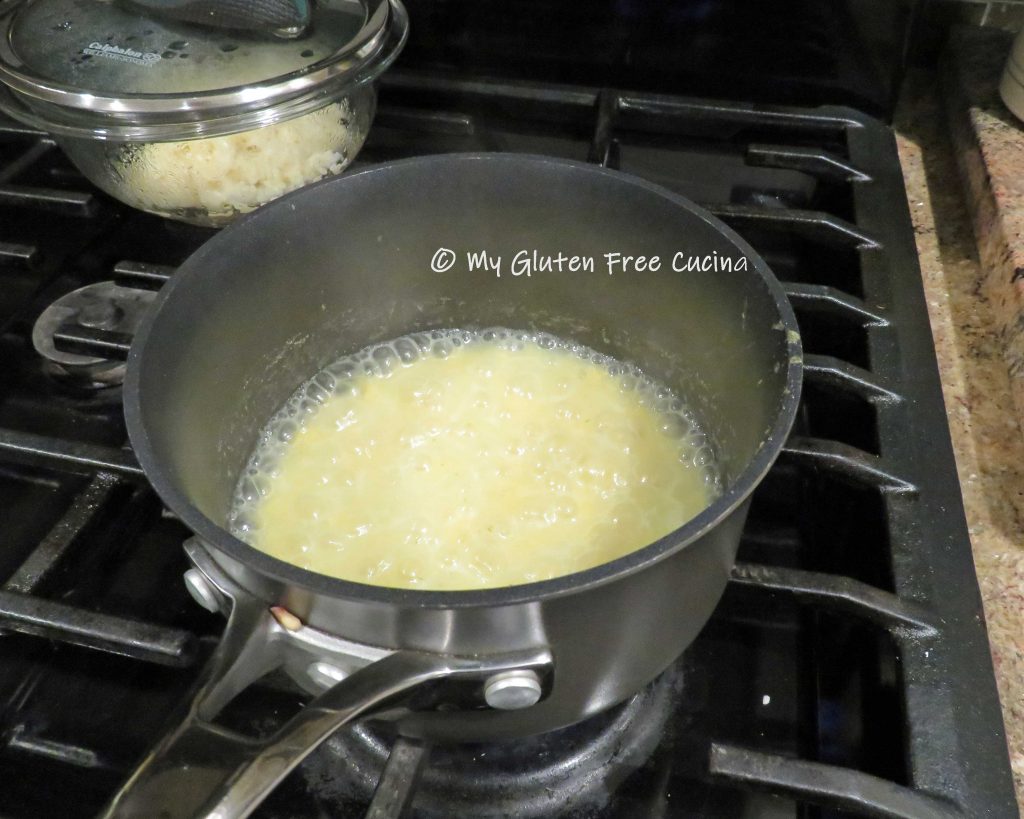
To begin preparing the casserole, cook the rice in 1/2 cup chicken broth with seasoning of choice, 15 minutes.  Transfer the cooked rice to a bowl, cover and keep warm.

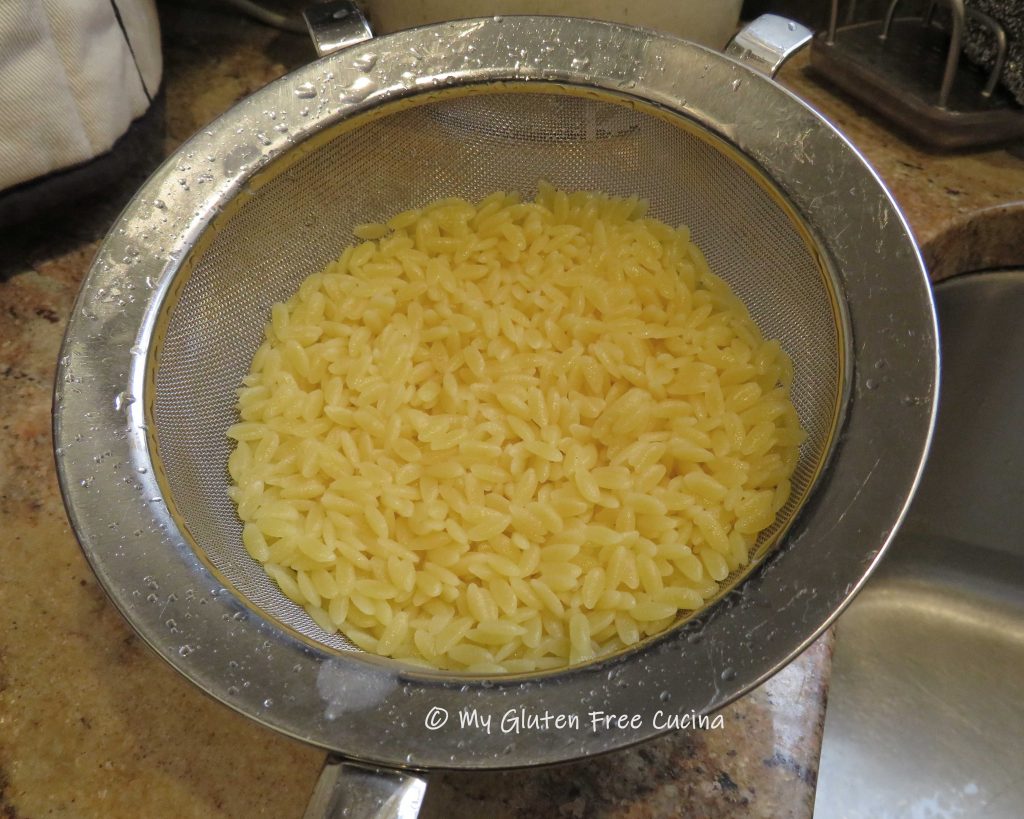
Next, cook the orzo in 3/4 cup water with seasoning of choice, 10 minutes.  If the pasta water looks gummy, drain and rinse the orzo under warm water before adding it to the rice.

Drain and rinse the seafood under cold water.

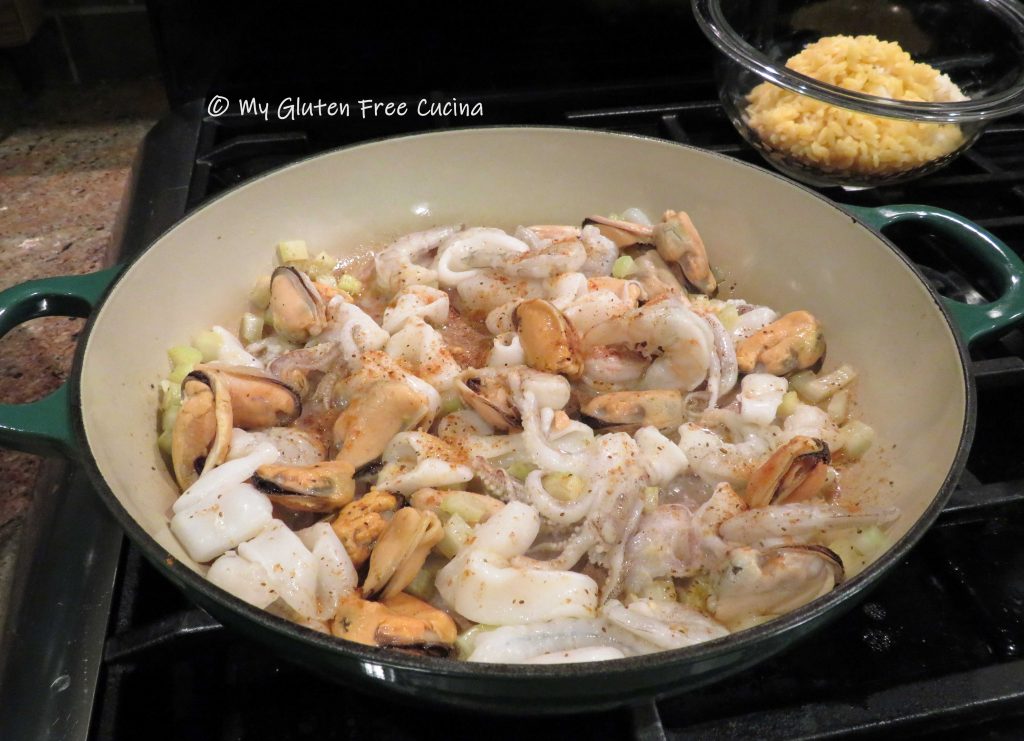
Heat 1 tbsp. butter in a braising pan or oven proof skillet.  Add the celery and cook on low heat for 2 minutes.

Add the fish to the pan and season with Old Bay.  Cook for 2 minutes.  The fish does not have to be cooked through at this point, it will finish in the oven.

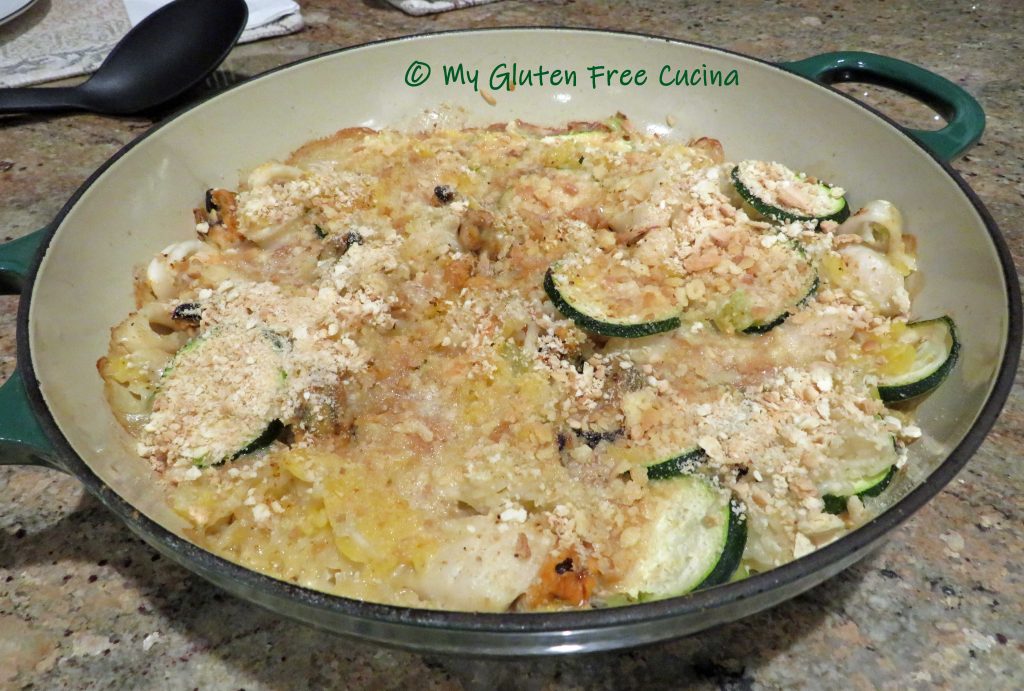
Add the zucchini slices to the pan, along with the rice and orzo mixture.  Sprinkle more Old Bay, then add a few shakes of Worcestershire sauce and 1/4 cup 1% milk.  Stir well to combine.  Pulse gluten free crackers in a processer or electric chopper (or just crumble them with your hands).  Spread the cracker crumbs over the casserole and dot with butter, about 2 tbsp.

Bake uncovered for 20 minutes at 350º.

Garnish with parsley and serve.

Notes ♪♫ I love the flavors in this casserole.  You can change up the seafood to suit your taste.  The seafood medley from Whole Foods was delicious, but you could make your own mixture of shrimp, scallops and squid.  Add more shellfish, or a flaky white fish like cod or flounder.  I had zucchini in the fridge so that is what I used, but you can sub other quick cooking veggies like asparagus or broccoli.  Use your favorites and make it your own!

Print This Post Print This Post


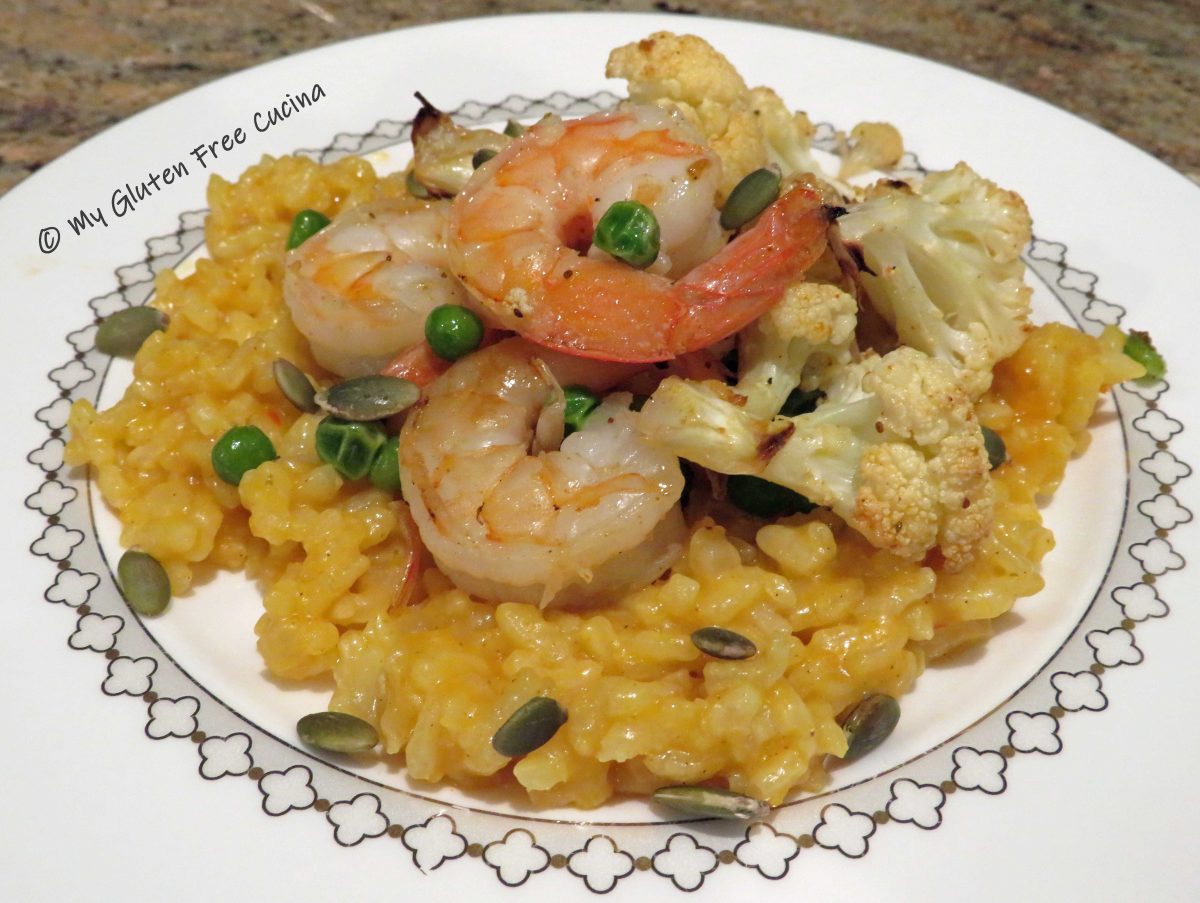
Butternut Squash Risotto with Shrimp and Roasted Vegetables

Did you ever have a restaurant meal that was so delicious you were inspired to recreate it at home?  This is one of those meals, after just one taste I knew that I had to make it myself!  An elegant dinner for two, it is both comfort food and fine dining rolled into one!  The steps are easy to follow and the results are impressive.  It’s a bit time consuming for a week night, but you can speed things up by making the risotto ahead of time.  I also used a bit of  butternut squash left over from another meal, and for a special garnish, I toasted a few pumpkin seeds.

Dinner for 2 

This post contains affiliate links.

Ingredients:

  • 1 dozen large raw shrimp, peeled and deveined
  • 1/4 cup frozen peas, thawed
  • 1/2 medium cauliflower, chopped into uniform pieces
  • 1/3 cup pureed butternut squash (reserved from another meal)
  • 1 cup cooked risotto, (see basic preparation here)
  • Old Bay® seasoning
  • 2 tbsp. butter, divided
  • 1 tbsp. olive oil
  • salt and pepper to taste
  • 1/3 cups gluten free chicken broth, or more as needed
  • 1 tbsp. pumpkin seeds for garnish

Preparation:

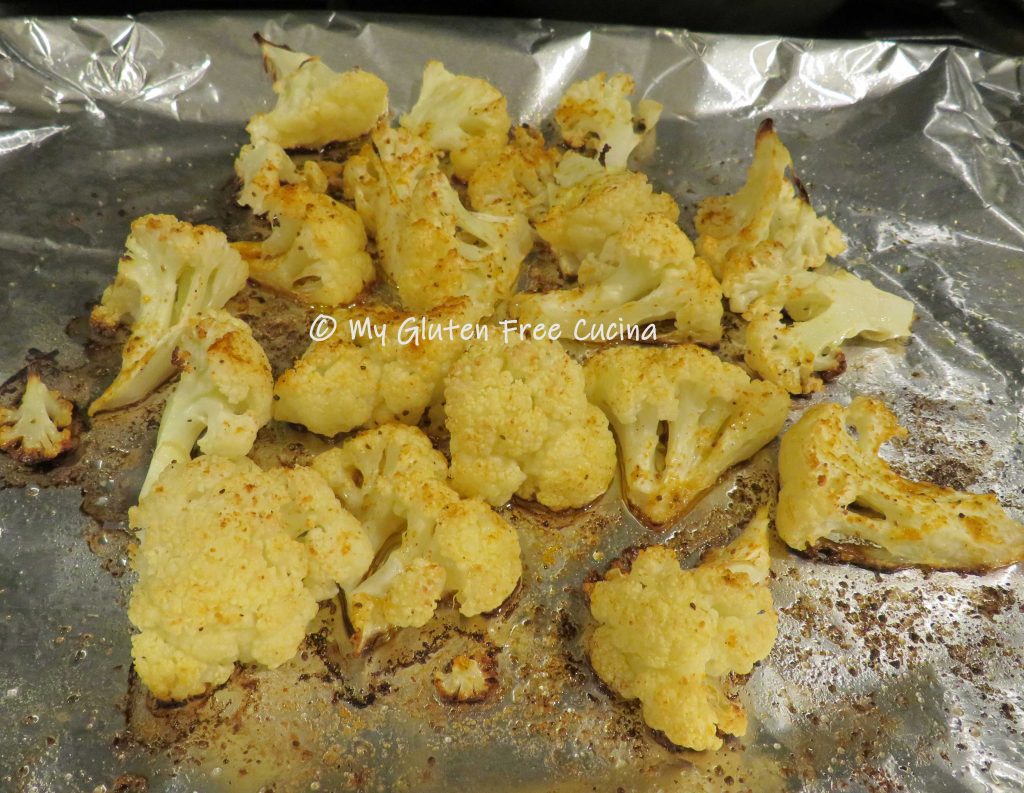
Chop the cauliflower into uniform size pieces, about 1-1/4″.  Rinse, toss with 1 tbsp. olive oil, and season with Old Bay.  Roast at 425º for 20 minutes.  You should see some browning around the edges.

Heat a cast iron braising pan or heavy skillet with 1 tbsp. butter.  Add the shrimp and peas, and sprinkle with Old Bay.

Cook the shrimp for several minutes, just until they turn pink.

Add the roasted cauliflower to the skillet.

Warm the cooked risotto in a small saucepan with the remaining 1 tbsp. of butter, then stir in the butternut squash puree.  If it’s too thick add 1/3 cup chicken broth.

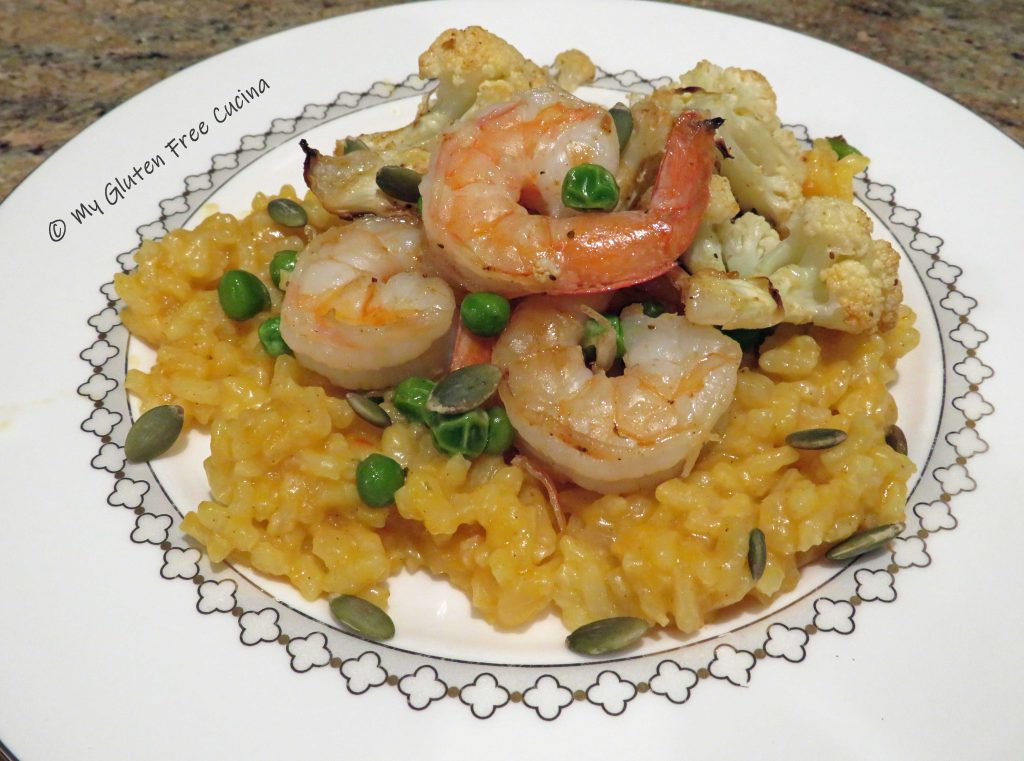
To plate, make a bed of risotto and top with the shrimp and veggies.  Garnish with a few pumpkin seeds.

Isn’t that beautiful?  What a great meal for date night.  I think it was even better than the restaurant version!  If you’re hesitant about making risotto, be sure to give my Basic Risotto recipe a quick read.  It’s easy and you’ll be an expert in no time!

Originally posted 9/08/2019                                               Updated 2/03/2022

Print This Post Print This Post

Gluten Free Crab Cakes

Like many of my recipes, this one came about because I was missing an old restaurant favorite.  Crab Cakes are a New England classic and I have always loved them.  Of course, they are now off limits (ah breadcrumbs!).  I’ve been thinking about making a gluten free version at home, and when I finally set my mind to it they came out great!  A lovely appetizer to begin a meal or serve as a main course.

I always say that when you make something from scratch you control what goes into it.  My Gluten Free Crab Cakes are not stingy with the crab meat (restaurants take note!).  With a little advance prep, you can have this entrée on the table in about an hour.

Fresh crab meat is wonderful, but if like me you are not up for cooking and cleaning a live crab, try using frozen crab meat.  It is a very good alternative and worth seeking out.  Of course, you can use canned if that is what you have available.  Look for Fancy Lump Crab and be sure to check the ingredient label.

Yield: 5-6 crab cakes (plan for 1 each as an appetizer or 2 as a main course)

This post contains affiliate links.

Ingredients:

Preparation:

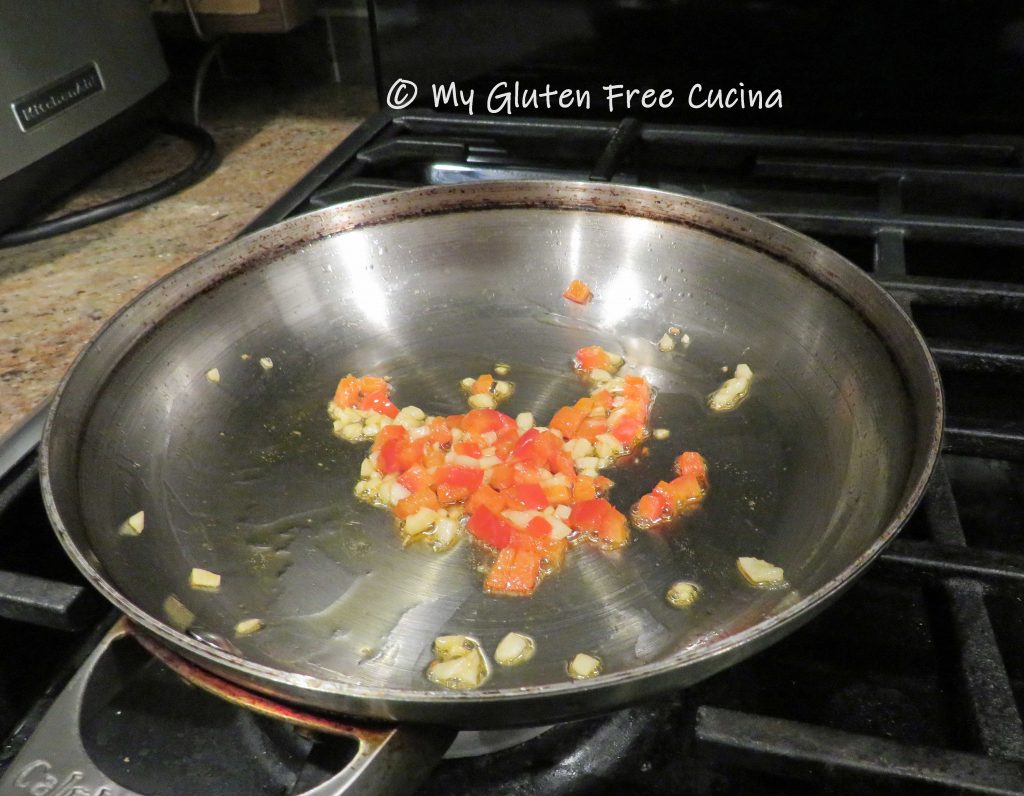
Chop the garlic and red bell pepper into fine mince.  Sauté 2 minutes in 1 tsp. canola oil.  Set aside and cool to room temperature.

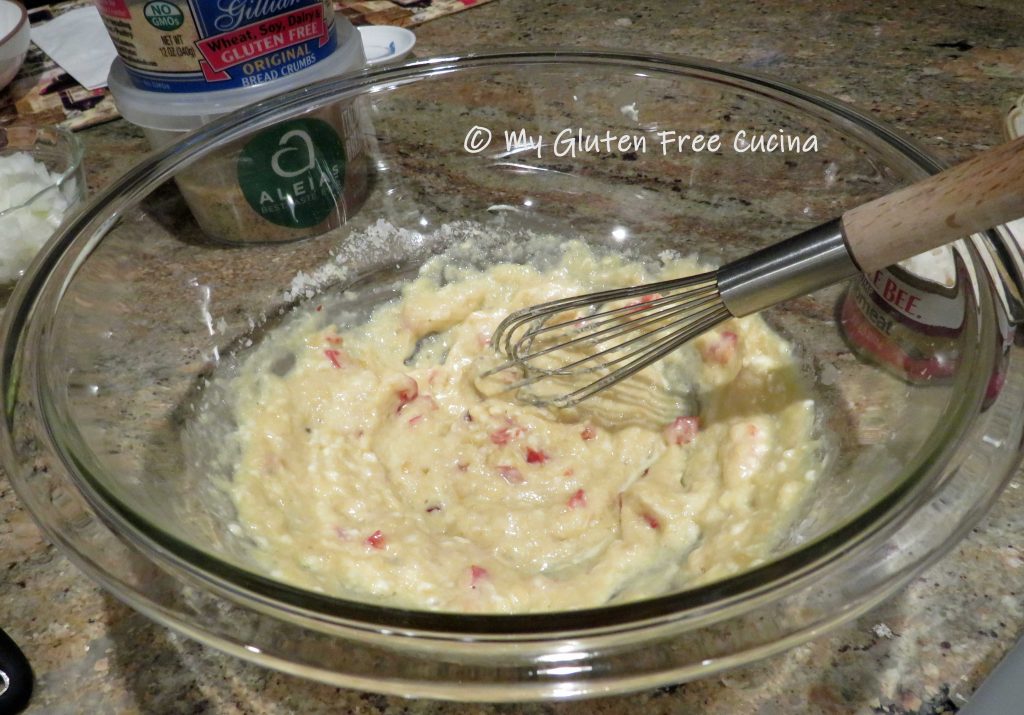
Combine the breadcrumbs in a bowl and toss to mix.  Whisk the egg, mayonnaise, Worcestershire sauce, minced veggies, lemon juice and seasonings in a separate bowl.  Add the potato flakes and whisk until smooth.

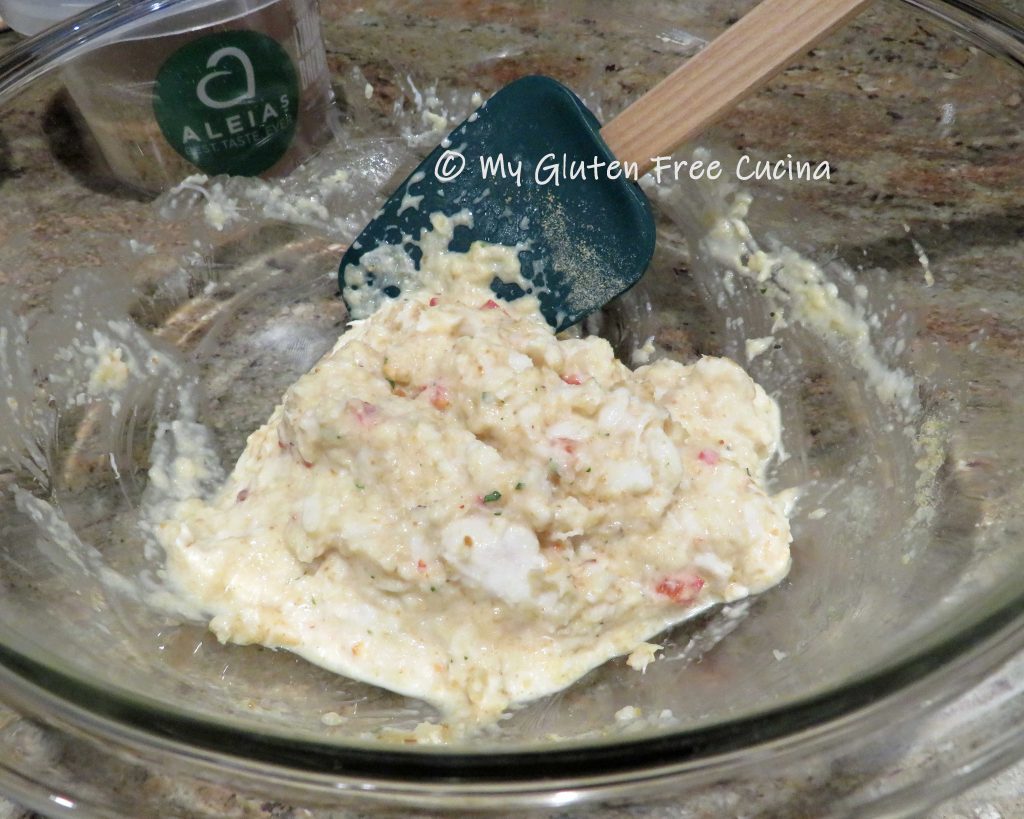
Fold in the crab meat and 2 tbsp. (half) of the breadcrumb mixture.

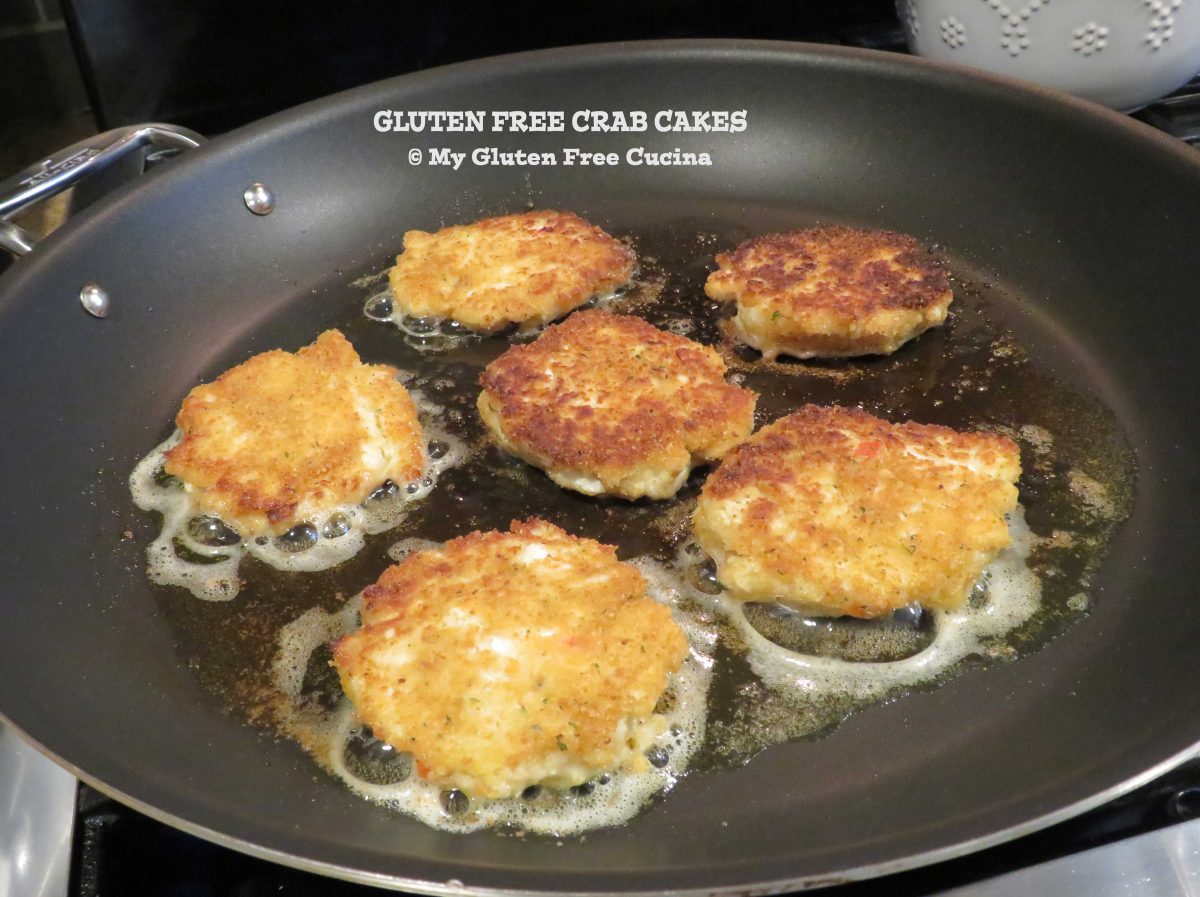
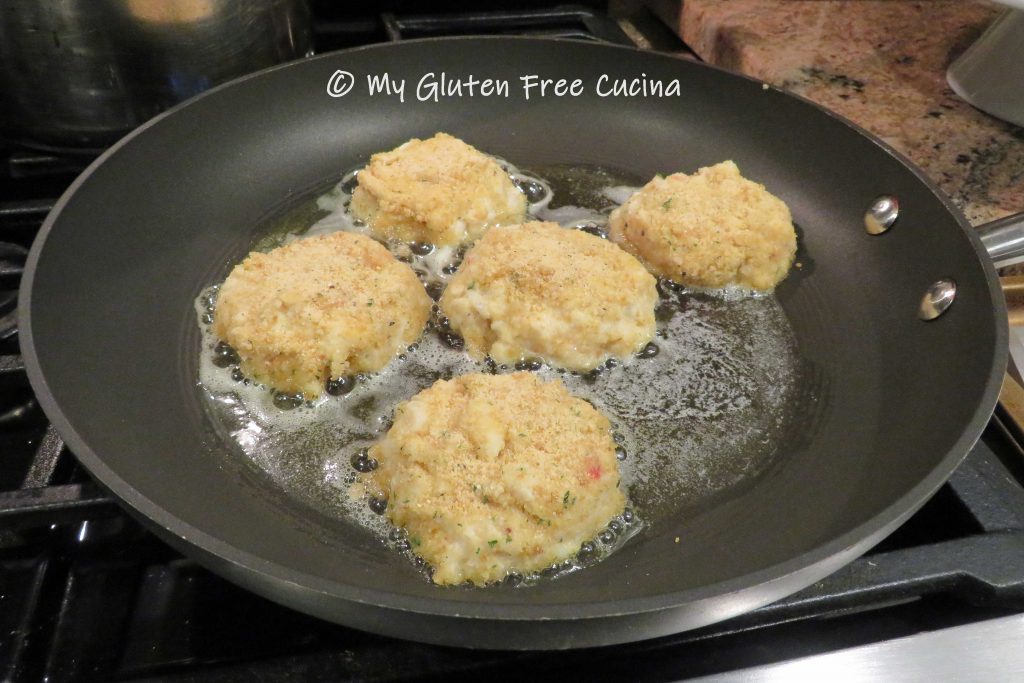
Using a ¼ cup measuring cup, scoop out the mixture to form 5-6 crab cakes.  Handle them gently and they should hold together (they will be wet).  Carefully roll each crab cake in the remaining breadcrumbs to coat.  Arrange them on a baking sheet lined with parchment and refrigerate for 1 hour.  This will help retain their shape and hold together while cooking.

Heat a non-stick skillet over medium low with 1 tbsp. butter and 1 tbsp. olive oil.

Cook the crab cakes for 5 minutes per side.  To get that golden crust, don’t move the crab cakes around in the pan until it’s time to flip them over.  Transfer to a baking sheet and put them in a 350º oven for a few more minutes to finish, then lower the heat and keep warm until serving.

Friends, they were so delicious!  The recipe is easy enough, wouldn’t you say?  Go on and give it a try, surprise your special someone or treat yourself.

Notes ♪♫ Several of my readers have mentioned that Lea and Perrins Worcestershire Sauce is not gluten free in Canada, as it contains malt vinegar.  (In the US, it is made with distilled white vinegar and is gluten free).  Always check labels!


Print This Post Print This Post


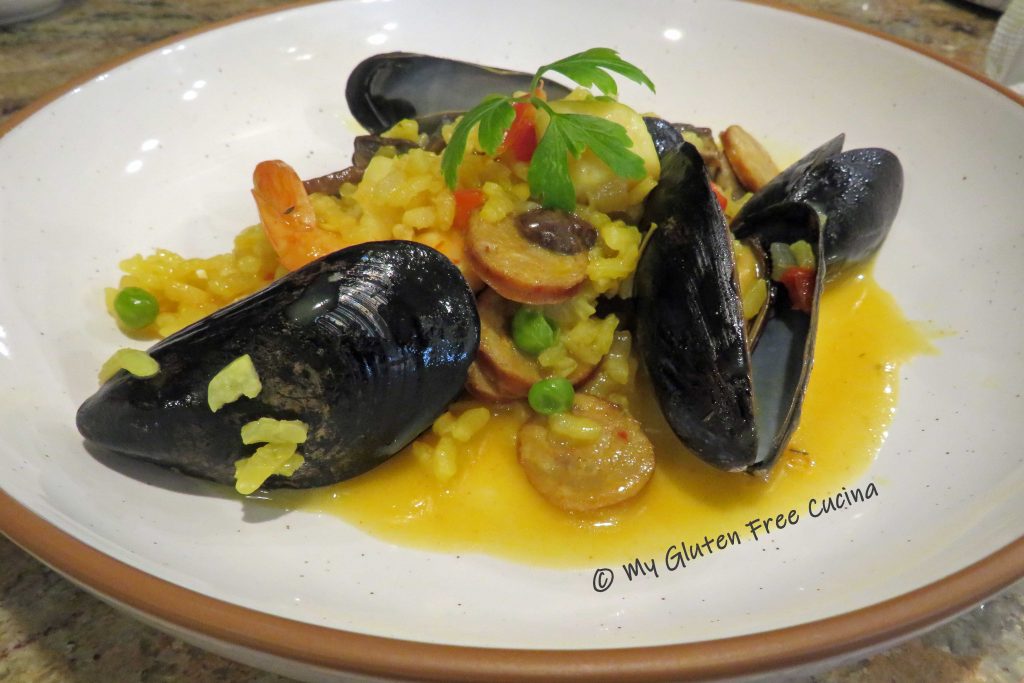
Gluten Free Seafood Paella

Today I’m making Paella, the amazing Valencian rice dish infused with aromatic saffron.  There are several variations of Paella, that may include chicken, pork, or seafood.  It can also be made vegetarian, or a blend of the above.

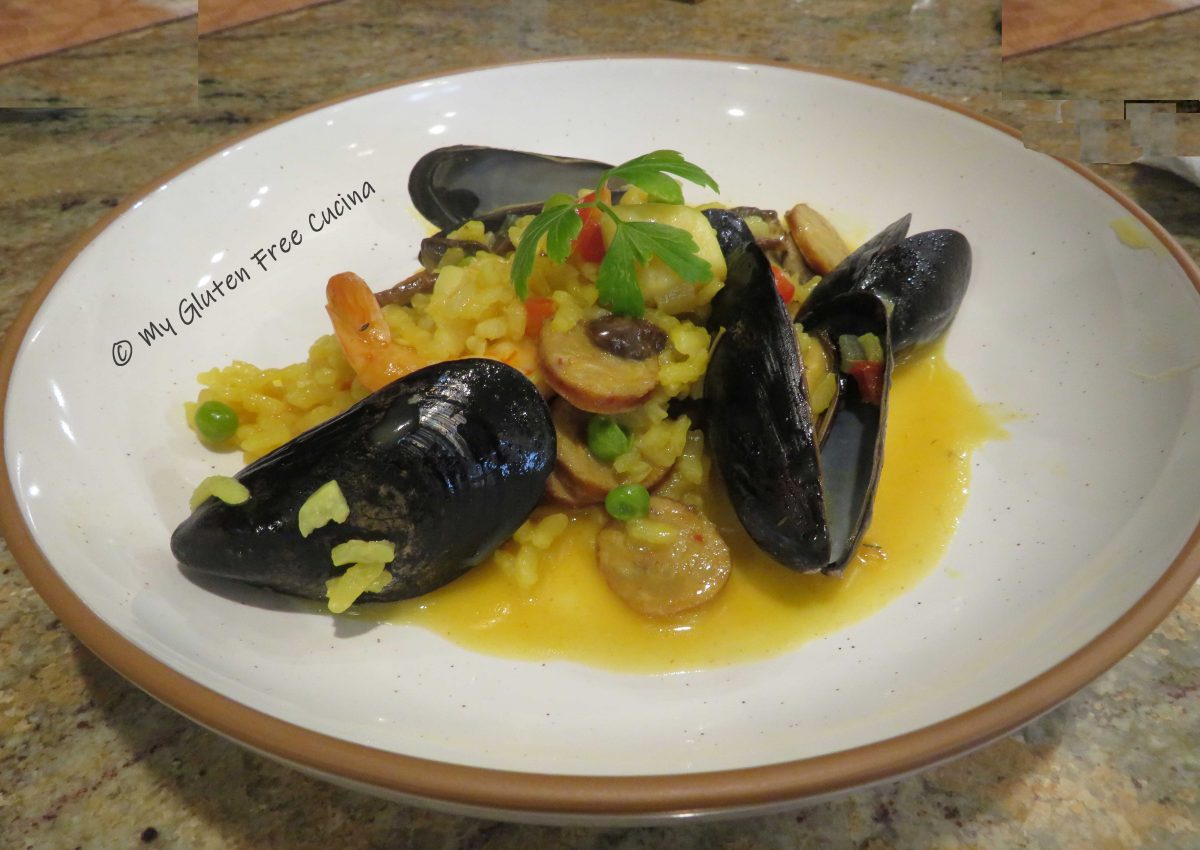
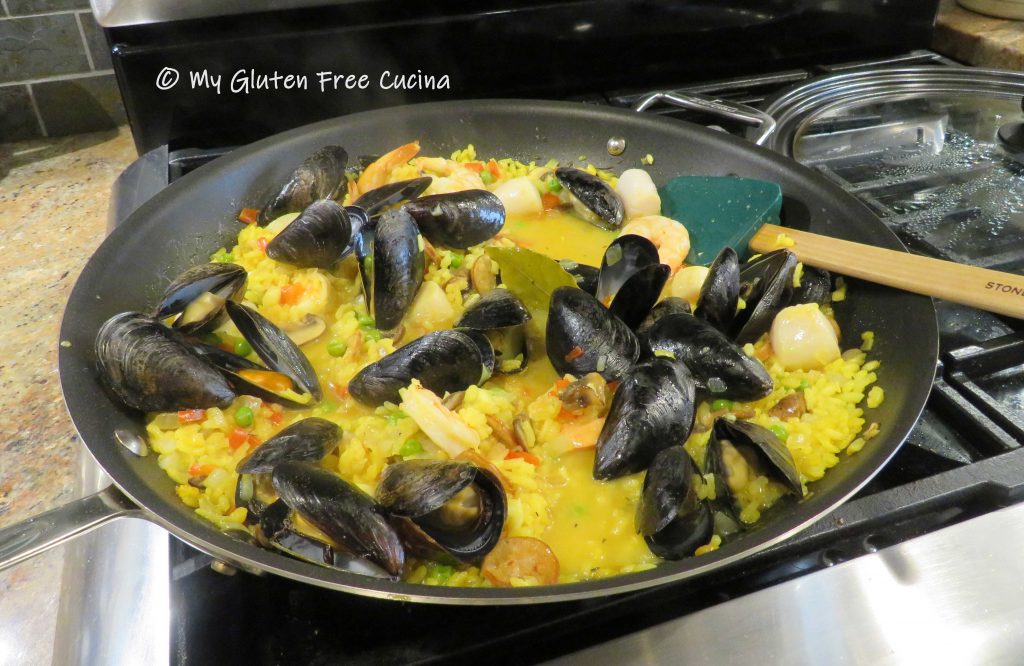
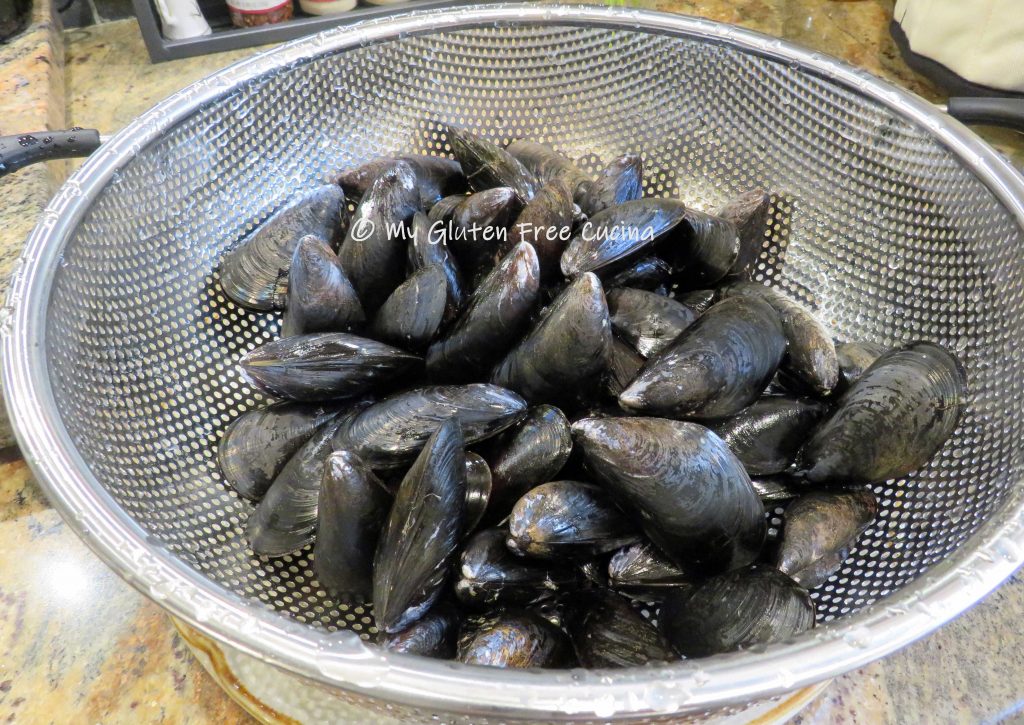
This paella is all about the seafood.  I used shrimp and scallops from my freezer pantry and fresh mussels that I purchased the same day.  I did add a link of Andouille sausage, because I love the heat it brings to this recipe.

You don’t need a paella pan to make this dish.  A large, nonstick skillet with a cover works just as well.  You can find reasonably priced pans on Amazon (like THIS ONE) that will get the job done.  If you don’t have a universal lid, you will want to get a pan with a lid.

This post contains affiliate links.

Ingredients:

  • 1 tbsp. butter
  • 1 tbsp. olive oil
  • 1/4 cup minced shallots
  • 1 cup Arborio rice
  • 1/2 cup white wine
  • 2-1/2 cups gluten free chicken stock, room temperature
  • big pinch of saffron
  • 2 bay leaves
  • 1/4 tsp. thyme
  • 1/4 tsp. turmeric
  • ——————————————–
  • 2 garlic cloves, minced
  • 1/4 cup red bell pepper, sliced
  • 1/2 cup sweet onion, diced
  • 1/4 cup mushrooms, sliced
  • 1/4 cup frozen peas, defrosted
  • 1 link gluten free Andouille sausage, cut into thin coins
  • sprinkle of paprika
  • ——————————————–
  • 8 large raw shrimp, defrosted
  • 8 large sea scallops, defrosted
  • 1 lb. mussels, scrubbed and rinsed
  • fresh Italian parsley for garnish

Preparation:

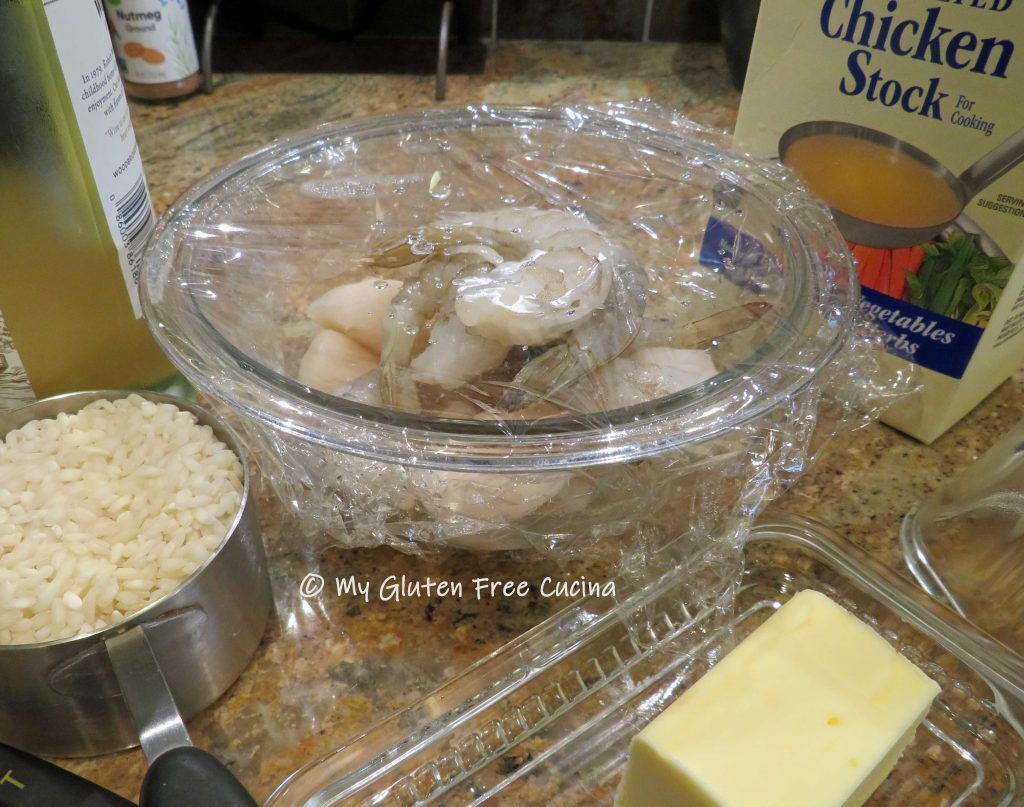
Rinse the mussels thoroughly under cool water.  Discard any that are cracked or remain open after rinsing.  Defrost the shrimp and scallops.  Peel and devein the shrimp.

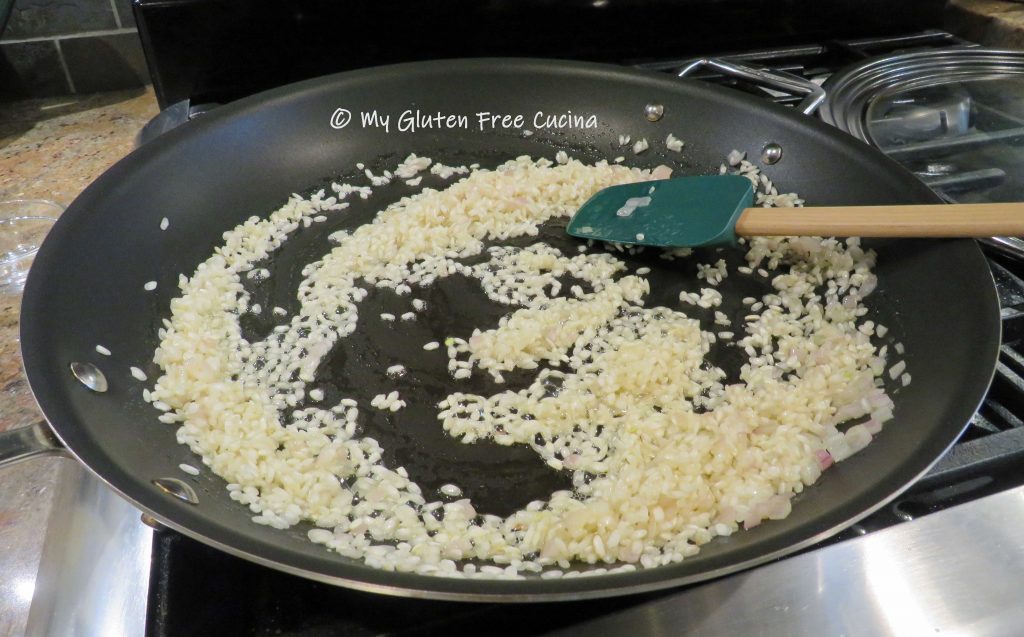
Heat the butter and olive oil in a large, nonstick skillet.  Stir in the shallots and cook gently for 1 minute.

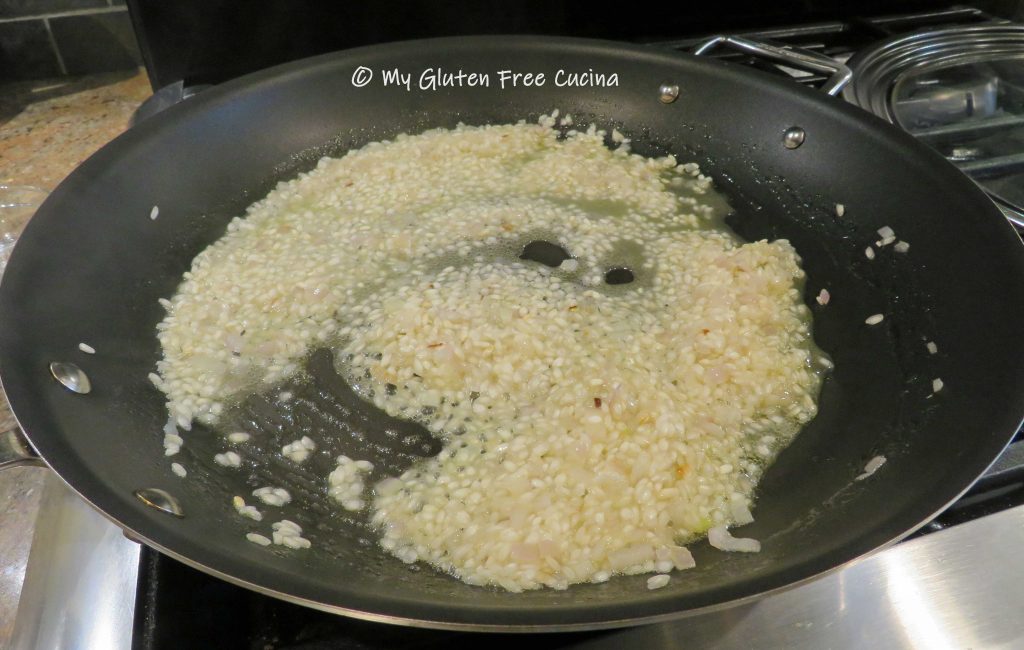
Add the rice, stirring to coat with the oil and butter.  After 30 seconds add 1/2 cup of white wine.

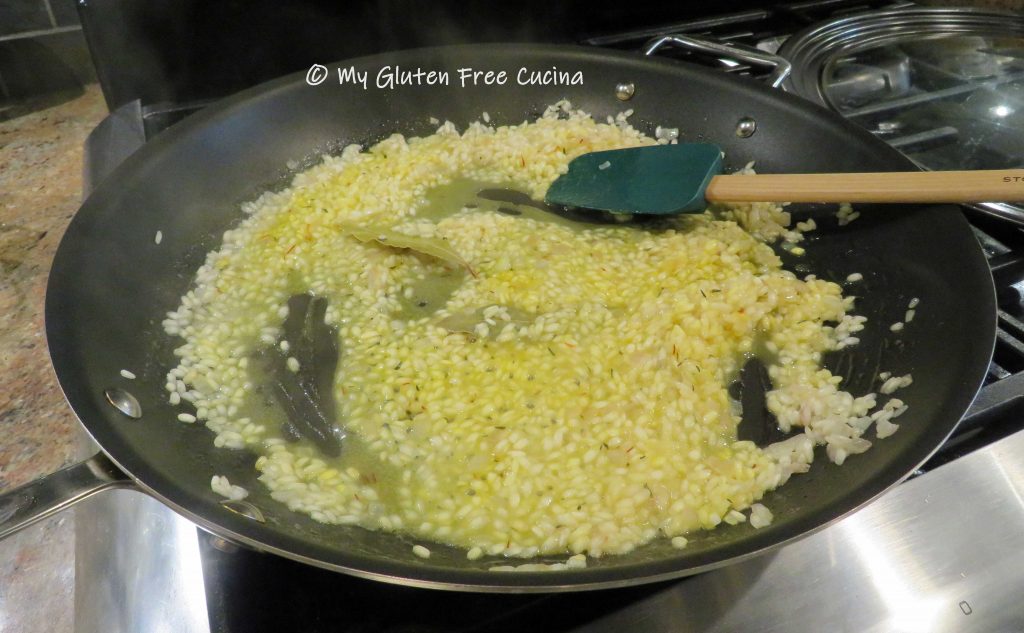
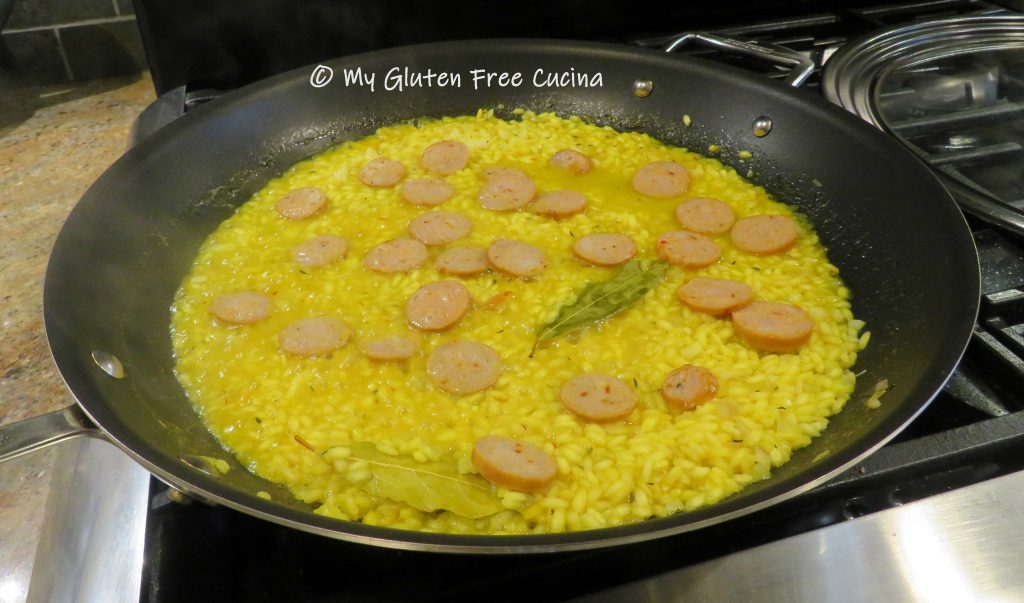
Stir constantly, allowing the wine to evaporate.  When most of the liquid has been absorbed, begin adding the chicken broth 1/2 cup at a time.  With the first addition of broth, add the saffron, bay leaves, thyme and turmeric.
Continue adding the chicken broth 1/2 cup at a time.  Stir frequently, and when most of the liquid has been absorbed add the next 1/2 cup.

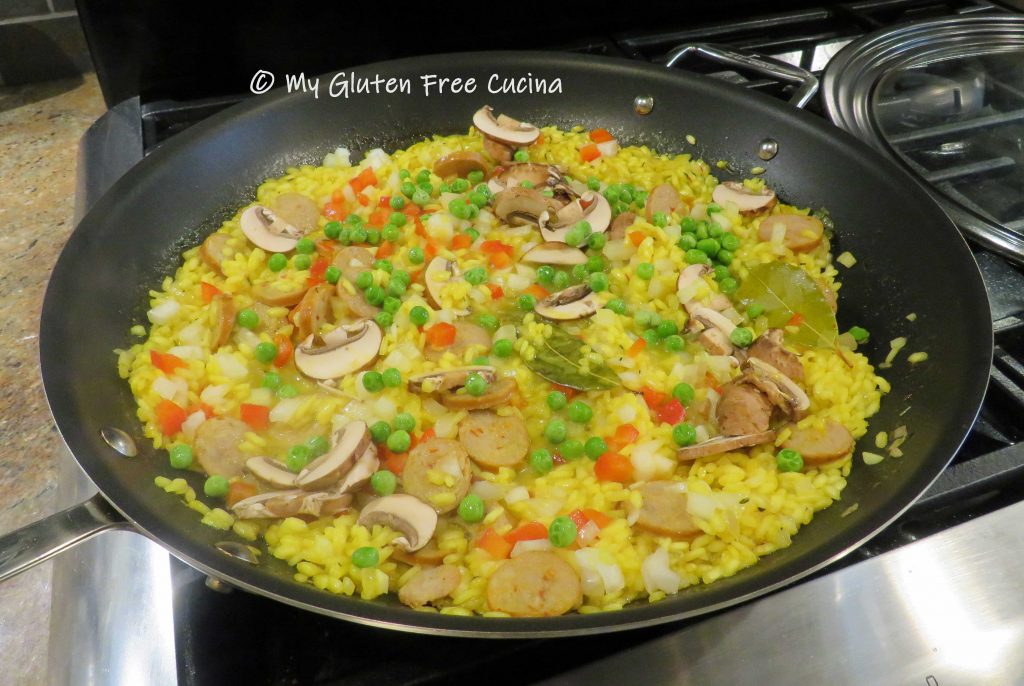
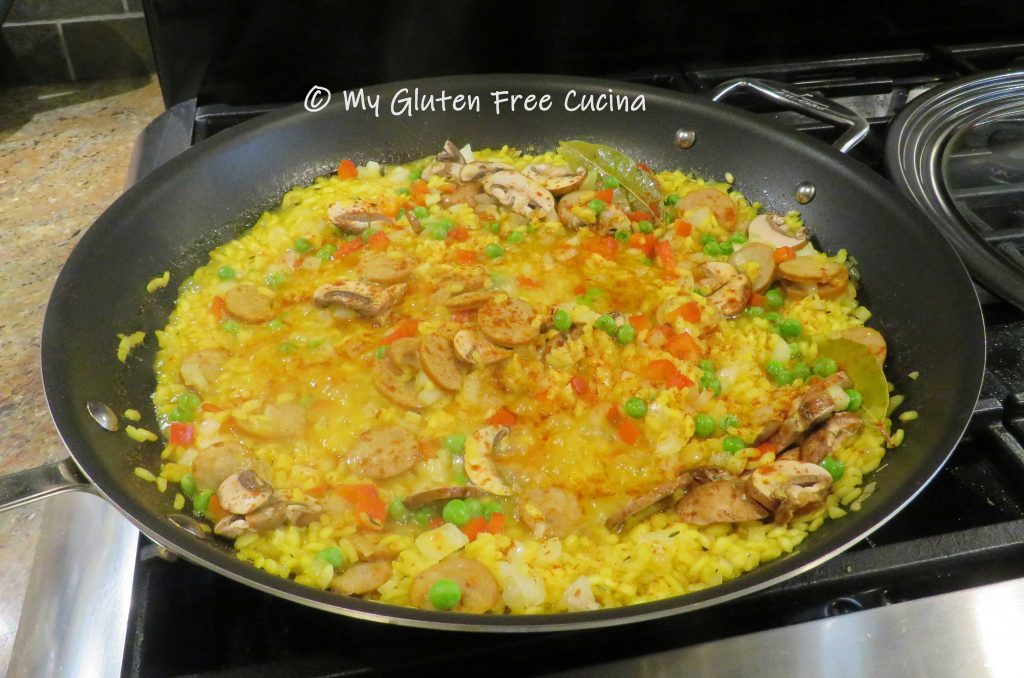
After 20 minutes the rice should be nearly done.  Add the garlic, Andouille sausage, and all of the veggies.  Sprinkle with paprika and cook for 5-10 minutes.

Don’t add broth after this point, as the veggies and seafood will release their own liquid.

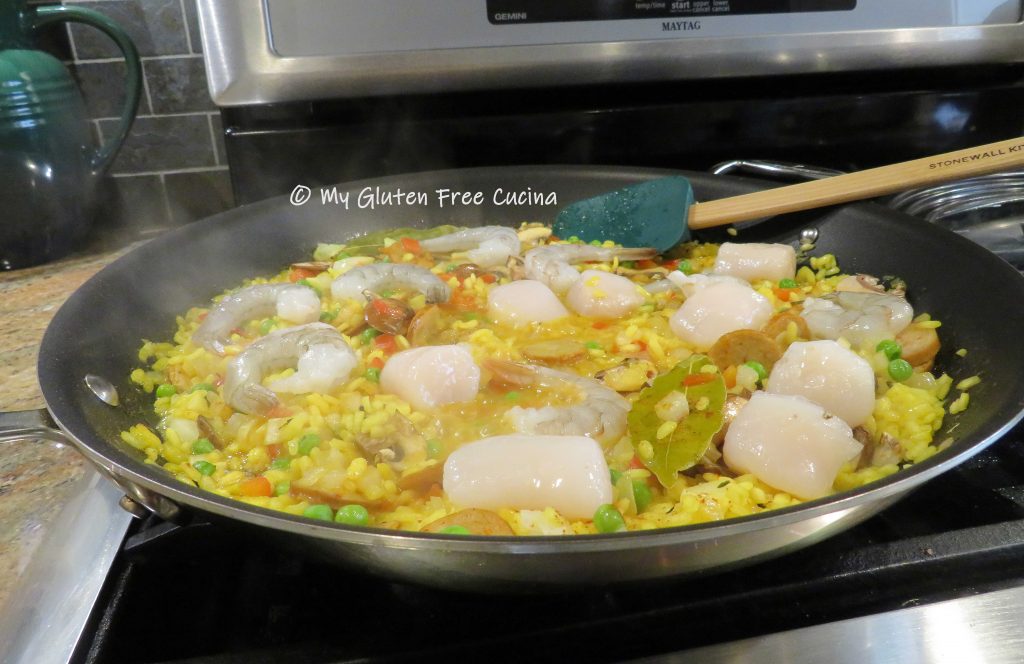
Add the shrimp and scallops at the very end of the cook time, when the rice is done, and veggies are tender.

Stir together and cook for one minute, then add all of the mussels.  Cover and cook for 6 minutes or until the mussels open.

(Important: If any mussels do not open, discard them).

To serve, ladle the paella into wide bowls and garnish with parsley.

Notes ♪♫ Saffron is considered the most important spice in a traditional paella.  It gives the rice a beautiful golden color and distinctive flavor.  Although expensive, I always keep some on hand and use it sparingly in recipes like this one.  If you are looking for a more budget friendly alternative, try using turmeric instead of, or in addition to the saffron as I’ve done in this recipe.


Print This Post Print This Post

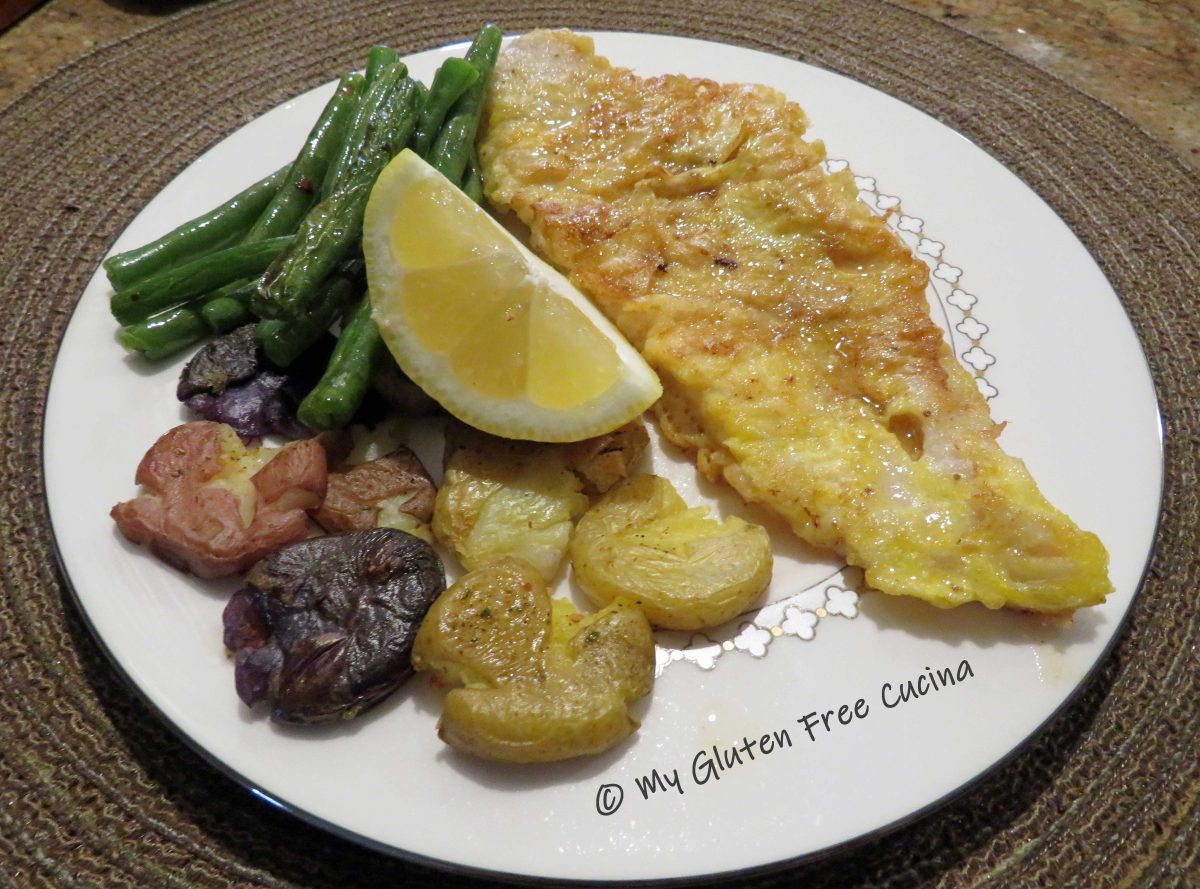
Gluten Free Sole Francaise

Sole Francaise is an old restaurant favorite of mine, but you don’t often see it on the menu anymore.  Of course, if you are gluten free this dish is off limits.  So today with just one simple substitution I’ll show you how to prepare this five-star entrée right at home.  Superfine white rice flour is a pantry staple at My Gluten Free Cucina, and I promise your gluten eating friends and family will not be able to tell the difference.

This post contains affiliate links.

Ingredients:

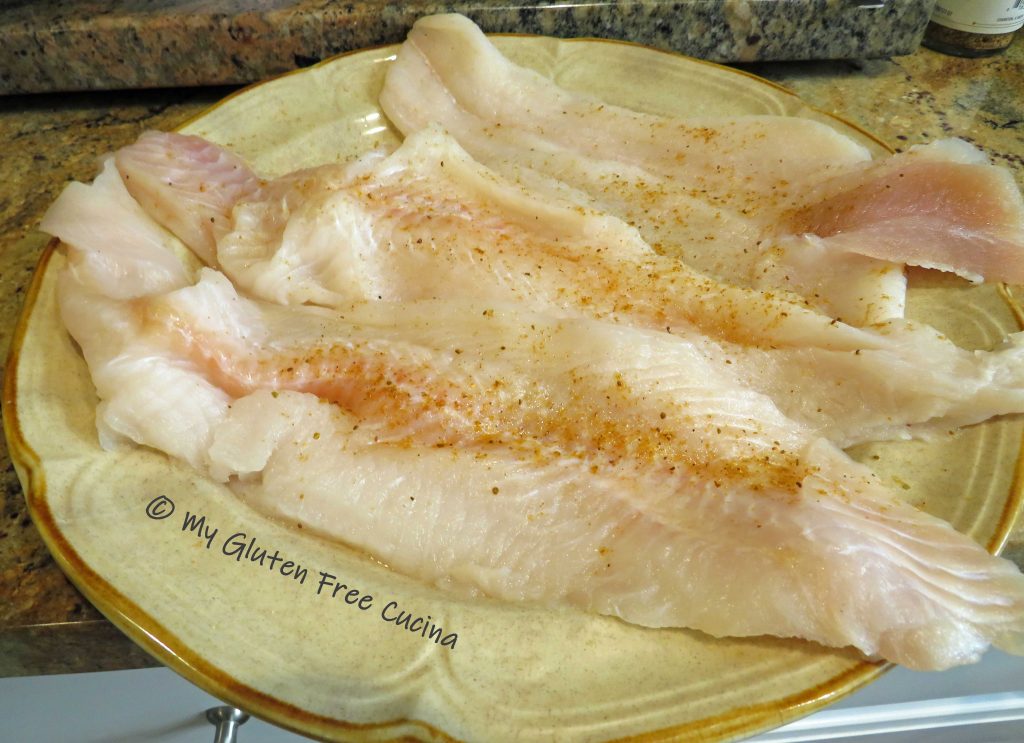
  • 1 lb. sole fillets
  • 3/4 cup white rice flour
  • 2 eggs, beaten
  • Old Bay seasoning, to taste
  • salt, to taste
  • 2 tbsp. olive oil
  • 2 tbsp. butter
  • 1/2 cup white wine
  • 2 tbsp. lemon juice

Preparation:

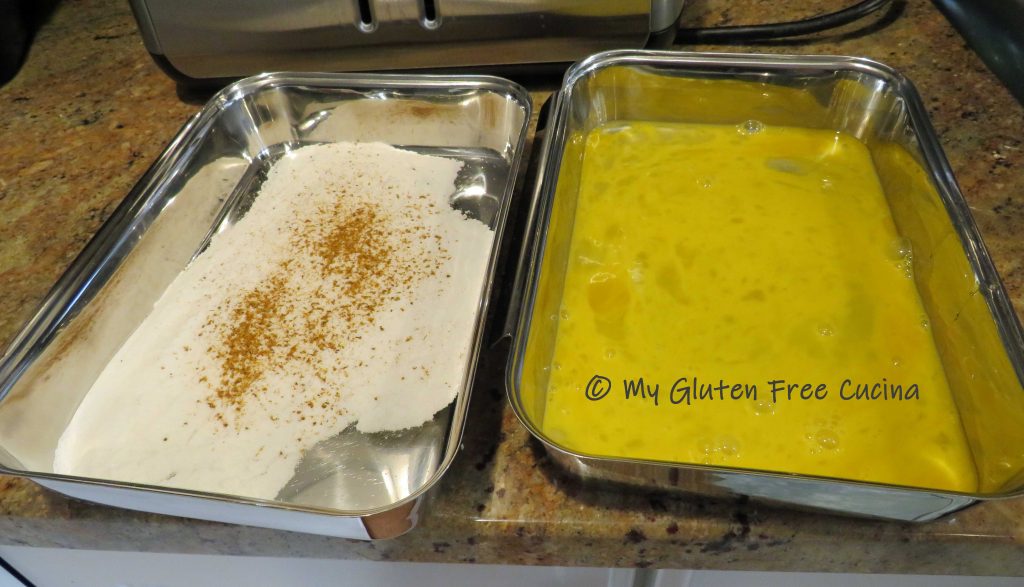
Use a superfine white rice flour in place of traditional all purpose.  It works just as well in this recipe, so don’t waste your even pricier gluten free all-purpose flour.  Set up 2 breading trays or plates, one with the flour and the other with the beaten egg.  Sprinkle the flour with Old Bay.

Heat a large nonstick skillet with 2 tbsp. butter and 2 tbsp. oil.

Sprinkle the sole fillets with Old Bay, then dredge each piece in flour.  Dip in egg, shaking off the excess.

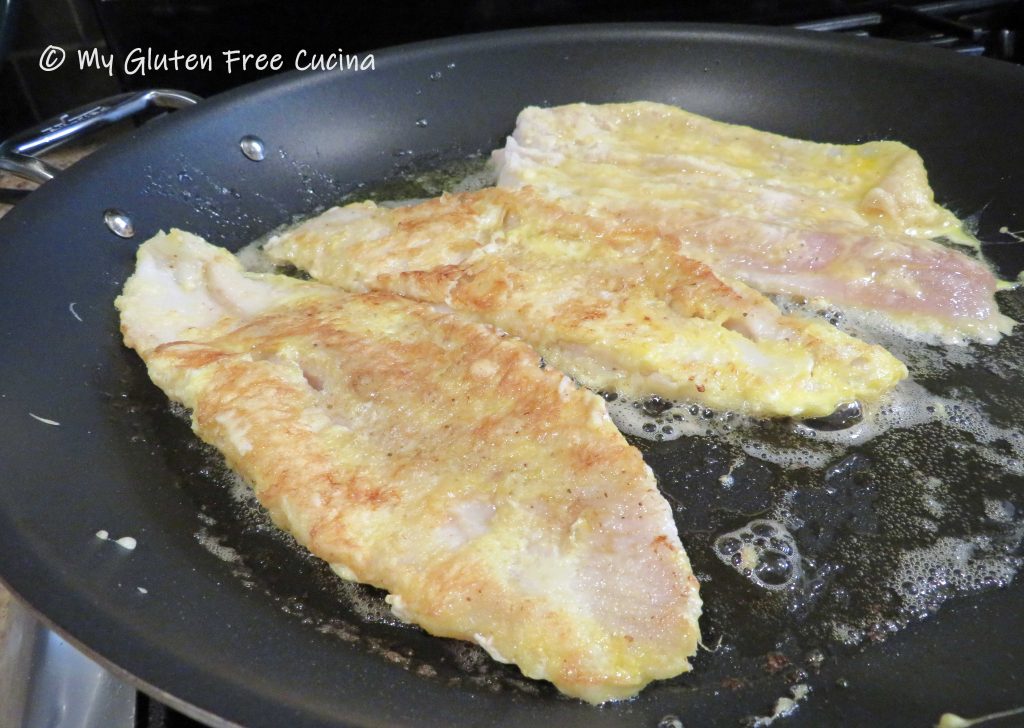
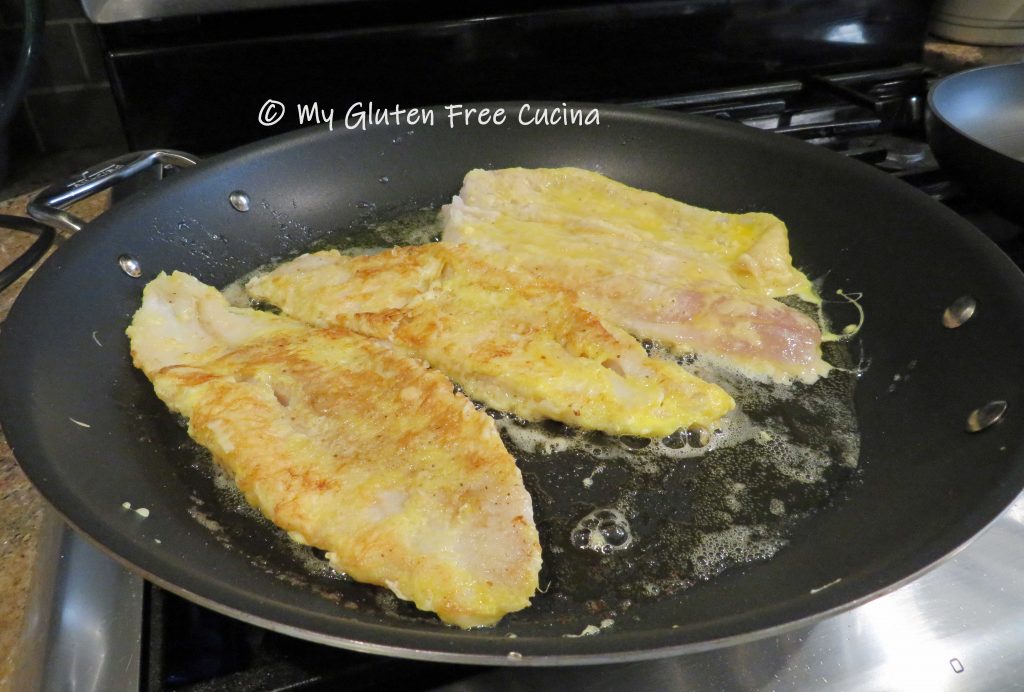
Cook the fish 3 minutes per side.  Try not to tear the delicate egg batter when you flip them over (use 2 spatulas for better control).  Cook in batches if needed, do not crowd the pan.

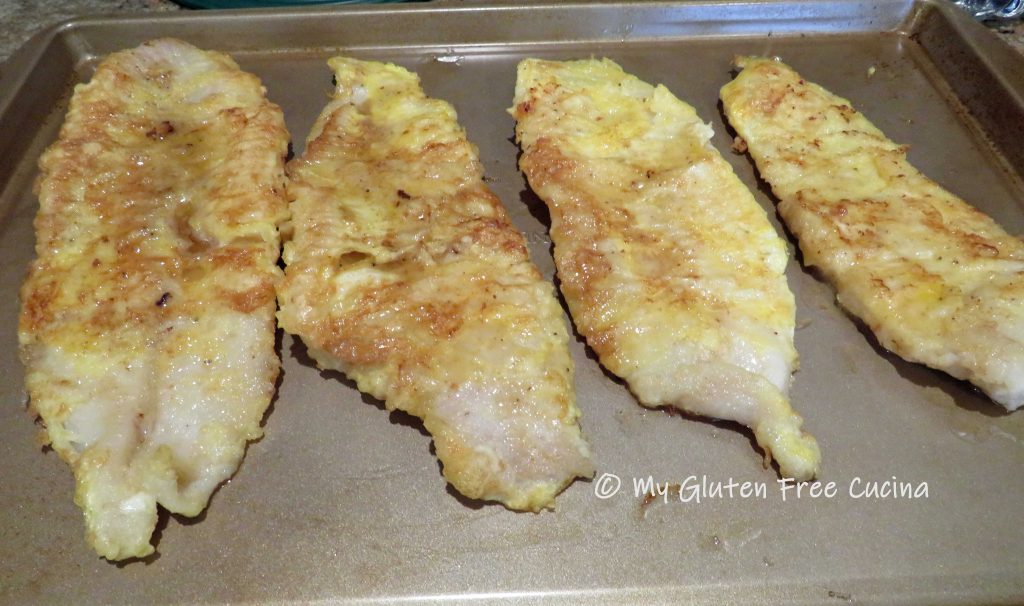
Transfer the fillets to a baking sheet and keep warm in the oven (especially if cooking in batches).

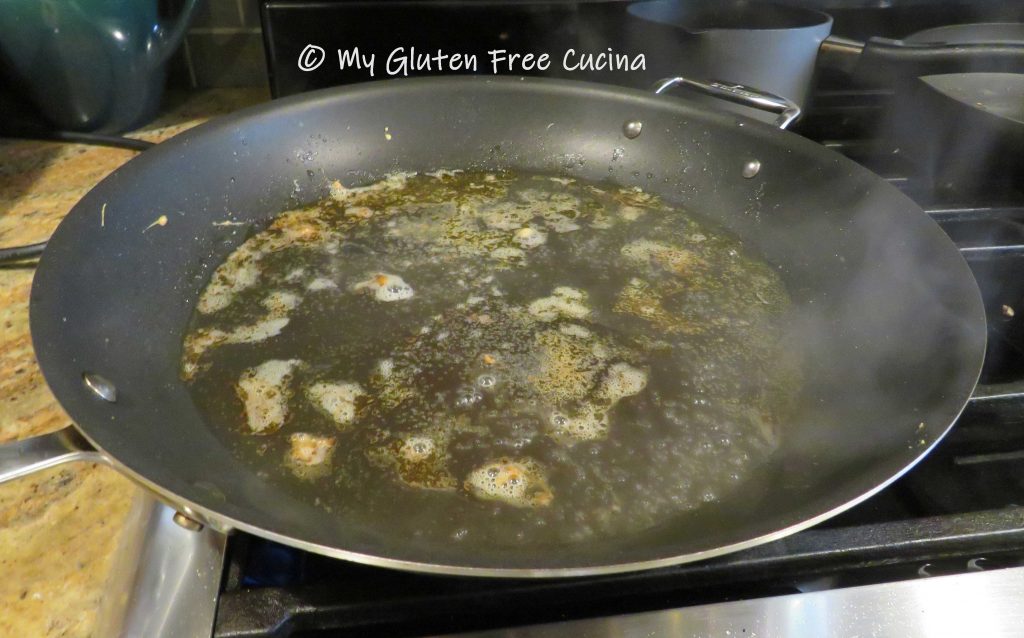
Add the wine and lemon juice to the skillet, swirl around and cook until reduced by half.

Drizzle the reduction over the fish and serve with a lemon wedge.  Smashed Potatoes and garlic green beans round out the plate.

Notes ♪♫ When cooking with wine, always choose something that you can drink with the meal.  I had a bottle of Pinot Grigio that was just perfect with this dish.  I never use cooking wine, as it is loaded with sodium and additives.

Print this recipe


Pan Cooked Striped Bass

I love seafood and enjoy trying new types of fish.  Often, I stumble upon something really tasty because it happened to be on sale, like this Striped Bass.  It was on special one week, but now I buy it every chance I get.

This post contains affiliate links.

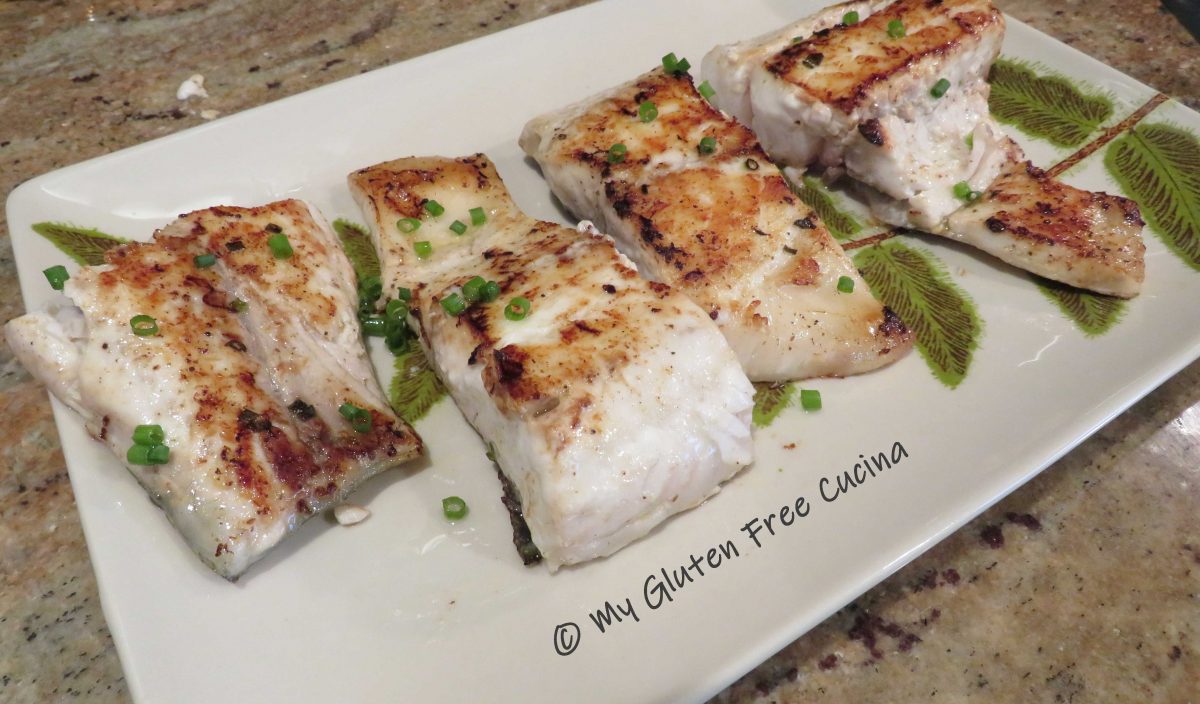
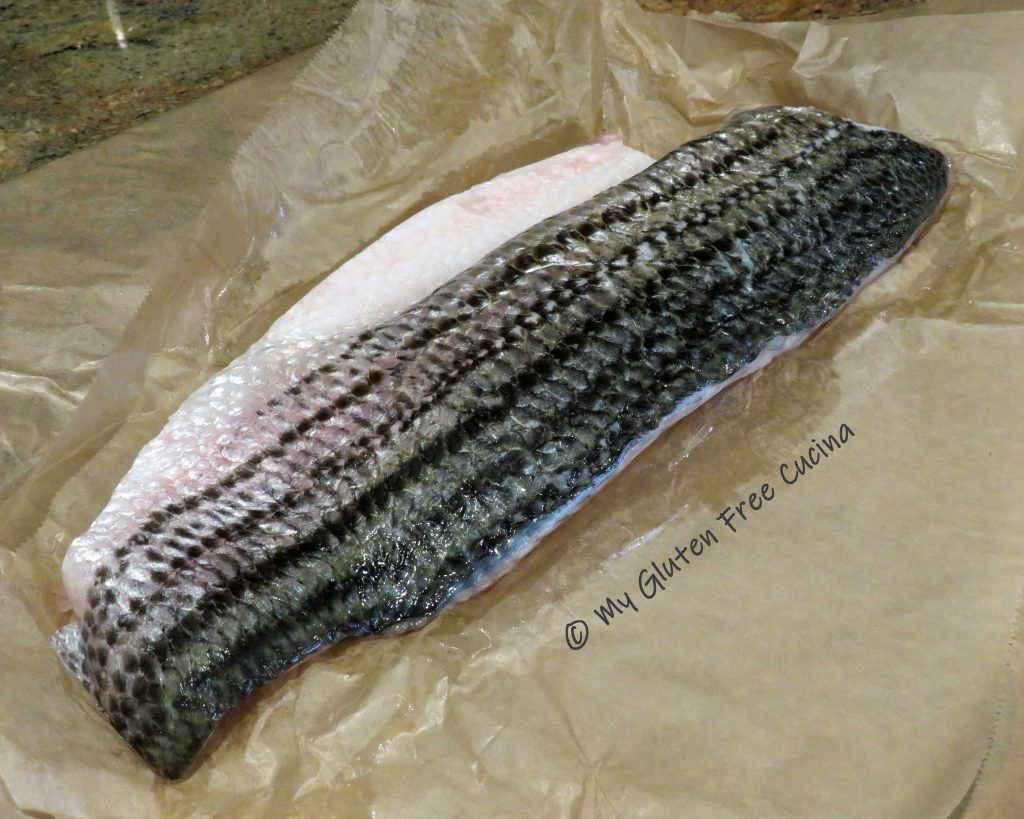
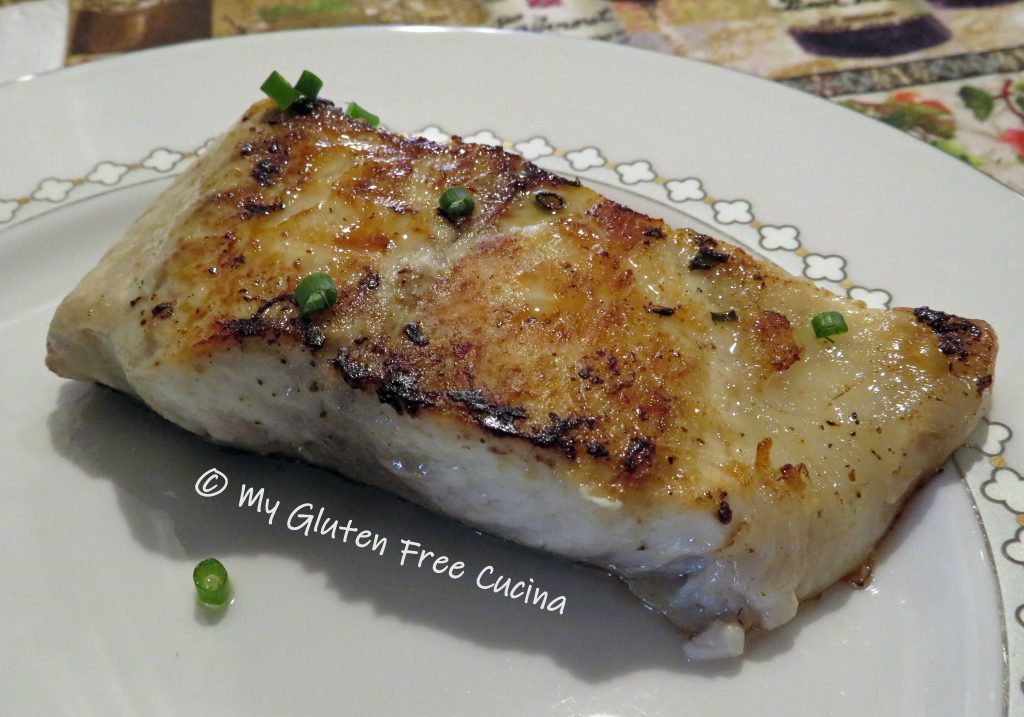
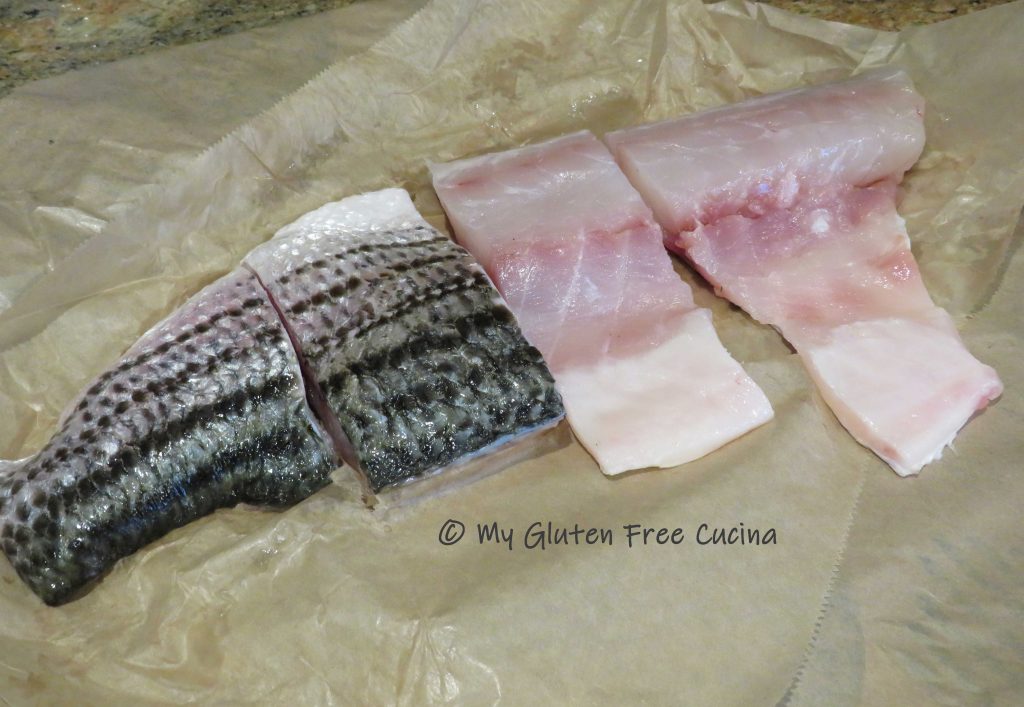
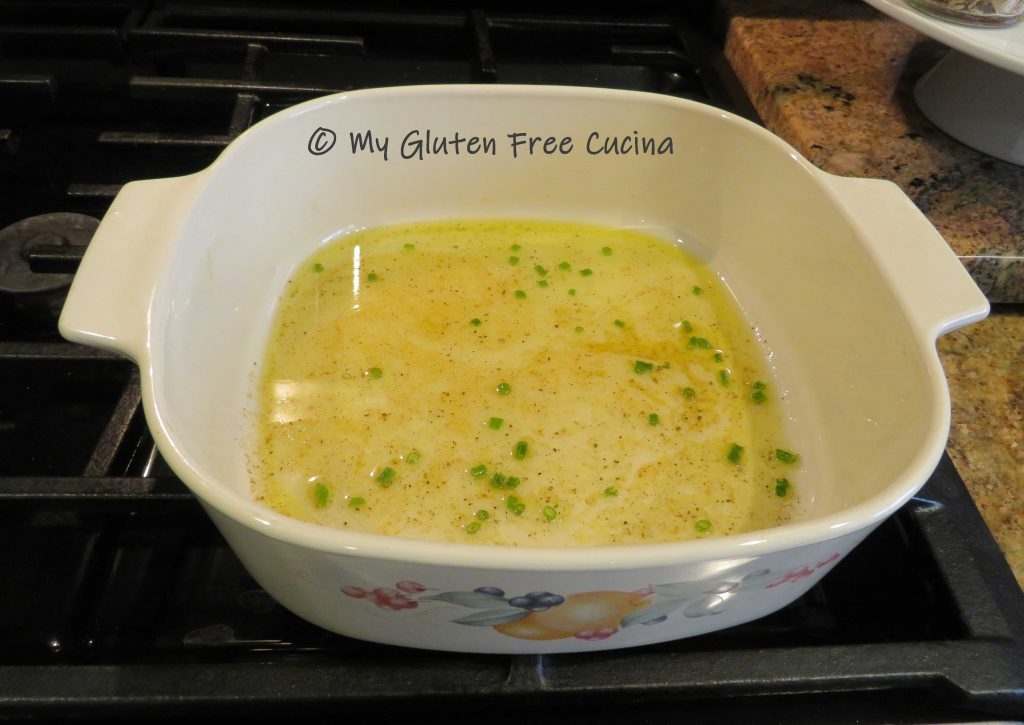
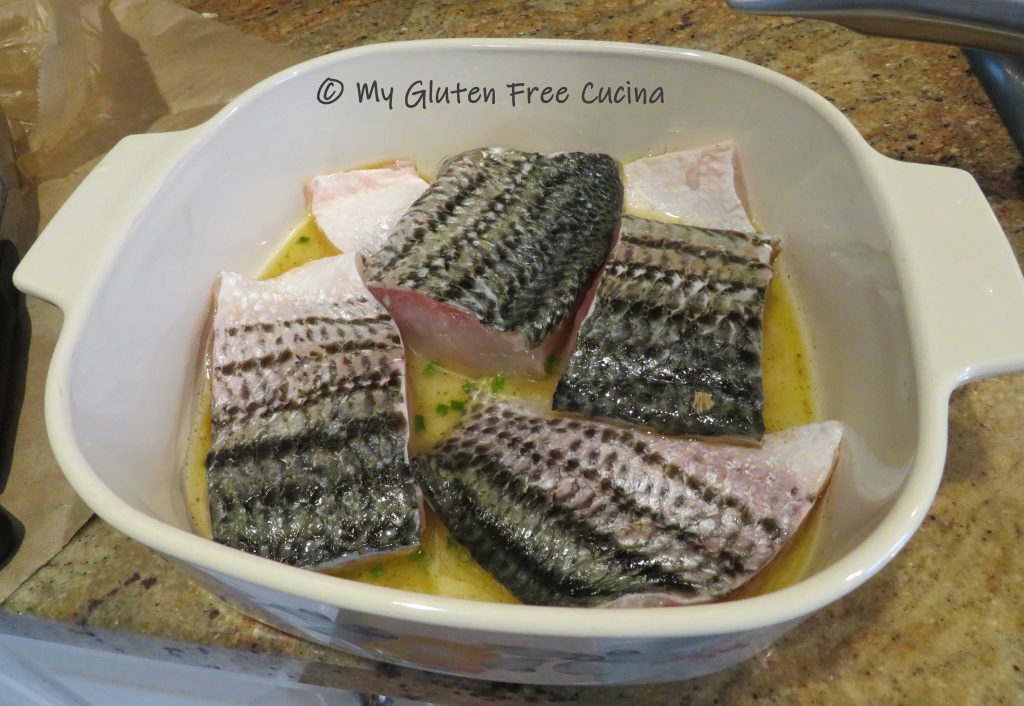
Named for it’s stripes, this fish has a semi-firm, pink flesh that turns white when cooked.  A simple marinade of olive oil, lemon juice and white wine is all you need to bring out its best flavor.  Like so many of my seafood recipes, I cooked it in a nonstick grill pan.  This quick preparation ensures great flavor without drying out the fish.

Ingredients:

  • 1 lb. striped bass
  • 2 tbsp. olive oil
  • 2 tbsp. lemon juice
  • 2 tbsp. white wine
  • black pepper to taste
  • sprinkle of Old Bay®
  • 2 tsp. butter
  • 2 tbsp. fresh chives, divided use

Preparation:

Cut the fish into 4 pieces.

Whisk together the marinade ingredients with a sprinkle of Old Bay®, a few grinds of fresh ground pepper and 1 tsp. of fresh chives.

Place the fish, skin side up in the marinade.  Cover and let stand at room temperature for 30 minutes.

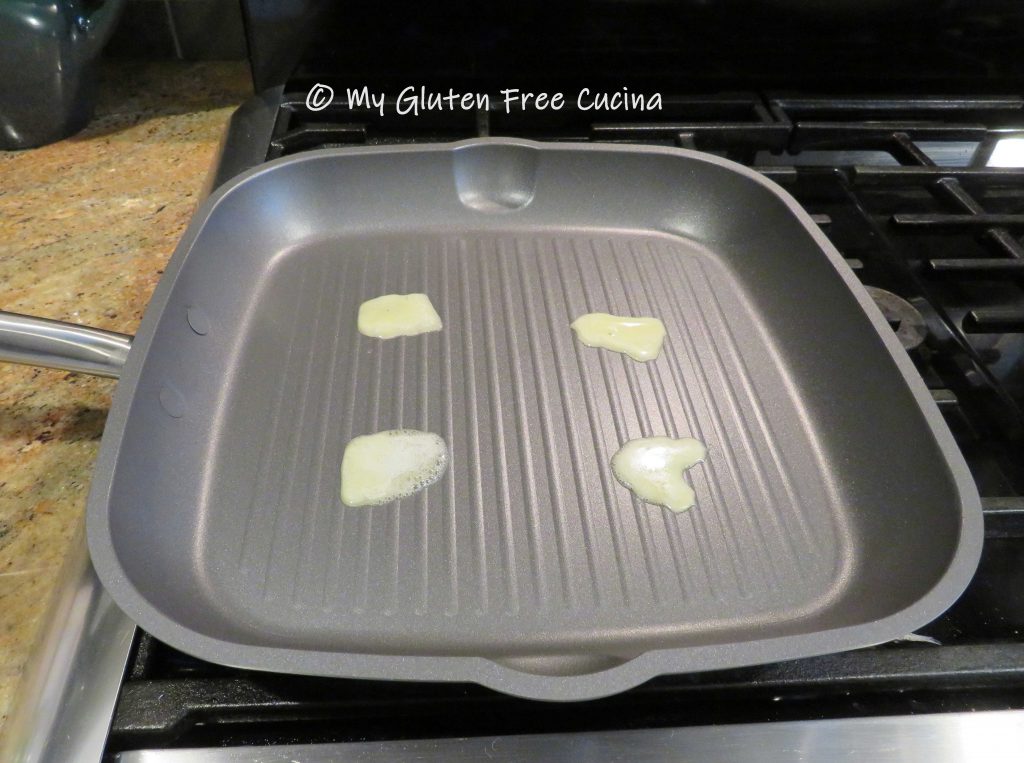
I’m heating my nonstick grill pan on medium low with 4 tiny pats of butter, just a little as the fish itself will release some oil as it cooks.  The butter will add to the flavor and golden brown color.

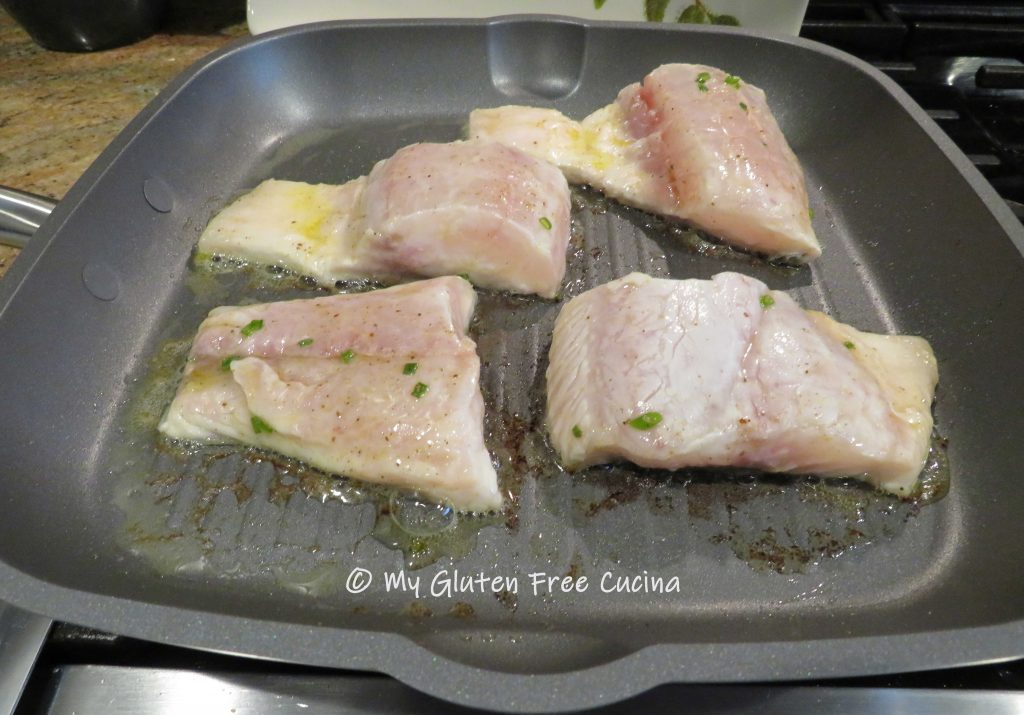
Place the fish skin side down and cook for 4 minutes.

Turn the fish and cook for 6 minutes longer.

Transfer to a serving dish and garnish with the remaining chives.

Notes ♪♫ This simple pan grilled meal is on the table in no time.  I use this cooking method for many types of seafood, just changing up the marinade.  If you enjoyed this recipe, check out my Mahi Mahi, and Arctic Char.

Print This Post Print This Post

Cajun Lime Tilapia

Tilapia is a mild tasting freshwater fish that is budget friendly and easy to prepare.  This simple recipe with just a few ingredients is perfect for busy weeknights.  My version of this restaurant favorite is fuss free and much lower in sodium when prepared at home.

This post contains affiliate links.

You can easily find gluten free Cajun seasoning online.  If sodium is an issue, try a salt free Cajun seasoning.  Don’t like it that spicy?  Try a Creole seasoning that has less heat.  Always adjust the amount of seasoning to your taste.  Use as much or as little as you like.

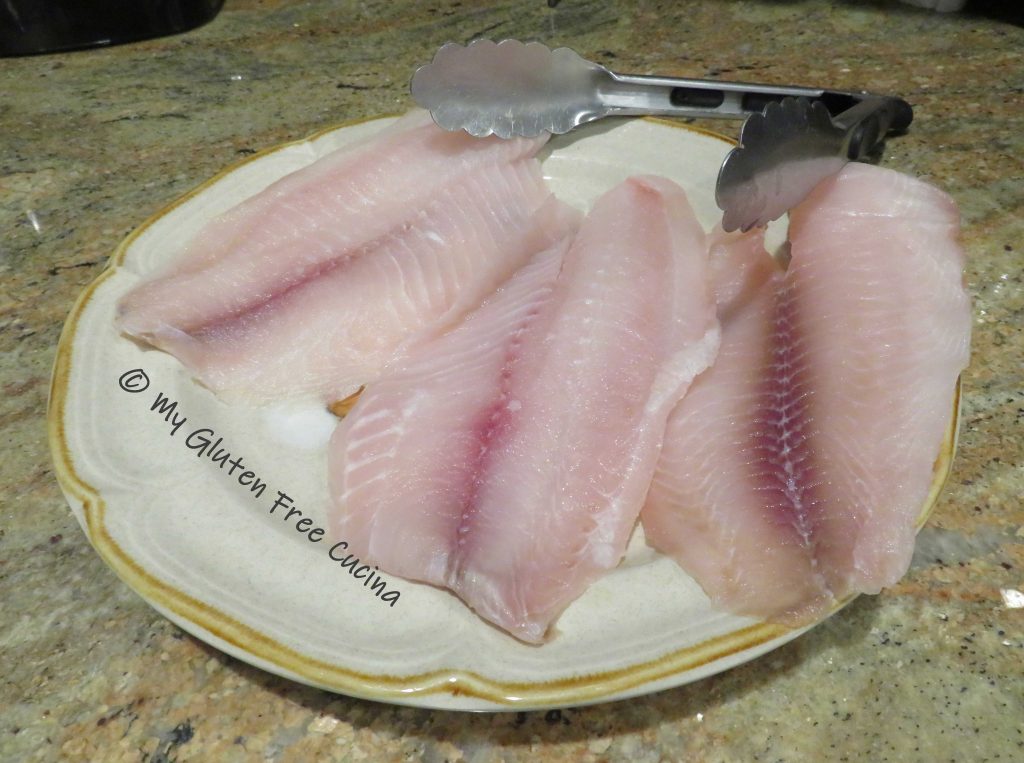
Tilapia is widely available, but if you can’t get fresh you can most certainly find it in the frozen section.  Be sure to defrost and pat dry before cooking.

Ingredients:

  • Tilapia filets, about 6 oz. each, one per serving
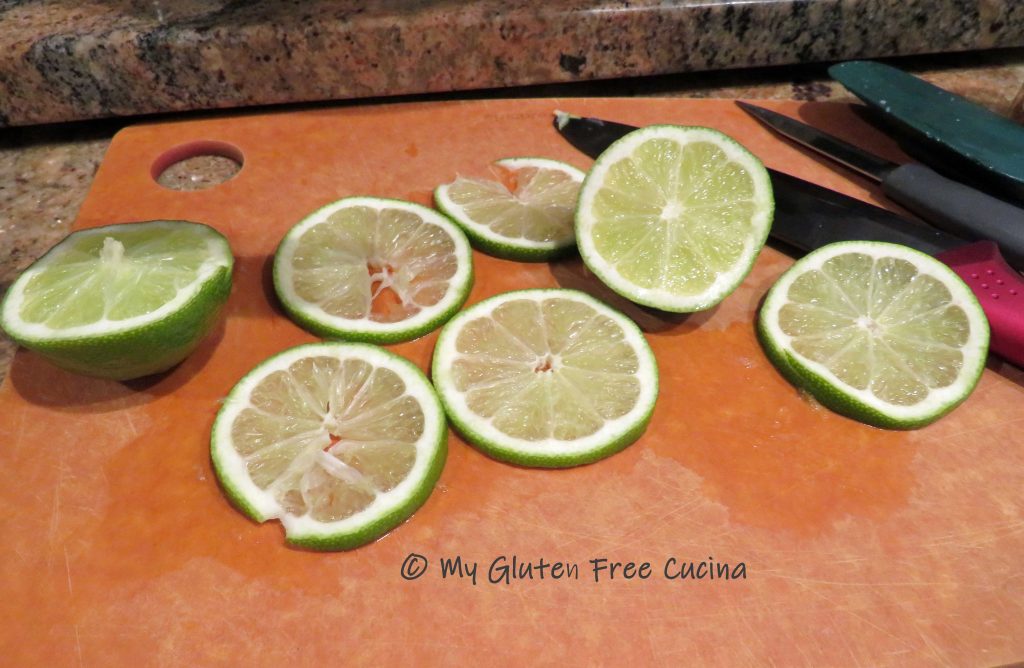
  • 1 lime, sliced thin
  • 2 tbsp. butter
  • 1 tbsp. olive oil
  • gluten free Cajun seasoning

Preparation:

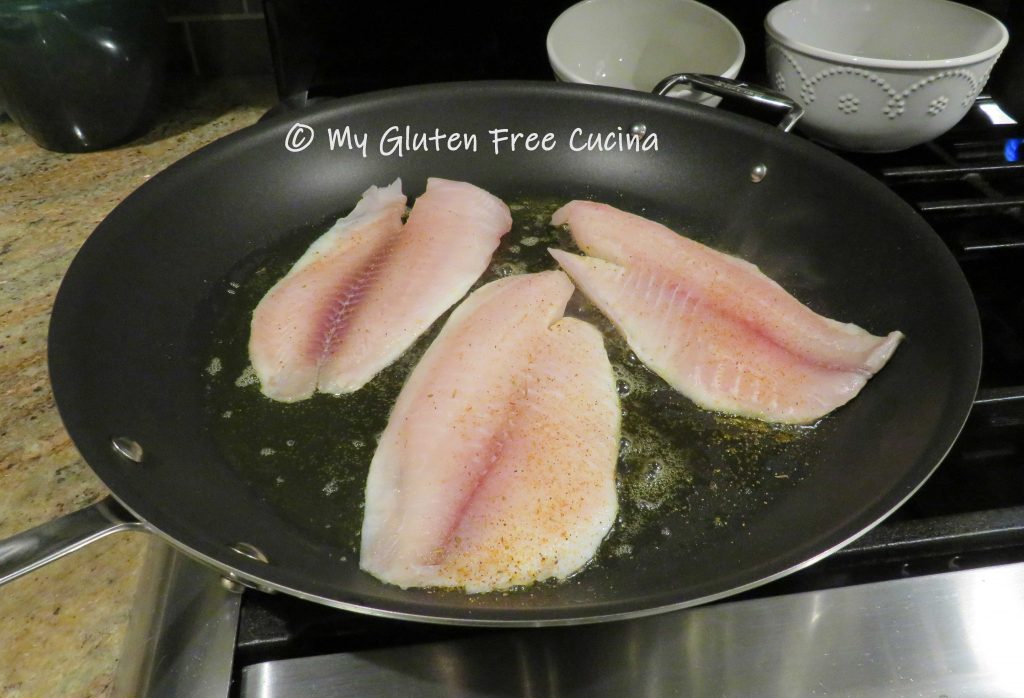
Remove the filets from package and pat dry.

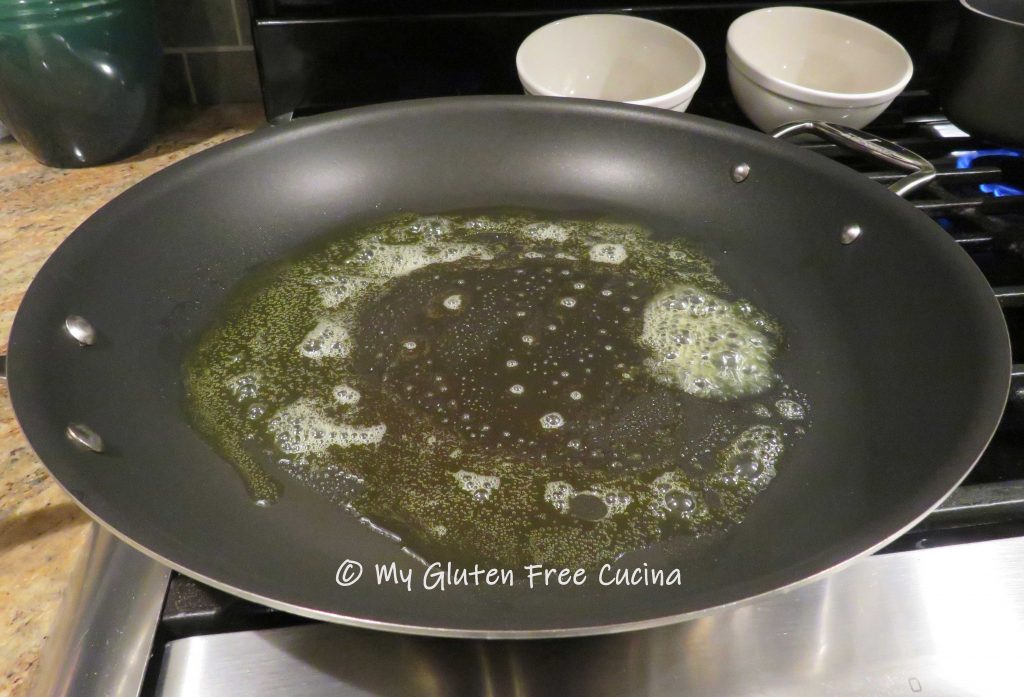
Melt butter and olive oil in a large, nonstick skillet.
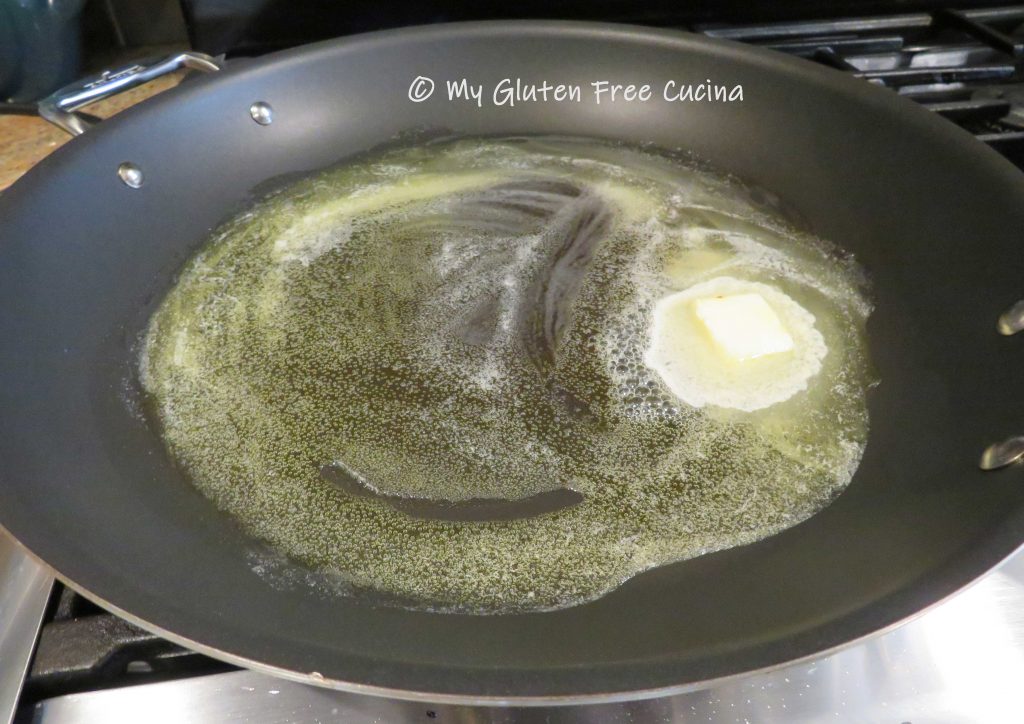
Add the filets in a single layer and sprinkle with seasoning.  Don’t crowd the pan.  Cook for 2-3 minutes.

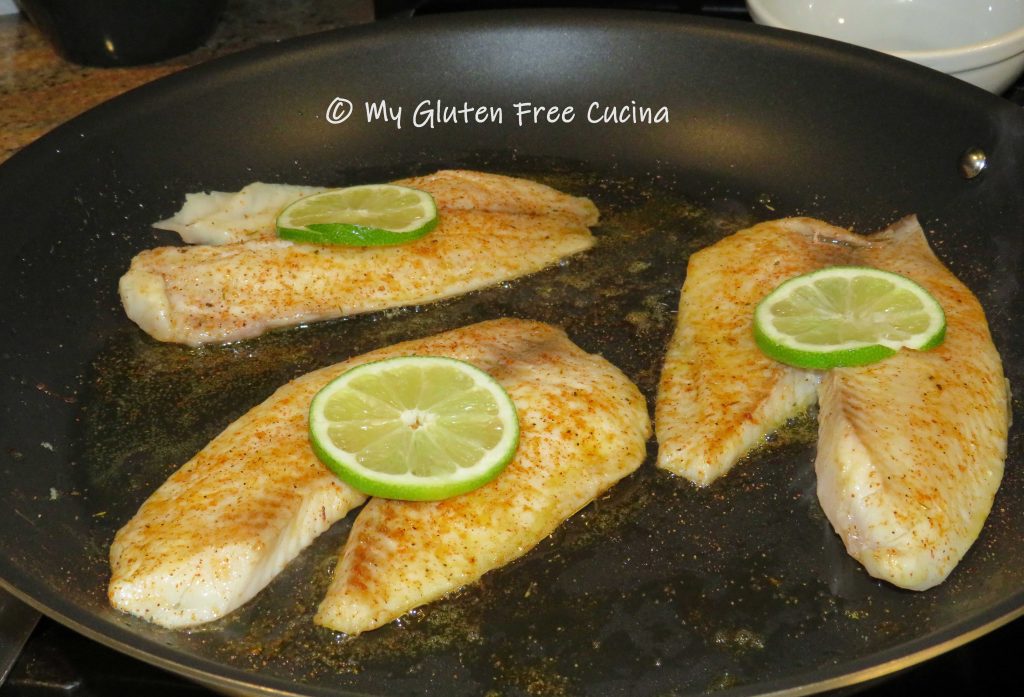
Use a long spatula to turn the filets and sprinkle generously with more seasoning.  Squeeze lime juice over the filets and top with a lime slice.  Cook for 2-3 more minutes, until the filets split and fish flakes easily.

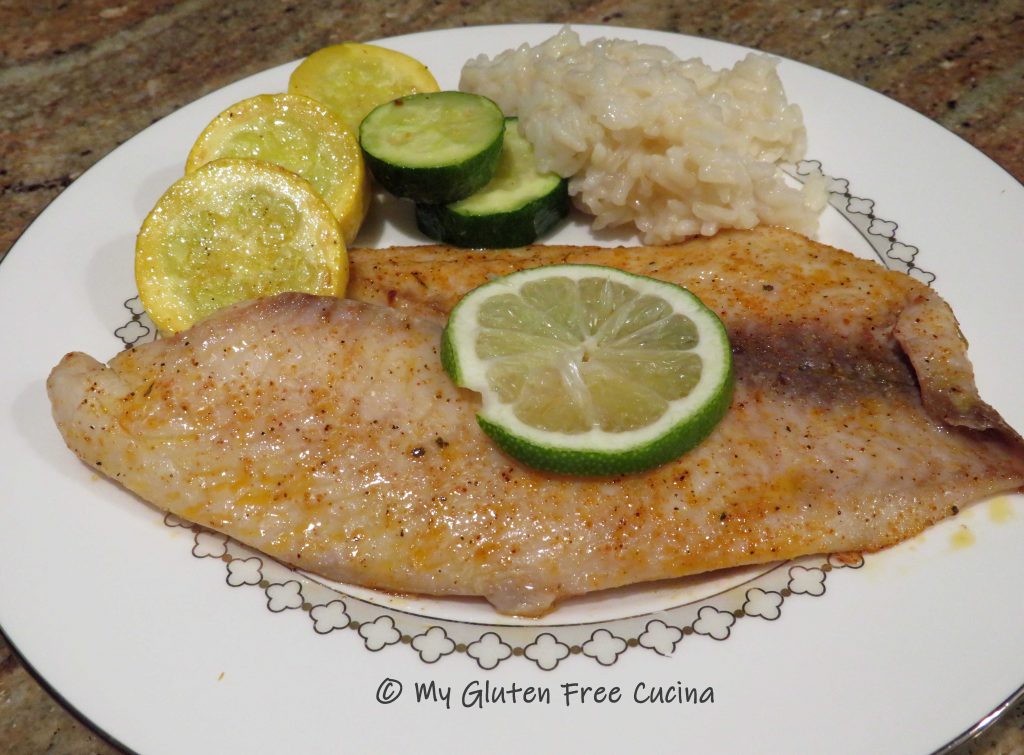
What did I tell you, fast and easy!  I served it with with rice and squash rounds.

Notes: ♪♫ I purchased my tilapia from Whole Foods Market.  Look for tilapia that is responsibly farmed and sold by grocers that adhere to strict quality standards.  Choosing tilapia from a responsible source ensures that the fish you are eating is good for you.

Print This Post Print This Post