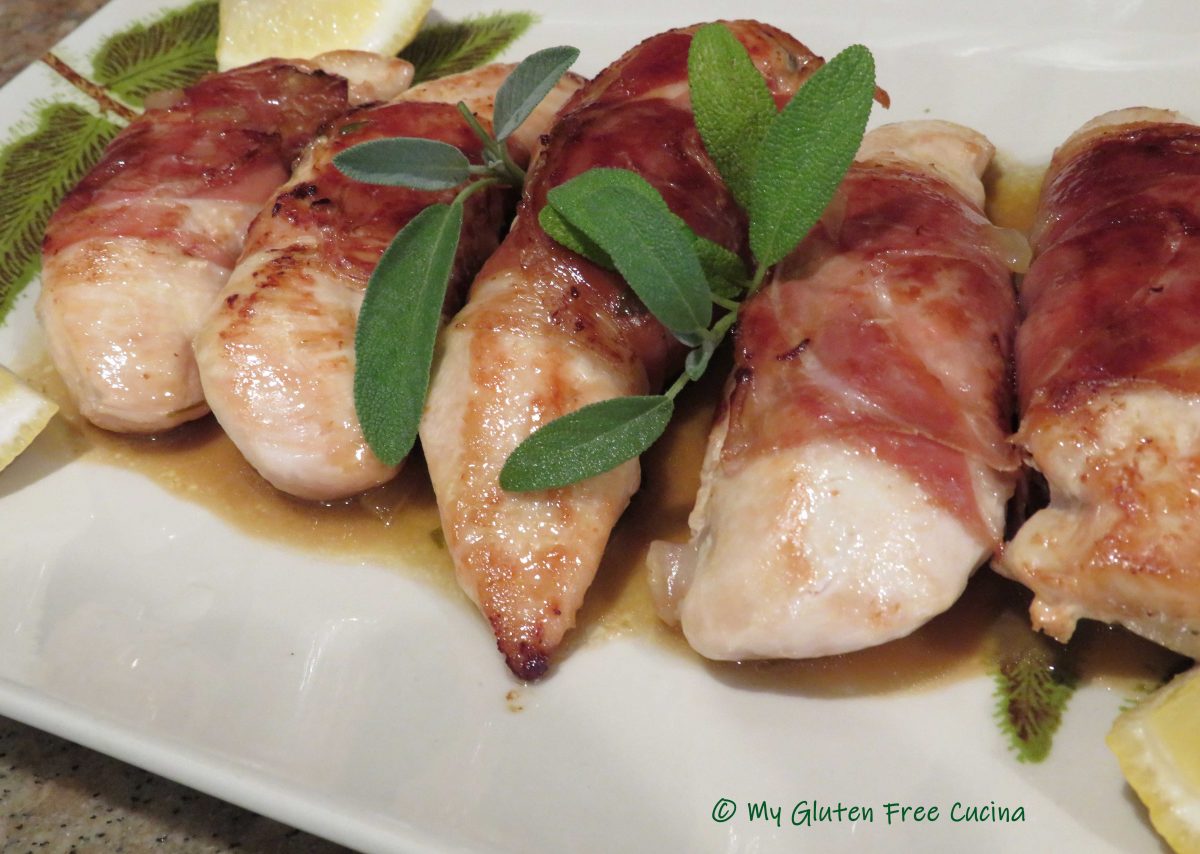
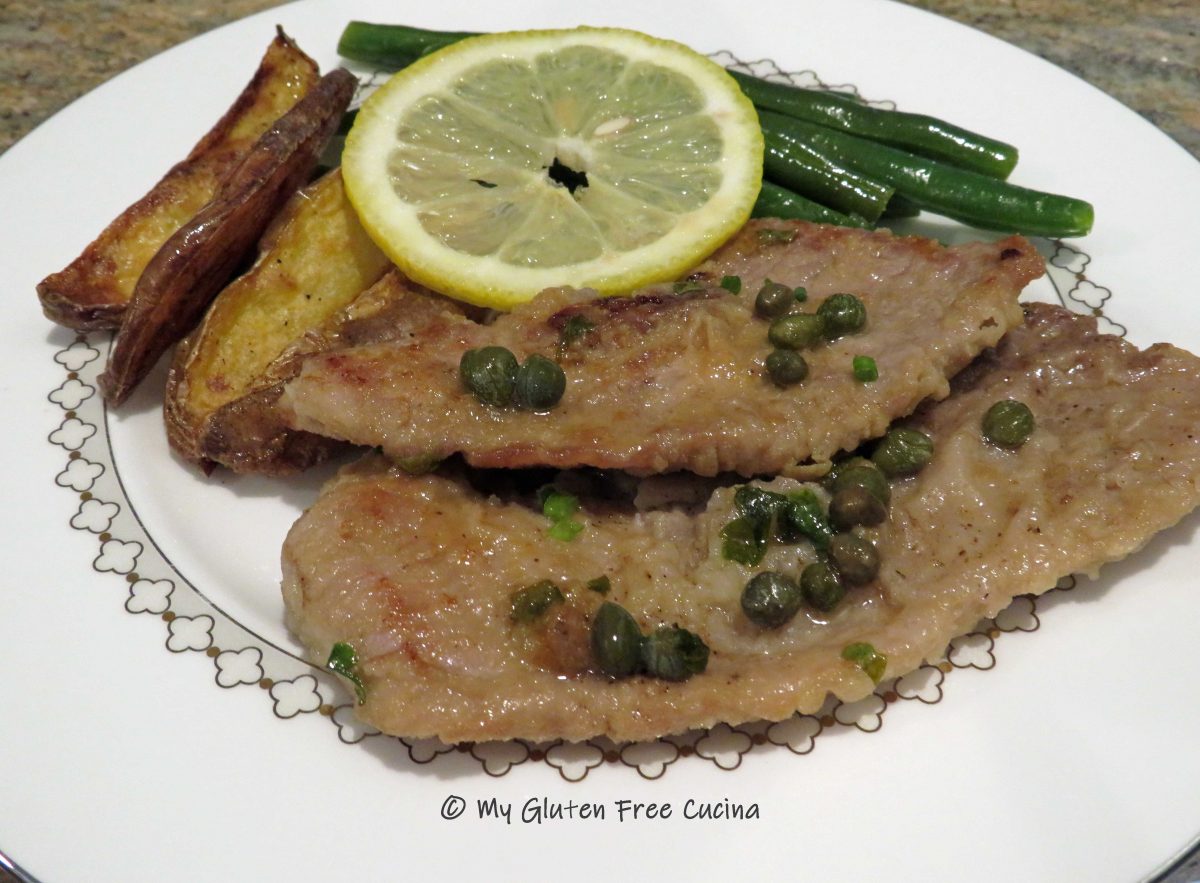
Gluten Free Veal Piccata

I wrote this post a few years ago, when we finally went out to dinner after many long months of staying home during the Covid pandemic.  Of course I chose a restaurant with gluten free options, in fact most of the menu could be made gluten free upon request.  I ordered the Veal Piccata, and it was SO good!  I enjoyed every single bite, so much in fact that I decided to recreate that meal at home.  Here is my version and I dare say it was just as good as the restaurant!

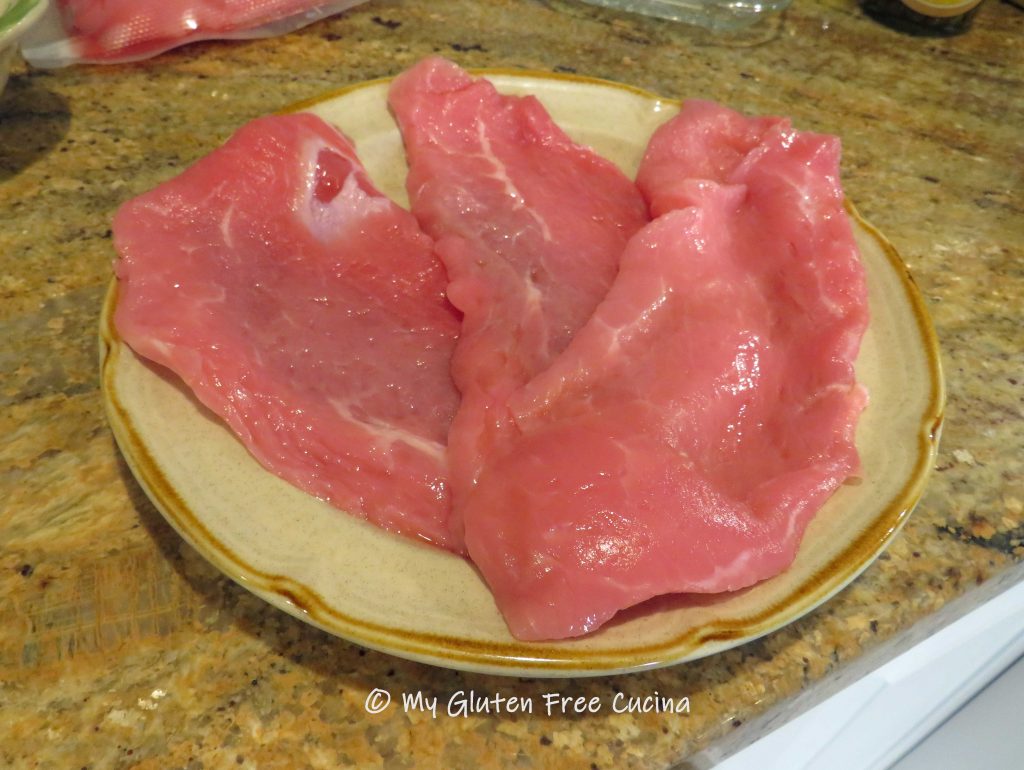
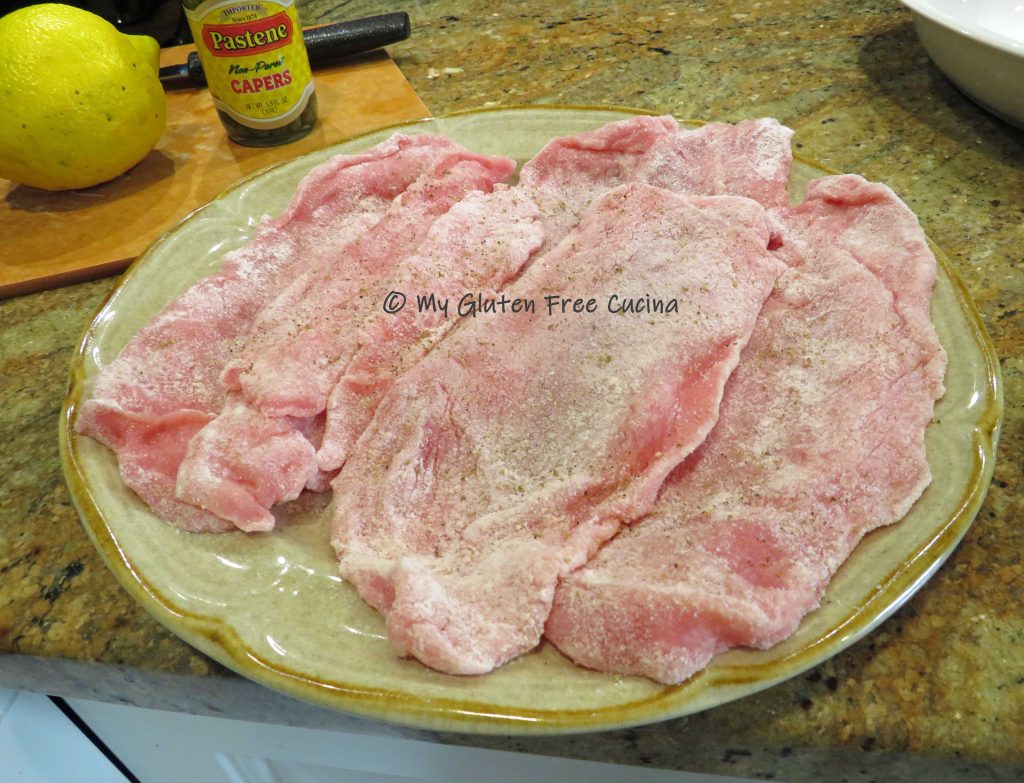
I am fortunate to live in an Italian neighborhood, where thin sliced veal cutlets are readily available at local markets.  This is a huge time saver, since I did not have to pound the cutlets to the right thickness.  Look for veal cutlets that are 1/4″ thick, or you can place them between 2 sheets of plastic wrap and pound them with a meat mallet.  If veal is not available where you live or just not in your budget, you can make this recipe with chicken.

4 Servings

This post contains affiliate links.

Ingredients:

  • 16 oz. thin sliced veal cutlets
  • 1/4 cup white rice flour
  • fresh ground pepper
  • 2 tbsp. olive oil + more as needed
  • 1/2 cup gluten free chicken stock
  • 1/4 cup white wine (I used pinot grigio)
  • 1 lemon, divided use
  • 4 tsp. capers
  • 1 tbsp. butter
  • 1 tbsp. fresh Italian parsley

Preparation:

Divide the lemon in half, cut one half into slices for serving and reserve the other half for its juice.

Pat the cutlets dry.  Dredge them in rice flour, shaking off the excess.  Season with fresh ground pepper.

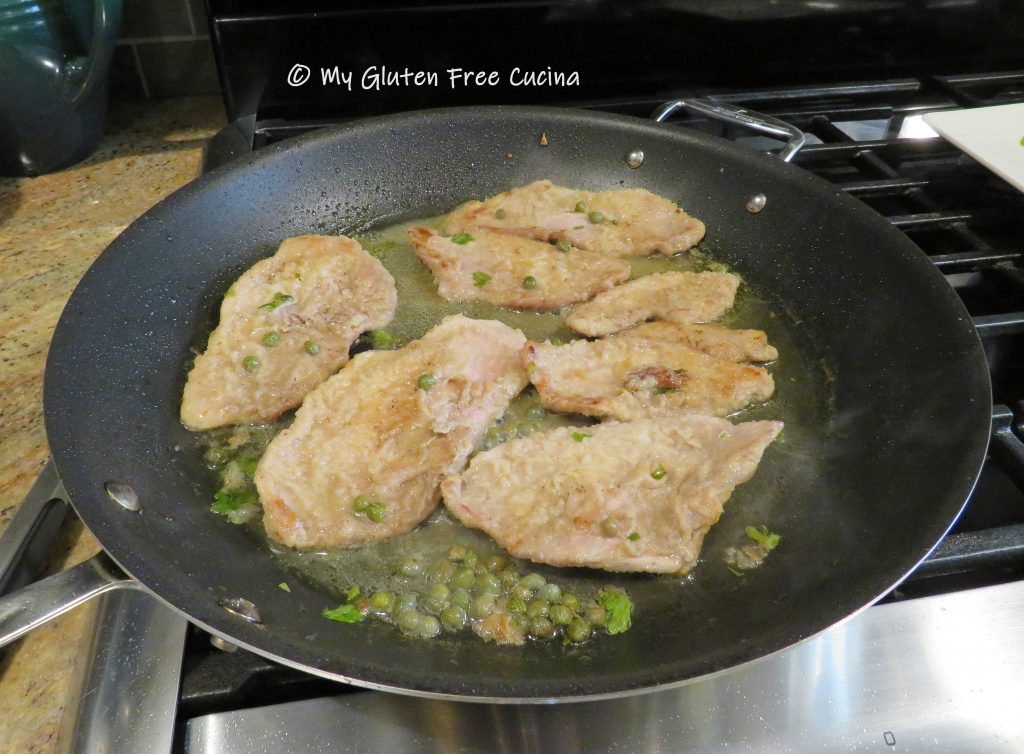
Heat olive oil in a large nonstick skillet.  Cook the cutlets 2 minutes per side in a single layer.  Cook in 2 batches if needed.

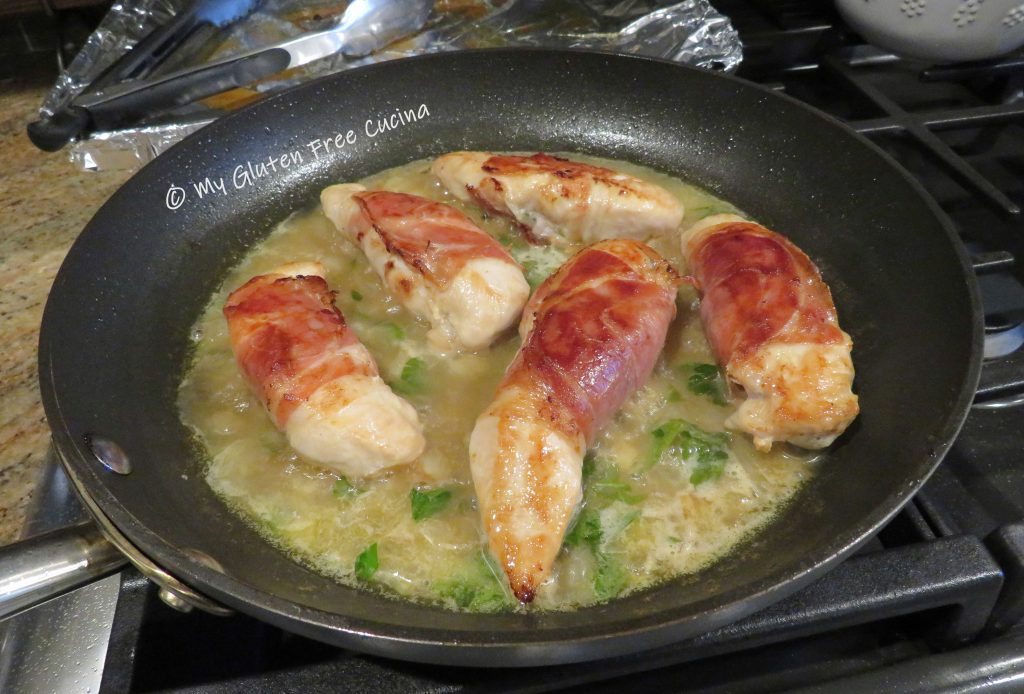
Set the cutlets aside on a serving platter while you make the sauce.  Add the stock, wine and lemon juice to the skillet and bring to a boil.  Simmer 1 minute, then add the capers, parsley and butter.

Stir to cook 1 minute longer, then return the veal to the pan and heat through, turning once.

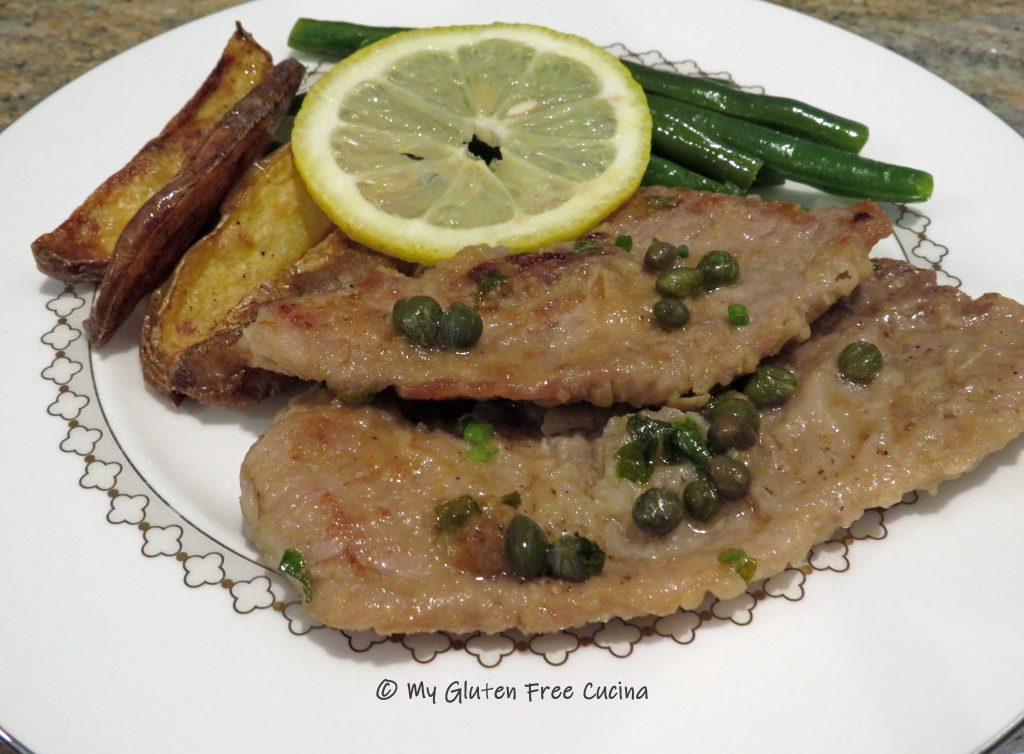
Plate the cutlets and spoon some of the pan juices over the top.

Serve with lemon slices.

Notes ♪♫ I copied my restaurant meal right down to the sides.  We had roasted potato wedges and garlic green beans.  I’m so glad I did!  This recipe is perfect for date night or when you want to treat yourself to something special.

Print This Post Print This Post

Perfect Ribeye Steak

You don’t need to go to a fancy restaurant to enjoy a 5-star steak dinner.  Make it at home, for a fraction of what it would cost to eat out!

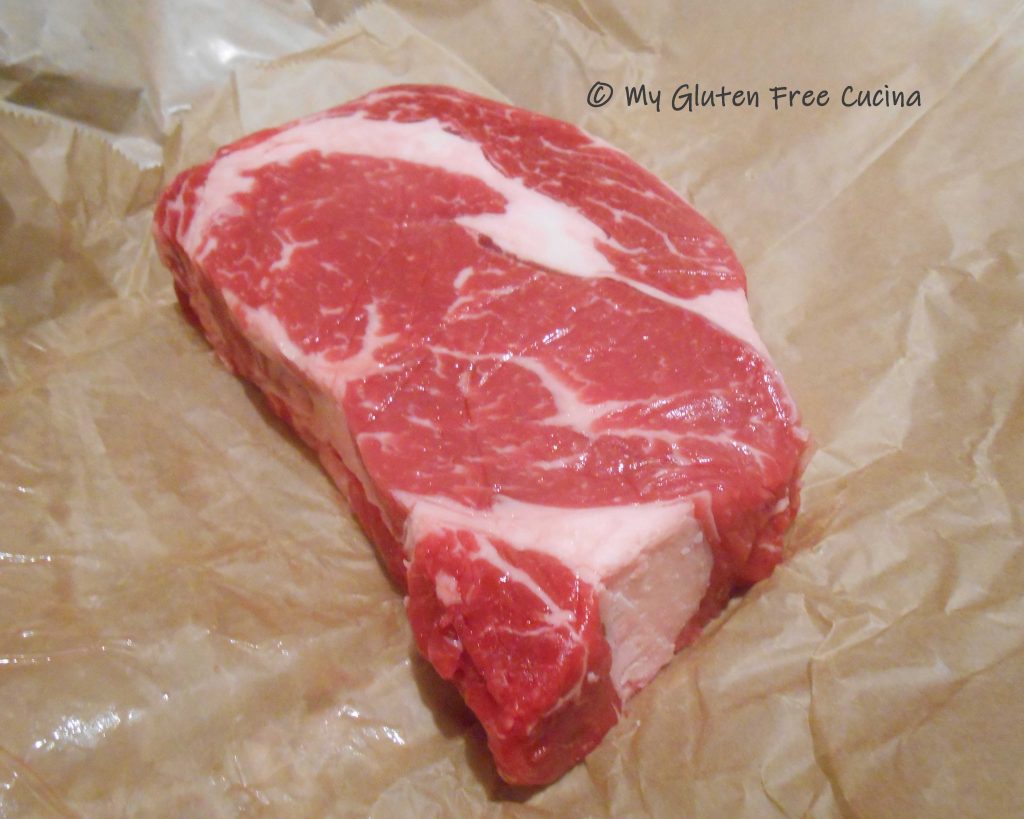
When it comes to steak, Ribeye is my cut of choice.  It’s not the most expensive, but it’s a darn good steak.  It has excellent marbling which makes for a tender, juicy piece of meat.

This post contains affiliate links.

This tried-and-true reverse sear method for a perfectly cooked Ribeye is easy as can be.  In fact, I’ve done it this way so many times that I can confidently say it’s foolproof.  It all starts with this simple, homemade marinade.  It’s gluten free and there is a new, lower sodium option!  Get the marinade ingredients here.

Ingredients:

A 1 lb. ribeye should be enough for 2-3 servings, depending on your appetite of course!  For a larger family just double or triple the recipe, including the marinade.  If cooking more than one steak, try to choose cuts that are all about the same weight and thickness.

Preparation:

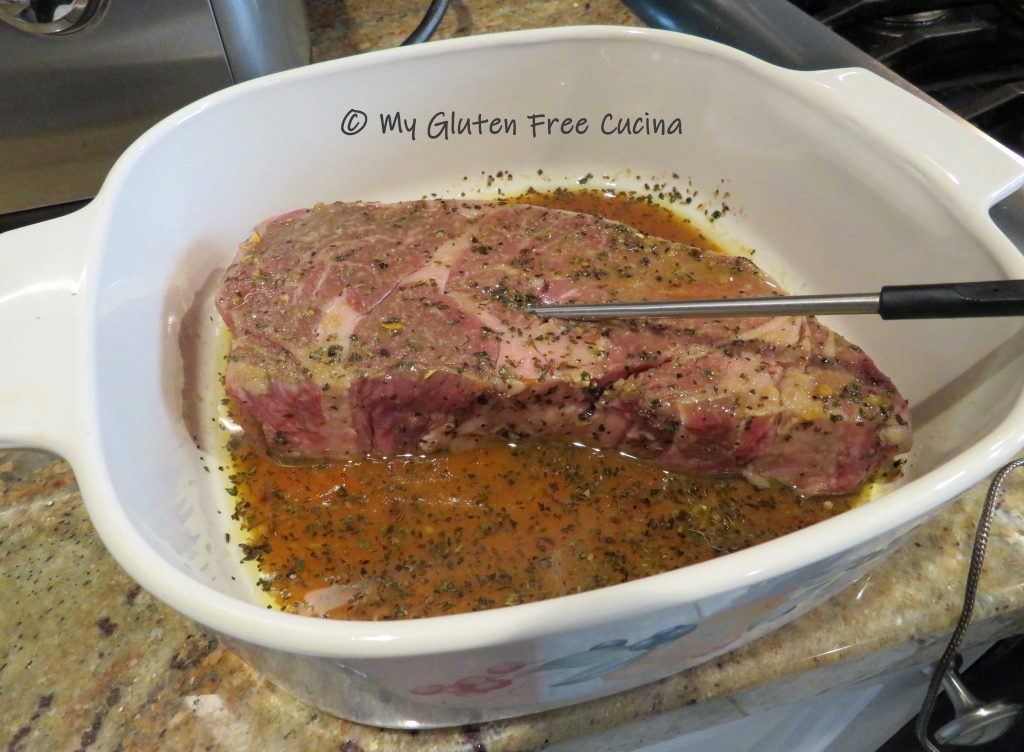
About an hour before, whisk together the marinade in an oven safe baking dish (check out my vintage Corningware, still in service!).  Cover and marinate the steak at room temperature 30 minutes per side, turning once.

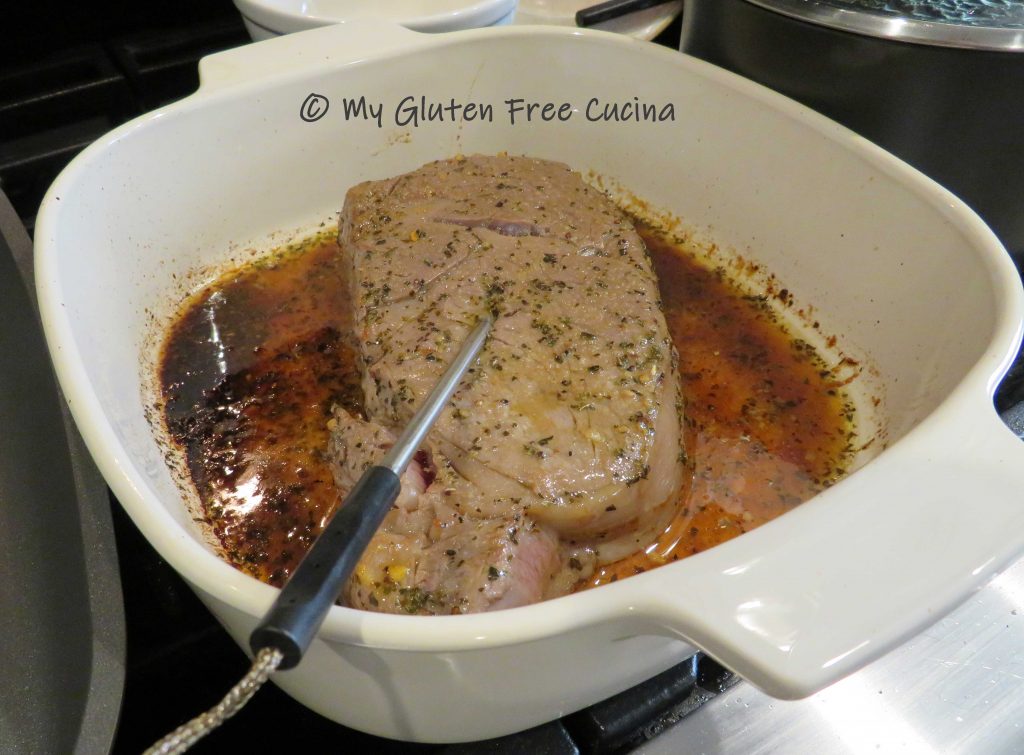
Preheat the oven to 325° and insert an oven safe thermometer into the center.  Since the steak has been sitting at room temperature for an hour, the internal temperature has already risen to 60º.

Place the steak in the oven right in the baking dish, marinade included.  Cook uncovered, just until the internal temperature reaches 125°.  For a 1 lb. room temperature steak, this will take less than 30 minutes.

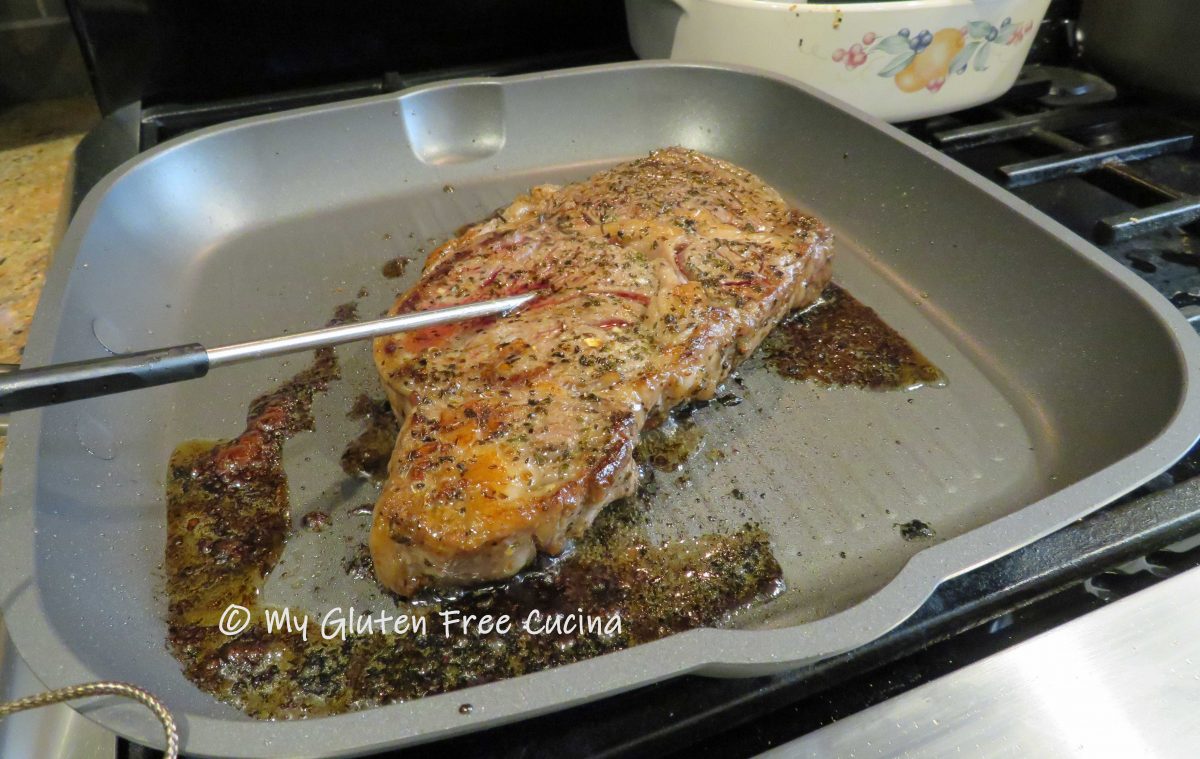
Immediately remove the steak from the oven and use tongs to transfer it to a preheated nonstick skillet or grill pan with a small pat of butter.  You can also finish it on your outdoor grill, just watch the temperature!

Keeping the thermometer in place, cook the steak for 2 minutes more per side, or until the internal temperature reaches 140º for medium.
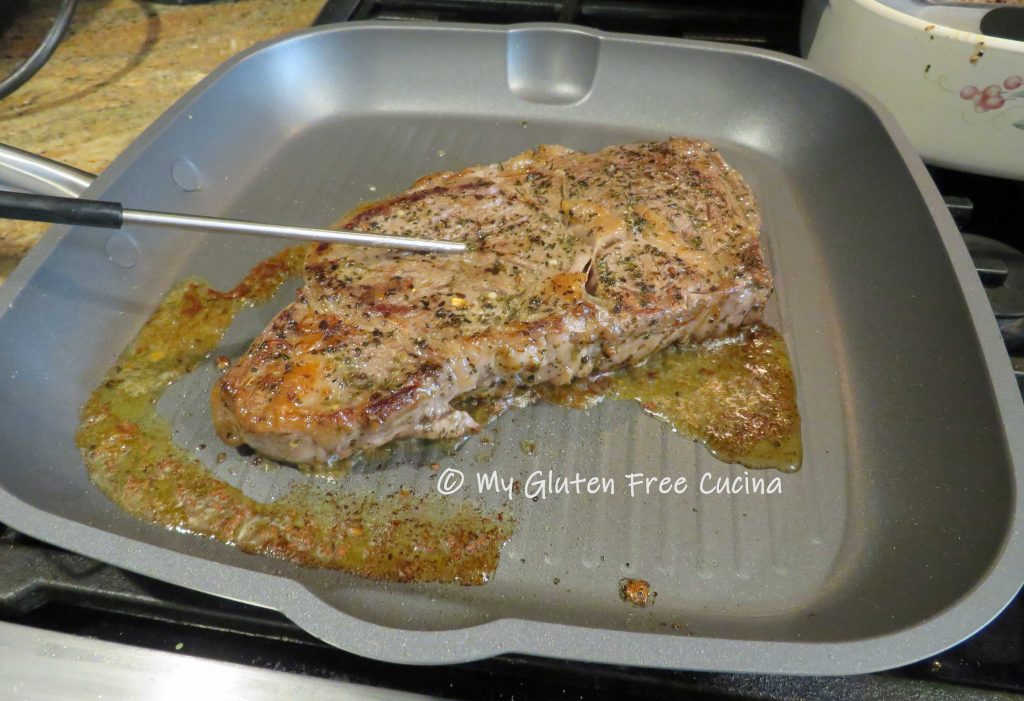
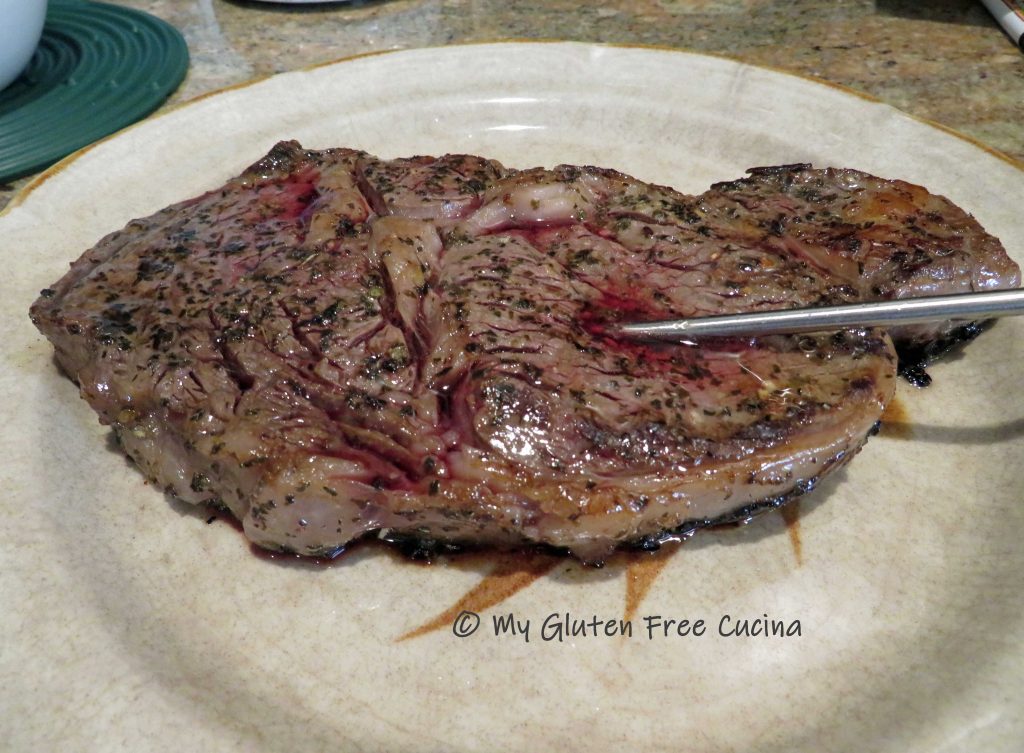
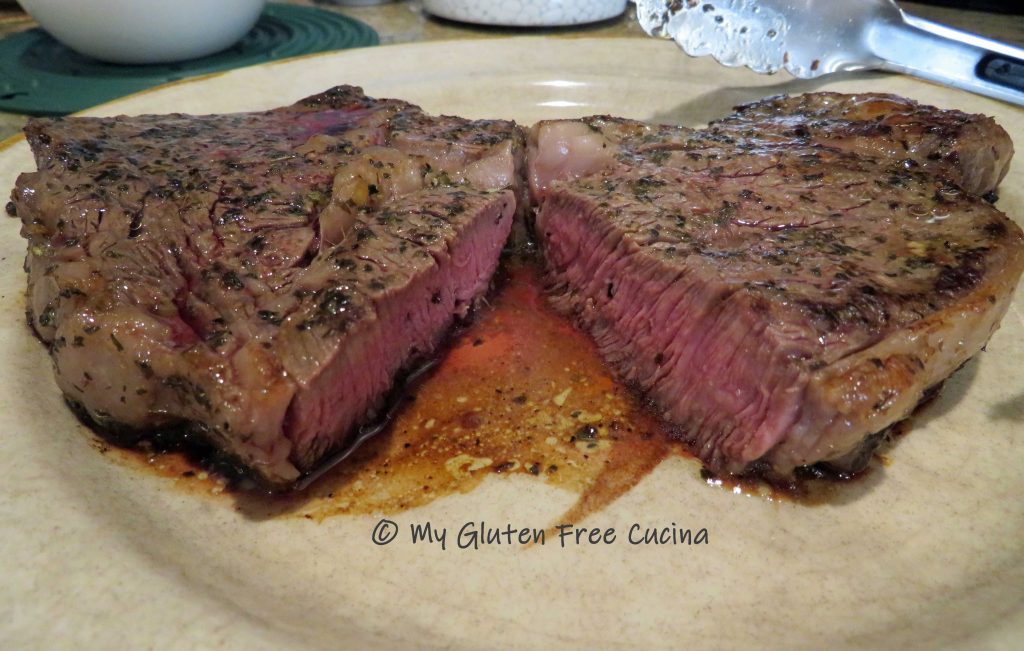
Transfer the steak to a warm serving dish, cover with foil and be sure to let it rest a few minutes before slicing.  You don’t want to lose all that juiciness!

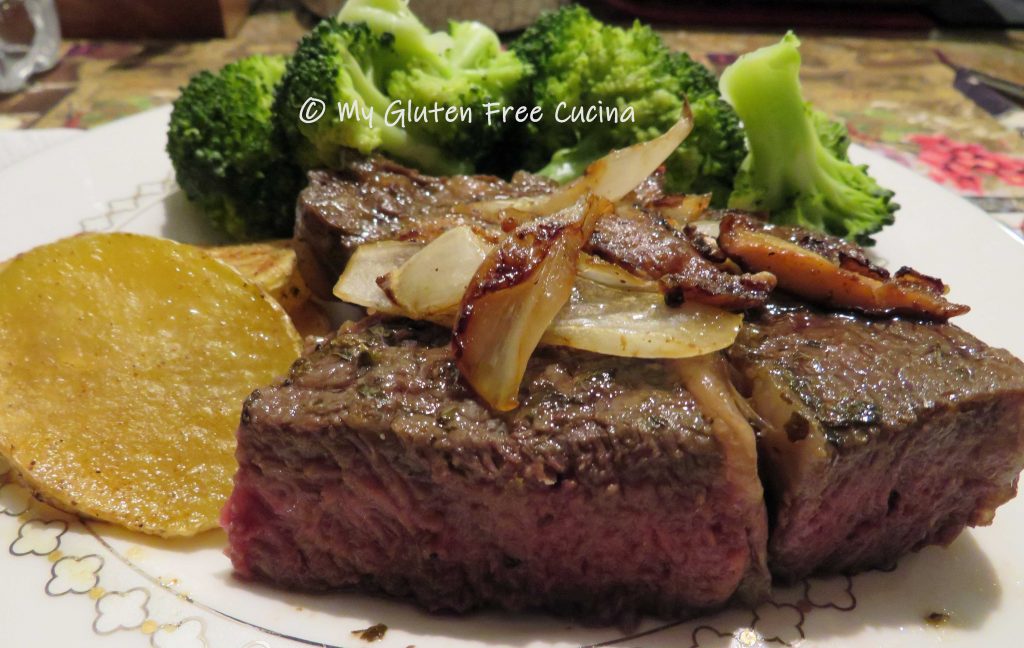
I like mine pink in the middle, and this one is done perfectly!

What goes with steak, maybe a simple topping of sautéed mushrooms, peppers and onions?  They are a great flavor compliment to this dish.

Or, add a simple side of steamed broccoli with potato chips and you have a well-rounded meal!

Wondering if you can cook a Ribeye in the air fryer?  Yes, you can.  Check out my Air Fryer Ribeye for the recipe instructions.

Notes: ♪♫ The marinade used in this recipe is one of my most popular posts!  Check out my Gluten Free Steak Marinade including a lower sodium option!

Print This Post Print This Post

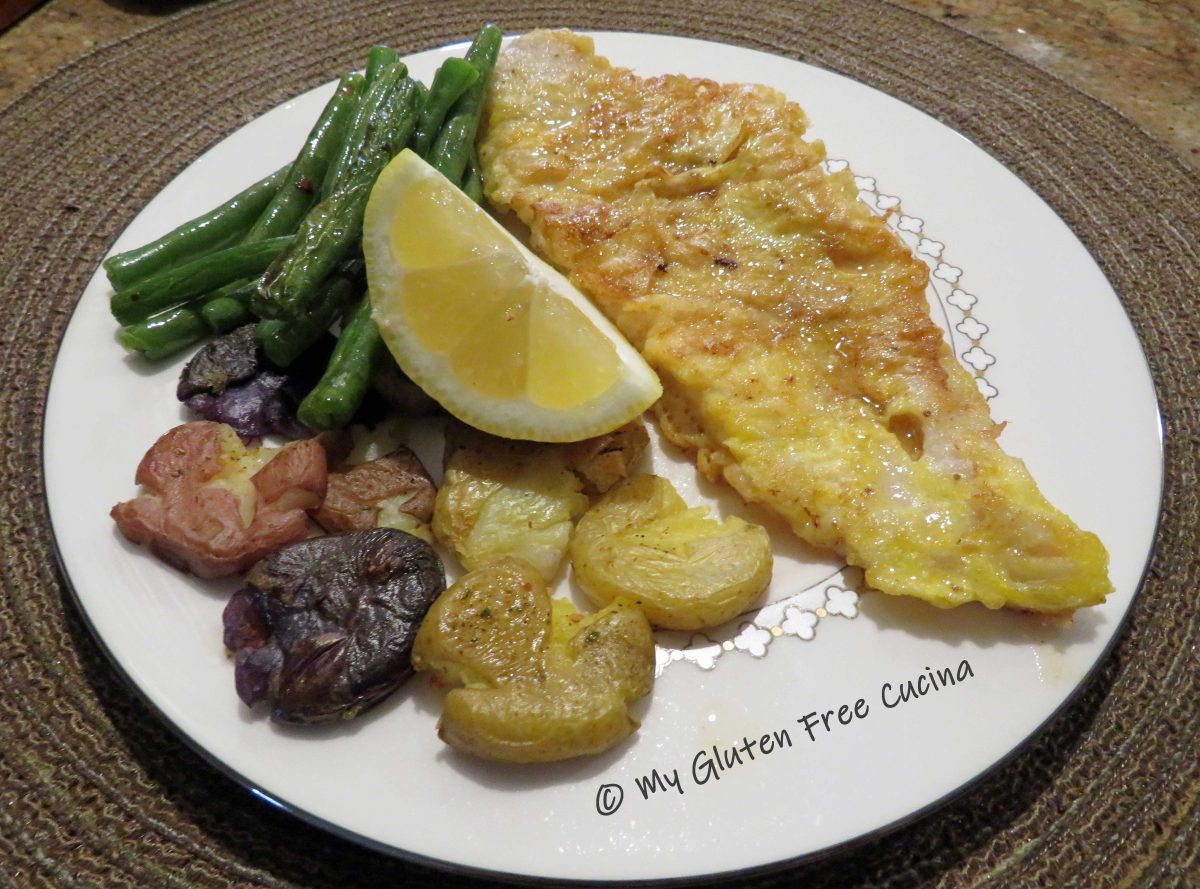
Gluten Free Sole Francaise

Sole Francaise is an old restaurant favorite of mine, but you don’t often see it on the menu anymore.  Of course, if you are gluten free this dish is off limits.  So today with just one simple substitution I’ll show you how to prepare this five-star entrée right at home.  Superfine white rice flour is a pantry staple at My Gluten Free Cucina, and I promise your gluten eating friends and family will not be able to tell the difference.

This post contains affiliate links.

Ingredients:

  • 1 lb. sole fillets
  • 3/4 cup white rice flour
  • 2 eggs, beaten
  • Old Bay seasoning, to taste
  • salt, to taste
  • 2 tbsp. olive oil
  • 2 tbsp. butter
  • 1/2 cup white wine
  • 2 tbsp. lemon juice

Preparation:

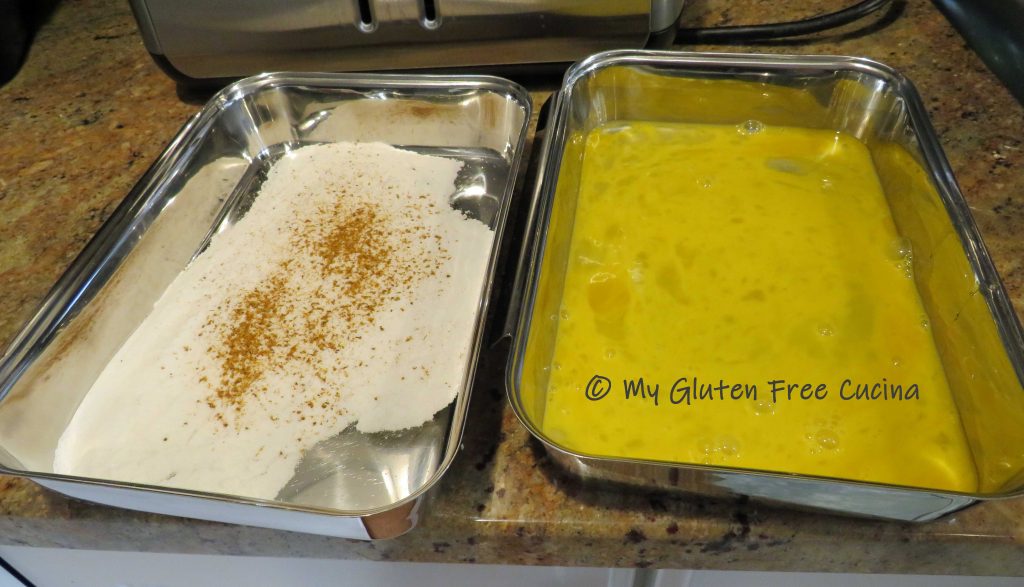
Use a superfine white rice flour in place of traditional all purpose.  It works just as well in this recipe, so don’t waste your even pricier gluten free all-purpose flour.  Set up 2 breading trays or plates, one with the flour and the other with the beaten egg.  Sprinkle the flour with Old Bay.

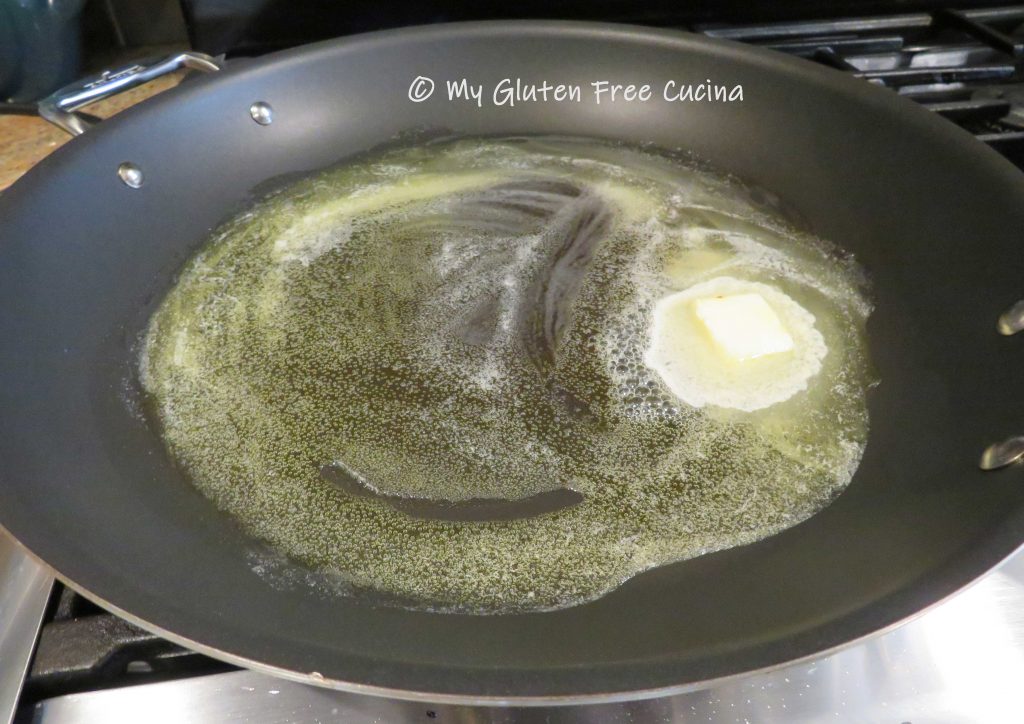
Heat a large nonstick skillet with 2 tbsp. butter and 2 tbsp. oil.

Sprinkle the sole fillets with Old Bay, then dredge each piece in flour.  Dip in egg, shaking off the excess.
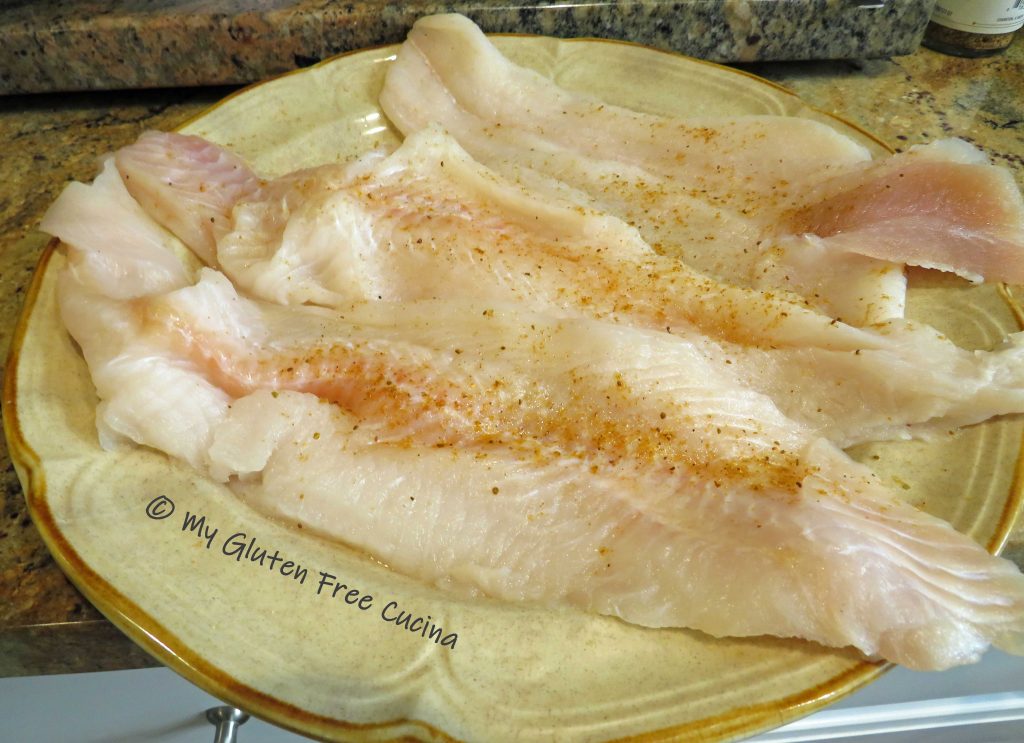
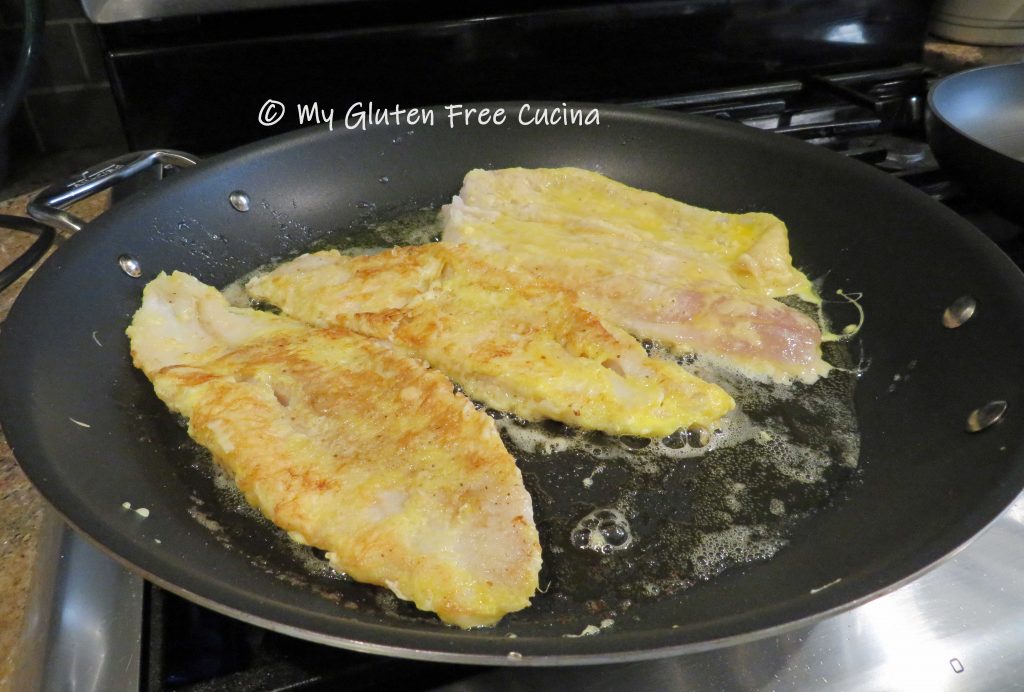
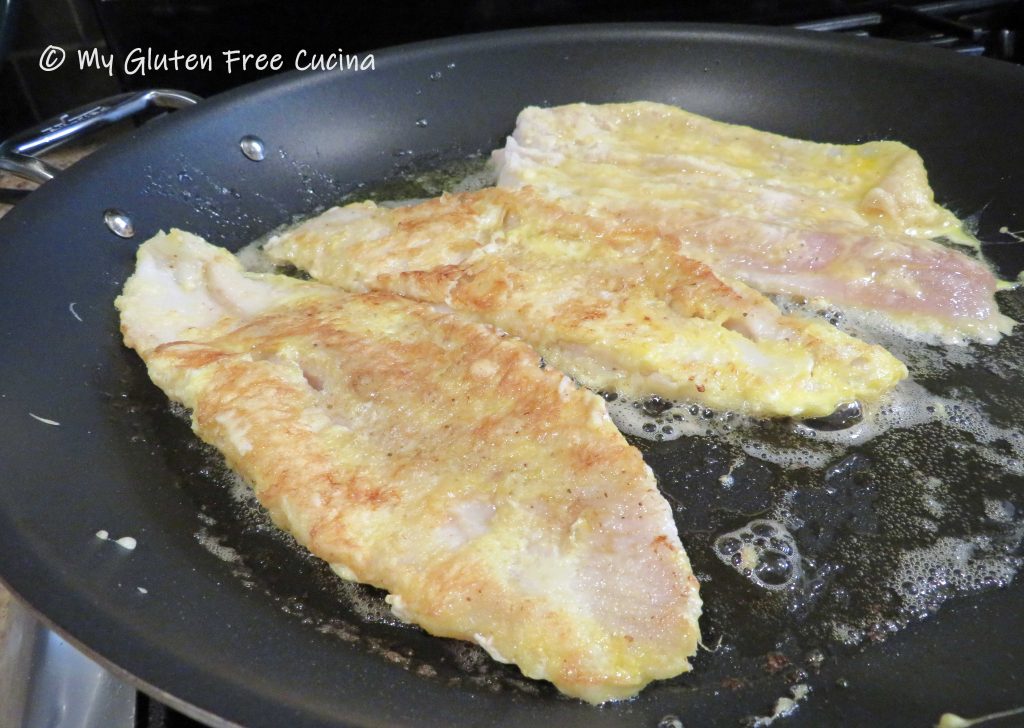
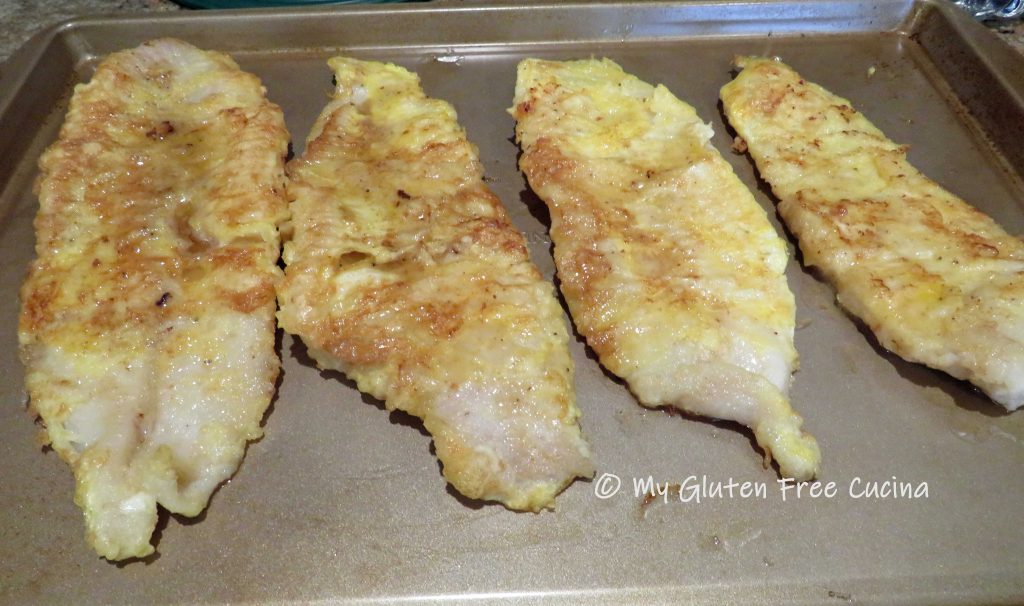
Cook the fish 3 minutes per side.  Try not to tear the delicate egg batter when you flip them over (use 2 spatulas for better control).  Cook in batches if needed, do not crowd the pan.

Transfer the fillets to a baking sheet and keep warm in the oven (especially if cooking in batches).

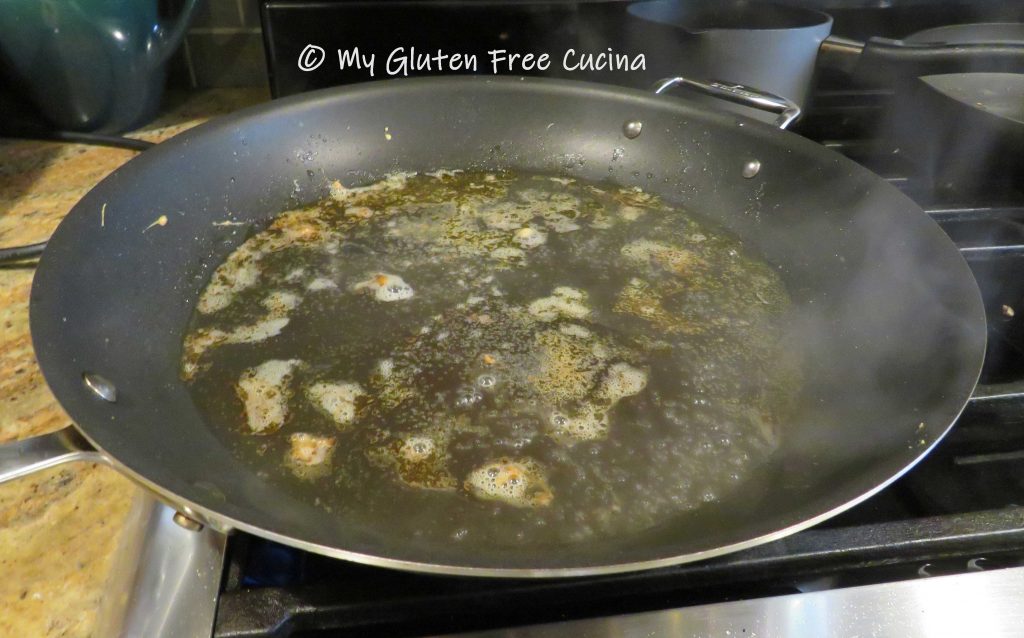
Add the wine and lemon juice to the skillet, swirl around and cook until reduced by half.

Drizzle the reduction over the fish and serve with a lemon wedge.  Smashed Potatoes and garlic green beans round out the plate.

Notes ♪♫ When cooking with wine, always choose something that you can drink with the meal.  I had a bottle of Pinot Grigio that was just perfect with this dish.  I never use cooking wine, as it is loaded with sodium and additives.

Print this recipe


Oven Braised Pot Roast in Wine Sauce

This Oven Braised Pot Roast is fall-apart tender!  I am a big fan of the crock-pot, but for this recipe I went with a long, slow braise in the oven.  After all, this classic New England dish has been around since long before today’s electronic cooking gadgets were even imagined!

That being said, there is no right way or a wrong way to cook pot roast, as long as you remember that this economical cut of meat requires a long, slow cook time with plenty of liquid.  Oven, stove top, crock-pot and Instant Pot are all great options for a tender and flavorful roast.

8 servings

This post contains affiliate links.

Ingredients:

Preparation:

This roast will be studded with slivered garlic and cooked slowly in a rich wine sauce.

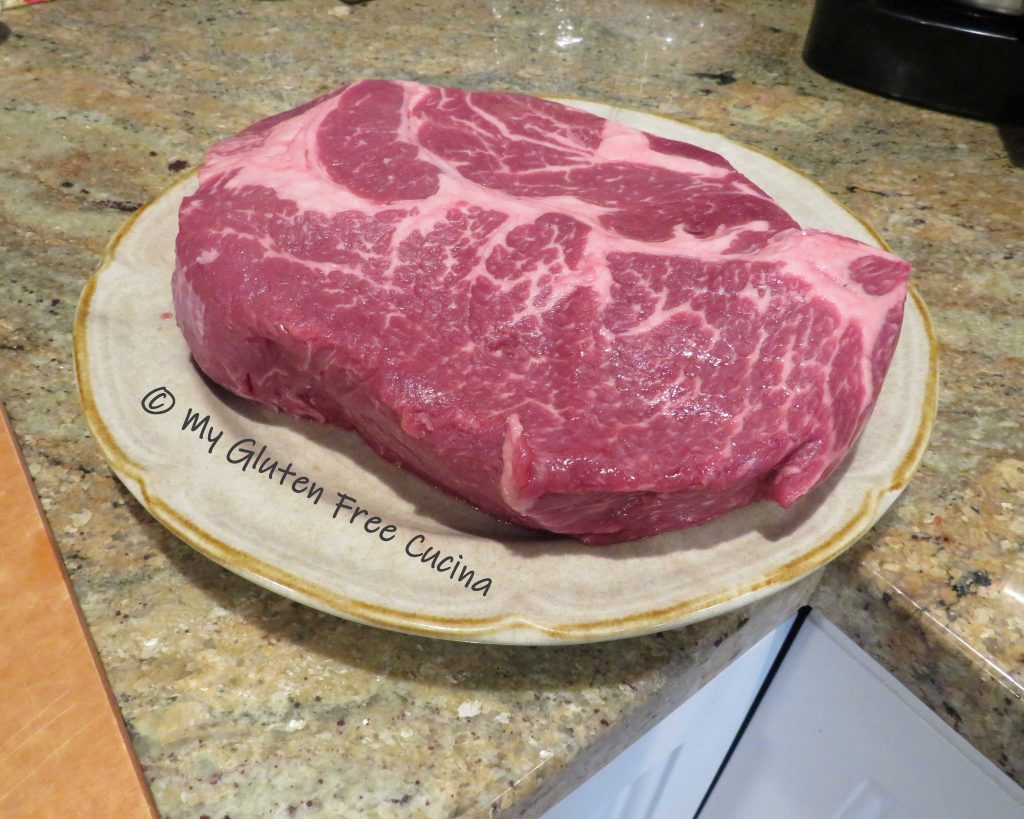
Hint: Choose a roast that is nicely marbled with an even shape and uniform thickness.

Pat the roast dry.  Make 1/2″ slits all over and insert the garlic slivers.  Sprinkle both sides with seasoning.

Add a little olive oil to a deep cast iron skillet or Dutch Oven and begin browning the roast.

When the meat has been browned on all sides, add the onions and cook 2 minutes.

Pour in the club soda and let it reduce by half.

Whisk together the beef stock, wine and tomato paste.  Pour the wine mixture over everything, you should have enough liquid to just cover the meat.

Now cover the pan with foil and place the lid over the foil to form a tight seal.  Place in a 300º oven for 6 hours.

Look at that beautiful color!  And you just know the meat is going to be very tender.

Remove the roast to a cutting board, slice and arrange on a platter.  You can actually shred the meat with 2 forks, it’s that tender.  Strain some of the pan juices to drizzle over the meat and garnish with fresh chives.

Rather than cook potatoes in the same pan with the roast, I made these smashed potatoes.  You can go with the traditional carrot and potato combination or serve with mashed potato and green beans.  All are classic restaurant combos that are sure to be a hit with your family.

Notes ♪♫ When cooking with wine, choose something that you can drink with dinner.  A nice cabernet or merlot will go well with this dish.  Never buy cooking wine, it is loaded with sodium and additives.  Cheers! 🍷

Print This Post Print This Post

Gluten Free Chicken Parmesan

At the beginning of my gluten free journey, one of my first successful home cooked meals was a personal favorite of mine, Chicken Parmesan.  I am Italian so this was a big deal!  In this post, I’ll show you how with just 2 ingredient swaps I made a gluten free adaptation of this classic comfort food that tastes just like the one you remember!

Serving size, 1-2 cutlets per person

This post contains affiliate links.

Ingredients:

  • thin sliced boneless chicken breast, 6 oz. per serving
  • white rice flour
  • 1 egg + 1 tbsp. water
  • Tuscan seasoning
  • gluten free seasoned Italian breadcrumbs (I recommend Aleia’s)
  • olive oil
  • marinara sauce, jar or homemade
  • shredded cheese (mozzarella, parmesan, fontina, gruyere)
  • Italian parsley for garnish

Preparation:

To save time, I bought thin sliced chicken breast.  For thicker cuts, you will need to place the chicken between 2 sheets of plastic wrap and pound to 1/2″ thickness with a meat mallet.  Cut into 6 oz. serving portions.

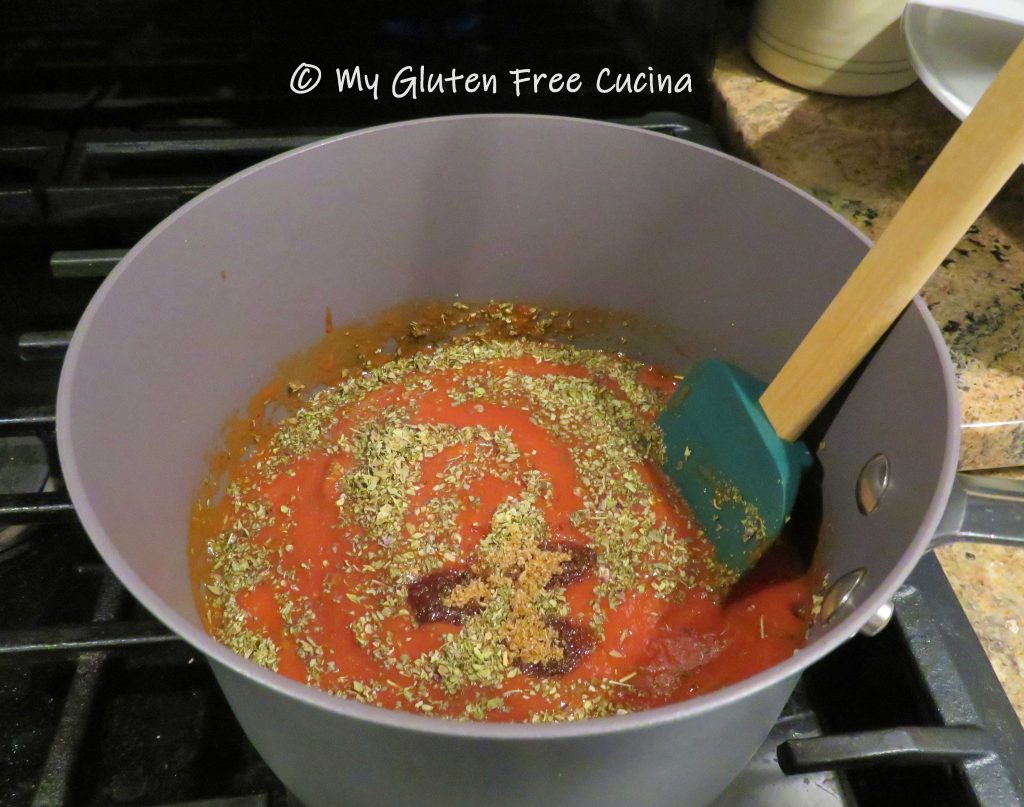
Before you get started with the chicken, preheat the oven to 350º.  Stir together a small batch of marinara sauce.  I used a 29 oz. can of tomatoes, 3/4 cup diced onion, 1 minced garlic clove, 1 tsp. brown sugar, 2 tsp. basil and 1 tsp. oregano.  You can of course just warm up some jar sauce (I won’t tell 😉 ).

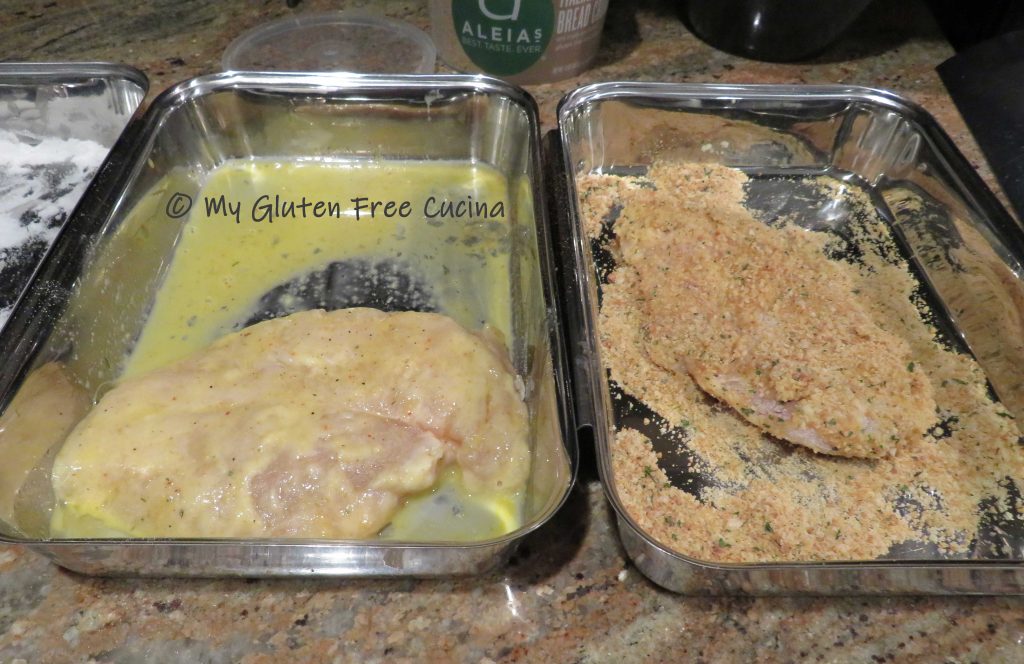
Set up 3 breading trays, one with rice flour, one with the beaten egg + water, and one with gluten free breadcrumbs.  Sprinkle the rice flour and egg with seasoning.

Heat 2 tbsp. olive oil in a large non-stick skillet.  Pat each piece of chicken in the seasoned flour.  Next, dip the floured chicken in the egg, shaking off the excess.  Finally, roll in the breadcrumbs, turning to coat both sides.

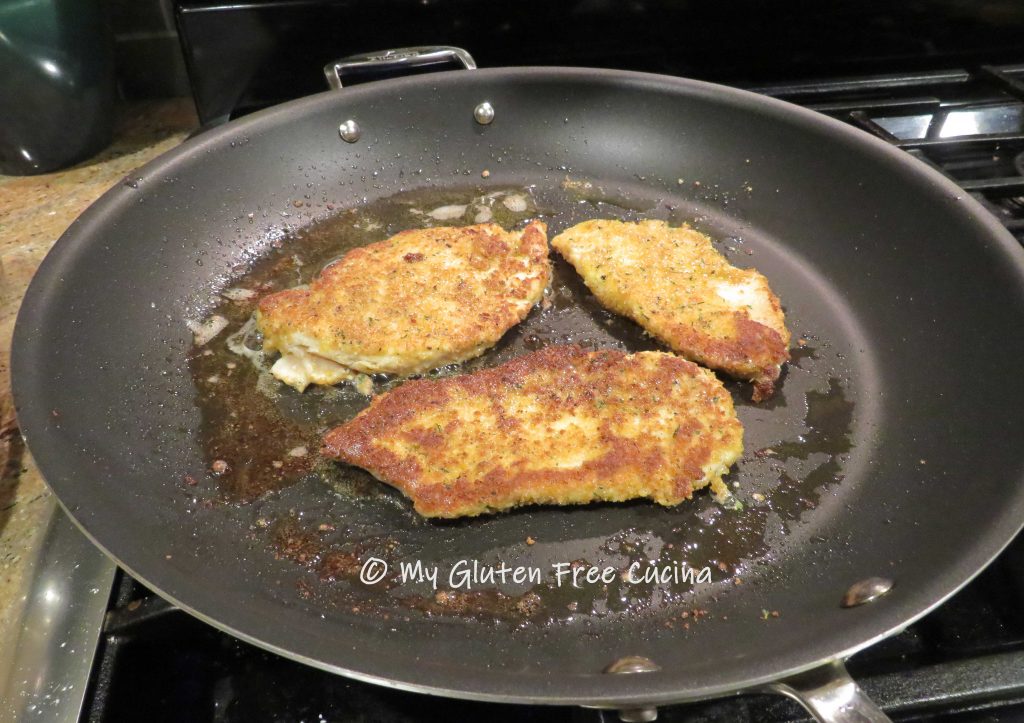
Cook the chicken 3 minutes per side, until nicely browned.

Don’t crowd the chicken in the pan, if necessary, cook it in 2 batches.

The chicken does not need to be cooked through at this point, it will finish in the oven.  Transfer the browned cutlets to a baking sheet.

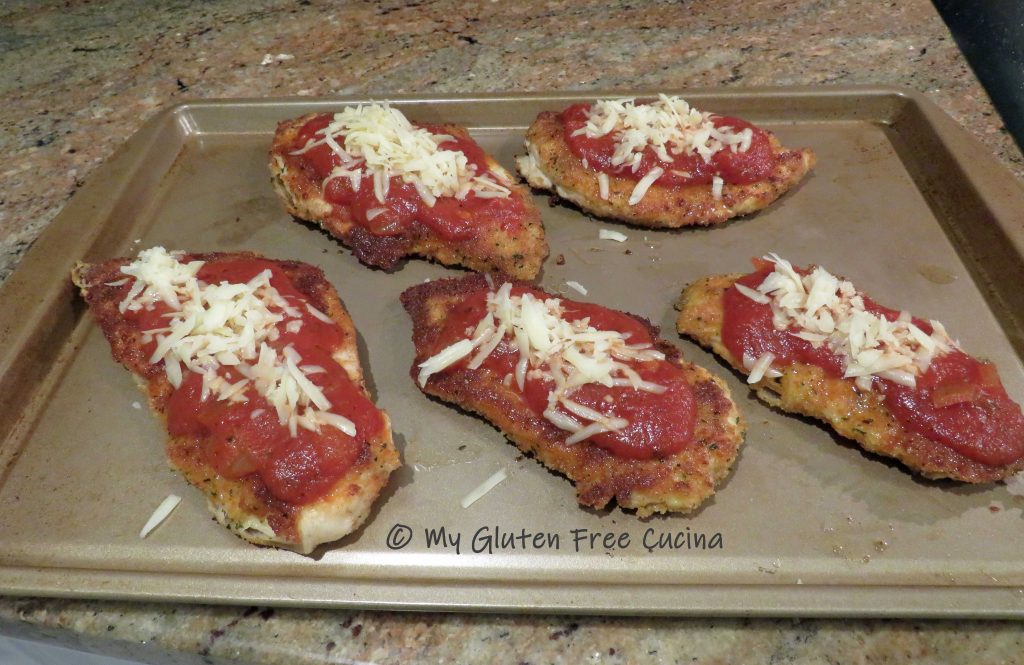
Top each piece with a ladle (~1/4 cup) of marinara and shredded cheese.  While mozzarella is traditionally used in this recipe, you can use any cheese you prefer.  I love gruyere or fontina cheese, for their mild flavor and superior melting characteristics.

Finish in the oven for 15-20 minutes or until the cheese is melted.
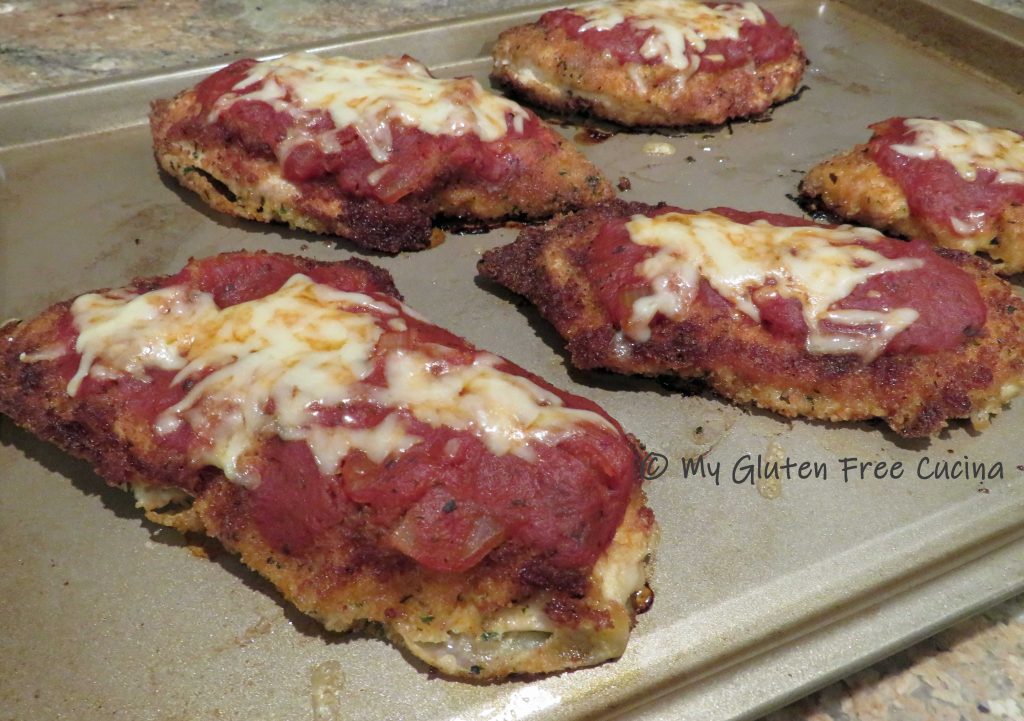
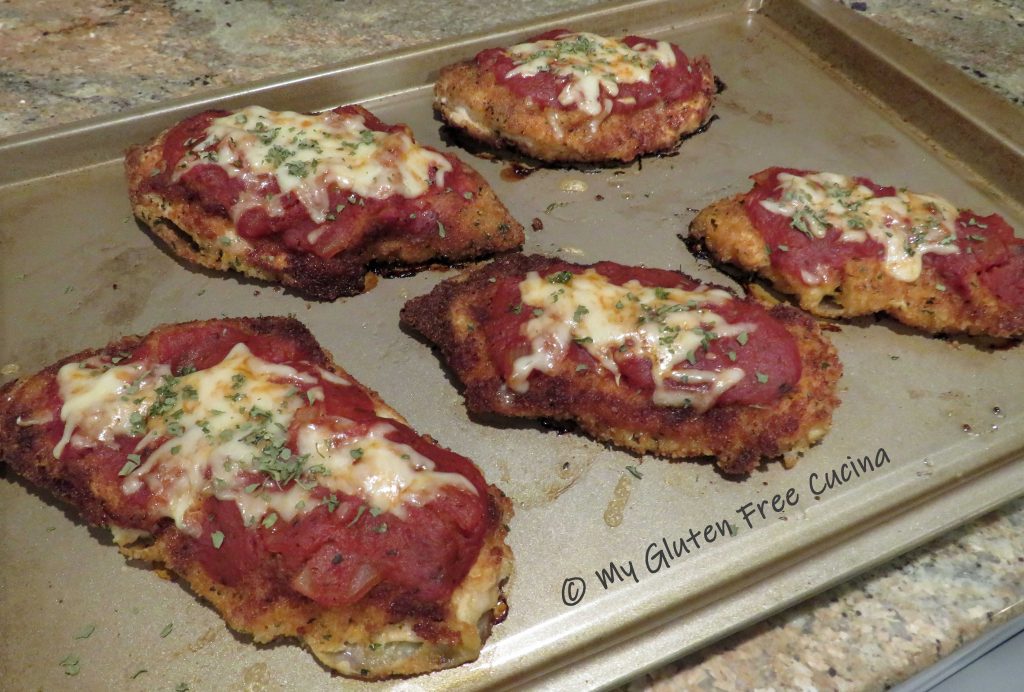
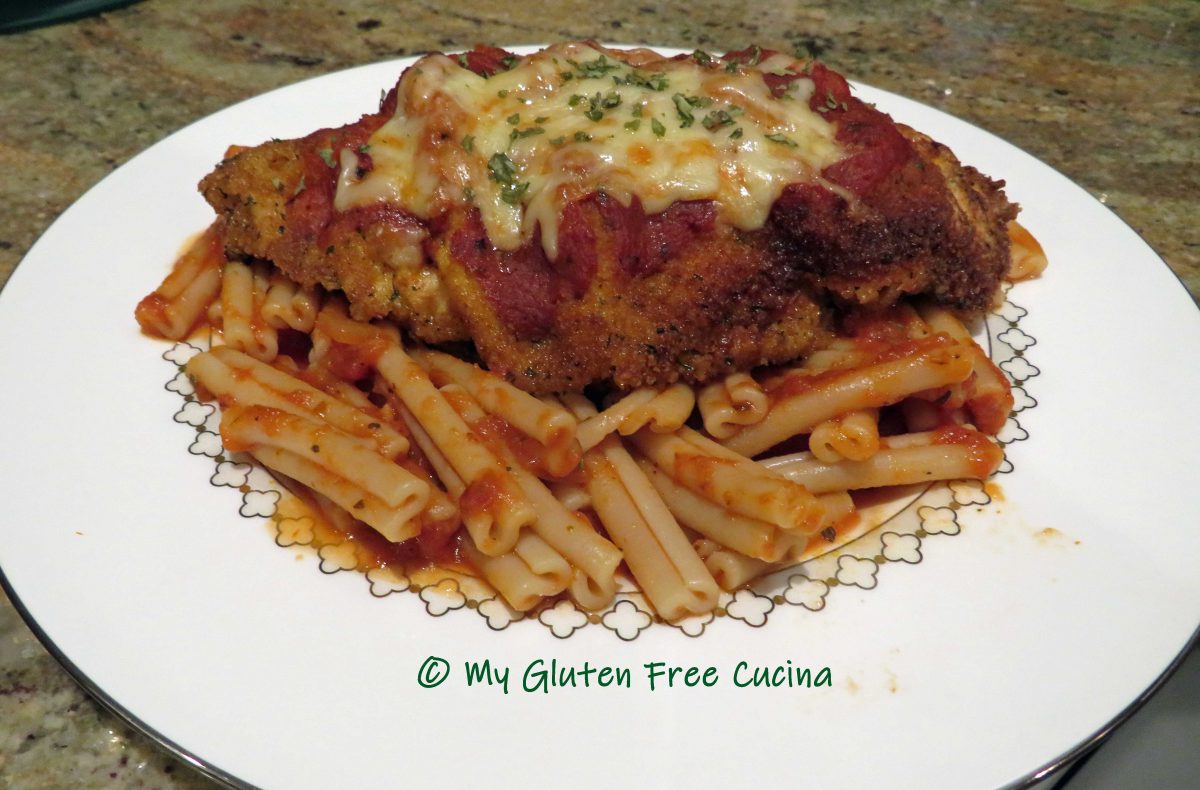
Garnish with parsley and serve with your favorite gluten free pasta.

I made Jovial Caserecce brown rice pasta, and it was delicious!  Confession, all the while I was cooking, I had my eye on the biggest piece of chicken, and I finished every bite!

When I made this for company, no one knew it was gluten free.  Mum’s the word!
Notes ♪♫ Plain white rice flour works better than gluten free all purpose flour in this recipe.  Don’t use a flour blend that contains gum, as the breading may turn out soggy.  Also, some prepared sauces, seasoning mixes and even grated cheese may contain hidden gluten, always check the ingredient labels!

Print This Post Print This Post

Gluten Free Air Fryer Fish and Chips

I haven’t had Fish and Chips in over 5 years!  The last time was long before my Celiac diagnosis, and even back then I didn’t order it often, because of how miserable I would feel afterward.  At the time I just thought that fried food didn’t agree with me.  Who knew?

Today, along with being gluten free, I still avoid fried food.  So, I never imagined I would be enjoying Fish and Chips again.

But never say never…

Enter the air fryer.

I’ve had my air fryer for just a few months now (best gift ever!) and have been obsessed with making fries, practicing over and over until I got the cook time and temperature just right.  In my air fryer, 25 minutes at 400º seems to be the sweet spot.  The size of the potato, thickness of the fries, and other food being cooked at the same time will all affect the results.  The fries need to be spread out evenly with plenty of space to get crispy on the outside.

Once I got my fries perfected, Fish and Chips just seemed like the next challenge.  After looking at a few traditional recipes I was able to make a gluten free version and it came out so good!  For the breading, do not use all-purpose gluten free flour.  Most of these flour blends are formulated for baking and contain starches and gums that can make your breading soggy.  In this recipe I used Bob’s Red Mill white rice flour and Gillian’s original gluten free breadcrumbs.  Rice flour is far less expensive than all purpose and gets the job done.

Dinner for two

This post contains affiliate links.

Ingredients:

For the Fish:
For the Chips:

Preparation:

I used a russet potato and left the skin on for better texture and nutrition.  Wash the potato and dry completely.  Slice into 1/3″ rounds, then cut into 1/2″ pieces.

Toss with 1 tbsp. olive oil, seasoned salt and a sprinkle of paprika.

Preheat the air fryer for 5 minutes at 400º.  Mist 2 trays with cooking spray and divide the potatoes between the two.  I found that using 2 trays gives a better result, as the potatoes can be spread farther apart in an even layer.  Place trays on the top 2 shelves of the air fryer and set it for 25 minutes at 400º.

While the chips are getting started prepare the fish.  You want a thick, firm white fish for this recipe.  Cod or haddock are the usual choices but today I got this beautiful Sablefish on sale.

Set up 3 breading trays with the rice flour, beaten egg + water, and breadcrumbs.  Season each with Old Bay.

Cut the fish into 4 pieces and remove the skin with a sharp knife.

Spray the air fryer tray with cooking spray.  Dip each piece of fish in the flour, then into the egg, shaking off the excess.  Next roll in the breadcrumbs and place on the rack.  Repeat with all 4 pieces.

When the fries have cooked for 10 minutes turn them over and move the trays to the bottom 2 racks.  Mist the fish lightly with cooking spray and place it on the top rack.

Continue cooking 15 minutes longer, turning the fish halfway through.  When you turn the fish over, mist the top with cooking spray.   Keep an eye on the fries and watch that they don’t burn.

The fries (or chips) are perfect.  I mean, just look at them!

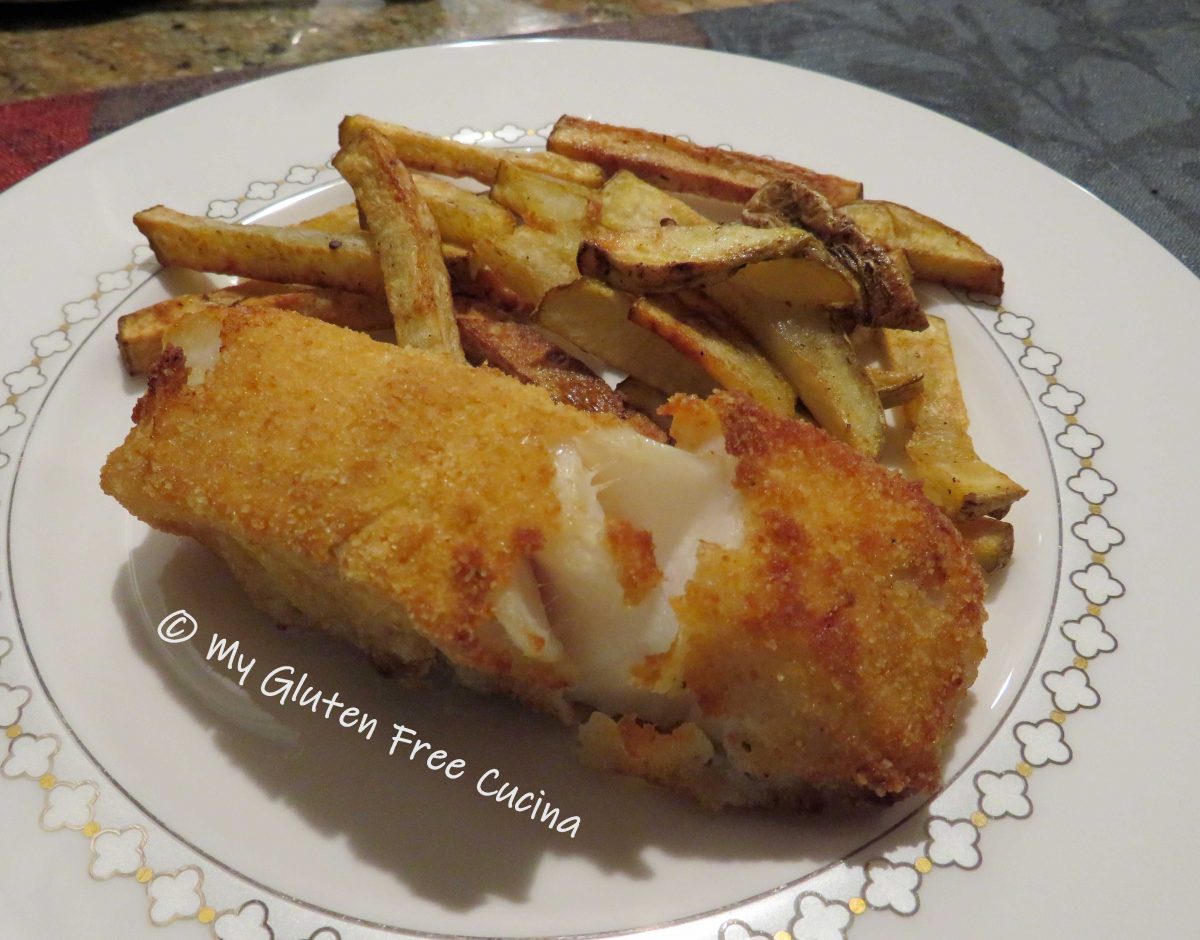
And here is the fish.  Light and crispy on the outside, moist and flaky on the inside.

The sablefish was amazing, I don’t know if I’ll be able to find it again at a reasonable price, but I will be on the lookout.  As mentioned before, this recipe will most certainly work with cod or any firm, white fish.

This was one of my favorite air fryer meals to date.  I will be making it over and over again!

Notes ♪♫ All air fryers are different.  Cook times given in this post are what works for me and should be used as a guide.  My air fryer is a shelf style (oven style with shelves and rotisserie).  If yours is a basket style, you will need to cook the fish and chips separately.  Cook the potatoes first as they take longer, and keep warm while you do the fish.  When the fish is ready you can reheat the fries for a minute or two.

Print This Post Print This Post

Cajun Lime Tilapia

Tilapia is a mild tasting freshwater fish that is budget friendly and easy to prepare.  This simple recipe with just a few ingredients is perfect for busy weeknights.  My version of this restaurant favorite is fuss free and much lower in sodium when prepared at home.

This post contains affiliate links.

You can easily find gluten free Cajun seasoning online.  If sodium is an issue, try a salt free Cajun seasoning.  Don’t like it that spicy?  Try a Creole seasoning that has less heat.  Always adjust the amount of seasoning to your taste.  Use as much or as little as you like.

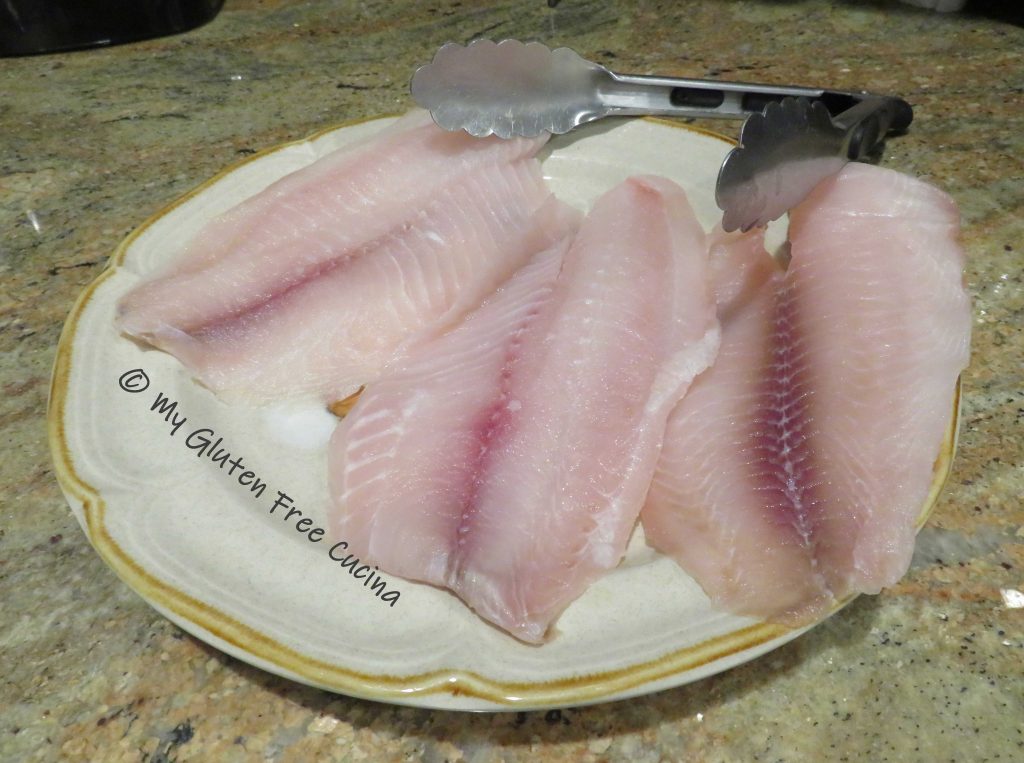
Tilapia is widely available, but if you can’t get fresh you can most certainly find it in the frozen section.  Be sure to defrost and pat dry before cooking.

Ingredients:

  • Tilapia filets, about 6 oz. each, one per serving
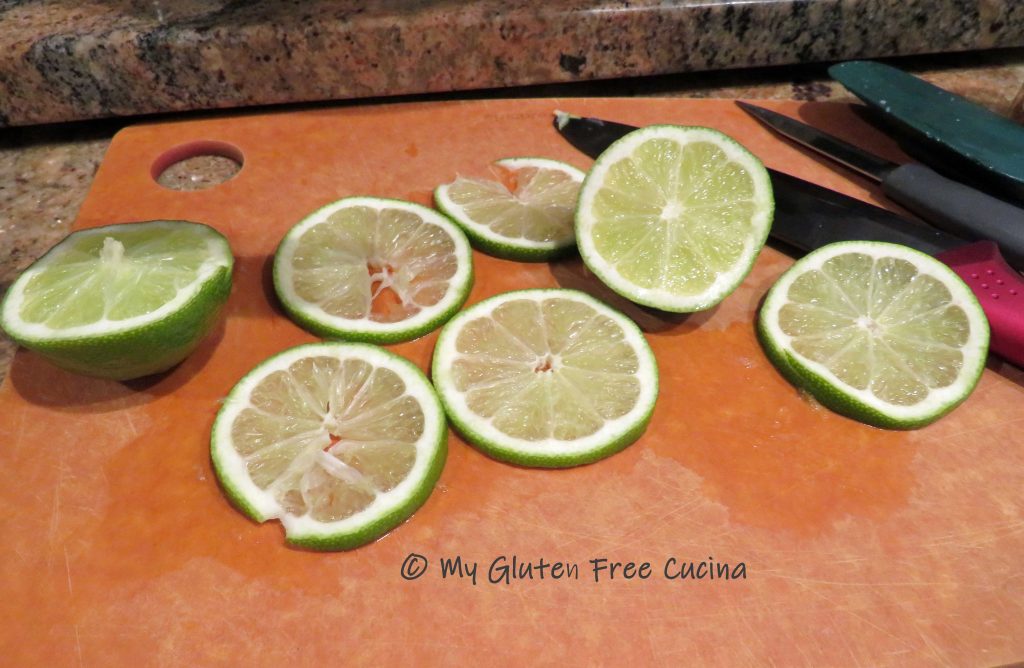
  • 1 lime, sliced thin
  • 2 tbsp. butter
  • 1 tbsp. olive oil
  • gluten free Cajun seasoning

Preparation:

Remove the filets from package and pat dry.

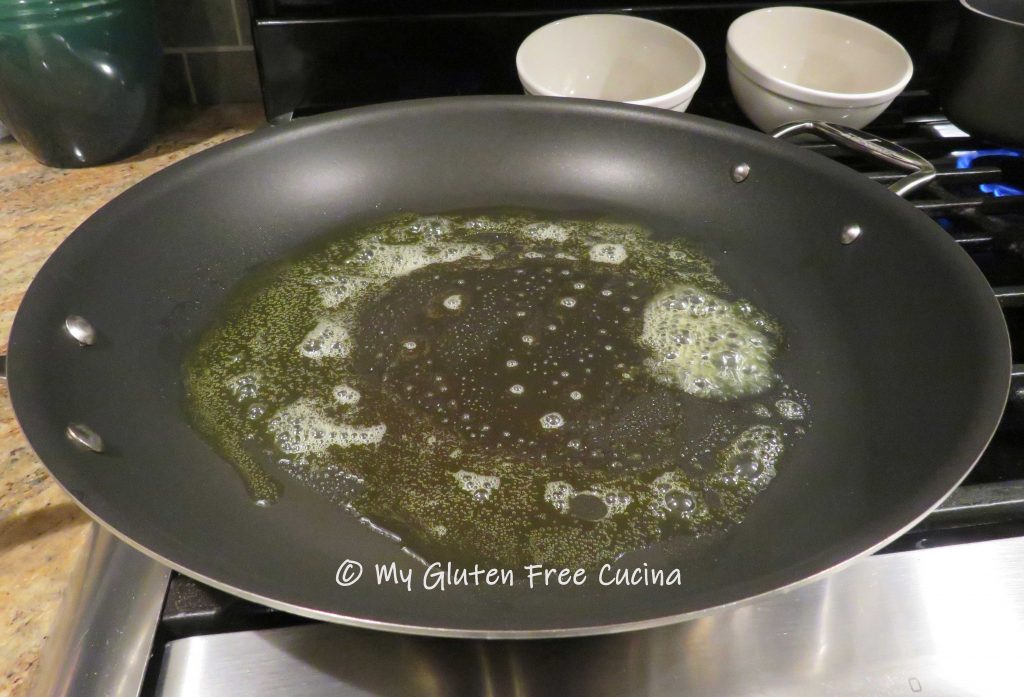
Melt butter and olive oil in a large, nonstick skillet.

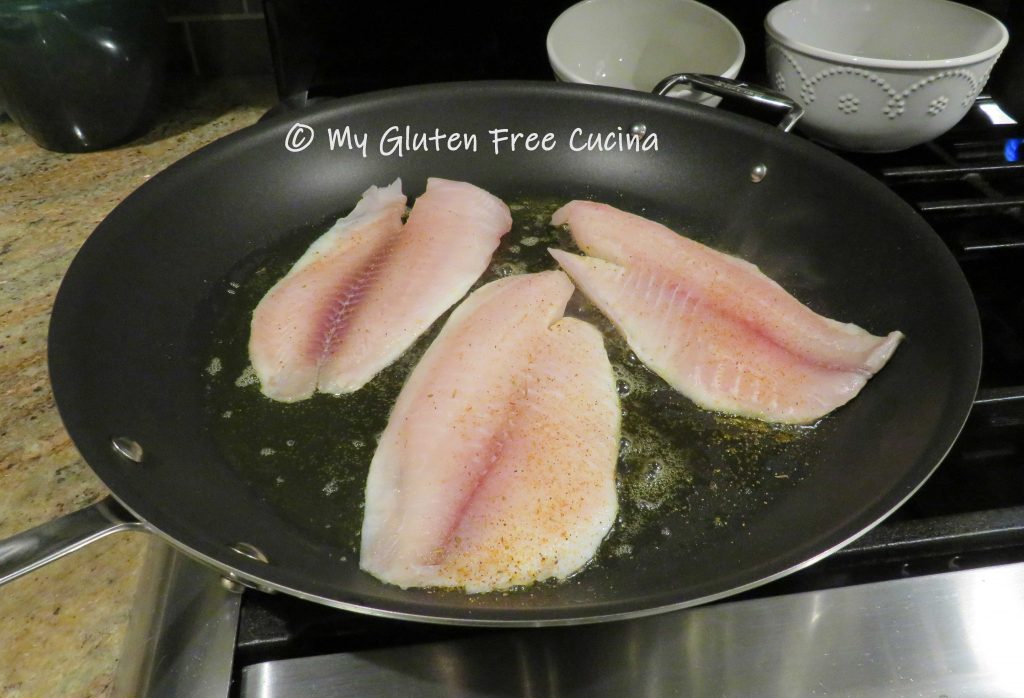
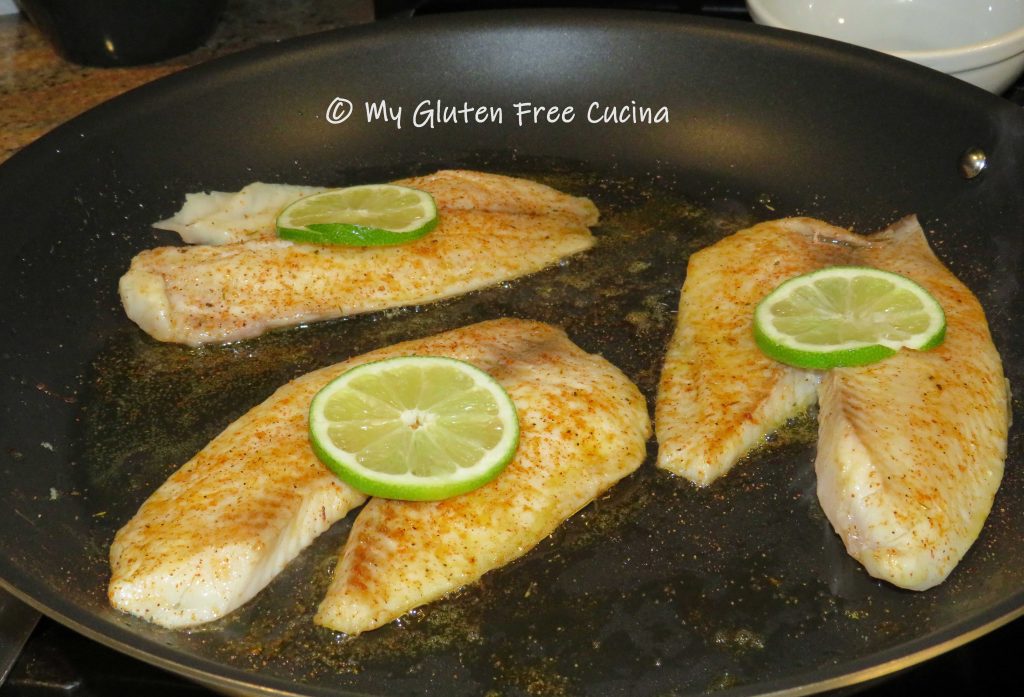
Add the filets in a single layer and sprinkle with seasoning.  Don’t crowd the pan.  Cook for 2-3 minutes.

Use a long spatula to turn the filets and sprinkle generously with more seasoning.  Squeeze lime juice over the filets and top with a lime slice.  Cook for 2-3 more minutes, until the filets split and fish flakes easily.

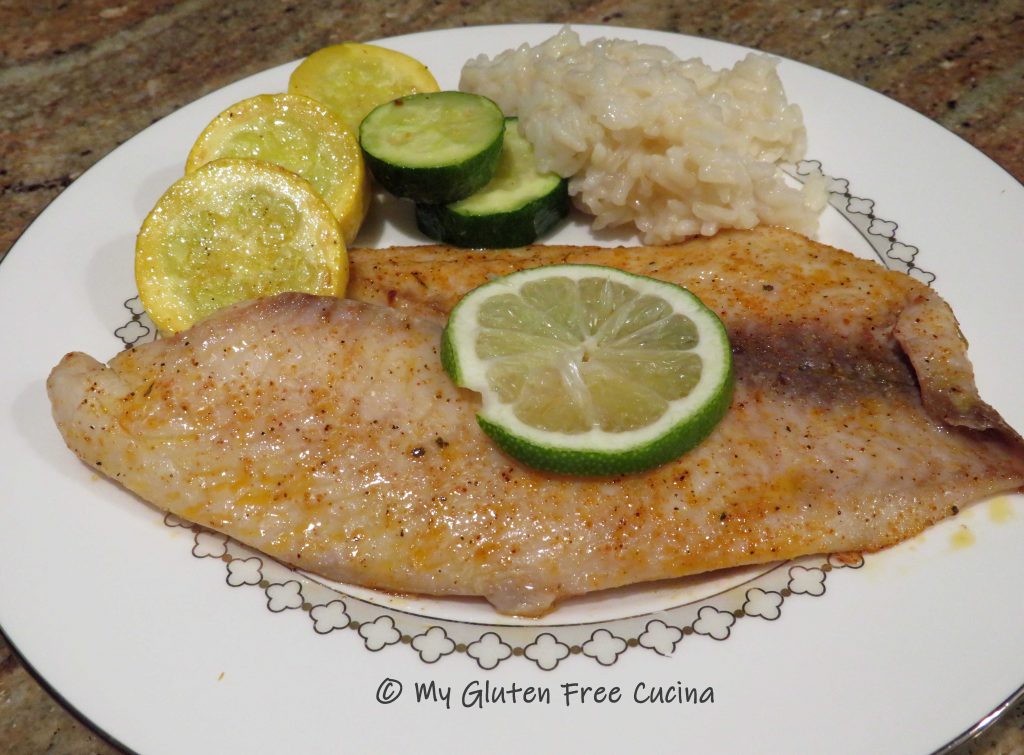
What did I tell you, fast and easy!  I served it with with rice and squash rounds.

Notes: ♪♫ I purchased my tilapia from Whole Foods Market.  Look for tilapia that is responsibly farmed and sold by grocers that adhere to strict quality standards.  Choosing tilapia from a responsible source ensures that the fish you are eating is good for you.

Print This Post Print This Post

Basic Fried Rice, Gluten Free and Lower Sodium

I have shared so many of my Asian inspired meals here on the blog and I know you love them as much as I do!  Today though, I thought I would focus on a basic recipe for fried rice that you can make at home with common pantry staples.  This is an easy preparation that is both gluten free and lower in sodium.  I did not add meat, but you can choose (just like in your takeout menu), to add chicken, shrimp, pork, beef, etc… whatever you like to make it a complete meal.

Why make it at home?  You control the salt, you control the fat, and you will be absolutely sure that it’s gluten free!

Cheat some of the prep work by using frozen veggies, like mixed peas and carrots.  Or, use up bits of leftover veggies from other meals, just chop them into small pieces and throw them in.  Get fancy and add canned water chestnuts or bean sprouts!

If you’re making this after a long day at work, it’s nice to be a step ahead in your prep, so cook your rice the day before!  In fact, this recipe works best when the rice is cooked ahead of time and refrigerated.

Ingredients:

Preparation:

A large, nonstick skillet is my first choice for stir fry dishes.  You may think a 14″ skillet is too large for your needs but having that extra surface area is great when you want to spread out your ingredients in the pan.

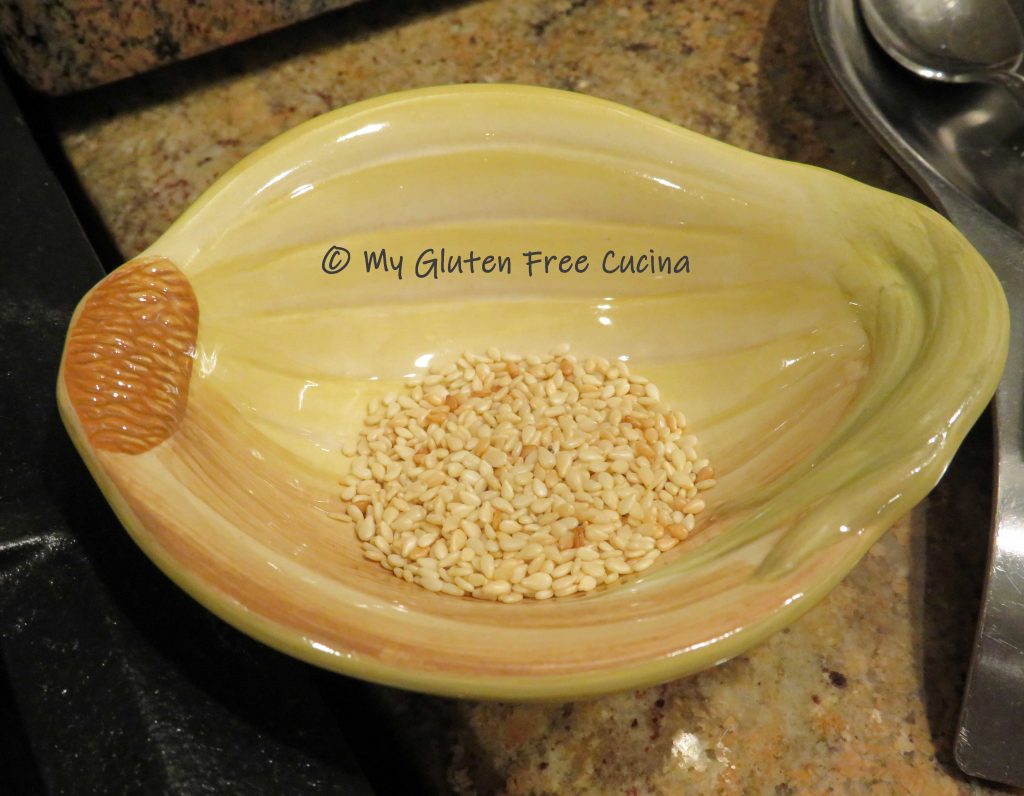
Make ahead steps: Cook the rice ahead of time, cool and refrigerate.  If using frozen vegetables, take them out to defrost.  Toast the sesame seeds in a small, nonstick sauce pan and set them aside for garnish.

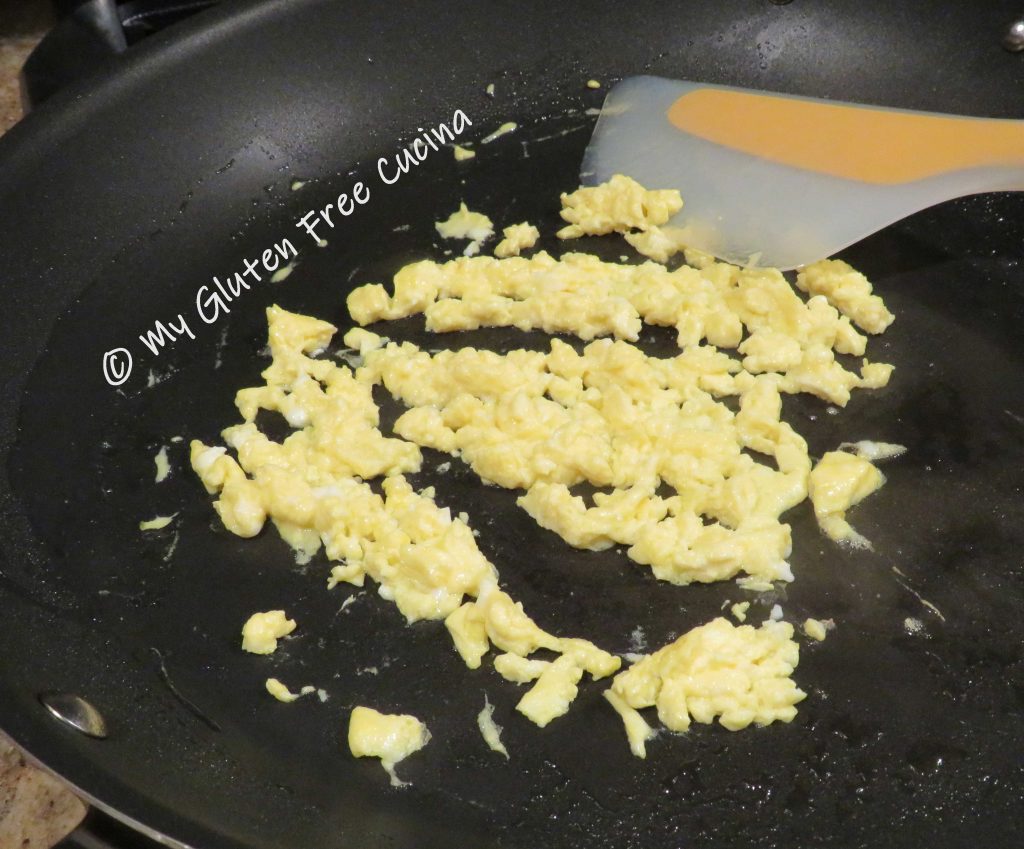
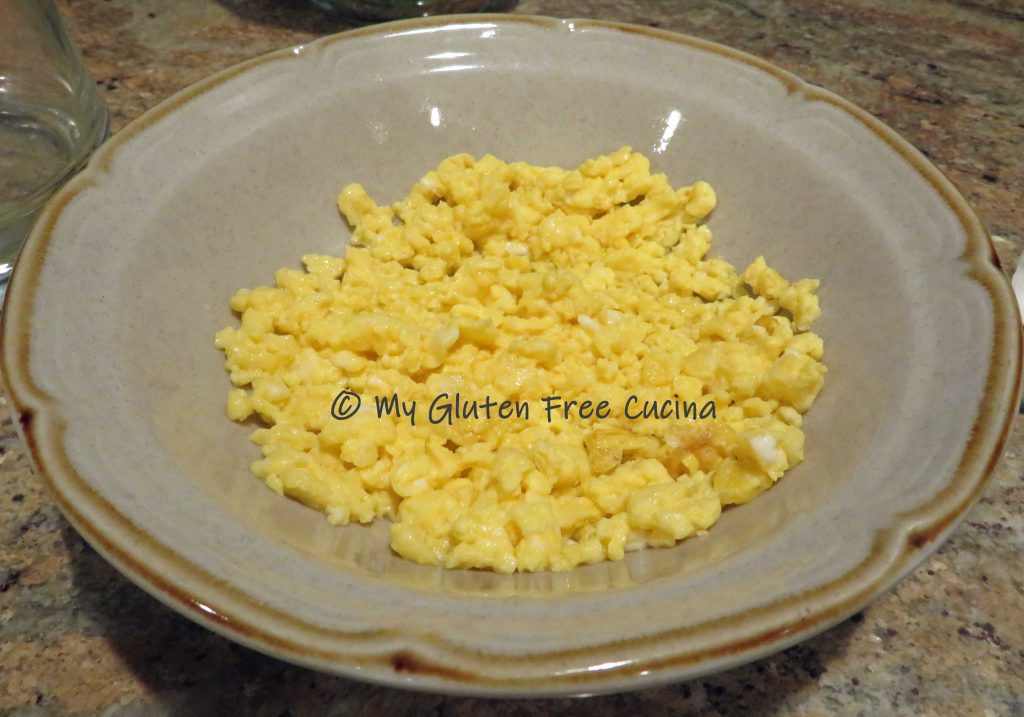
Heat a large, nonstick skillet with cooking spray.  Scramble the egg and break it up with a spatula.

Set the egg aside and wipe the pan clean.

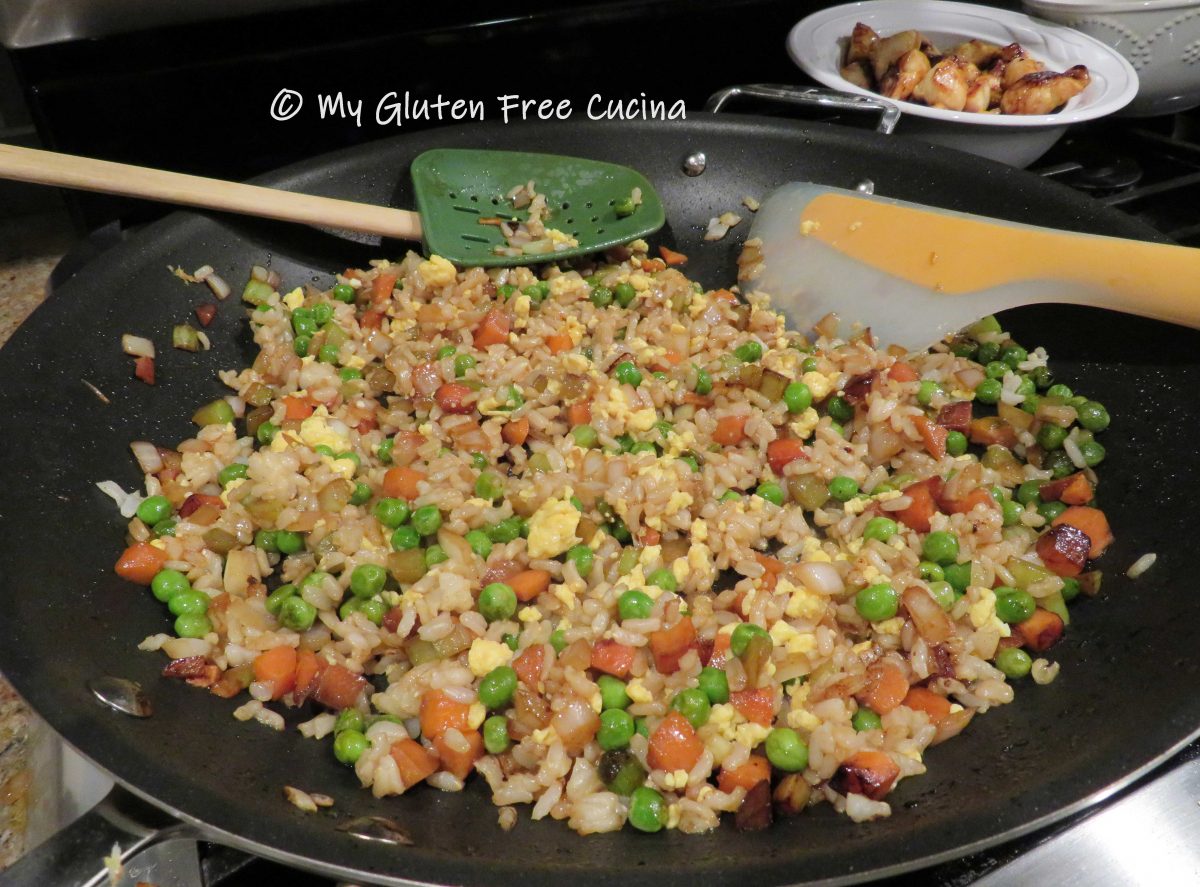
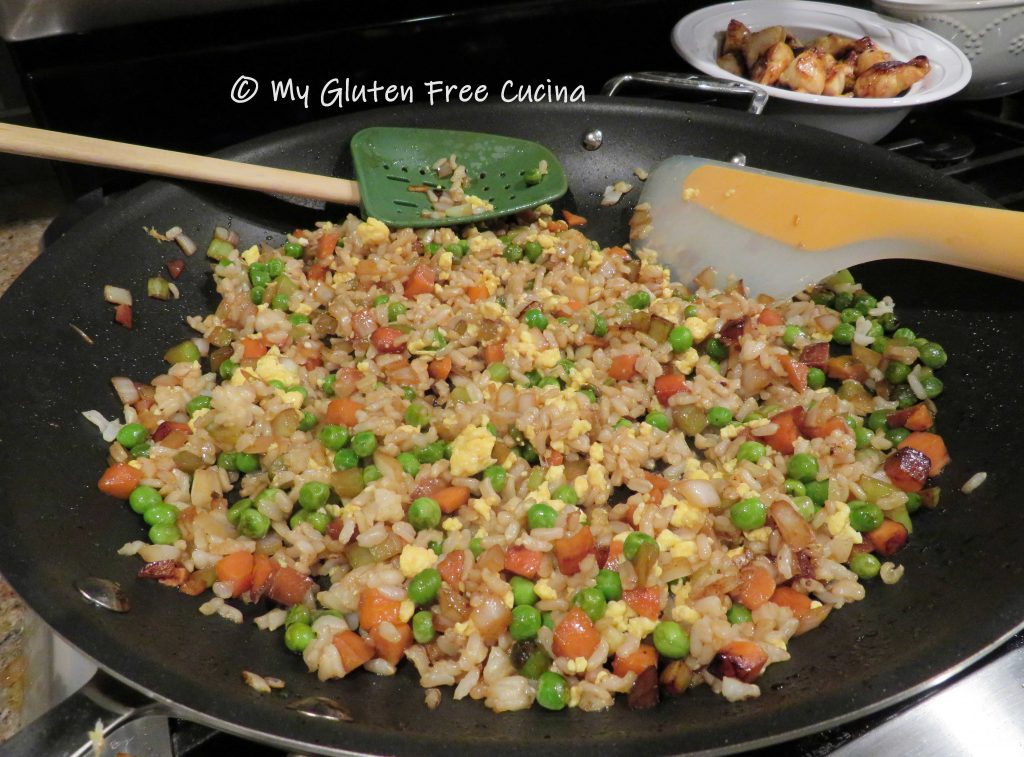
Mist the skillet with cooking spray and add 1 tbsp. olive oil, 1 tsp. sesame oil and 1 tbsp. coconut aminos.  Add the veggies, and sprinkle with the garlic and ginger.  Cook for 5 minutes over medium low heat, stirring frequently.

Add a little more sesame oil and coconut aminos, then stir in the cooked rice.  Cook 1 minute to heat through, then add back the scrambled egg.  Add a little more oil and coconut aminos.

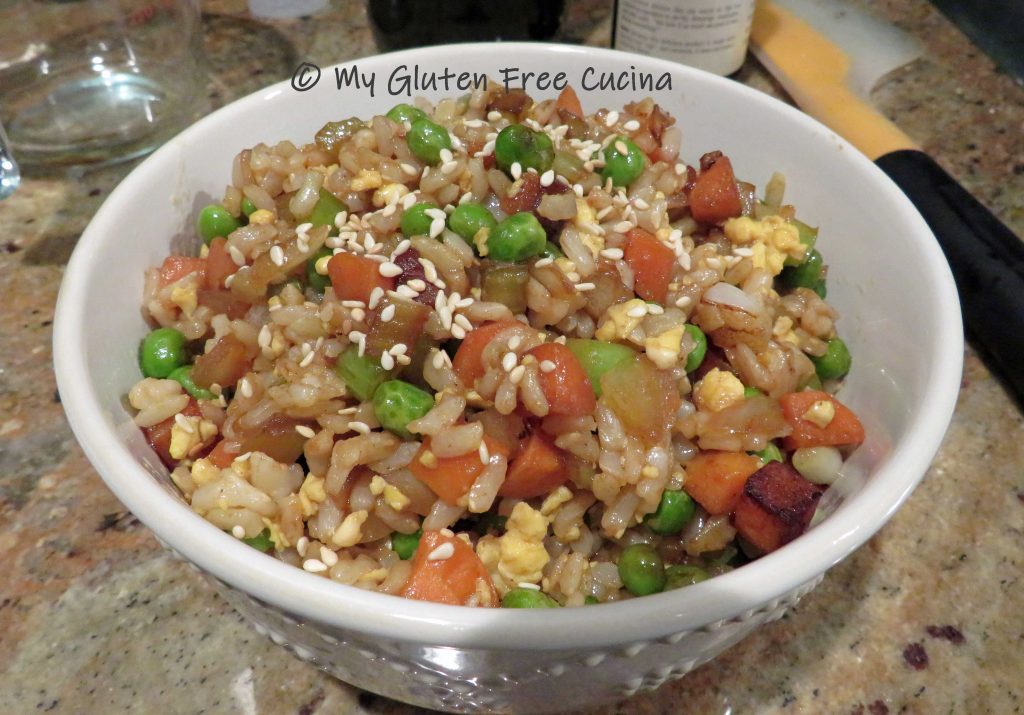
Toss well to incorporate, and transfer to a serving bowl.  Garnish with toasted sesame seeds.

Notes ♪♫ I used coconut aminos in this recipe instead of soy sauce.  It is gluten free and much lower in sodium than tamari or gluten free soy sauce.  You can use any of these, or a combination to suit your taste and dietary needs.


Print This Post Print This Post

Gluten Free Pasta e Fagioli

Today I’m making Pasta e Fagioli, a favorite on the menu of Italian restaurants everywhere.  Of course, for those of us with Celiac disease, ordering any type of soup at a restaurant is not an option, or at best a roll of the dice.  Luckily, most soups are easy to recreate at home!  Especially when most of the ingredients are naturally gluten free, just be sure and check the labels!  And as I always say, don’t shy away from cooking with beans.  The Navy beans that I used in this soup are especially easy to work with and always turn out great.  You can of course use canned beans, I won’t tell!

8 – 10 Servings

This post contains affiliate links.

Ingredients:

  • 1 cup (dry) Navy beans
  • 2 gluten free Italian sausage links
  • 3/4 cup sweet onion, finely chopped
  • 3/4 cup celery, finely chopped
  • 3/4 cup carrot, finely chopped
  • 4 garlic cloves, minced
  • 2-3 tbsp. olive oil
  • 1/4 tsp. red pepper flakes
  • 1/2 tsp. sage
  • 1/2 tsp. thyme
  • 1/2 cup white wine (optional but good)
  • 1 can (14.5 oz.) gluten free diced tomatoes, pulsed in chopper
  • 3 cups gluten free beef stock
  • 1-1/2 cups gluten free chicken stock
  • 1 cup gluten free Ditalini pasta

Preparation:

Start the soup the night before, by soaking the navy beans overnight. Always look them over for any foreign material (i.e. errant grains that may sneak in or even a pebble!).  I also rinse them in a colander under cold water to minimize any trace gluten residue, then place in a small sauce pan with cold water, cover and let them stand until morning.  The next day, drain and rinse again, then return to a clean pot.

Add cold water, cover and place on a very low simmer for 2 hours.

Next, get the other ingredients ready.  We’ll be making a Soffritto (a flavor base composed of sautéed carrots, celery, and onion that forms the foundation of so many Italian recipes), so the veggies need to be finely minced.  I used my electric chopper to make the prep work super fast and easy.

I used about 1/2 of a medium sweet onion, 3 med stalks of celery and 1 large carrot.  You will have about 3/4 cup of each, don’t worry, it doesn’t have to be precise 😉  Mince the garlic and set aside.

In a stock pot or Dutch oven, heat 2 tbsp. of olive oil.  Remove casings from the sausage and add to the pot.  I used Open Nature Italian Chicken Sausage.  Brown the sausage then cut into pieces and continue cooking through, about 3 minutes.

Remove sausage from the pan, reserving any leftover oil.  Cool slightly and add to the chopper.  Pulse a few times to break up the meat.

In the same pan, add another tbsp. of olive oil and 1/4 tsp. red pepper flakes.  Stir 30 seconds to intensify their flavor.

Next add the minced garlic, stir and cook for 1 minute.

Now add the carrots, celery and onion to make the Soffritto.  Stir frequently for 2 minutes, you will see the veggies begin to break down and release their liquid.

Add back the chopped sausage along with the white wine (if using).  Stir together and cook 2 minutes.

Place the diced tomatoes in the chopper and pulse a few times.  Stir the tomatoes into the pot, along with the beef stock, chicken stock, sage and thyme.

Add the drained, cooked beans.  Cover and simmer on low heat for 45-60 minutes.

Finally, cook the Ditalini separately in salted water, drain and add to the soup.  (Note, you may see recipes where the pasta is cooked directly in the soup, but I find that gluten free pasta works best when cooked separately.)

Garnish with parsley and serve with grated cheese (optional) and a thick slice of gluten free bread.

Notes: ♪♫ I was especially happy to find Le Veneziane Gluten Free Ditalini pasta, traditionally used in this soup.  You can use any small, gluten free pasta or break up any gluten free pasta into small pieces.

Print This Post Print This Post

Gluten Free Asian Beef and Broccoli

Asian Beef and Broccoli is a restaurant favorite that can be made right at home with just a handful of ingredients.  Adapting the recipe to be gluten free was easy, so why haven’t I made it in a while?  The short answer, sodium.

These days I try to make meals that are not only gluten free, but also lower in salt.  That means some of my Asian inspired meals have gone on the back burner because they are made with a salt bomb of condiments!  With that in mind, I am on a mission this year to makeover some of my favorite gluten free recipes and this meal was definitely a success.

Would you believe my original recipe used 1/4 cup of gluten free soy sauce and 1/4 cup of hoisin sauce?  Whew, that’s a lot of sodium!

This post contains affiliate links.

In this recipe remake, I’m using Coconut Aminos, a pantry staple in my kitchen that is much lower in sodium than gluten free soy sauce or tamari.  I have substituted Coconut Aminos in many of my recipes that call for soy sauce.  And a little Hoisin Sauce goes a long way, I cut the original 1/4 cup down to 2 tbsp. and it was still delicious.

4 Servings

Ingredients:

  • 1 lb. sirloin tips or petite sirloin (top sirloin), cubed
  • 1 tbsp. coconut aminos
  • 1 tsp. dark brown sugar
  • 3 garlic cloves, sliced thin
  • 1-1/2 tsp. sesame oil, divided
  • 2 tbsp. olive oil, divided
  • 1/4 tsp. powdered ginger
  • 2 tsp. fresh chives
  • pinch red pepper flakes
  • 1 large broccoli crown (about 2 cups)
  • 2 tbsp. gluten free Hoisin sauce
  • 1 tsp. sesame seeds, toasted
  • rice or gluten free rice noodles for serving

Preparation:

Once you start cooking this dish comes together very quickly, so measure and prep all of the ingredients ahead of time.

For the marinade, whisk together 1 tbsp. coconut aminos, 1 tsp. brown sugar, the garlic slices, 1 tbsp. of olive oil, 1/2 tsp. of sesame oil, 1/4 tsp. powdered ginger, chives and pinch of red pepper flakes.

Cut the sirloin (uncooked) into 1″ cubes and add to the marinade.  Cover and let it stand at room temperature for 30 minutes.

Toast the sesame seeds in a dry skillet, watching closely that they don’t burn.  Set aside for garnish.

Next, cut the broccoli into uniform pieces.  Steam 5 minutes.  Remove the steamer basket from the heat and set aside while you finish the dish.

Add the remaining tbsp. olive oil and 1 tsp. sesame oil to the skillet and begin browning the beef.  Don’t crowd the pan, do it in 2 batches if needed.  Discard any marinade left in the bowl.

Stir in 2 tbsp. hoisin sauce.

Finally, add the broccoli to the skillet and toss with the beef.

Let it cook for another minute or so, then transfer to a platter.  Garnish with toasted sesame seeds and either toss with rice noodles or serve with rice.

Here I served with Annie Chun’s Pad Thai rice noodles.

Shown here, served with rice.

So, were you thinking of ordering takeout?  Try this instead, you will love it!

Notes ♪♫ Coconut Aminos contain about 1/10th the sodium of gluten free soy sauce.  If you aren’t worried about sodium, try a gluten free soy sauce or tamari.  I like San-J Tamari, which also comes in a lower sodium version that is completely gluten free.

Print This Post Print This Post