Bacon Wrapped Sausage

The name says it all, you don’t need a recipe for this do you?  Just put these little bites of happiness on the table for your next brunch or family breakfast and watch them disappear! (and they are great leftover too 😉)

This post contains affiliate links.

Ingredients:

Preparation:

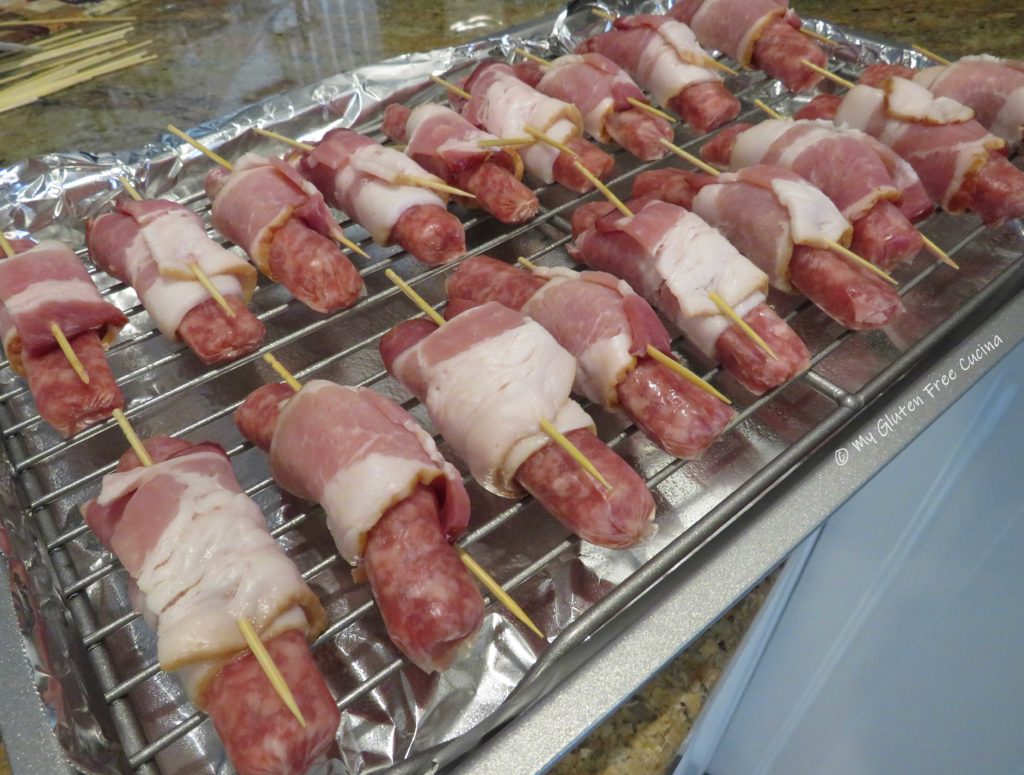
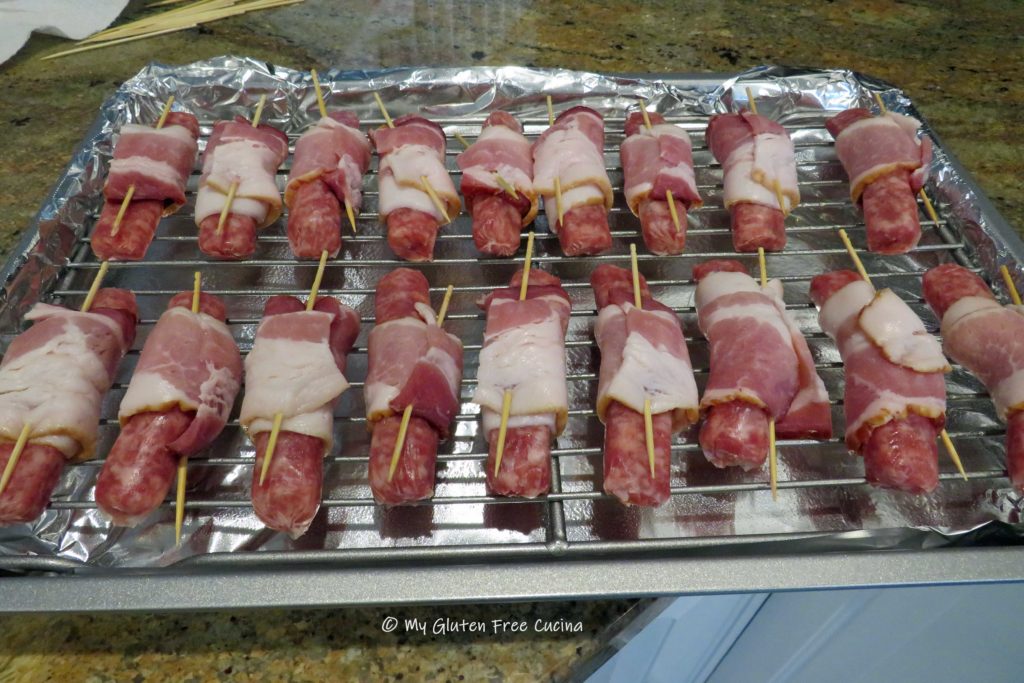
The best part of this recipe is that you can get it ready the night before to cook in the morning.  Just wrap each sausage with a half slice of bacon and secure them with 4″ skewers.  Use the amount needed for your family.

Line a sheet pan with foil (keeps the mess down) and arrange the sausages on a rack, cover and refrigerate overnight.

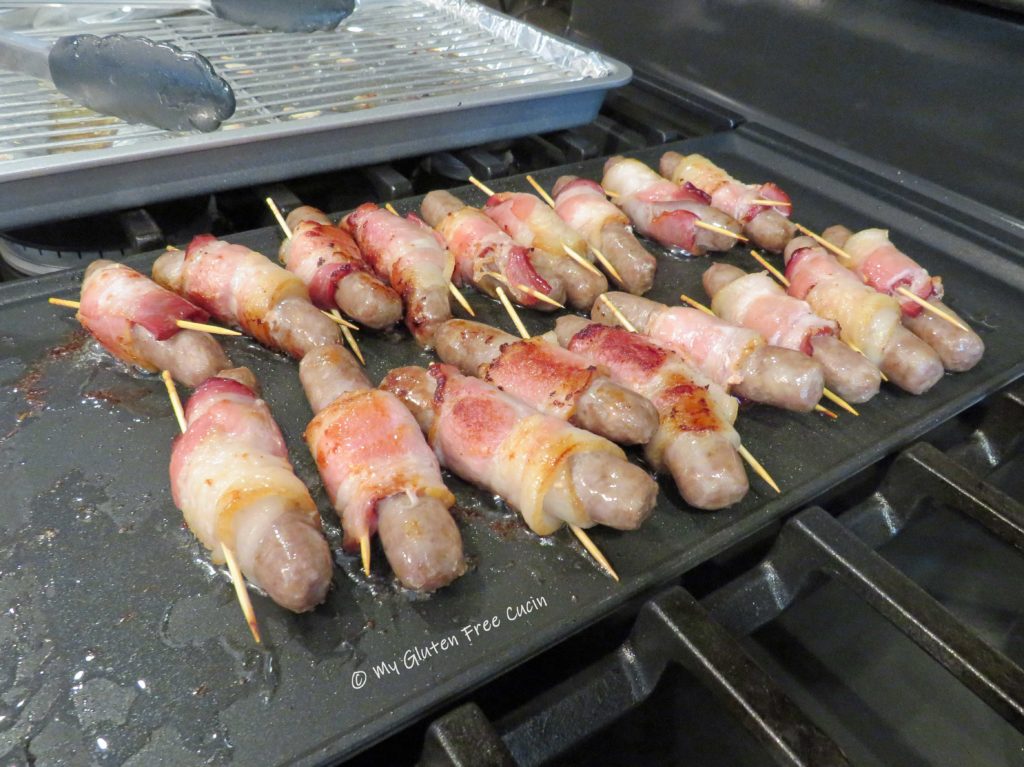
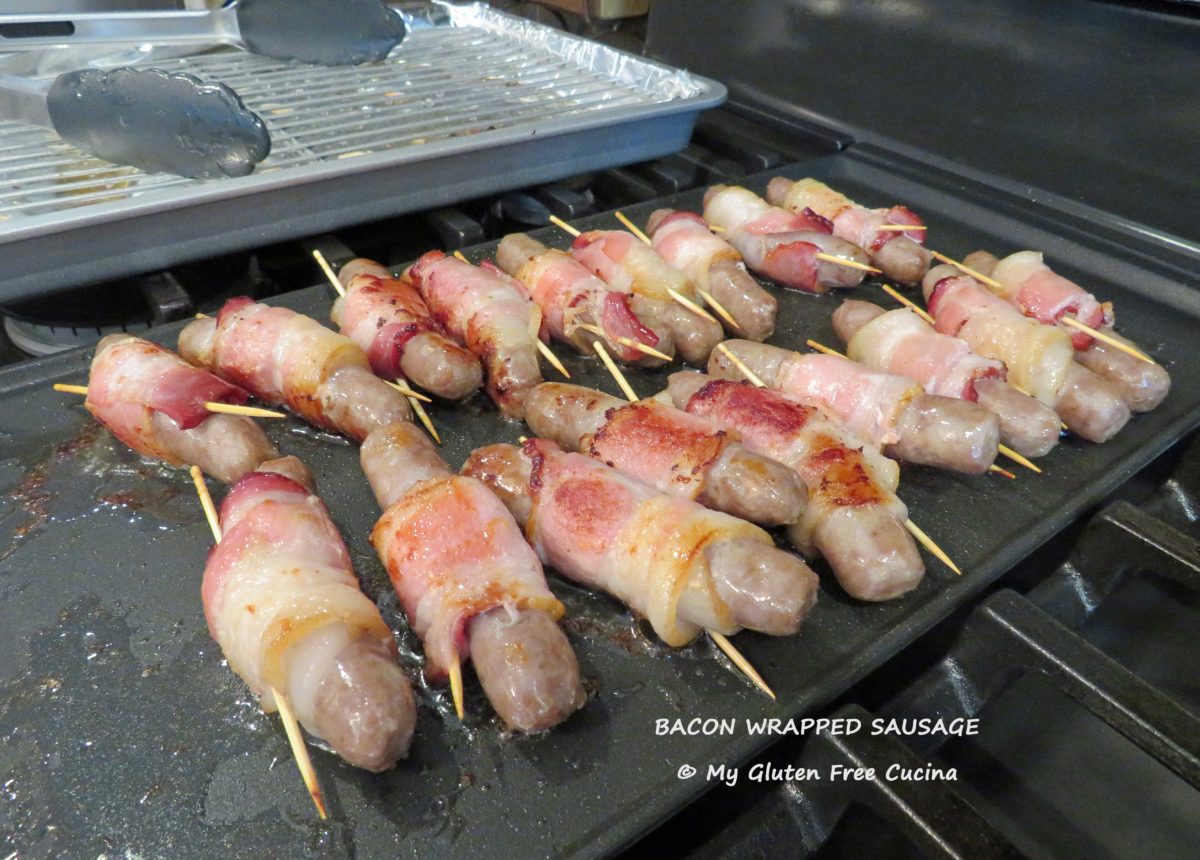
The next morning, preheat the oven to 350º.  Bake the sausage for 15 minutes, then finish them on a hot griddle, turning frequently until the bacon is nice and crispy, and the sausage is cooked to your liking, 15-20 minutes.  Place them back on the rack for a few minutes to drain before serving.

That’s it friends, what could be easier?  So, the next time you are pondering whether to make sausage or bacon for brunch, why not make both!

Notes ♪♫ Most bacon and sausage are gluten free, but I still like to see the gluten free label for extra peace of mind.  I used Johnsonville Vermont Maple Syrup Pork Breakfast Sausage Links and Oscar Mayer Naturally Hardwood Smoked Bacon.

Print This Post Print This Post

Gluten Free Vintage Fruitcake Recipe

UPDATE:  We opened the first Fruitcake on Thanksgiving Day, and it did not disappoint!  The taste and texture were spot on, it was very moist.    
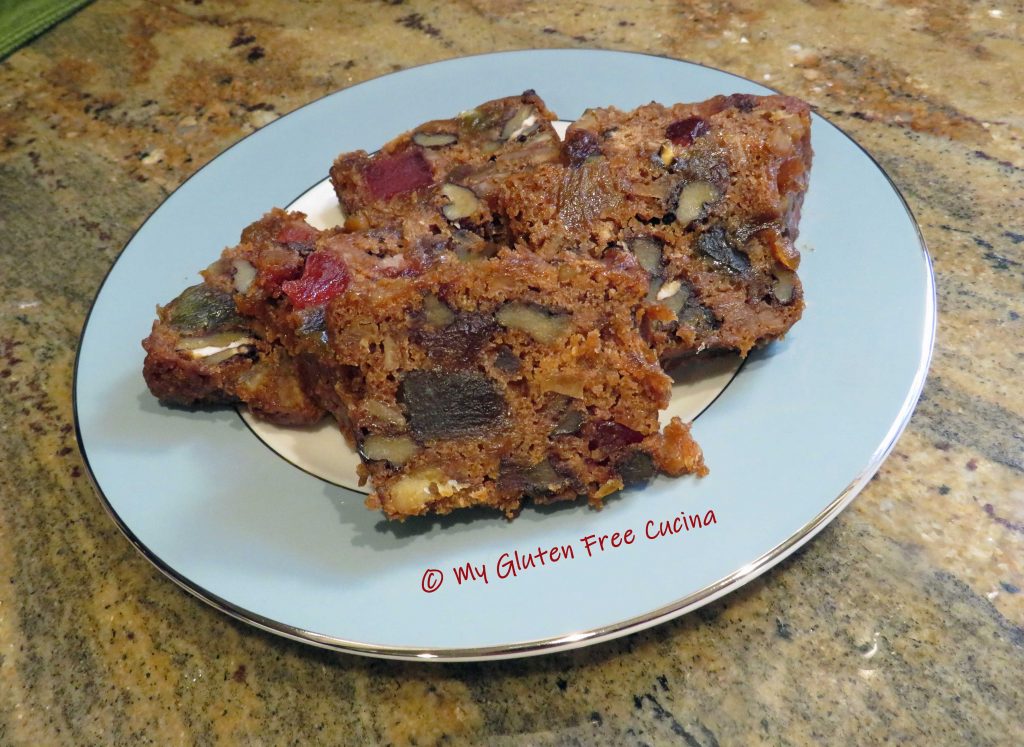
This holiday season I am bringing back a beloved family tradition that had gone by the wayside since my Celiac Diagnosis.

This is another heirloom recipe passed down for generations in my husband’s family.  He has fond memories of his mother making this Fruitcake at Christmas, and I have made it many times since.
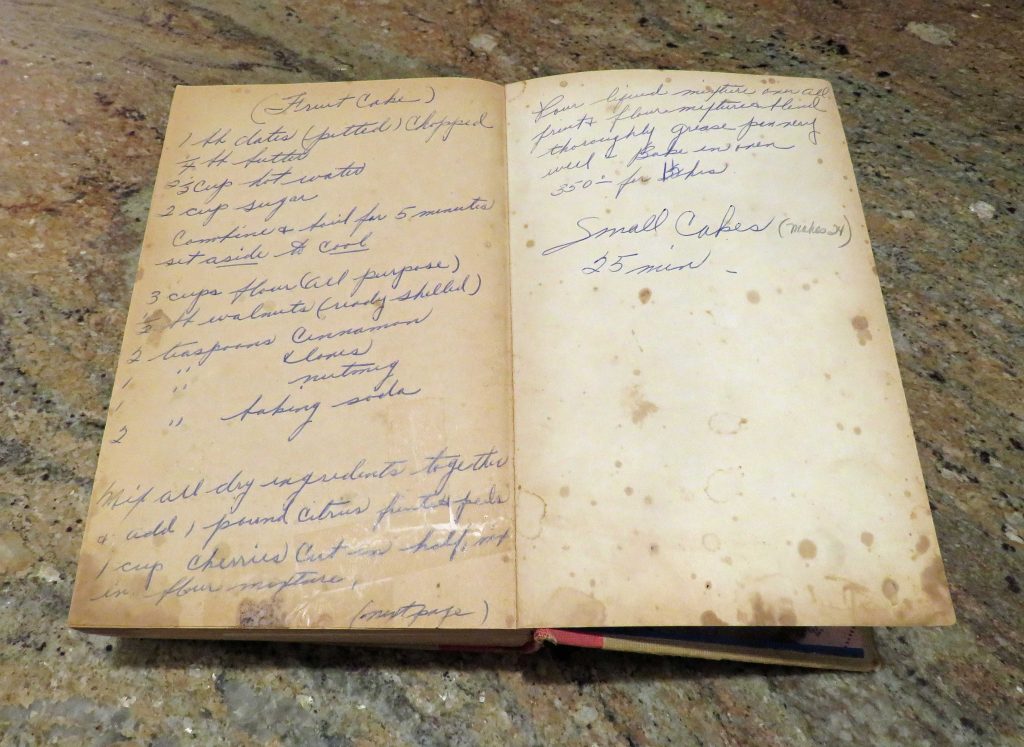
The original recipe was lovingly handwritten into the back cover of a favorite cookbook.  As with other heirloom recipe adaptations, my intent was to stay as true to the original as possible, changing only those ingredients that had to be gluten free.
This post contains affiliate links.

First up, the all-purpose flour.  If you follow me, you know that I am a huge fan of Better Batter Gluten Free Flour.  I used their Original Blend, which I have used with great success in other cakes and desserts.

When you shop Better Batter and use my (affiliate) code MGFC30 at checkout, you will receive 30% off any non-sale item! 

CLICK HERE to take advantage of this incredible opportunity to try the flour that I call my little miracle in a bag!

Next, the fruit.  I decided to try Olive Nation Candied Fruit Mix.  This product is non-GMO, gluten free, and vegan.  Here is the link to the fruit mix I used.
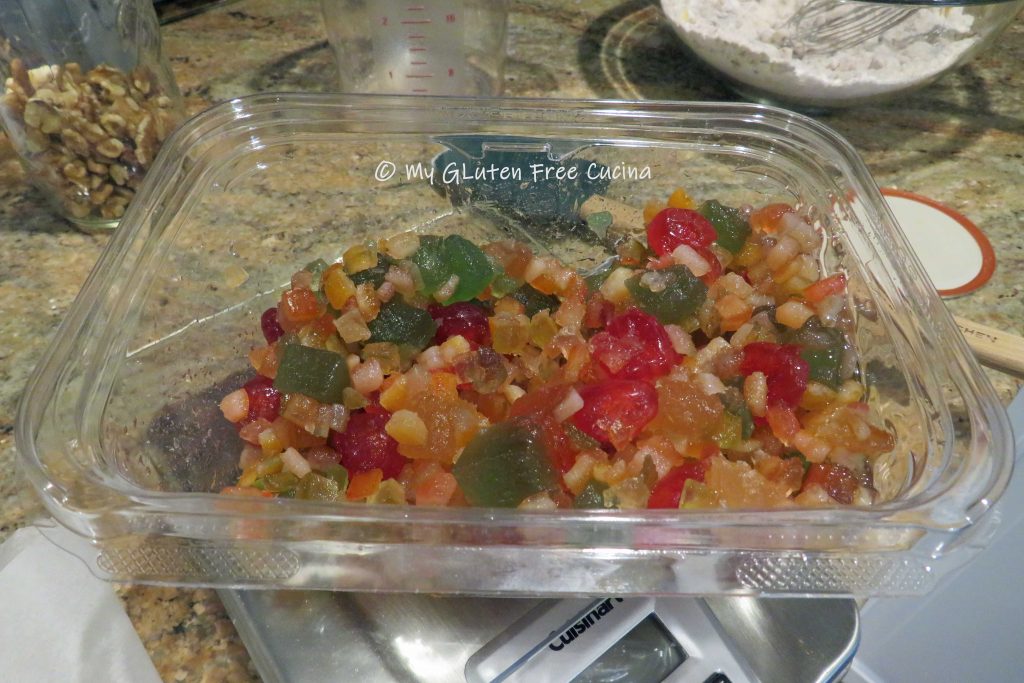
If you prefer a dried fruit mix (not candied), this Sun-Dried Baker’s Fruit Medley from Traina is gluten free and comes in a generous 2-lb. bag, great if you wanted to double this recipe.

The rest of the ingredient list consists of common pantry items and the preparation is straightforward.  There is no special equipment needed, other than a loaf pan.  This recipe makes 1 loaf (9″ loaf pan) or 4 mini loaves.  Here is the pan I used.

Ingredients:

Wet Ingredients

  • 4 tbsp. butter (1/2 stick)
  • 1-1/4 cups hot water
  • 1 cup sugar

Dry Ingredients:

Other:

  • Crisco, or butter for greasing pans
  • brandy, for brushing

Preparation:

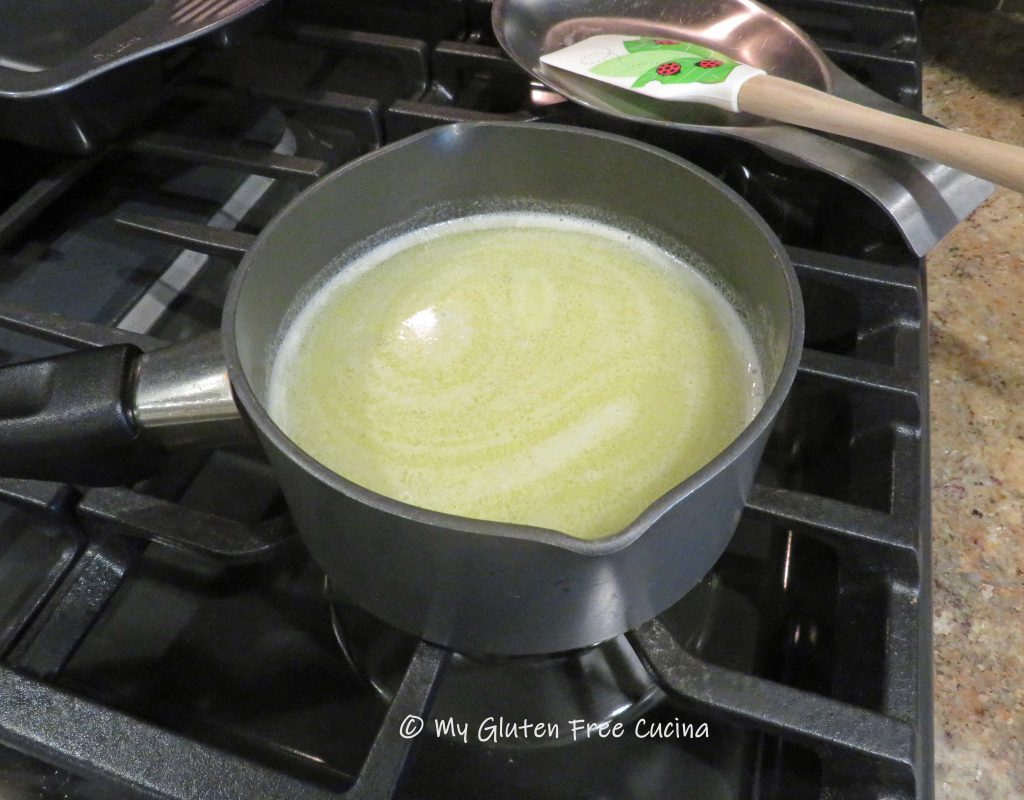
Combine the butter, water and sugar in a small saucepan and boil for 5 minutes.  Set aside to cool.
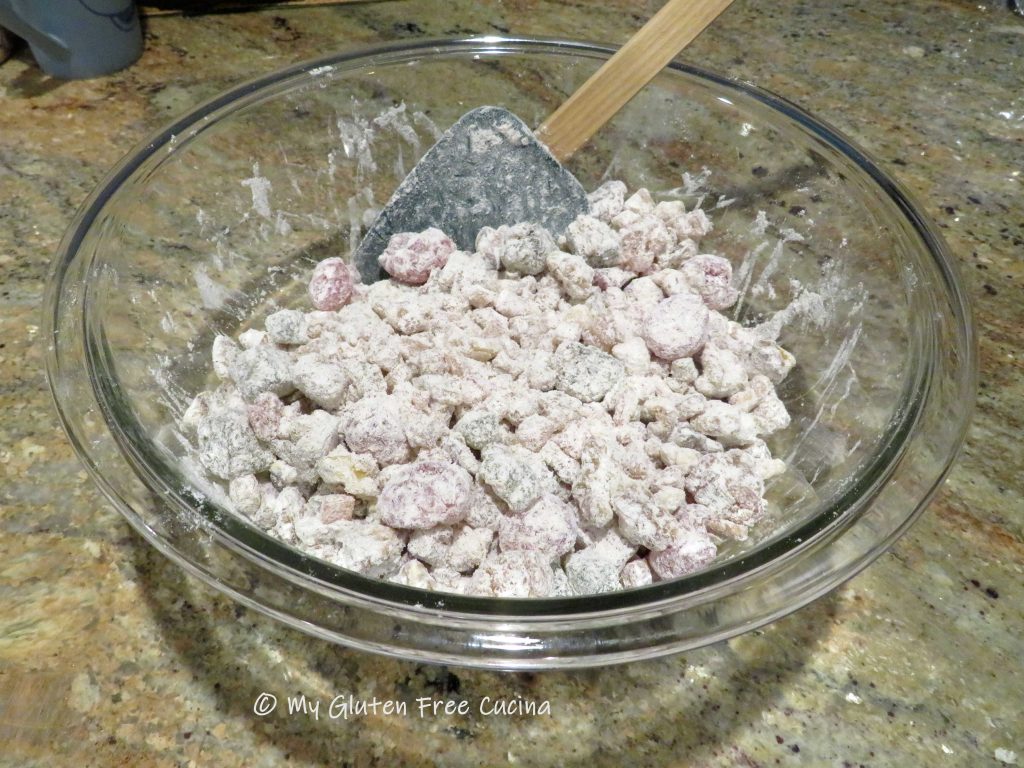
Whisk together the flour, spices and baking soda in a large bowl.  Add the walnuts and dried fruit.  Toss well with the flour mixture.
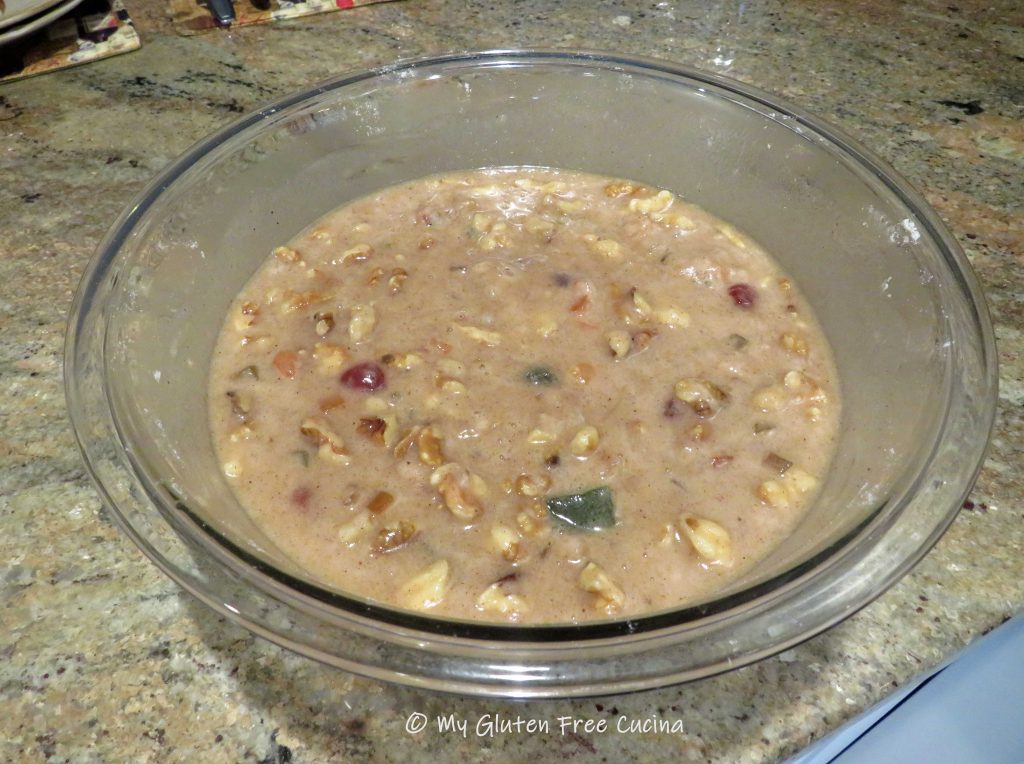
Pour the liquid mixture over the fruit and flour mixture and blend thoroughly with a spatula.  Give the batter a few minutes to rest and thicken.
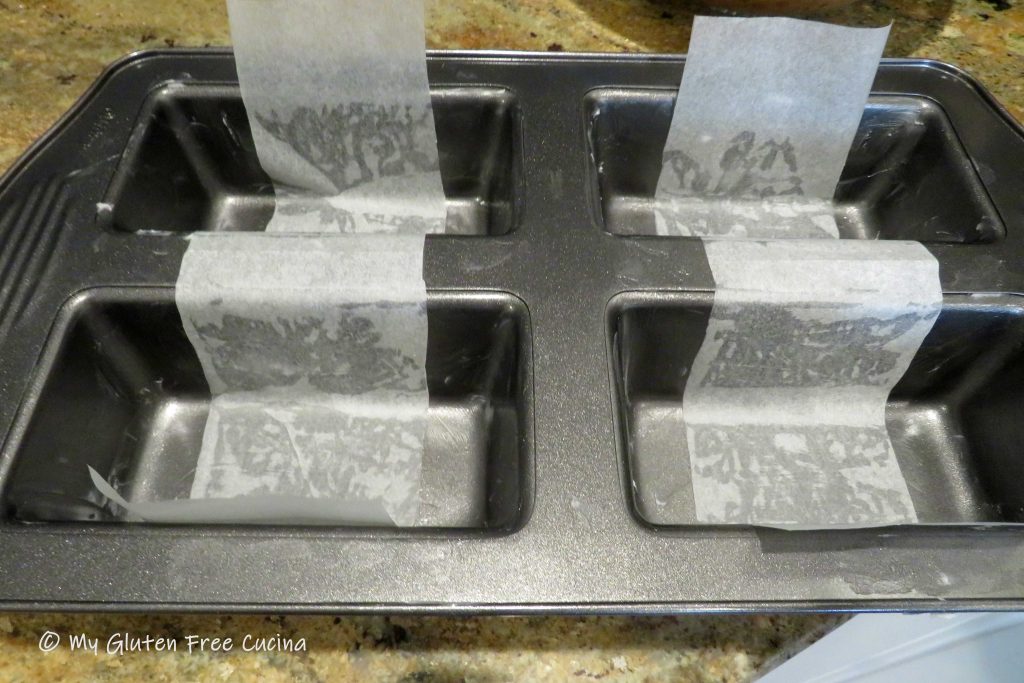
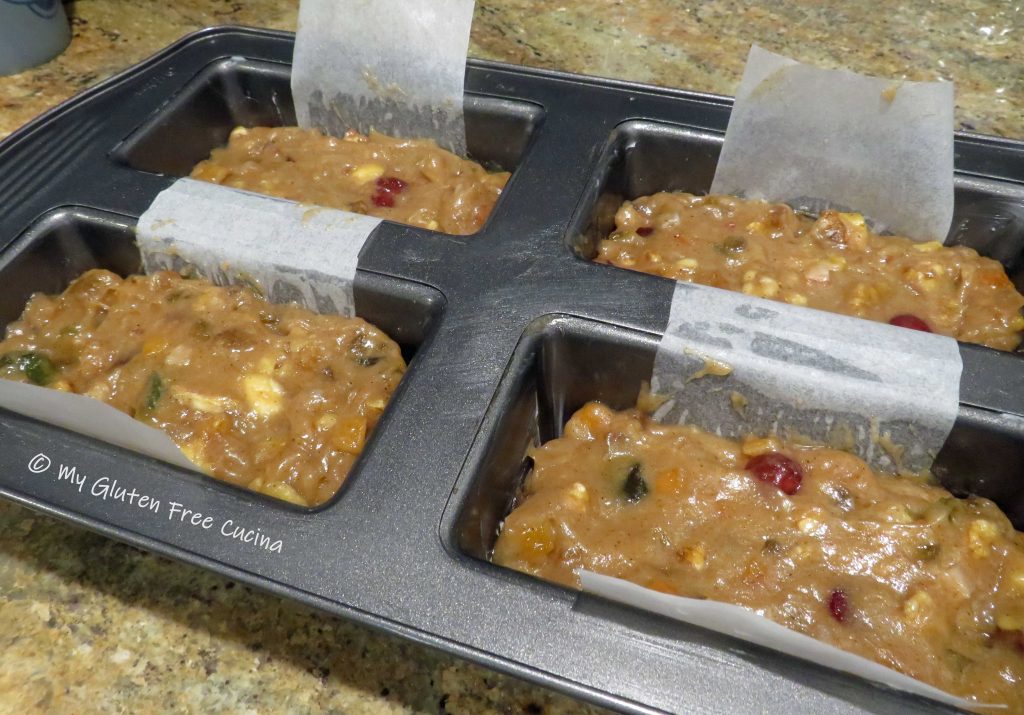
Preheat the oven to 350º.  Grease the loaf pan liberally with Crisco (or butter).  Even though my loaf pan is nonstick, I lined it with strips of parchment for a little added insurance.
Spoon the batter into the prepared pan.  Smooth the top with a spatula, making sure it gets into all the corners.
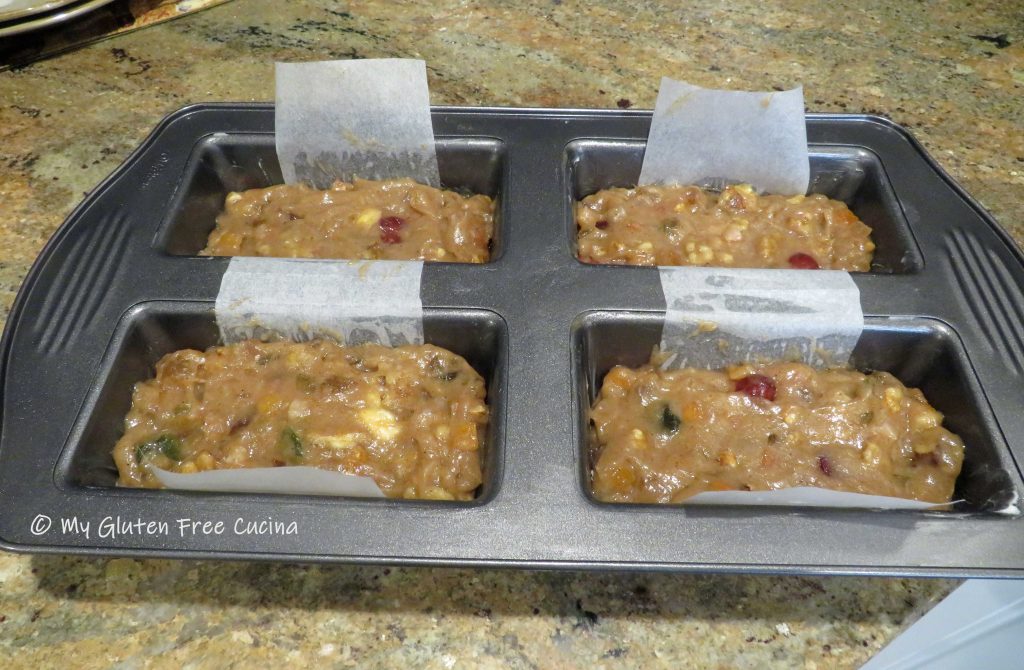
If using a 9″ loaf pan, bake for 1 to 1.5 hours, testing for doneness after 1 hour.  The original recipe instructions said 1.5 hours and it will depend largely on your oven and the amount of moisture in the fruit blend.
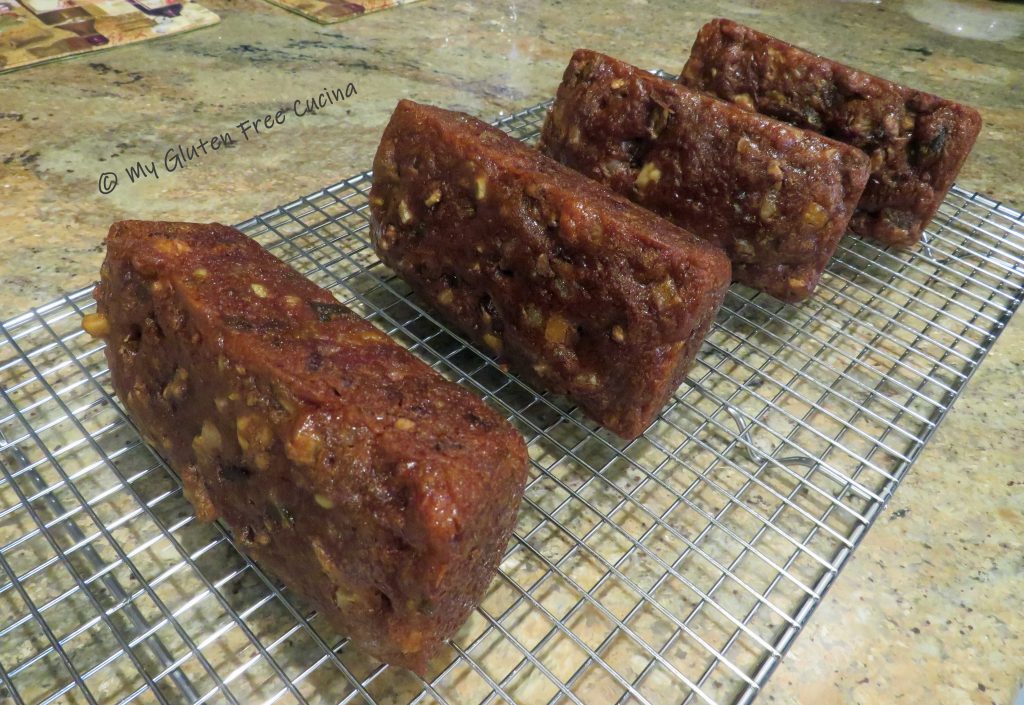
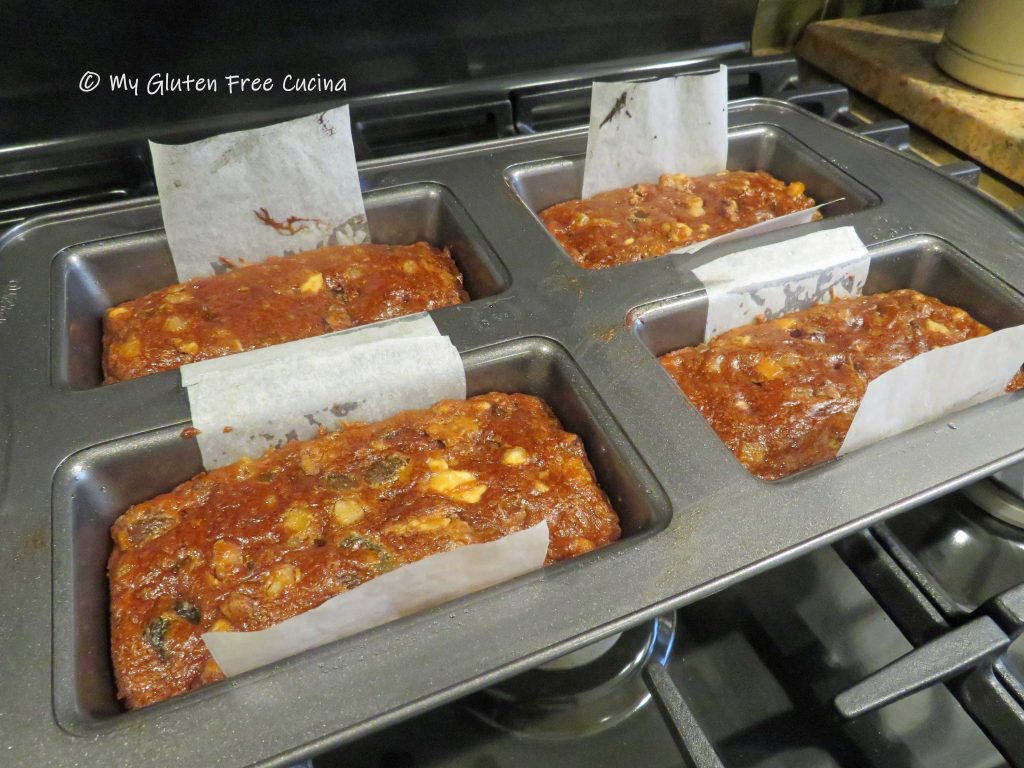
For mini loaves, the baking time will be 45-50 minutes.  After baking I turned the oven off and opened the door slightly, leaving the loaves in for another 30 minutes to cool.  I used a toothpick to check for doneness, and you can see that the loaves are starting to pull away from the sides of the pan.

Remove pan from the oven and cool on a rack for 15-20 minutes, then run a knife or thin spatula around the edges.  Grasp the sides of the parchment to lift the cakes out of the pan.
I was so glad I used parchment, look how the cakes released perfectly from the pan with no cracks or sticking.
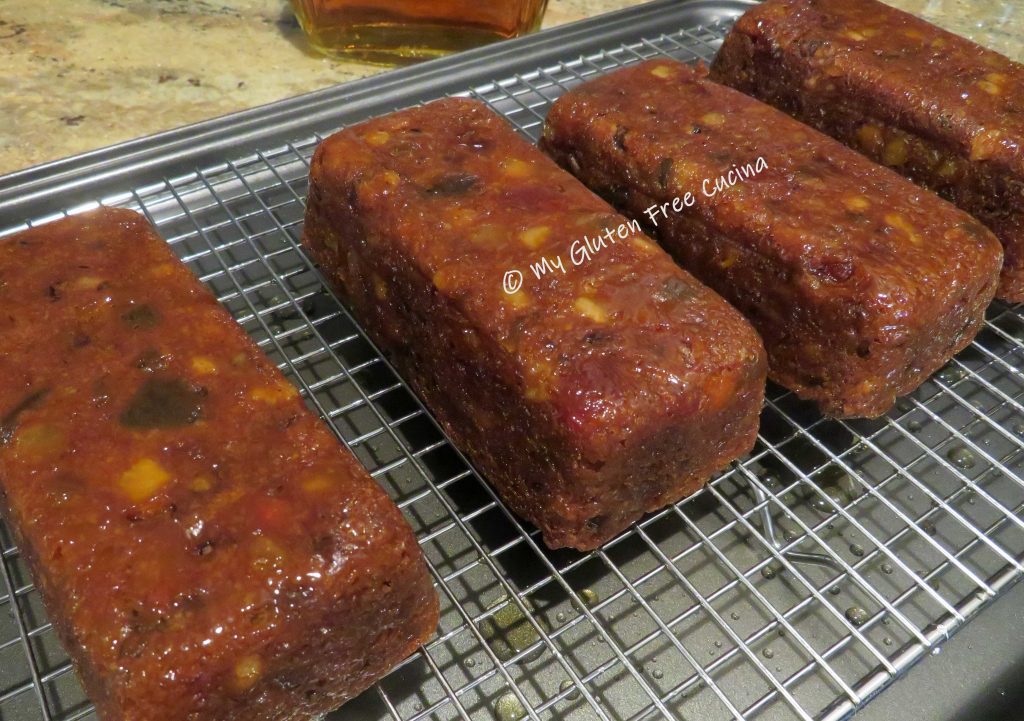
When the cakes have completely cooled, brush them liberally on all sides with brandy.  I used just under 1/2 cup for all 4 cakes.

Tightly wrap each cake in wax paper, pressing the paper into the moistened cake to seal.  Tape the edges.
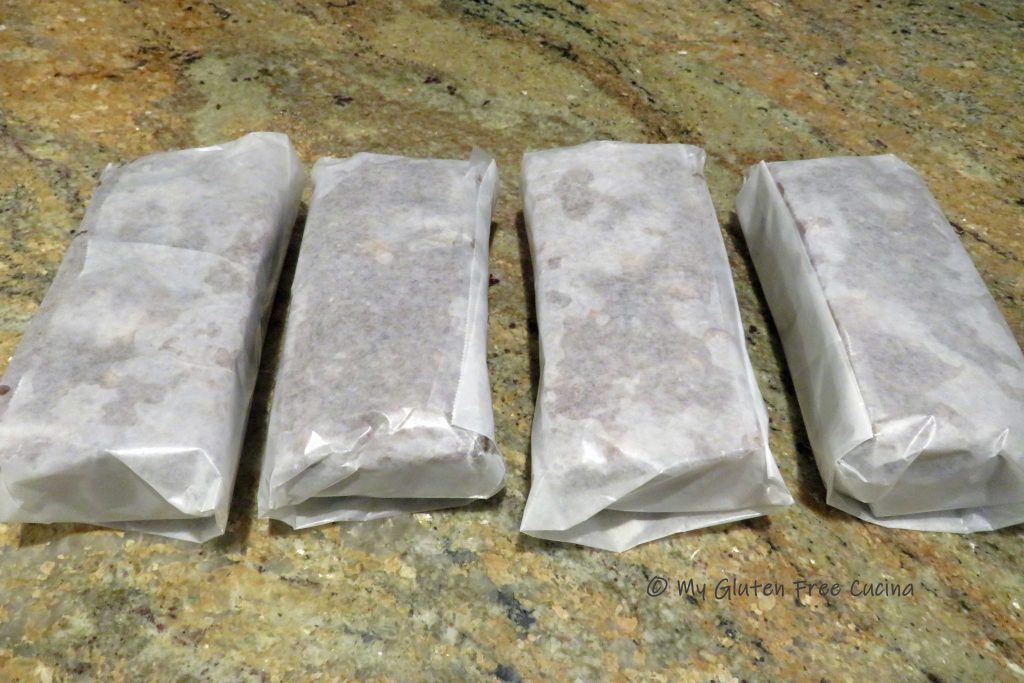
Wrap again in foil, place in zip lock bags and store in a cool, dark place for about 8 weeks.

I made the fruitcakes in early October, and we will enjoy them from Thanksgiving Day through the New Year.  Our first taste did not disappoint!  After 5 years gluten free, it was such a treat for me to make this old recipe again!

Notes ♪♫ Always reach out to a manufacturer when you are not sure if a product contains gluten.  In past years, I have used King Arthur’s dried fruit blend for my Fruitcakes.  Unfortunately, they confirmed to me via email that they do not test for gluten in their Bakers Fruit Blend and cannot guarantee no cross contact with gluten in this specific product.

Print This Post Print This Post
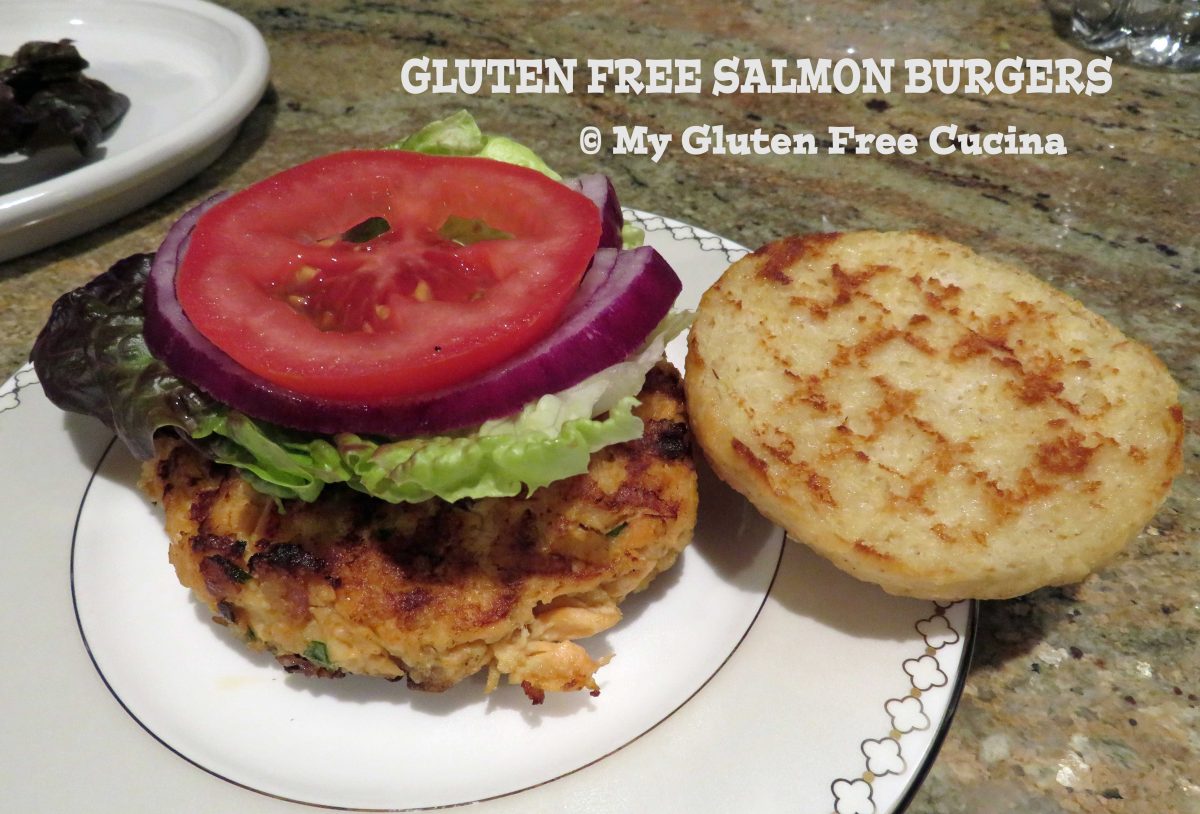
Gluten Free Salmon Burgers

Since I began my gluten free journey, one of the things I miss most is being able to just go out for a sandwich.  A few restaurants do offer gluten free buns, but even then, gluten is lurking everywhere!  Toppings, breadcrumbs, binders, fillers, sauces and even seasonings may contain hidden gluten.  One of my favorite local chains has the best salmon burgers, but of course they are now off limits for me.  I’m feeling deprived!  So, this week I decided to create a copycat version of this awesome sandwich at home.  Here’s how!

4 Servings

This post contains affiliate links.

Ingredients:

Preparation:

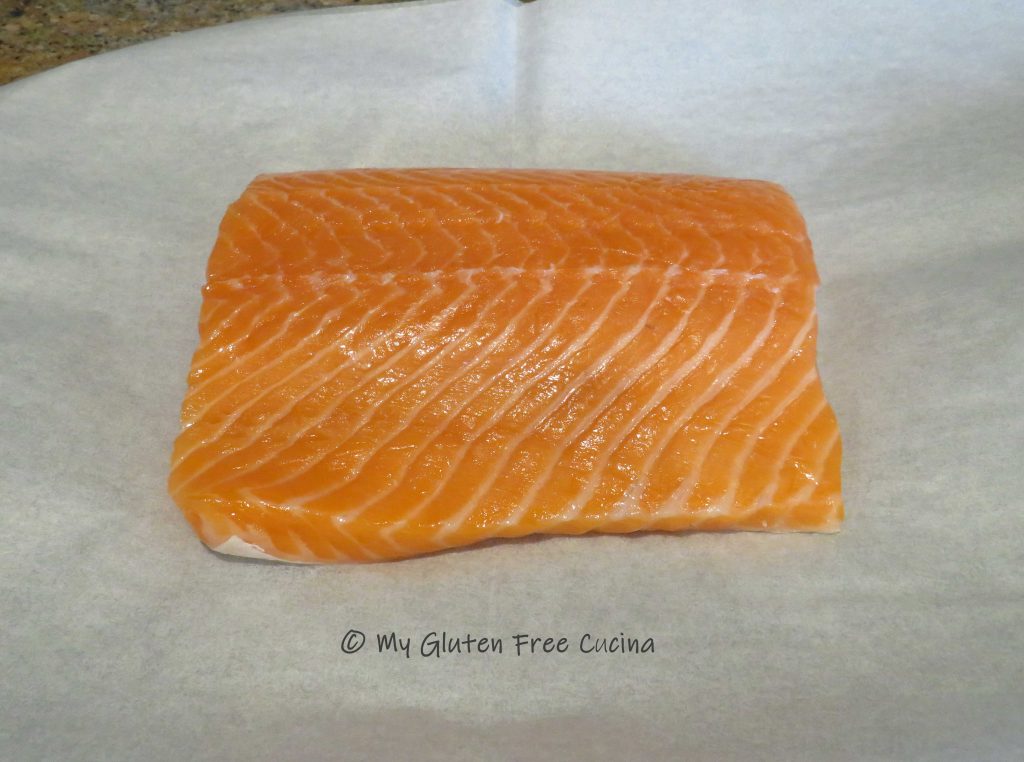
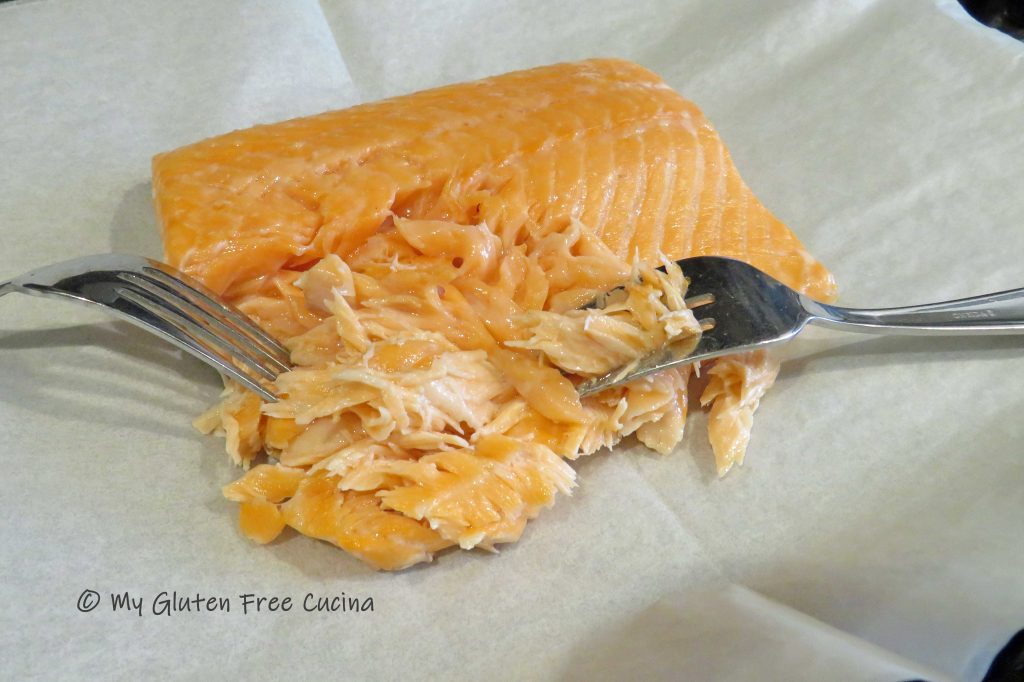
I used fresh salmon, so that I could freeze 2 burgers for another meal.  If you are not going to freeze them, you can use frozen salmon.  Line a baking sheet with parchment paper and preheat the oven to 350º.   Bake the salmon for 15 minutes.  Cool slightly then remove the skin.  It should peel off easily.  Use a fork to flake the fish and let it cool to room temperature.

Heat 1 tsp. olive oil in a small stainless-steel skillet over medium low.  Add the minced onions and cook until they begin to brown and caramelize.  They will cook down to about 1/4 cup.  Remove, set aside and cool to room temperature.

Whisk together the egg, mayo, onion, chives, Worcestershire, lemon juice and seasoning.

Add the flaked salmon.  Be sure it has cooled to room temperature, so the egg doesn’t cook.

Next add the potato flakes and gluten free Panko.  Stir and use a fork to blend everything together thoroughly.  Don’t overwork it.

You should have enough to form 4 generous sized patties.

I used a hamburger press to make them nice and even.  Mist the press with cooking spray first to help the patties release.

I placed the patties on a baking sheet lined with parchment to make them easier to handle.  Keep them refrigerated until ready to cook.  You can also freeze them at this point.  Let them freeze on the sheet so they keep their shape, then wrap them individually and store in a freezer bag.

To cook, brush a grill pan with a little olive oil and cook the patties 5 minutes per side over medium heat.  The patties are delicate, so handle them gently with a wide spatula.

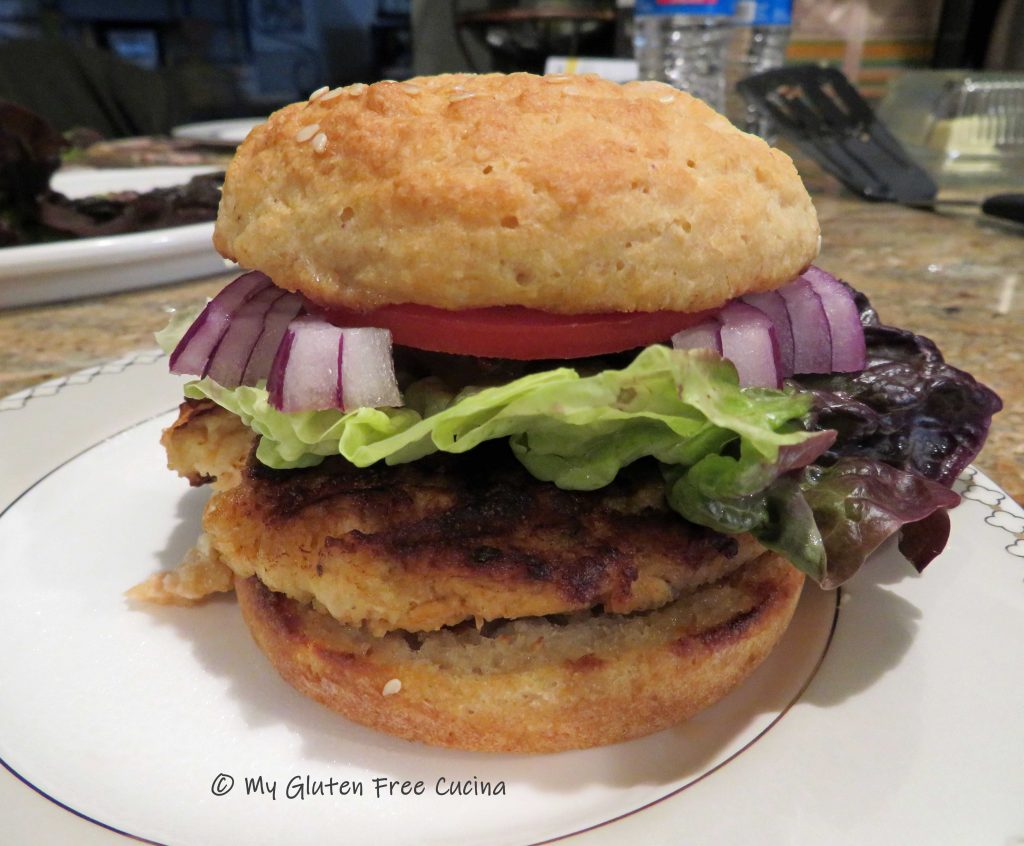
Add your favorite gluten free bun and there you are.  This is one of my favorite restaurant meals that was just waiting for a gluten free makeover.  Now I can enjoy a salmon burger at home any time.

I hope that you enjoyed this recipe.  My gluten eating husband also thought these Salmon Burgers were great, just like the restaurant version!  So don’t feel deprived!  Try the recipe at your house and let me know what you think!

Notes ♪♫ I see you ogling that gluten free bun!  My own flour blend, it’s a nice big bun that you will love for all your burgers and sandwiches!  Get the recipe here!

This post was originally published on 07/06/2018.  While the photos have been updated over the years (as I become a better photographer!), the recipe itself has not changed.  

Print This Post Print This Post

Gluten Free Pasta e Fagioli

Today I’m making Pasta e Fagioli, a favorite on the menu of Italian restaurants everywhere.  Of course, for those of us with Celiac disease, ordering any type of soup at a restaurant is not an option, or at best a roll of the dice.  Luckily, most soups are easy to recreate at home!  Especially when most of the ingredients are naturally gluten free, just be sure and check the labels!  And as I always say, don’t shy away from cooking with beans.  The Navy beans that I used in this soup are especially easy to work with and always turn out great.  You can of course use canned beans, I won’t tell!

8 – 10 Servings

This post contains affiliate links.

Ingredients:

  • 1 cup (dry) Navy beans
  • 2 gluten free Italian sausage links
  • 3/4 cup sweet onion, finely chopped
  • 3/4 cup celery, finely chopped
  • 3/4 cup carrot, finely chopped
  • 4 garlic cloves, minced
  • 2-3 tbsp. olive oil
  • 1/4 tsp. red pepper flakes
  • 1/2 tsp. sage
  • 1/2 tsp. thyme
  • 1/2 cup white wine (optional but good)
  • 1 can (14.5 oz.) gluten free diced tomatoes, pulsed in chopper
  • 3 cups gluten free beef stock
  • 1-1/2 cups gluten free chicken stock
  • 1 cup gluten free Ditalini pasta

Preparation:

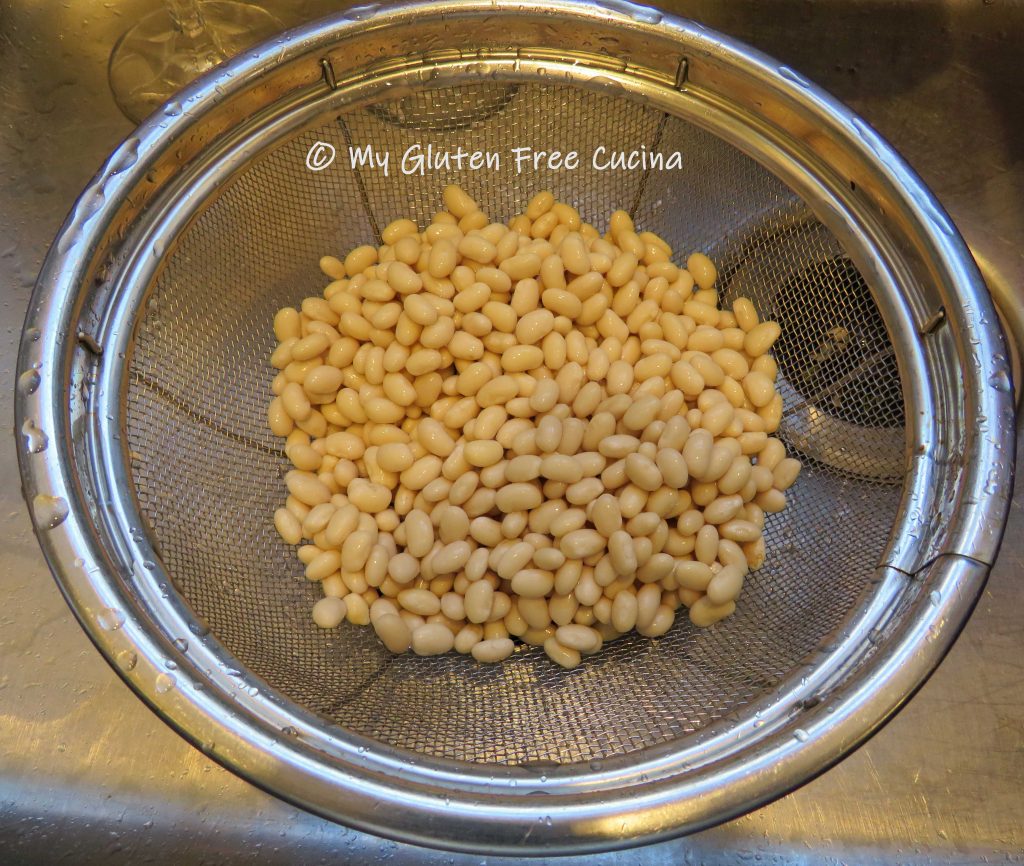
Start the soup the night before, by soaking the navy beans overnight. Always look them over for any foreign material (i.e. errant grains that may sneak in or even a pebble!).  I also rinse them in a colander under cold water to minimize any trace gluten residue, then place in a small sauce pan with cold water, cover and let them stand until morning.  The next day, drain and rinse again, then return to a clean pot.

Add cold water, cover and place on a very low simmer for 2 hours.

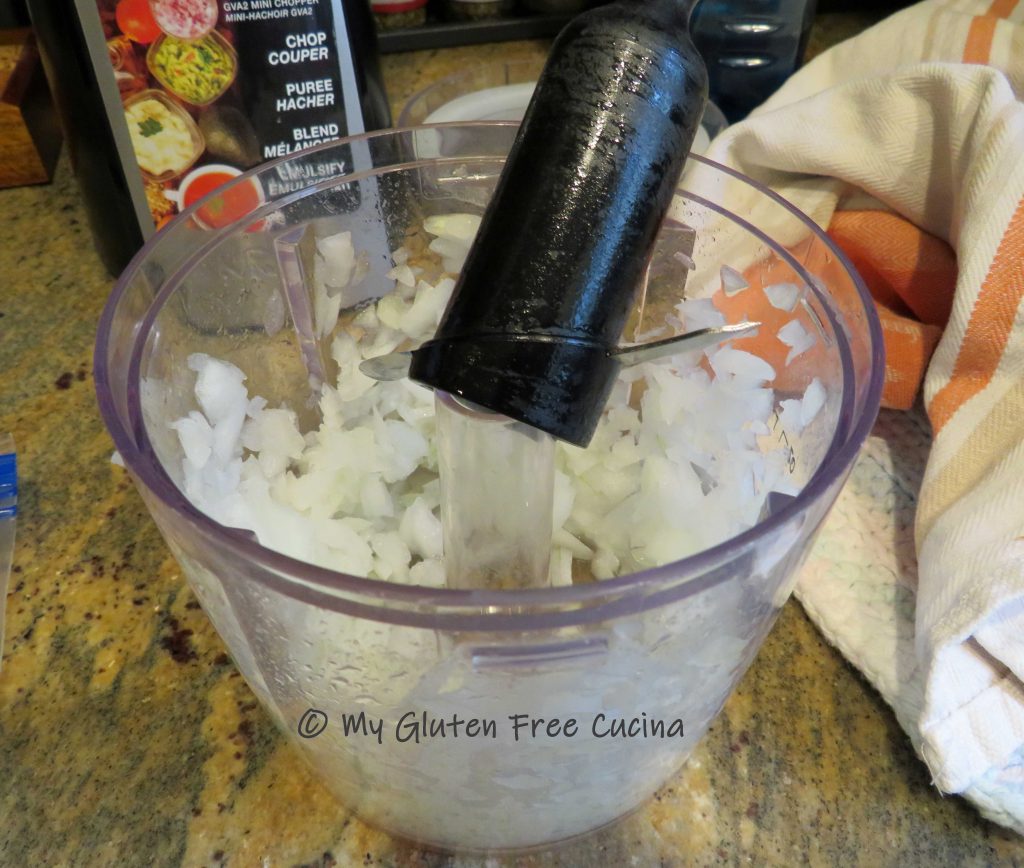
Next, get the other ingredients ready.  We’ll be making a Soffritto (a flavor base composed of sautéed carrots, celery, and onion that forms the foundation of so many Italian recipes), so the veggies need to be finely minced.  I used my electric chopper to make the prep work super fast and easy.

I used about 1/2 of a medium sweet onion, 3 med stalks of celery and 1 large carrot.  You will have about 3/4 cup of each, don’t worry, it doesn’t have to be precise 😉  Mince the garlic and set aside.

In a stock pot or Dutch oven, heat 2 tbsp. of olive oil.  Remove casings from the sausage and add to the pot.  I used Open Nature Italian Chicken Sausage.  Brown the sausage then cut into pieces and continue cooking through, about 3 minutes.

Remove sausage from the pan, reserving any leftover oil.  Cool slightly and add to the chopper.  Pulse a few times to break up the meat.

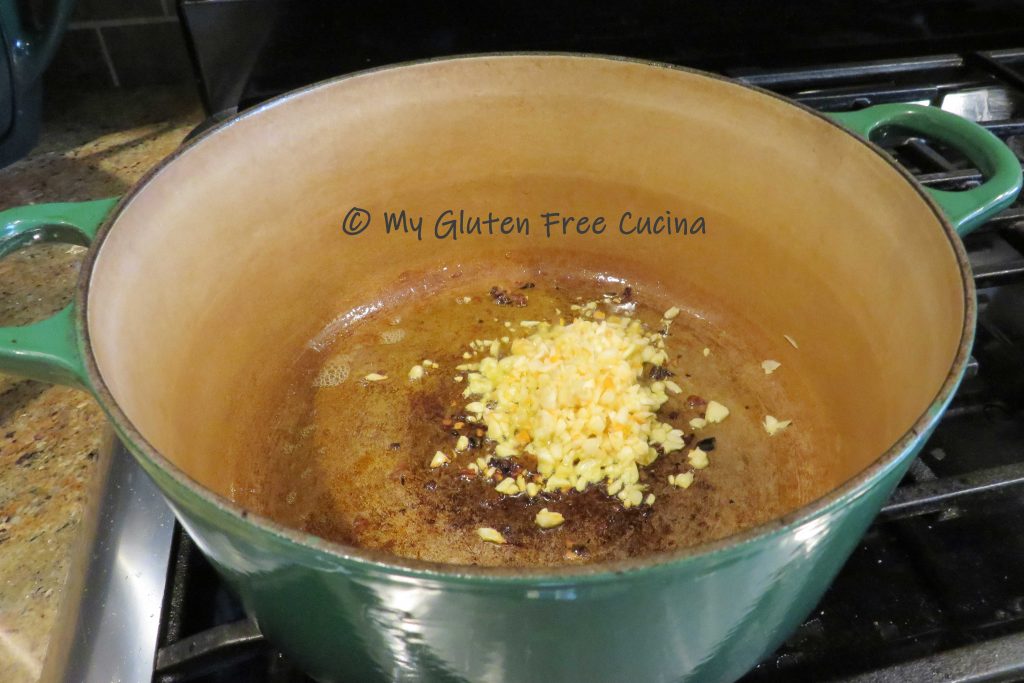
In the same pan, add another tbsp. of olive oil and 1/4 tsp. red pepper flakes.  Stir 30 seconds to intensify their flavor.

Next add the minced garlic, stir and cook for 1 minute.

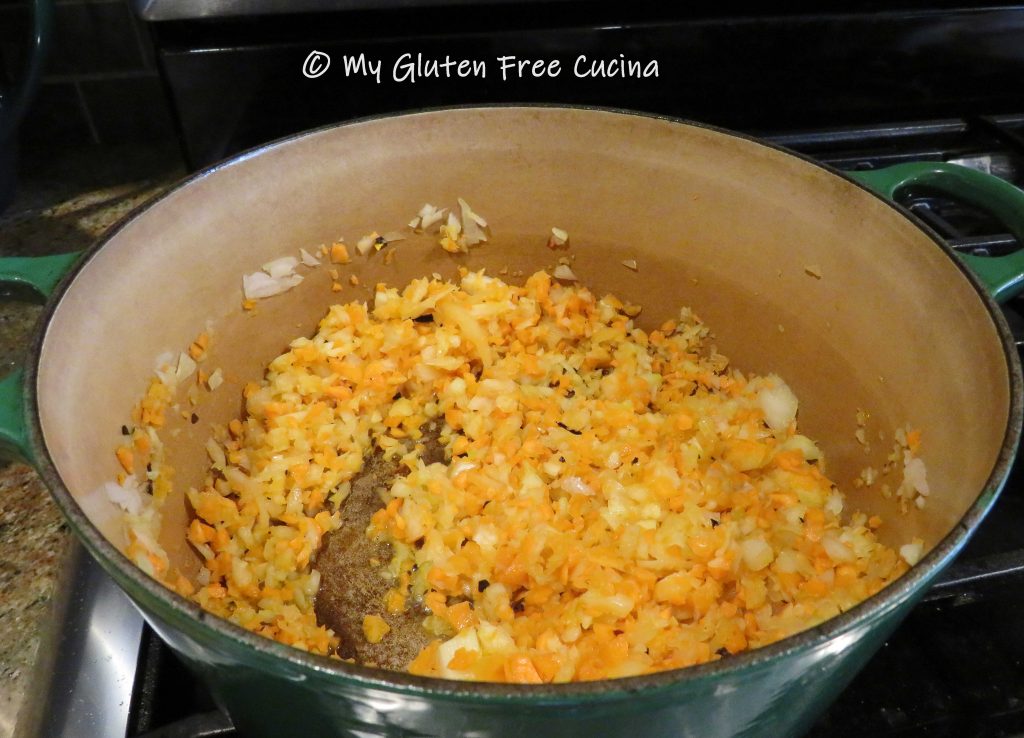
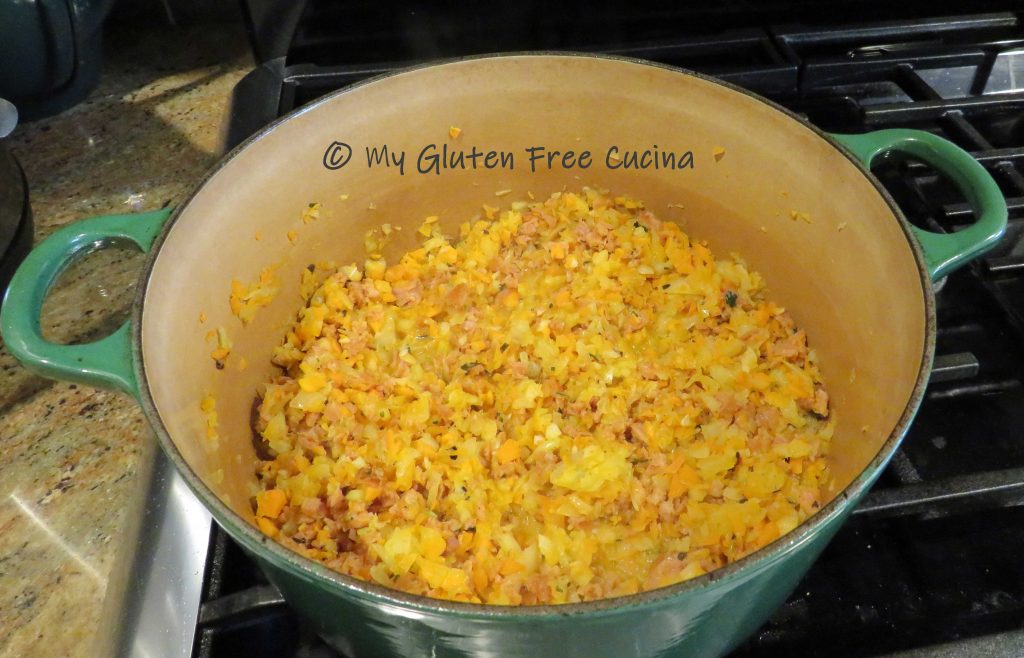
Now add the carrots, celery and onion to make the Soffritto.  Stir frequently for 2 minutes, you will see the veggies begin to break down and release their liquid.

Add back the chopped sausage along with the white wine (if using).  Stir together and cook 2 minutes.

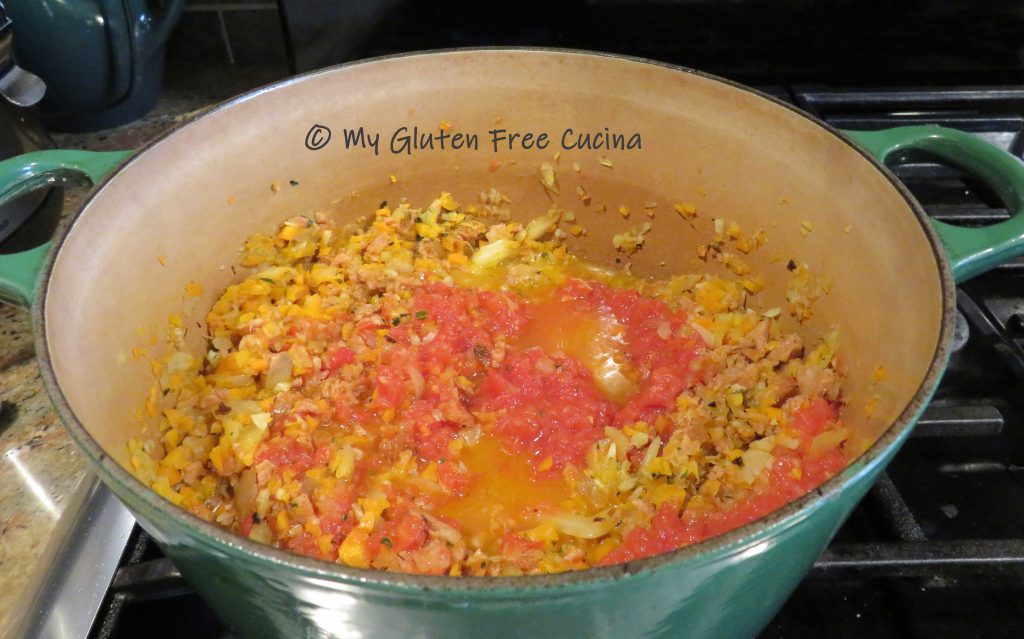
Place the diced tomatoes in the chopper and pulse a few times.  Stir the tomatoes into the pot, along with the beef stock, chicken stock, sage and thyme.

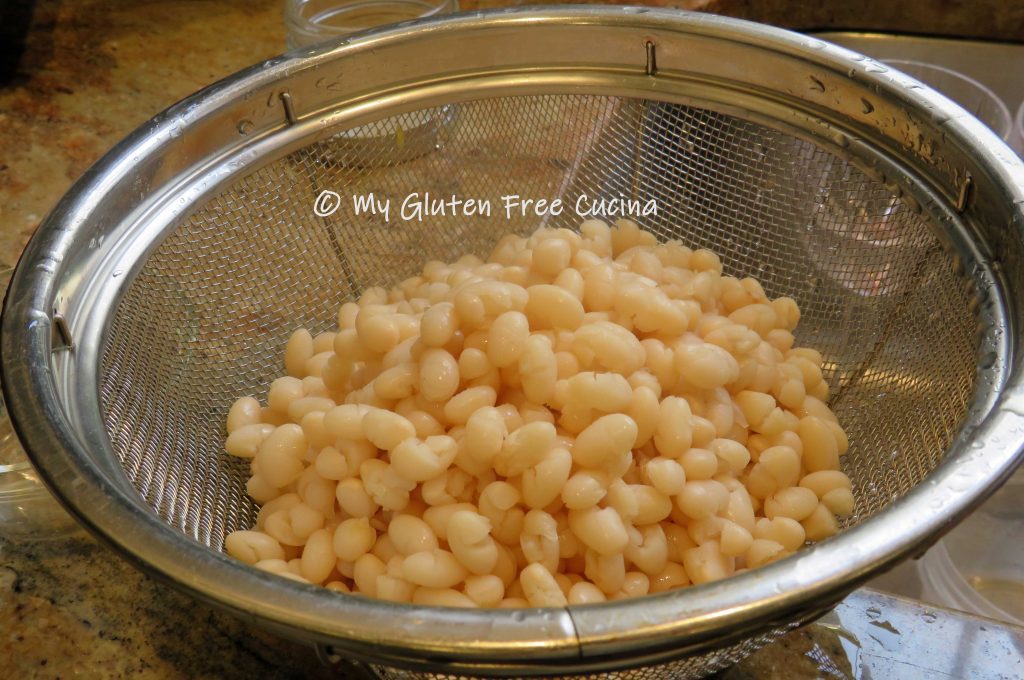
Add the drained, cooked beans.  Cover and simmer on low heat for 45-60 minutes.

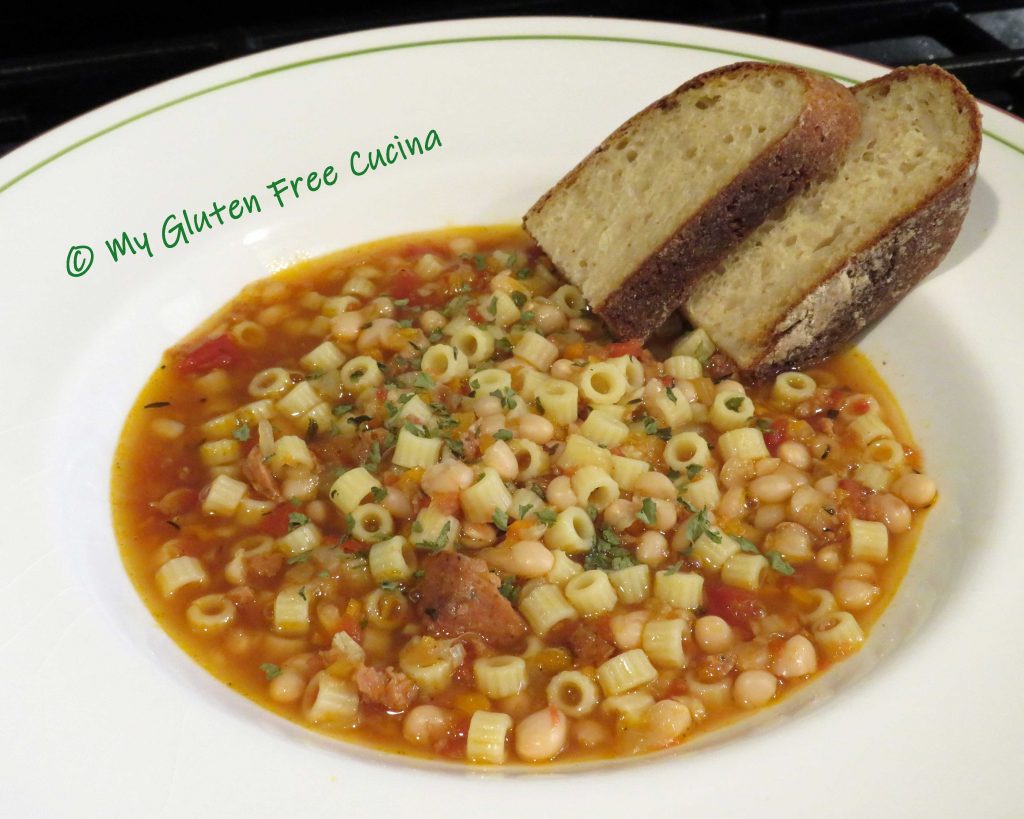
Finally, cook the Ditalini separately in salted water, drain and add to the soup.  (Note, you may see recipes where the pasta is cooked directly in the soup, but I find that gluten free pasta works best when cooked separately.)

Garnish with parsley and serve with grated cheese (optional) and a thick slice of gluten free bread.

Notes: ♪♫ I was especially happy to find Le Veneziane Gluten Free Ditalini pasta, traditionally used in this soup.  You can use any small, gluten free pasta or break up any gluten free pasta into small pieces.

Print This Post Print This Post