This recipe is about a memory. Of my long-ago childhood home, when my younger self would arrive home from school to find that my mother had been baking. Of the aroma that filled the kitchen, the table covered with racks holding dozens and dozens of these fragrant Italian treats just out of the oven. We would devour them still warm, when they had the consistency of a soft cookie. Later, when fully cooled they would firm up to a crisp exterior perfect for dunking in coffee!
Why do I remember this particular recipe so fondly? Like most women of her generation my mother embraced convenience foods, and her cookies and cakes were usually made from a boxed mix. Not these Wine Biscuits though, they were always made from scratch!
It’s a popular recipe and an easy one too! Every Italian has their own little variation, but the basic ingredients include a cup of sugar, a cup of oil and a cup of wine. My mother used eggs in hers. I know that others do not, but I think the egg definitely helped with the consistency in this gluten free makeover.
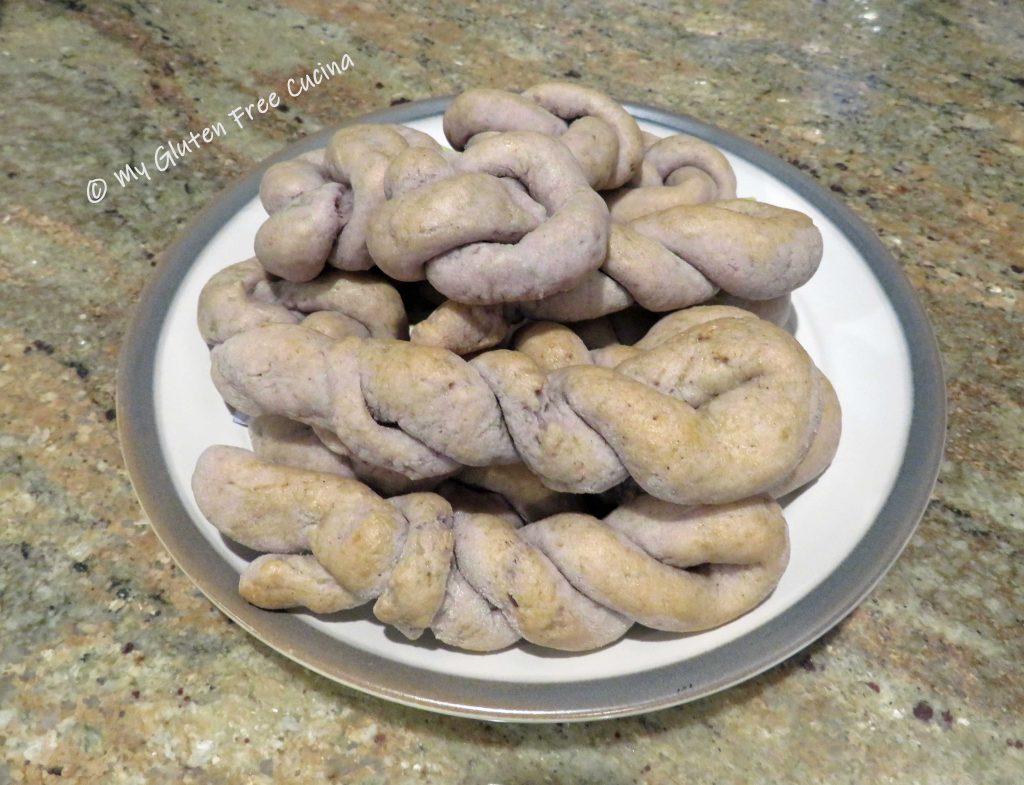
It was a challenge to recreate the exact texture of these biscuits with a gluten free flour. Although we call them biscuits, they are actually a shaped cookie. The dough had to be workable enough to roll into thin ropes, to form the traditional twist and knot shapes. A tall order for gluten free!
This post contains affiliate links.
The Flour
In keeping with the simplicity of my mother’s recipe, I did not want to make a 20-ingredient flour blend. So, I used Better Batter Original All Purpose Flour and was very pleased with the taste and texture of the wine biscuits. They got a big thumbs up from family and friends who sampled them! Please note that other gluten free flour blends may work, but since every brand is different, you may not achieve the same results with another flour.
When you shop Better Batter and use my Promo Code MGFC30 at checkout, you will receive 30% off any non-sale item!
CLICK HERE to try the flour that I call my little miracle in a bag!
Yield: 2 dozen
My mother’s original recipe made 4 dozen wine biscuits and believe me, in those days they disappeared before having a chance to cool down! I decided to cut the recipe in half, and it was just the right amount for a small get together. You can double it for a larger group or holiday baking.

Ingredients:
Plus . . . . . . . . . . . .
- additional flour for dusting and rolling
- 1 beaten egg, for egg wash
Preparation:
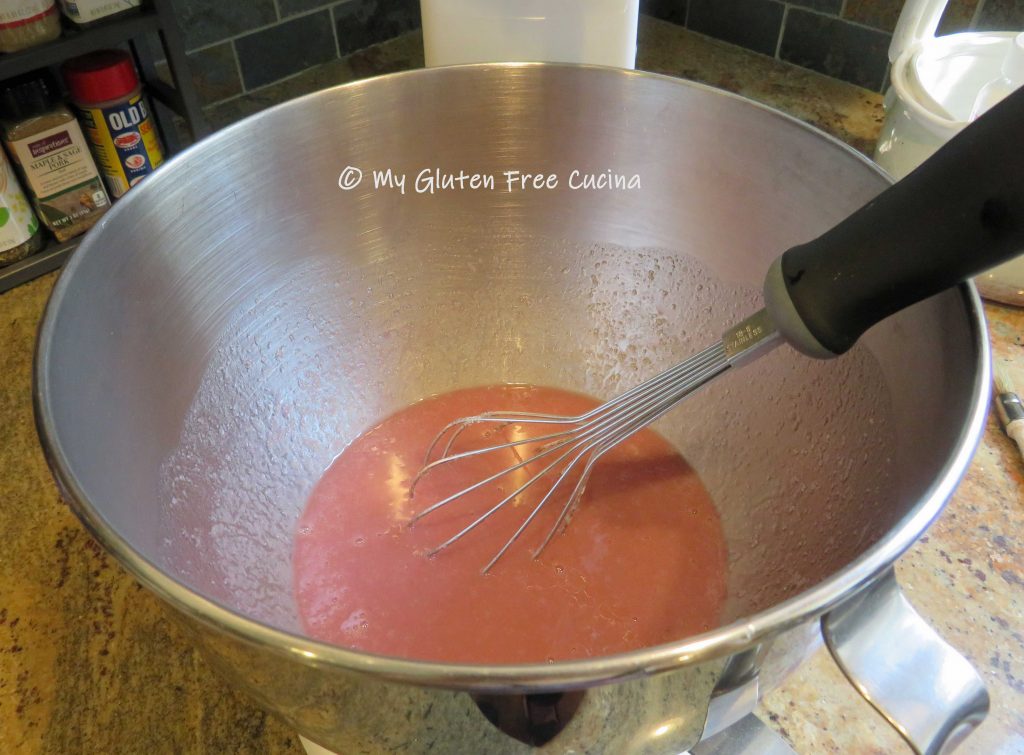
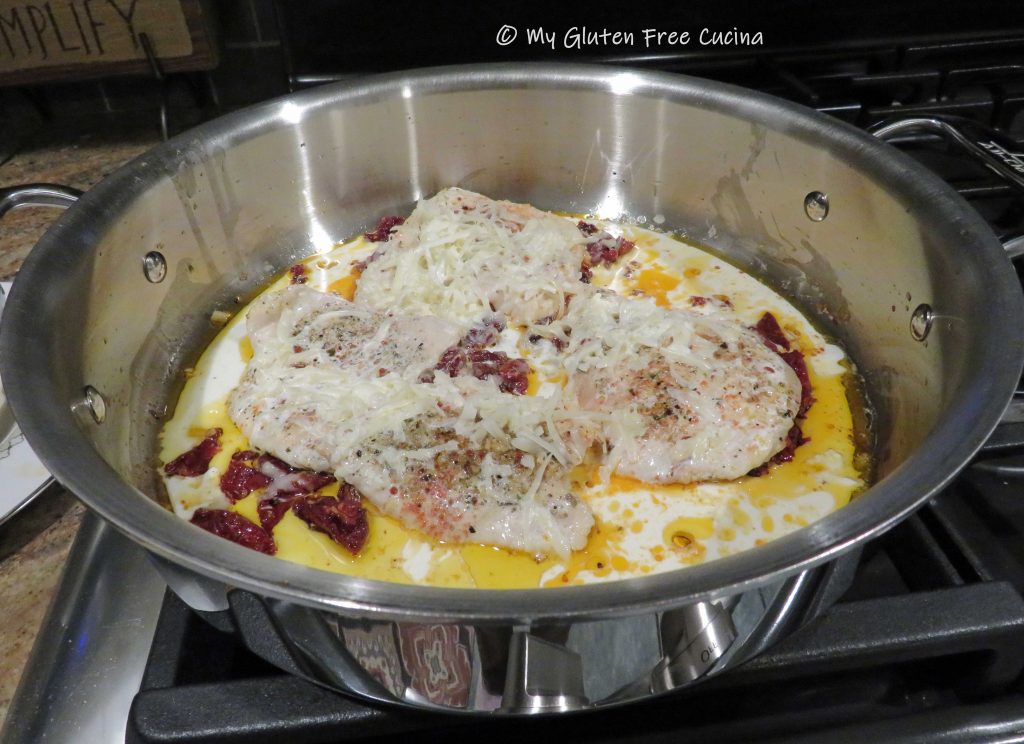
In the bowl of a stand mixer, whisk together the egg, sugar, oil and wine.

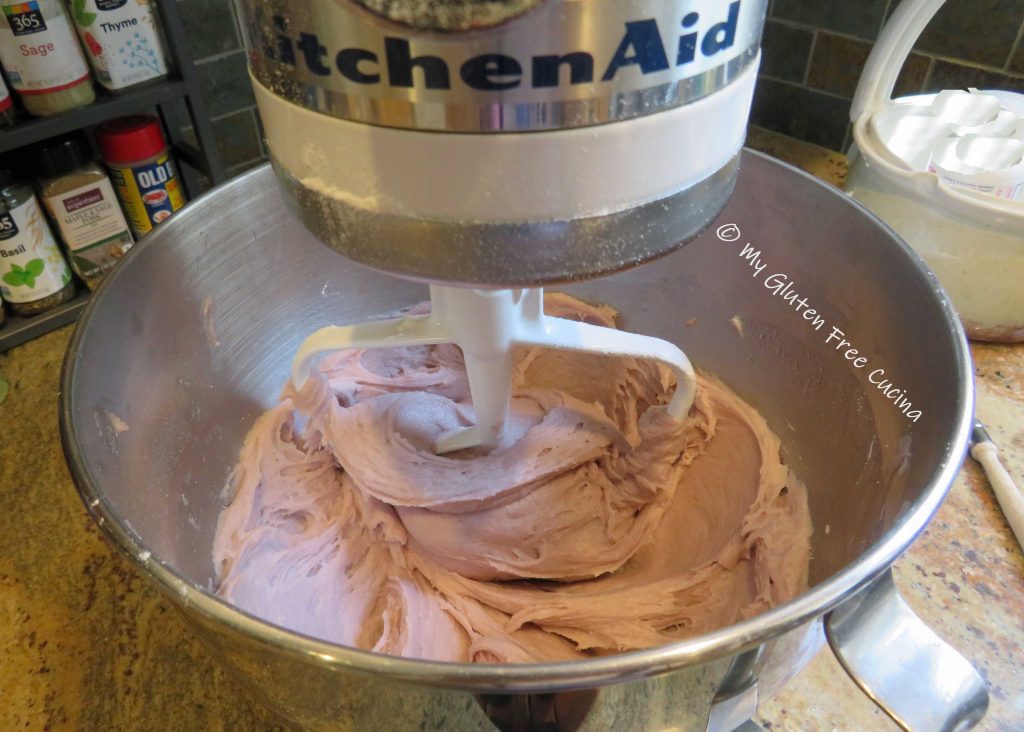
In a separate bowl, whisk together the flour, baking powder and salt. Gradually add the dry ingredients to wet and beat until a soft dough forms.
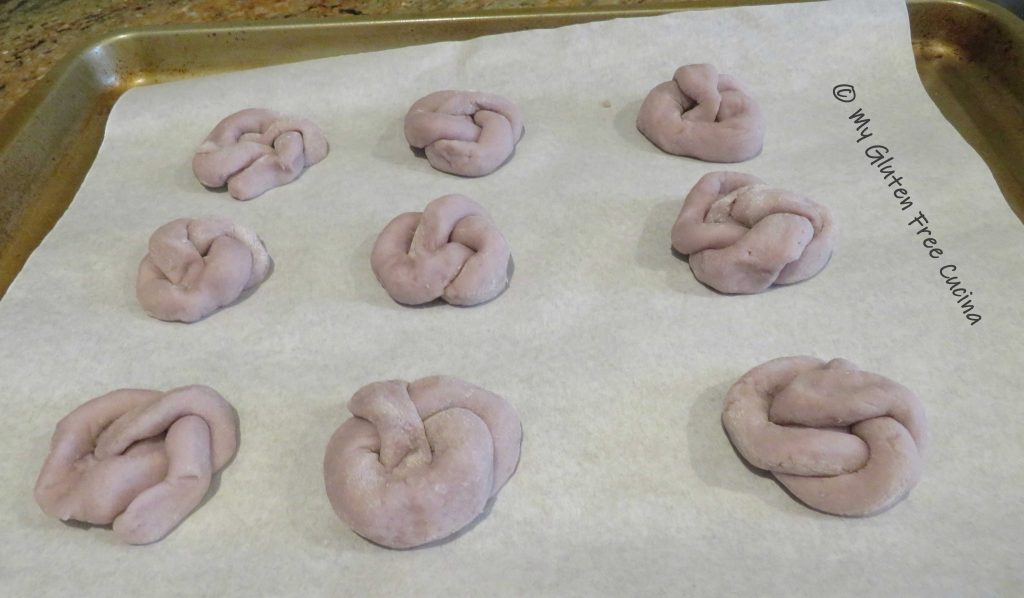
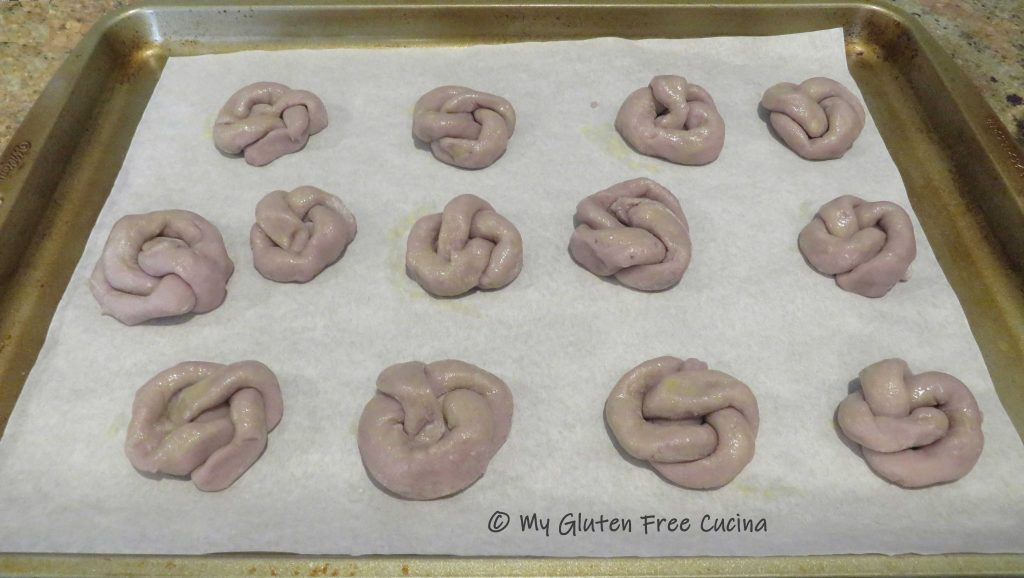
Lightly flour a cutting board, and scoop out one rounded tablespoon of dough at a time. Roll each piece into a rope, about 1/2″ thick and 10″ long. Keep the board and your fingers lightly floured while handling the dough.

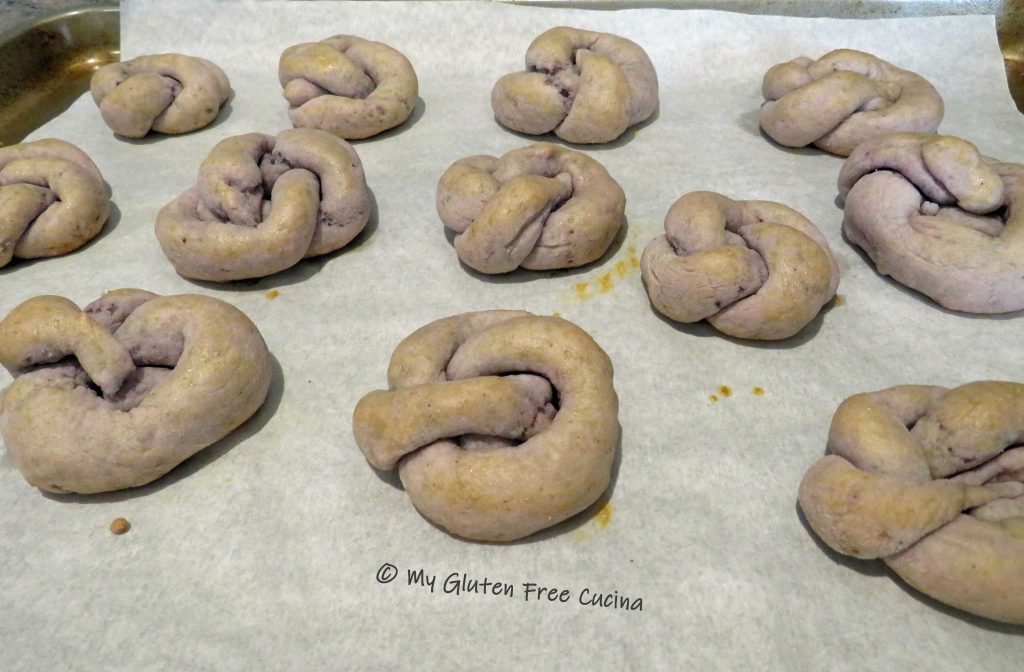
You can shape the ropes into a knot or a twist. My mother would simply form a round and pinch the ends together, that works too! You should have enough for about 2 dozen.

Line 2 baking sheets with parchment and arrange the formed wine biscuits, leaving a few inches of space in between. Refrigerate for 1 hour before baking. Keeping them cold helps the biscuits retain their shape.
Preheat the oven to 325º. Whisk together 1 egg with 1 tbsp. water and lightly brush the wine biscuits with the egg wash.

 Bake for 22-25 minutes. Cool in the pan 10 minutes then transfer to a rack. Enjoy them warm or at room temperature.

Store airtight at room temperature 2-3 days. I imagine they would freeze well but this batch did not last long enough to find out!
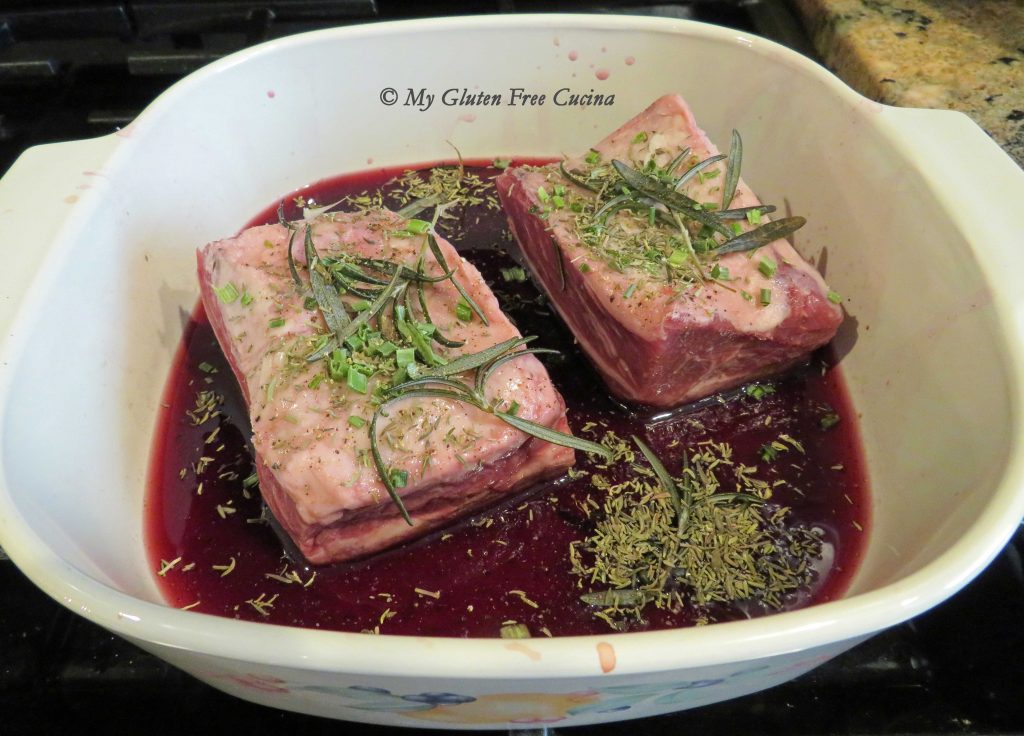
Notes ♪♫ My mother made these biscuits with my grandfather’s homemade red wine. 🍷 There was always a bottle in the refrigerator. Even when the wine was past its prime, it was good for cooking, and this was how it usually got used up! You can use any red wine that you enjoy drinking (i.e., not cooking wine!).

[print_link]


 Preparation:
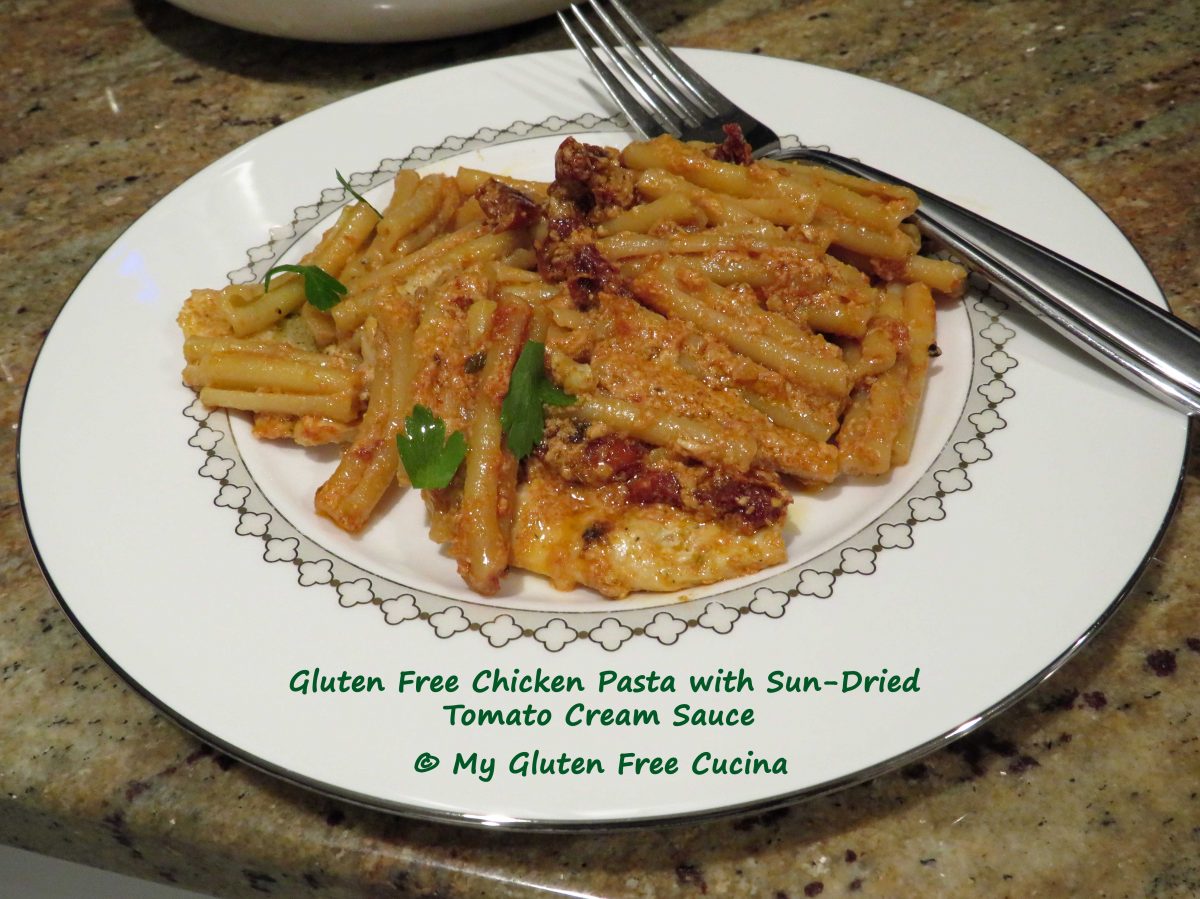
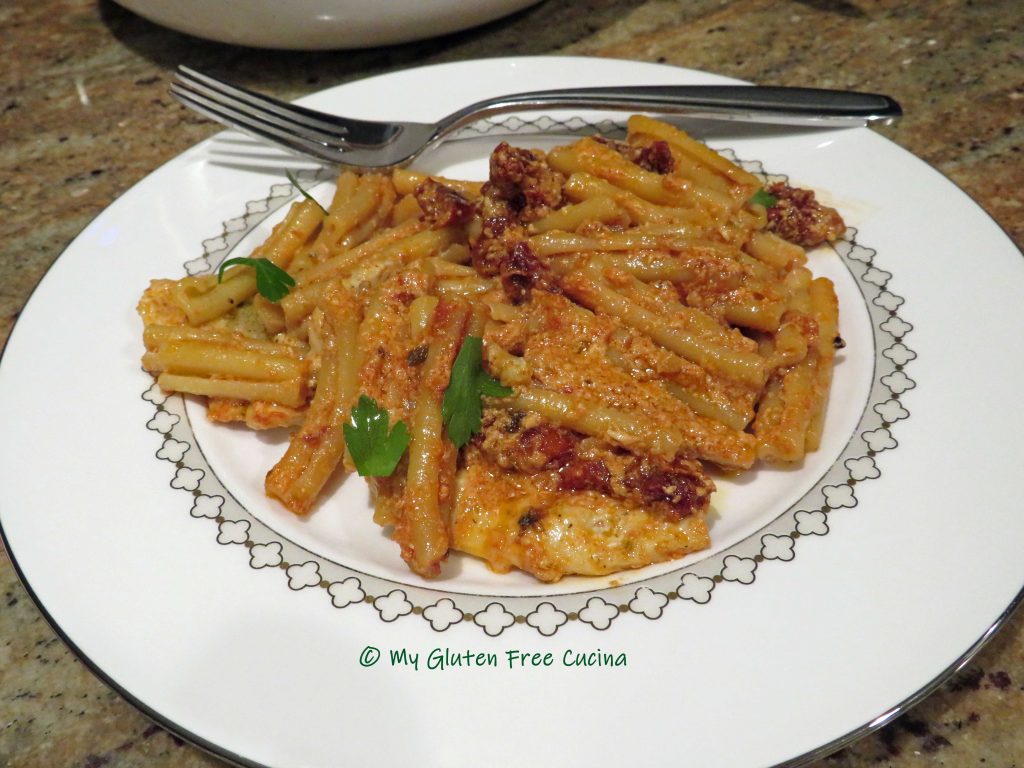
 By now the pasta water should be ready, cook the pasta to a few minutes less than the package directions, it will finish cooking in the sauce.
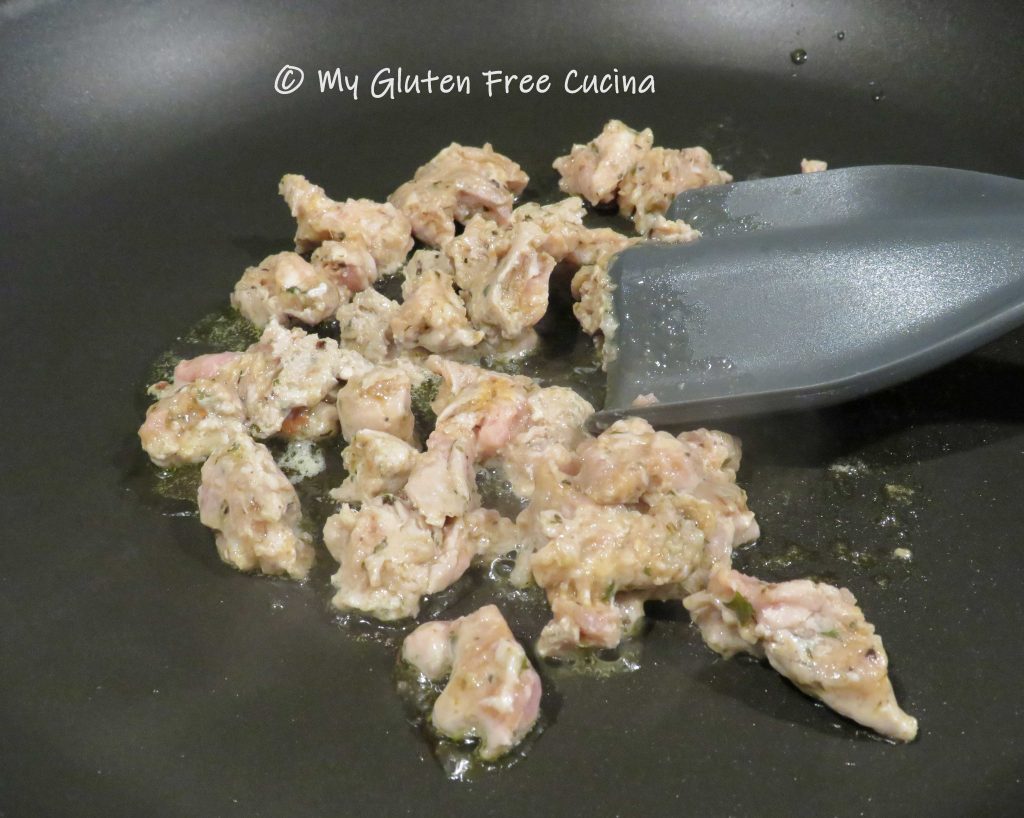
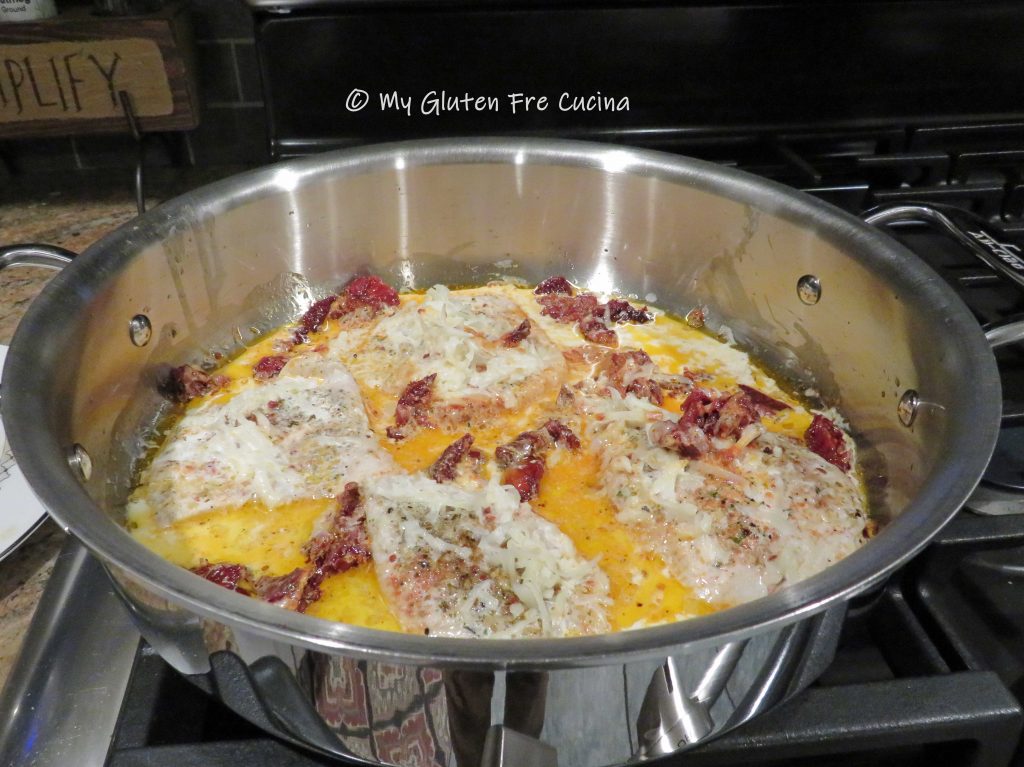
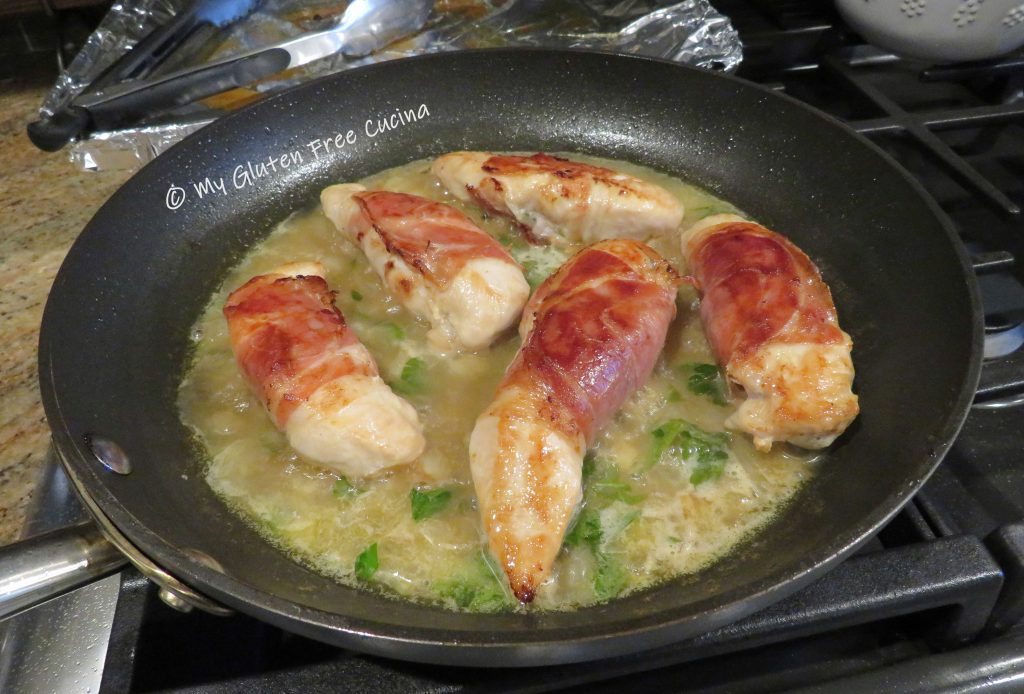
 Cook for 1 minute, stir it all together and return the chicken to the pan.
 Drain the pasta and add to the pan, toss well and cook for one more minute.
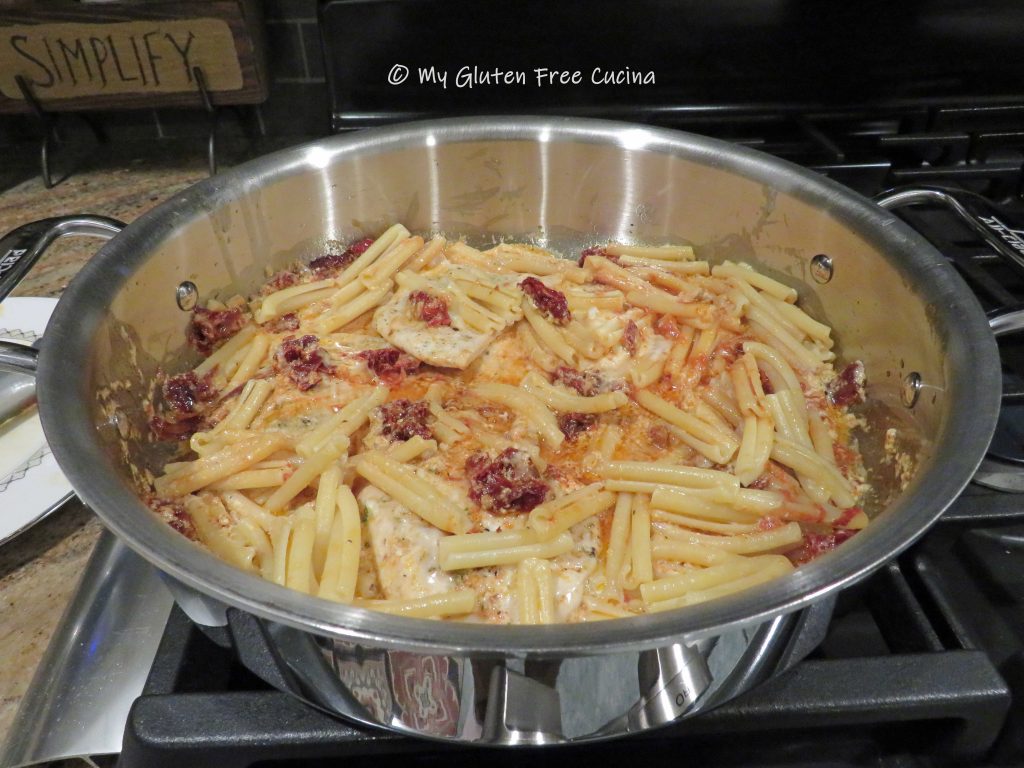

 PREPARATION:


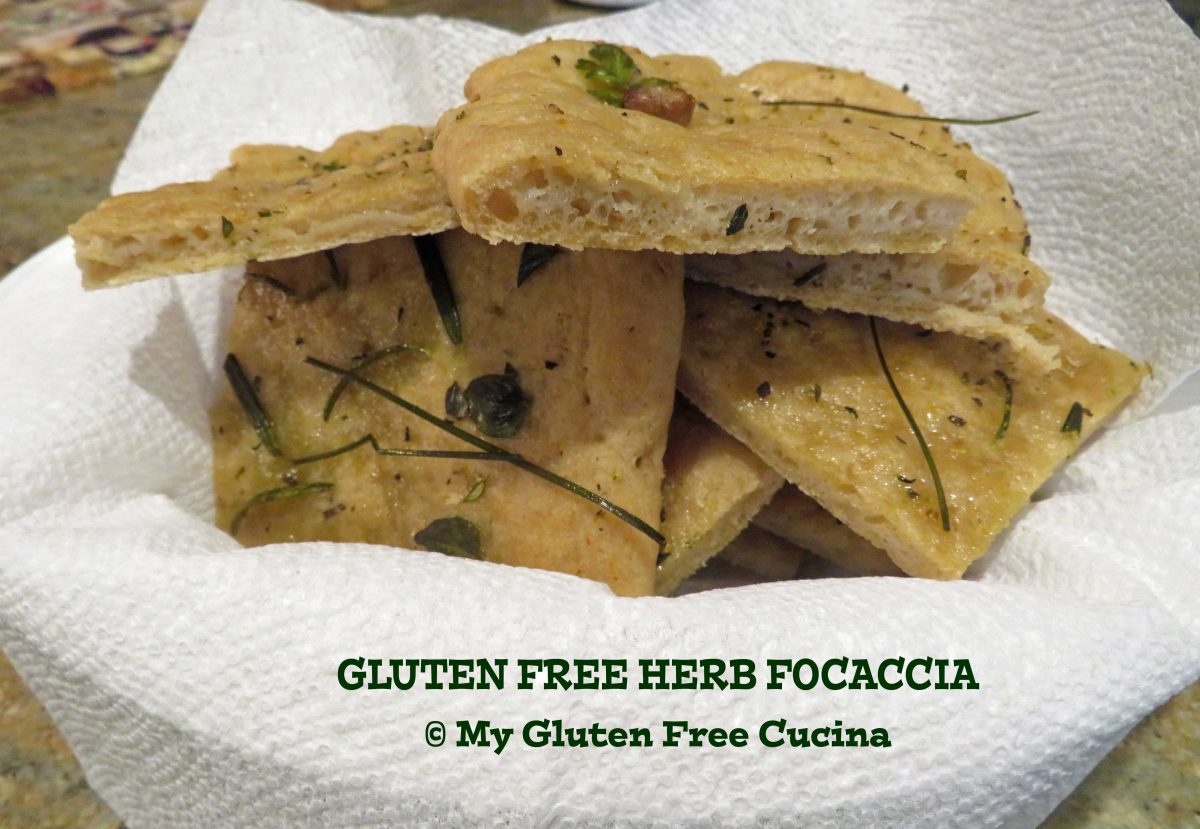
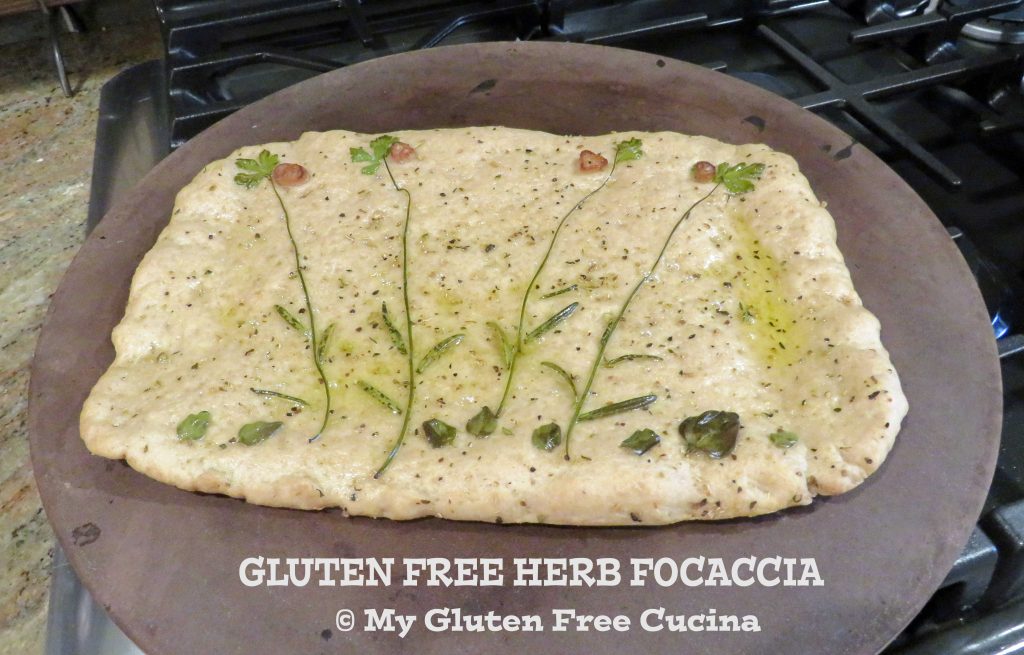
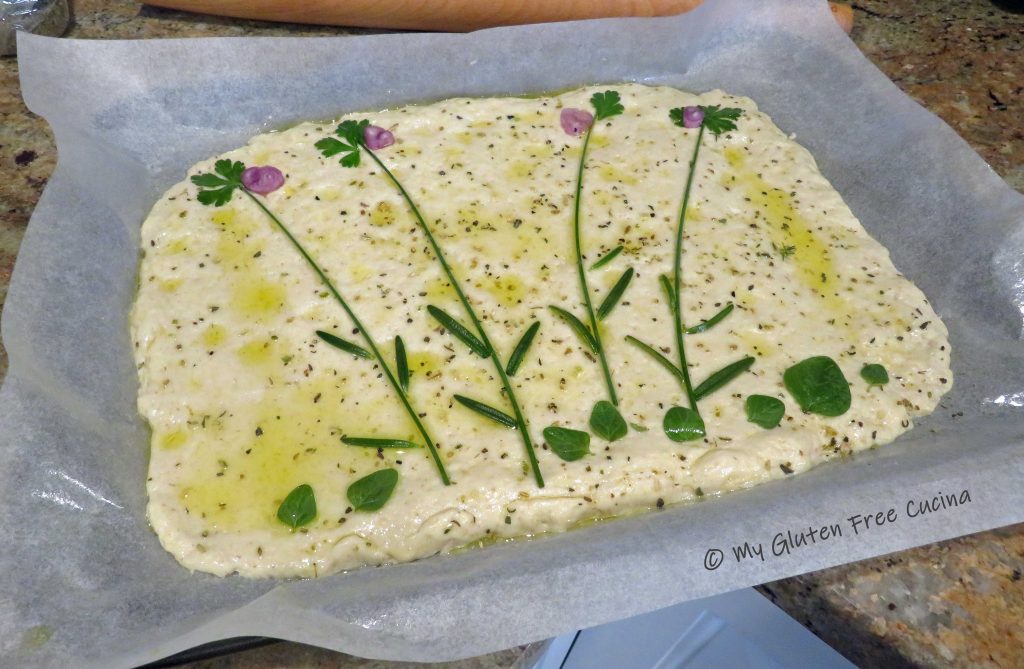 Place the sheet pan in the oven on top of the baking stone. Bake for 25 minutes total. During the last 10 minutes carefully slide the pizza out of the pan, remove the parchment and finish baking directly on the pizza stone.
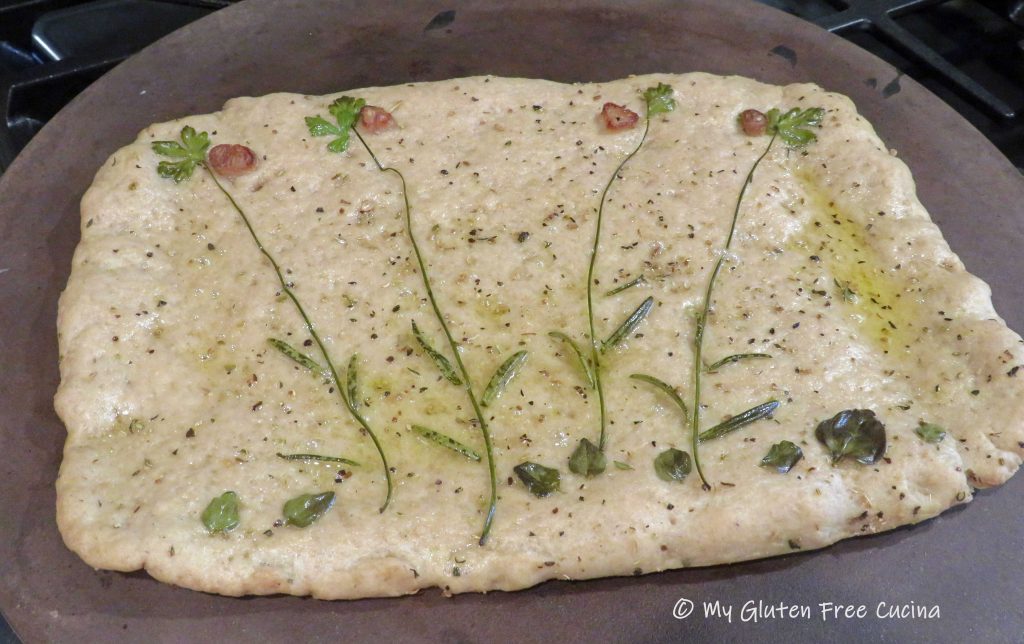


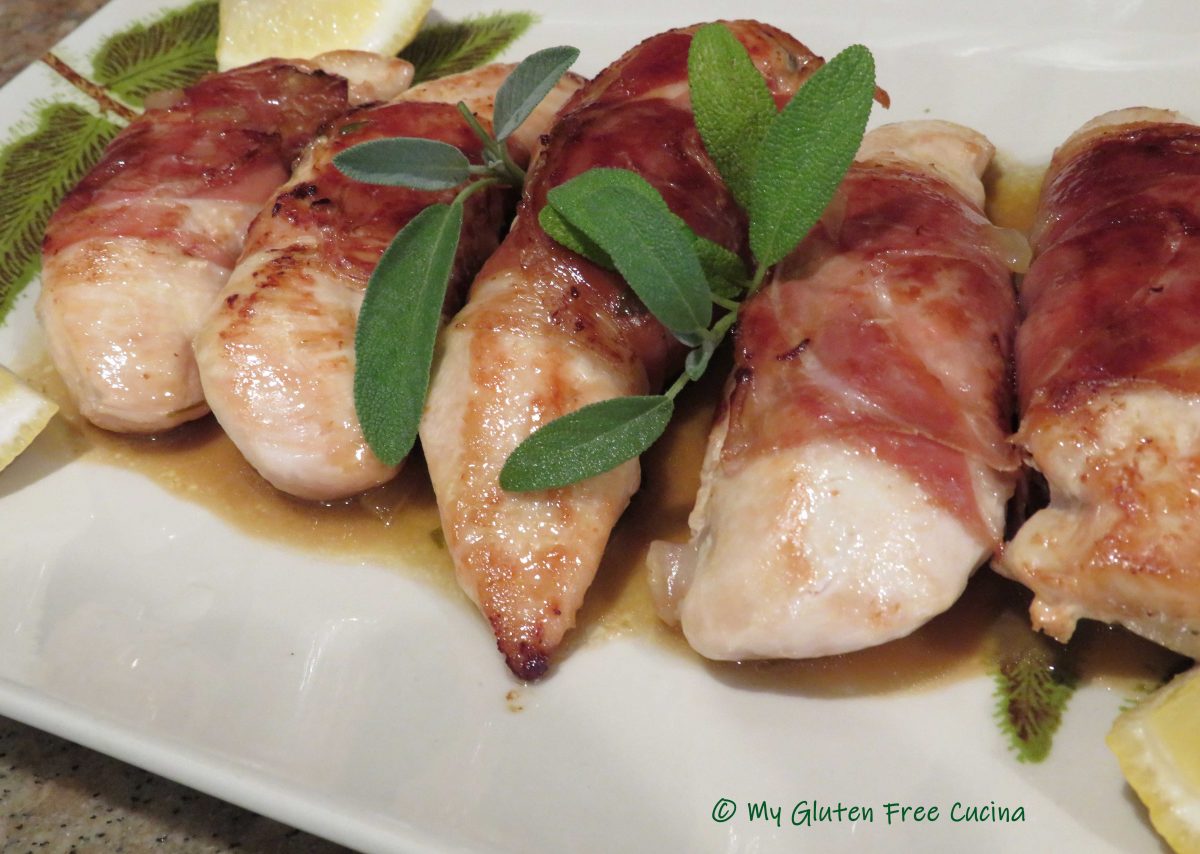
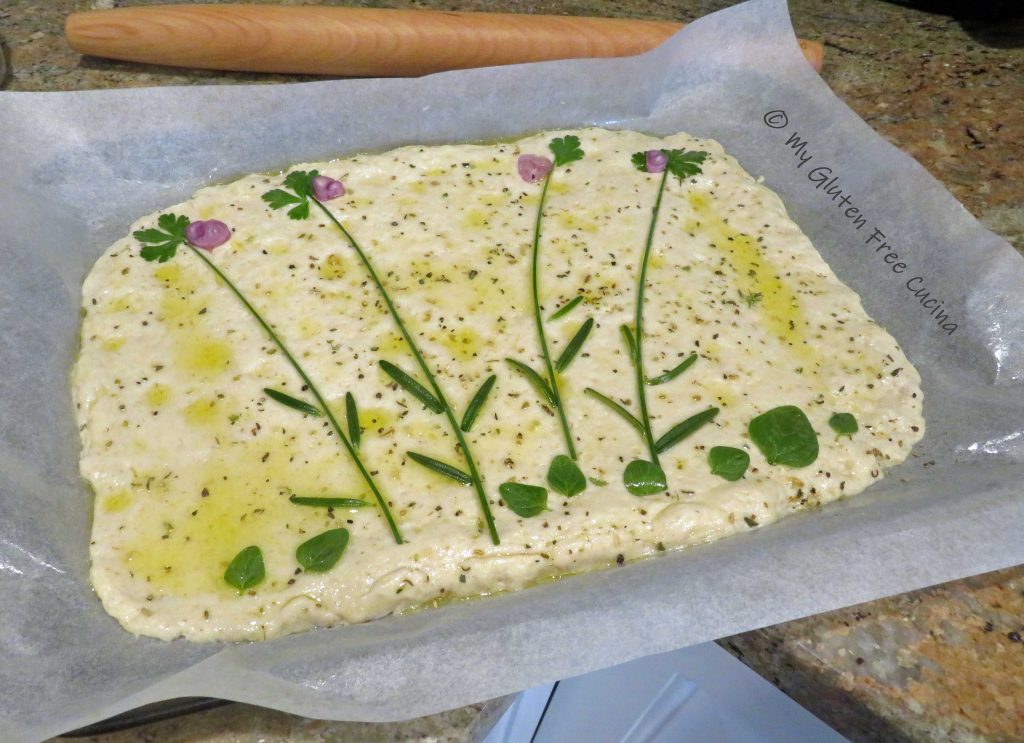
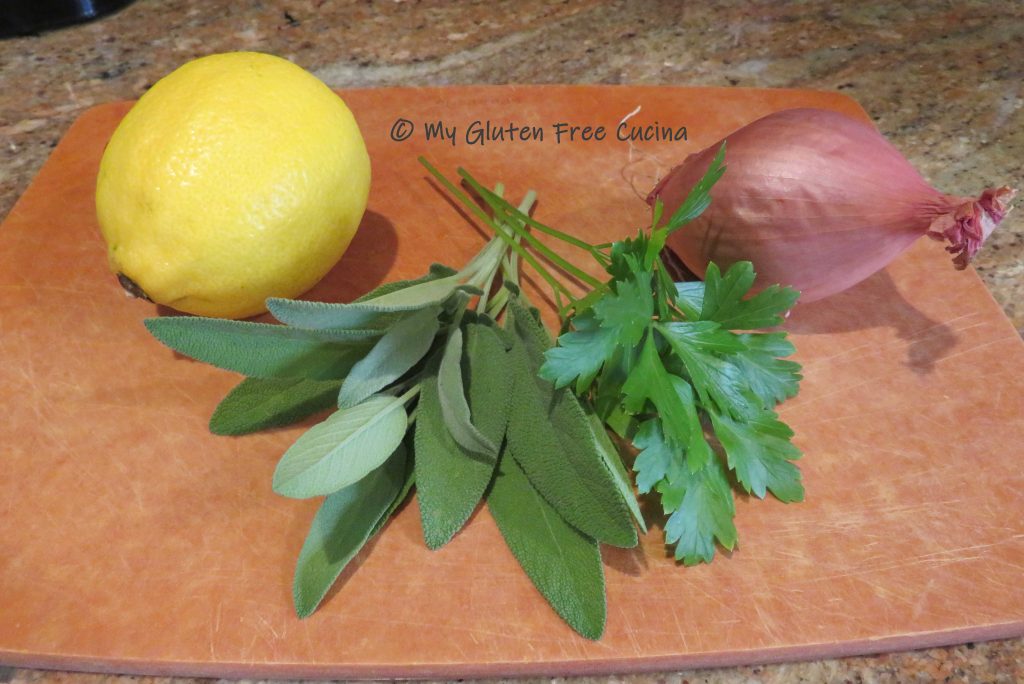
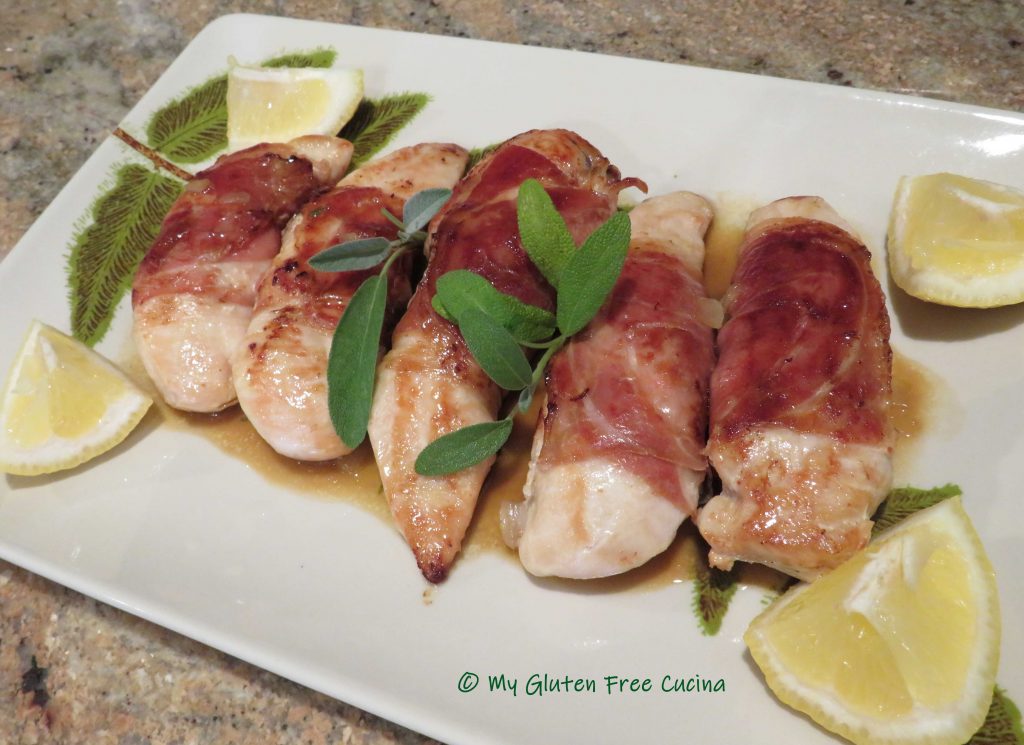
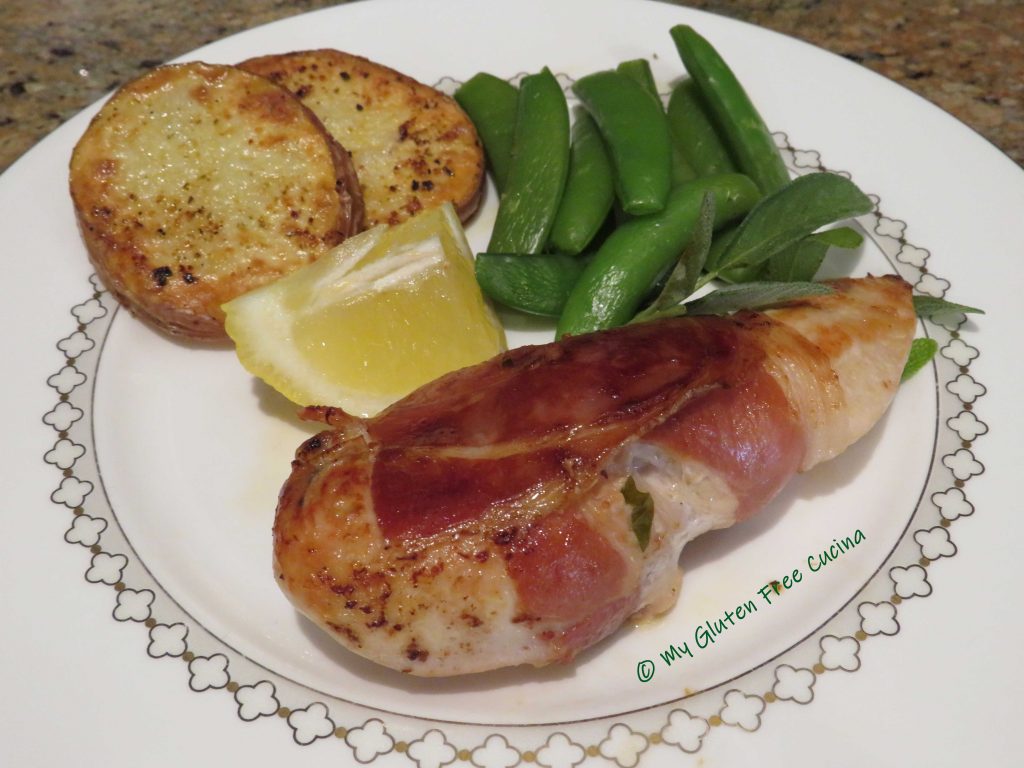
 The inspiration for this post was a beautiful pot of sage from my herb garden. I’m really proud that I grew it from seed!


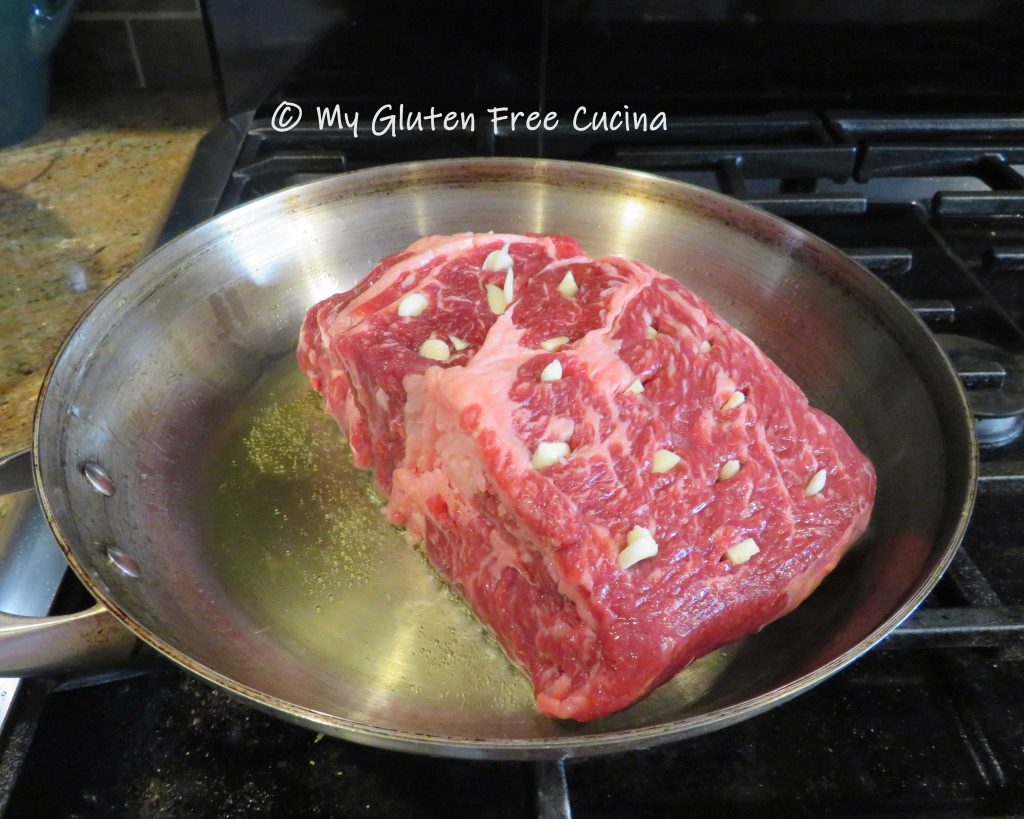
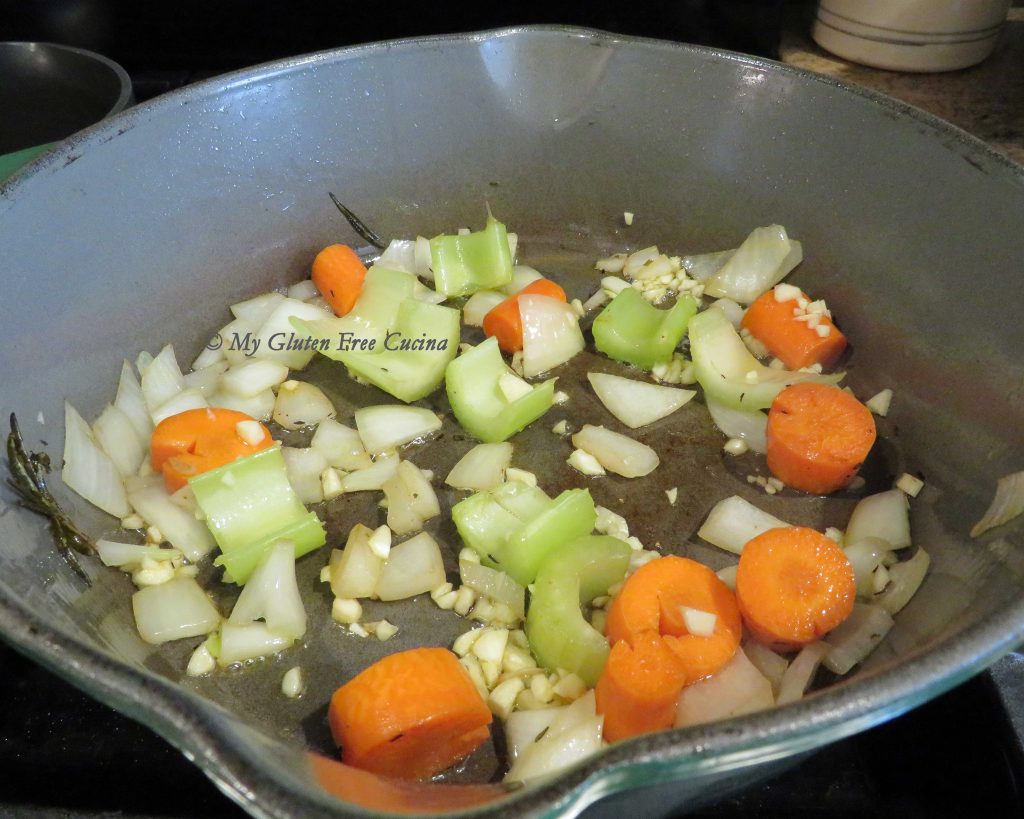
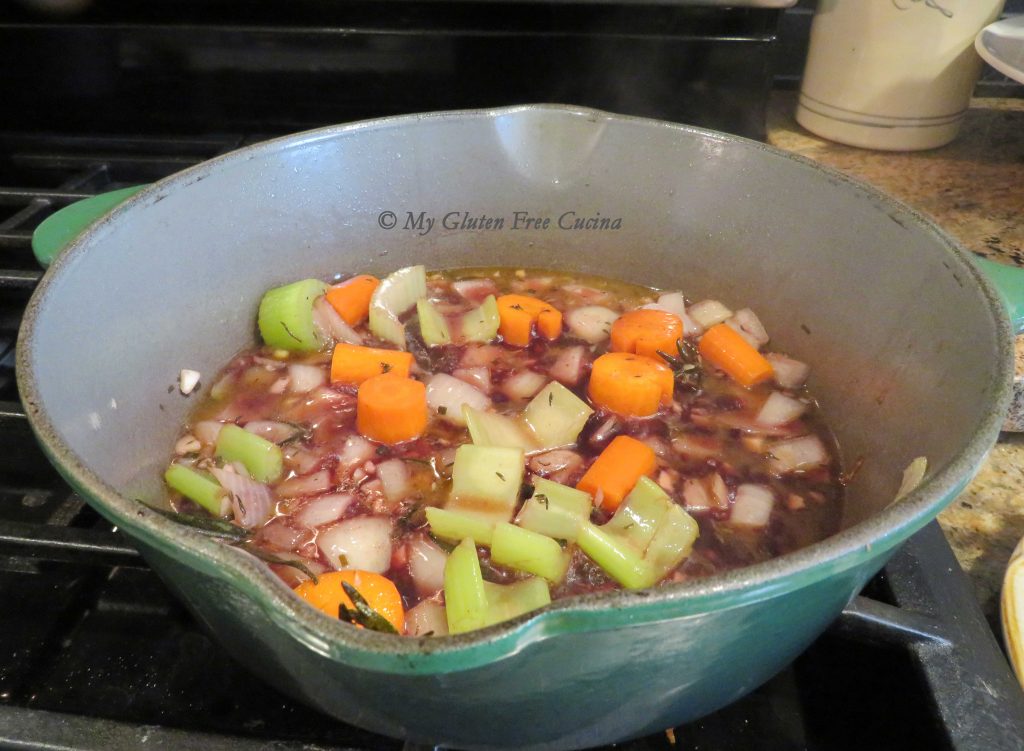
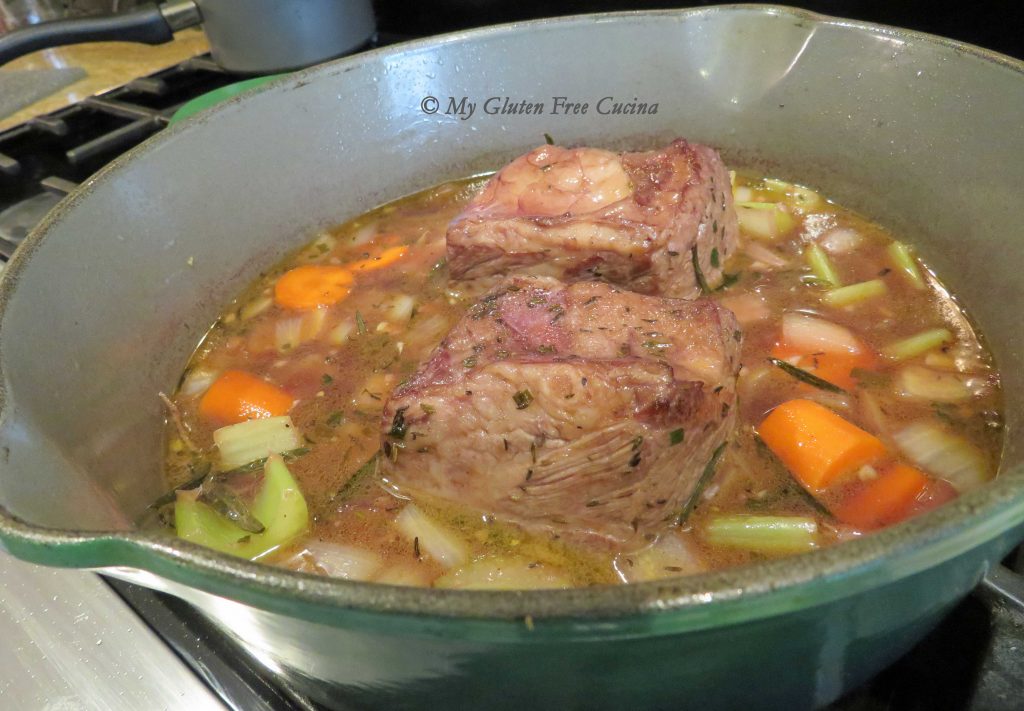
 Add onions to the same skillet and cook until translucent. Add them to the roast then deglaze the skillet with the red wine and pour over everything.
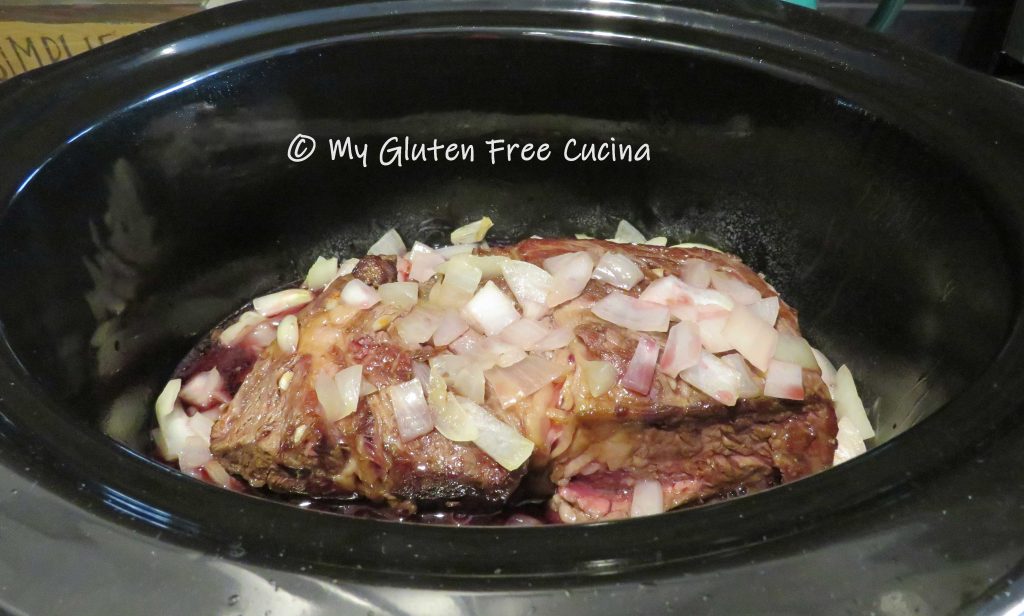
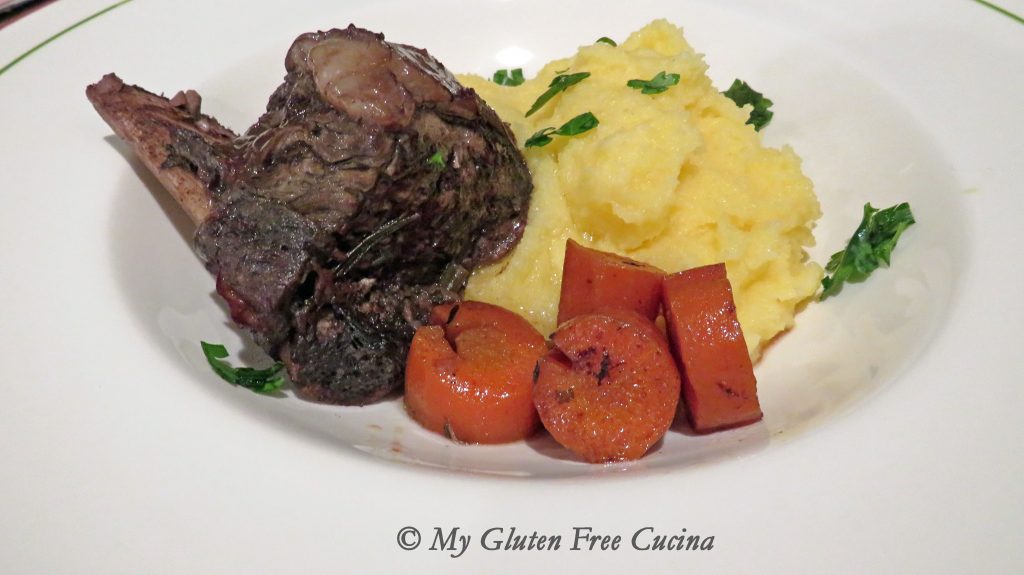
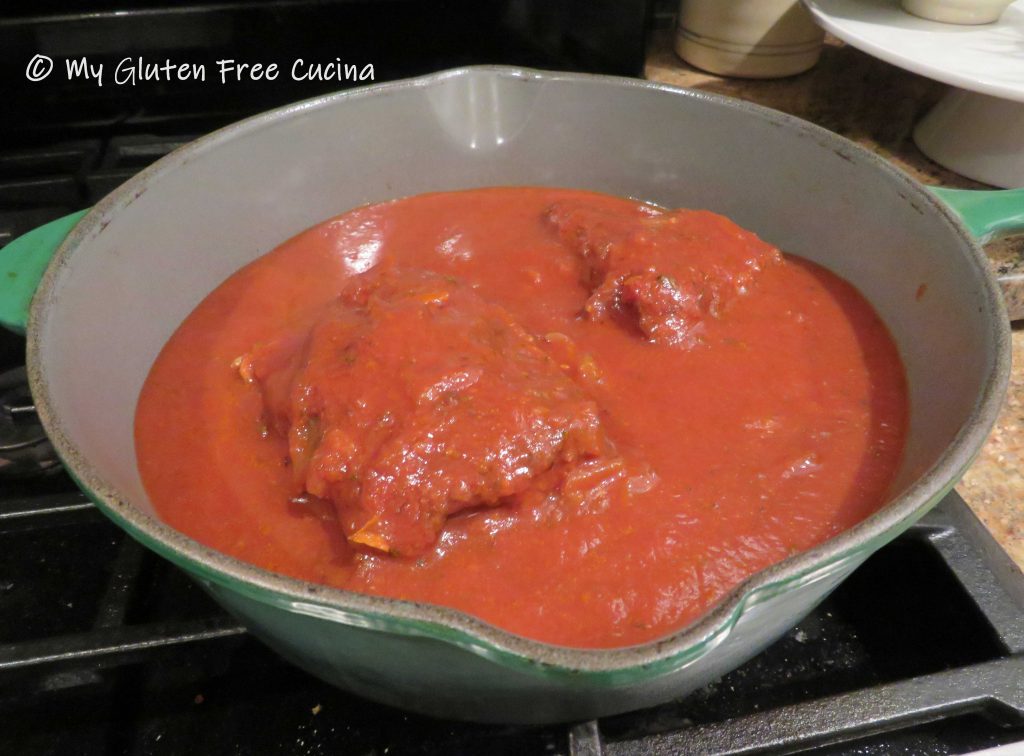 Most of the onions will have melted into the sauce at this point, but if you want an extra smooth sauce (or have picky eaters) you can puree it with a stick blender.
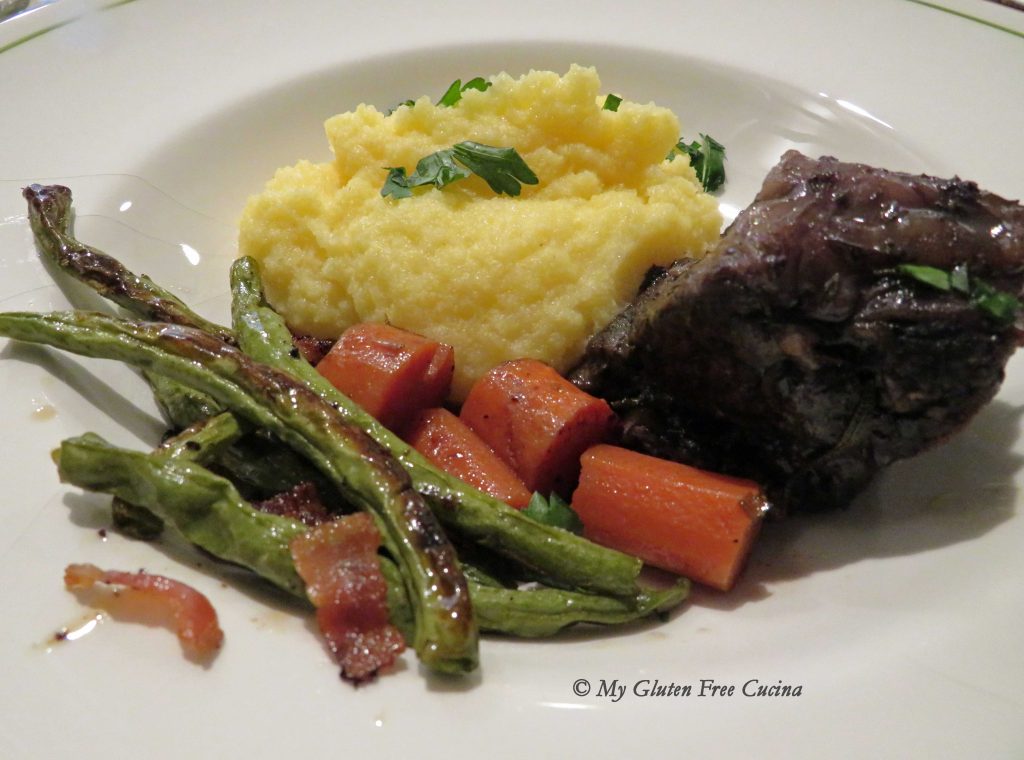
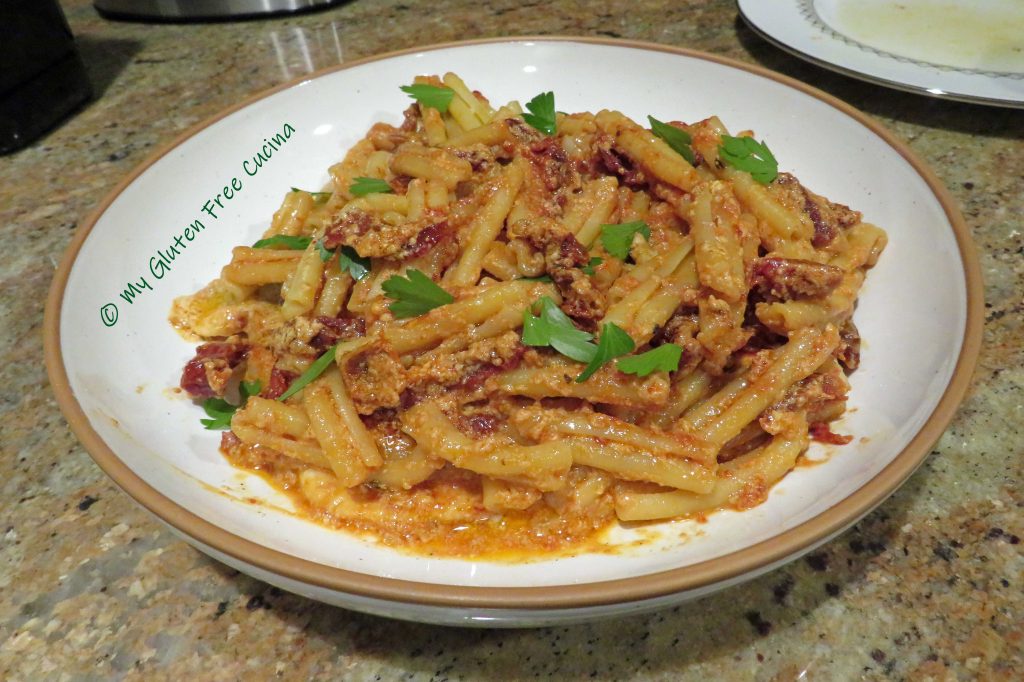
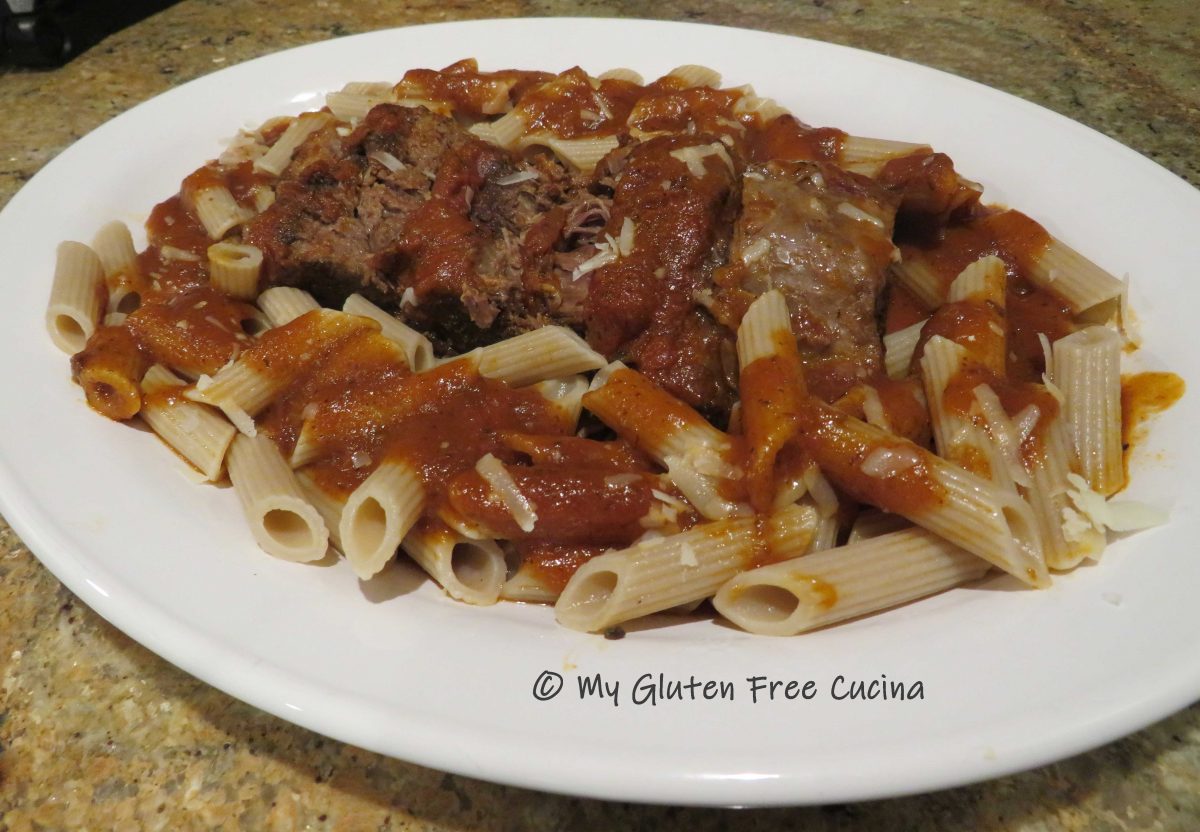
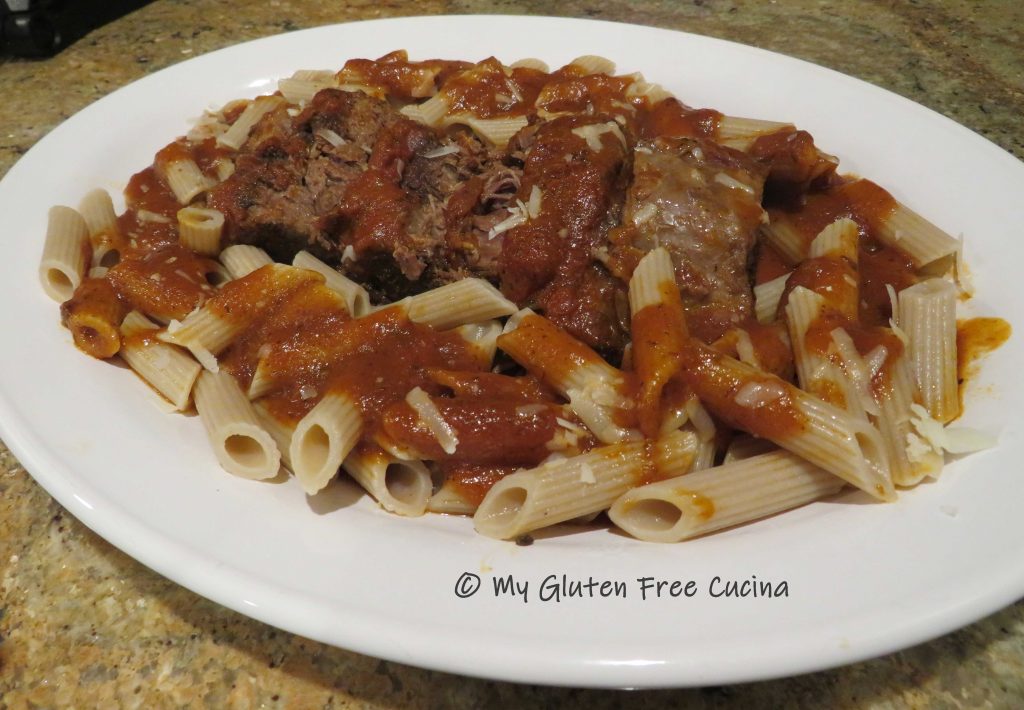 Bring to the table with extra sauce and grated cheese. The only thing missing here is fresh parsley from my herb garden. I guess I’ll have to wait for summer and make this again!


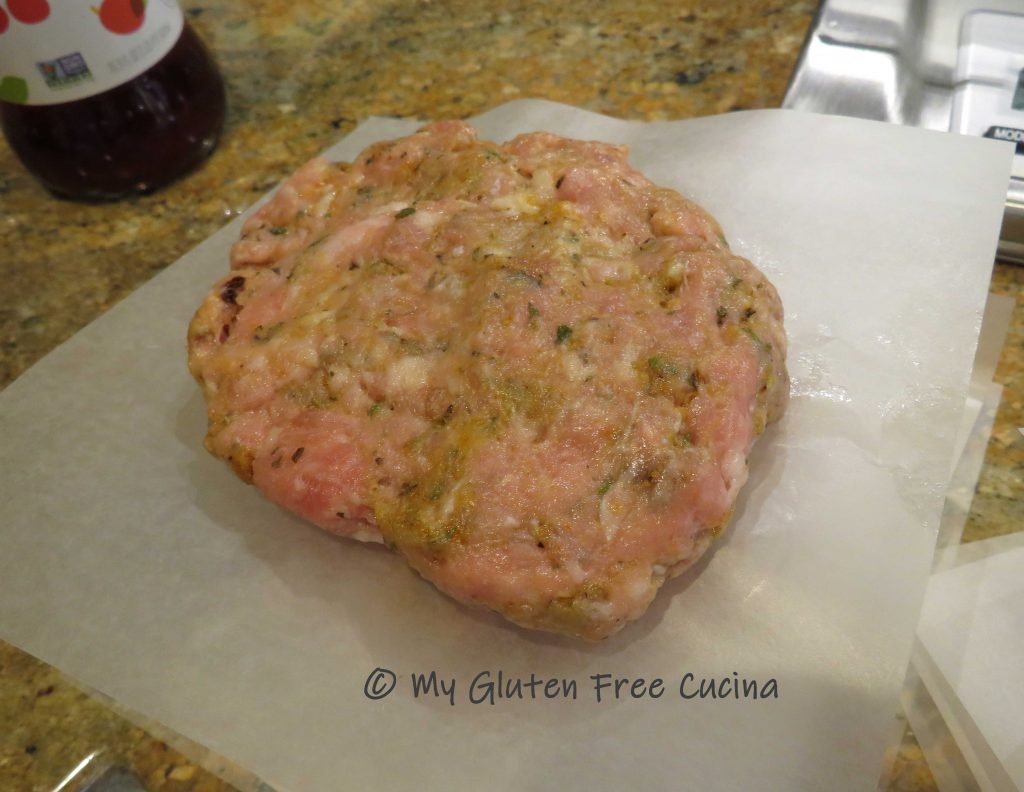

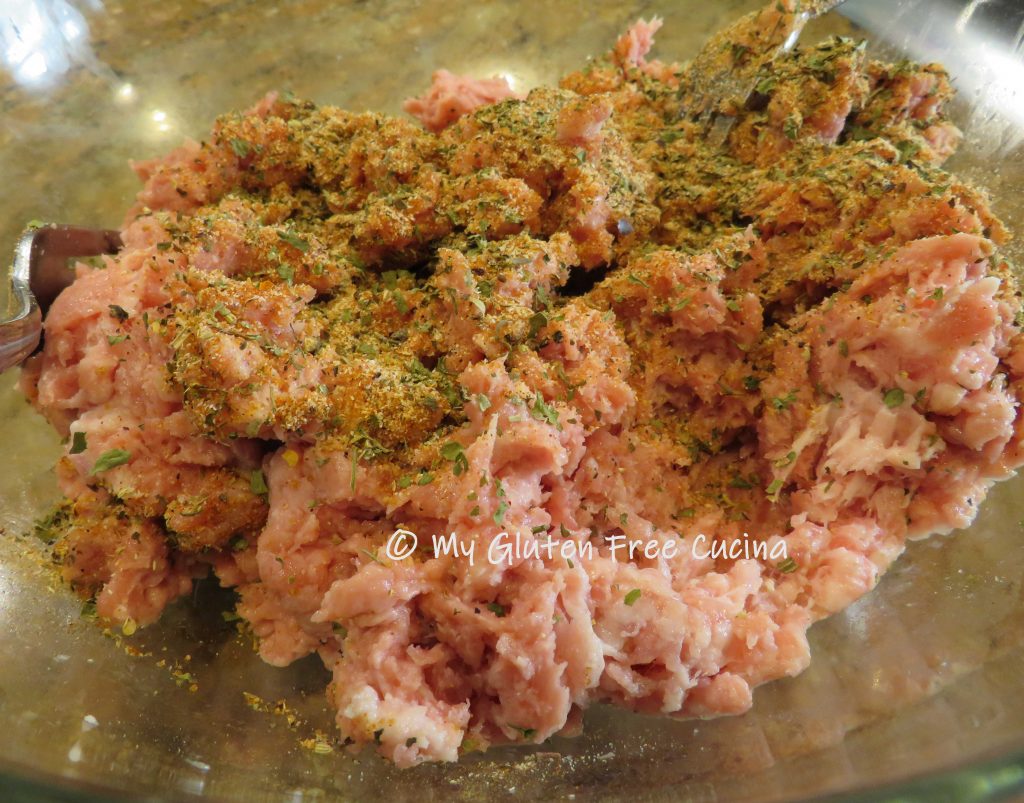
 Use 2 forks to break apart the meat and mix it together. This will take some time and patience, as you want it well mixed but not compressed.