Tales from the Cucina…
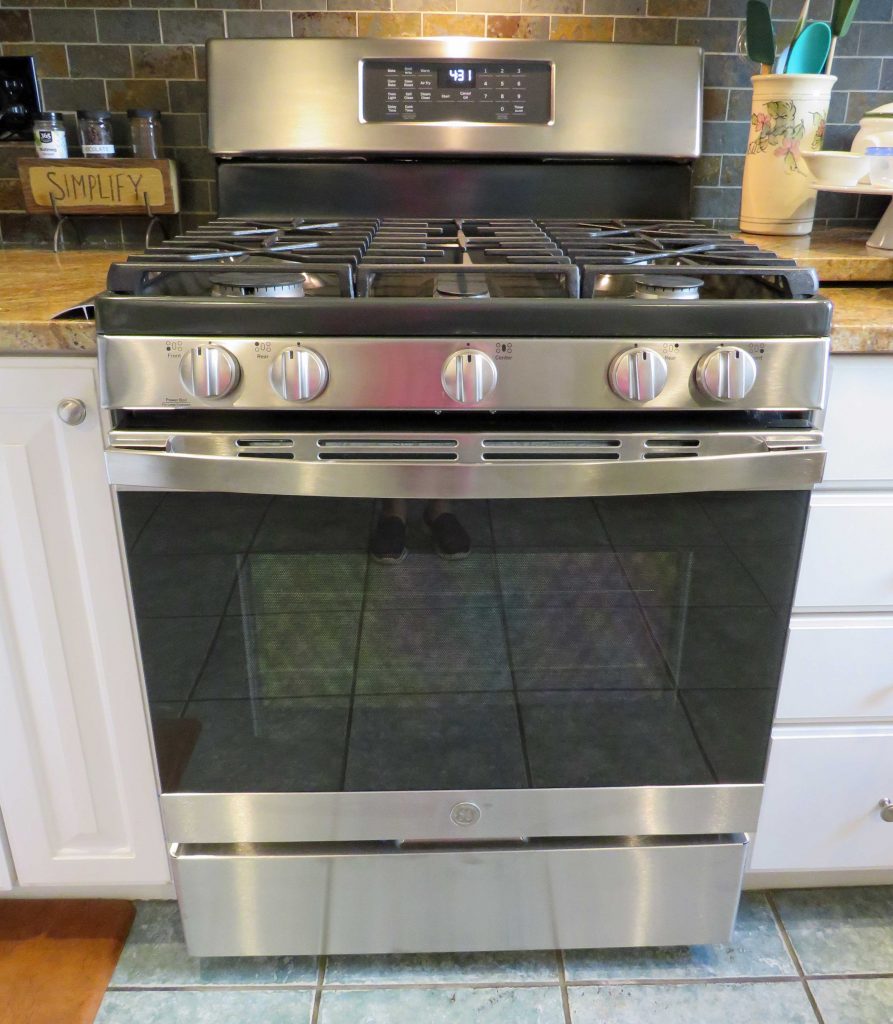
I got a new stove! Recently my beloved stove of 10 years had a major malfunction. Actually, I couldn’t turn the gas off and we had to call the fire department, oh my that was quite the night! A few days later our repairman pronounced the stove DOA, and we were off to shop for a new one. Fast forward one week, and this pretty new stove arrived.
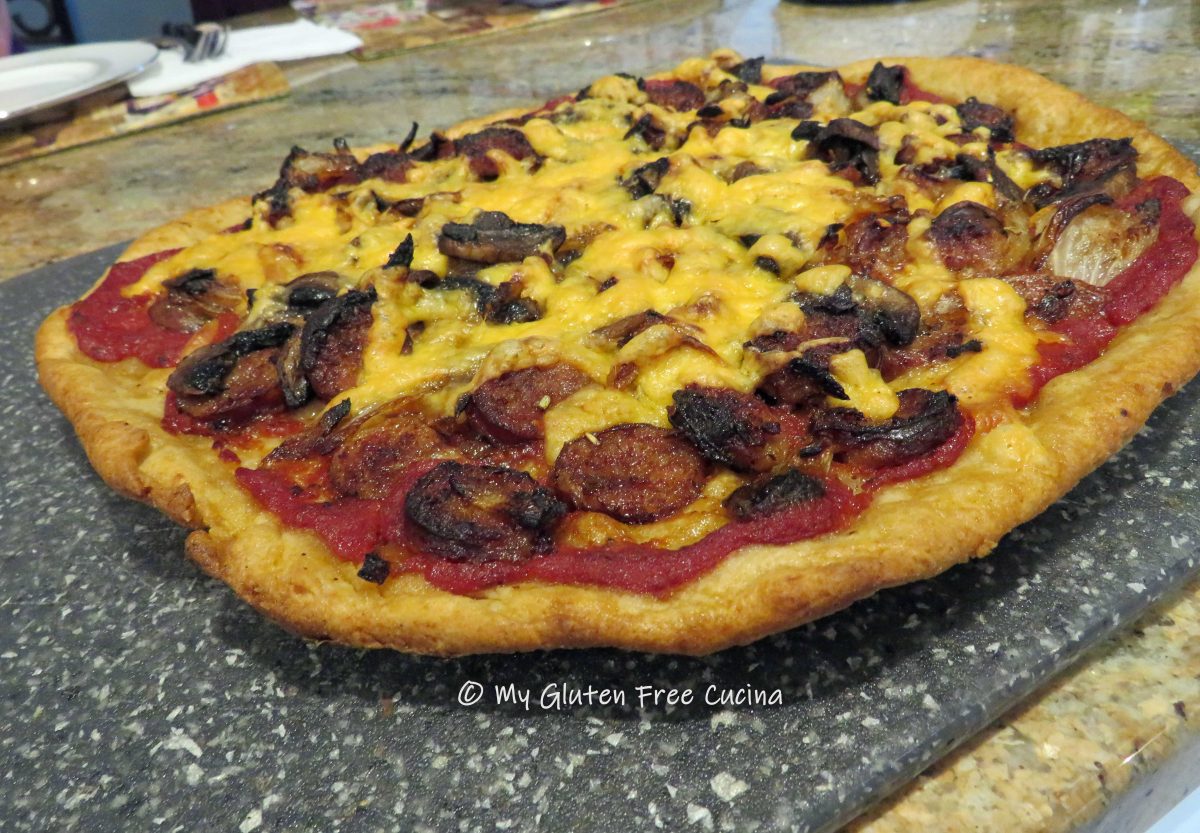
 Coincidentally we were also having our first heat wave of the summer. It was over 90 degrees in the shade, so what did I do? Yes, I cranked up the oven to 500º and made pizza! Just to be sure everything was working properly, right?
Servings: 1 pizza – about 6 slices

This post contains affiliate links.
Ingredients:
Dough Ingredients:
- 175 g. Better Batter Artisan Flour Blend
- 1/4 tsp. salt
- 1 tbsp. instant yeast or active dry yeast (note- if you are doubling the recipe use the same amount of yeast)
- 7 oz. warm water (just under a cup)
- 1-1/2 tsp. sugar
- 1 tbsp. olive oil
Topping Ingredients:
- 6 oz. gluten free Italian sausage, cut into coins
- 1/2 sweet onion, diced
- 8 crimini (baby bella) mushrooms, sliced
- olive oil
- Italian seasoning
- fresh ground pepper to taste
- 1/3 cup pizza sauce (use leftover from another meal or jar sauce)
- 1/3 cup shredded cheese
Preparation:
To make the dough, combine warm water, yeast and sugar. Proof for 10 minutes. Sift the flour and salt into the bowl of a stand mixer. Combine the yeast mixture, sifted flour and olive oil. Beat for 6-8 minutes. Bring the dough together in the bowl, cover and refrigerate for one hour.
While the dough is resting, prepare the toppings. Cook the onions, mushrooms and sausage in olive oil.
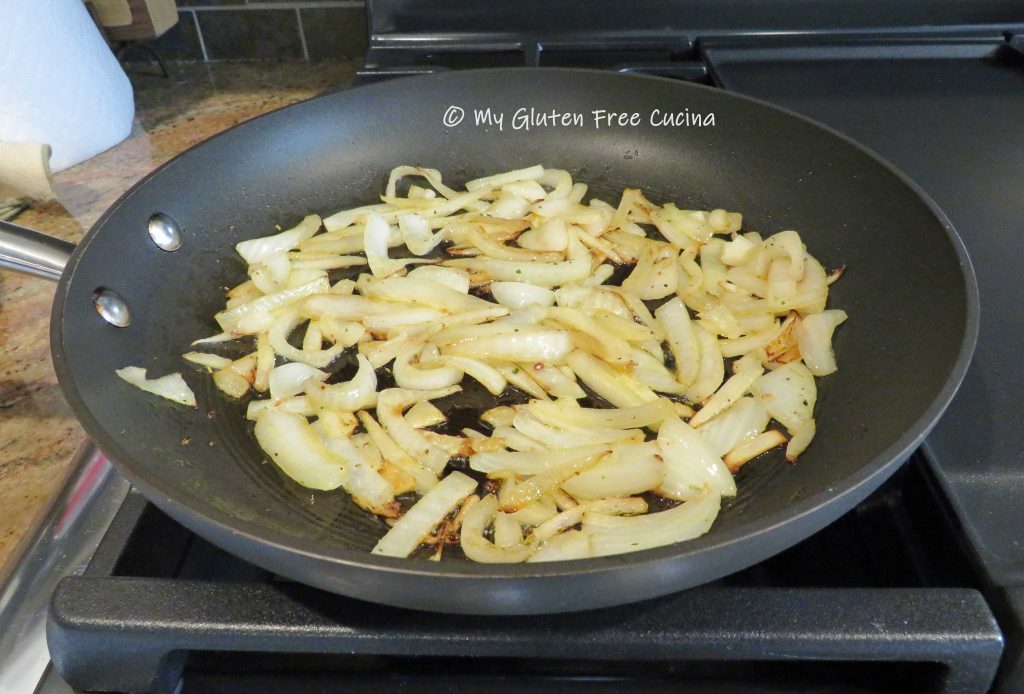

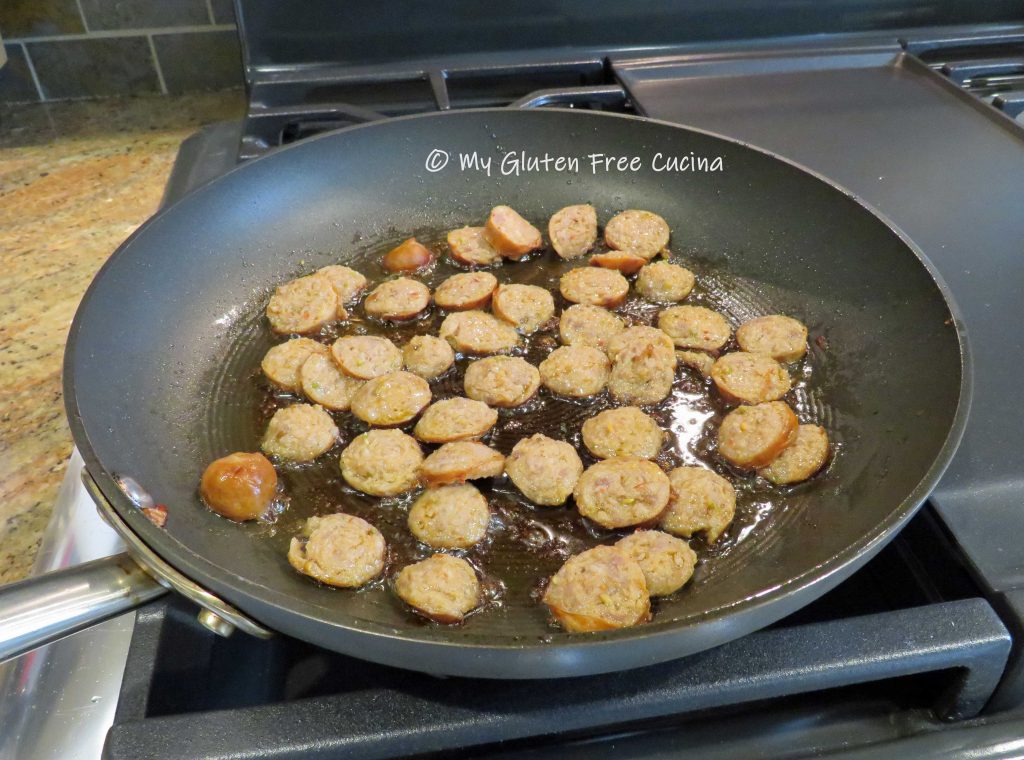
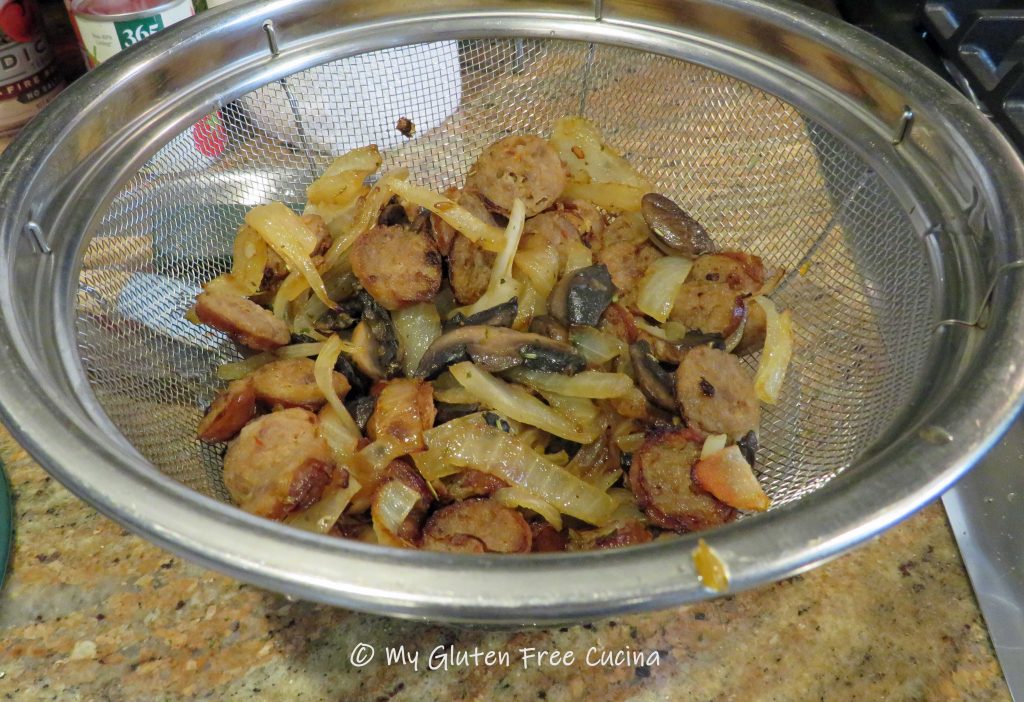
Transfer the sausage and veggies to a colander and let them drain.
 Remove the proofed dough from the refrigerator, it will have doubled in size. Cut a sheet of parchment to fit your pizza stone. Place the dough on the prepared parchment, sprinkle with flour and roll it out into a circle less than 1/2″ thick.
 Brush with olive oil and season. Let it rest at room temperature for an additional 30 minutes while you preheat the oven to 500º. Place your pizza stone in the oven to preheat.

Spoon prepared pizza sauce over the dough and spread the drained toppings evenly. Remember less is more when it comes to topping, just a few tablespoons of sauce so you don’t end up with a soggy crust.
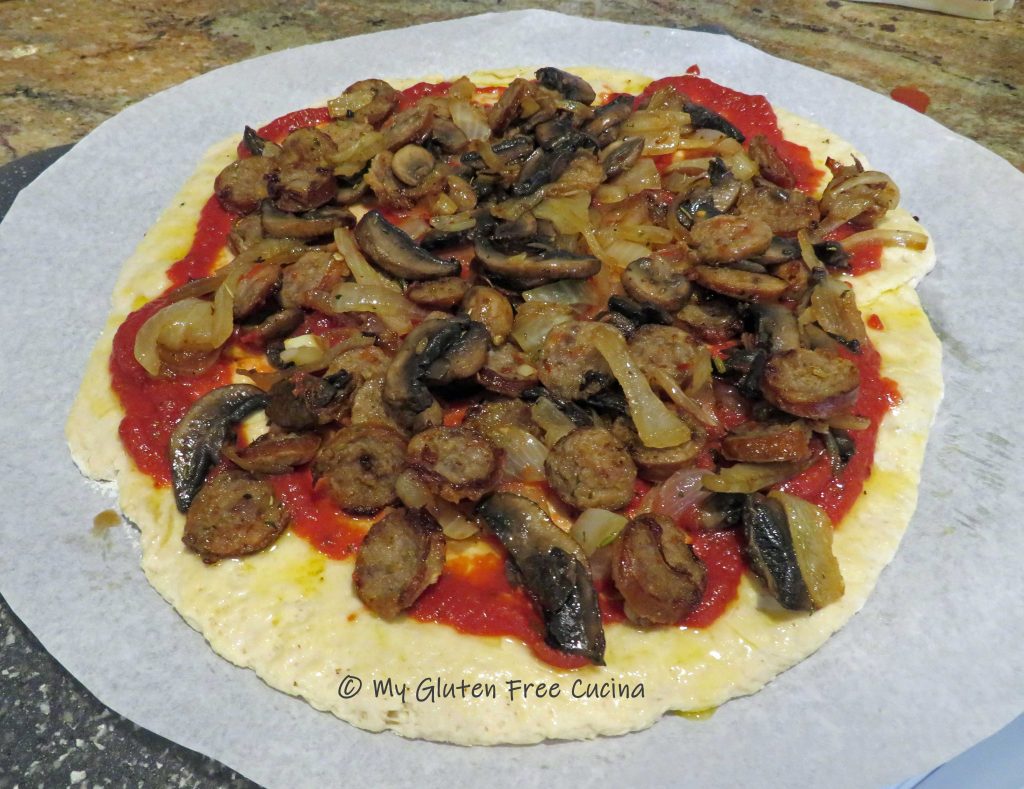 Top with grated cheese of your choice. I used cheddar, because we had some in the fridge left over from another recipe. Slide the pizza, with parchment onto your preheated pizza stone. After 5 minutes use gloves and tongs to carefully remove the parchment paper. Continue baking for 15 minutes.

Remove to a cutting board, slice and serve.

Look at that crispy crust! This was definitely a great way to christen my new stove. Just a single pizza is enough for small appetites but when I make this for company, I double the recipe.
Notes ♪ The gluten free pizza crust in this post was made with the Artisan Flour Blend from Better Batter. Back when this post was written in 2022, their new bread flour and pizza dough mix had not yet hit the market! Since then, I have added these new options to my pantry. They are all wonderful for making pizza, so be sure to try them all and use my Promo Code MGFC30 for 30% off!
Notes ♫ Of course I missed having an oven, but we did not go hungry during that week without a stove! Check out some of the air fryer meals that I made while we were waiting for our new stove to arrive in this post!

[print_link]


 Add your favorite
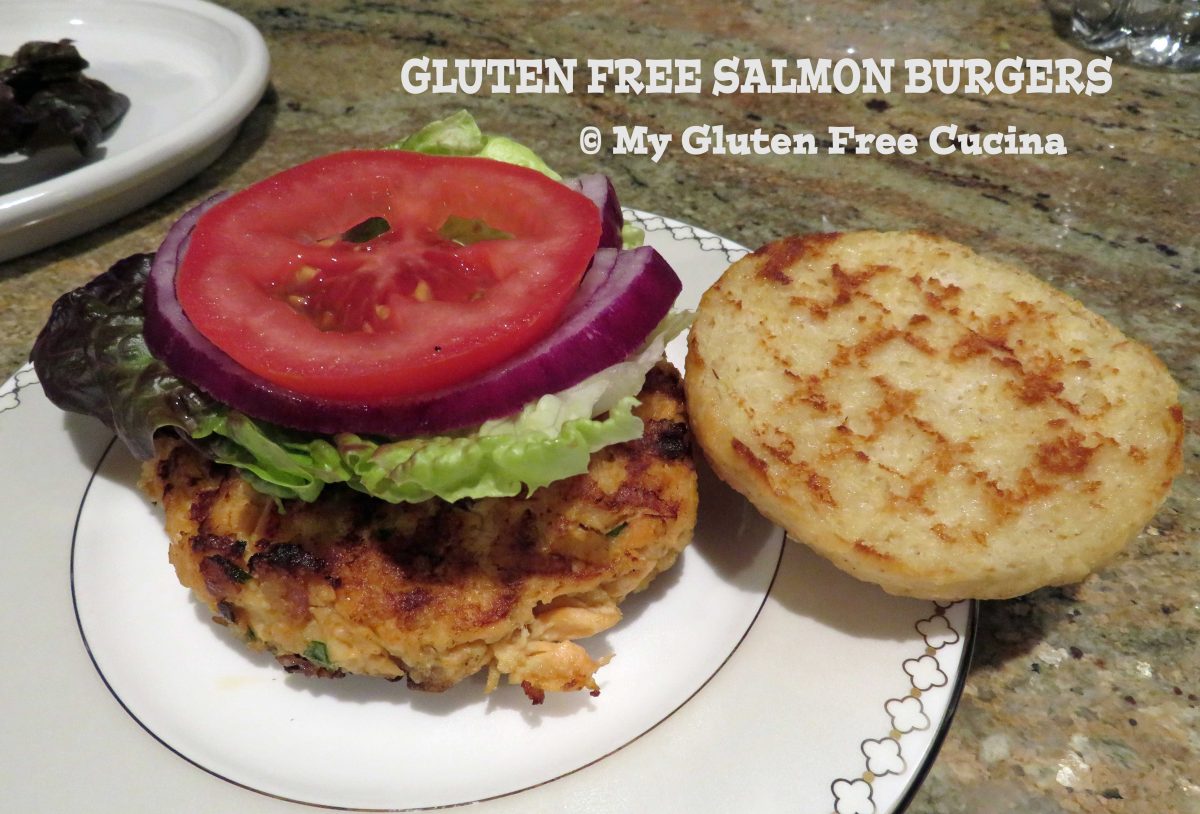
 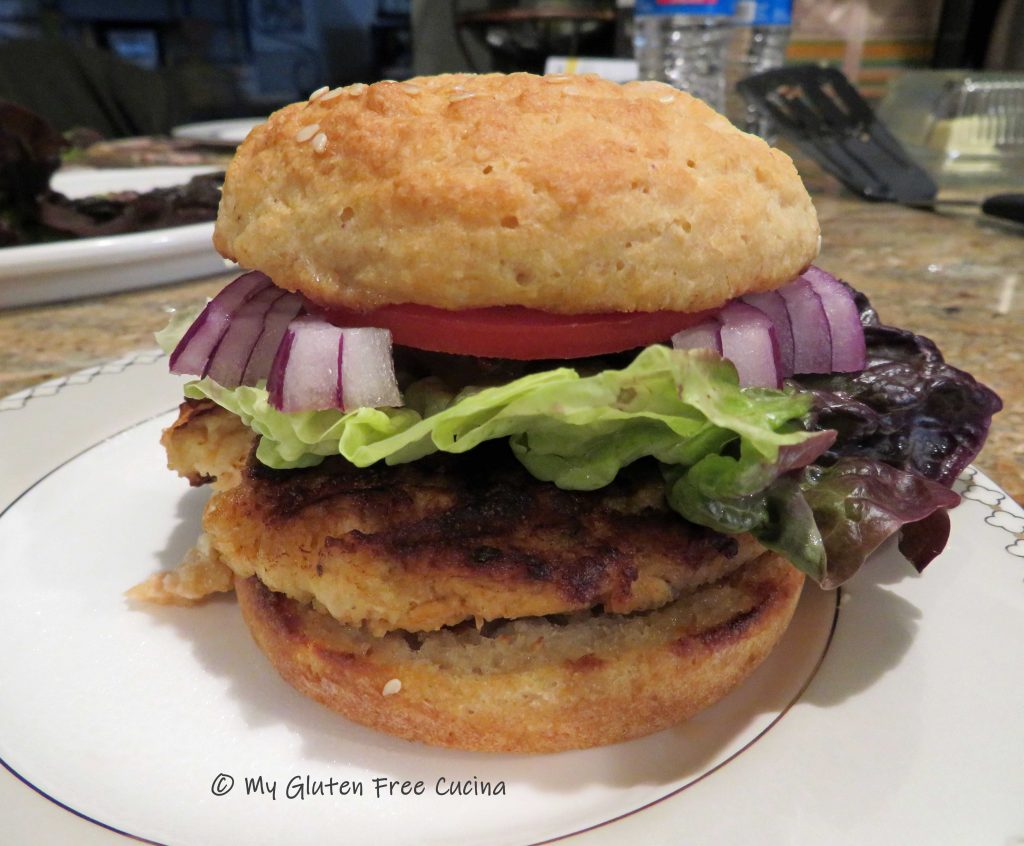 I hope that you enjoyed this recipe. My gluten eating family also thought these Salmon Burgers were great, just like the restaurant version! So don’t feel deprived! Try the recipe at your house and let me know what you think!




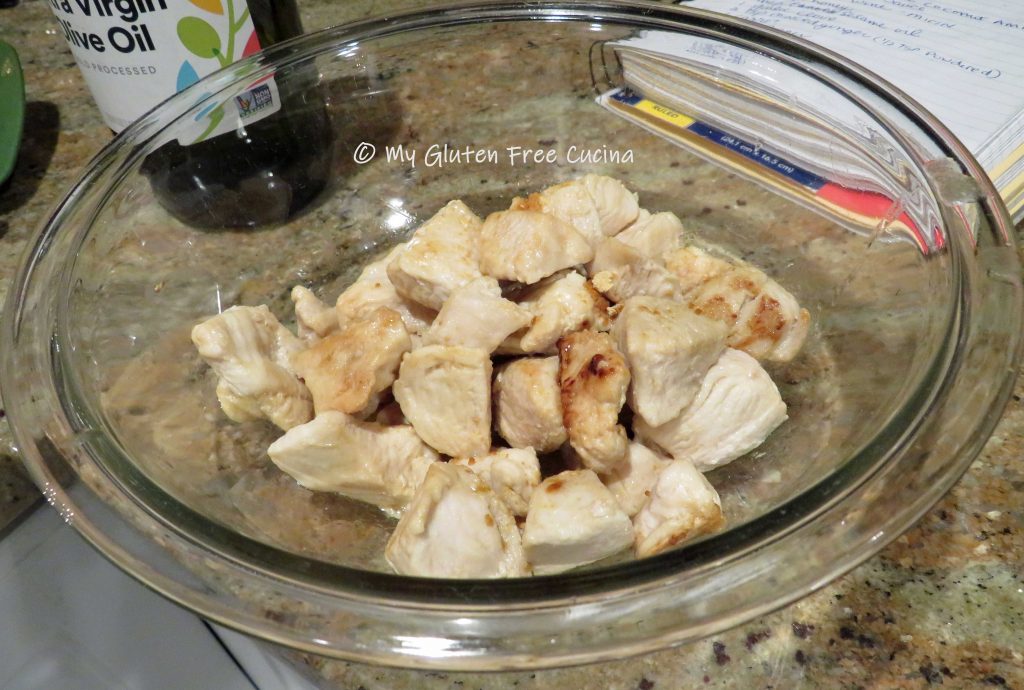
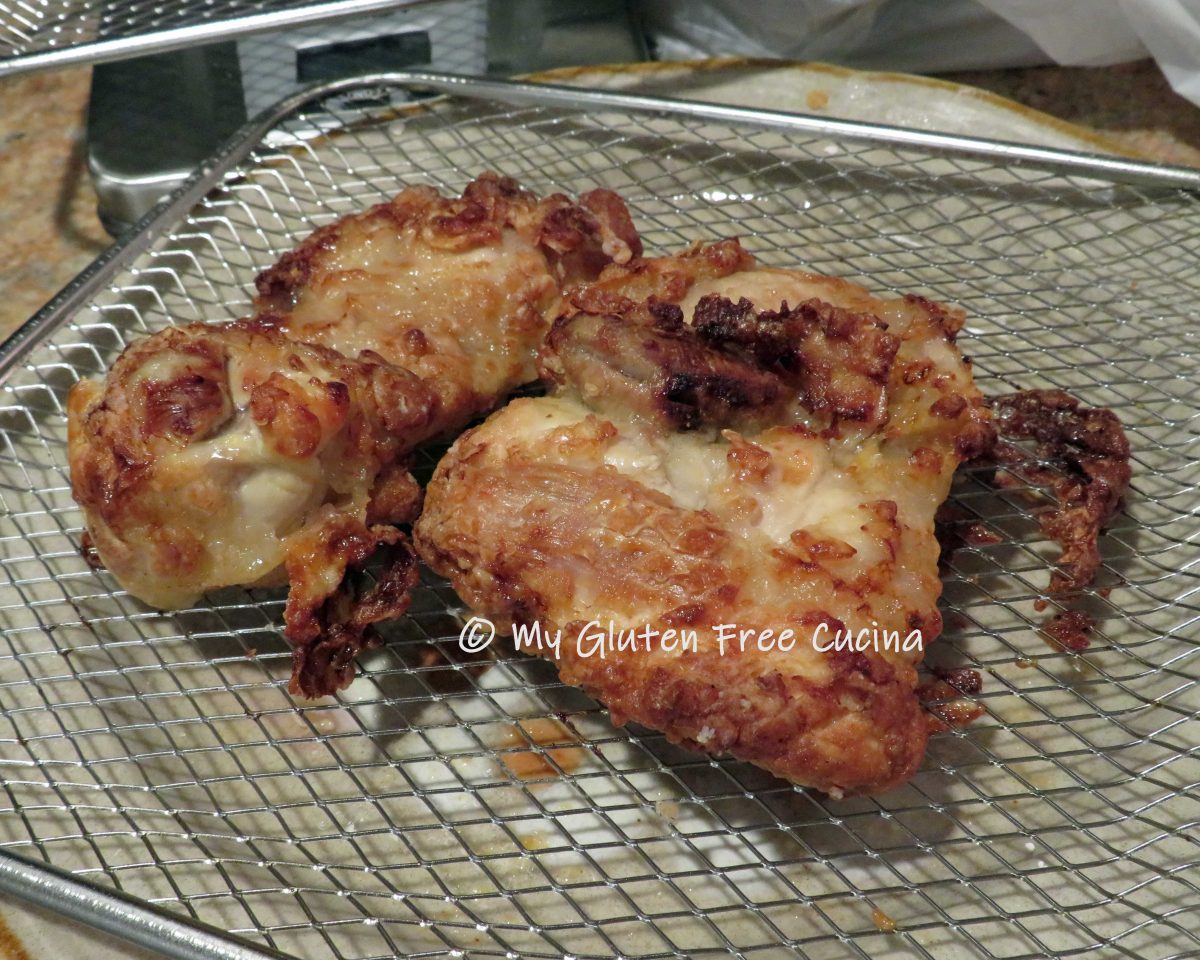
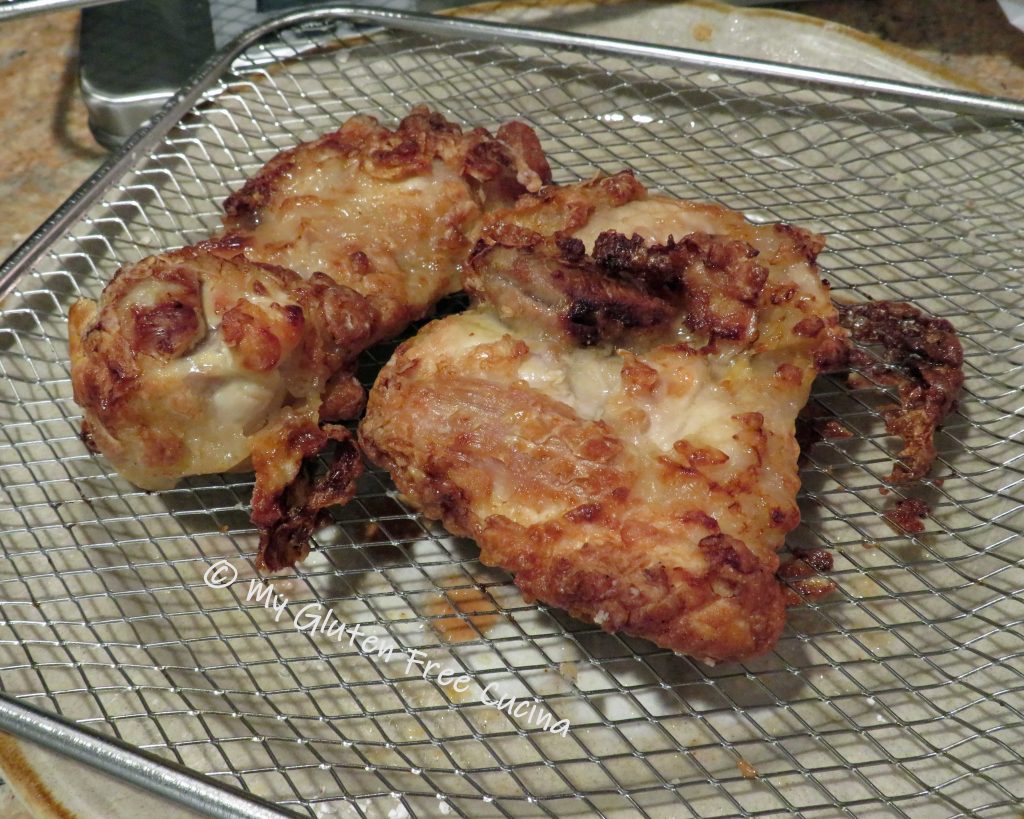


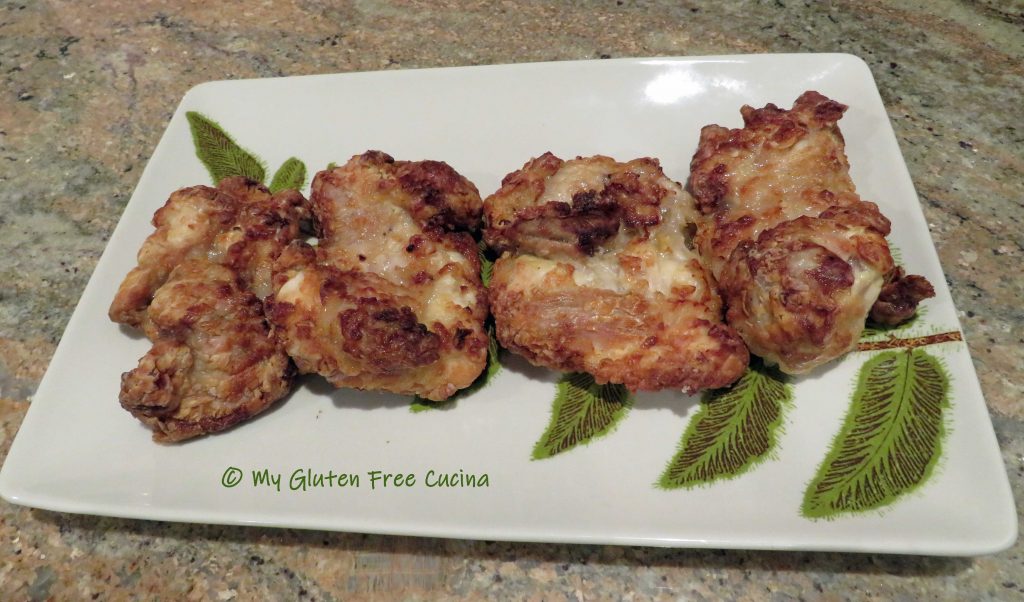
 Add the chicken pieces to the bag, and pour in the marinade.
 Tie the bag to ensure all pieces are covered in the milk mixture, and let it sit at room temperature 1 hour.








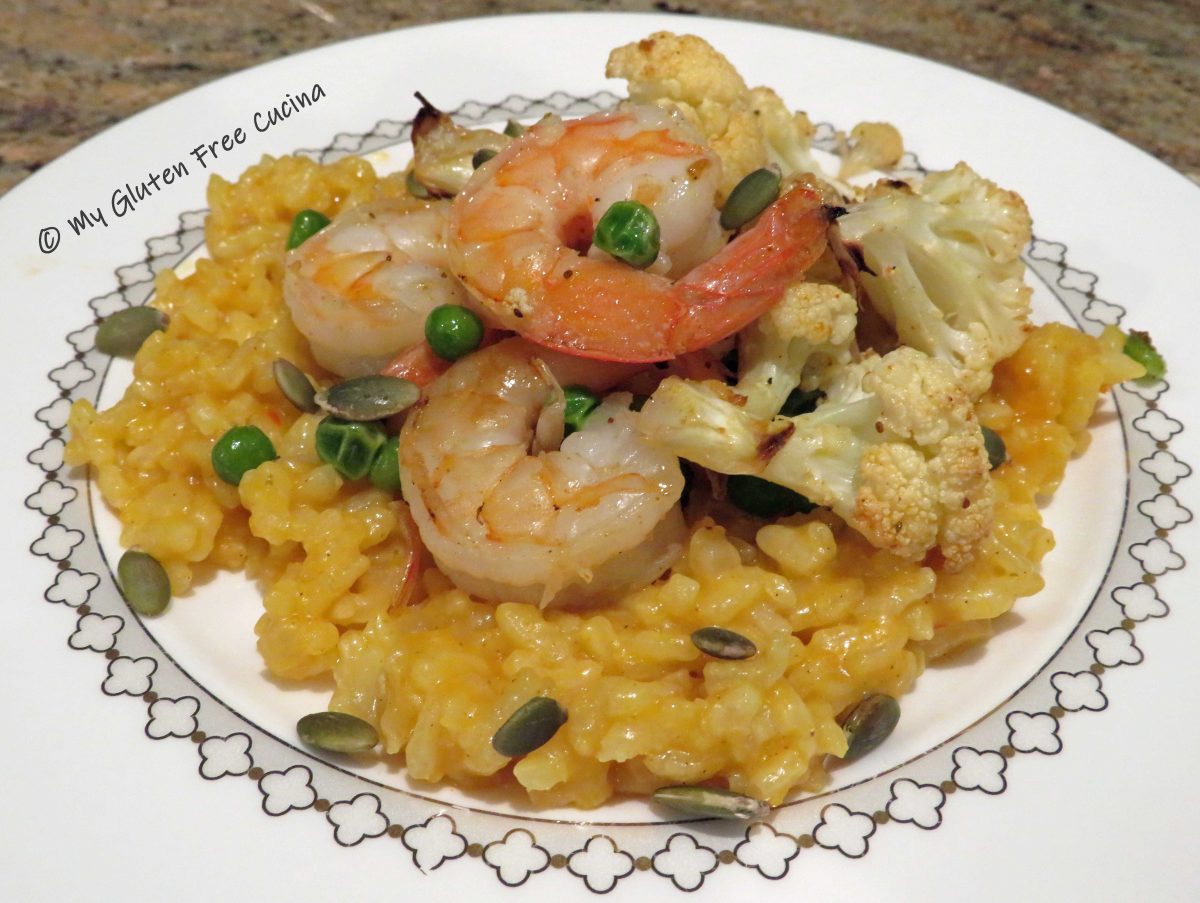


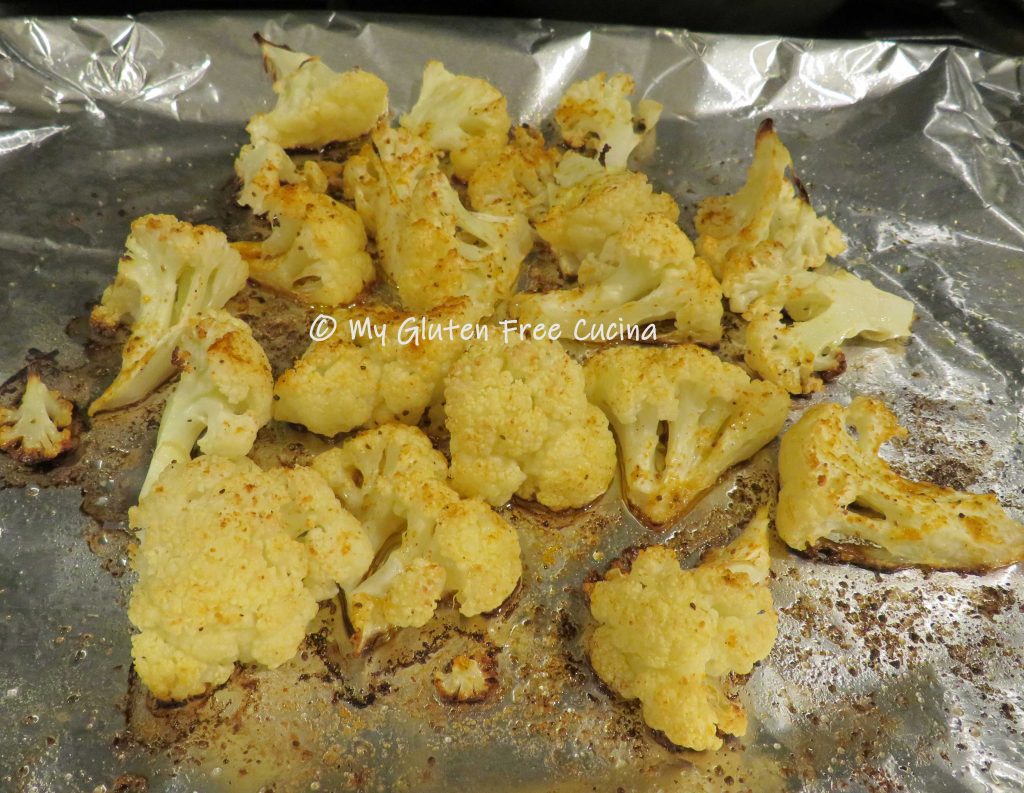

 Add the roasted cauliflower to the skillet.
 Warm the cooked risotto in a
 To plate, make a bed of risotto and top with the shrimp and veggies. Garnish with a sprinkle of toasted pumpkin seeds.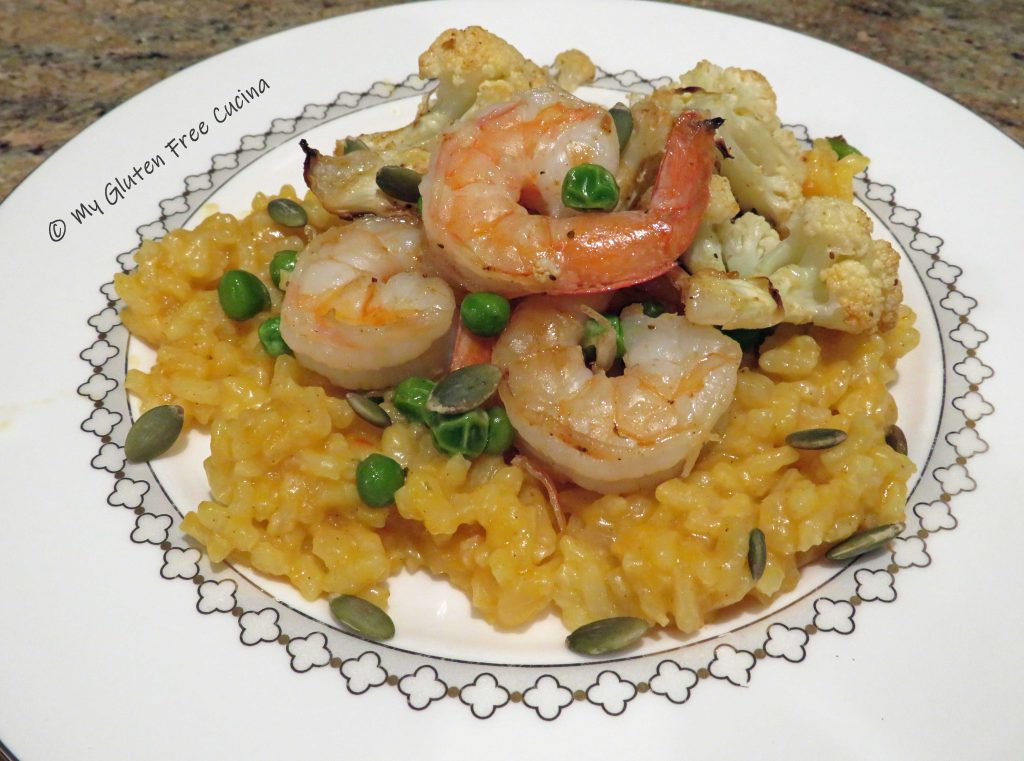

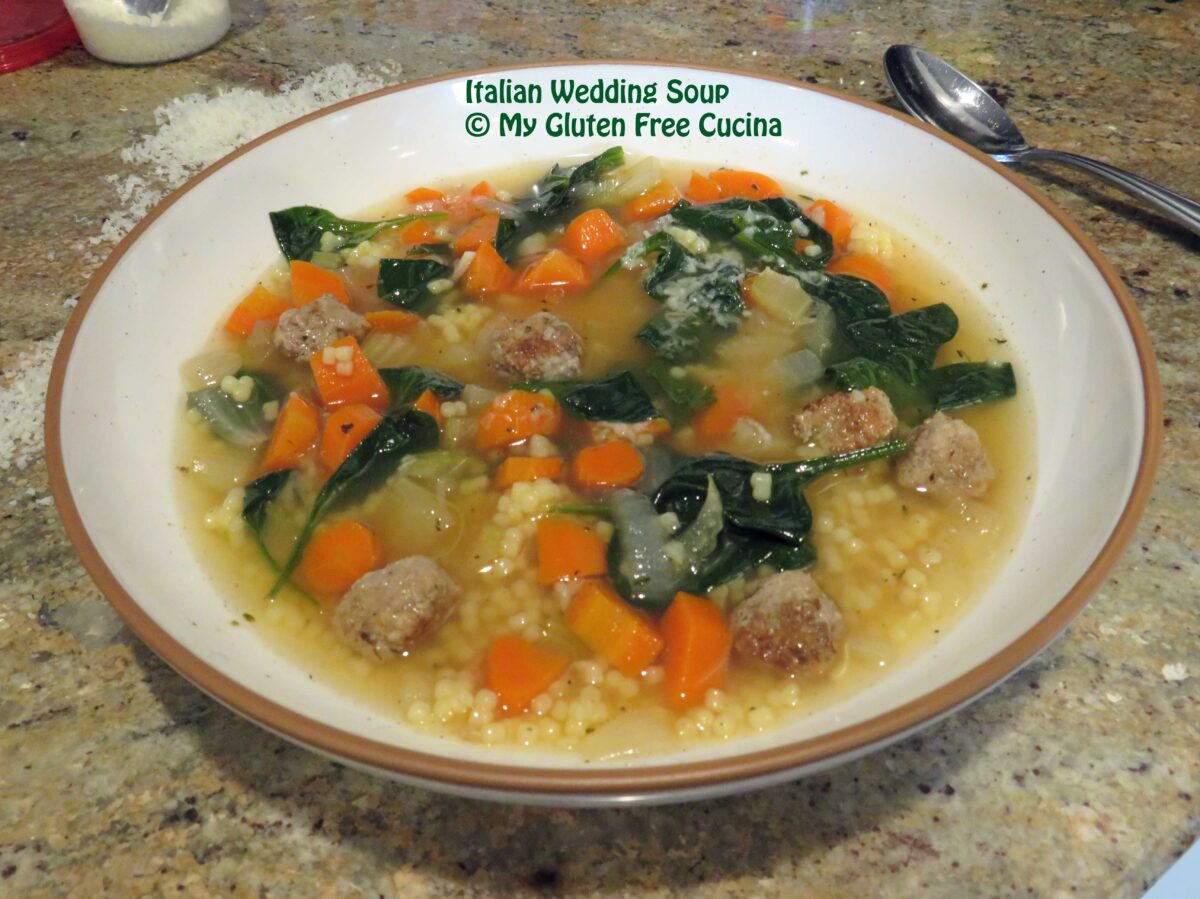
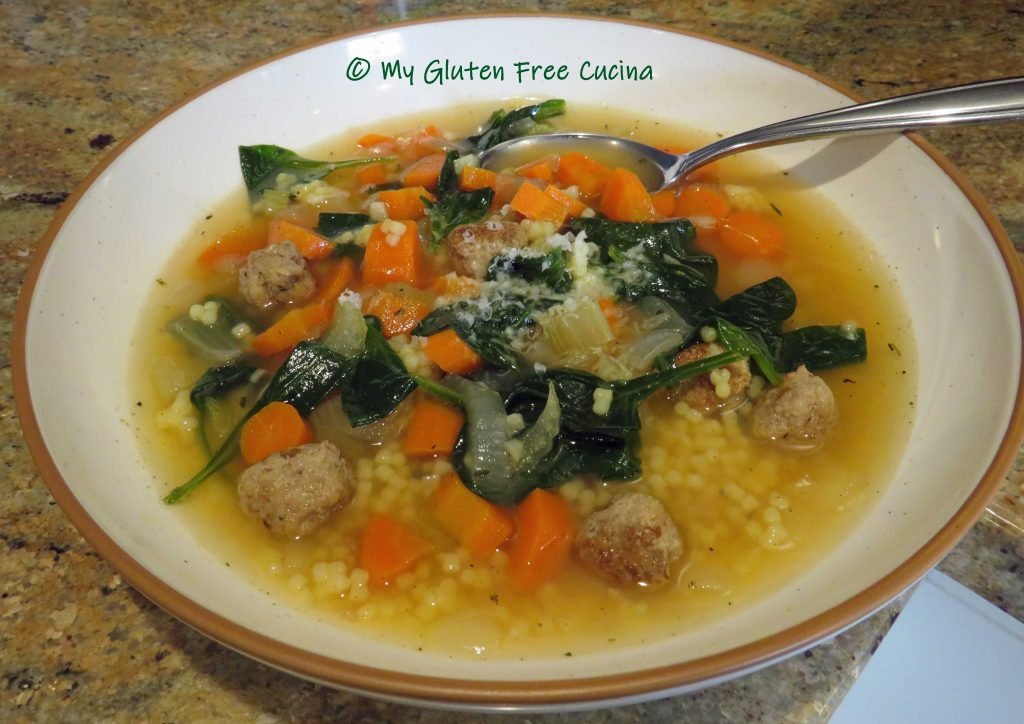

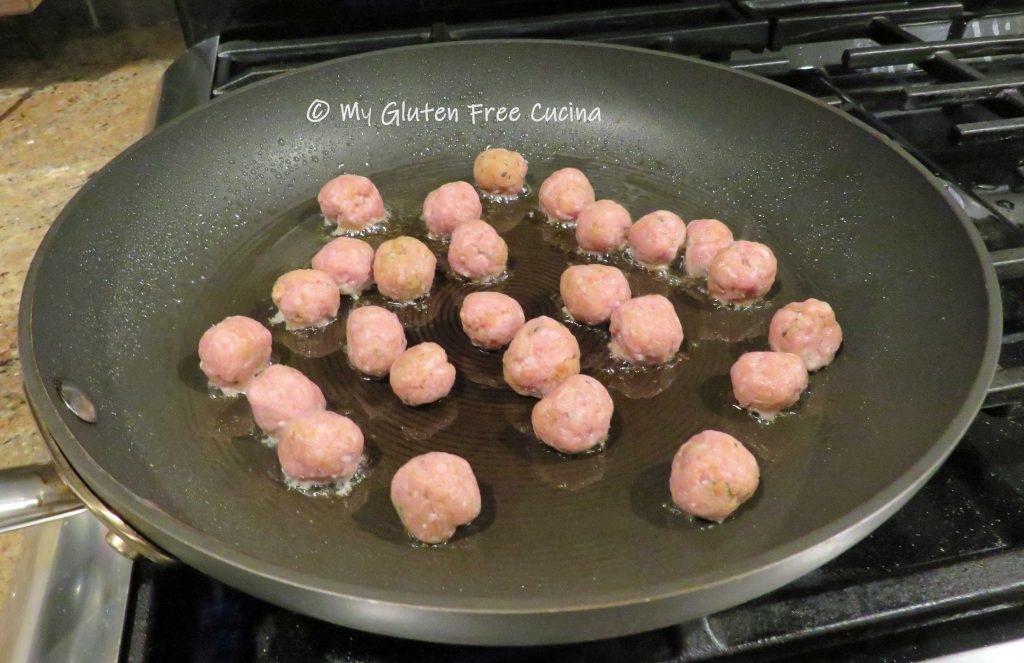

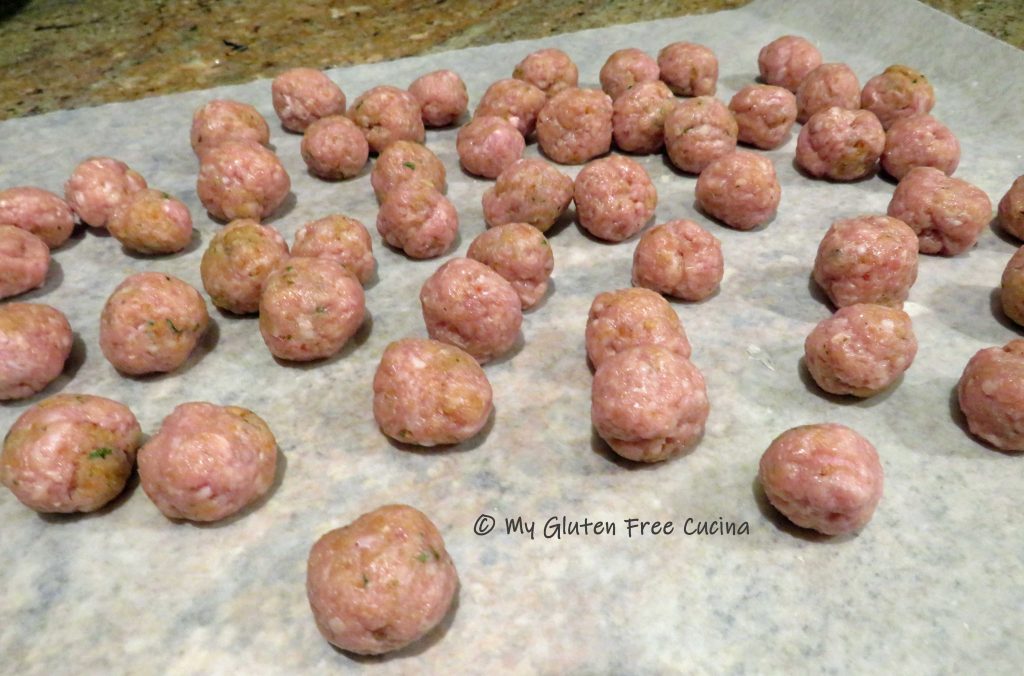


 Serve with finely grated cheese, use the good stuff!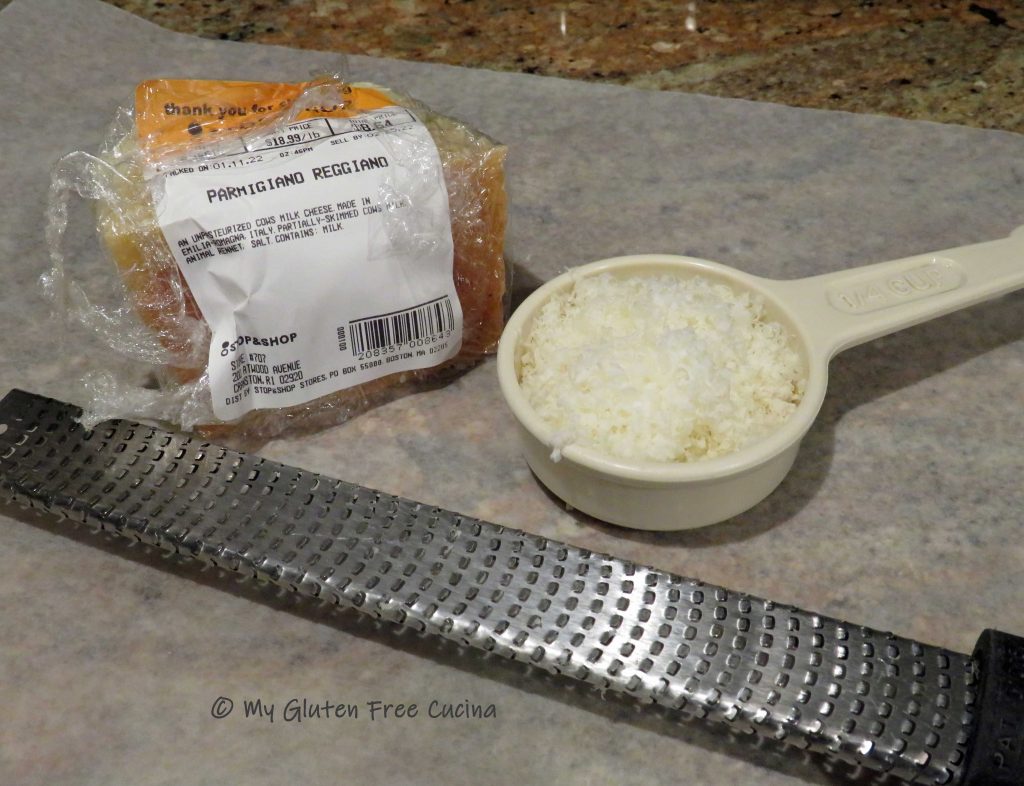
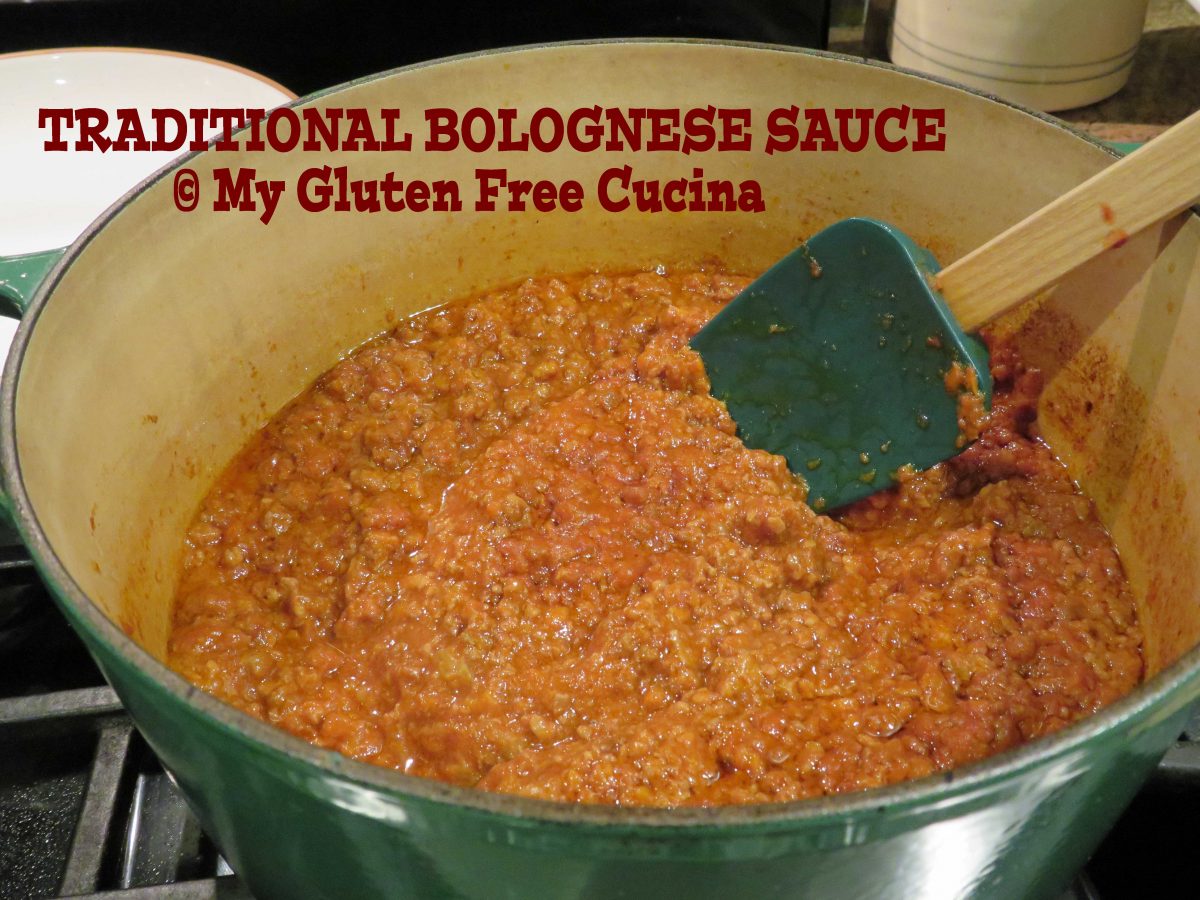
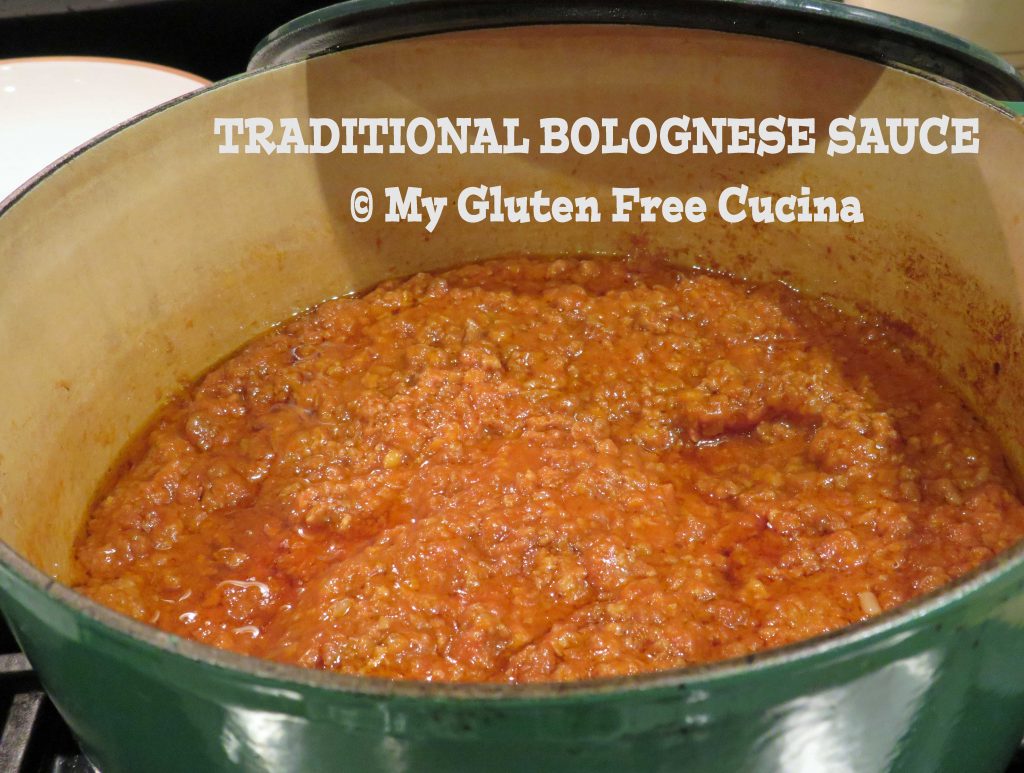
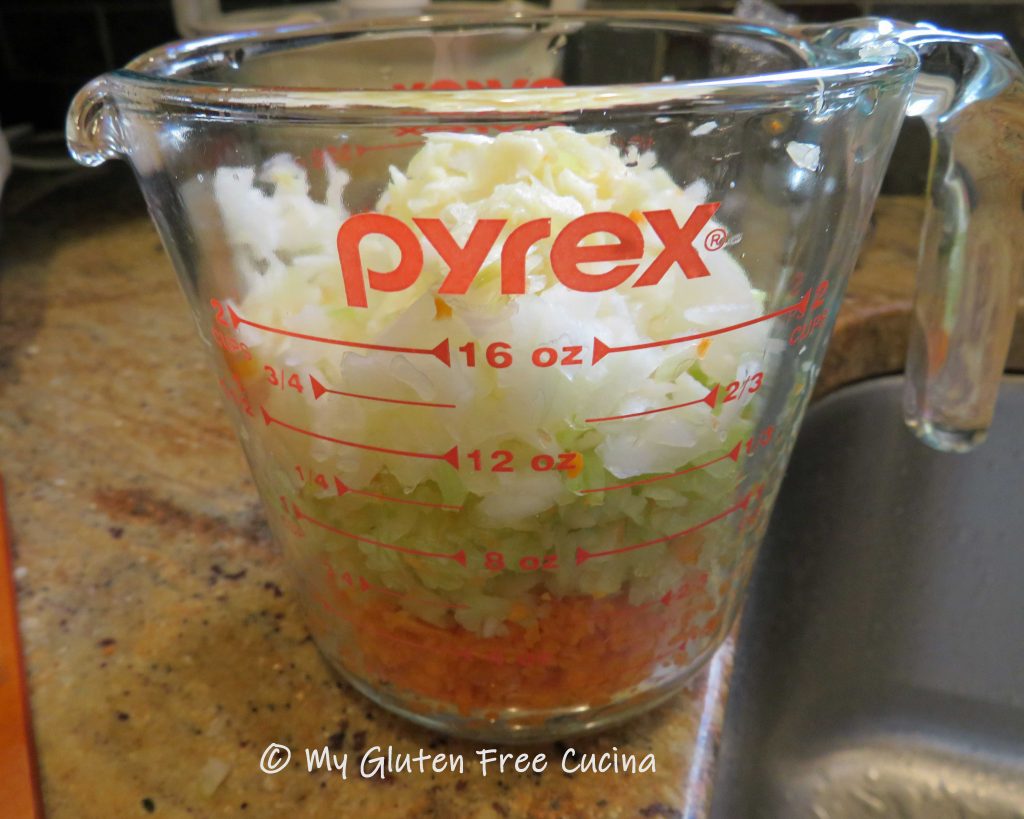
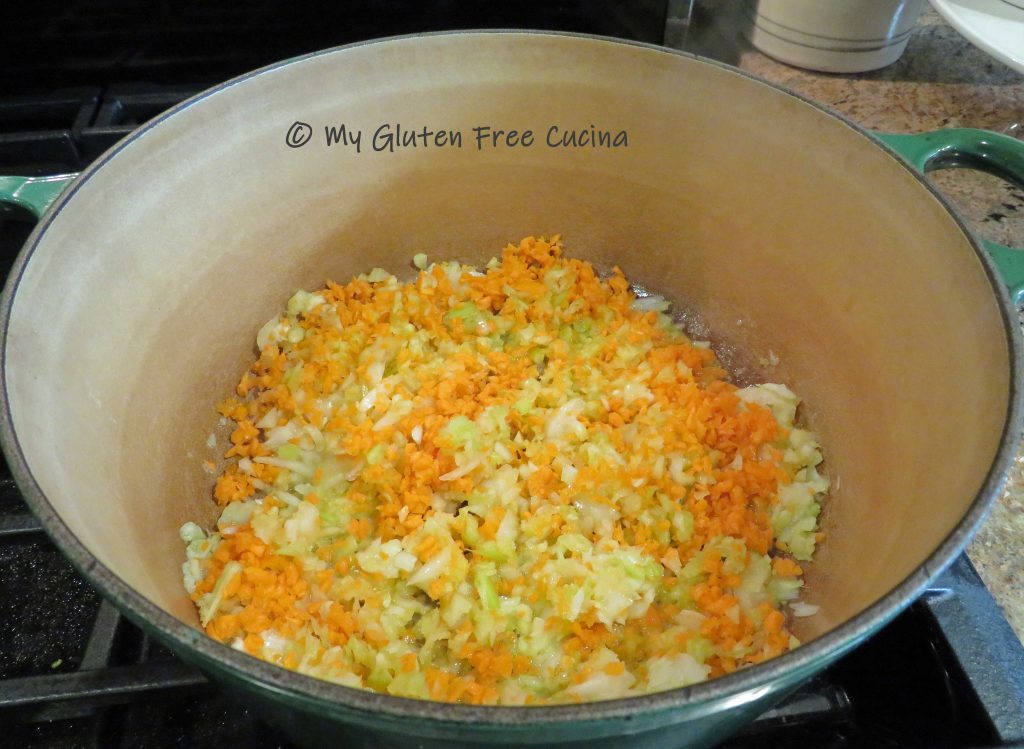 Chop the pancetta into fine dice or pulse a few times in the processor.
 Add it to the pot and continue cooking slowly for 10 more minutes.
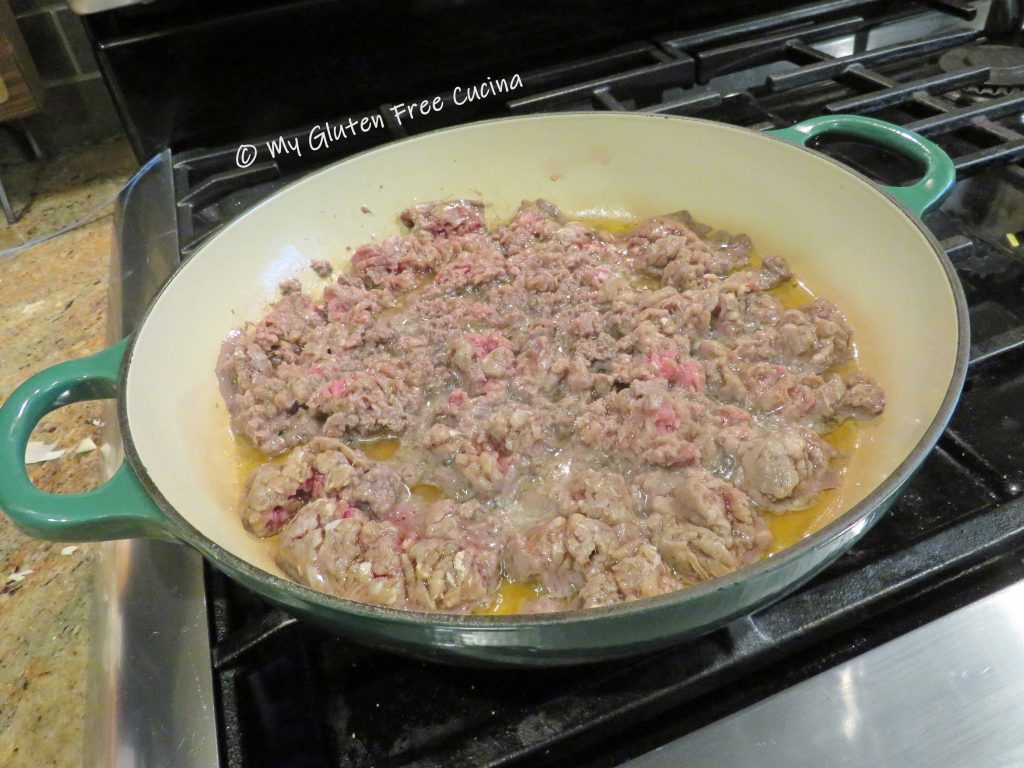
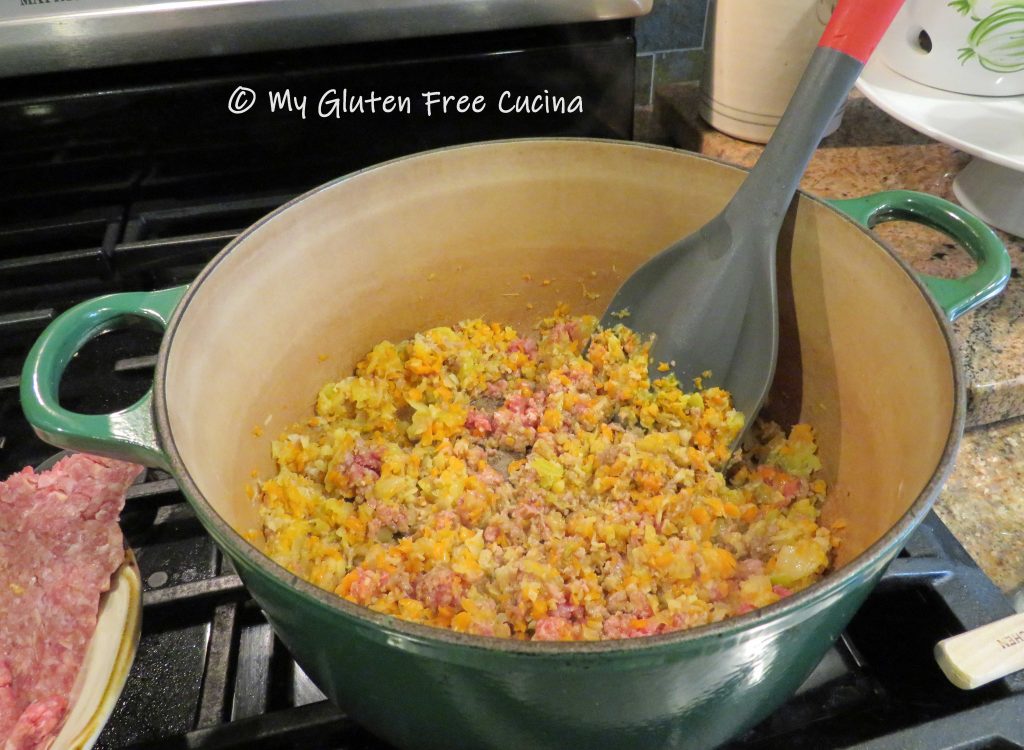 Allow some of the liquid to evaporate before adding more meat, you want it to brown, not steam. Add more salt and pepper to taste.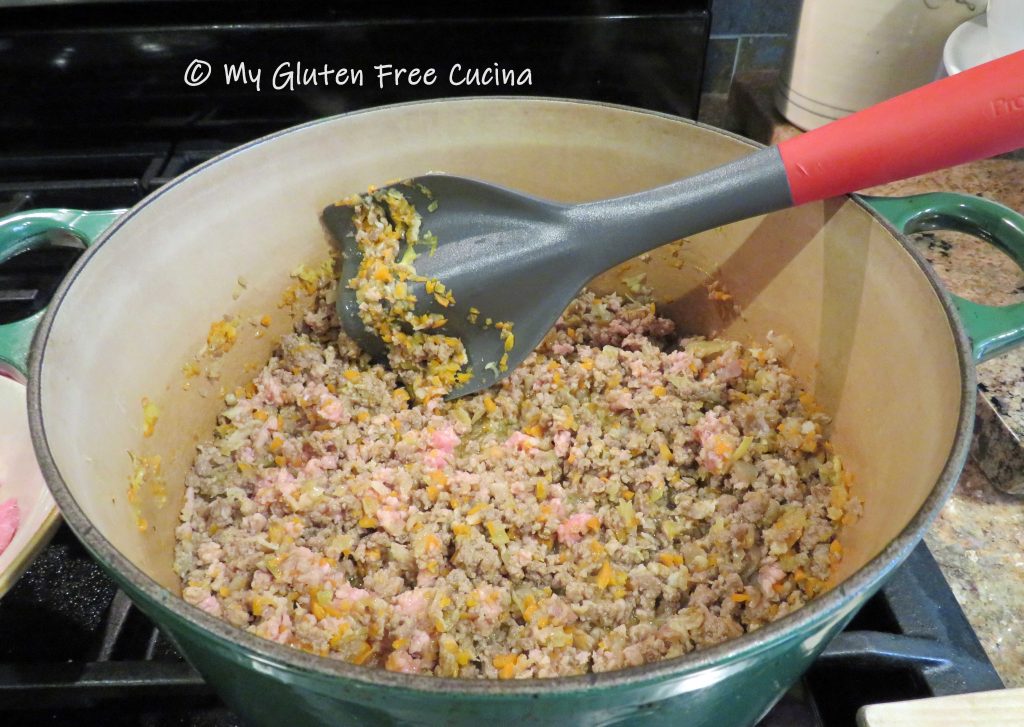
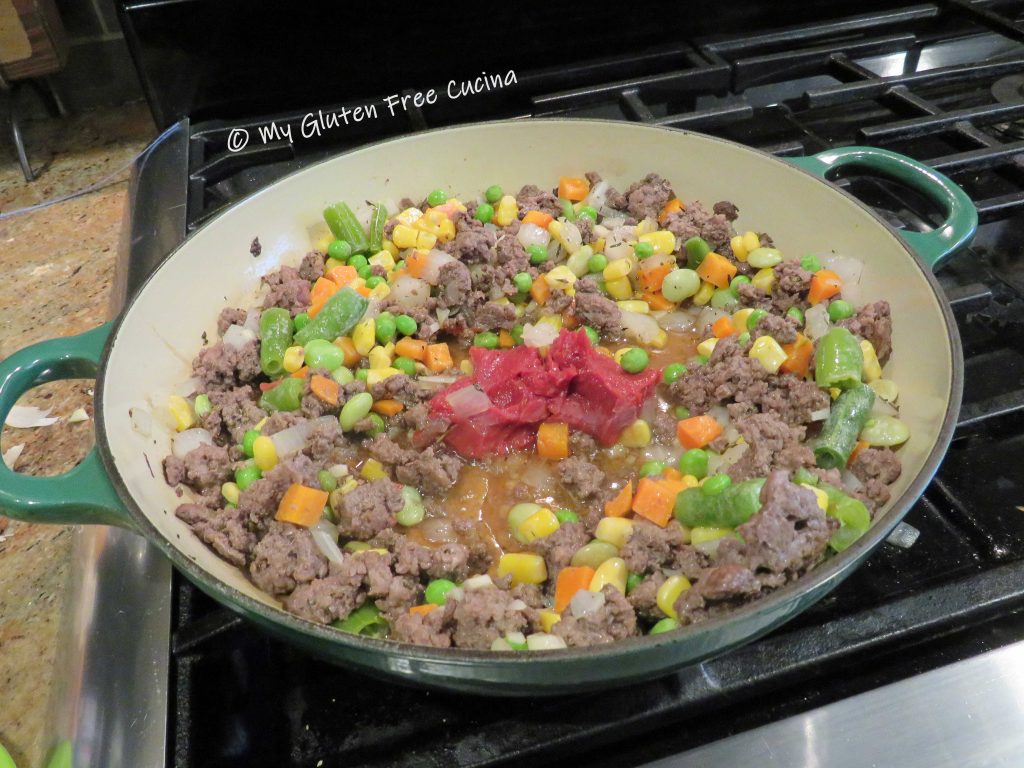
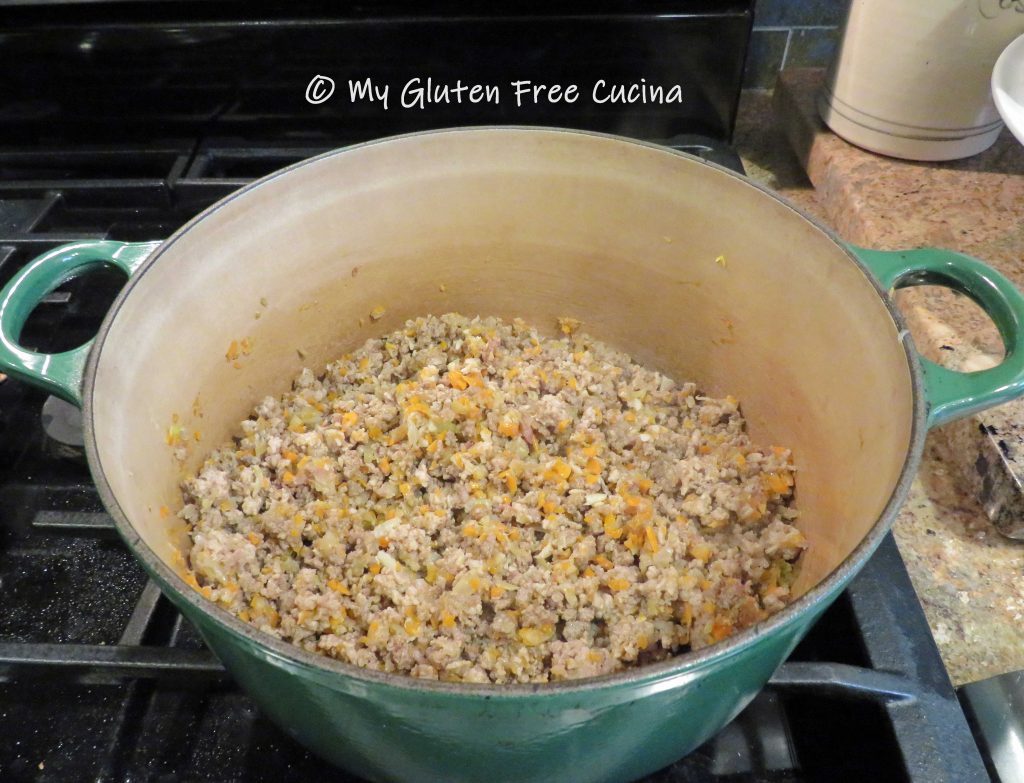 After about 20 minutes the meat should be well browned and starting to caramelize on the bottom of the pan. Clear a spot in the middle of the pan and add the tomato paste. Cook for 2 minutes, then stir the tomato paste into the meat.
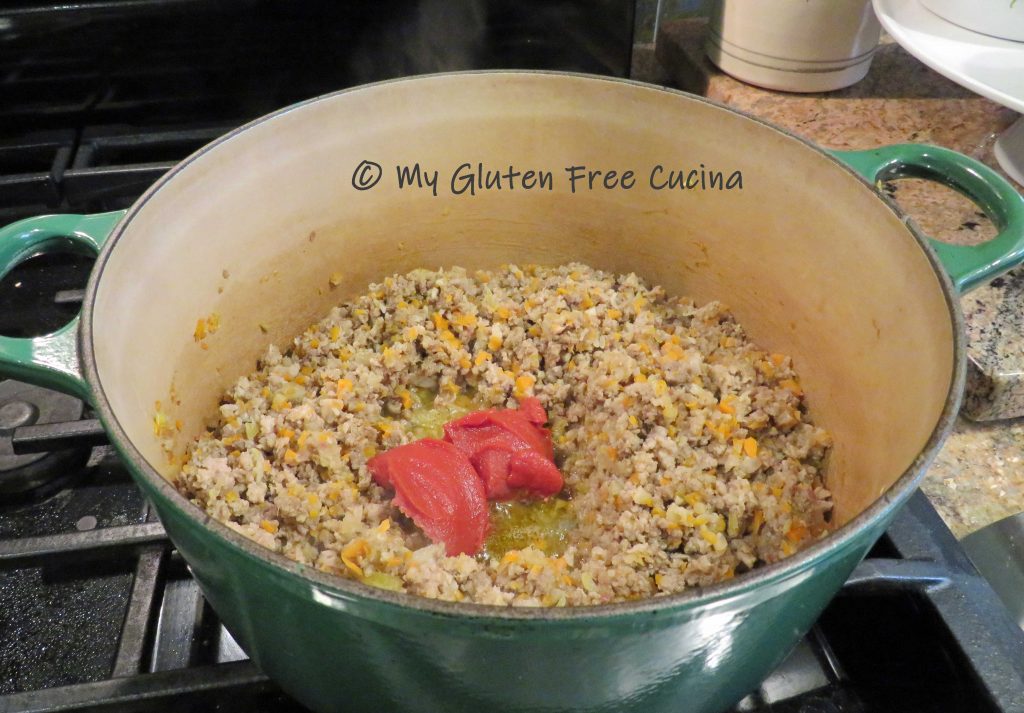 Add the red wine, and use a spatula to loosen up any browned bits on the bottom of the pan and stir them into the sauce.
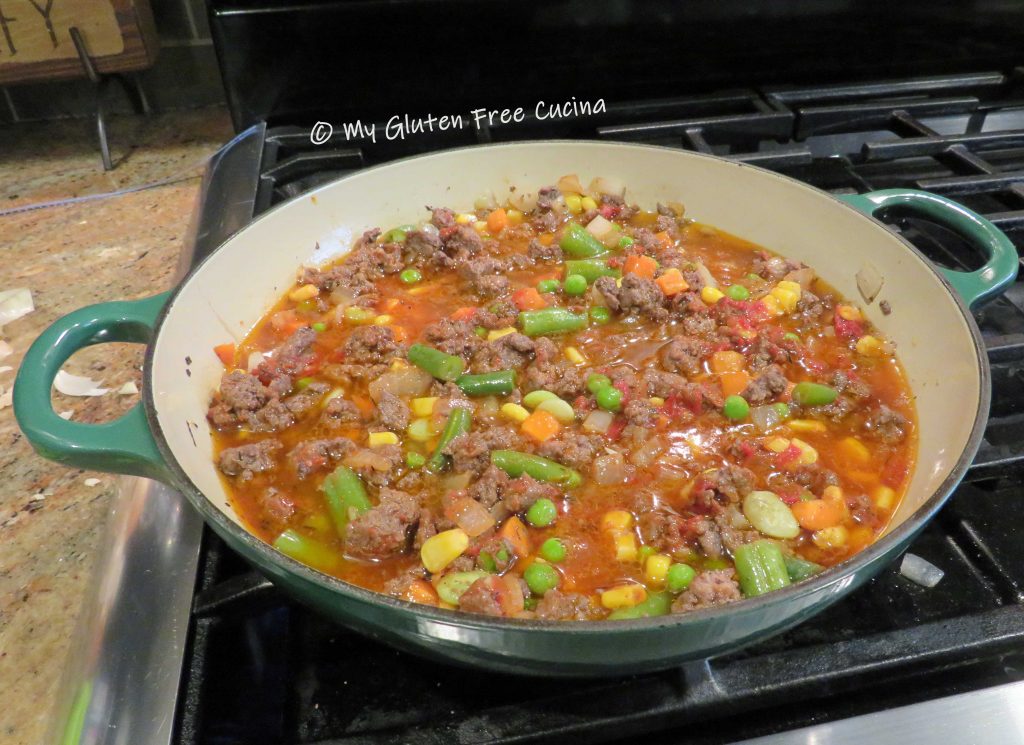
 Simmer 3 minutes to allow some of the wine to cook off, then add the milk (or cream), tomatoes and stock.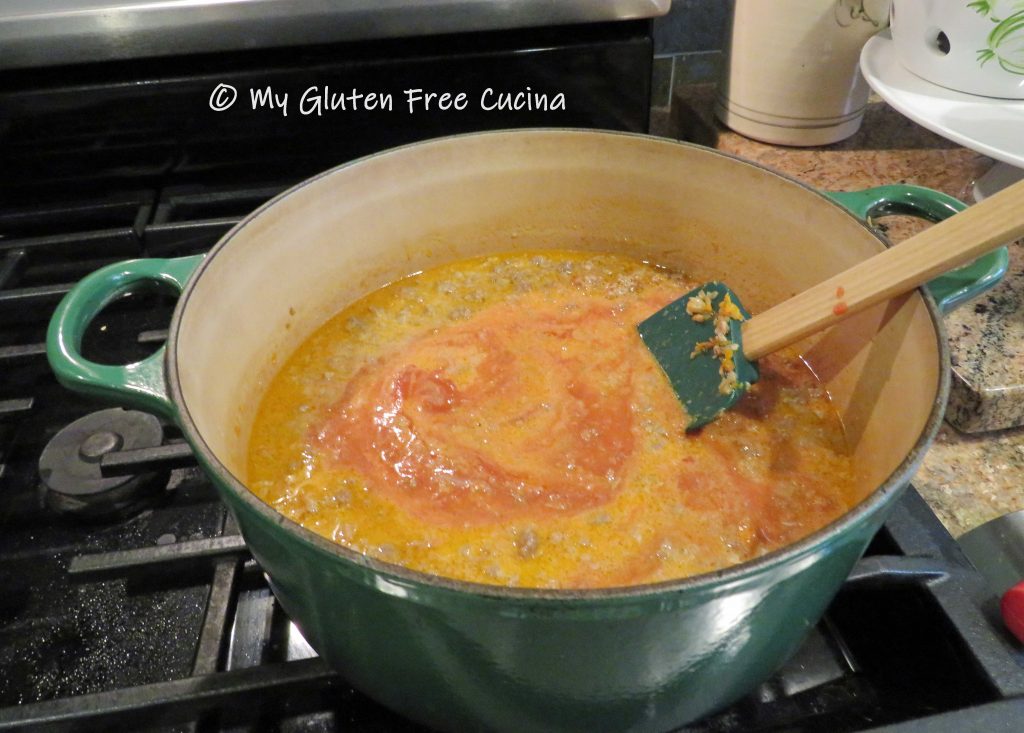
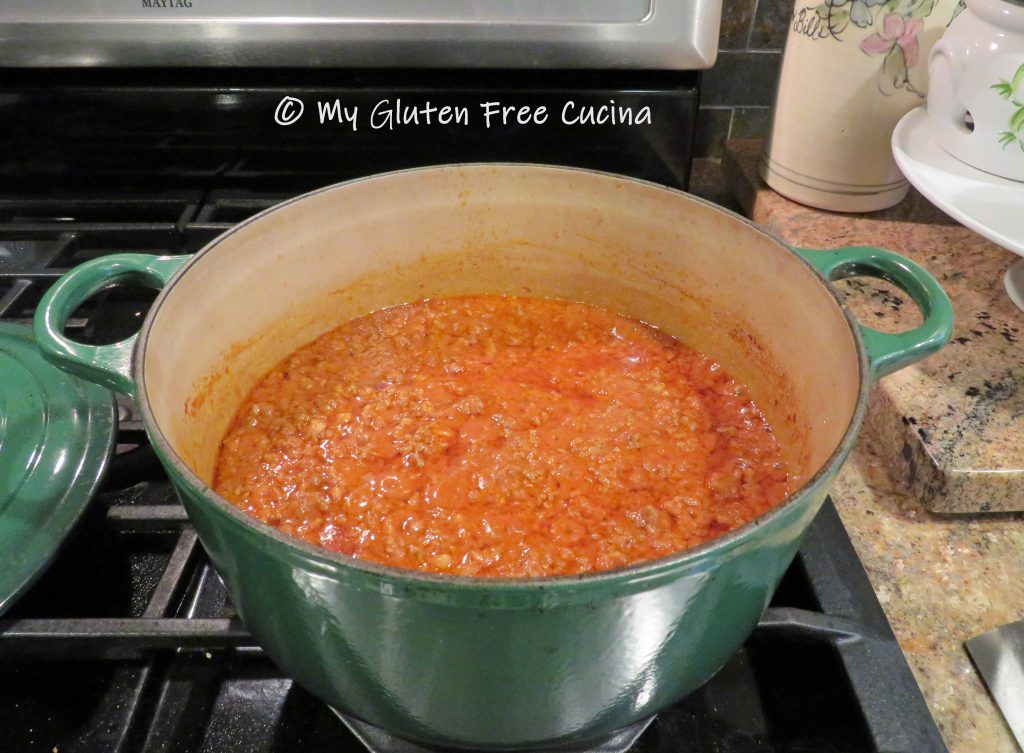


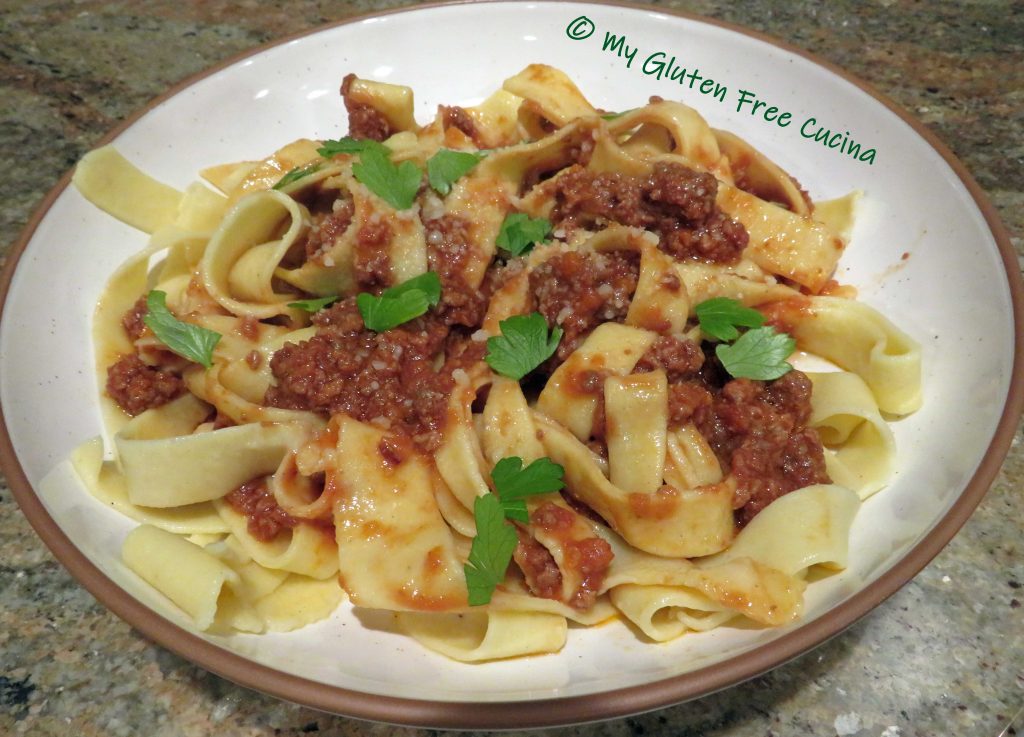
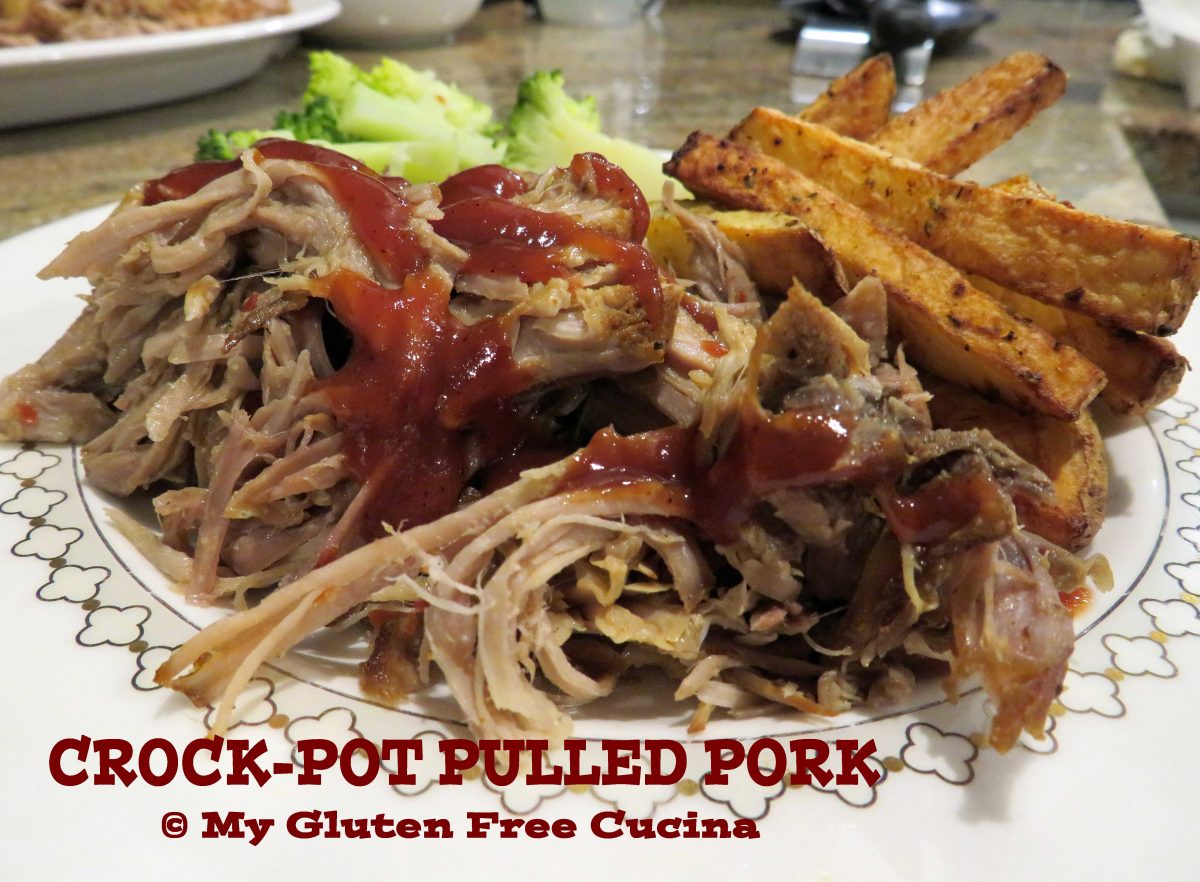



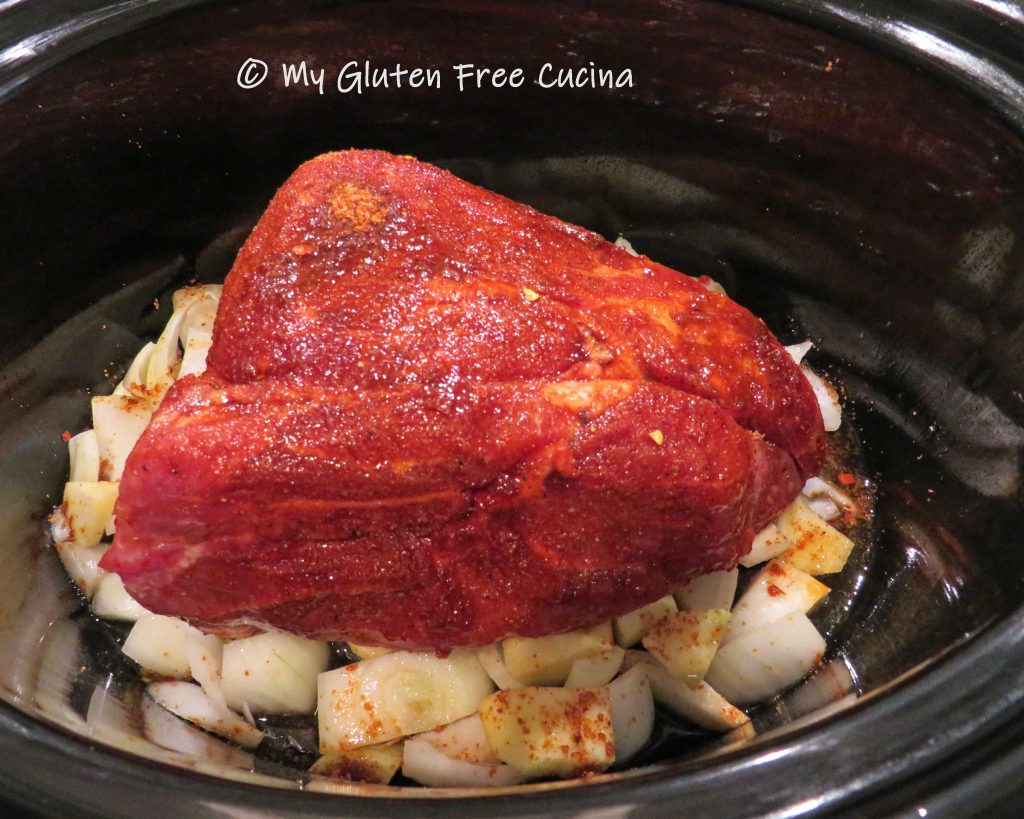
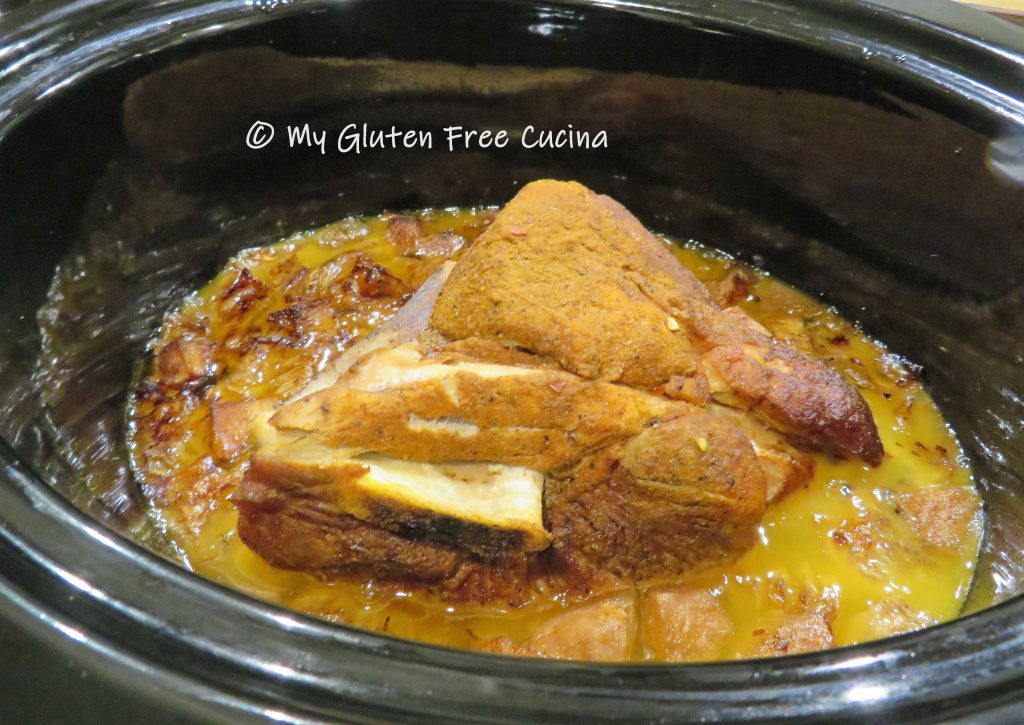
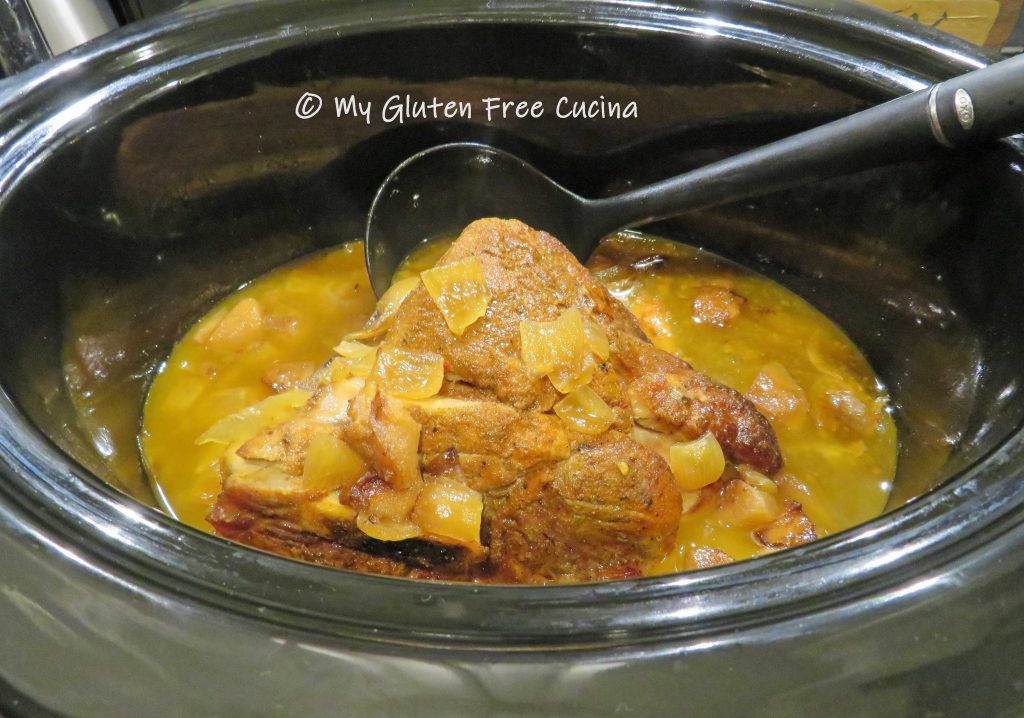
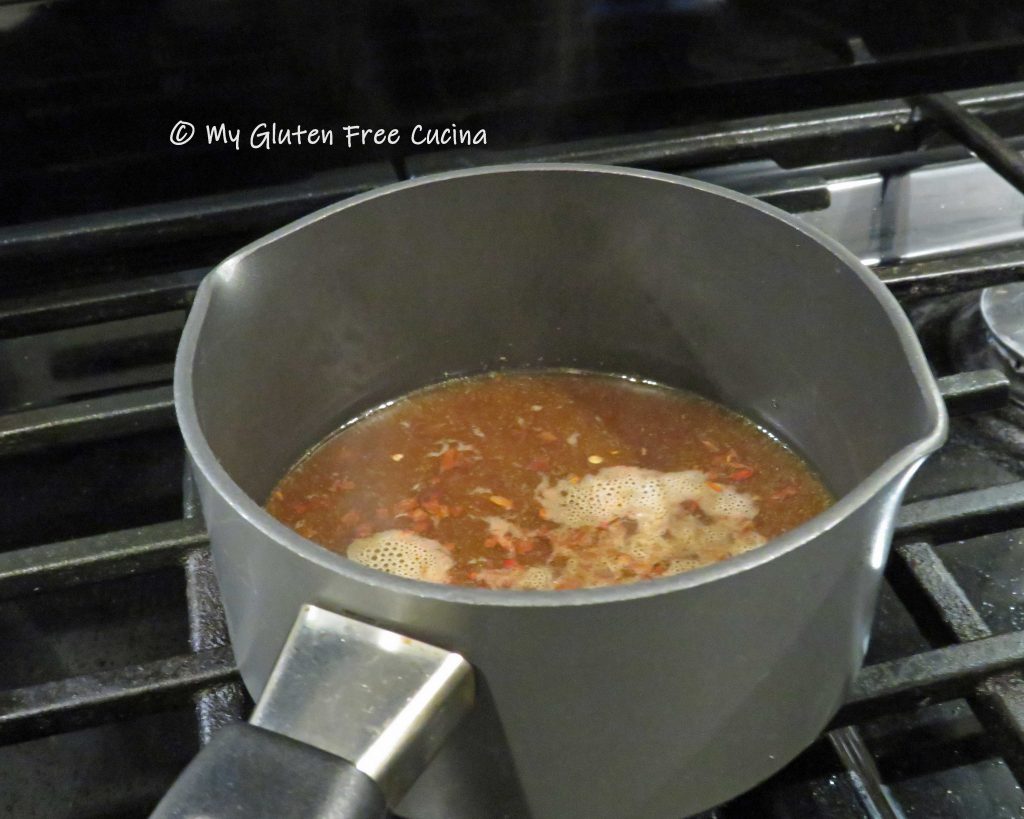
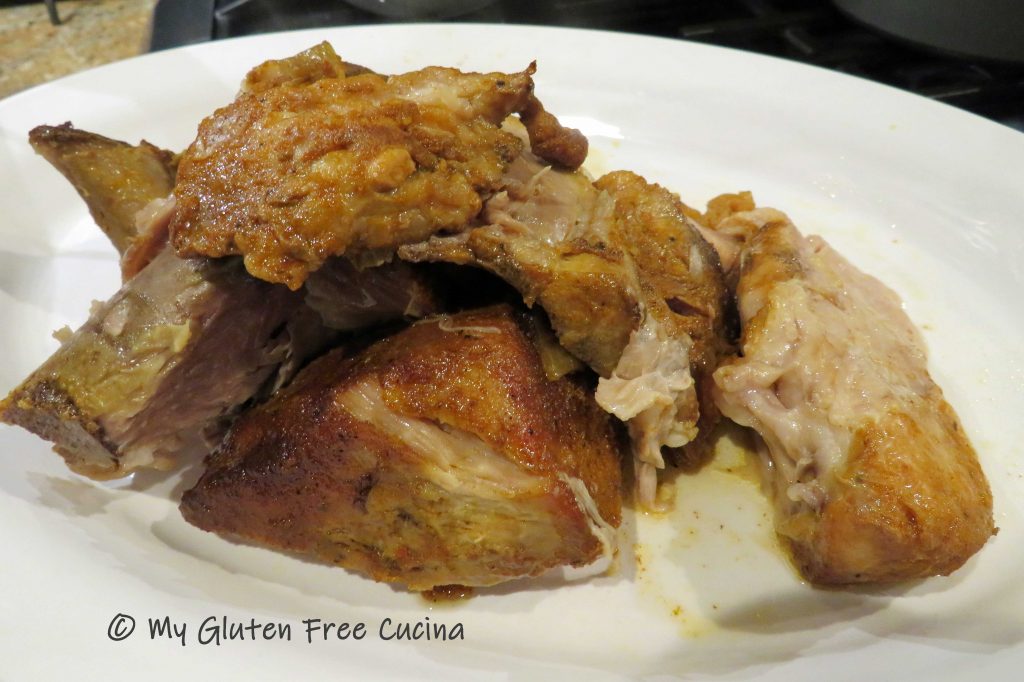 It should be falling apart tender. Spoon a little of the reserved sauce over the top. You can strain out the pepper flakes if you like.