Are your holiday gatherings going to be smaller this year? I can remember a time when I thought nothing of having one or even two dozen people over for a holiday dinner (how did I do that?), but these days we tend to be just a small, cozy group. And sometimes a turkey is just too big for a few people.
Today’s post is a special dinner that you can make at home for one, two or more. Cornish Hens are delicious and flavorful, and they go well with just about any of your favorite Thanksgiving sides. You can even stuff them!
 A single Cornish Hen (2 lb.) should yield 2 servings, or for hearty appetites plan on one hen each. Your gatherings may be smaller, but they can still be delicious!
This post contains affiliate links.
Ingredients:
- 2 Cornish hens (about 2 lbs. each)
- 1/2 stick of butter, softened
- 1 tsp. each, rosemary and thyme
- salt and pepper to taste

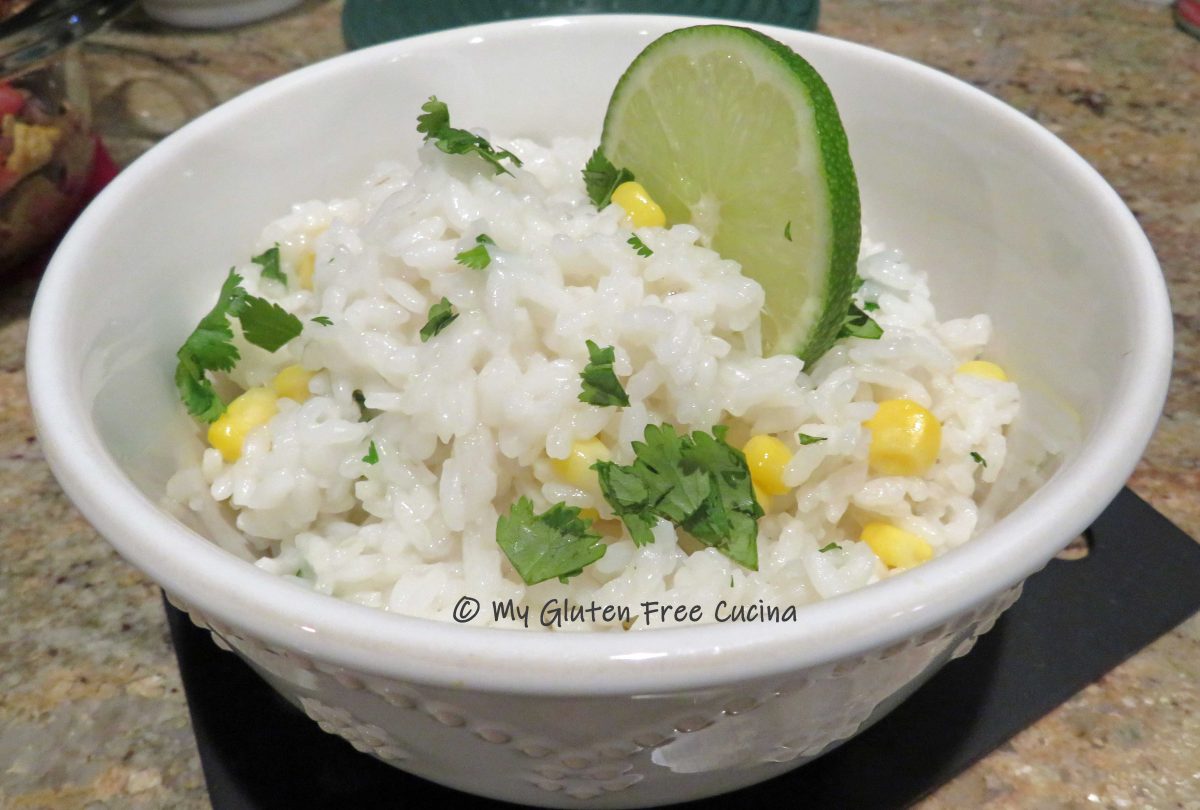
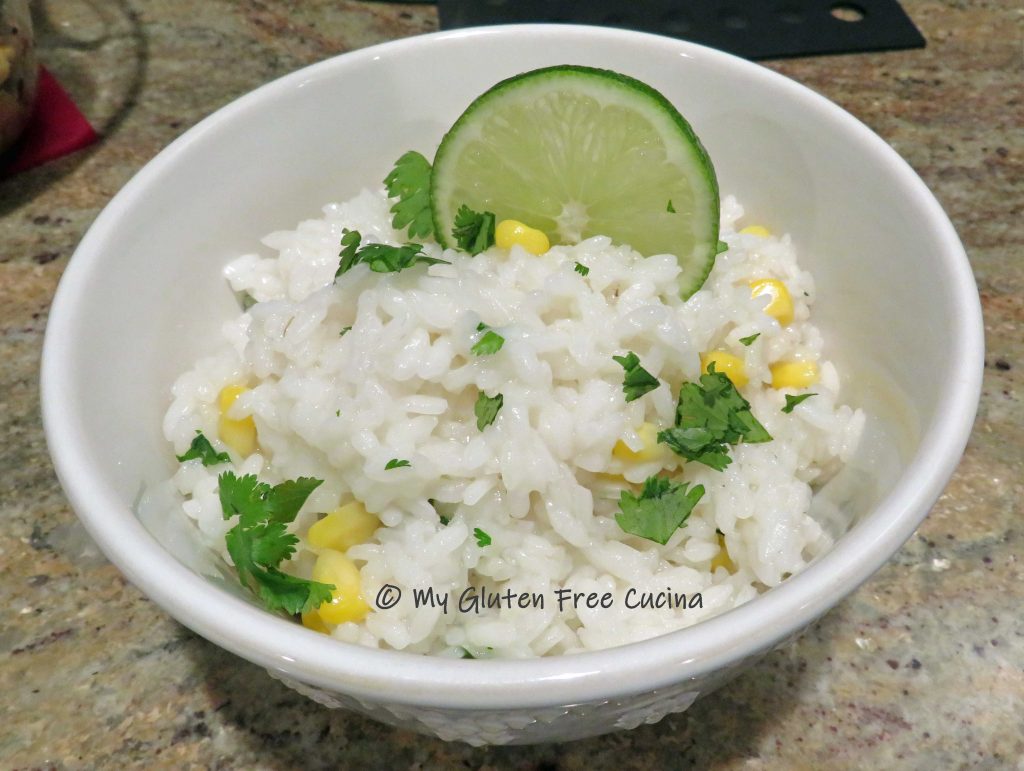
For the stuffing:
Preparation:
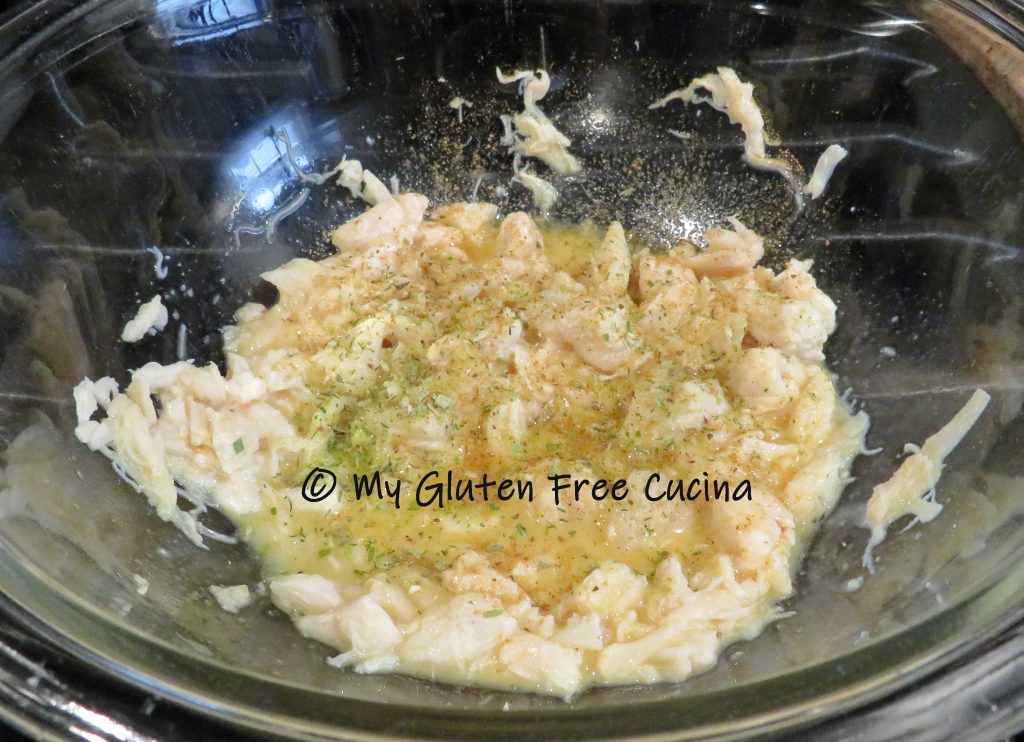
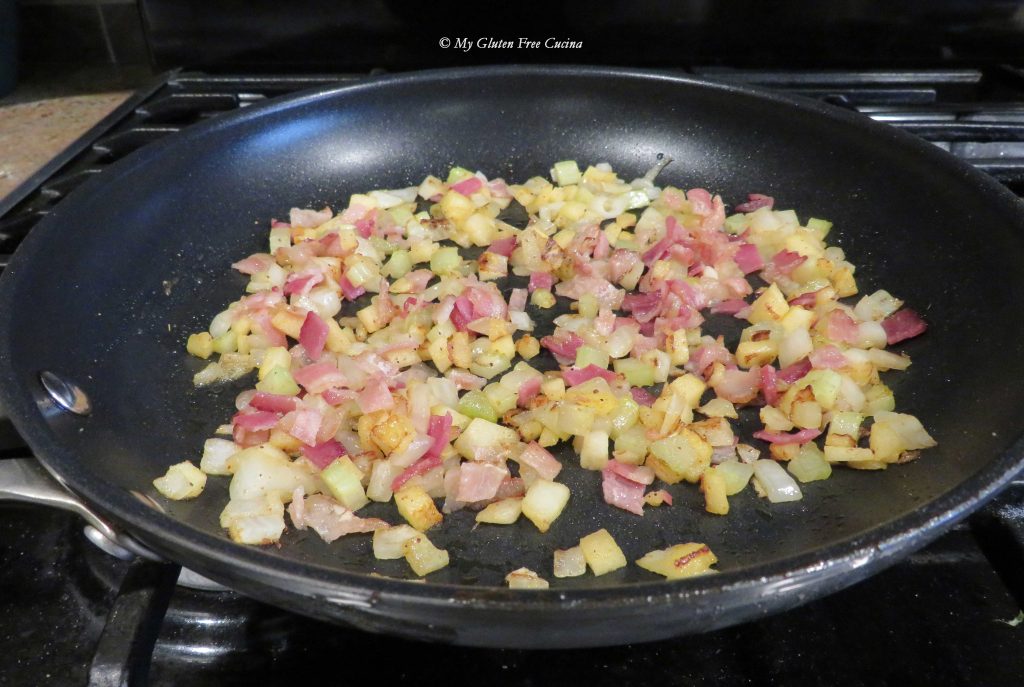
Cook the bacon and drain on paper towel, reserving the fat in the skillet.

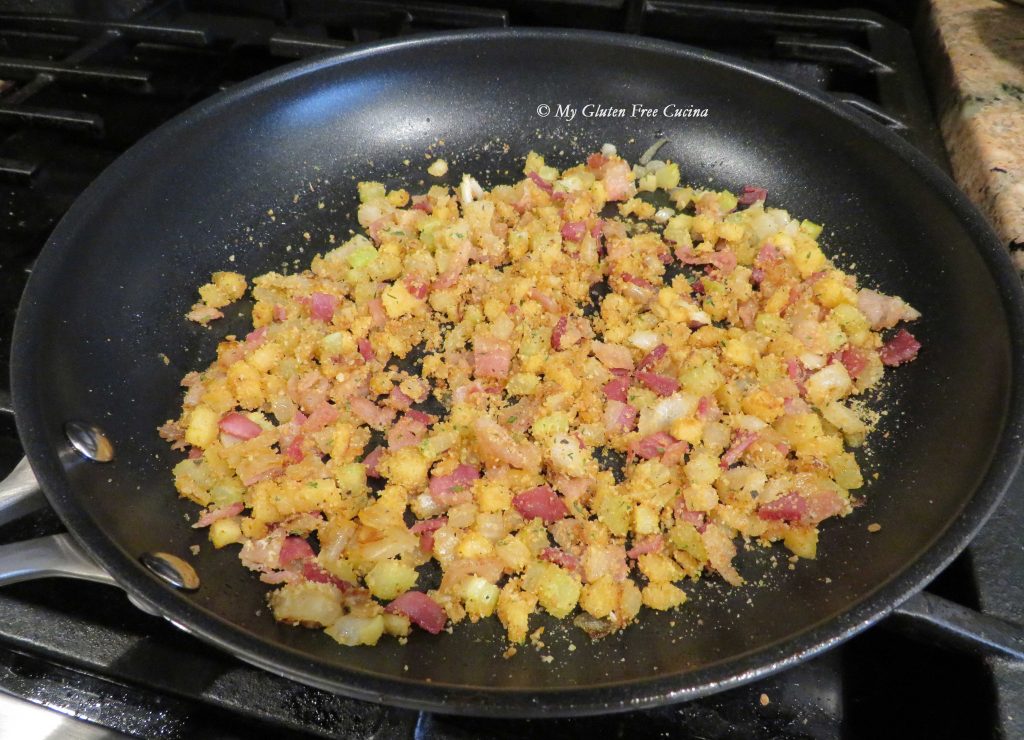
Add 1 tbsp. butter to the skillet with the bacon fat and begin cooking the onion, celery and apple. Sprinkle with sausage seasoning. Chop the bacon and add it back to the pan and let it cool slightly while you prep the hens.
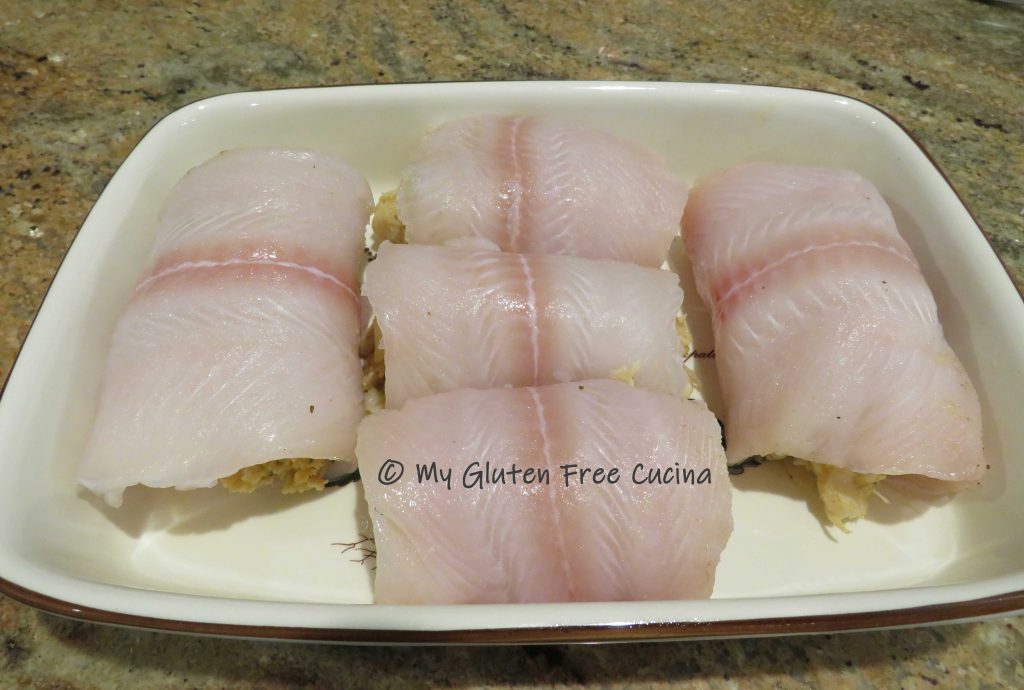
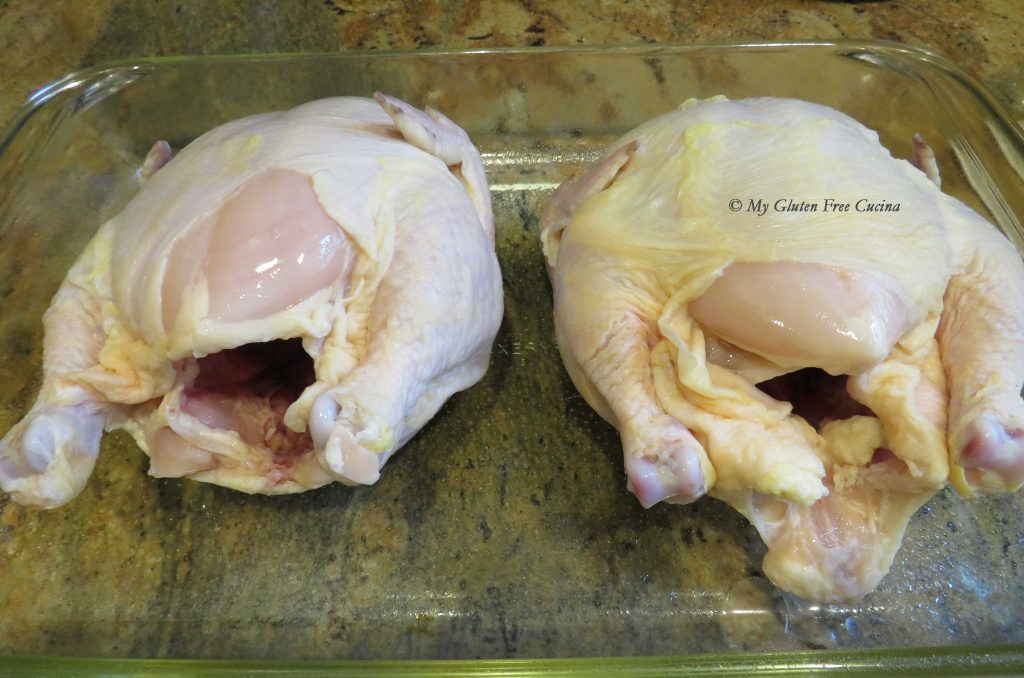
Place the hens in an empty sink. Remove the gizzards from the cavity, rinse the hens inside and out with cold water and place in a baking dish coated with cooking spray. I used a 9″ x 13″ Pyrex dish.
Wash the sink thoroughly and now we’ll finish the stuffing. Stir in 1/4 cup breadcrumbs and about 2 tbsp. chicken broth, just enough to bring the stuffing together. Gently spoon the stuffing into each hen.
Mash together the softened butter, rosemary and thyme. Rub the hens all over with the herb butter, be sure to get under the legs and wings and place a pat under the skin. Season with salt and pepper.

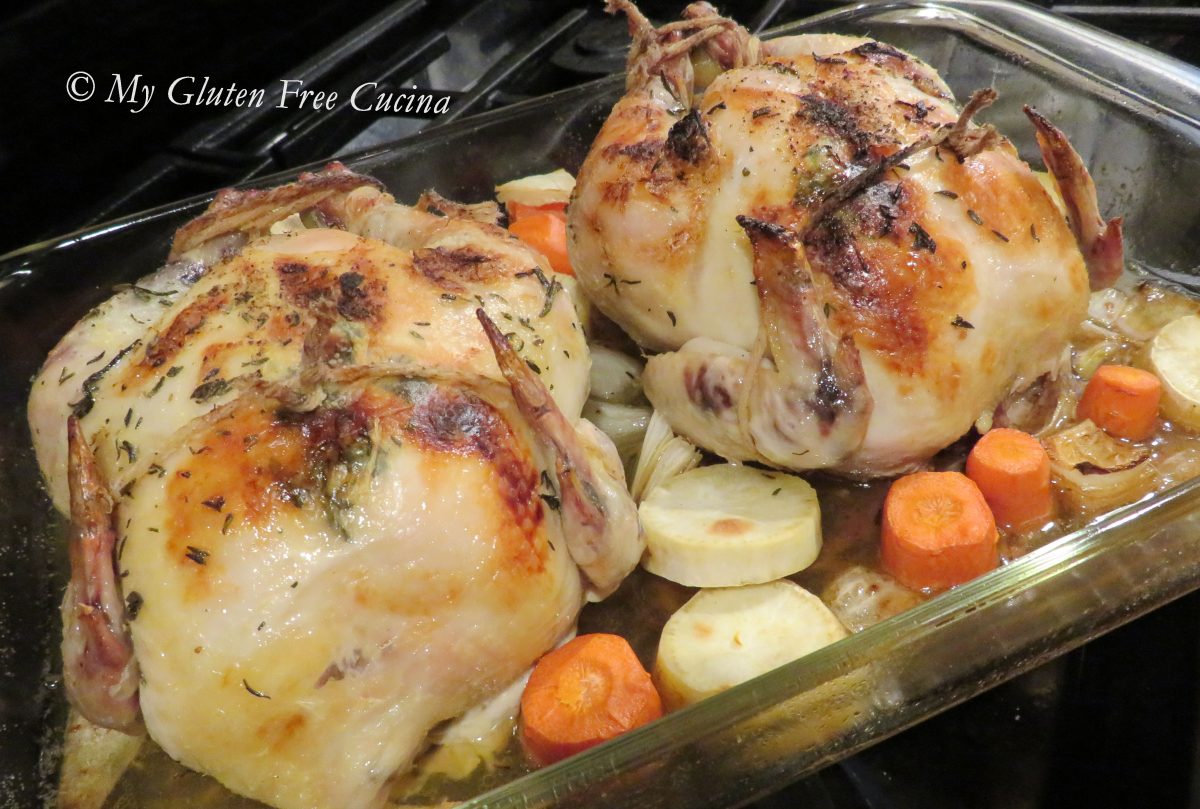
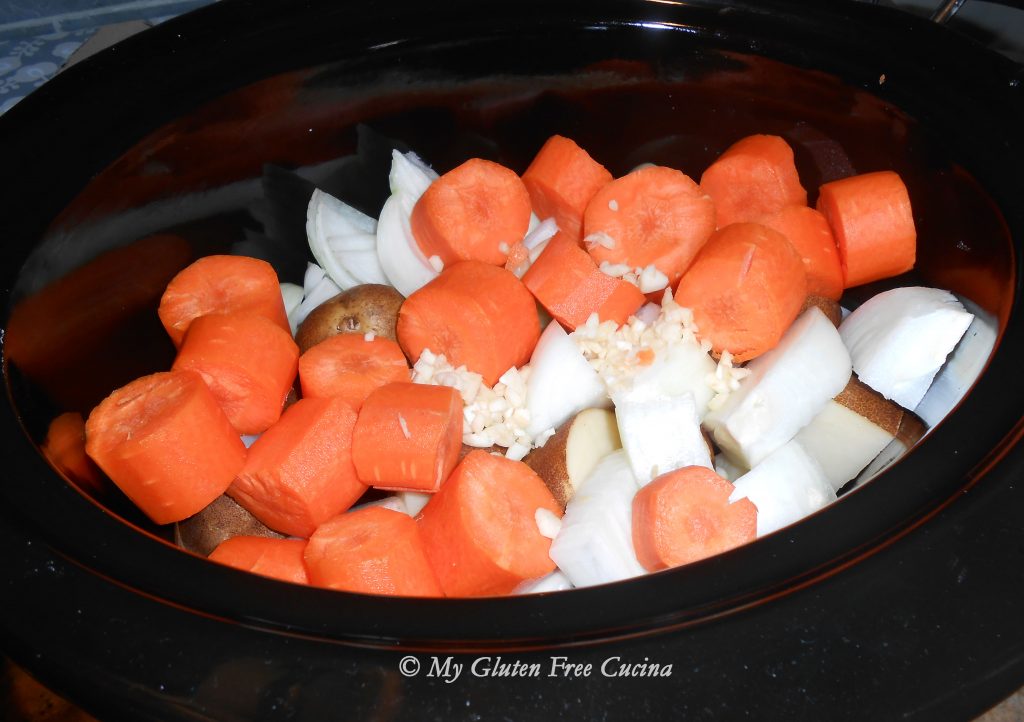
Use twine to tie the legs together and wrap another strand around the center of the bird to secure the wings close to the body. Add 1/2 large onion, 1 carrot and 1 potato to the pan.

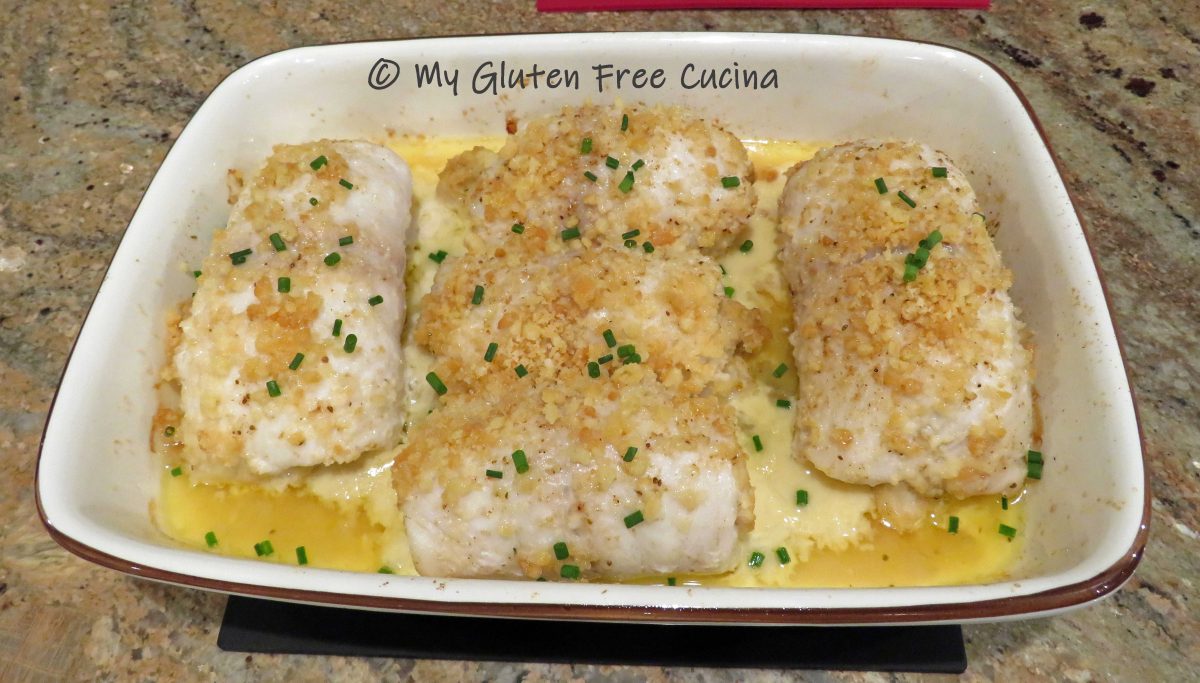
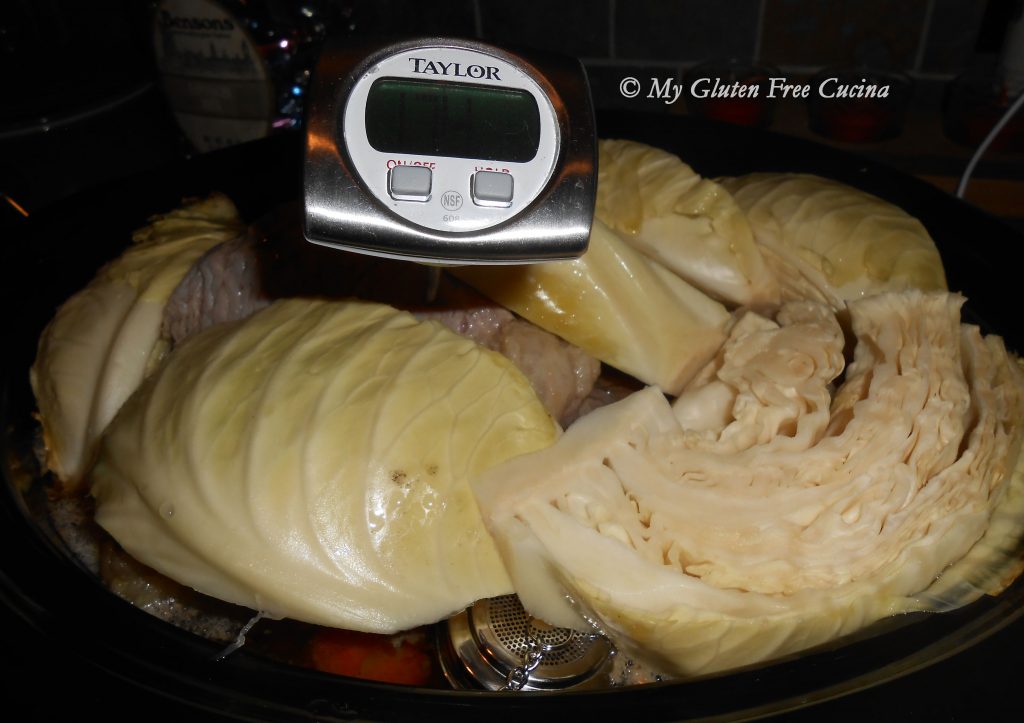
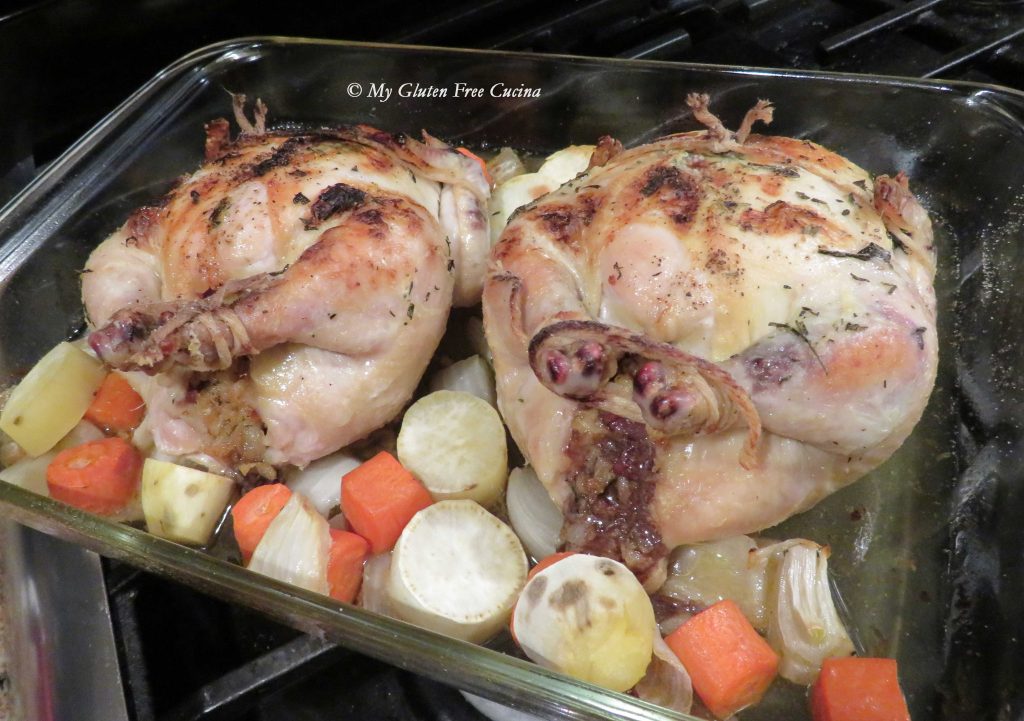
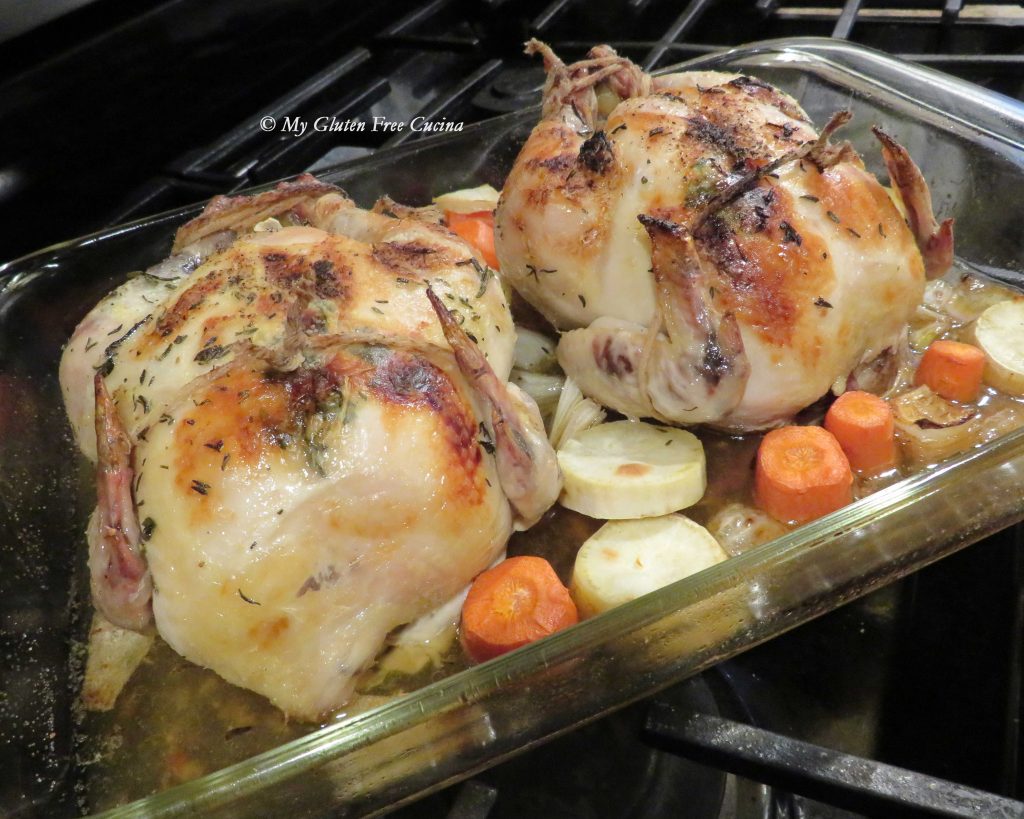
Roast for 70 minutes at 350º or until the internal temperature reaches 165º.

Broil on low for 5 minutes to get more color on the skin.

Aren’t they beautiful? Whether you are dining solo or with those you love most, I hope you find some gluten free meal inspiration for your holiday table! May your home be filled with blessings of the season and all the delicious food.
Notes ♪♫ I originally wrote this post in April of 2020, at the height of the pandemic. It was just before Easter, and the recipe was among those that I affectionately referred to as “quarantine cuisine”, because everyone stayed at home for the holidays that year. I am so thankful that those days are behind us, and we can celebrate the holidays with family again.
Original post 04/07/2020 Updated 11/05/2025

 Print This Post