There is nothing like homemade pasta! Just look at this beautiful Rigatoni! Freshly made and ready to cook. I made it with my KitchenAid® pasta press attachment, using the gluten free Artisan Flour Blend from Better Batter.
This post contains affiliate links.
Don’t forget, when you shop Better Batter and use my Promo Code MGFC30 at checkout, you will receive 30% off any non-sale item!
CLICK HERE to take advantage of this incredible opportunity to try the flour that I call my little miracle in a bag!
When making extruded pasta, the consistency of the dough is everything! Too dry and the dough will not hold together, too much liquid, and you will have trouble extruding the pasta and the rigatoni will collapse with the weight. I’ve made these before, but it took a few tries to get the hydration just right. It’s a bit finicky, like pie dough.

Below I have provided the exact ingredient measures that I used for this 2-serving recipe, and it’s my “go-to” for extruded pasta. Like any dough, it may vary a bit from batch to batch. Once you know what the dough should look like, you can adjust by adding a bit more flour or water as needed.

Note that you can double or triple the recipe for a larger family.
2 Servings
Ingredients:
- 120 g. Better Batter gluten free Artisan Flour Blend
- 1/4 tsp. salt
- 1 egg
- 2 tbsp. egg whites
- 1-1/2 tsp. olive oil
Preparation:
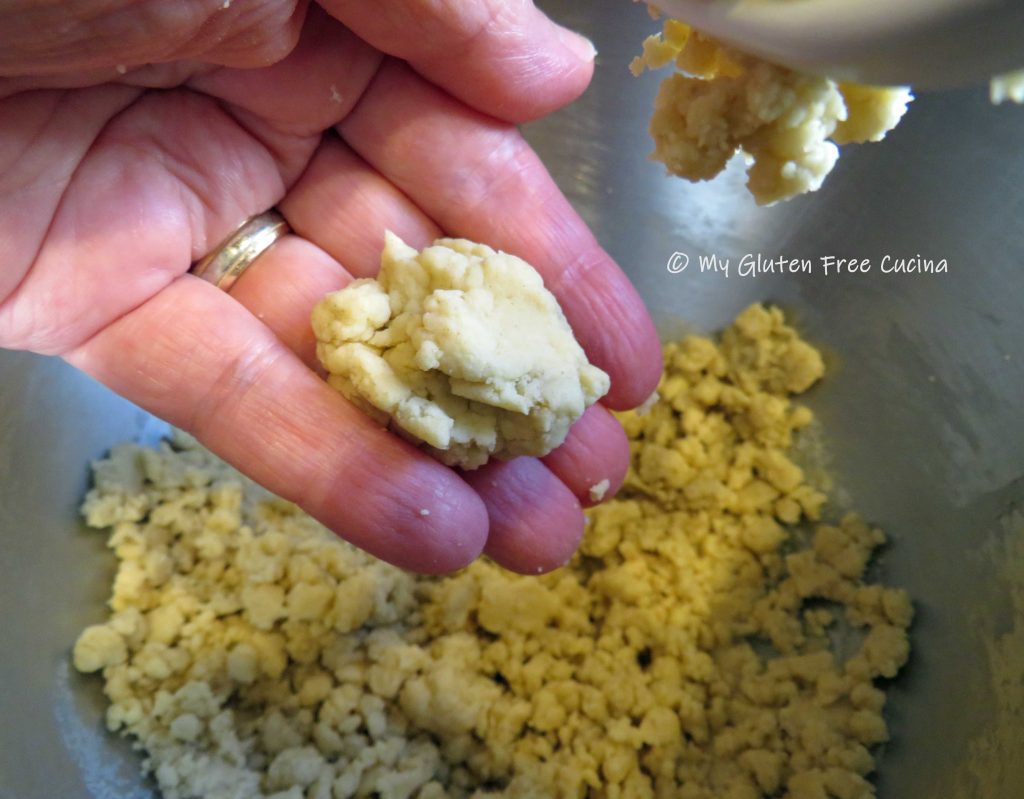
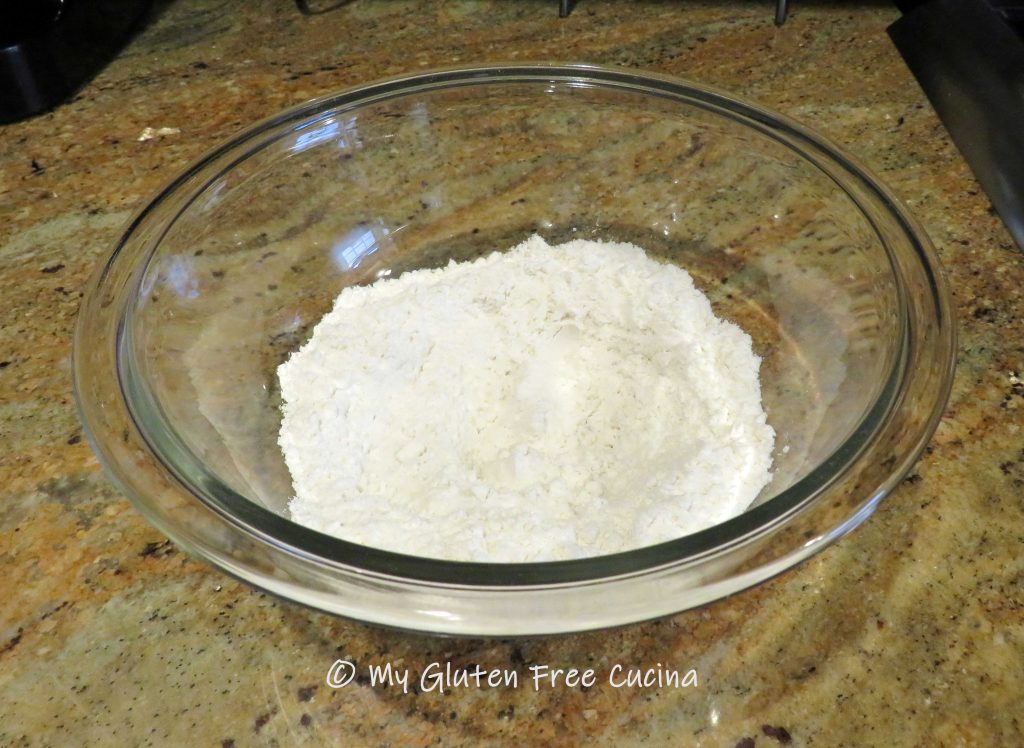
Place all of the ingredients in the bowl of a stand mixer with the paddle attachment. Mix on low speed to incorporate. You should have a crumbly mixture, like this. Do not add water.
To test the consistency, pinch a piece of the dough. It should hold together, like this.
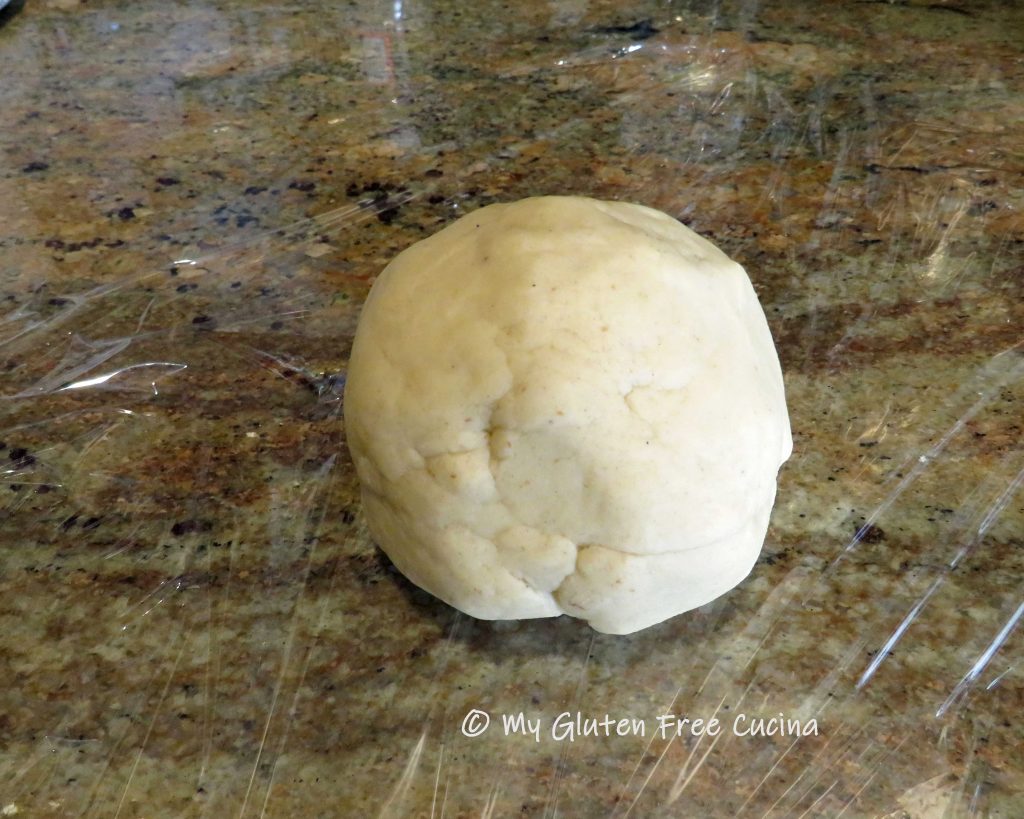
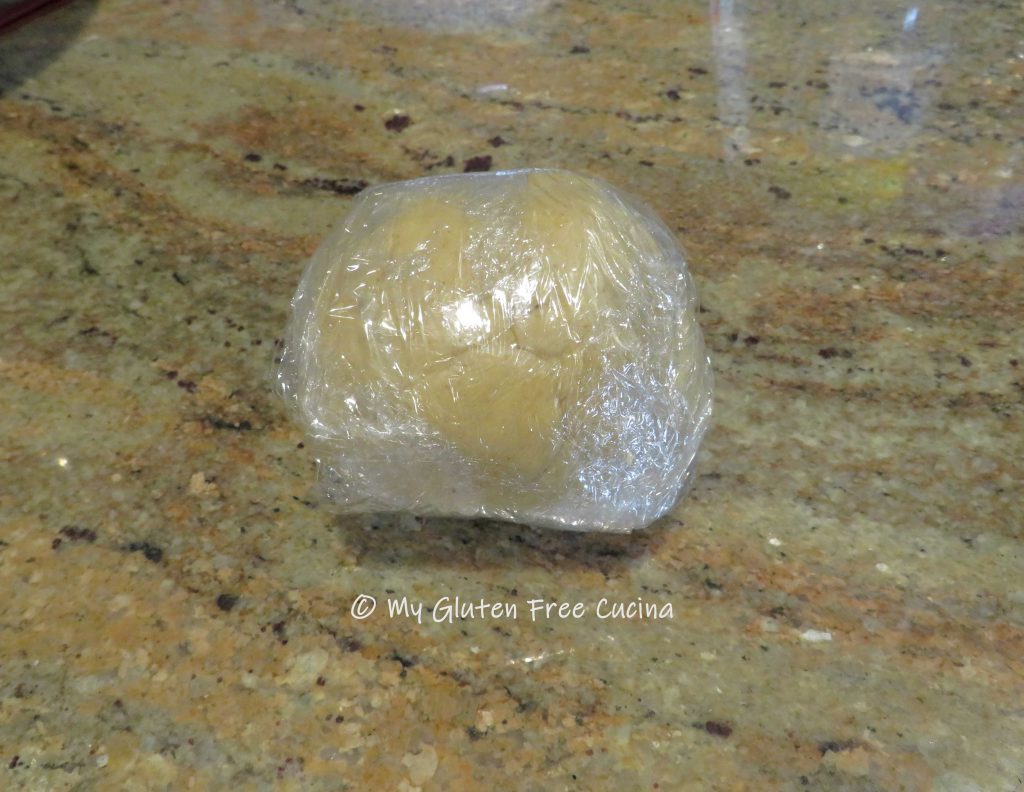
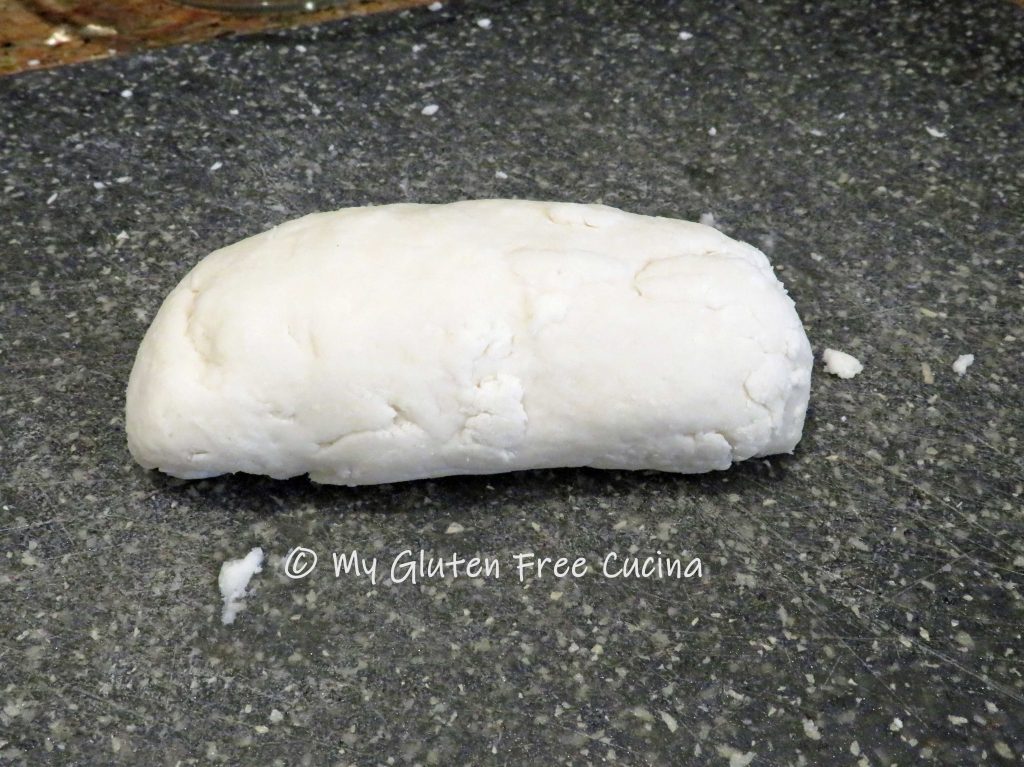
Use a stiff spatula to gather the dough together into a ball.

It’s important to give the dough time to hydrate. Wrap it in plastic wrap and rest at room temperature for 20 minutes.
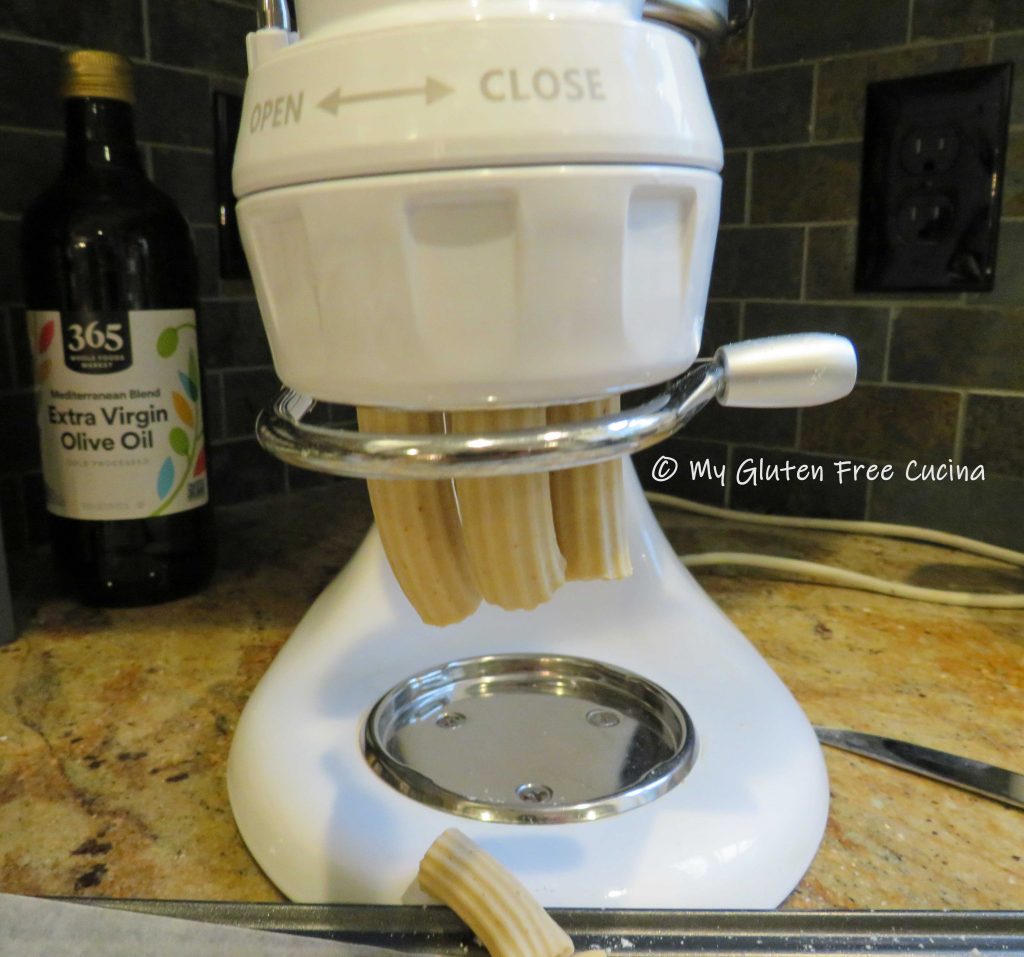
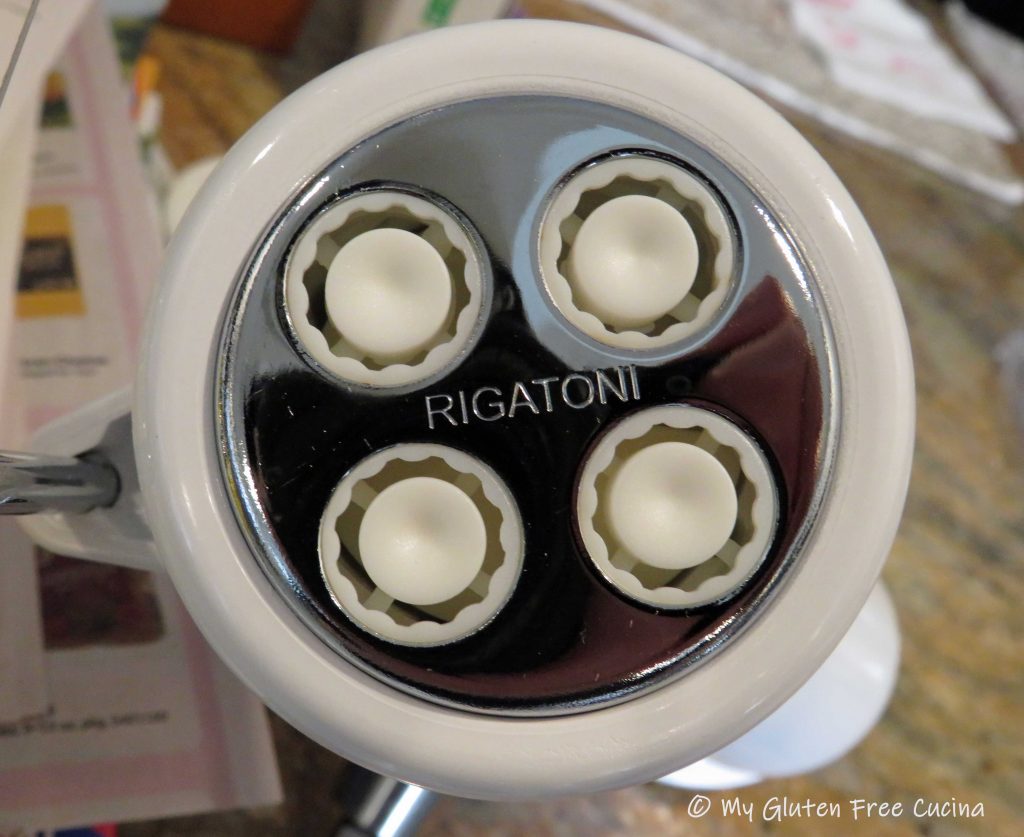
When ready, set up the pasta press attachment. I used the rigatoni plate, one of six that comes with the pasta press. It’s hard to find gluten free rigatoni, so this was a special treat!
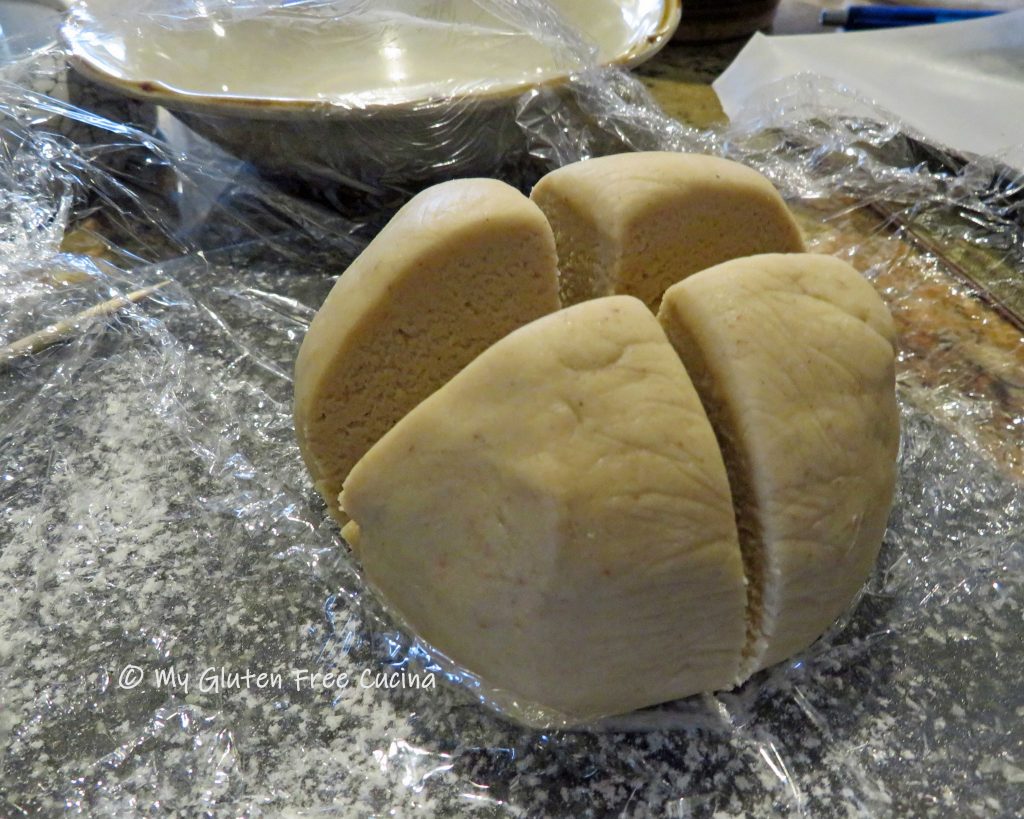
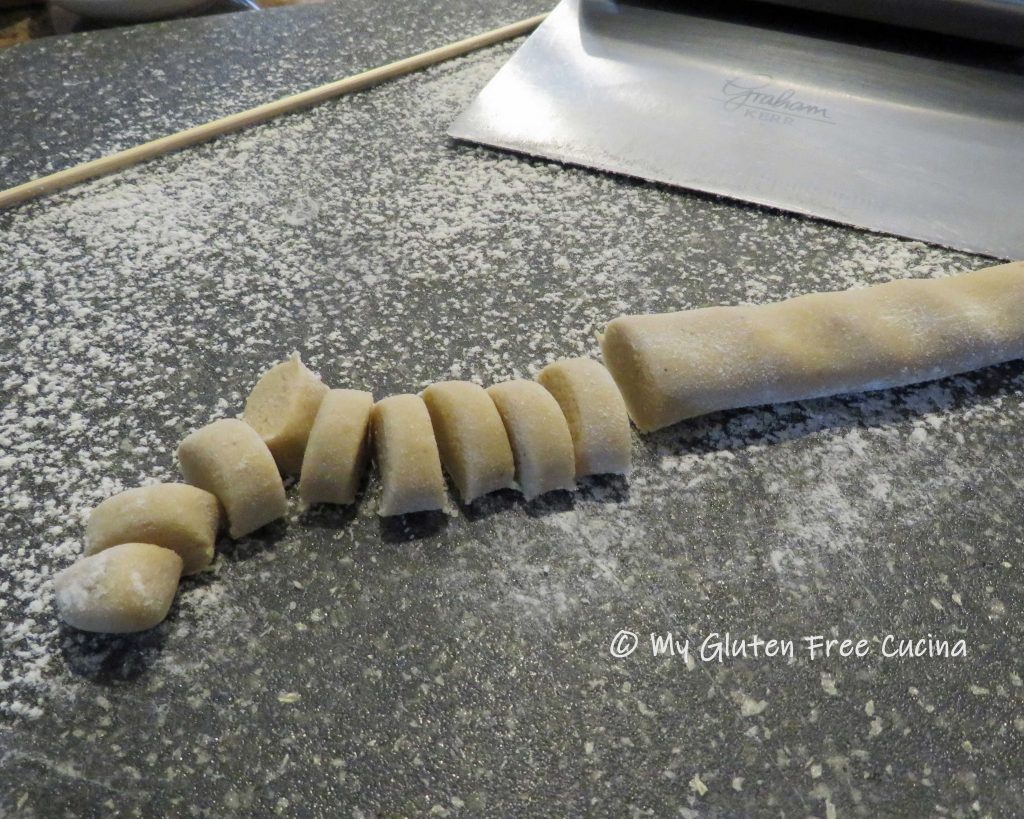
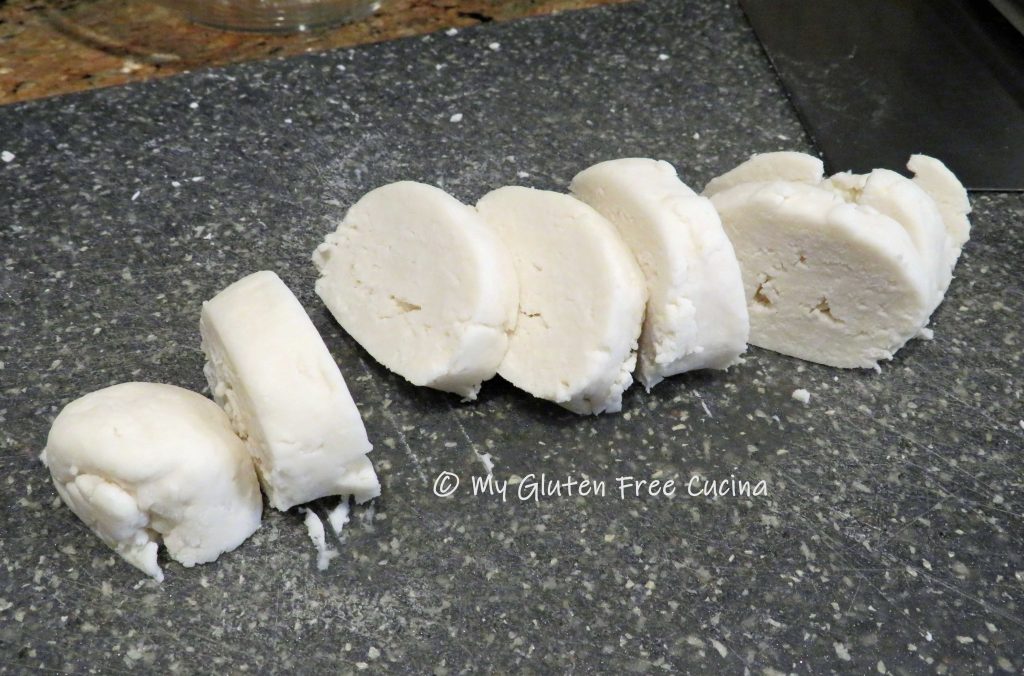
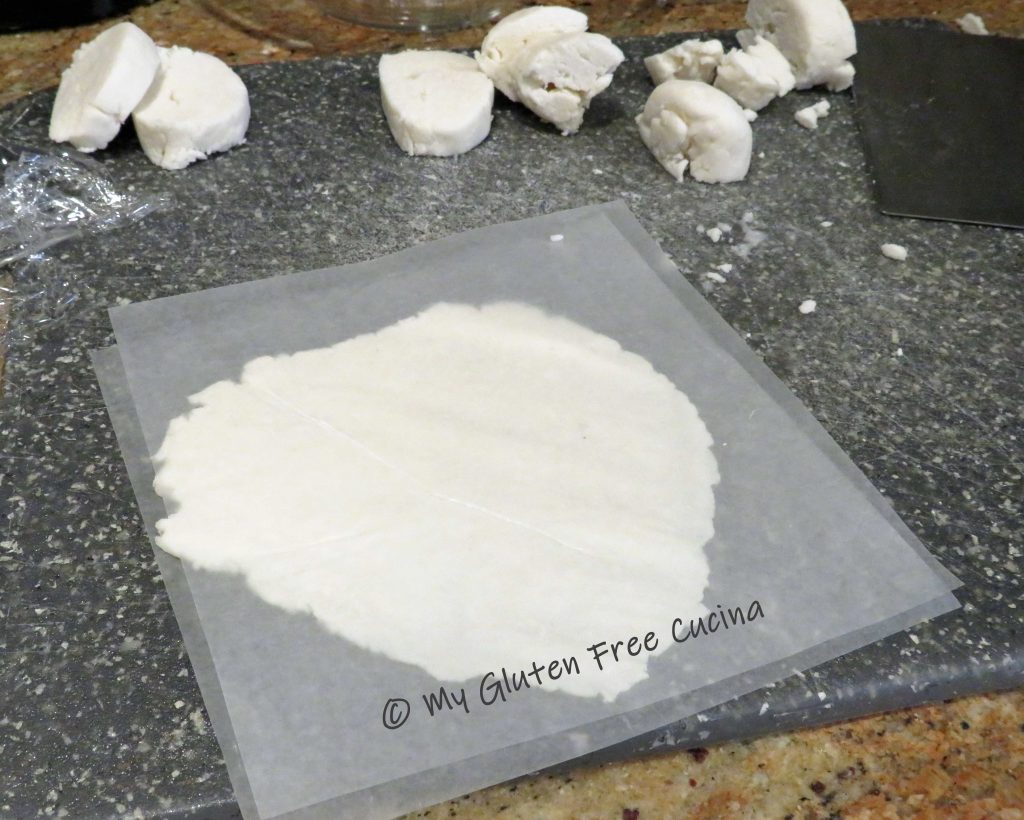
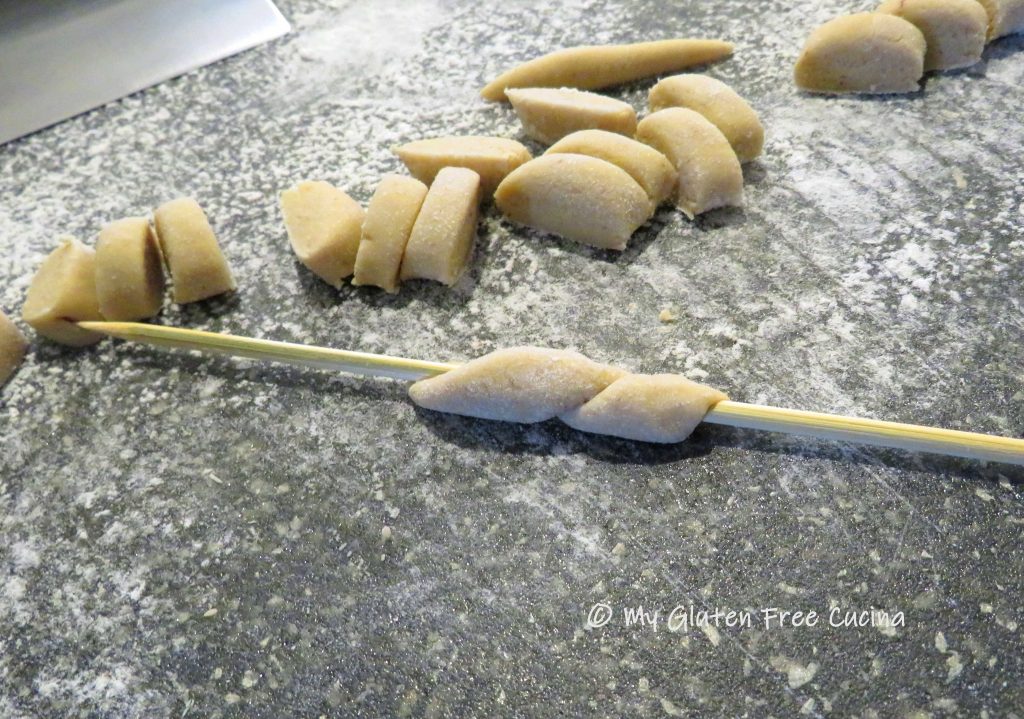
Cut the dough into sections, you want to break off pieces about the size of a walnut. Set up a tray lined with wax paper, and sprinkle with gluten free flour. Turn on the mixer and begin feeding small pieces of dough into the press.
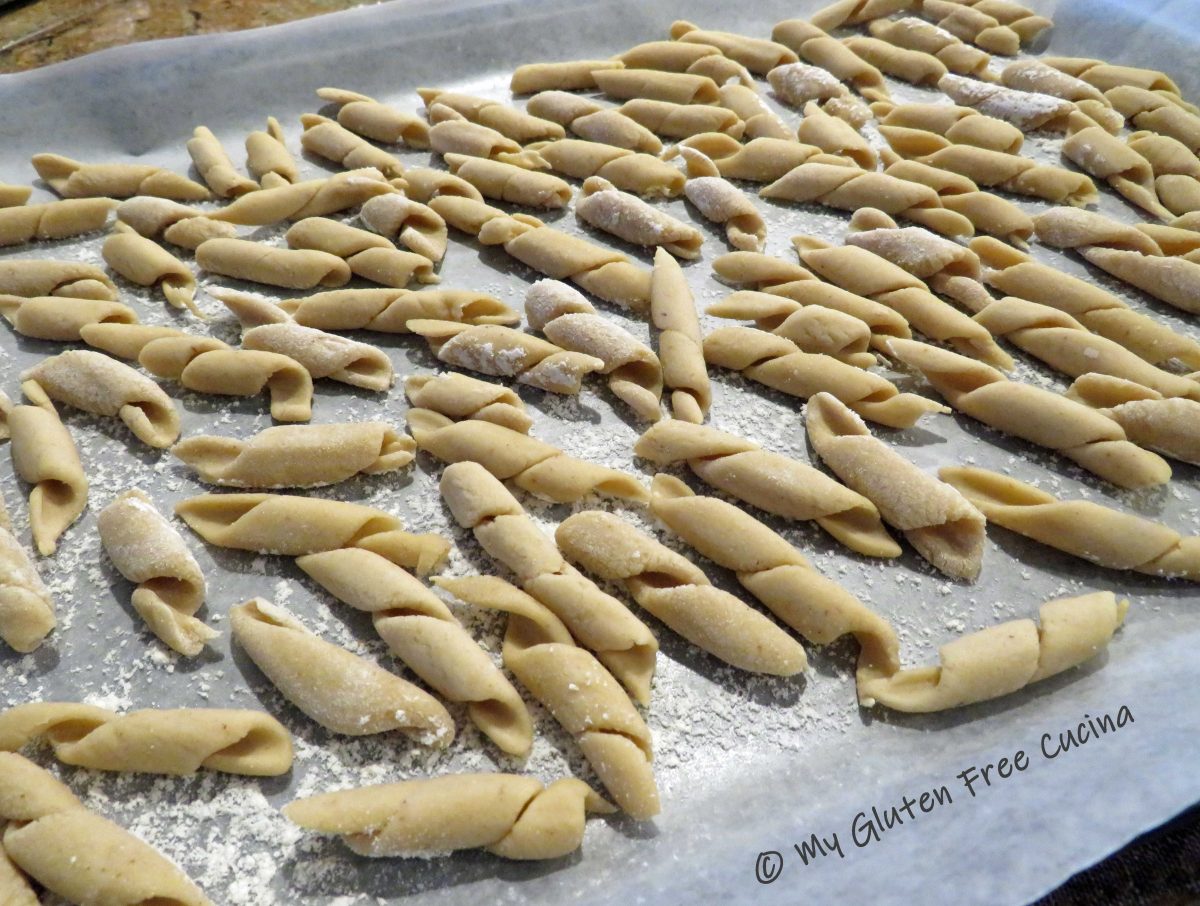
As the pasta extrudes, cut it to the length you prefer. You can make mezzo rigatoni or full size. Spread the rigatoni out on the floured tray in a single layer.

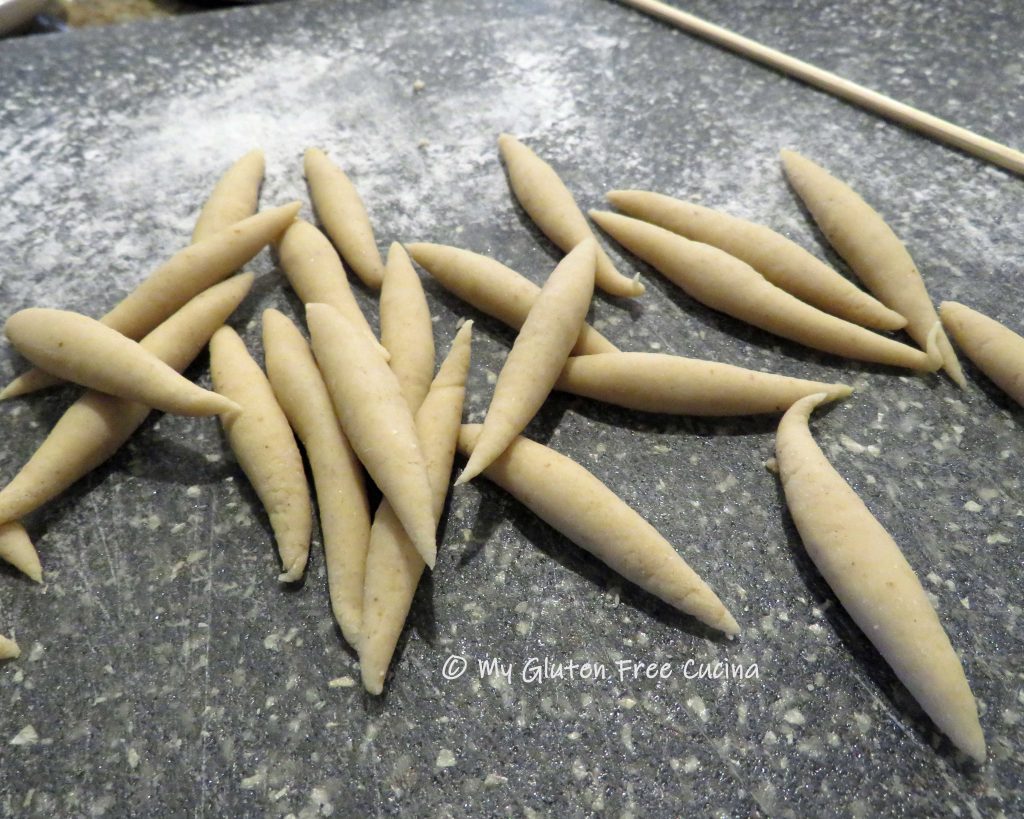
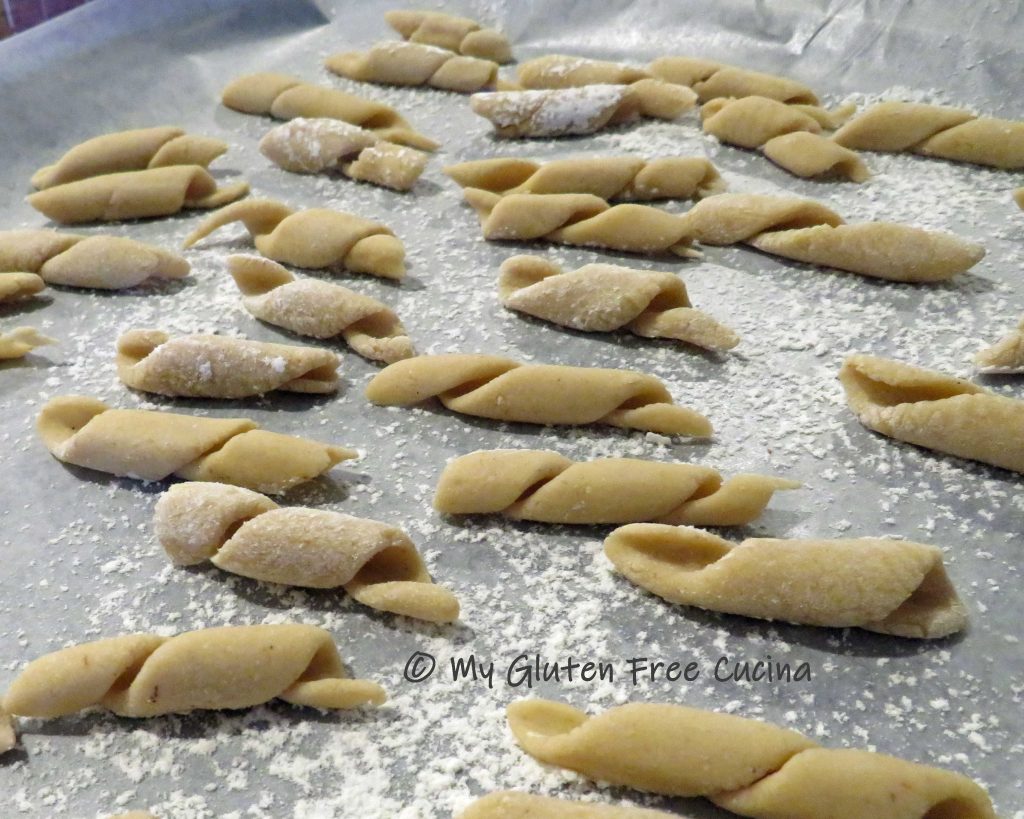
See how the rigatoni hold their shape, with nice defined ridges?
*Remember to follow food safety guidelines, pasta made with eggs should be refrigerated (or cooked) within one hour.
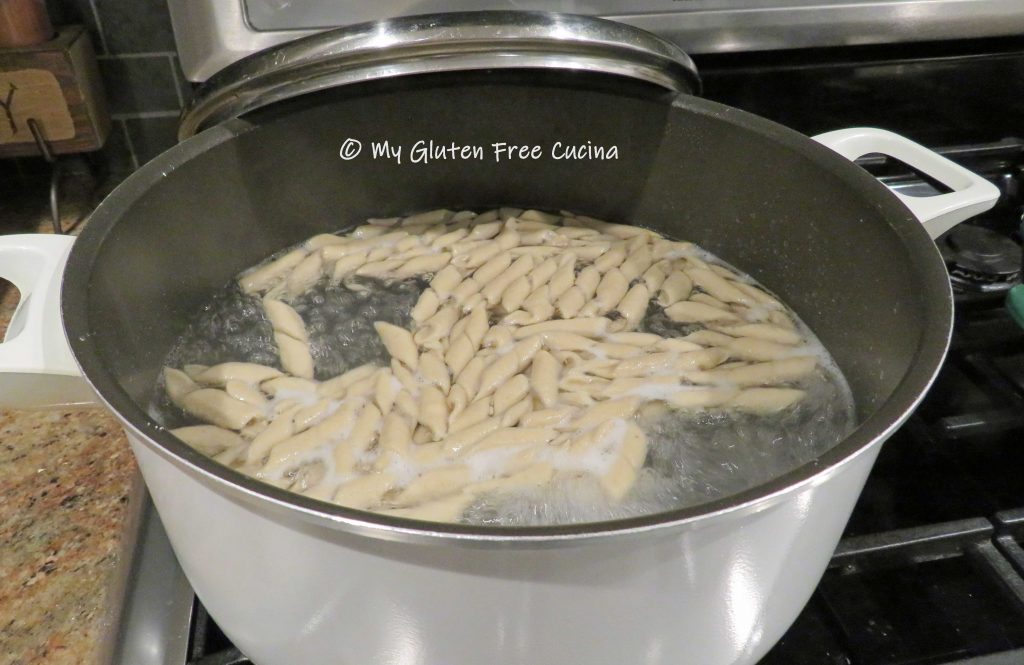
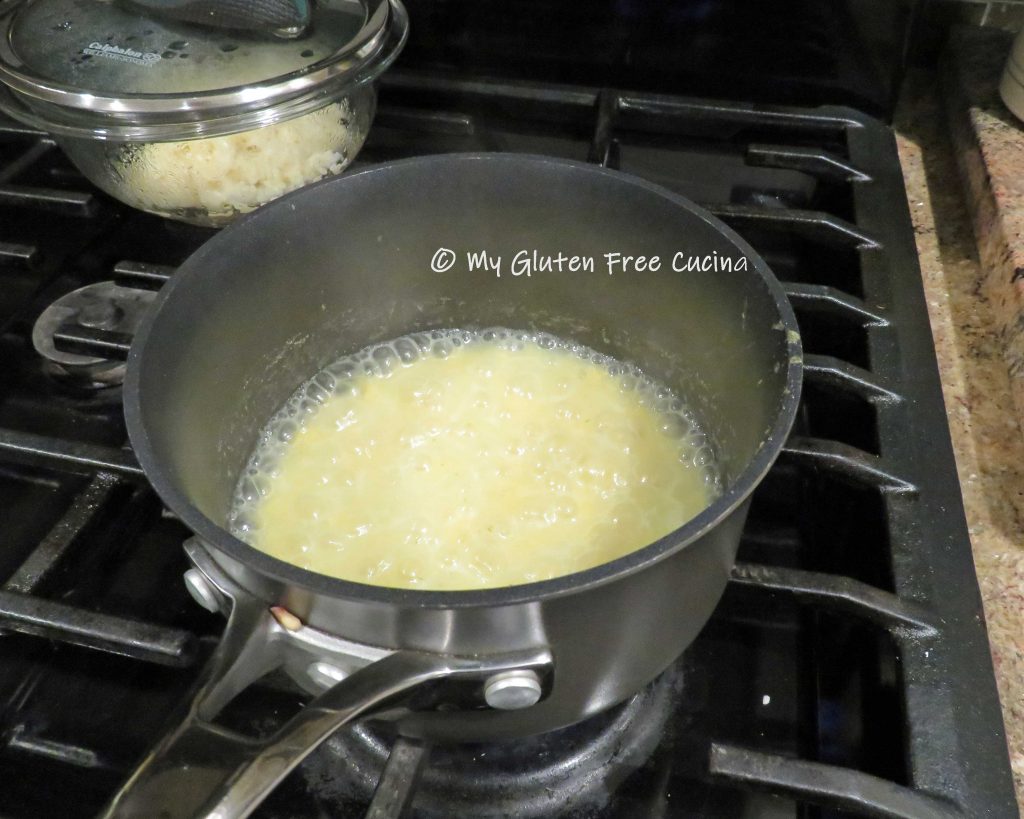
To cook, bring a large pot of salted water to a rolling boil. Add the pasta and cover until it returns to a boil. Fresh pasta cooks very quickly, no more than 3 minutes total!
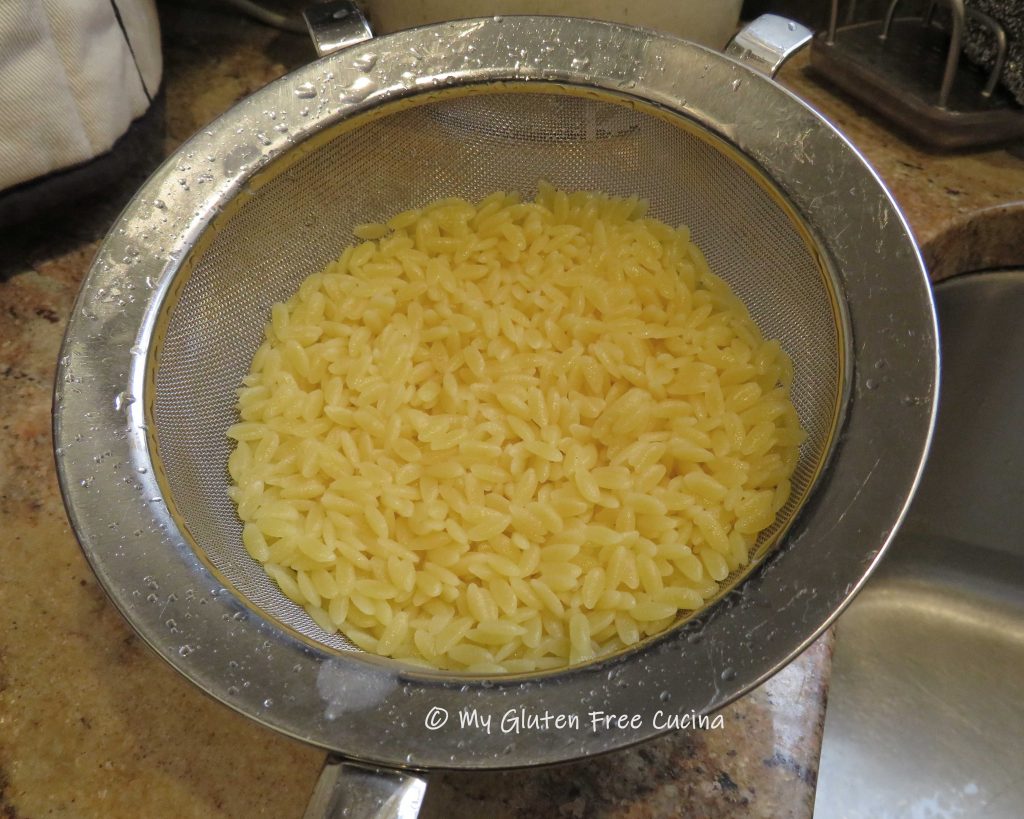
 Use a spider strainer to gently remove the pasta and place in serving bowls.
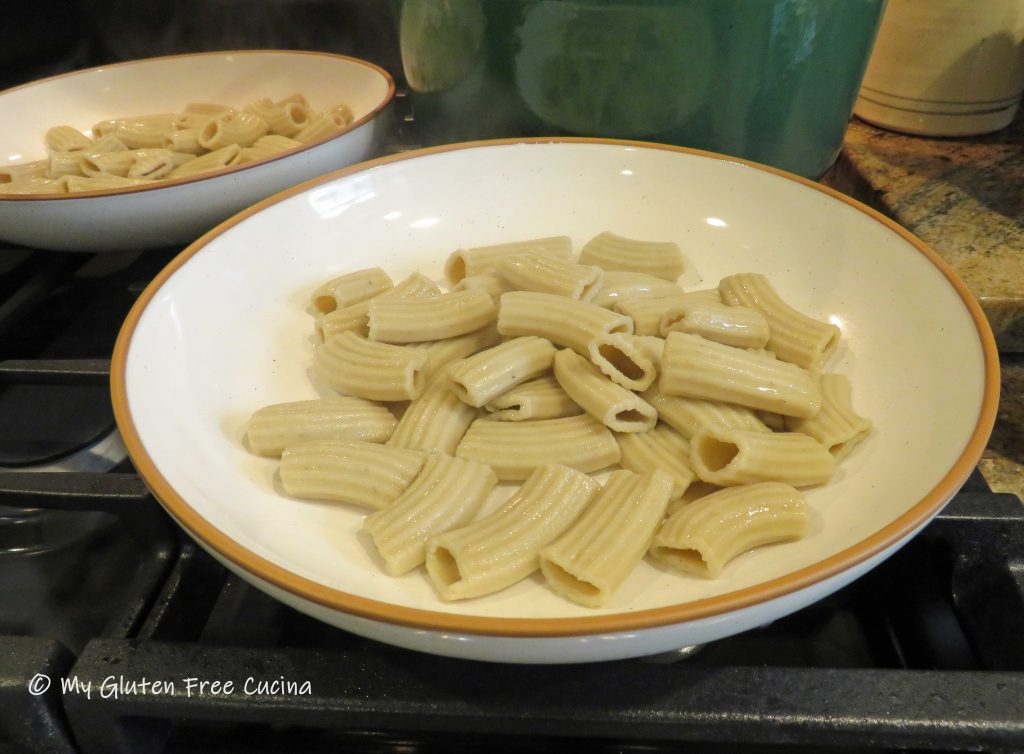
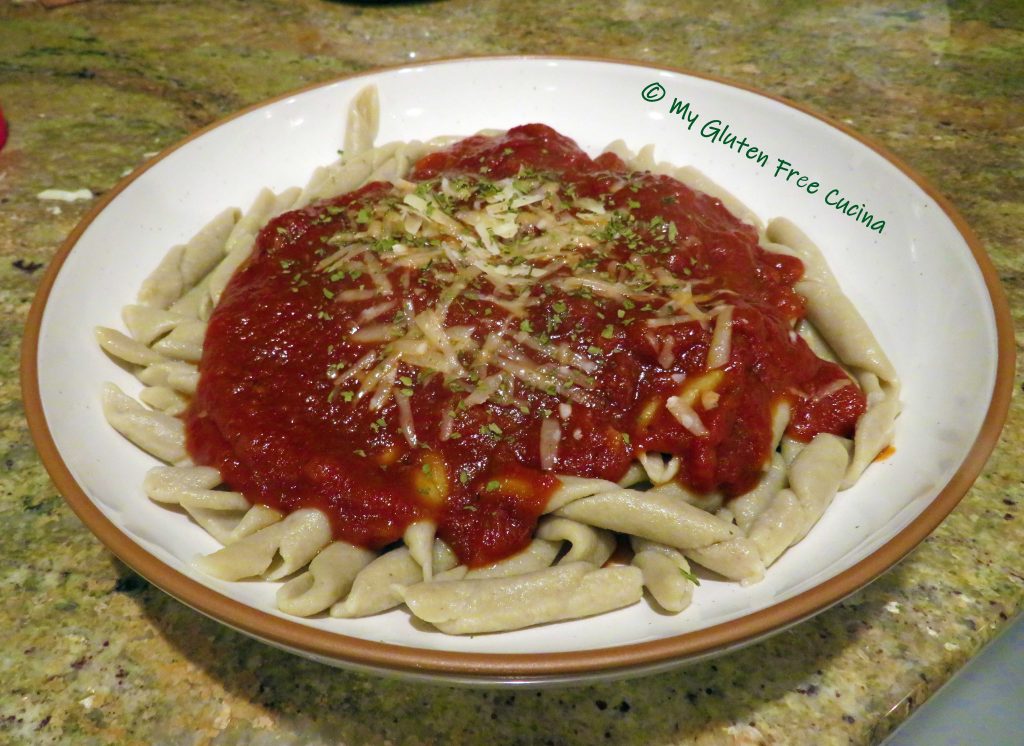
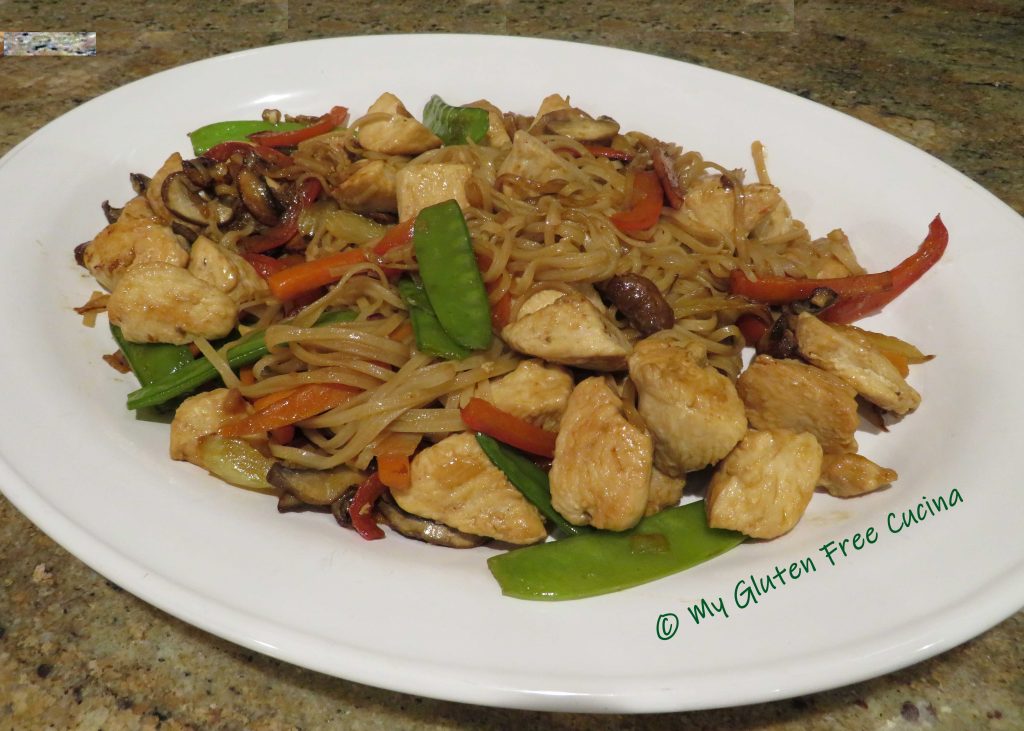
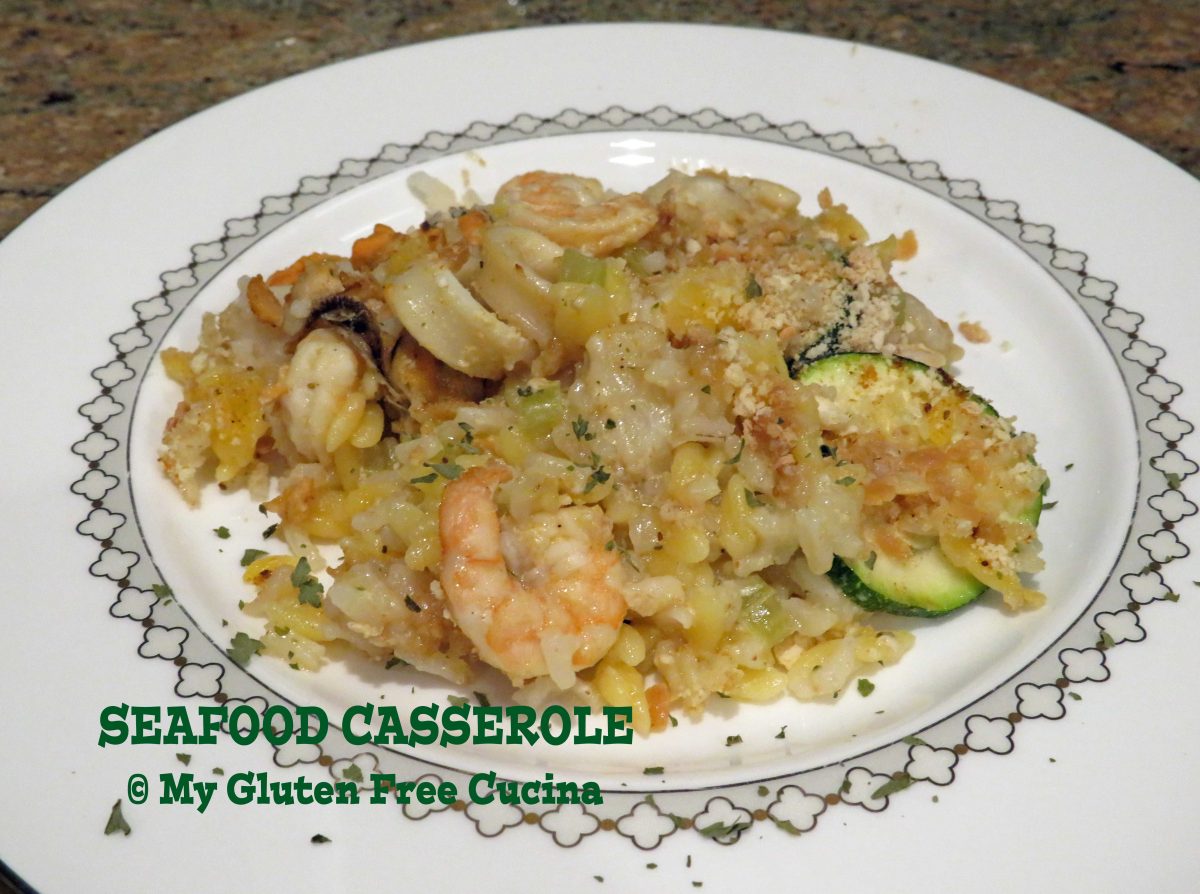
Aren’t they beautiful? Top with your favorite sauce and serve it up!
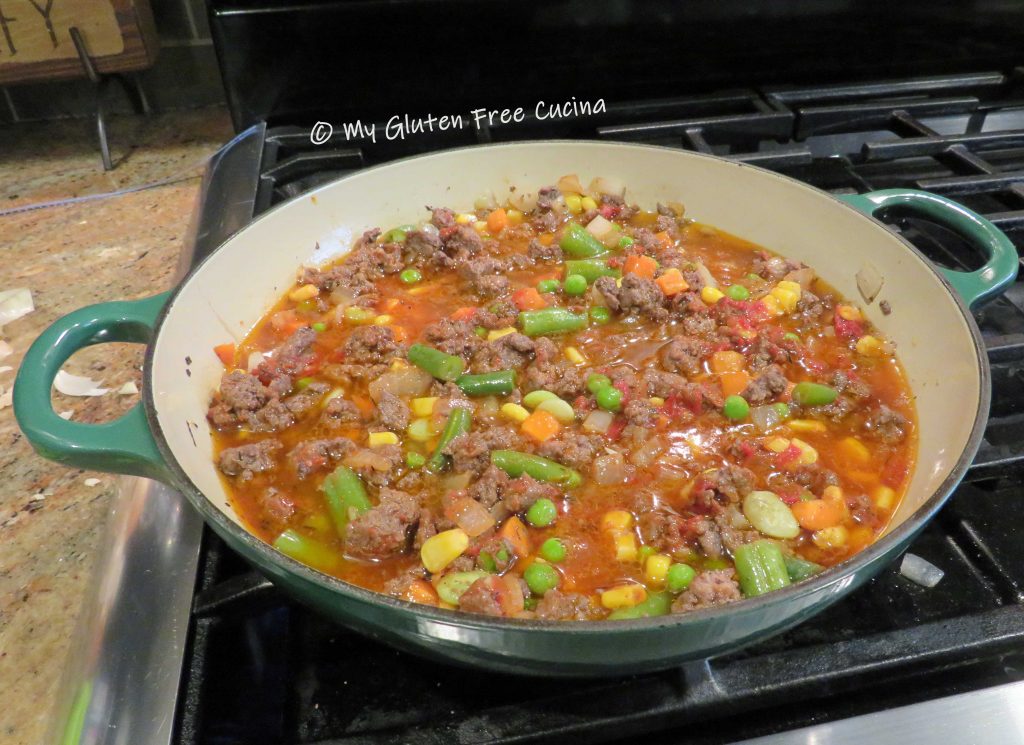
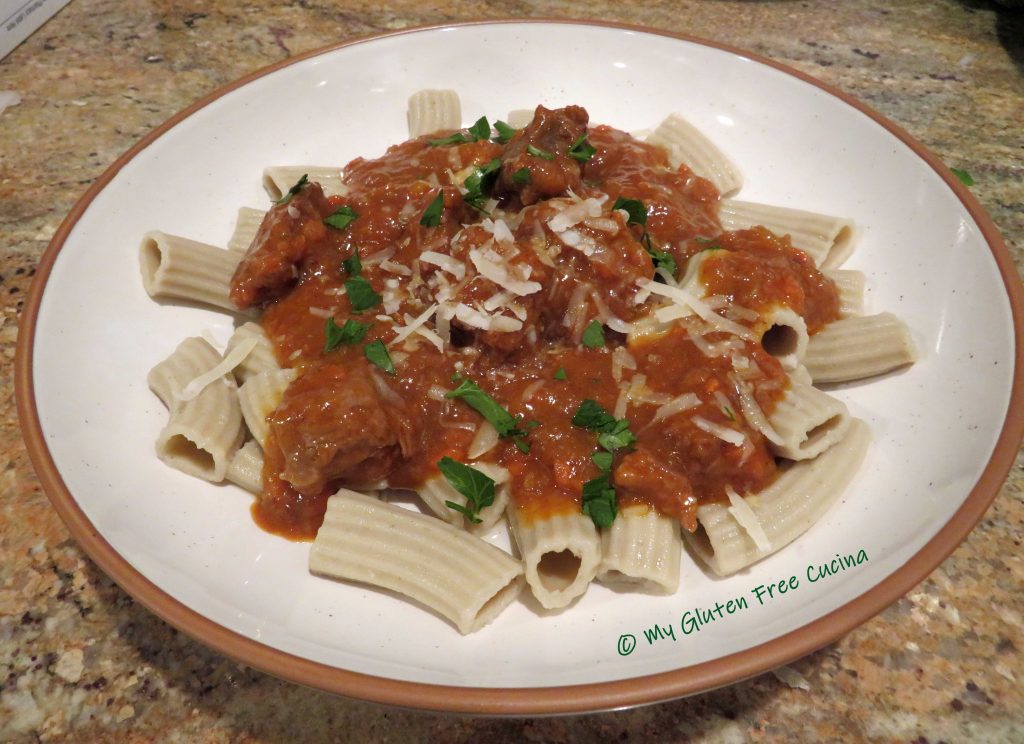 Notes ♪♫ Curious about that meat sauce? It’s actually a Beef Guazzetto, or Italian Beef Stew. It is a perfect accompaniment to the hearty rigatoni pasta. Get the recipe here.


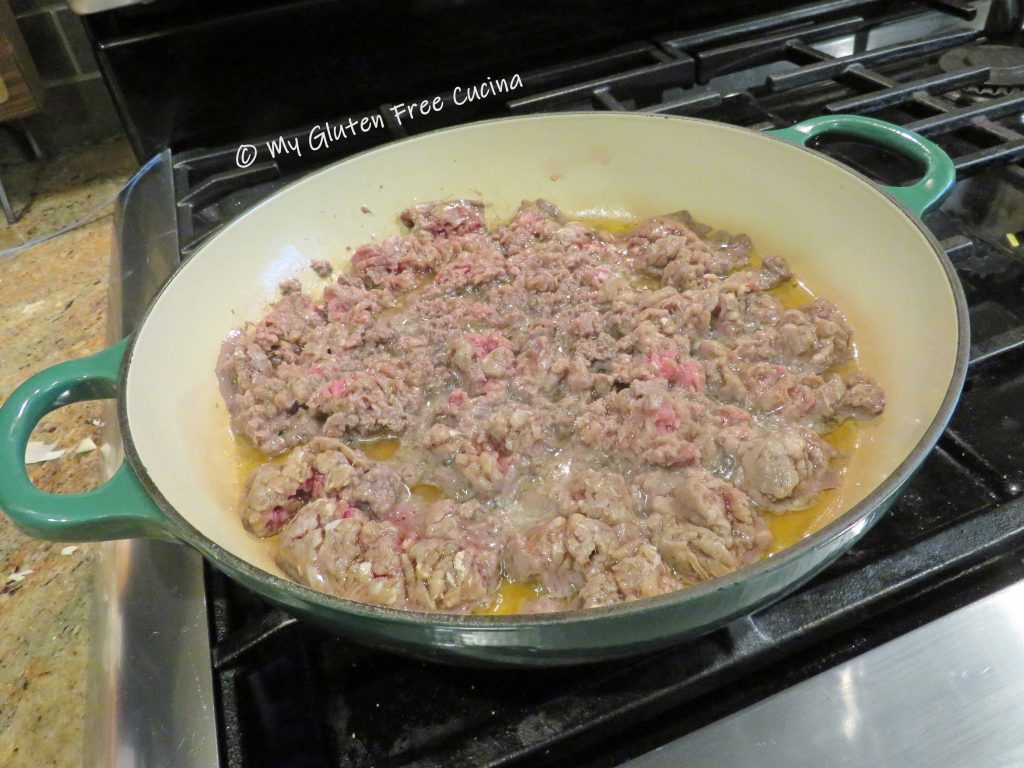
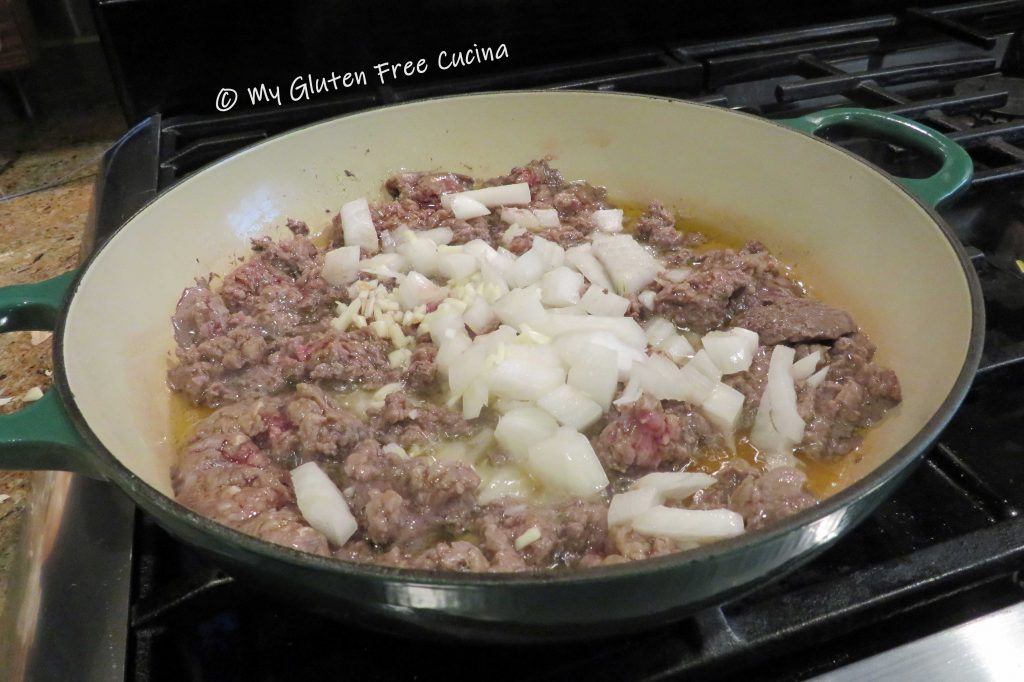


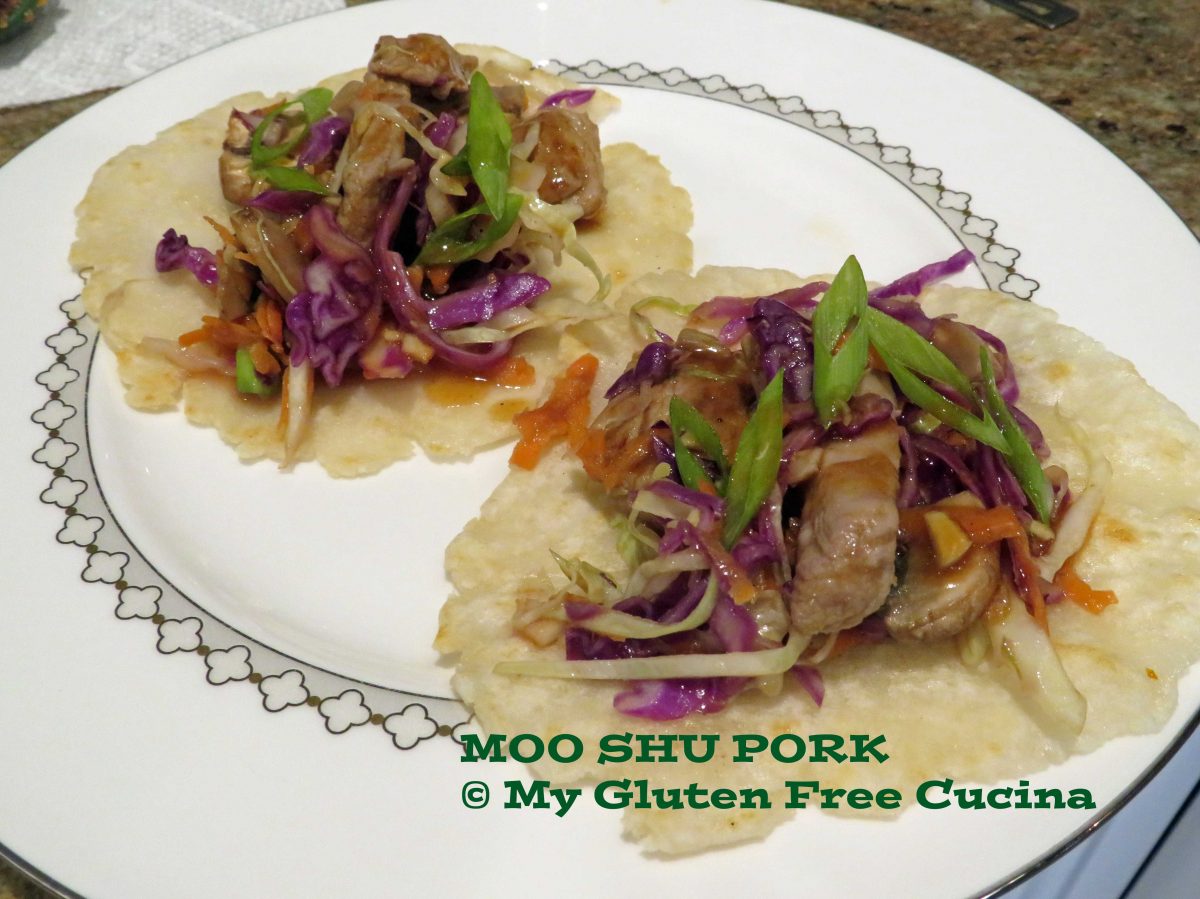
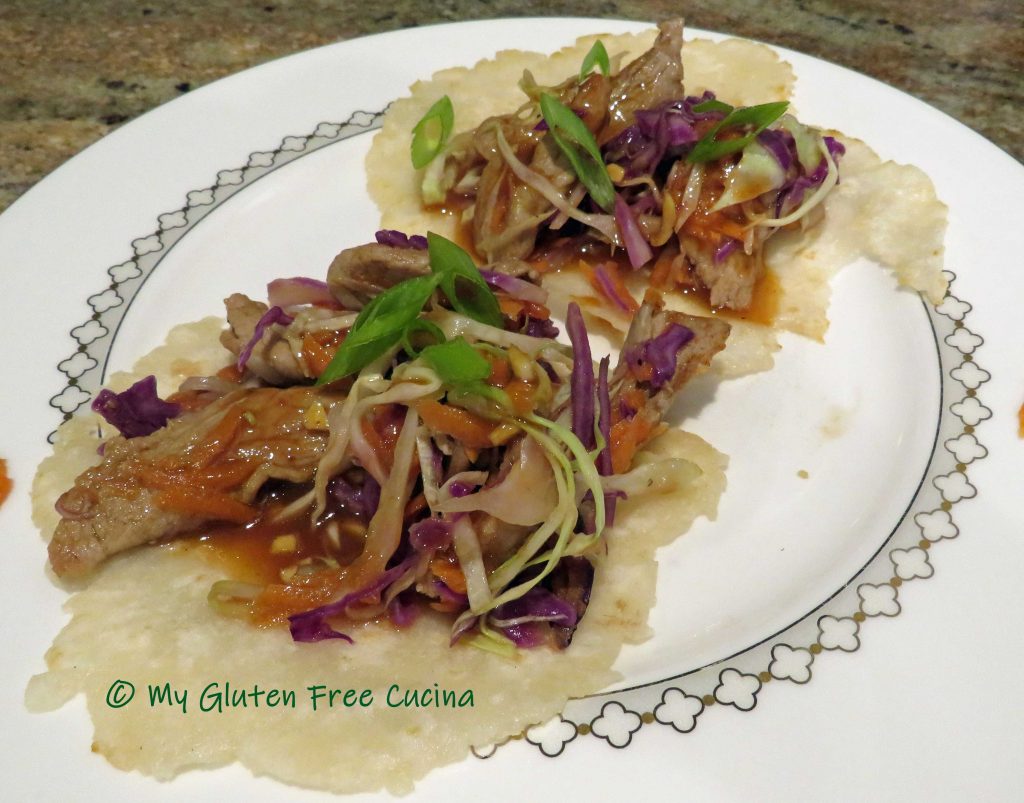

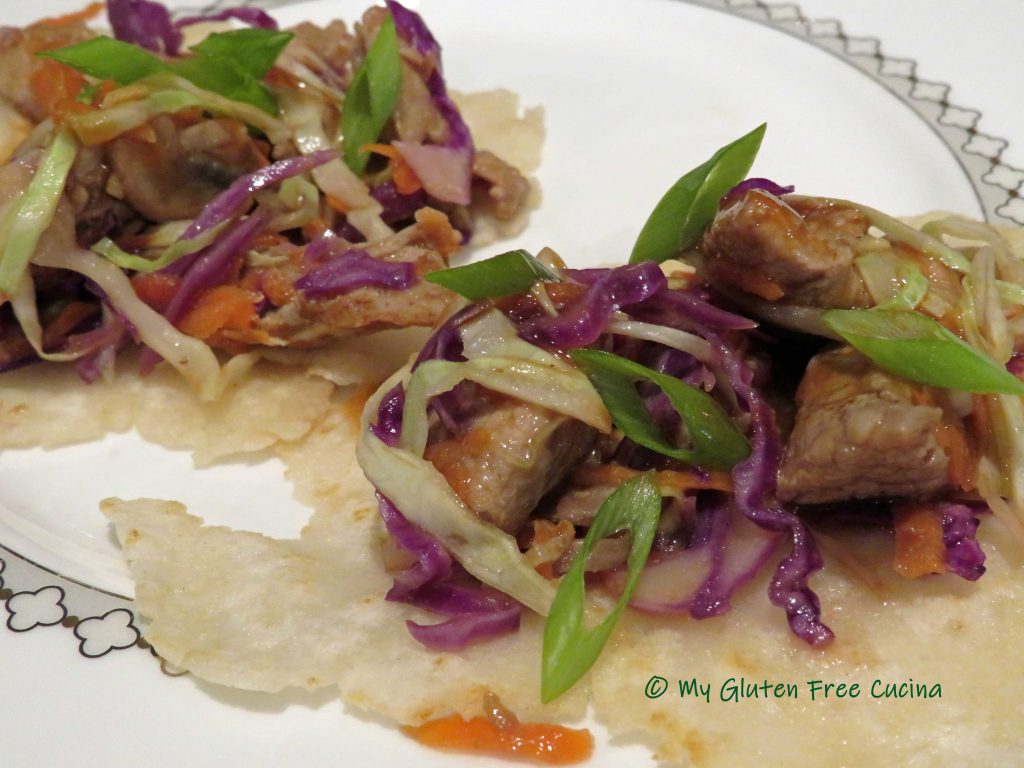
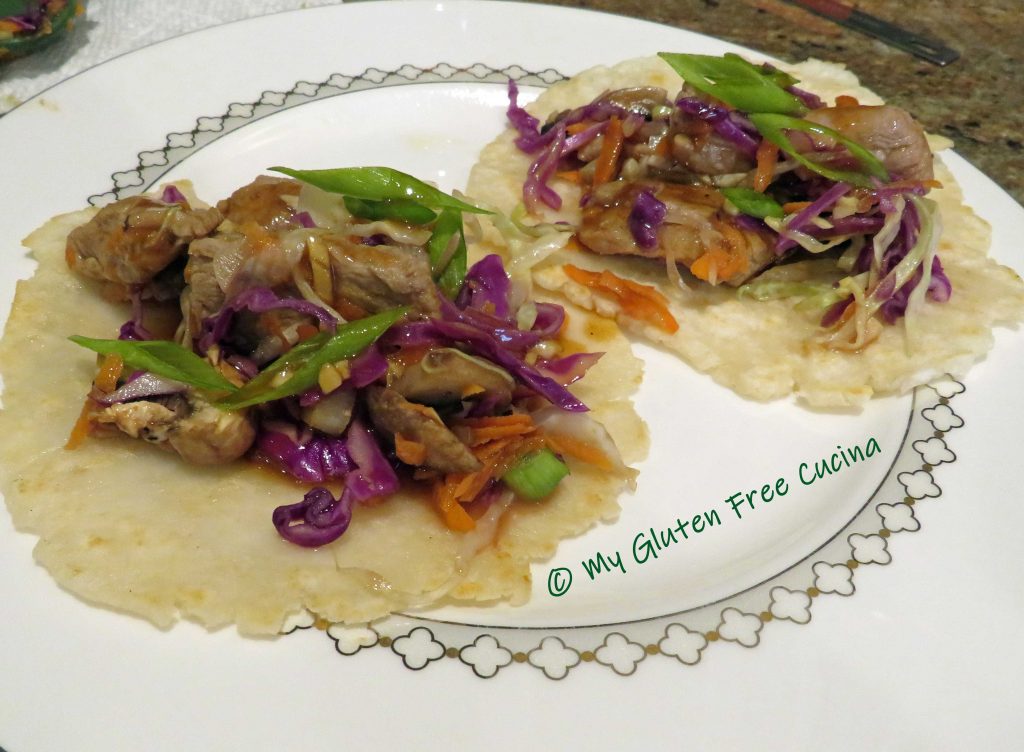
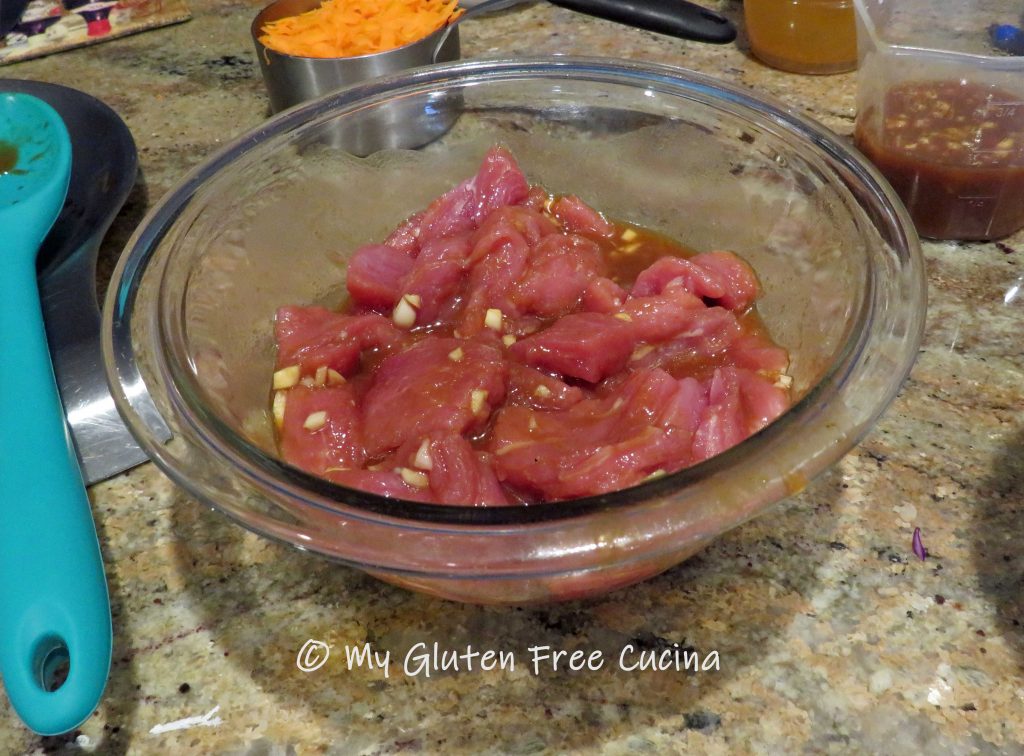
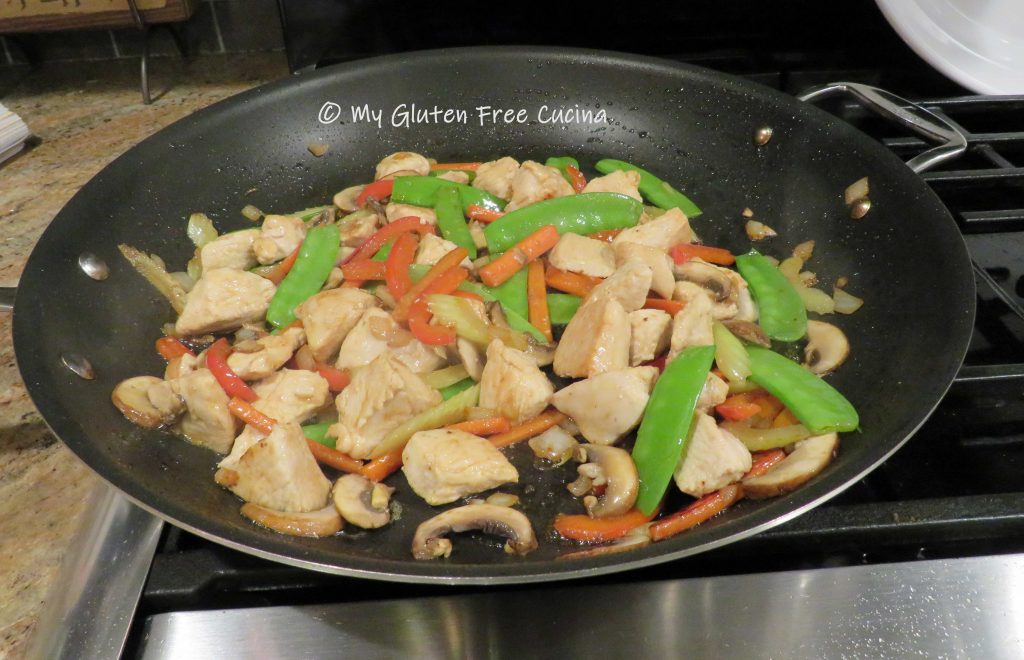
 Use tongs to turn each piece to quickly brown both sides. The pork does not have to be cooked through at this point; it will finish cooking with the veggies.
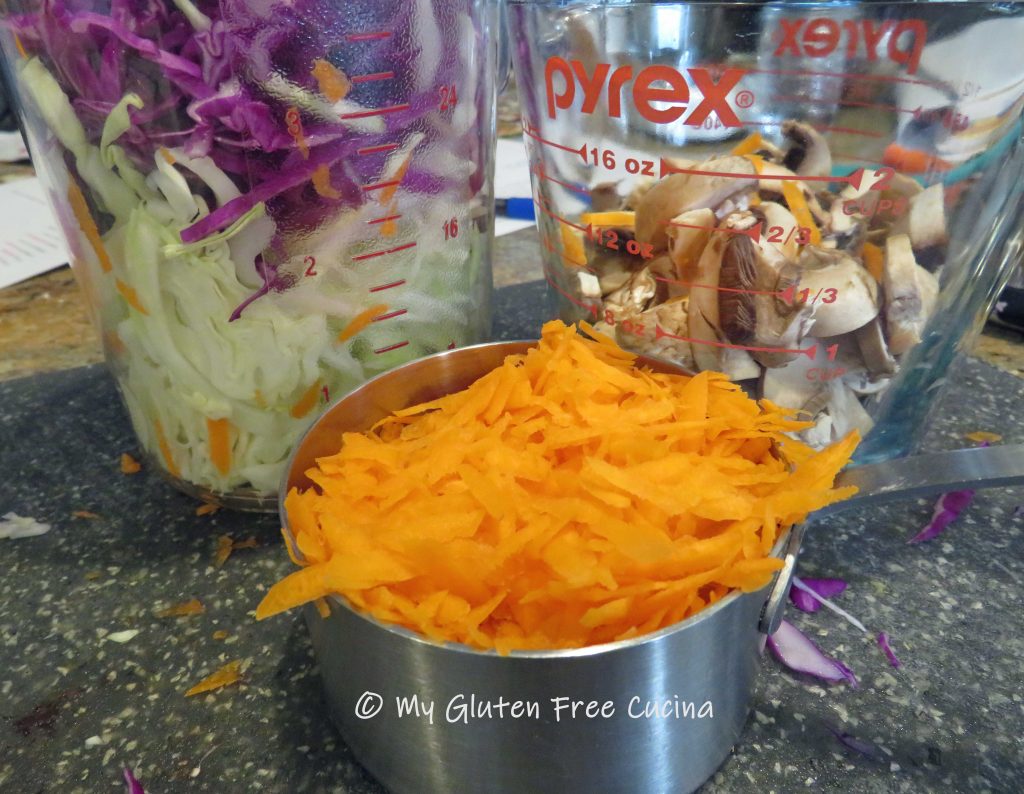
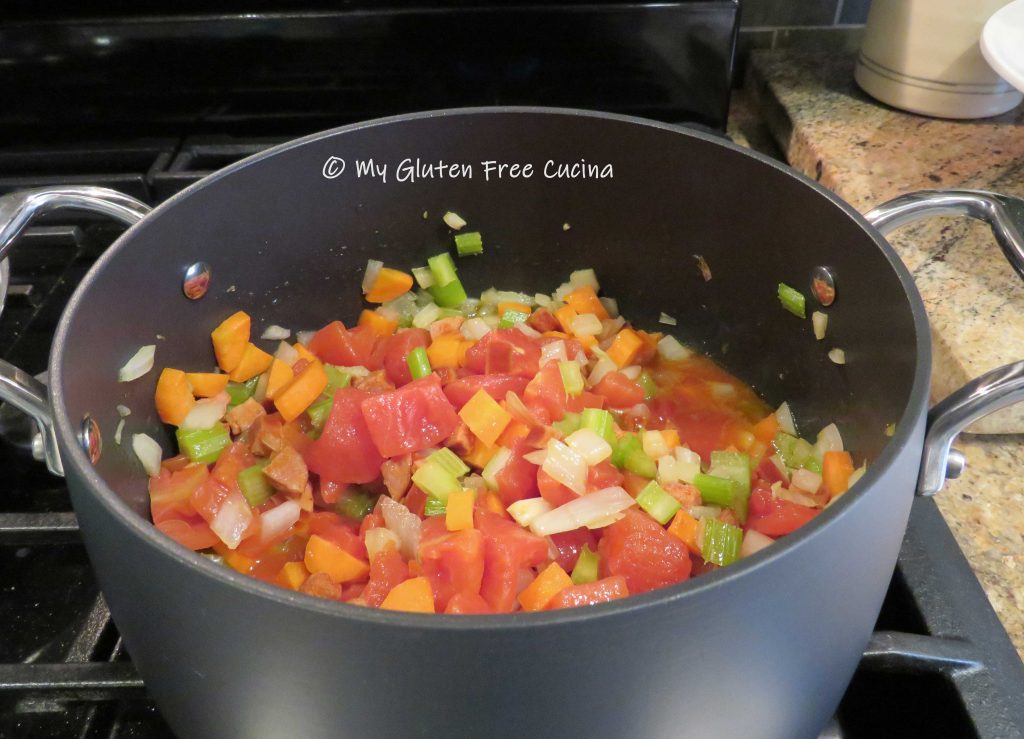
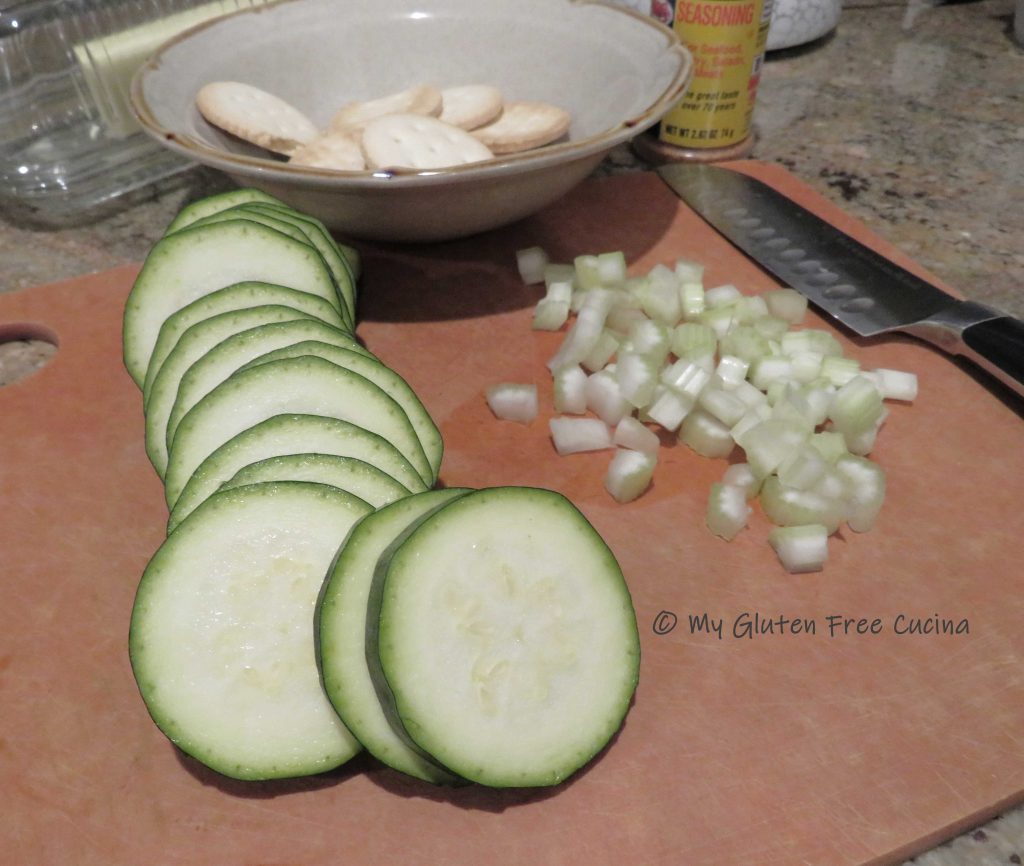
 Add all of the vegetables to the skillet.
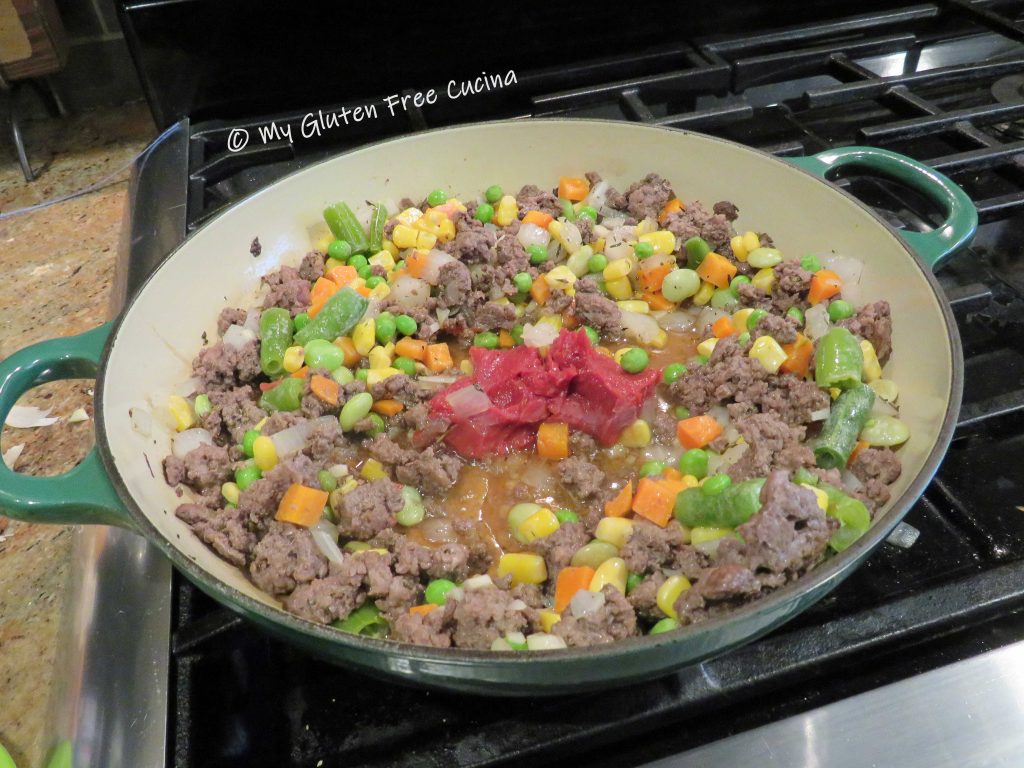
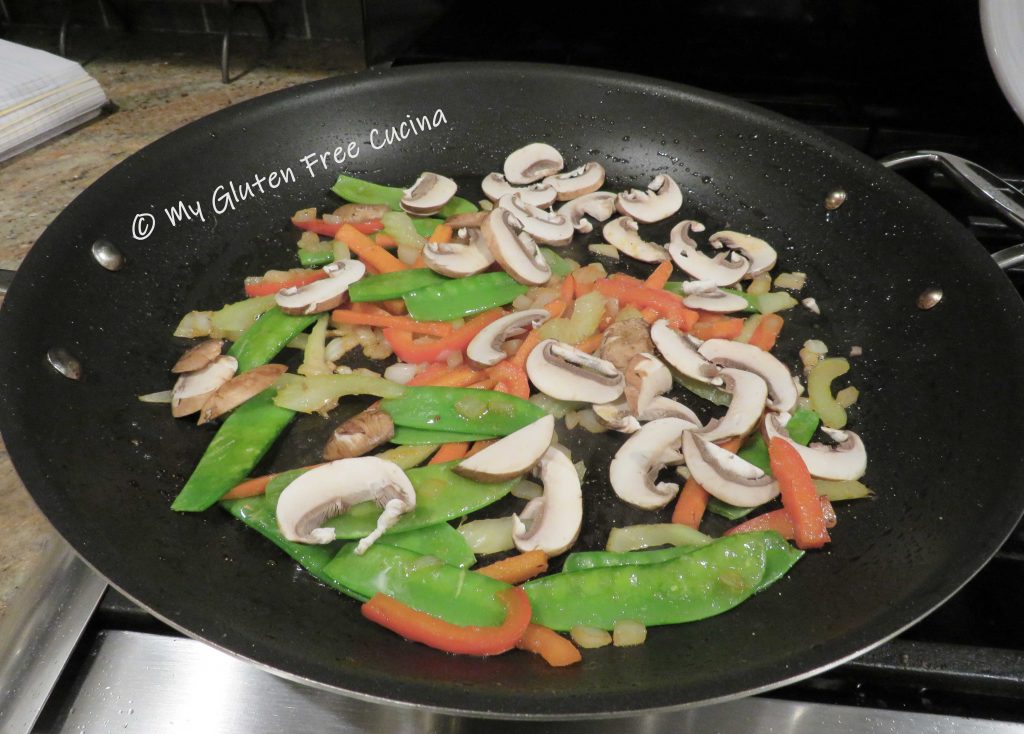
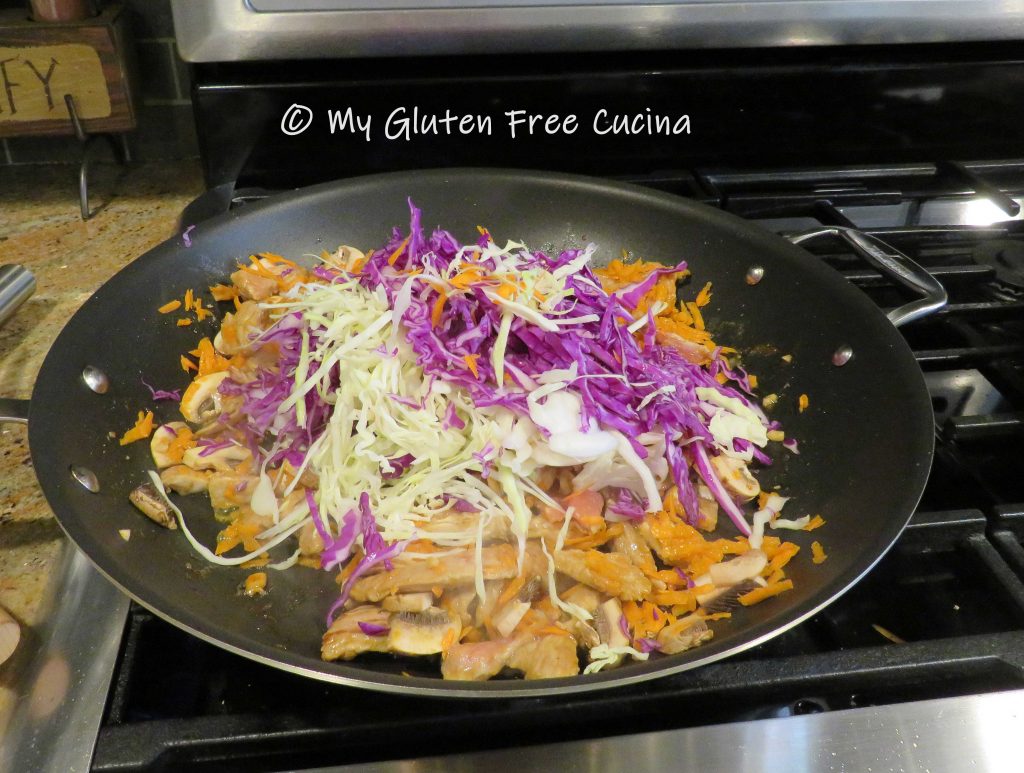


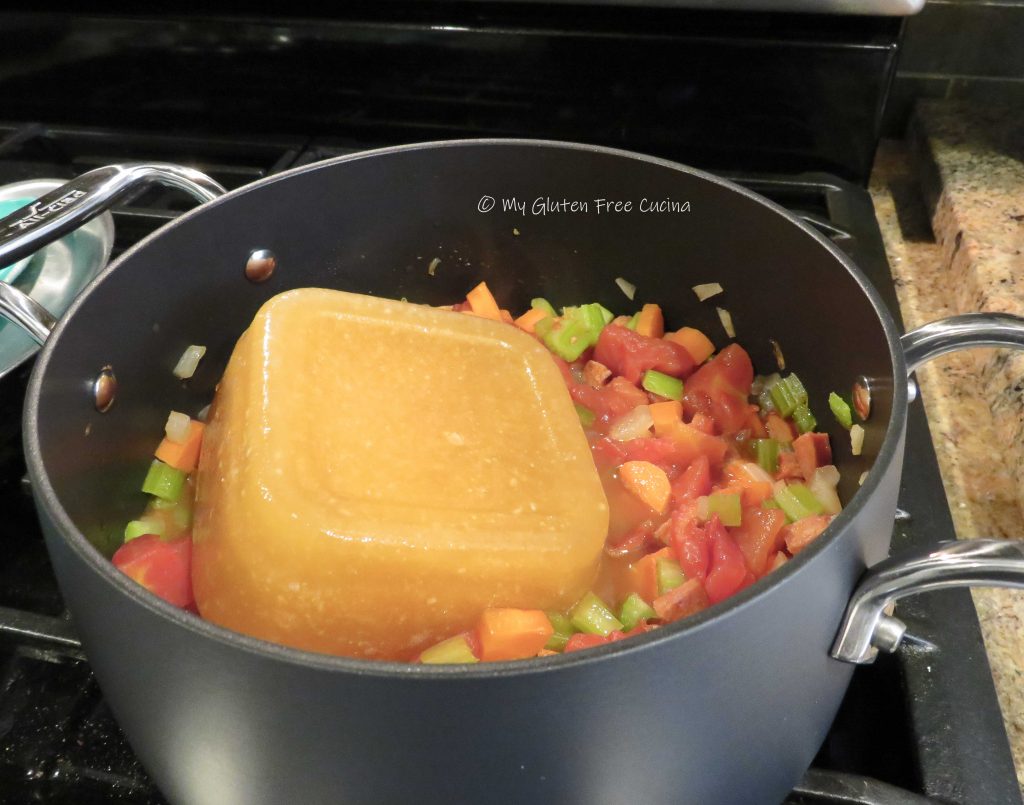
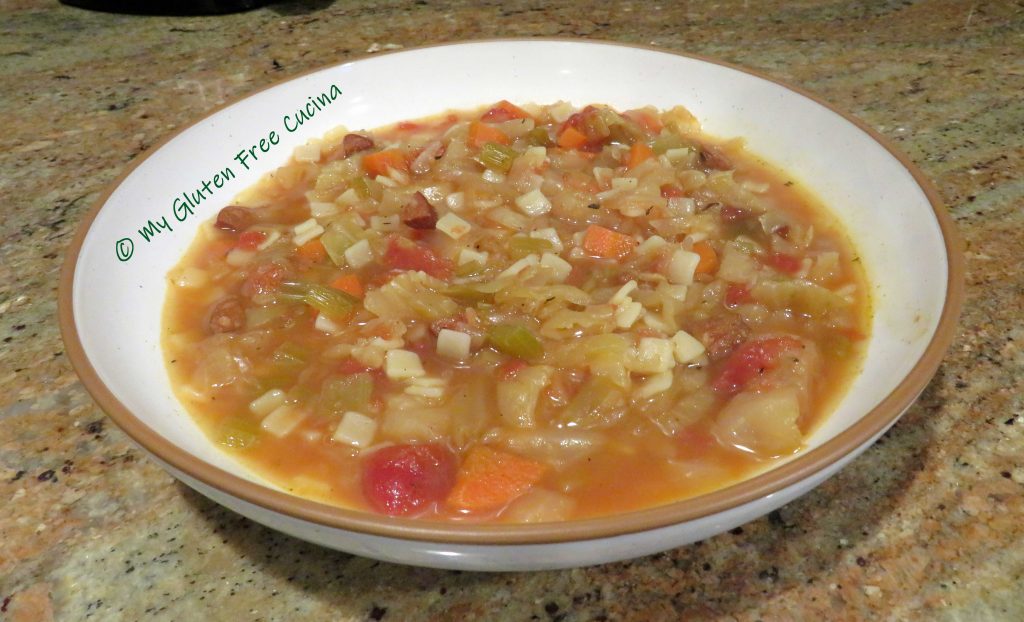

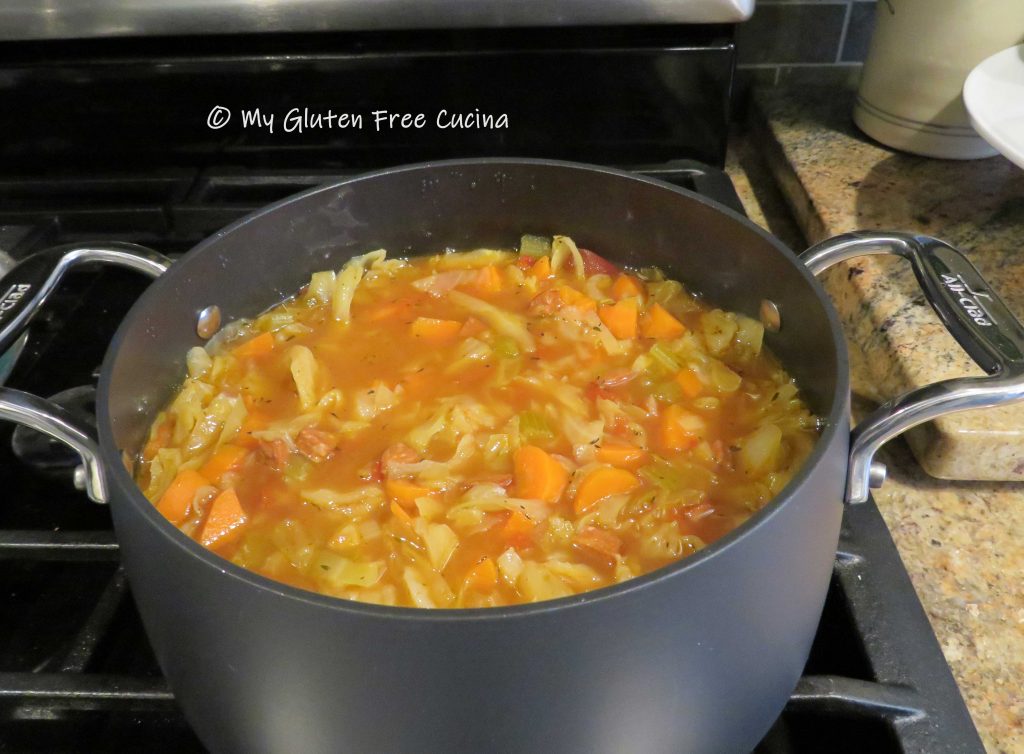
 Bring to a low simmer, add all of the cabbage, cover and cook on low for


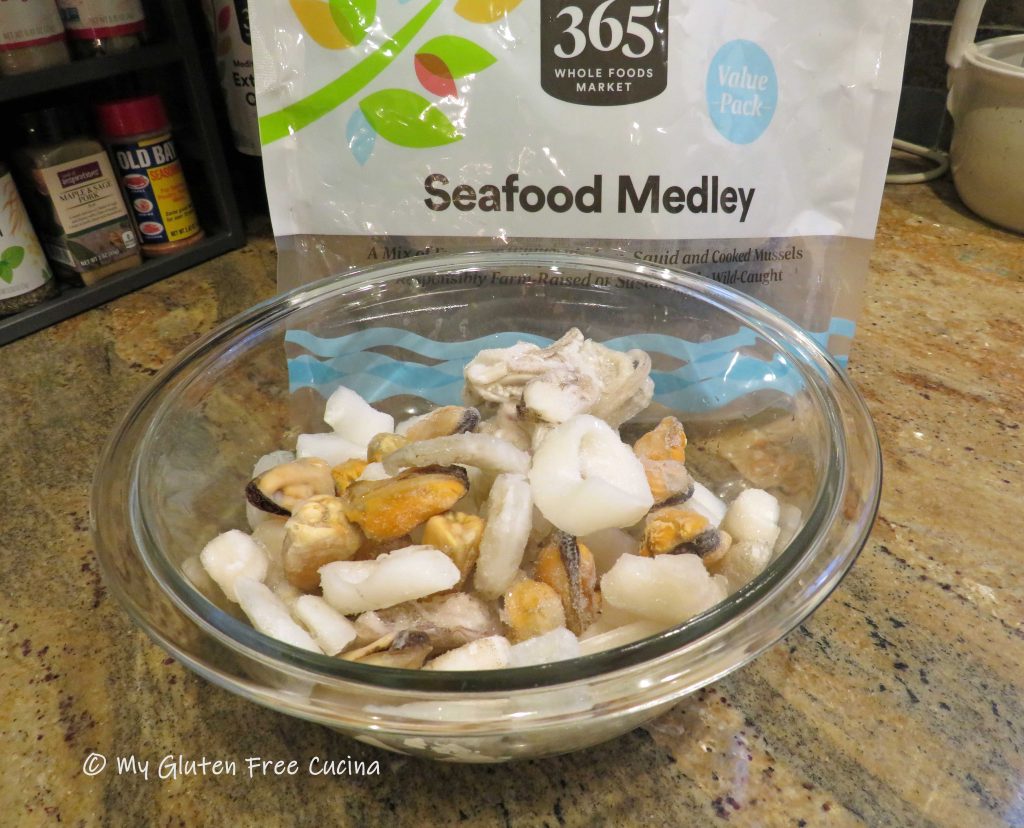
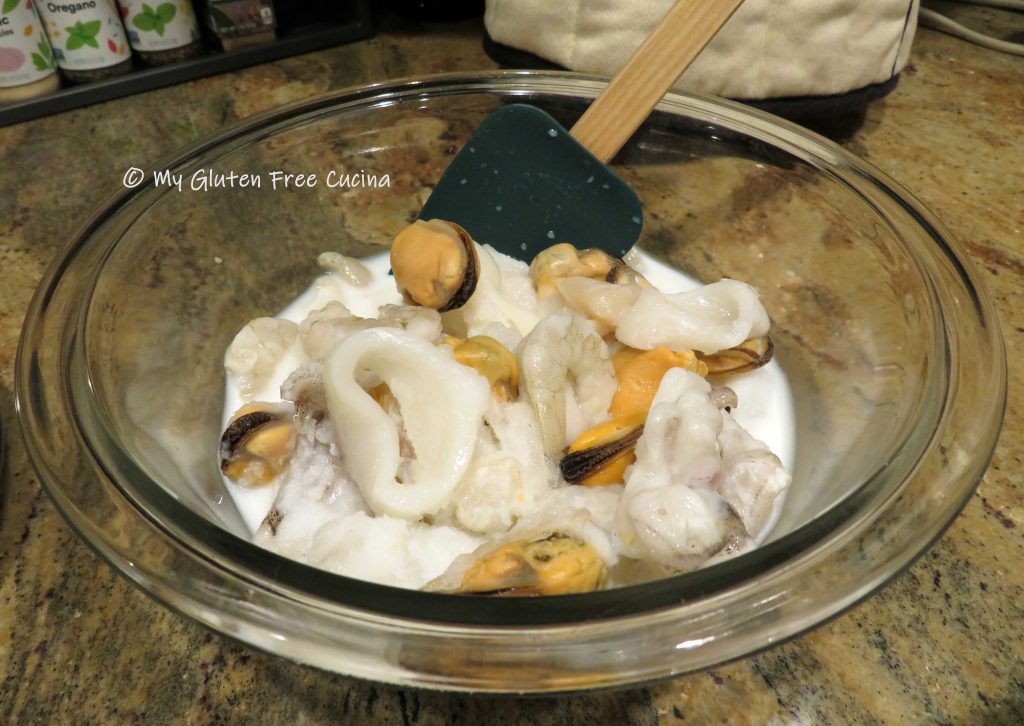

 Add the fish to the pan and season with Old Bay. Cook for 2 minutes. The fish does not have to be cooked through at this point, it will finish in the oven.
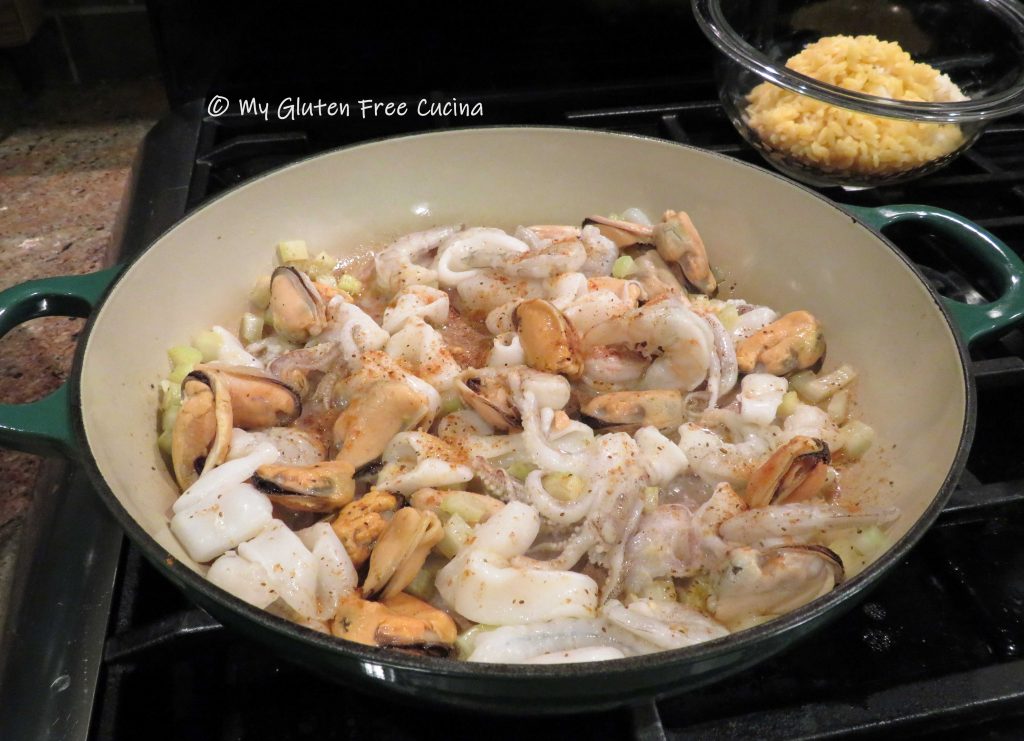

 Increase the speed and mix for 6-8 minutes until a smooth dough forms.
 Press the dough into a ball, cover with plastic wrap and rest for 1 hour.