Osso Buco is a classic Italian dish of Milanese origin. Traditionally made with veal shanks, slowly braised in an aromatic wine sauce, it is the perfect dish for a Sunday afternoon. Serve it over risotto, polenta or pasta for a 5-star meal. This would be an amazing dinner for 2, that will really impress your special someone! Or, you can double or triple the recipe for a dinner party.
Dinner for 2
Ingredients:
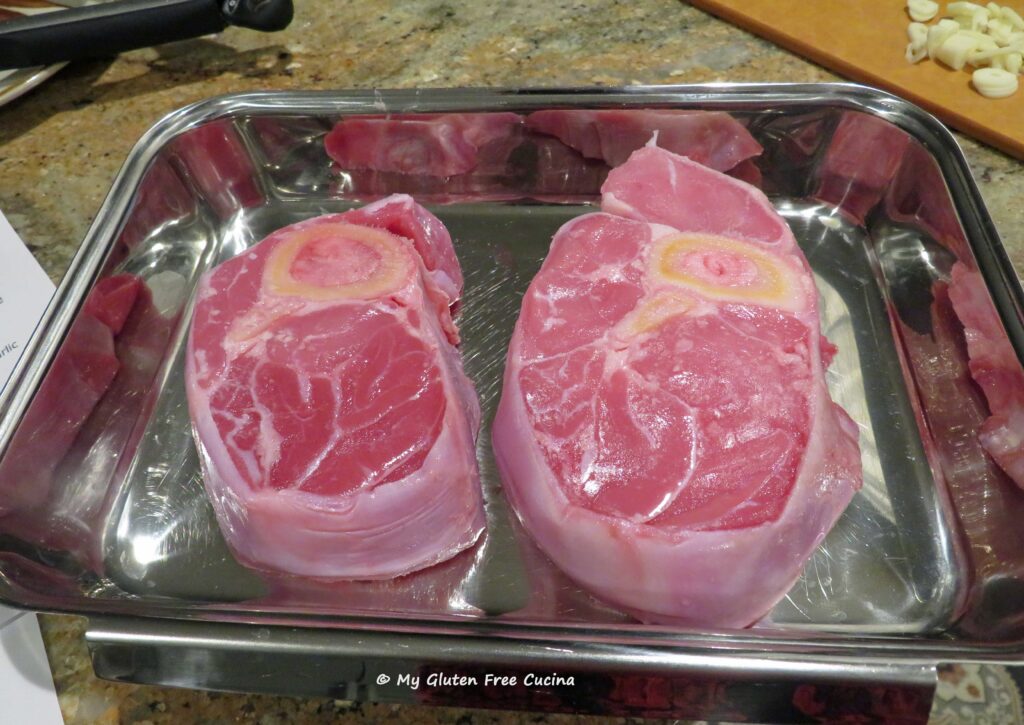
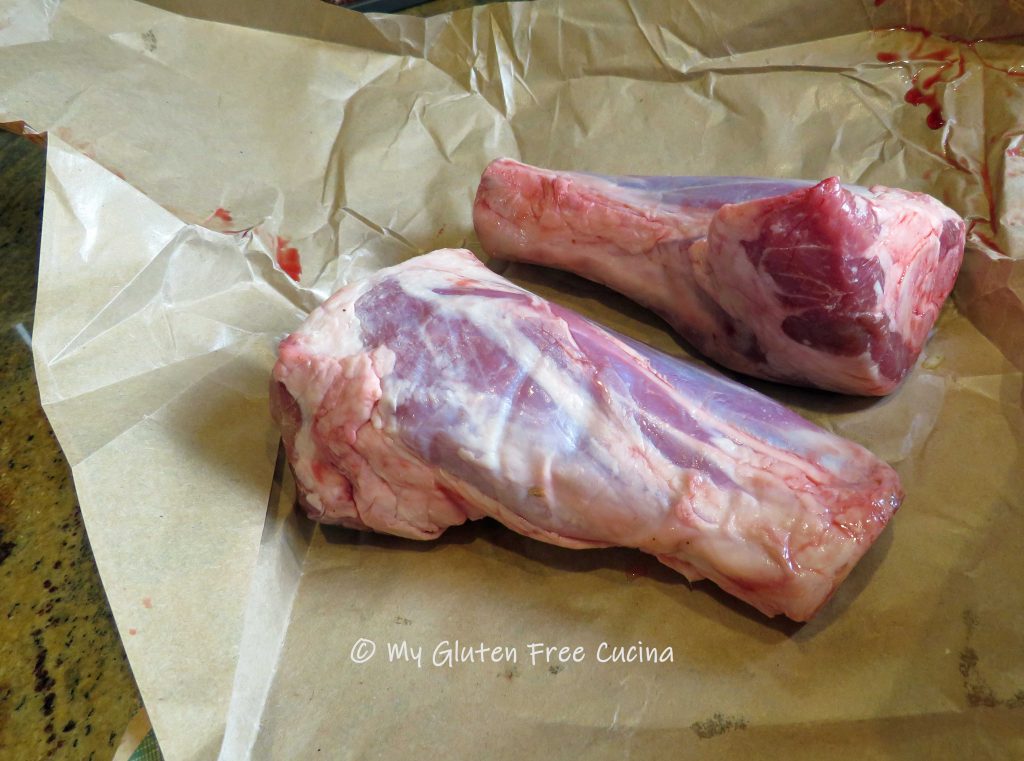
- 2 veal shanks
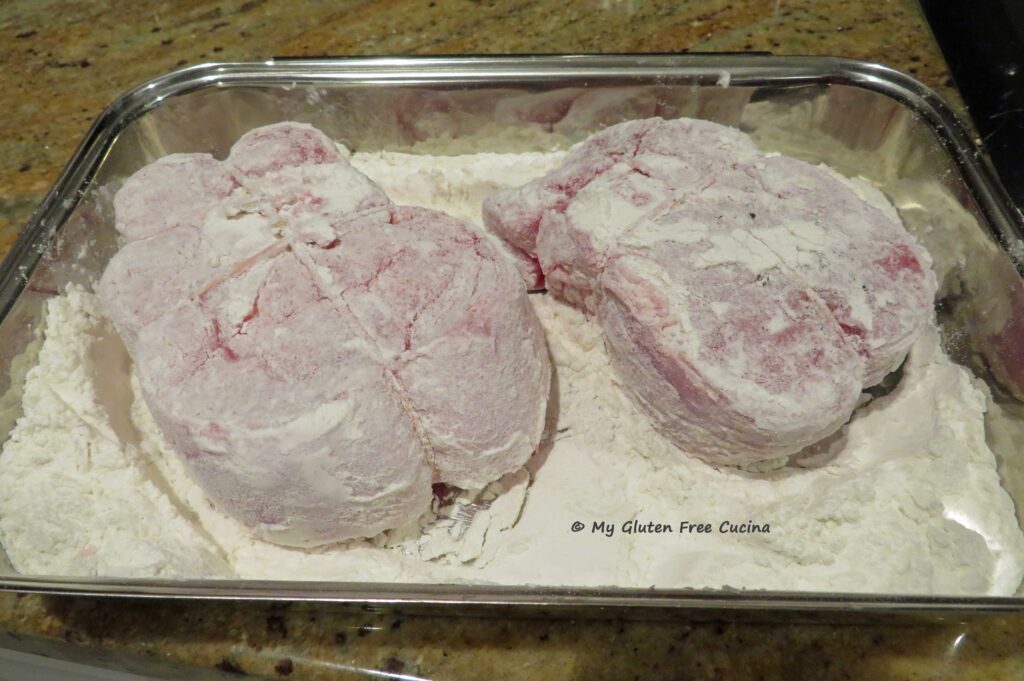
- 1/4 cup gluten free flour
- 1/4 cup olive oil
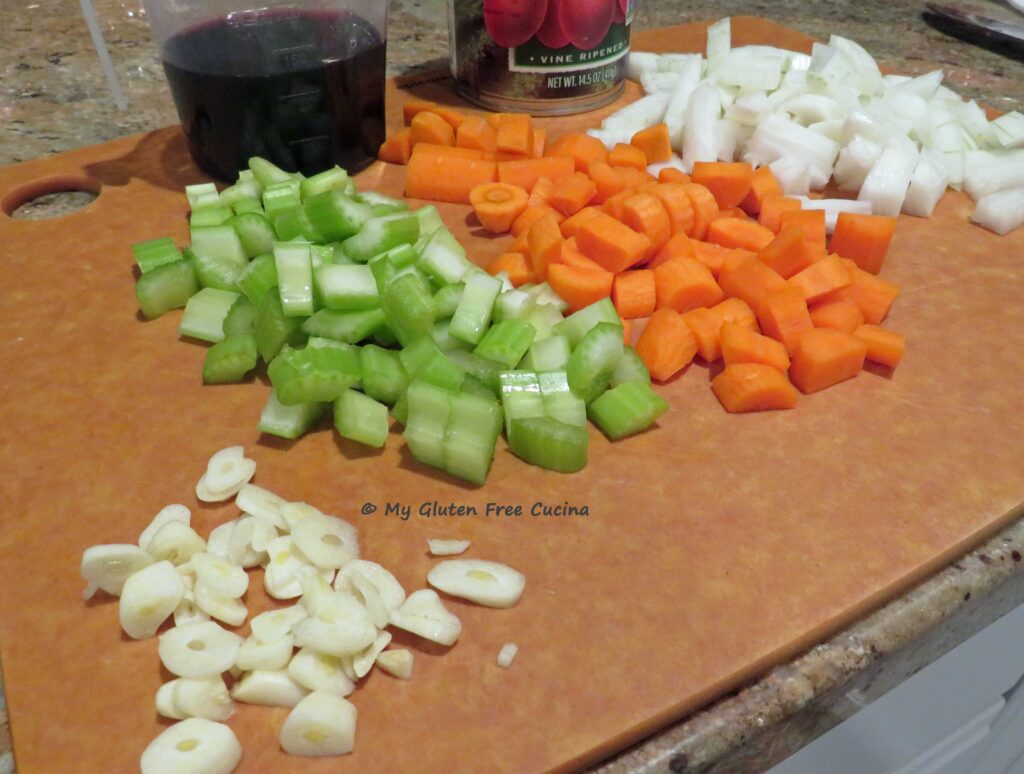
- 1/2 sweet onion, diced
- 2 celery stalks, diced
- 2 small carrots, diced
- 3 garlic cloves, minced
- 1/2 cup red wine
- 1-1/2 cups beef stock
- 1 can (14.5 oz.) diced tomatoes
- fresh rosemary, thyme and bay leaf
- salt and pepper, to taste
- Italian parsley for garnish
 This post contains affiliate links.
Preparation:
Preheat the oven to 325º.
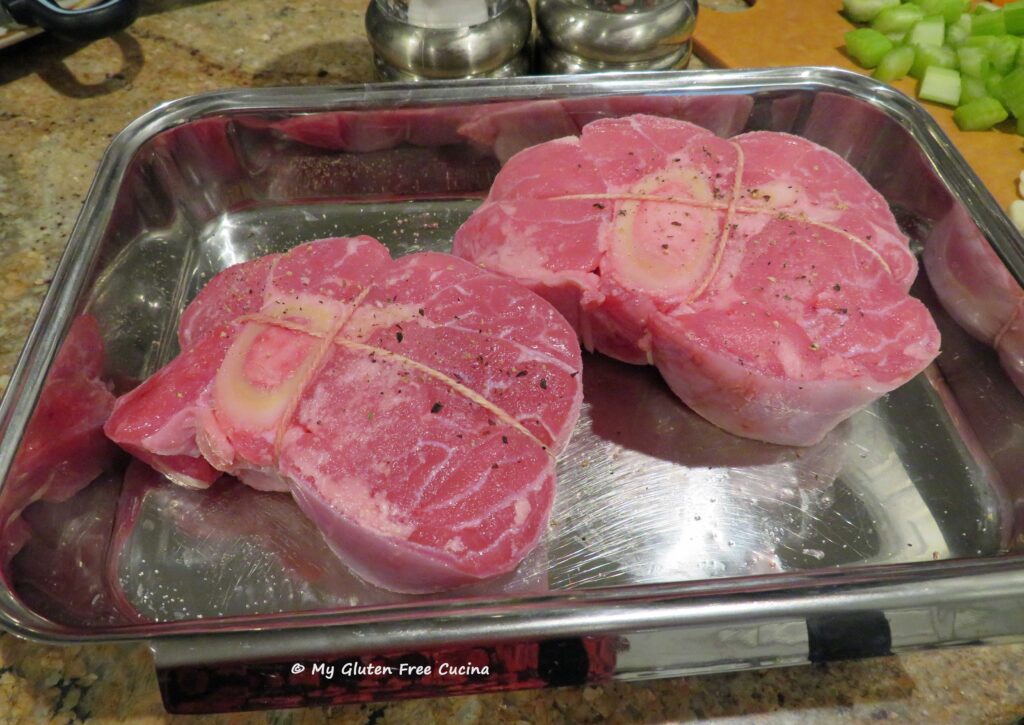
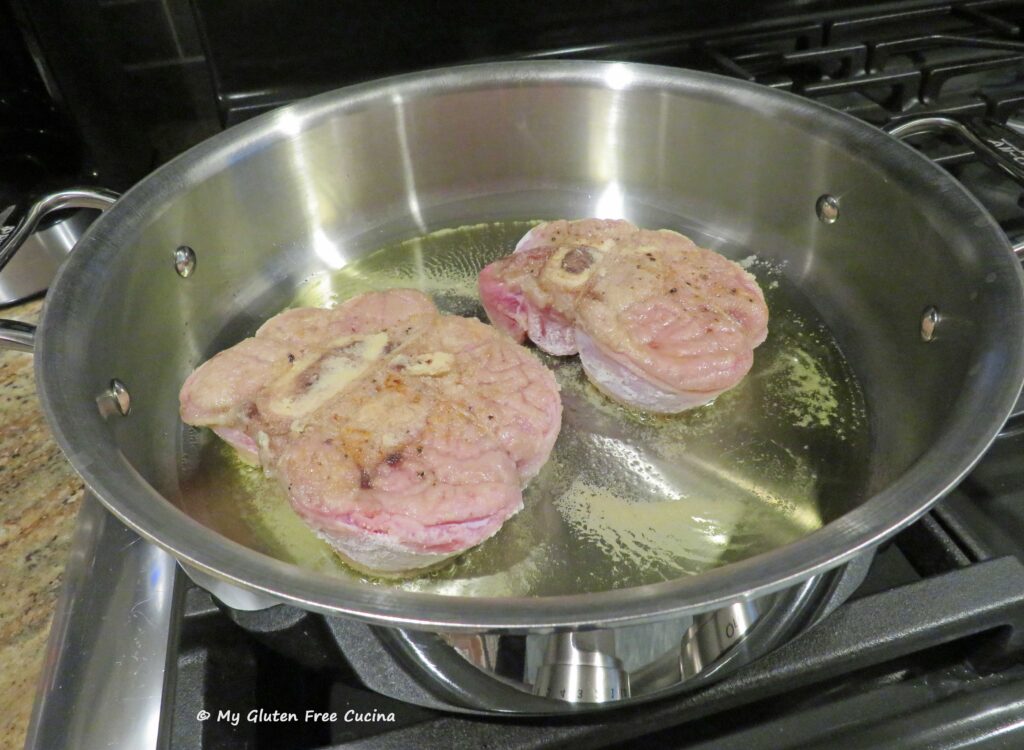
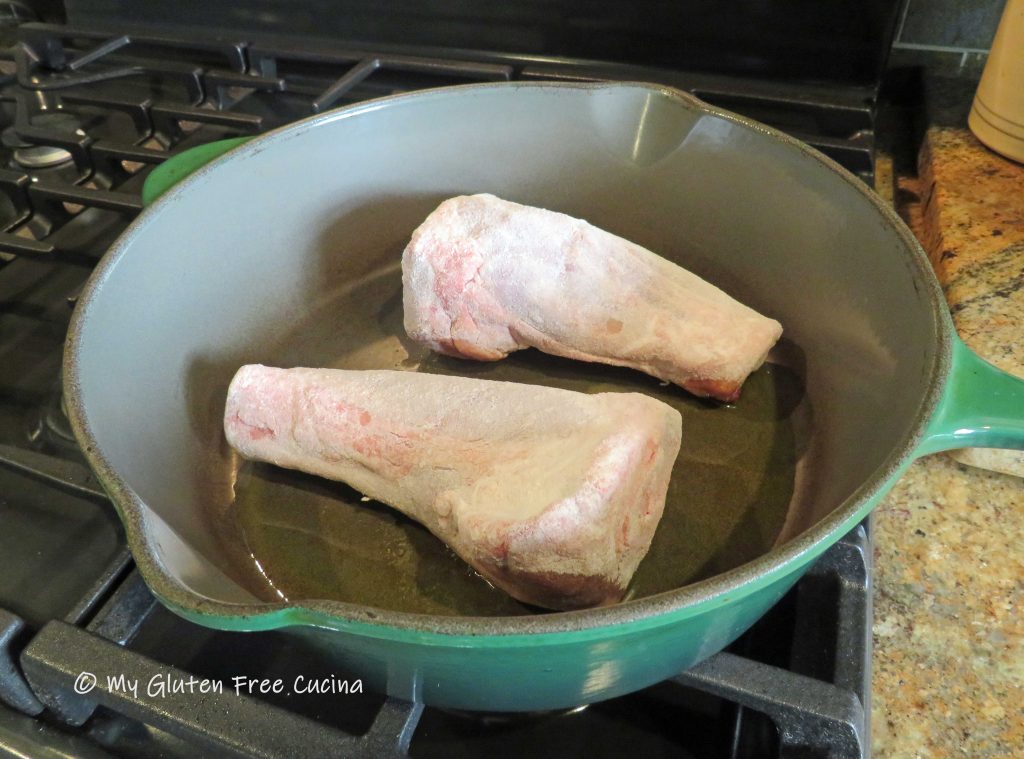
Pat the veal shanks dry with paper towels. Tie them with twine, then sprinkle both sides with salt and pepper.
Add the flour to a bowl or breading tray. Dredge the veal shanks to coat both sides with the flour.
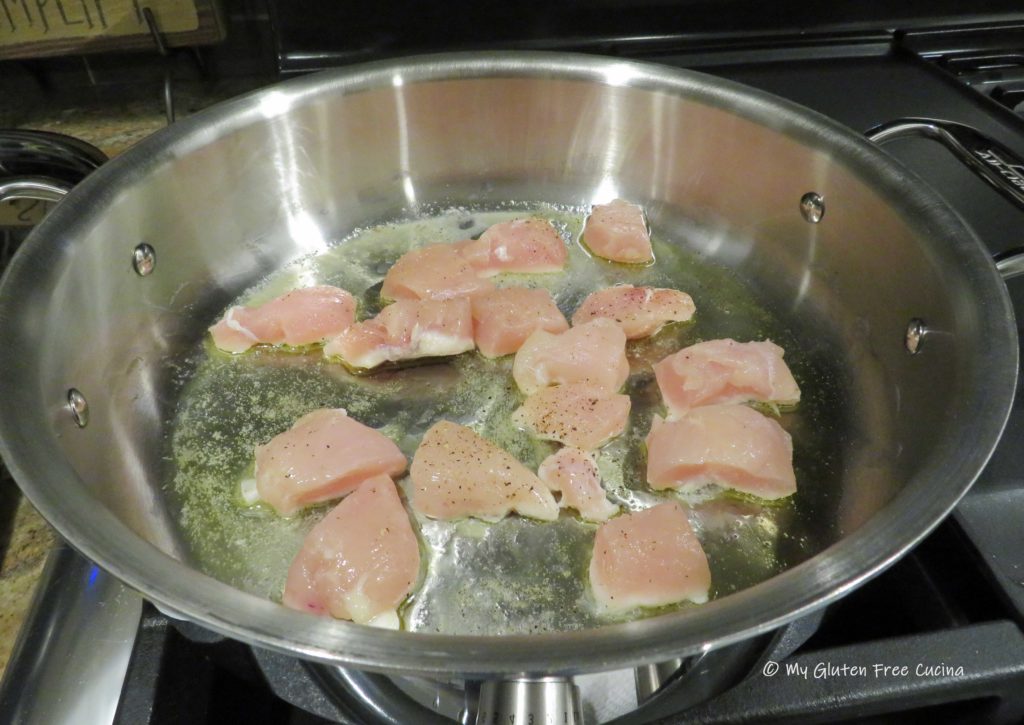
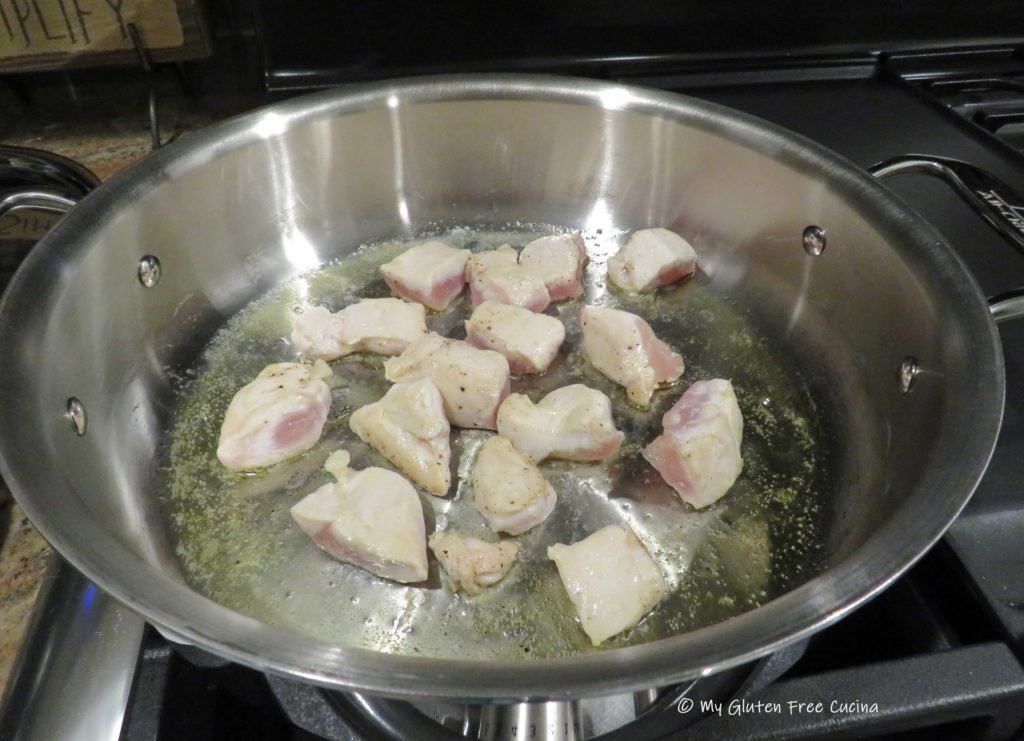
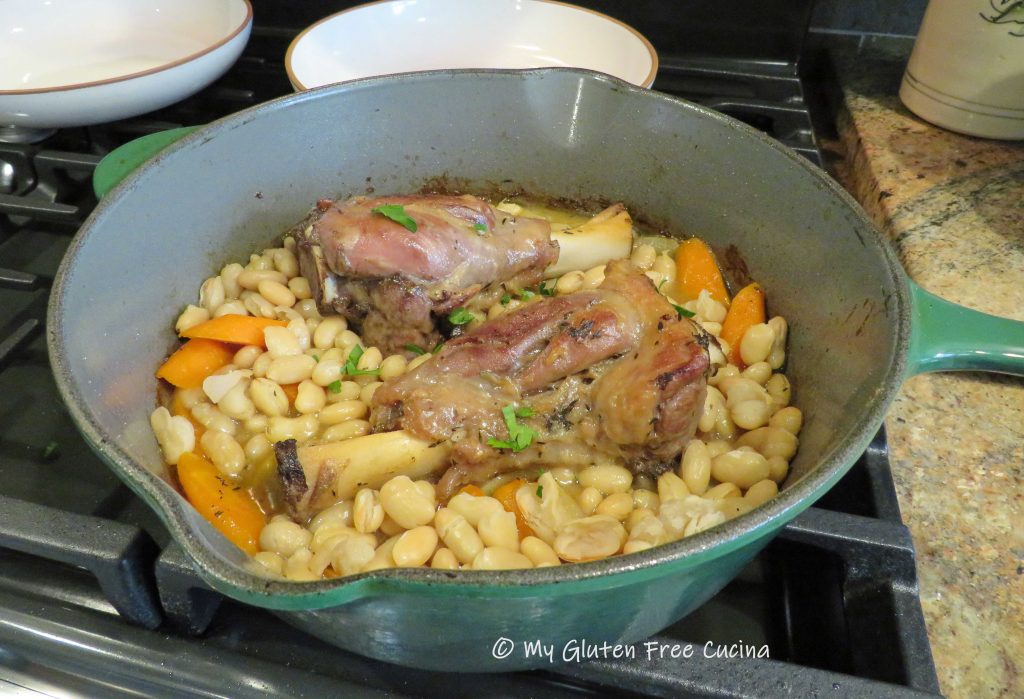
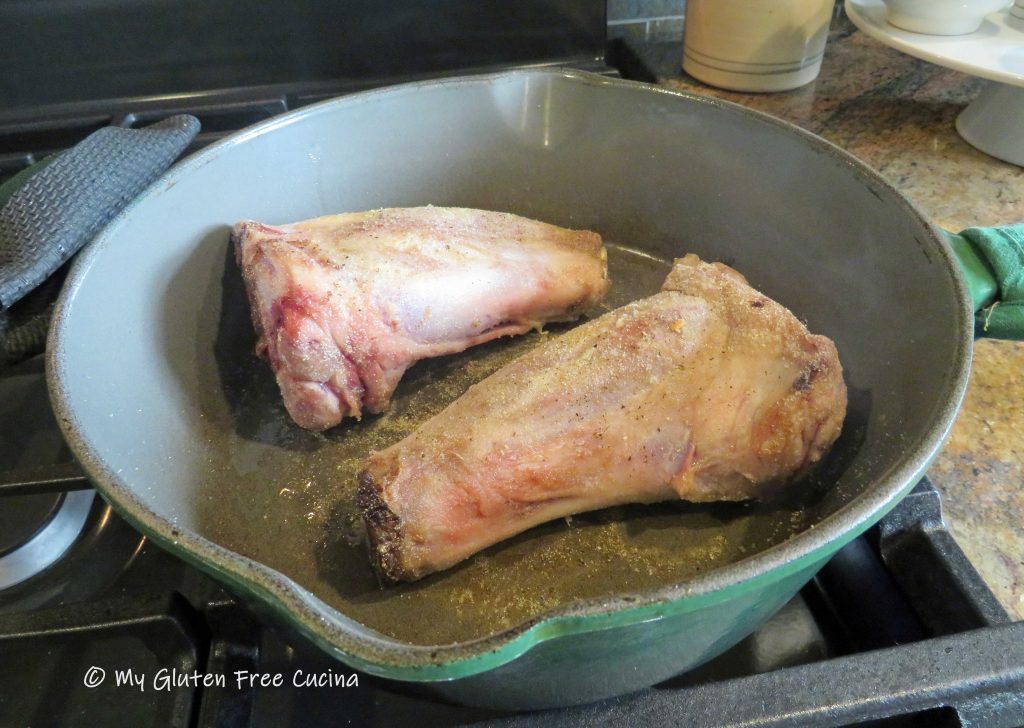
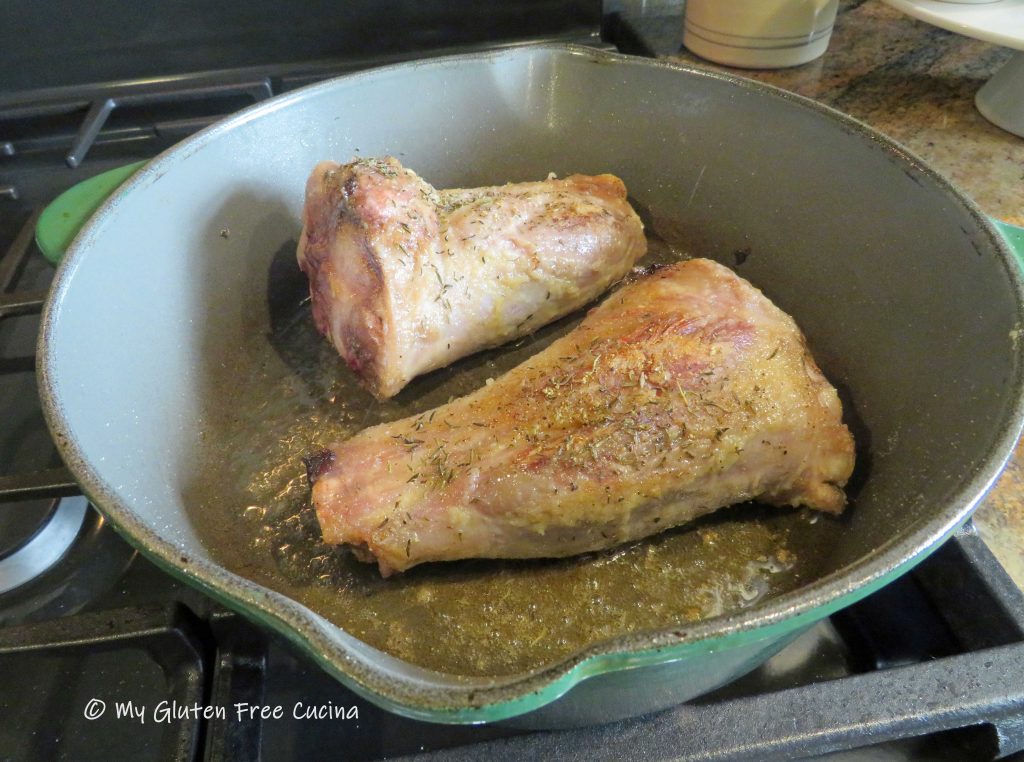
Heat olive oil in an ovenproof deep skillet with cover. I used a stainless-steel everyday pan. Brown the veal shanks on both sides then remove to a plate.
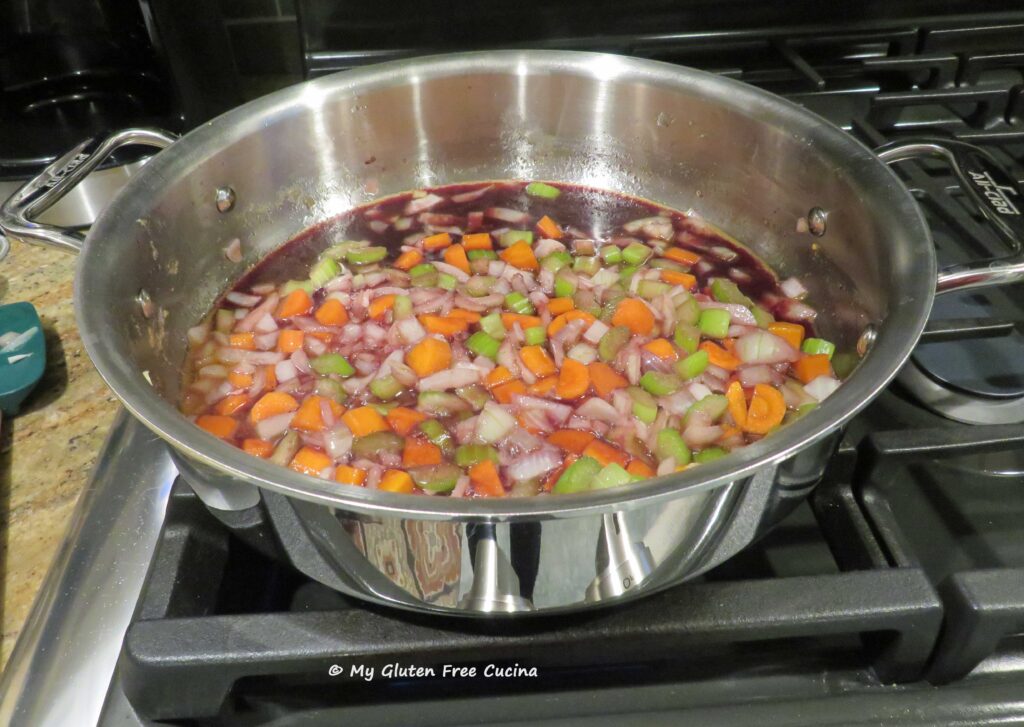
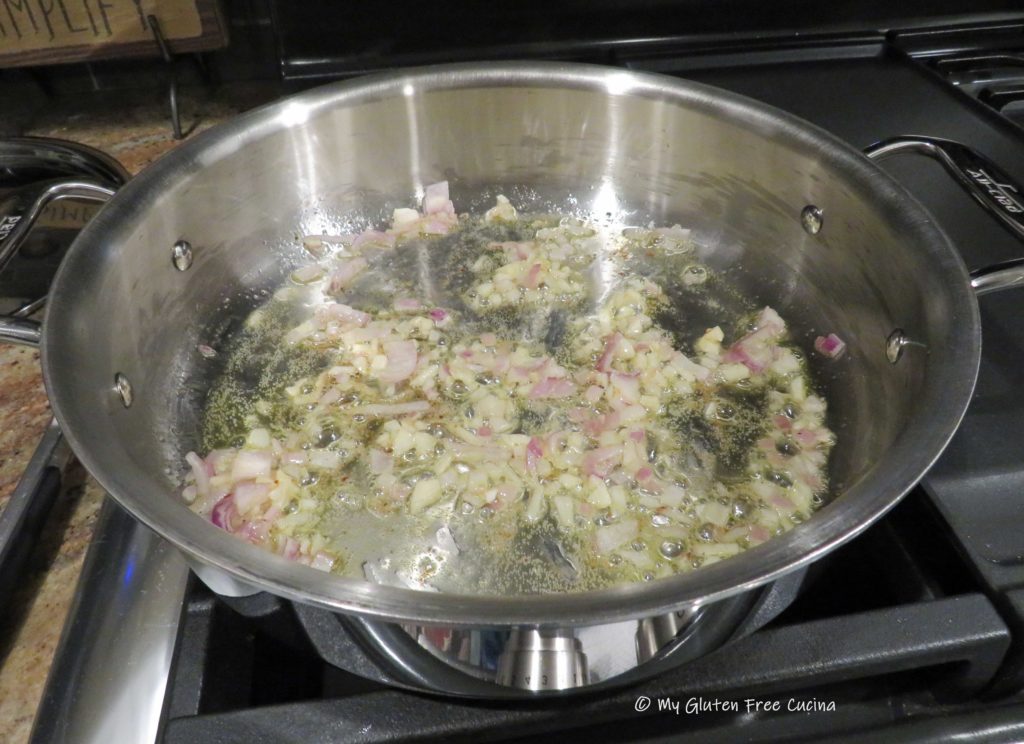
Next add the carrots, celery, onion and garlic to the skillet with salt and pepper to taste. Stir frequently for 2-3 minutes.

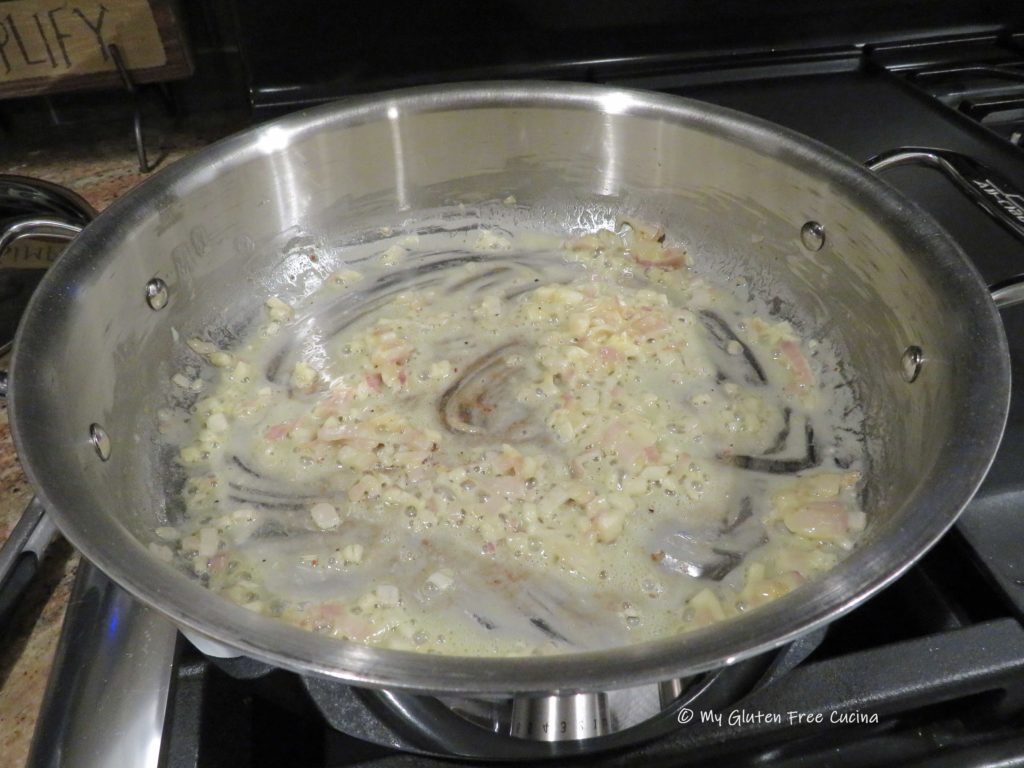
Add the wine, stir well and simmer a few minutes, to let some of the alcohol evaporate.
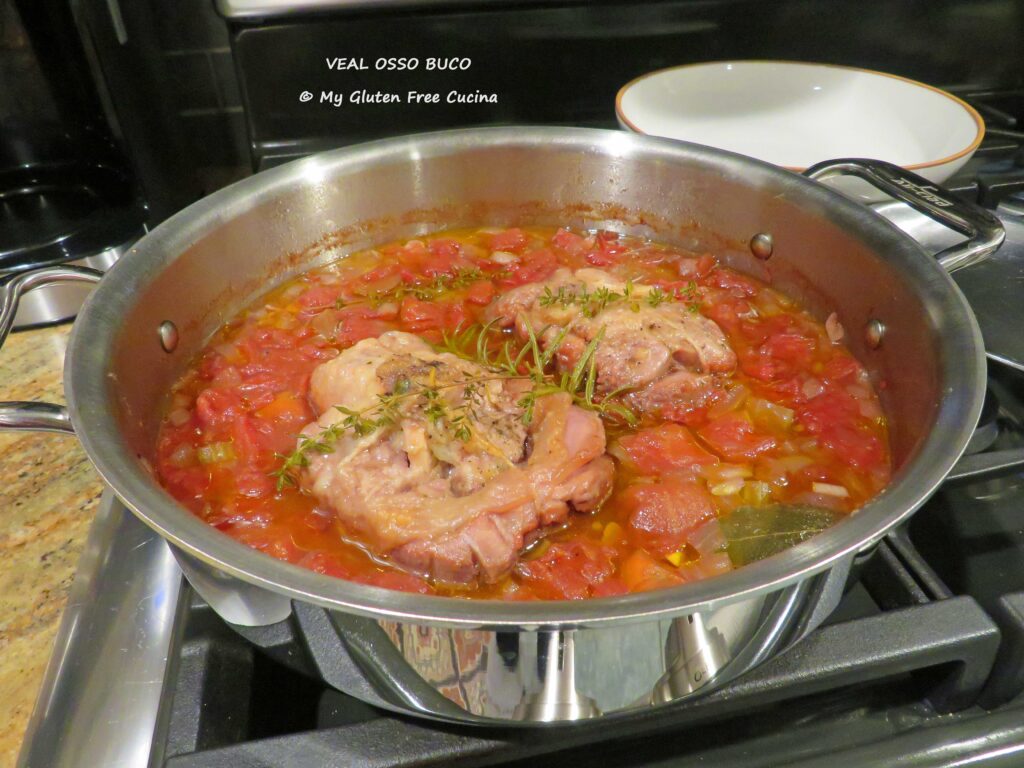
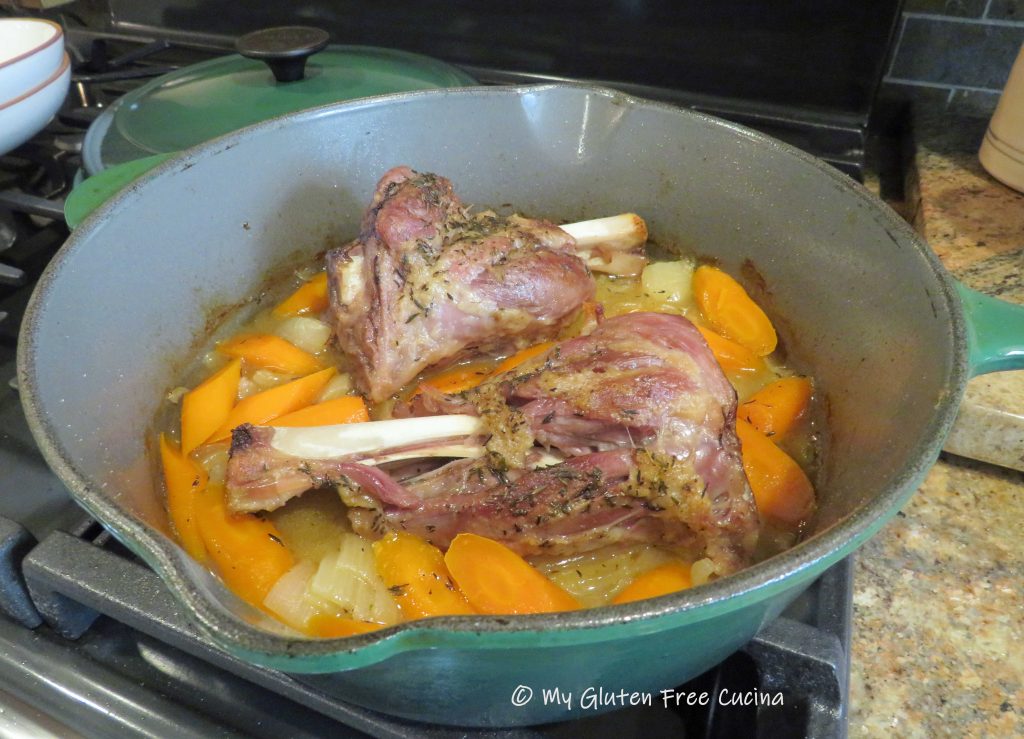
Finally, add the beef stock and tomatoes to the skillet and nestle the veal shanks in the center. Top with the fresh herbs.
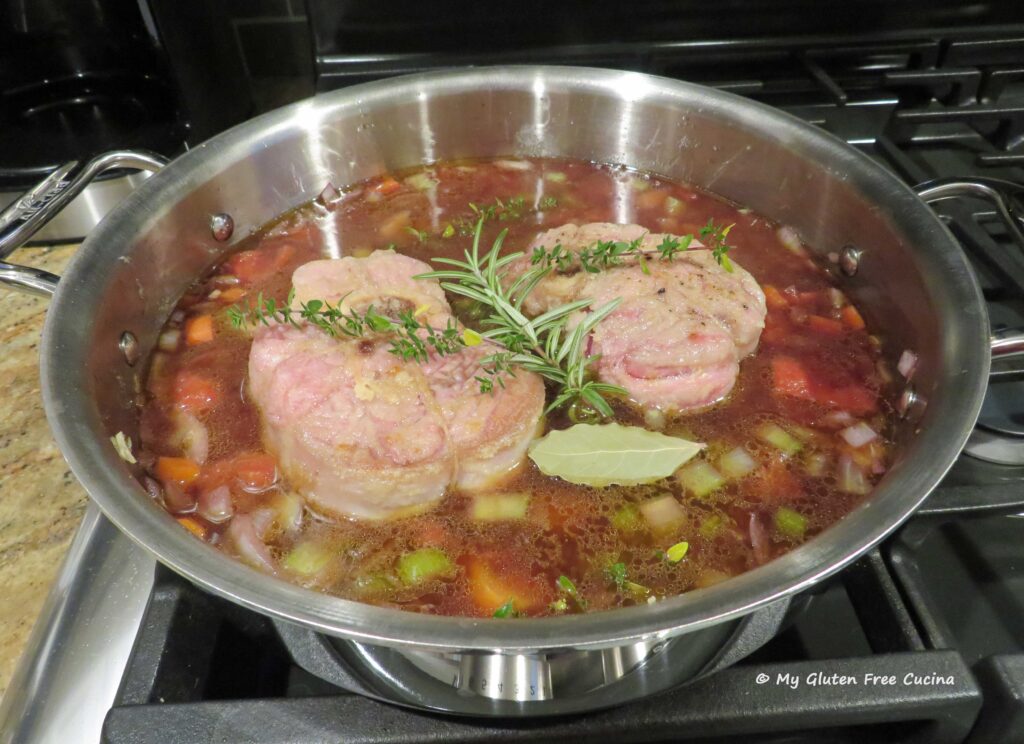
Cover and place in the oven for 2 ½ hours.
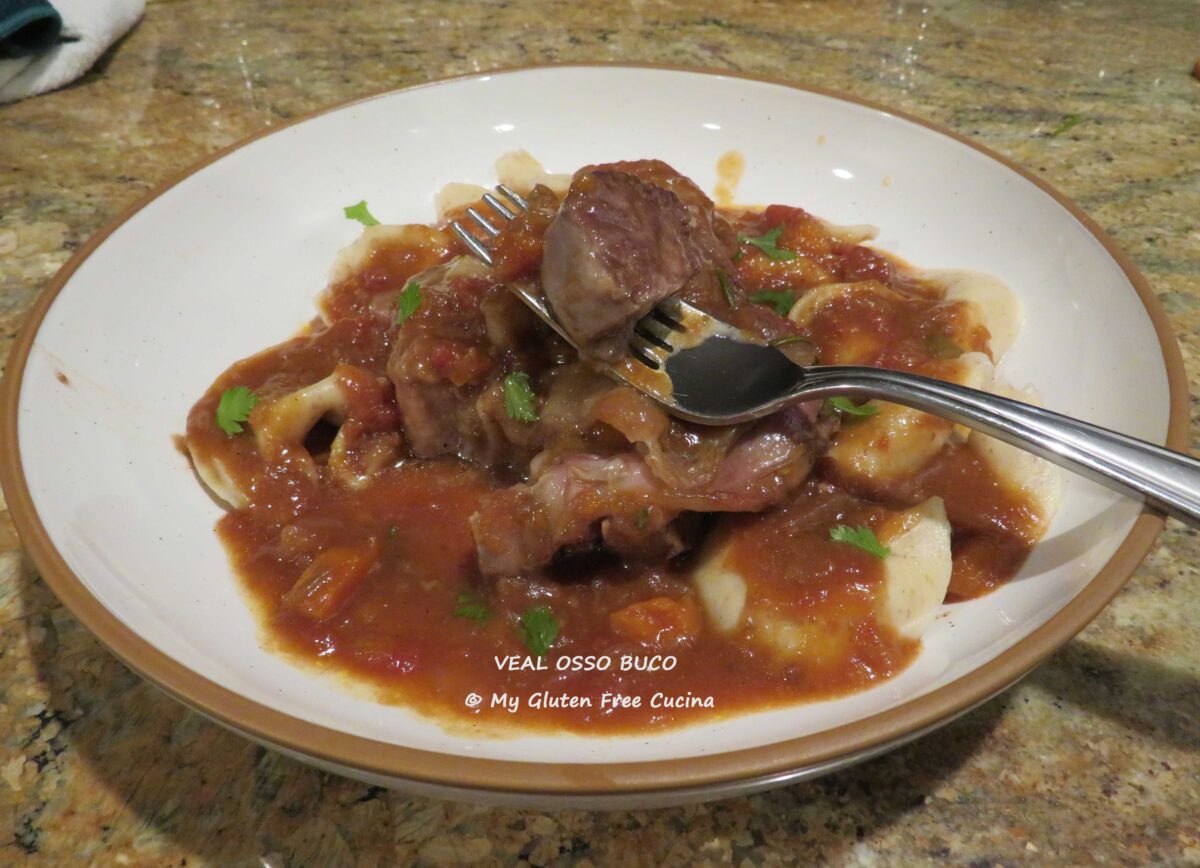
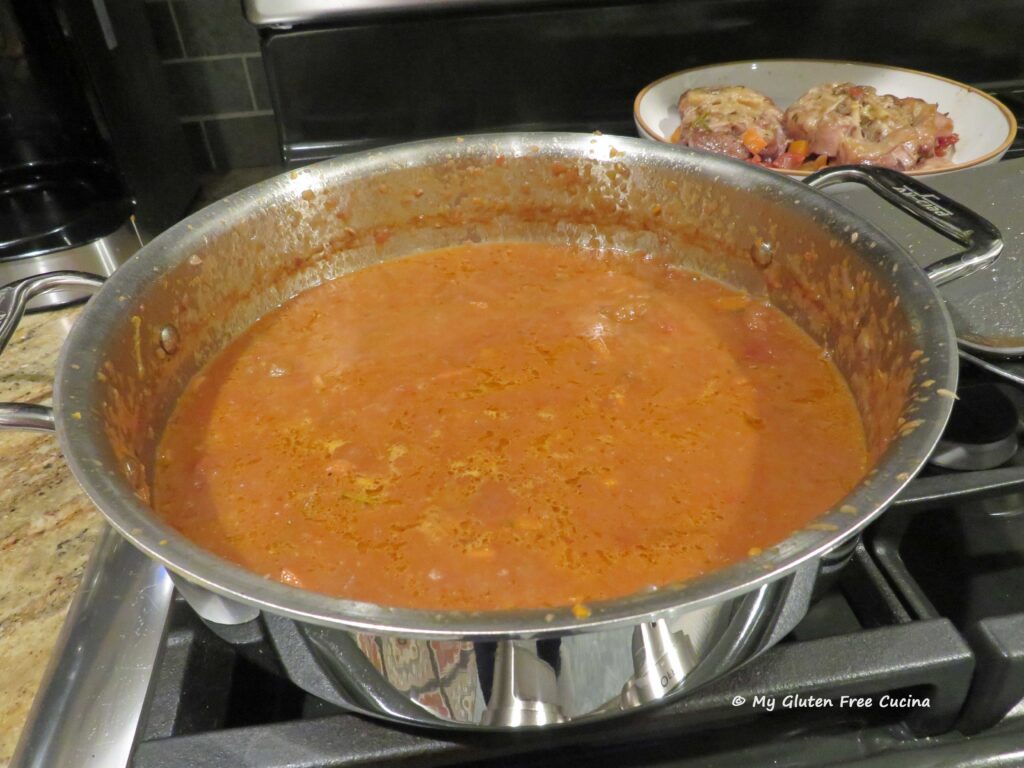
To serve, transfer the veal shanks to dinner size bowls, one shank per person and keep warm. Remove the herbs from the skillet and puree the veggies into a sauce. Simmer with the cover off to thicken.
 Spoon sauce over the veal shanks and garnish with Italian parsley.
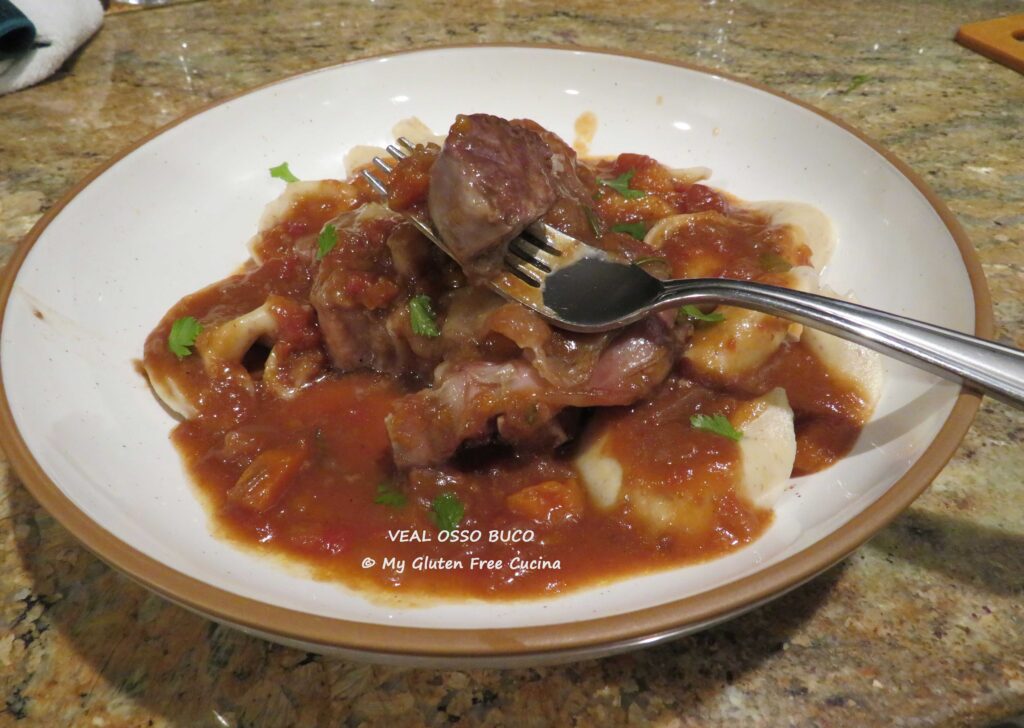 I served mine with Taste Republic Gluten Free Tortellini and this dinner was amazing! You can serve the veal with regular pasta or risotto and don’t forget to bring grated cheese to the table.
Notes ♪♫ This is another great Italian recipe that is easily converted to gluten free. The only ingredient that I had to change was the flour. Use any gluten free all-purpose flour, or a single grain flour like a fine grain rice flour. Check labels on prepared ingredients, like beef stock. I used Swansons, my favorite brand as far as flavor and their beef stock is gluten free.

[print_link]
 Ingredients:
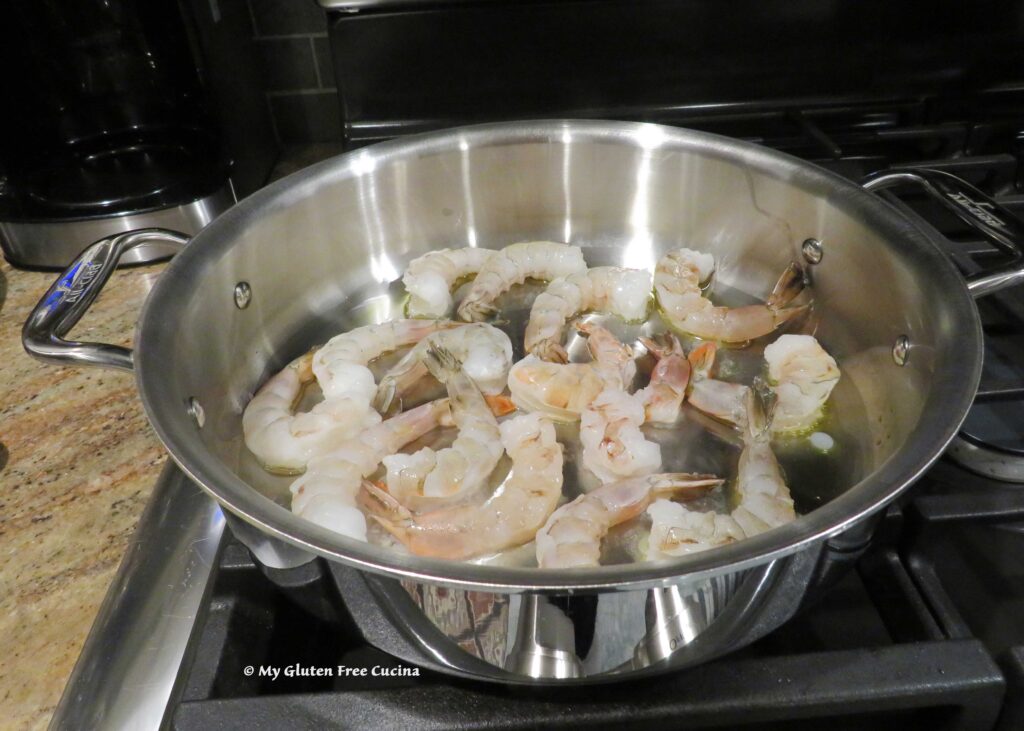
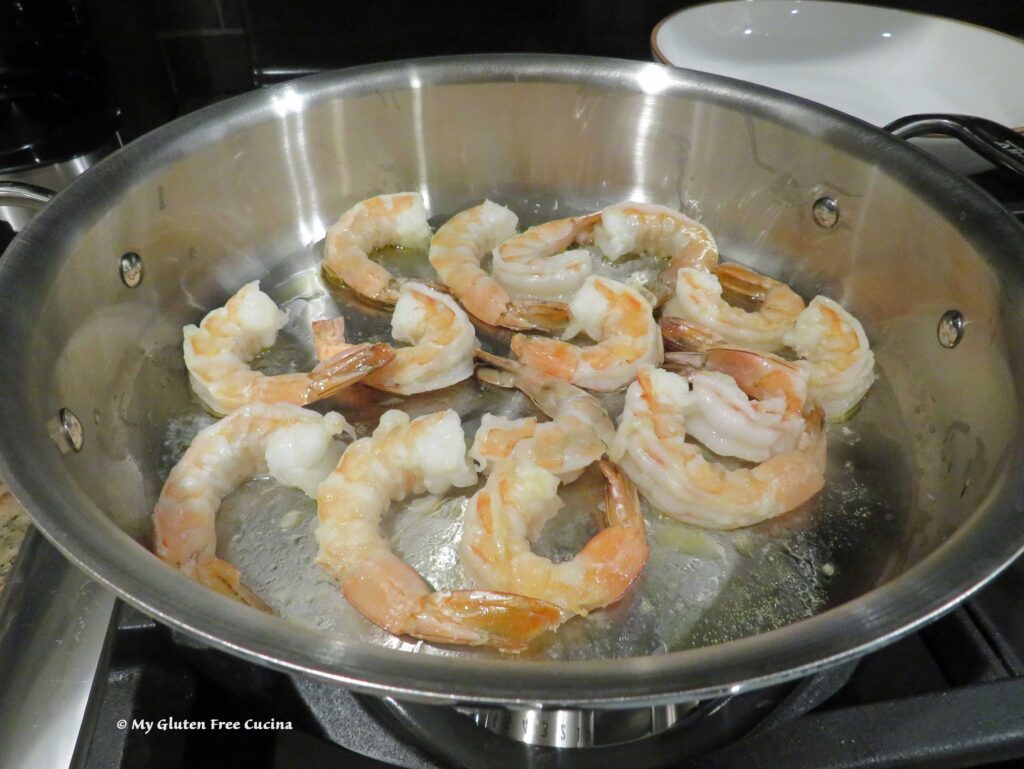 Remove the shrimp to a bowl and add another tbsp. olive oil to the skillet. Add the garlic and red pepper flakes, and cook for 30 seconds, stirring several times.
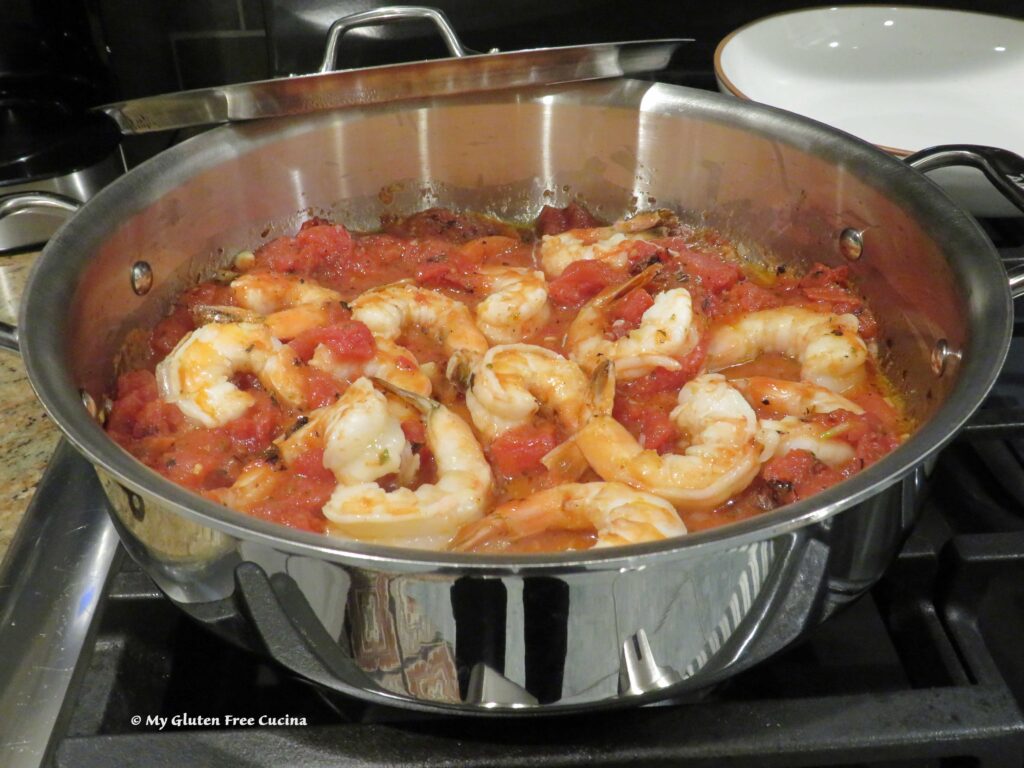
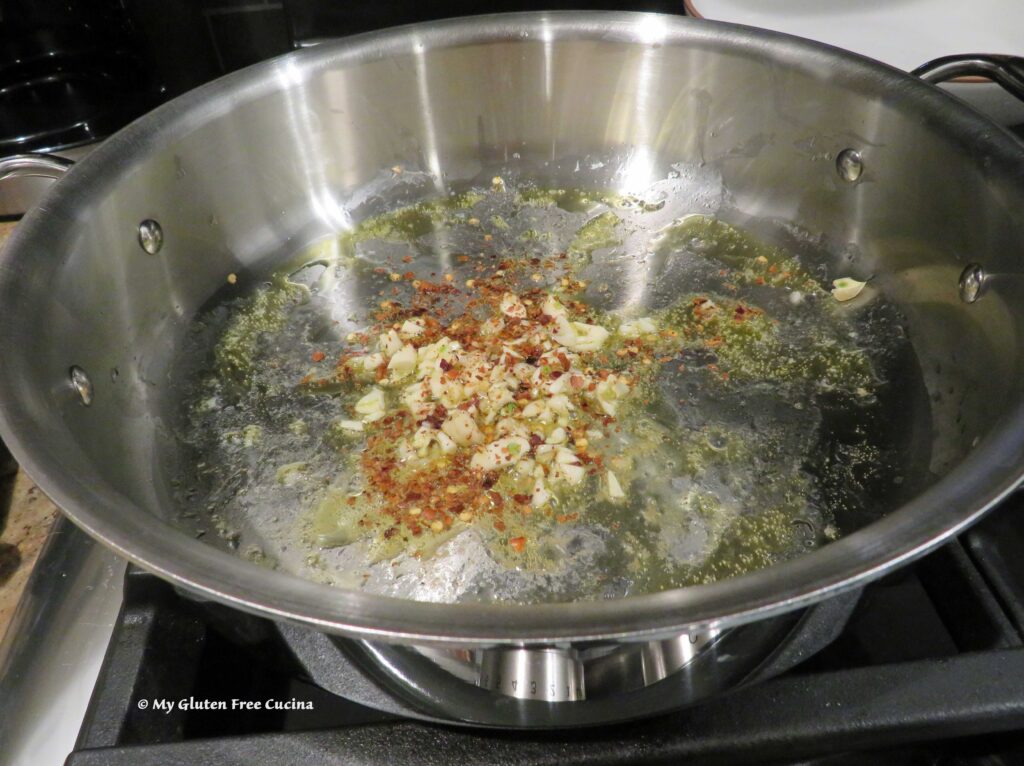 Add the fire roasted tomatoes with juice, 1/2 tsp. oregano and salt to taste.
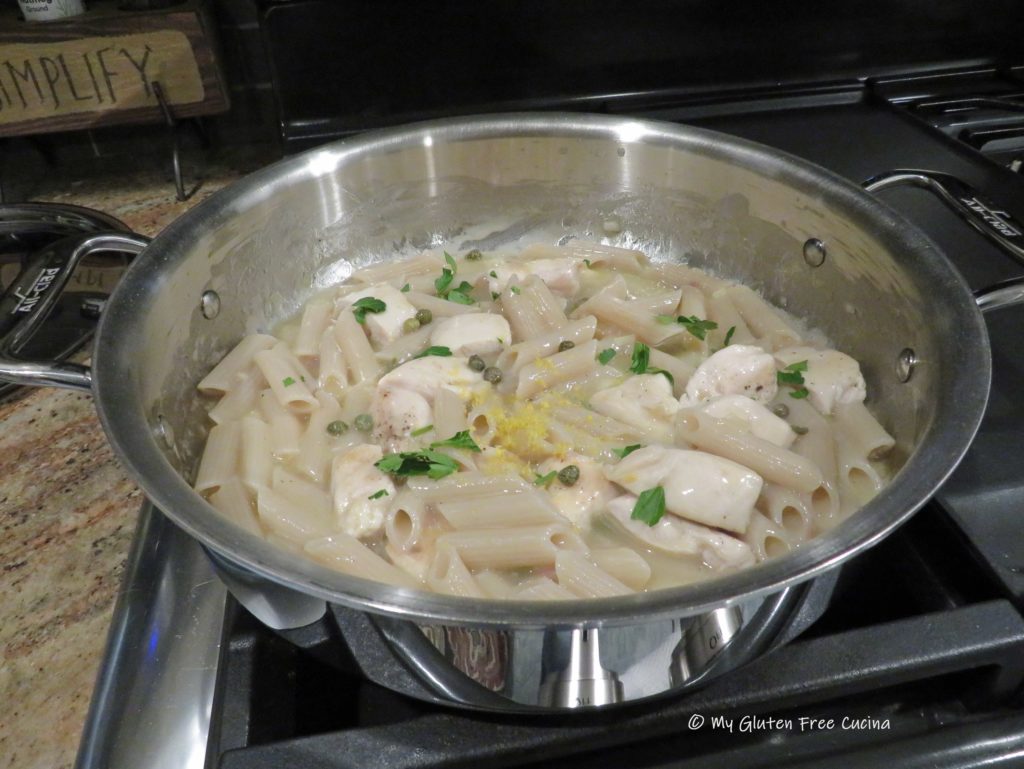
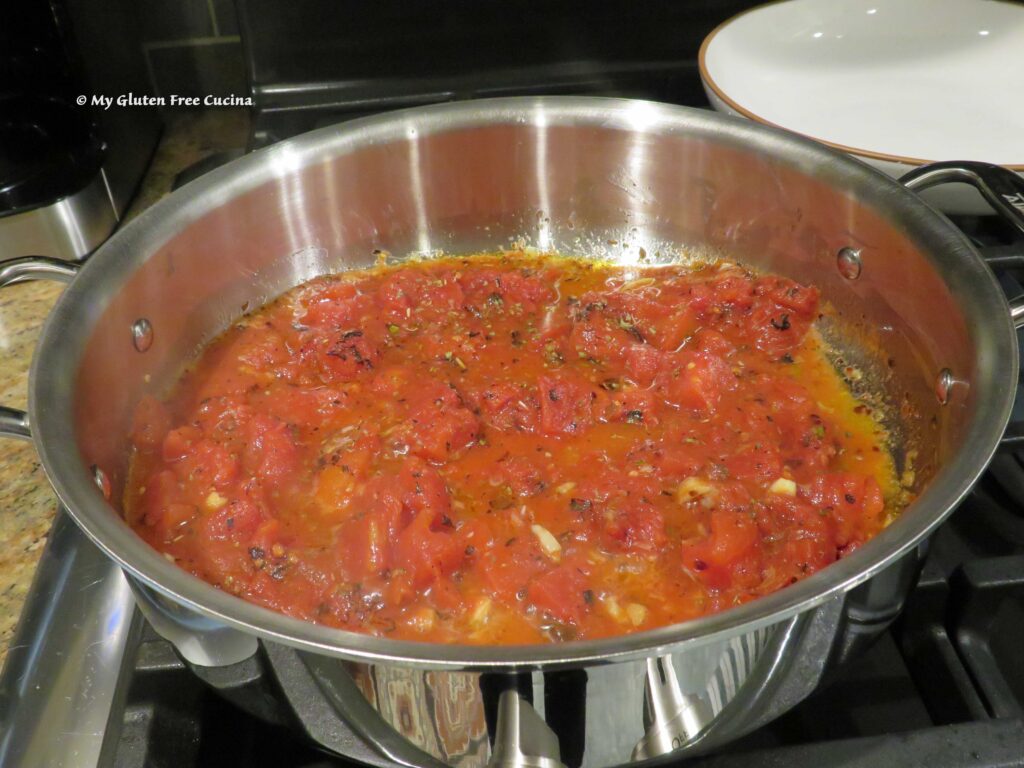 Cook the pasta to 2 minutes less than package directions. With 4 minutes to go on the pasta, add the shrimp to the sauce.
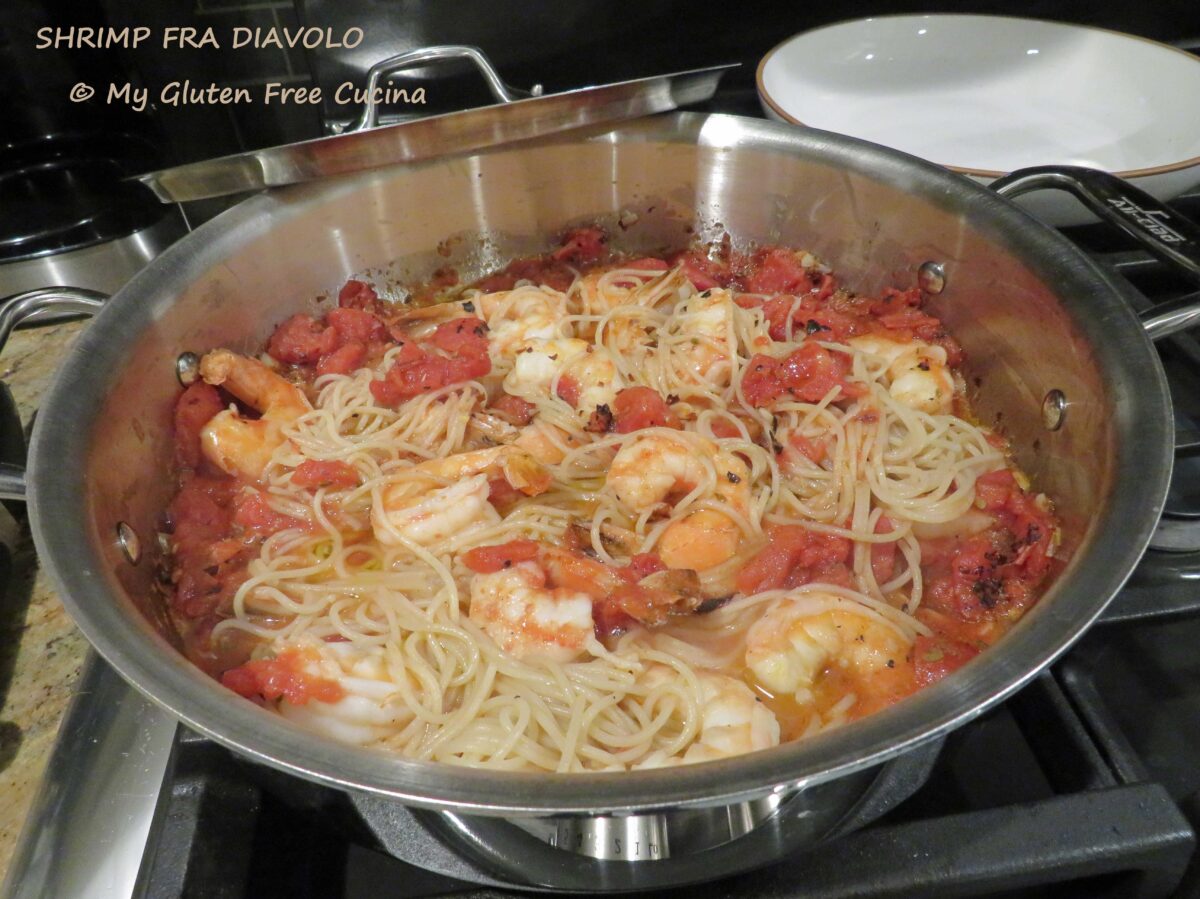
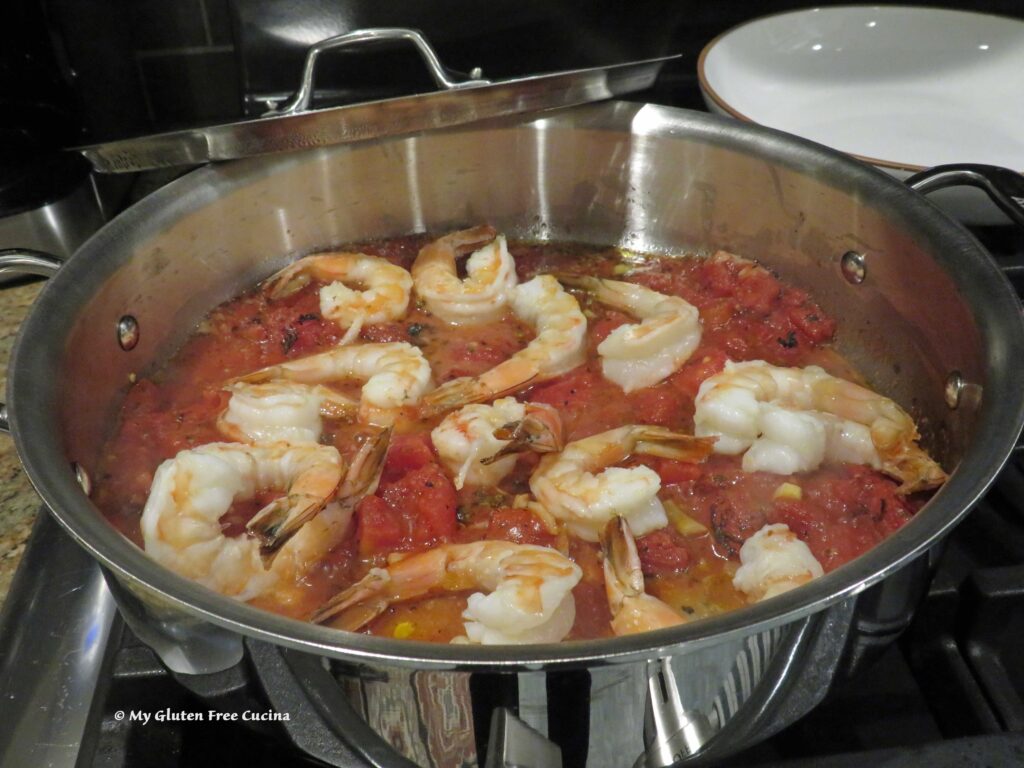 Drain the pasta, add it right into the sauce and toss with 1 more tbsp. olive oil and more red pepper flakes if you dare! ♨️
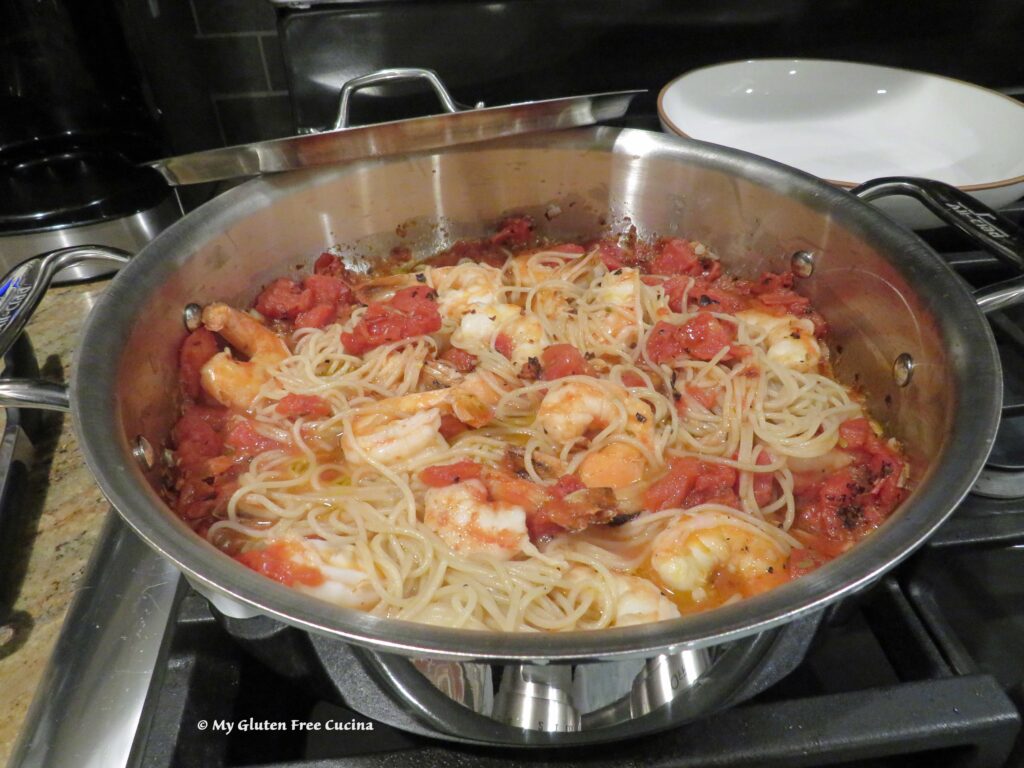 Transfer to serving bowls and garnish with fresh Italian parsley.
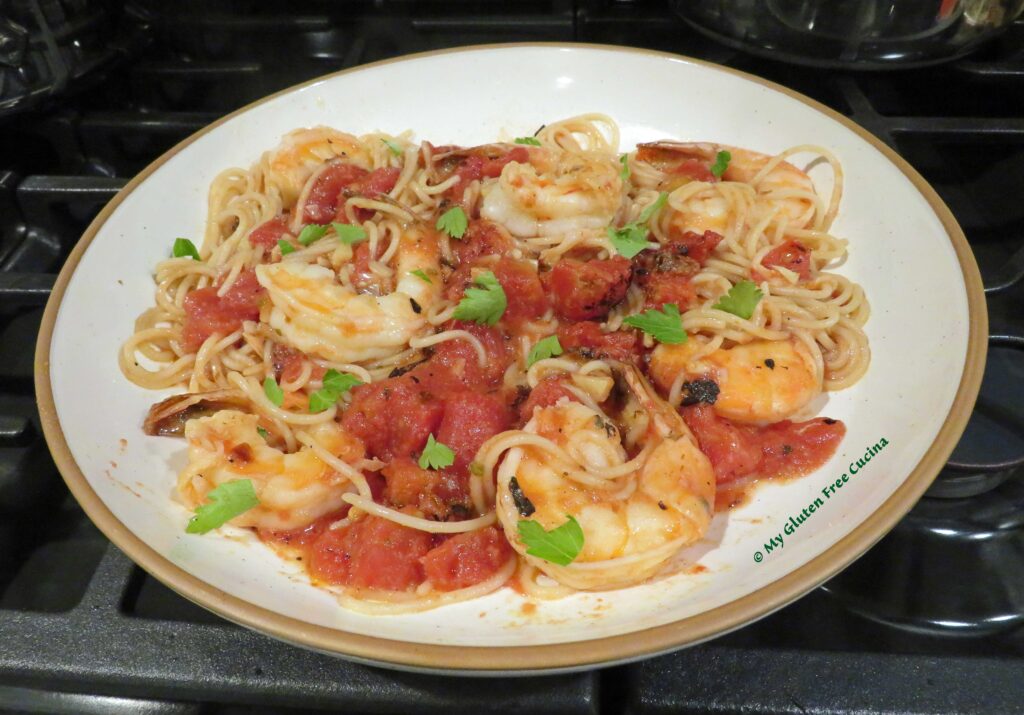
 Drizzle the liquid into the pan as you continue whisking.
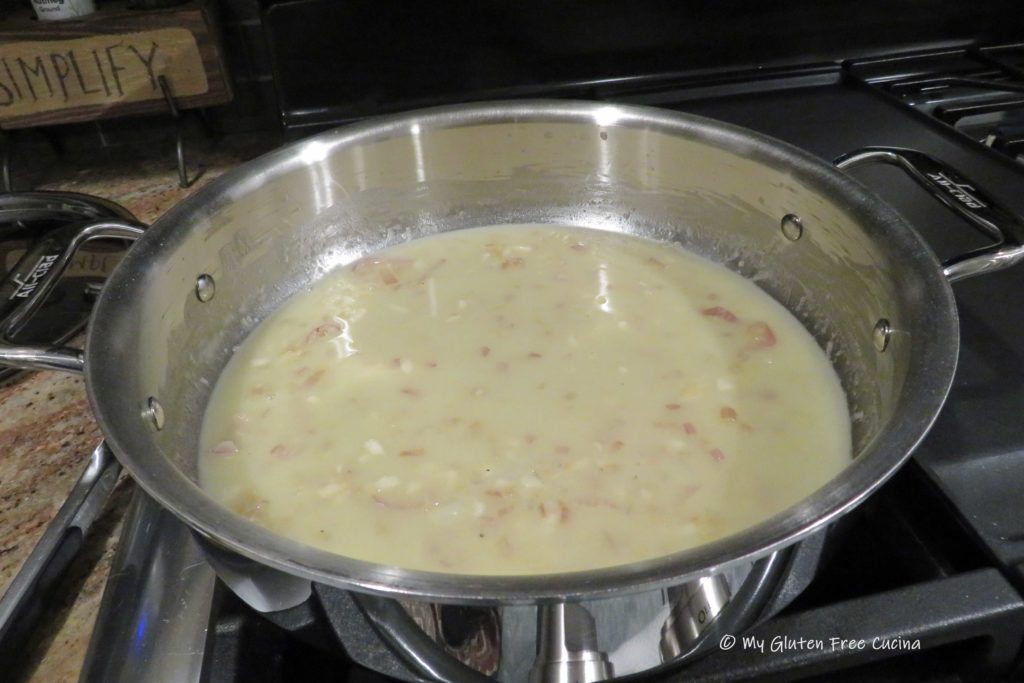


 Preparation:
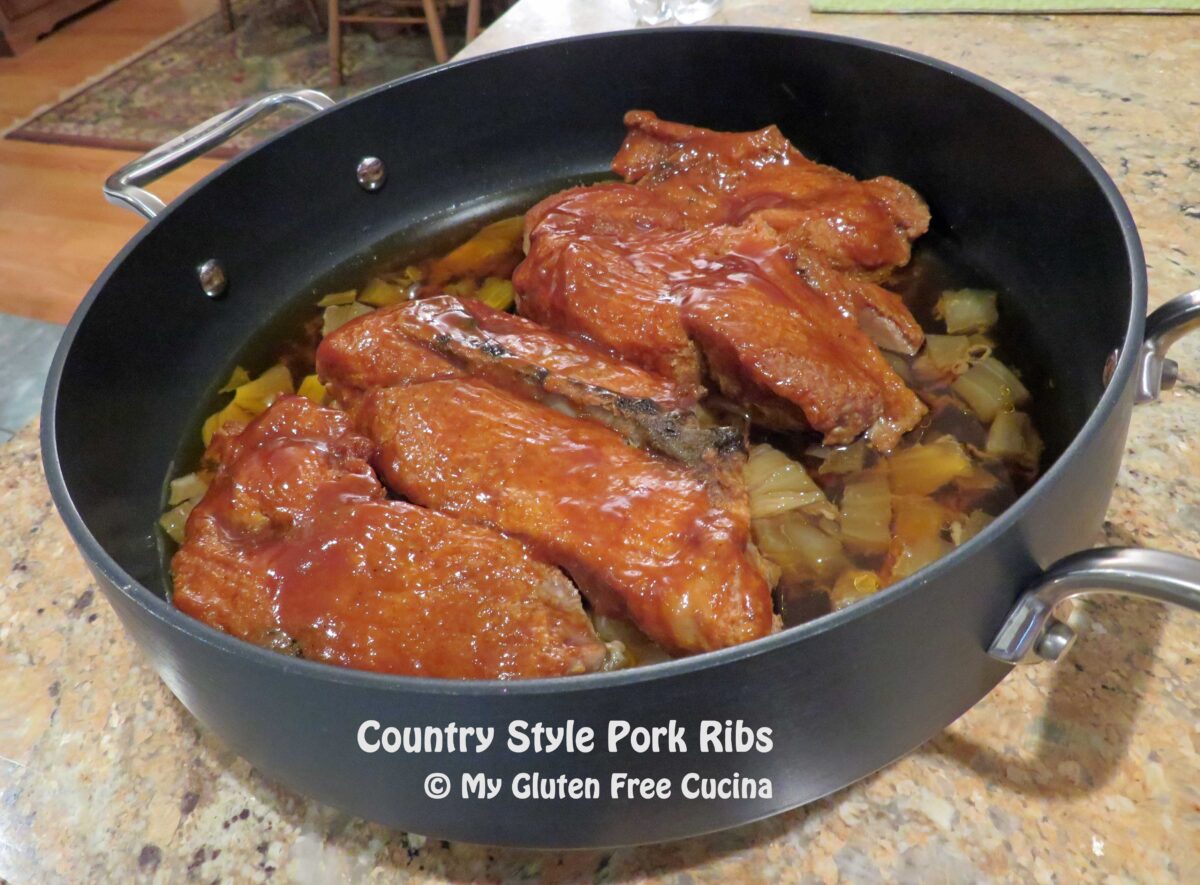
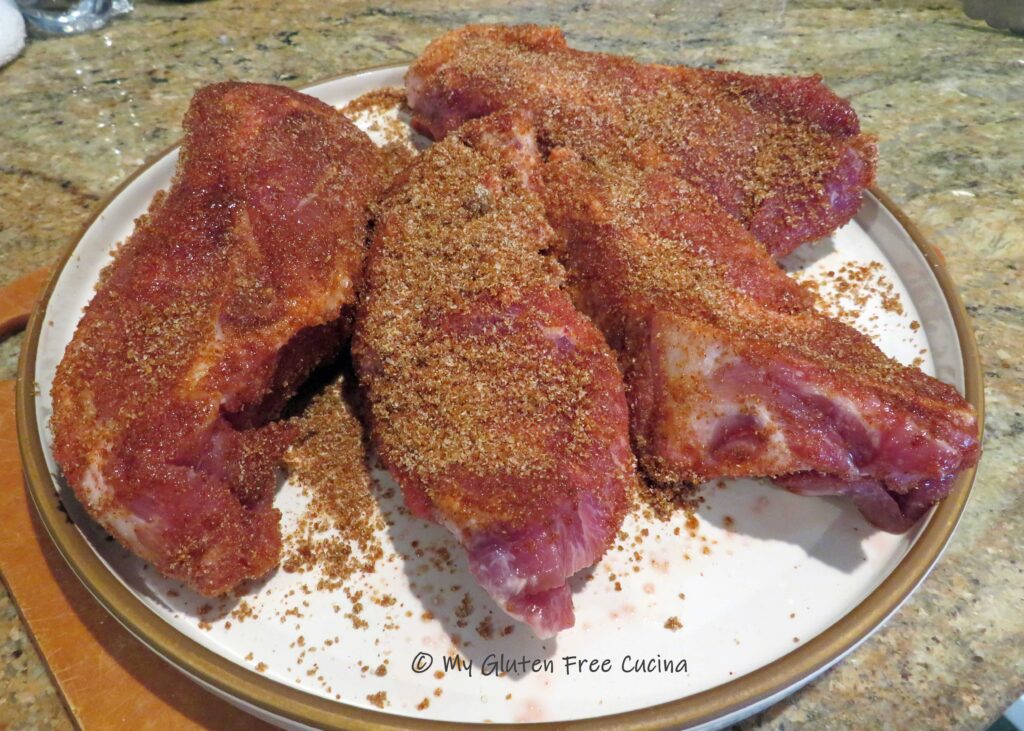 Mist a covered skillet, Dutch oven or braising pan with cooking spray. Cut the onions into large chunks and arrange in a single layer, to create a base for the ribs.
 Place the ribs on top of the onions. As the ribs cook down, they will release liquid, and you want them to be elevated for most of the cook time, not submerged.
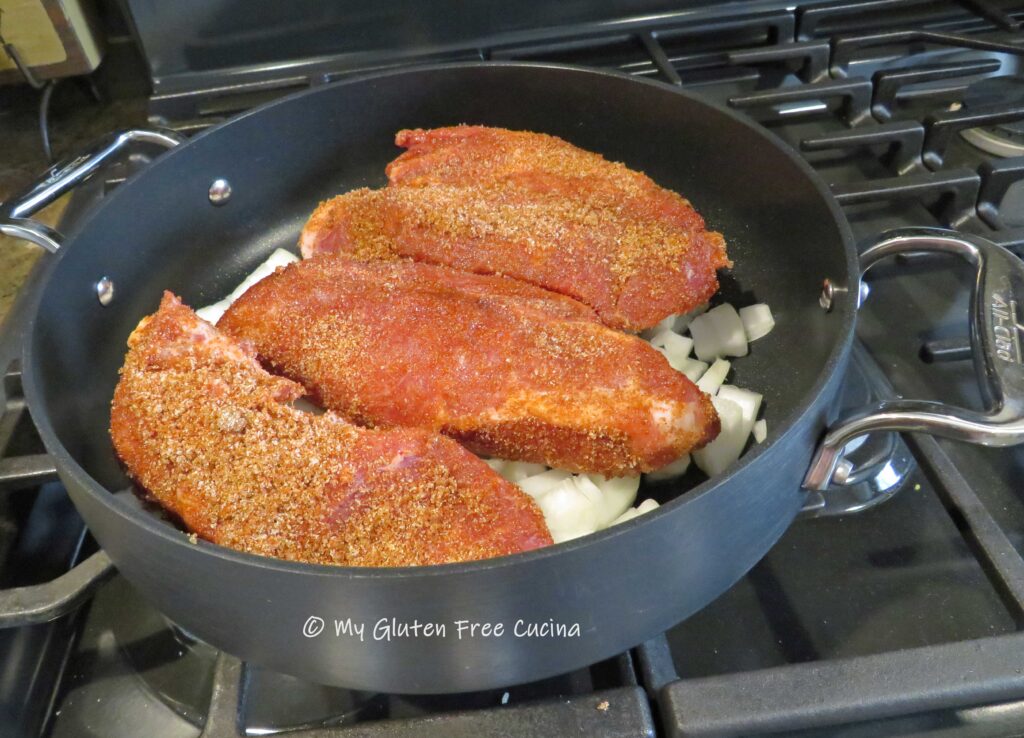 Cover and roast at 225° for 4 hours total. After 3-1/2 hours, uncover and brush liberally with BBQ sauce.
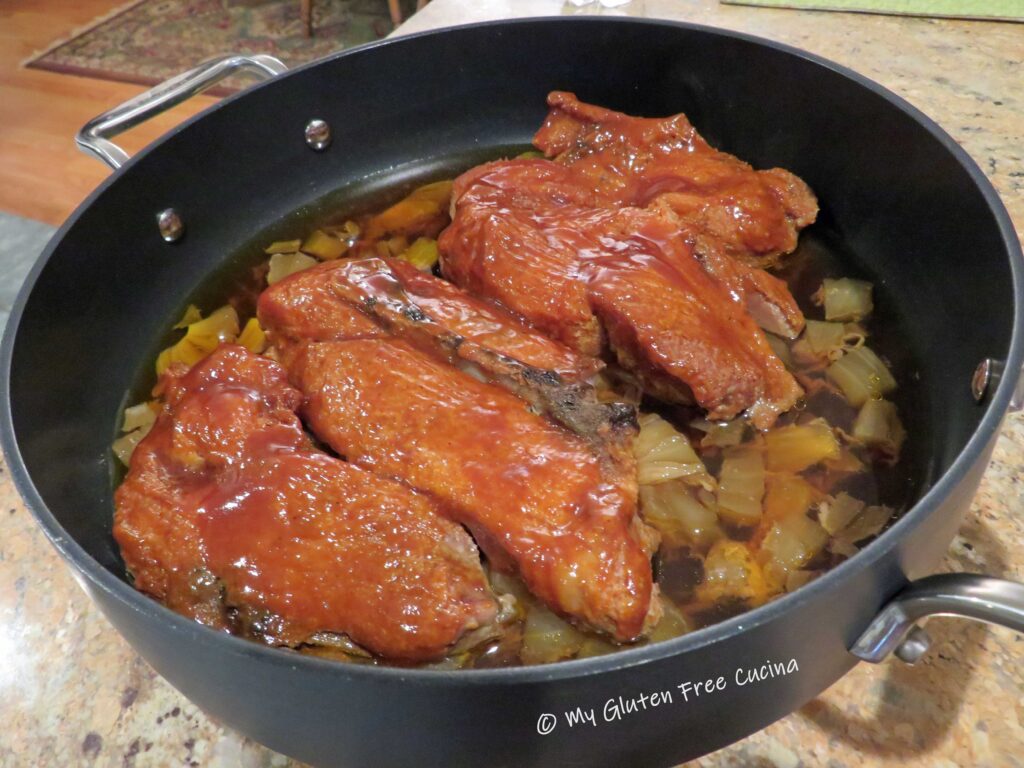 Continue cooking 1/2 hour longer. The meat will be falling off the bone tender!
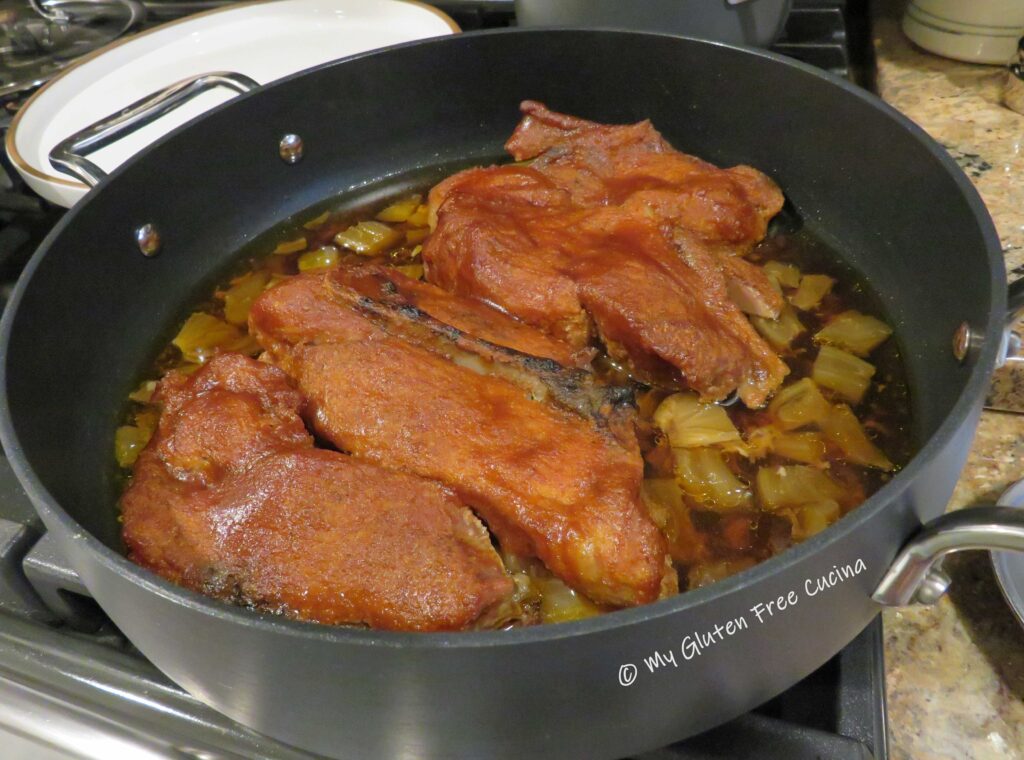 See how much liquid has accumulated in the bottom of the pan, yet the ribs are not swimming in it?
 To plate, spoon some of the onions and pan juice over the ribs. I served the ribs with a side of
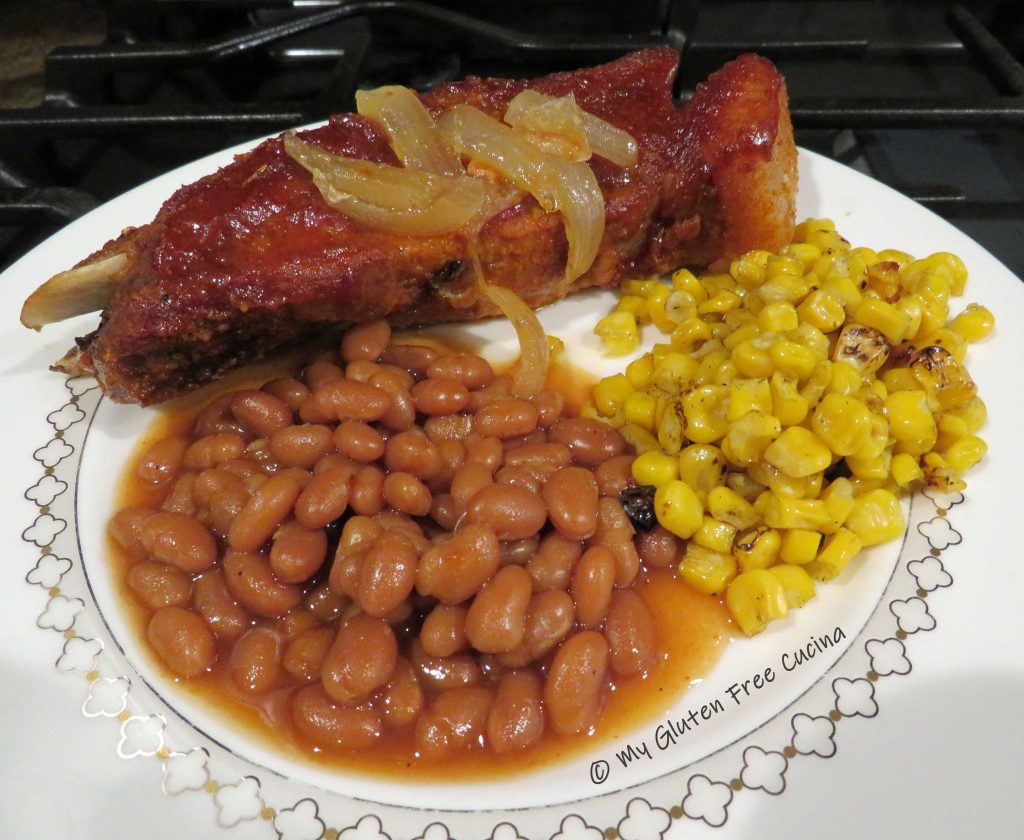


 Preparation:


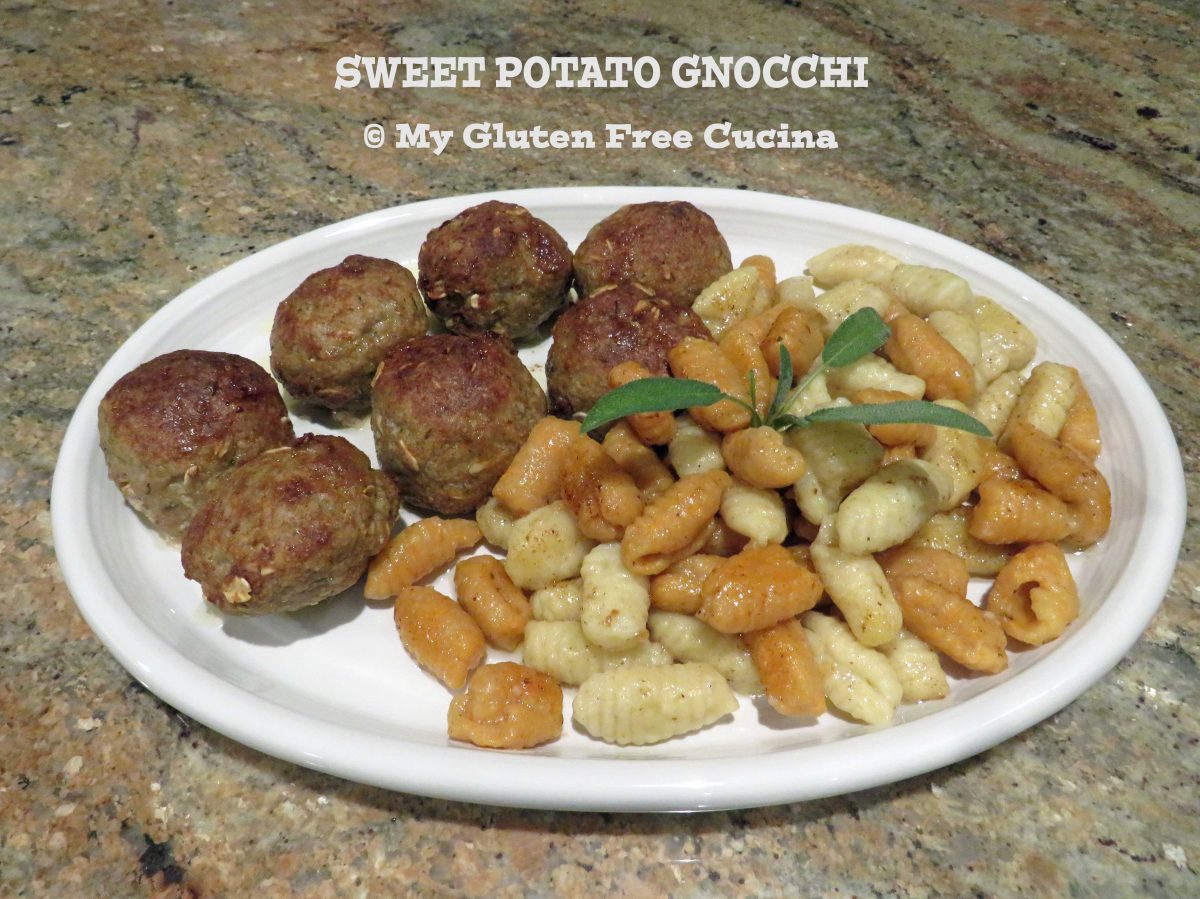
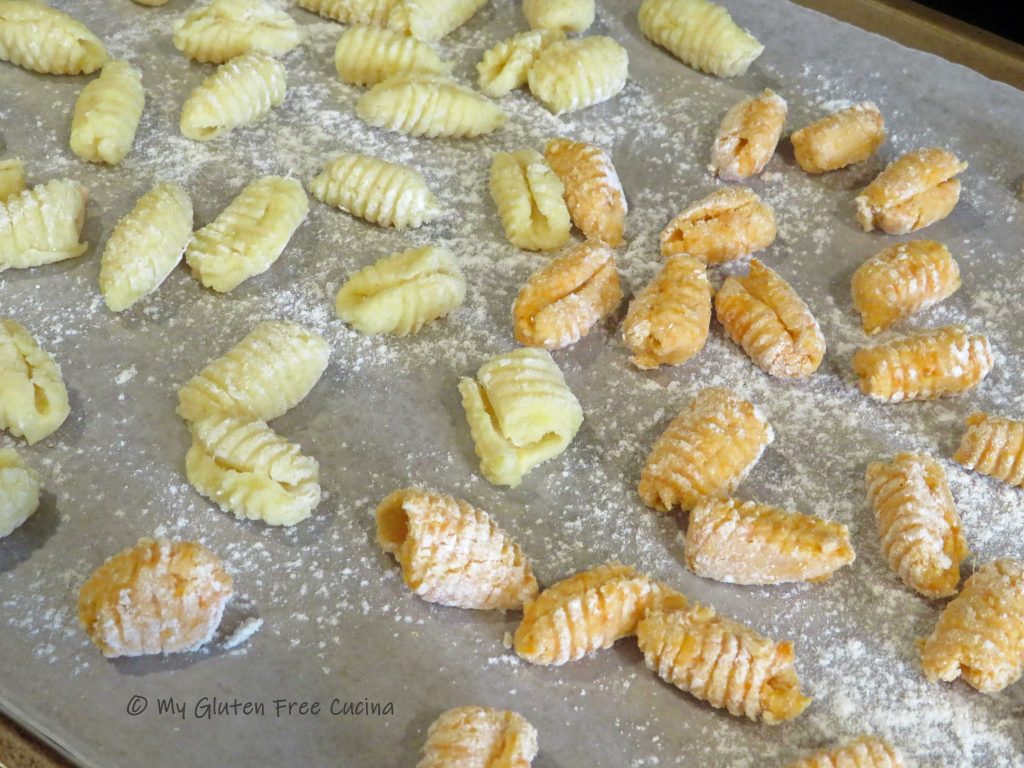
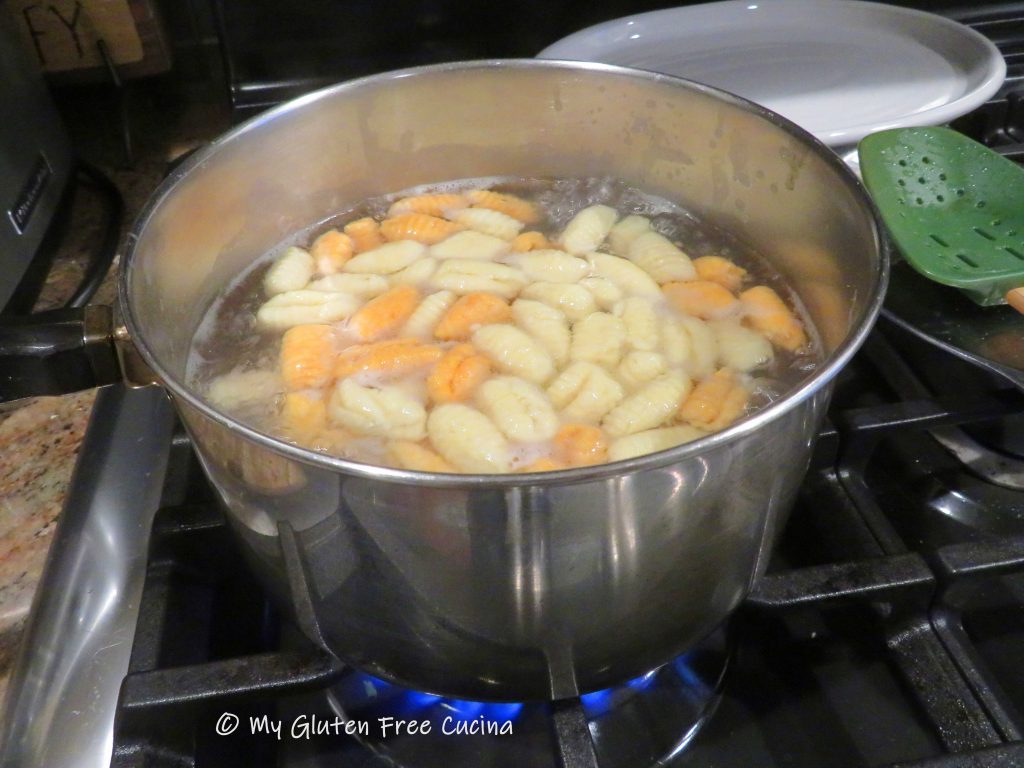
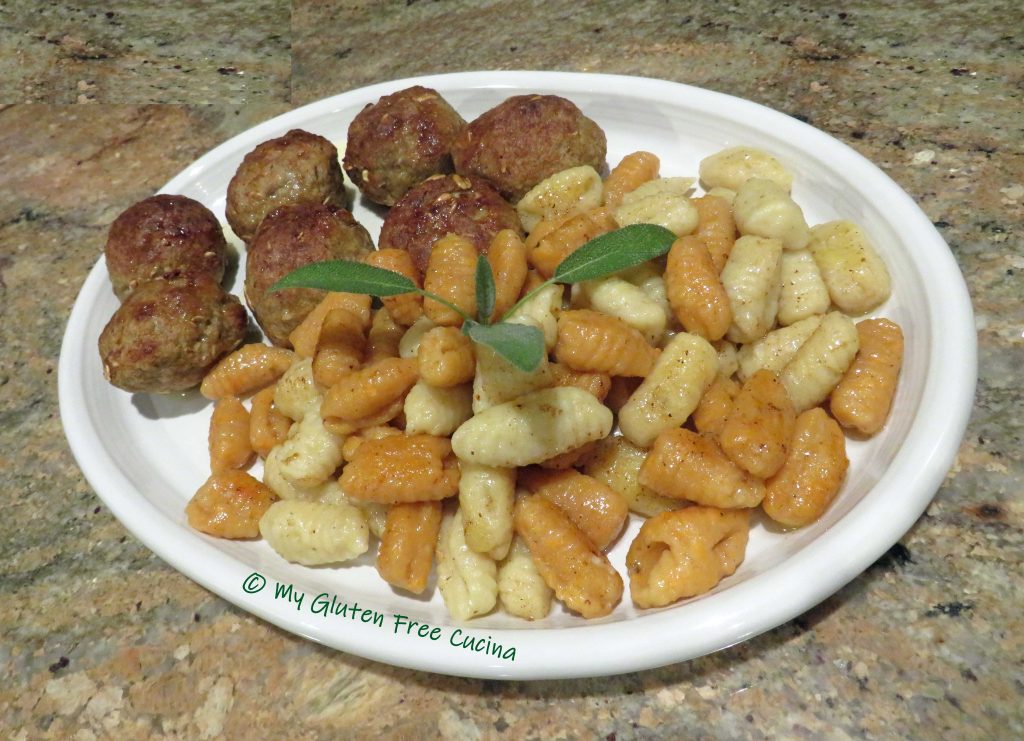
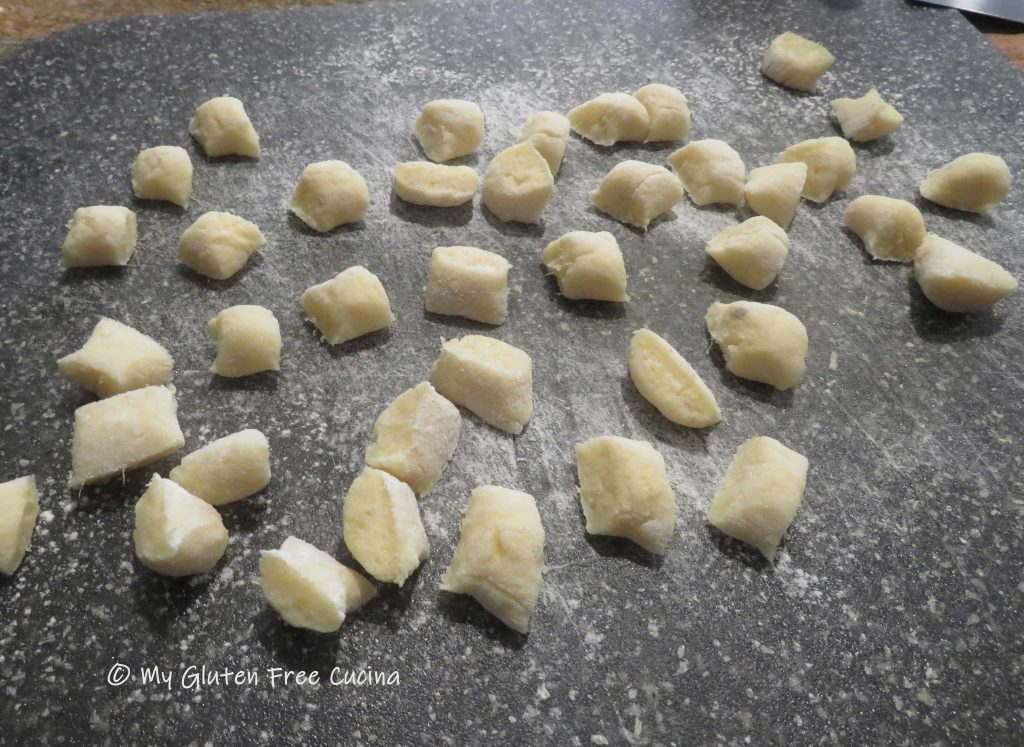 I repeated the same process with the orange sweet potato, and here is where I lost track of the flour measurements. The orange sweet potato dough had absorbed all of the flour and was still very wet. It required quite a bit more flour to achieve the right consistency. All in all, I would say I used 3-4 times more flour for the orange potato dough as was needed for the white potato.
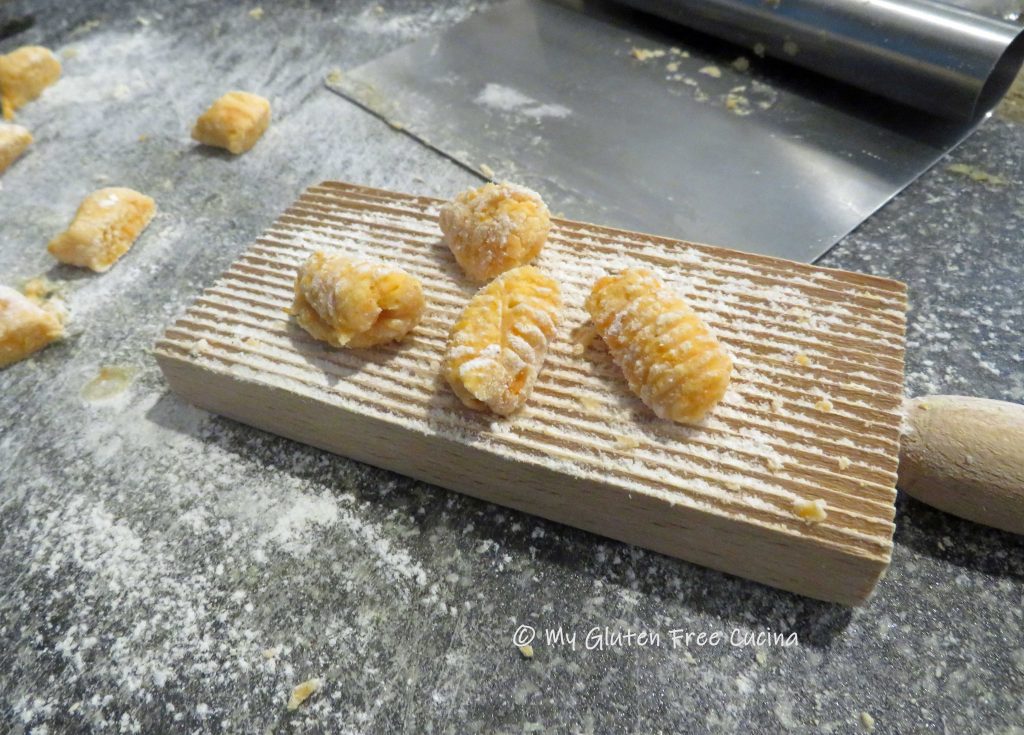
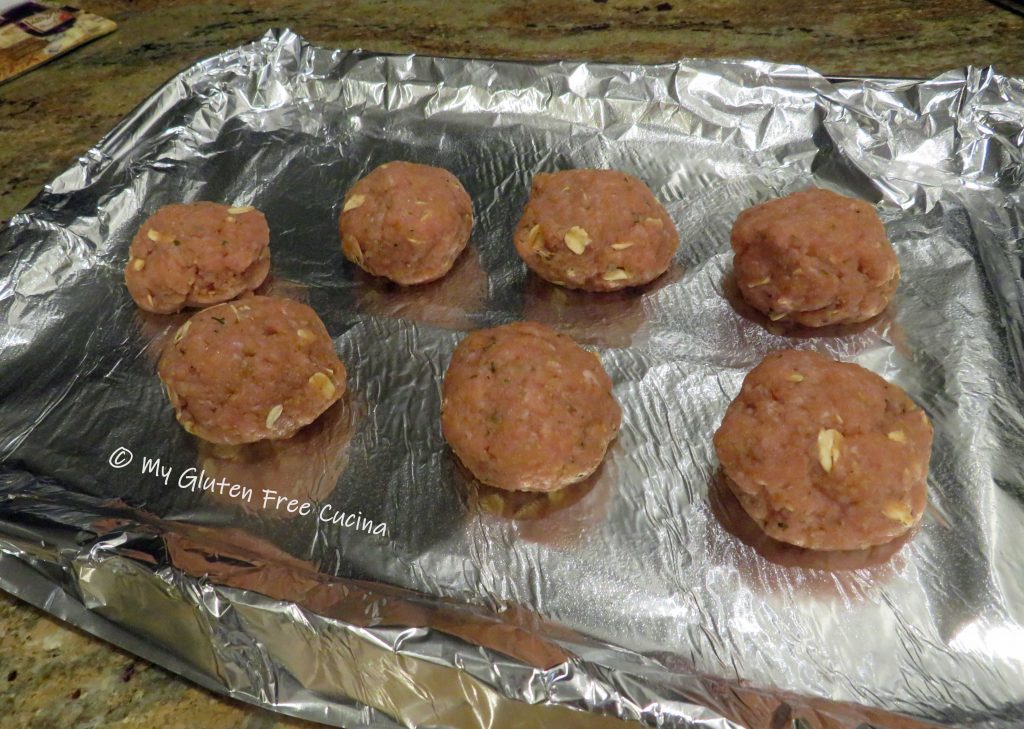 Place the meatballs on the baking sheet, and broil 5 minutes per side on high. Keep warm.

 Preparation:


 Preparation:

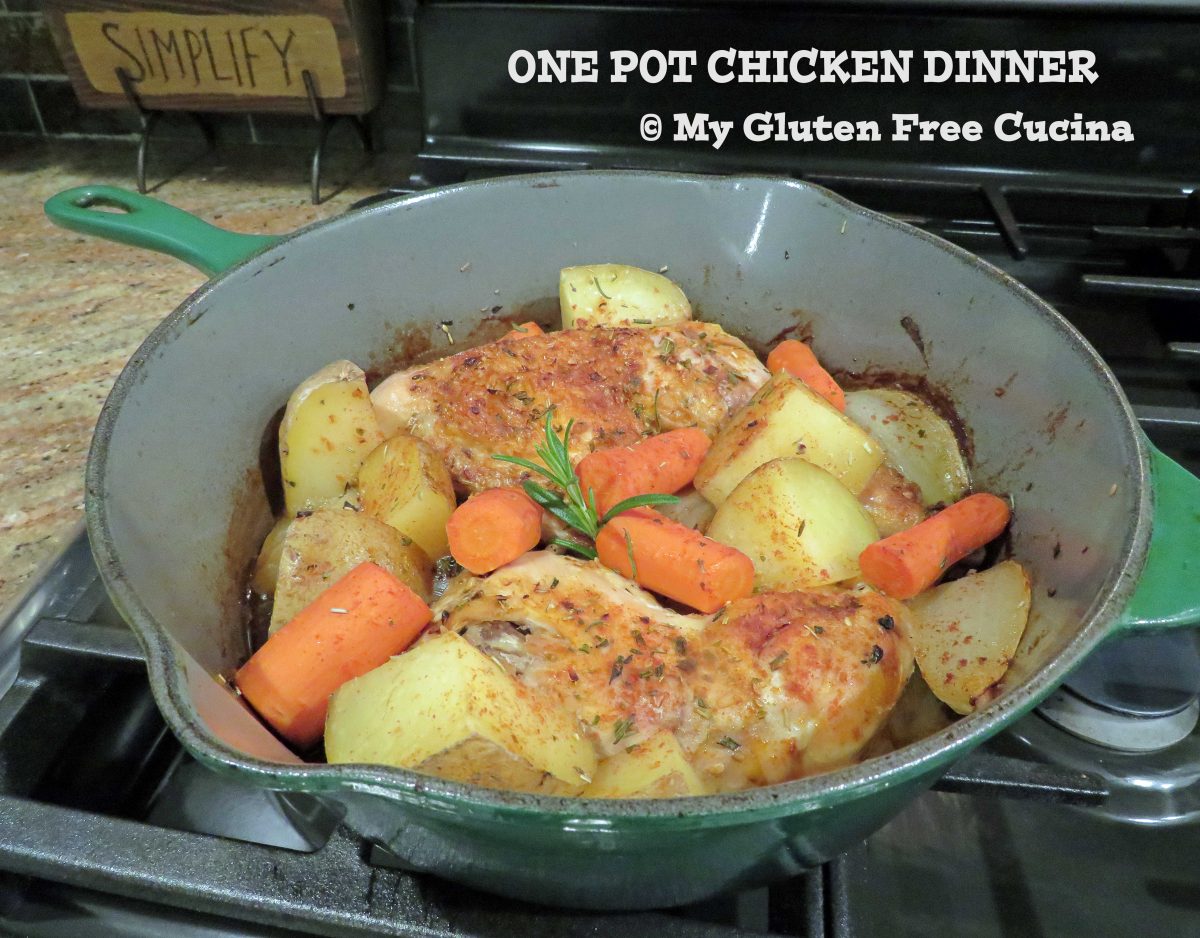
 Add 1/2 cup chicken broth, along with the onions and the carrots.


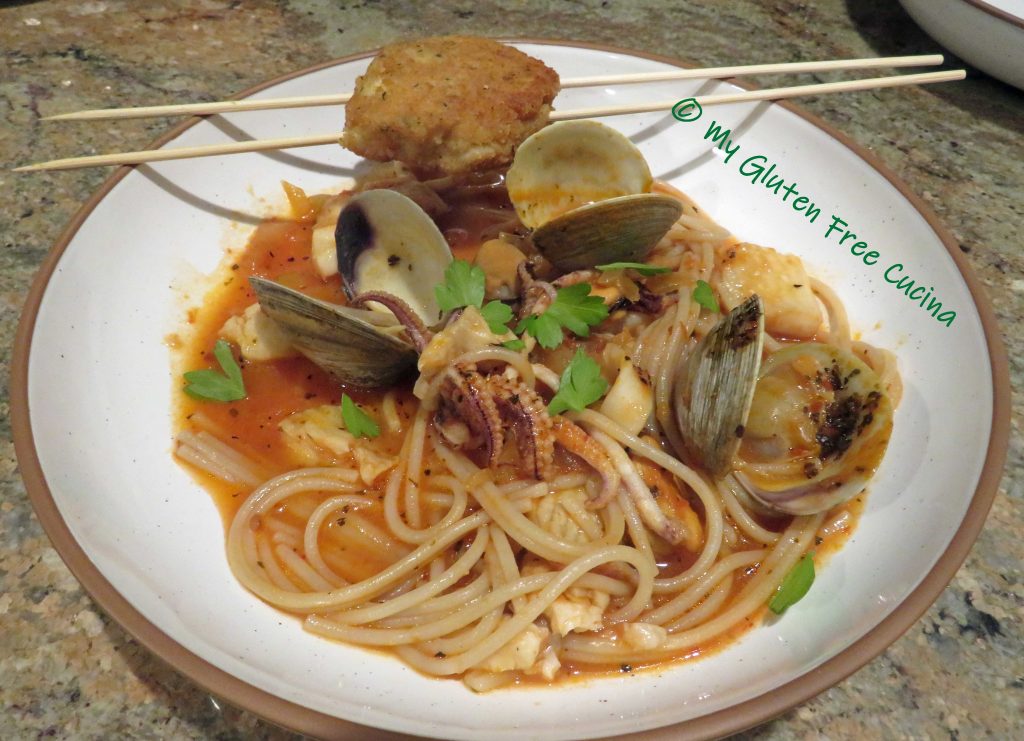
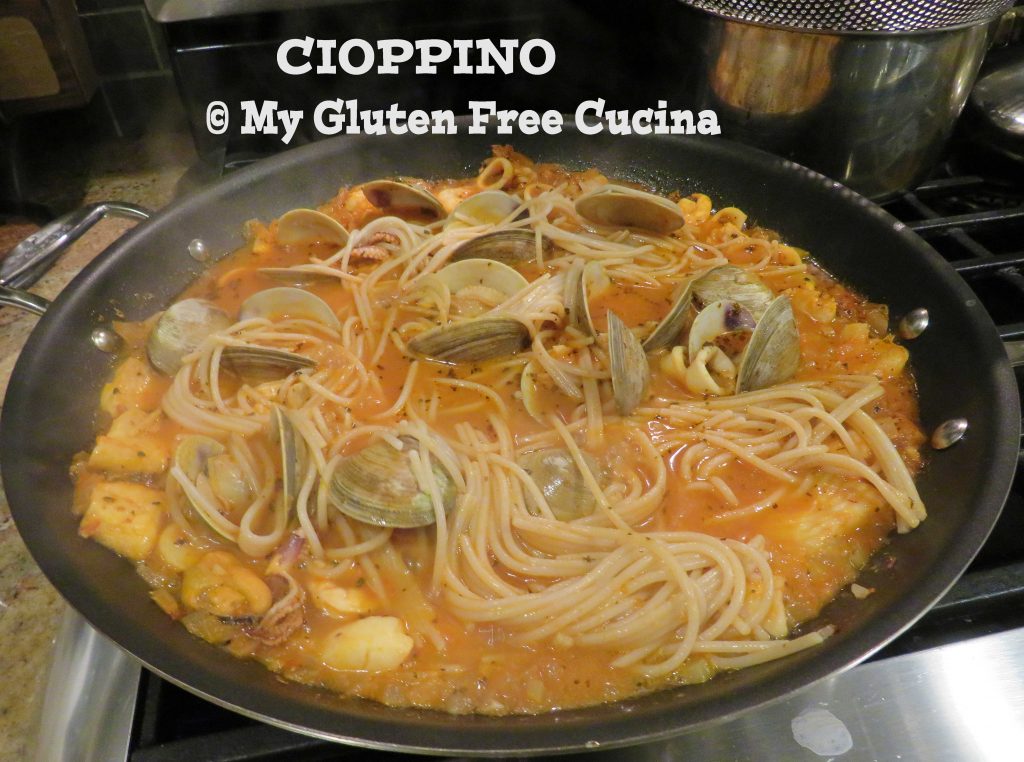
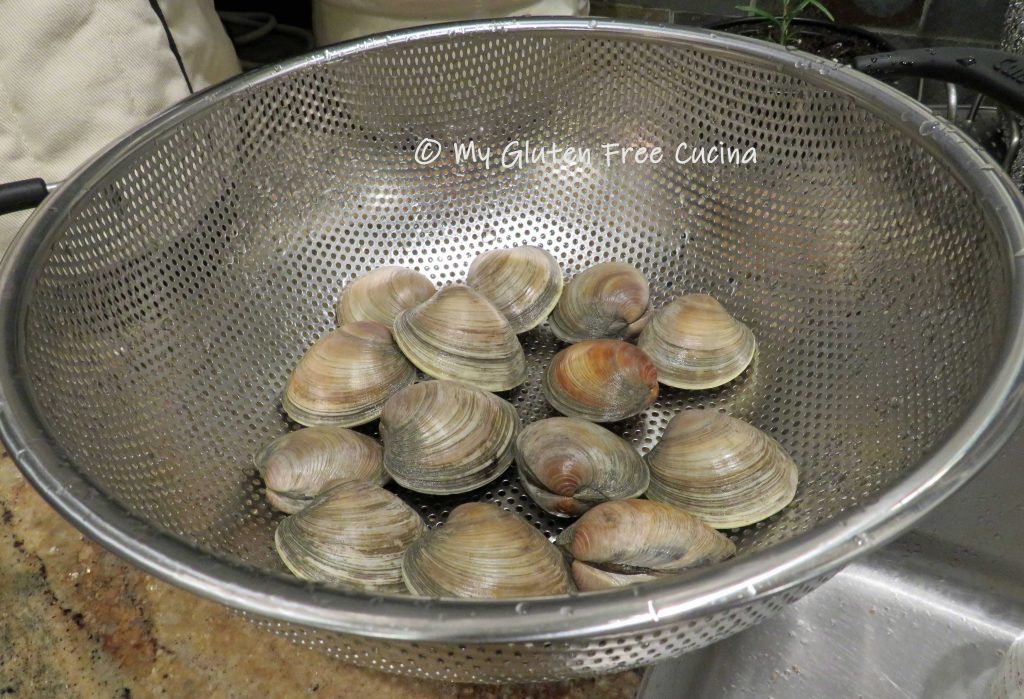
 To complete my seven fishes, I bought a dozen fresh littlenecks and flounder from the frozen aisle. I topped it all off with a crab cake made with

 If using frozen fish, thaw before cooking. You can improve the texture by soaking it in milk.
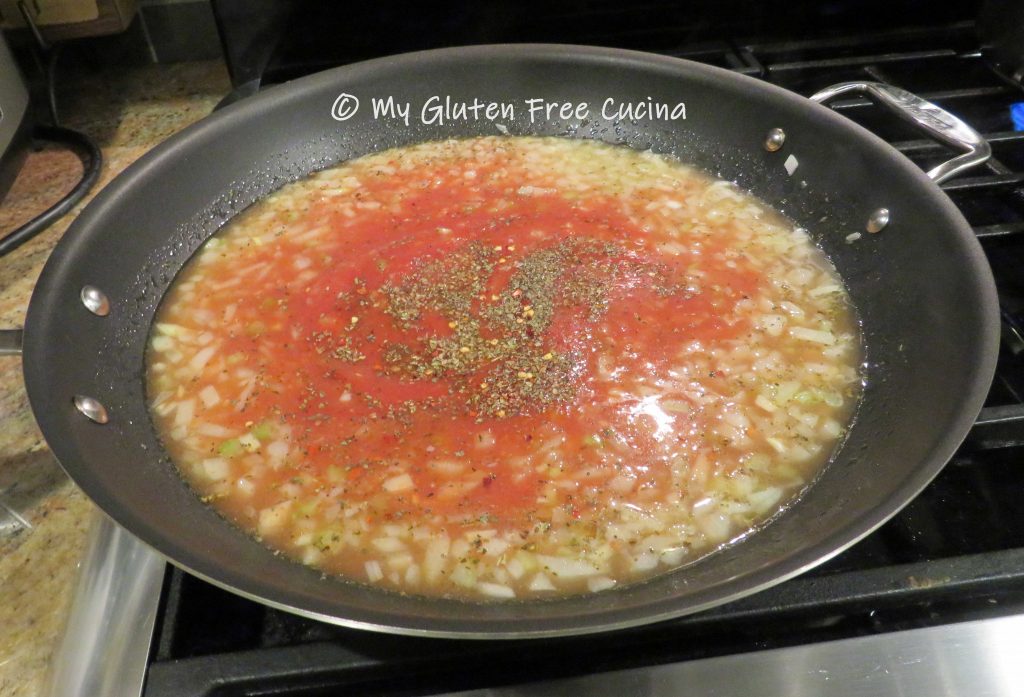
 Sauté 2 minutes then add the tomatoes, lemon juice, Worcestershire sauce, stock, white wine and the spices. Cover and simmer on low for 30 minutes.