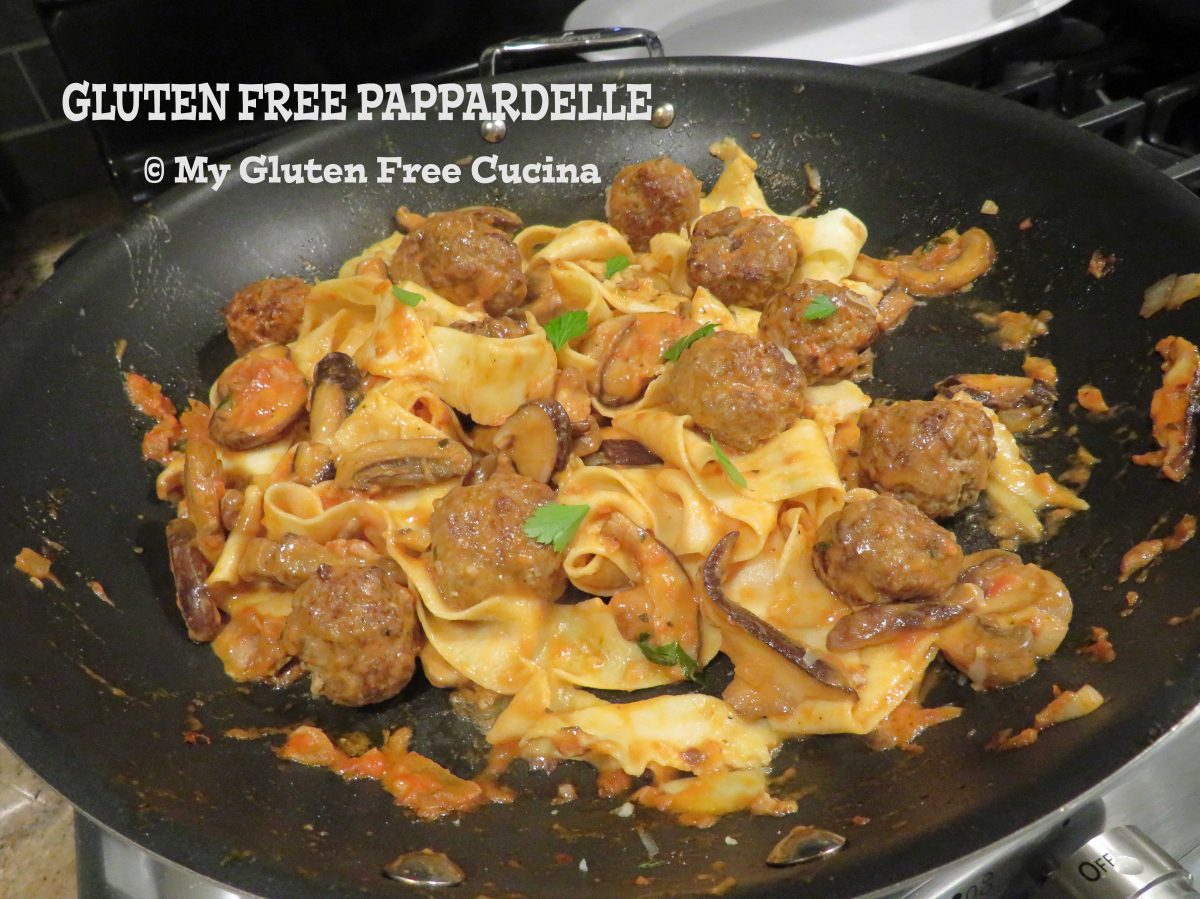
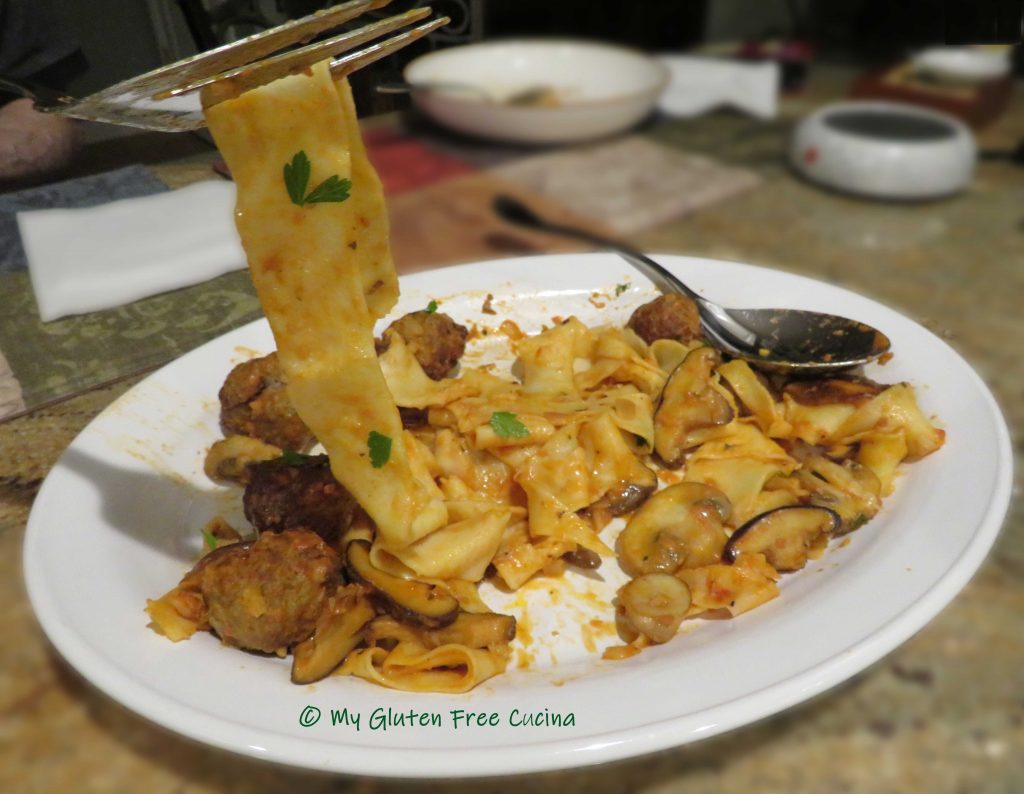
This plate full of happiness features beautiful ribbons of homemade pappardelle pasta prepared with a tomato mushroom cream sauce. Tiny veal meatballs complete the dish.
Completely gluten free, I used my favorite, Better Batter Original All Purpose Blend to make the pasta noodles and they were just perfect! I used my KitchenAid® to roll out the pasta dough and that definitely made the job easier. You can do it with a rolling pin if you have patience!
This post contains affiliate links.
Dinner for 2
Ingredients:
For the pappardelle
- 70 g. Better Batter Original Gluten Free Flour + more for rolling
- 3/4 tsp. olive oil
- 1/8 tsp. salt
- 1 egg
- 1 egg yolk

For the Veal Meatballs
- 1/2 lb. ground veal
- 1 egg, beaten
- 1 tsp. minced garlic
- 2 tbsp. minced shallots
- 1 tsp. fresh parsley
- salt and pepper to taste
- 2 tbsp. gluten free seasoned breadcrumbs
- 2 tbsp. potato flakes
- cooking spray
For the Sauce
- 1 tbsp. olive oil
- 1/8 tsp. red pepper flakes
- 3 oz. shitake mushrooms, sliced
- 5 oz. baby bella mushrooms, sliced
- 2 tbsp. minced shallots
- 1/4 tsp. salt
- 1/4 tsp. pepper
- 1/8 tsp. garlic powder
- 1/8 tsp. onion powder
- 1/8 tsp. paprika
- 2 tsp. garlic, minced
- 1 tbsp. fresh Italian parsley, chopped
- 1/4 cup white wine
- 2 tbsp. heavy cream
- 2/3 cup tomato sauce
- 2 tsp. butter
- 2 tbsp. grated parmesan

Preparation:
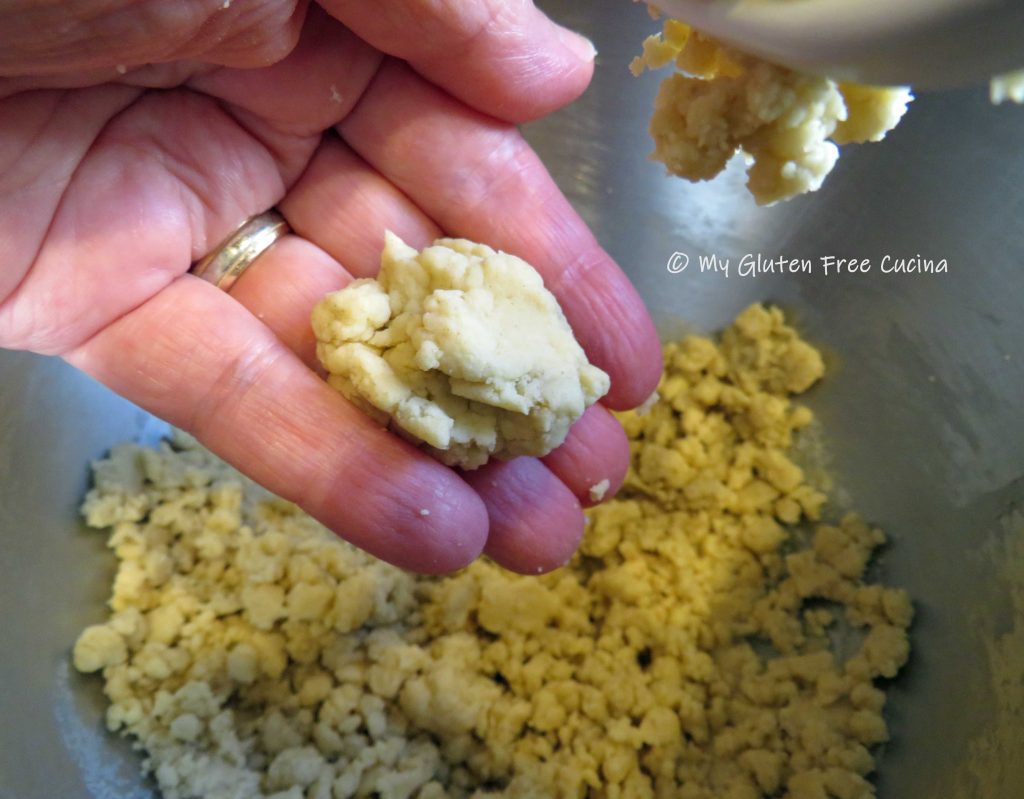
To make the pappardelle, combine 70g. flour with remaining ingredients in the bowl of a stand mixer and beat with the paddle attachment for 5 minutes to form a soft dough.
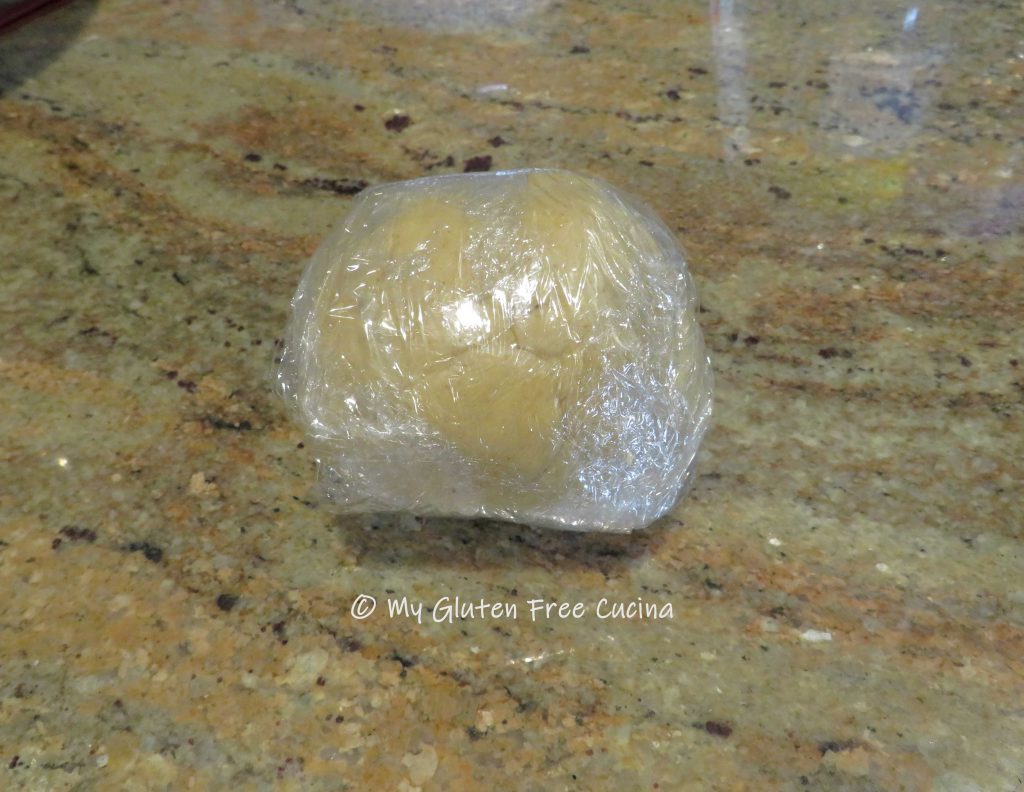
Bring the dough together and sprinkle with more flour, then wrap in plastic wrap. Let the dough rest for 15 minutes.
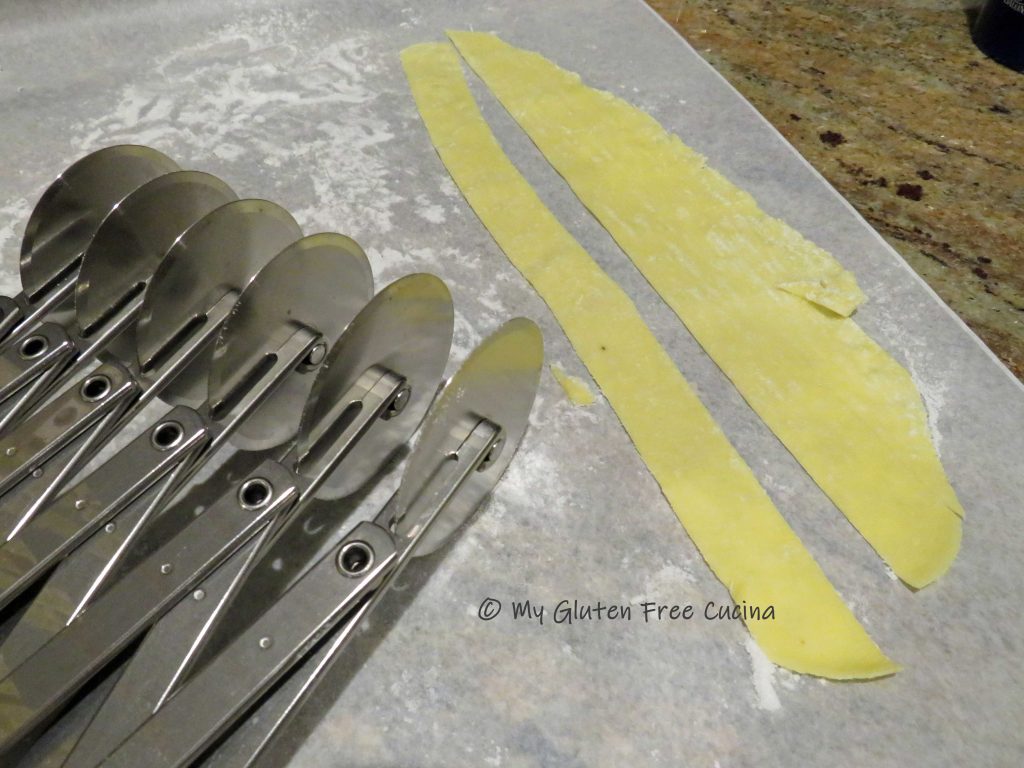
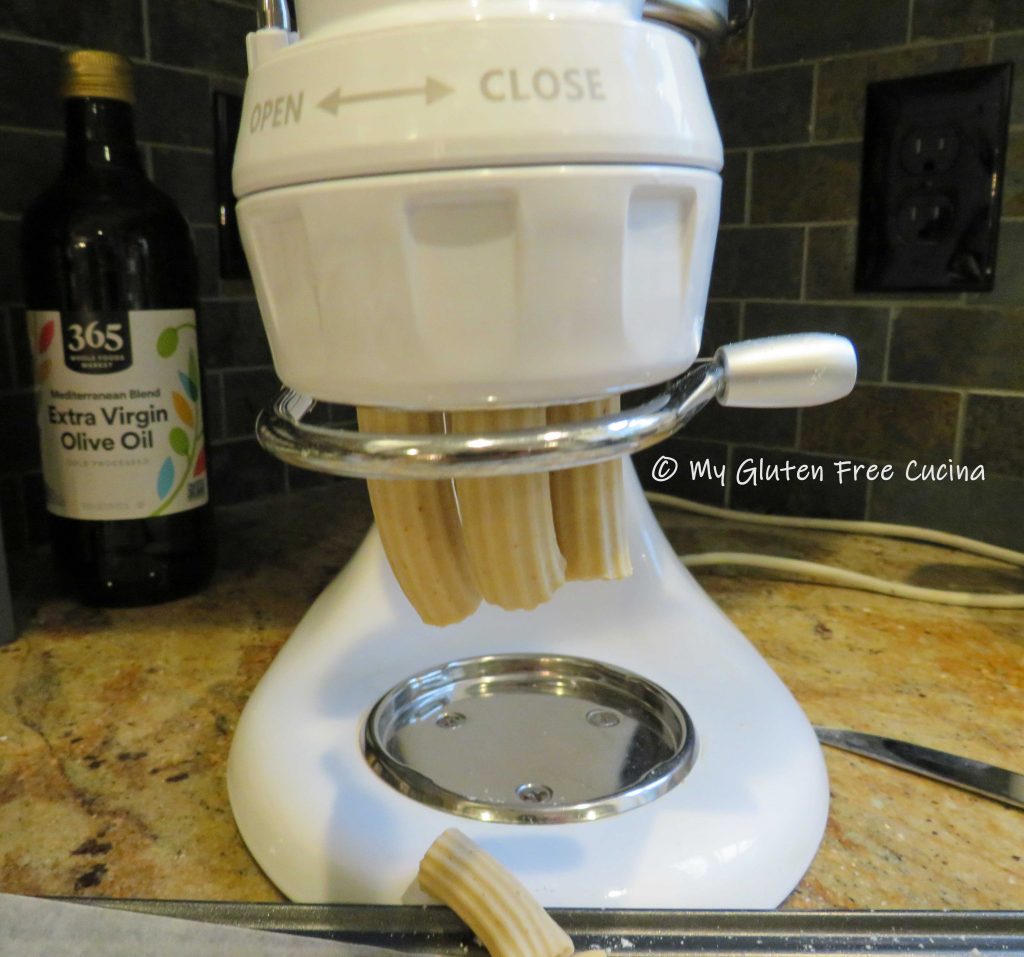
Divide the dough into 4 sections and work with one piece at a time. Begin feeding it through the pasta roller, starting with the thickest setting. Pass it through several times, then begin increasing the roller setting each time until you have a sheet that is thin without tearing the dough. For pappardelle, this would be setting 3 or 4 on a KitchenAid pasta roller attachment. Repeat with each section and lay the sheets on floured wax paper.

Note: For a full tutorial on how to make pappardelle refer to this post!
When you have completed rolling the 4 sheets, cut them into 3/4″ ribbons. Hang them up to dry on a pasta drying rack.
To make the meatballs, combine all ingredients in a bowl and mix well with your hands or use a potato masher.
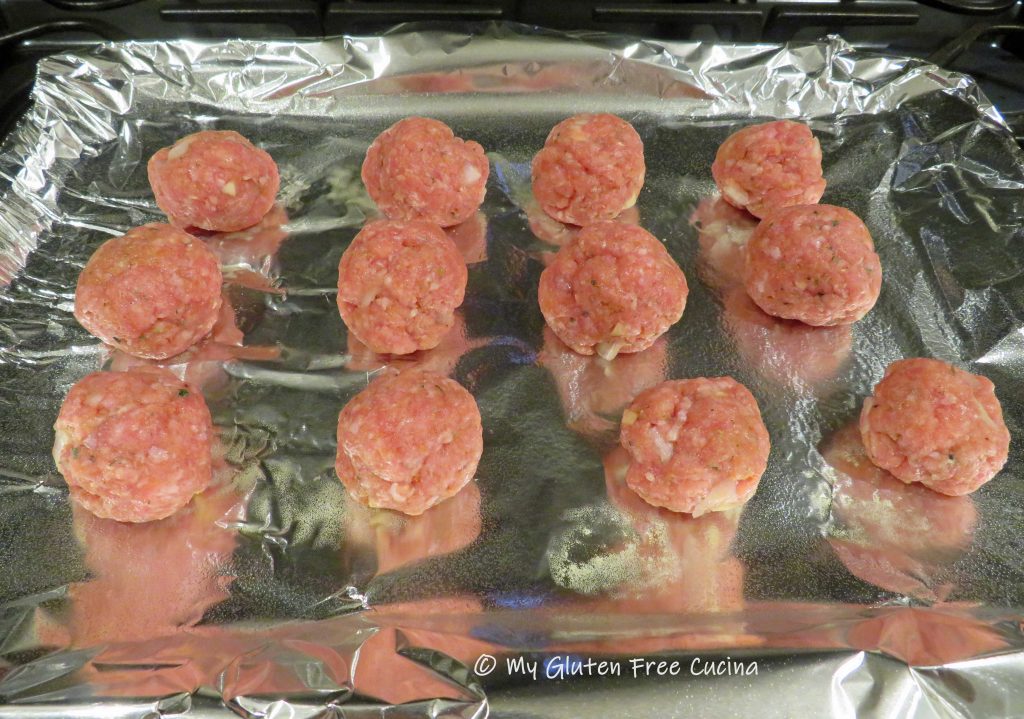
 Line a baking sheet with foil and mist with cooking spray. Form 12 small meatballs and arrange on the baking sheet, leaving space in between.
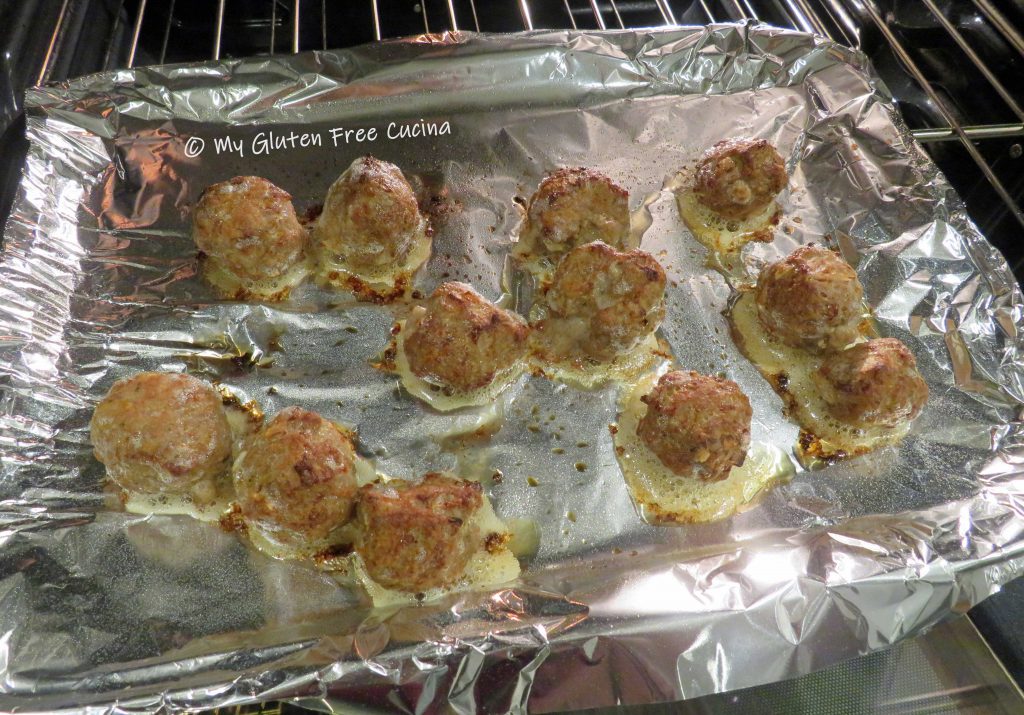
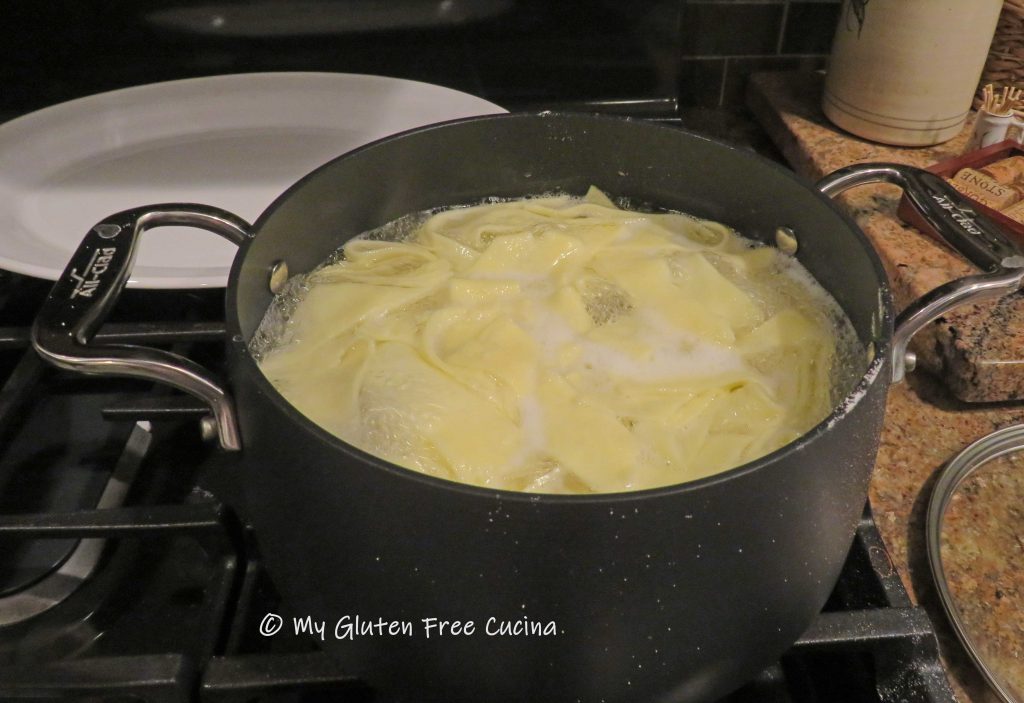
Broil 4 minutes per side, 8 minutes total. Remove from the oven and set aside. Set up a pot of salted water for the pasta and bring to a rolling boil.
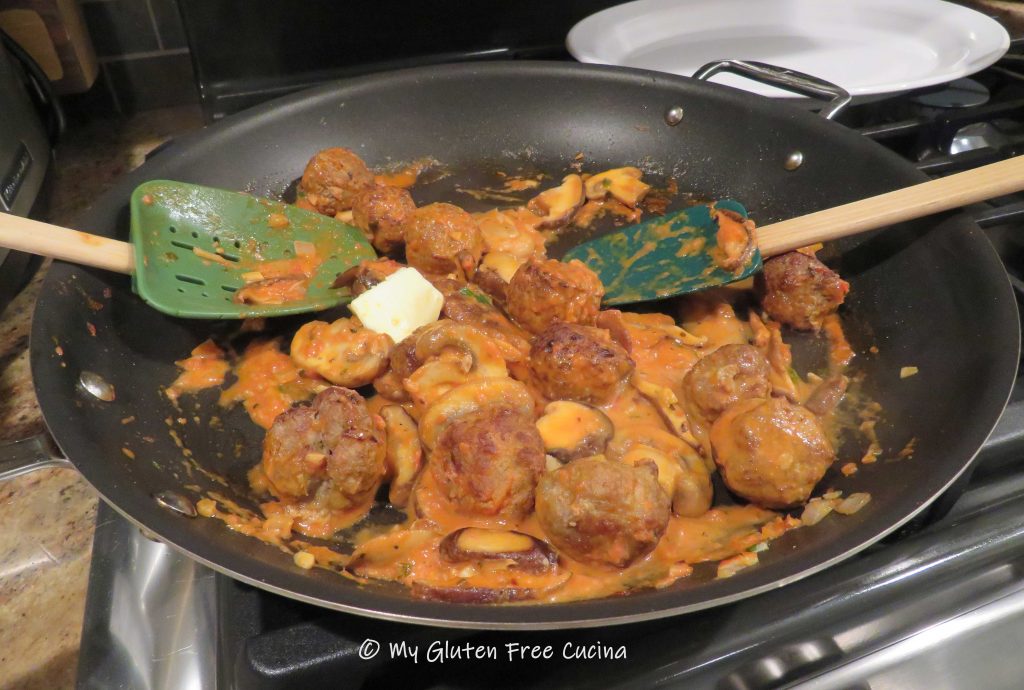
Now, to put it all together make the sauce. In a large nonstick skillet over medium low heat, add the olive oil and red pepper flakes. Add the mushrooms and shallots, season and stir frequently until they begin to release their liquid.
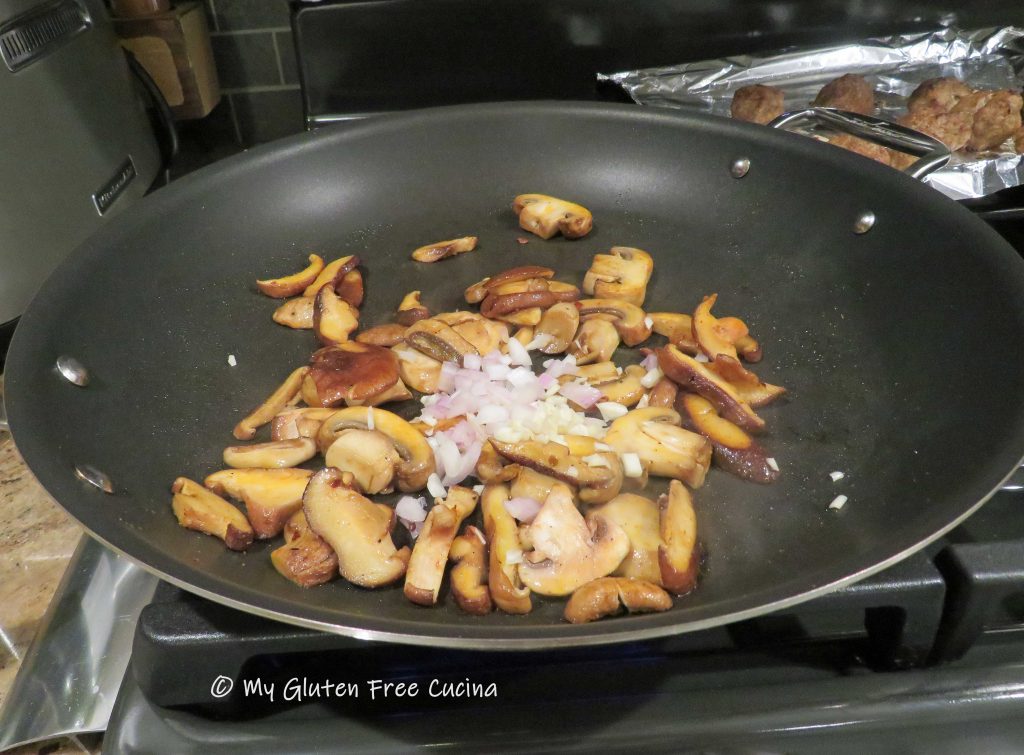
Add the garlic and parsley then add the white wine.

Allow the wine to reduce for 2 minutes then stir in heavy cream.

Finally add the tomato sauce and the veal meatballs with 2 tsp. butter.

Add the pasta to the boiling water and cook for 3 minutes. You can add a ladle of the pasta water to the sauce if it appears dry.
Use tongs to carefully remove the pappardelle from the water and add to the sauce. Add another pat of butter and stir in the parmesan cheese.
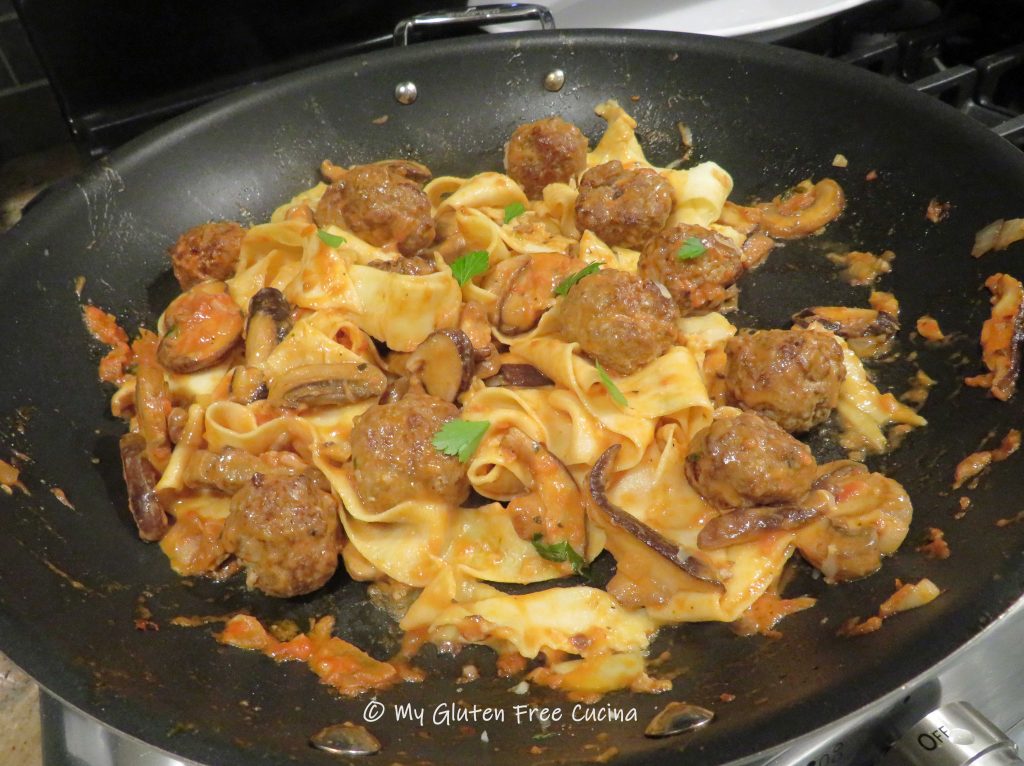
Carefully fold everything together until cheese is completely melted.
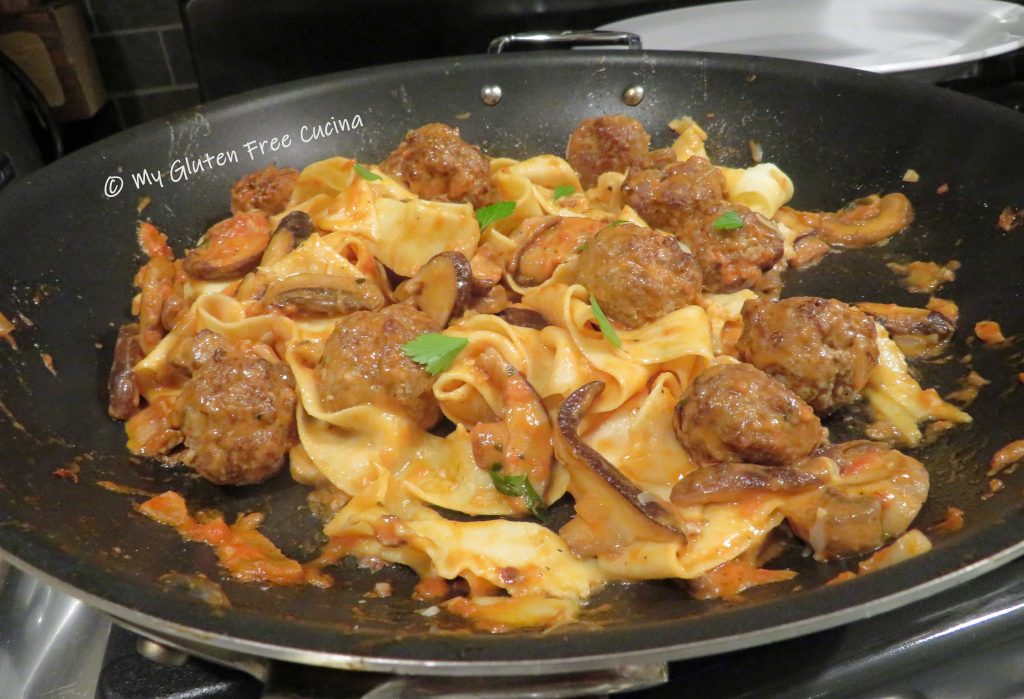
Transfer to a serving platter and garnish with Italian parsley.

Notes ♪♫ Gluten free dough can be so temperamental. It does tend to stick and tear. For best results keep the dough and the roller lightly dusted with flour as you work. I was thrilled to get my pasta sheets to setting #4 on my KitchenAid®, this was an ideal thickness for the pappardelle noodles. Try to get to at least the third setting, and don’t worry if you have a few tears and odd shaped noodles, they will still be delicious!


 Use a
Use a