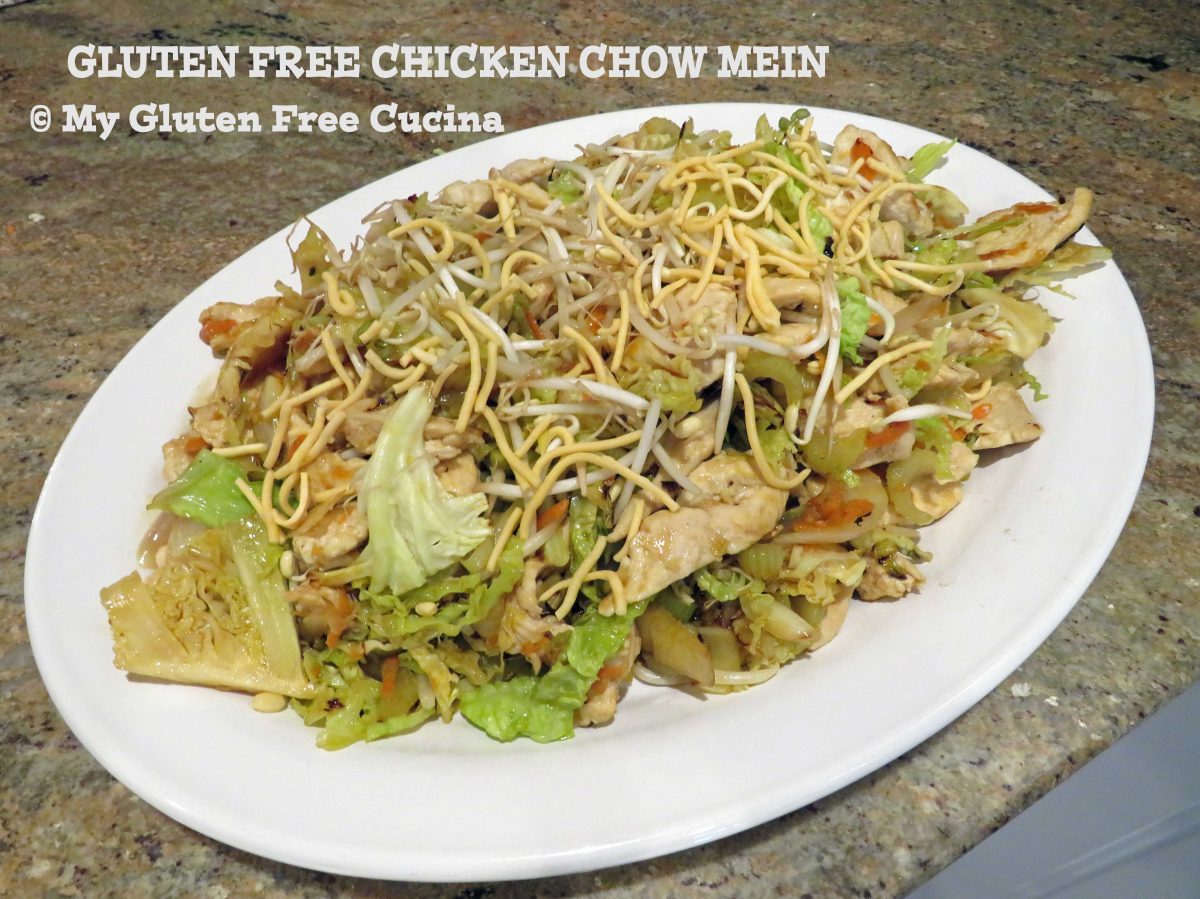
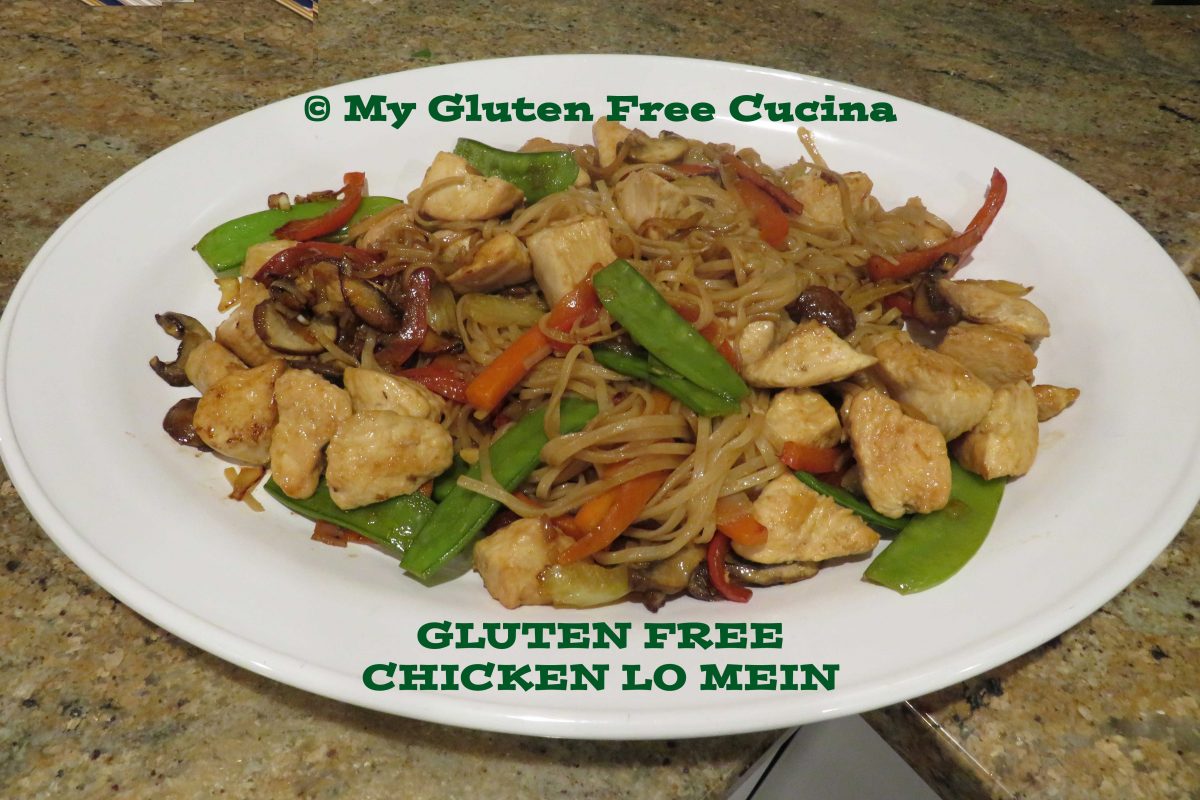
Chicken Chow Mein, that most popular of takeout meals was my first introduction to Chinese American cuisine.
As a kid, my “go-to” takeout order was a combination dinner of Chow Mein, fried rice and an egg roll. I ordered it every time! While I have recreated many of my favorite takeout recipes, I can’t even remember the last time I had Chicken Chow Mein. So why has this one remained on the back burner?
The noodles.
How could I replicate the crunchy, restaurant style fried noodles that go with Chow Mein? Traditional Chow Mein noodles are made with wheat. And while I am a big believer in make from scratch, I just didn’t want to make my own noodles.
Then I discovered this!
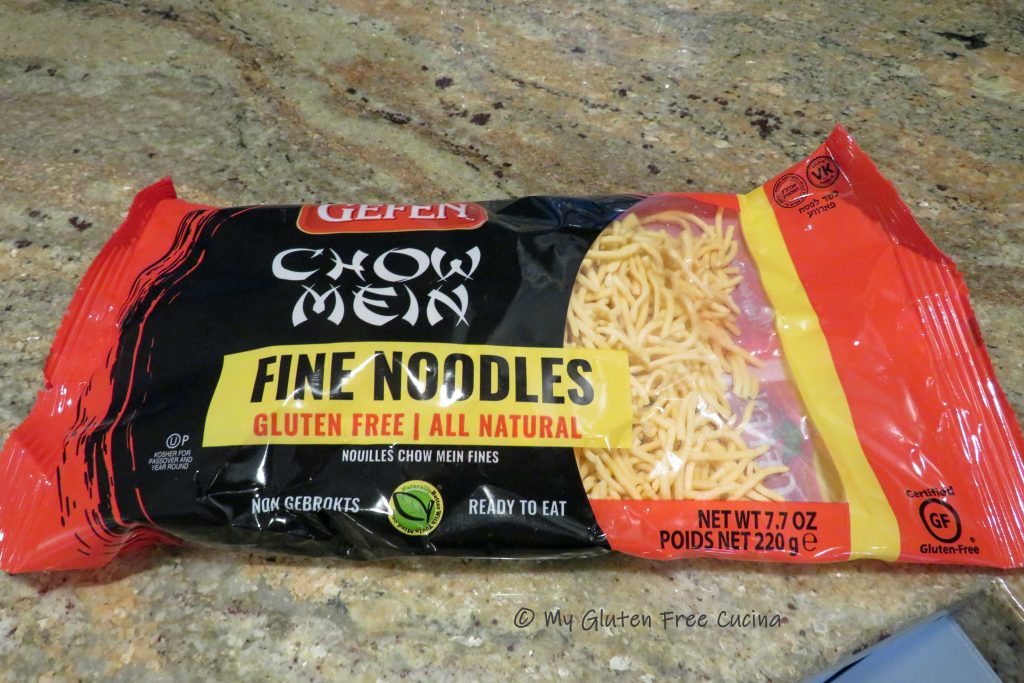
I found these Gluten Free Chow Mein Noodles on Amazon, and they were spot on! Get yours here!
For the connoisseurs out there, this is the East Coast version of Chow Mein, where the stir-fry is served over crispy fried noodles.
This post contains affiliate links.
Ingredients:
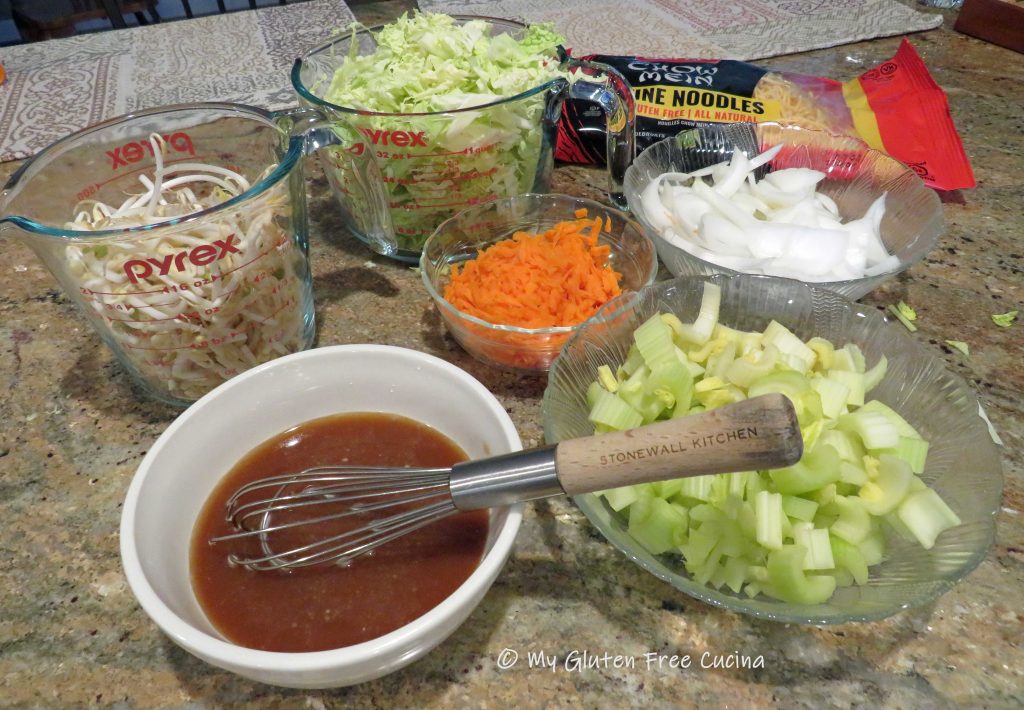
Veggies
- 1/2 sweet onion, cut into 1/4″ slices
- 6 celery stalks, cut into 1/4″ slices
- 1 carrot, coarsely grated
- 1/2 head of green cabbage, shredded
- 2 cups bean sprouts
Marinade
- 1 tbsp. sesame oil
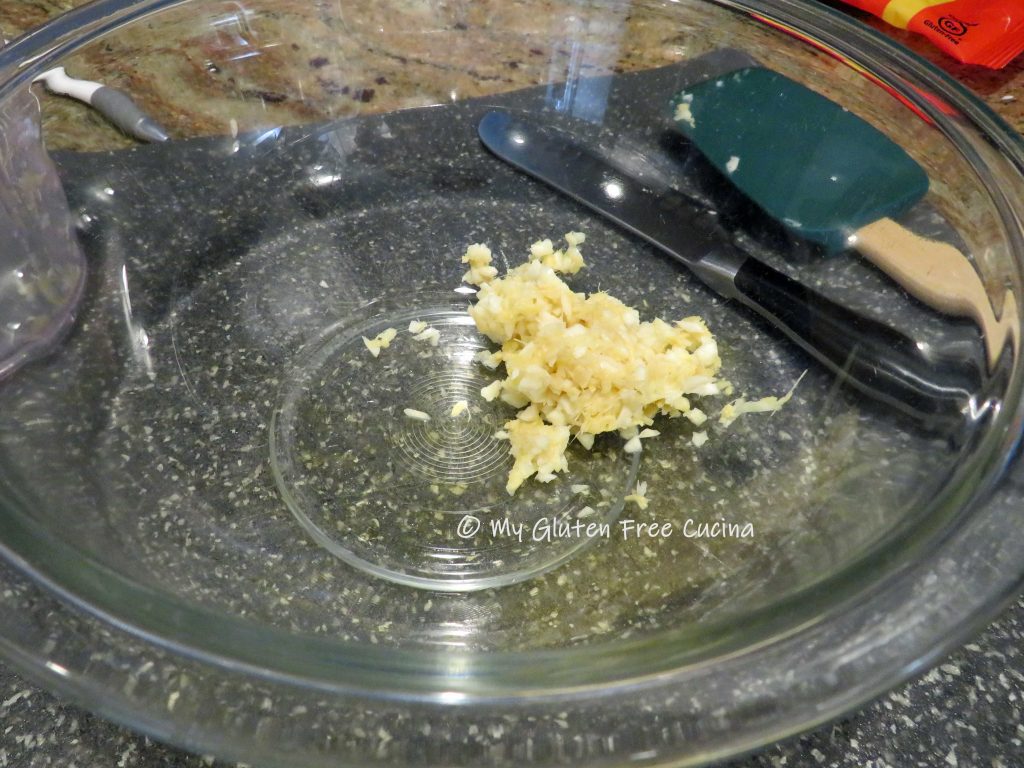
- 1 tbsp. minced fresh ginger
- 1 tbsp. minced garlic
- black pepper, to taste
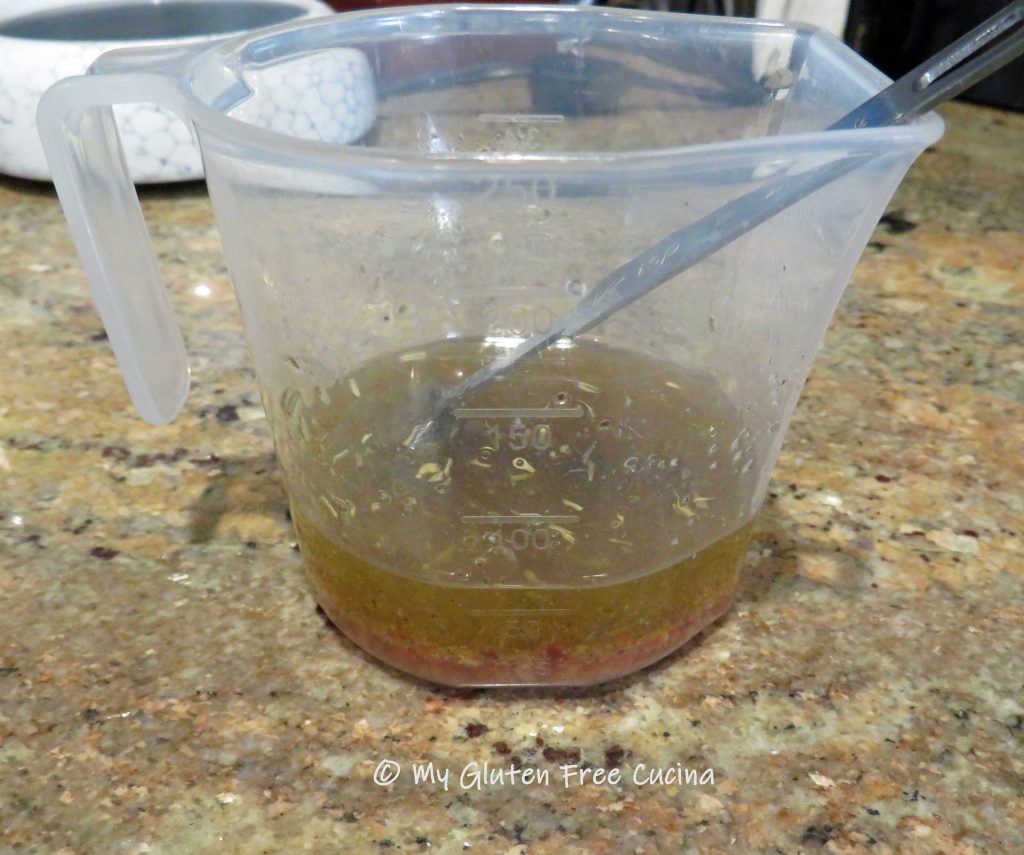
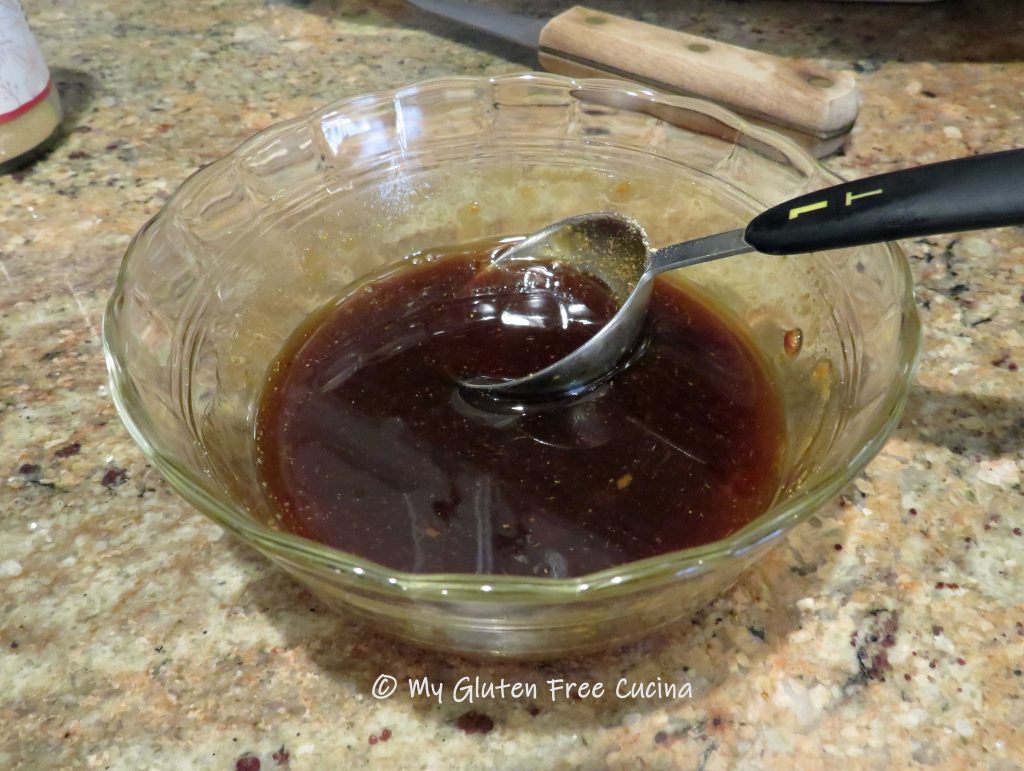
Sauce
- 1/2 cup gluten free chicken broth
- 3 tbsp. gluten free oyster sauce
- 1 tbsp. gluten free soy sauce (tamari)
- 2 tsp. corn starch
- 1 tsp. sugar
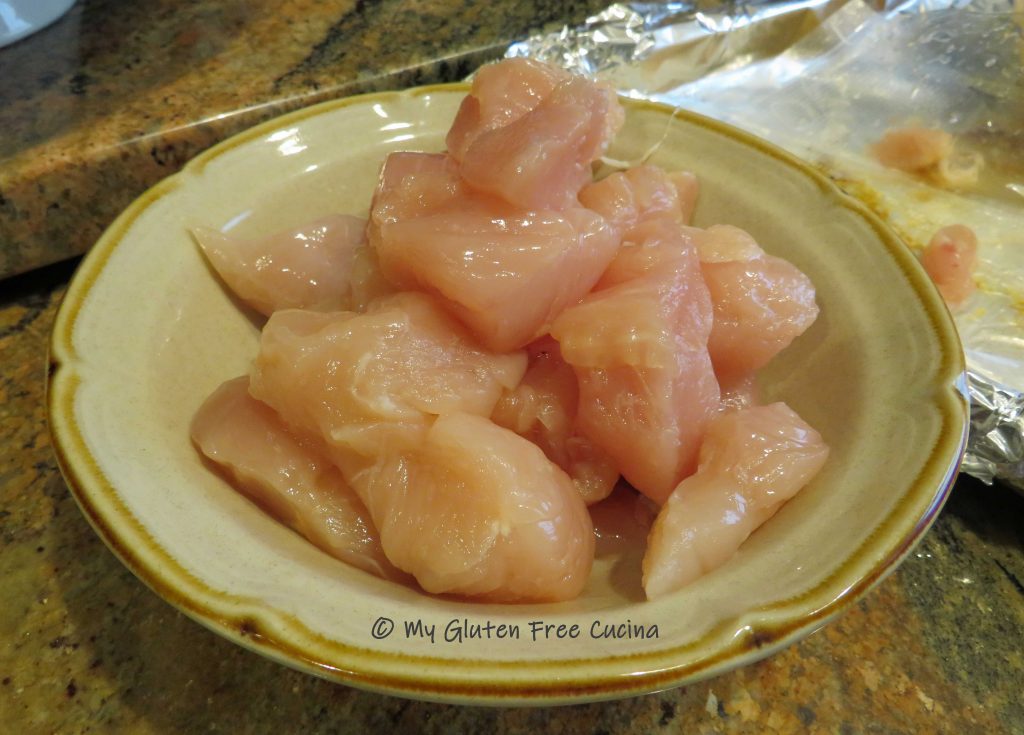
Chicken
- 1 lb. boneless chicken breast
- olive oil
- sesame oil
- gluten free chow mein noodles
Preparation:
Let’s break down the recipe into four easy steps. Ready?
- Prep the veggies
- Marinate the chicken
- Make the sauce
- Stir fry the chicken and veggies
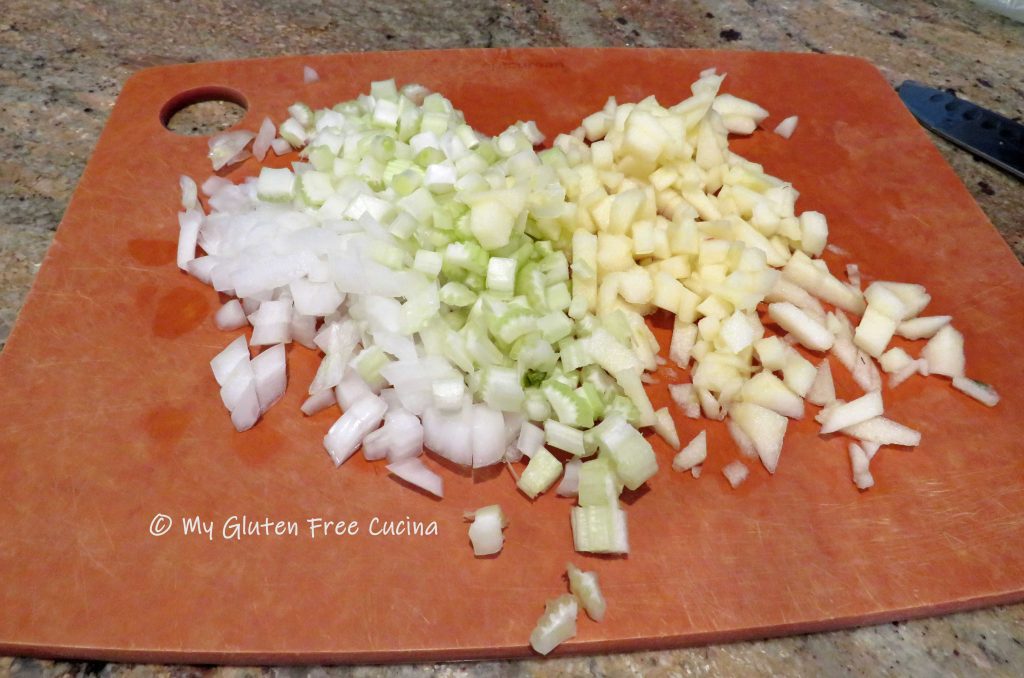
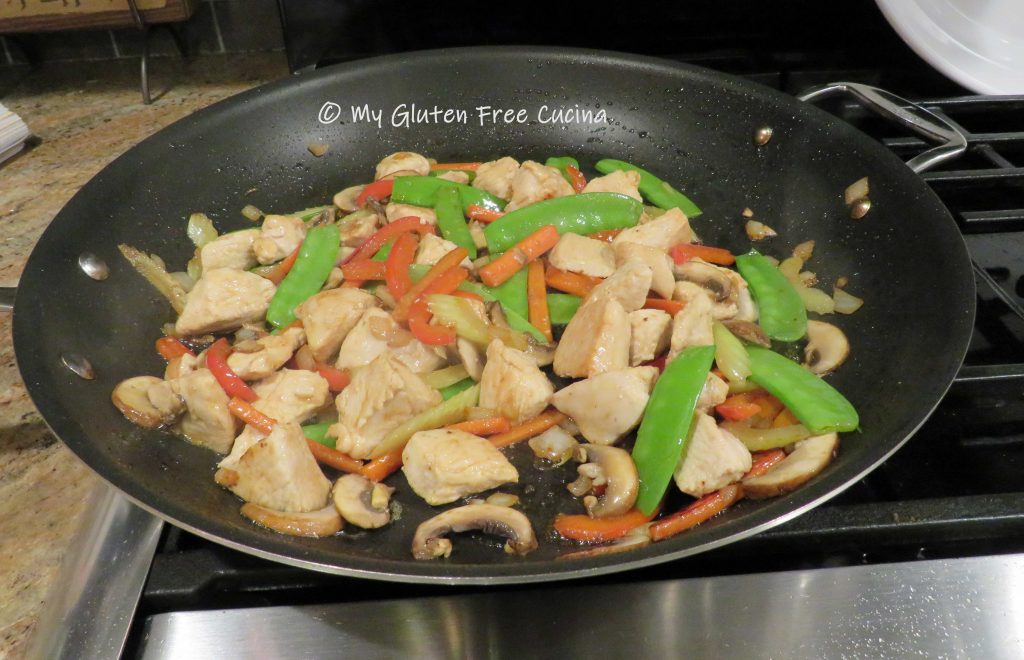
First, prep the veggies. I used a mandoline to slice the onion, cabbage and celery. A coarse grater was perfect for shredding the carrot.
Next mix together the marinade ingredients. I used an electric chopper to mince the garlic and ginger.
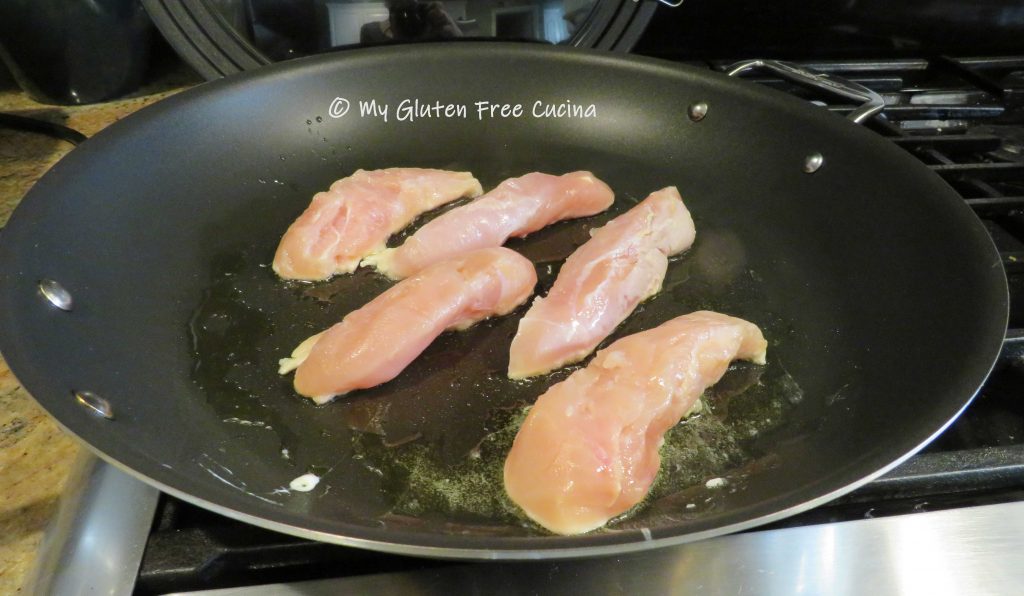
Slice the chicken breast into thin strips and toss with the marinade. Cover and refrigerate for 1 hour.

Whisk together the sauce ingredients.
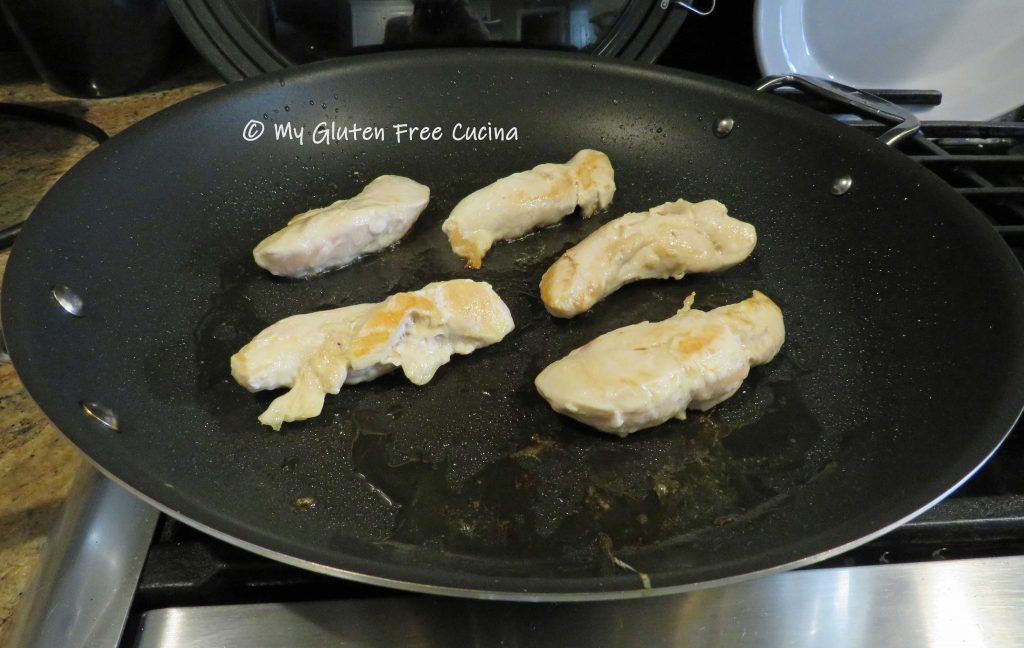
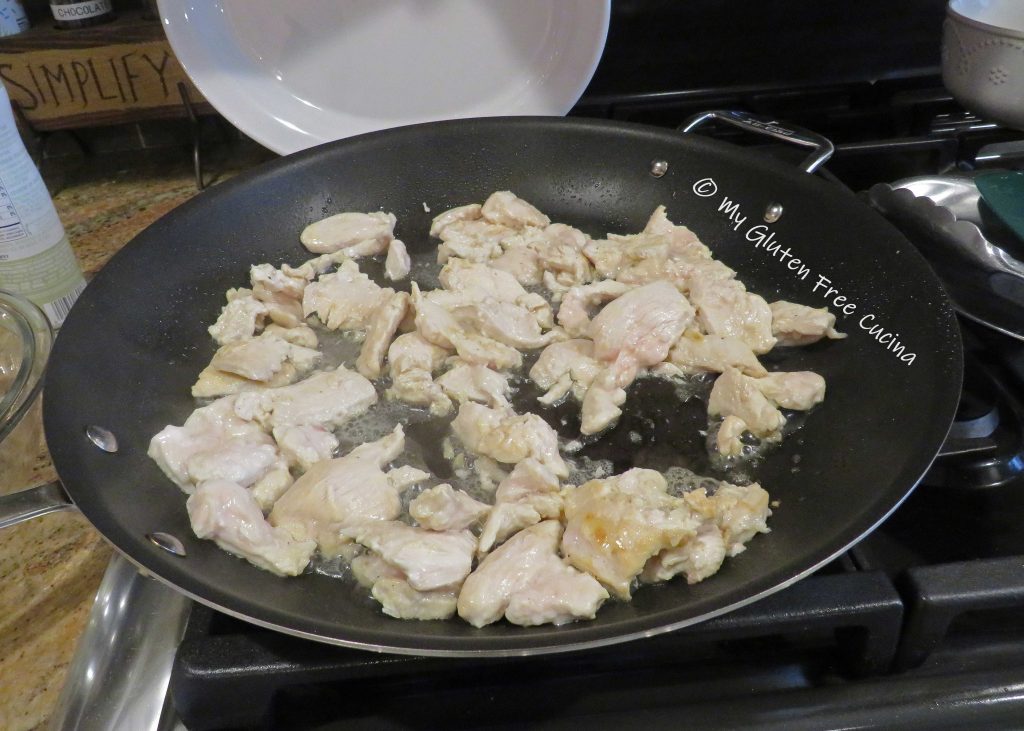
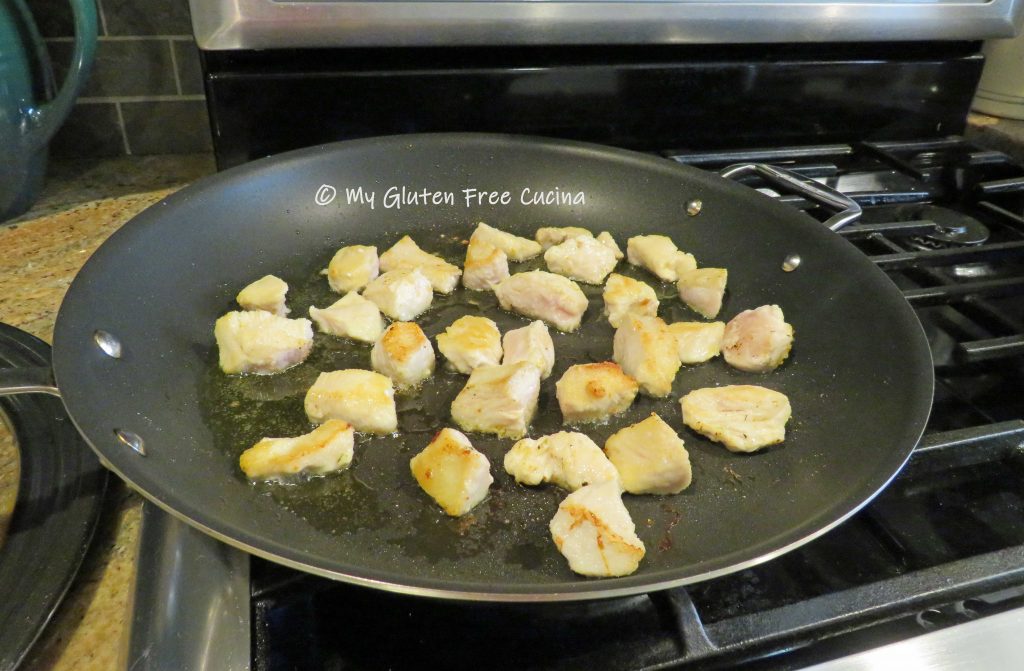
Heat 1 tbsp. olive oil and 1 tsp. sesame oil in a large, nonstick skillet over medium low heat. Add the chicken and quickly brown on all sides. It does not have to be cooked through.

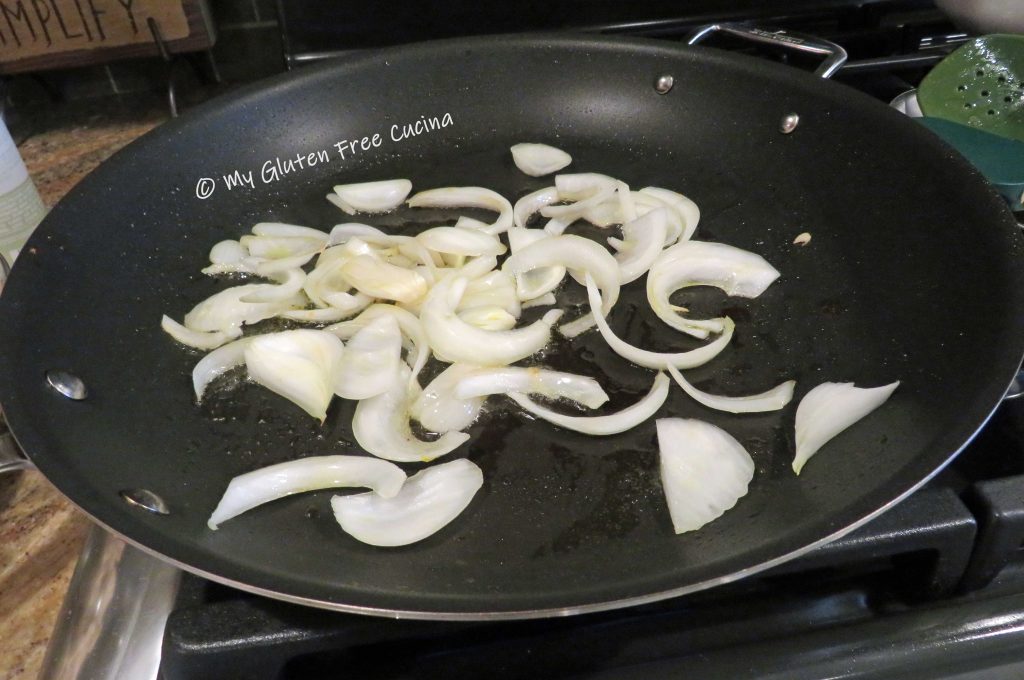
Remove the chicken to a bowl and keep warm. Wipe the skillet clean and add another tbsp. olive oil and 1 tsp. sesame oil.
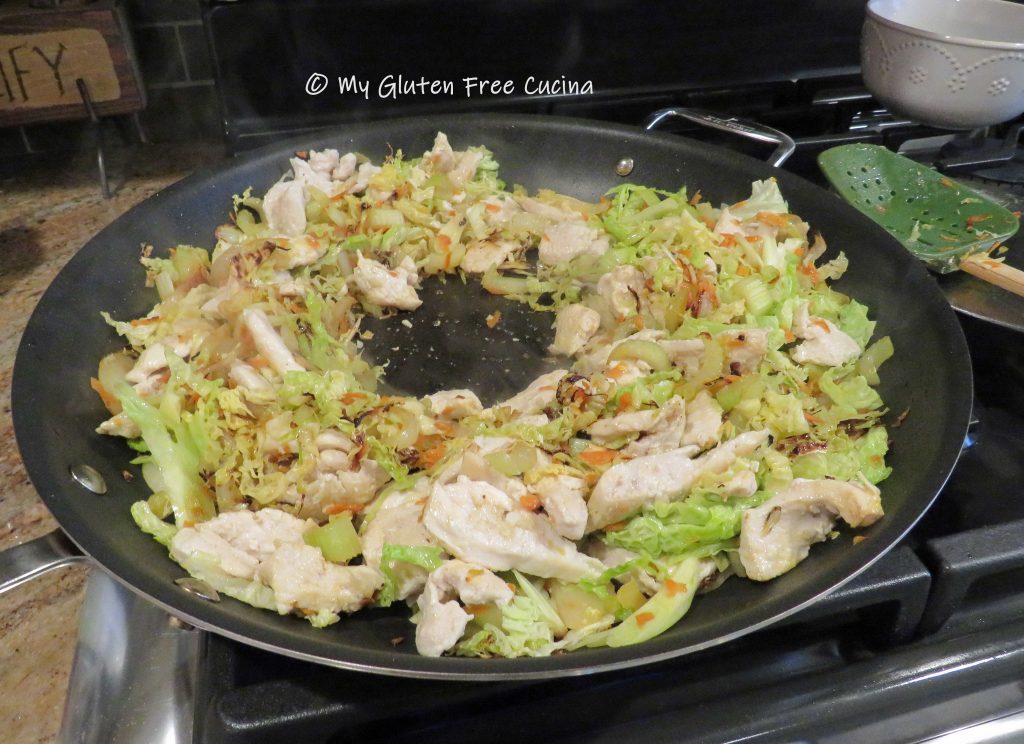
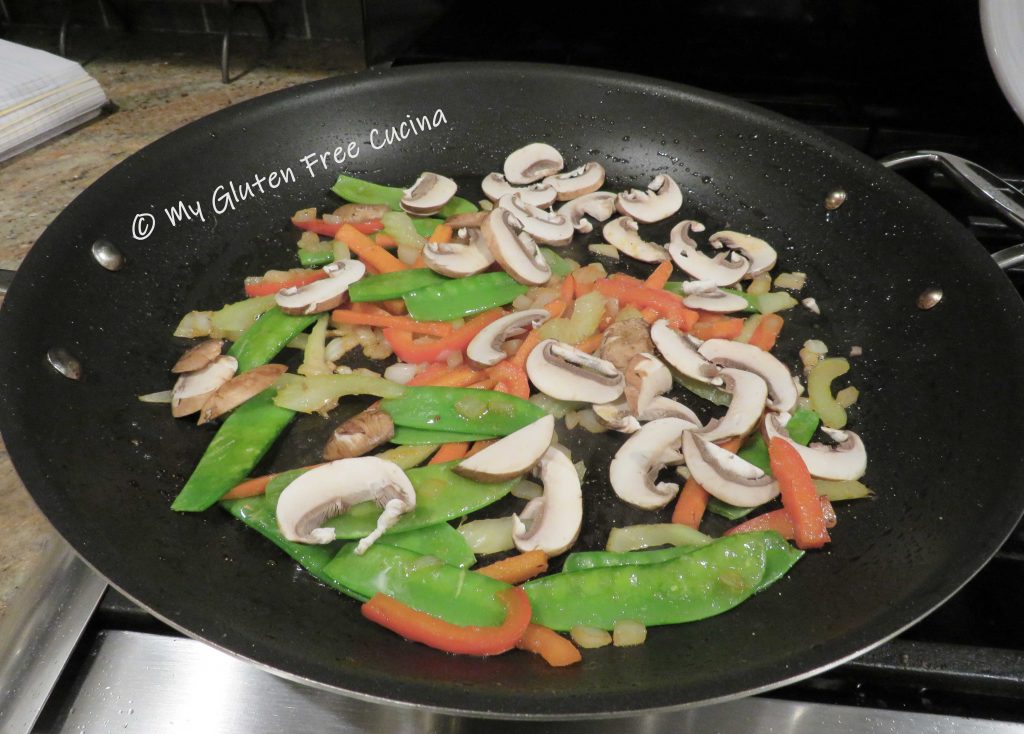
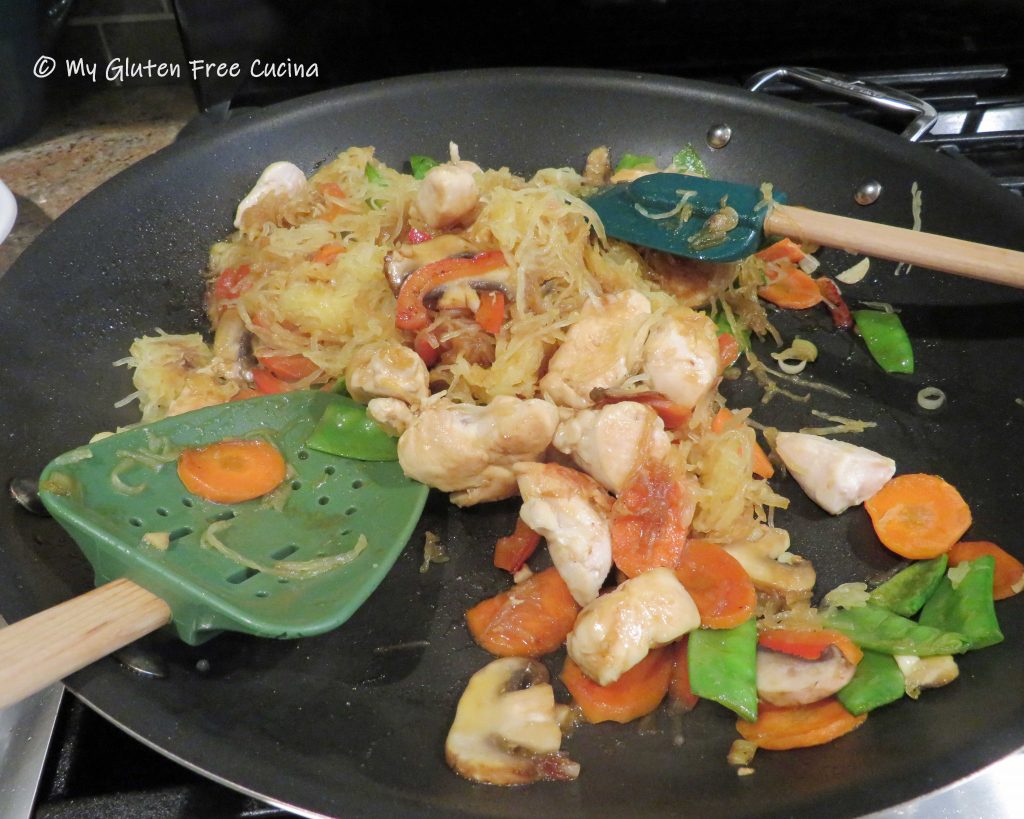
Add the onion first and stir fry until translucent.
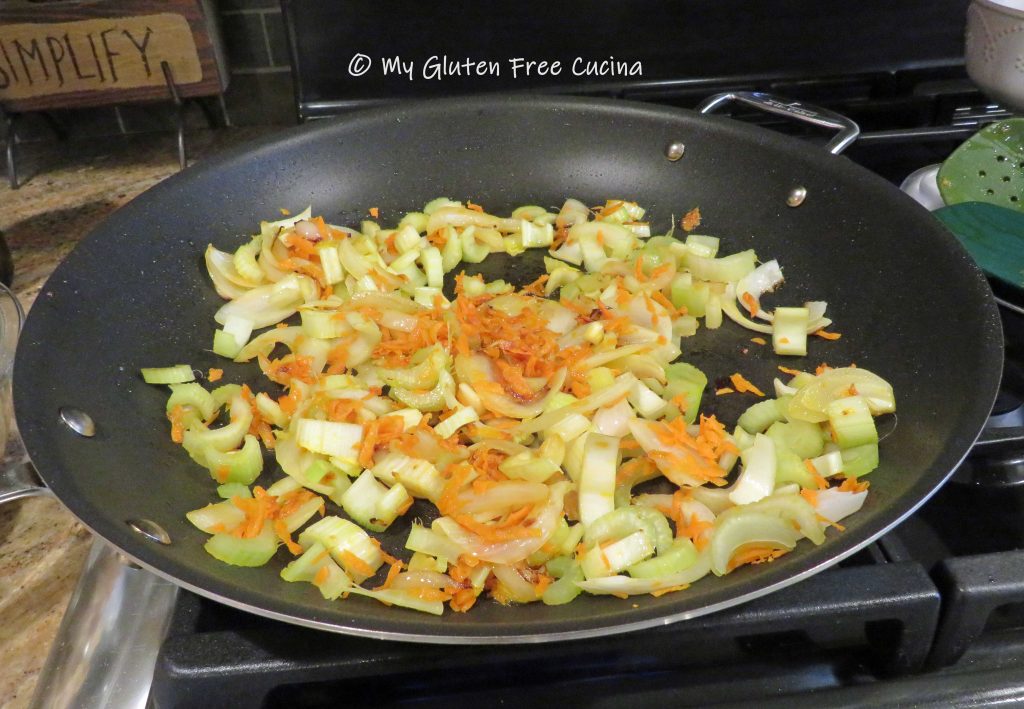
Add the carrot and celery. Continue cooking for several minutes.
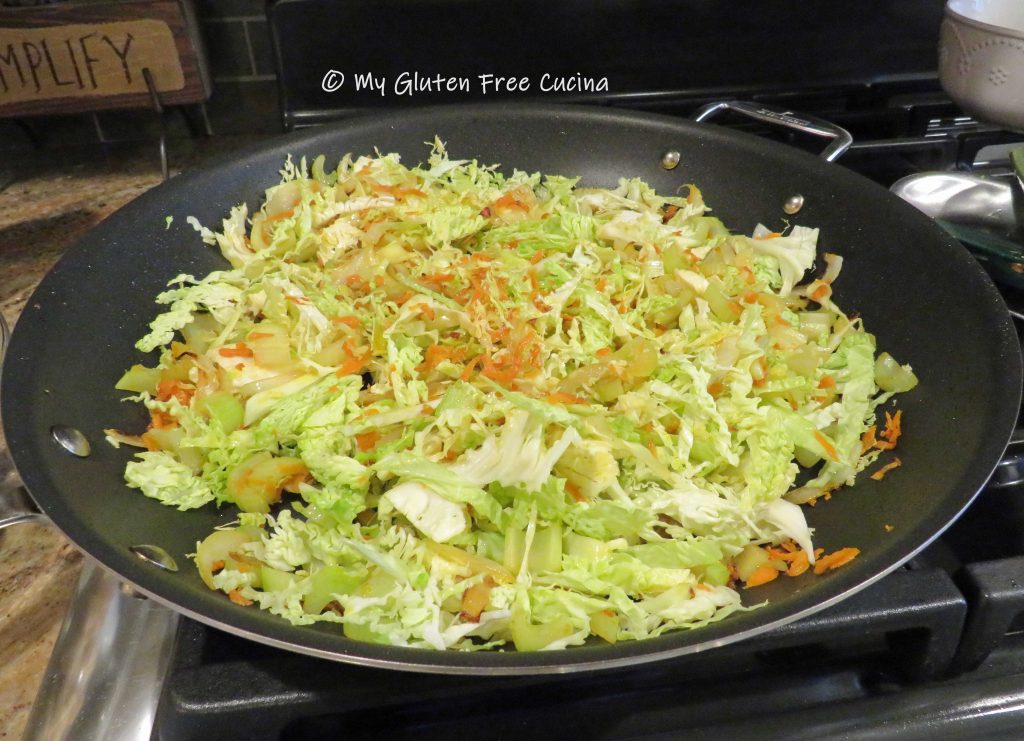
Add the cabbage and toss well to combine. Cover and cook for about 5 minutes.
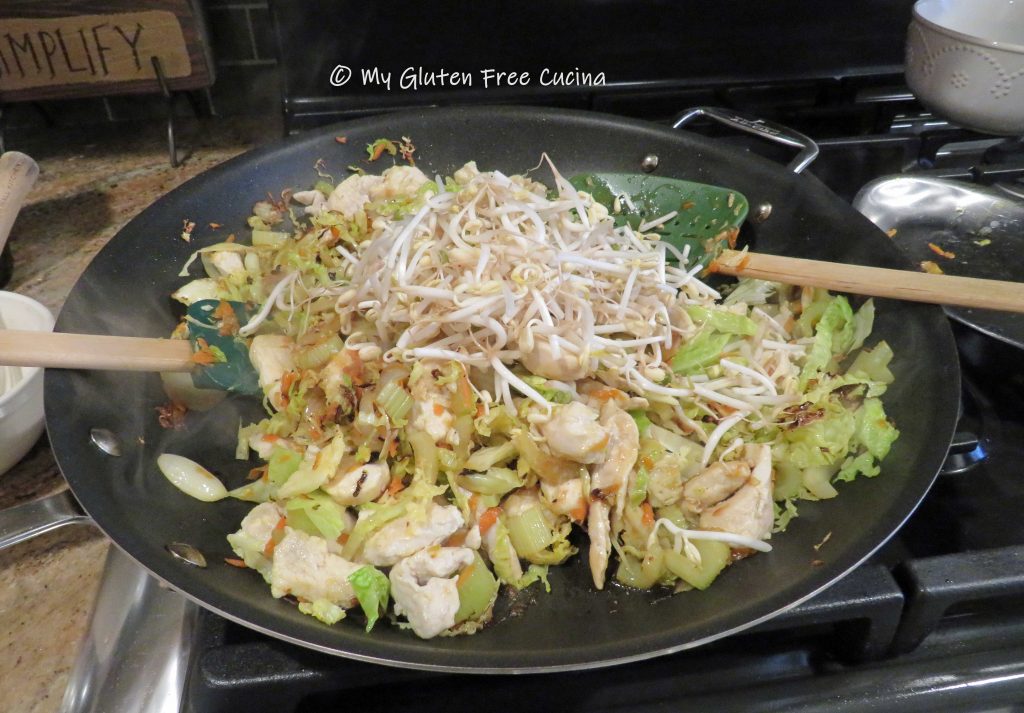
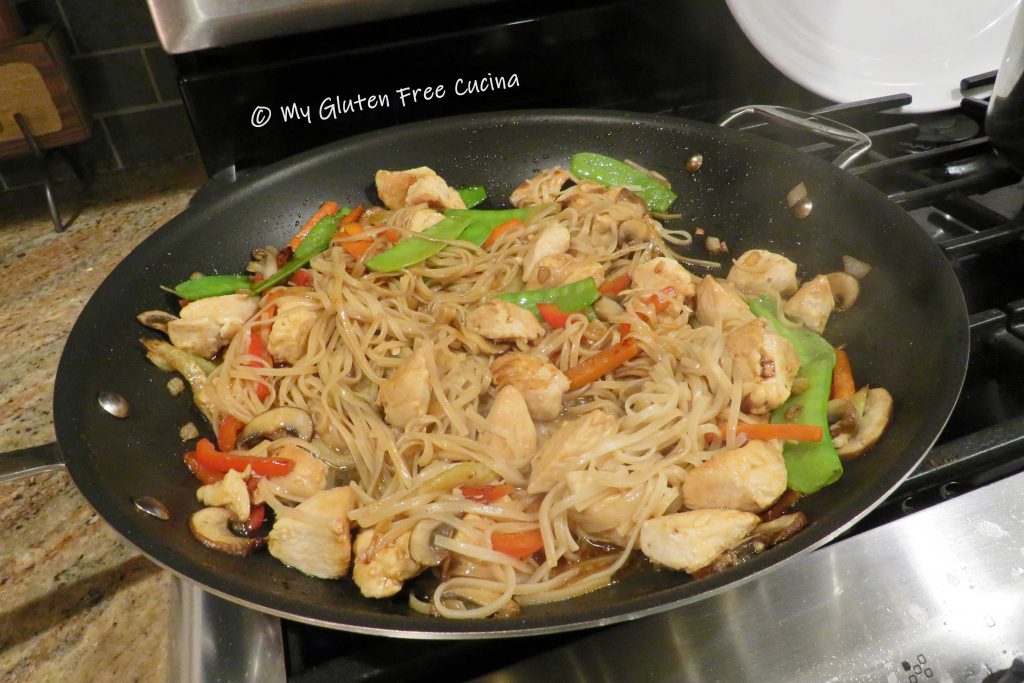
Add back the chicken and stir into the veggies. Make a well in the center and pour in the sauce.
Add the bean sprouts and continue tossing and stirring as the liquid thickens.
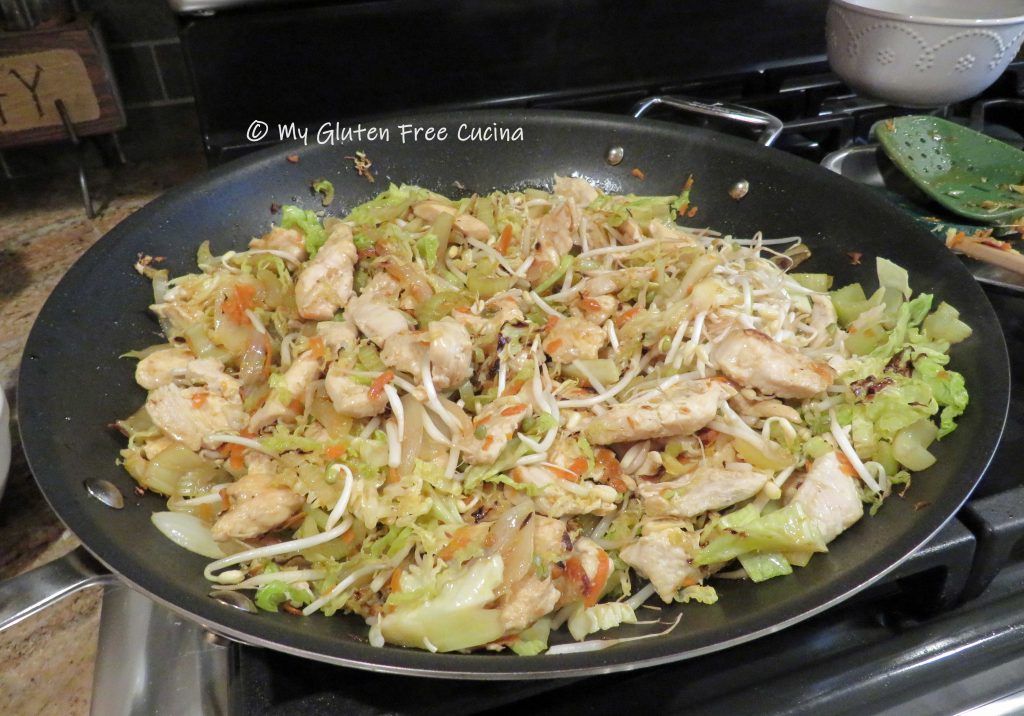
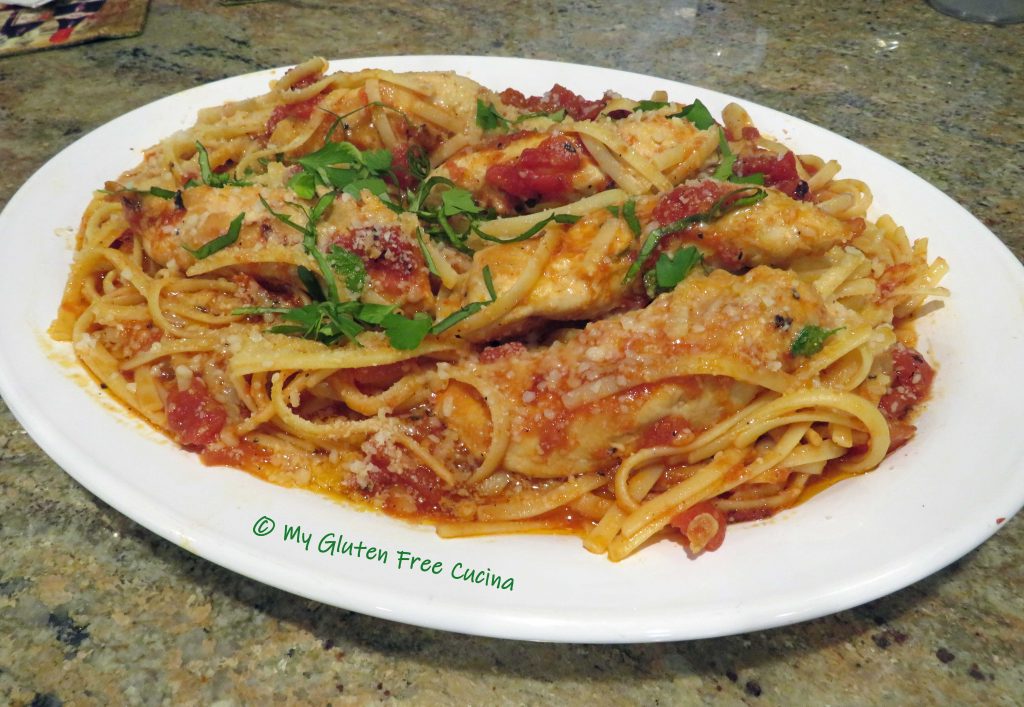
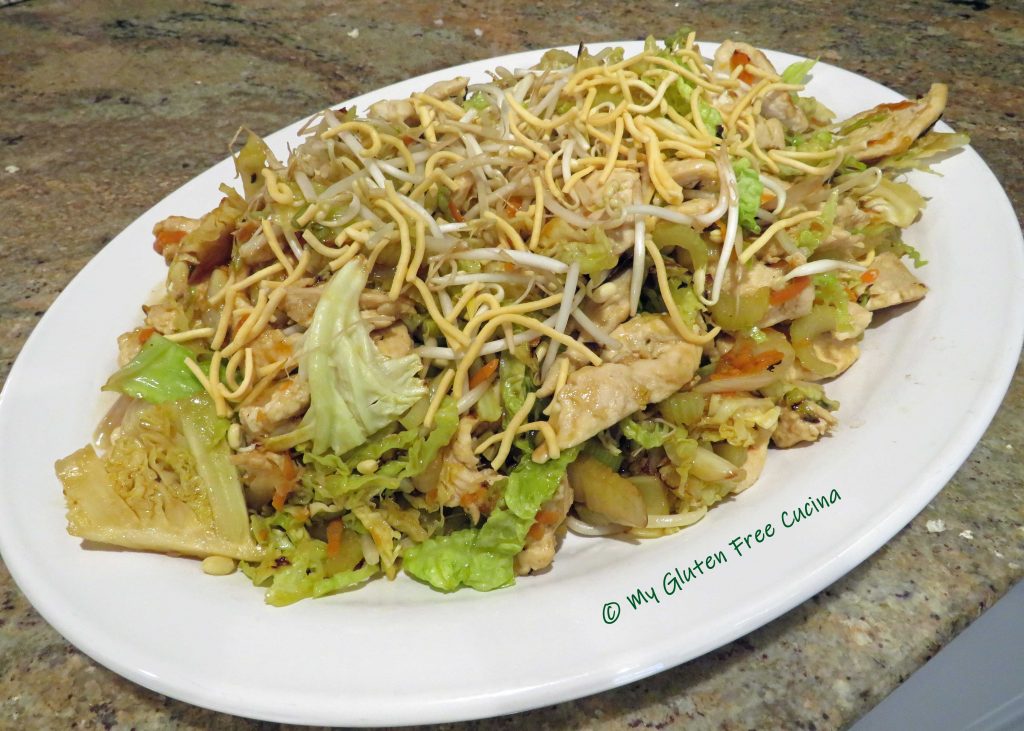
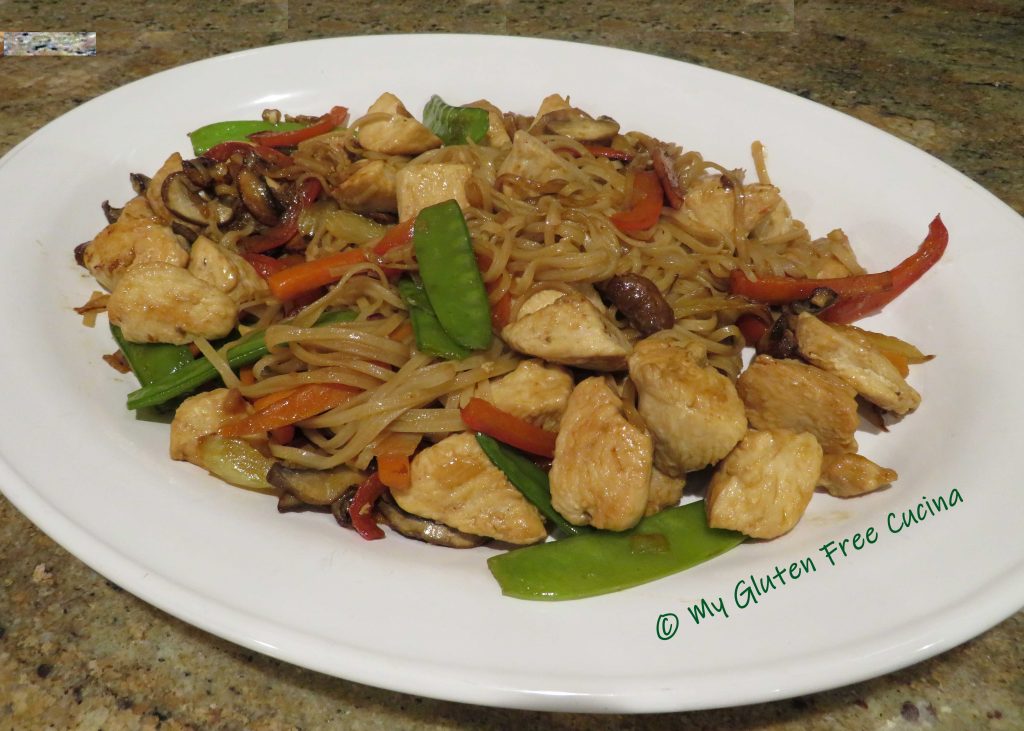
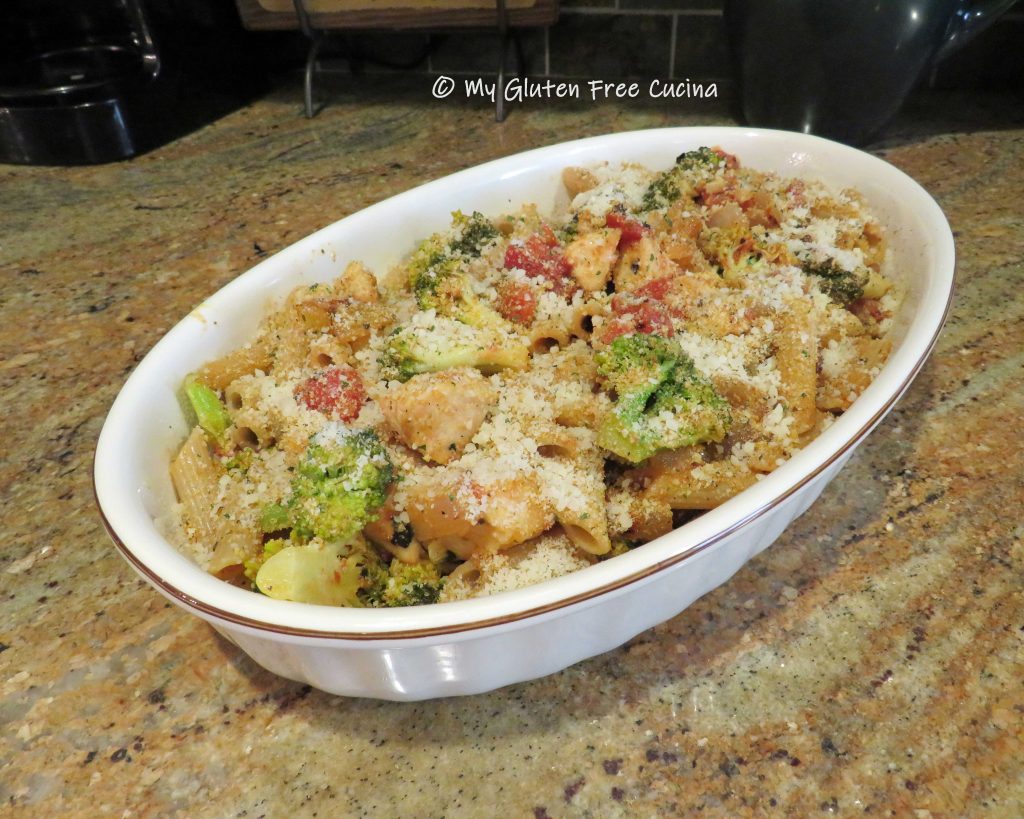
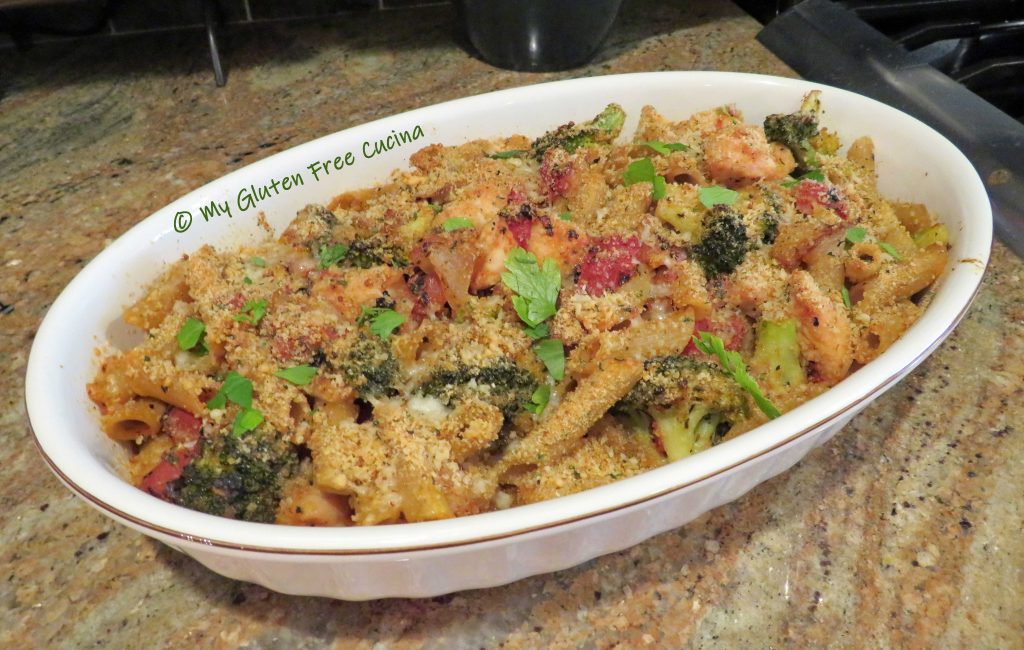
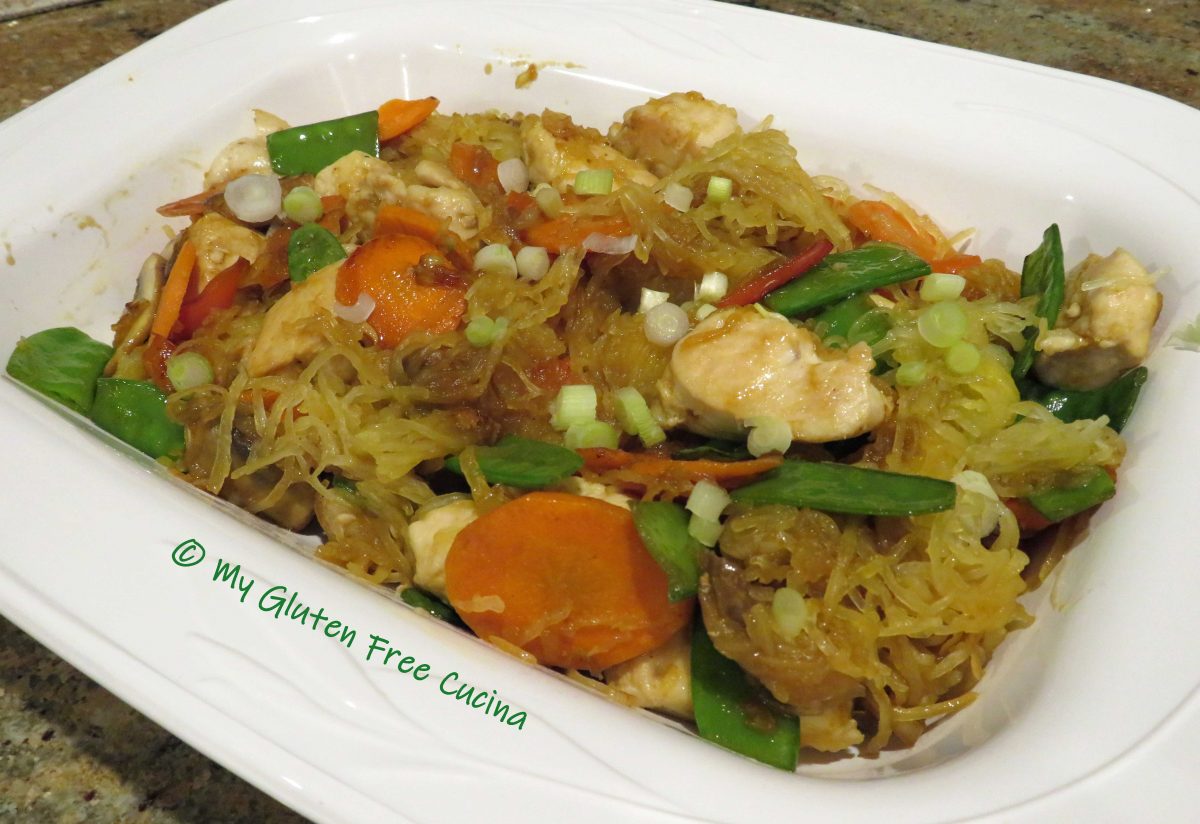
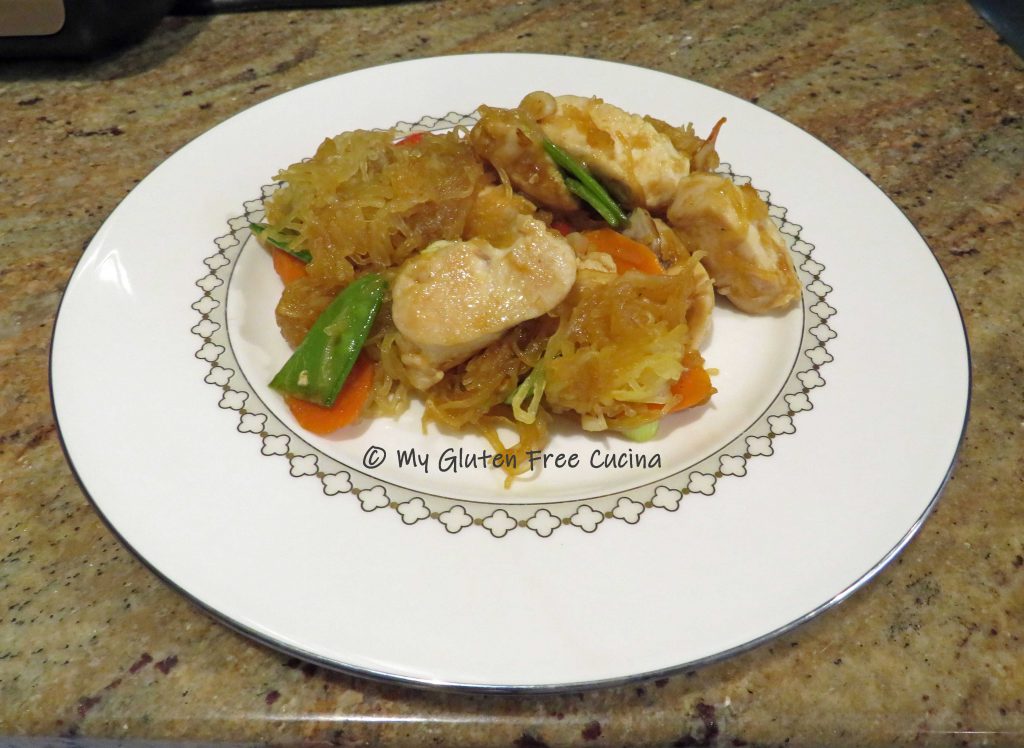
Transfer to a serving dish and sprinkle a few noodles over the top!
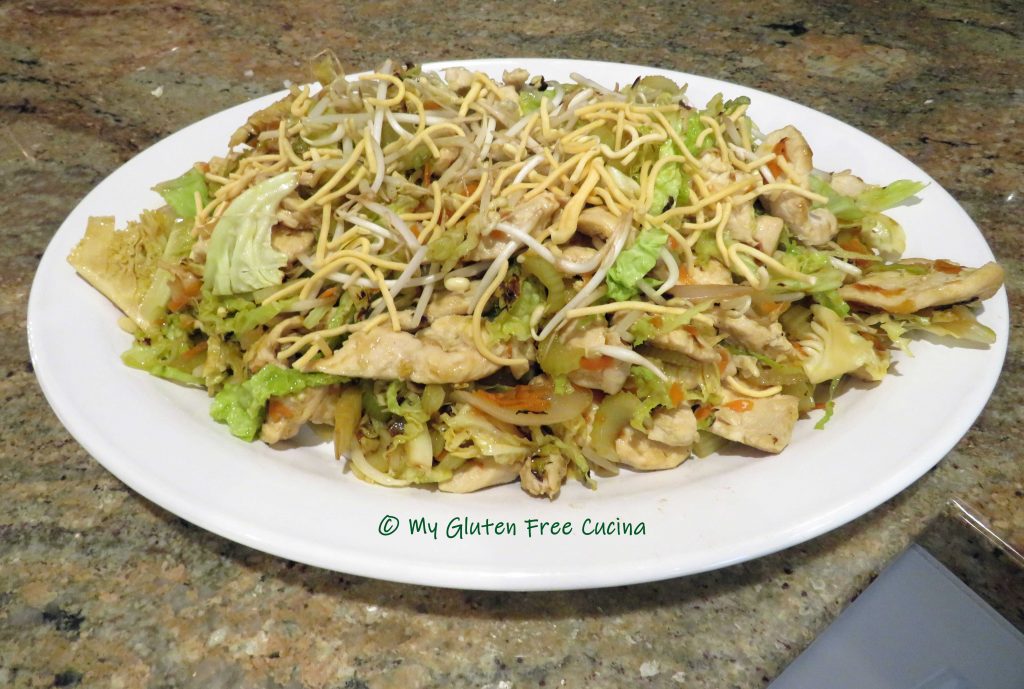
Serve over Chow Mein noodles with a side of white rice.
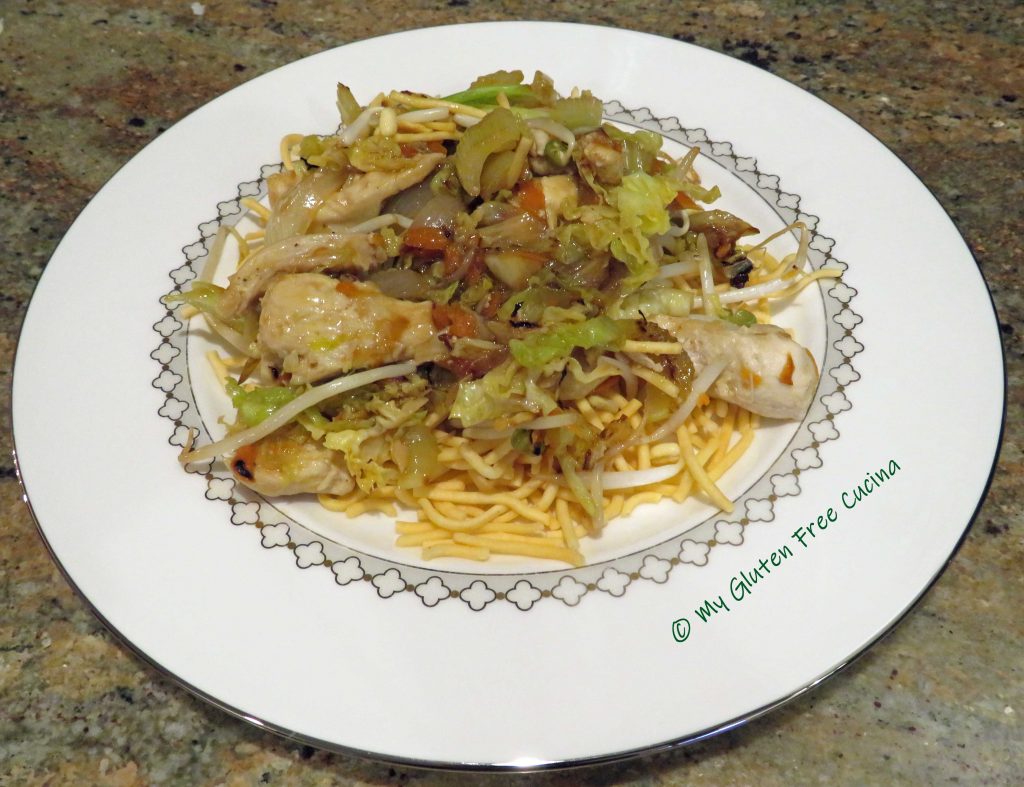
Notes ♪♫ My gluten eating family loved this meal! The Chow Mein noodles are the bomb, and they are great with salads too! I will definitely be adding this meal to our dinner rotation.


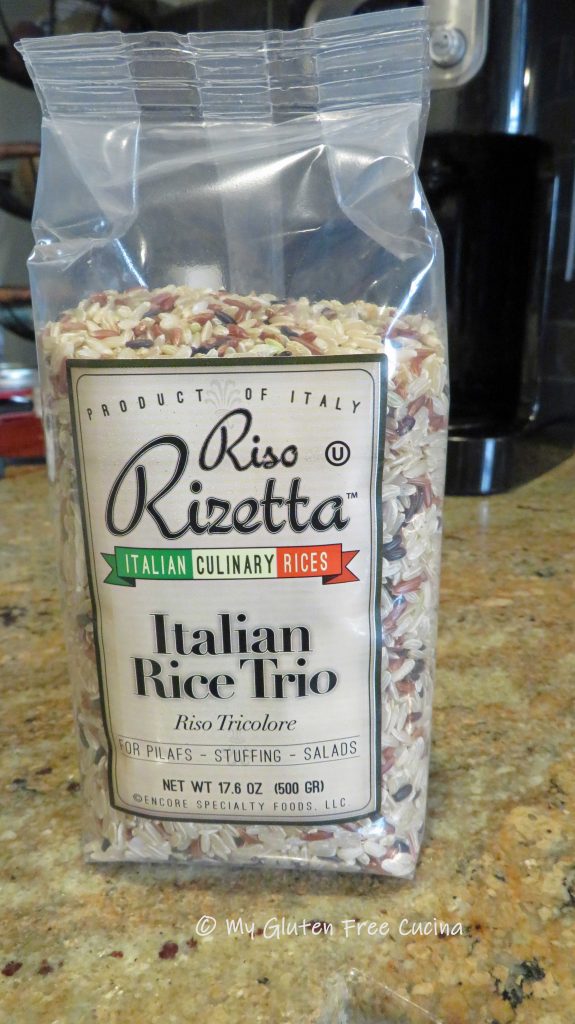
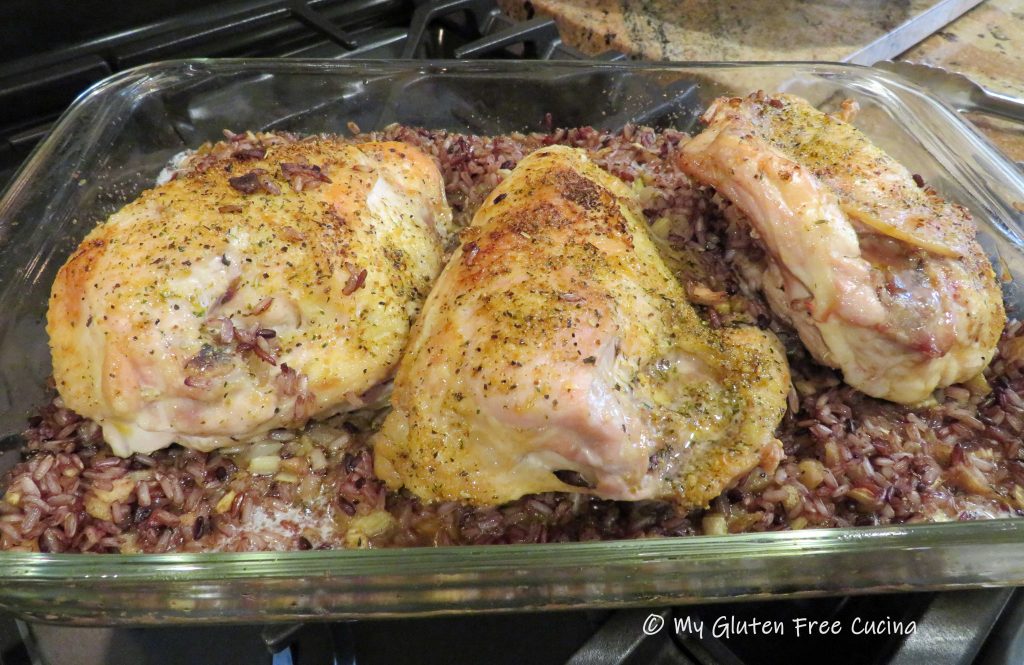
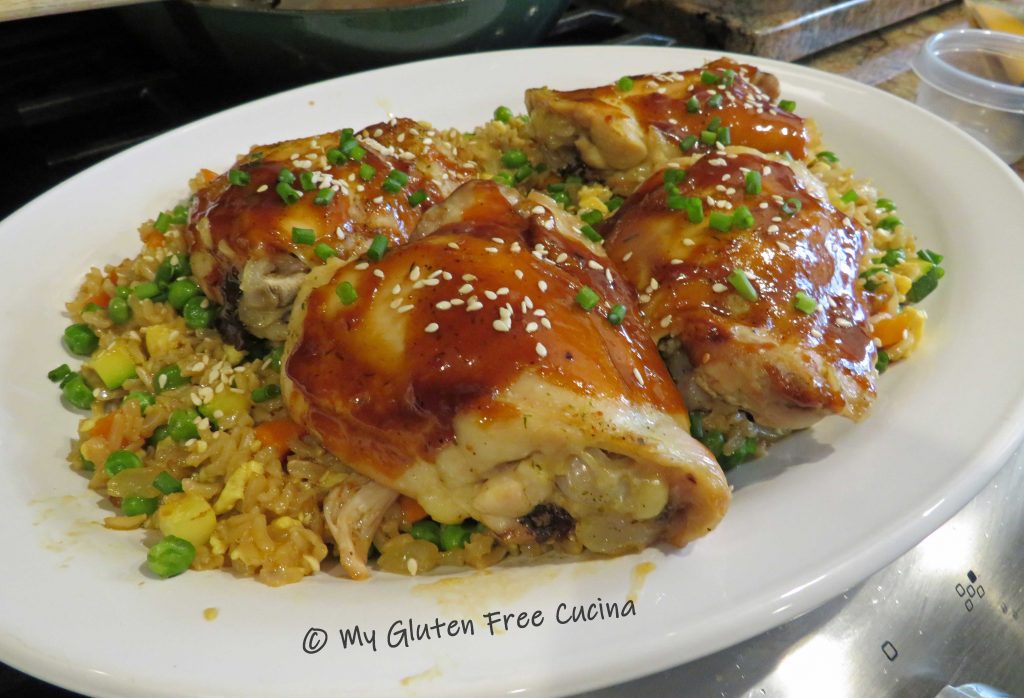
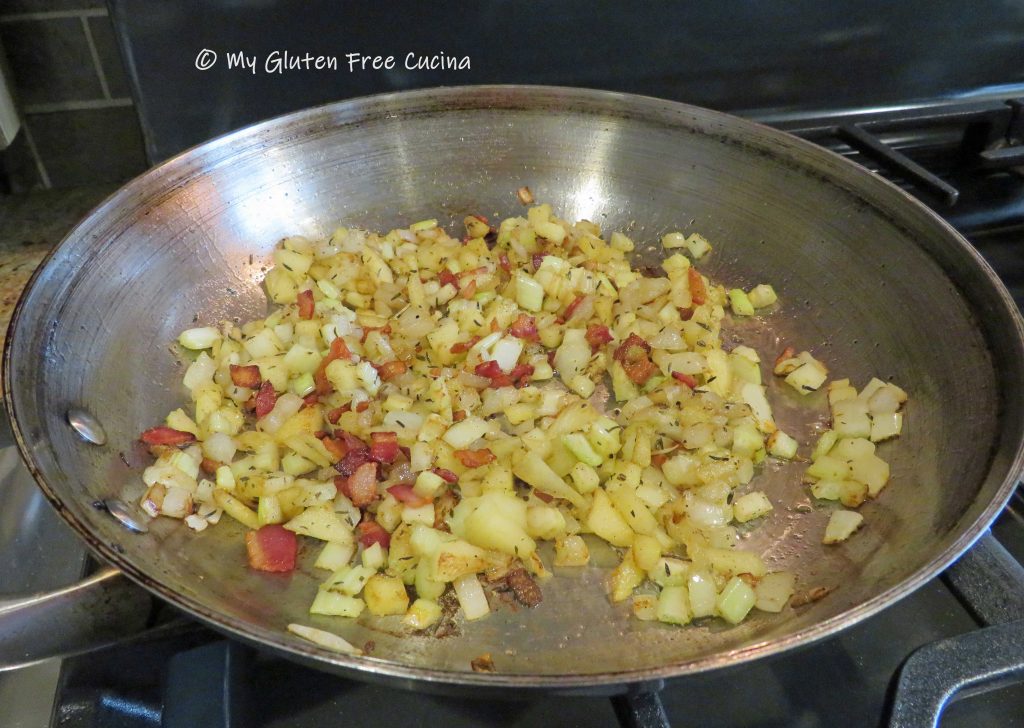 Add the cooked rice to the skillet with the stuffing and stir well to combine.


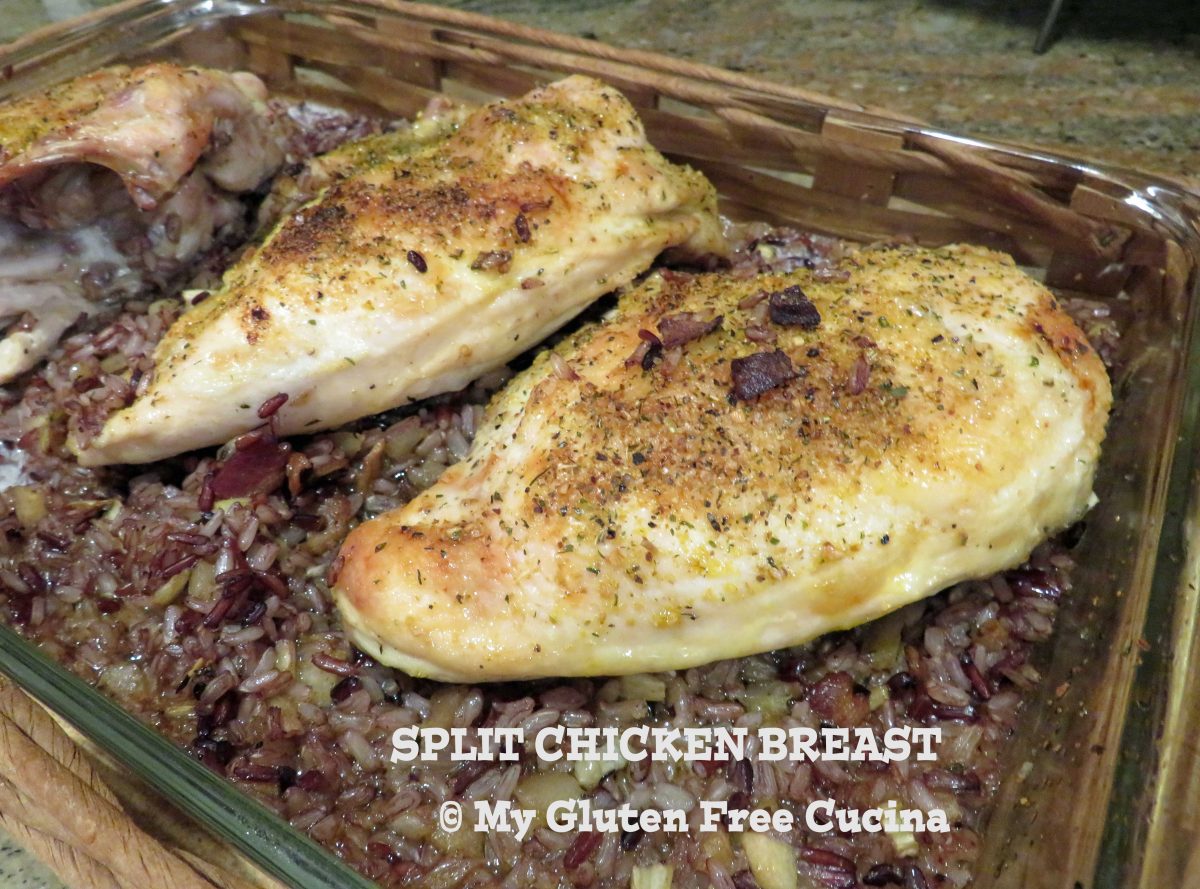
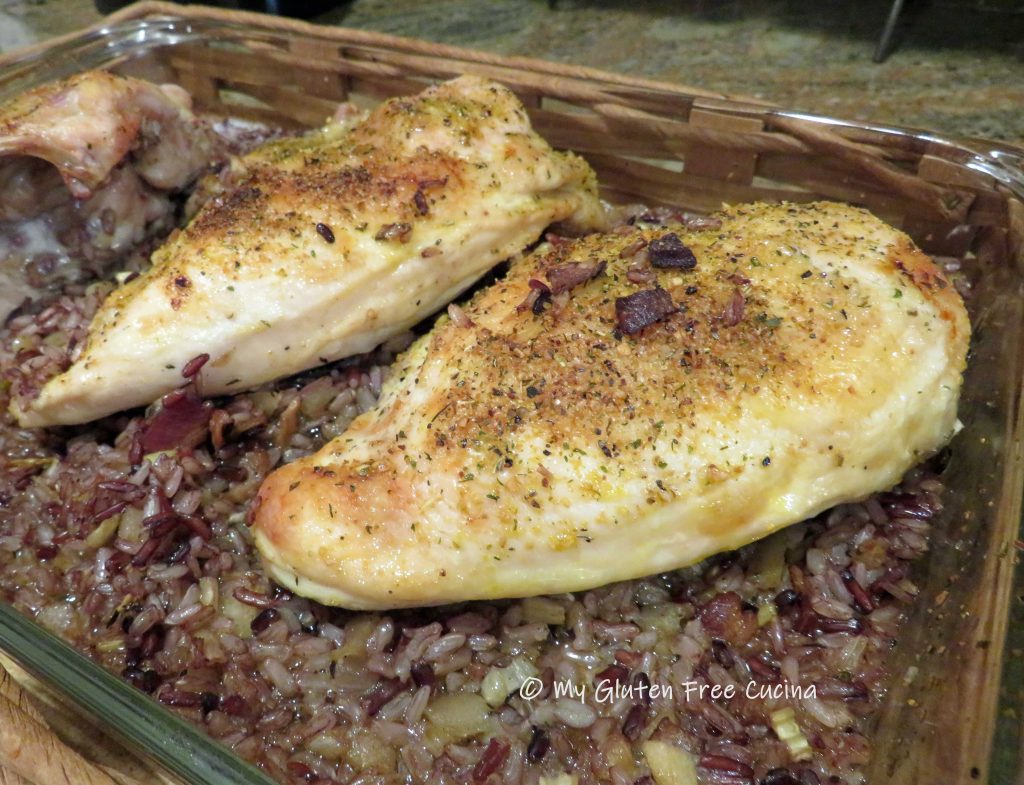
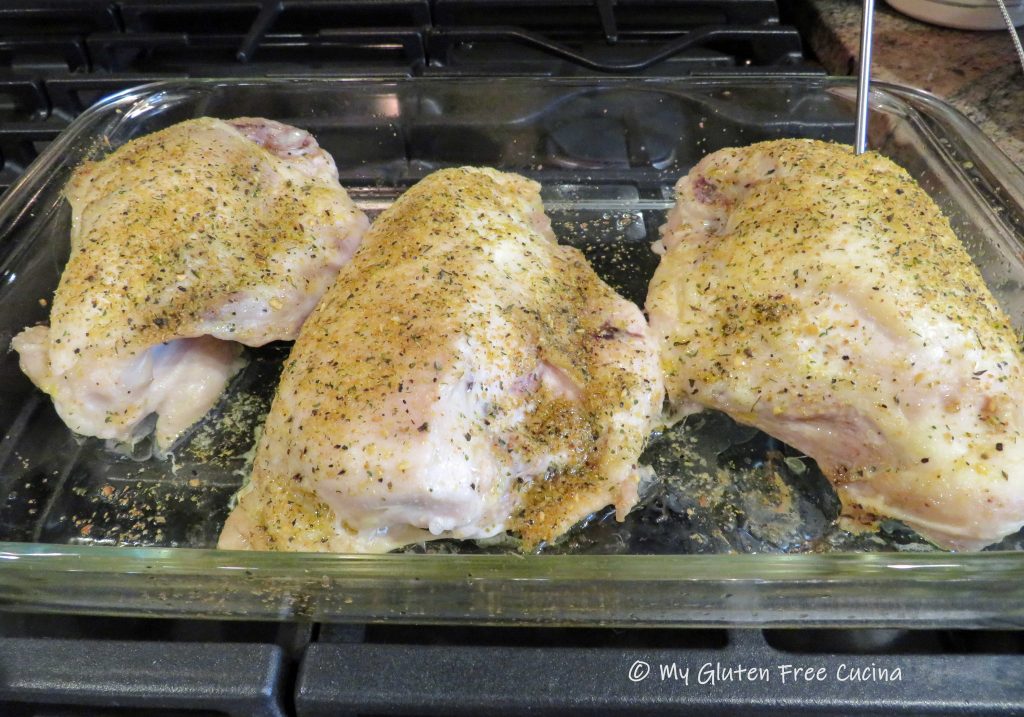
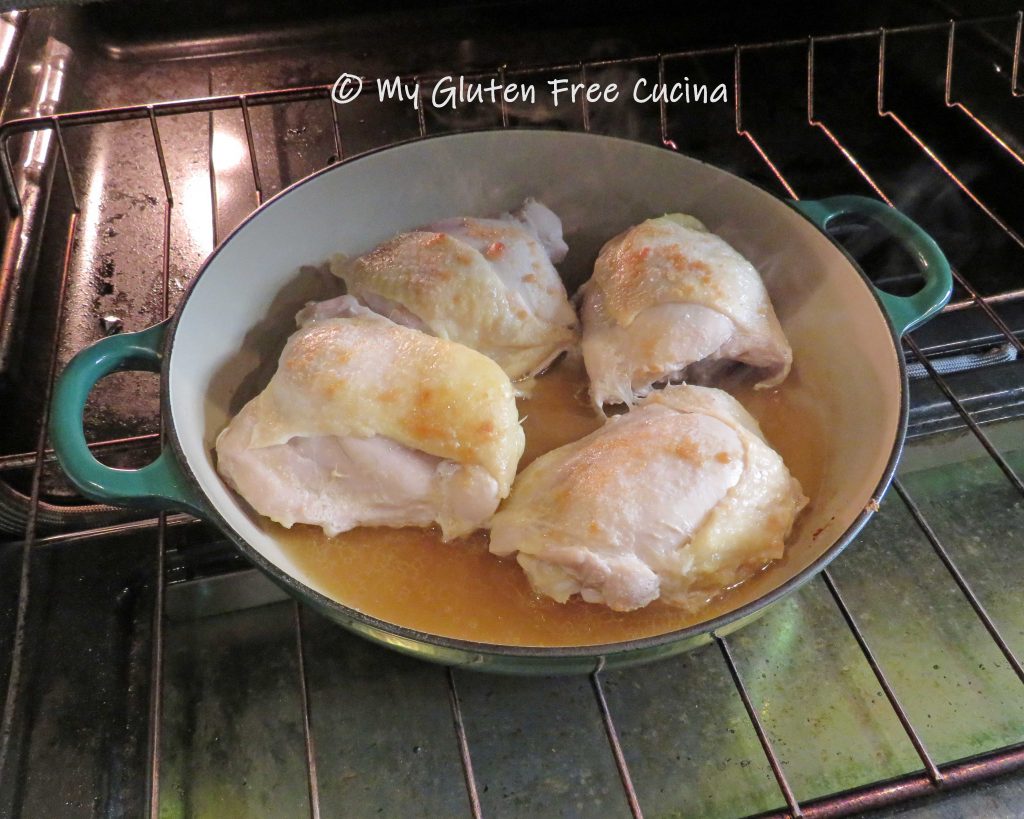
 Add the chicken pieces to the bag, and pour in the marinade.
 Tie the bag to ensure all pieces are covered in the milk mixture, and let it sit at room temperature 1 hour.


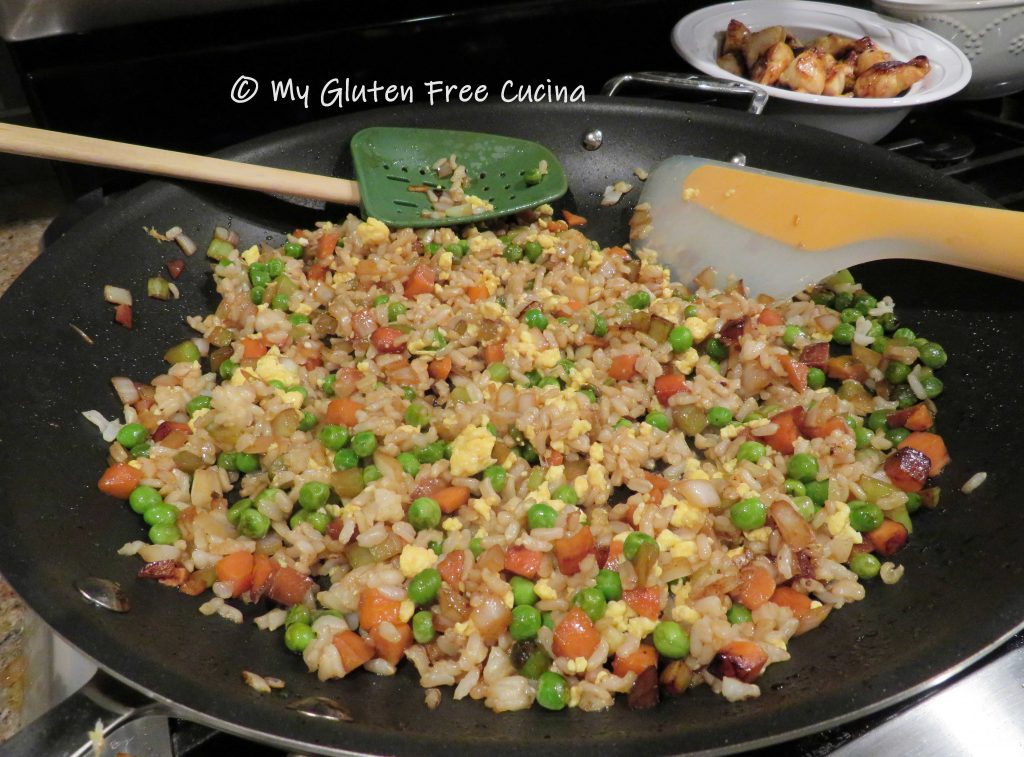
 While the chicken was cooking, I made my fried rice.
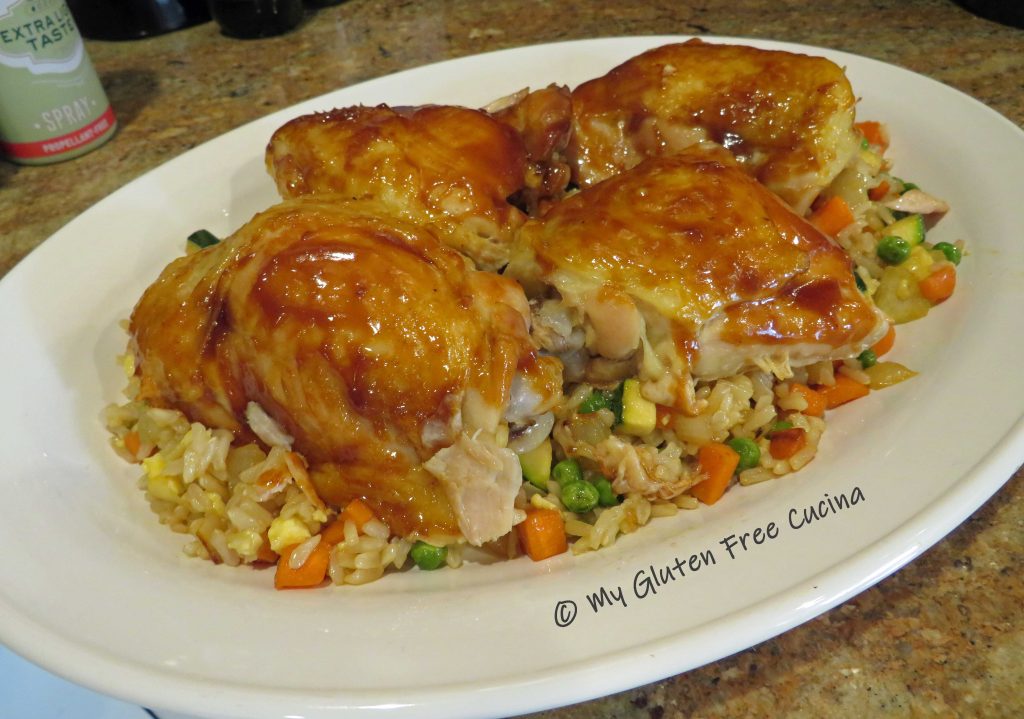

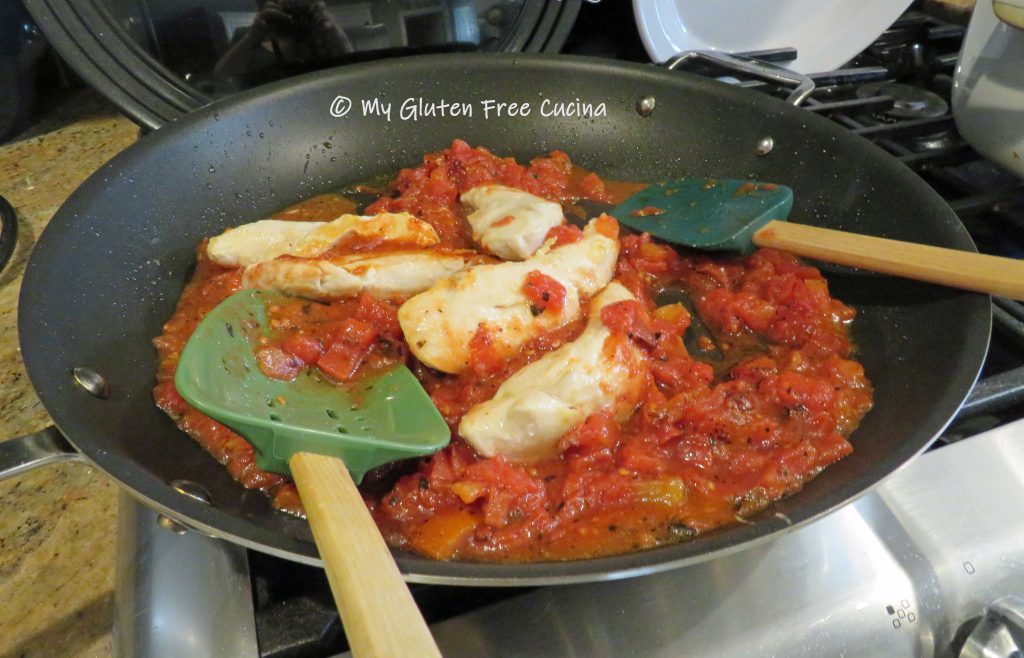
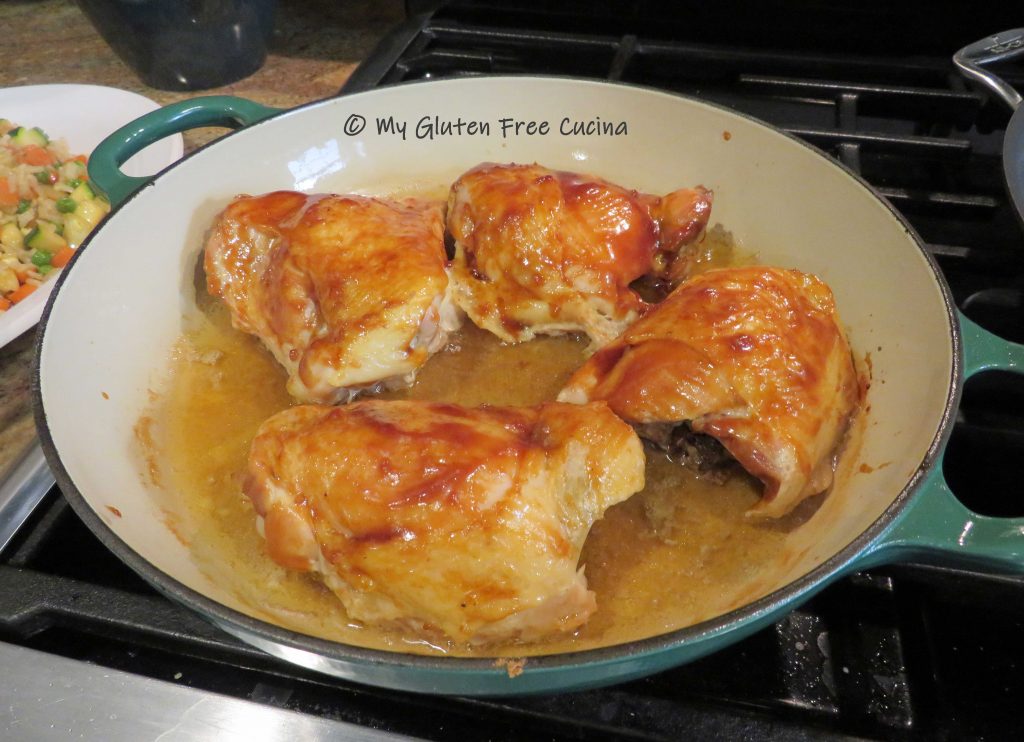
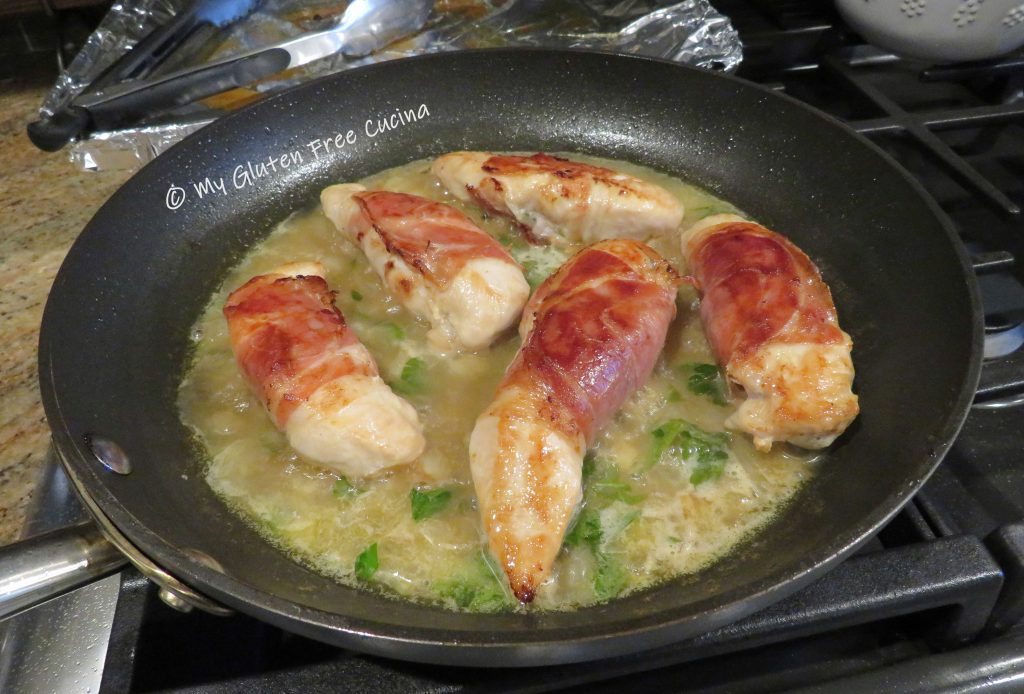
 When the chicken has browned on all sides, add a splash (1/4 cup) of white wine to the pan and toss until the liquid evaporates. Remove from the pan and set aside.
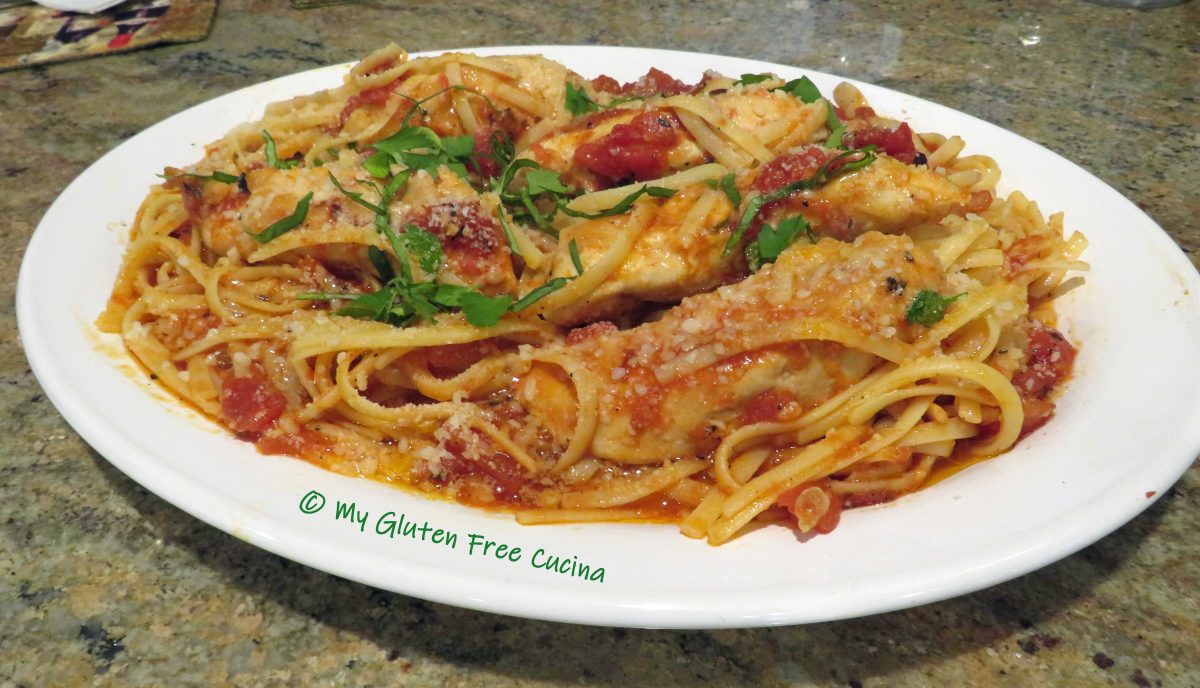
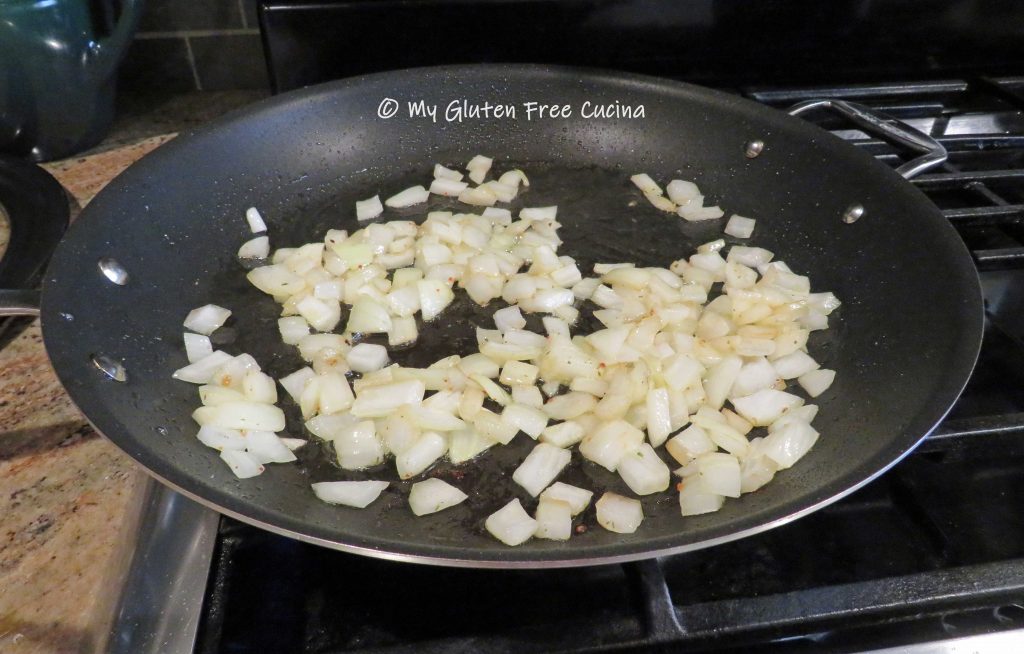 When they have a little color, add the broccoli, garlic and diced tomatoes. Add another splash of white wine, then season with salt and pepper, basil and Italian seasoning. Cover and cook 10 minutes, until the broccoli is crisp tender.
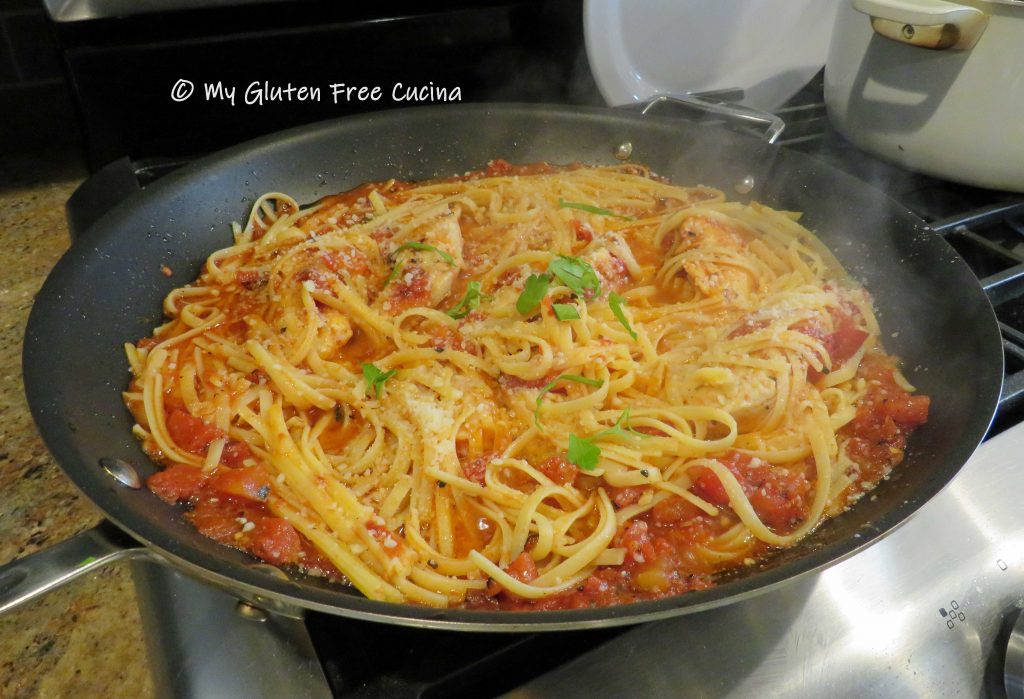
 While the vegetables are cooking, add the pasta to the boiling water. Use your favorite (
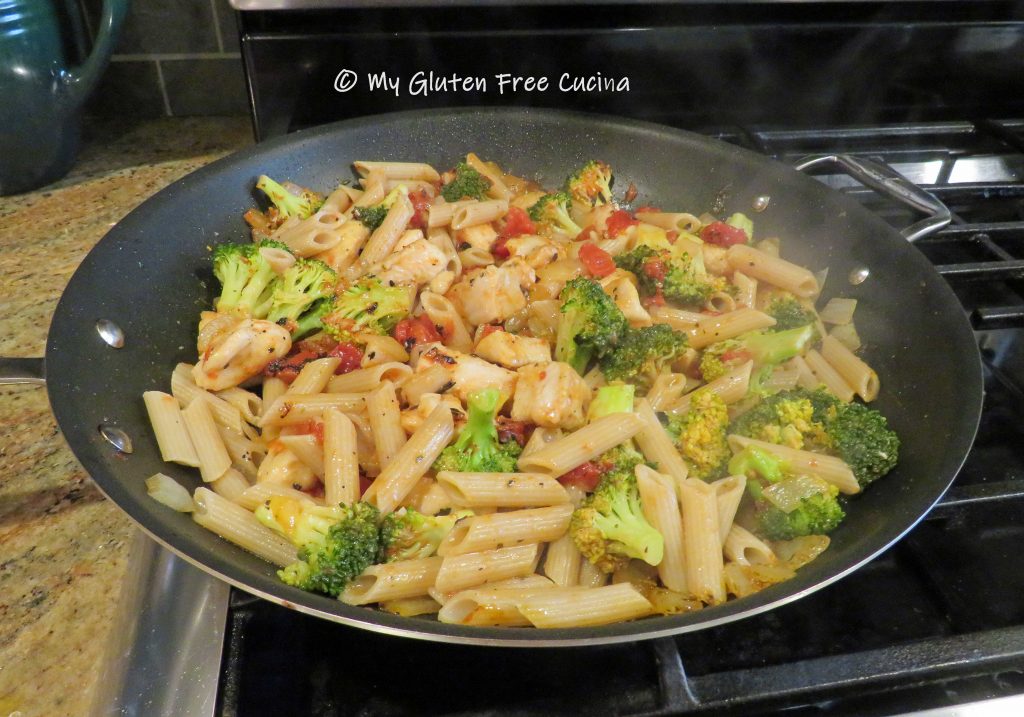


 Coat a
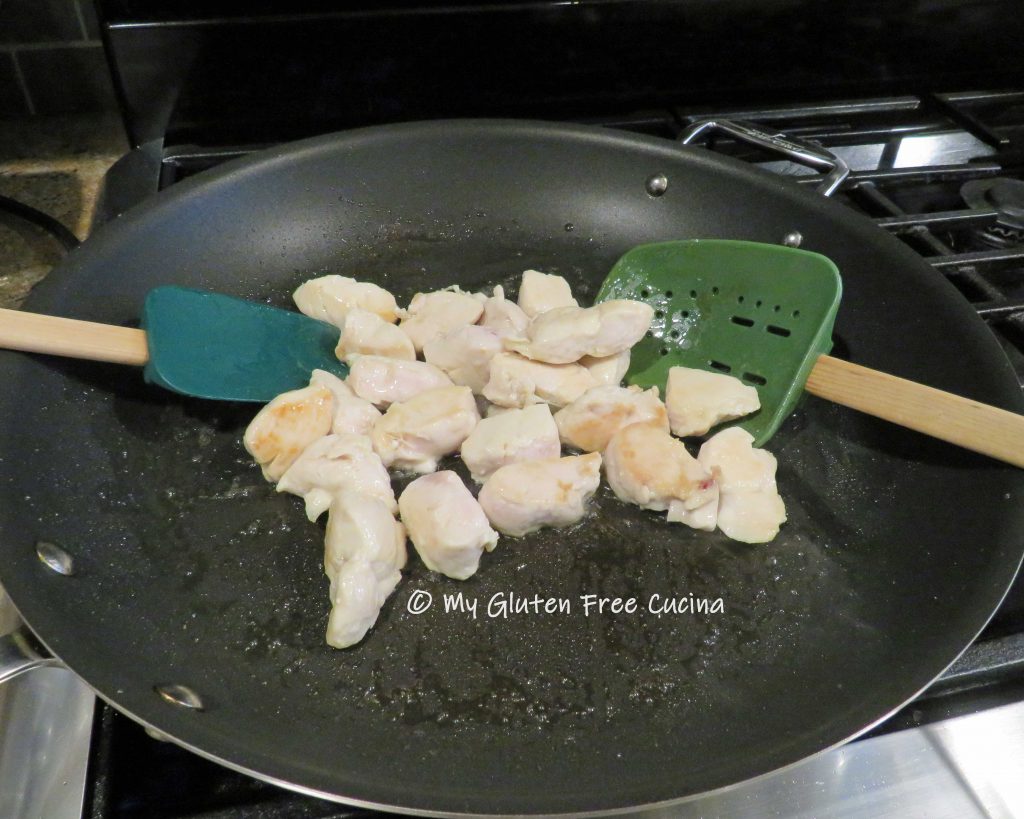


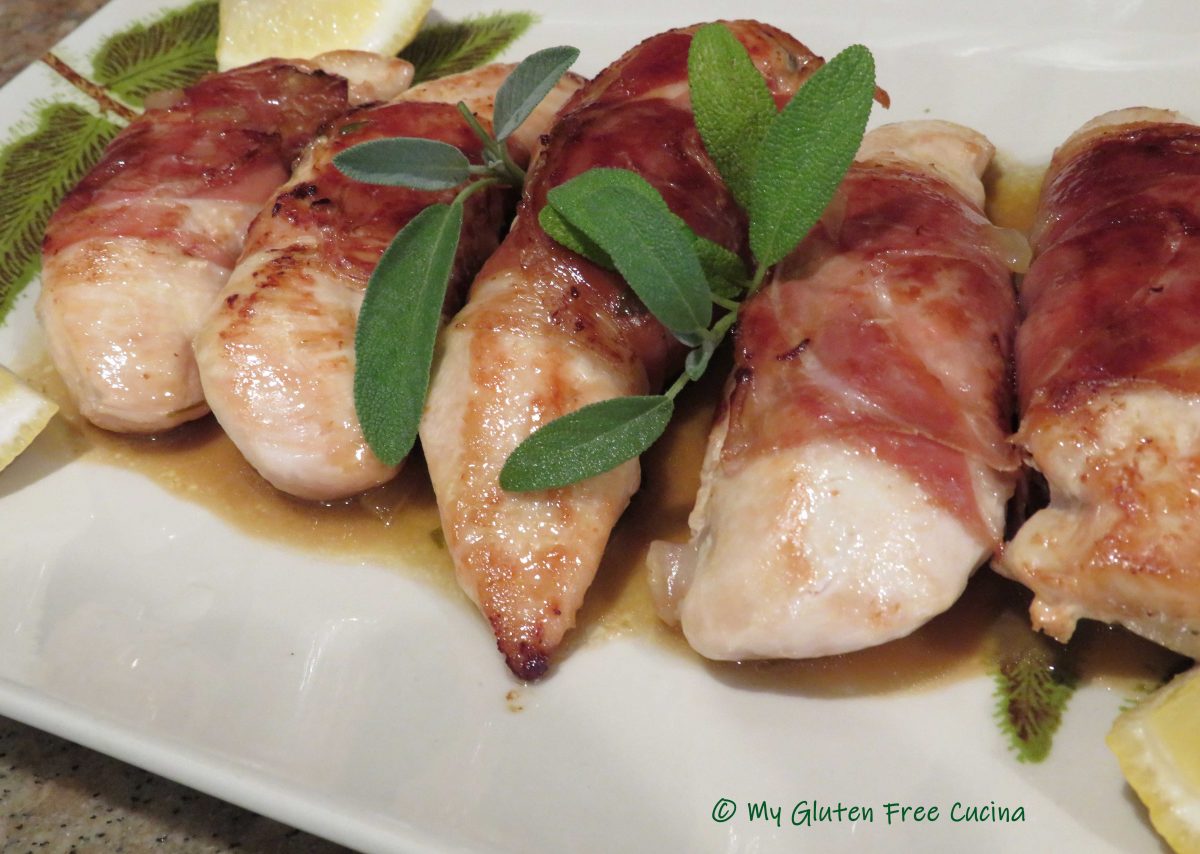
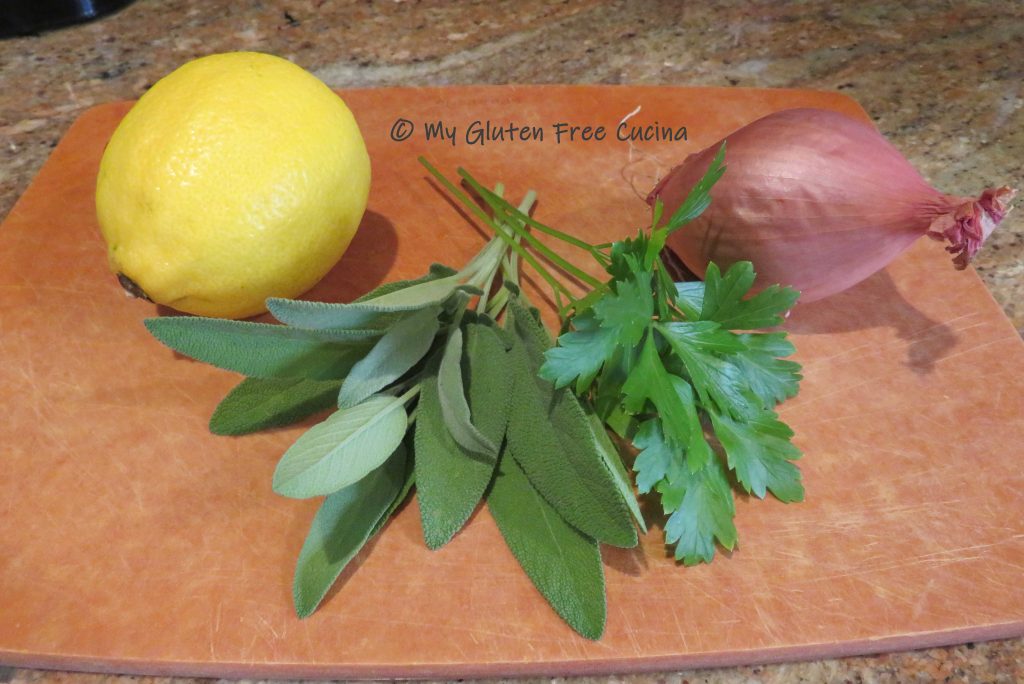
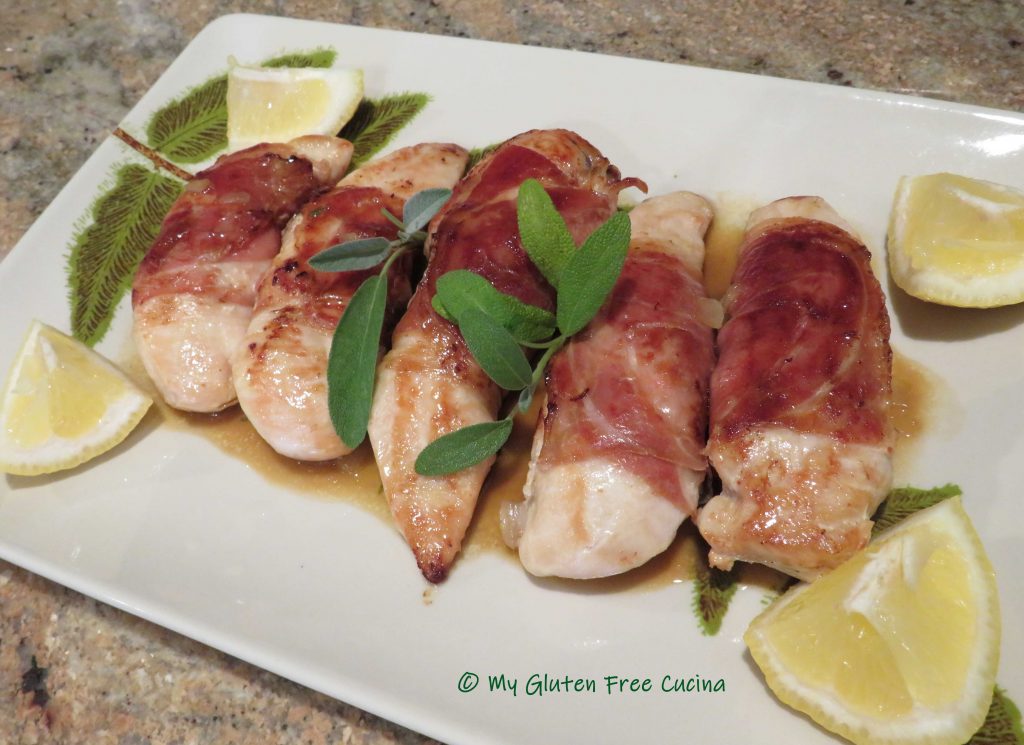
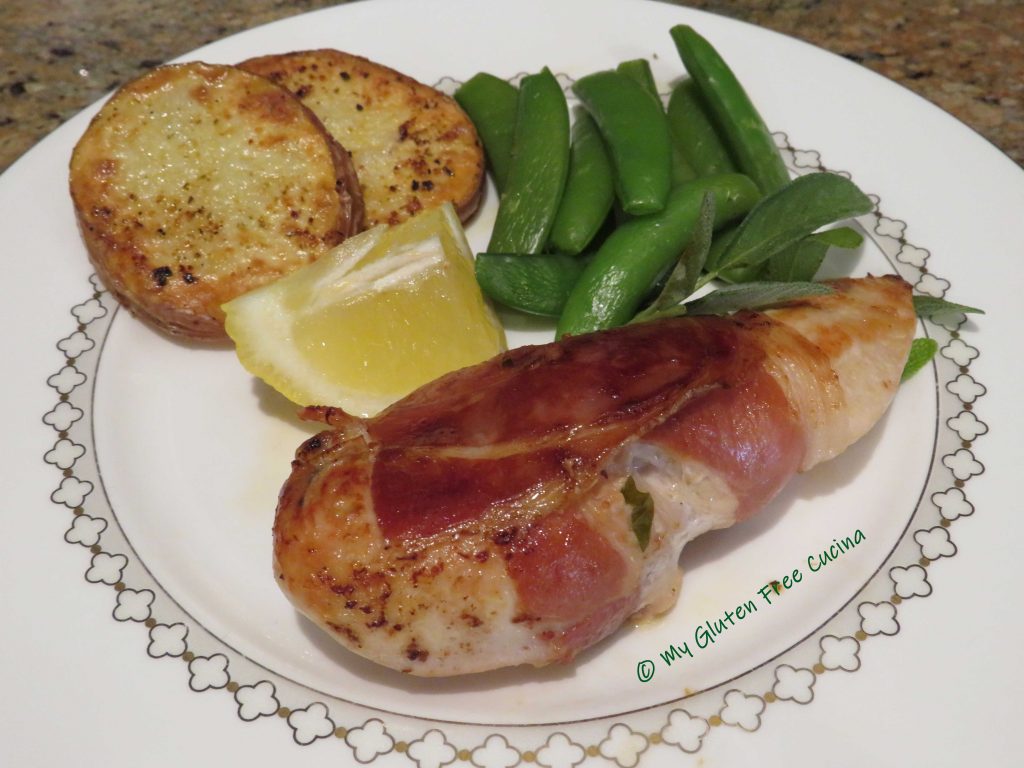
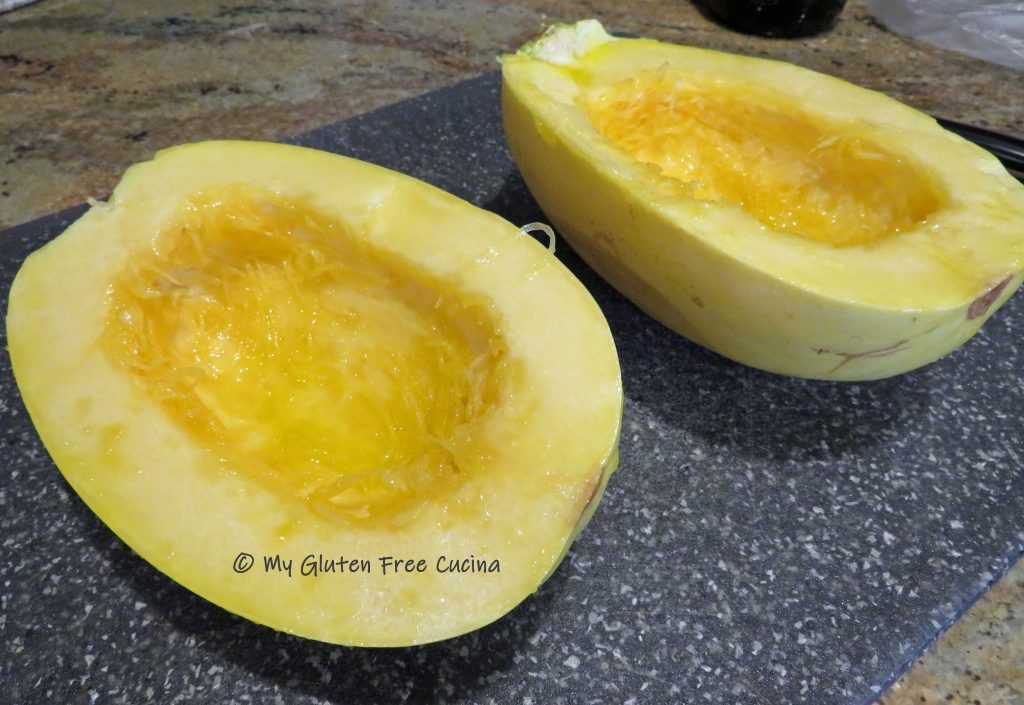
 The inspiration for this post was a beautiful pot of sage from my herb garden. I’m really proud that I grew it from seed!