Beef Tips are a year round favorite that can be served in so many ways. I got 2 big family packs on sale earlier this summer and broke them down into 6 portions for the freezer. Since then I have made Grilled Beef Kabobs, Asian Beef and Broccoli, and today I made the easiest BBQ Beef Tips. This simple dish can be prepared stovetop or on the grill.
This post contains affiliate links.
Ingredients:
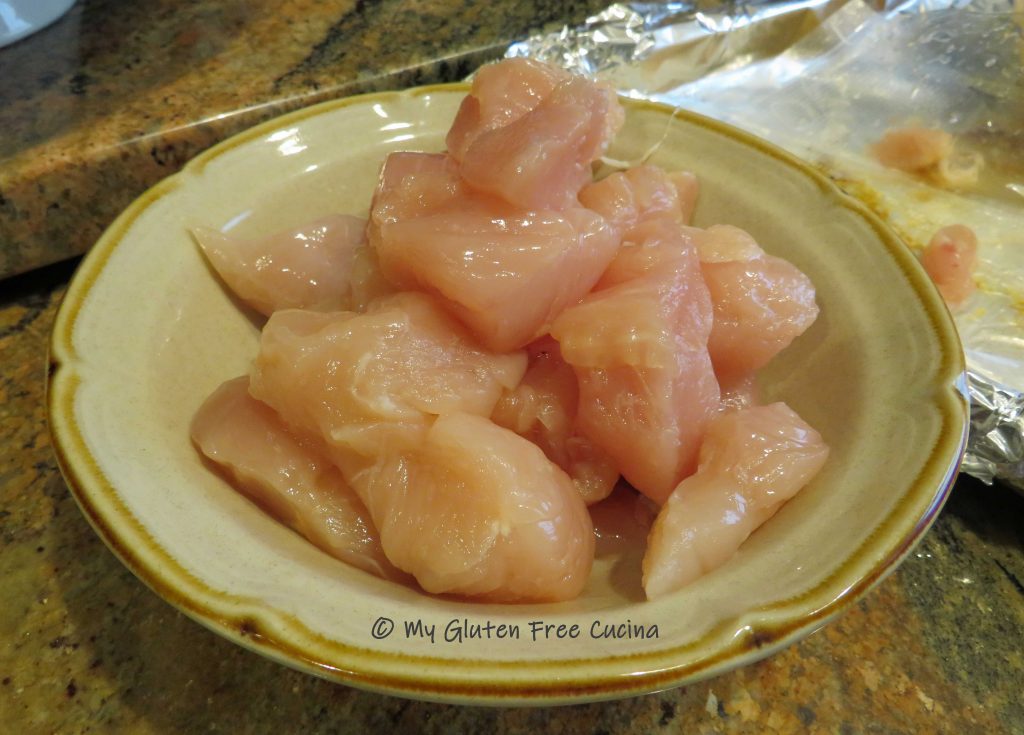
- 1 lb. sirloin tips, cut into cubes
- 2 tbsp. olive oil, divided use
- 1/2 tsp. Montreal steak seasoning
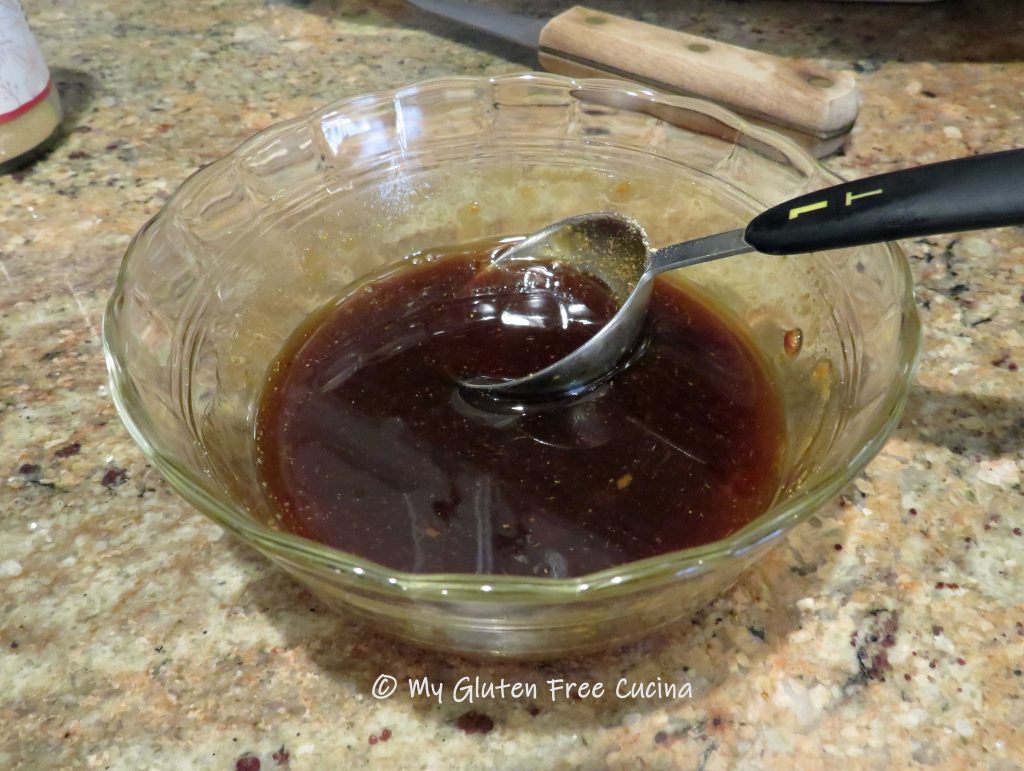
- 2 tbsp. gluten free BBQ Sauce + more for serving
- fresh chives for garnish
- 1 tbsp. melted butter
Preparation:
Combine the sirloin tips with 1 tbsp. olive oil and 1/2 tsp. Montreal steak seasoning. Cover and marinate 45 minutes at room temperature.

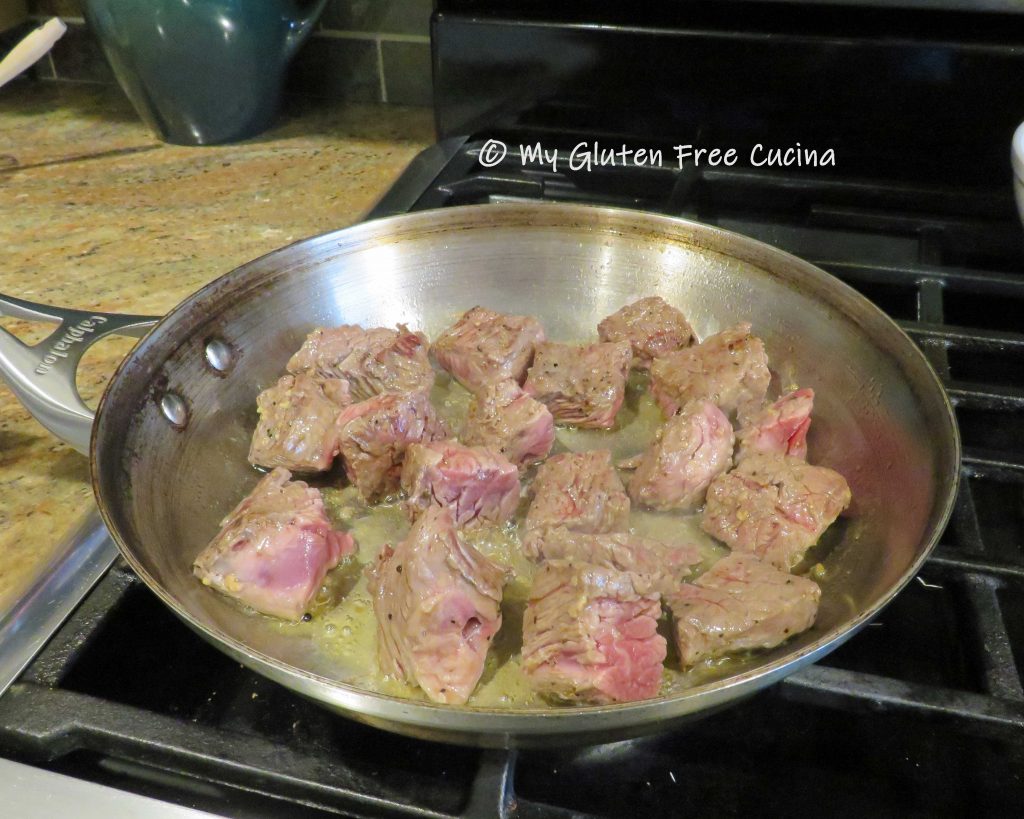
Heat a stainless-steel skillet on medium, brush the pan with butter and the remaining tbsp. of olive oil. Add the sirloin tips and cook for 6 minutes, turning once.

Don’t crowd the pan, cook in batches if needed.
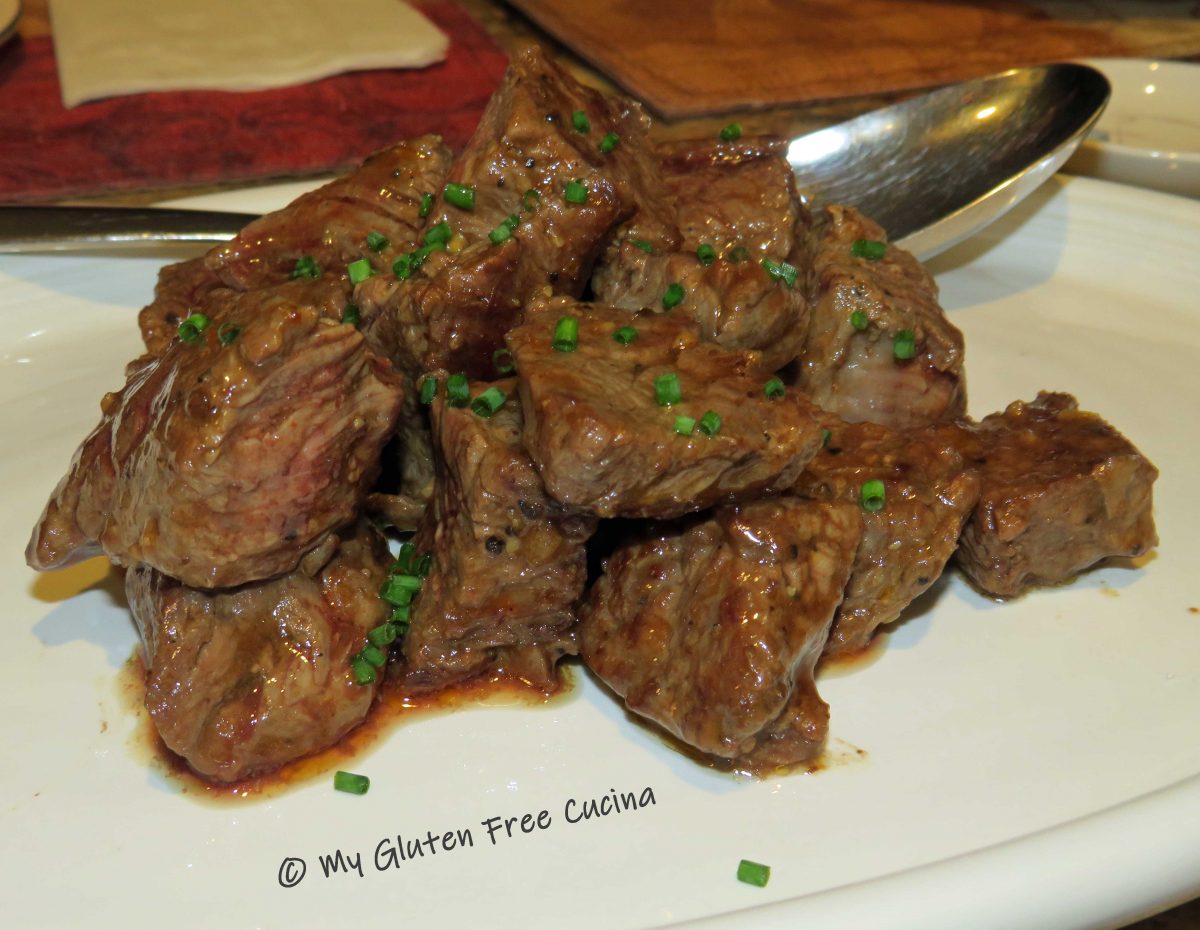
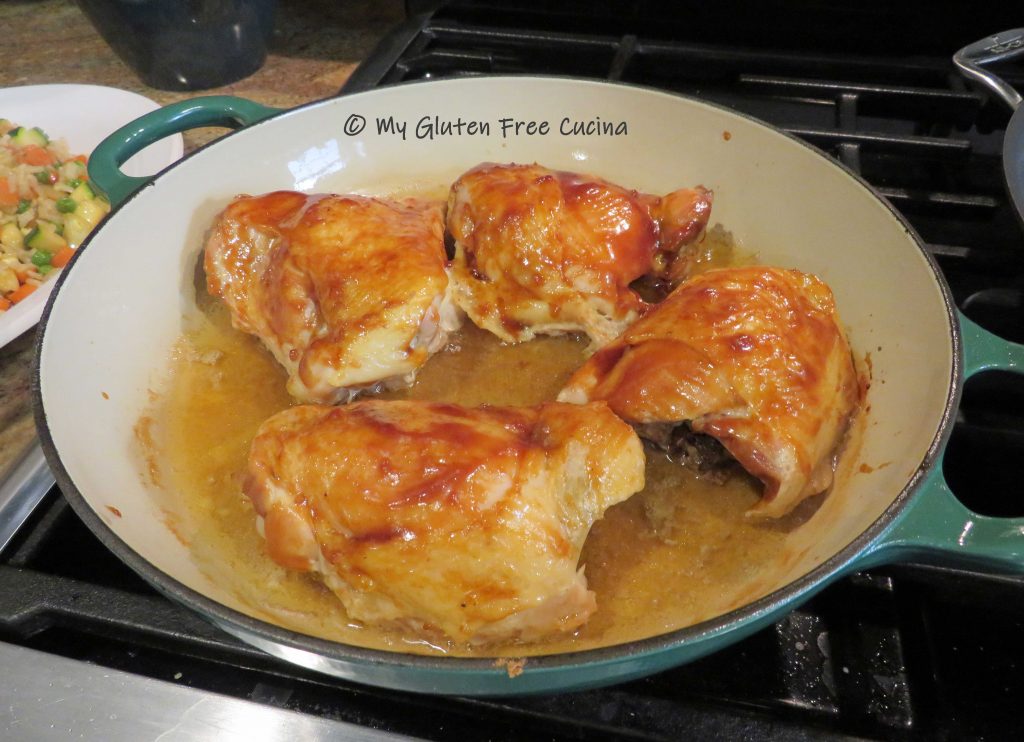
 To finish, add 2 tbsp. gluten free BBQ sauce and toss to coat.

Cook for 1-2 more minutes.

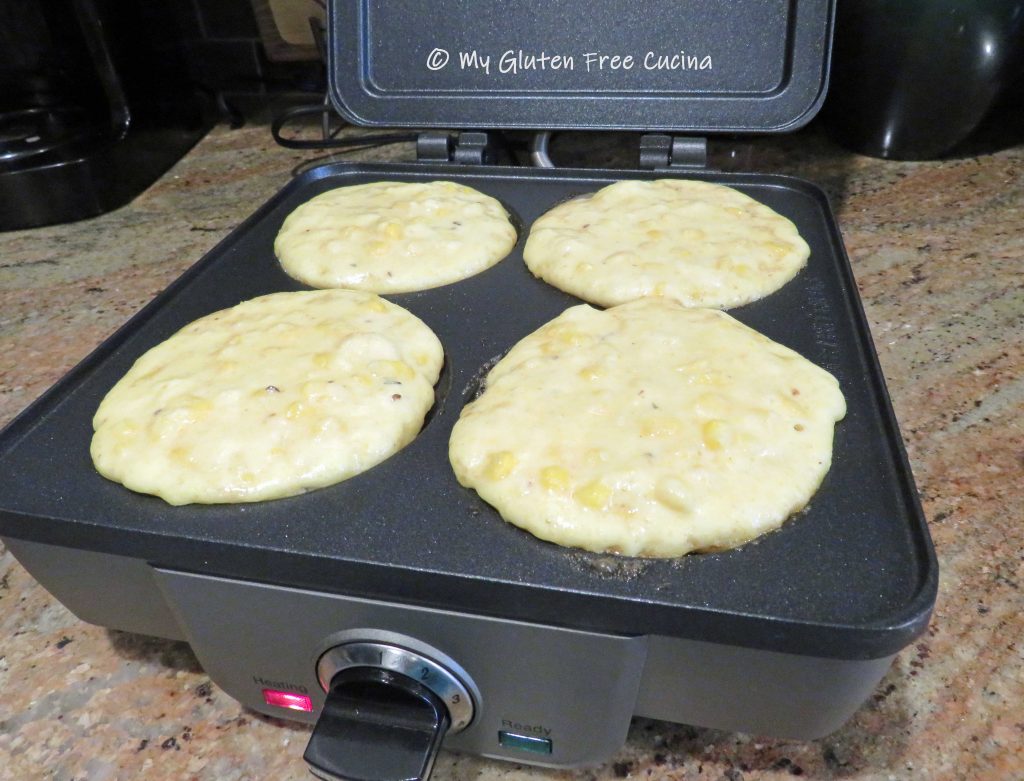
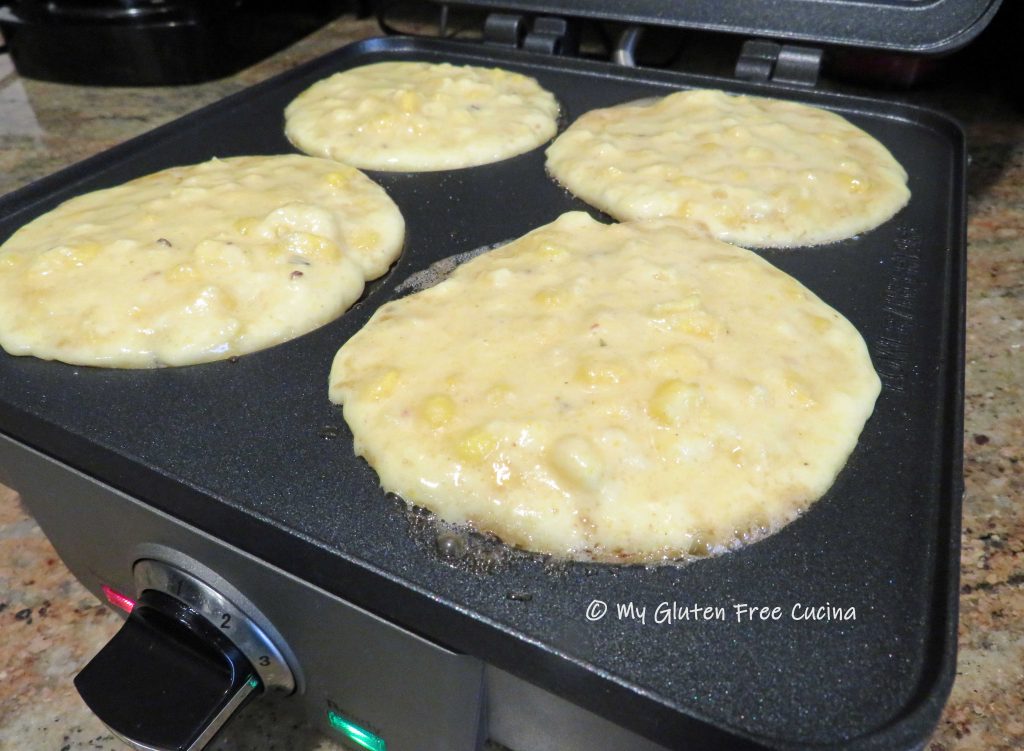
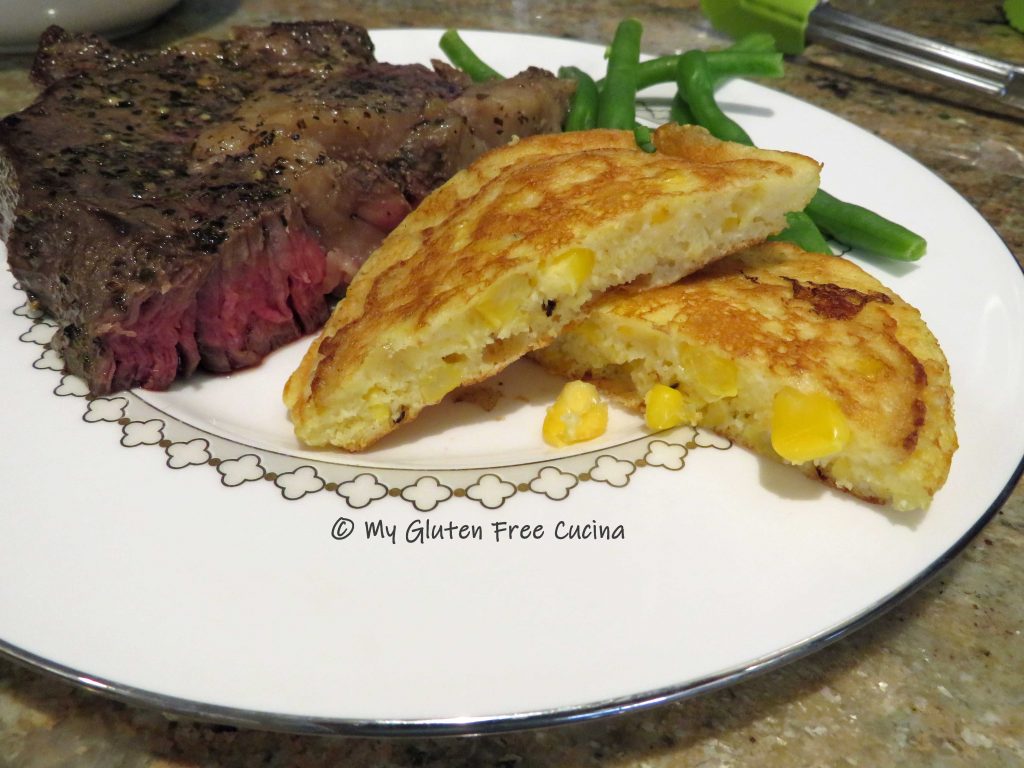
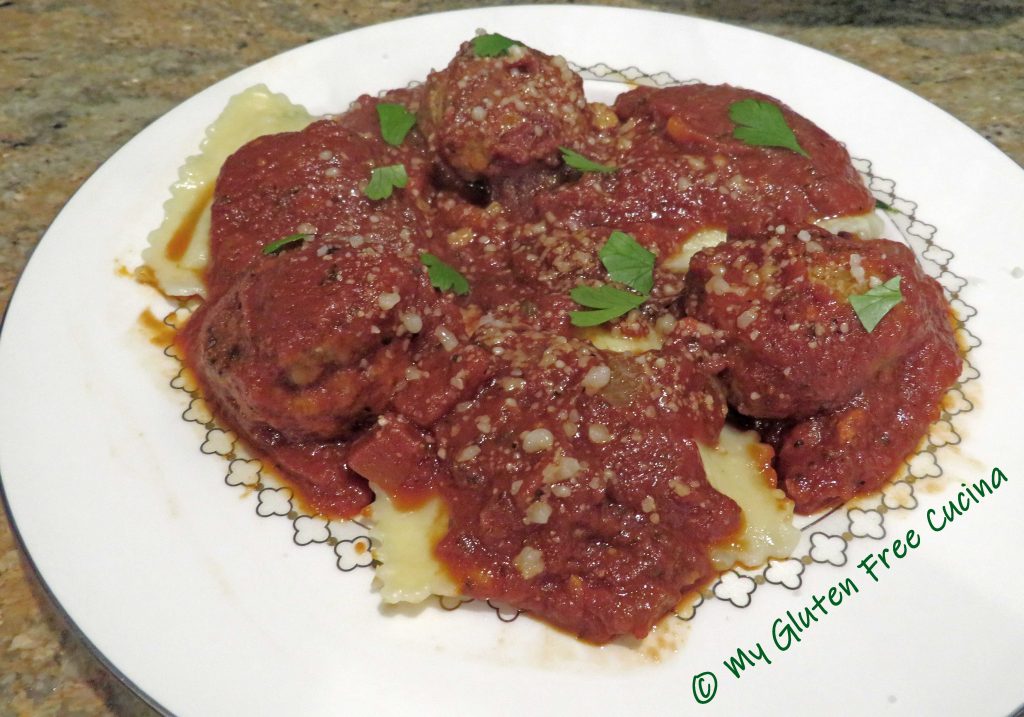
Transfer to a serving dish and garnish with chives. Serve with more BBQ sauce for dipping. BBQ Beef Tips can be served over rice or try my yummy Corn Cakes or BBQ Baked Beans!

Notes ♪♫ When I began my gluten free journey, I experimented with making my own BBQ sauce. It is delicious, but very high in sugar. So, if you are looking for a gluten free BBQ sauce with less carbs, try Stubbs, they have many flavors to choose from. There’s even a reduced sugar option! Check it out!


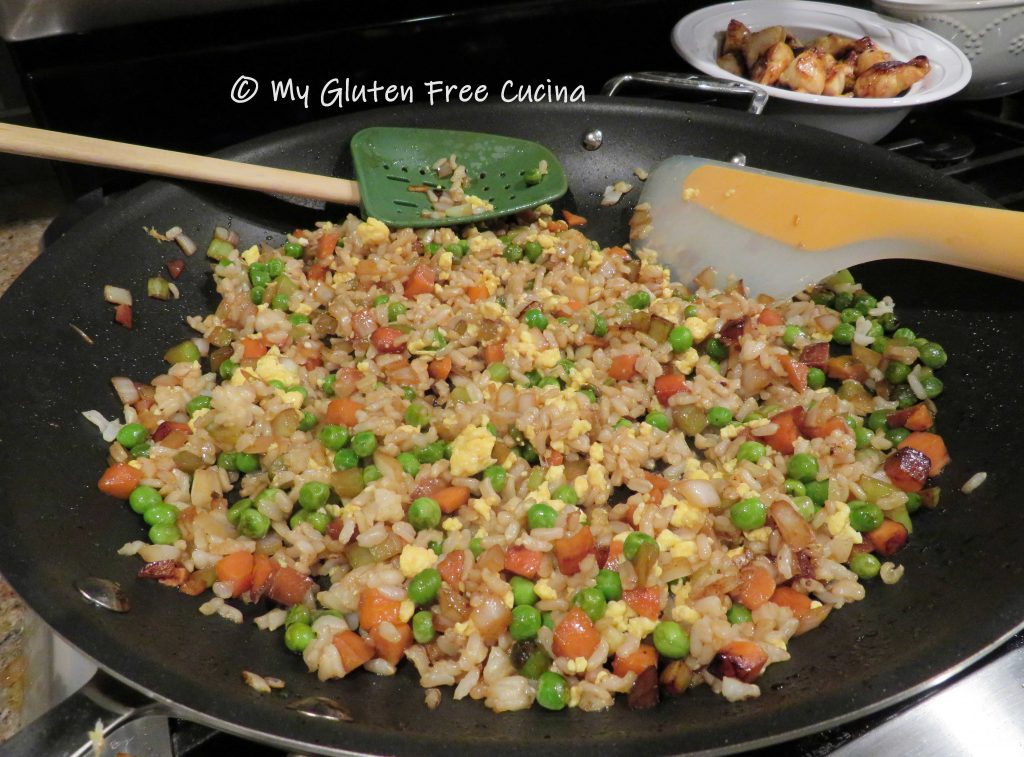
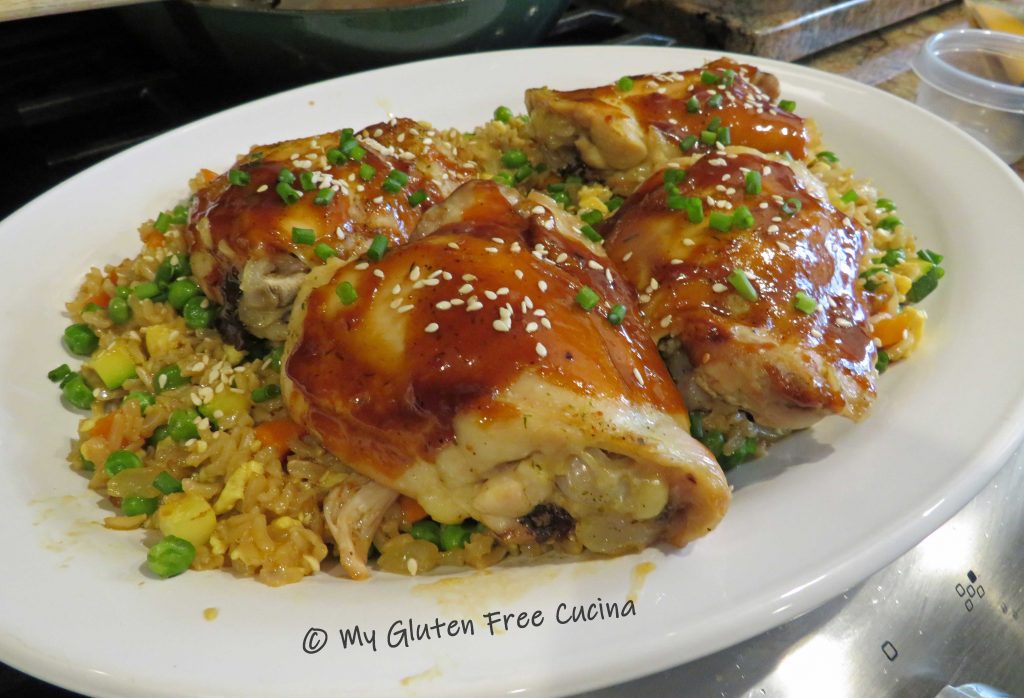
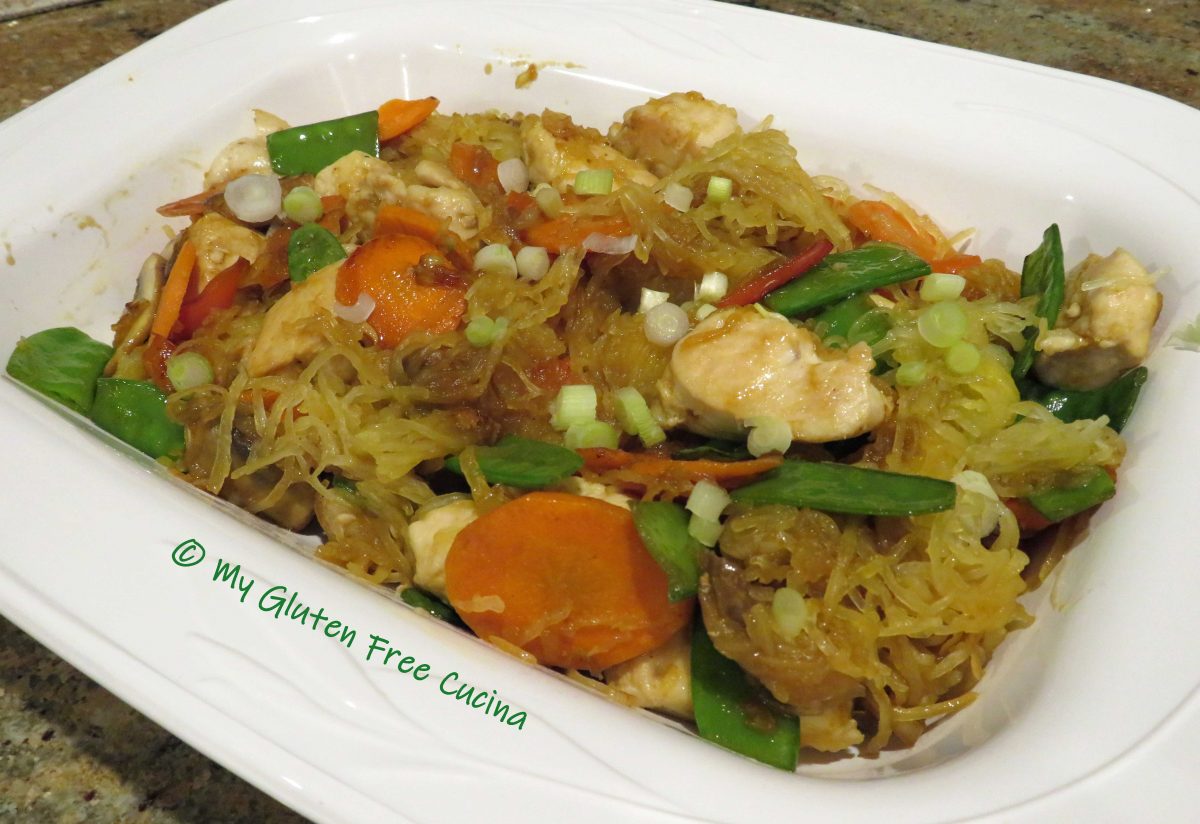
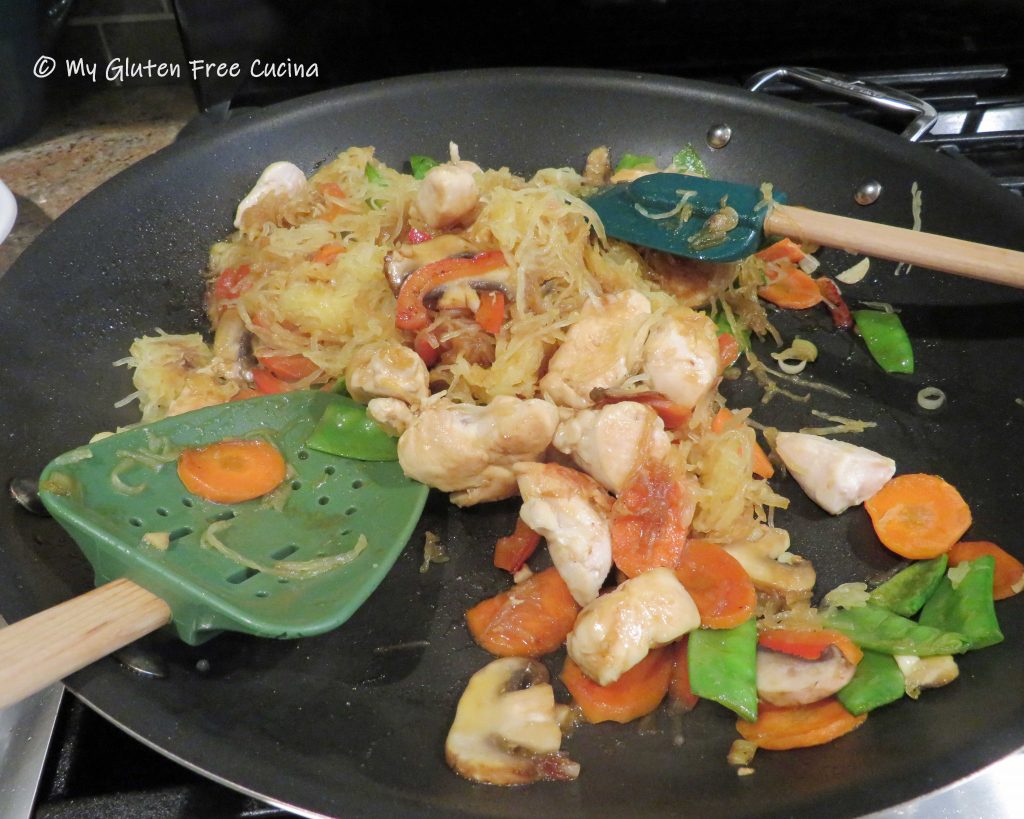
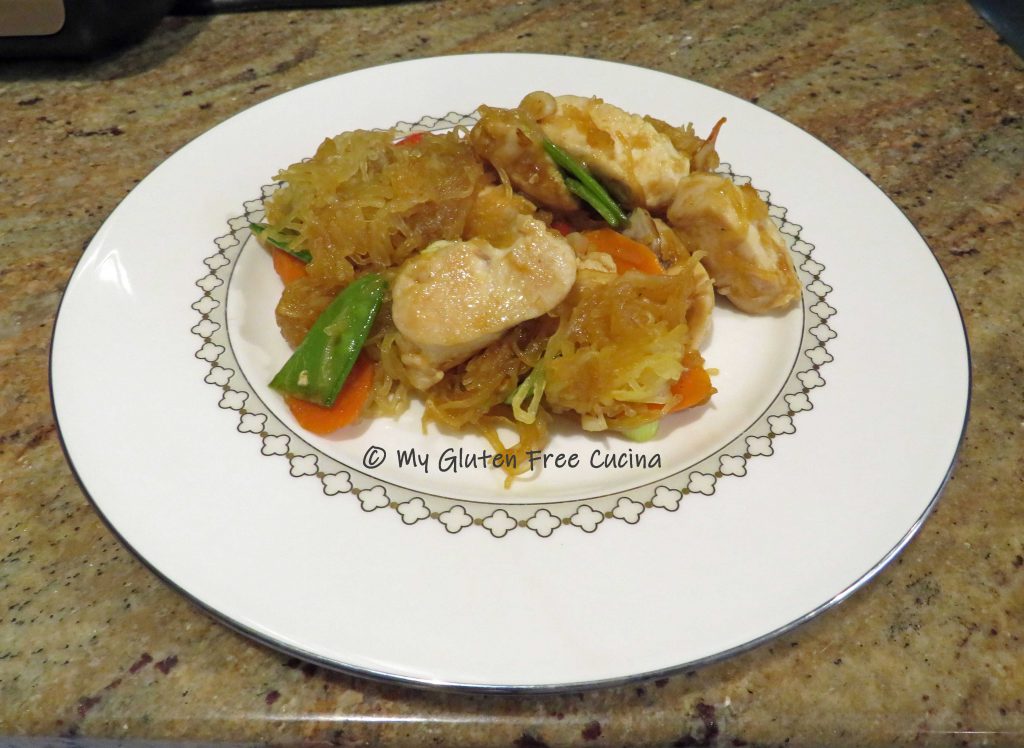
 While the chicken was cooking, I made my fried rice.
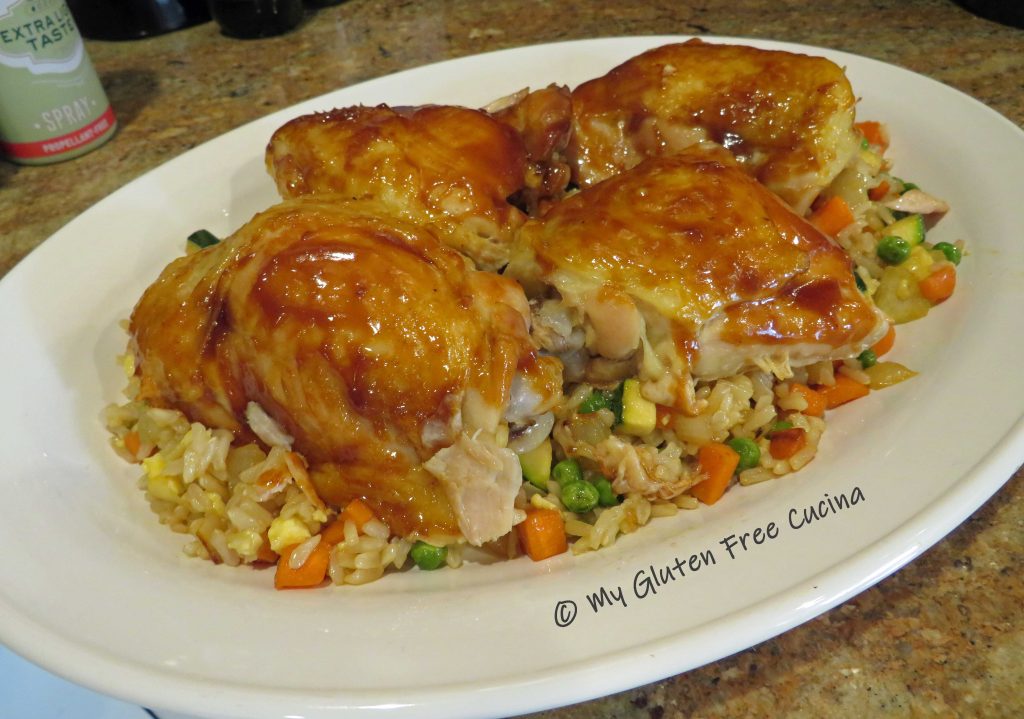
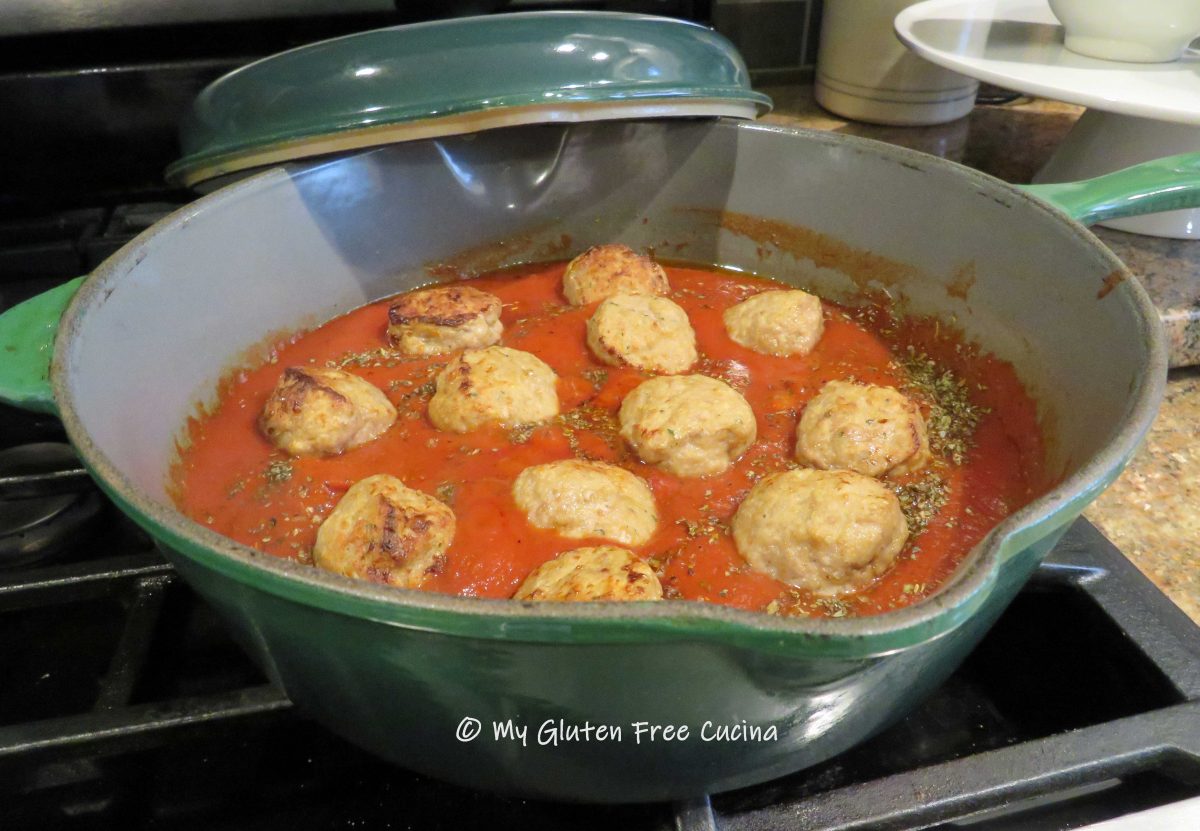
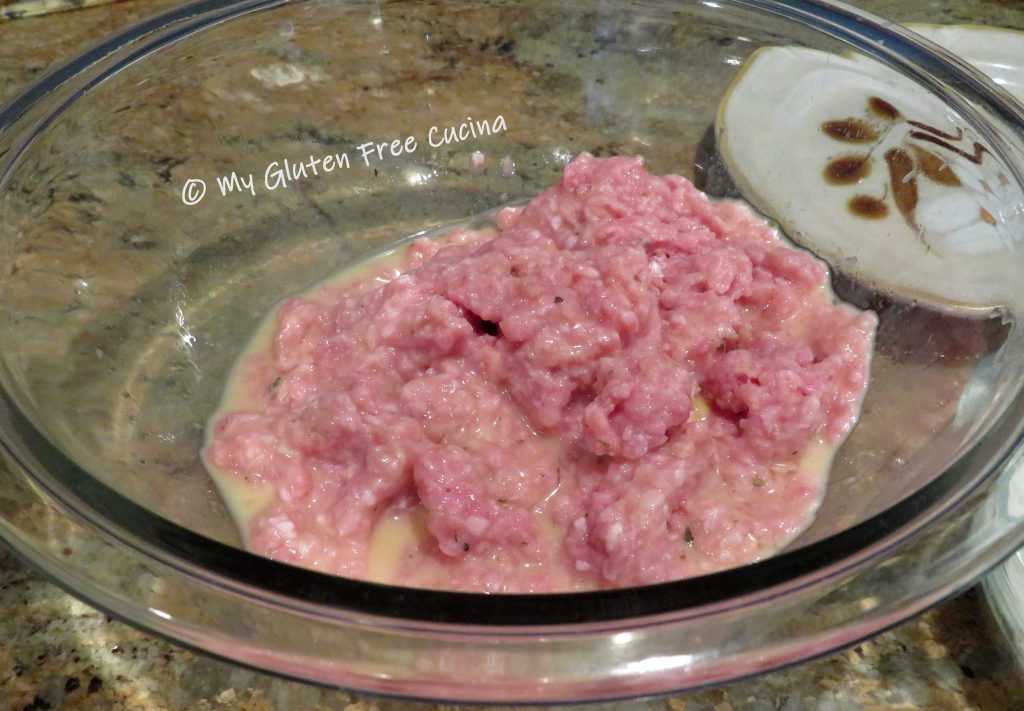
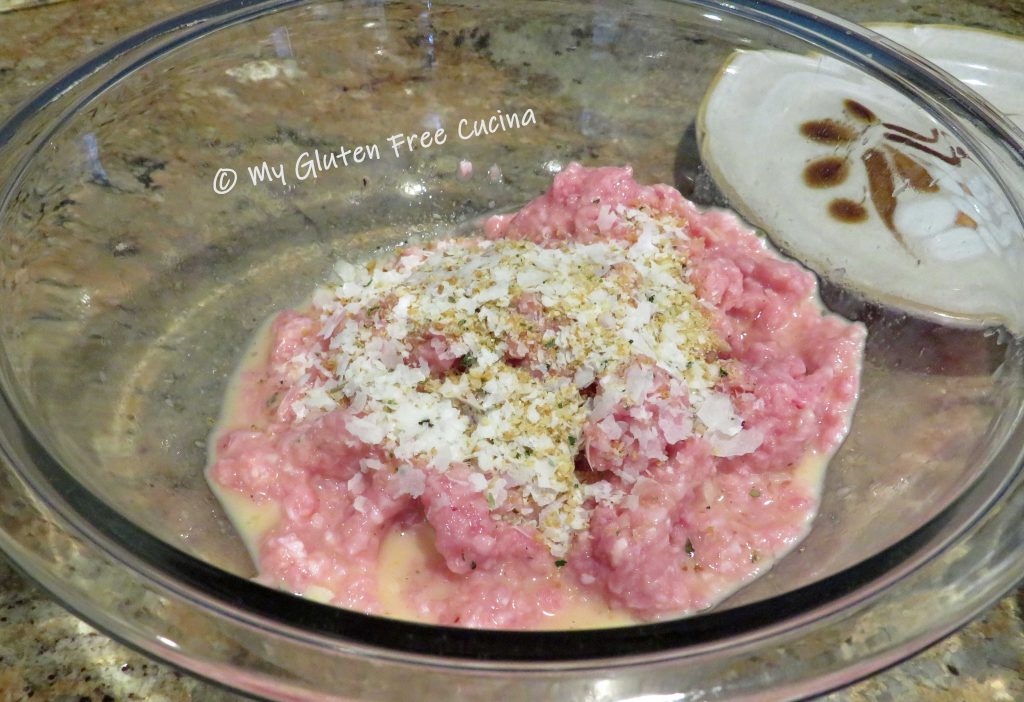
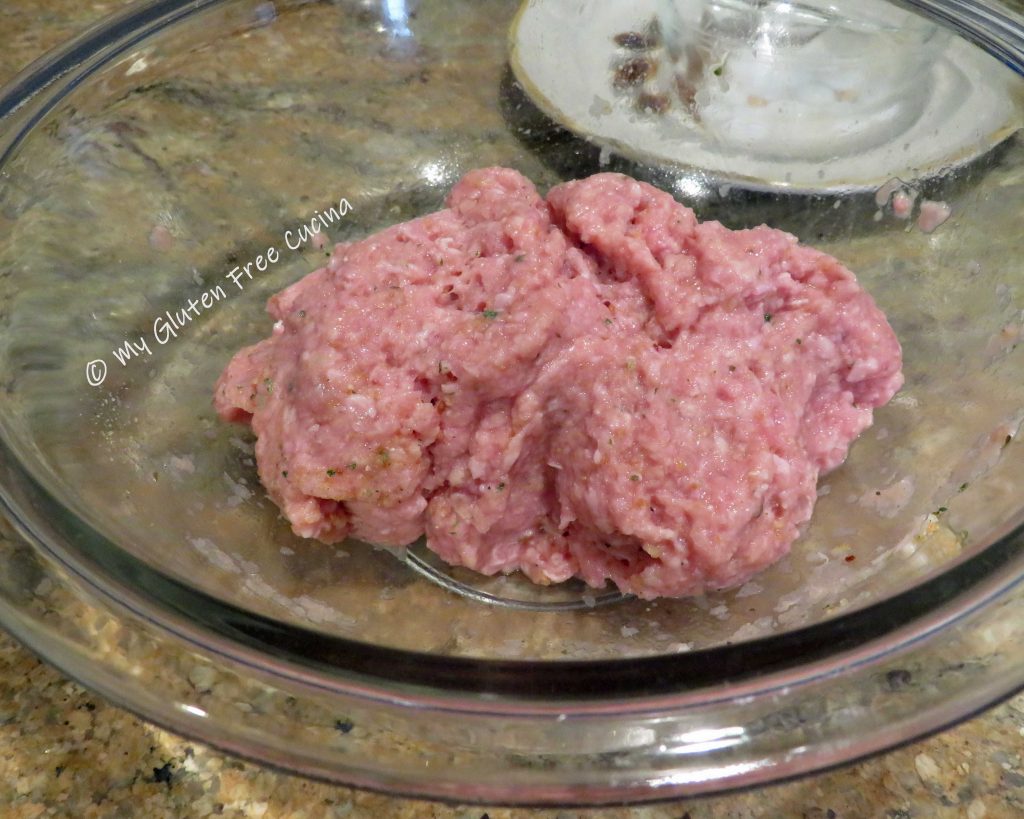
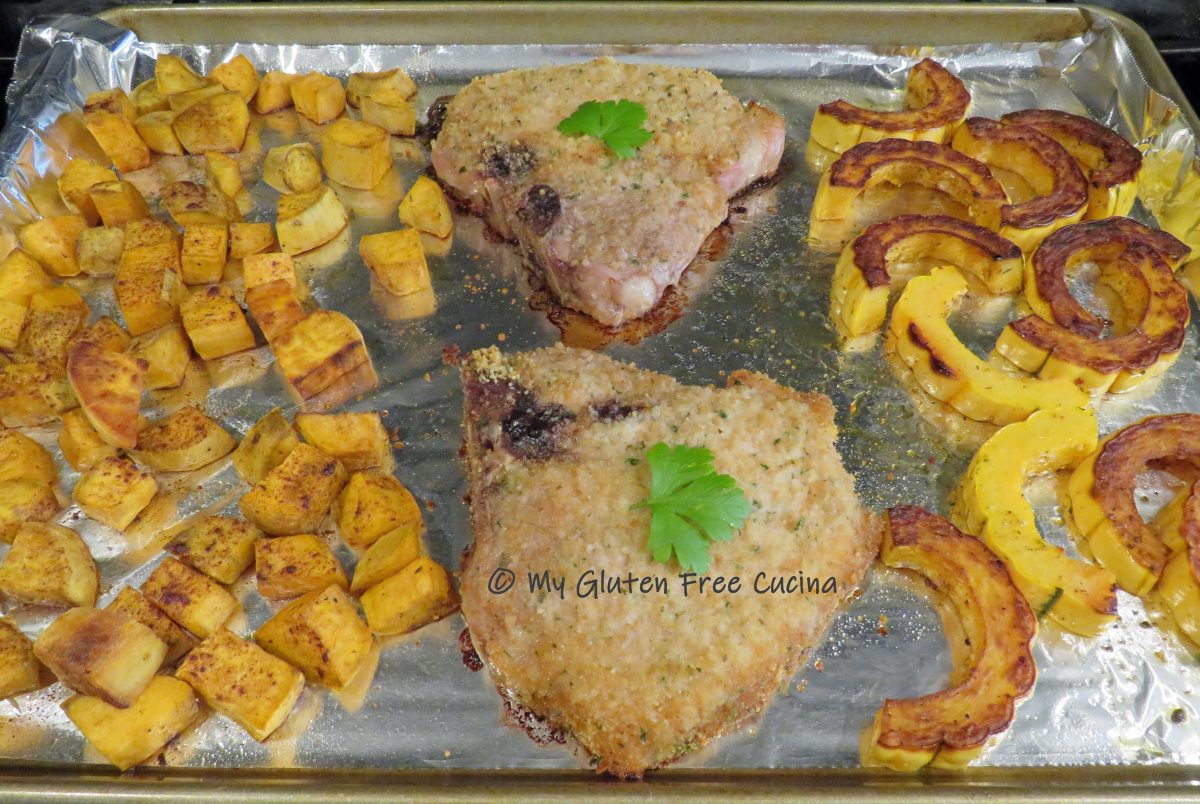
 Next we’ll make the meatballs. Combine the beaten egg and Italian seasoning. In another bowl combine the bread crumbs and potato flakes.
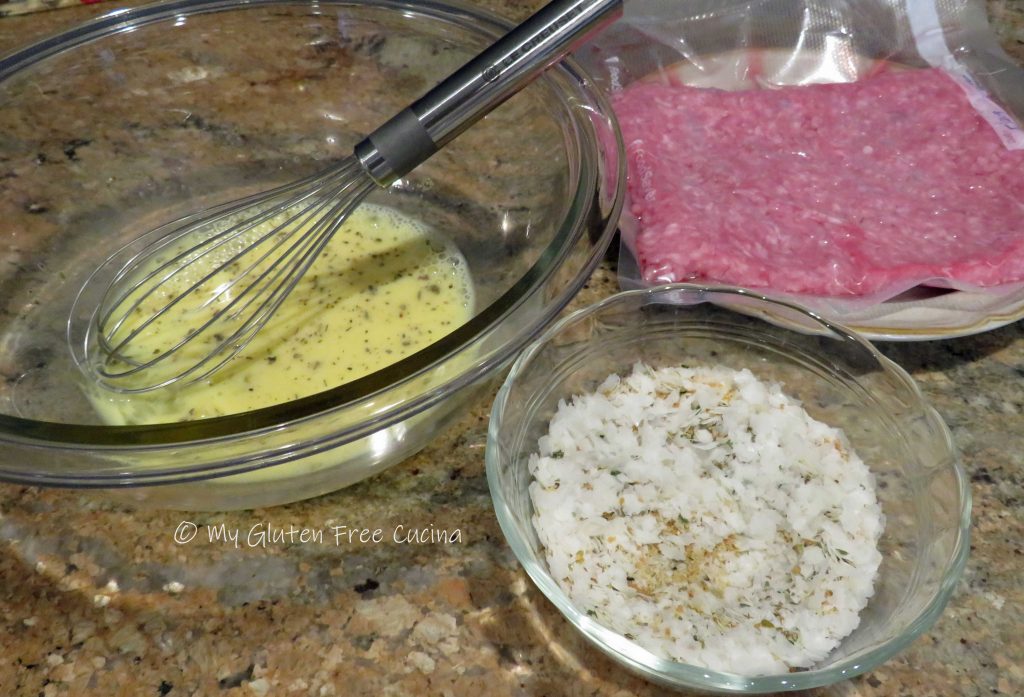


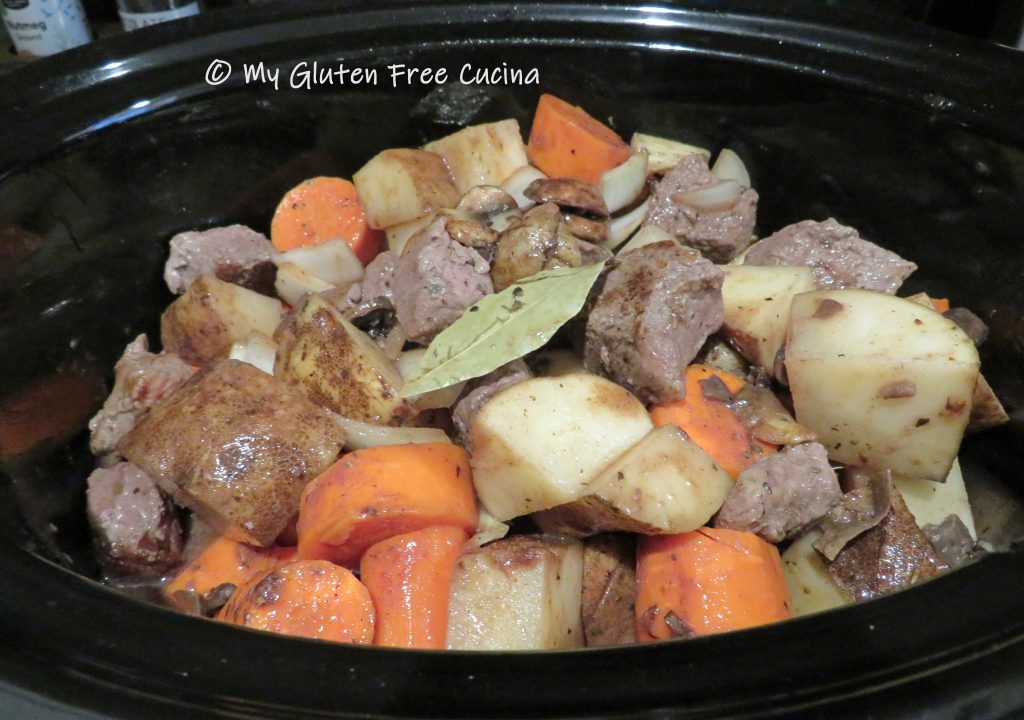
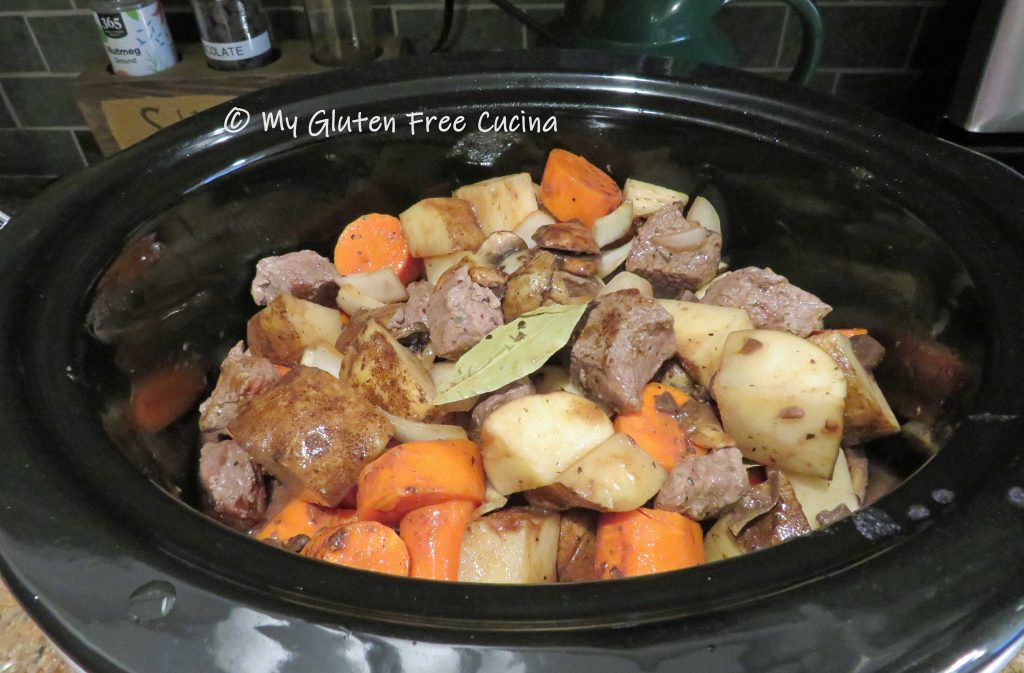
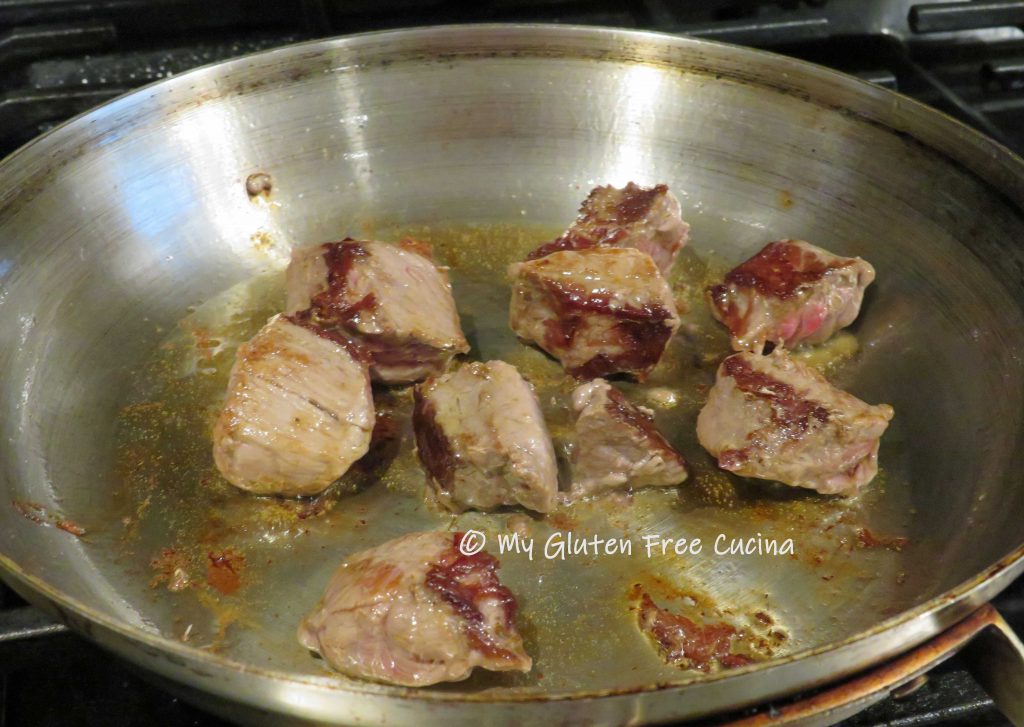 Don’t crowd the pan, you want to get some good color on the outside (if the pieces are too close together the meat will steam in its own liquid). I did my beef in 2 batches.
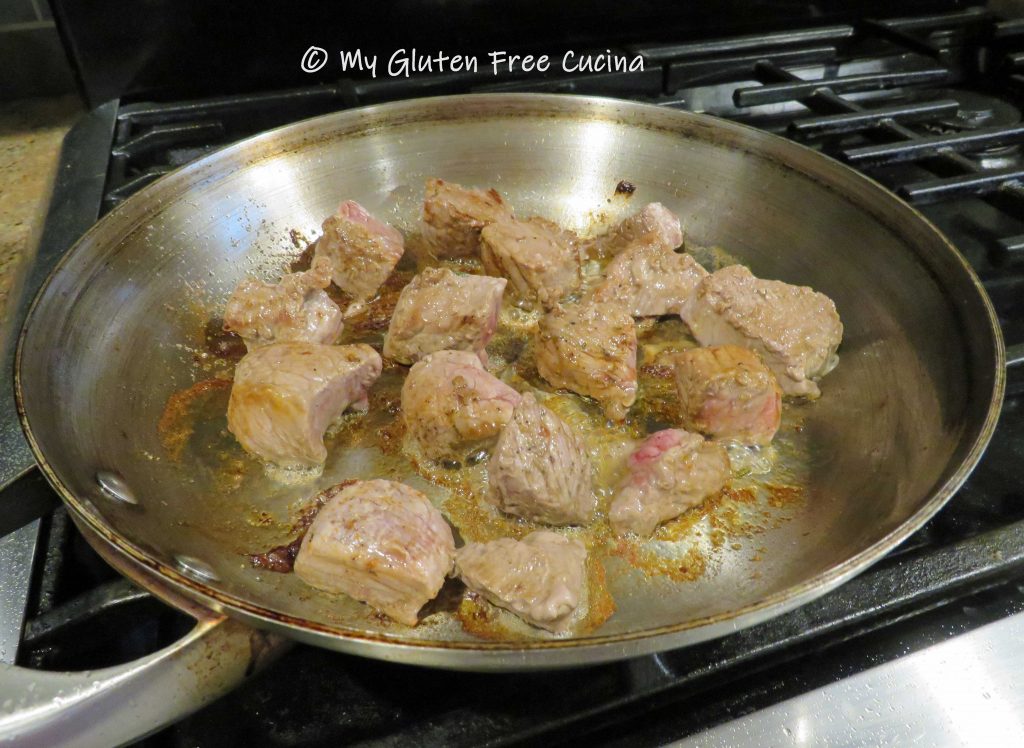 Once the beef goes into the crock-pot, you will see some nice browned bits on the bottom of your skillet.
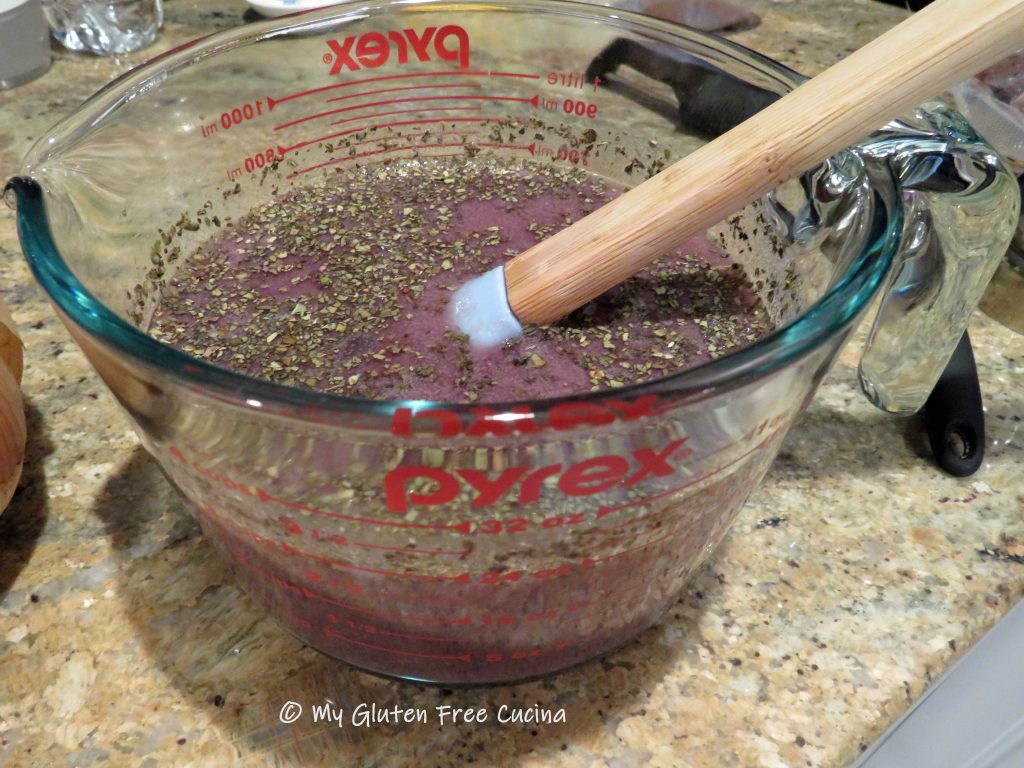
 Pour 1/3 cup of the wine mixture into the hot pan to deglaze, using a spatula to scrape up all of the browned bits, they are full of flavor!
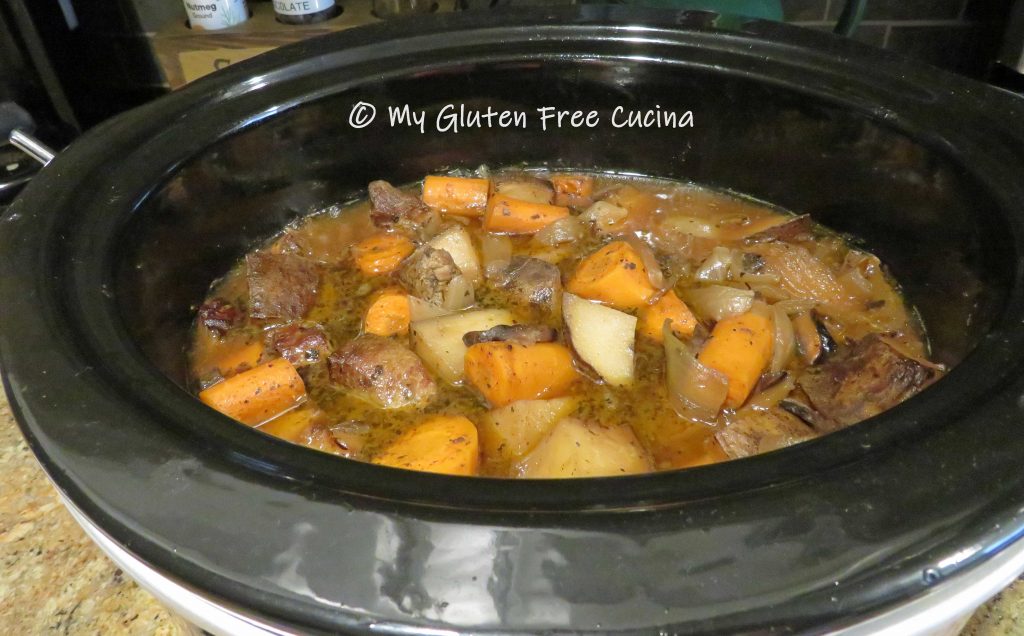
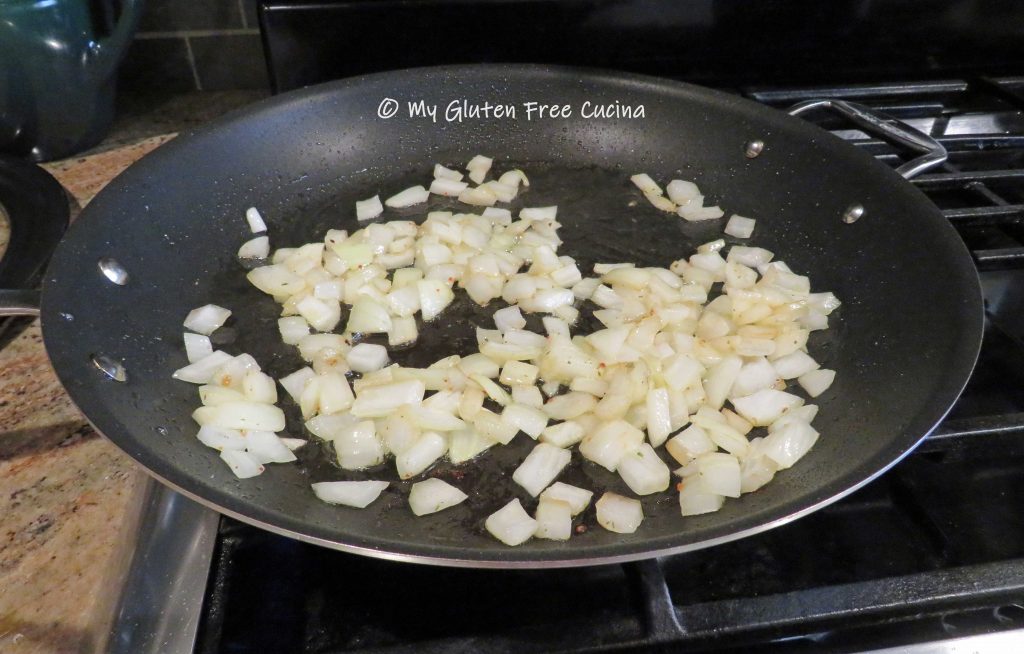
 Pour the liquid into the crock-pot and add more olive oil to the skillet. Begin browning the veggies, a few minutes each starting with the onions.
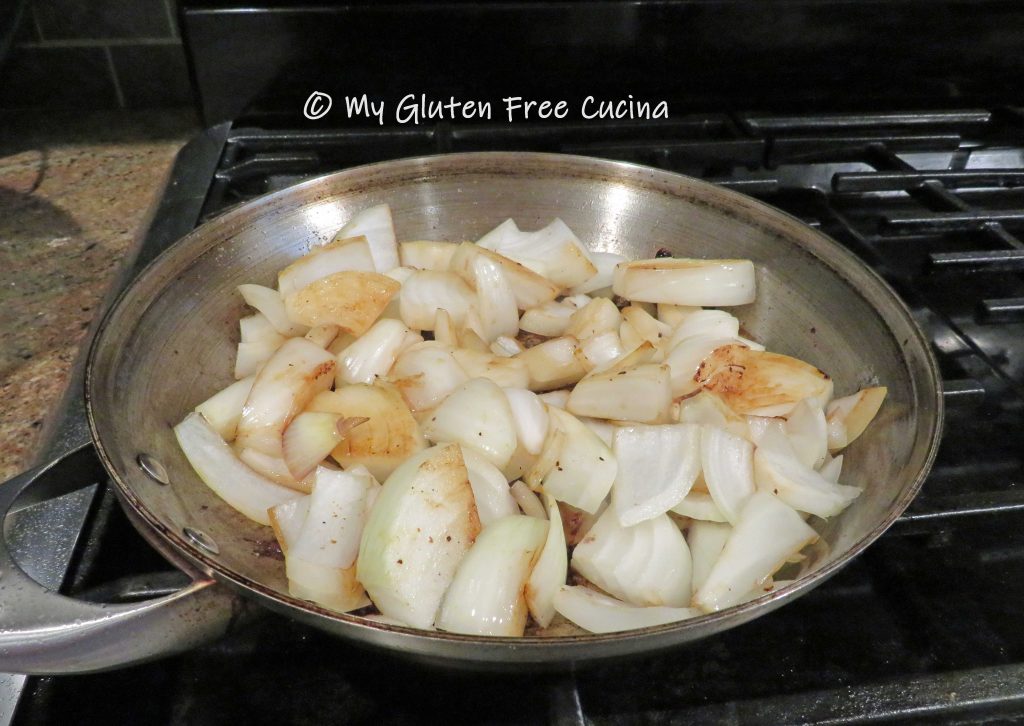


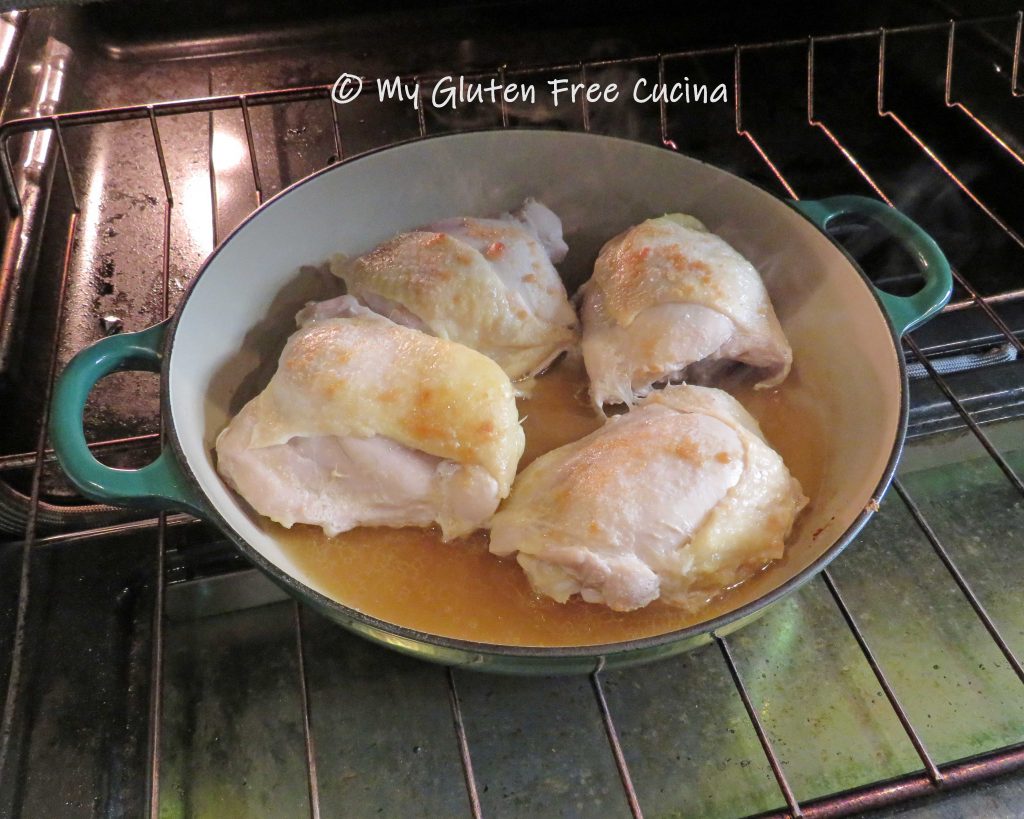
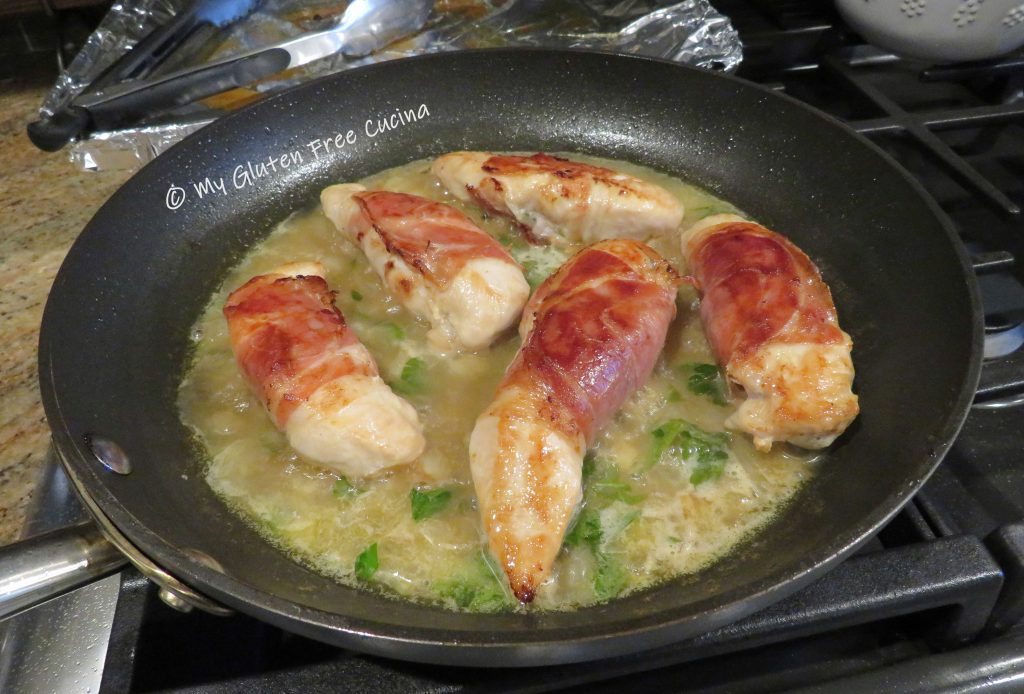
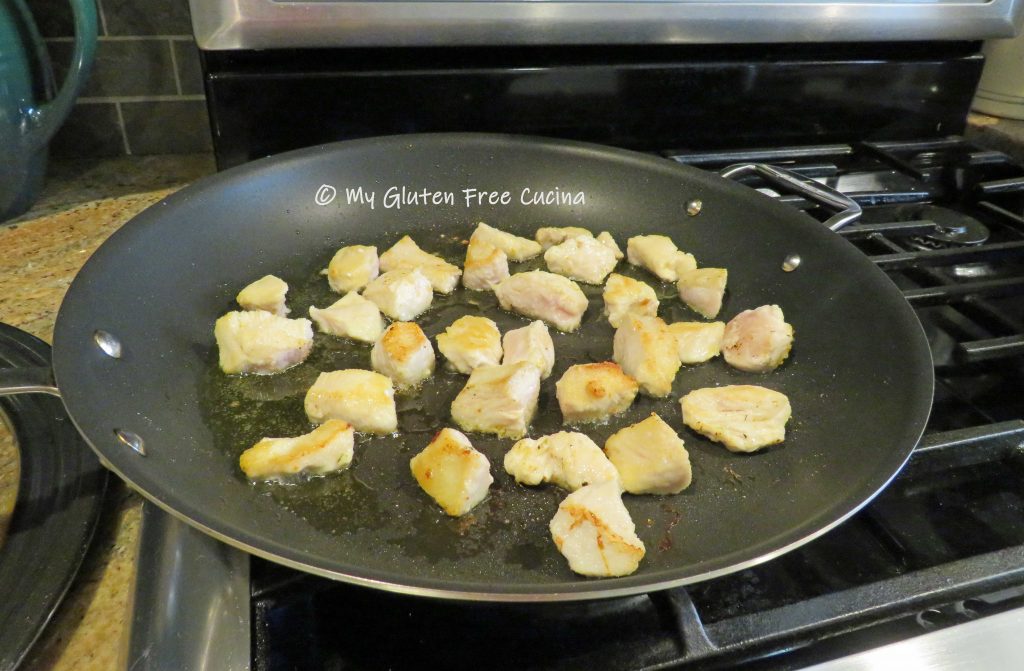 When the chicken has browned on all sides, add a splash (1/4 cup) of white wine to the pan and toss until the liquid evaporates. Remove from the pan and set aside.
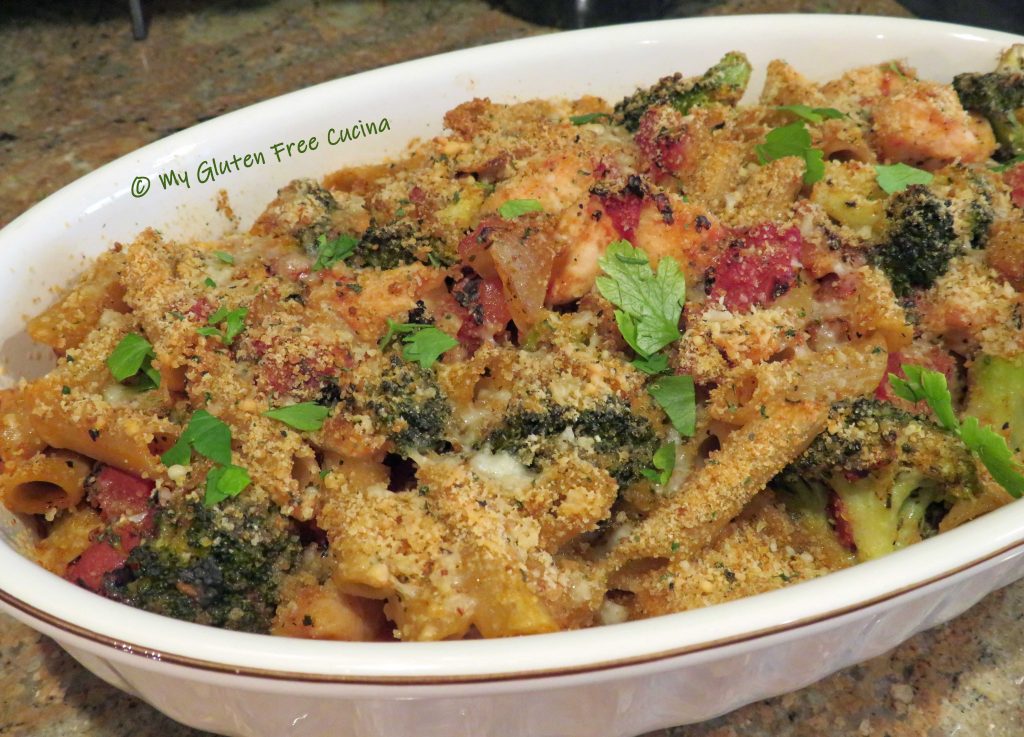
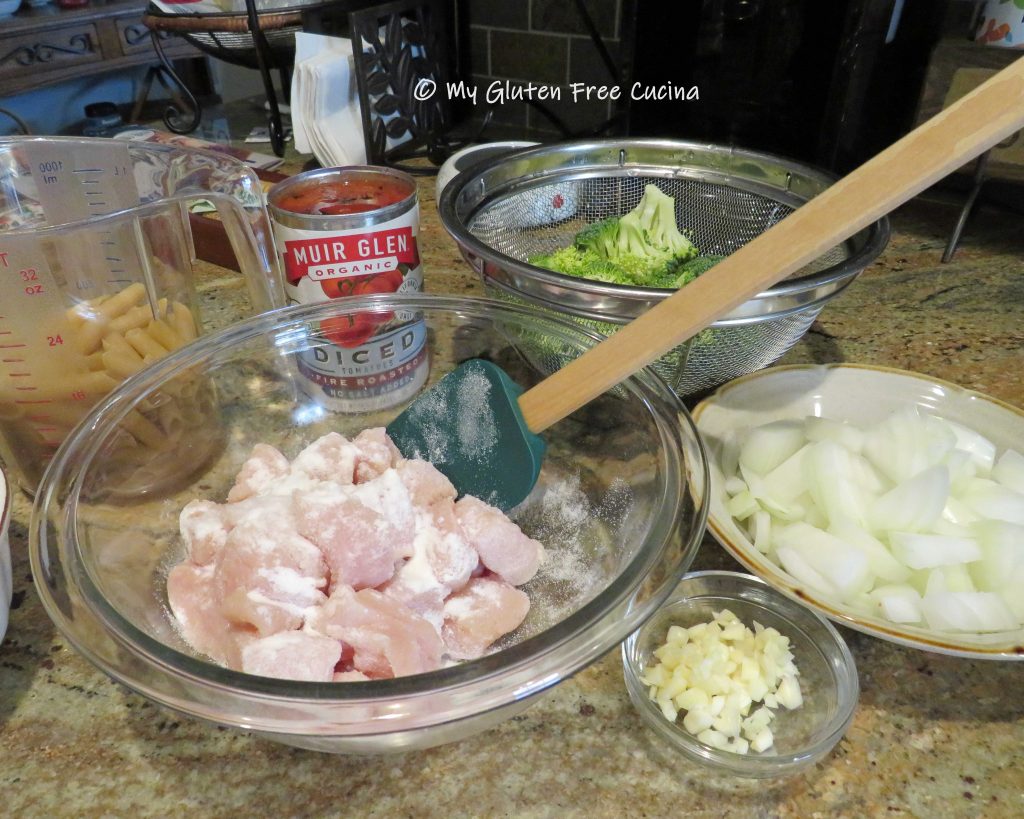
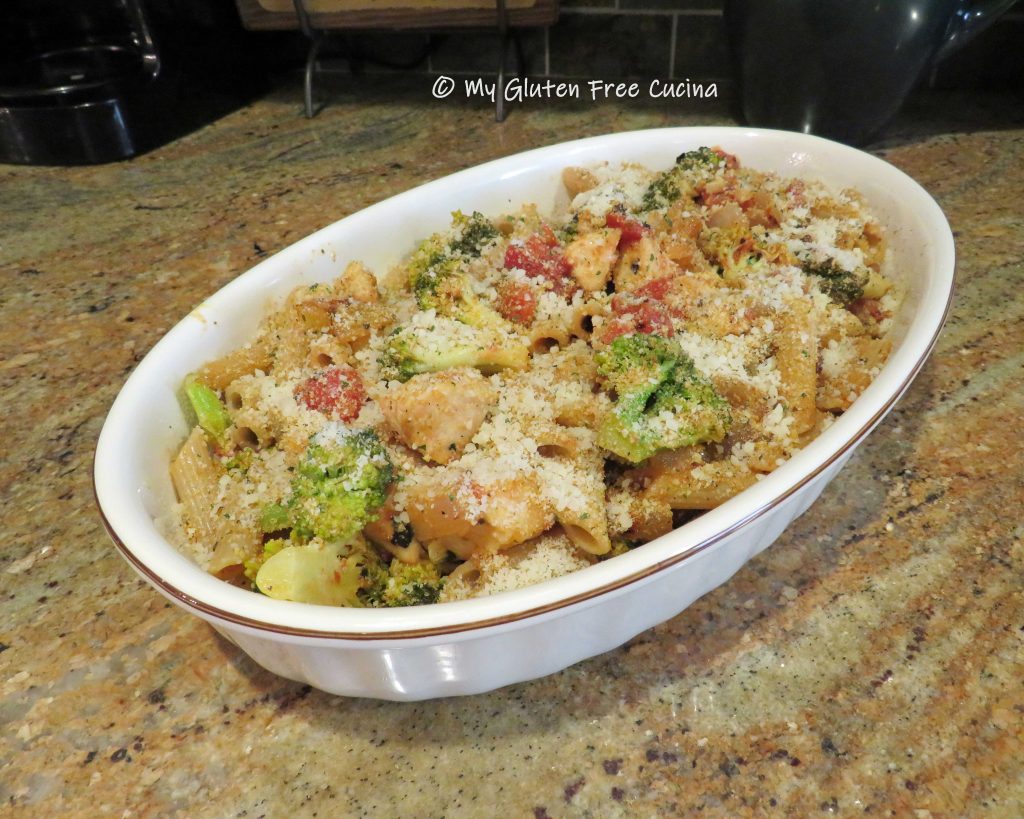
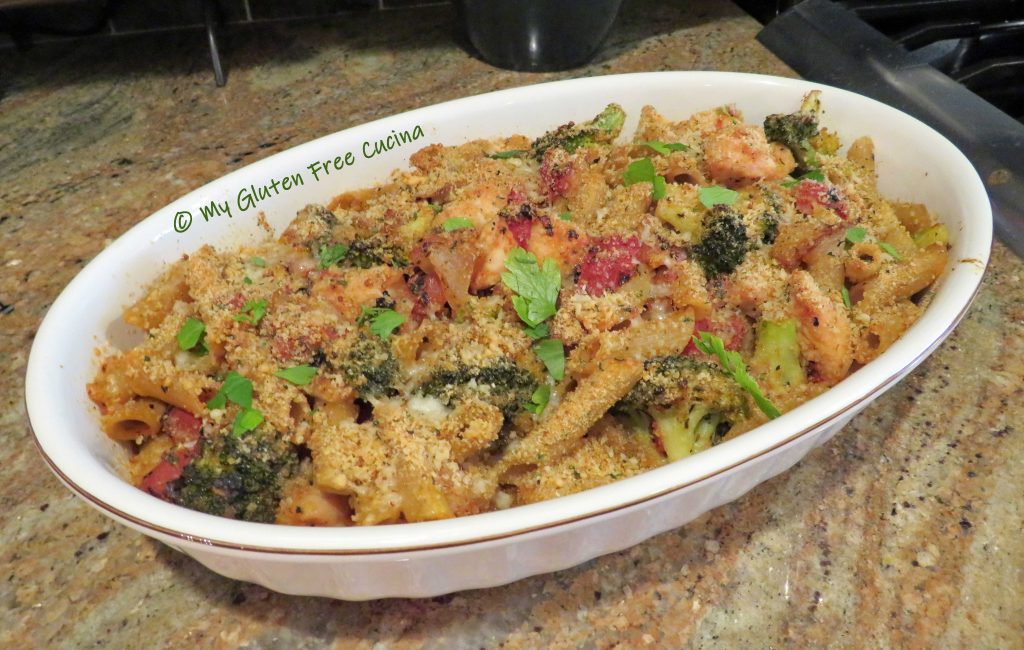
 When they have a little color, add the broccoli, garlic and diced tomatoes. Add another splash of white wine, then season with salt and pepper, basil and Italian seasoning. Cover and cook 10 minutes, until the broccoli is crisp tender.
 While the vegetables are cooking, add the pasta to the boiling water. Use your favorite (
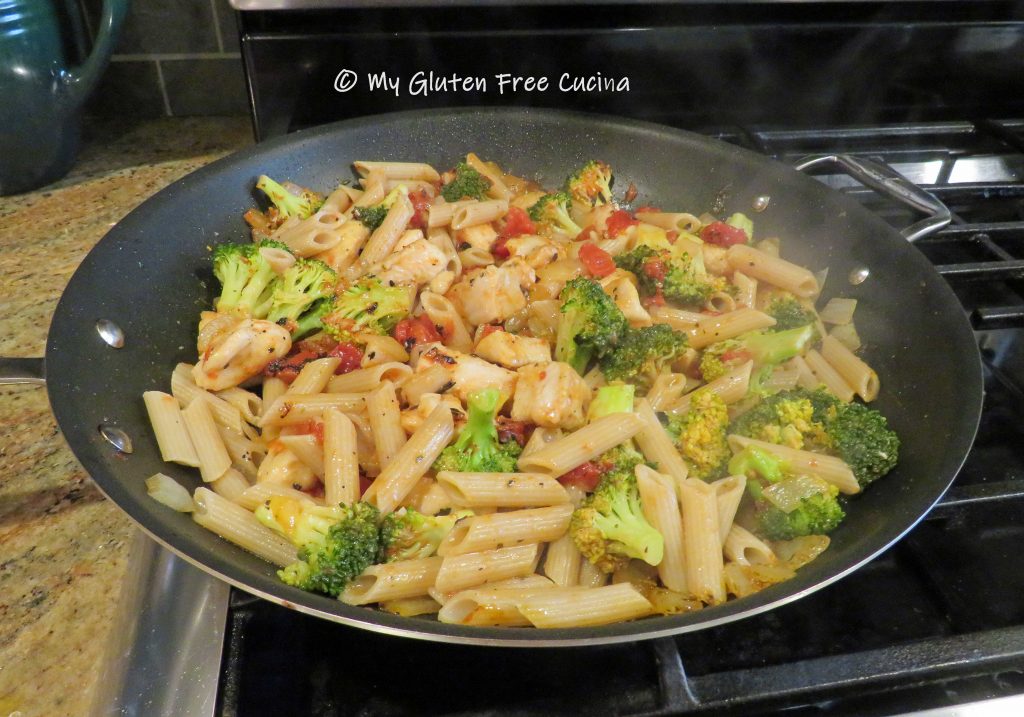


 Coat a
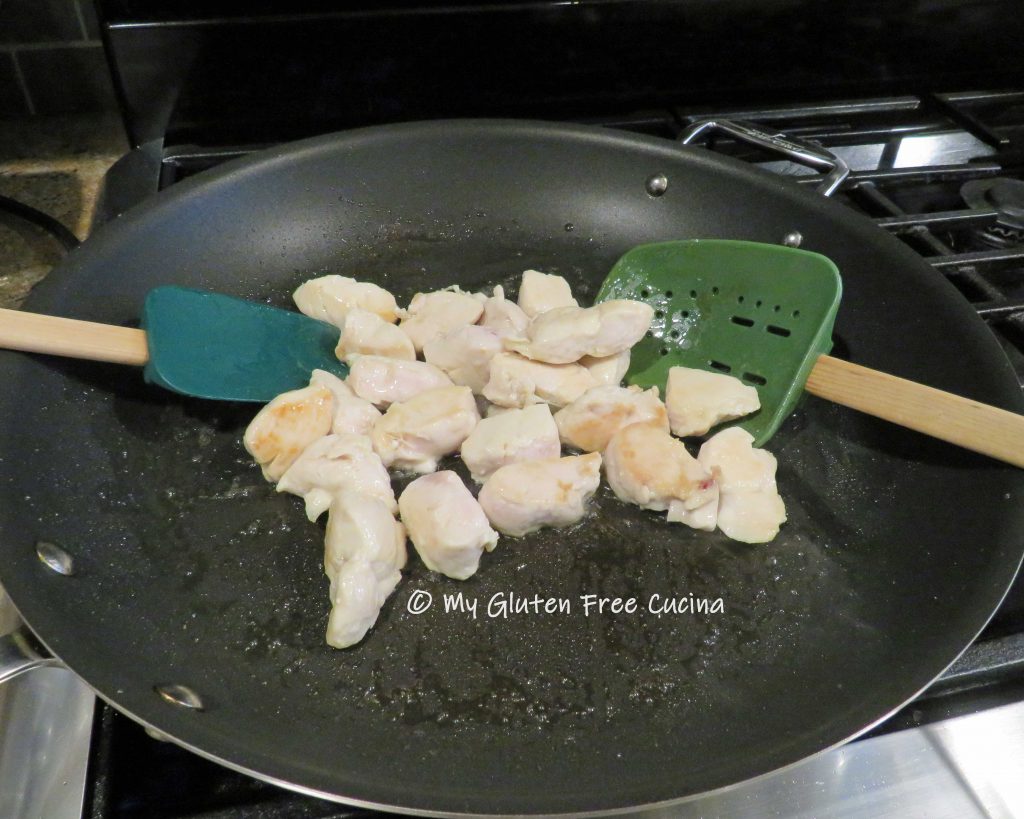


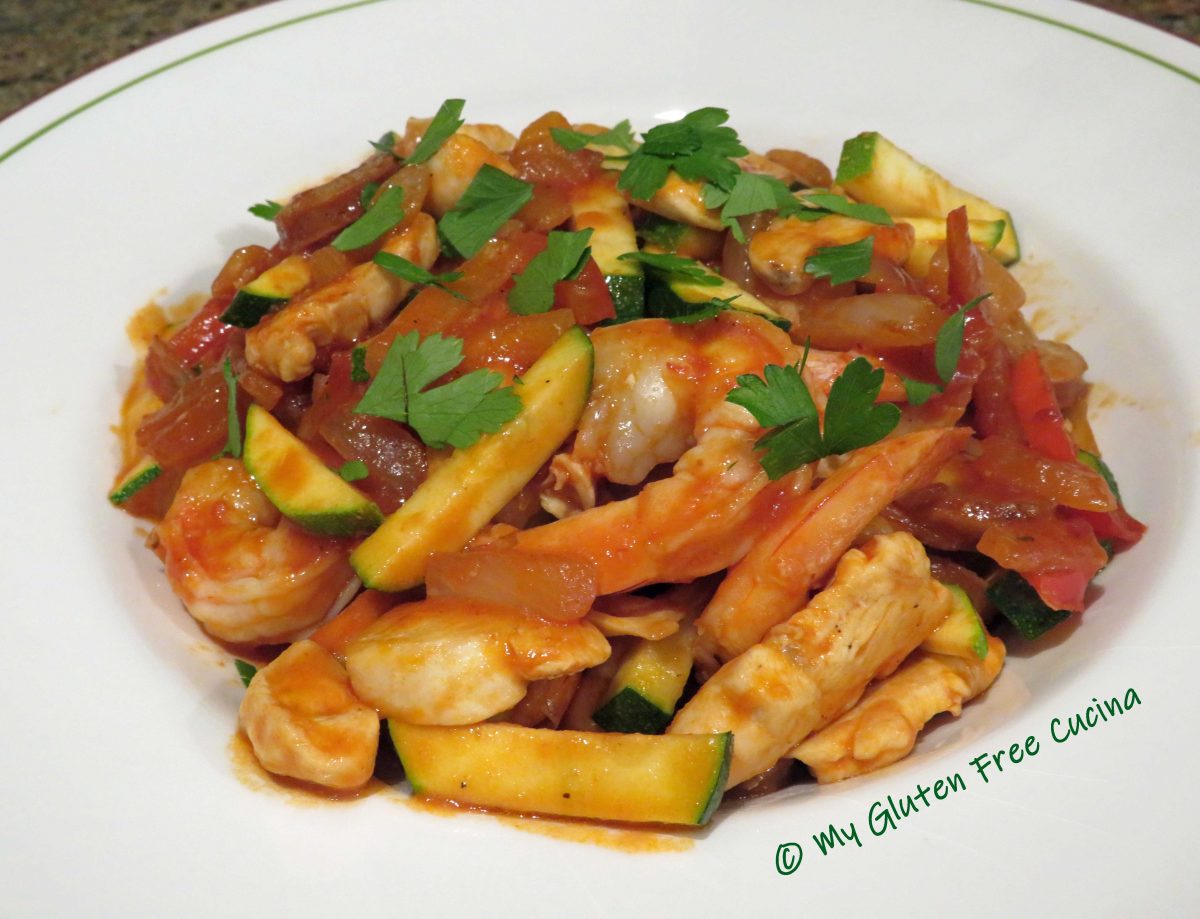


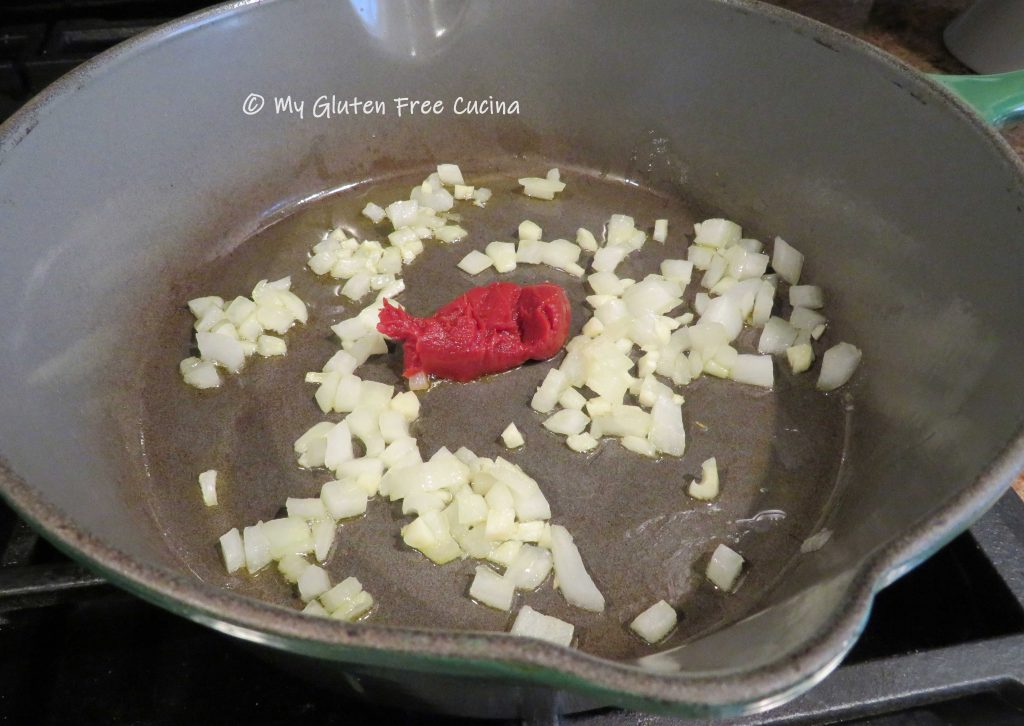
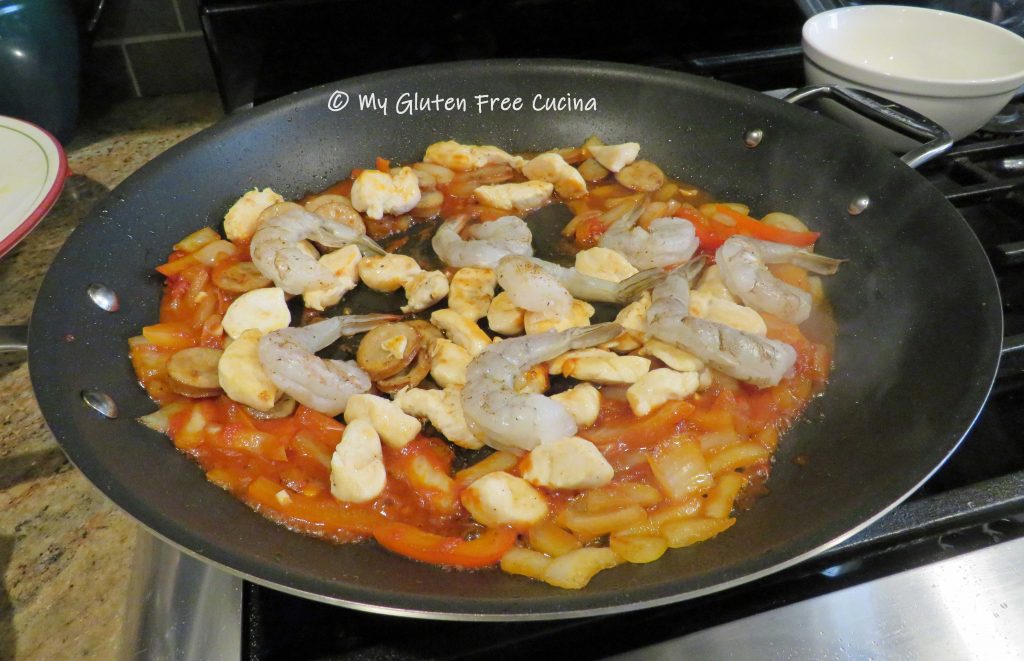
 Remove the chicken when almost cooked through and add the onions and peppers to the skillet. Sprinkle with seasoning.
 Cook 2-3 minutes, then push the veggies aside to make a clean spot in the center of the pan. Add the tomato paste and let it toast for a minute before stirring it into the veggies with 1/2 cup of the chicken broth.

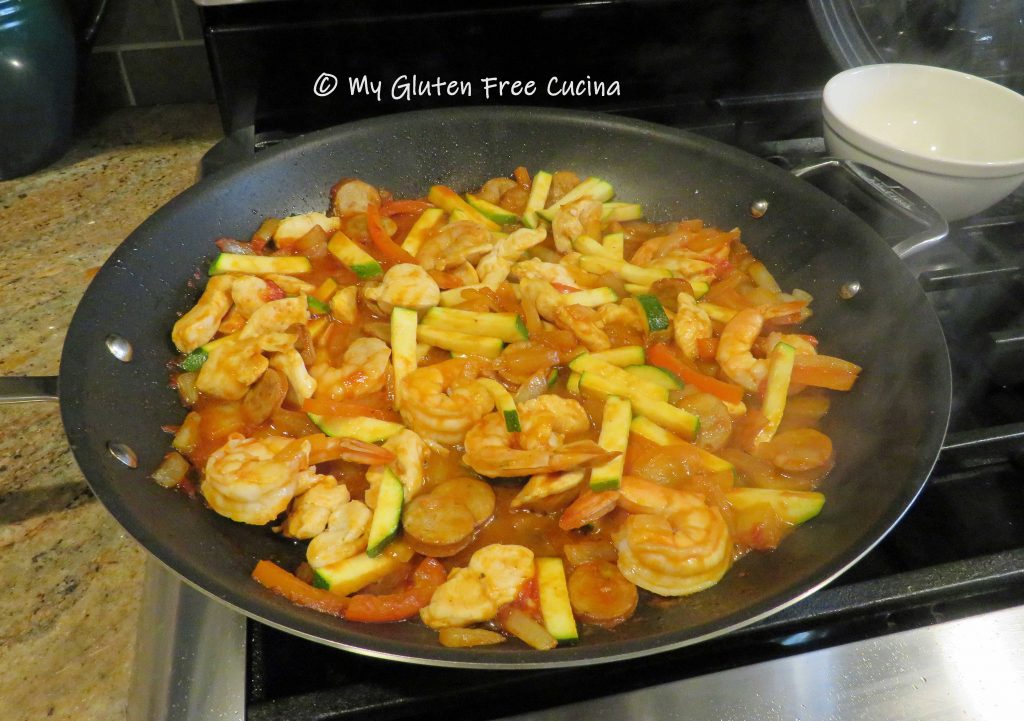
 Stir everything together, then add the remaining 1-1/2 cups chicken broth along with the zucchini.


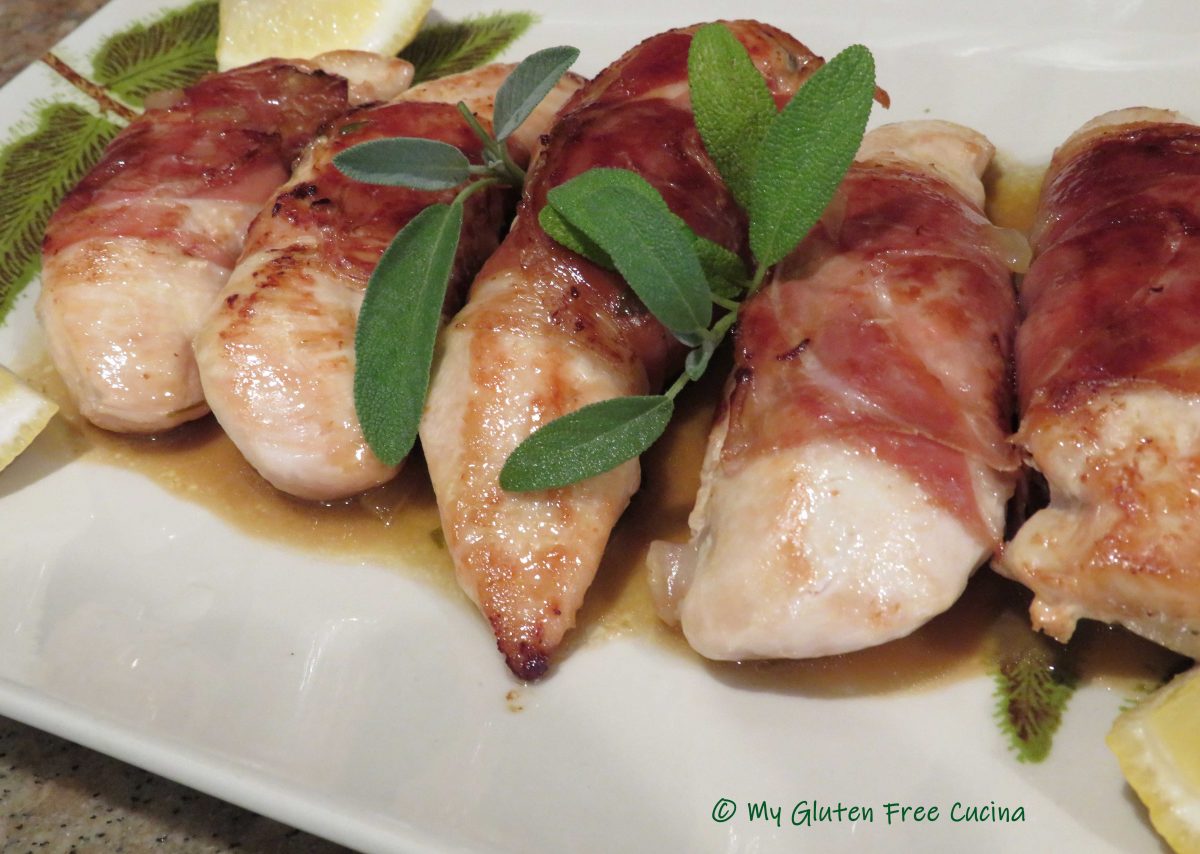
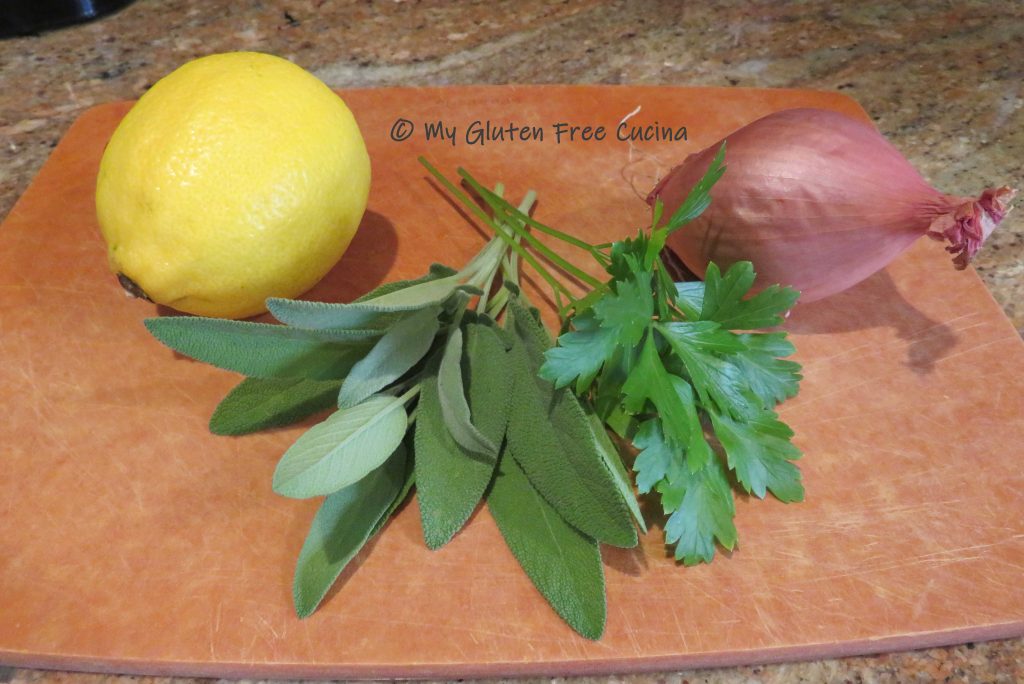
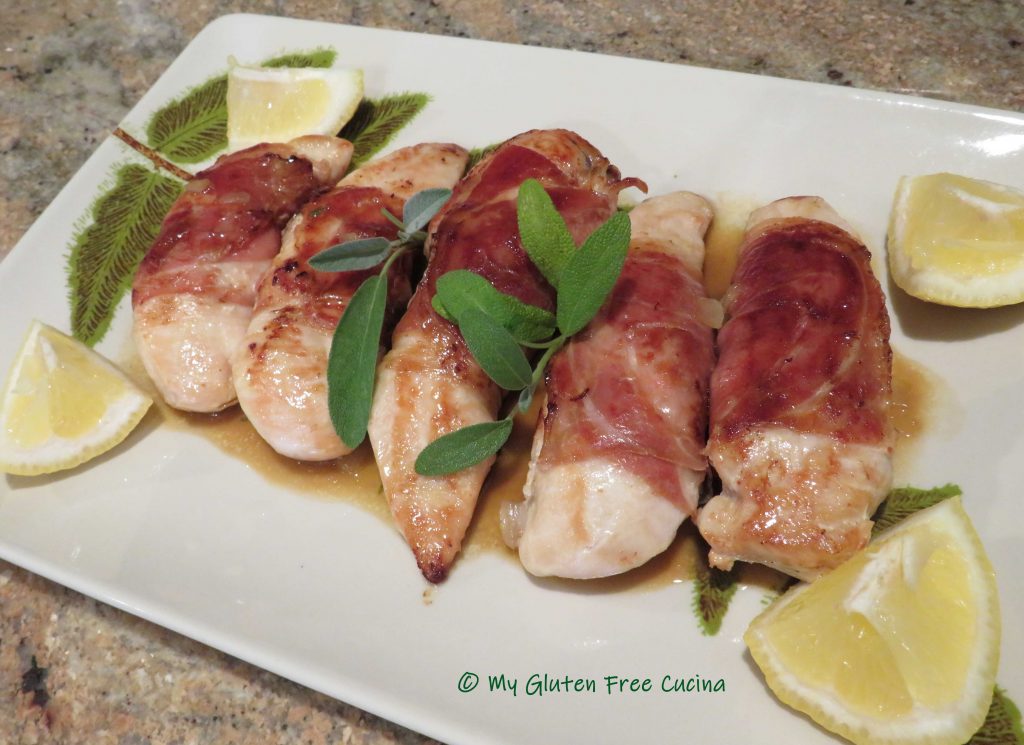
 The inspiration for this post was a beautiful pot of sage from my herb garden. I’m really proud that I grew it from seed!


 When I first made this recipe, I used a